The lacquer Orange Line shoots even better.
1 Like
During operation Peace for Galilee, one of the three tank battalions of the 211th Armored Brigade was equipped with Merkava Mk.1s, the other two with Magach 5s.
The 460th Armored Brigade (the main IDF armor training unit) had three tank battalions, each equipped with different types (Merkava, Magach, Sho’t).
Looking great! I’m just not so sure about the M1919/FN MAG mix. Plausible, but it probably represents the exception rather than the rule.
I like exceptions. This build is not an accurate depiction anyway, more like a general representation of what things might have looked like.
3 Likes
Looks great.Love what you are doing.Might inspire me to get my mojo back to do some modelling again.
Richard
1 Like
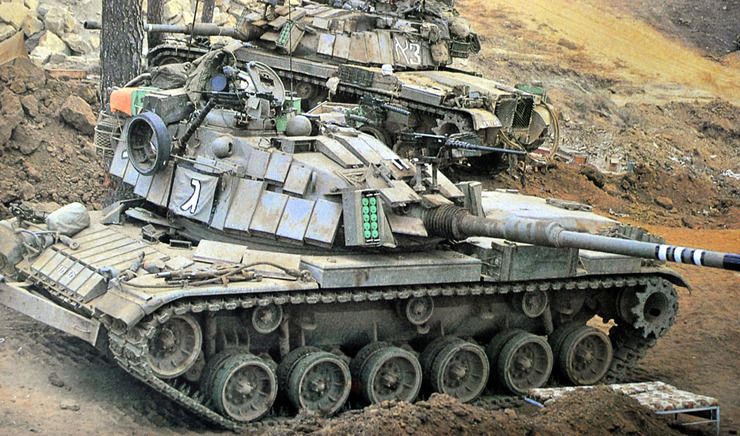
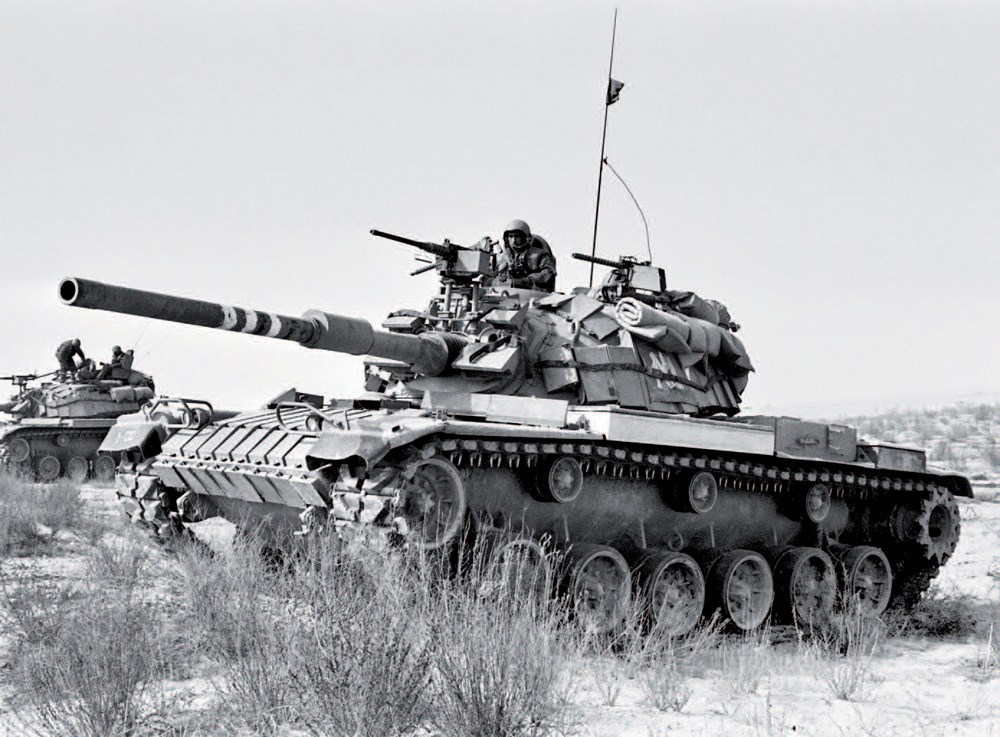
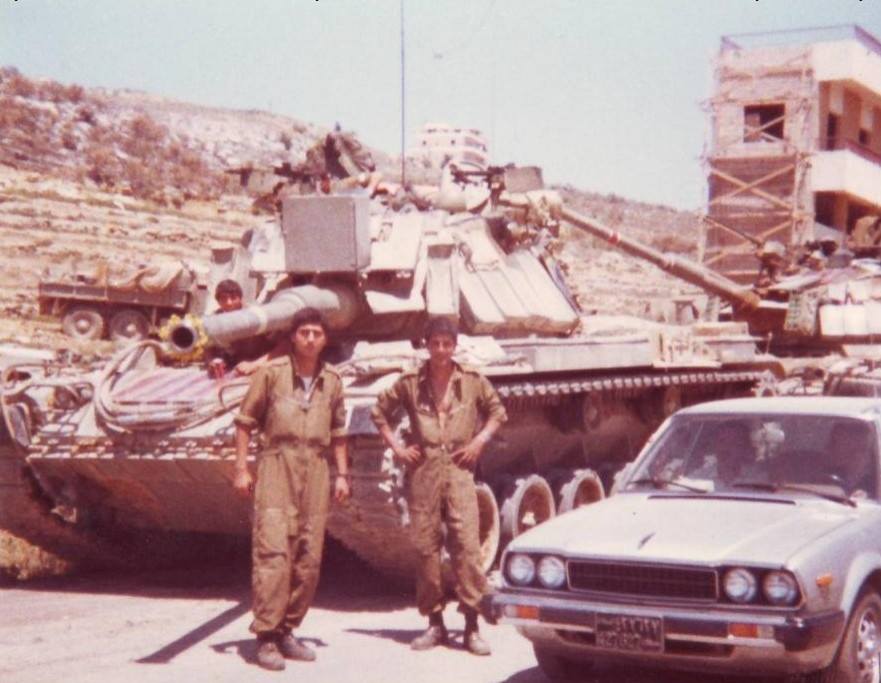
I don’t think so. AFAIK the Mem, among other upgrades, had thermal sleeve. This could be a 6 Bet (M60A1) or perhaps a 6 Resh (M60A1 RISE). Maybe others will know.
1 Like
Magach 6R (previous version of the Mem). The Mem can be distinguished by the crosswind sensor at the back of the turret, the thermal sleeve of the barrel and a bigger bustle rack, different to the original M60 one.
6R
6M

1 Like
Again interesting information guys.So much variety when it comes to Idf tanks.Great subjects to build.
Richard
2 Likes
I take it the Magach 6 R was used in Lebanon in 1982 and the MEM bit later on in the Magach life?.
Richard
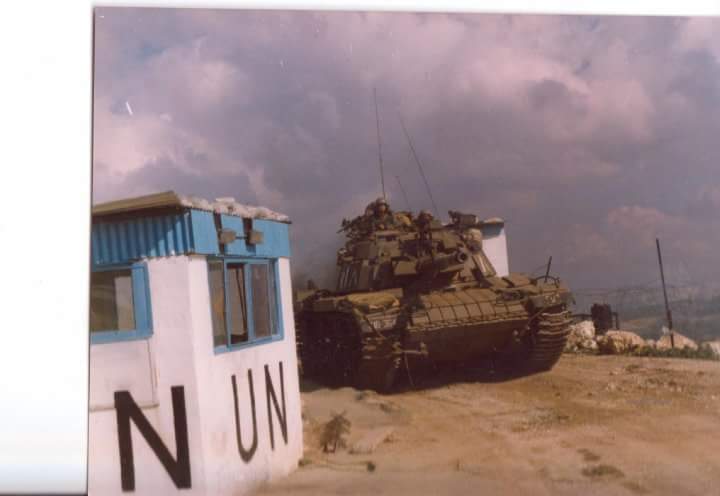
True. In Operation Peace for Galilee Magach 6R was used.

Later one can also find photos of 6M in Lebanon (notice the Merkava tracks)
1 Like
Magach 6 Mems with Merkava tracks and upgraded 900 HP engines first appeared in 1986, a year after the IDF has withdrawn to the southern security zone. The photo was most likely taken there during the late '80s. This improved 6 Mem was the most potent Magach version until the appearance of the 6 Bet Gal.
2 Likes
Just checking.
isn’t it a MX 8272B/VSS-3?
Internet says this is an AN/VSS-3. Not the corners.


Maybe. But I will try adding an “interior” to the light first.
1 Like
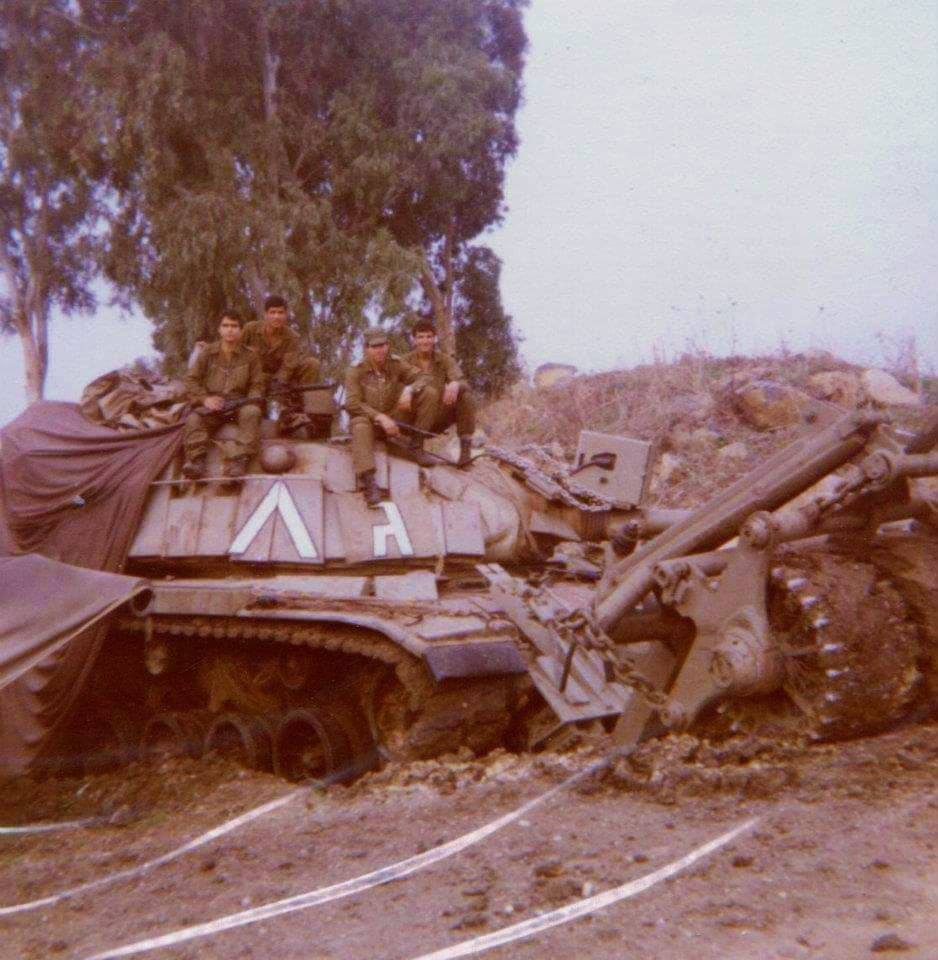
Nice work Ron. I love what you are doing. Is that mine roller out off a kit or AM? I remember Academy offered IDF M60 w/ mine roller.
1 Like
I bought a very badly built Academy M60 cheap, to use the roller for this purpose. The roller was unbuilt.
I ended up ripping that hunk of platic 'n glue apart for more spareparts. That’s where all the green stuff comes from.
2 Likes
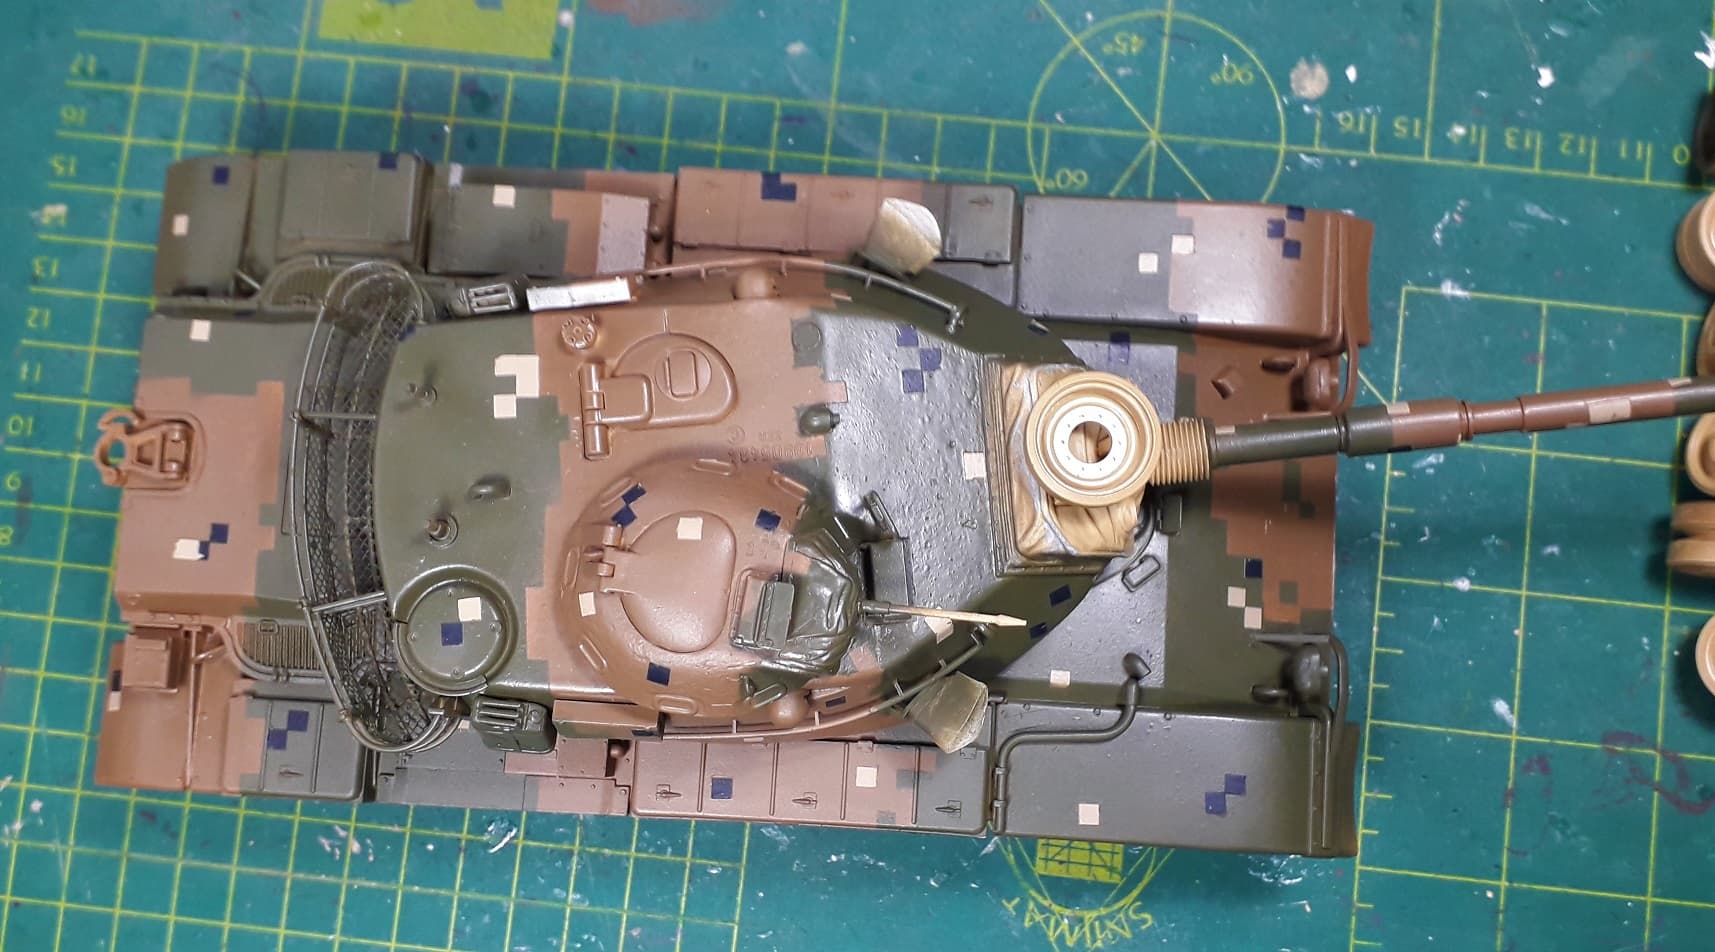
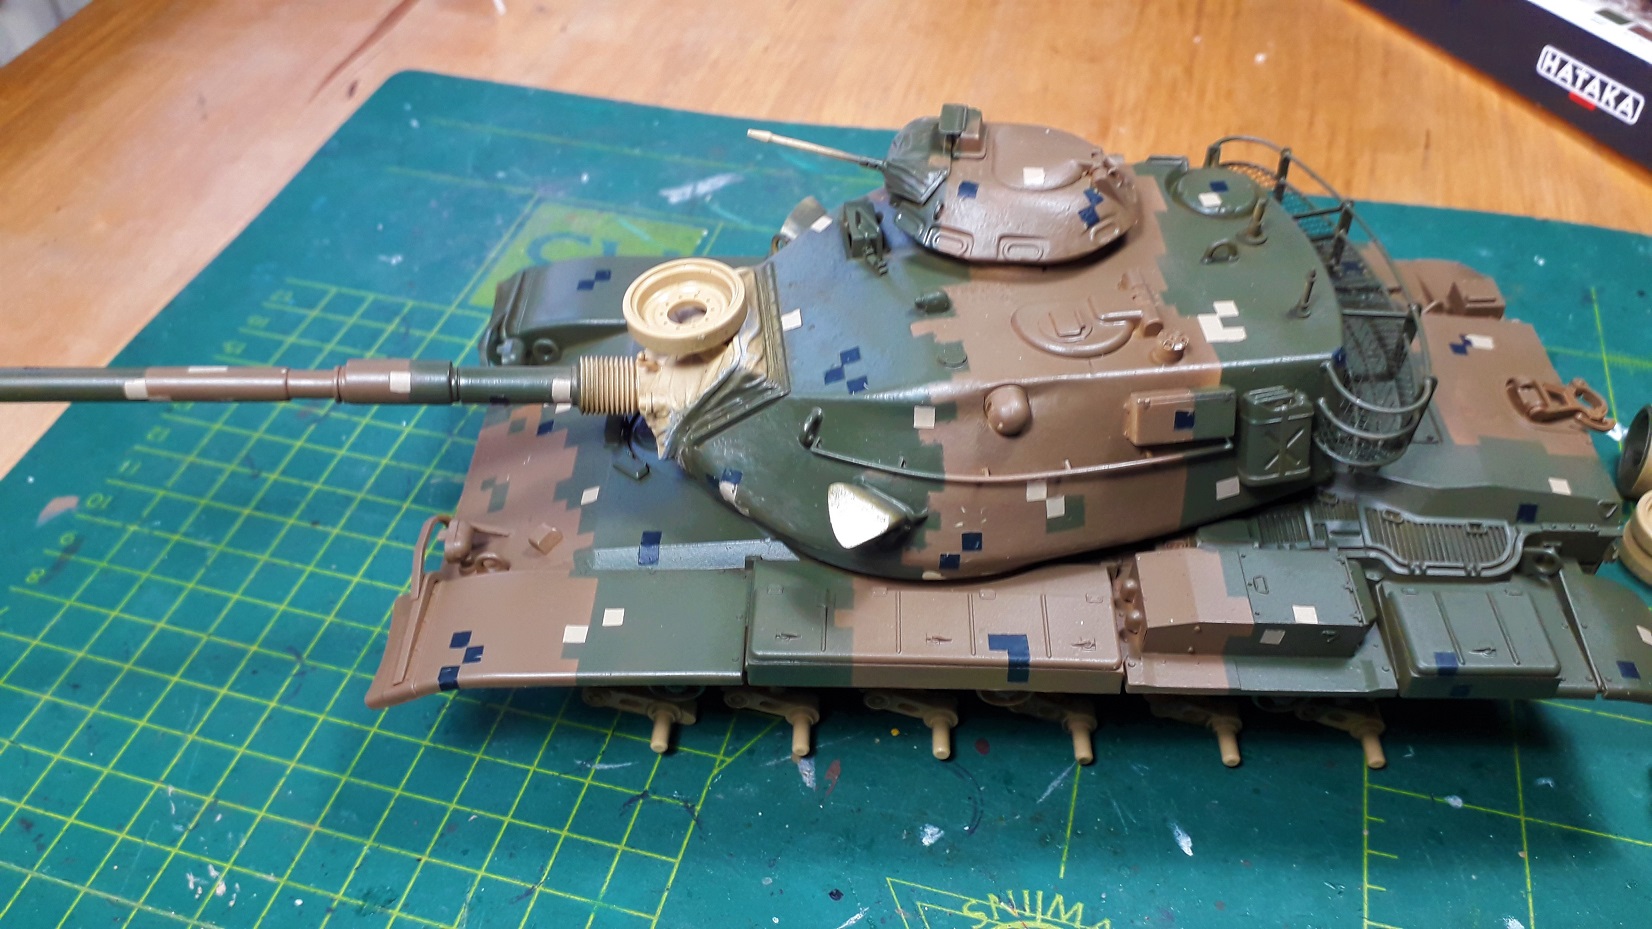
The first one got some colour!
It is the m60A3 in Dualtex. I used the Hataka acrylic (red) Dualtex/MASSTER set and the colours appear quite good.
The paint covers well, but inferior tools (China airbrush) and an unskilled and impatient user make for a less then perfect jobb.
Procedure:
Step 1: paint black and sand by hand
Step 2: cut lots od small squares and cover the paint.
Step 3: run paint along the edges of the squares
Step 4: spray 3rd colour, in this case field drab
Step 5: Mask of the large sections
Step 6: spray 4th colour, dark green
Step 7: peel away masks
Step 8: touch up
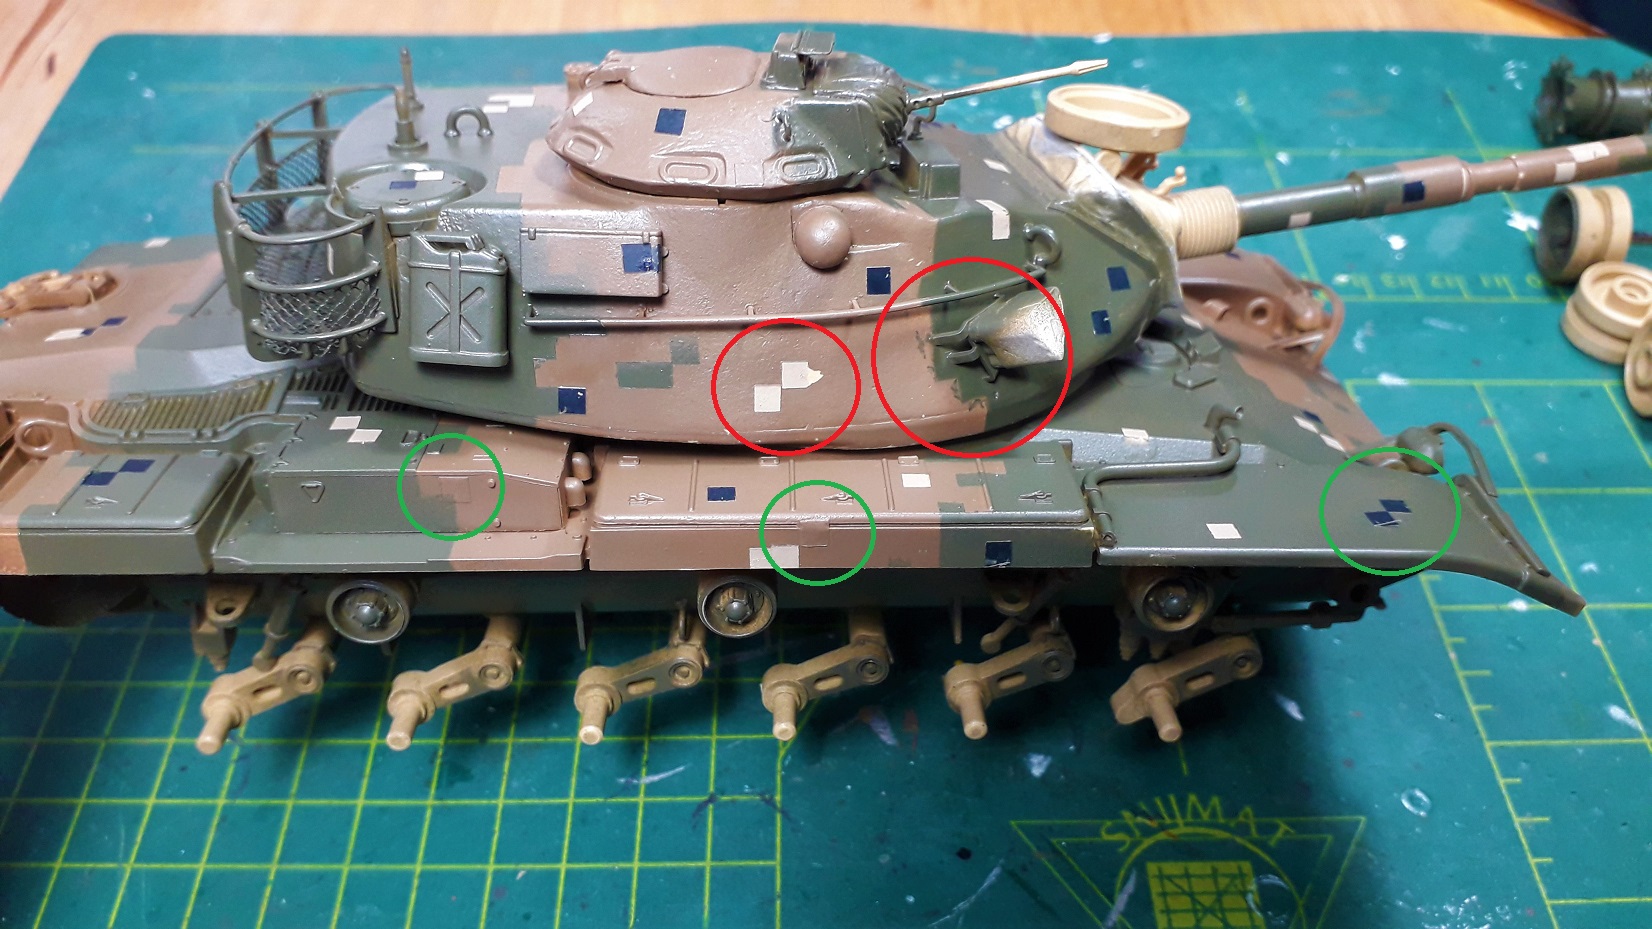
Sounds easy, but was anything but!
Up to step 4 nor real issue. It is just as tedious as doing single4piecesperlink-tracks.
But then… the field drab dried a semi-gloss/satin finish, making it hard to see what had not been done yet. If the airbrush would spray, that is. I had to sort of pump out the paint by repeatedly puller the trigger. Paint tends to dry and clogg up the nozzle pretty badly.
Then the masking; since the paint also dries a bit rubbery the maskingtape would not hold! Very frustrating! lots of bleeding as a result.
The small squares that I had done had to be picked off with sharp tweezers, causing scratches and sometimes a small flake of paint would peel off too.
Advantages of this paint; zero smell. No stained figures, rubbed off just like that. My Tamiya-fingers always require scrubbing and scouring. Touching up with a brush leaves no colourdifferences!!
Picture one represents the colours best. Field drab became brown.
6 Likes
Looks cool Ron! Next time you shoot acrylics, keep a small cup of thinner with a Q-Tip in it on your work bench. When you airbrush nozzle clogs, take the thinner-laden Q-Tip, insert it into the needle cap (the business end of the airbrush) and firmly give it a few turns. 90% of the time this will clear the blockage immediately and you can continue shooting away. Repeat as needed. And no, it won’t bend your needle.
1 Like
Nice tip Matthew, it sure works well. I came up with similar idea few years back. Addition to this, I would suggest to start spraying off the model or pull the trigger just for second so the extra little thinner can be washed off and won’t case any problems on the model.
1 Like