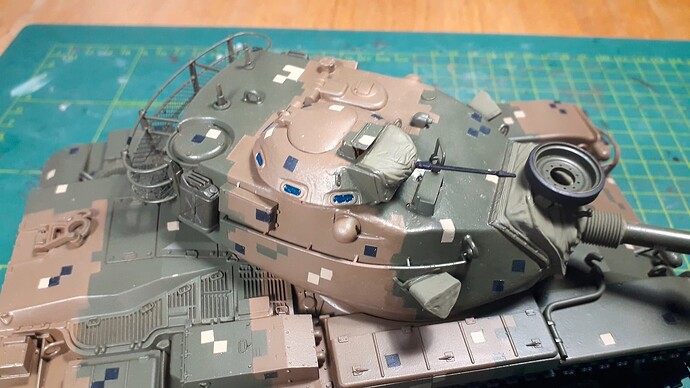
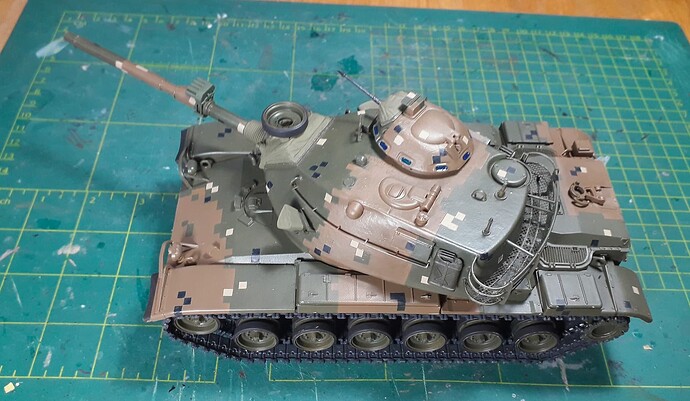
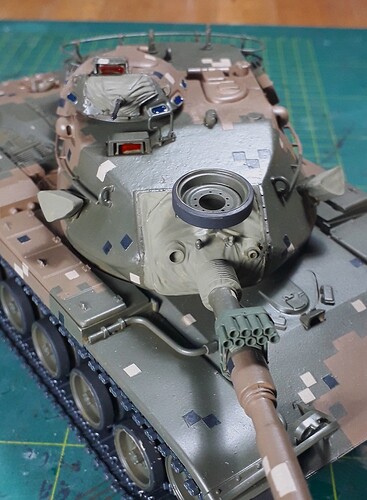
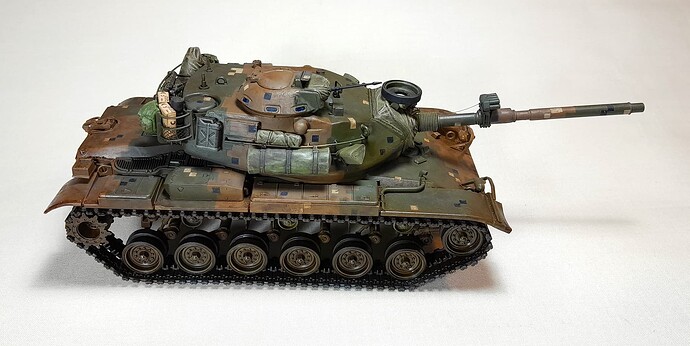
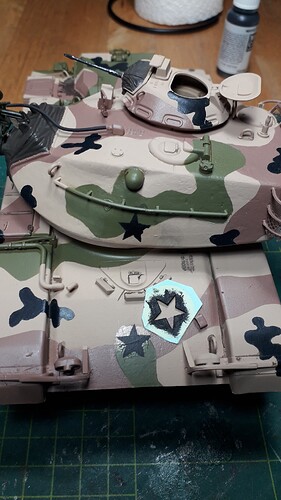
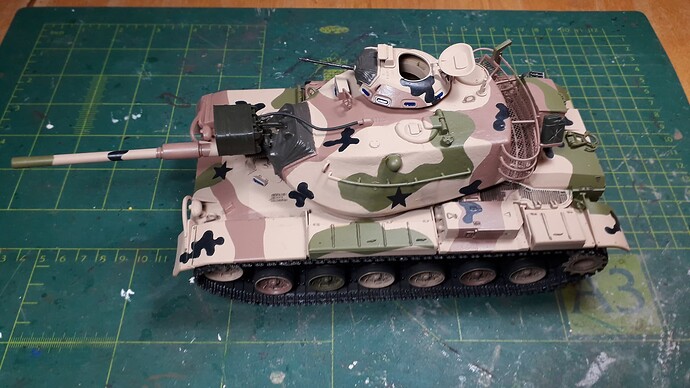
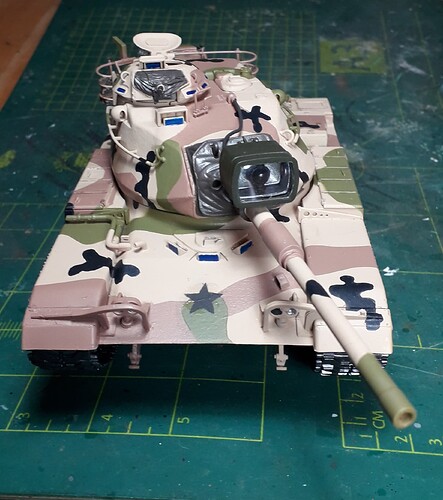
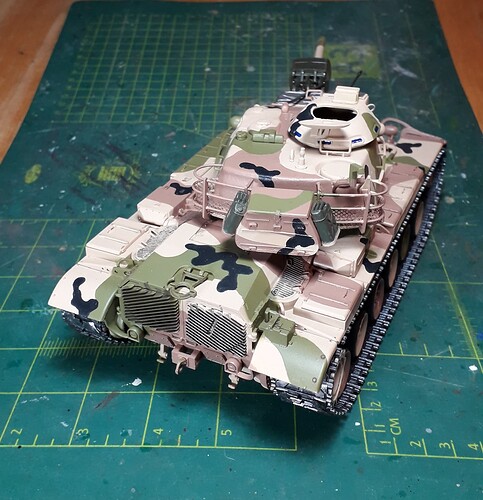
I never have this with Tamiya, but maybe the hataka-stuff should be thinned just a tad. Now it came straight out of the bottle.
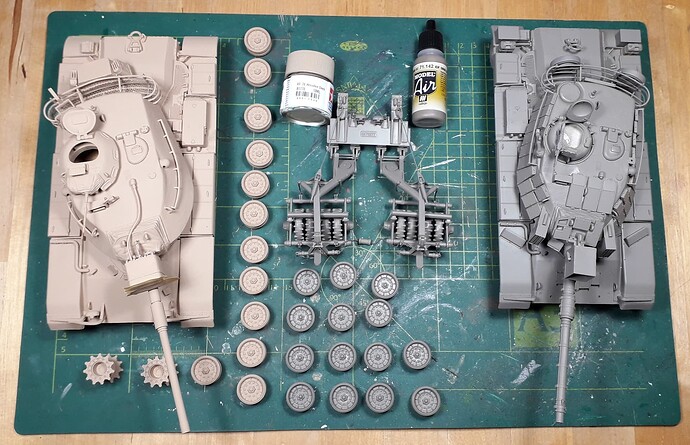
This Magach 6B Gal looks amazing, the KMT-4 Mine Roller adds a layer of detail that just ads awesome points to the overall build. I can see you built it using parts from all over the place. The fabricated armored box for the AN/VSS-3A search light is a nice detail that’s true to the original. I can’t wait to see the finished build.
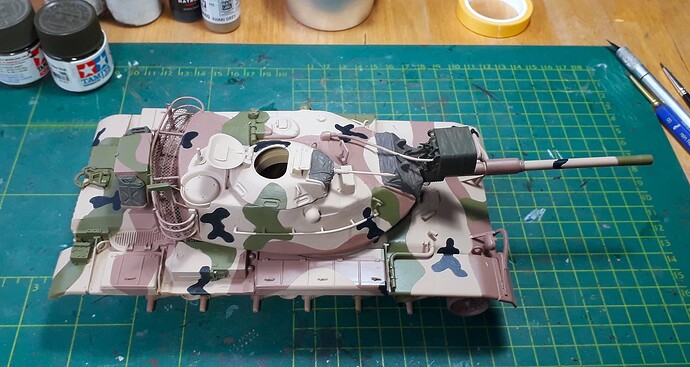
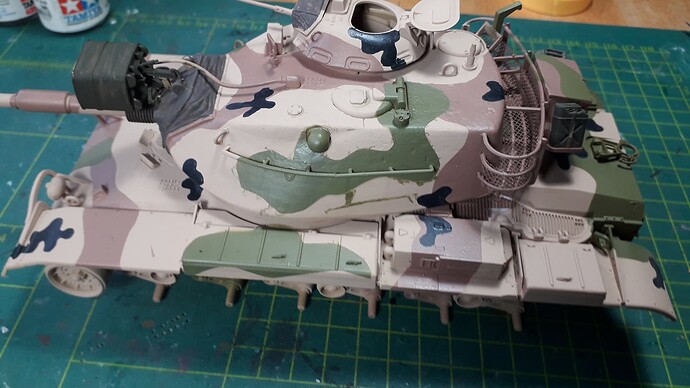
The Dualtex-version has its basic colours now.
Time for touching up (quite a bit), detailing (also quite a bit) and weathering (even more).
The Italeri-tracks are horrible by the way! First of all Italeri provides too few of them, so you have to cheat, by using the sparetracks… without pads! Then they do not quite fit. One length of track is either 1/2 a link too short or too long.
And I literally had to splash on Tamiya cement. Revell Contacta does nothing. Tracks kept breaking apart.
I also added a firesimulator. The tank just had to have one. Now I have to make some NATO/REFORGER exercise markings.
If you are going to use the Hoffman device (firing simulator) you need to add the power cable to it. There is a connection on the back of it. The cable goes into the turret. The most common place was into the coax. machinegun port.
Ken
I know. Haven’t gotten to that yet. It is under the chapter “detailing”. ![]()
I had the same problem with the damn tracks.Kept falling apart and the grey plastic is strange and soapy.Be better if they used different plastic maybe.Ive tried to do track sets for 2 now and gave up.Got myself some afv club ones.Wondering if the.new Takoom.ones will fit.
Richard
The first in this quartet is done!
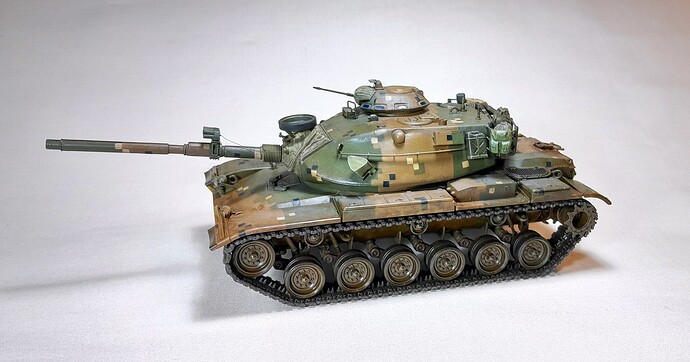
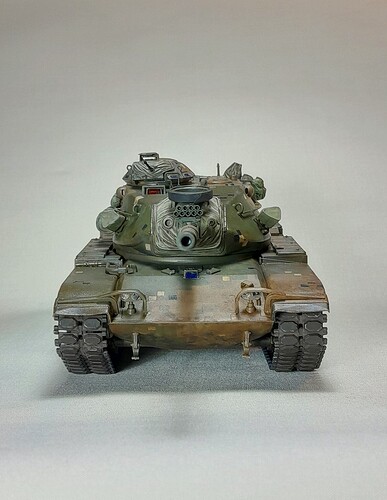
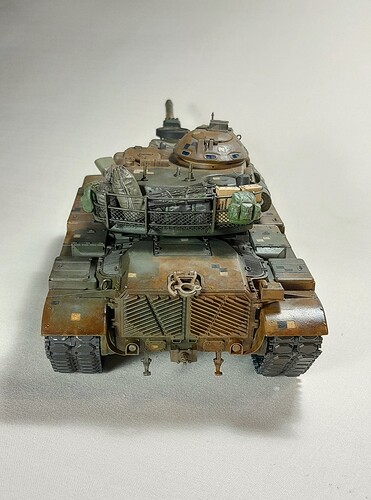
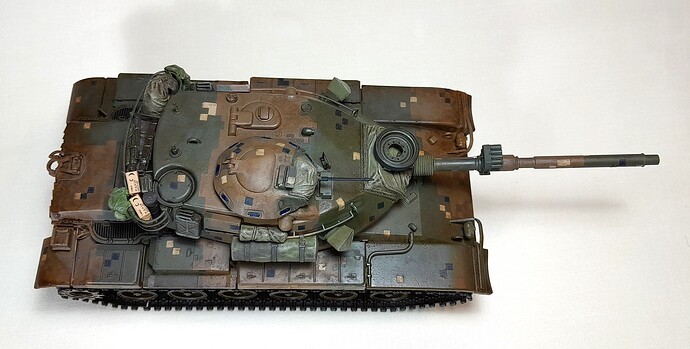
I kept the weathering lowprofile, since it was the pattern I was after.
The Hataka paints look good, but wear off easily when handling the model.
After a few detours, we’re back on track again.
Today was sprayday, giving the next 2 their basecoats.
For the MASSTER I opted for Tamiya’s FX-78 Wooden Deck Tan and for the IDF I used Vallejo’s Sinaï Grey. I might need to do a second light coat on the deck tan, since the orange of the plastic appears to show through.
I did not really like vallejo’s paint. Too thick. Even thinned down slightly it ended up constantly clogging up the airbrush.
When drying it has a strange rubbery look, whereas tamiya’s is dead flat.
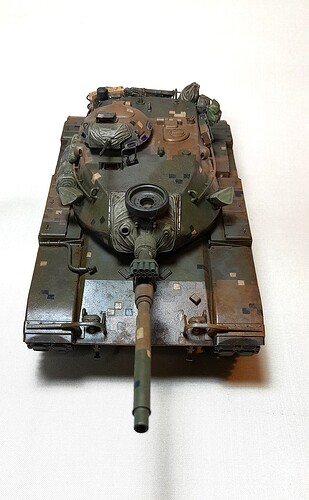
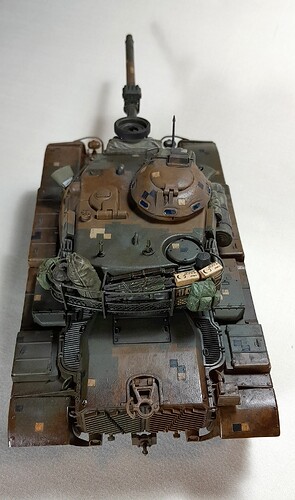
Basic colours for the MASSTER are on.
And that proved to be quite an ordeal. The brown went on, straight from the flask, without any issues. But then the green…
Too thick to use as is, so I thinned it, using Tamiya’s thinner. Works really well. Too well, as it turned out, since it got much too thin. The airbrush fouhgt me as well; splattering and splutting, running paint, drips, drops and spills with plenty of bleeding to boot.
Which is why I handpainted the black spots, which worked rather well really.
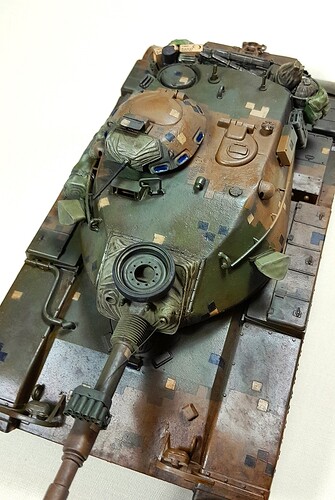
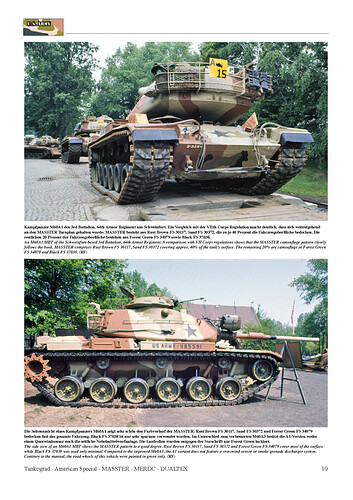
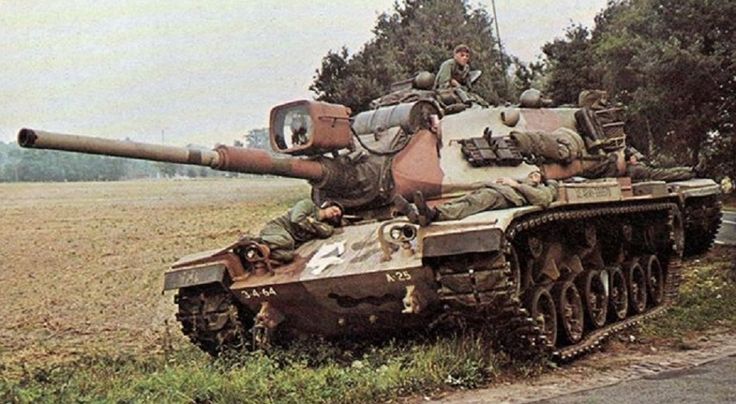
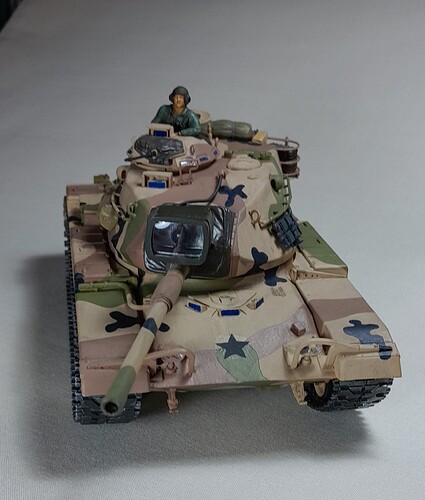
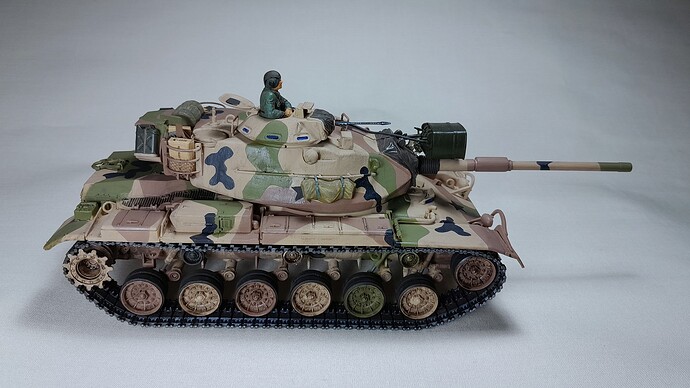
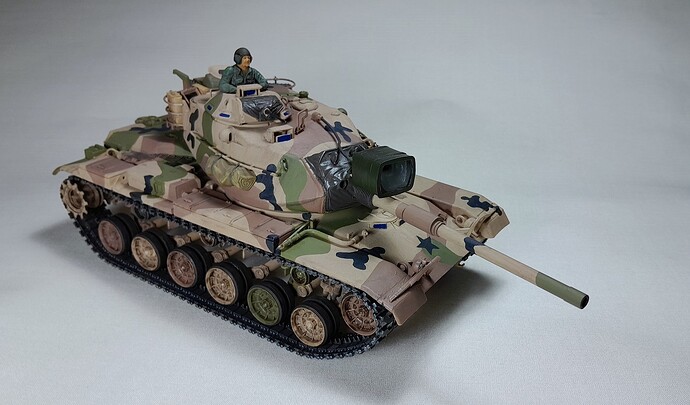
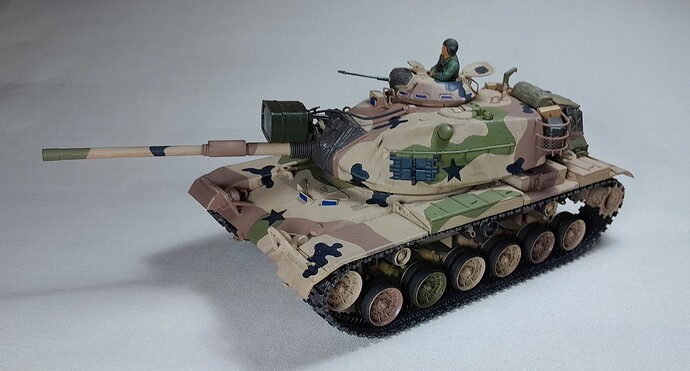
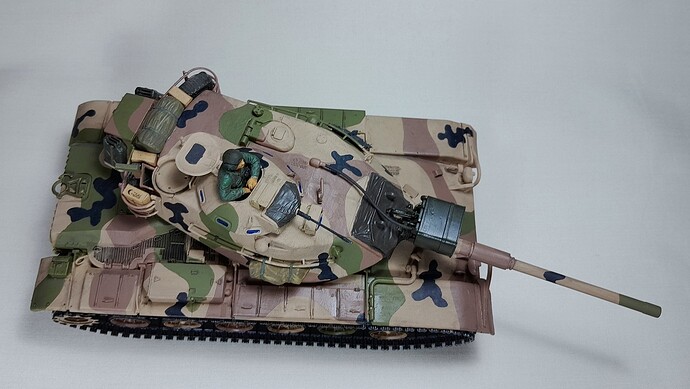
The brown, green and black are as is from Hataka’s set. I am not too pleased with the brown. It looks too brown whereas contemporary photos appear much more red, orange almost. Or might that be the 70’s image quality??
That MASSTER camo looks amazing.
MASSTER is tough, I’ve tried twice and failed both times
Nice builds and great finishes.
Cheers,
Ralph
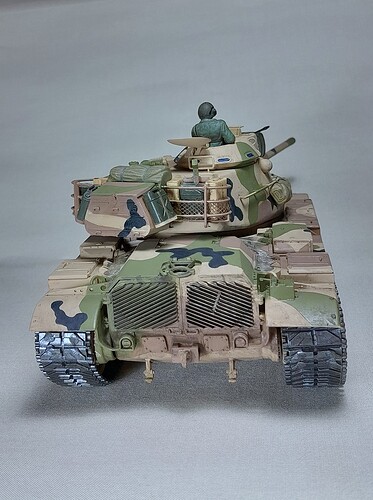
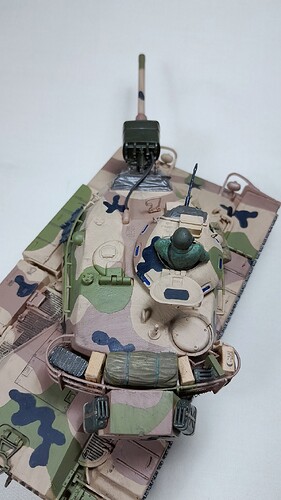
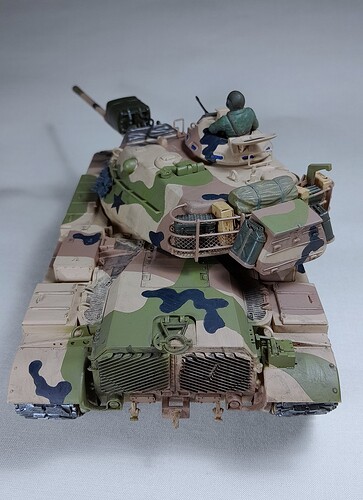
The MASSTER M60 is getting close to the finishing phase.
I had black star decals, but they magically vanished without a trace. So I had to get creative and made a template from old decals and dotted the paint on. Gloss underneath meant that I could wash away all the mishaps, start over and finally touch up the results. Unfortunately the lettering on the sides will be omitted, since I can not find any. €30 for some templates + shipping for single use just isn’t worth it.
Now it is more details and weathering, with both will be kept at a minimum. I will try my hands on making a rolled/folded camonet though.
This images shows the real colours best.
Looking really good. It is really easy to make your own decals, esp. in black. Just get some computer decal paper, design the lettering using a stencil font, and print them off on your home printer. Once the ink is dry, spray them with a coat of acrylic sealer. Once it is dry, cut them out and use like any other water-slide decals. Works great every time. I make my own decals often.
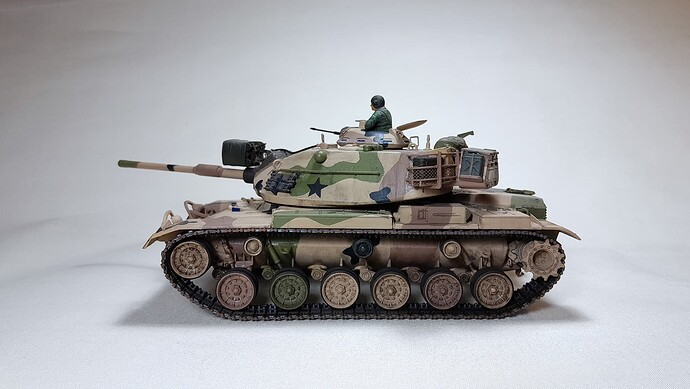
I consider the MASSTER to be done.
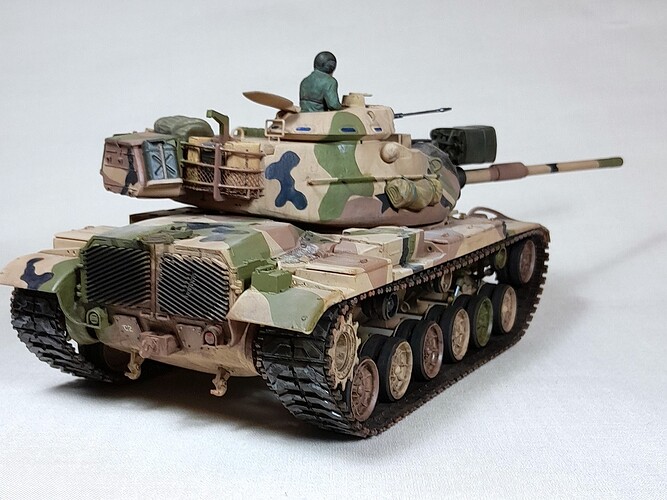
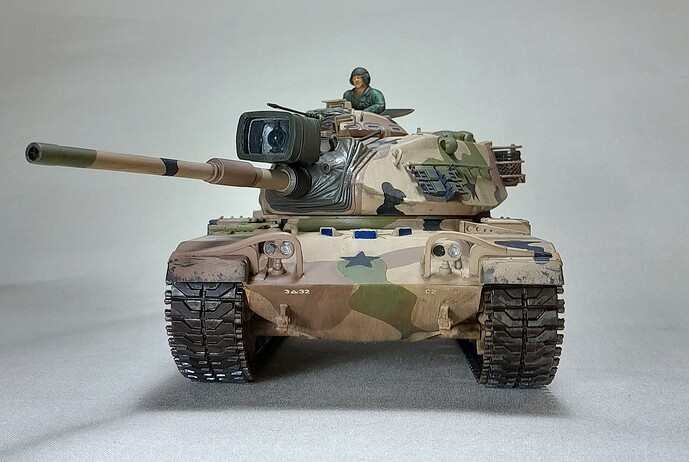
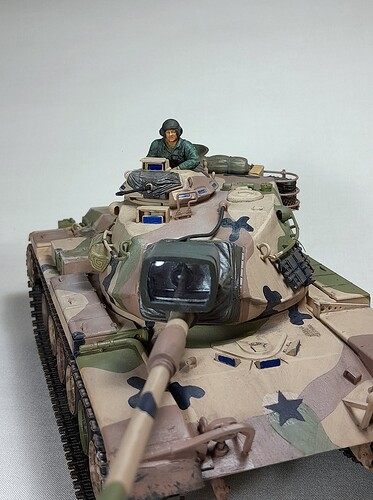
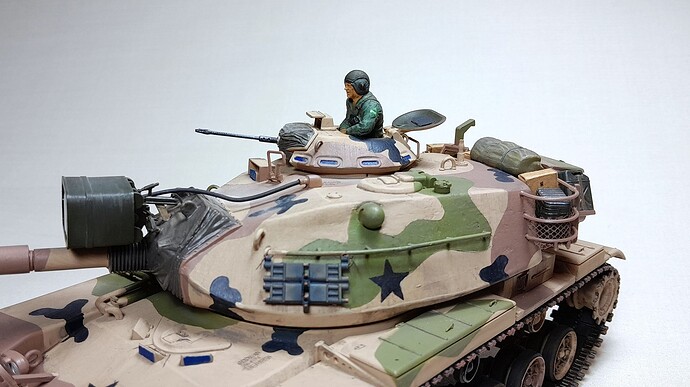
This time I wanted a freshly painted and clean vehicle, ready to go down to business in the field. Weathering is kept to a minimum, but I might add to powders to the tracks yet.
Beautiful work on the MASSTER M60A1!
If you do go back and change anything, I’d suggest painting the inner face of the TC hatch in dark OD like on this one…
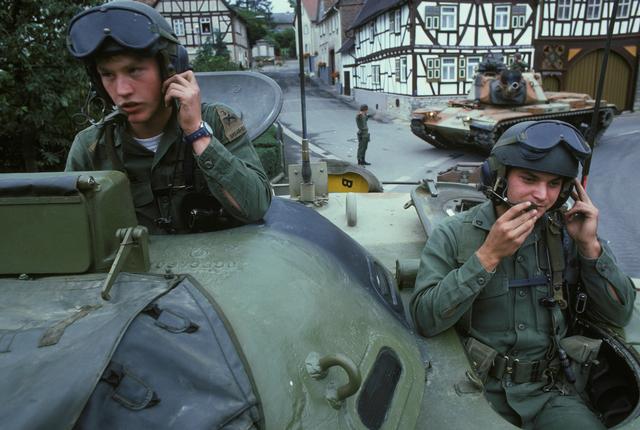
I might just do that.
There are a number of things I need to finetune, like the rearlights and add more wear to the tracks.
I also want to track down one of those unitpatches for the figure.
Archer makes a set
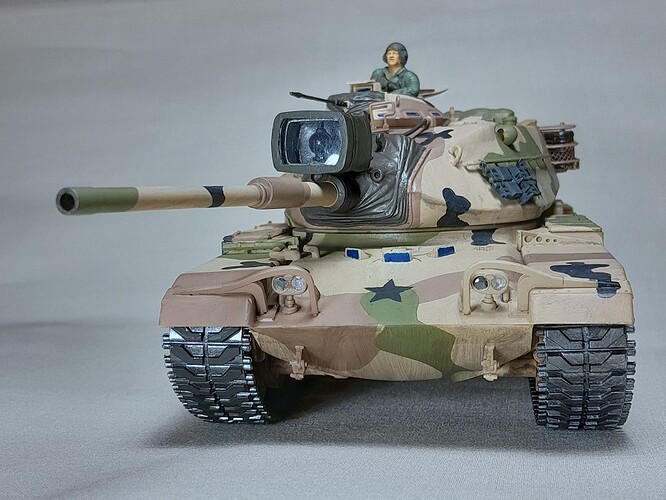
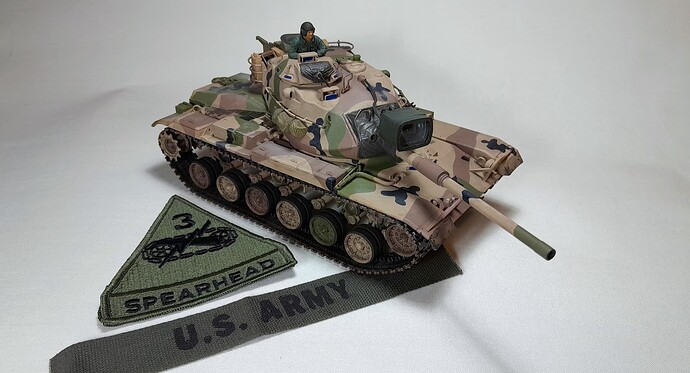
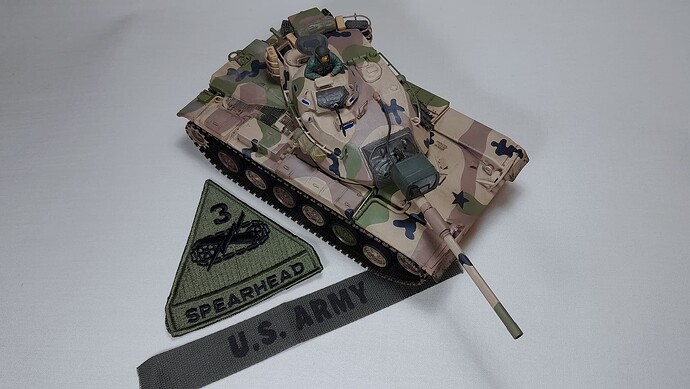
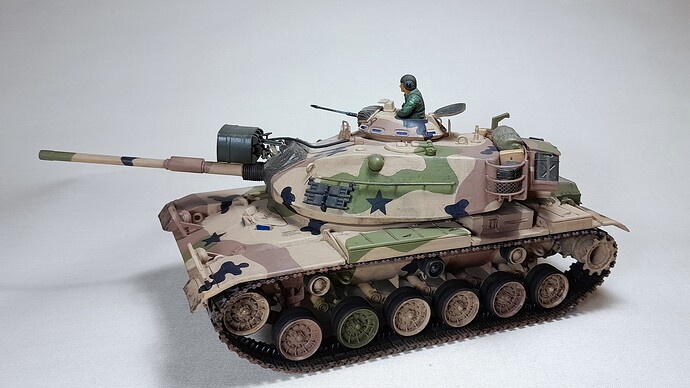
But now it really is done!
Looking at it, especially after Carlos’ hatch suggestion, I was not satisfied, feeling like I had been cutting corners.
So I did the corners as well; adding more weathering and outer rust to the tracks, adding some highlights in deck tan, adding some decals, allthough incorrect ones, to commander and tank to complete the appearance and adding dust and soot in appropriate places.
I present to you; 3AD M60A1 MASSTER.
Nicely done Ron … looks cool .
