I have made a lot of progress over the last week or so.
I pretty much have the interior details painted, decaled, and the basic gear, ammo, etc. in place.
First, a couple parts that I added details to. I detailed the interior of the rooftop hatch by adding the handle and the mechanism to open it.
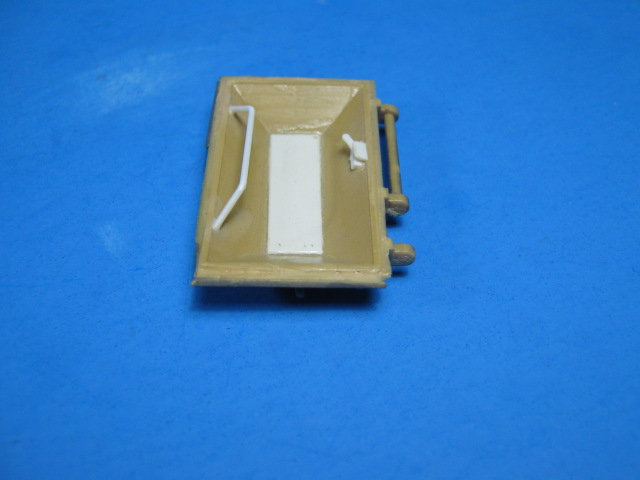
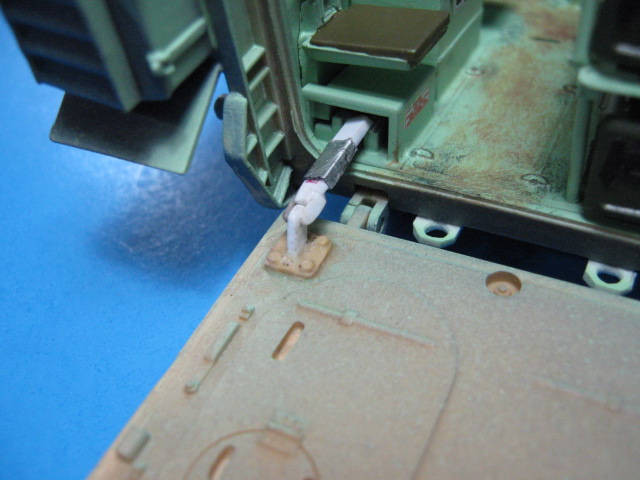
I also scratched up the lever that opens and closes the rear ramp.
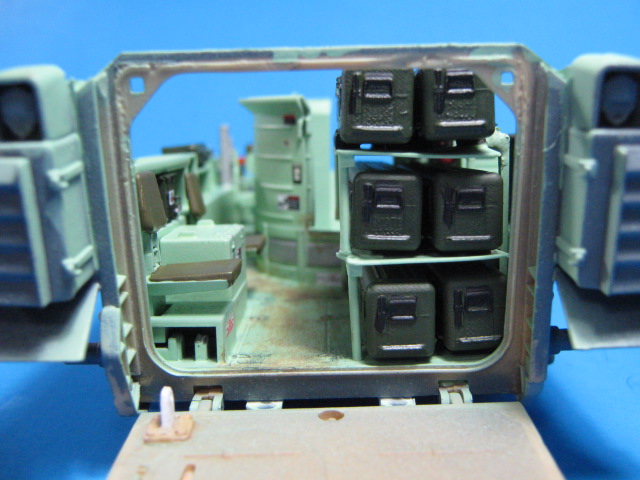
Here it is overall.
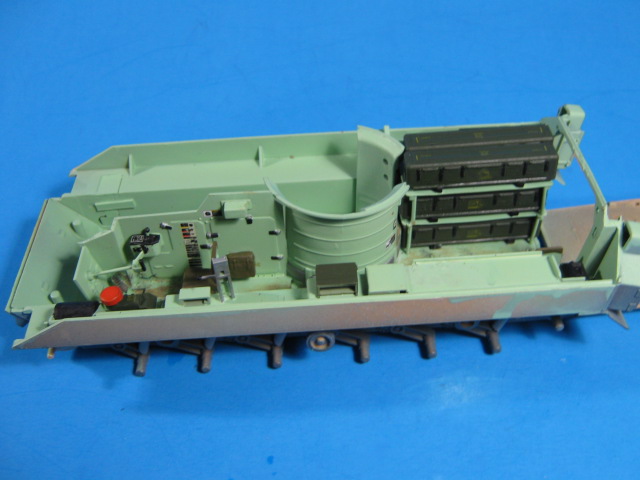
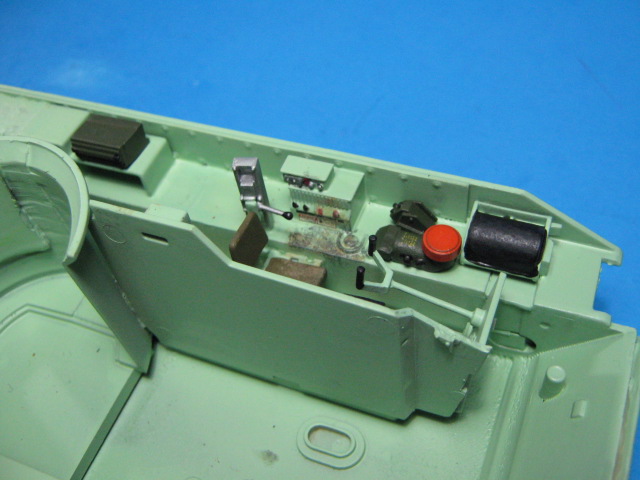
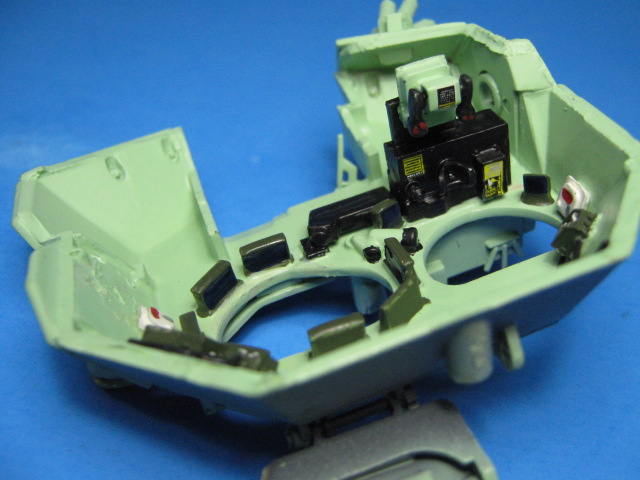
Driver’s area side wall. I added the periscope top to the IR Periscope (cylinder w/orange cap).

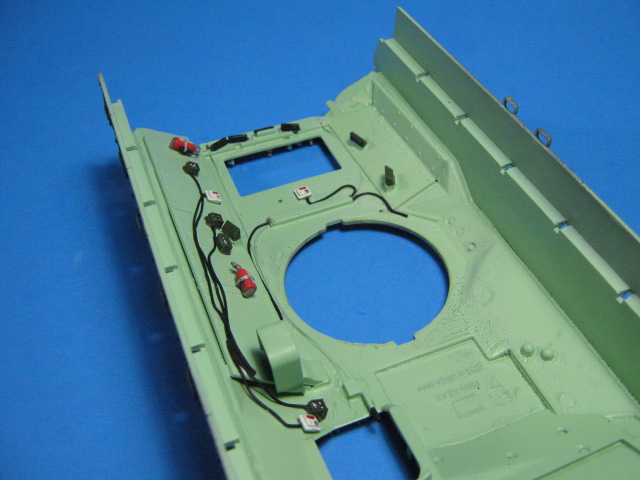
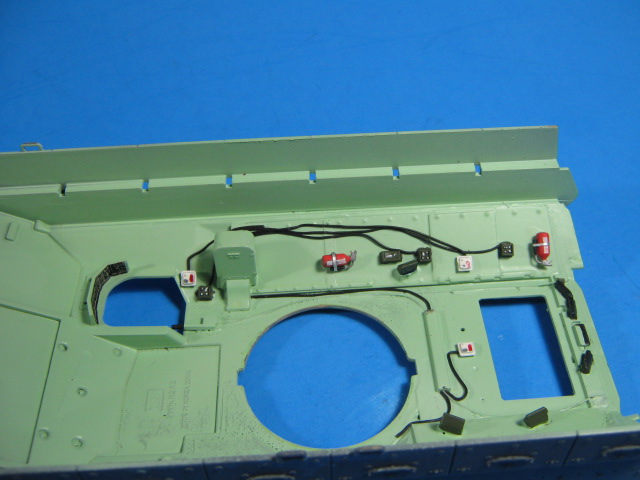
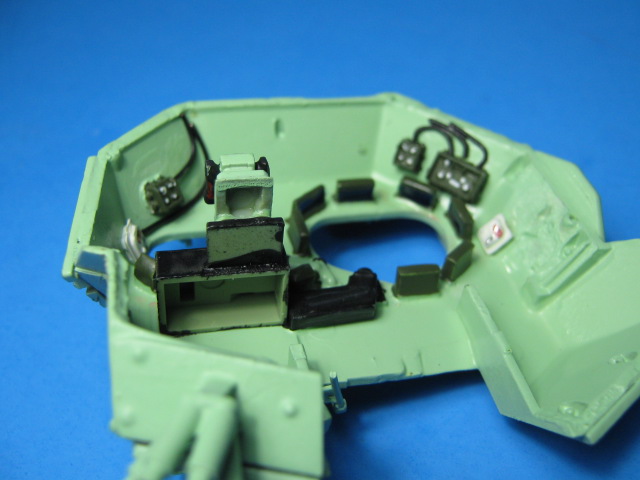
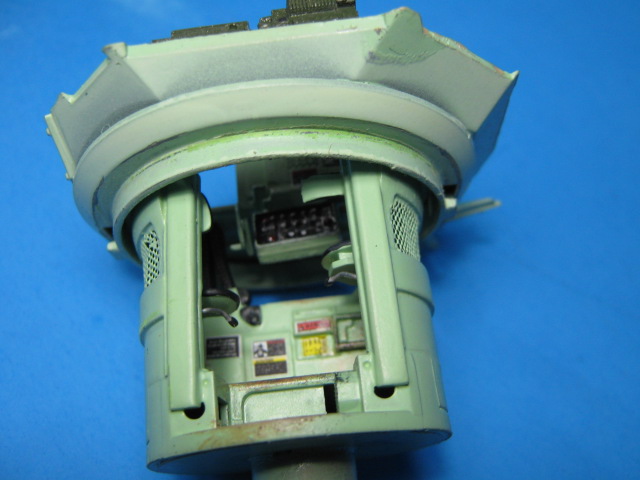
The upper hull. I added the intercom pieces and wiring to everything. Most won’t be seen, but I know its there.
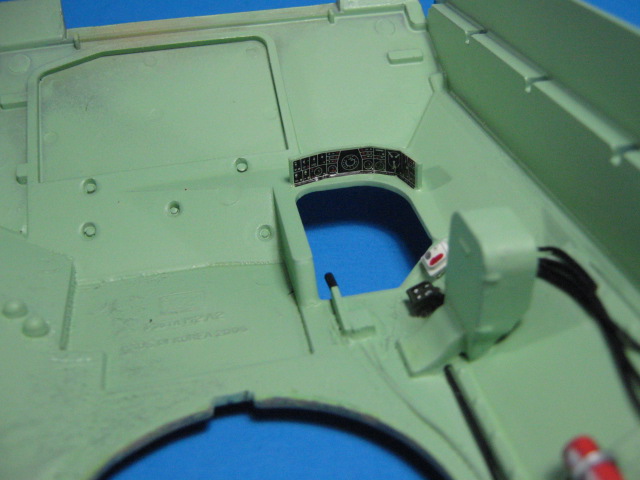
The Tamiya IP decals. It still looks good and represents the IP pretty well. You can also see the ramp release handle which is over the driver’s right shoulder.
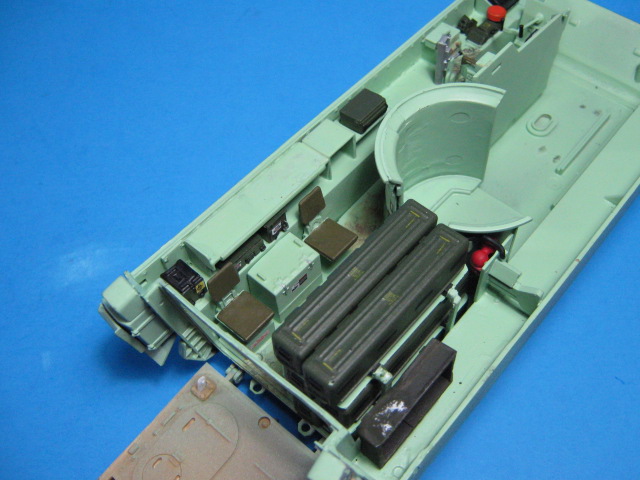
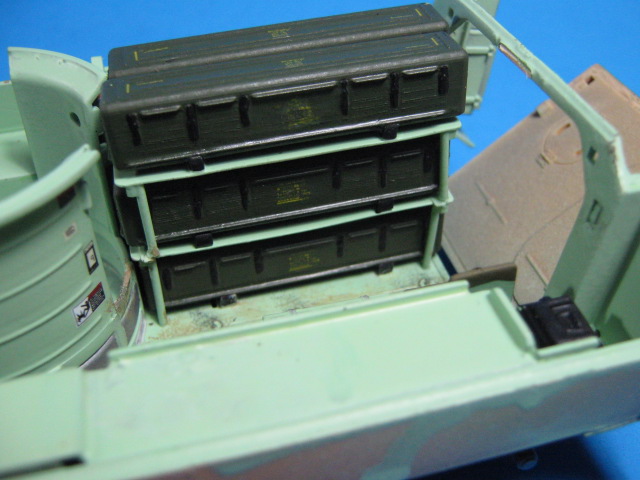
Here are the Stinger Storage Cases on their mounts. I added some stencil decals to them as well.
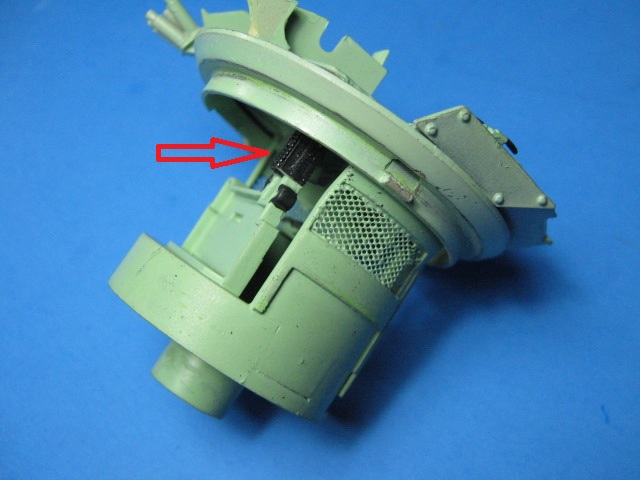
On to the turret. I added the intercom and SINCGARS here as well.
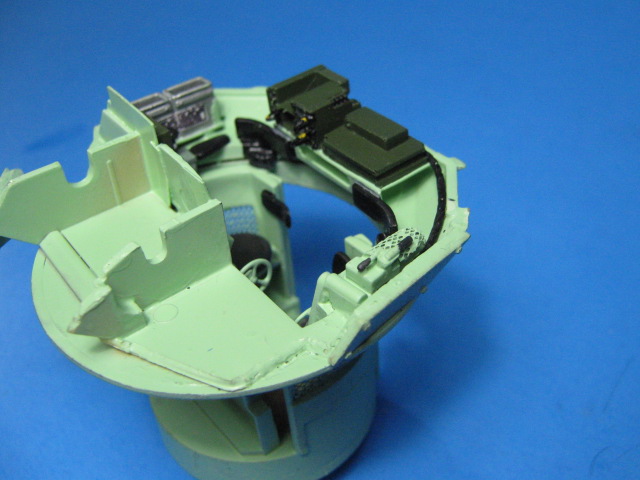
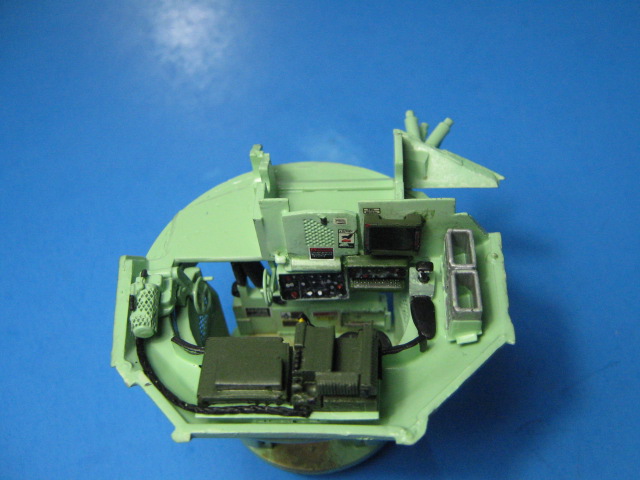
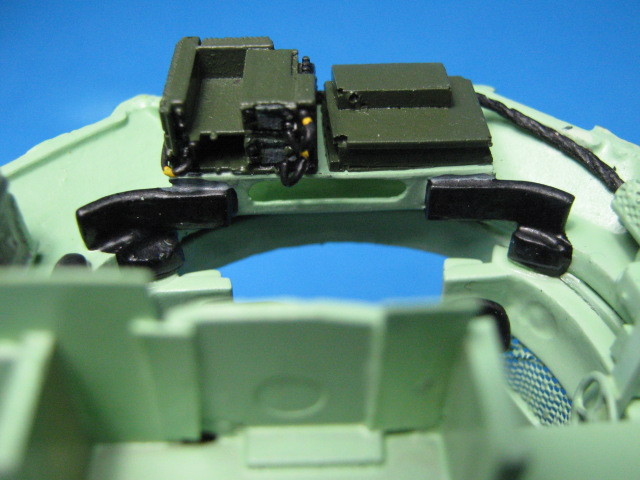
I also added the ammo chutes from the top of the ammo bin in the turret up to the lower shelf at the front of the turret. Meng missed these. I made them out of PE 20mm ammo chute from a Kitty Hawk H-60 kit.
Next I need to add some personal gear and stowage inside so it looks lived in. Then onto the exterior.