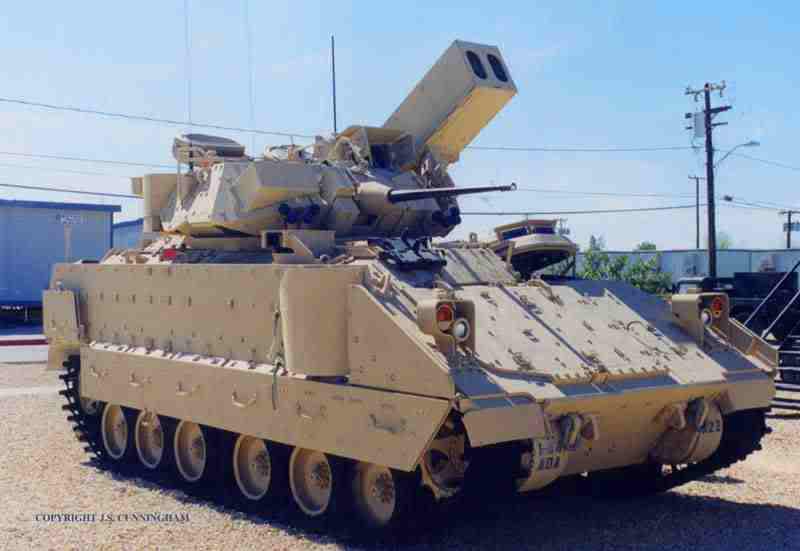
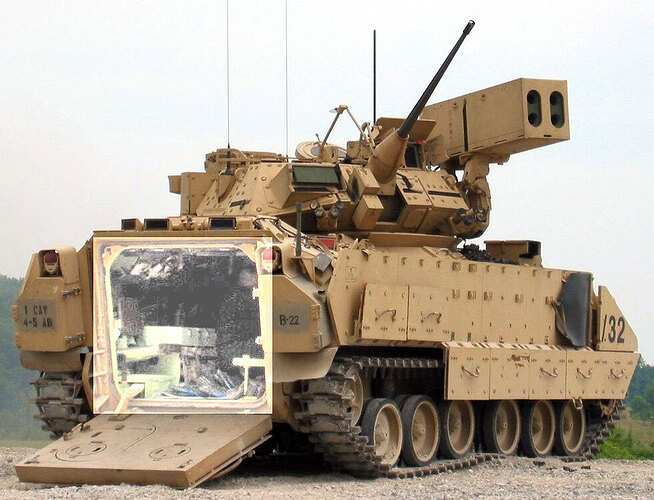
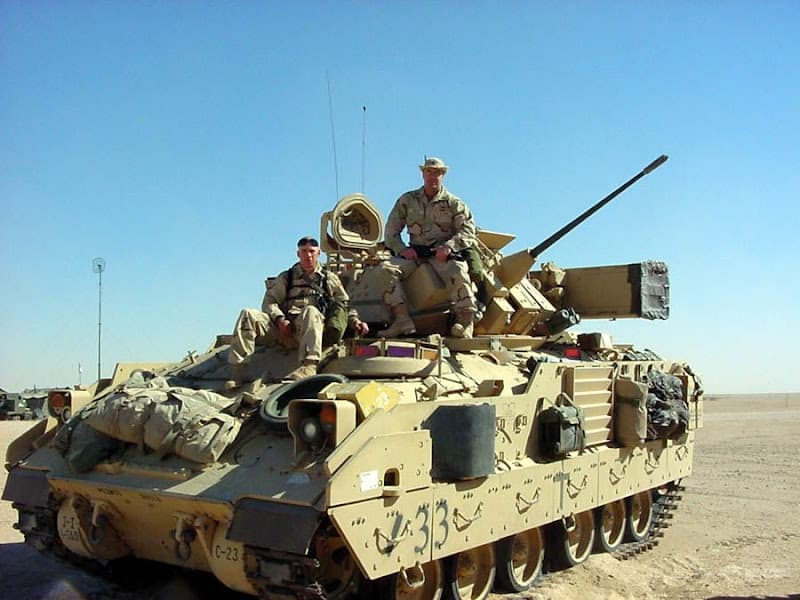
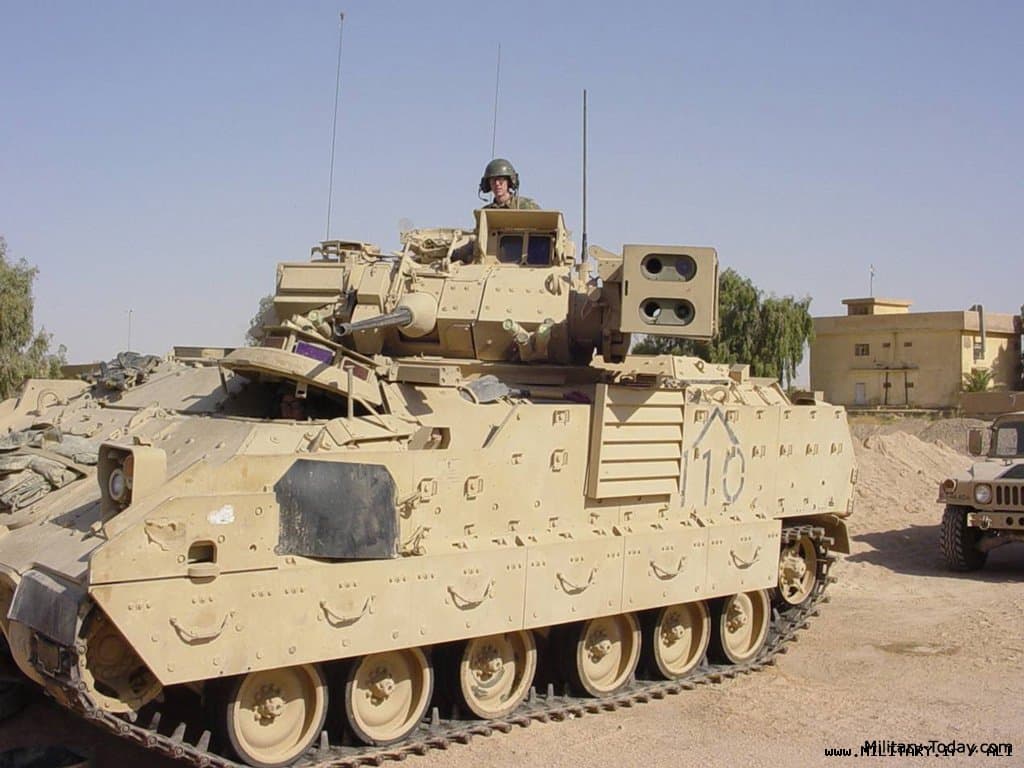
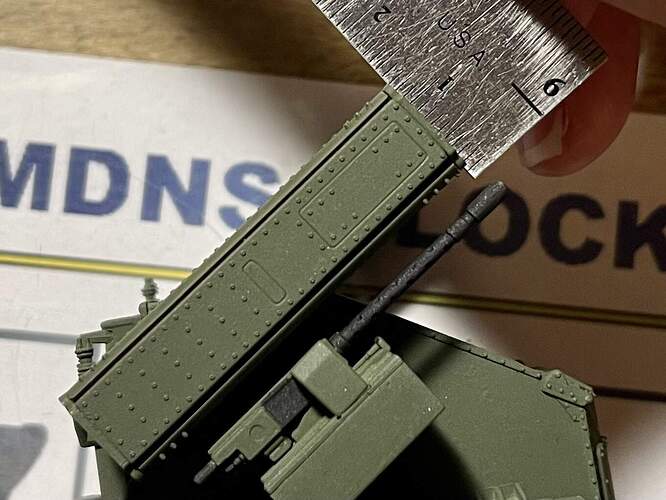
I have started another Bradley project. This time it is the M6A2 Linebacker ADA Bradley. It is a standard Bradley with the TOW box replaced by a 4-shot Stinger Missile launcher and an IFF antenna on the right front of the turret. It was used as a SHORAD (SHOrt Range Air Defense) vehicle in armored and mechanized units from the mid-90s through the mid-2000s. After the wars in Afghanistan and Iraq started and there was no air threat, all SHORAD was cut to almost nothing. The Linebacker was a casualty of this, and all were turned back into regular M2A2 ODS Bradleys. They have not yet been replaced, but a new version has been considered, we shall see.
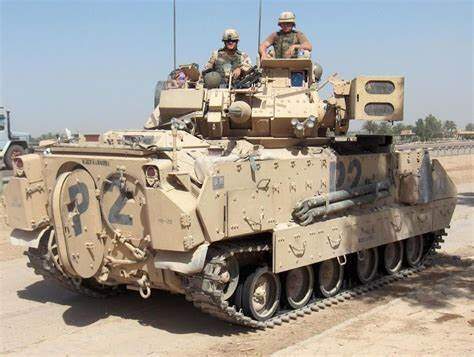
Here is what I will be modeling. It is an M6A2 Linebacker with ODS mods as seen in the initial invasion of Iraq, 2003. It is from 3ID, 1-3ADA.
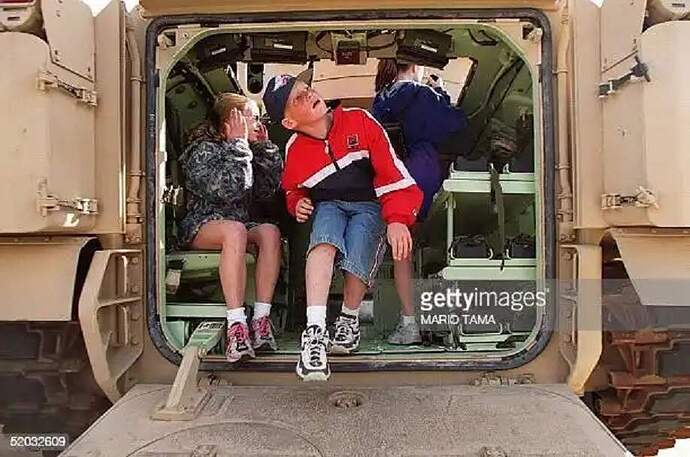
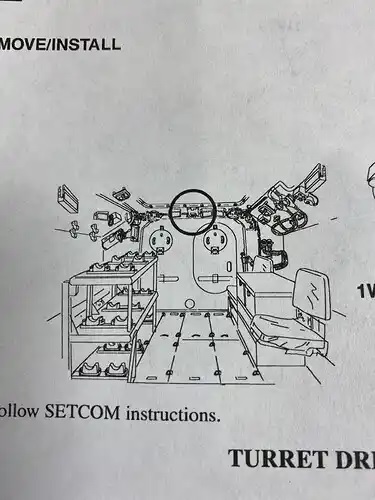
I will be building it with a full interior. I found a few pics and a drawing of the interior layout. I was also in one while at the NTC at Ft. Irwin, CA in the late '90s.
The rear has seating for only two operators on the left side, along with a storage box/charger for stinger dismount batteries. The right side is taken up by a rack that stores 6 Stinger reloads for the launcher.
Here are some interior shots of an M6A2 Linebacker.
I am using the Academy M2A2 Iraq kit as a base since it represents a new-build M2A2 ODS, which is what the M6A2s were built from. I am also using the original Tamiya M2 Bradley interior and parts of the Meng M3A3 Interior set. I will also update the running gear and tracks and some other areas using parts from a Kinetic M3A3 and some PE.
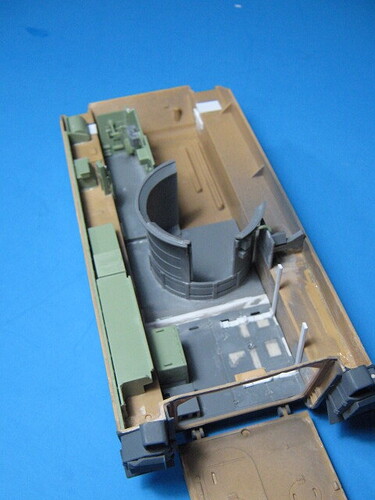
I started by modifying the Tamiya interior floor by removing the molded on boxes on the right side. I filled them in and sanded them smooth, along with the slots for the seat mounts.
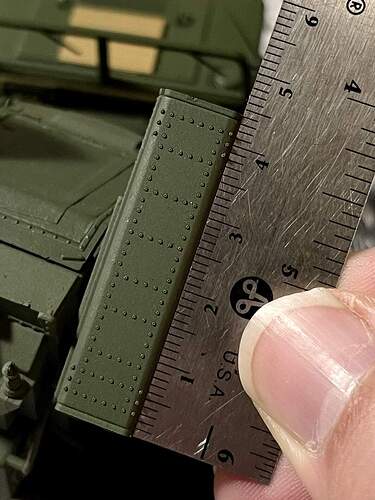
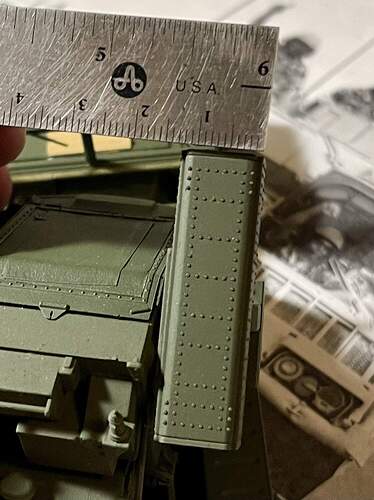
I also found a potential issue with the Tamiya floor as it pertains to the Academy M2A2 Iraq kit that I am using for the hull. The Tamiya pieces fit fine in the lower hull, but the opening for the turret in the upper hull and the turret circular walls didn’t line up. The walls were almost 4mm too far to the rear. I ended up cutting the floor into three sections and adjusting them from there. First, I cut 4mm from the floor where the side part and the forward raised area meet. I then cut across the rear floor where the removable stowage panels meet and added a 4mm piece to restore the overall length. This did two things for me. First it aligned the turret opening w/the walls. Second, it gave enough room in the back for the Stinger storage containers.
I am guessing the Academy upper hull may be off as the turret opening is too far to the rear. The Tamiya and Meng kit hulls have the turret opening in the same place and the interiors can be swapped and fit between the two without modifications.
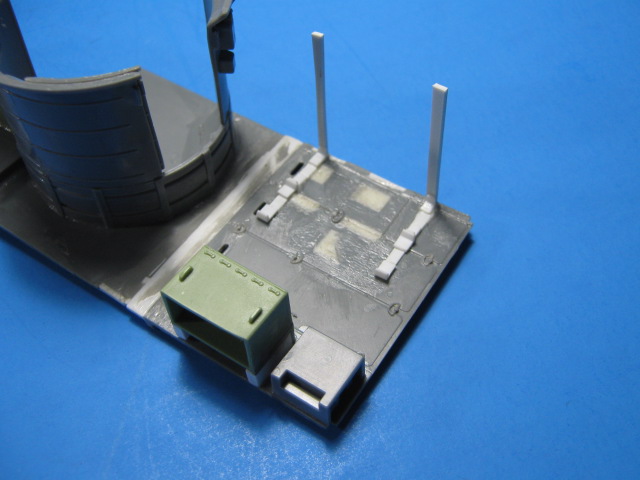
I then modified a couple interior boxes from the Meng M3A3 Interior set to make the storage box/charging station on the left side.
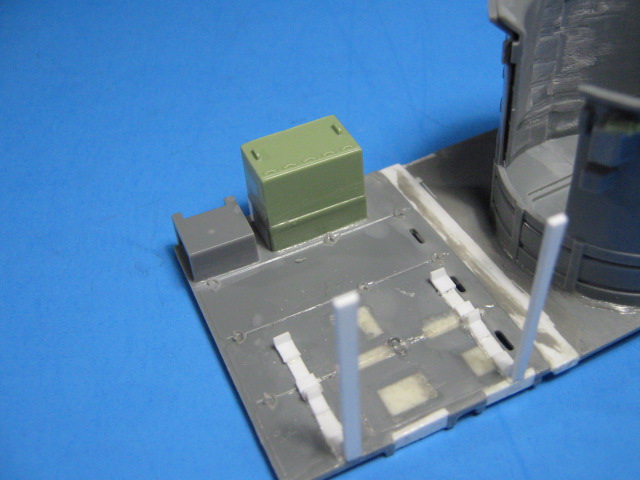
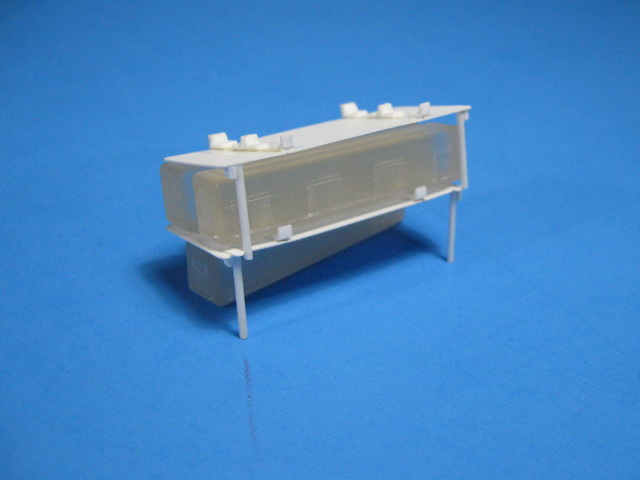
And I started adding the rack for the Stinger stowage boxes. The Stinger Storage Boxes are 3D printed items from Shapeways.
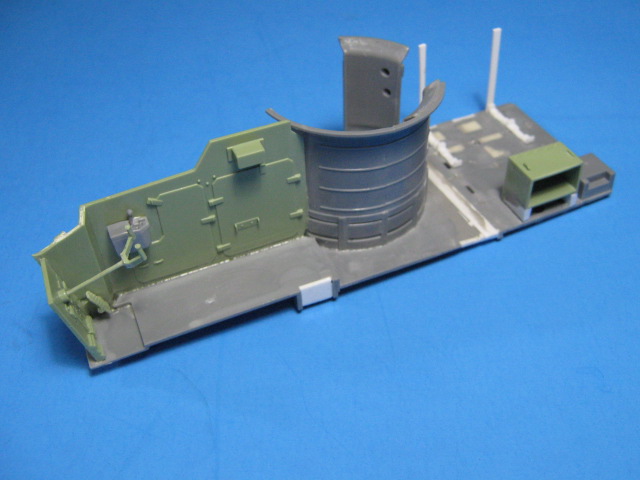
I used the forward wall by the driver and much of the left side interior pieces from the Meng set since they are more detailed than the old Tamiya parts. You still have to use some of the Tamiya parts (shift lever and box) as some of Meng’s are too new, being for an A3 version.
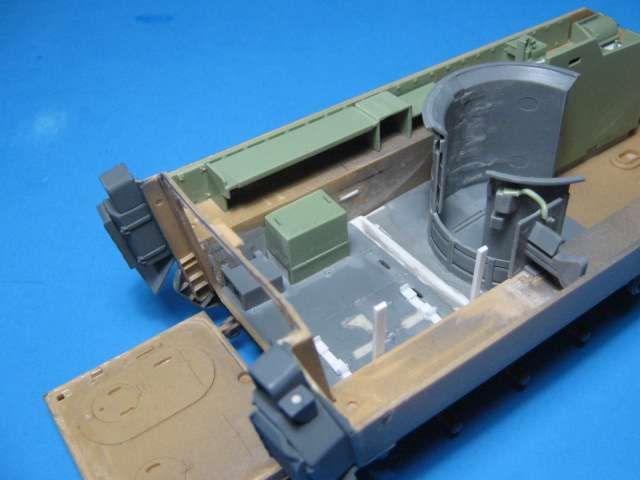
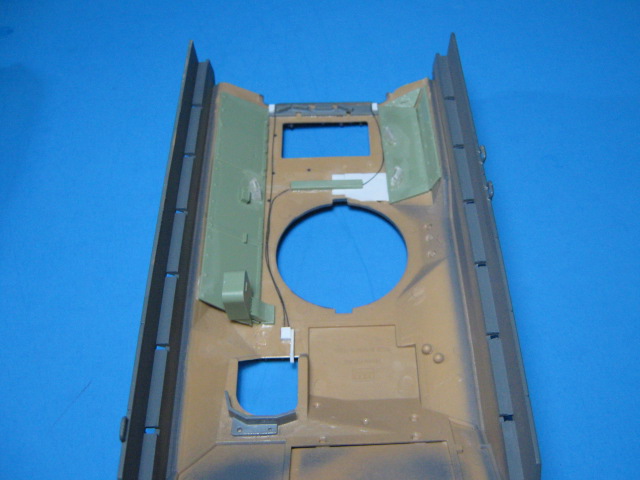
I started adding details to the upper hull interior as well.
Next up is continuing with the interior and starting adding parts to the exterior. I will be adding the complete Meng turret interior to it as well. More to come.
