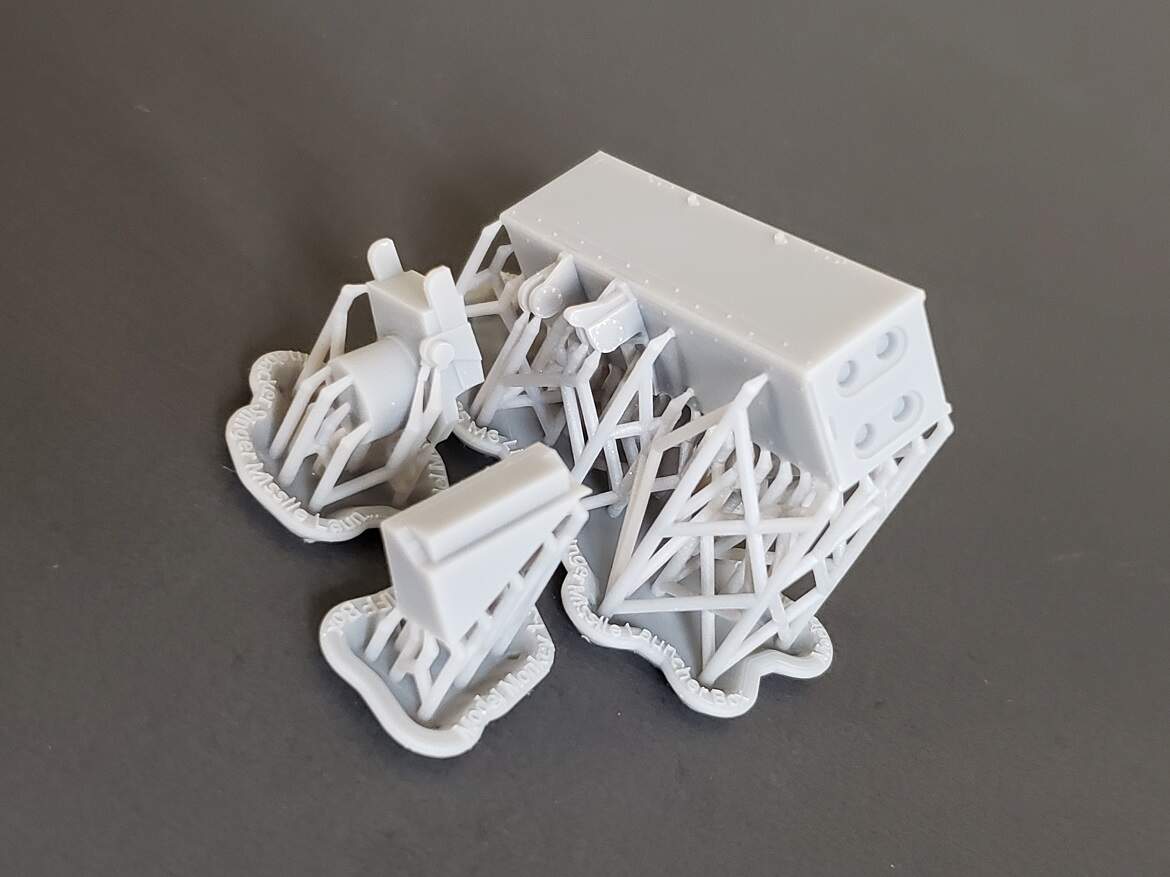
Good deal. The Stinger Launch Box and mount look awesome.
1 Like
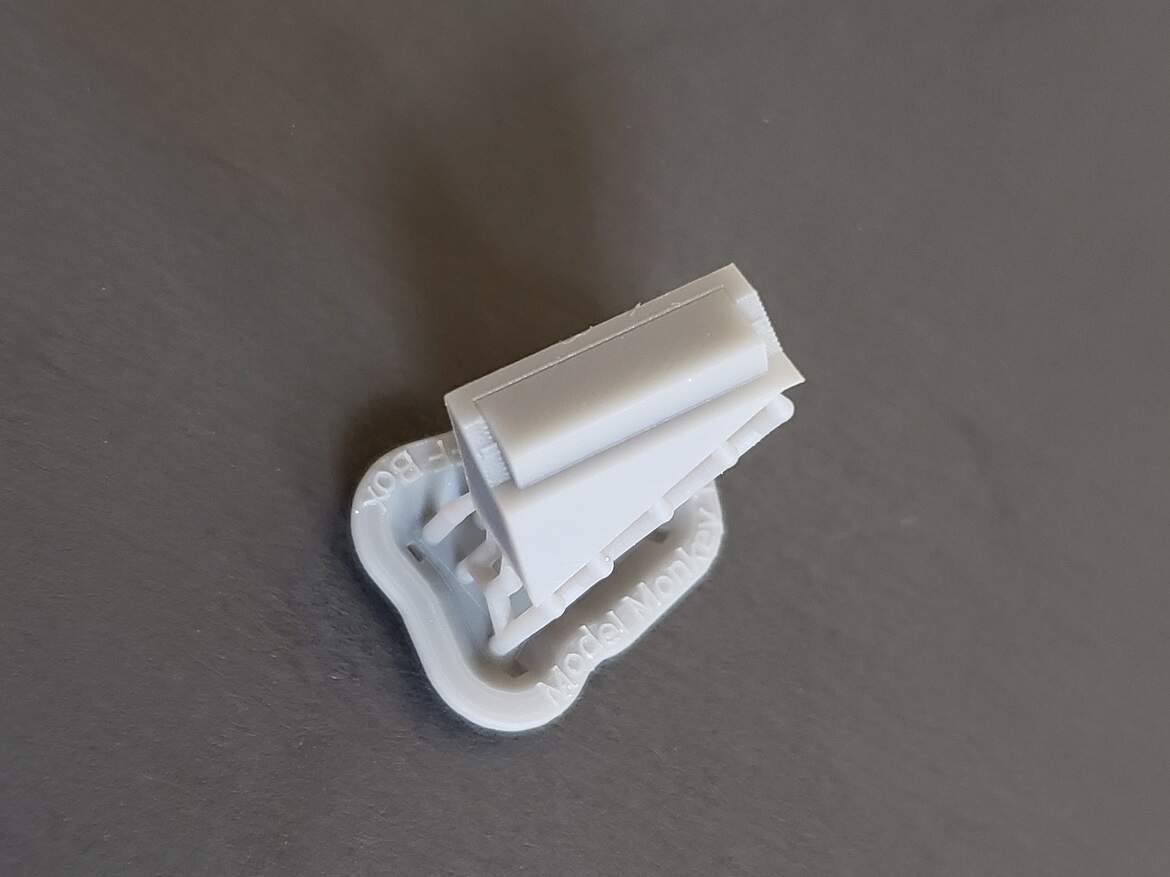
Looks very smooth. ![]()
1 Like
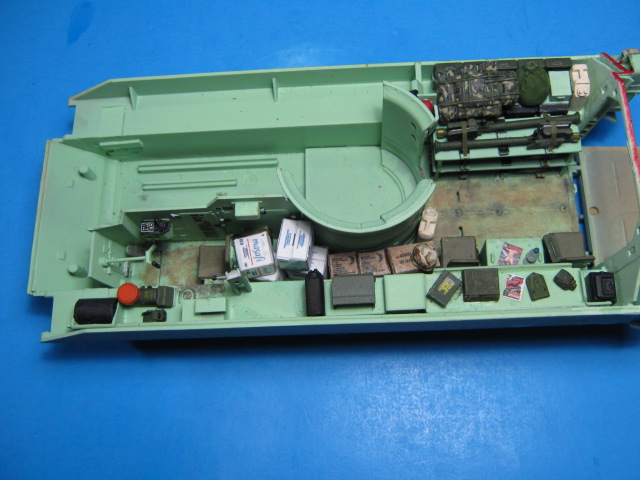
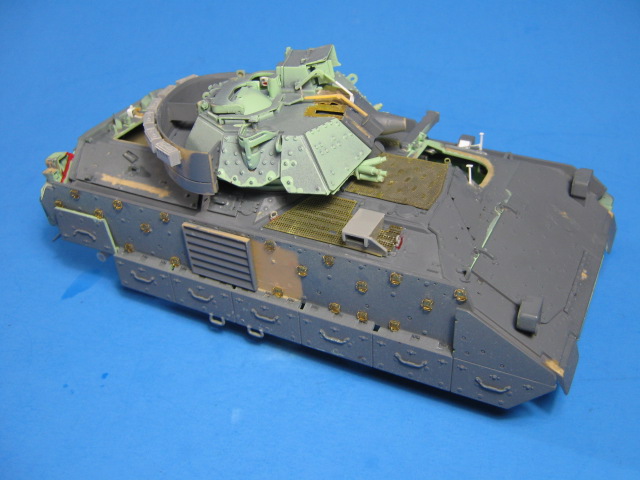
I have had quite a bit of bench time this weekend. I continued work on the M6A2 Linebacker.
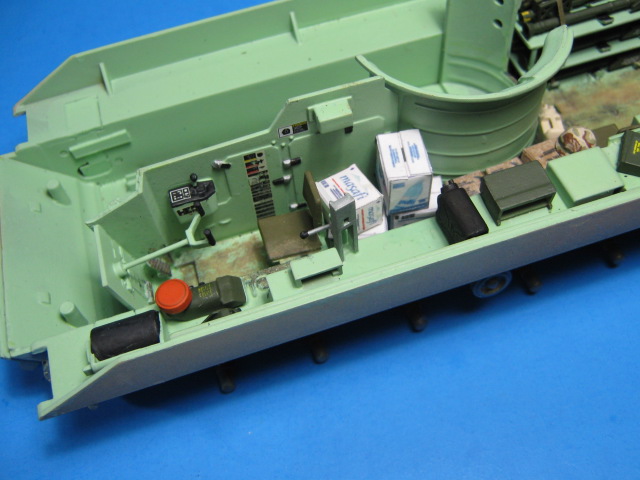
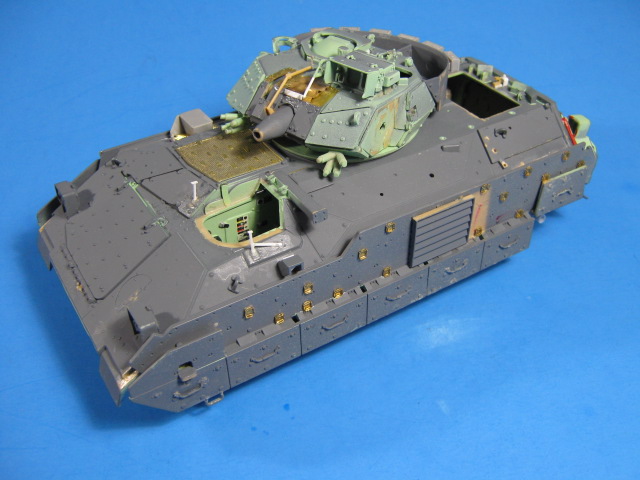
I filled it up with gear in the back. I added personal items such as a canteen, magazines (Maxim and Hot Rod in the back; Sports Illustrated in the turret), bags, water bottle, etc. I also added water boxes and MRE boxes down the side of the turret. Various other items such as ammo cans and water jugs fill up the back.
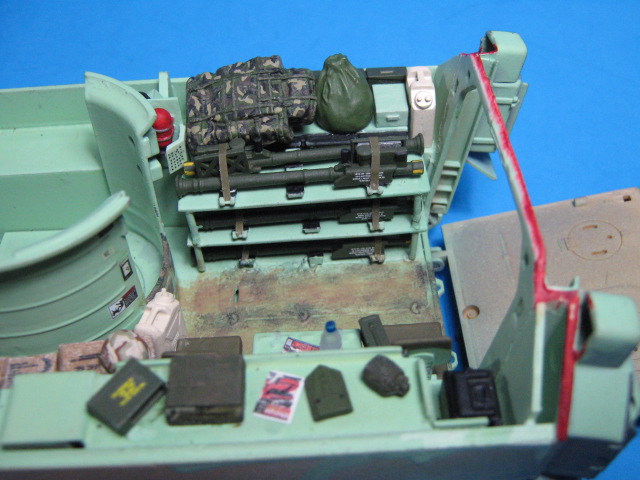
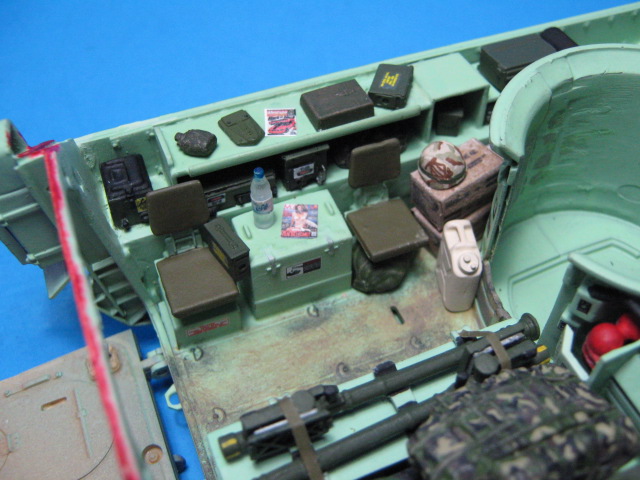
I personalized it with a Kevlar helmet w/a 3ID patch on each side as well.
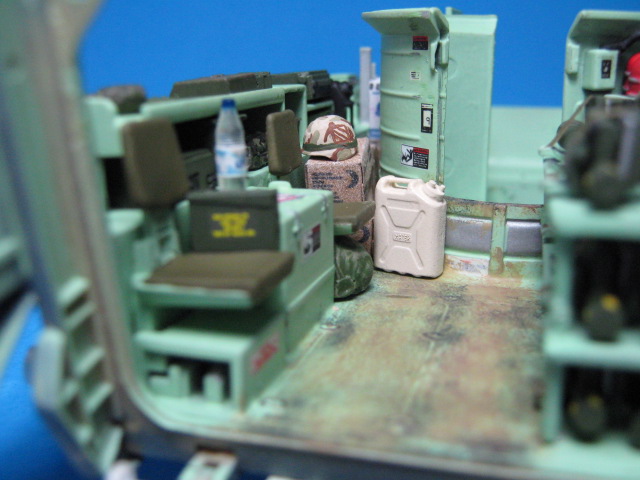
I also added a few bags, a map, and a magazine to the turret. I forgot to take pics before closing it up though.
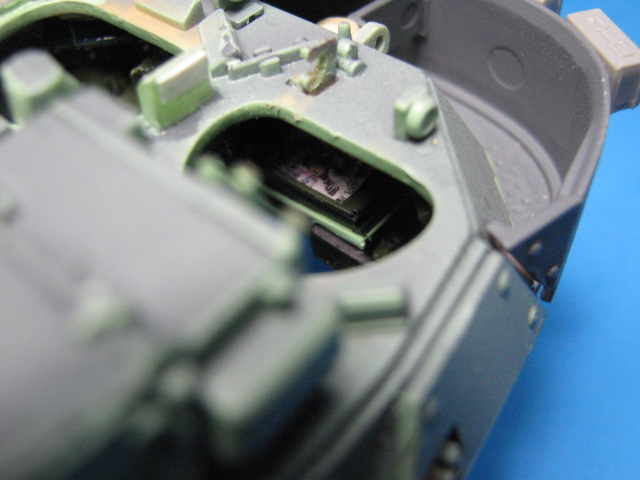
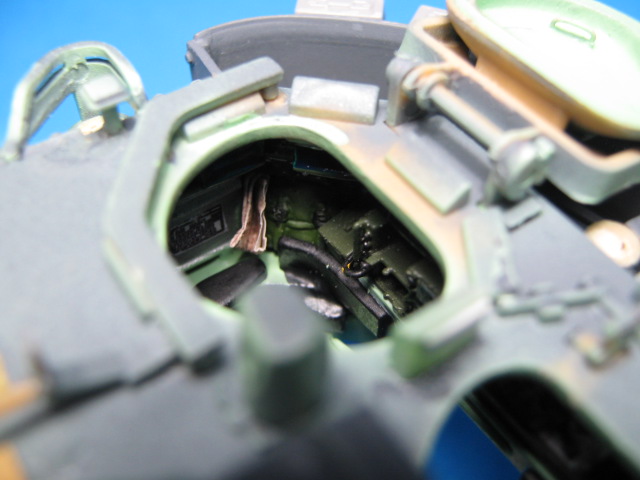
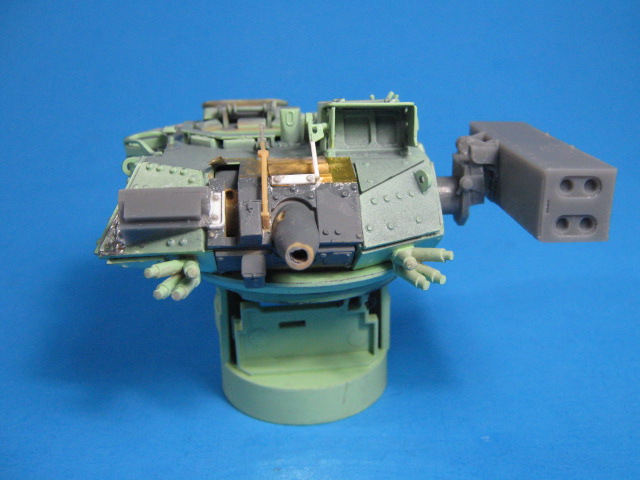
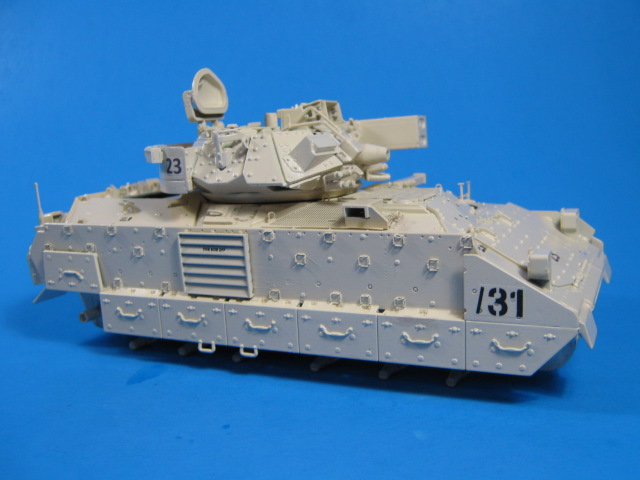
Once the interior was done, I closed it all up and added some more details on the exterior. For the turret, I used some PE from a Voyager set to correctly close off the top of the gun mount. Only the center section actually moves. The rest stays in place and is closed off w/PE plates. The center one is wrinkled to represent a fabric cover that moves w/the main gun. The coax gun moves within the shields and has a slot to allow this.
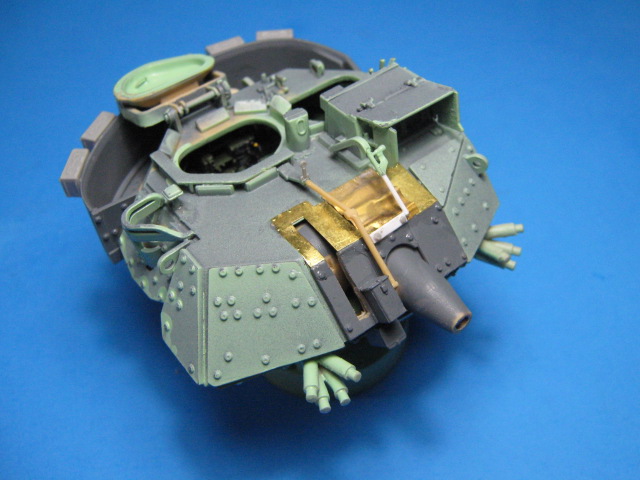
I also swapped out the kit ammo can holders on the back of the bustle rack with the newer, fiberglass/plastic molded ones from a Kinetic sprue.
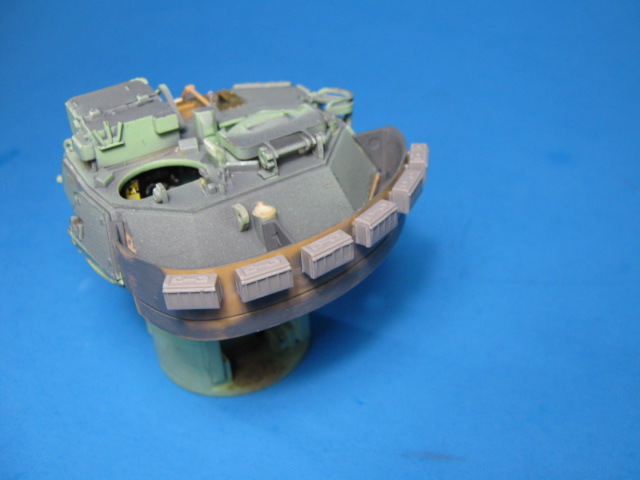
Lastly, I added the tie-down blocks to the armored side shields from an Eduard PE set, 36 in total.
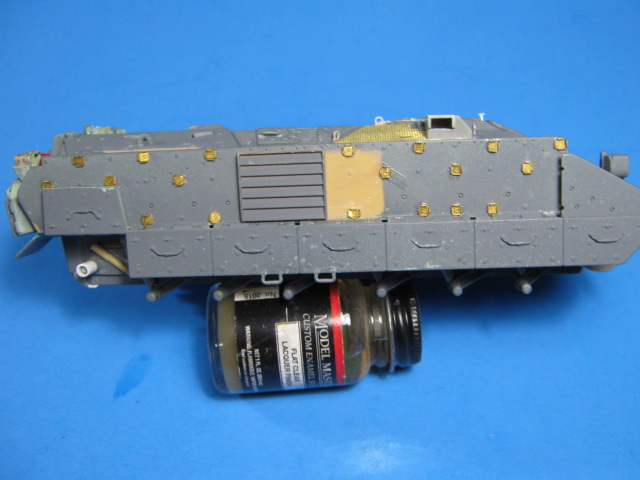
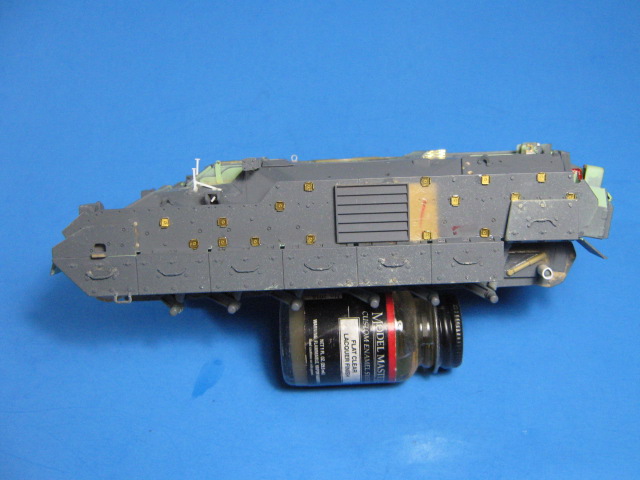
Here it is overall at this point. I am ready to add the Stinger box and IFF antenna to the turret. Steve at Model Monkey should have them ready soon.
Now I wait to get the final parts to move on to painting.
11 Likes
Excellent detailing Gino. The internal crew items make it nice and homely. The Side plate PE adds to it as well … Great looking build so far … ![]()
1 Like
Very nice build so far. It looks very realistic. Just add a drop of diesel and a drop of fart spray and it will smell realistic to… ![]()
1 Like
Gino, that interior looks great. It has that lived in feel with all of the appropriate gear and supplies.
1 Like
Thanks gents. I like how it is turning out. You know I like to add extra detail on interiors, even though most won’t be seen, I know it is there though.
Yup, MREs farts and diesel…smells like home.
Can’t wait for the Model Monkey parts to arrive.
3 Likes
Looks sublime, Gino!
The Stinger missile launcher set, including IFF box, is ready and will be out to you in today’s mail. All customers who placed or will place an order will be getting the IFF box as part of the set.

5 Likes
Awsome. I can’t wait to get the parts and finish this one up. Thanks a bunch for your efforts.
1 Like
Thanks. I’ll let you know when they arrive.
1 Like
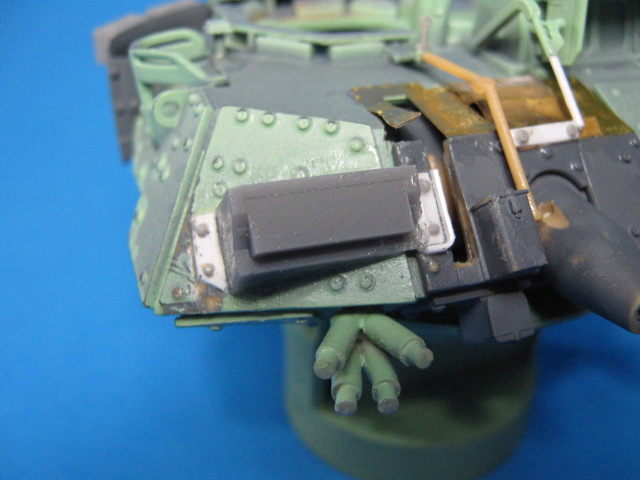
I received the Model Monkey parts and they look great. I cut them off the trees and only had to give them a light sanding to smooth them out. I added them to the turret without issue.
Here they are.
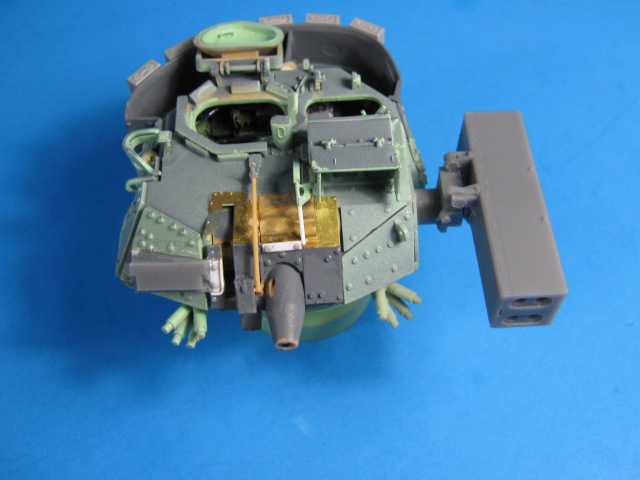
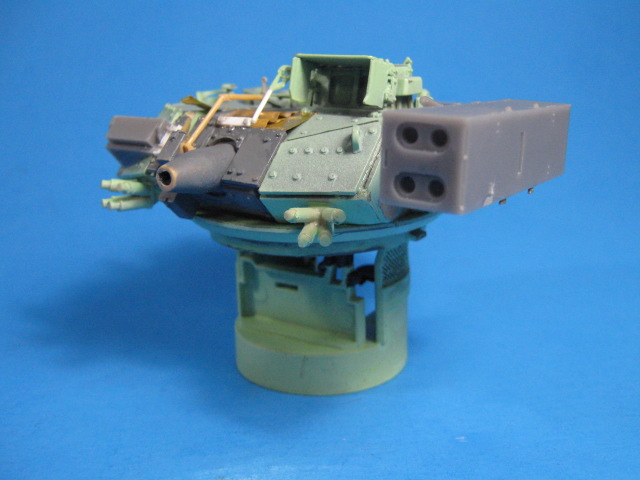
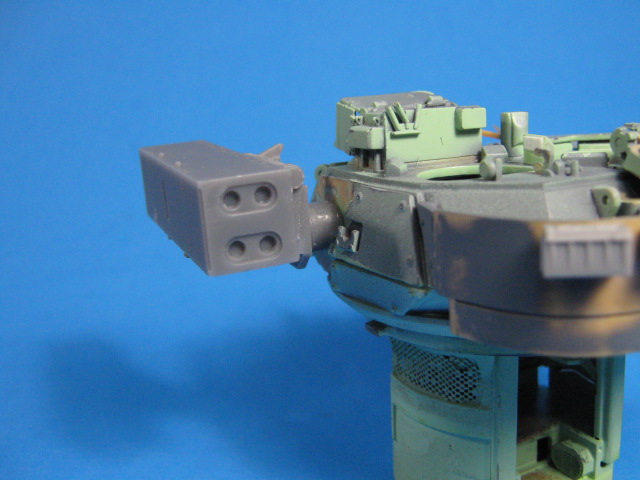
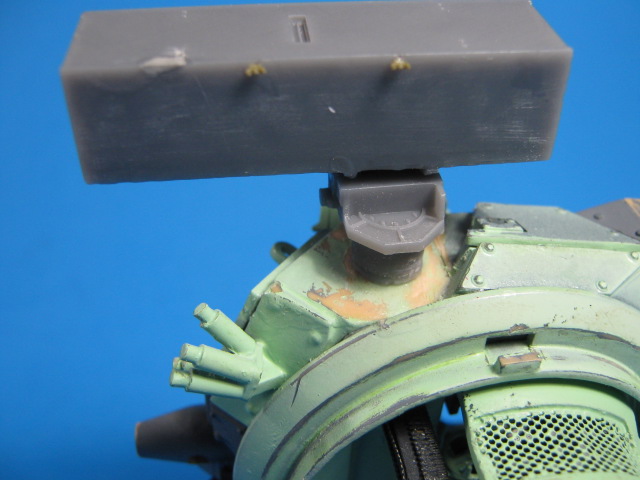

I did add a bit of sheet styrene and a few boltheads to the IFF Antenna Mount.
Next up will be paint.
13 Likes
Turret looking mighty fine.
1 Like
Awesome! Almost a shame to cover all that nice work in paint.
1 Like
Thanks gentlemen. I hope to get some paint on it soon. Still looking for interesting markings for it. I may mark it as “Psyco Ward” from A BTRY, 1-3 ADA, 3ID, and now at the ADA Museum.
It was destroyed in OIF and rebuilt by the museum as a tribute. Luckily, the crew walked away from it.
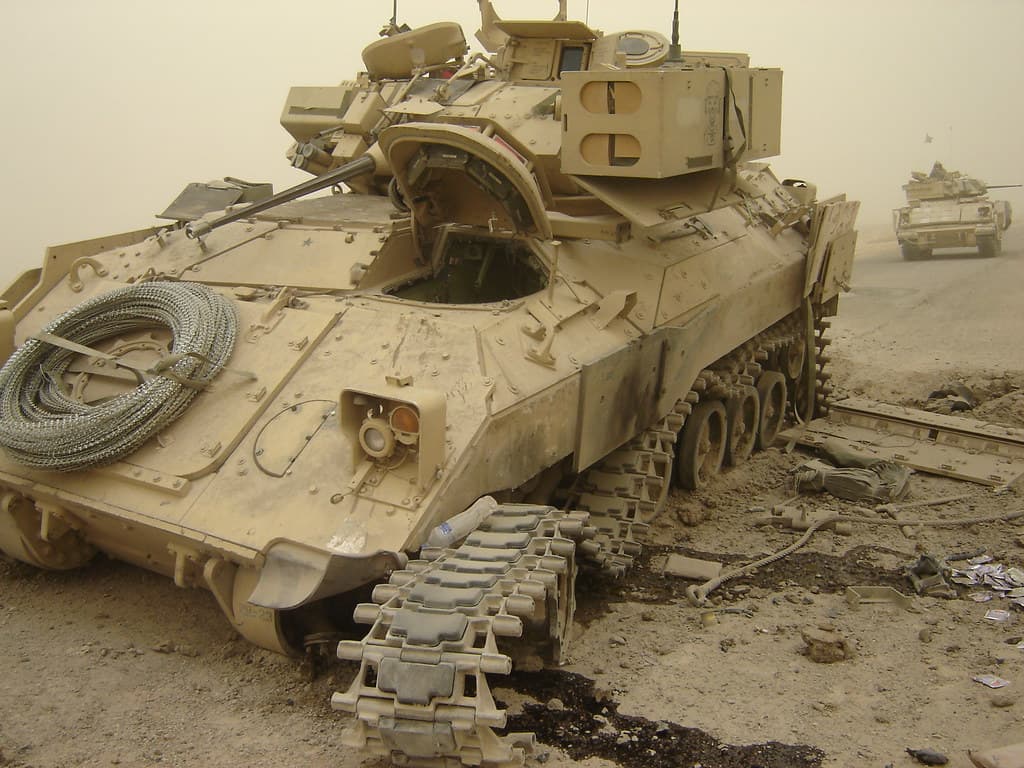
At the museum.
6 Likes
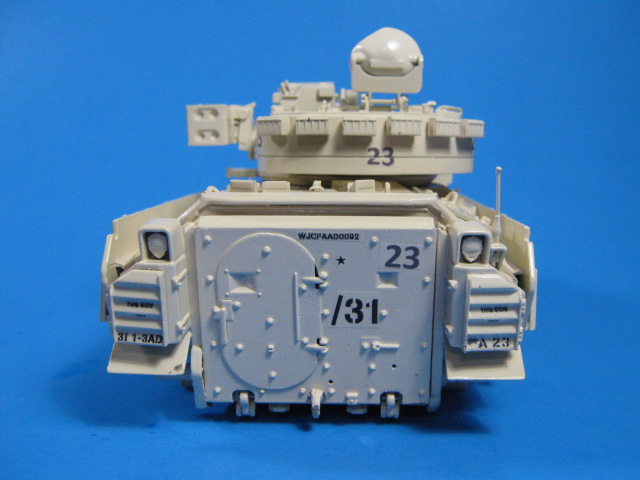
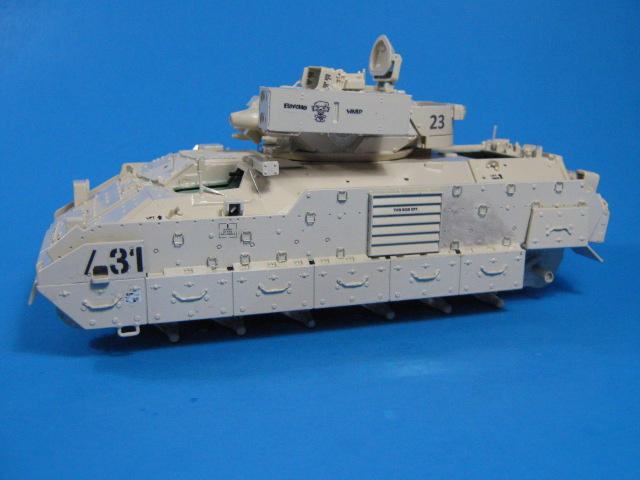
I got some paint and the decals on it this weekend. All the decals are custom made by me on computer decal paper and my home printer. I marked it as A23, 1-3 ADA, 3ID as I showed above.
Here it is so far.

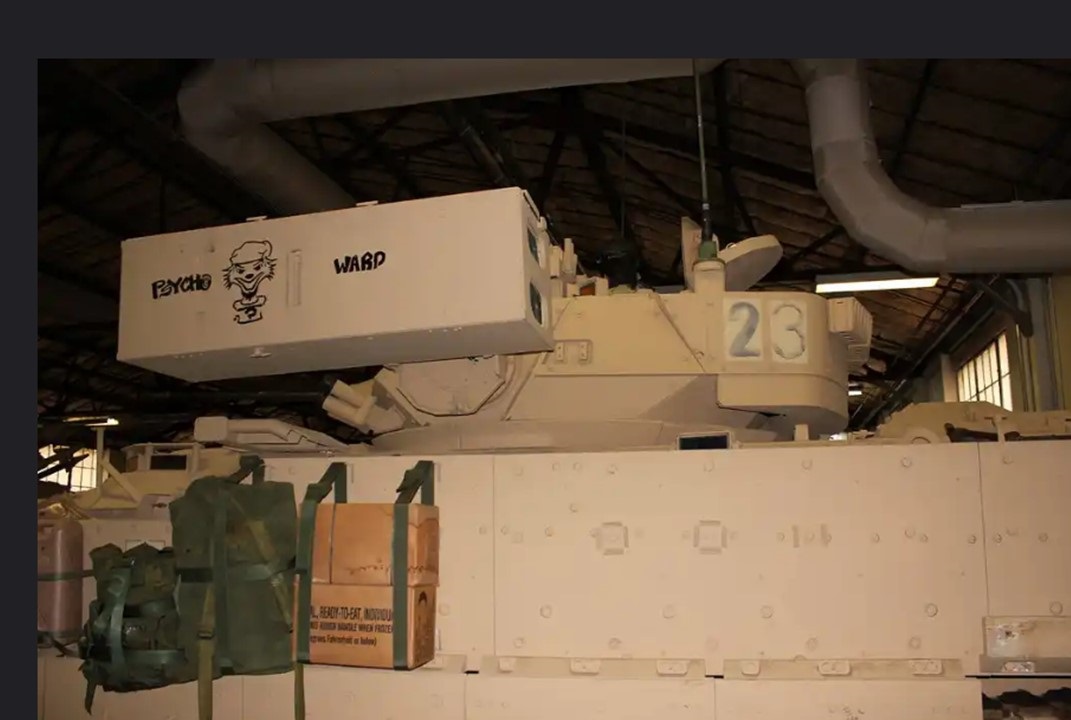
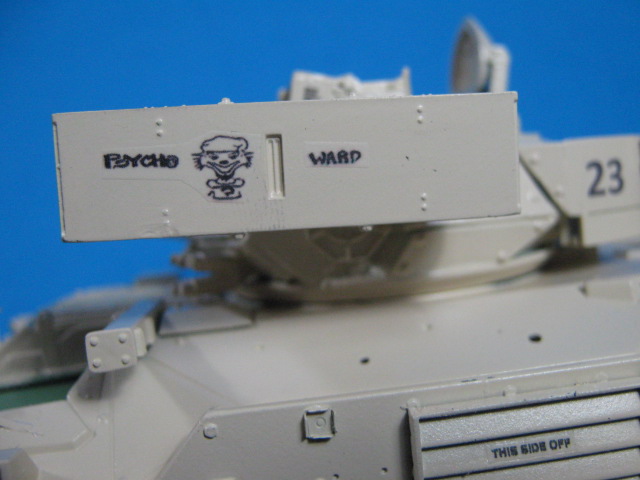
Here is a close up of the “Psycho Ward” name and logo.
And the actual one.
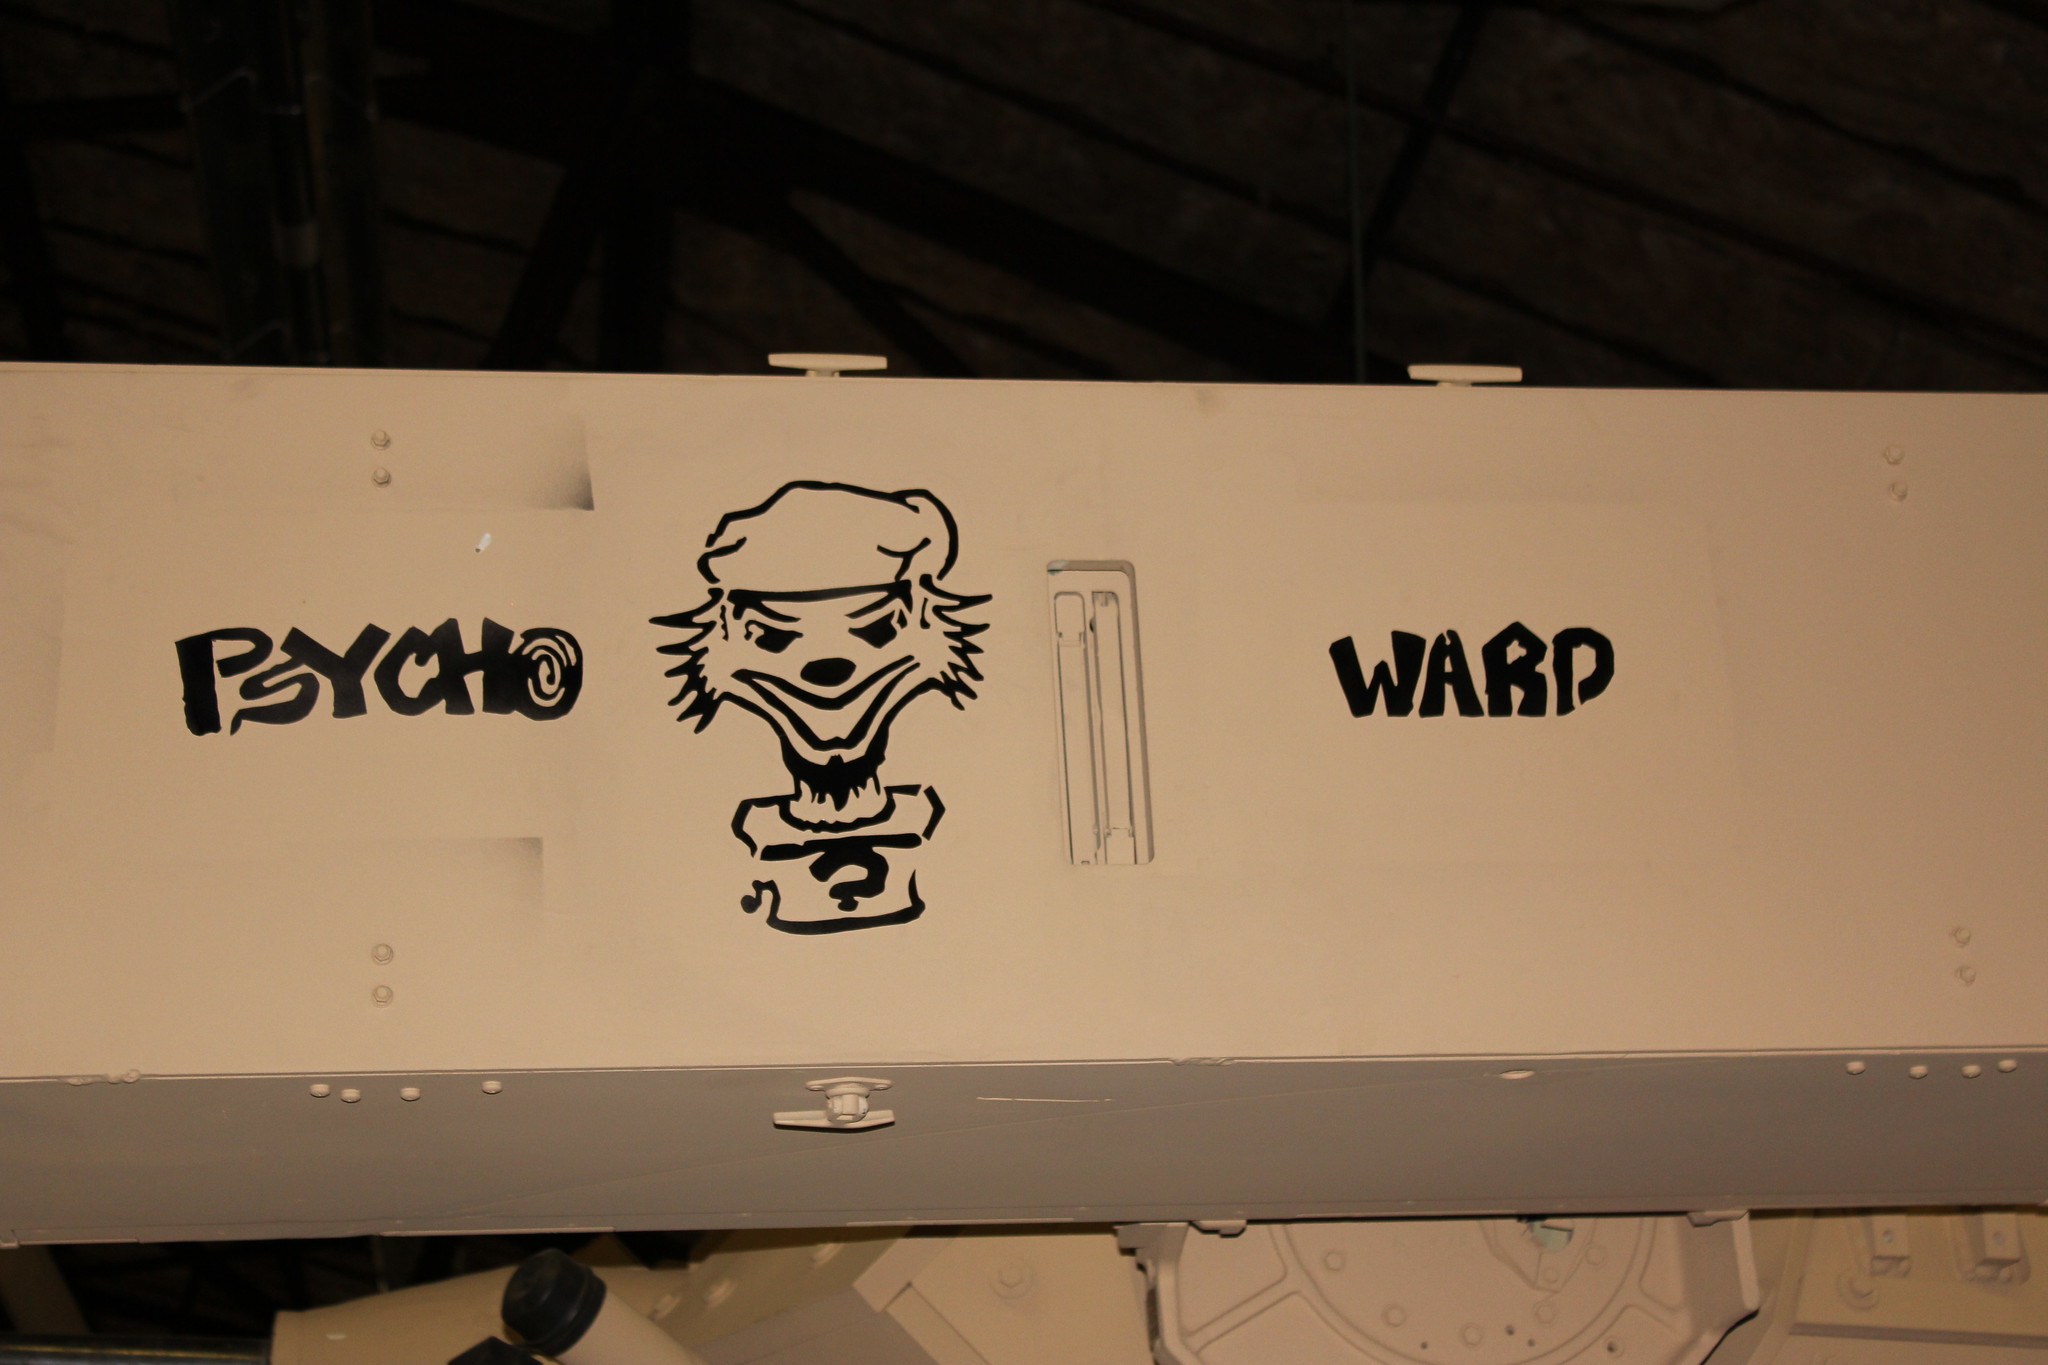
I was able to take the above pic and strip out the actual logo using PowerPoint and its embedded picture manipulation software. I was able to strip away all the sand color and other items and was left with a black and white image that could then be sized appropriately.
10 Likes
Looking good Gino! The home brew decals look good. I’m surprised that more folks don’t do them. If they aren’t white, they are easy to do on your home Inkjet.
Thanks Rick. I agree, home-made decals are quite easy once you get the hang of them.
1 Like
I love this photo with the overspray where the stencils were. A contest judge would totally lose it if you did that on a model! ![]()
Ken
2 Likes
I quite liked that detail of the overspray as well … you rarely notice it on Green and Black schemes but it stands out nicely there.
2 Likes
Thanks gents. I actually thought about replicating the overspray but decided against it. I may still do it w/some drybrushing.