M790 EL Pershing II missile MGM-31C w/ M1001 Tractor build

At the behest of @HeavyArty, I’ve moved this build. from the “What did you do in your hobby workshop” thread to here.

I’ve been waiting decades for a 1/35 Pershing I or Pershing II kit.

I’ve probably been outbid a half a dozen times on the odd ball 1/32 Martin Marietta Pershing 1A kit. If my wife knew how many times I’ve bid north of $1K on an “eBay model” she’d probably slash my throat with a number 11 blade while I slept.

When I :heart: Kit announced the this kit in late 2021 I religiously checked every vendor on every continent every day for the kit to be in stock.

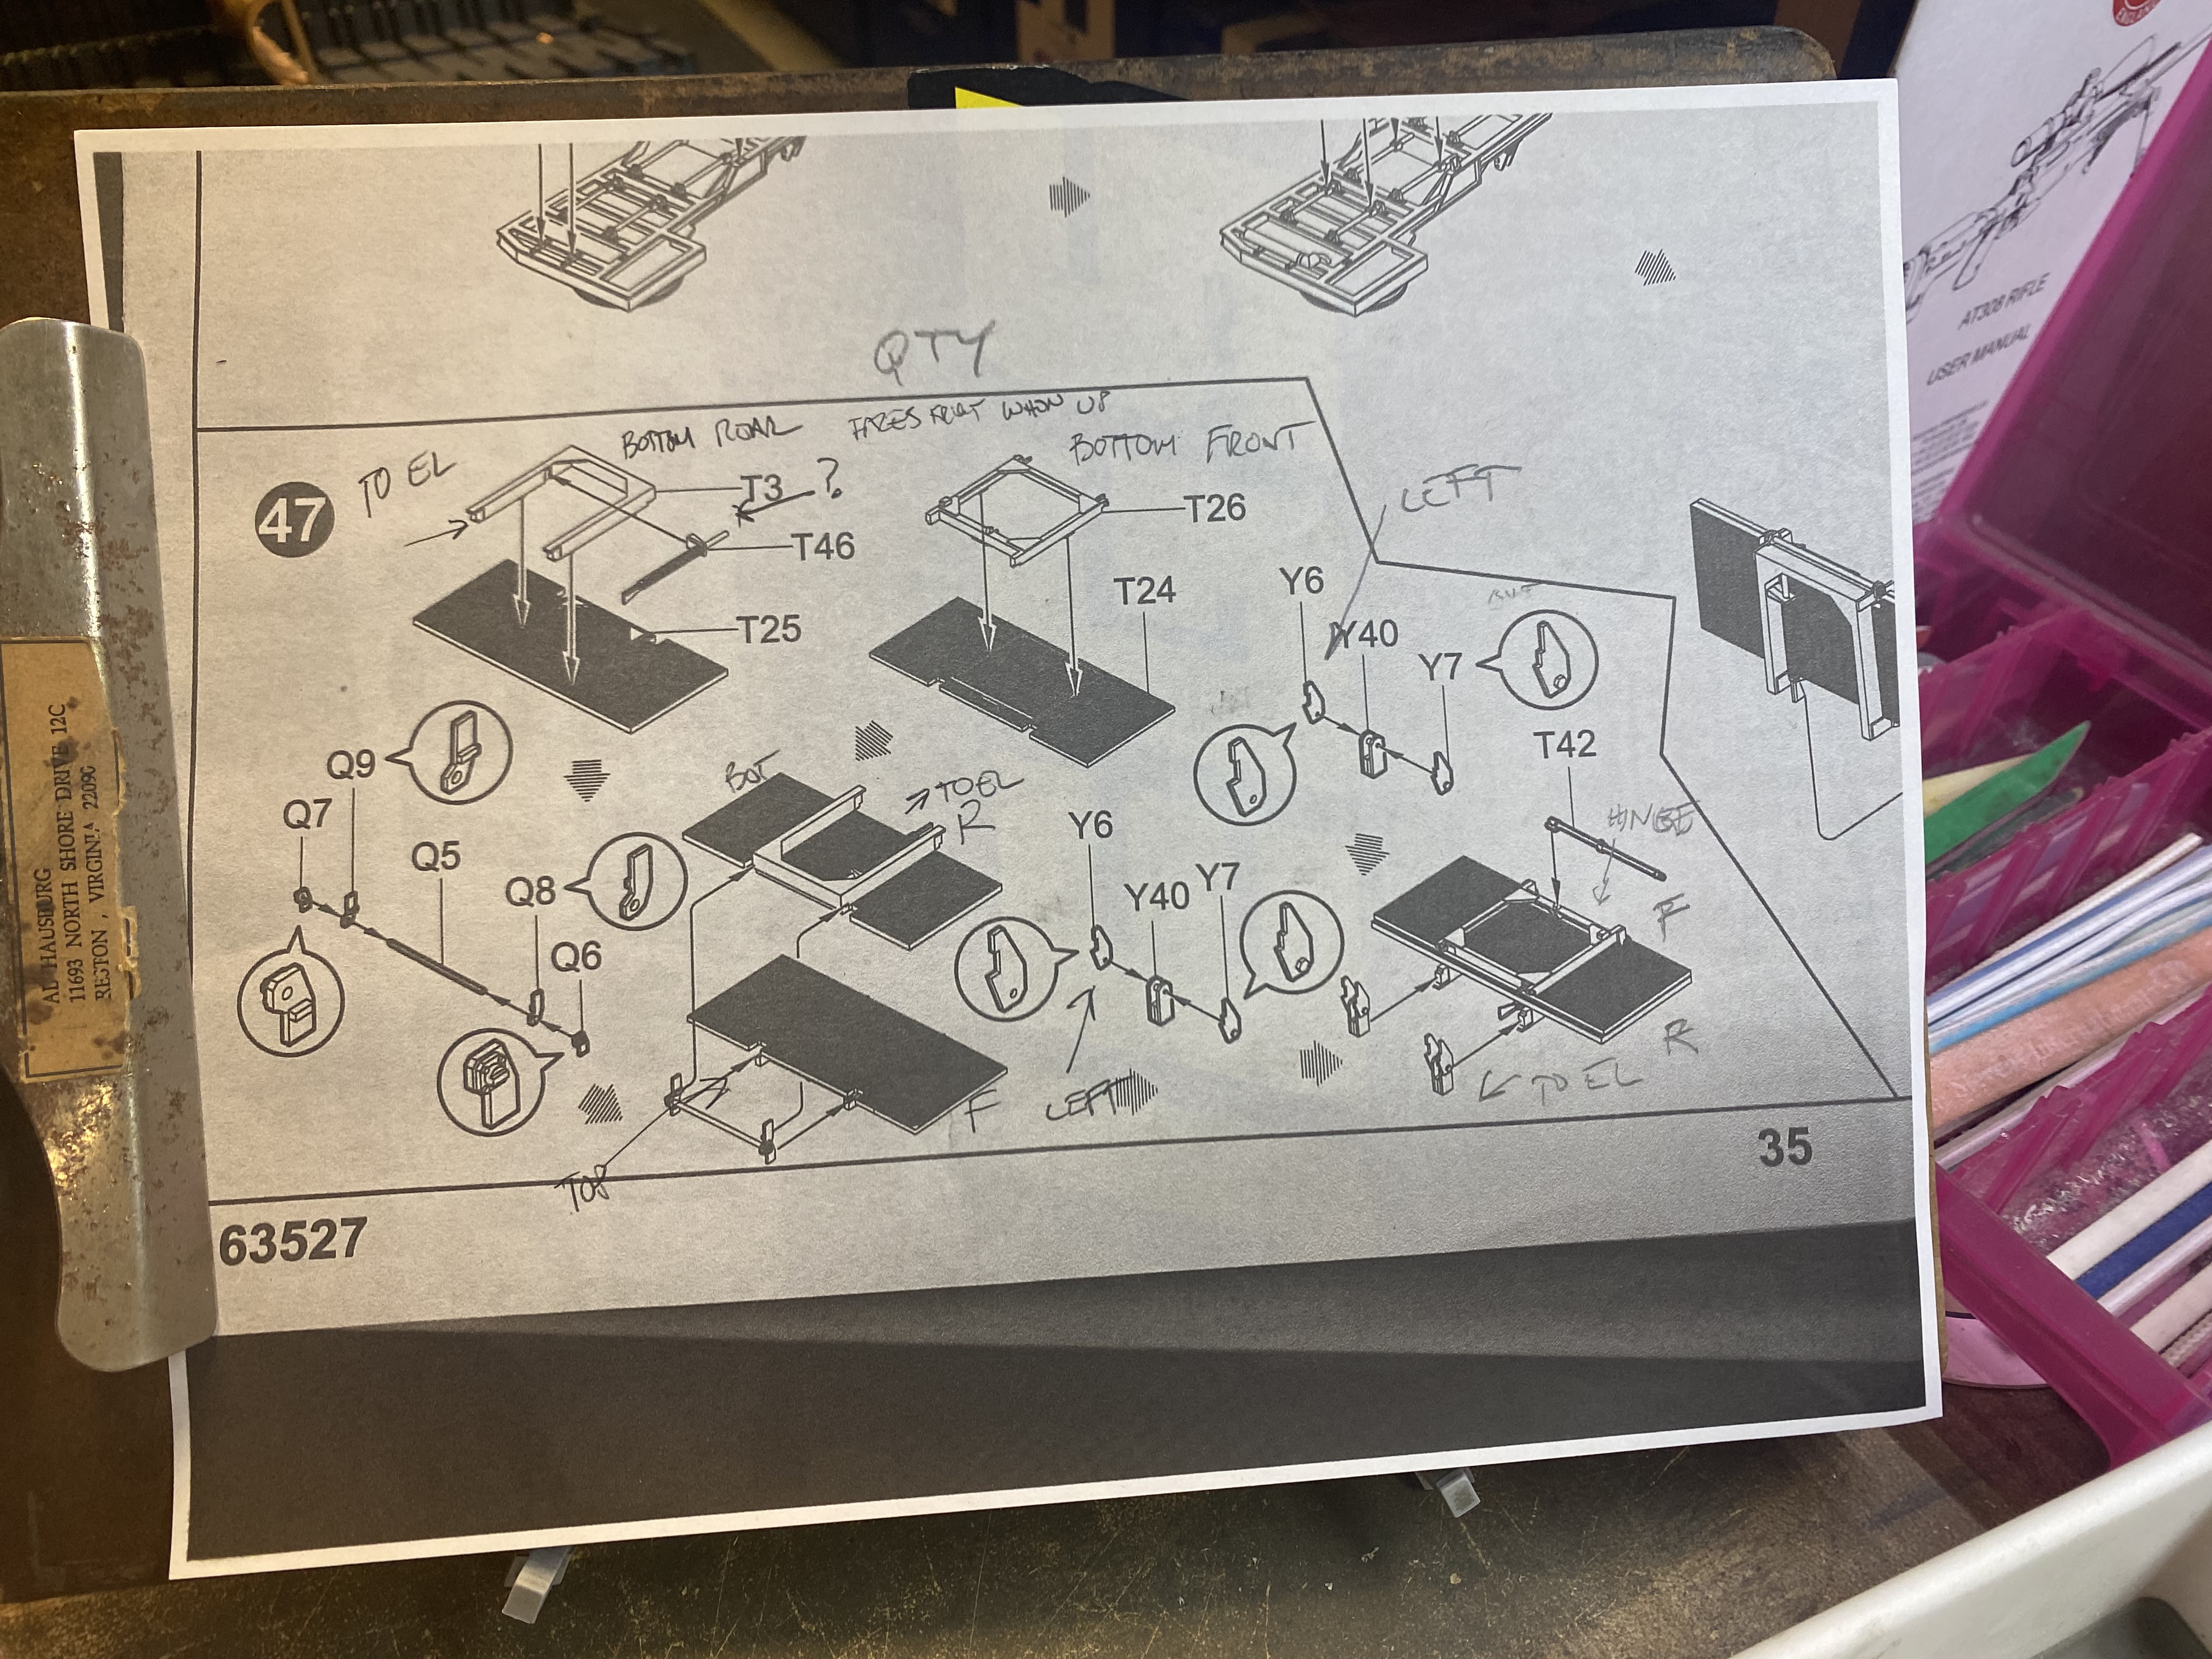
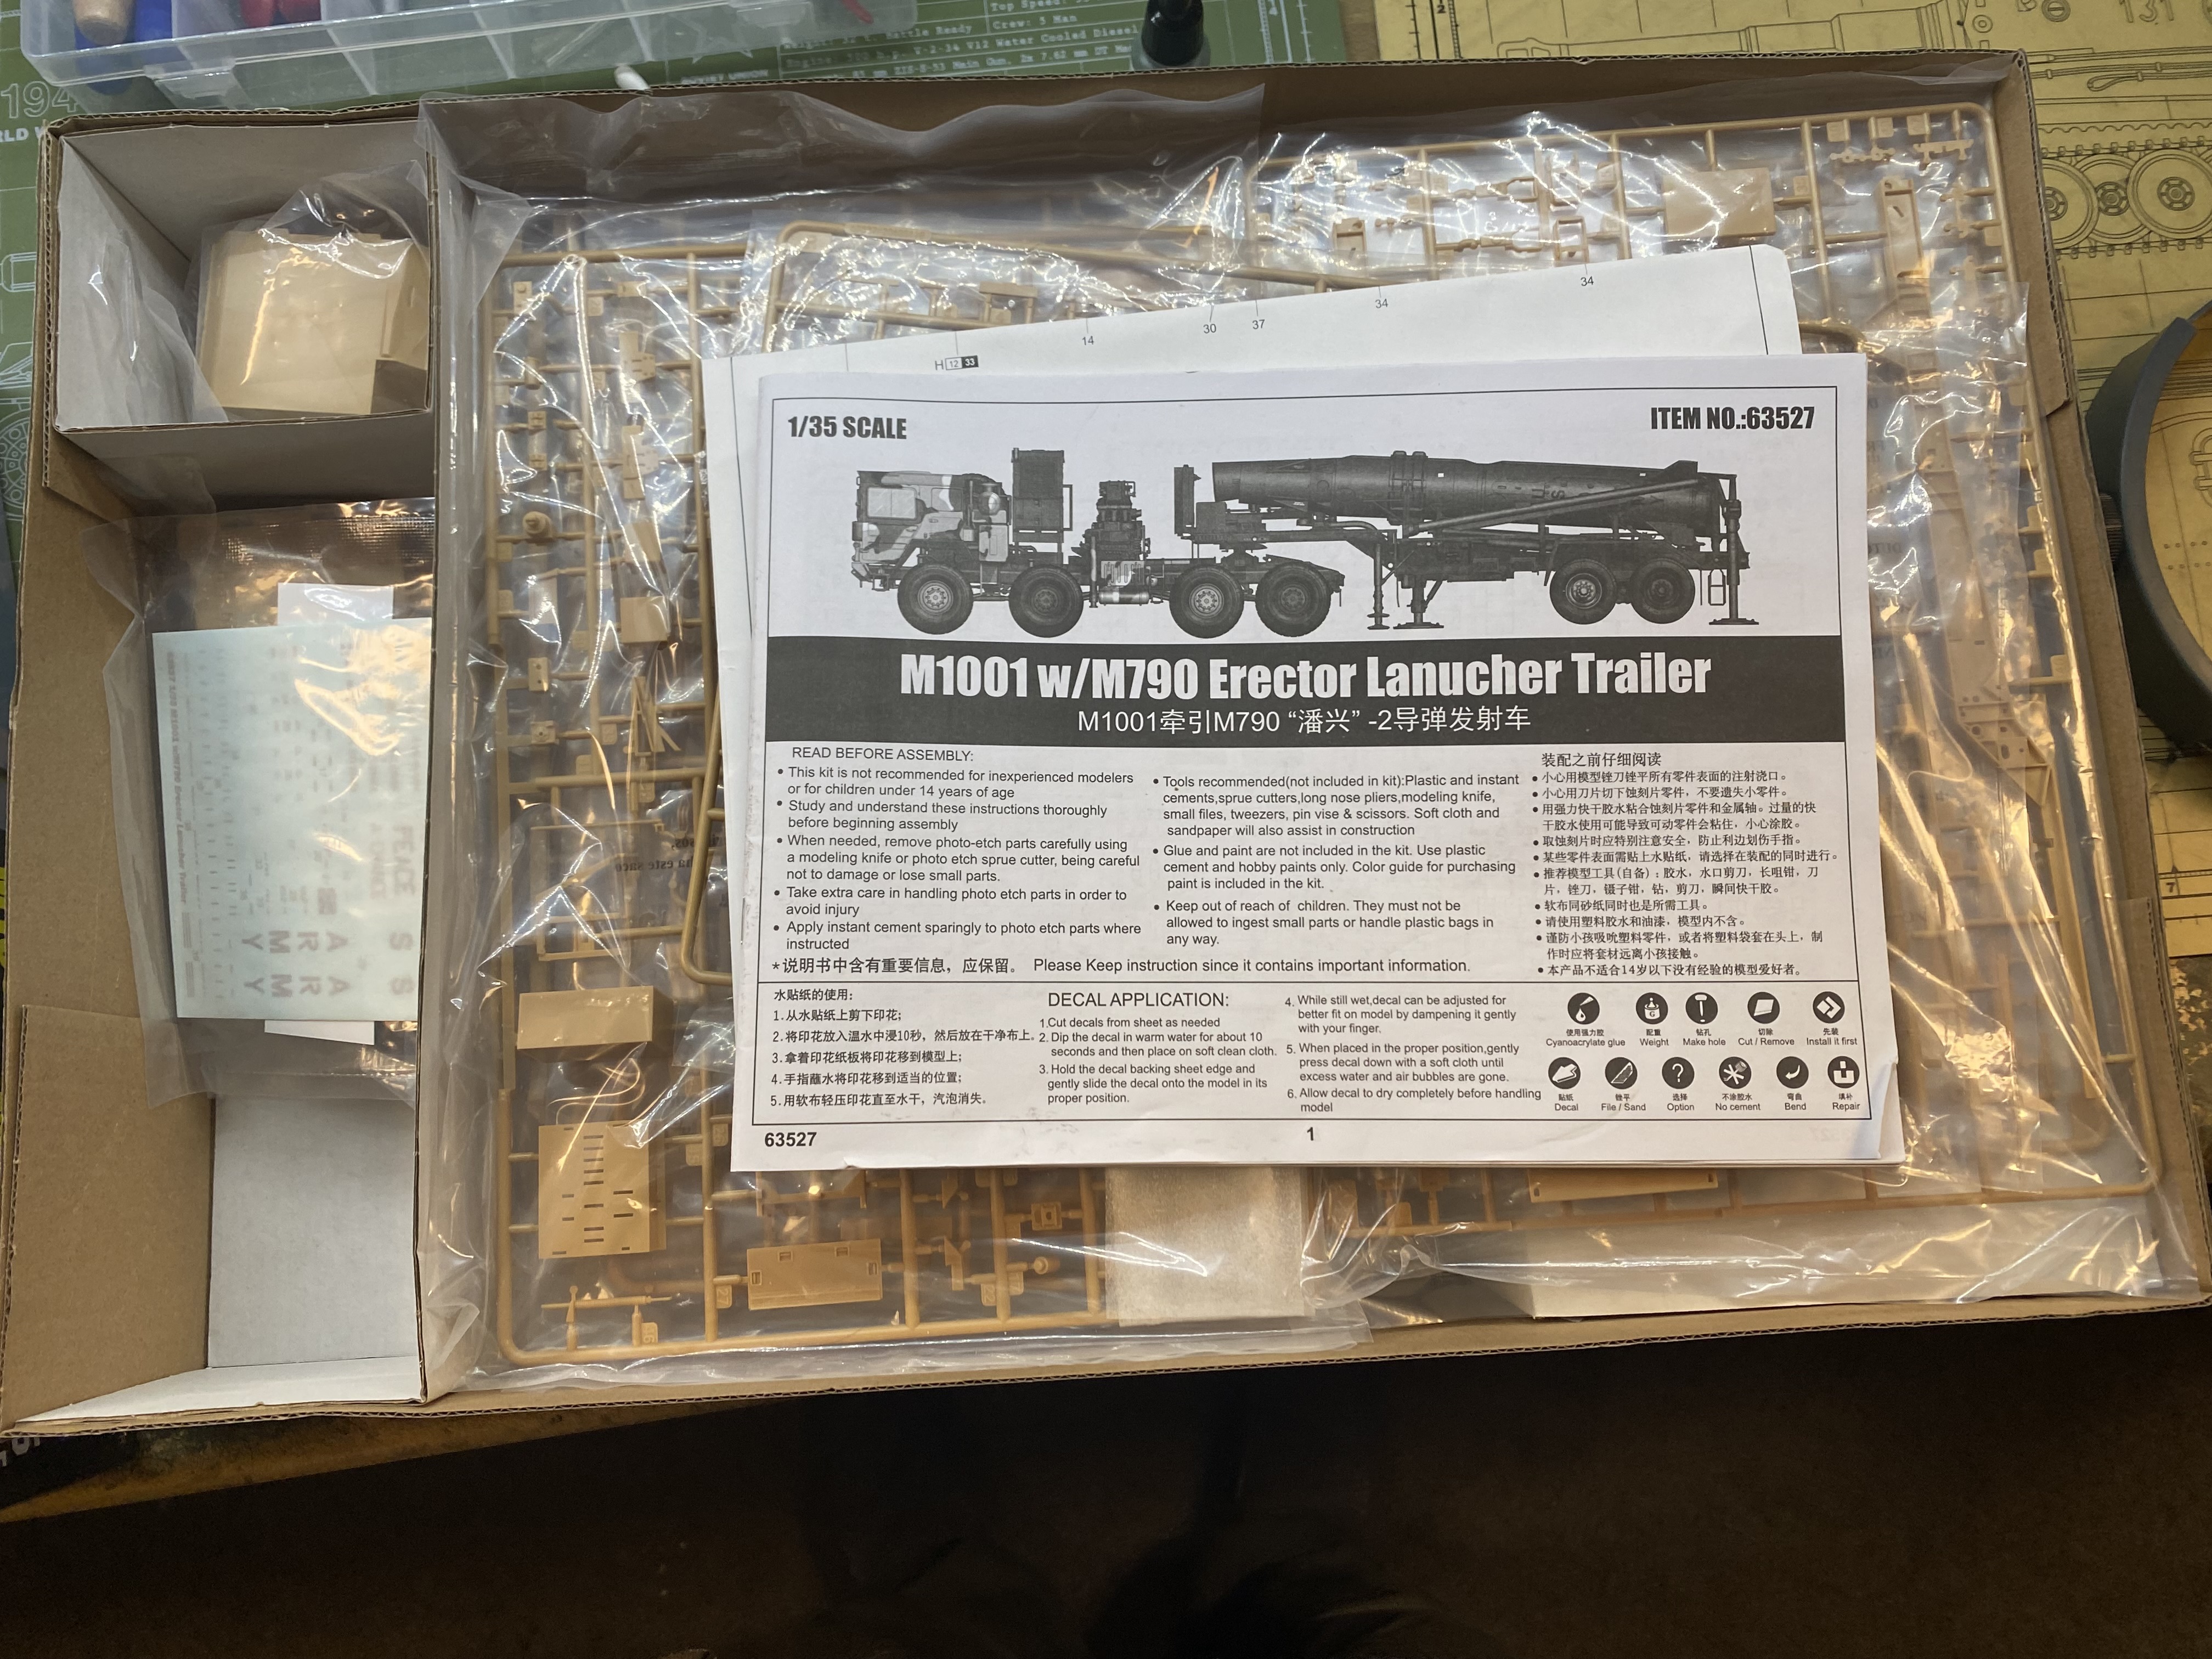
I discovered the instructions last spring:

Last last summer I got one kit from Germany and another from New Hampshire.

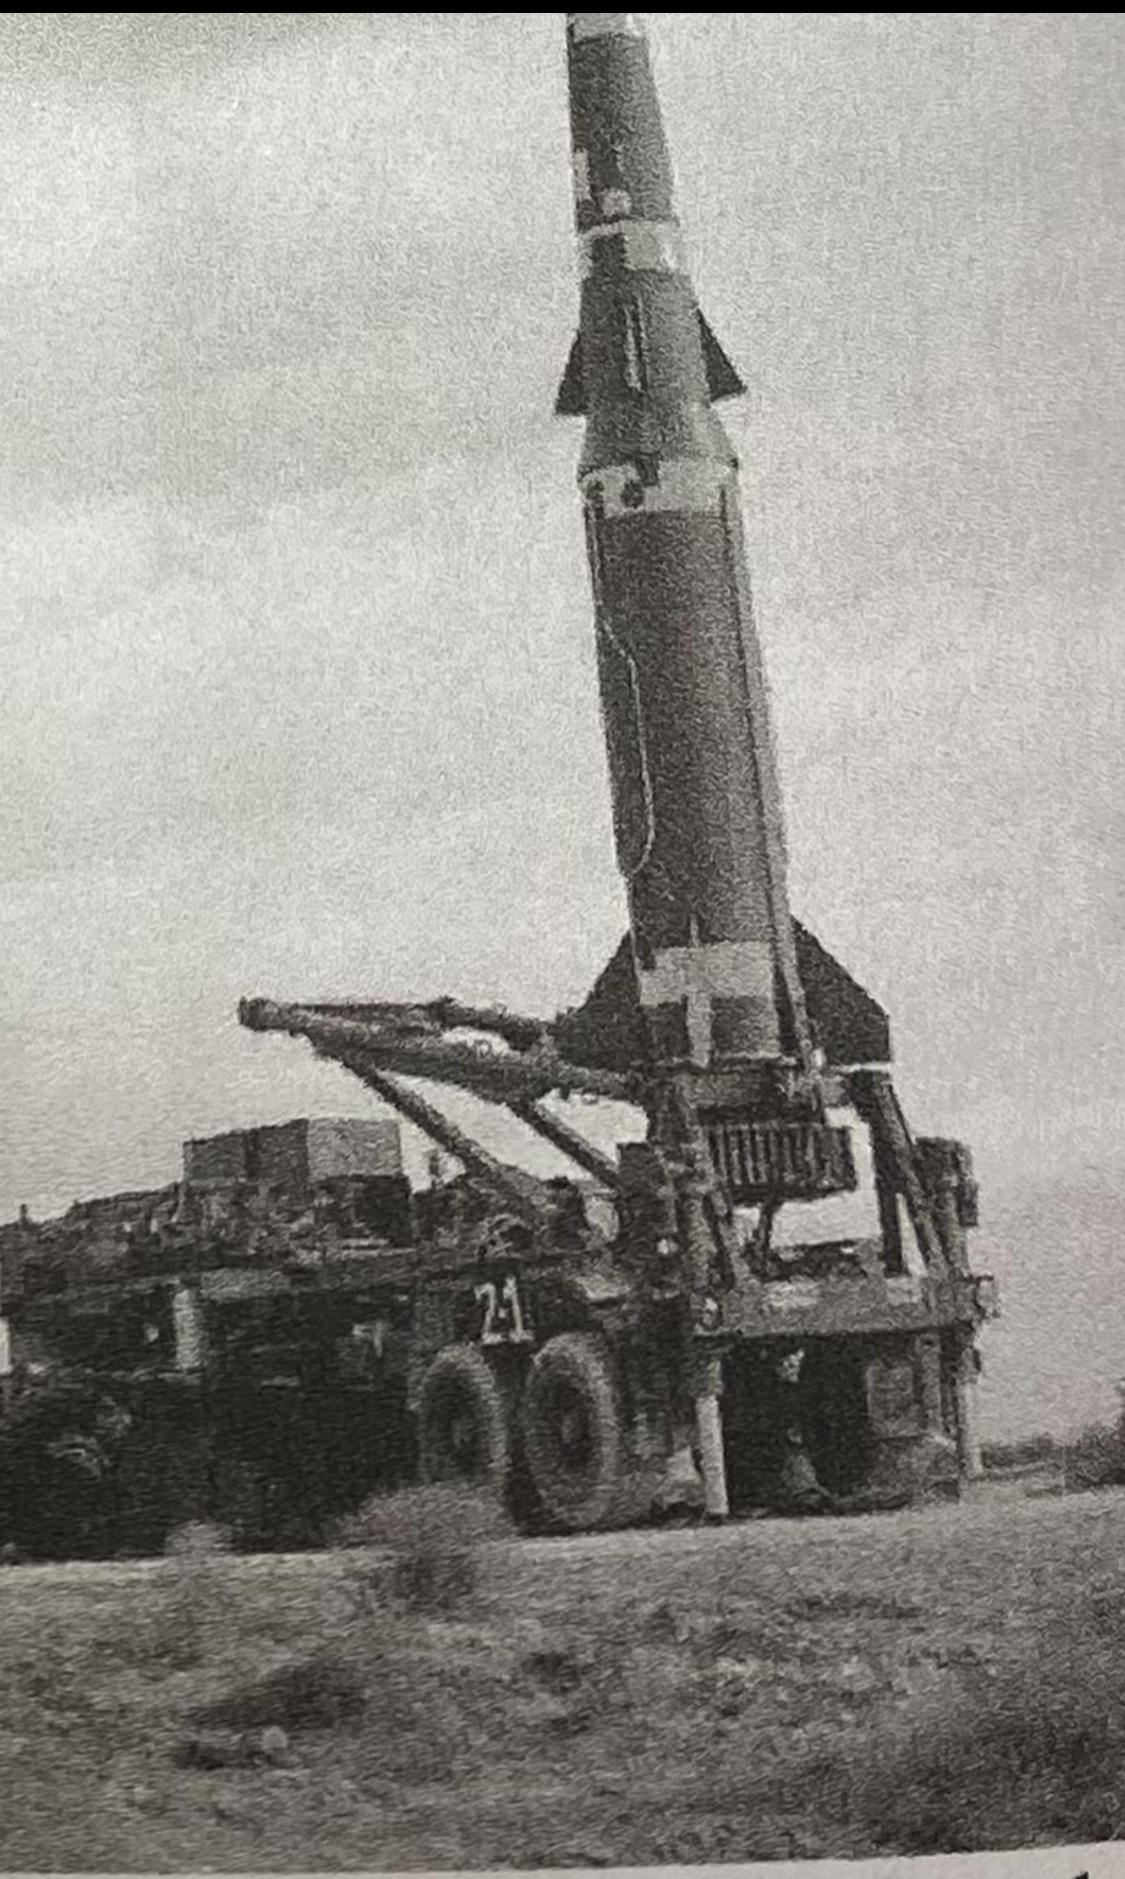
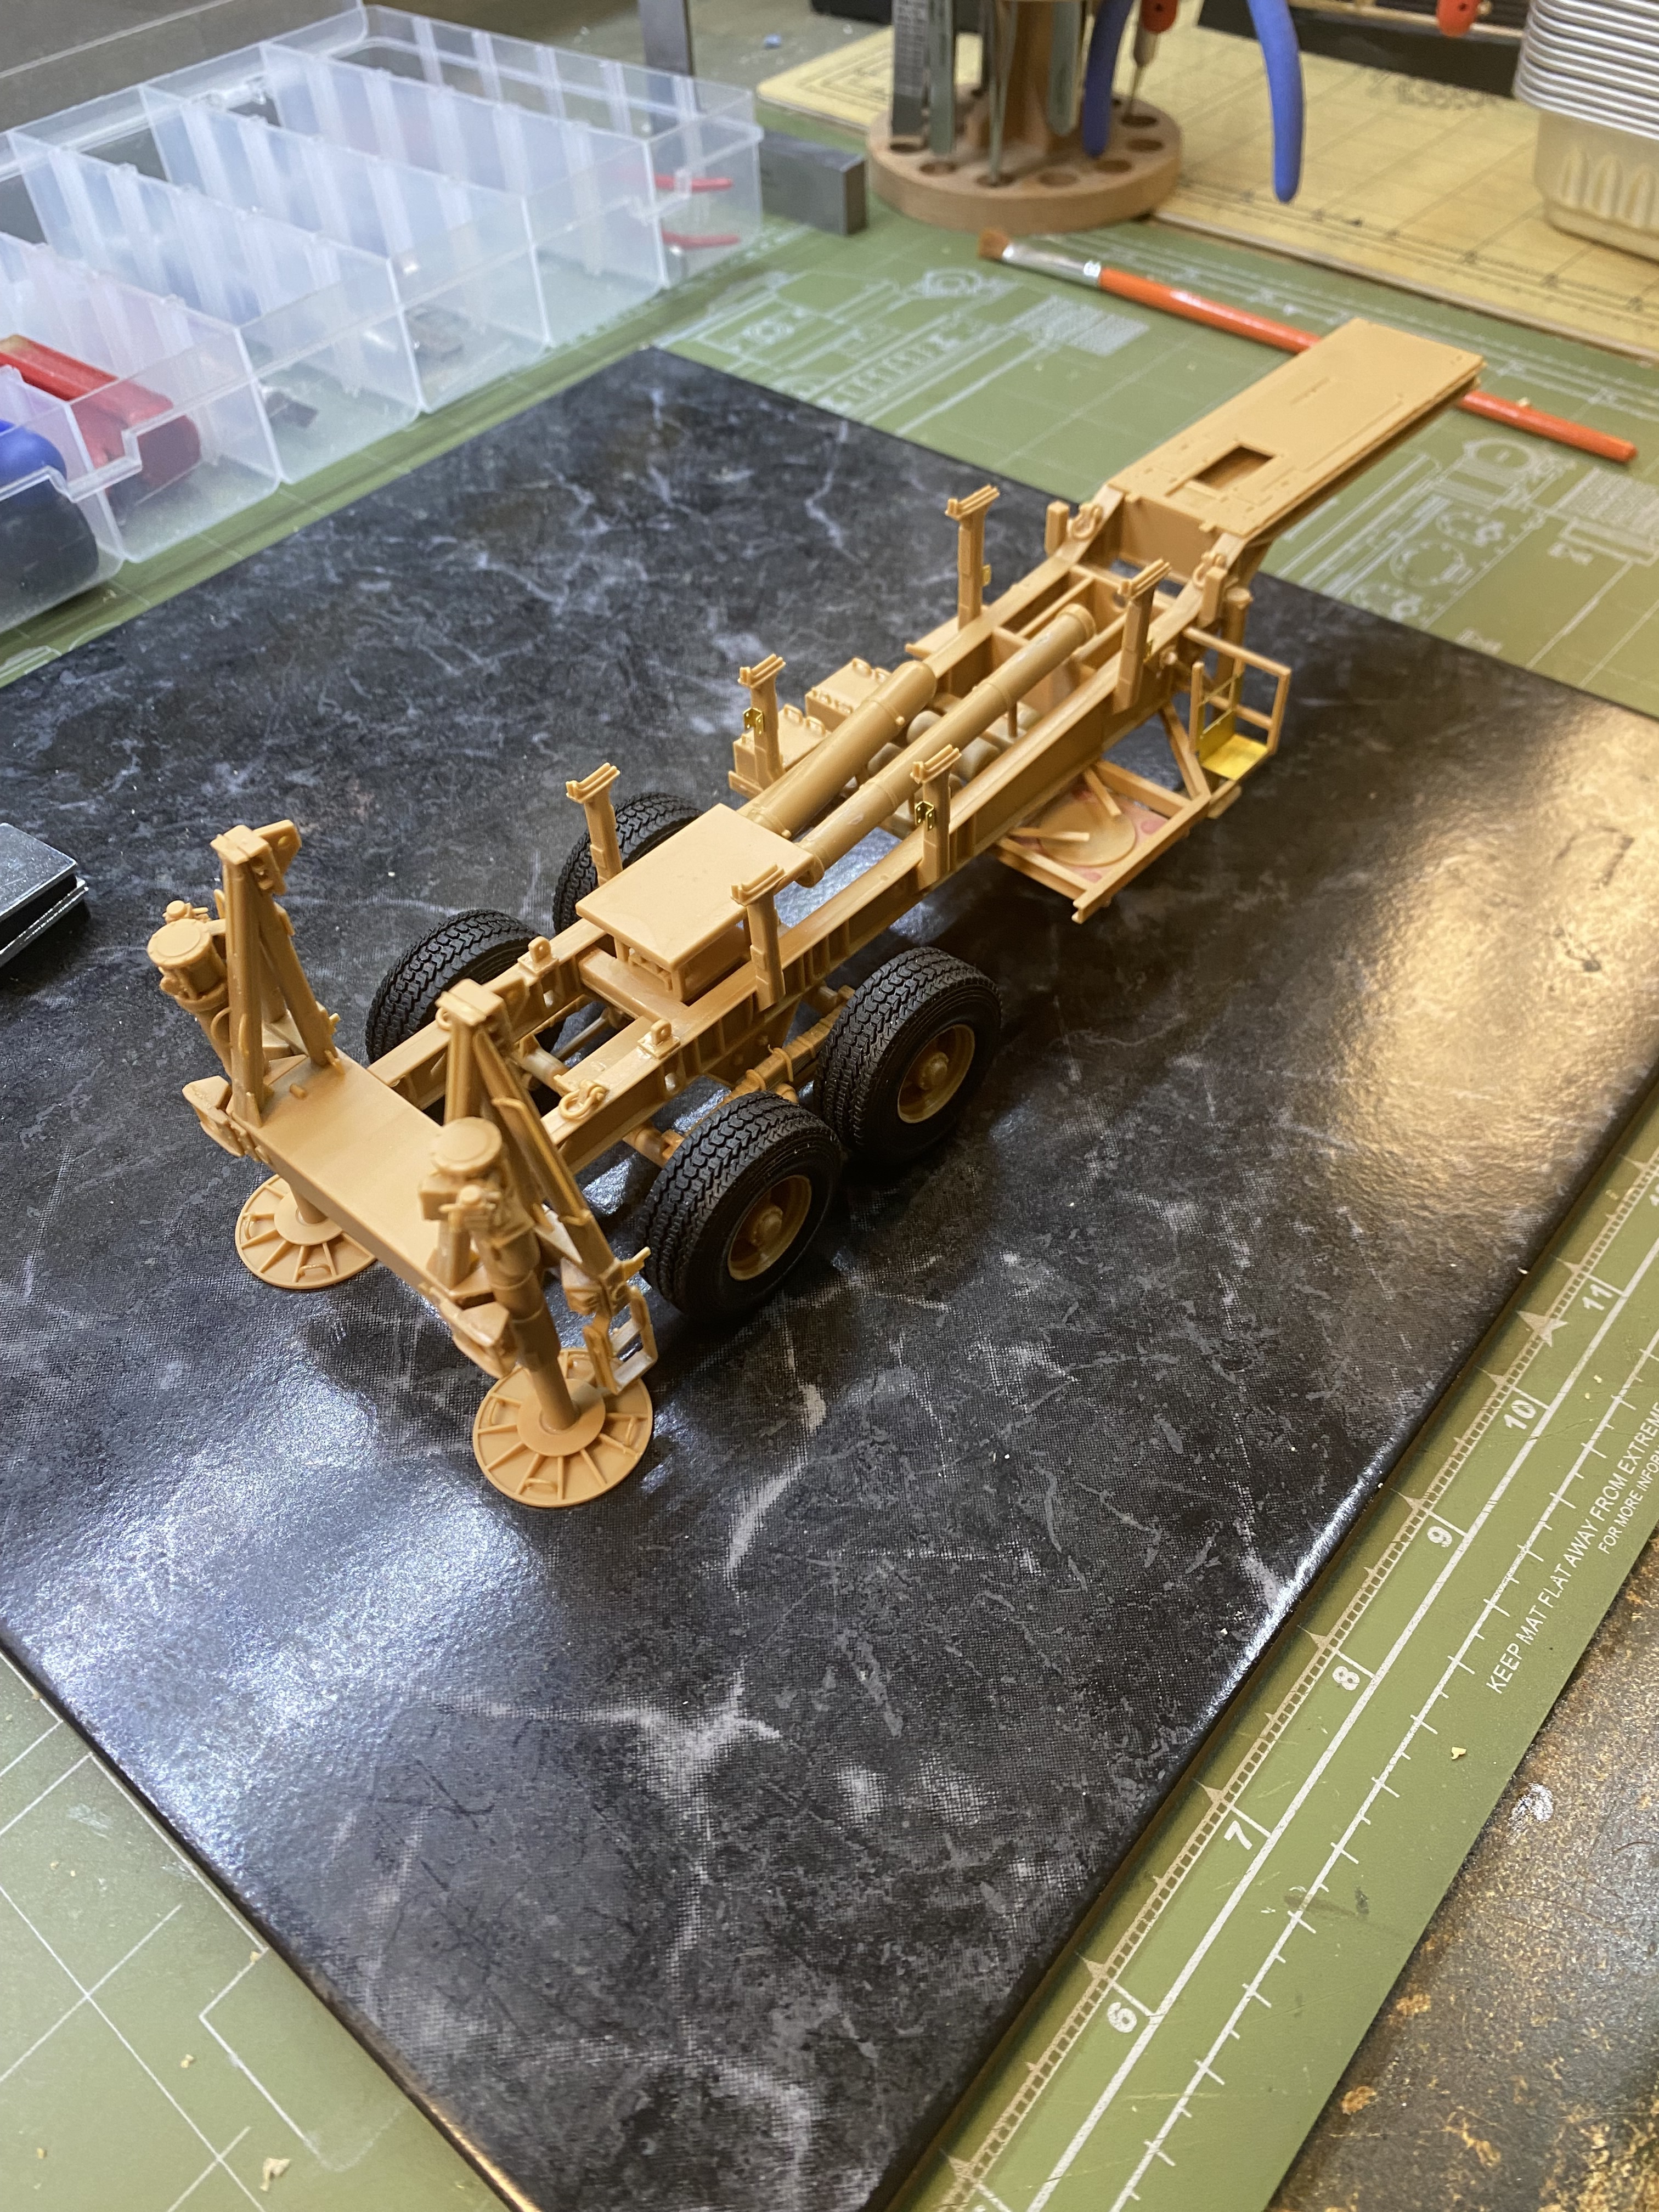
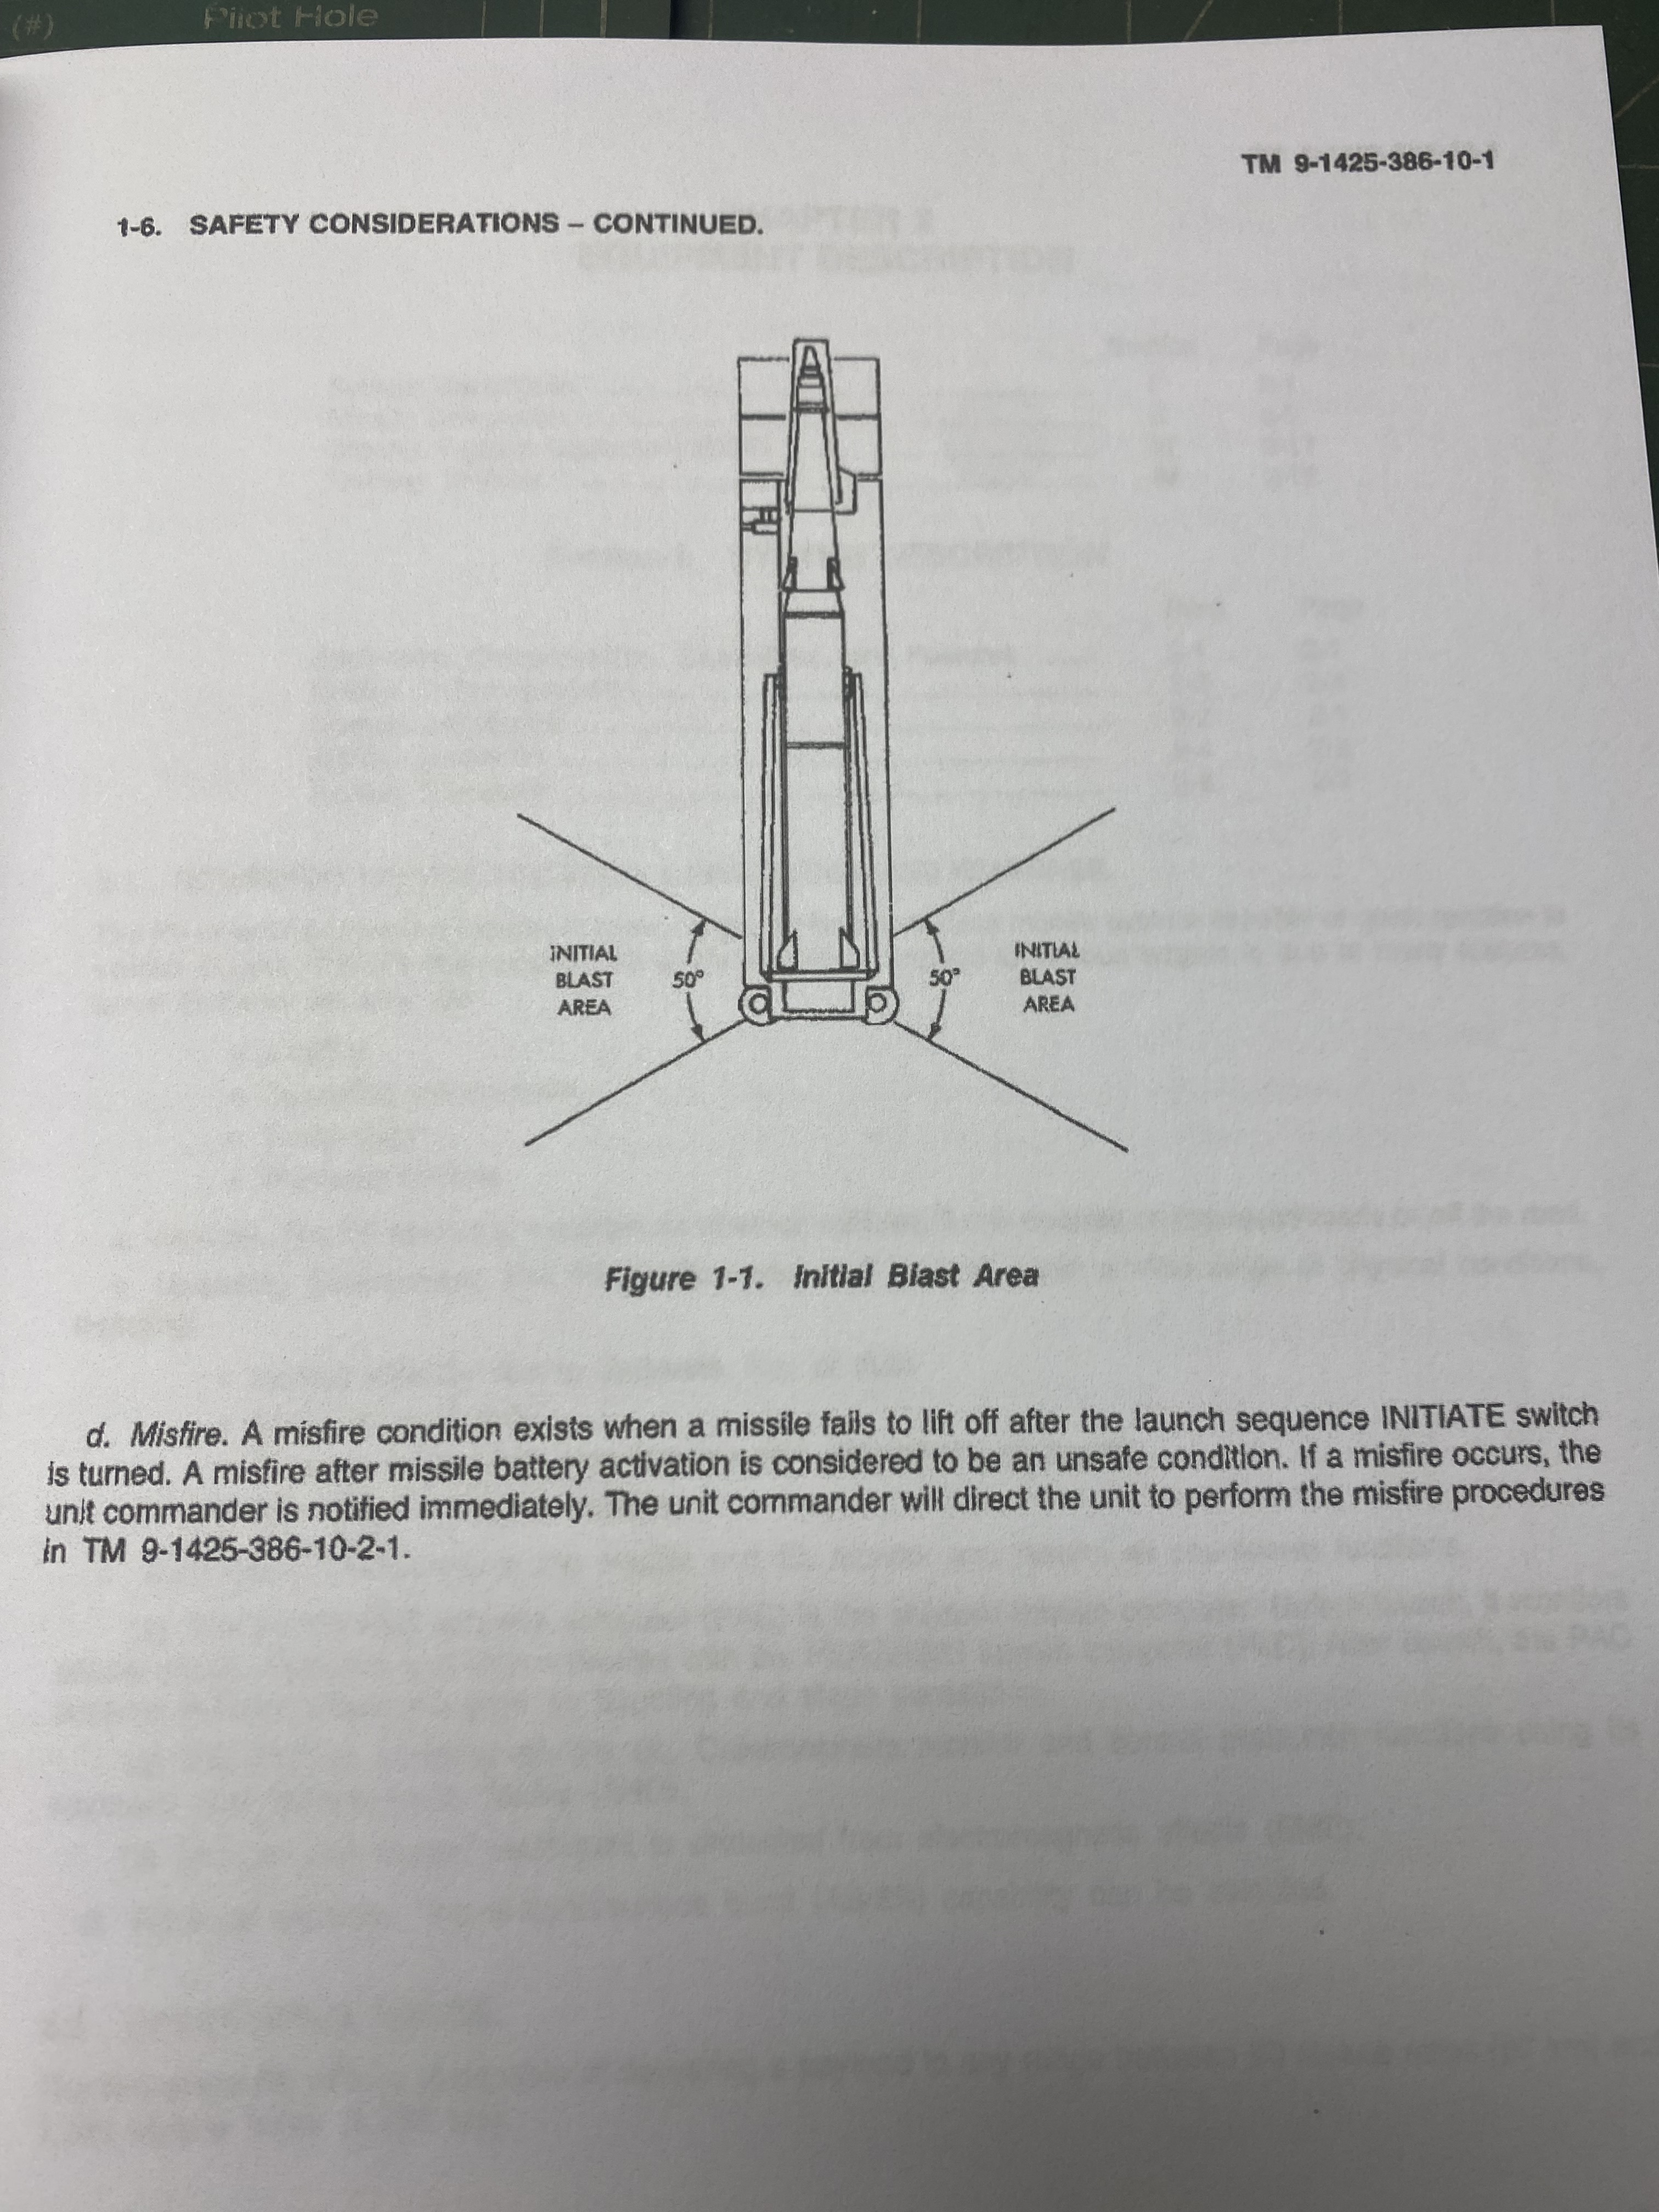
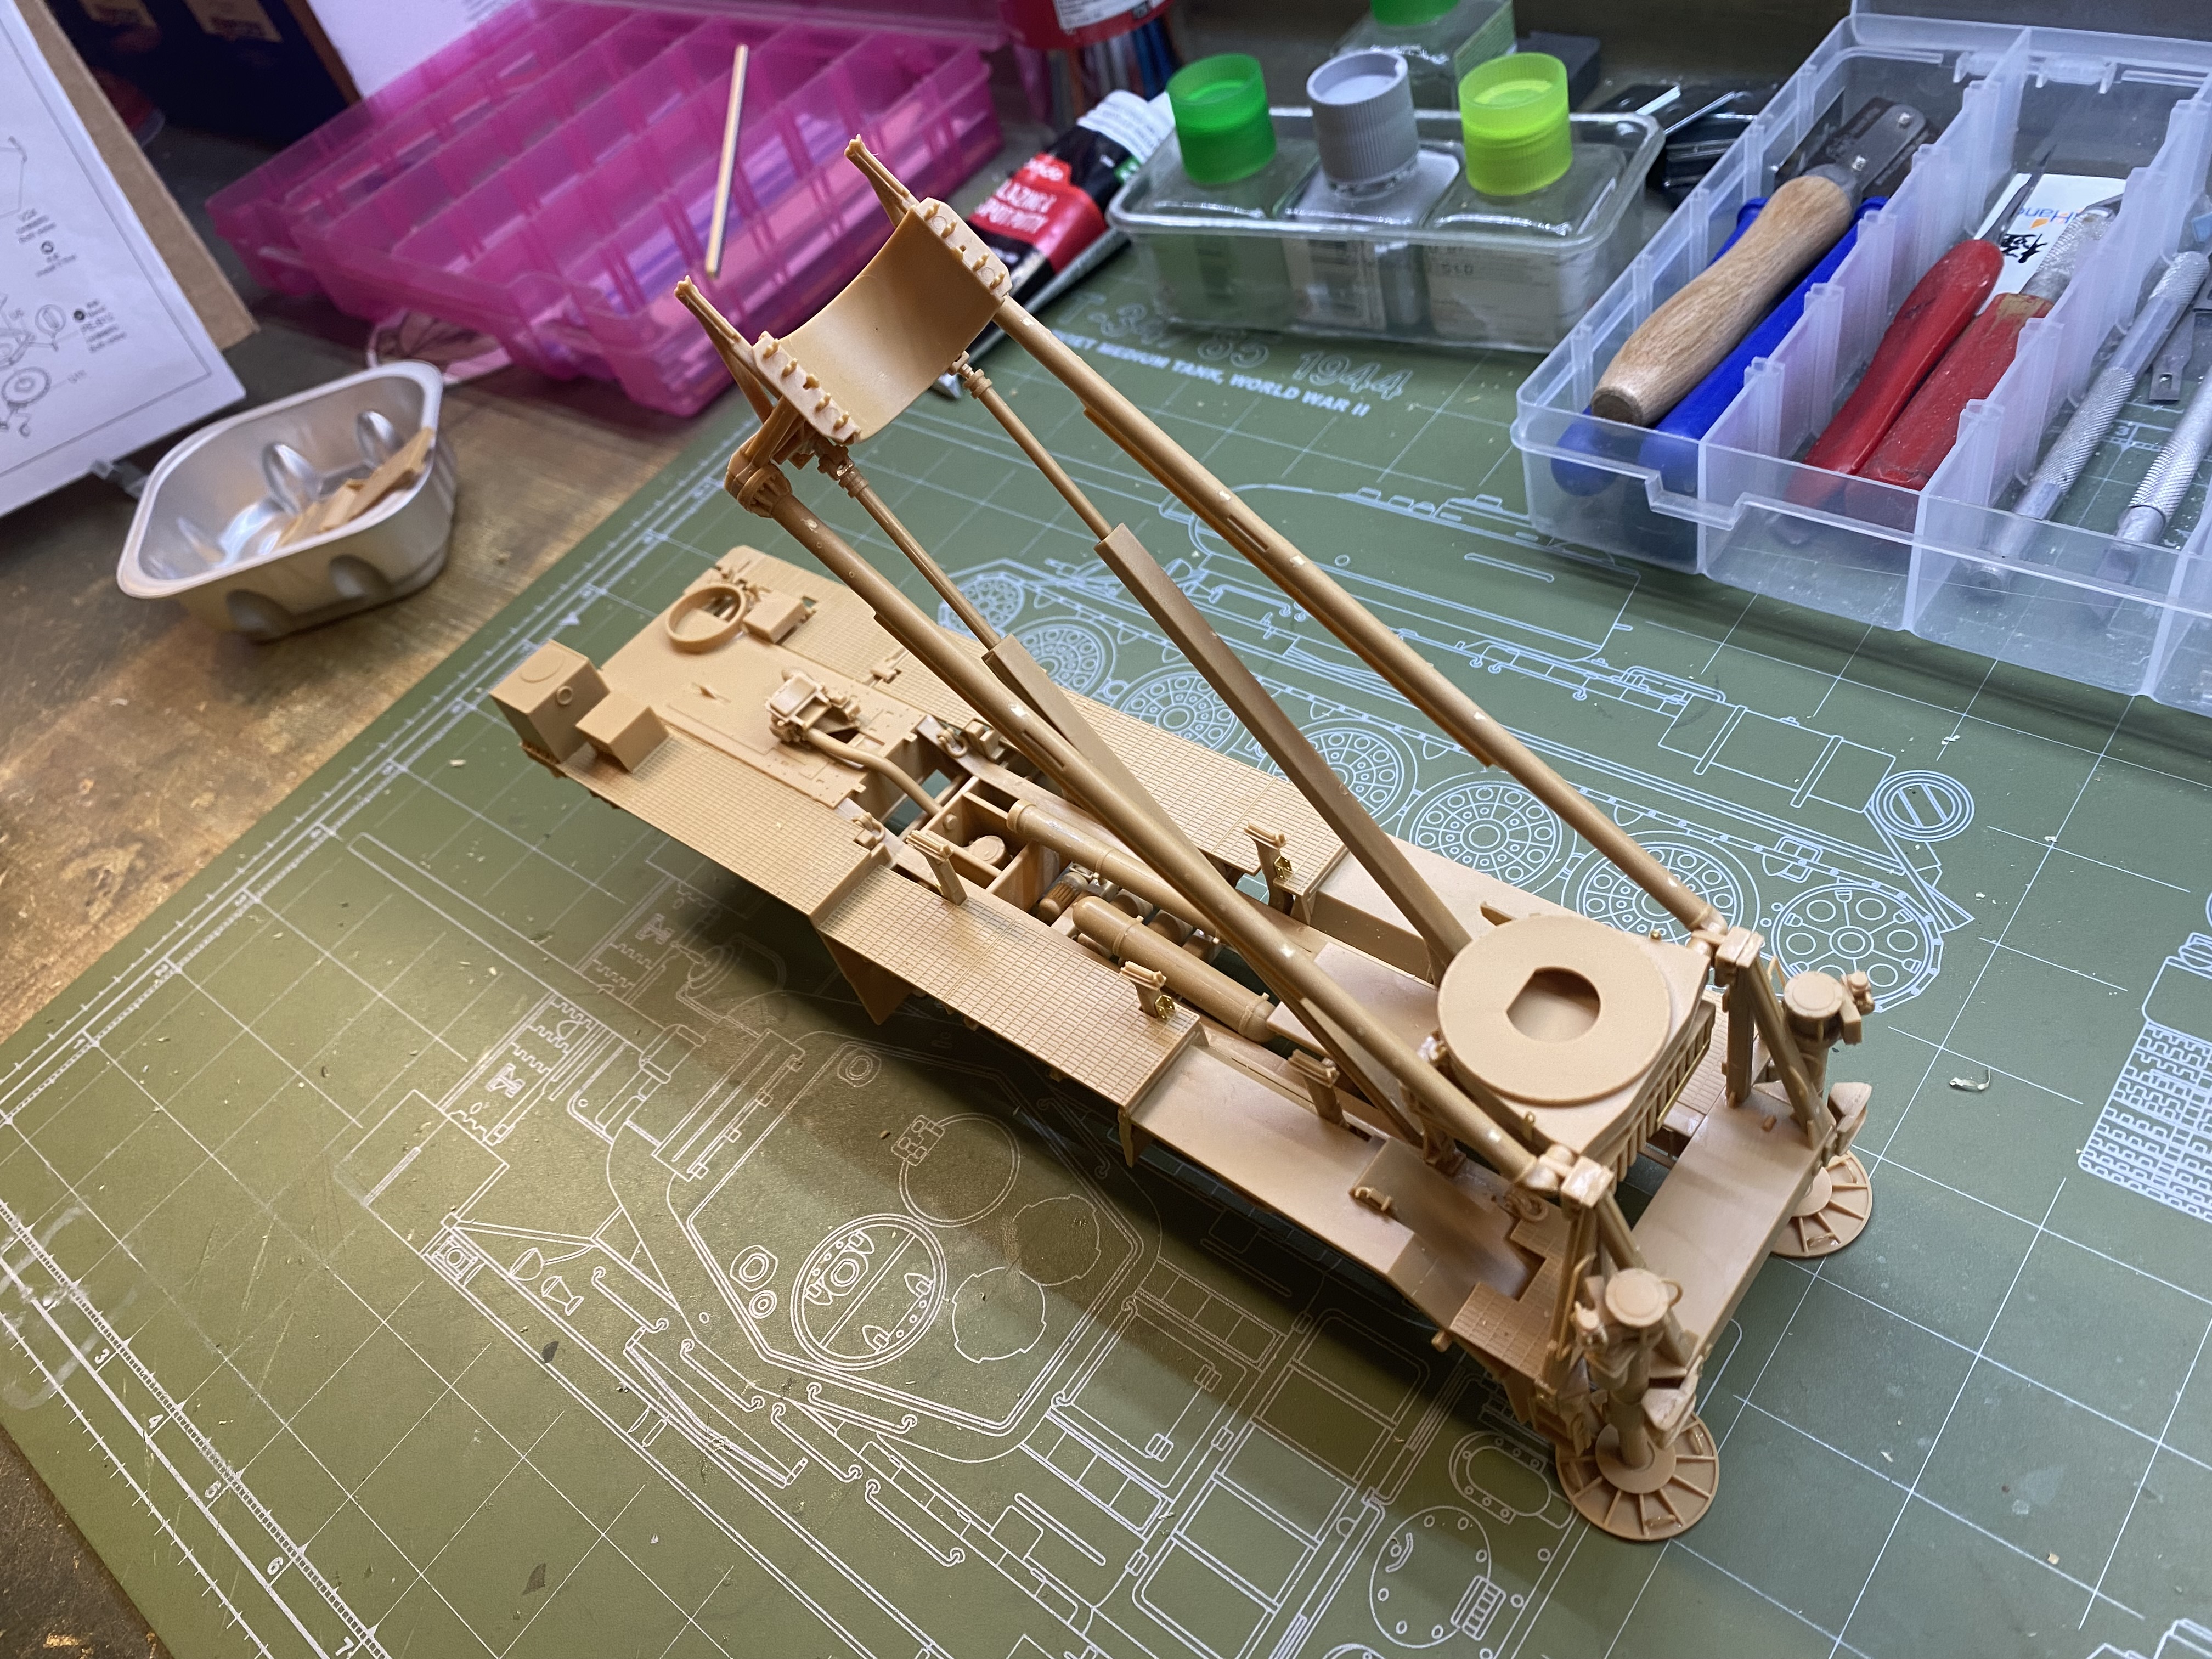
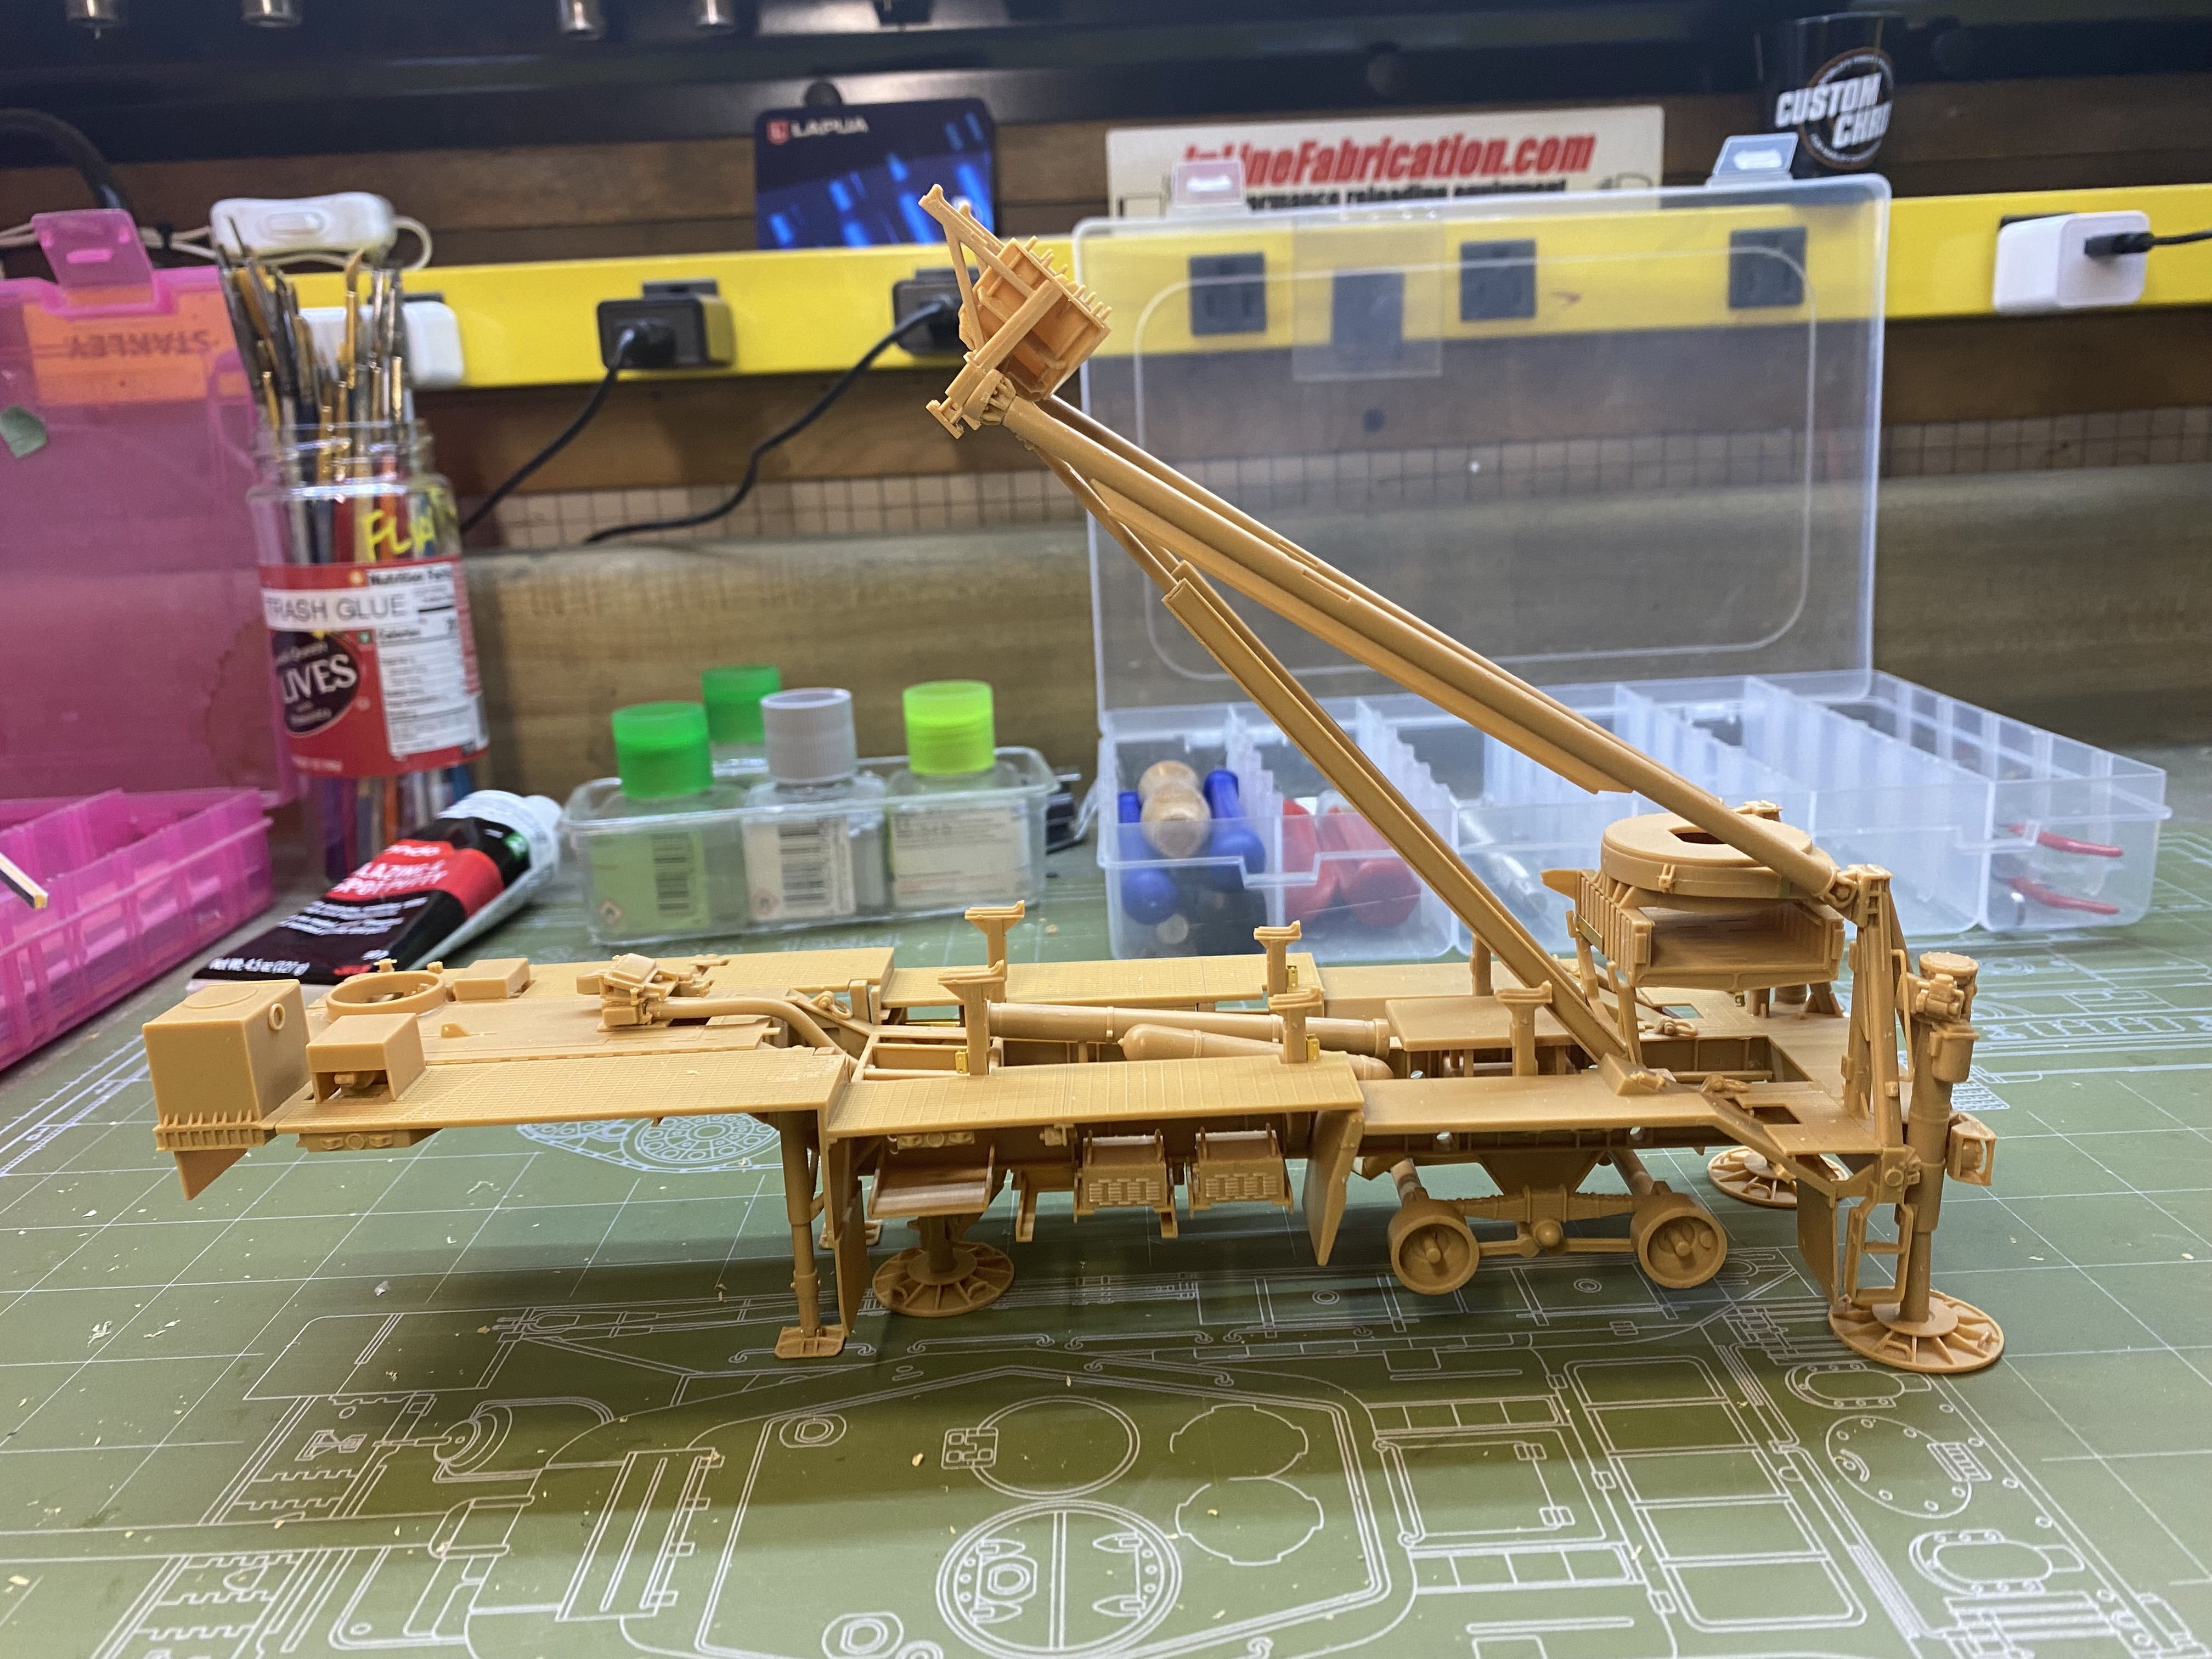
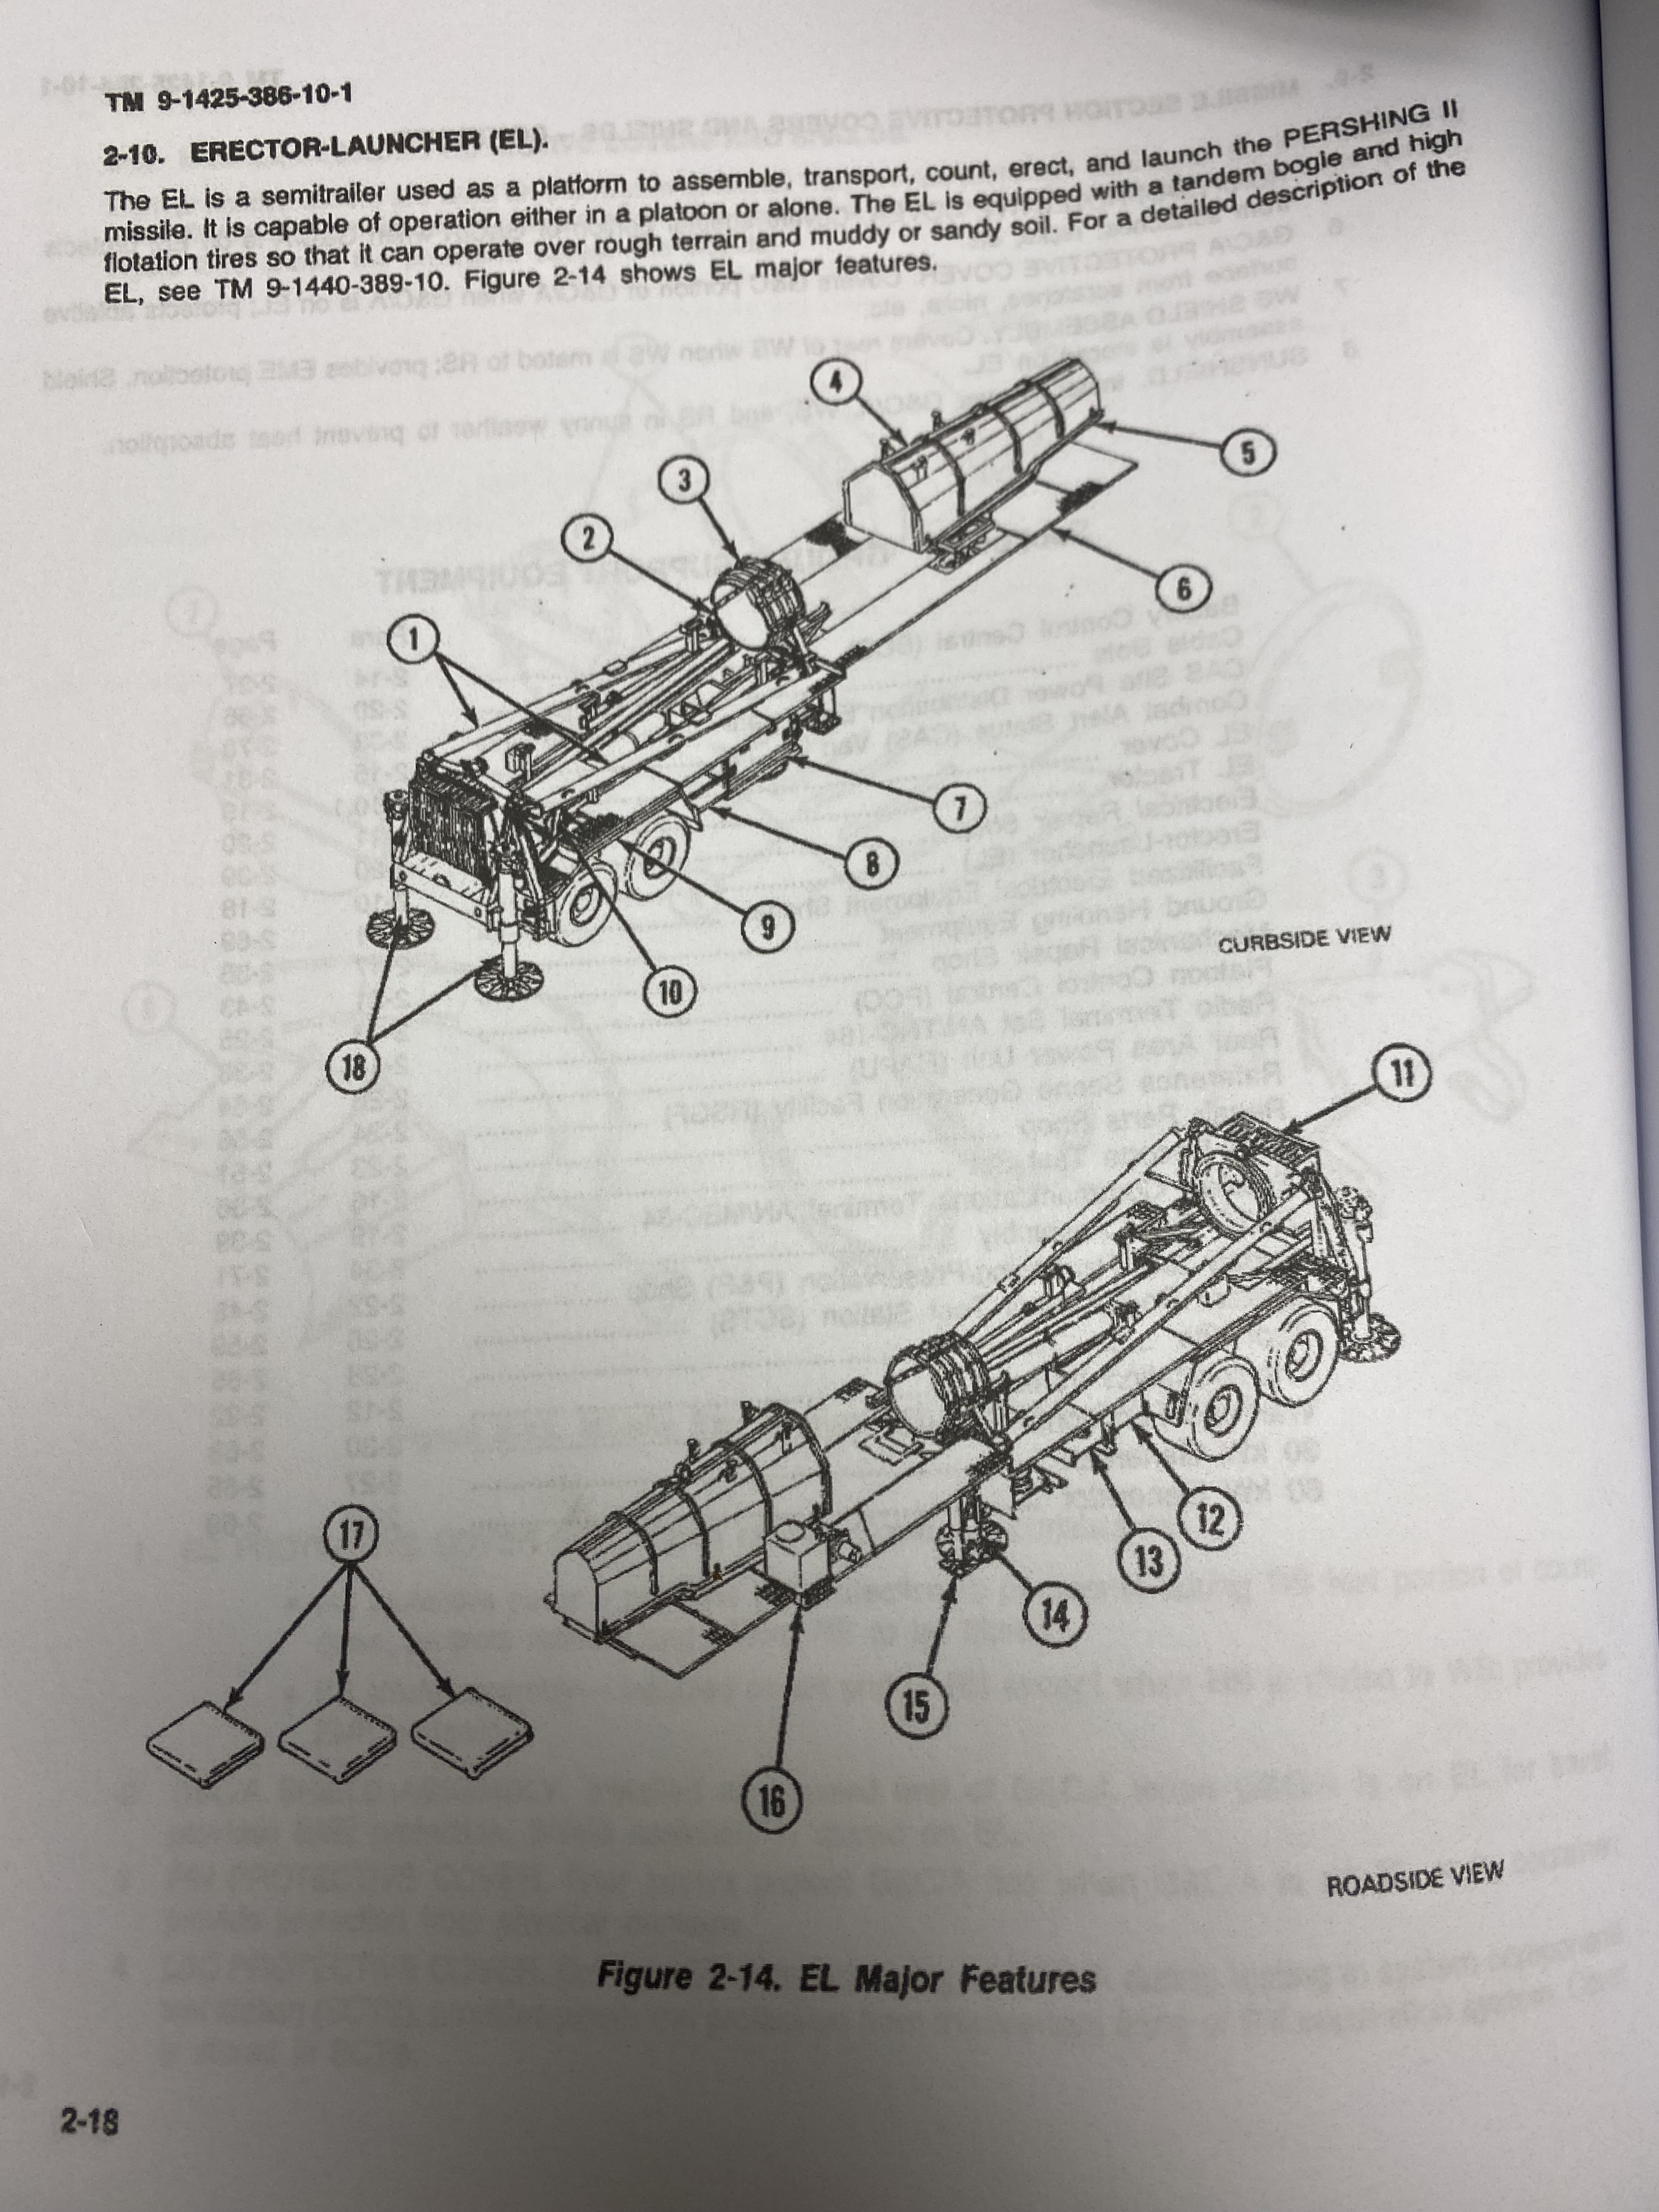
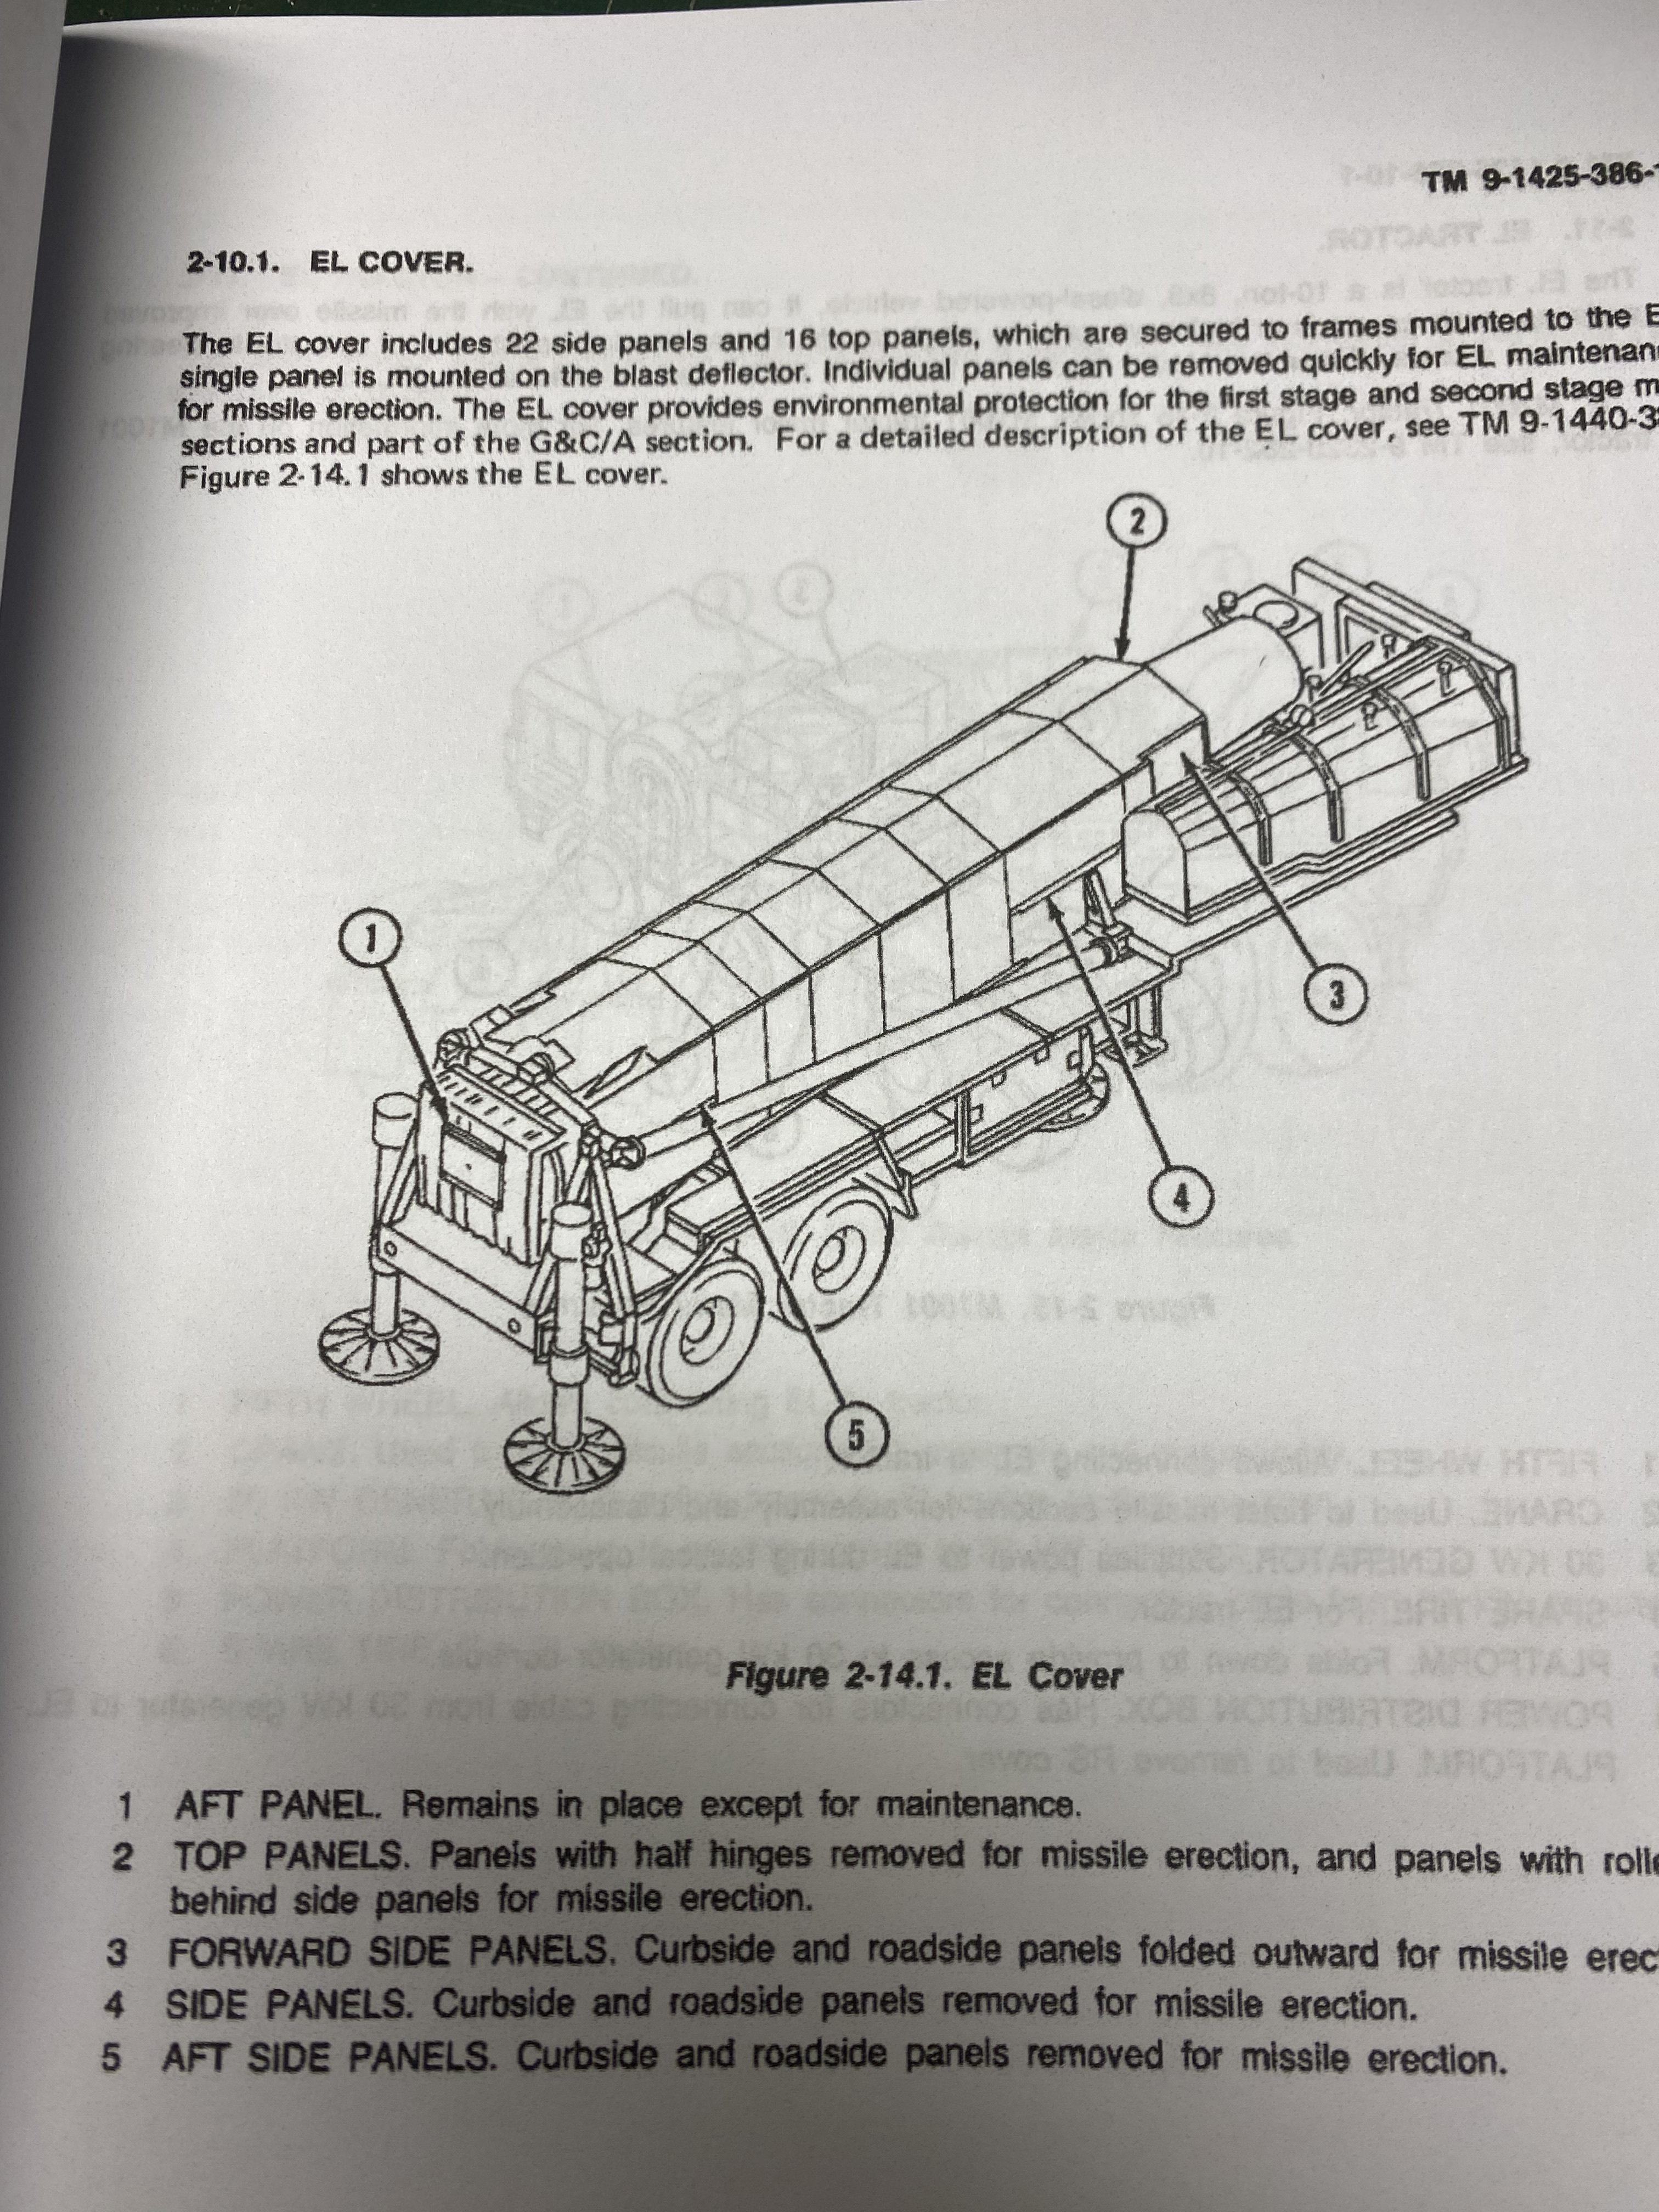
I want to build one EL (erector launcher) in launch/ready to fire position, with the missle erected, and eventually another in the transport position on the EL.

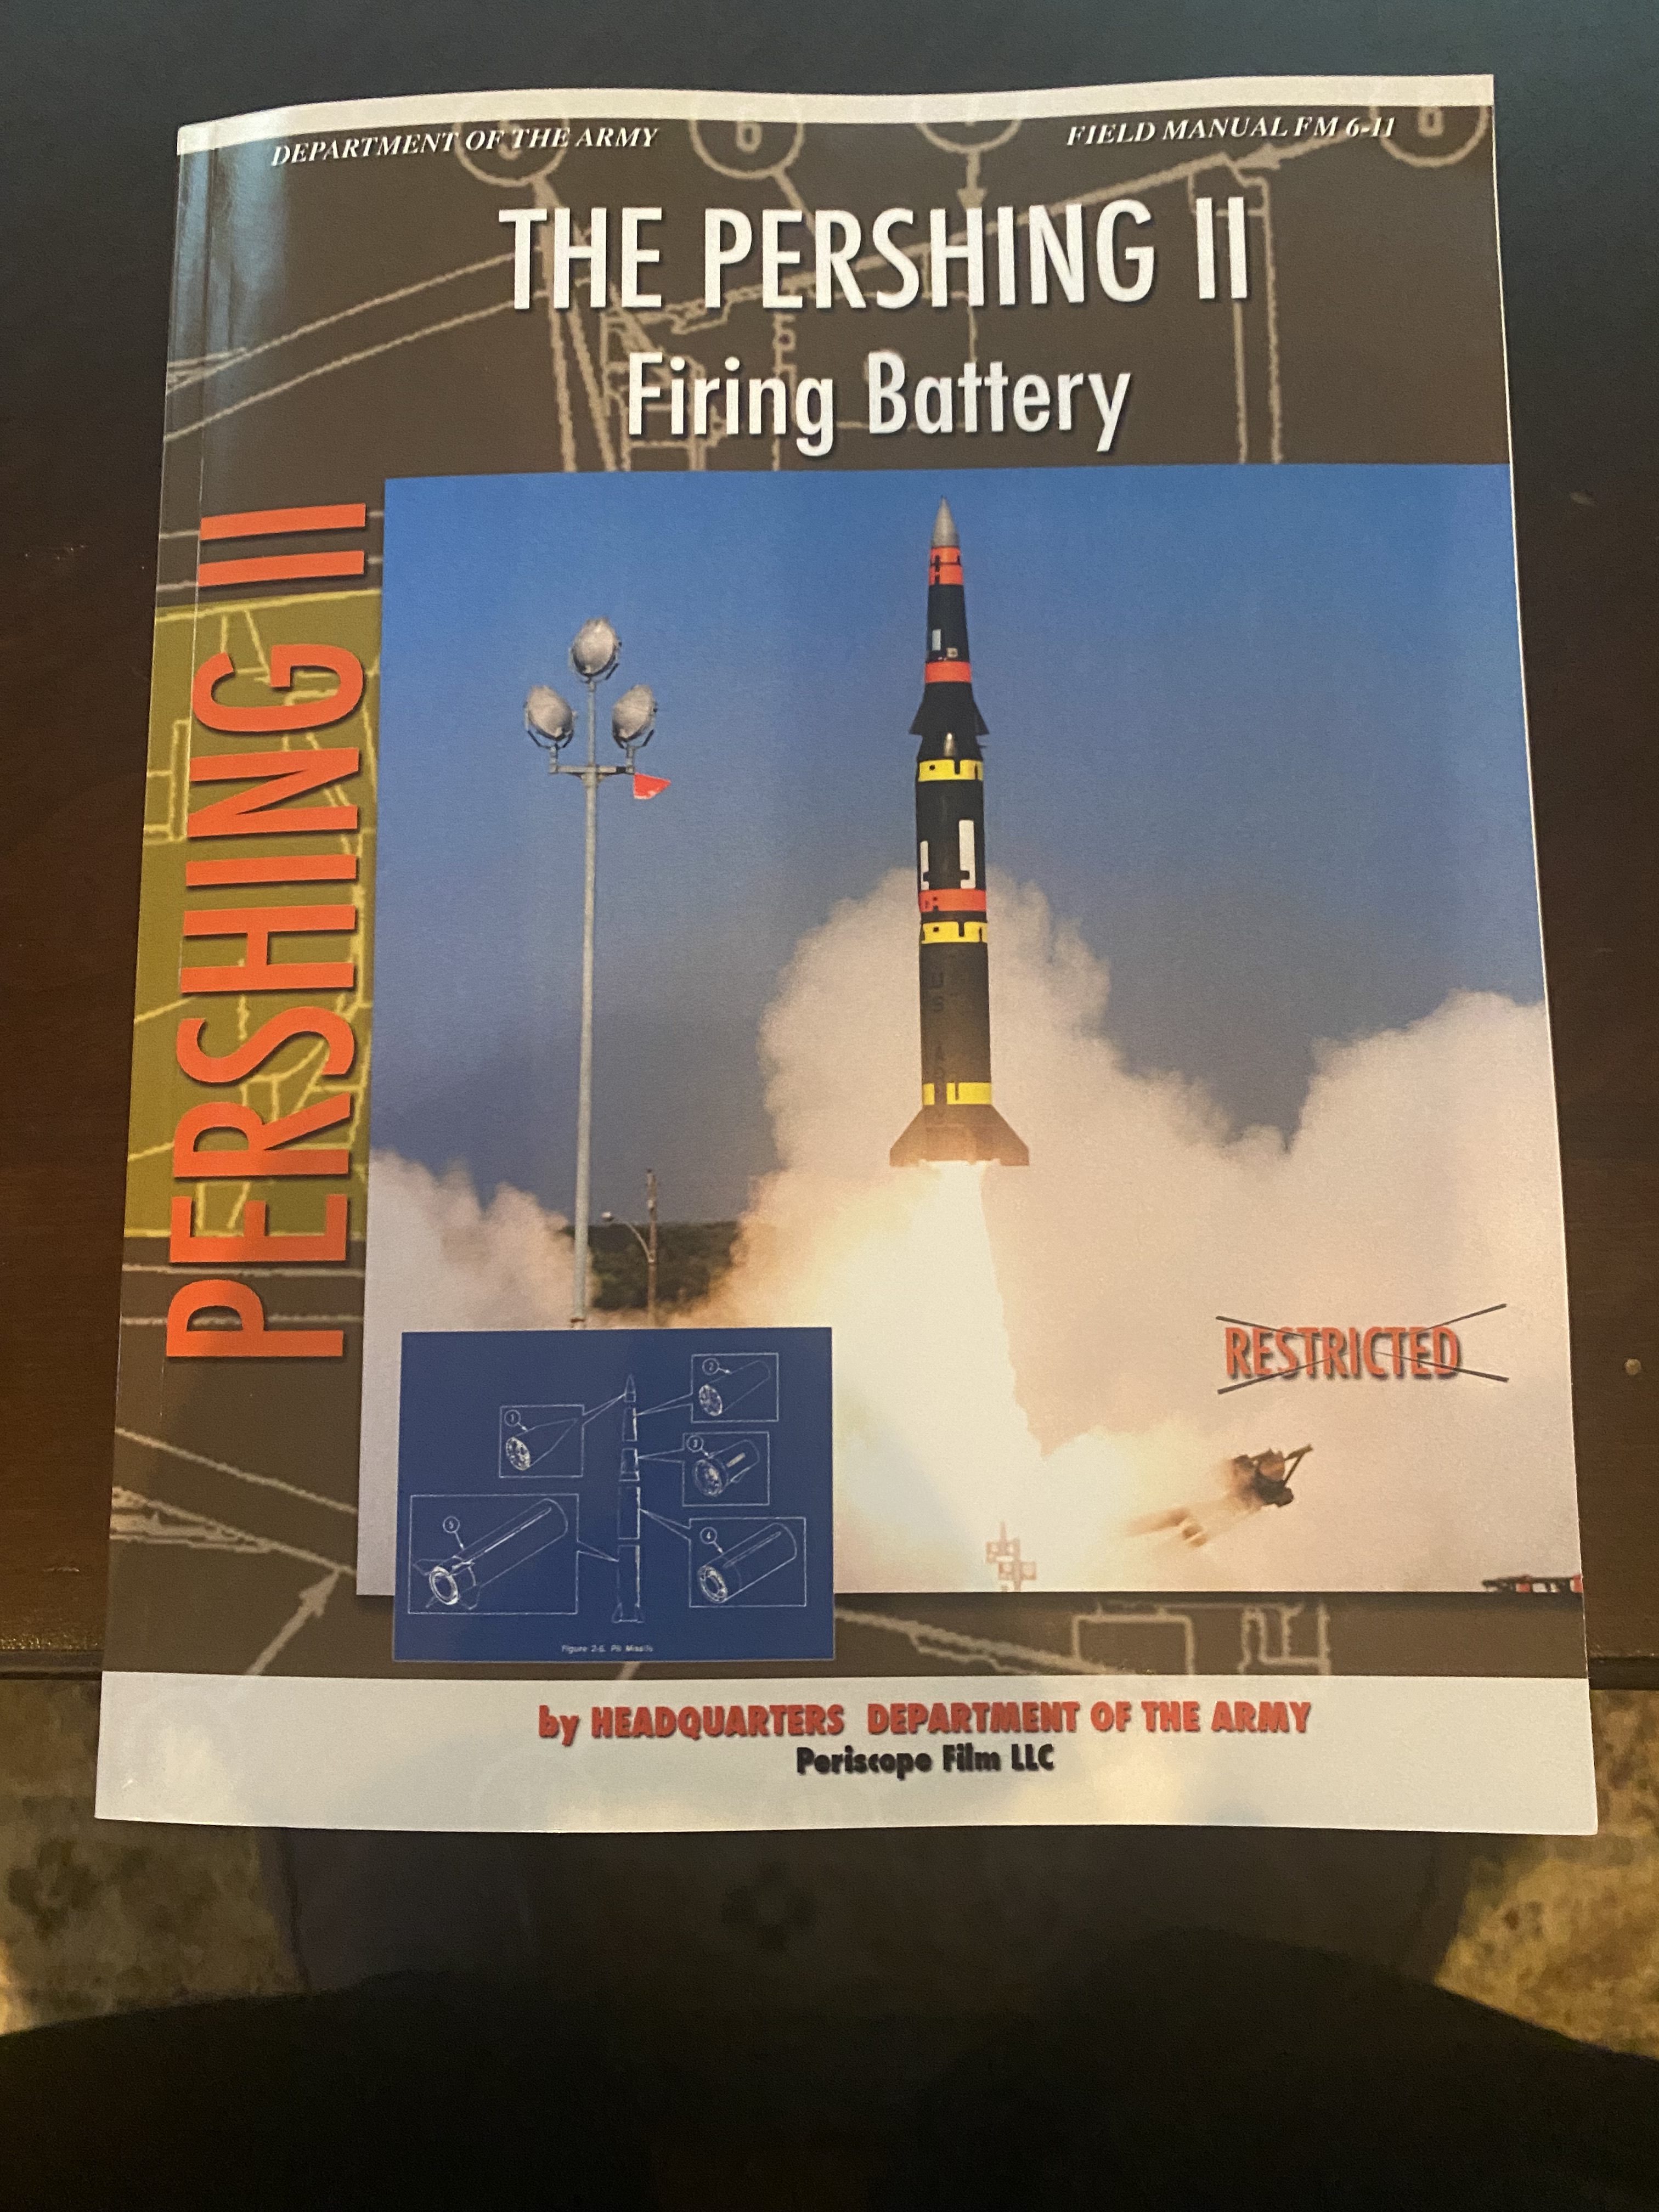
Edited to add: I discovered the above photo is the Pershing II MGM-31D RR (reduced range/single stage) missile that was developed for use by Germany. As a result of the INF treaty, they were never deployed.

The above EL is identical to that MGM-131C Pershing II missile, that was originally the EL for the Pershing 1B upgraded by Martin Marietta for the Pershing II.

Because is the increased weight of the Pershing 2C and the upgraded EL, the tractor for pulling the EL was changed from the M656 that towed the Pershing 1A, to the M983 HEMTT for US units and the MAN M1001 for units deployed to Europe.

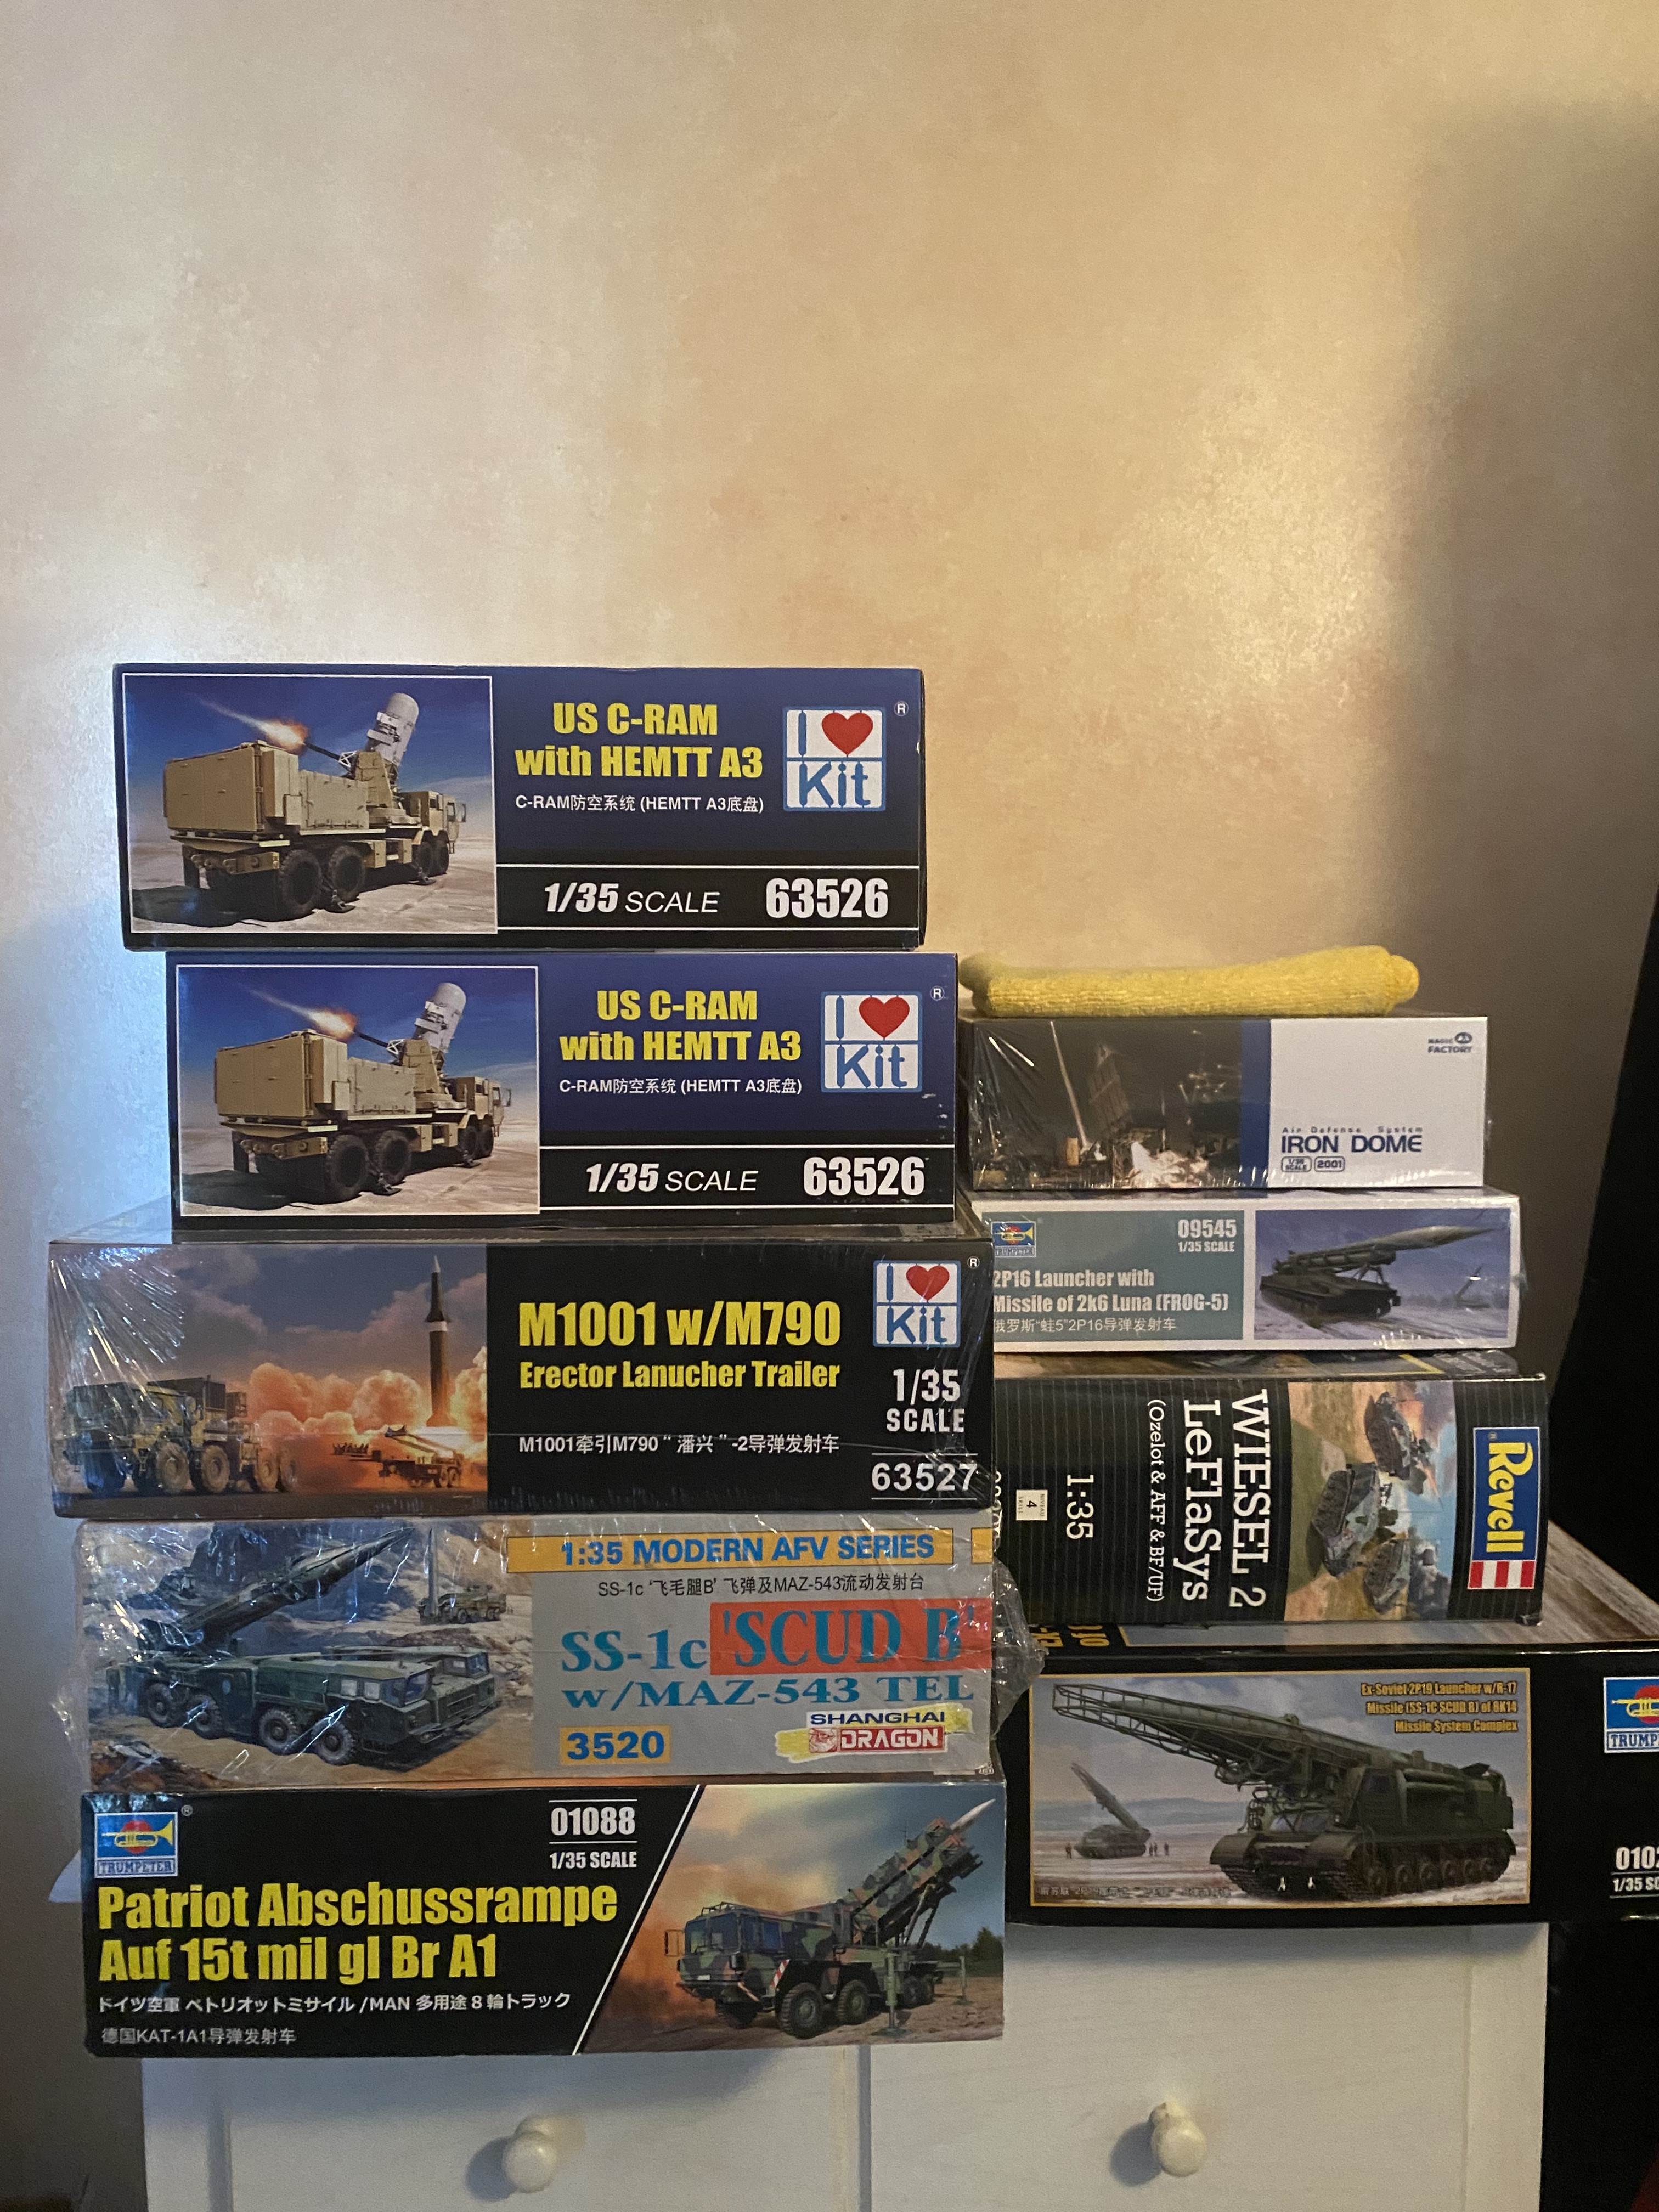
Here are the reference materials I could find:

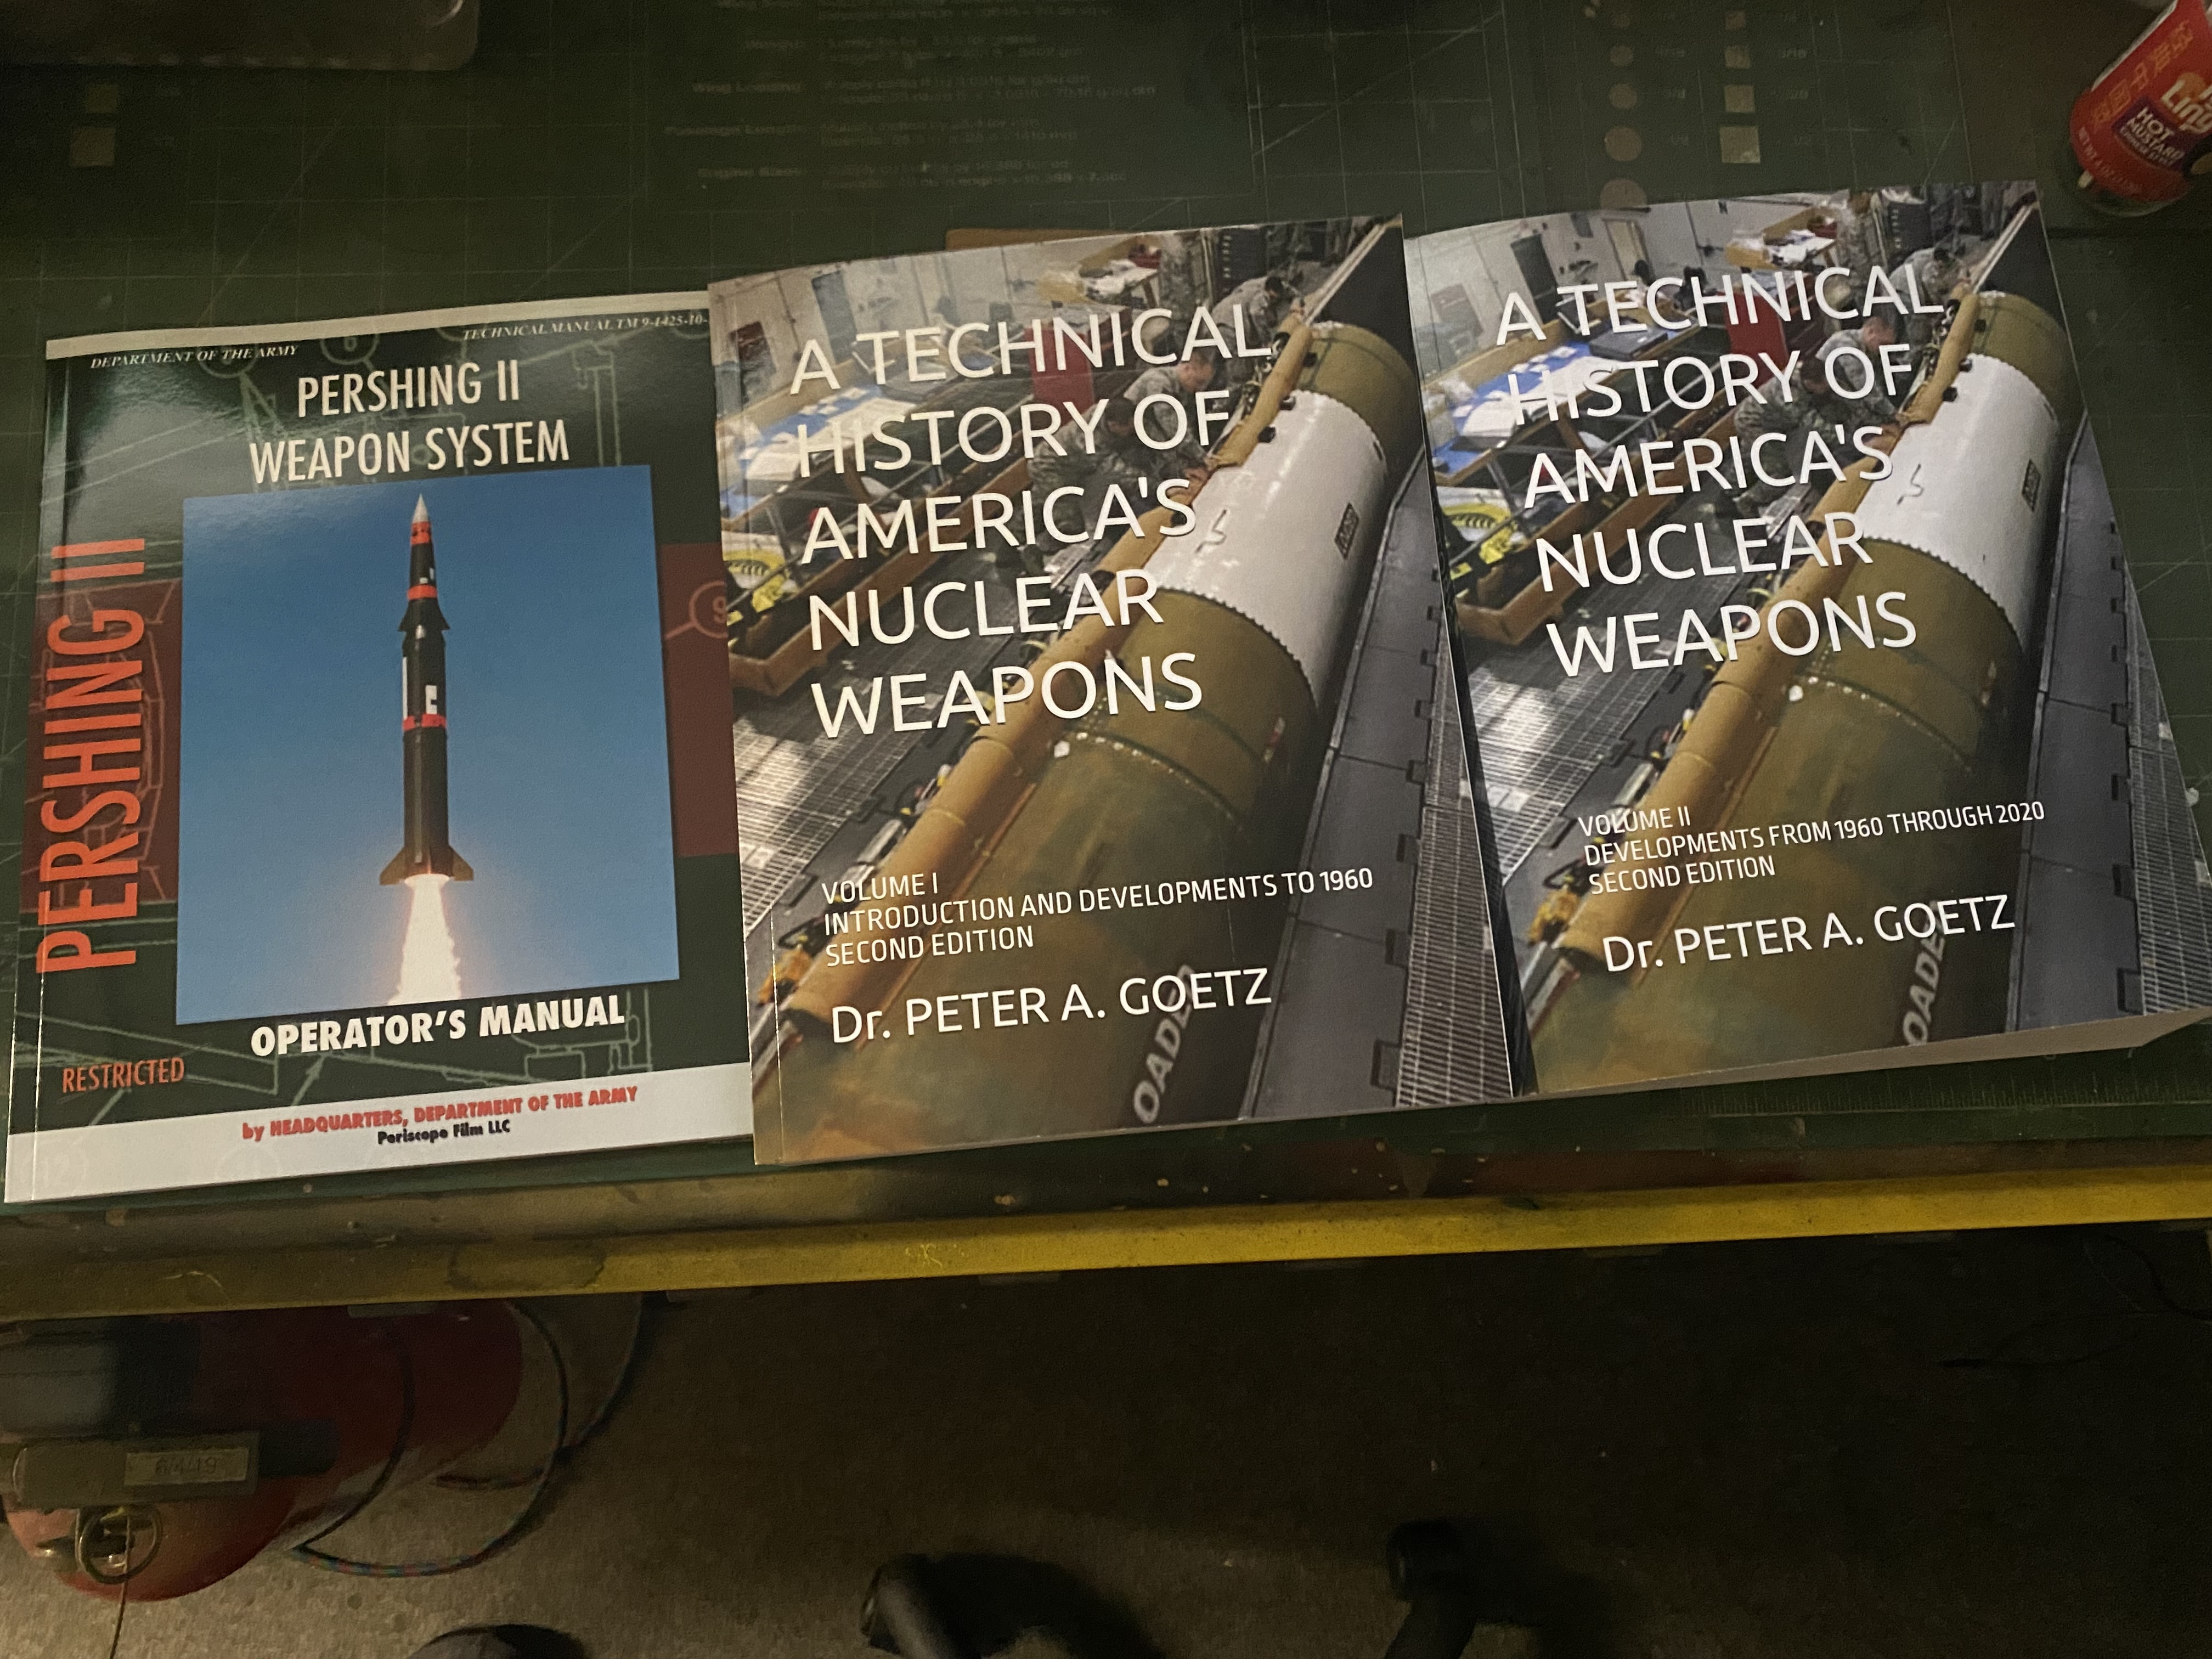
The Technical History books have lots of information on all the Cold War systems, everything from the Corporal, Sargent, Little John, Honest John, Davey Crocket and Lacrosse systems to 280mm, 8 inch and 155mm nuclear artillery rounds but not as many photos as I’d like….

The TM reprints had most of what I was interested in….

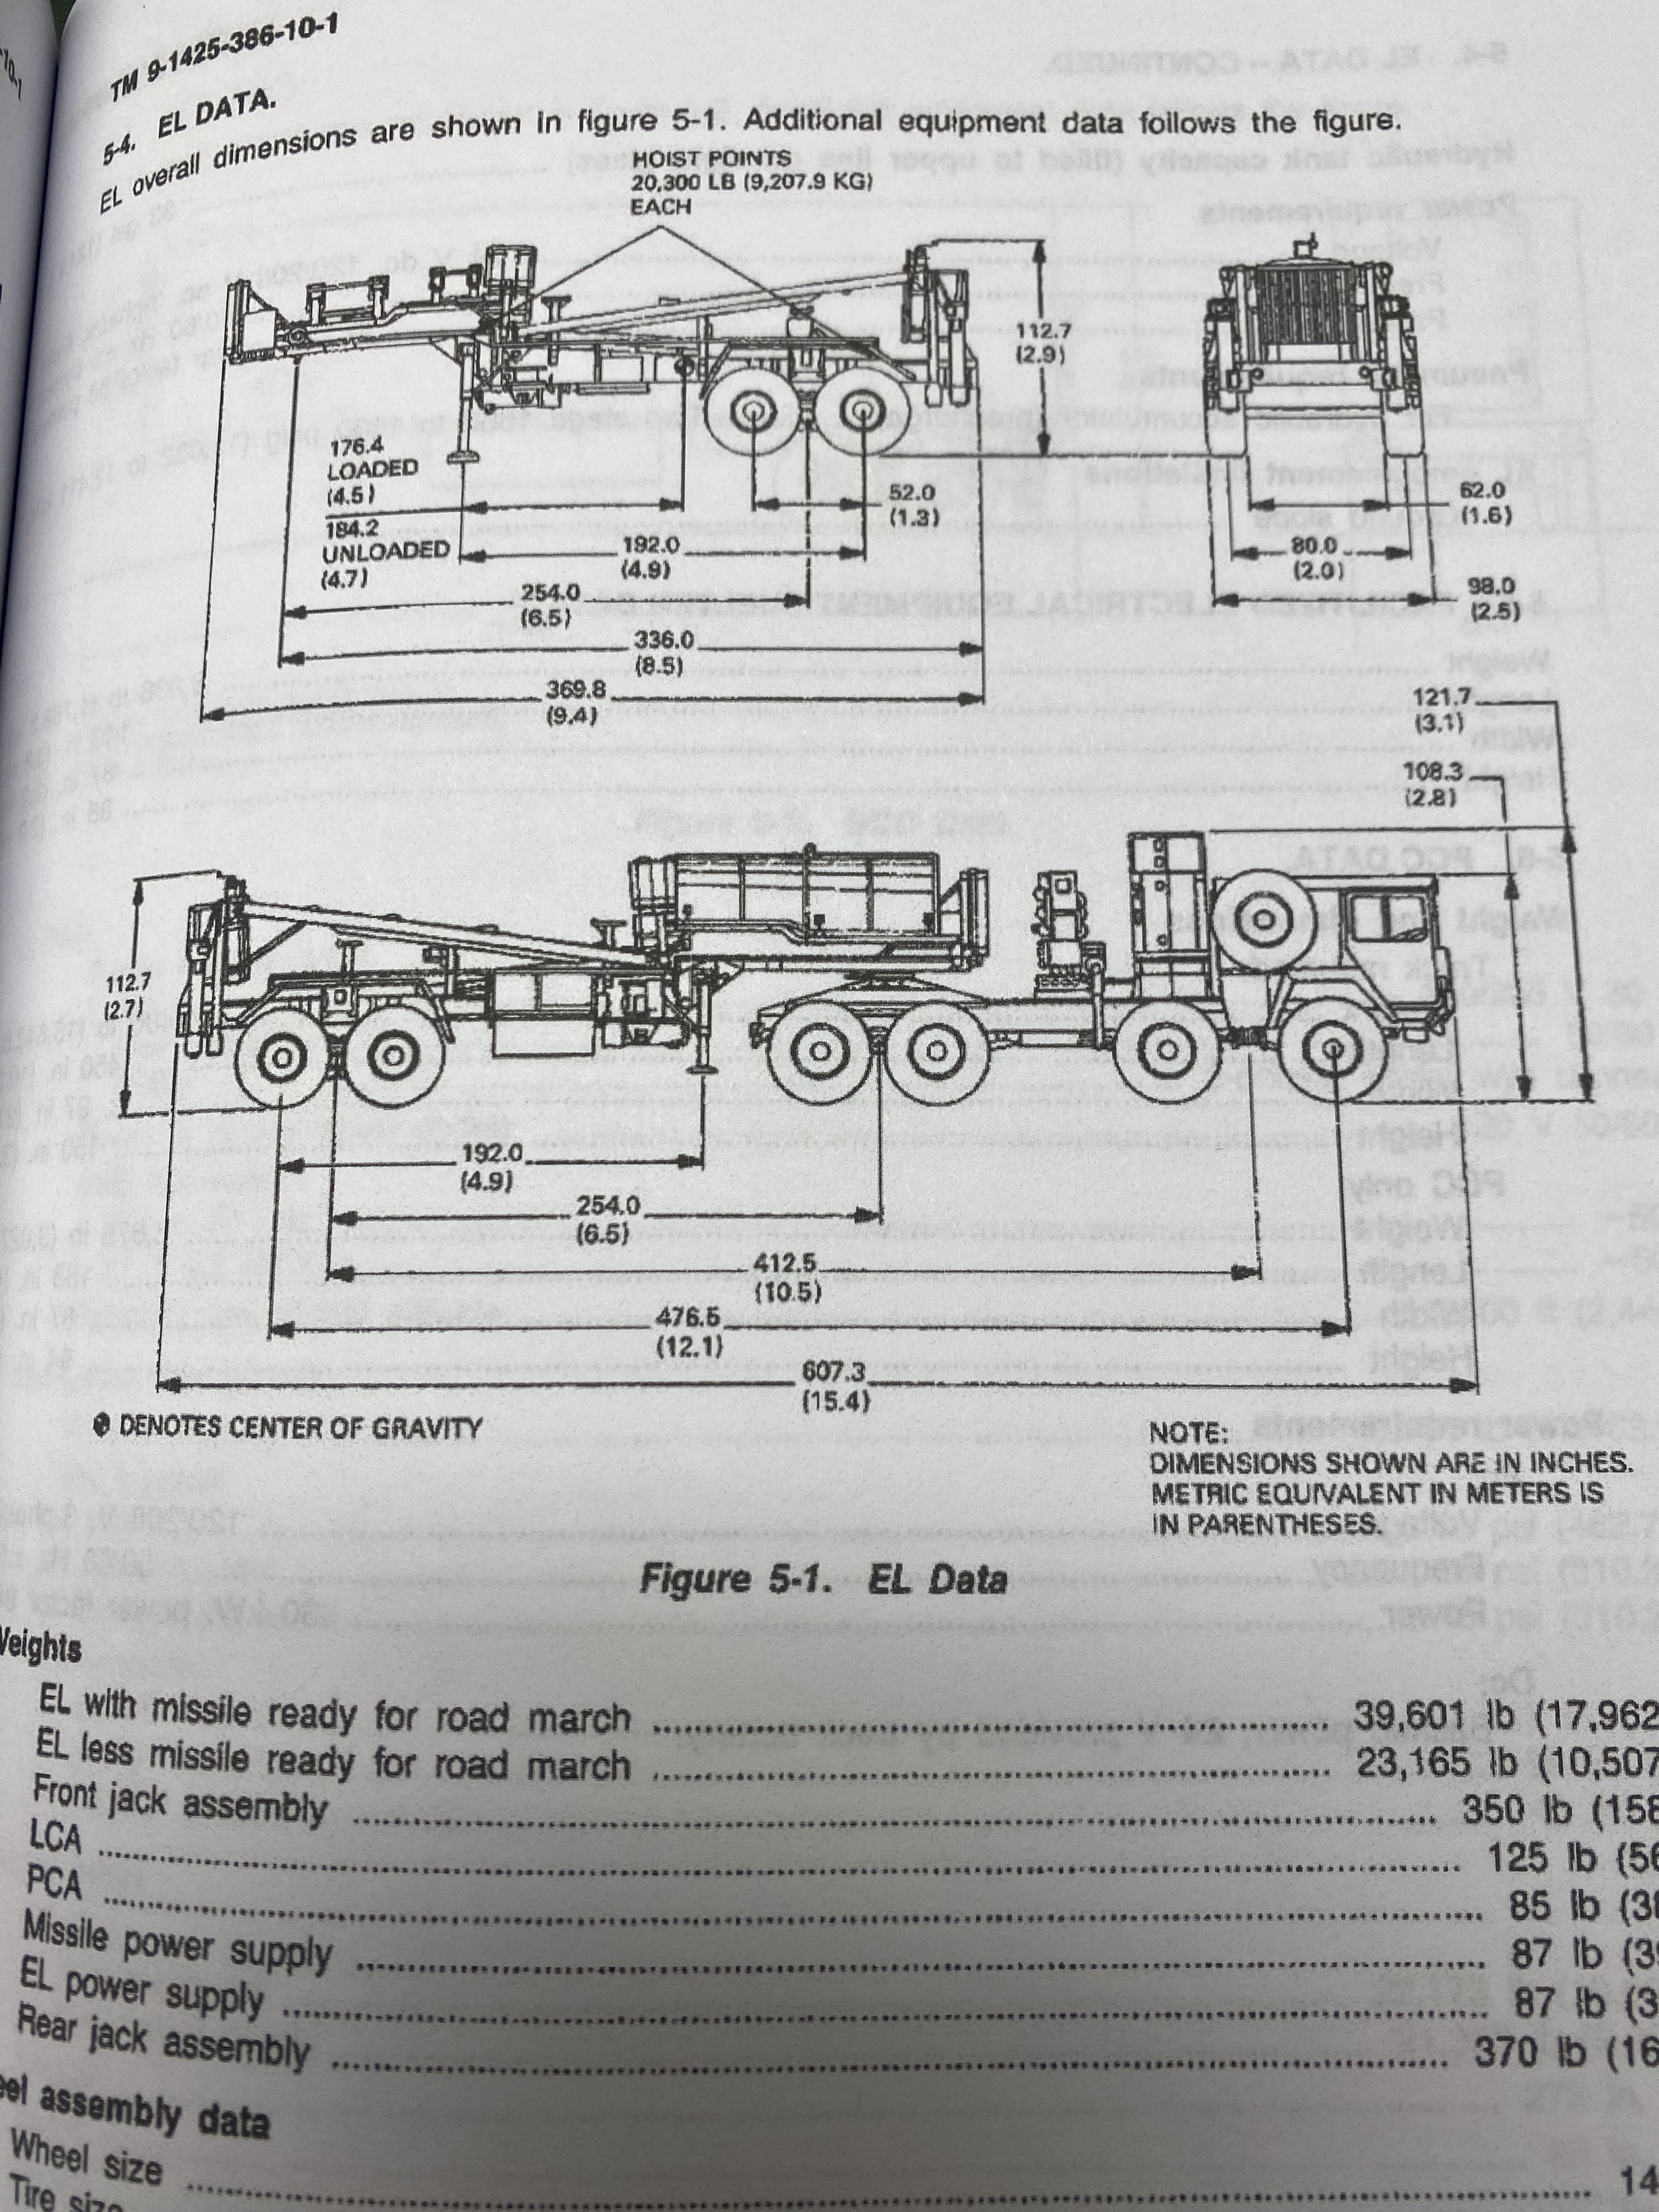
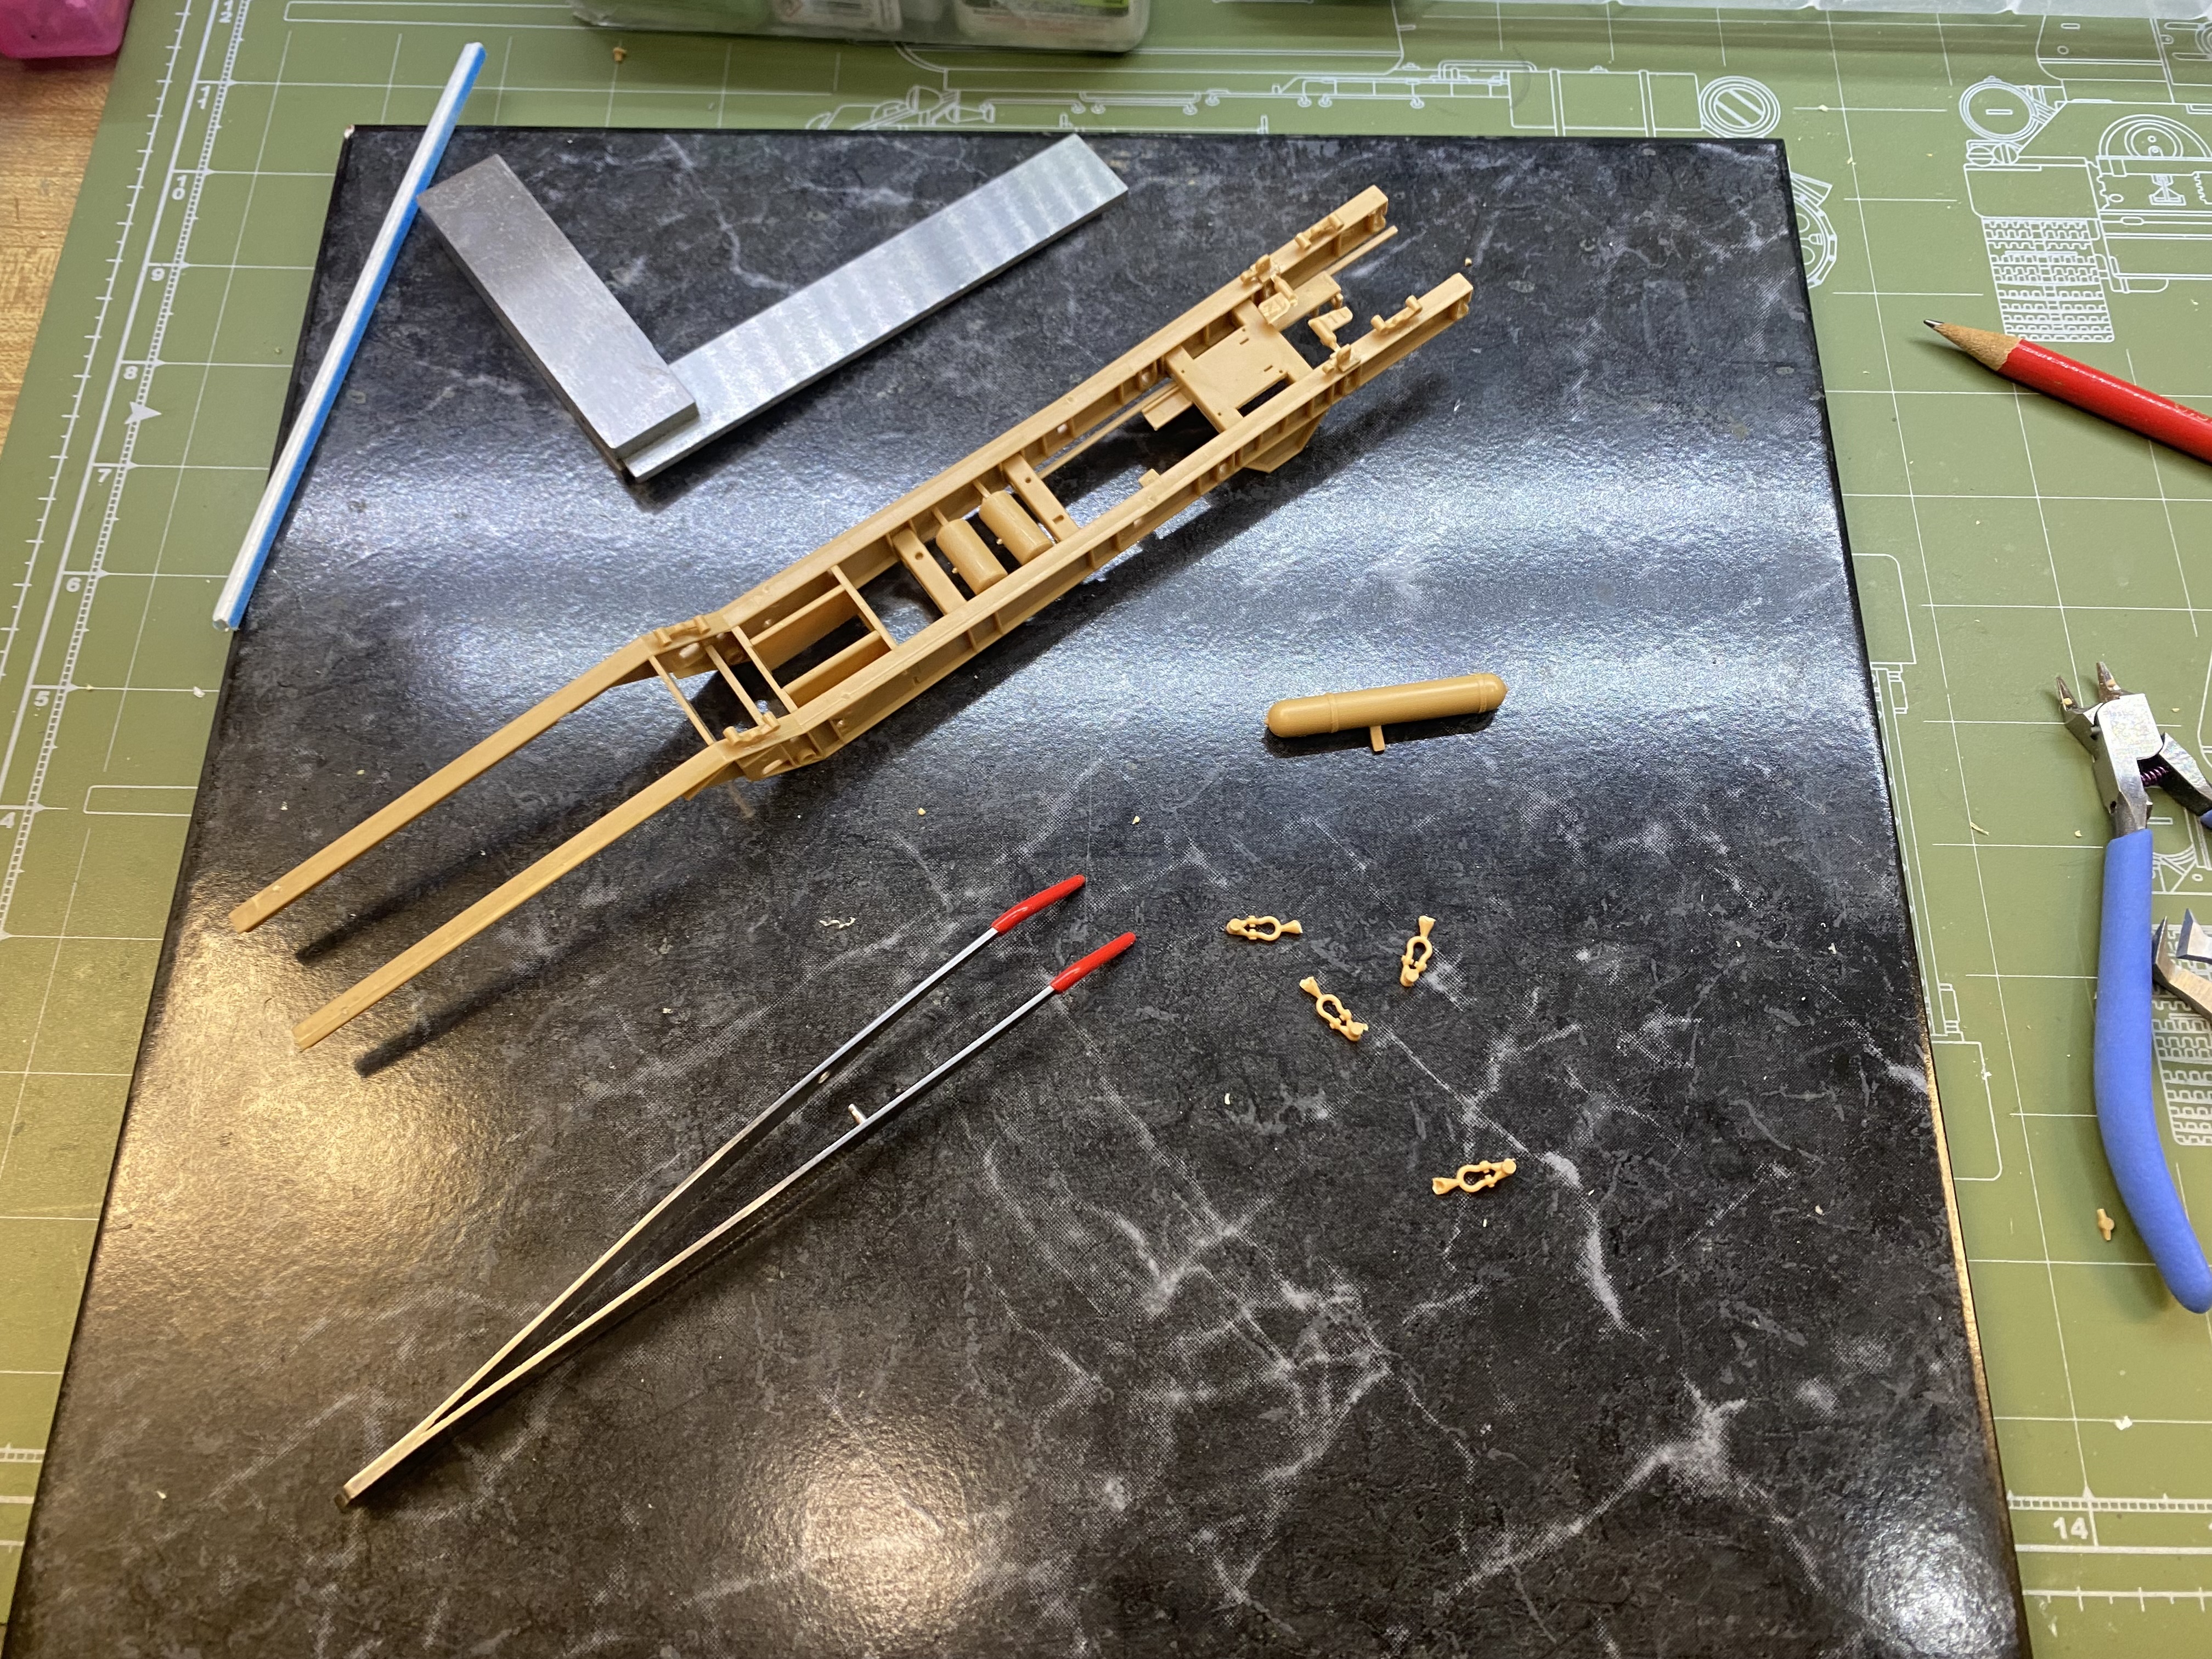
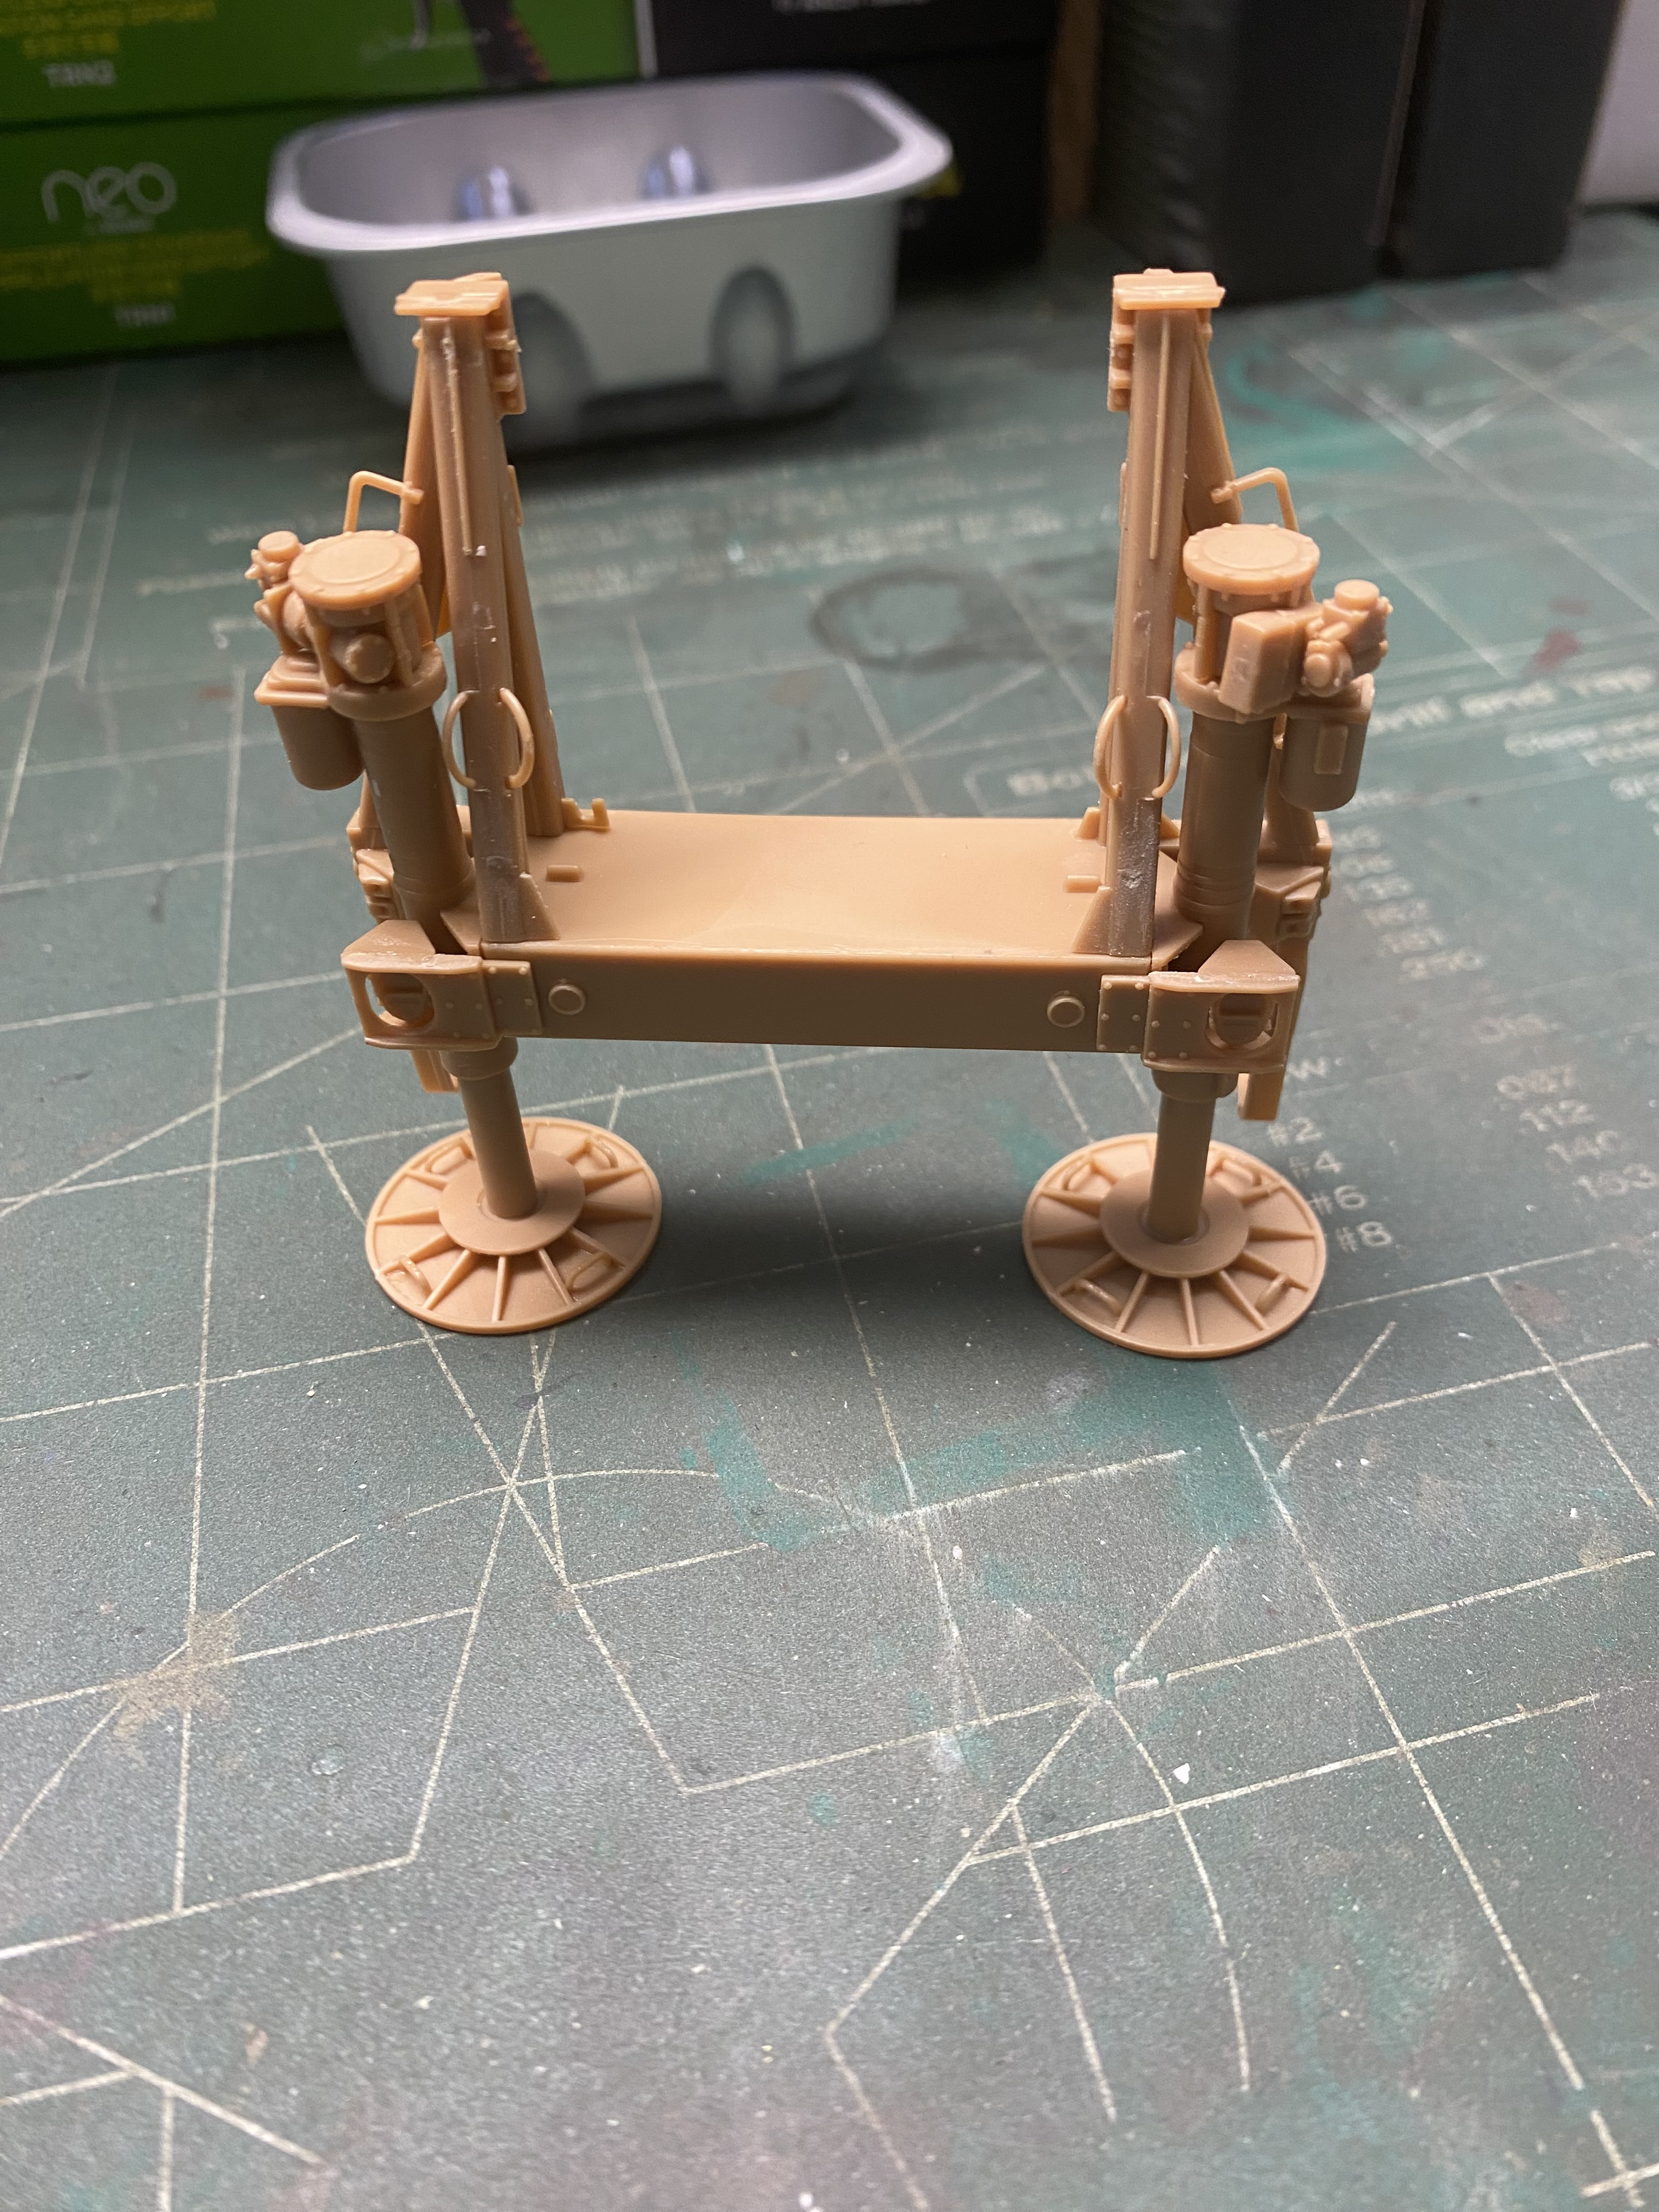
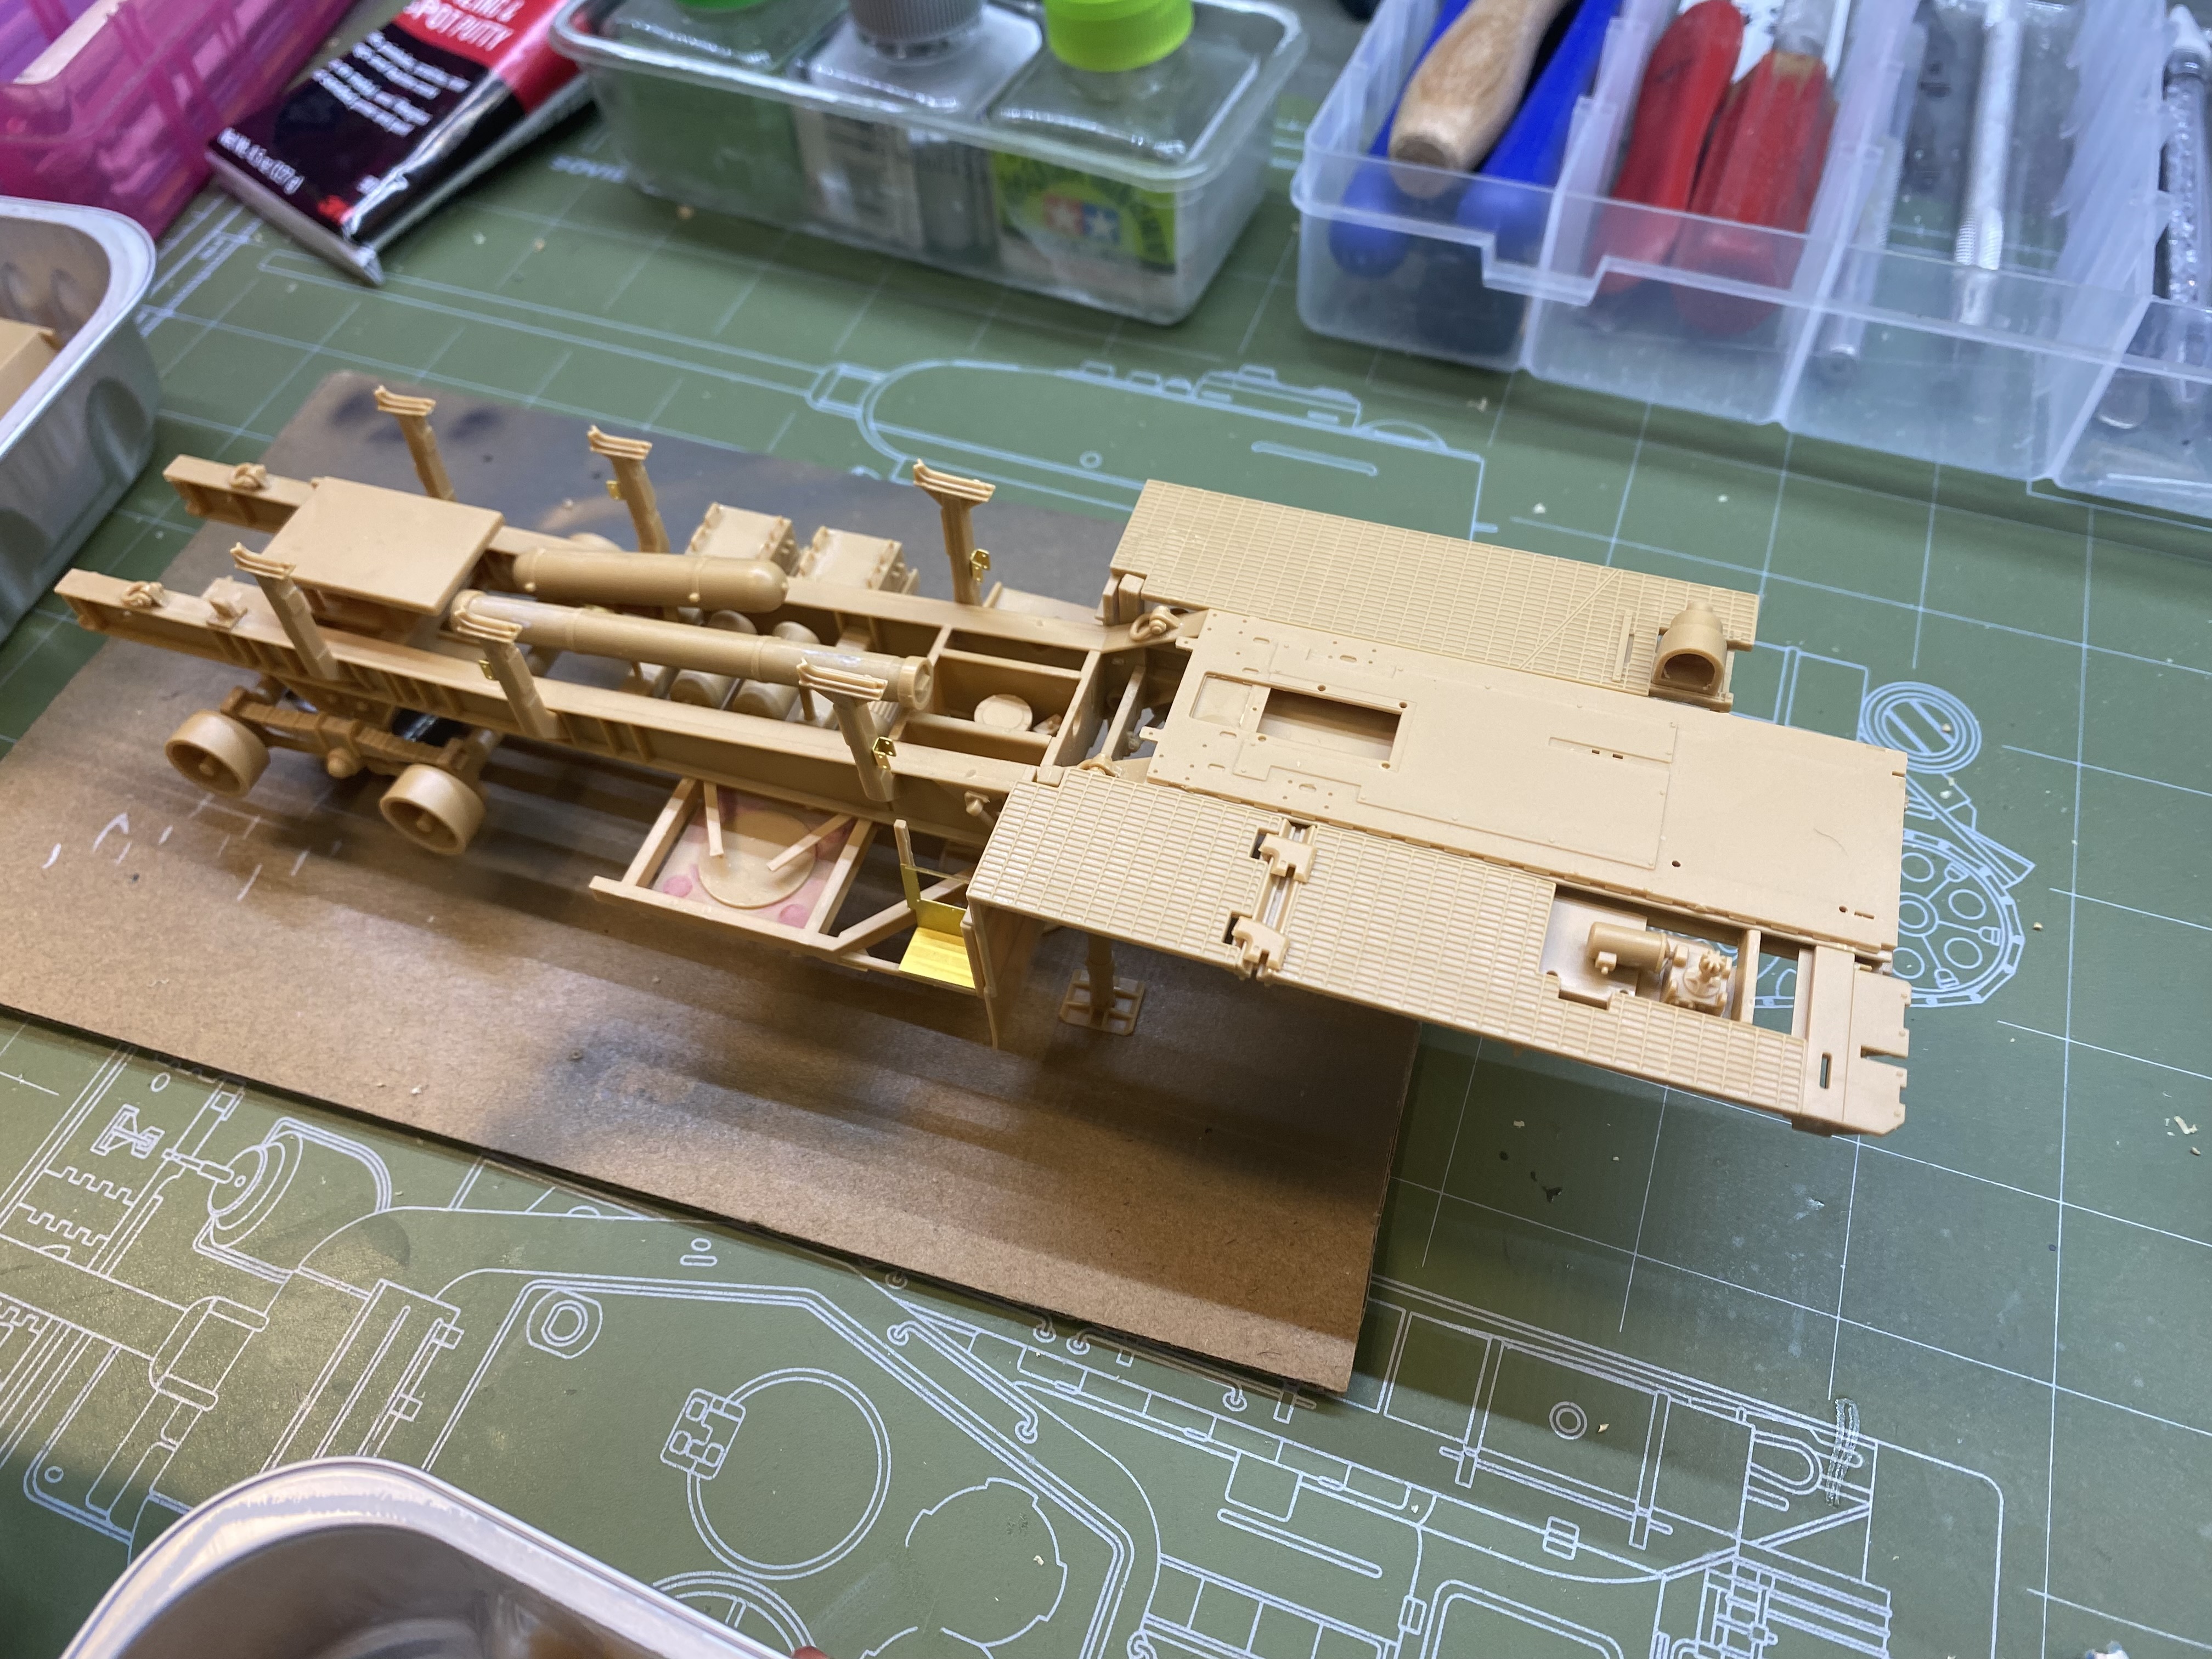
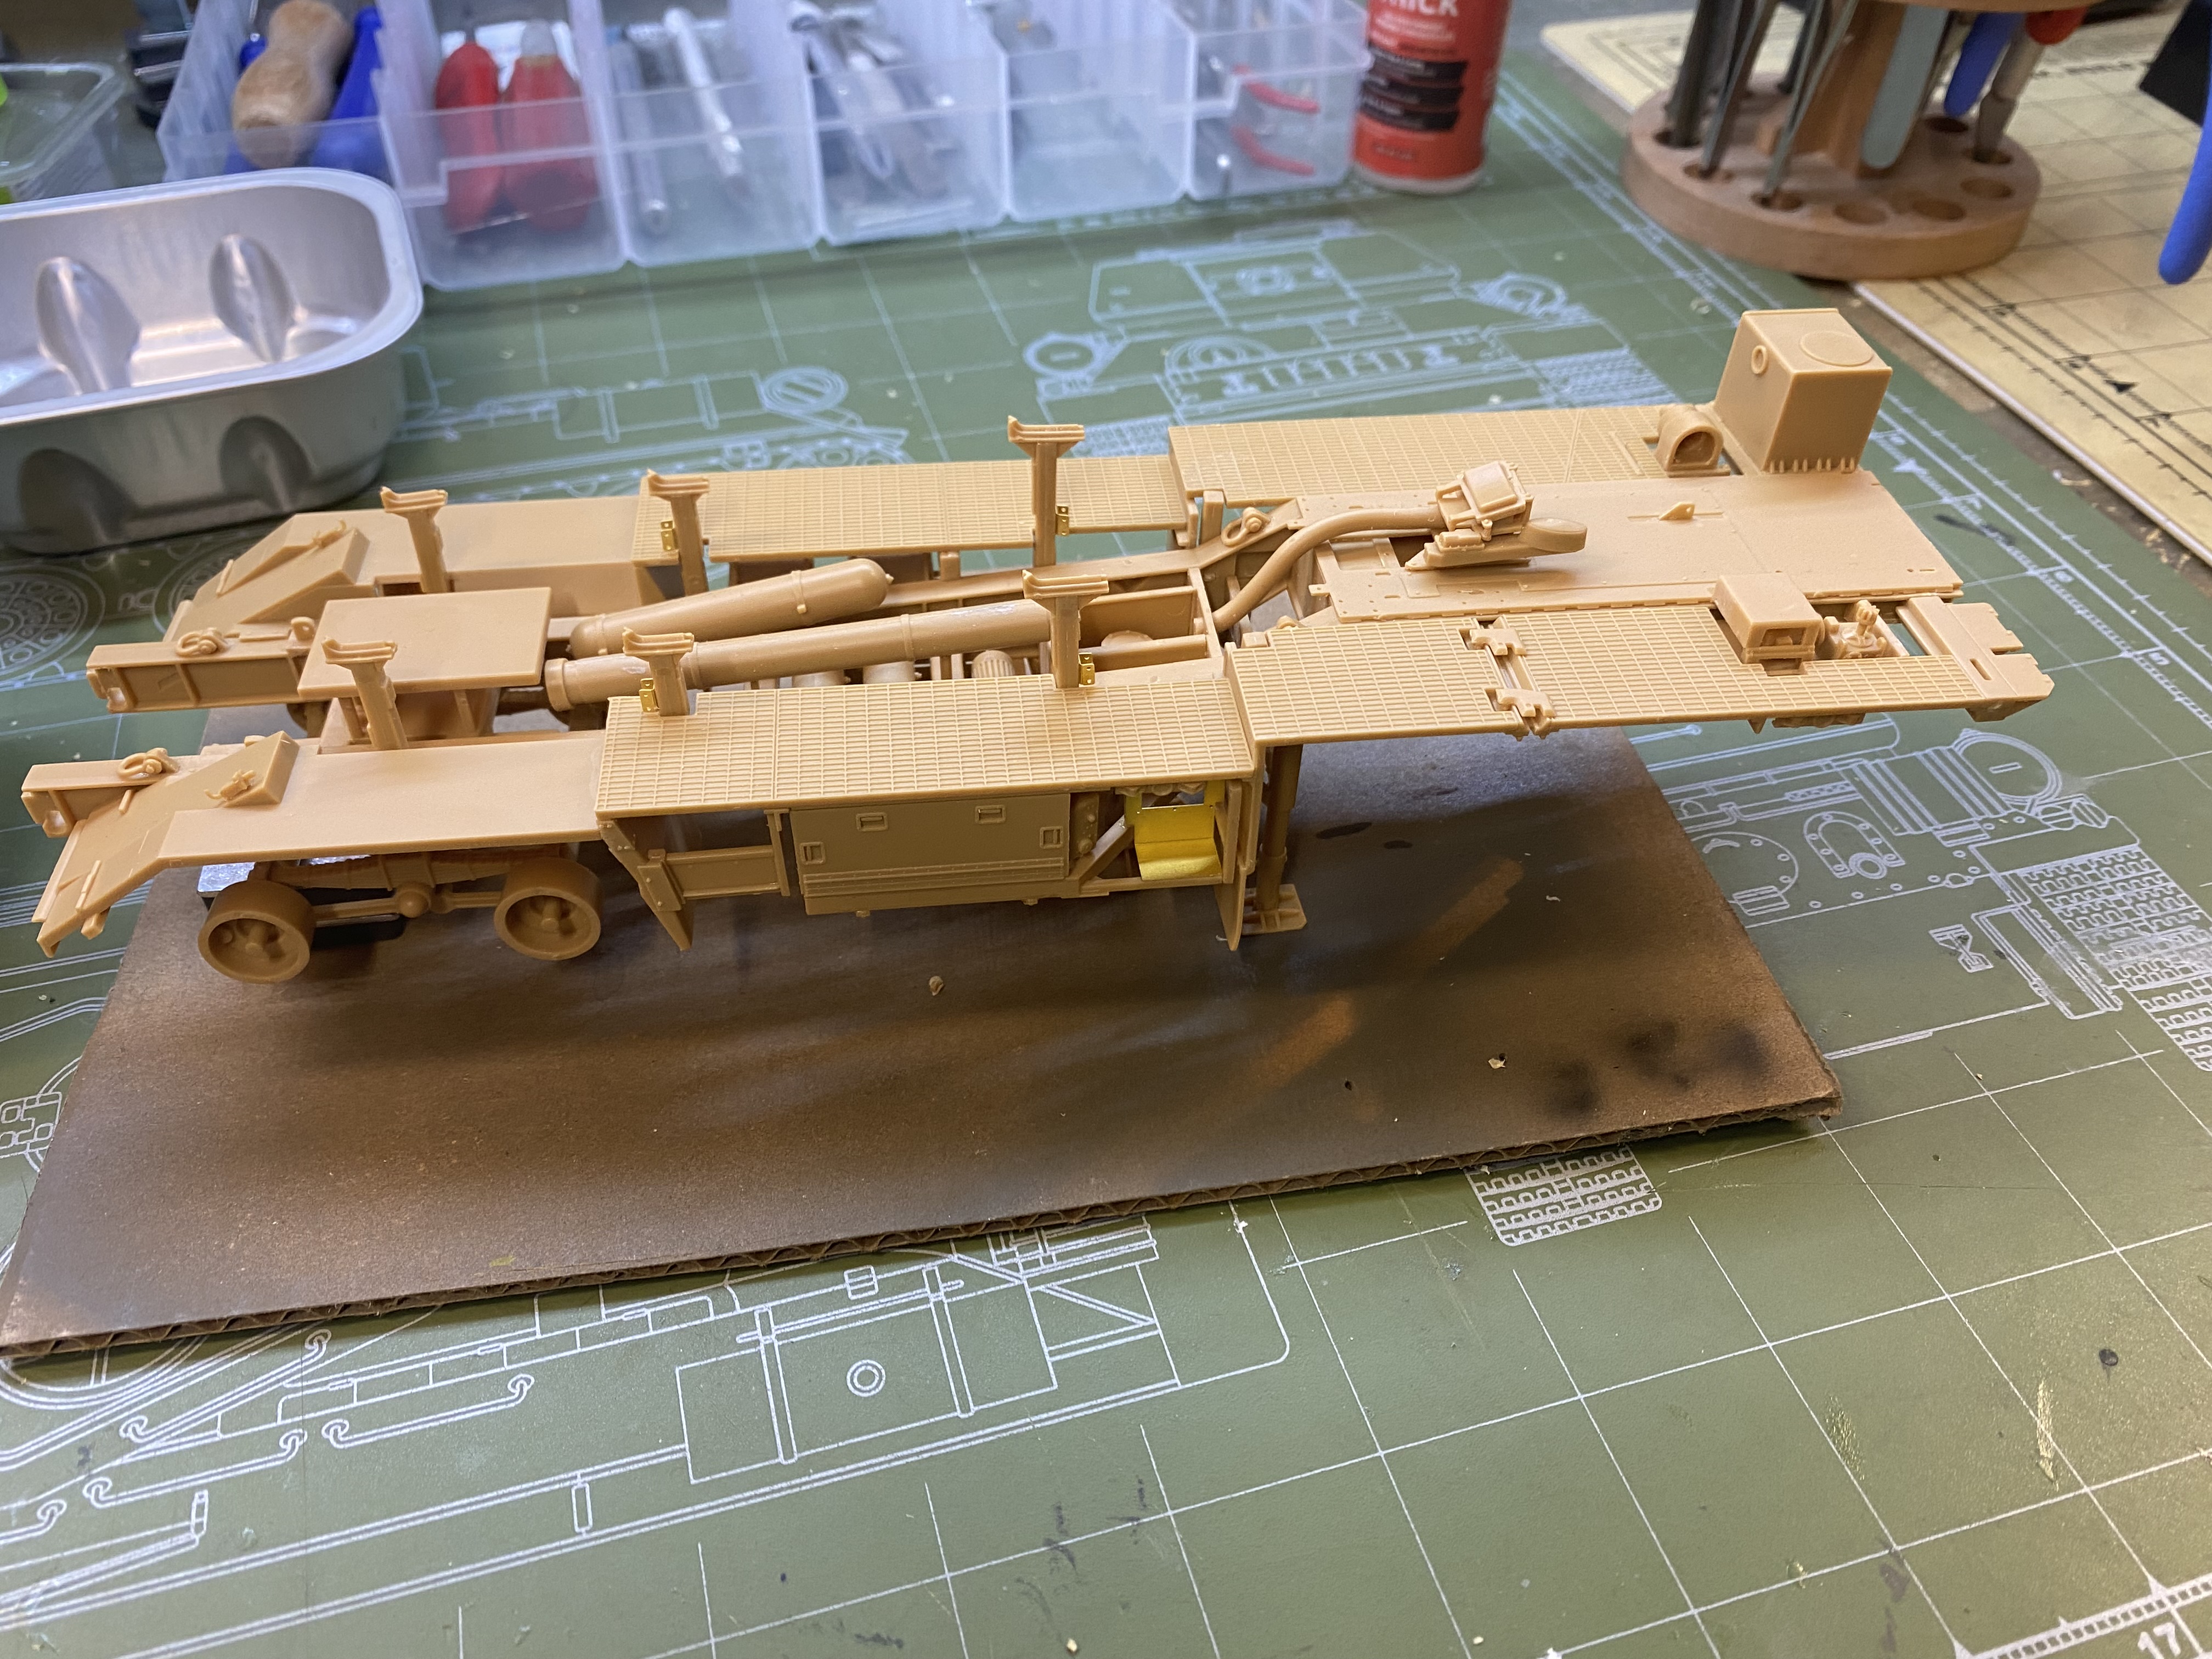
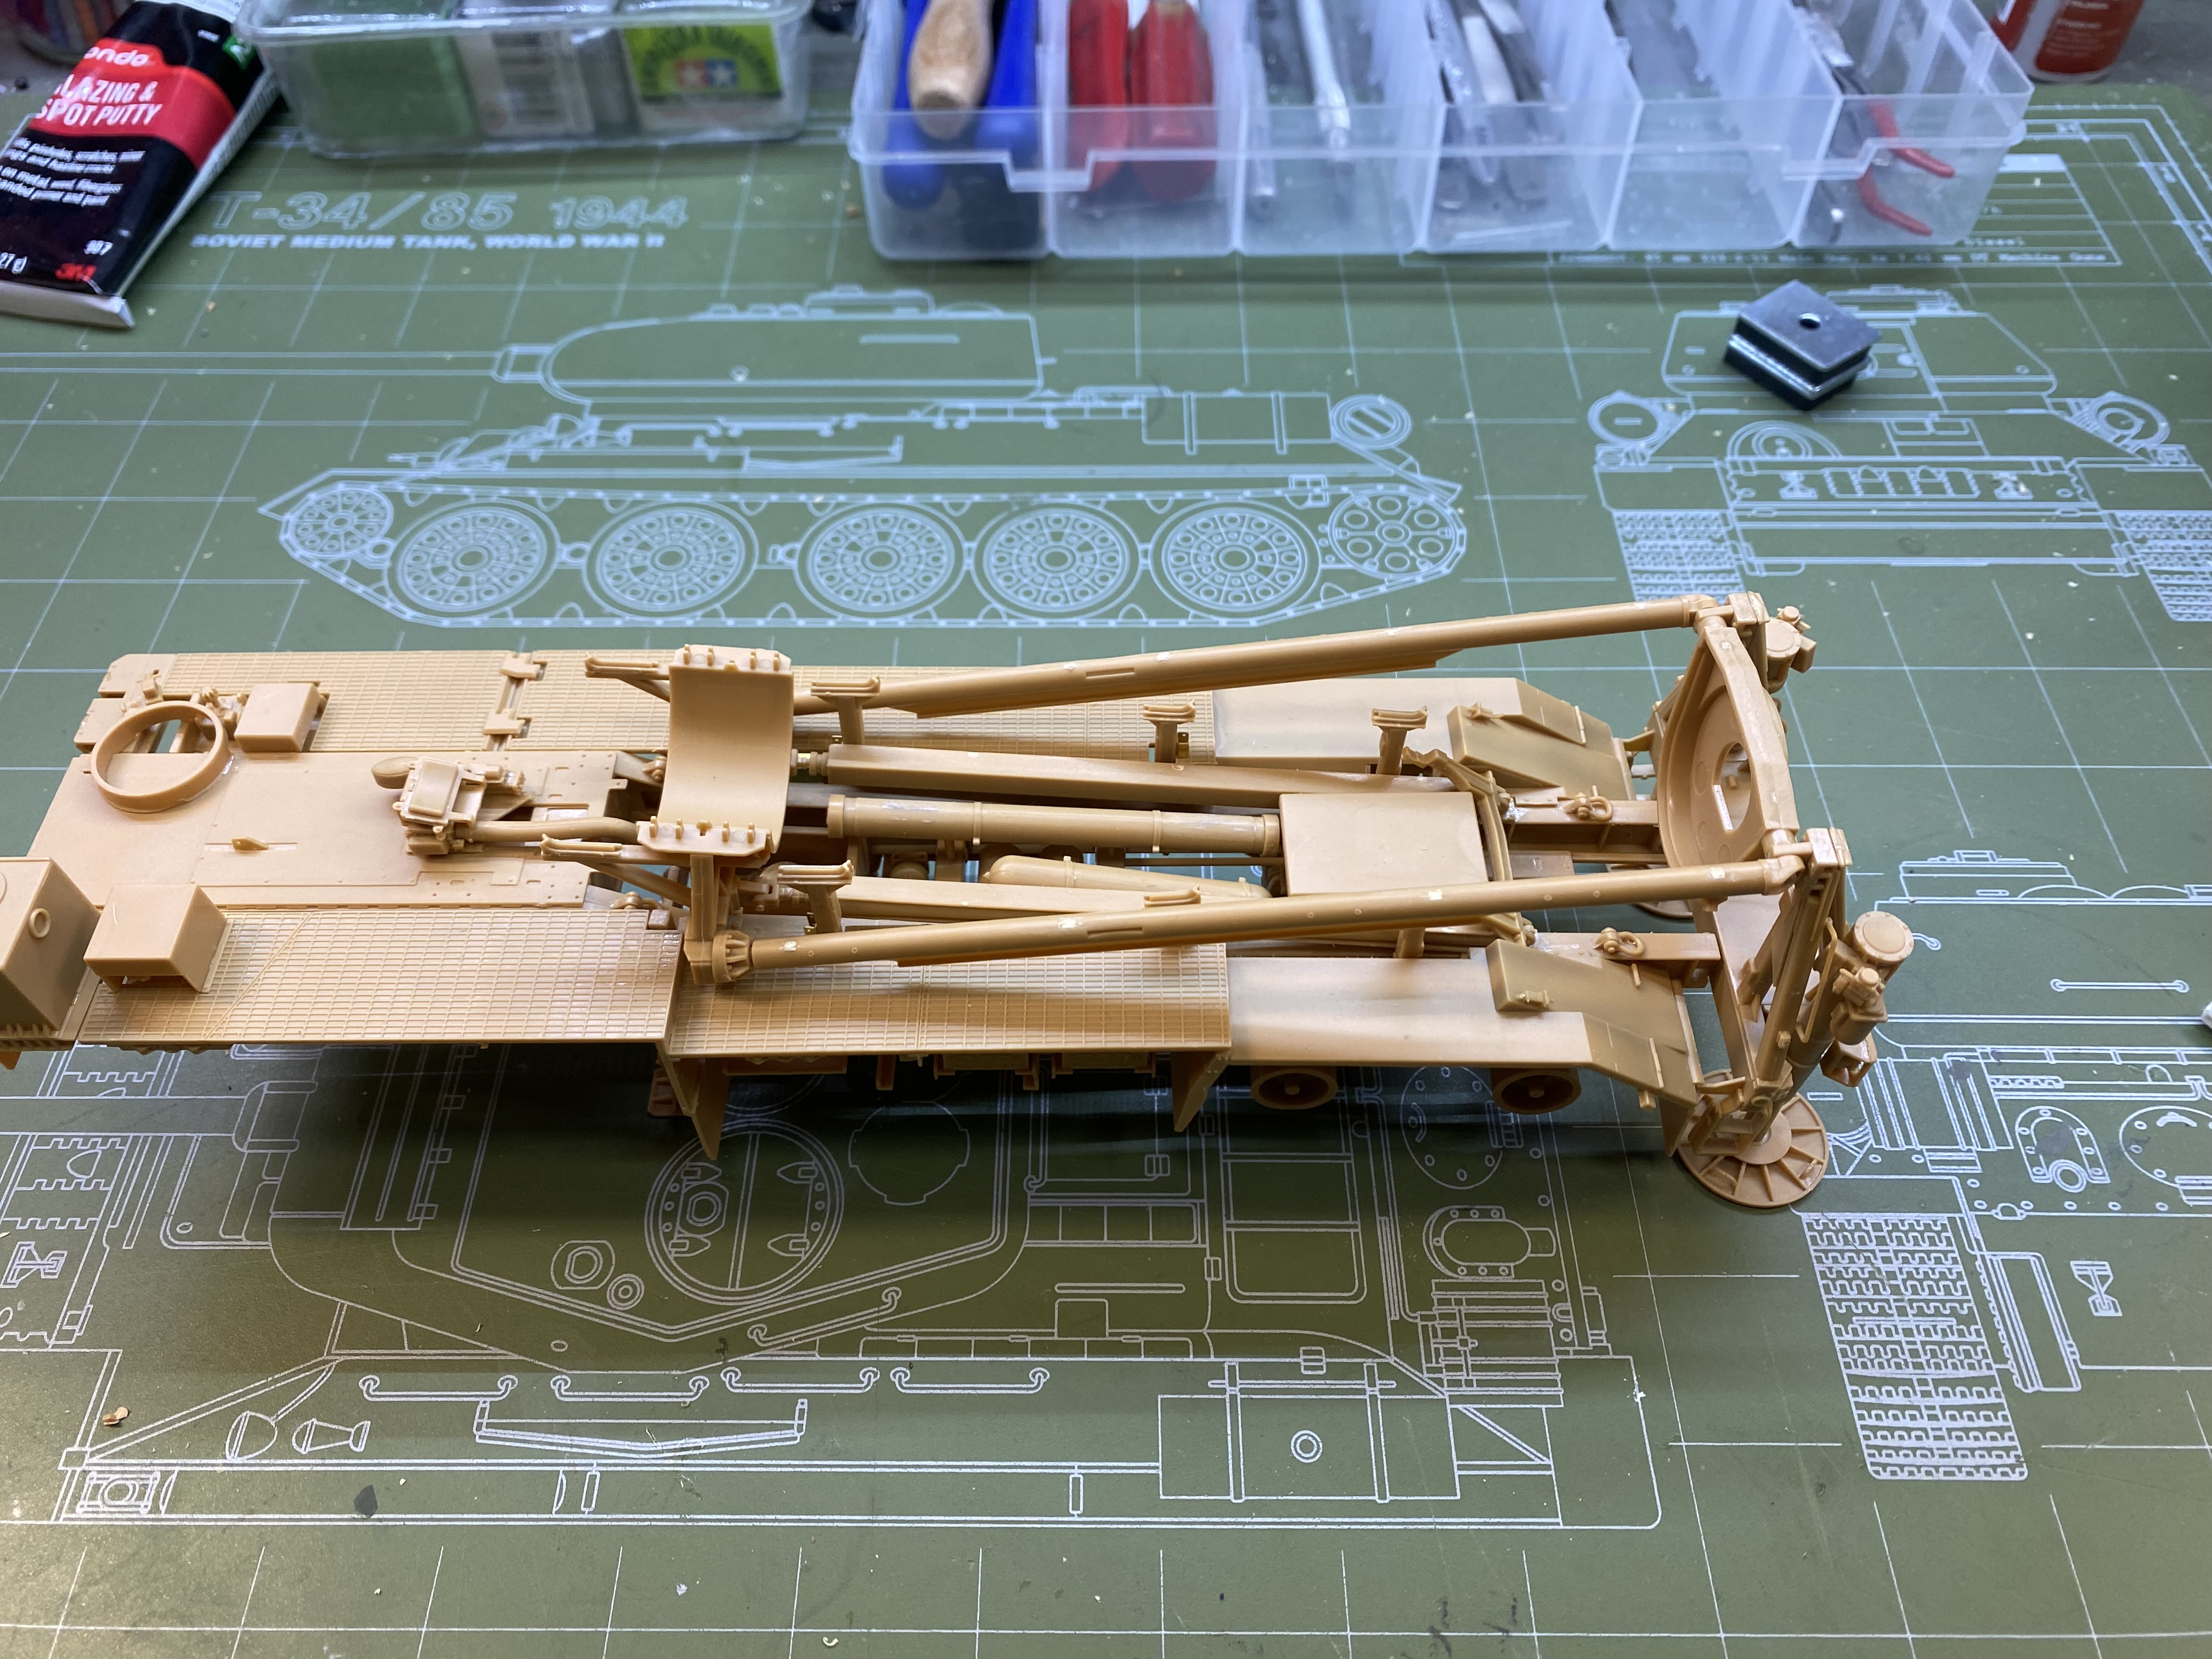
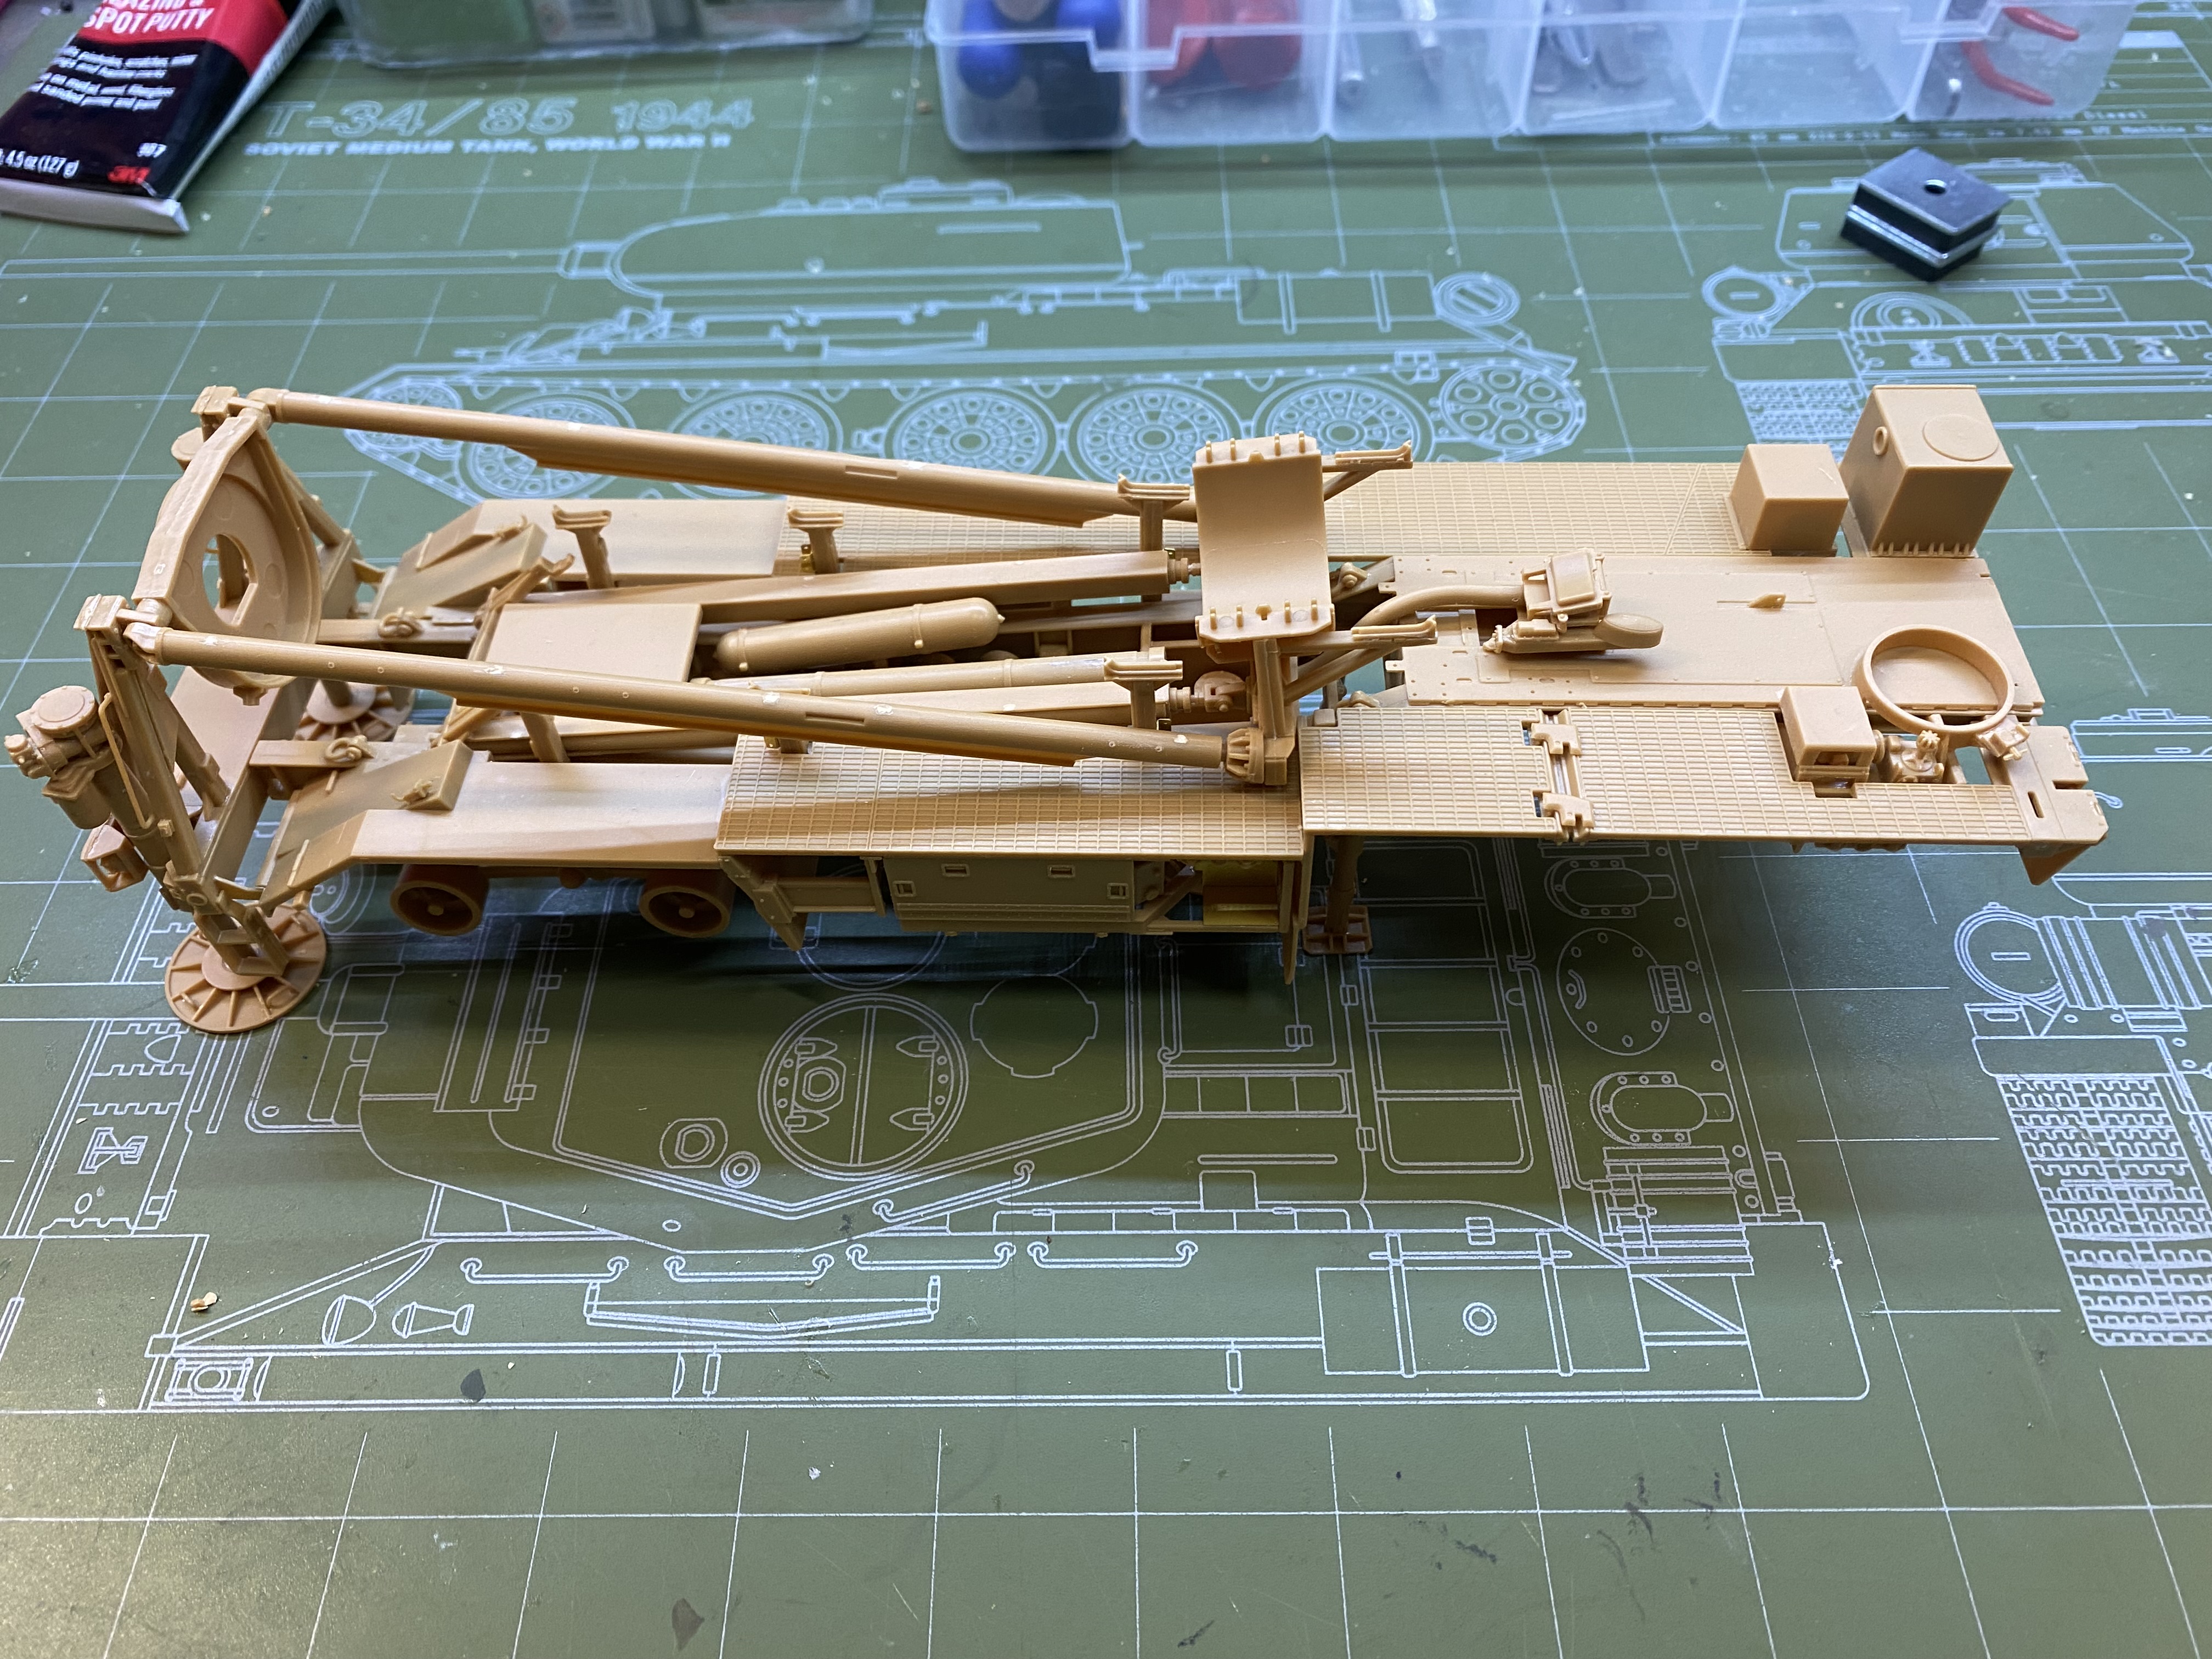
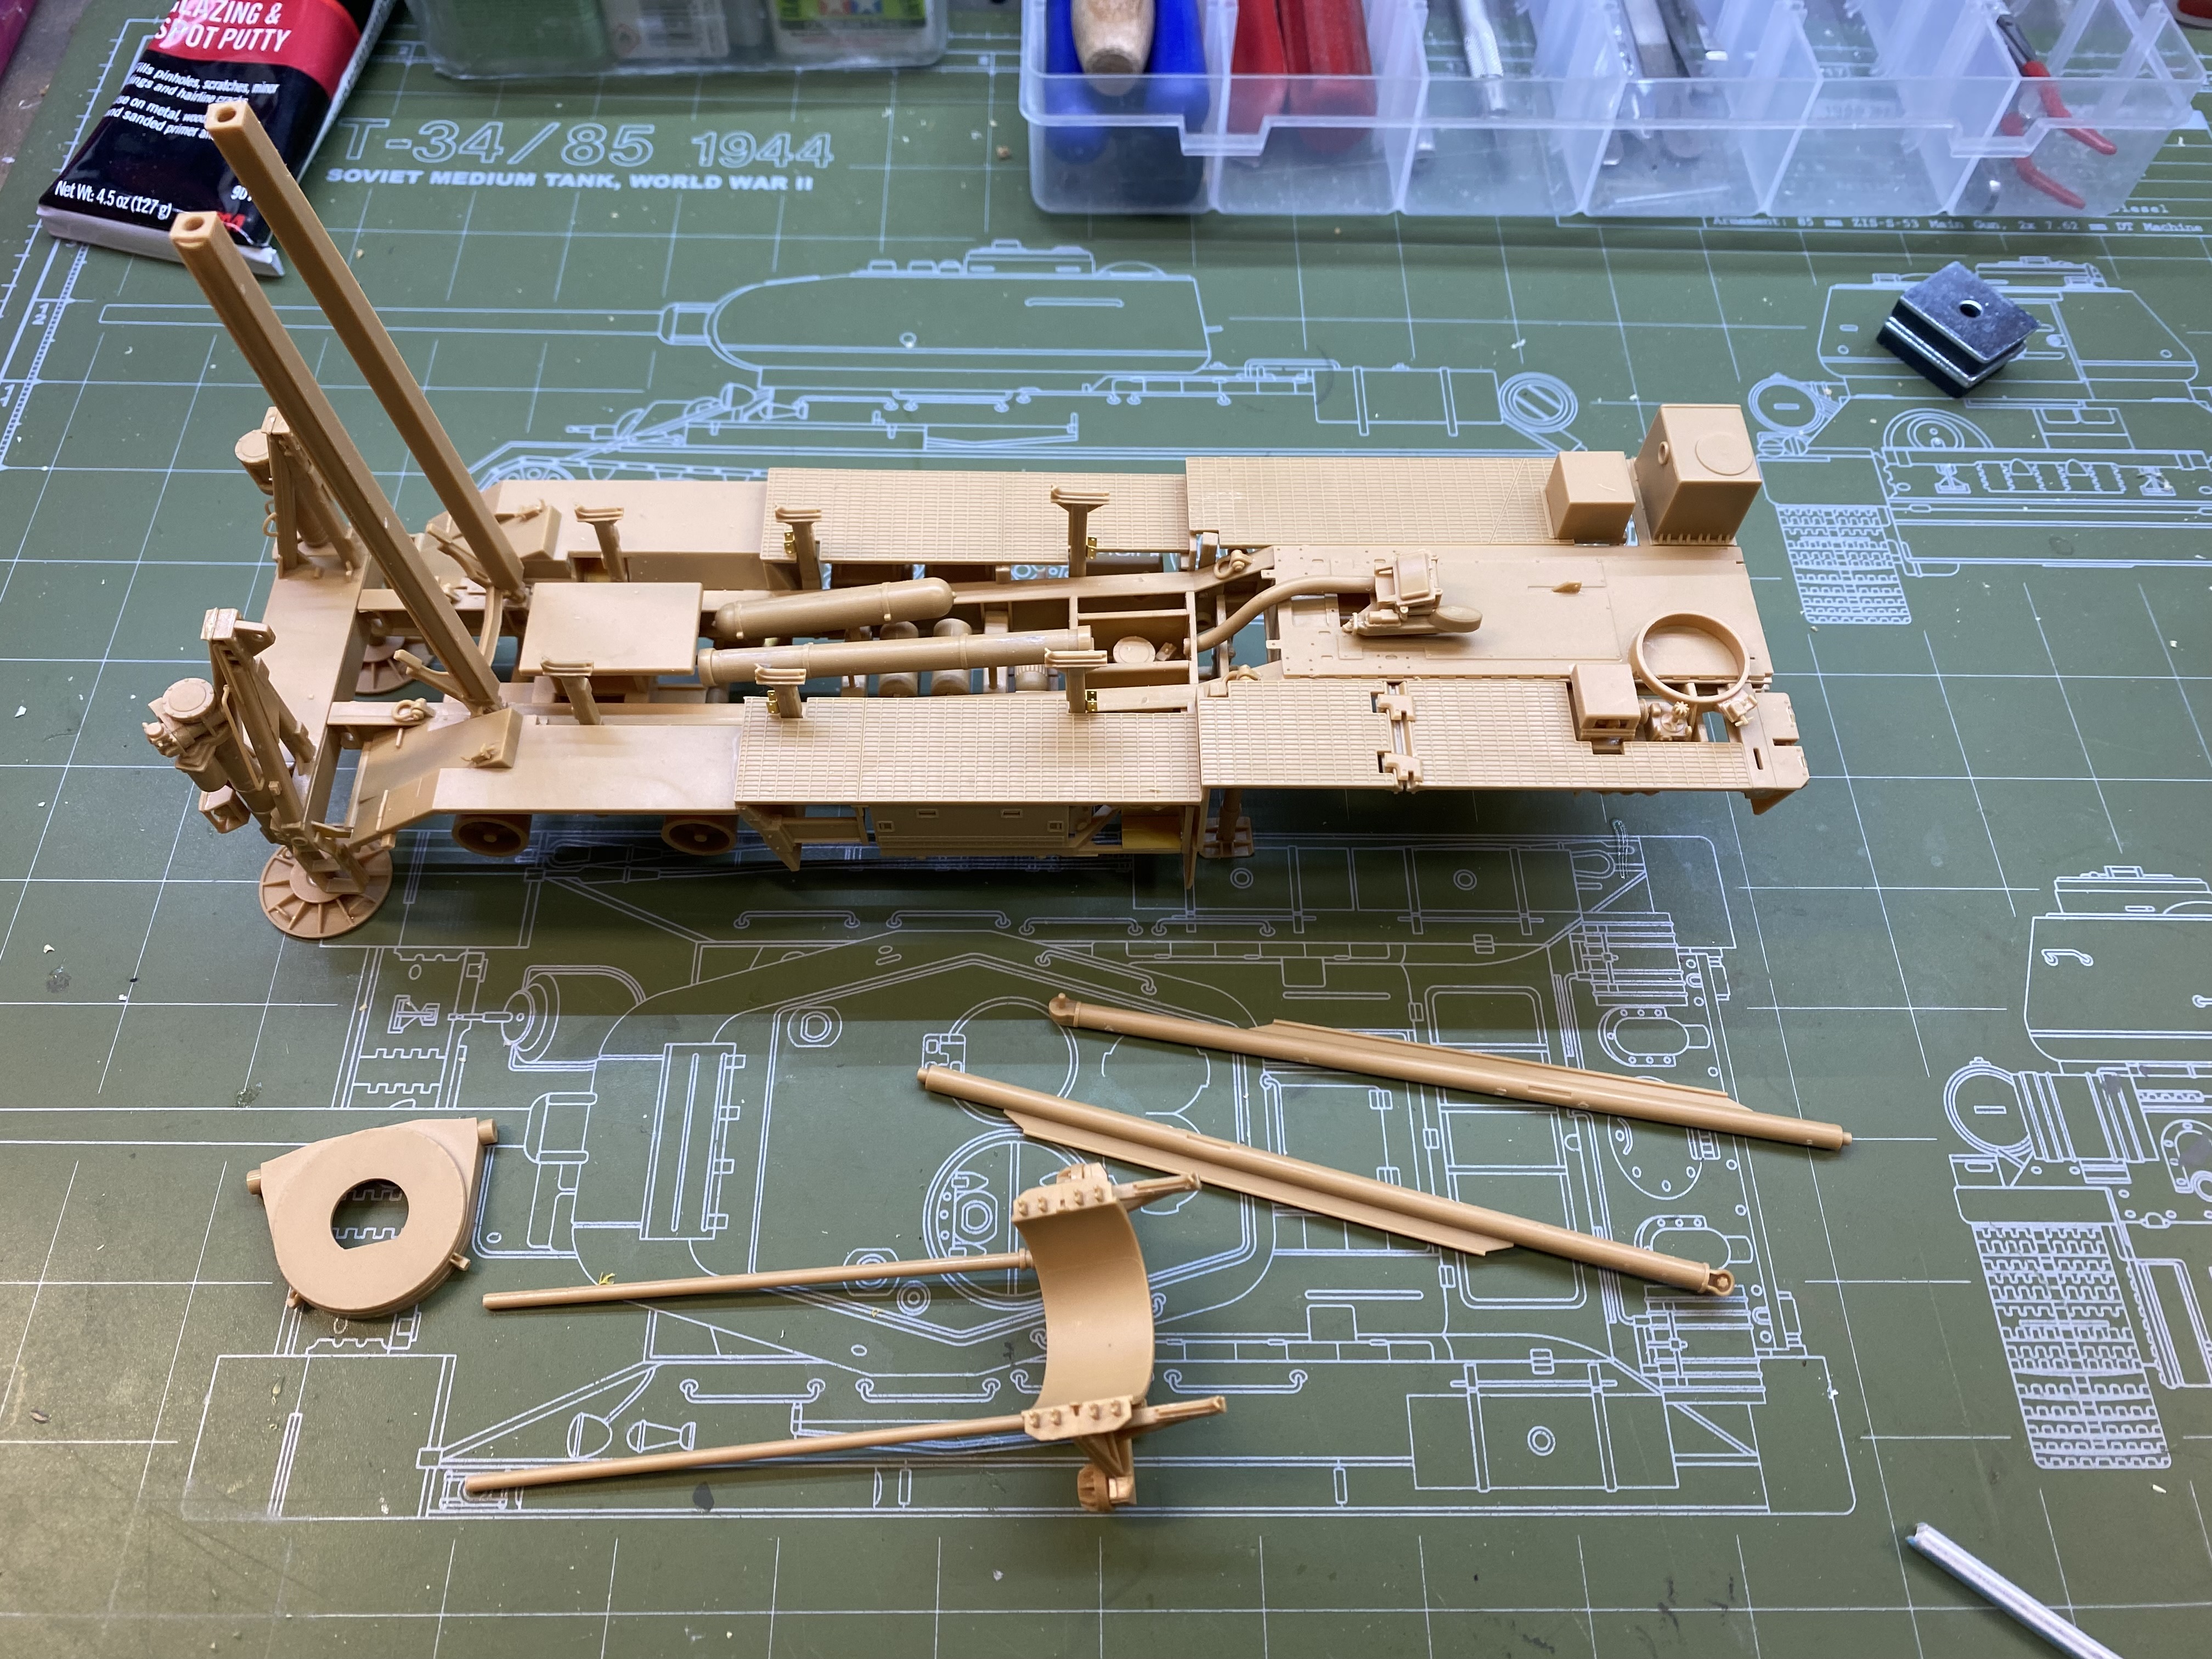
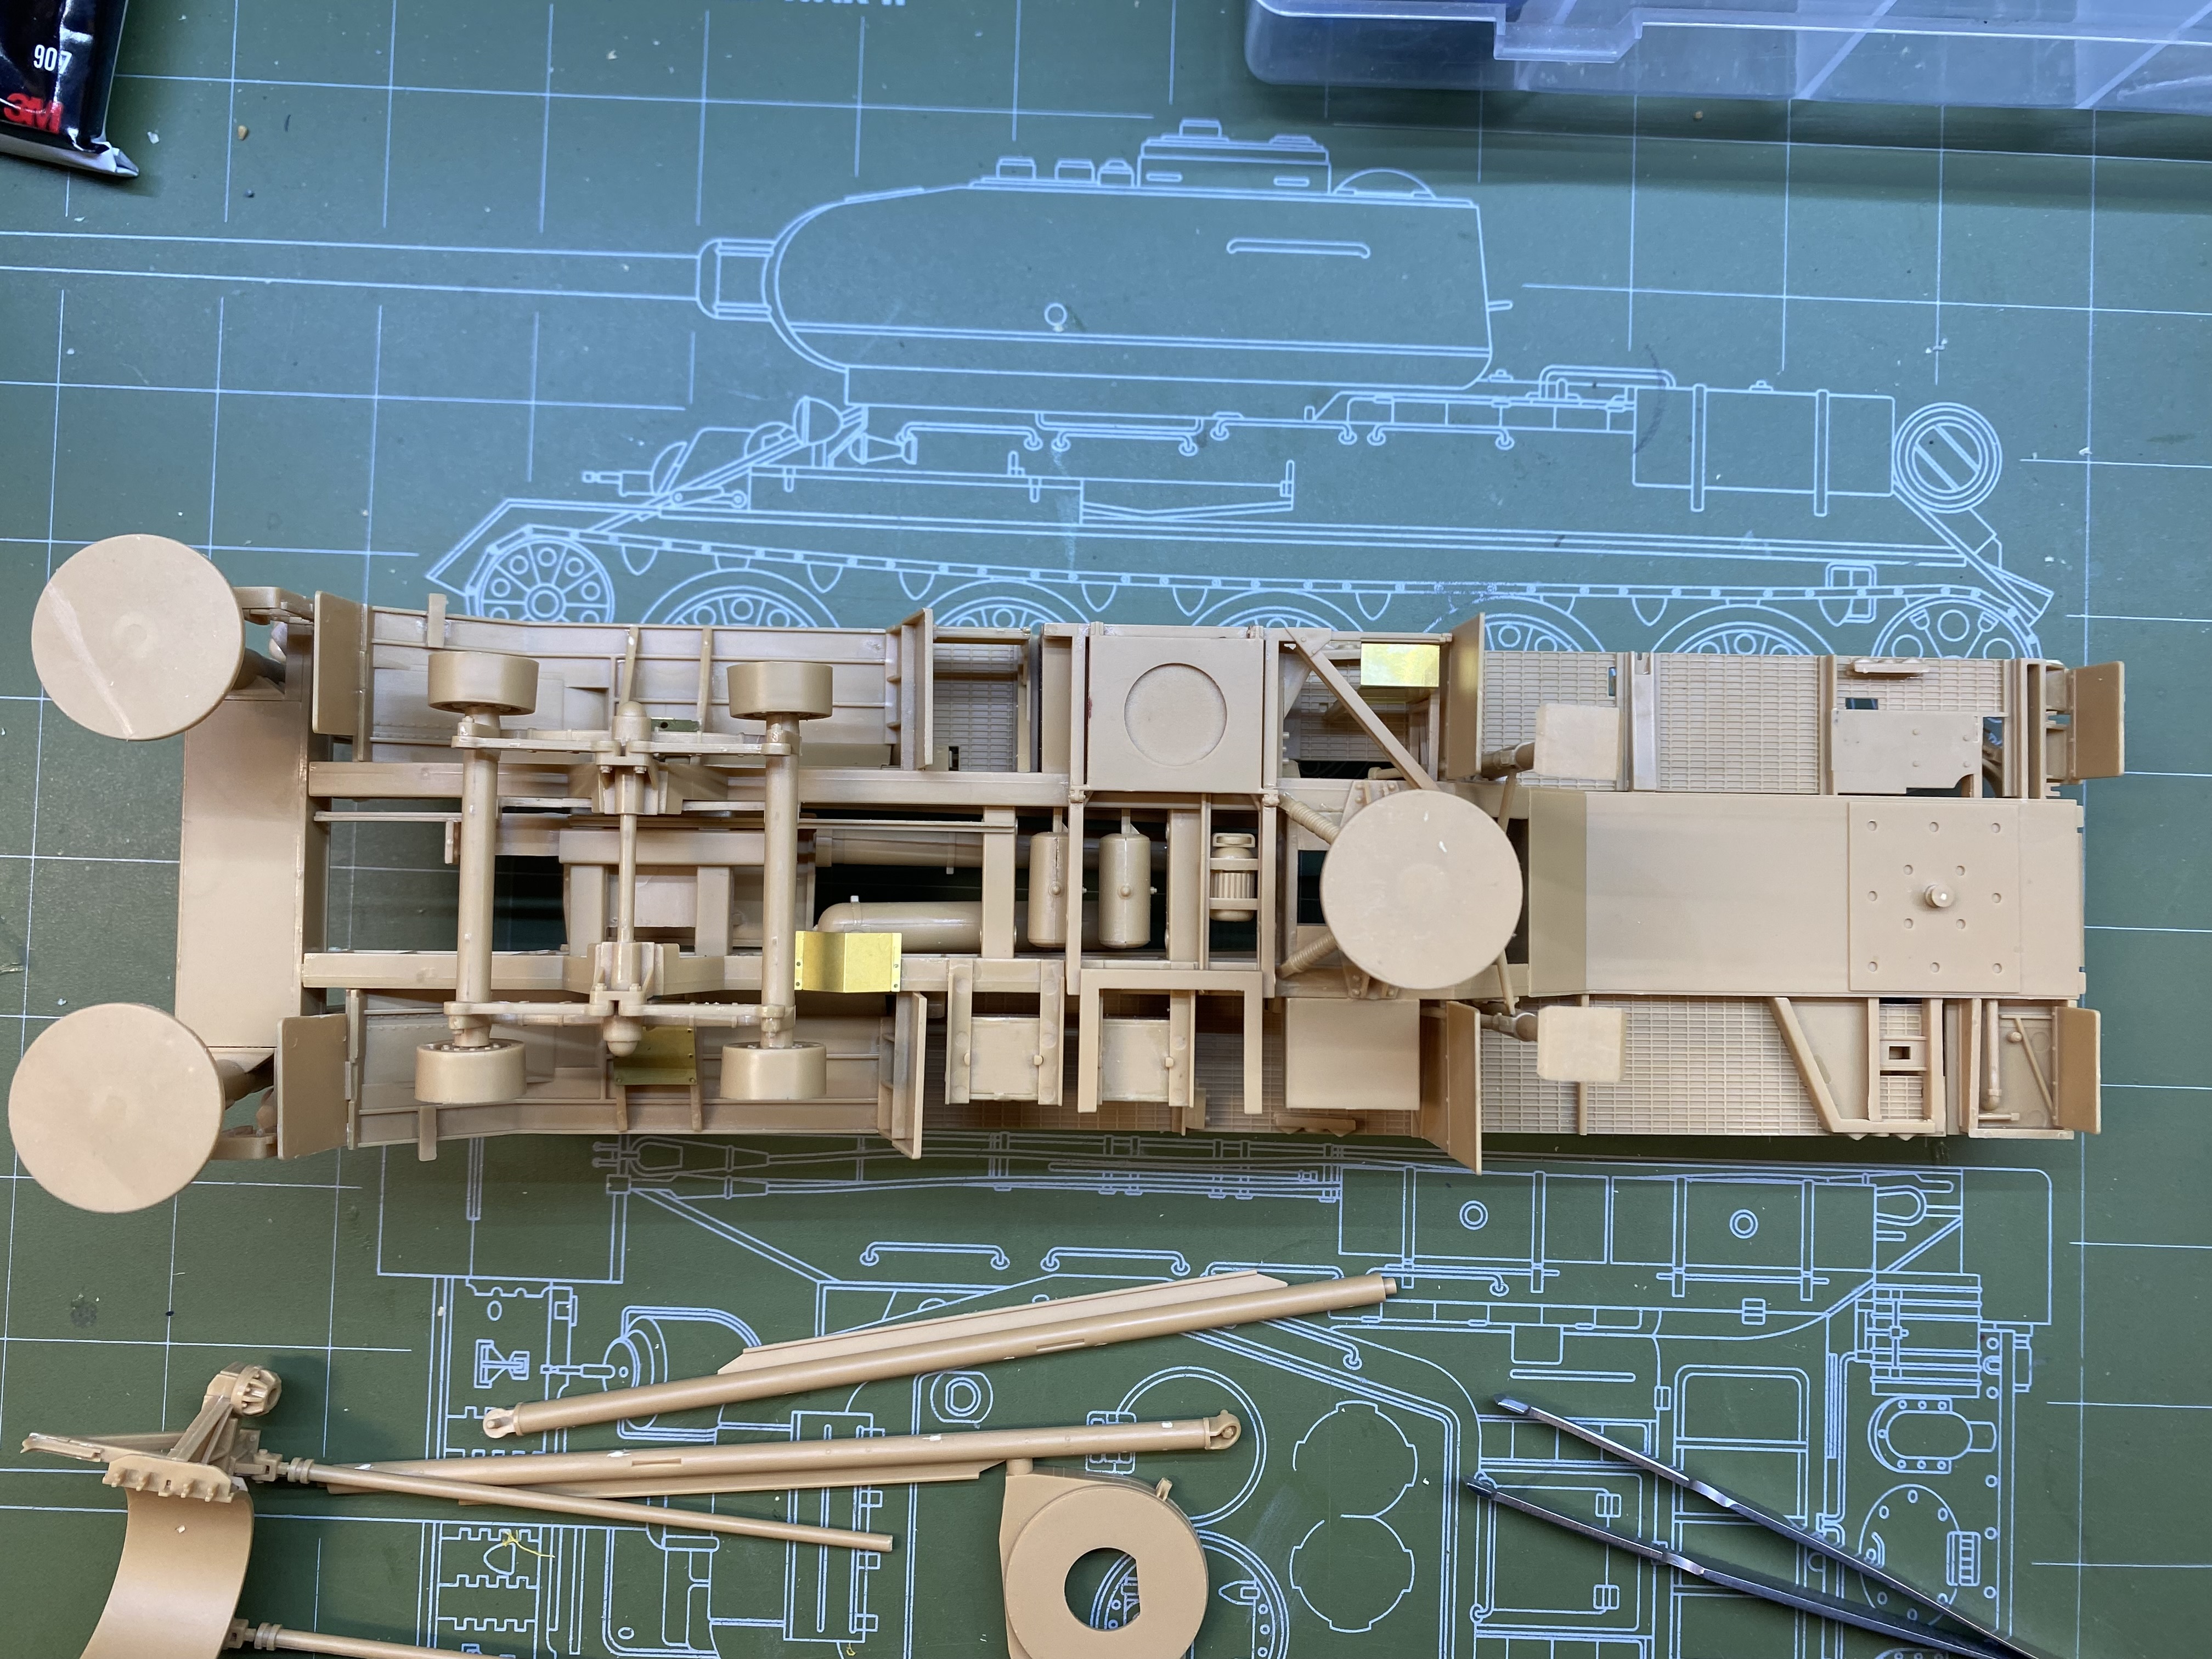
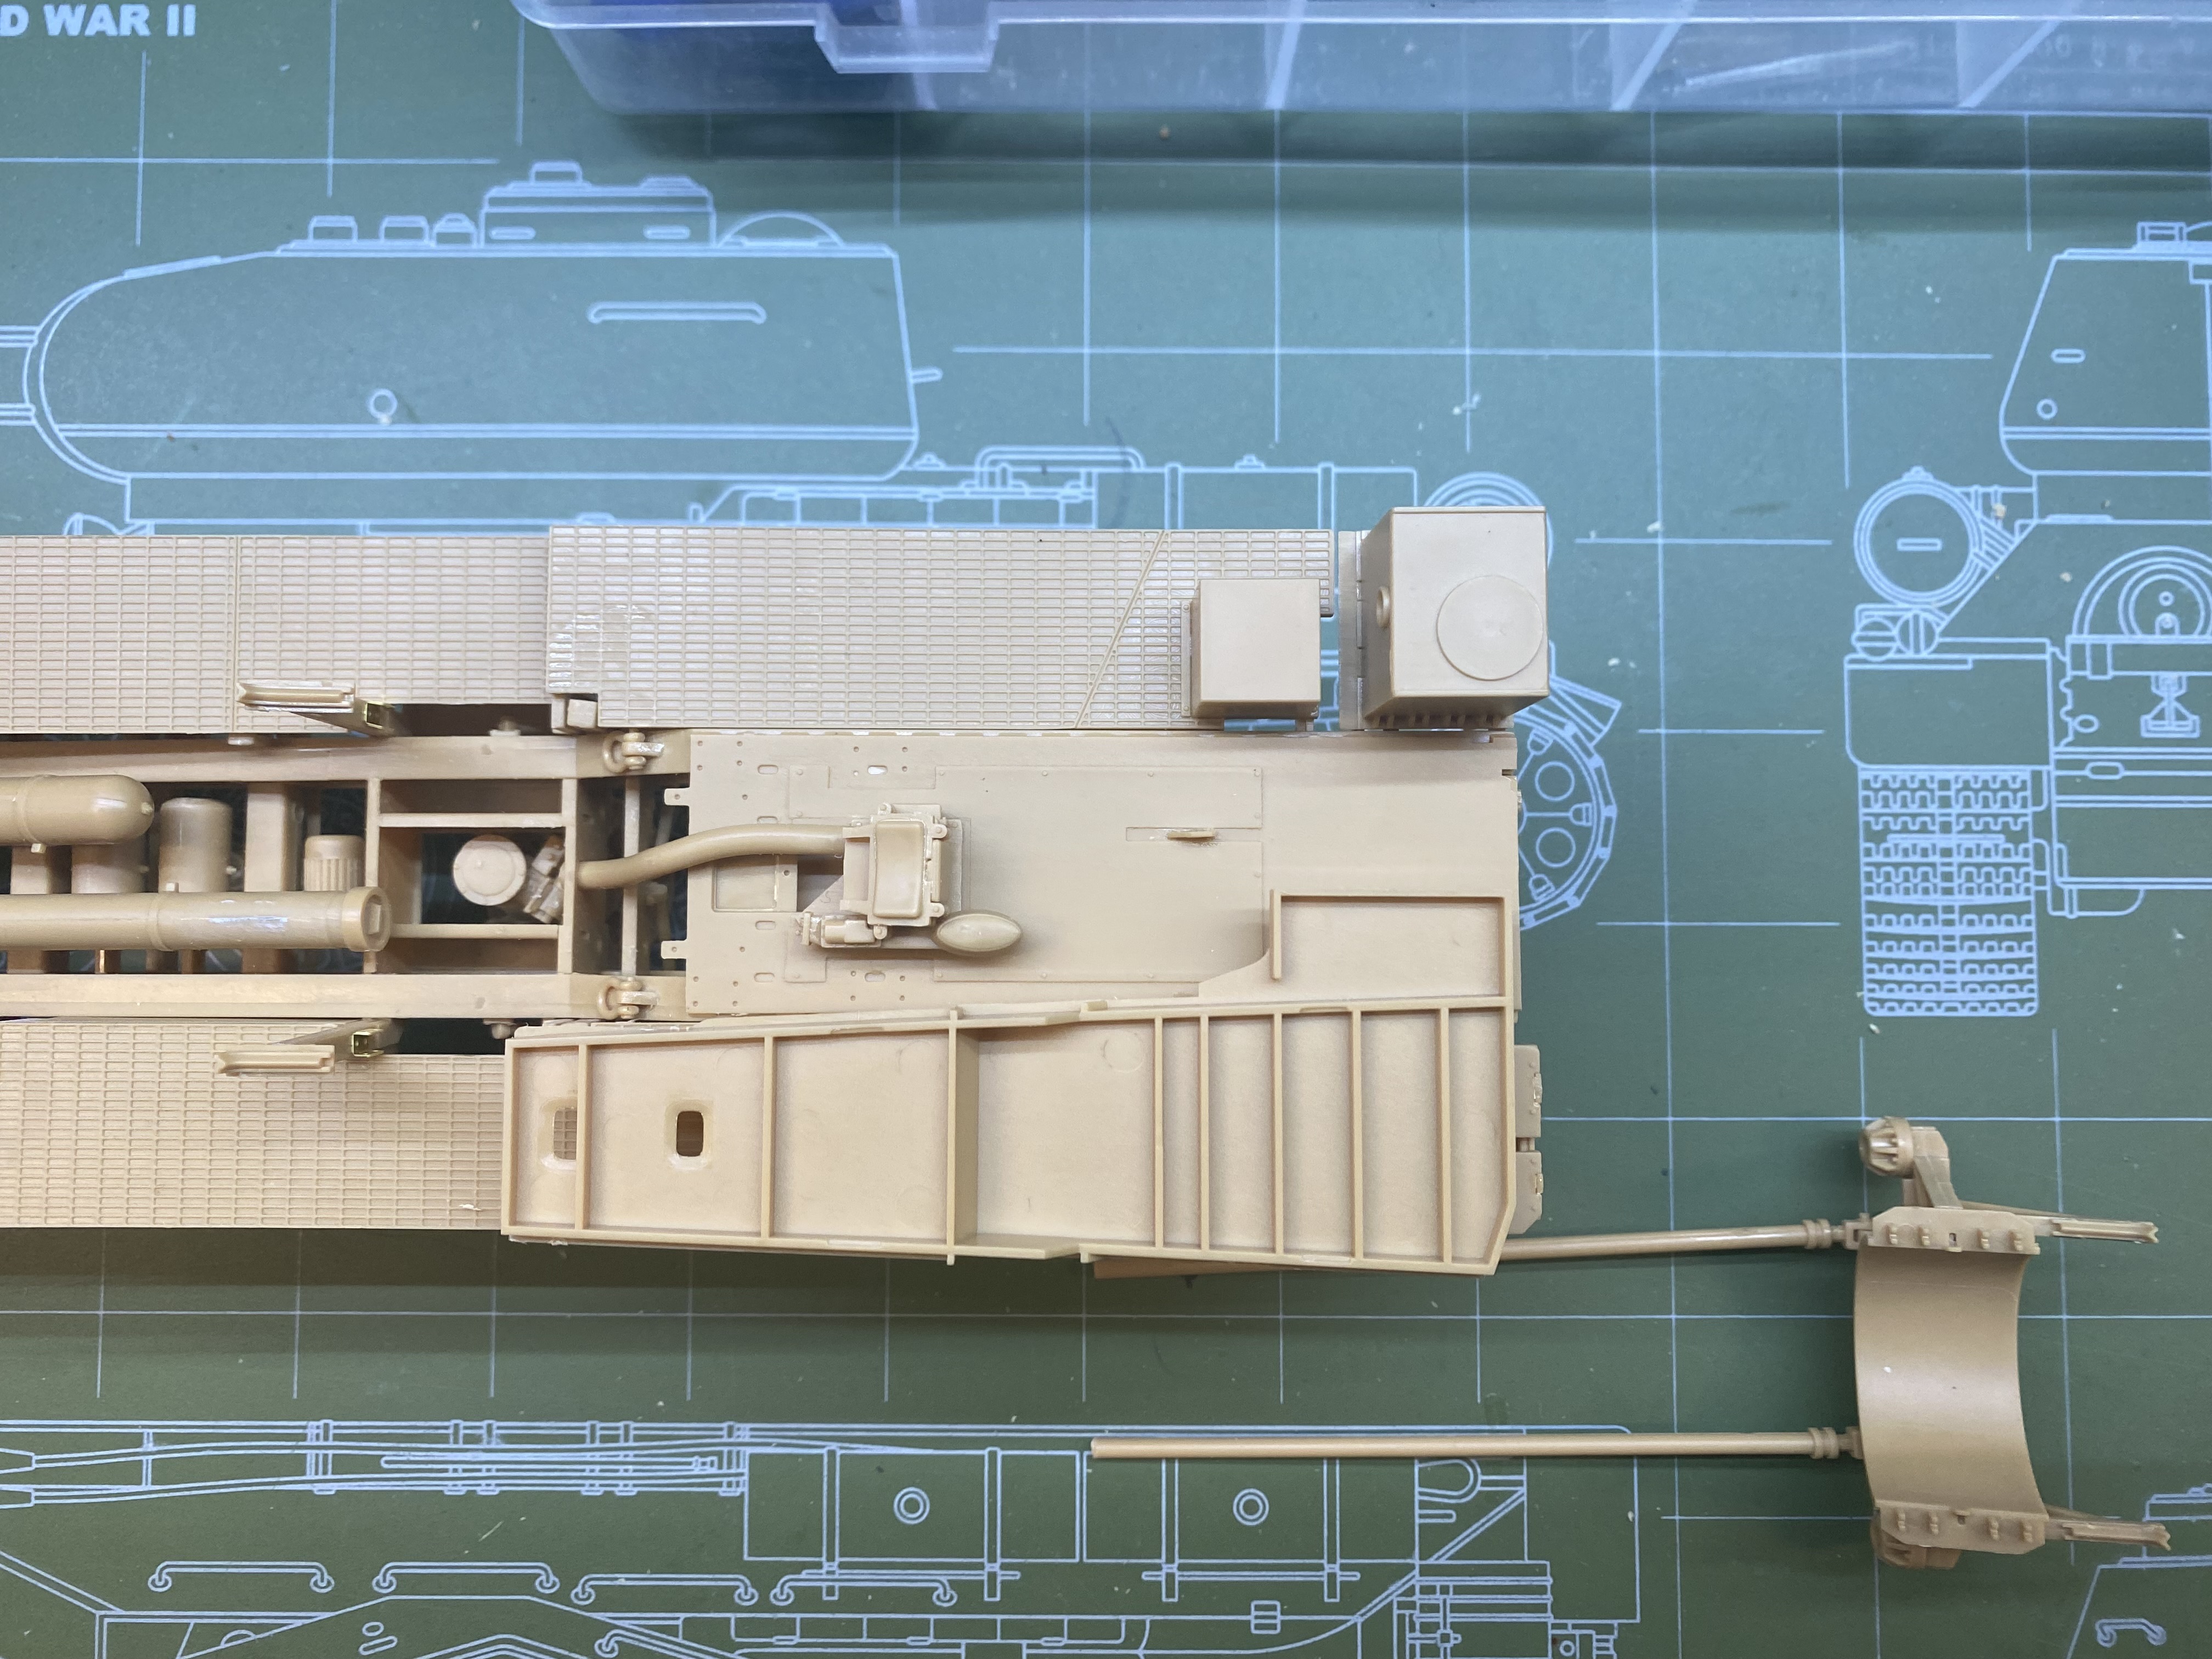
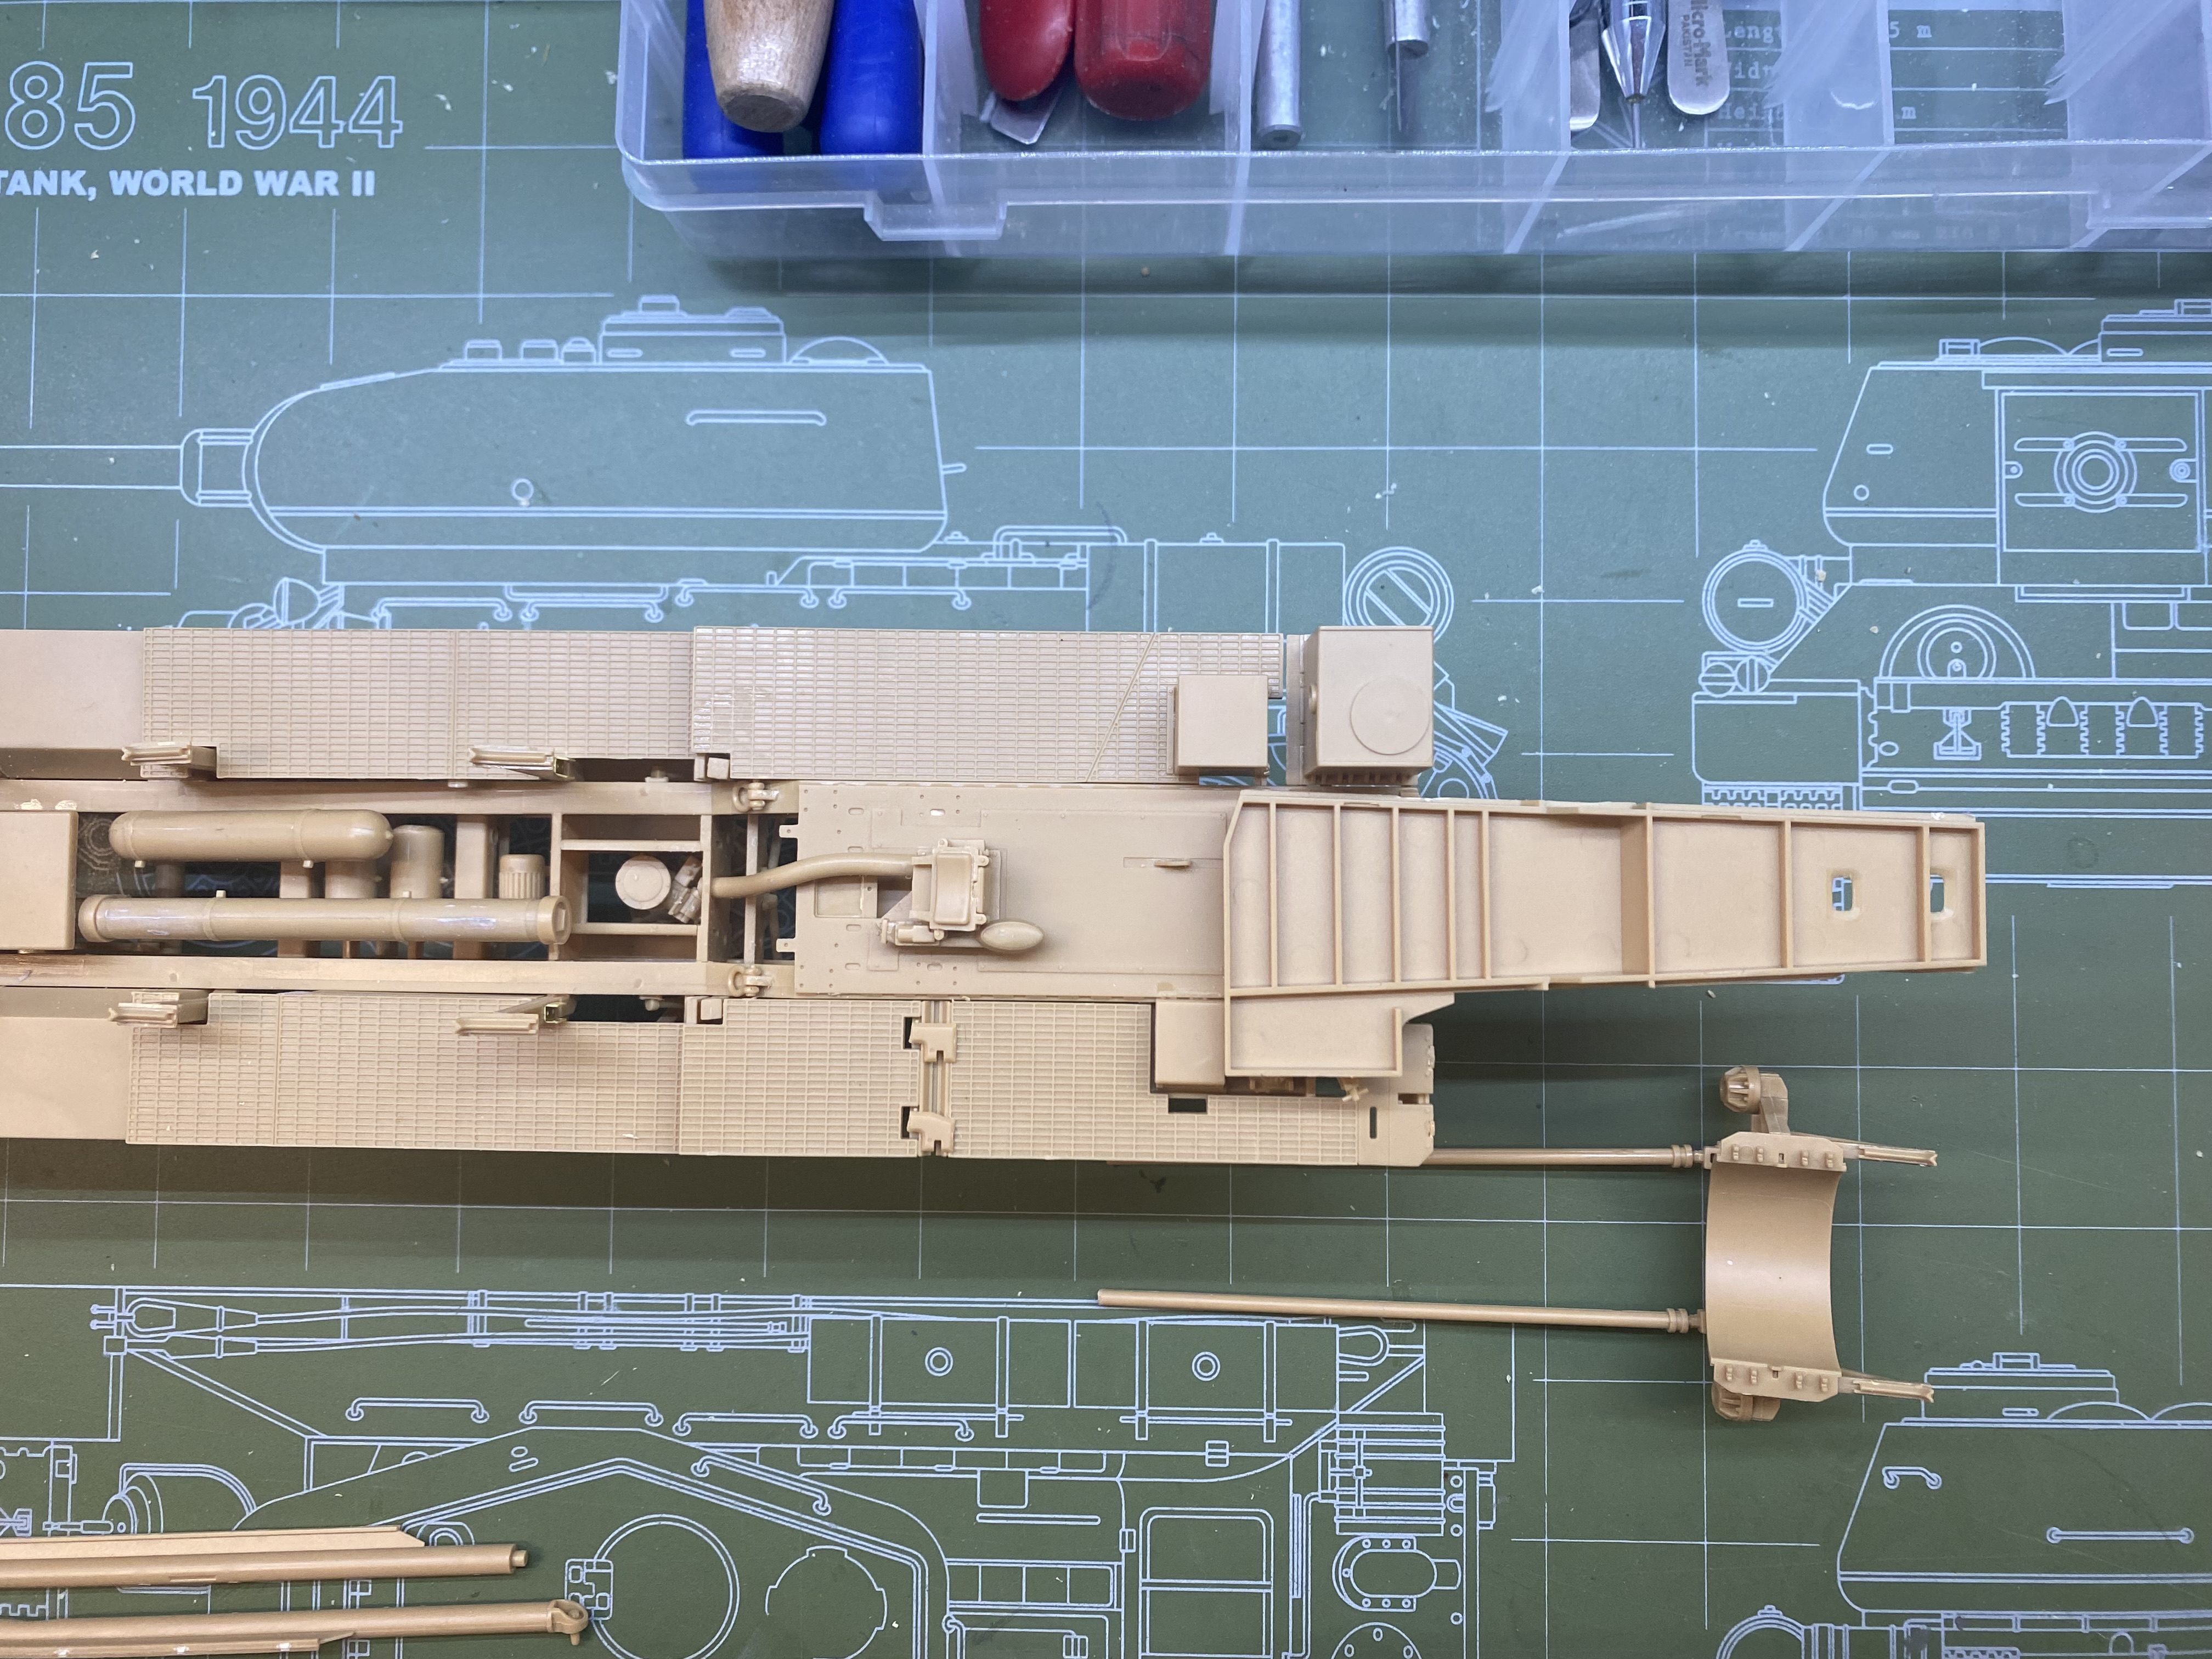
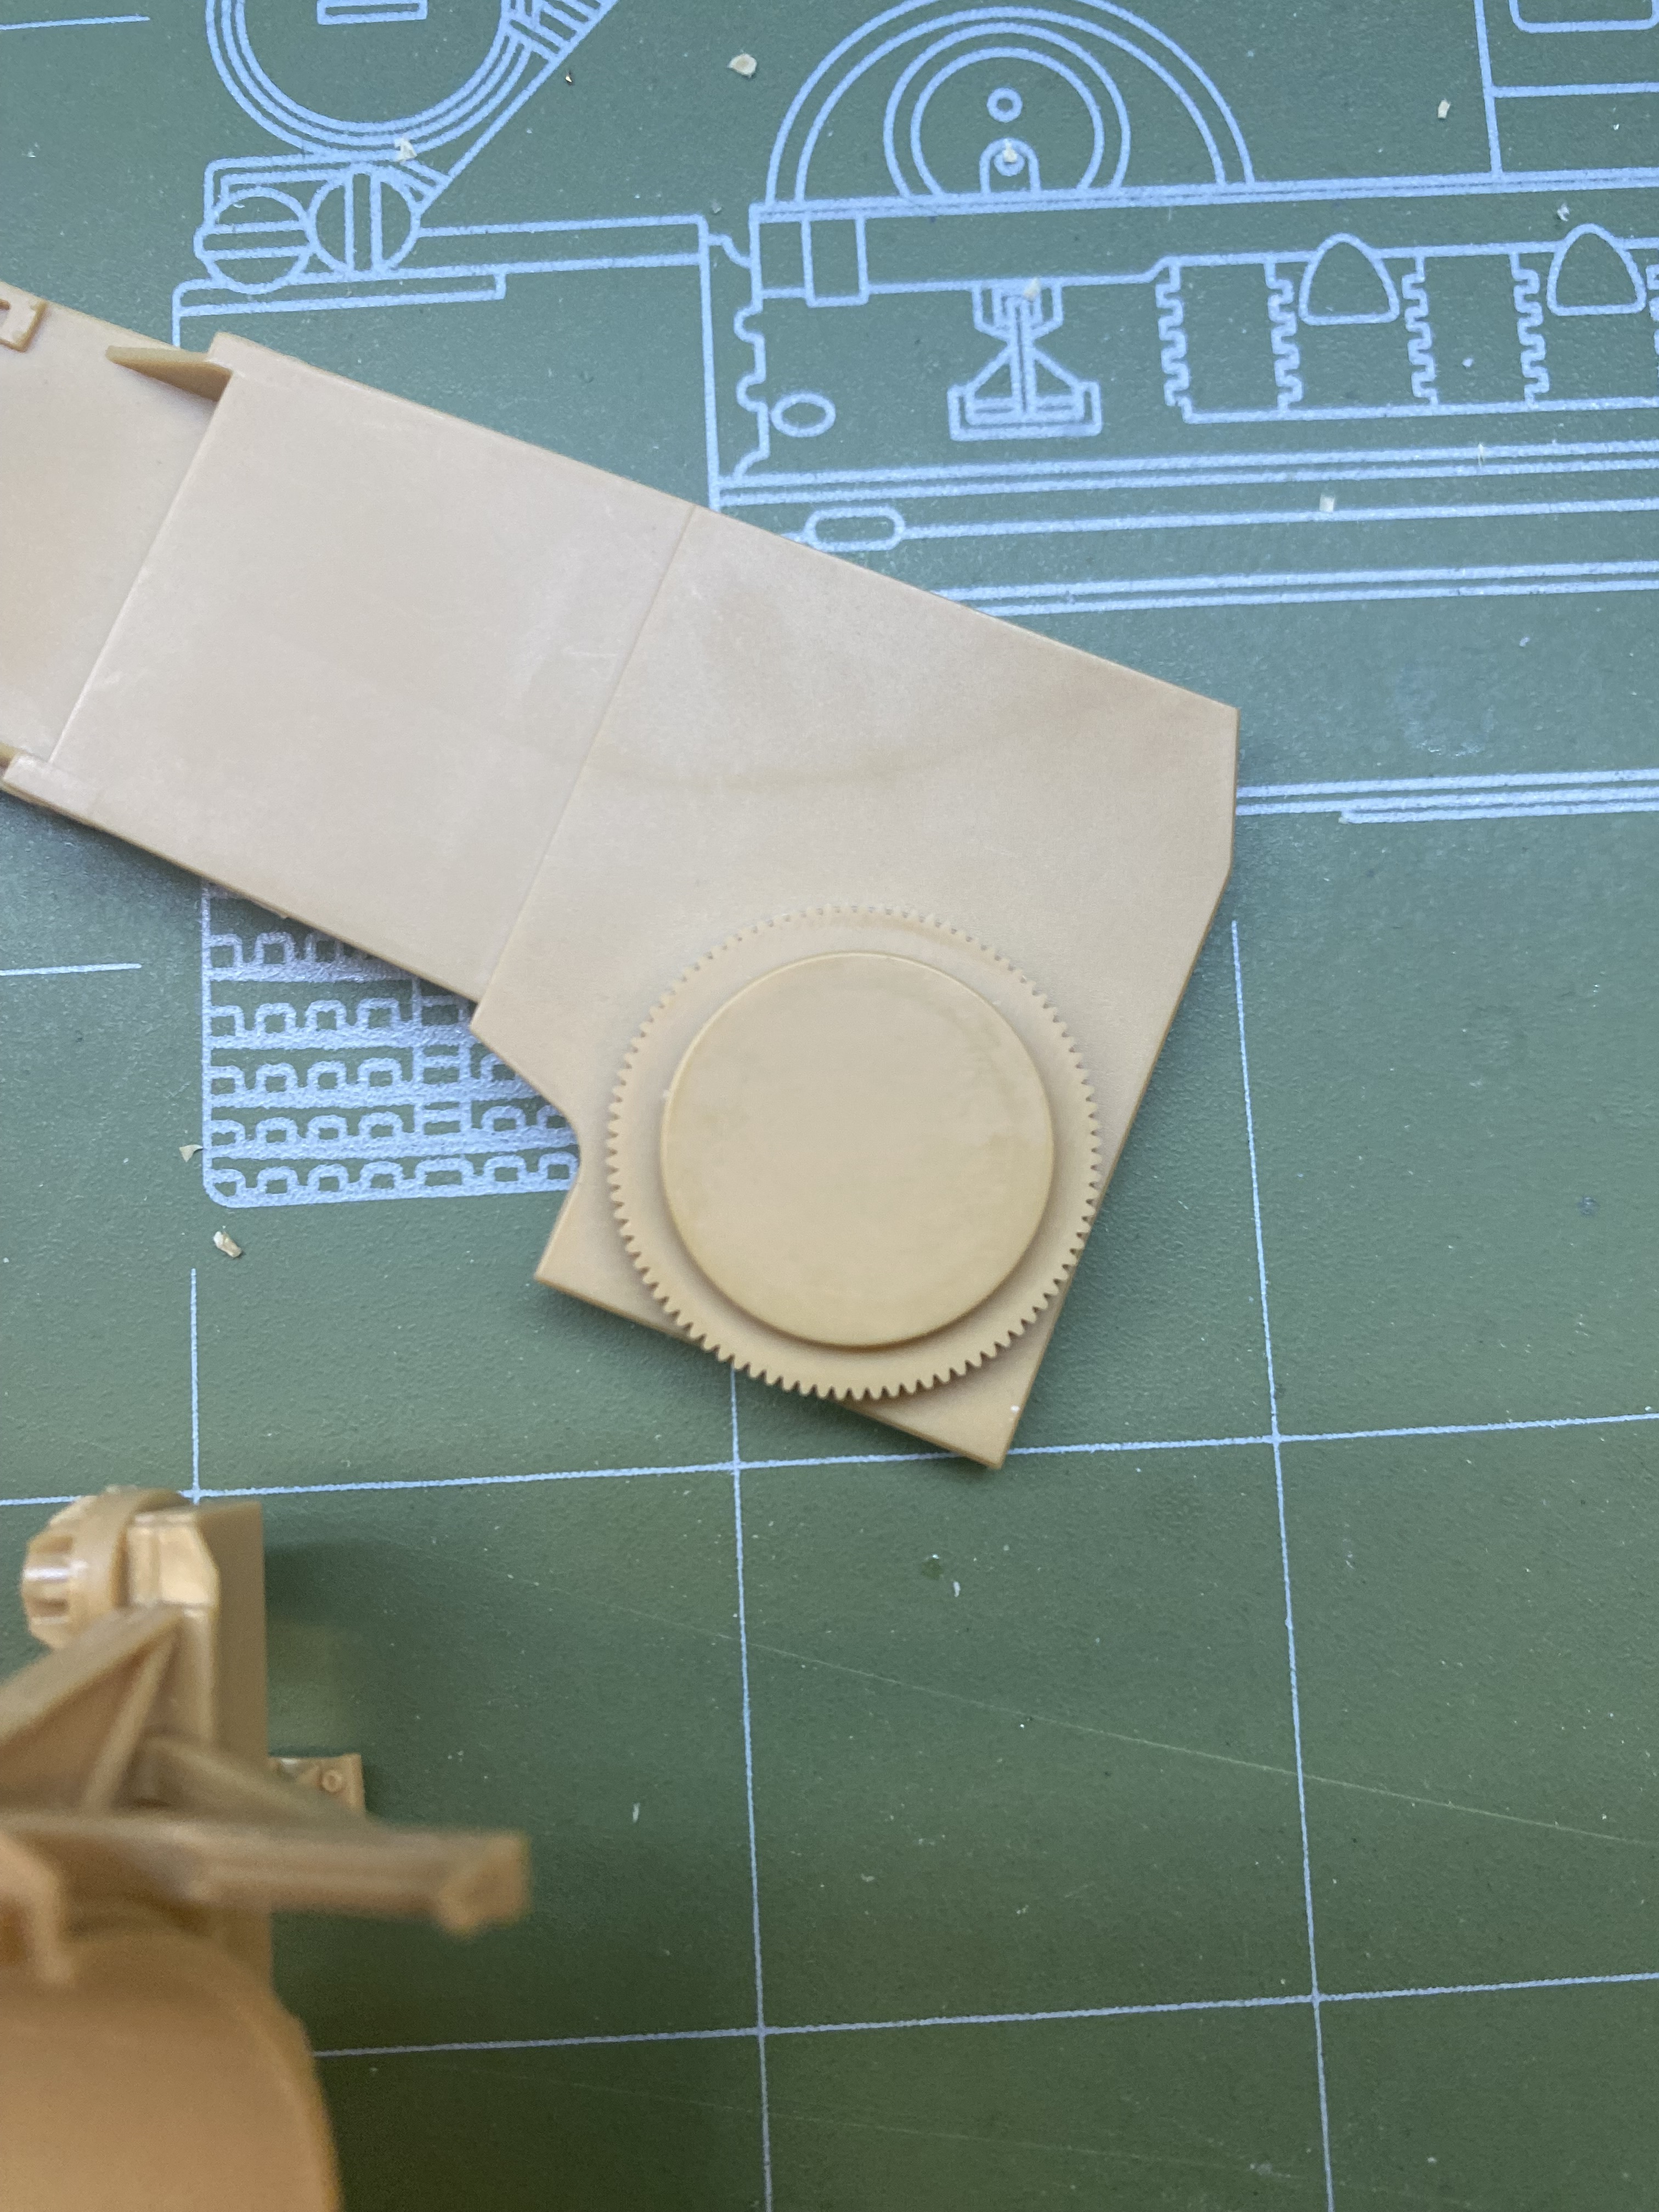
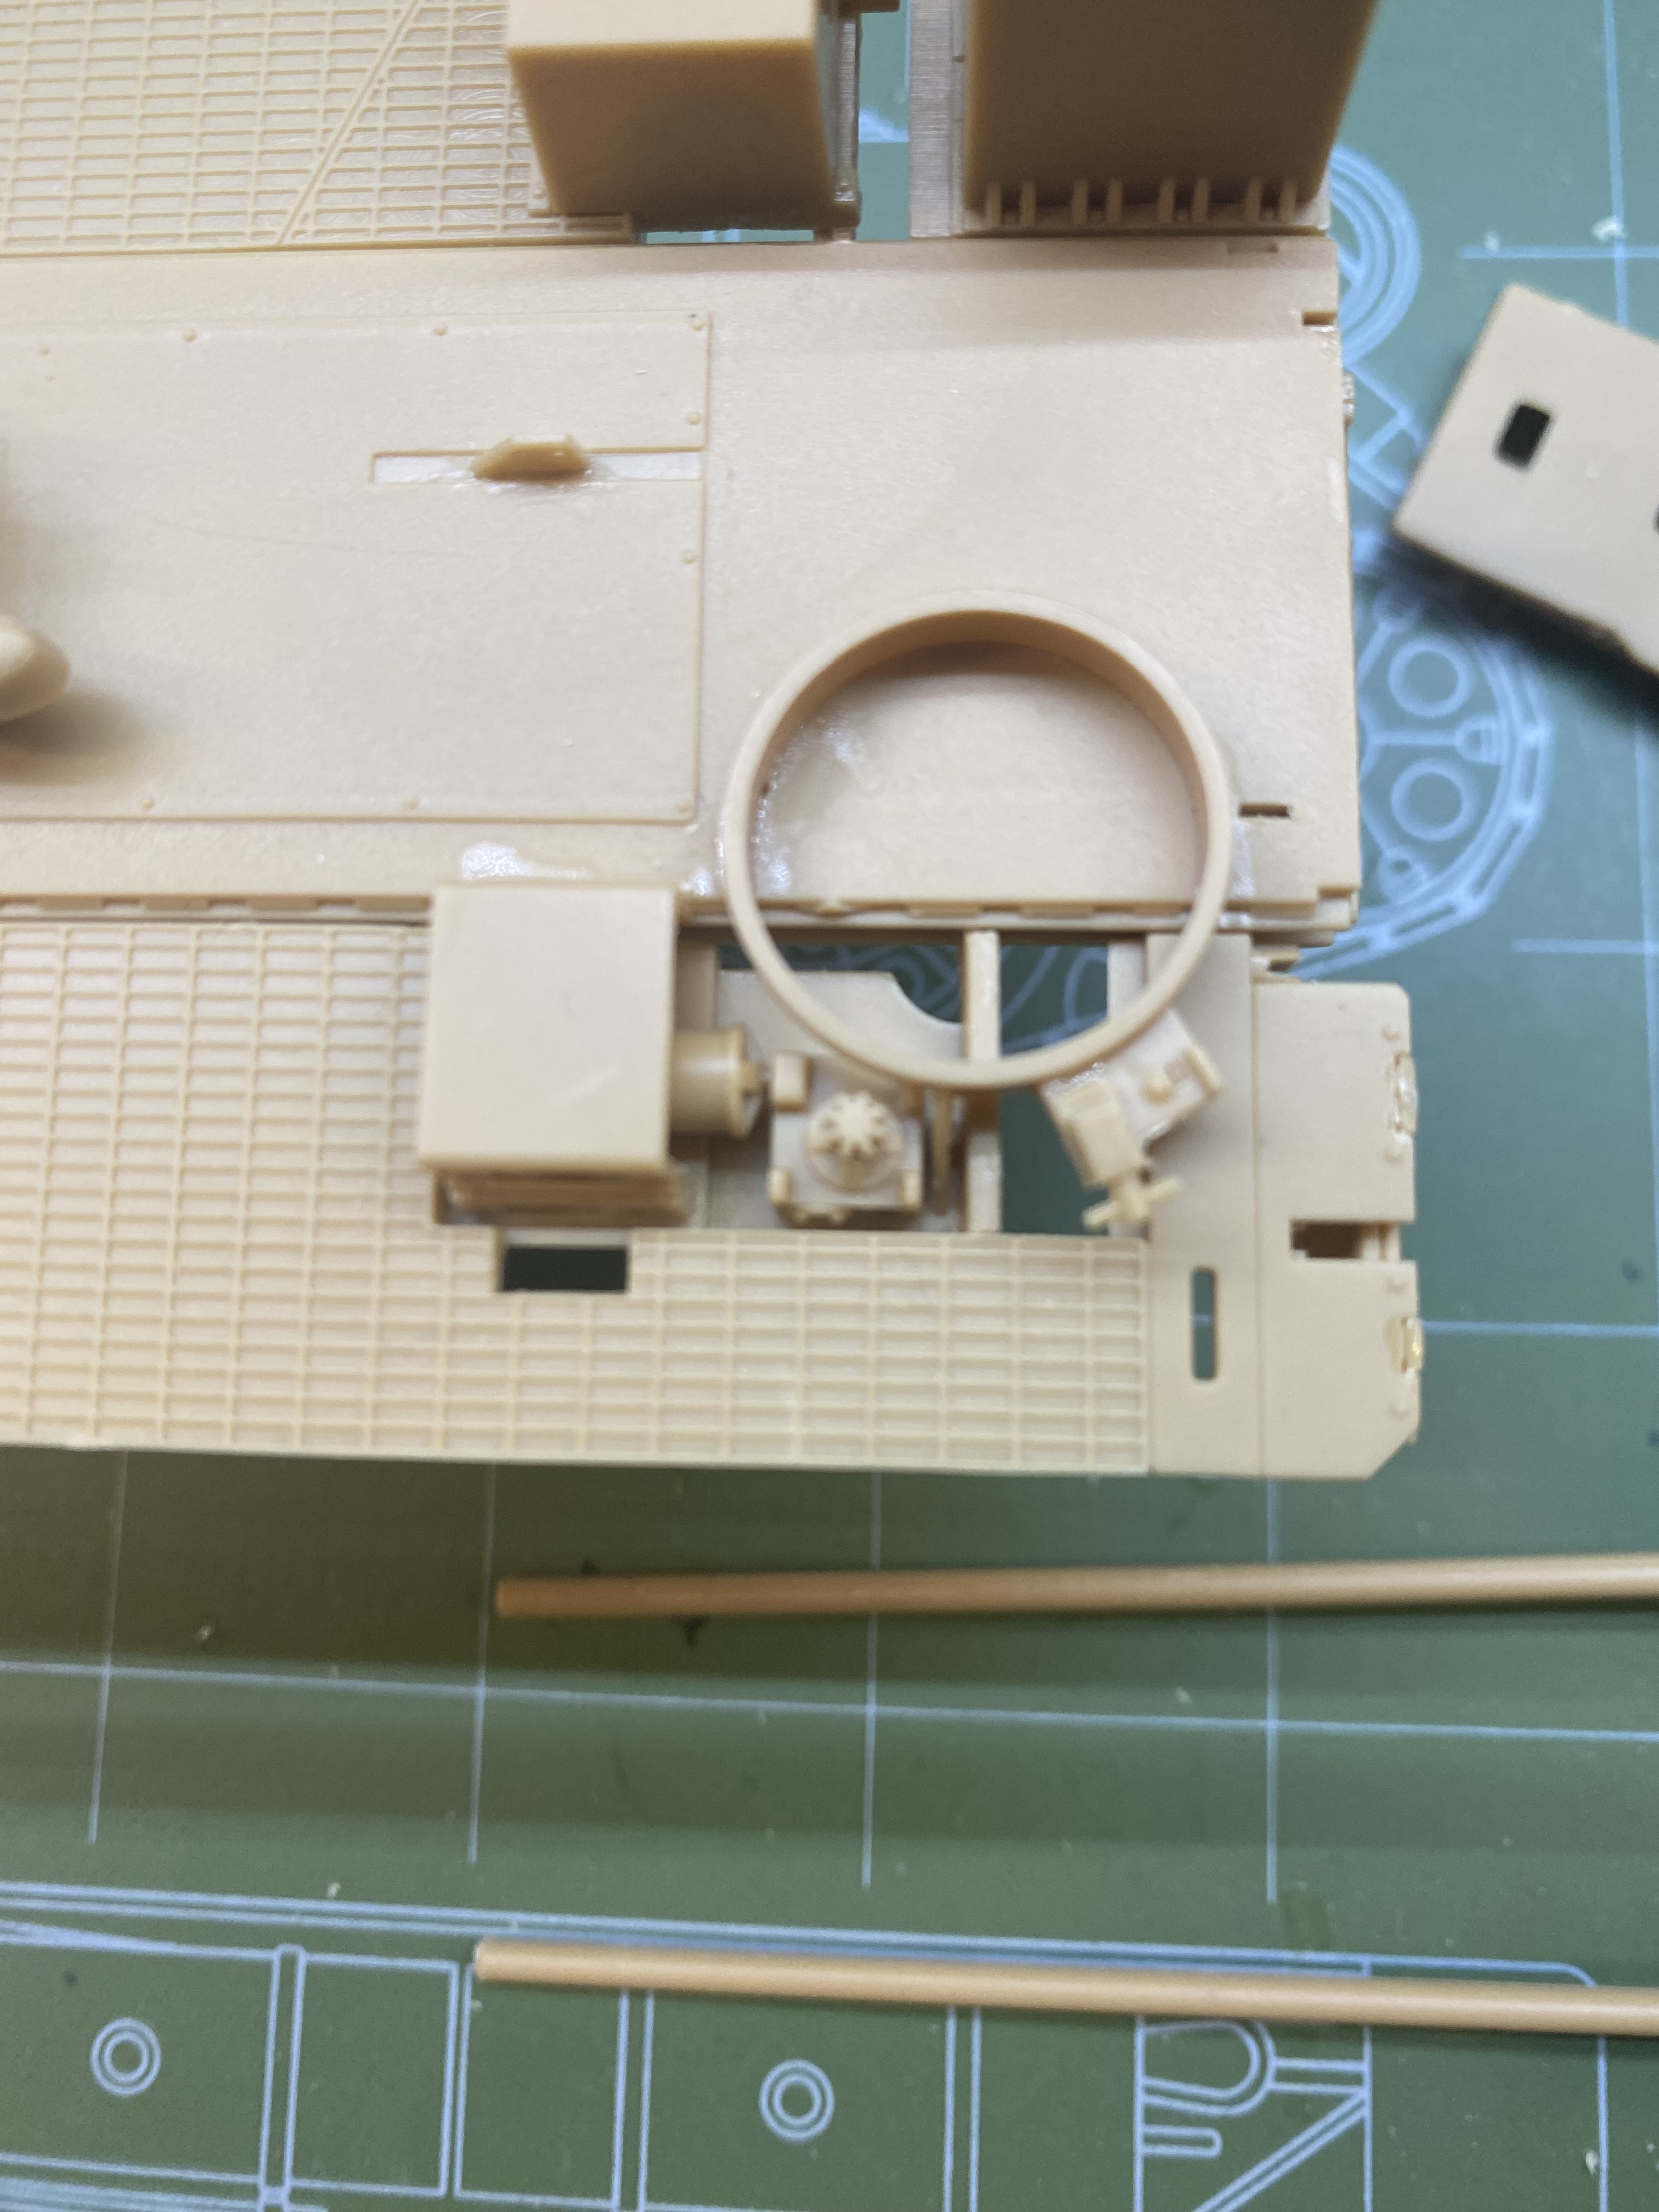
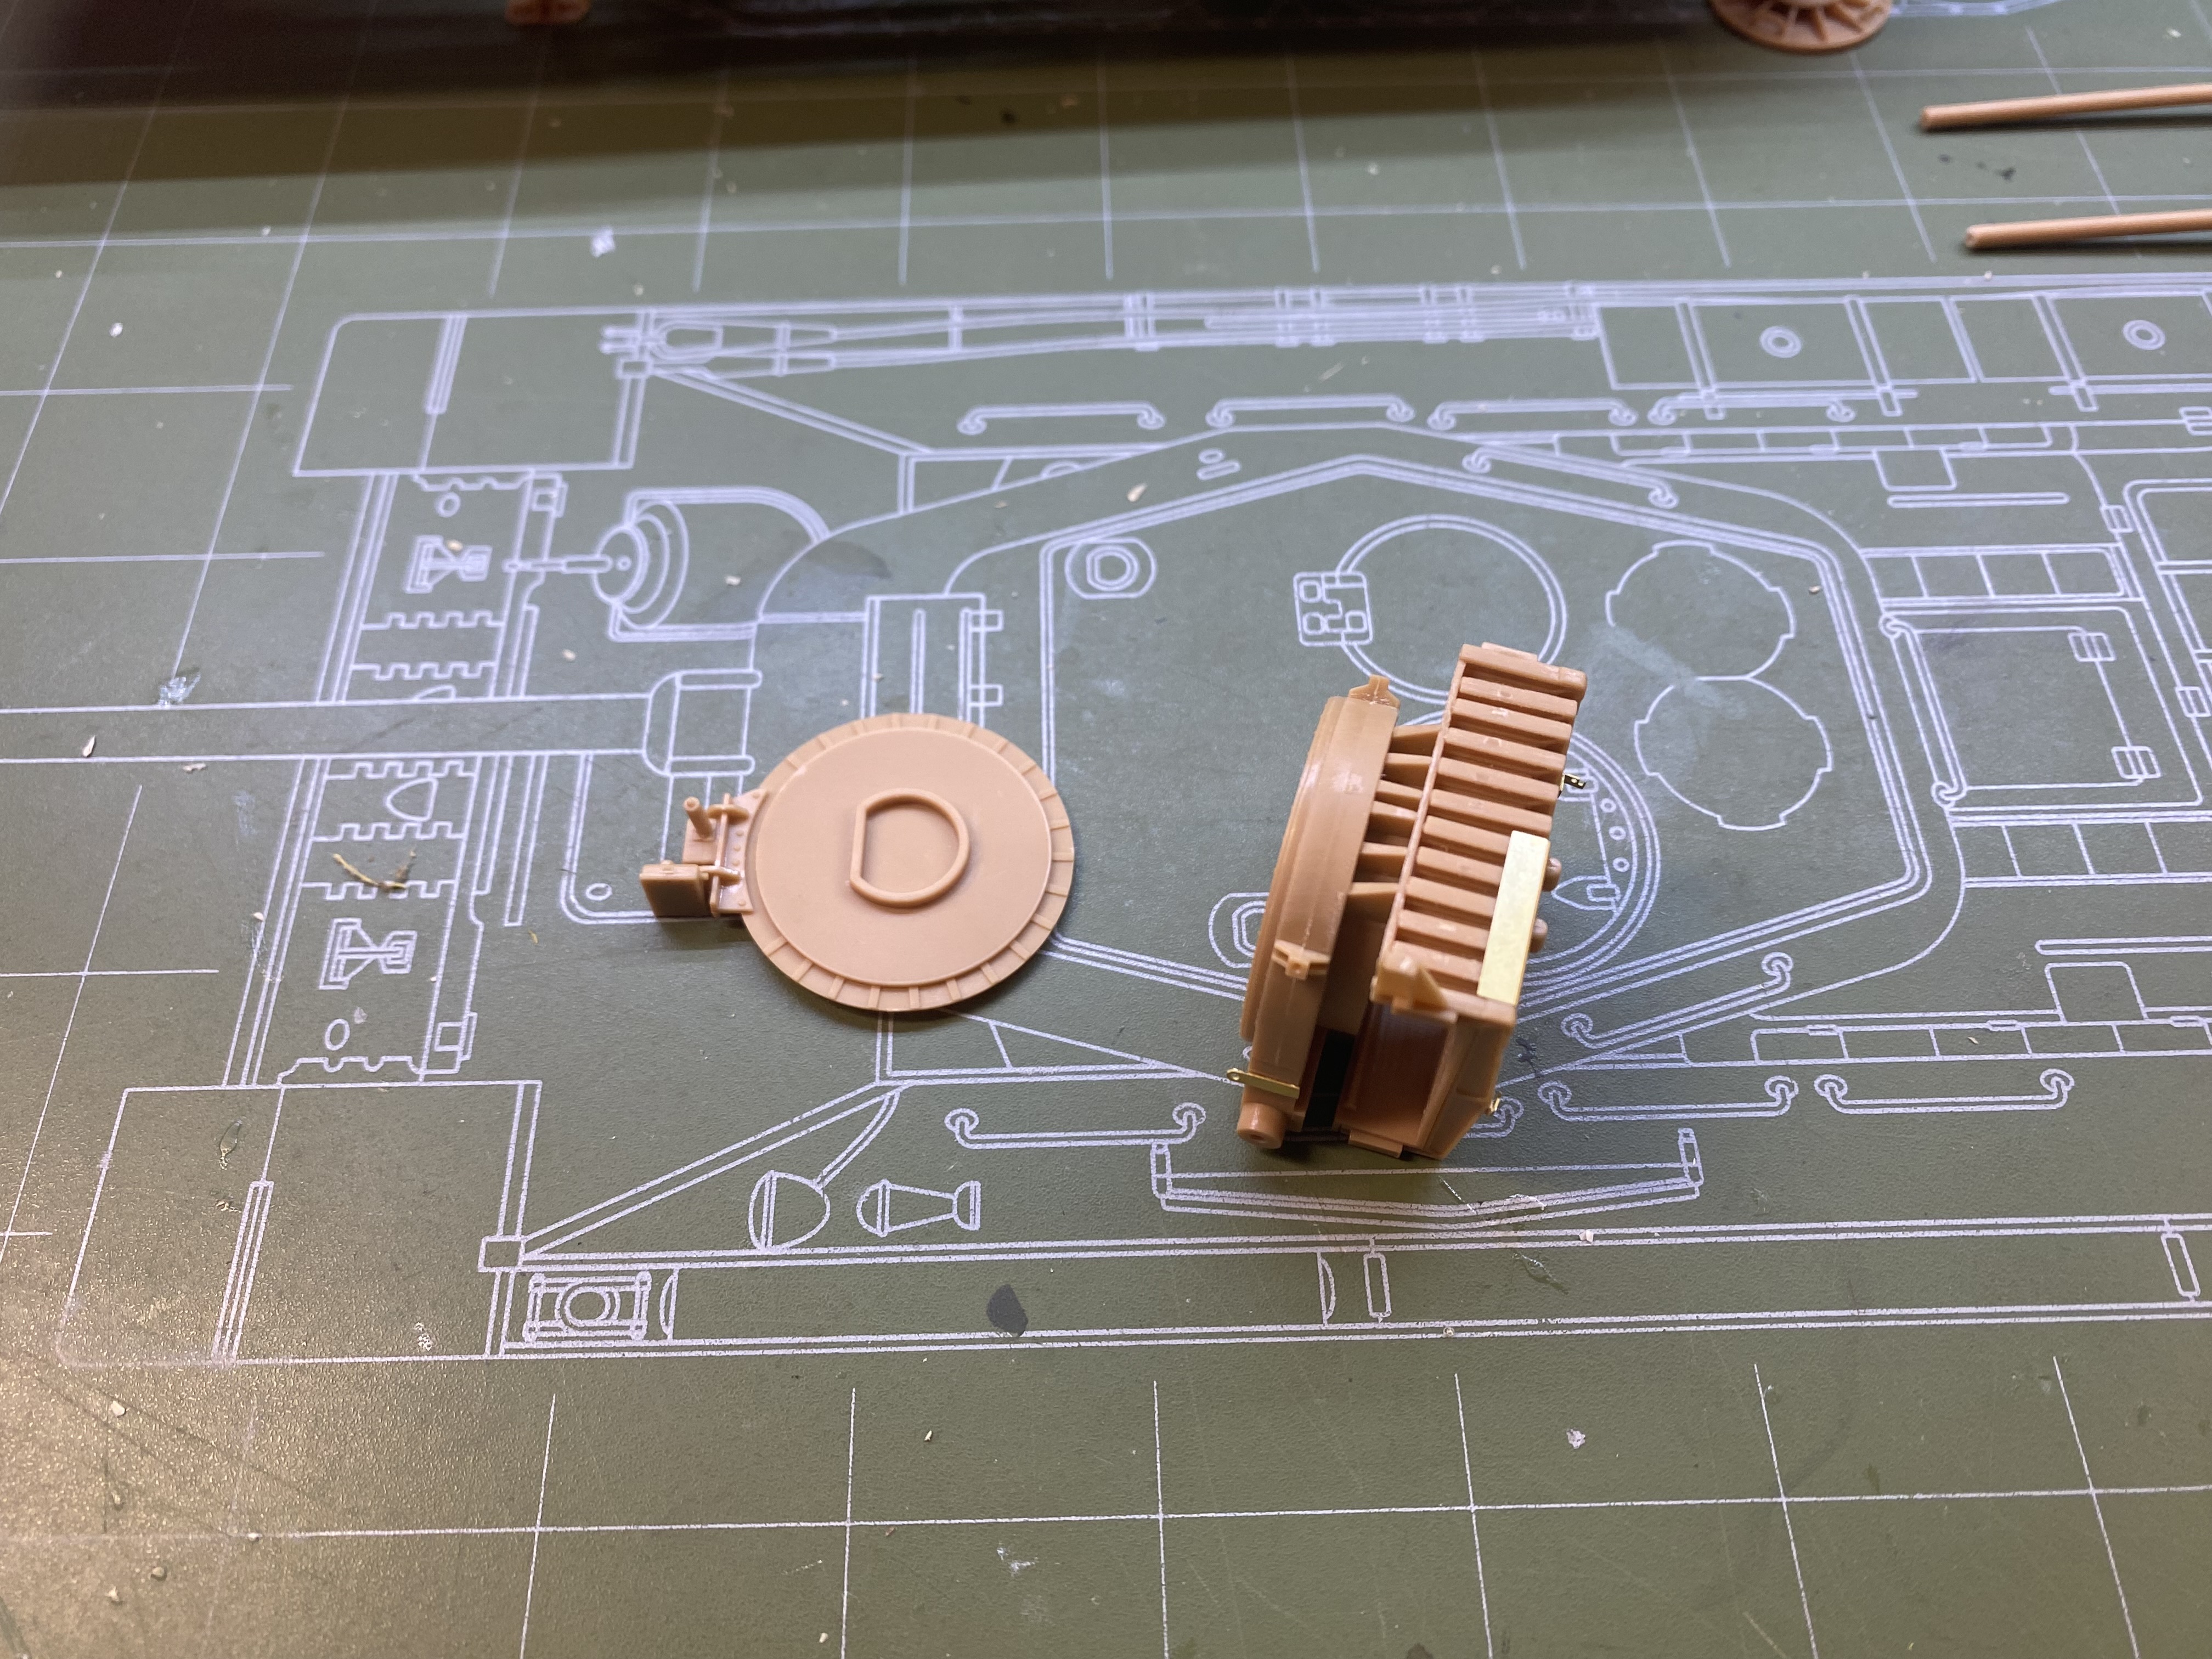
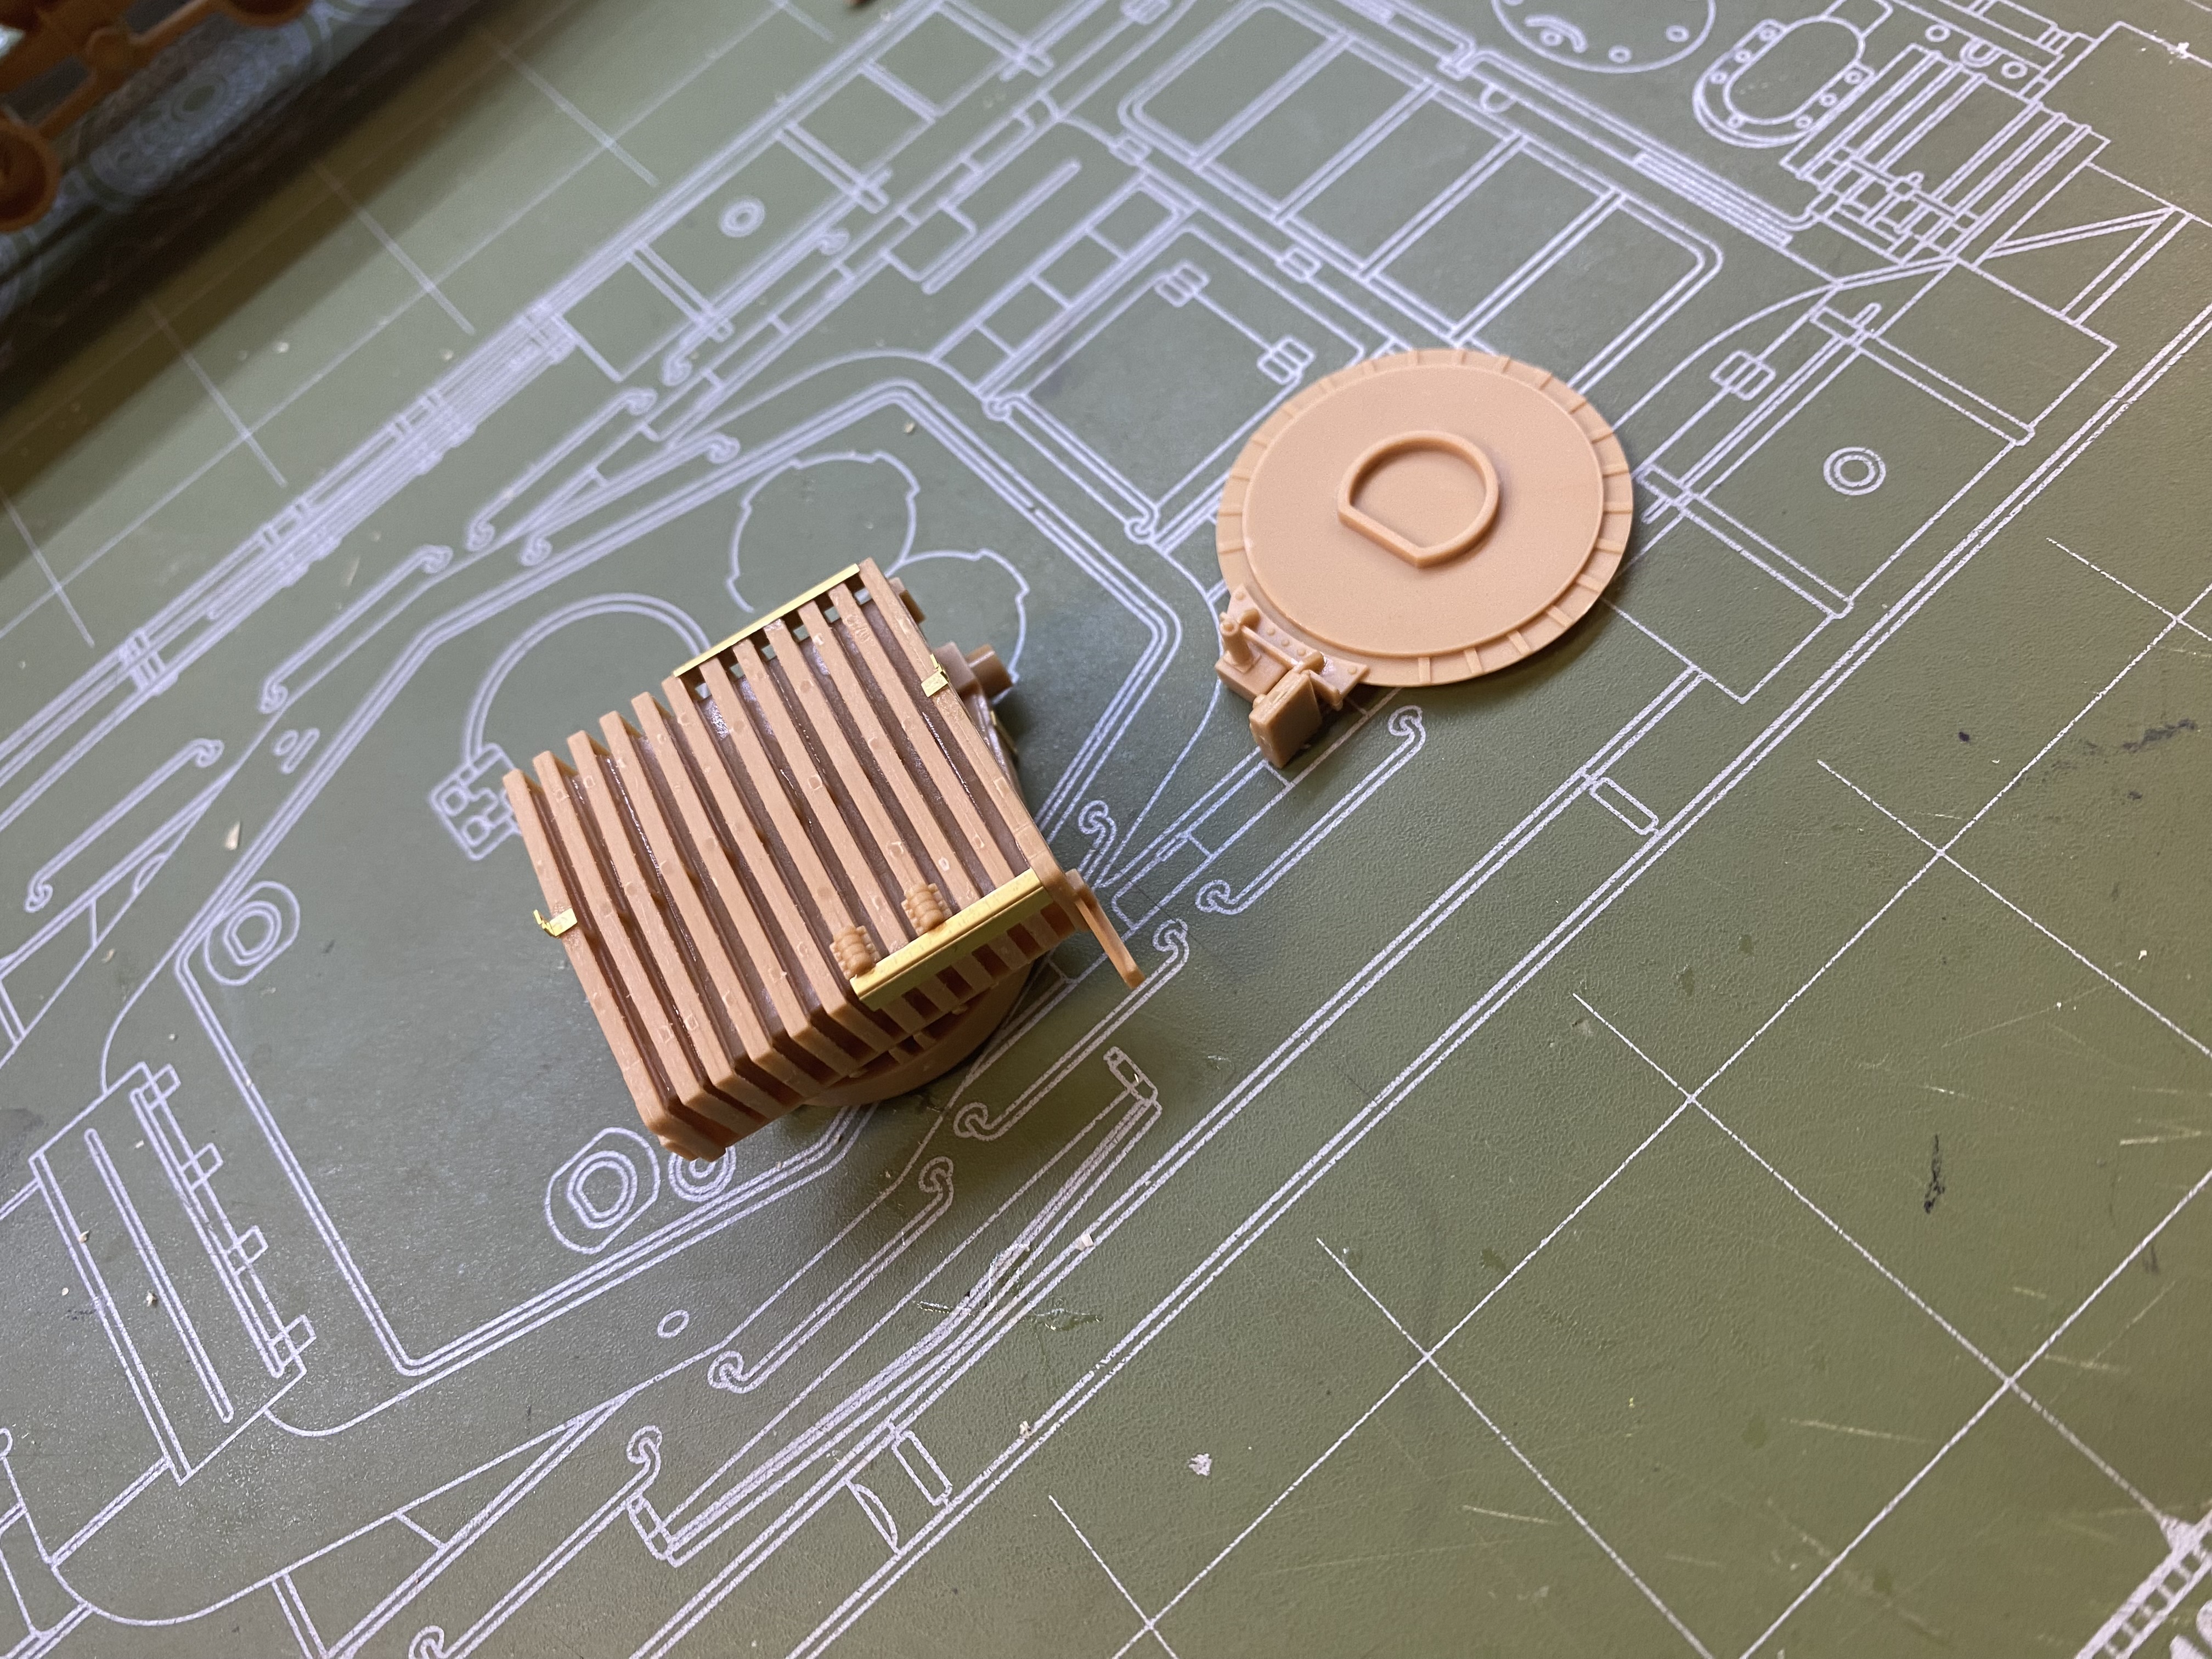
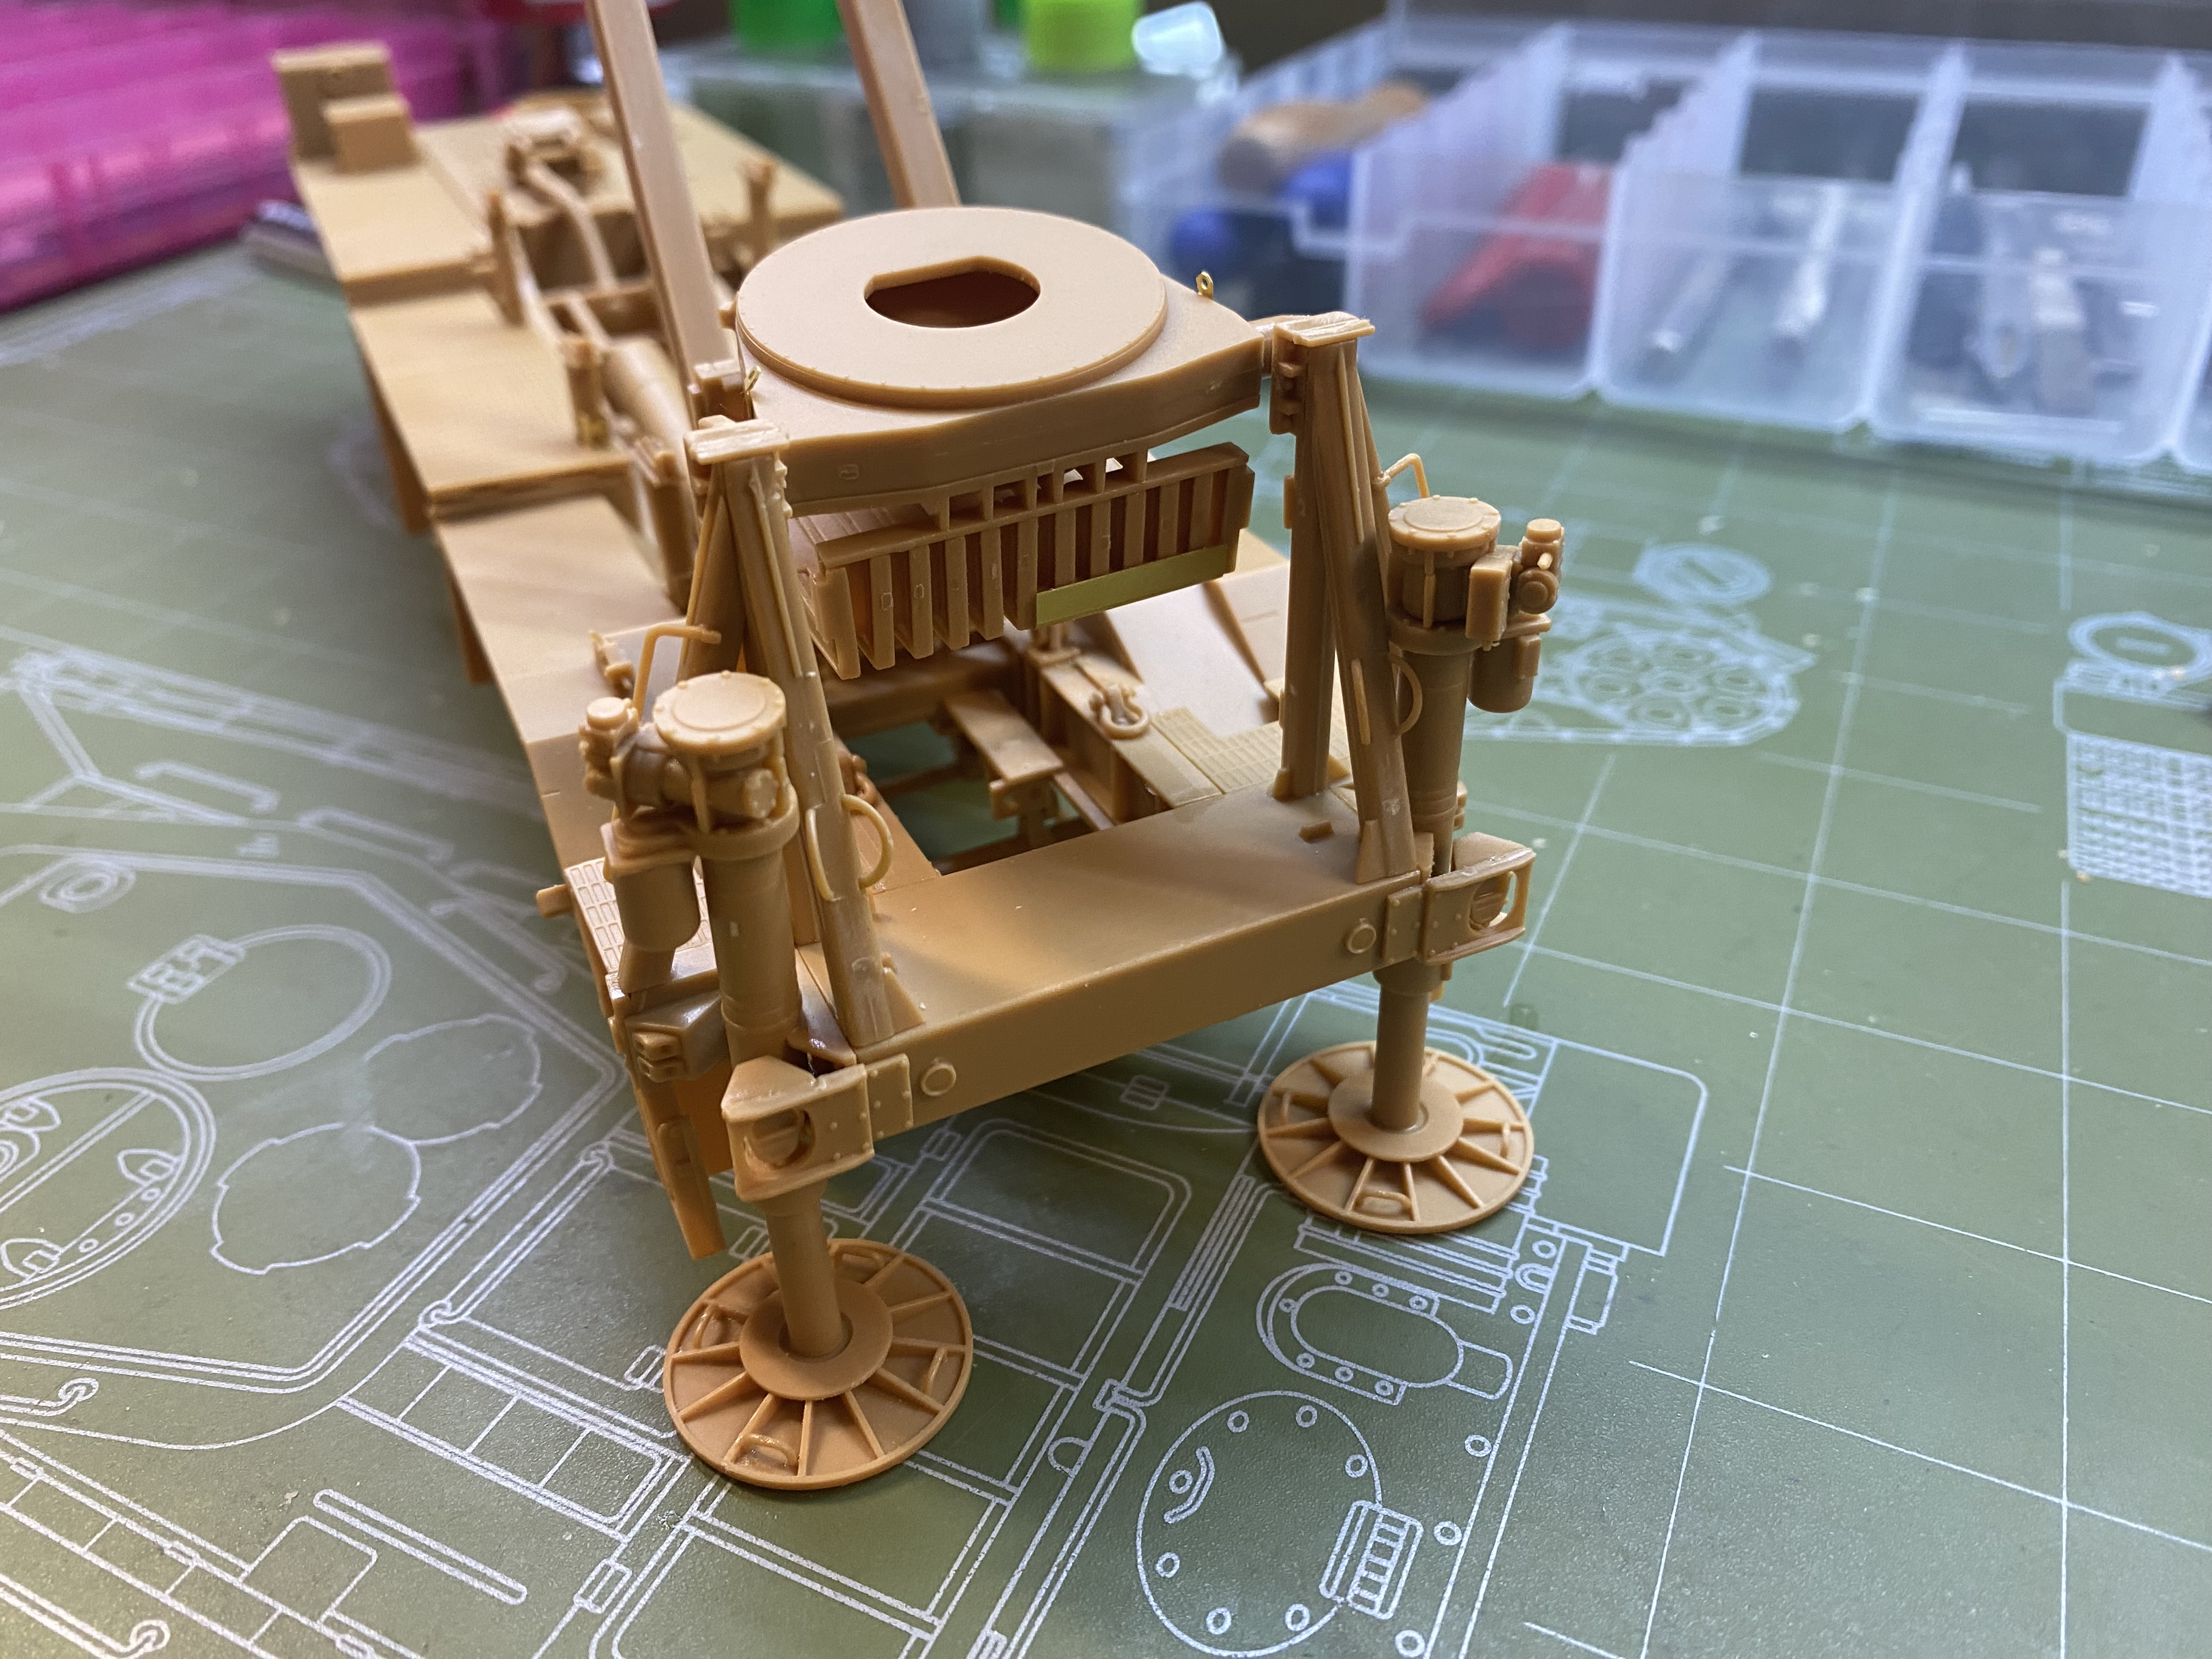
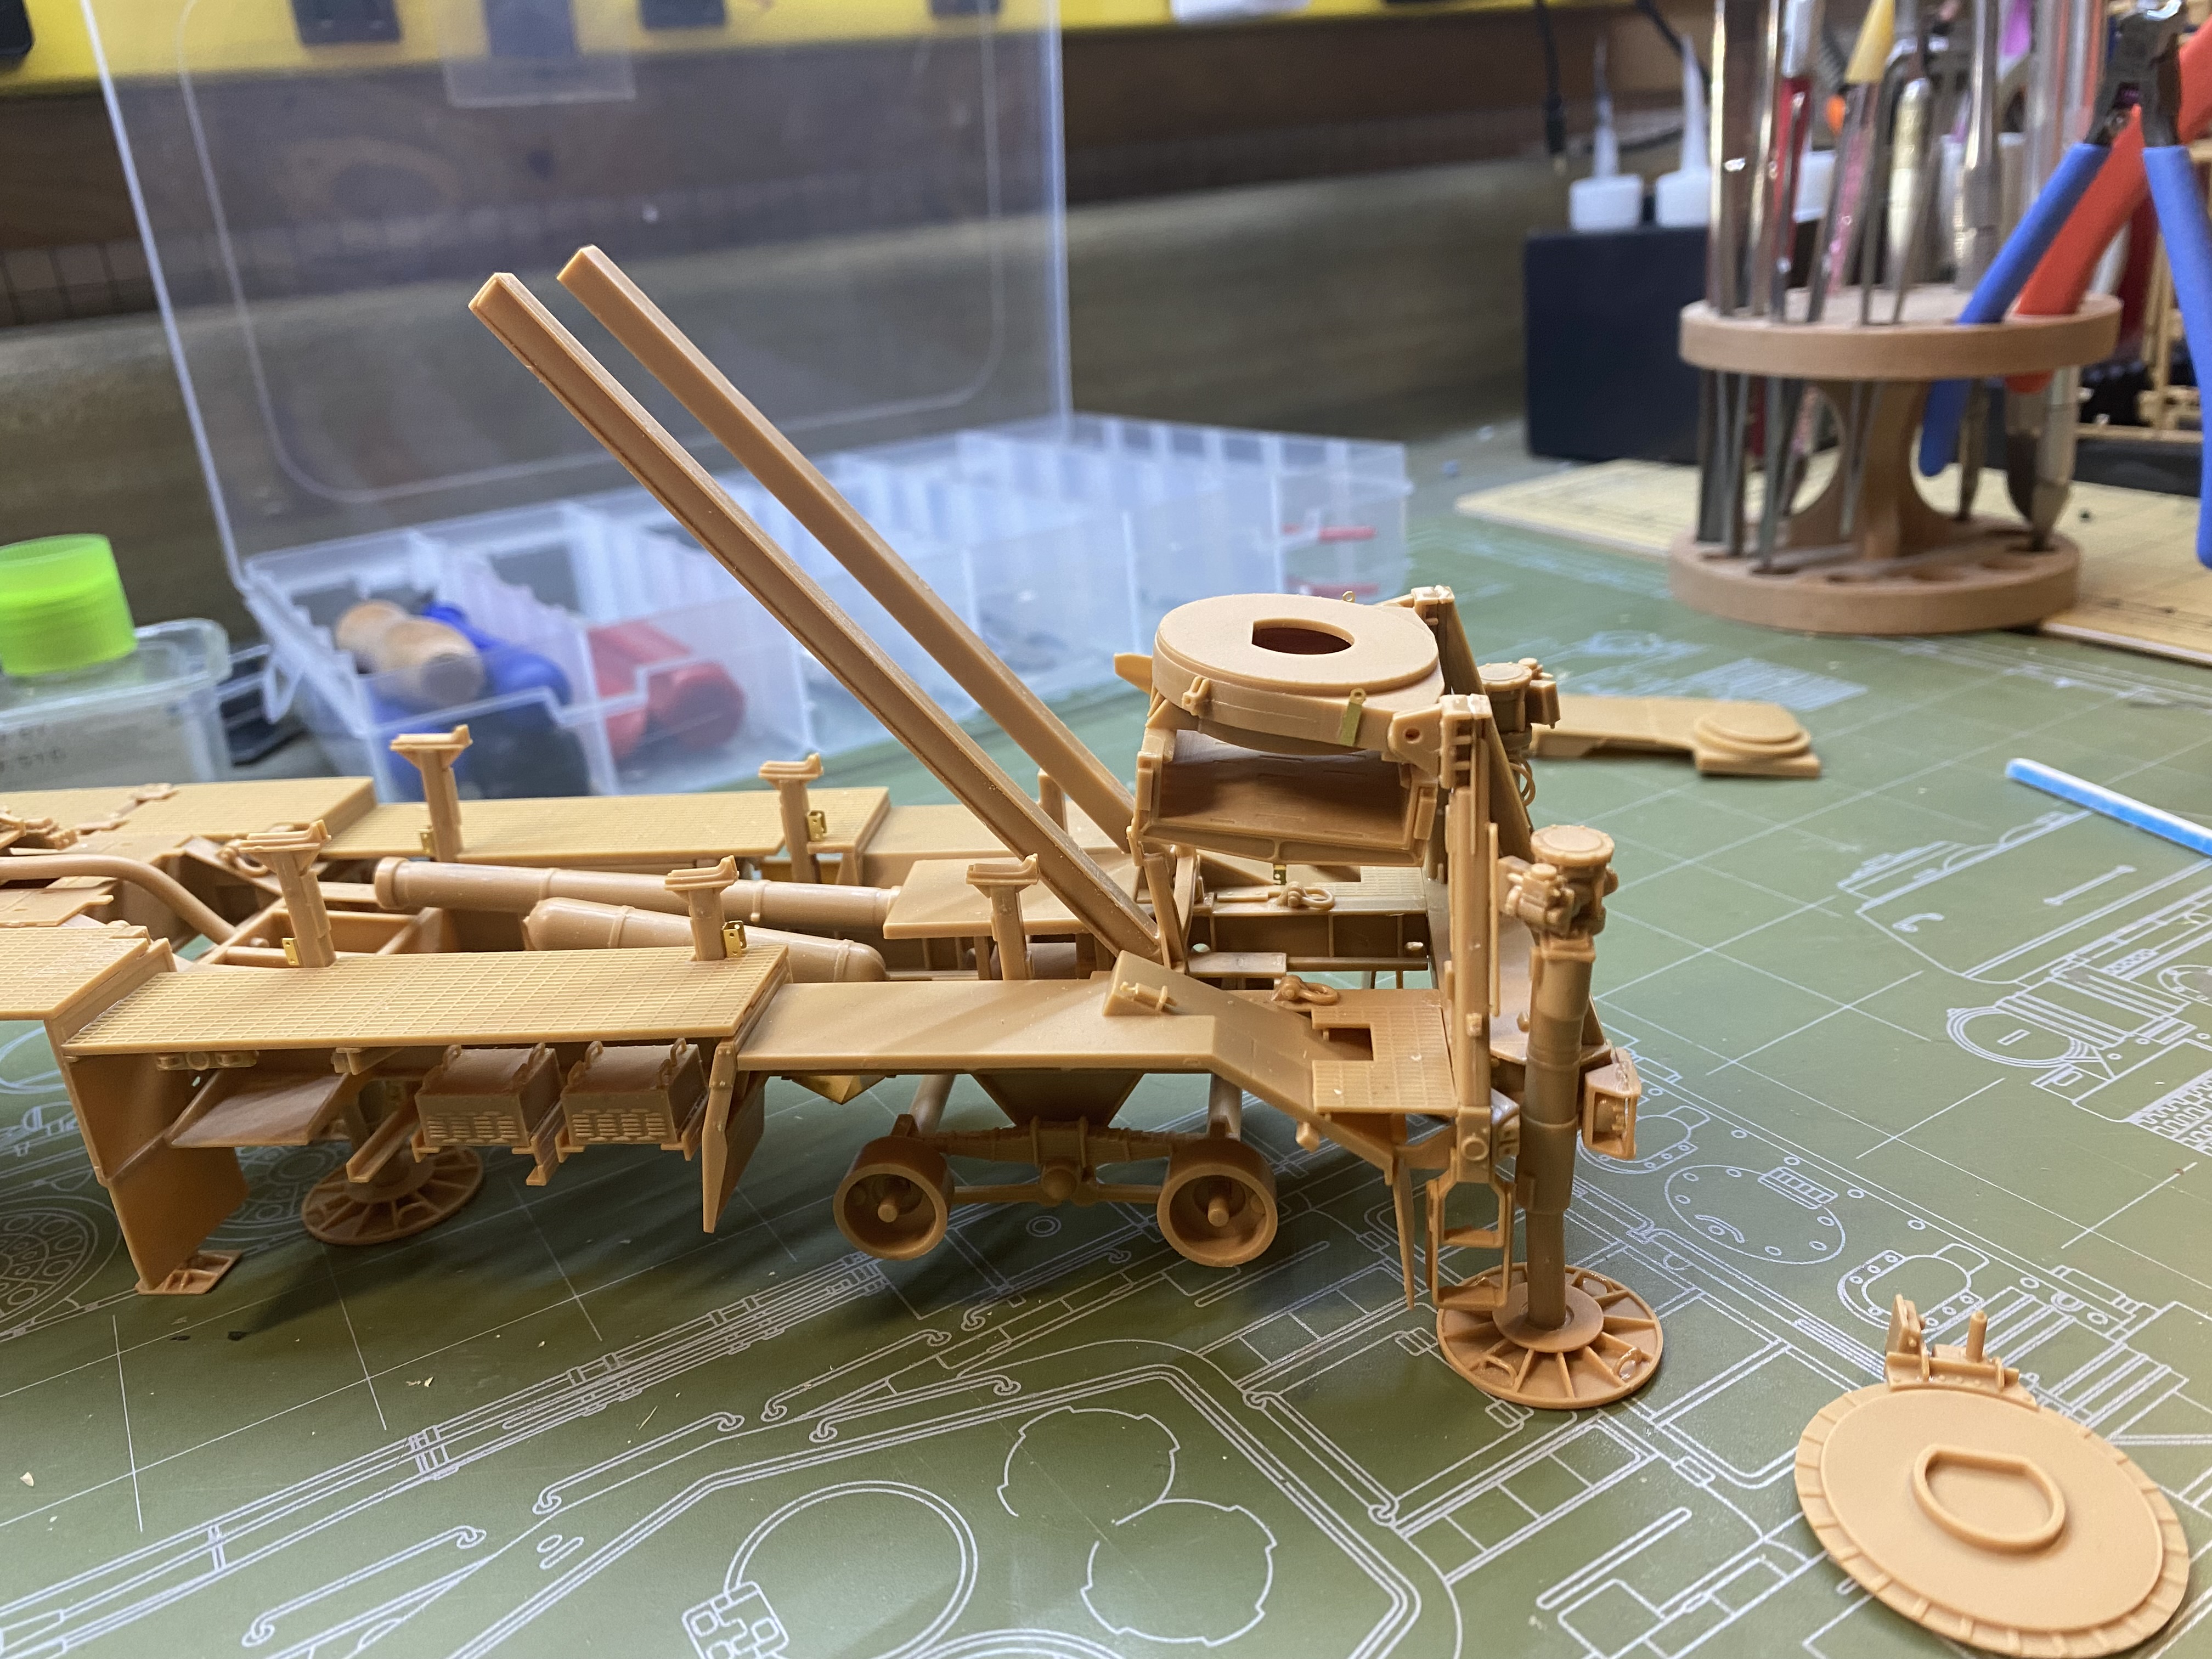
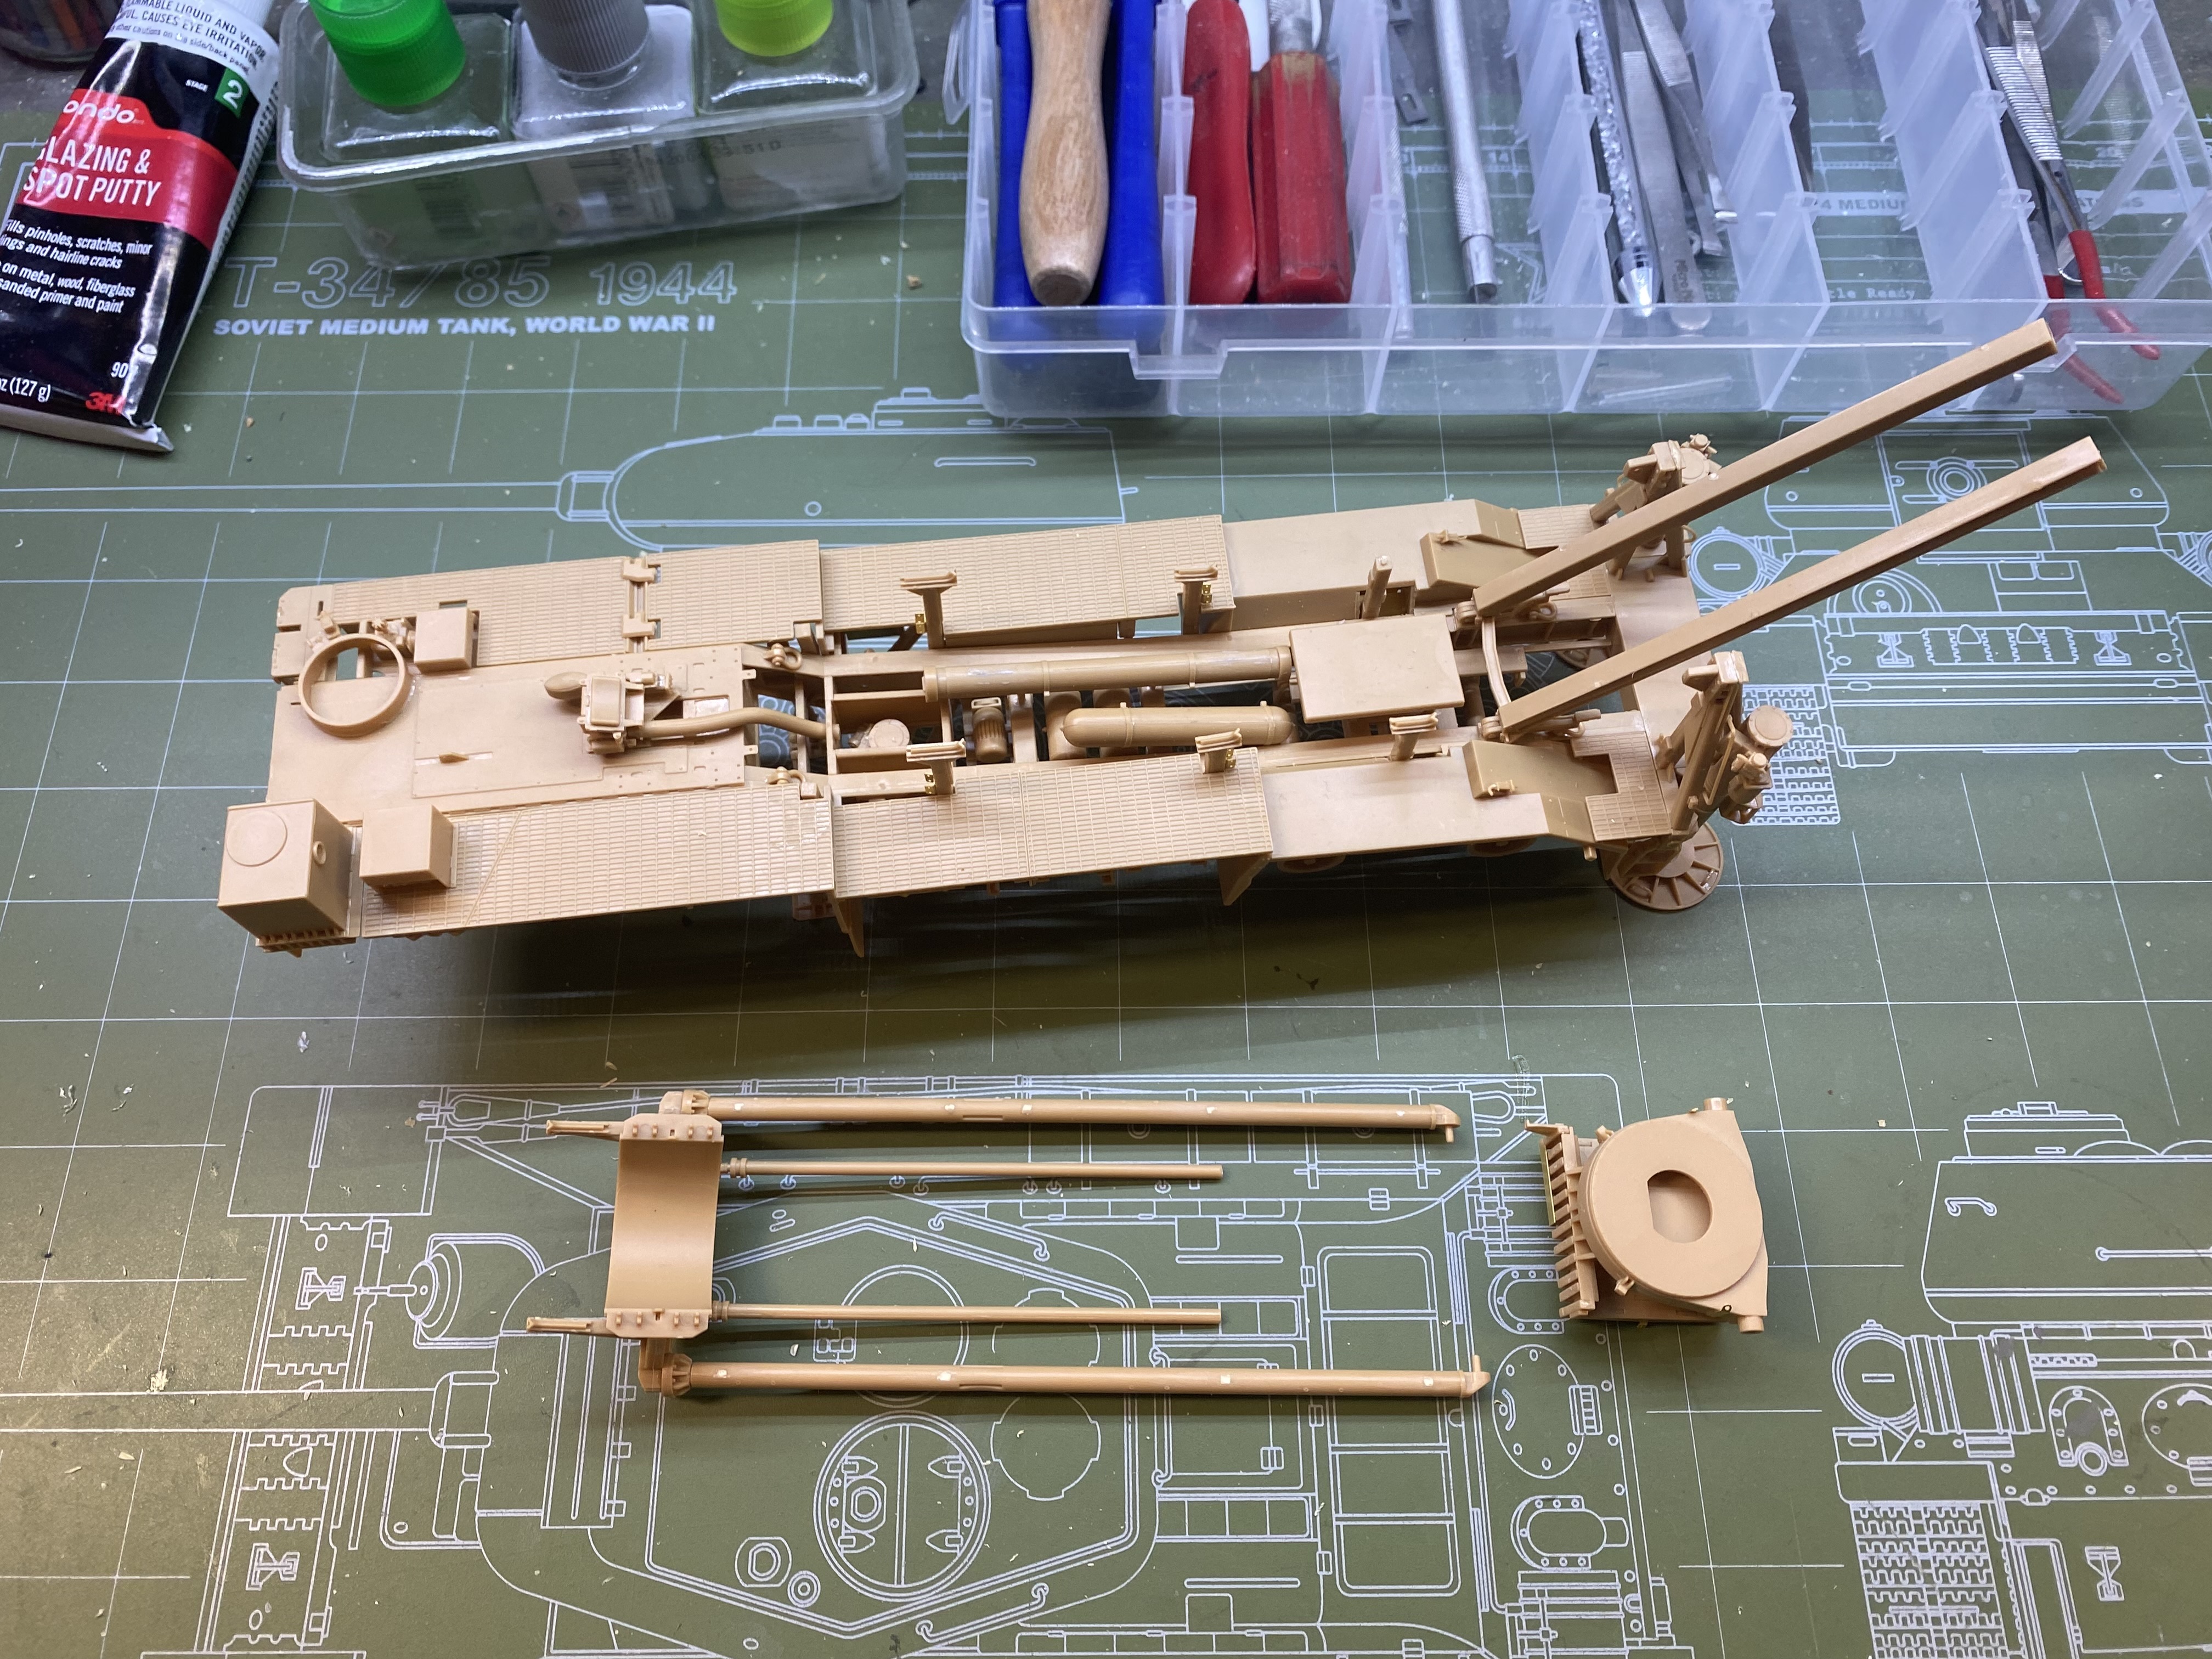
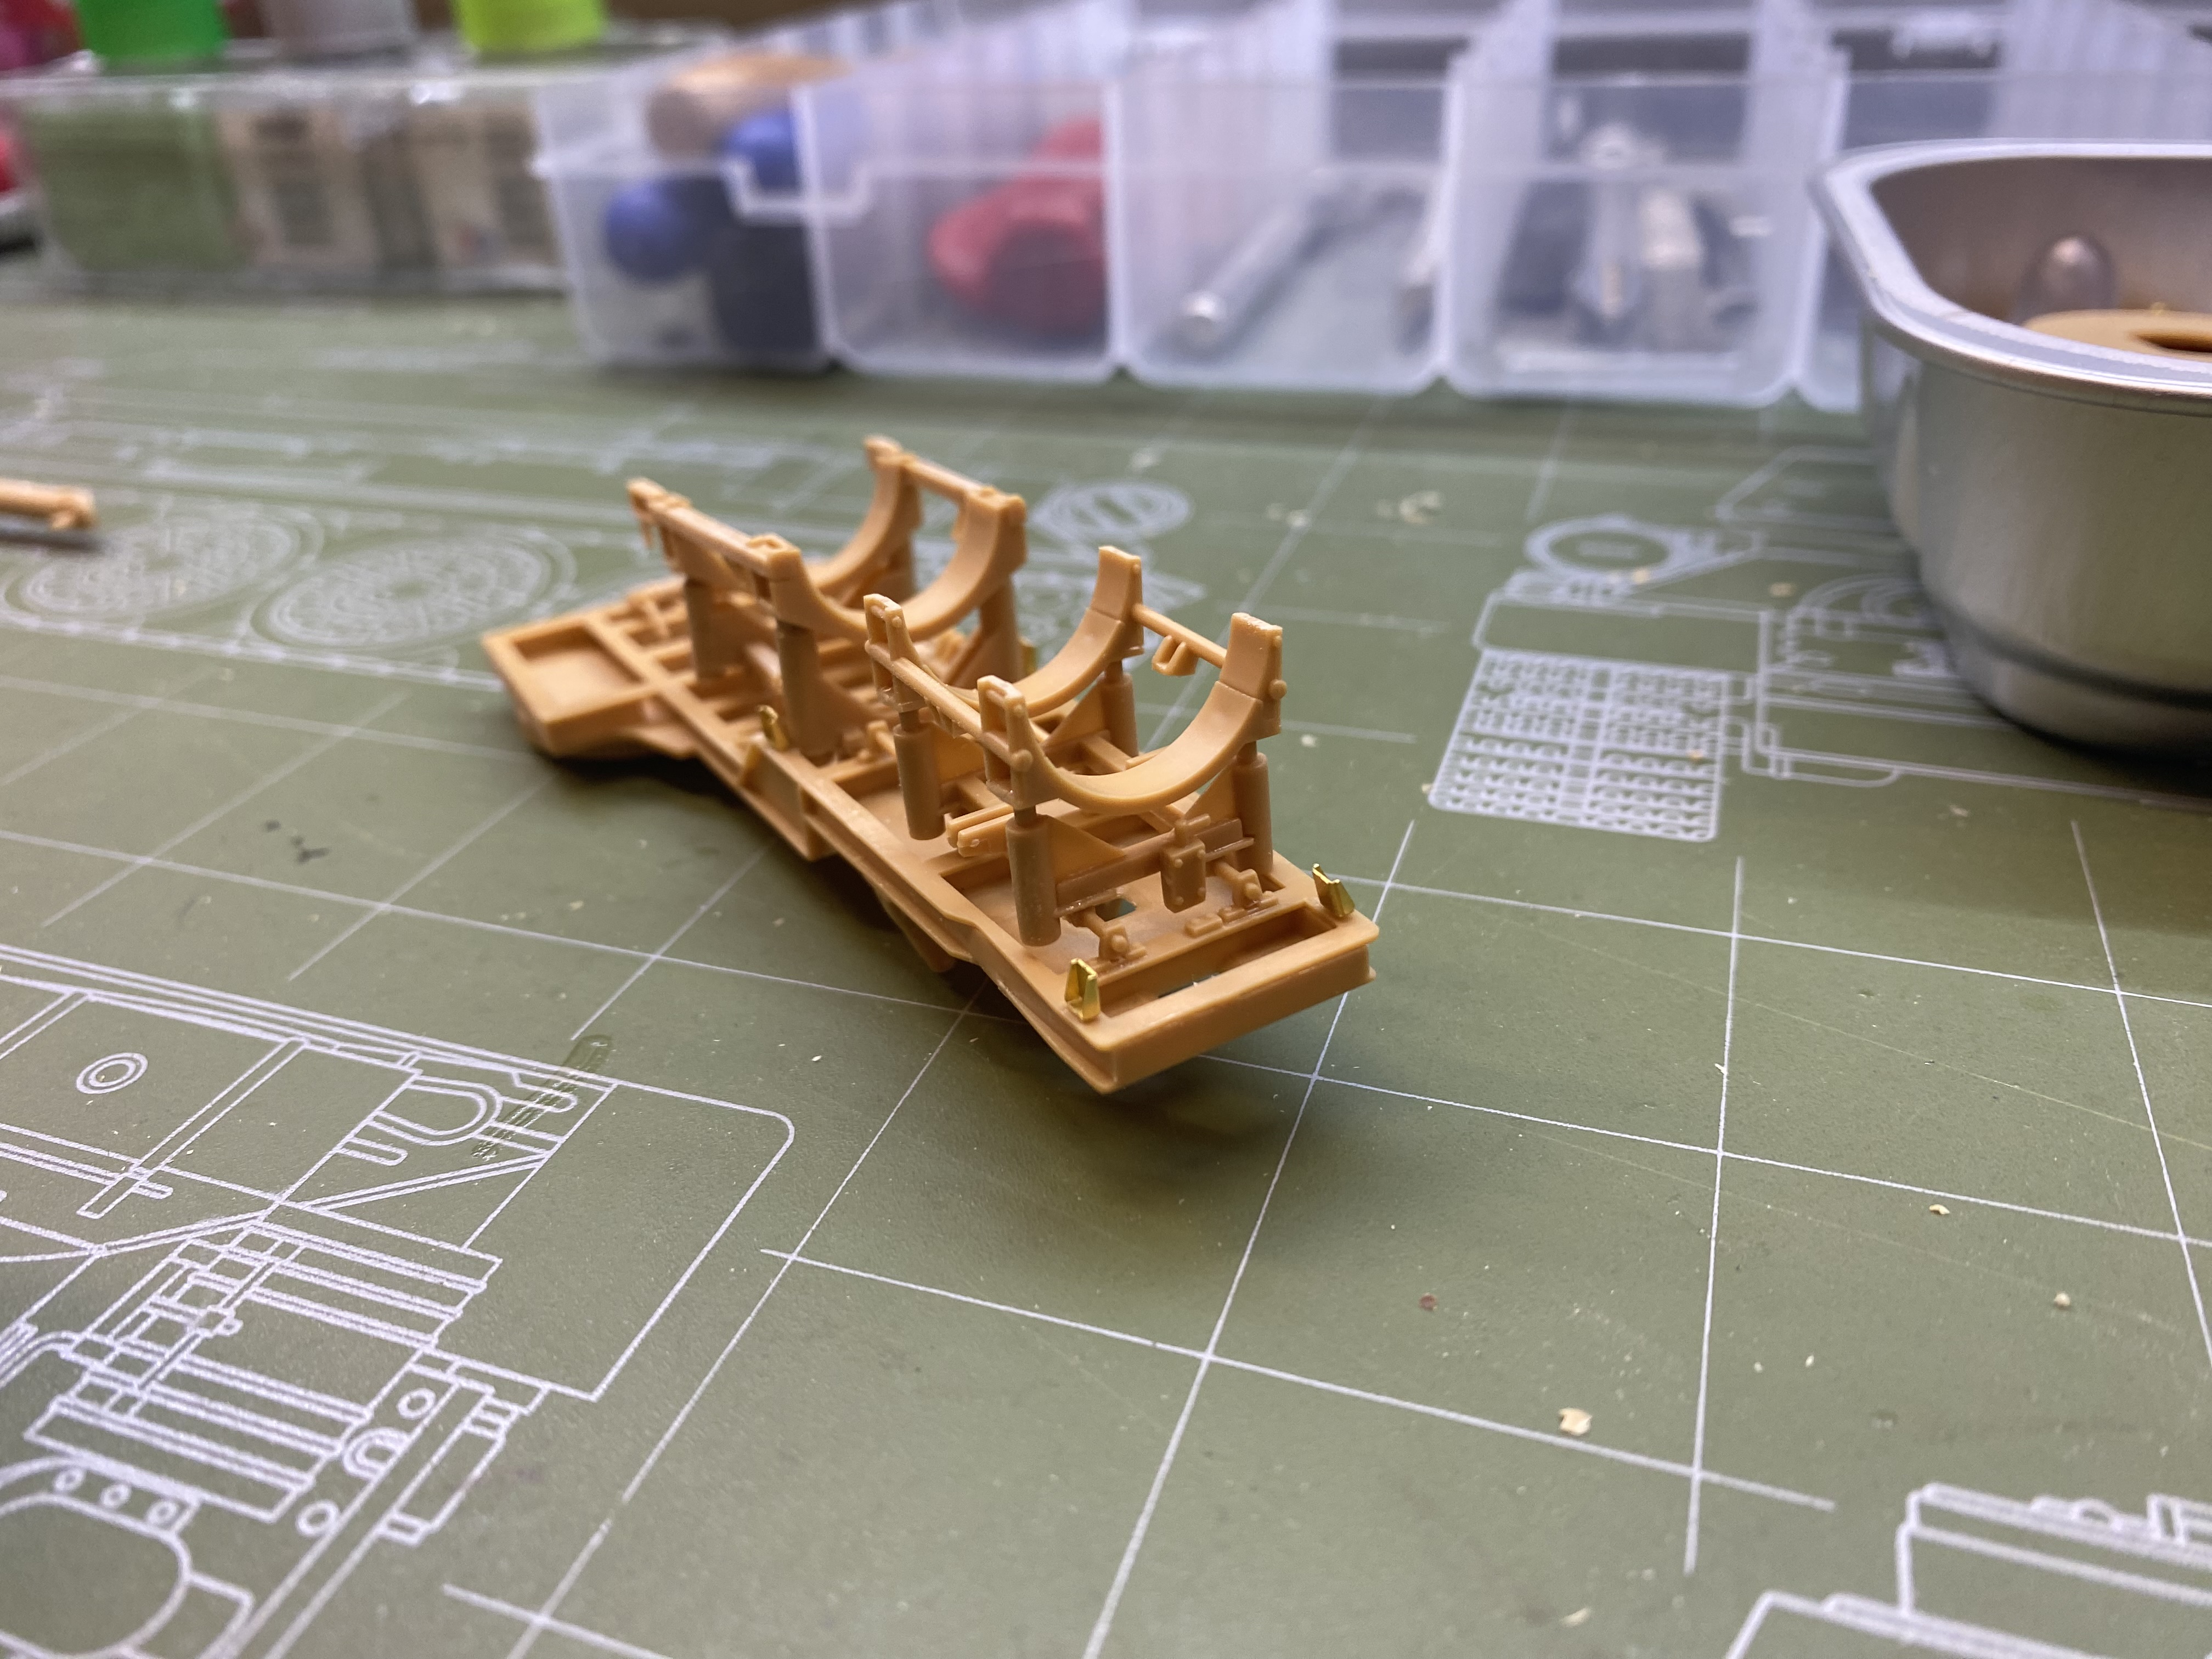
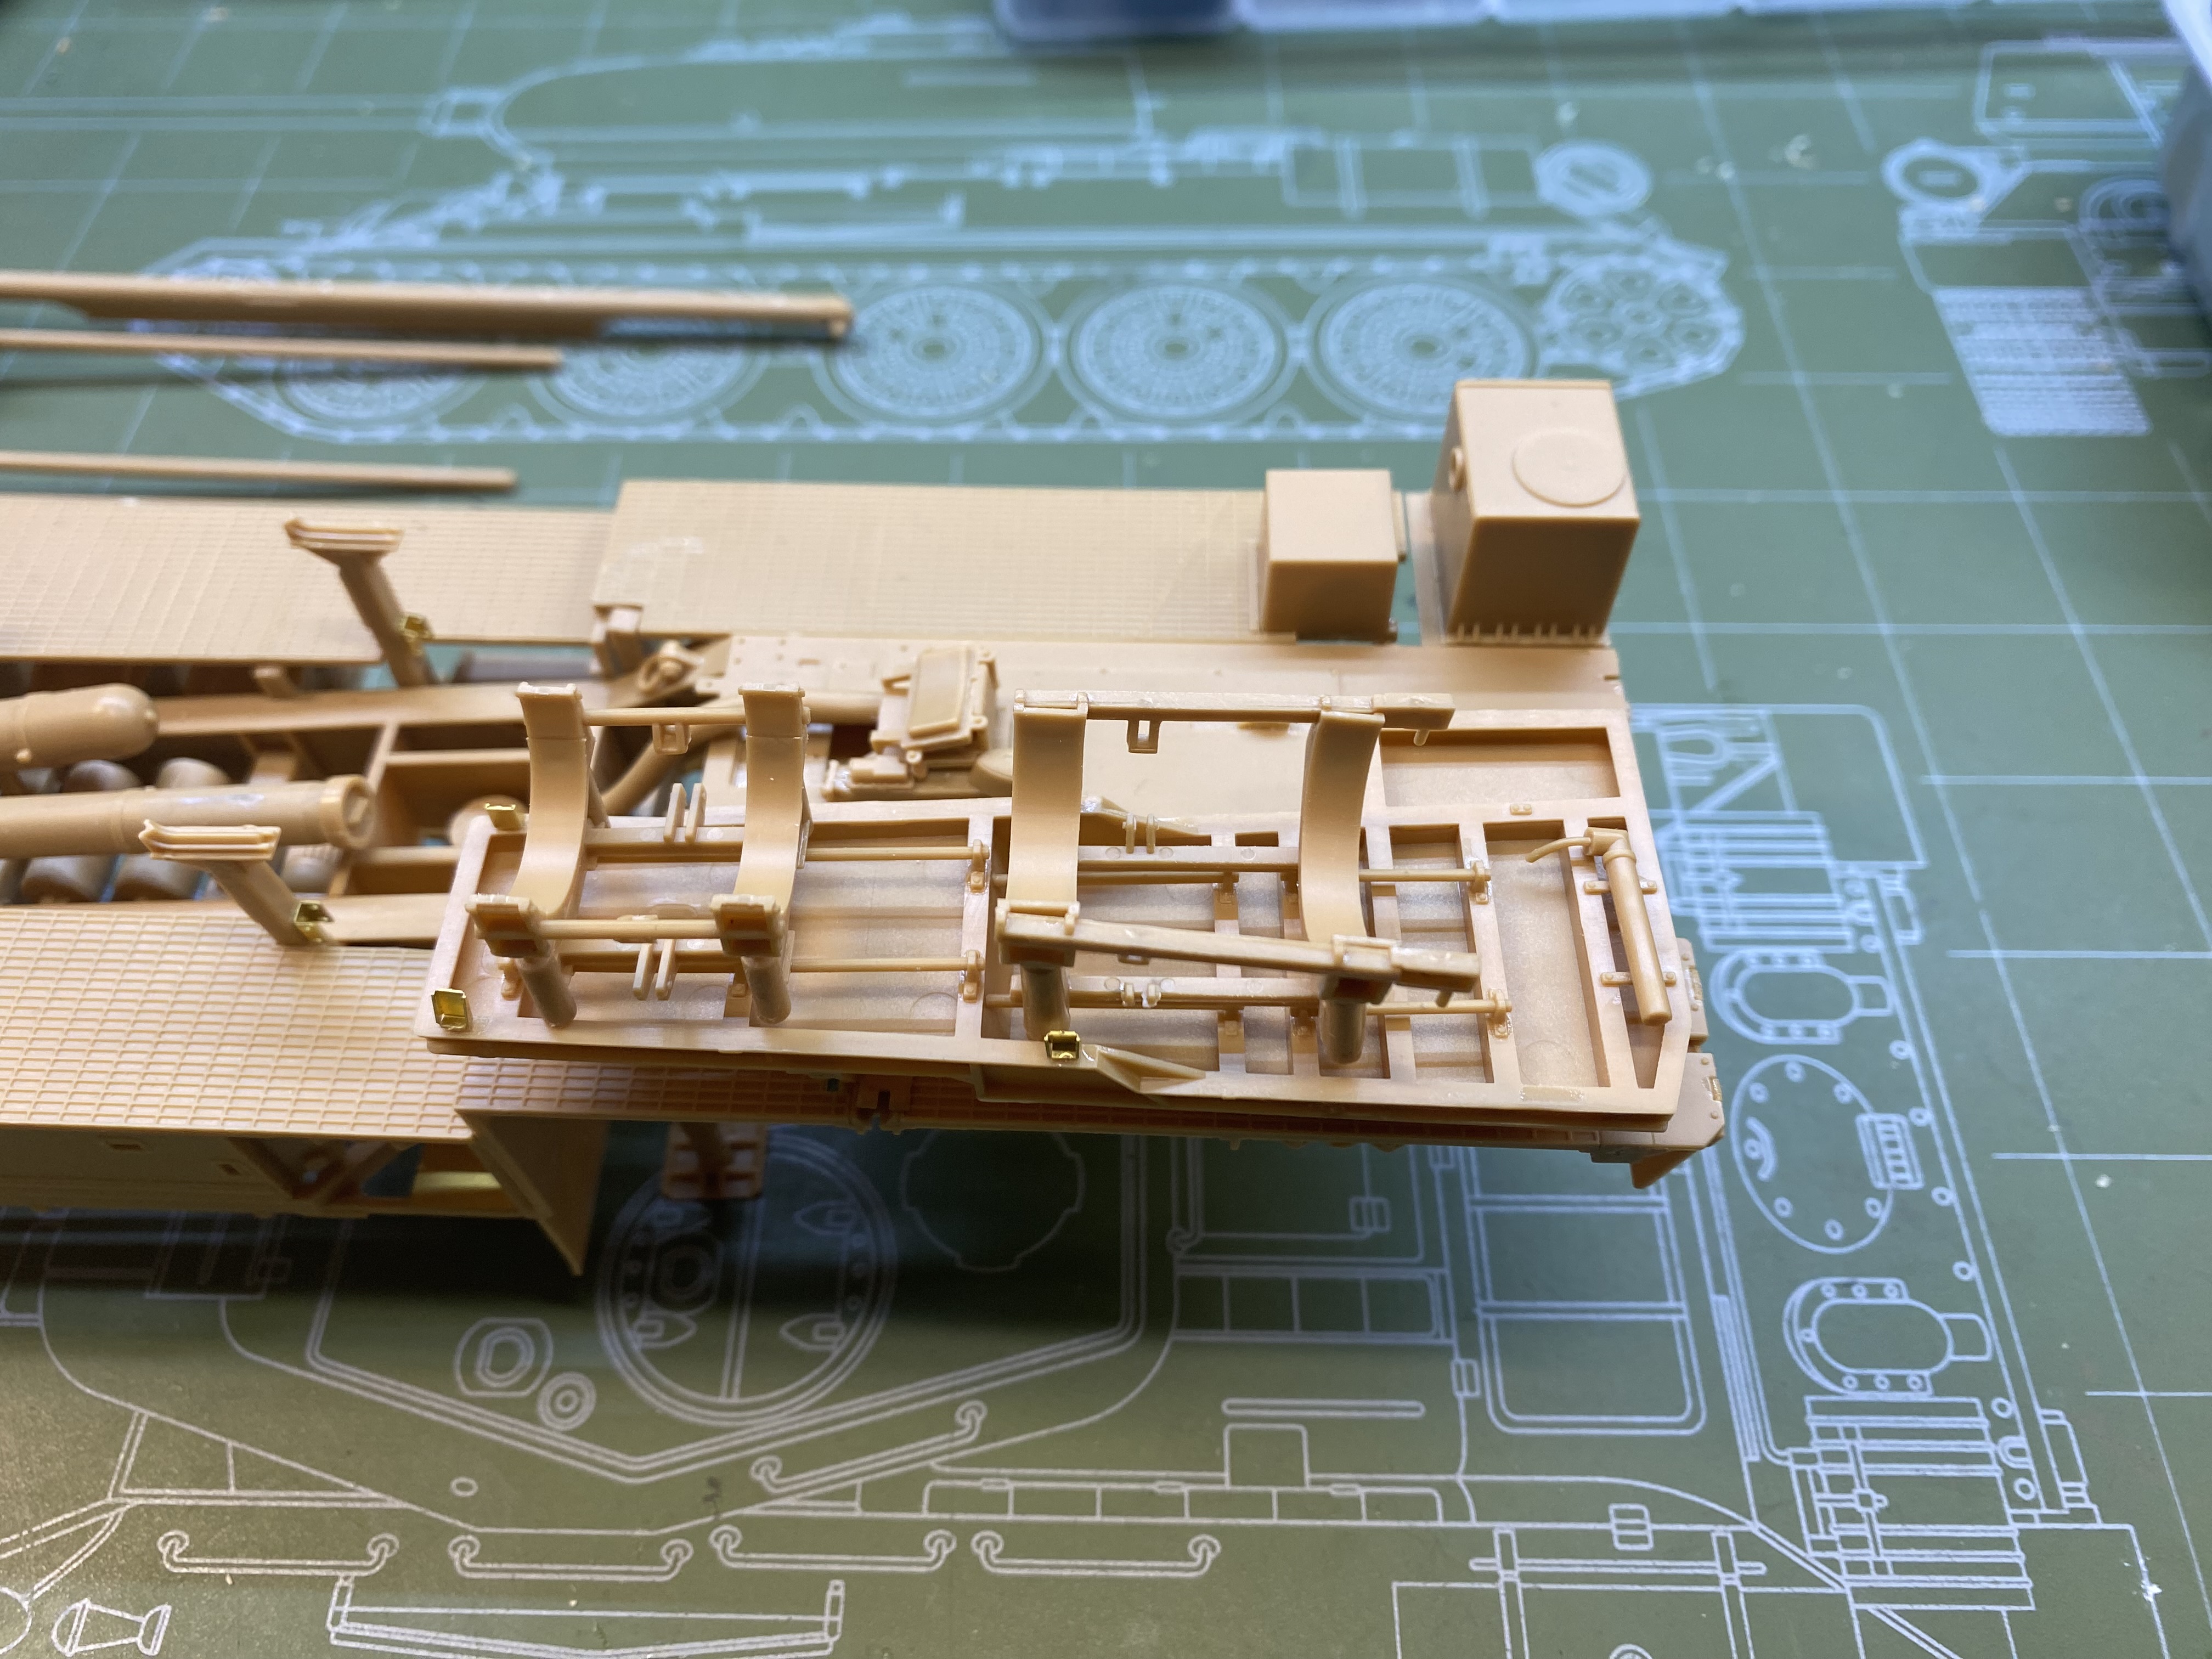
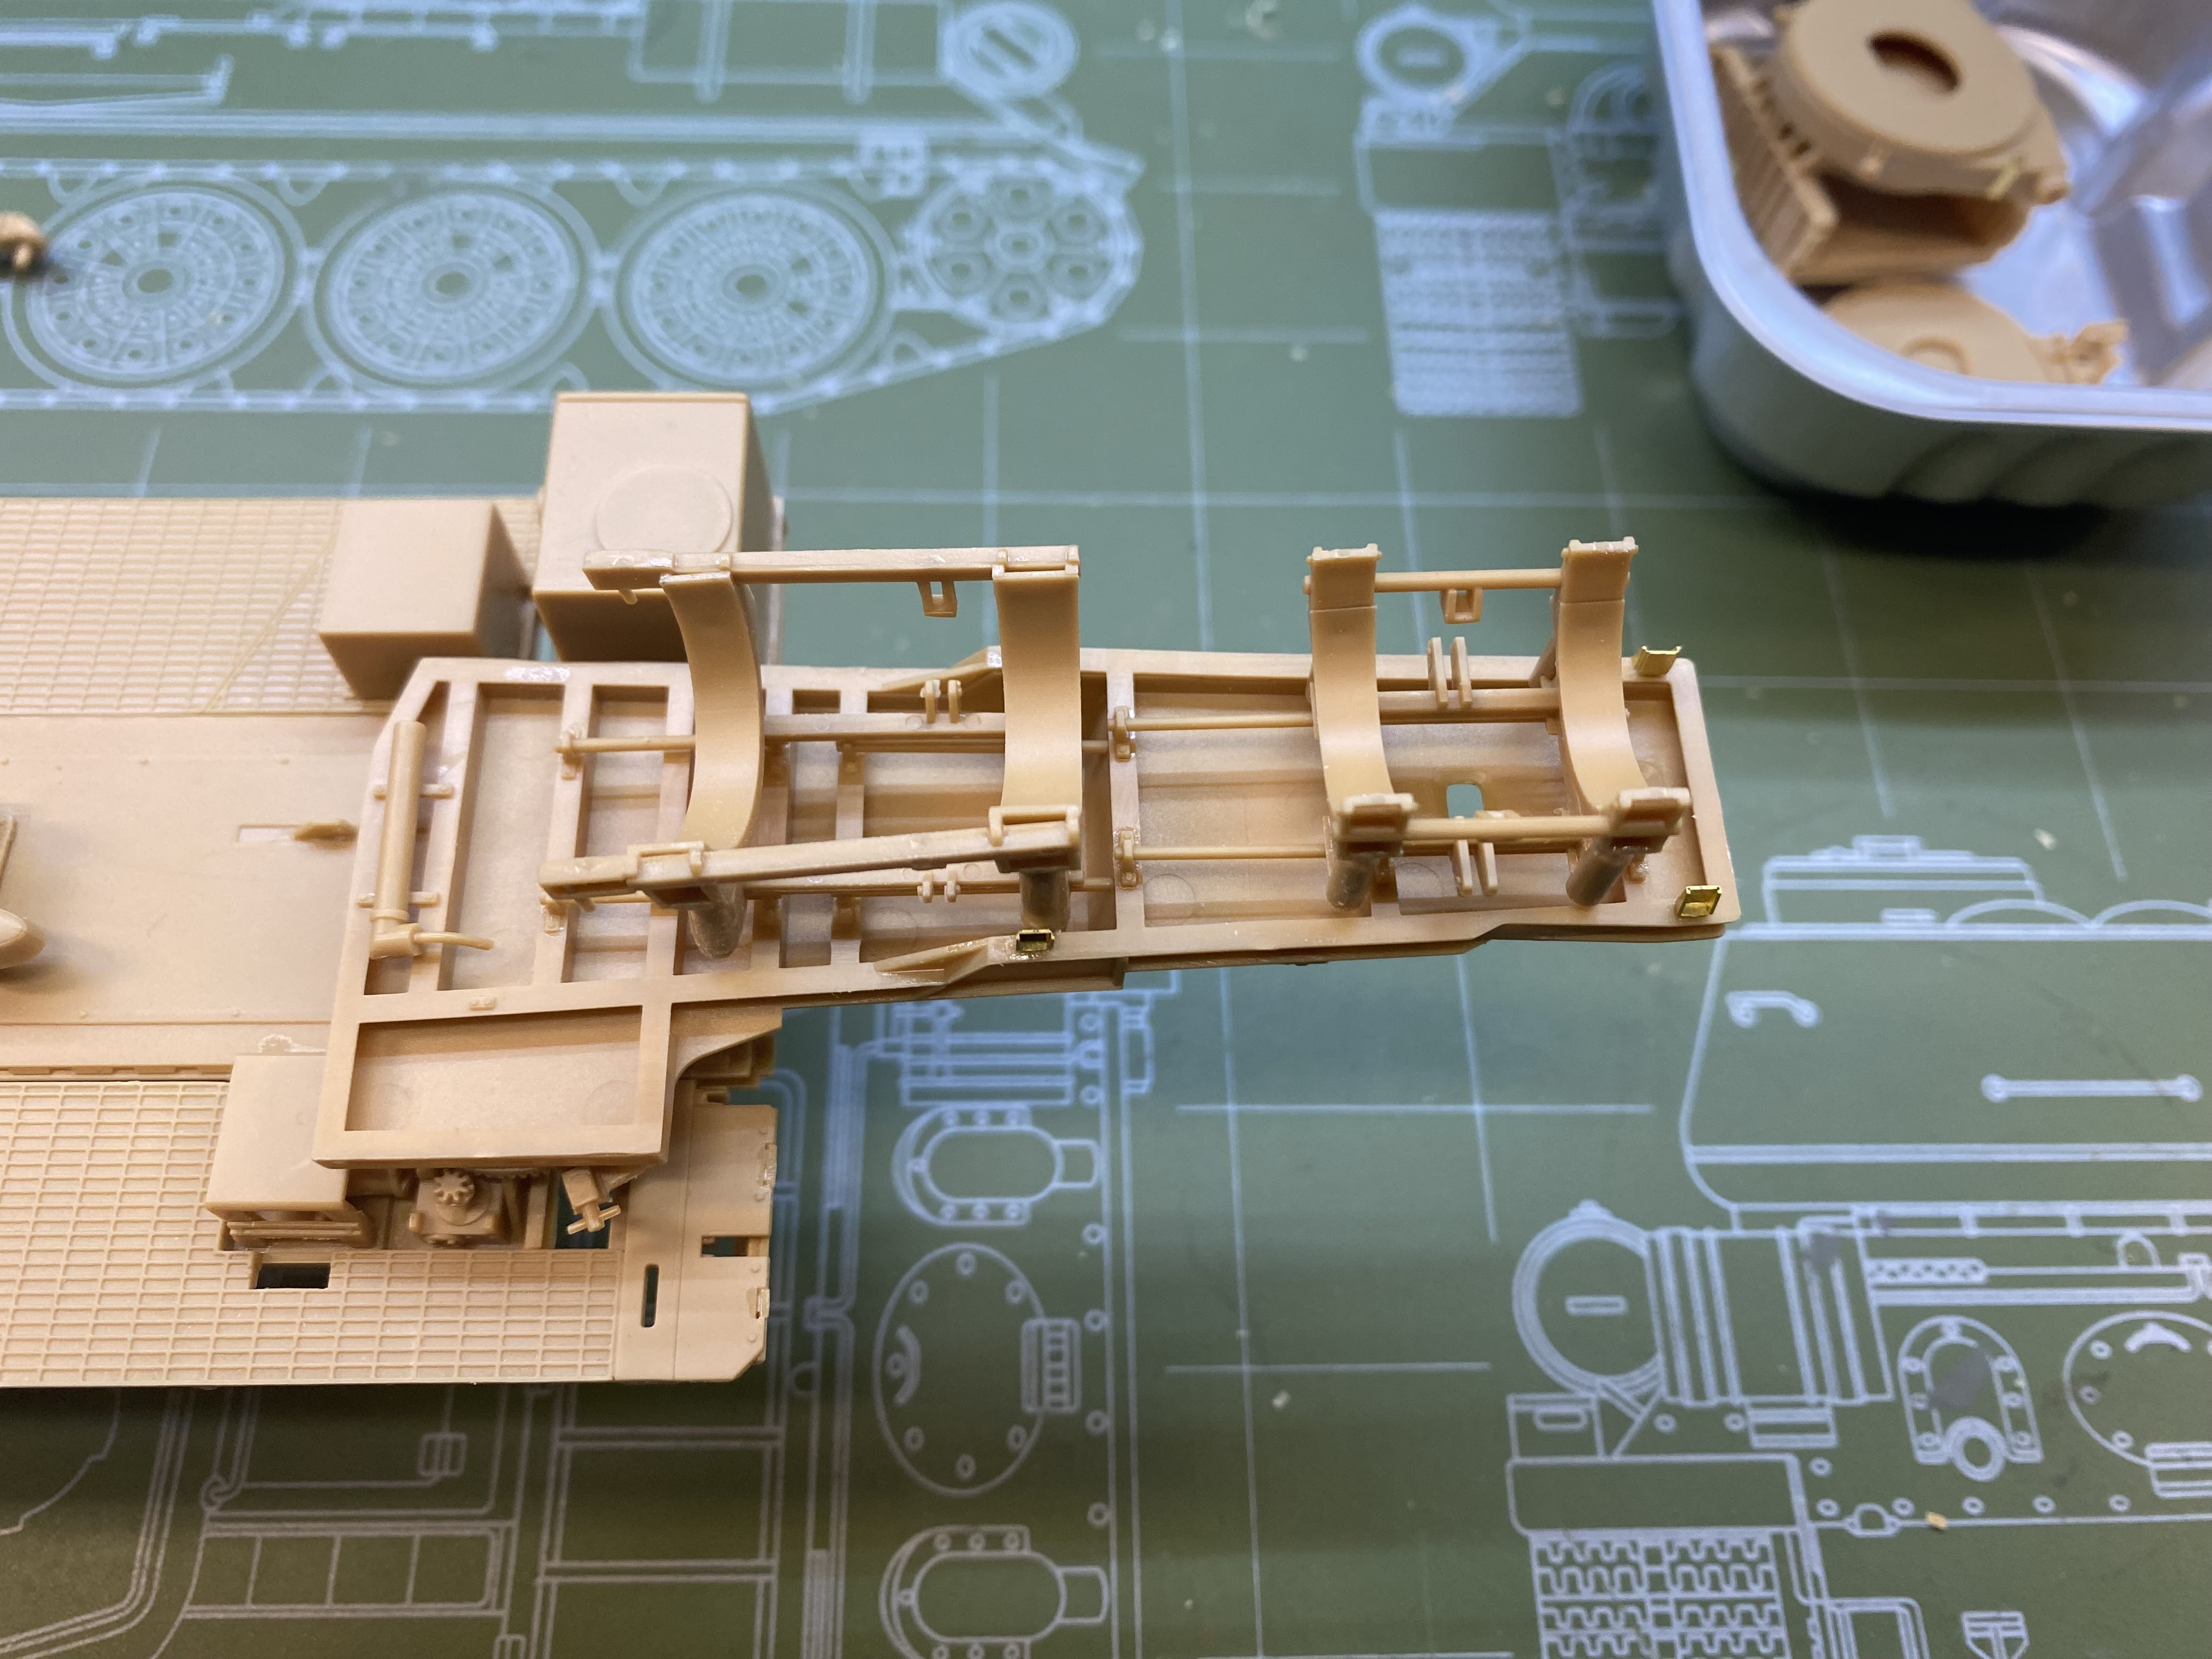
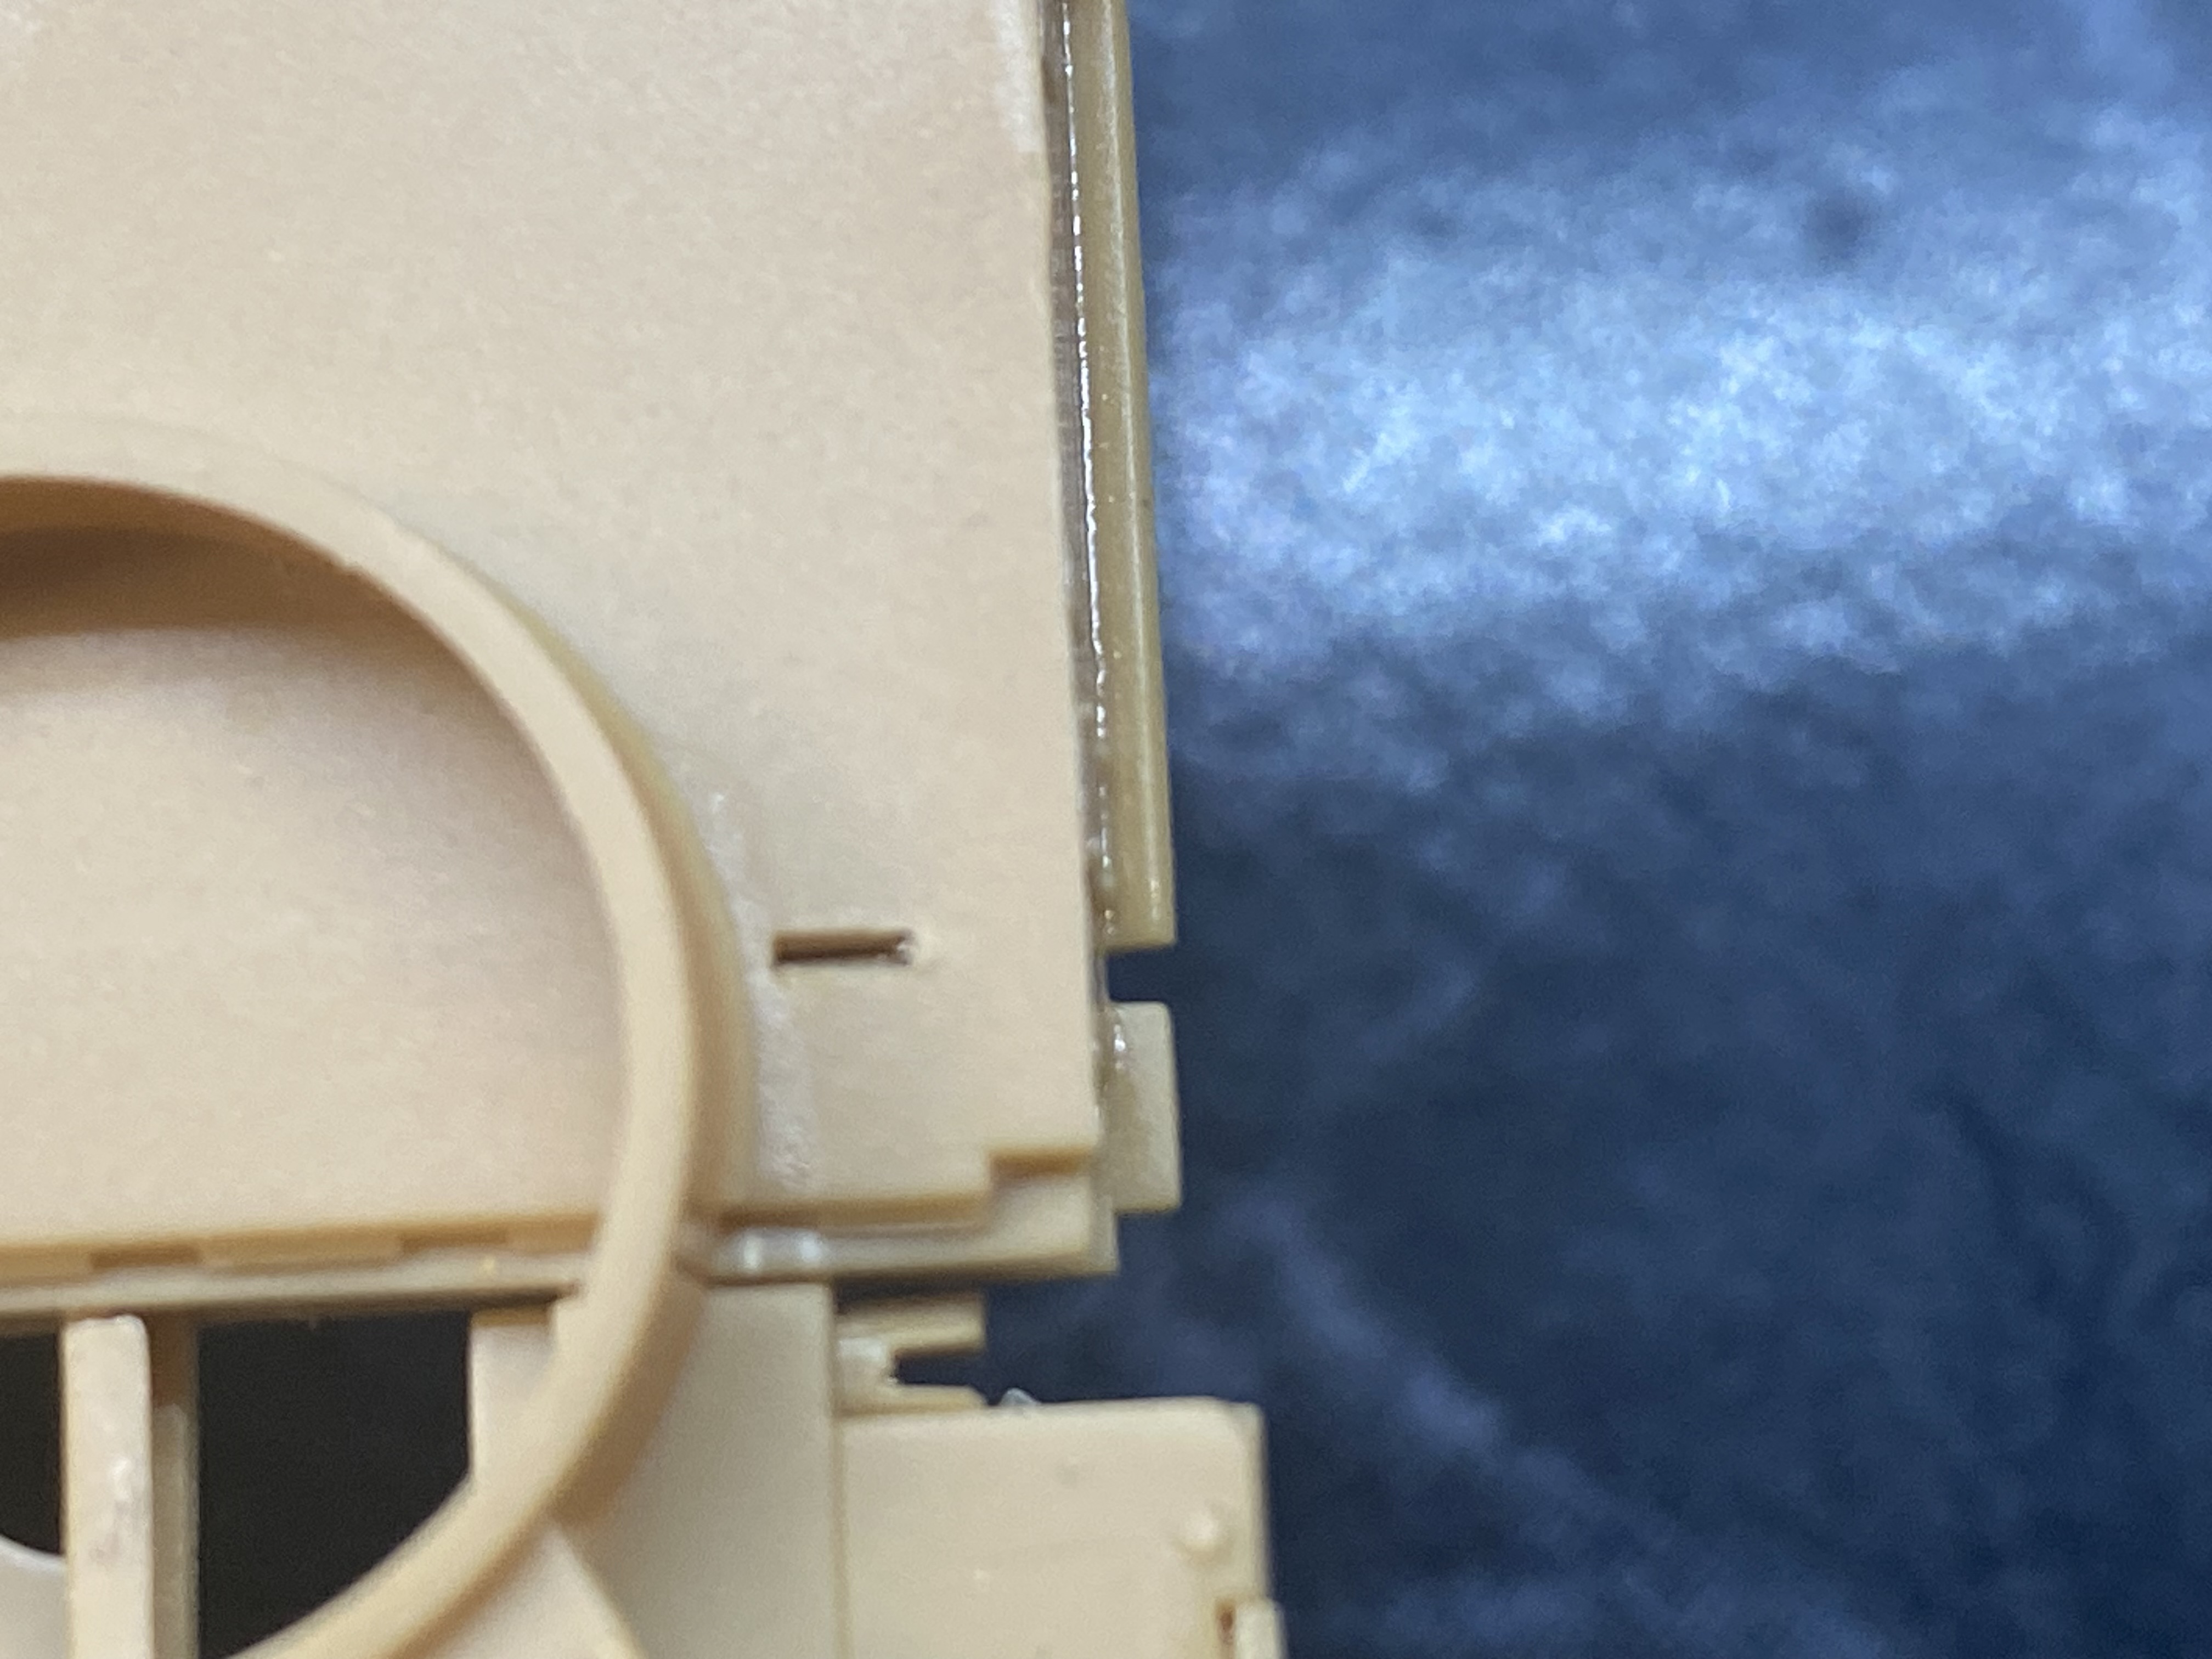
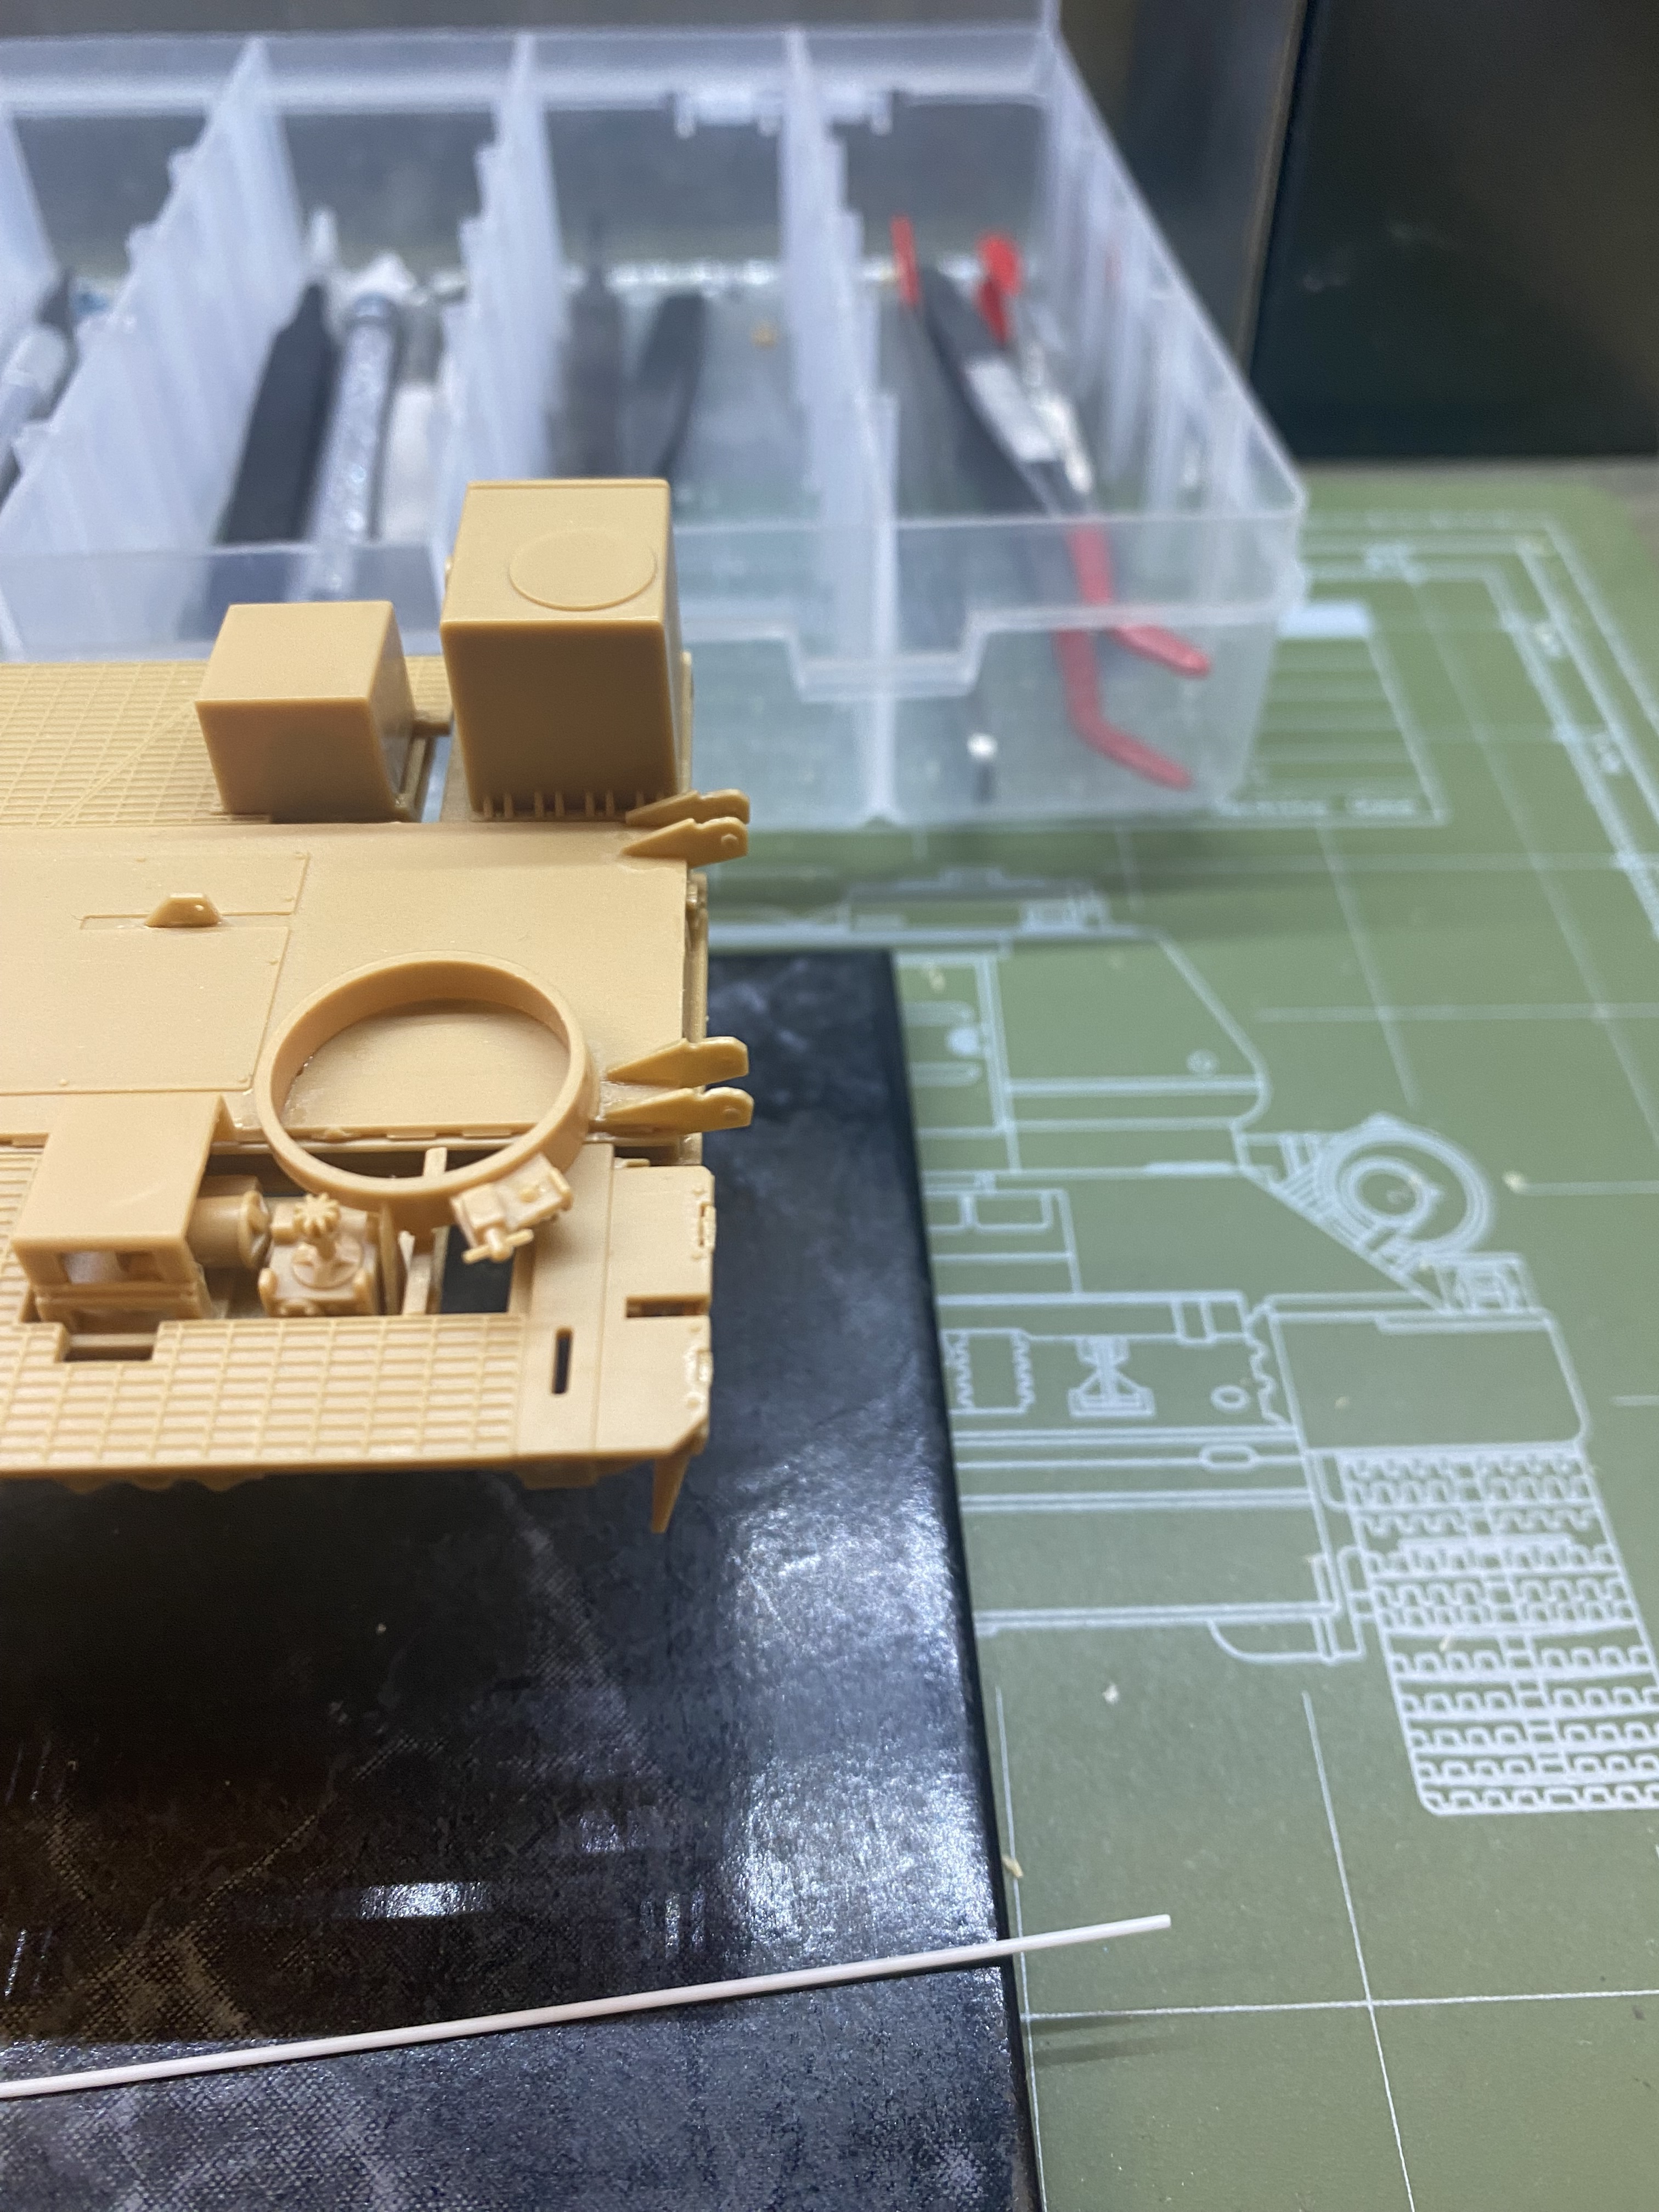
Anyhow, I started with the basic assembly of the EL frame on a piece of tile so I was sure it was square and true.

13 Likes

Assembly went pretty smoothly, with the typical Hobby Boss/ I :heart:Kit instructions and tan plastic.

Filling the lower platform was unnecessary- that’s covered by the GIEU (ground integrated electronic unit) cabinet.

8 Likes

Before I got too far along, I decided to build the front jack and the landing gear for the trailer so I could level the EL with the jacks.

I also assembled the rear jacks with the azimuth ring supports and temporarily attached them to the EL frame so I could level the EL.

10 Likes

Glad to see it in its own topic. Coming along nicely.

2 Likes

Began assembling the platforms.

11 Likes

Temporarily attached the booms, missile cradle and azimuth ring to check fit.

8 Likes

Permanently attached rear assemblies and azimuth ring supports to rear of EL frame.

Now I need to figure out how to build the work platform at the front of the EL in the unfolded position. It’s not outlined in the instructions, but all the parts and hinges seem to be there.

The carriage and frames for the WS (war head) and and RS (radar section) also will have to be built in the deployed position.

Transport

Deployed

Went a little overboard with the liquid cement here because coffee, but this will all be covered by the RS/WS pallet.

14 Likes

Al, I’m glad you finally got your Grail kit. If I bid 1K on a kit my wife wouldn’t take a #11 to my throat; she’d go about 3 feet lower! This is a massive undertaking and a whole lot of plastic! Looks like a great kit! You’re doing a fantastic job so far, I’m glad you gave it it’s own thread. You’ve got a nice tight build going here. I see we have something in common - Bondo is my #1 favorite go-to putty, too!

5 Likes

Oh WOW! I am soooo getting one of these! :heart_eyes:

That C-RAM kit they have looks pretty awesome too! I like building stuff that is unique! No offense to the panzer and Sherman brethren out there; but there are literally TONS of those out there!

Thanks for sharing! :grin:

:beer: :cowboy_hat_face:

3 Likes

Thanks.

The C-RAM looks cool although I think it’s only a prototype. I’ve got a couple in the auxiliary guided missile/ rocket stash section.

Edited to add:

This CWIS is a pretty nice kit, with a metric sh*t ton of PE.

5 Likes

I’ve got that Dragon Scud B kit and the Trumpy Frog-7 kit in my stash. I’ve done the Wiesel Oselot kit too. I’ve got the Trumpy SA-2 and the Meng Buk kit waiting their turns too.

3 Likes

You are correct sir.

Unfortunately, this set-up was only a prototype and never purchased nor fielded.

3 Likes

It still looks cool though! :grin:

:beer: :cowboy_hat_face:

2 Likes

Assembled azimuth ring and blast deflector.

The round part will attach to the base of the missile.

Test fit- it will rest on the rear of the lower boom mounts….and will be straighter with the pins from the upper booms installed.

To be honest @SSGToms , I never considered Bondo until you mentioned it in a thread I read last year……it does work great!

9 Likes

Booms permanently attached to cradle.

12 Likes

Excellent start Al and it looks superb with where it it is at the moment. Certainly going to be an impressive finished article … definitely following this one now :+1:

2 Likes

Thanks John.

This next part was “a bit fiddly”, as you might say.

War head and radar section carriers on their cartridge/platform.

Transport

Deployed

Next up will be the work platform in the down position, if I can pull it off.

11 Likes

I’m sure you can. Looks great so far.

2 Likes

Oh, you can do that Al.

2 Likes

To figure this out, I blew up the instructions and had to think about this backwards and upside down. It didn’t make a lot of sense at first particularly with how the platform attached to the front of the EL, let alone how to build it in the unfolded/down position.

If anyone builds this, parts Y 6 is the left half of the front hinge for both front hinges and fits into the rectangular holes in the front of the EL for the platform. This isn’t shown in the instructions that veered dangerously into Dragon territory at this point.

Installed at front of EL with parts Y7.

8 Likes