M790 EL Pershing II missile MGM-31C w/ M1001 Tractor build

You won’t be disappointed Wade.

Screwing around with cladding for the war head carrier and the missile cradle:

First I found something that was appropriately round

Cut some .015 strips and “trained” them in hot water with zip ties. /Hat Tip @justsendit , our mad scientist.

Some red brown paint and light brushing with some titanium white

And glued in place. Haven’t gotten brave enough to add the cladding to the missile cradle yet….

But I did paint the insulators on the azimuth supports like the Ft Sill Pershing.

11 Likes

Nice! … And the launch code is…
7561125491 :red_circle:

—mike :grin:

4 Likes

Nice job on those cladding strips :+1:

3 Likes

Thanks John!

Only eleven more MicroSol applications to go before I can start work on the other three sides…

Favorite decal, so far

9 Likes

:+1: :grin: :rofl: :rofl: :rofl:
Can’t be to explicit when giving instructions, trusting soldiers to know which end
is forward on a missile could be a dangerous assumption :wink:

4 Likes

Persistence pays off. It is looking great.

4 Likes

So true:

9 Likes

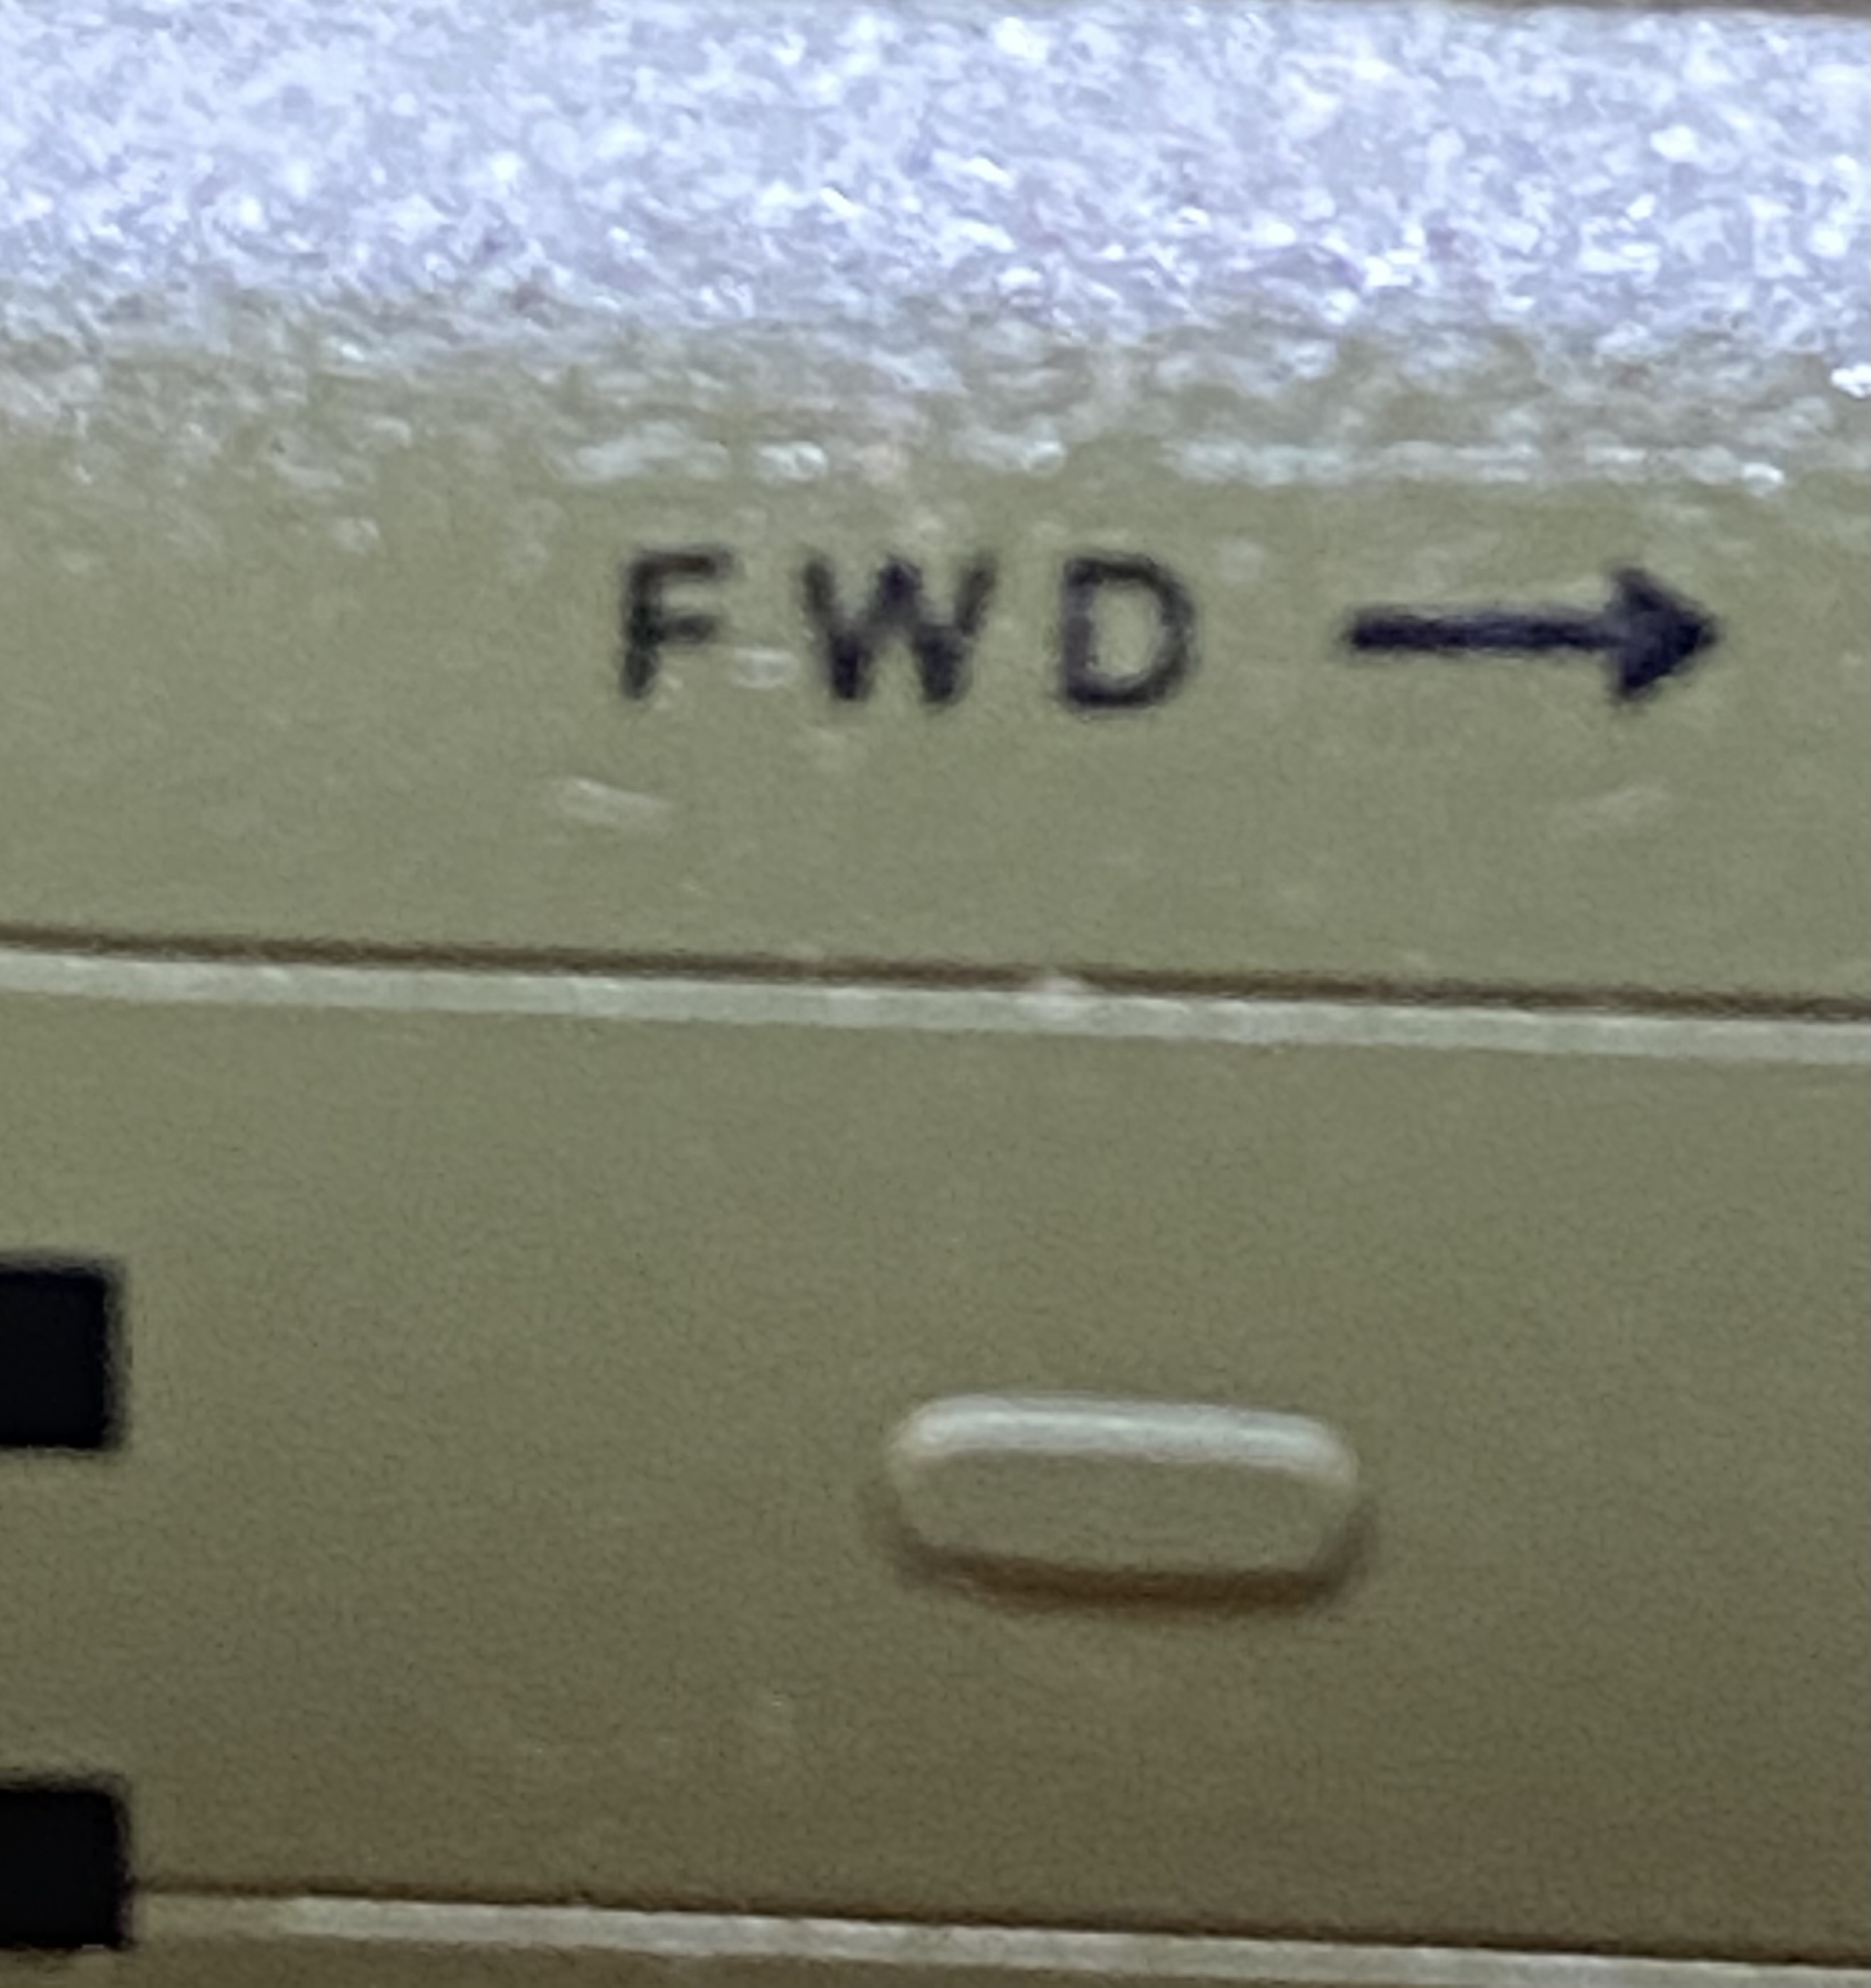
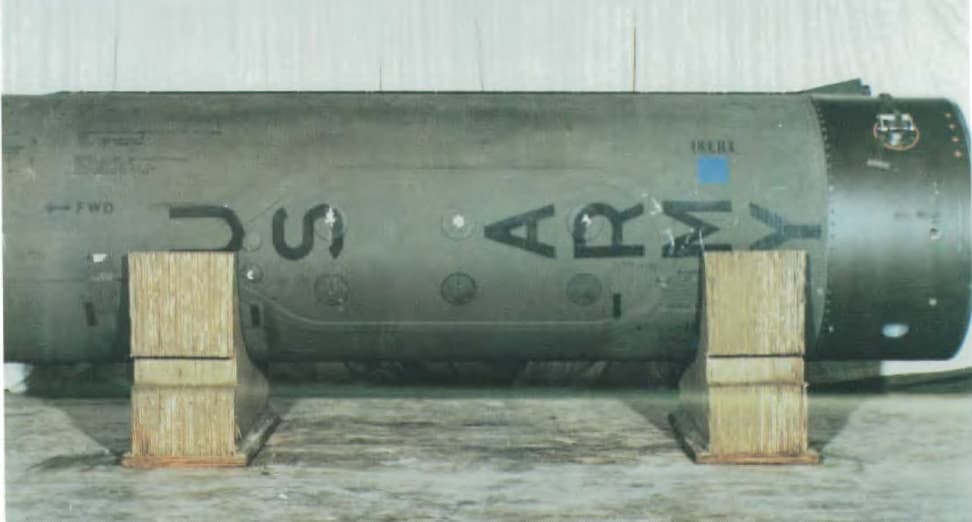
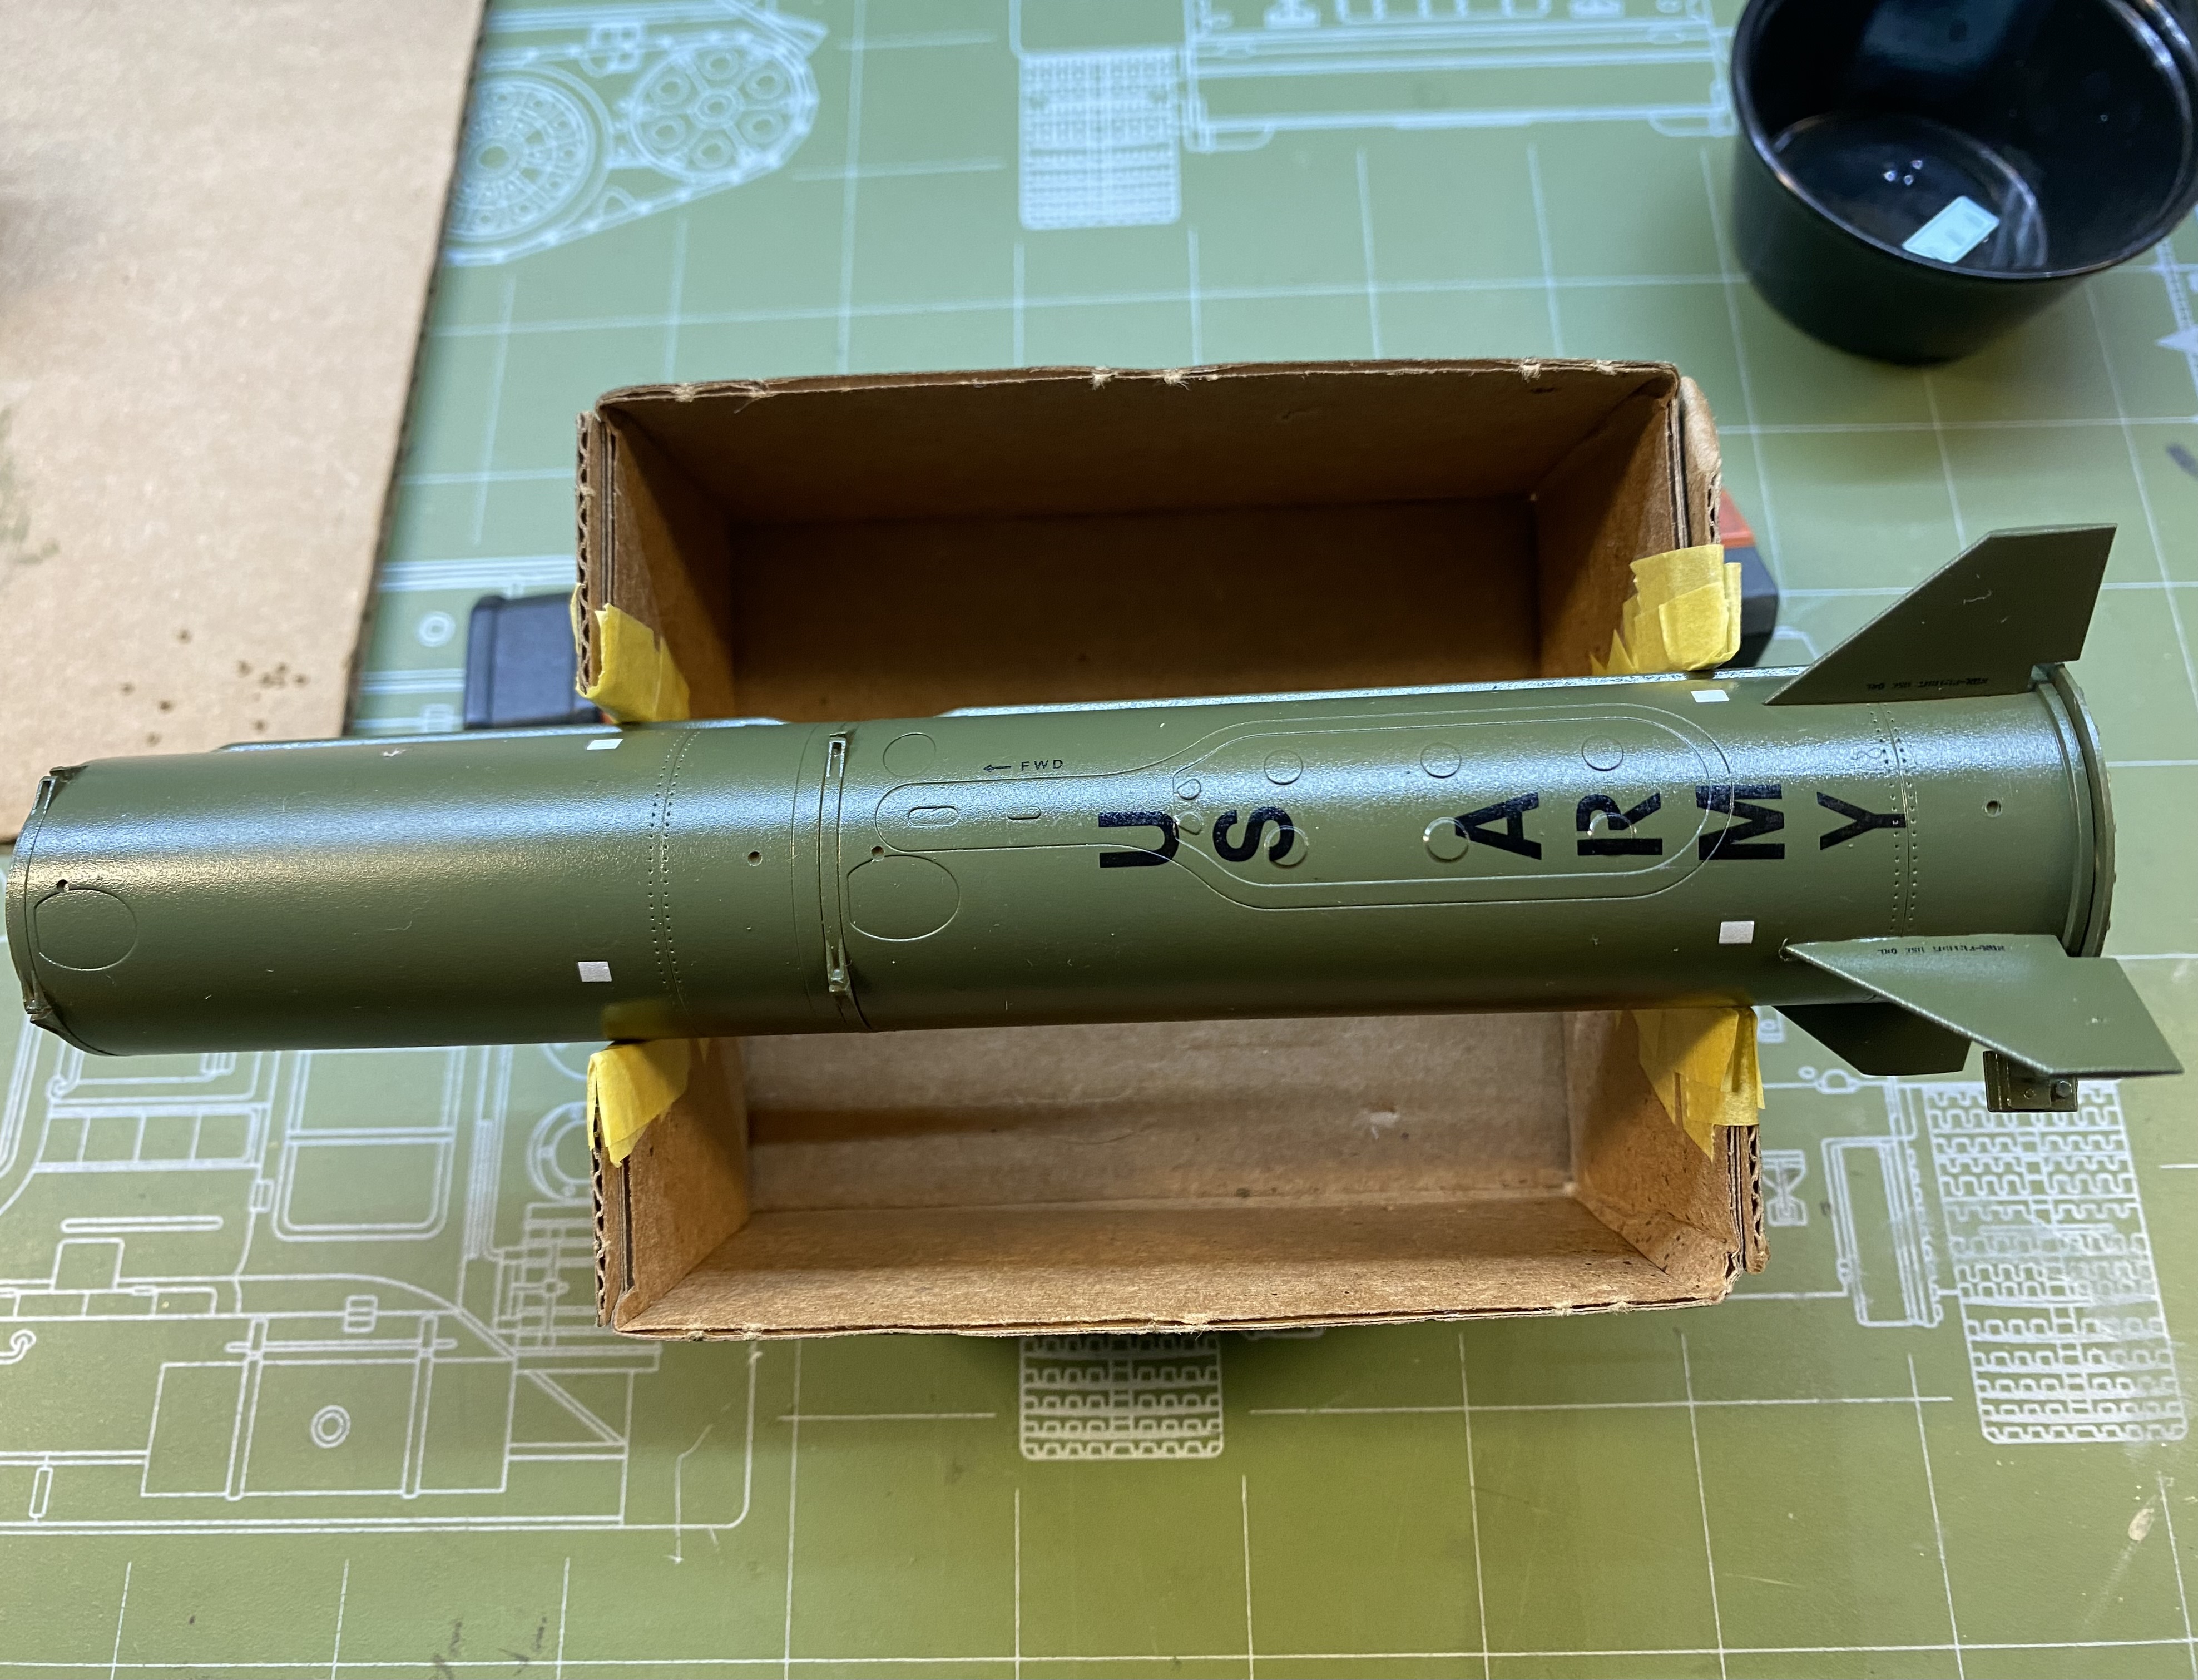
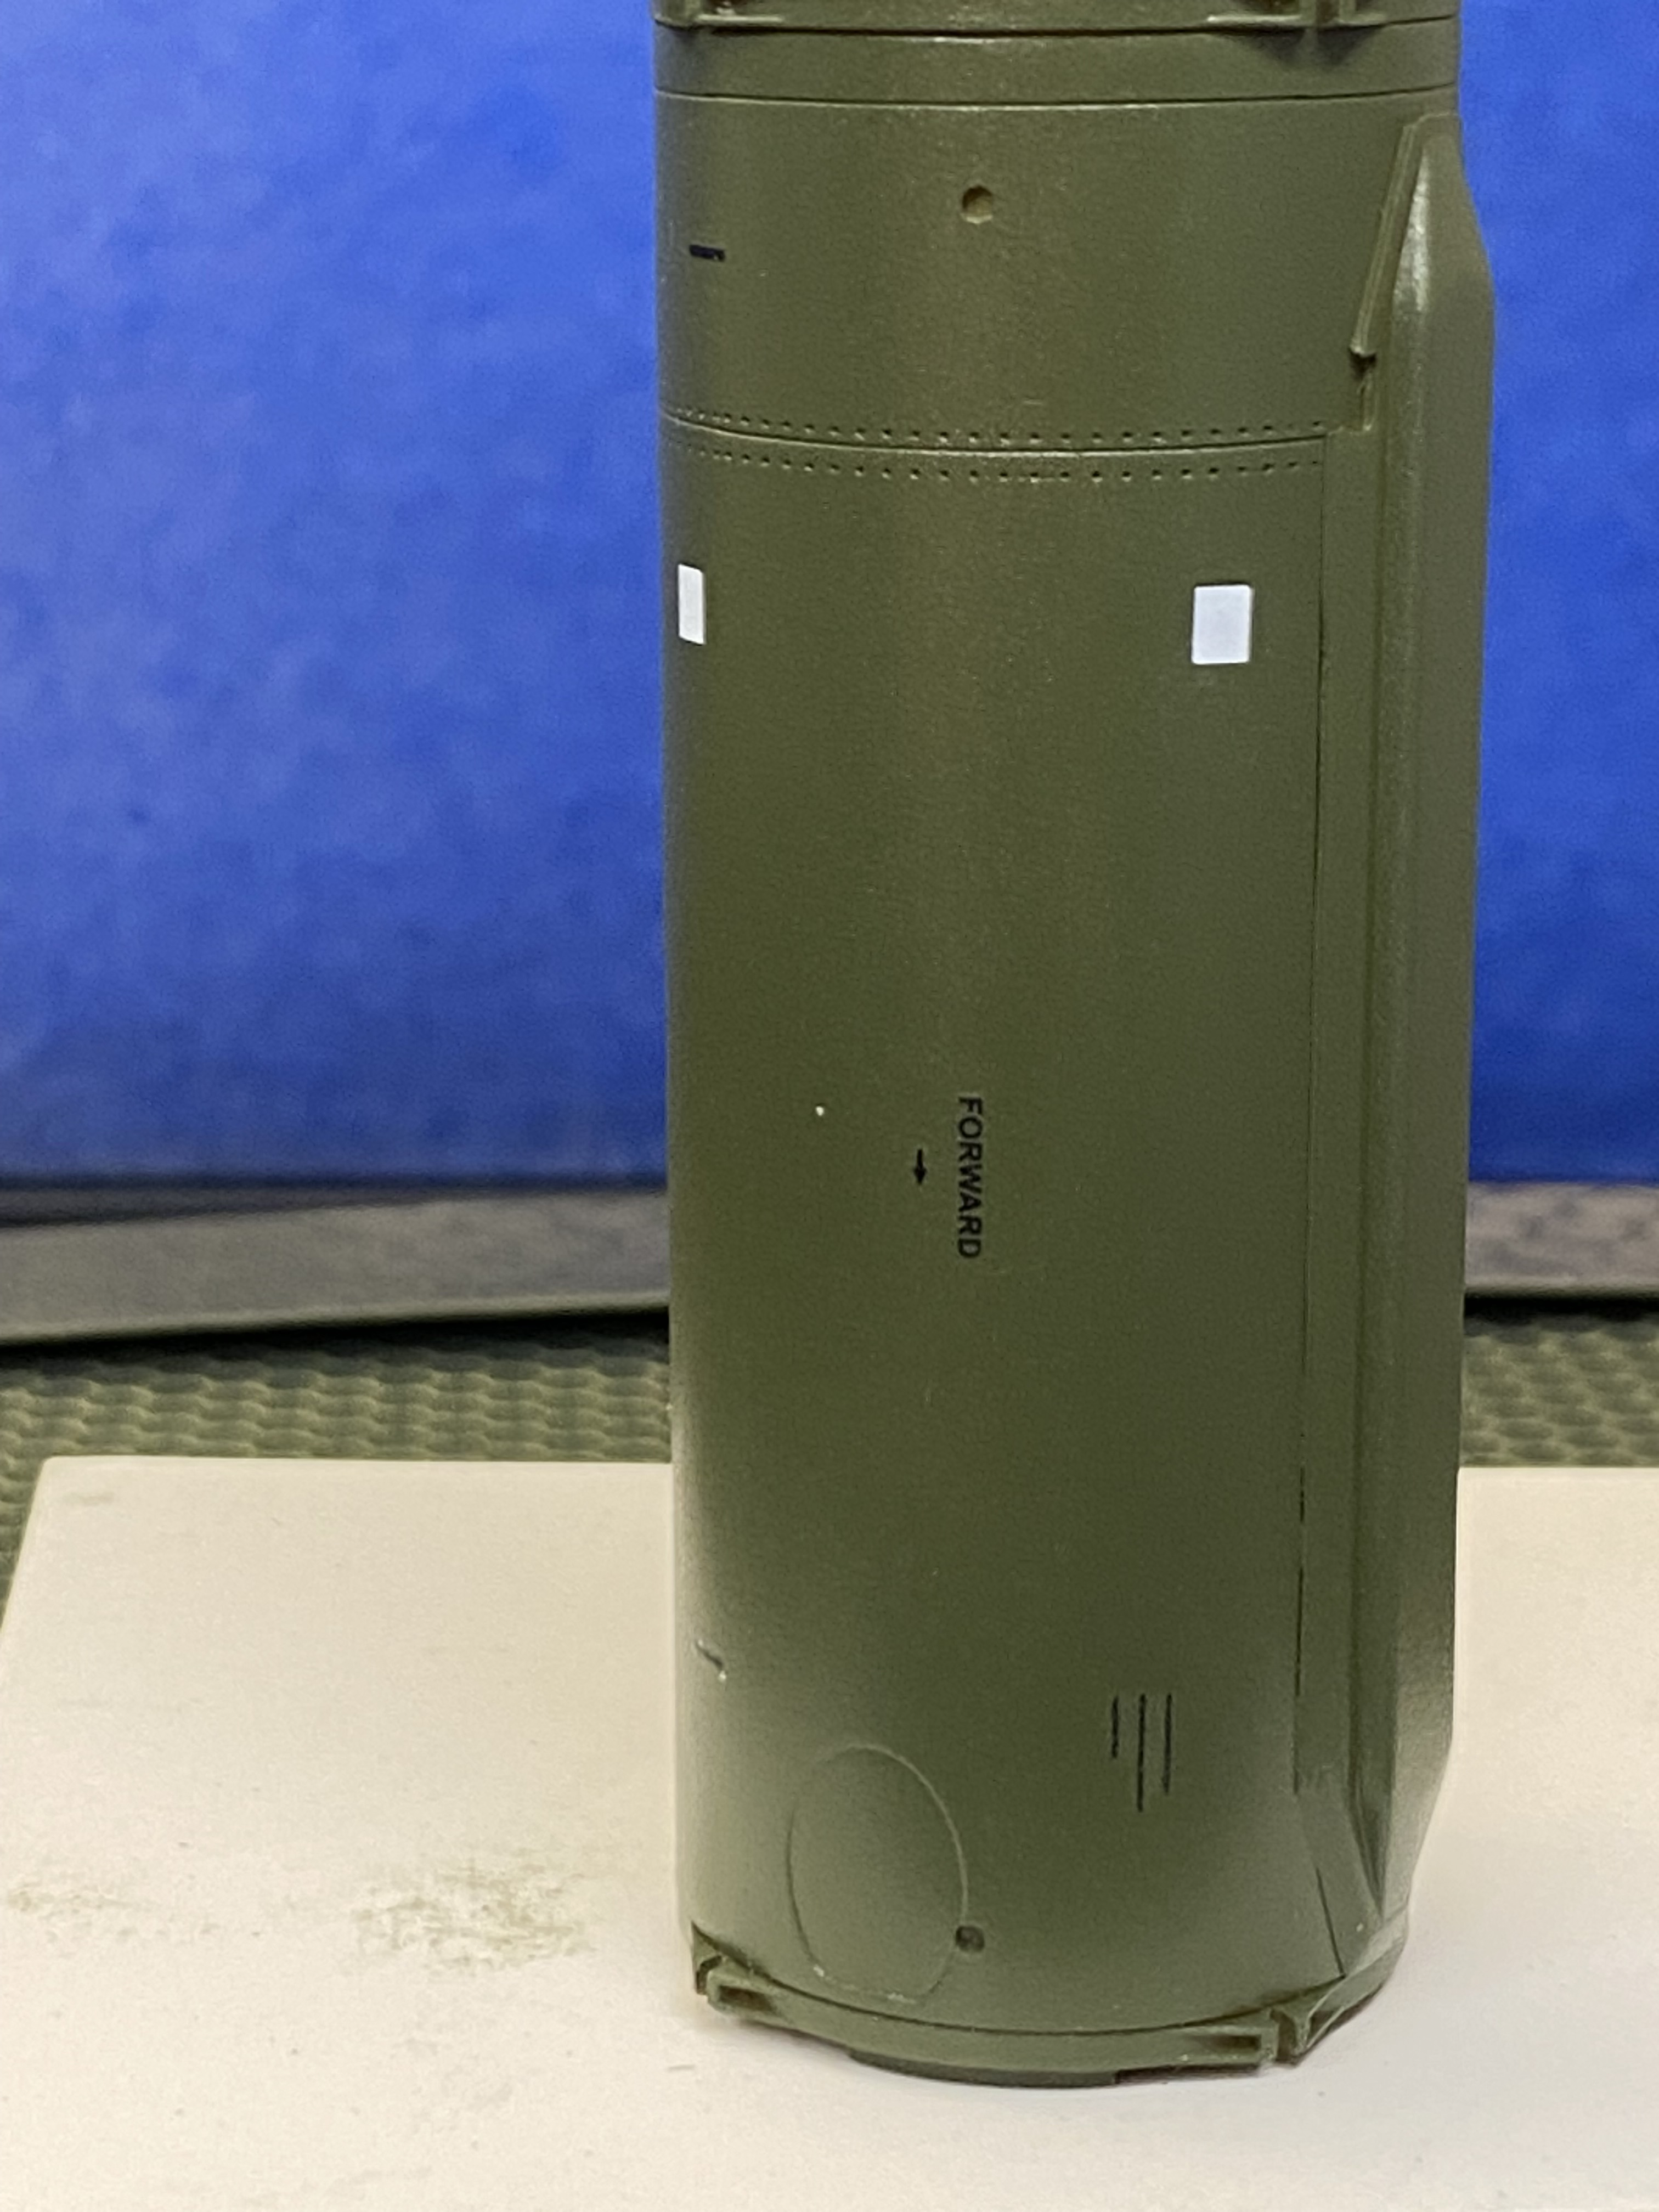
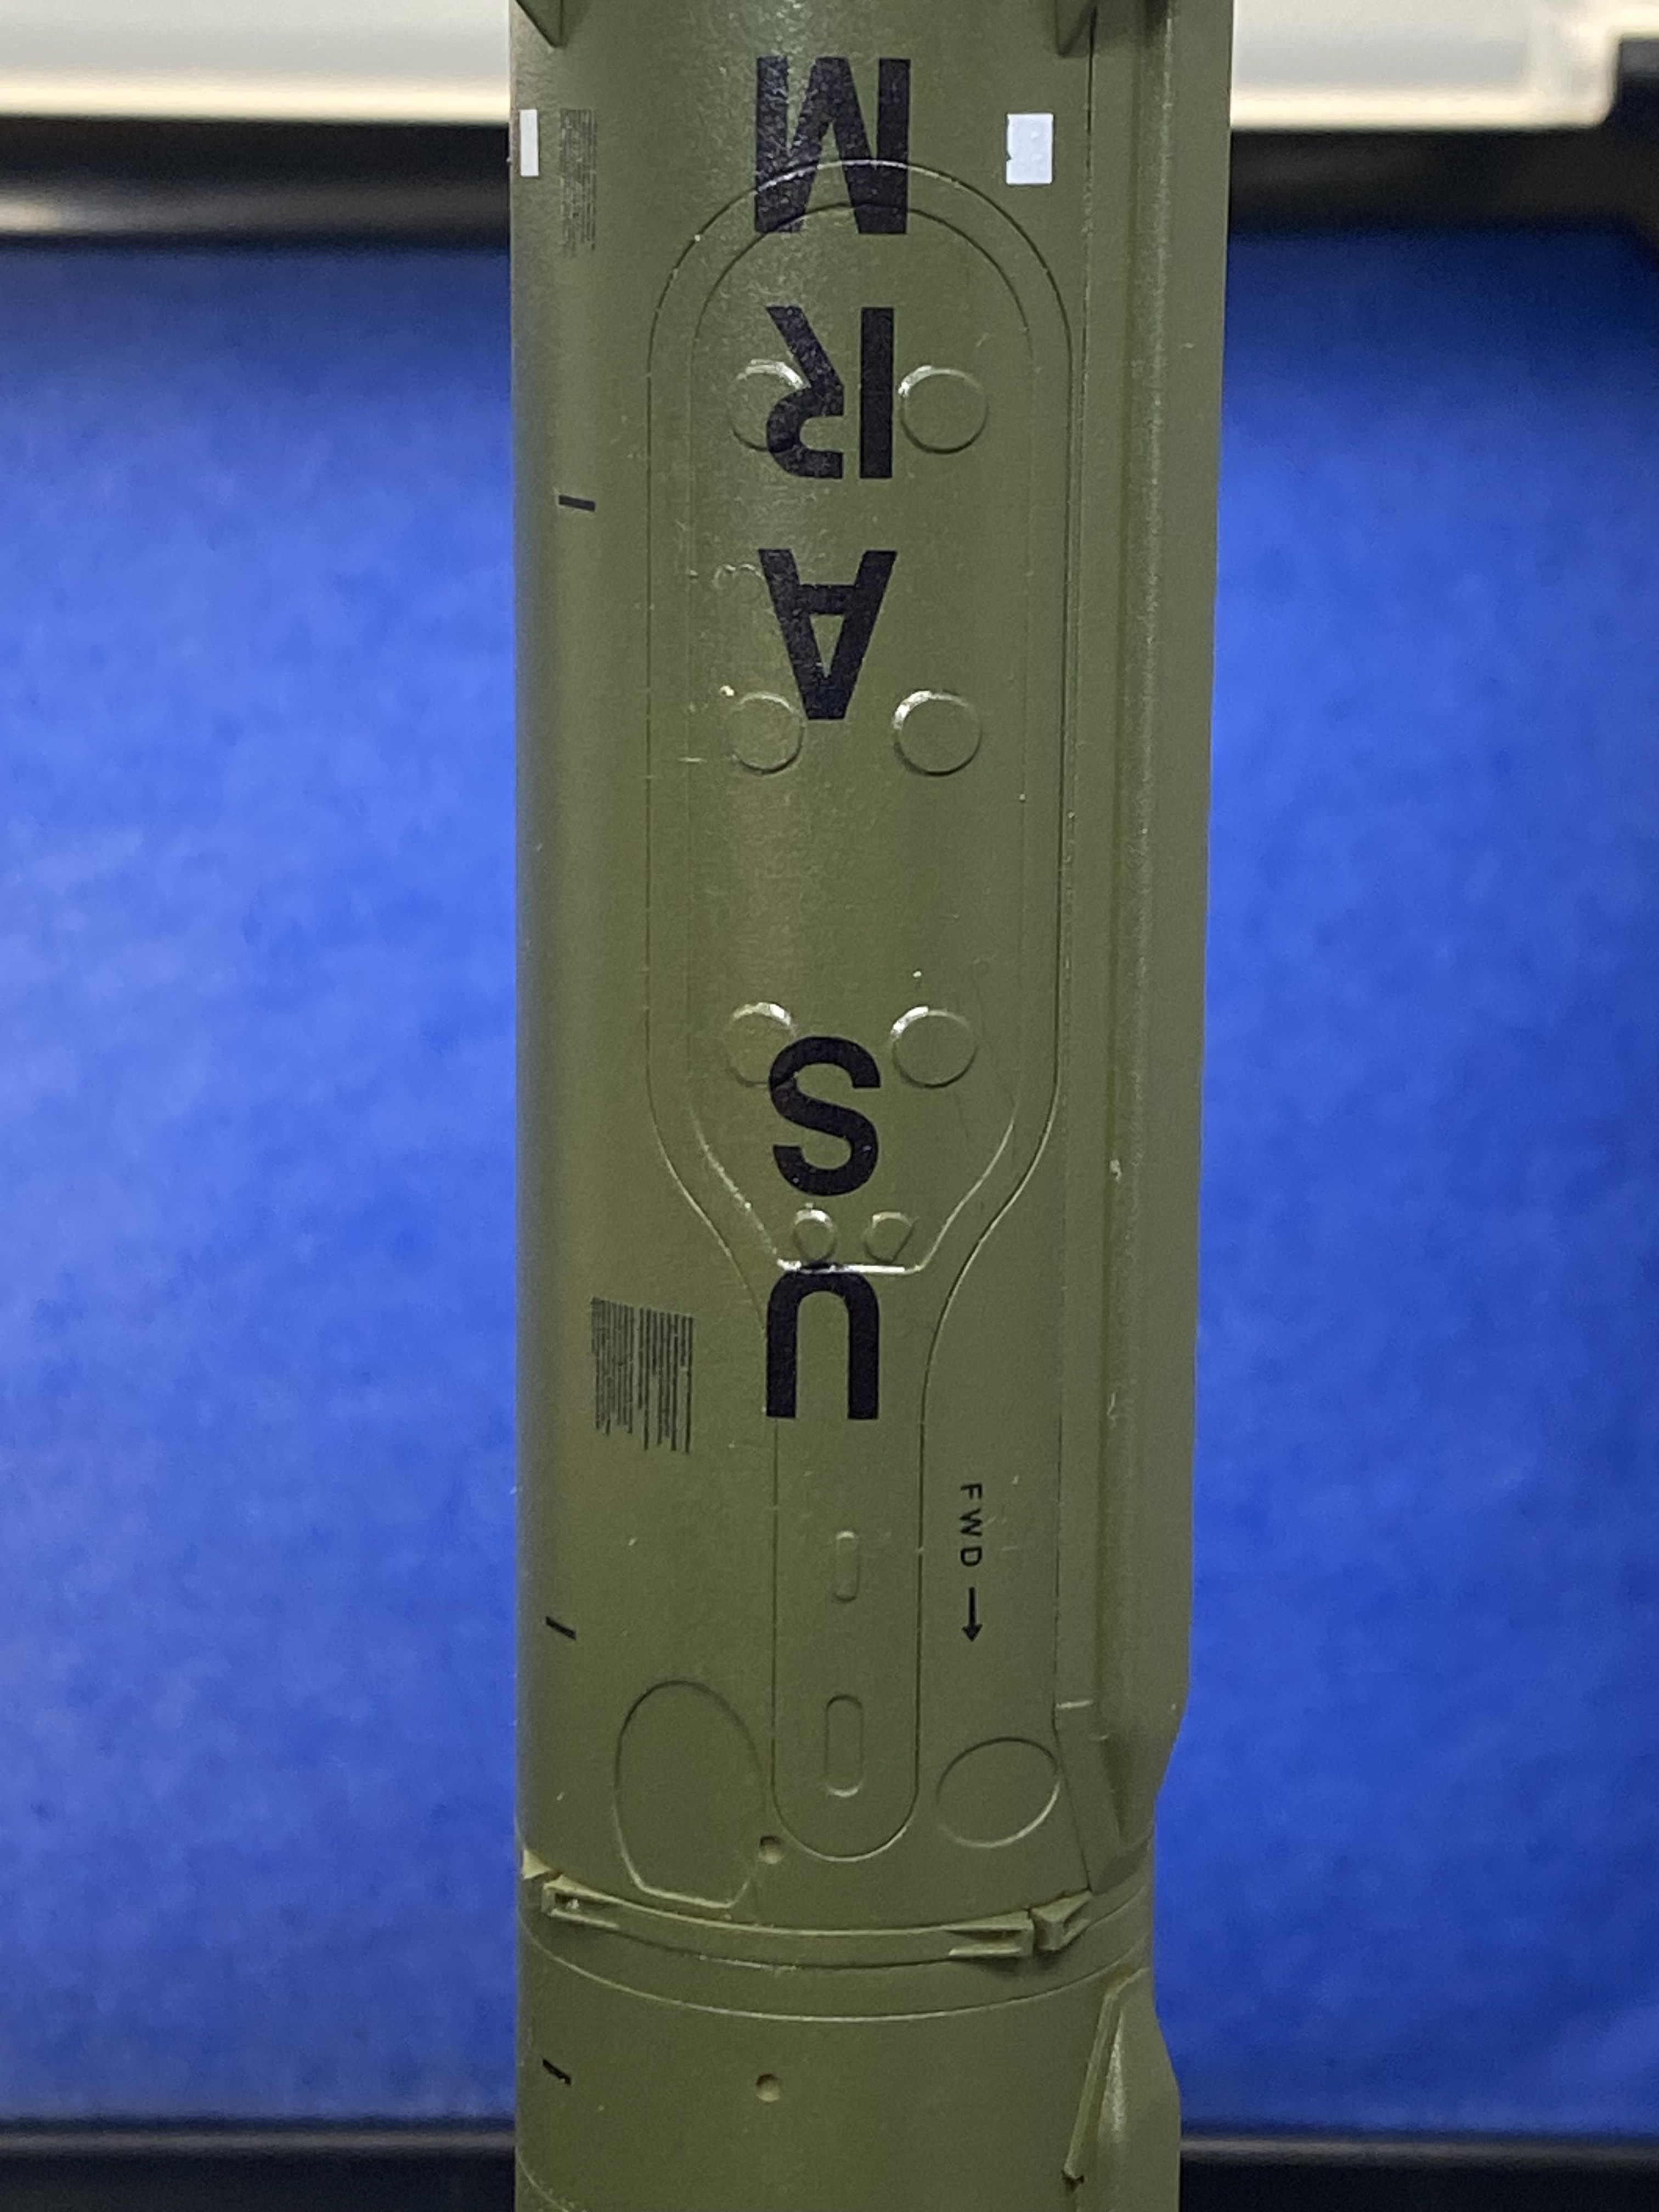
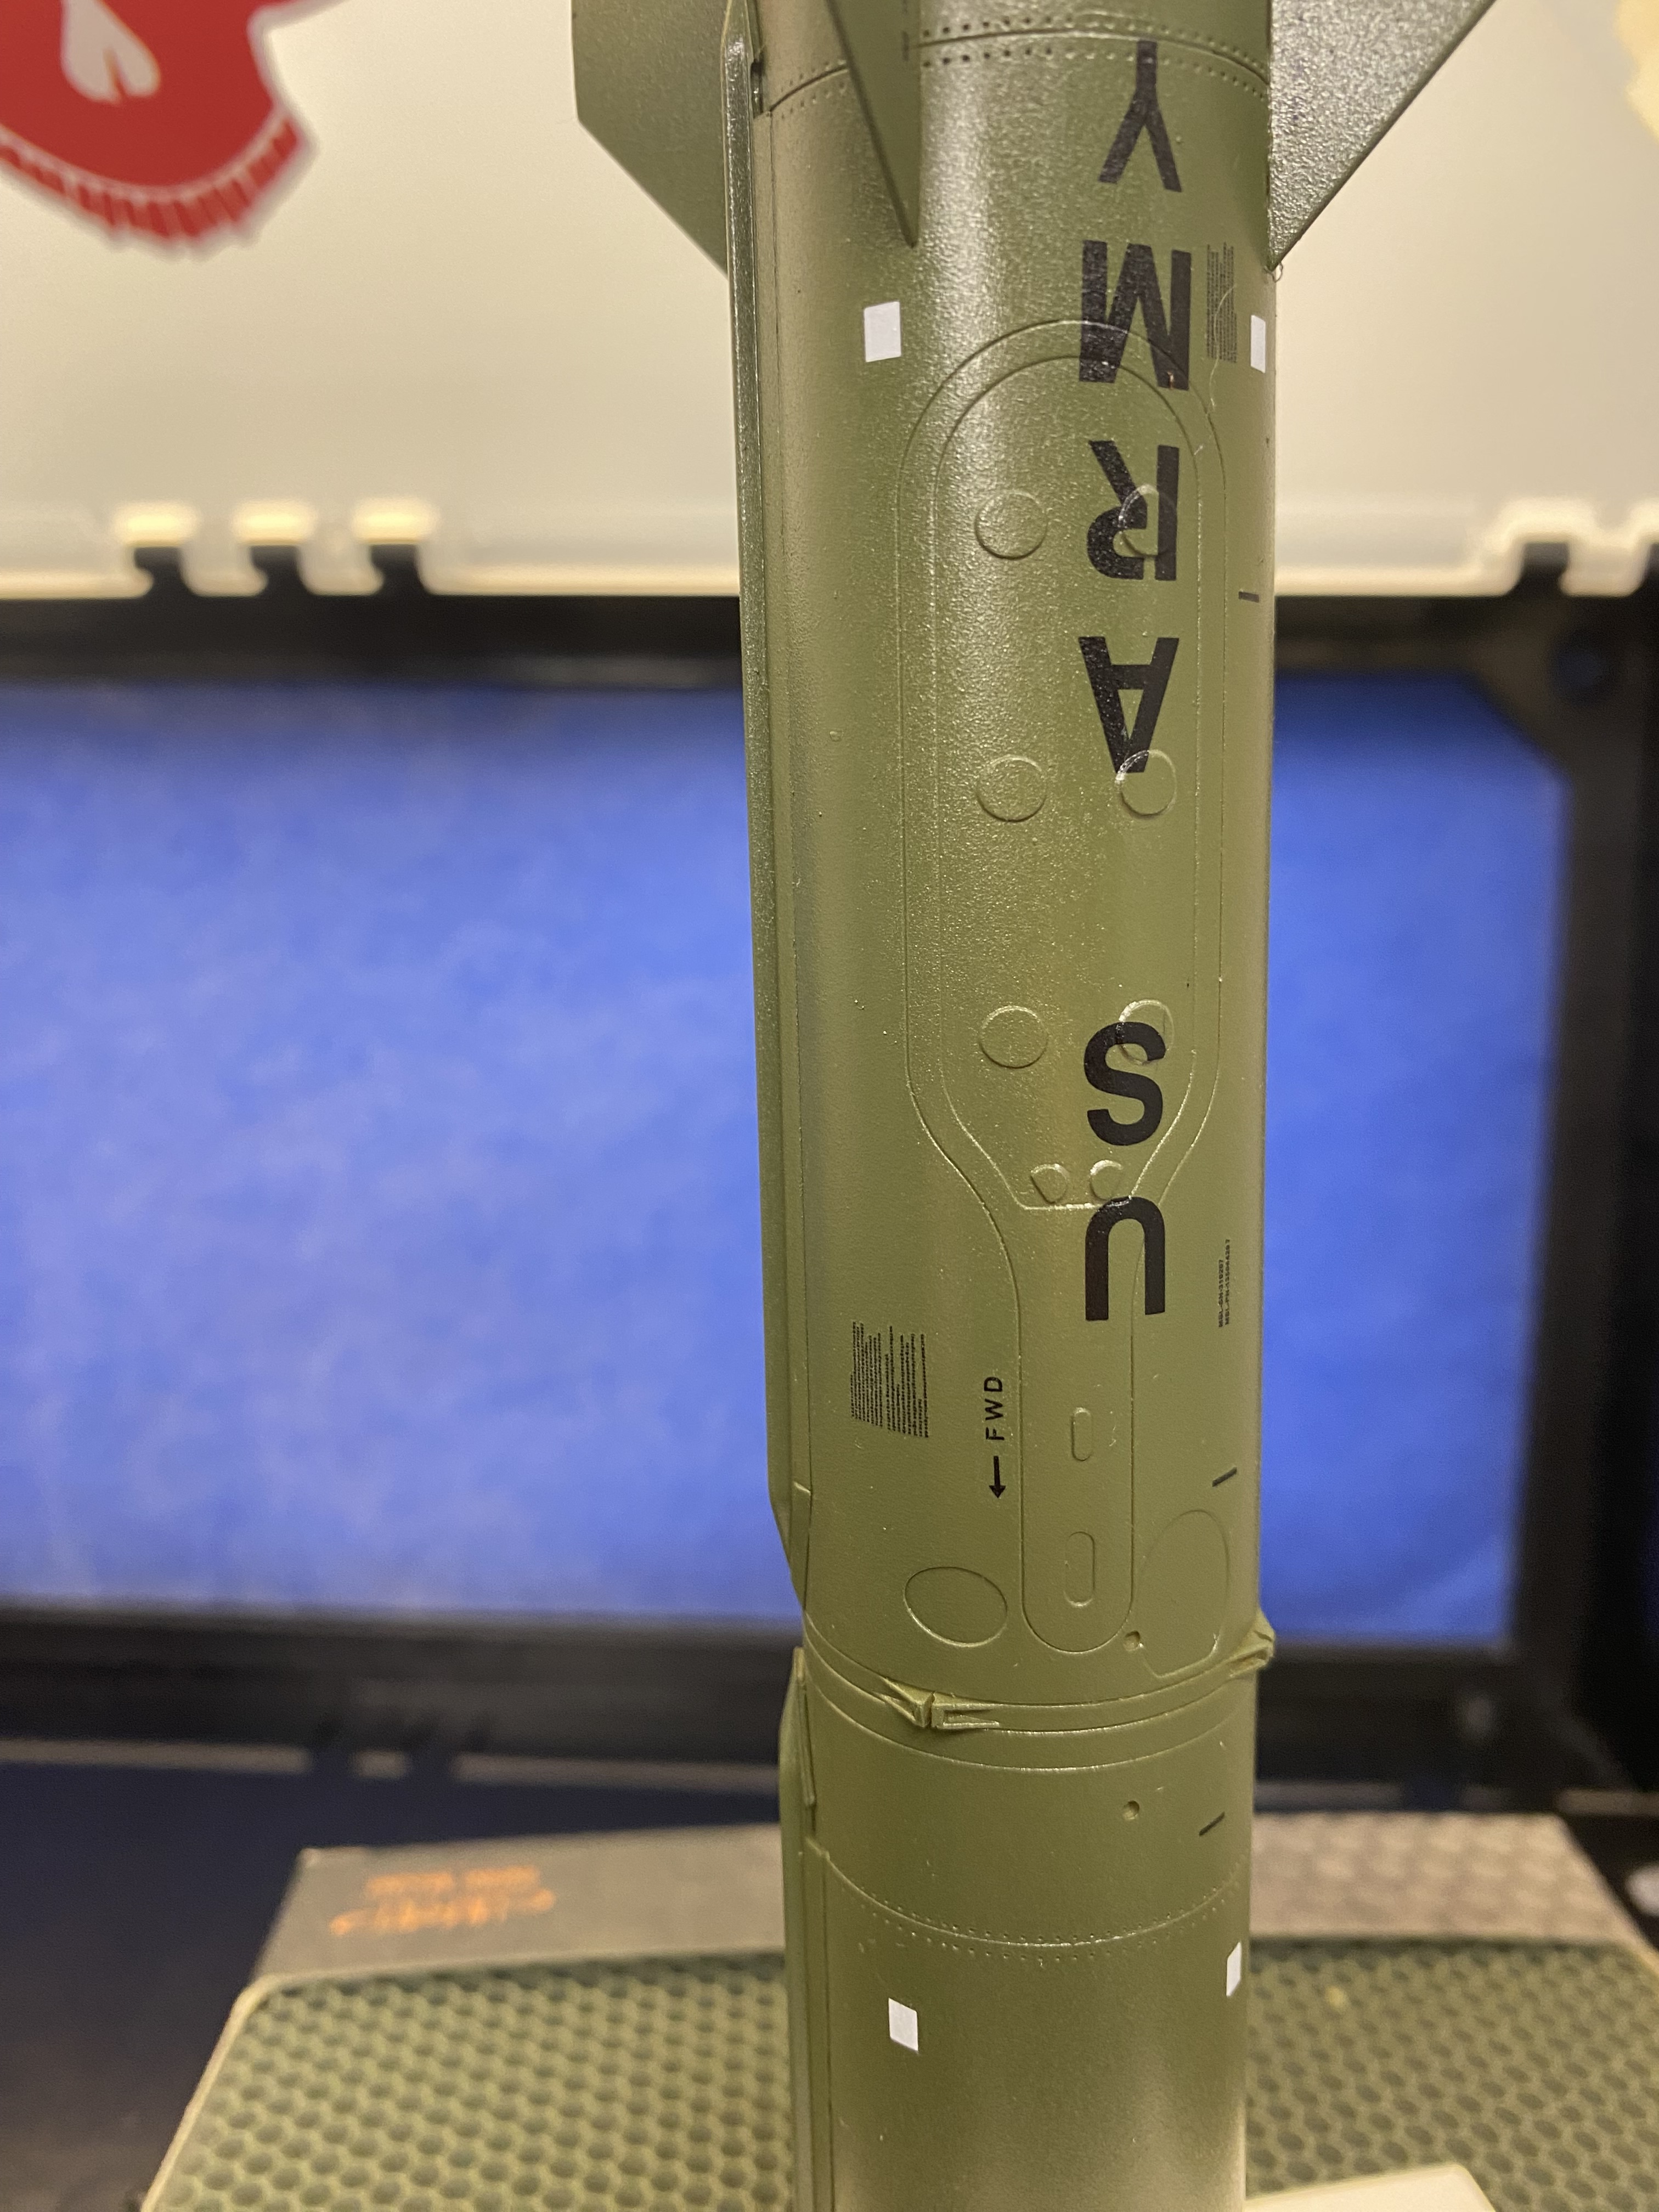
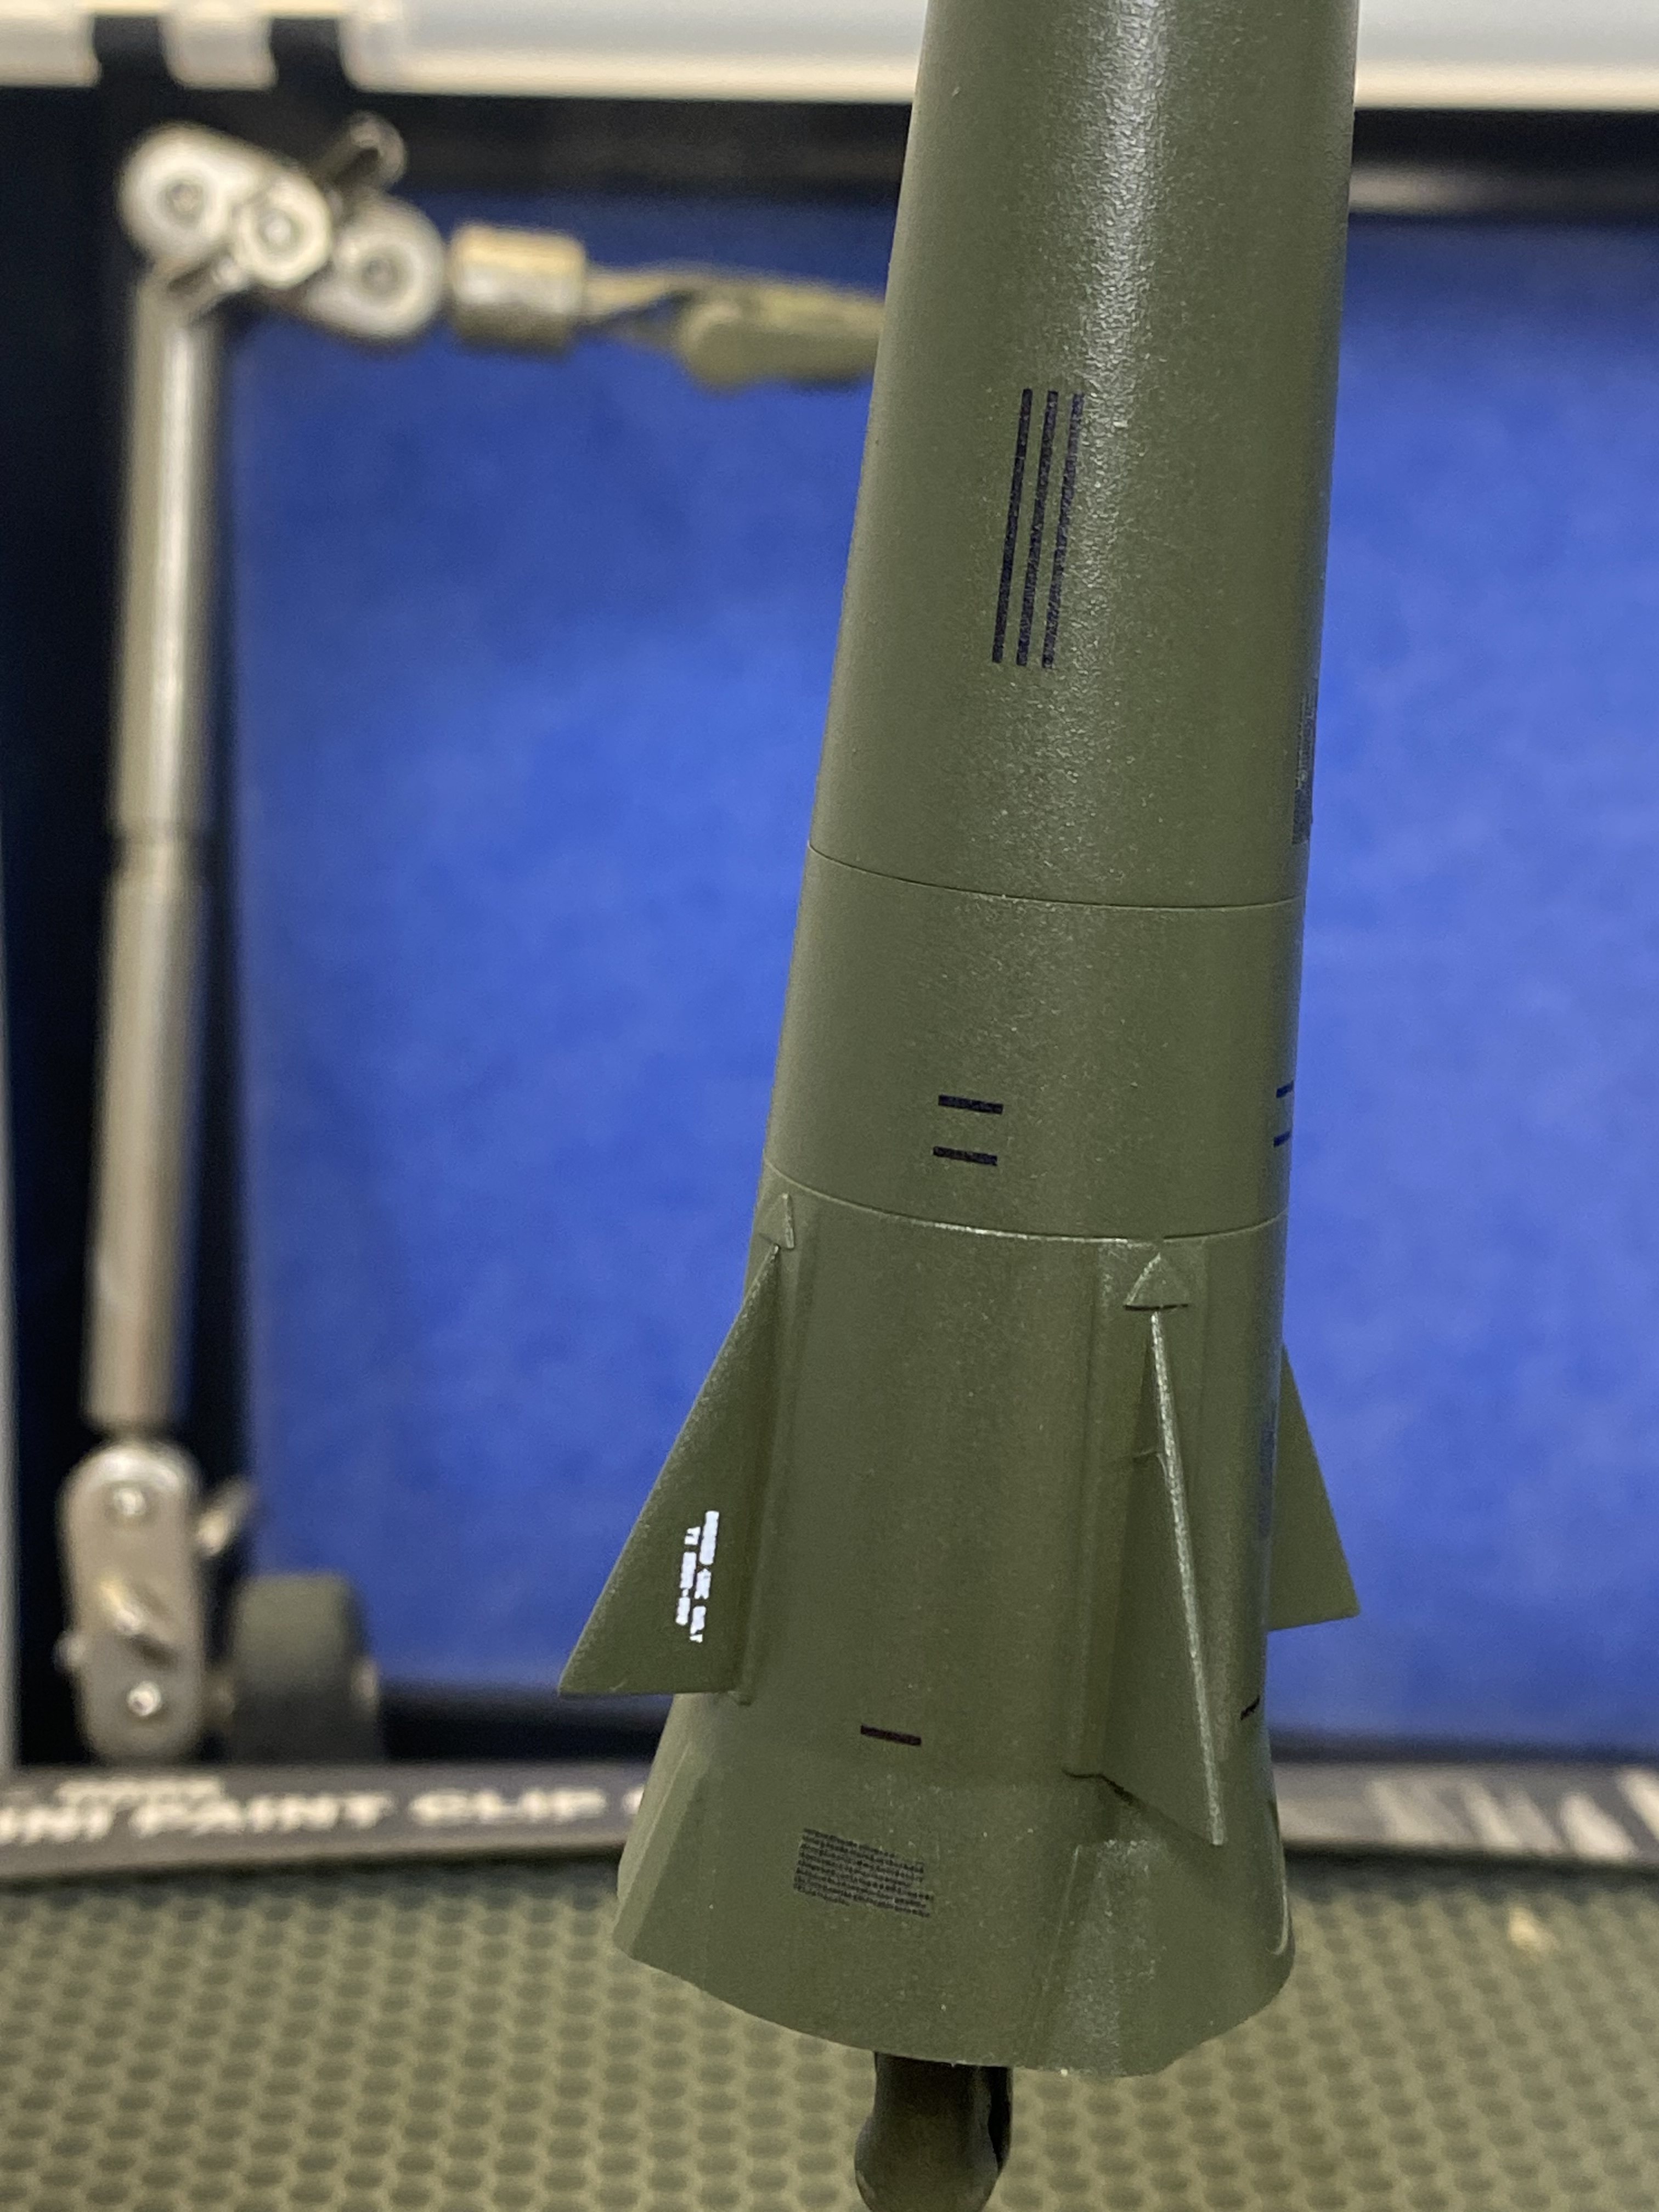
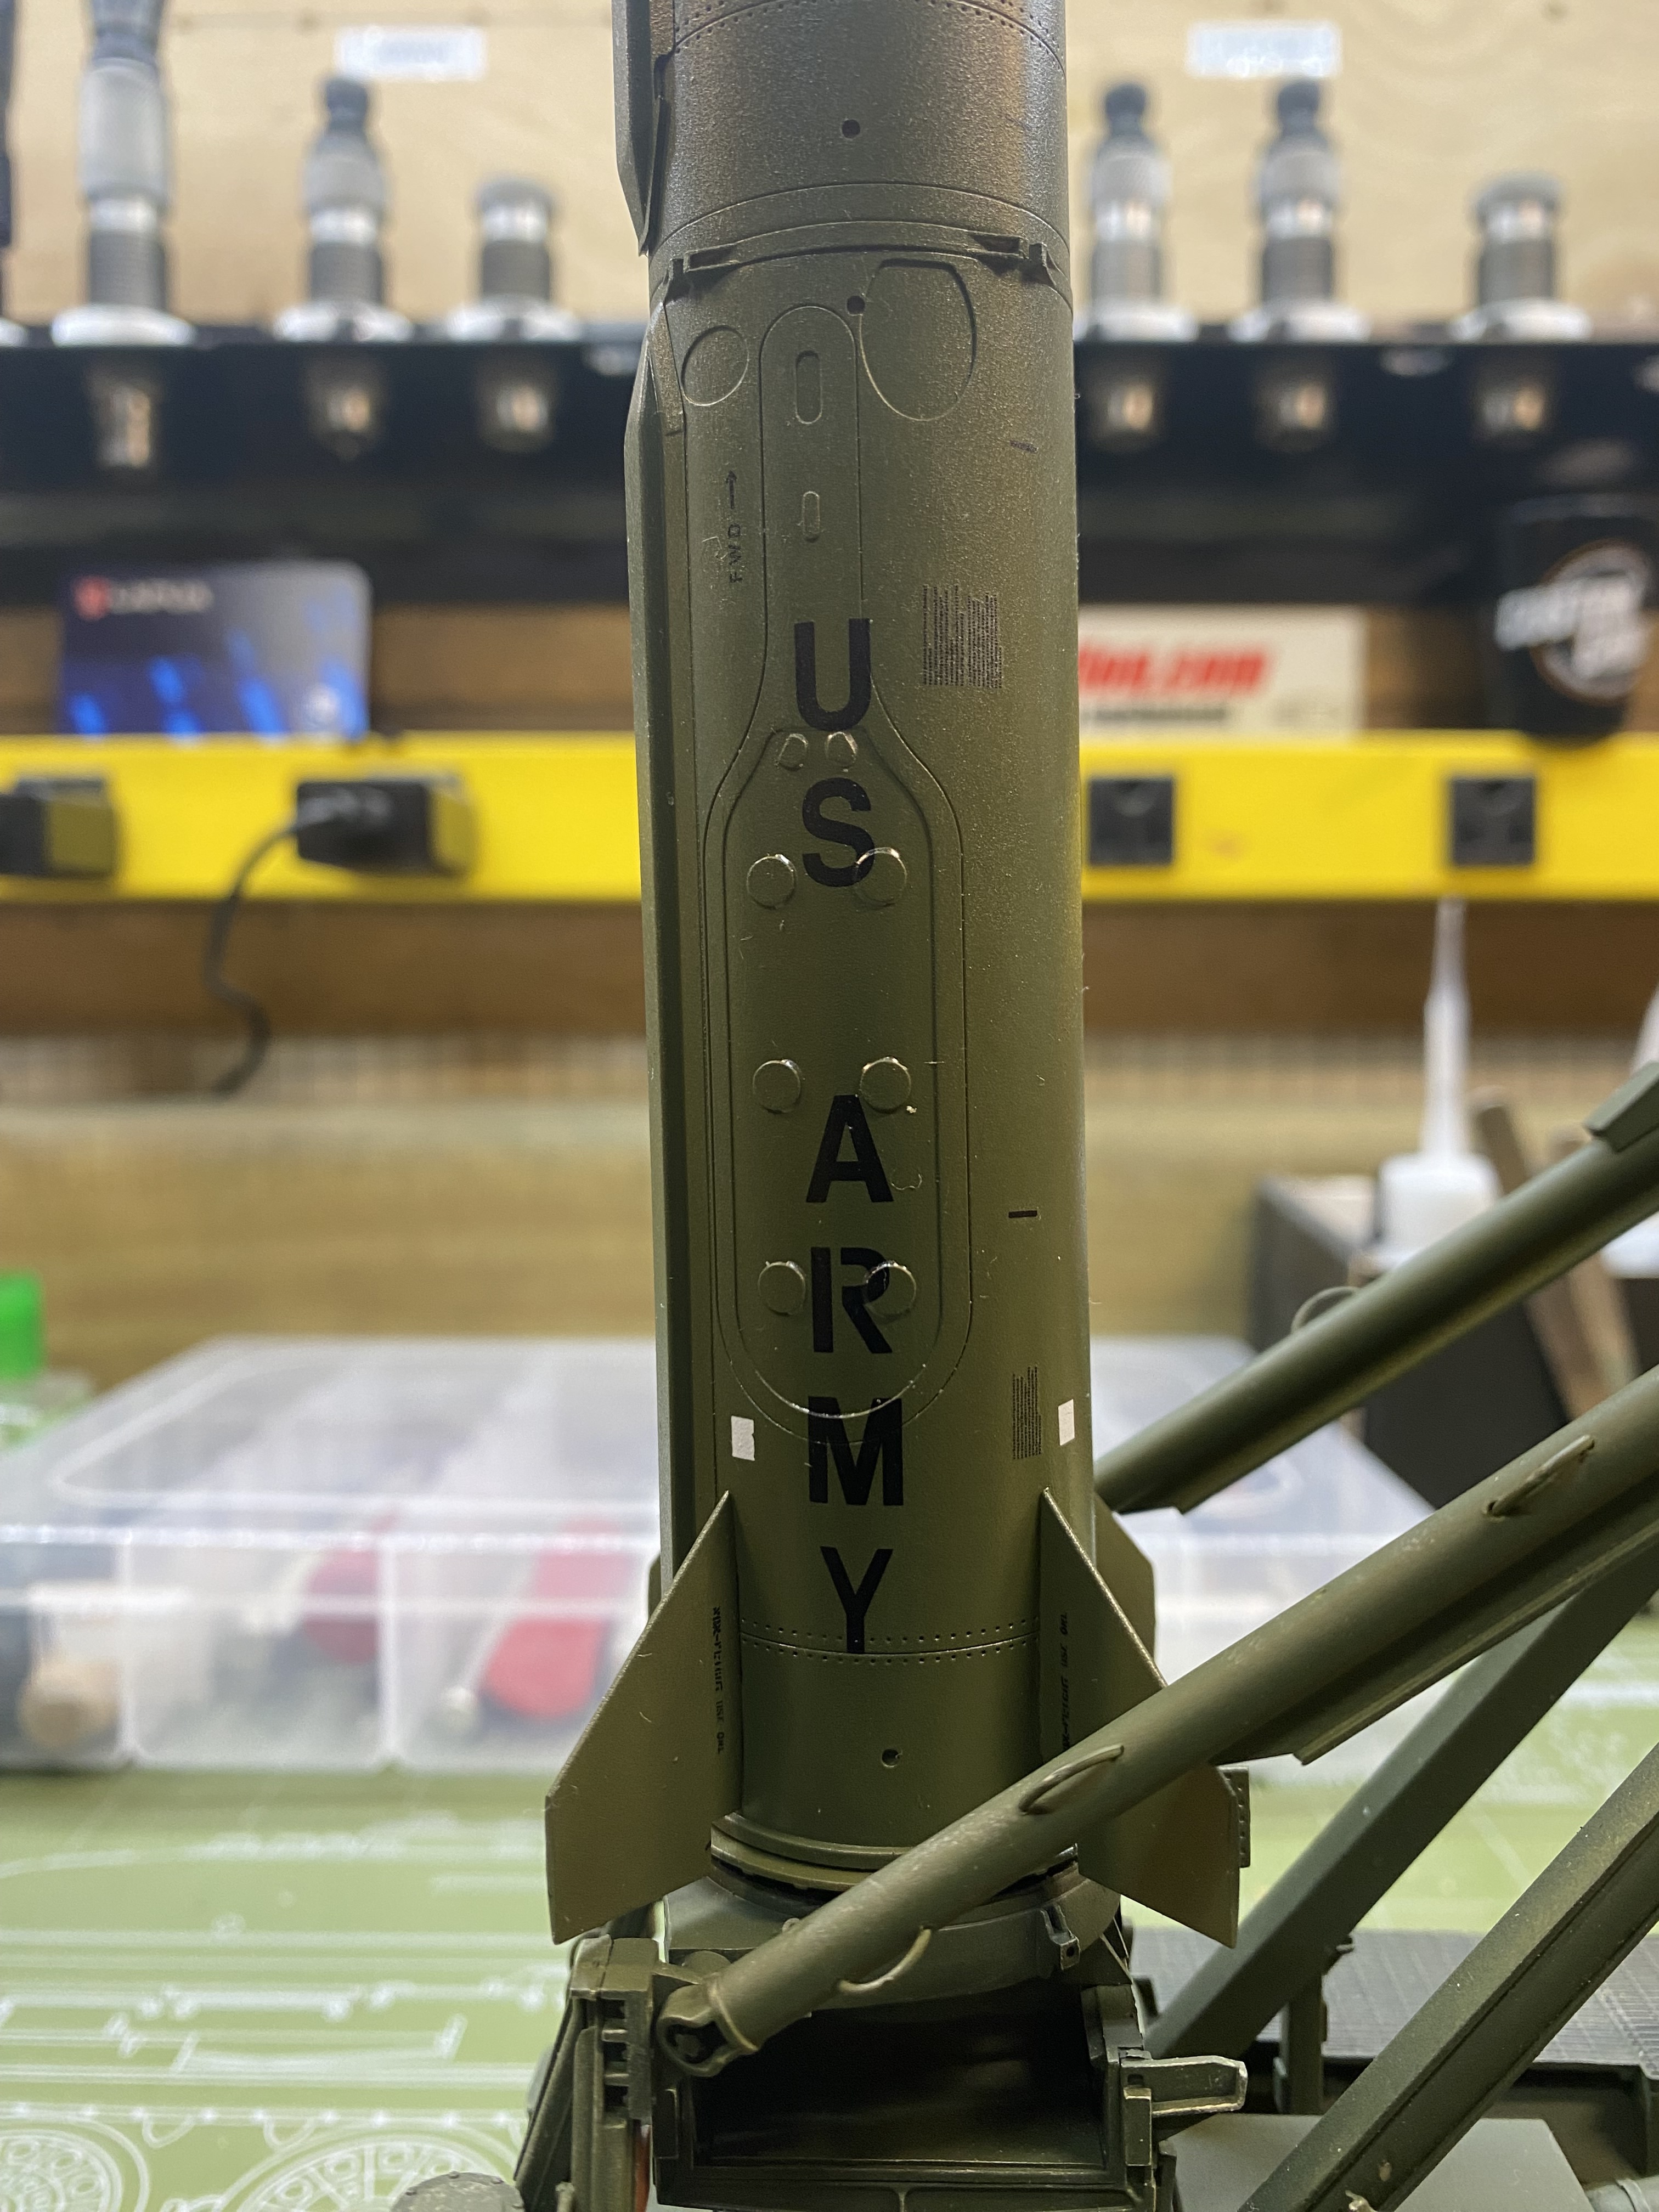
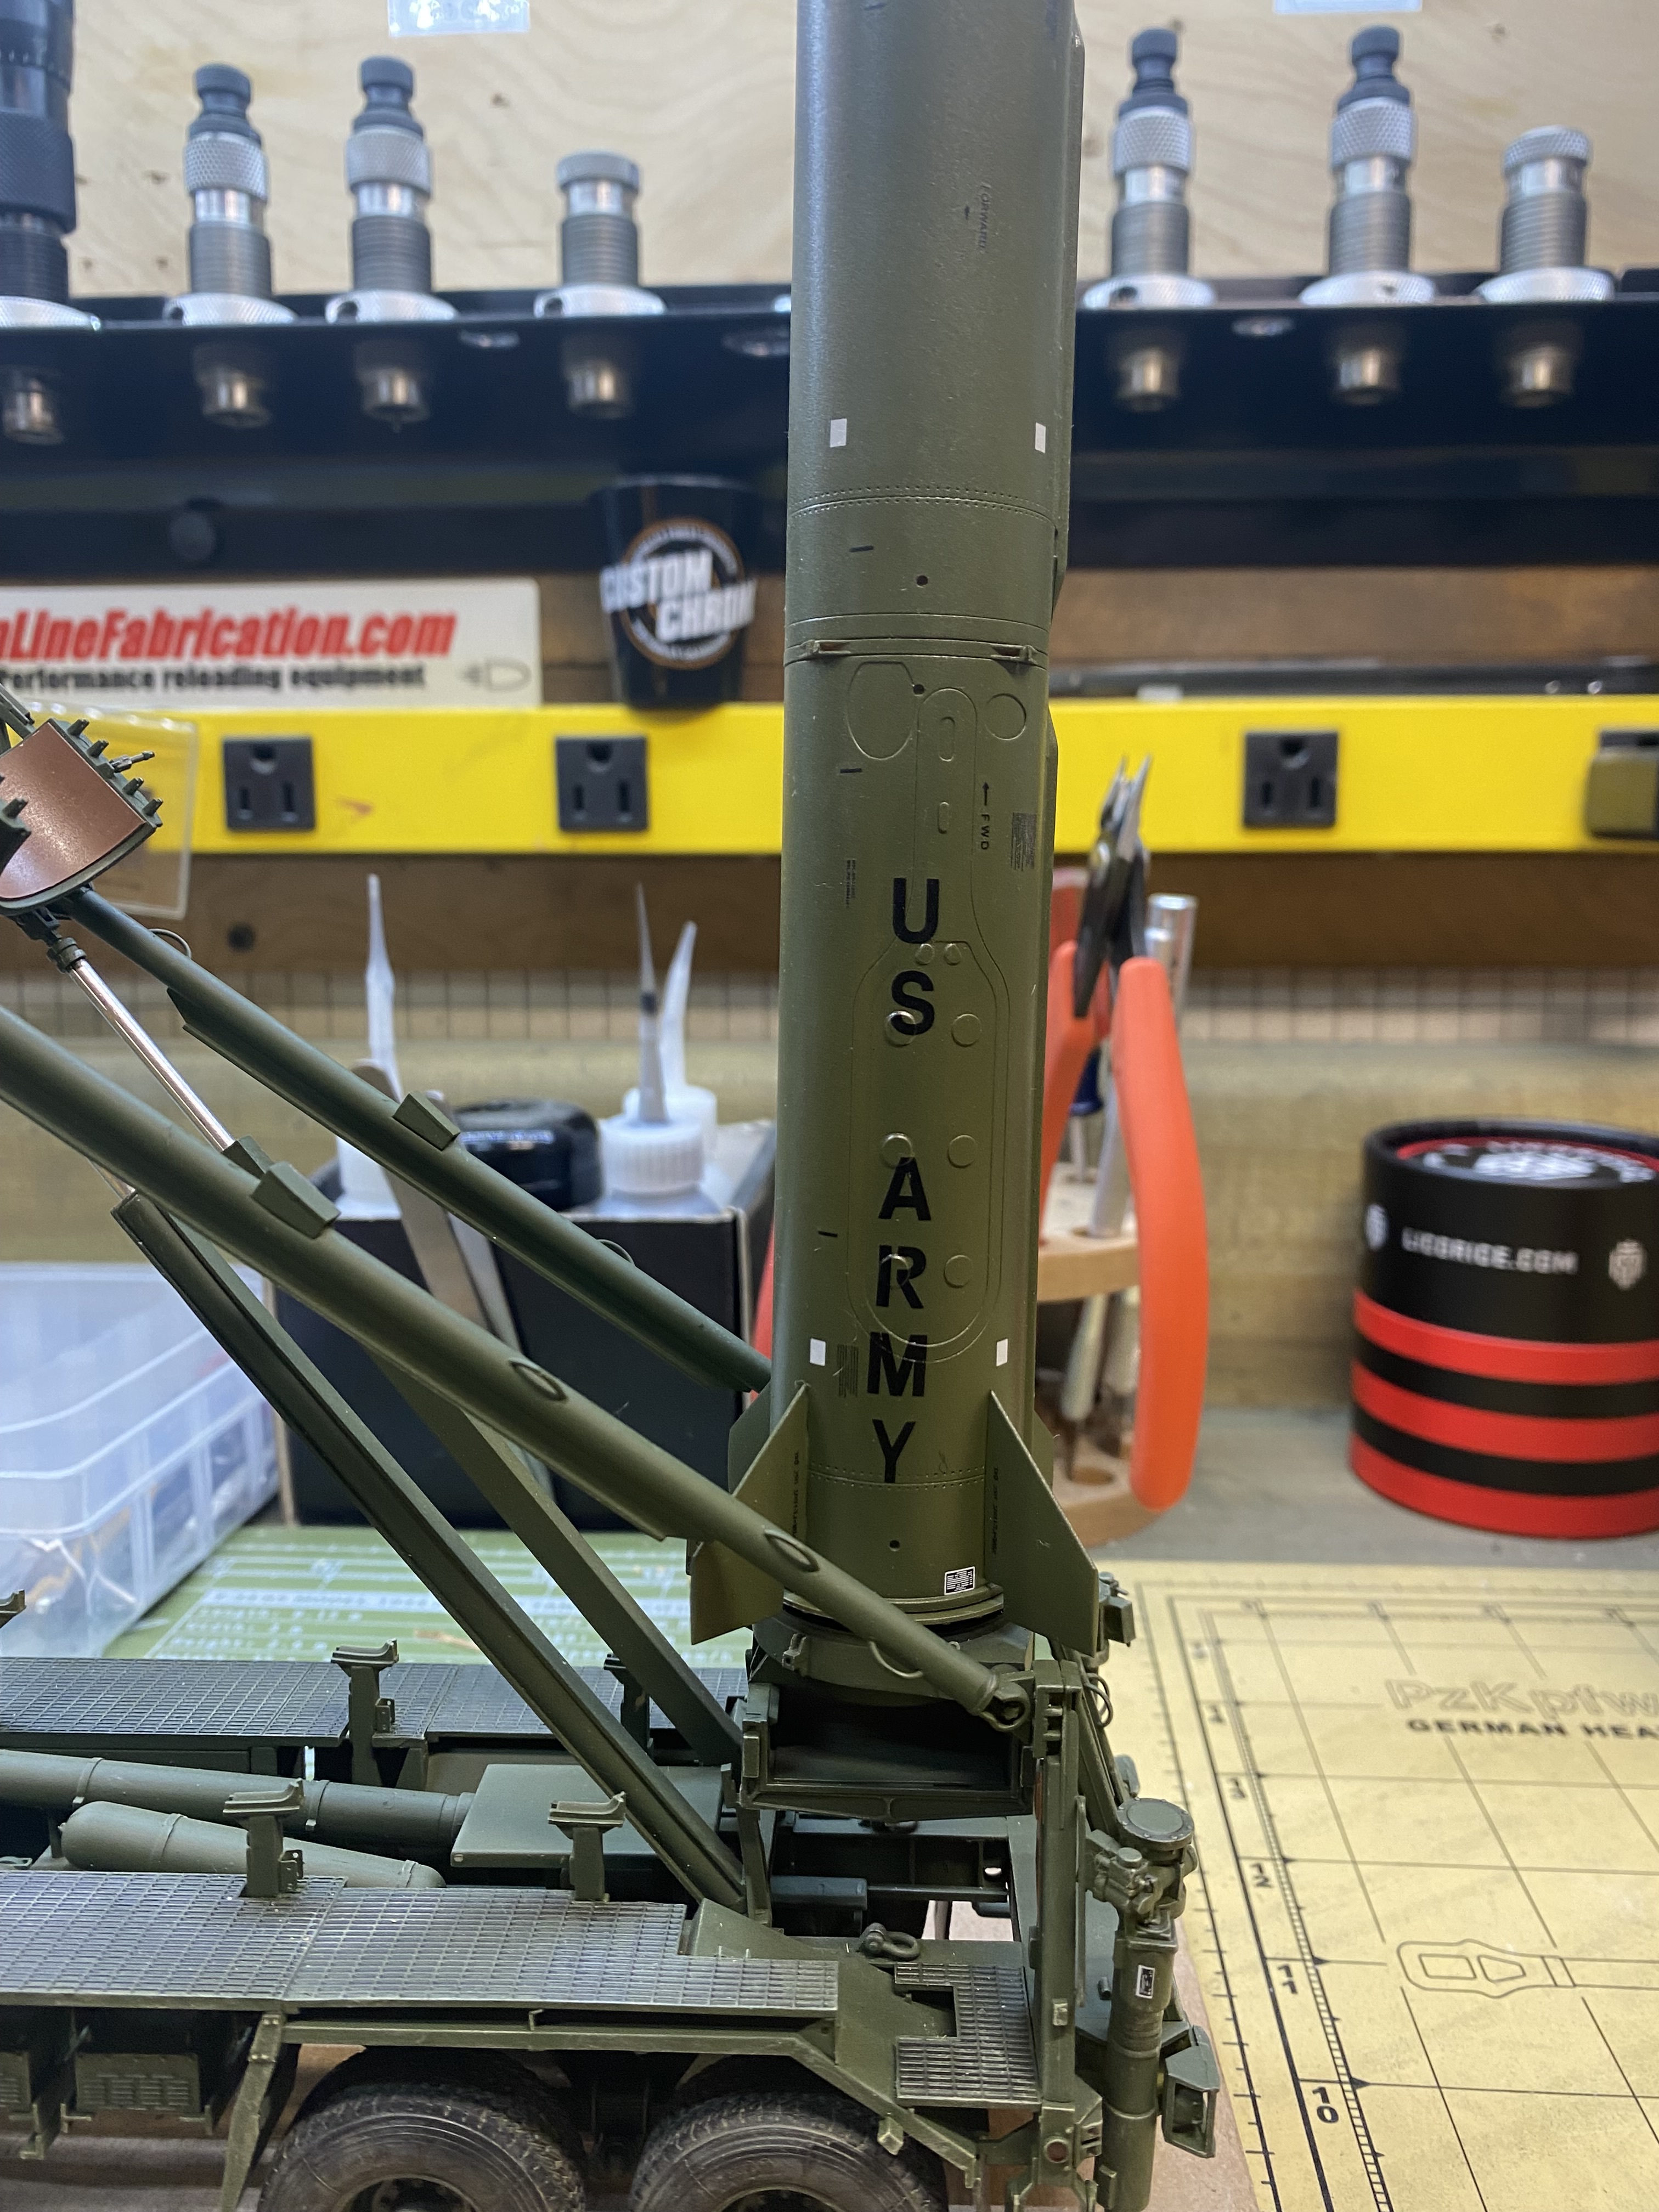
When a stage is in its container there are no fins in place. With the container top removed it looks like a cylinder inside of a half cylinder and no obvious forward or rear. A marking like this helps align the handling equipment.

KL

5 Likes

Kurt, you weren’t kidding about the stenciling, or size of the chocks ya’ll used to stabilize the booster.

That’s an inert unit? I need to dig through my decal collection to find some illegible black stenciling to add. Everywhere it seems.

Fourth side decal isn’t fighting me as much

While the MicroSol was shrinking film, I got ambitious and removed the missile cradle and booms/etc to install the last of the cladding.

This is pretty dicey because all the parts are delicate. This’ll be the last time I R&R it, I hope.

I used a 3/4” socket with some scrap sheet to hold it in place while the black Star Bond did it’s thing

Does the color look okay to you, Kurt?

Permanently attached the unfolded folding front platform.

And added the war head carrier.

I’m out of parts and kit decals.

We are getting close to the finish.

edited to add picture

9 Likes

It was a dummy motor with all the energetic materials replaced by “inert” simulators, otherwise identical-ish to a tactical item. They were used to prove out the manufacturing process and then for training or displays.

The propellant in these was about 80-85% oxidizer and fuel solids (ammonium perchlorate and aluminum powder), the remainder was polybutadiene rubber, stabilizers, catalysts, flow enhancers, etc. I don’t know what Hercules used for inert propellant but the other company I worked for replaced all the energetic solids with rock salt and added blue dye to indicate that it was inert. It was like a blue pencil eraser.

Funny story with that. That second company made all sorts of small to medium-sized motors. Back in the 60s or 70s - before they added the blue dye - the company had a good-sized inert motor that they carried around to trade shows, college recruiting, and whatnot. After a few years the military went to test one of the missiles made at the same time as the demo unit and it wouldn’t fire: It had been filled with inert propellant.

KL

8 Likes

… oops …

5 Likes

There has to be a joke out there about soldiers and claymore mines.

6 Likes

That is looking brilliant Al… A real monster of a kit and build … great detailing and very clever extra scratch builds to give that special touch … Outstanding job

3 Likes

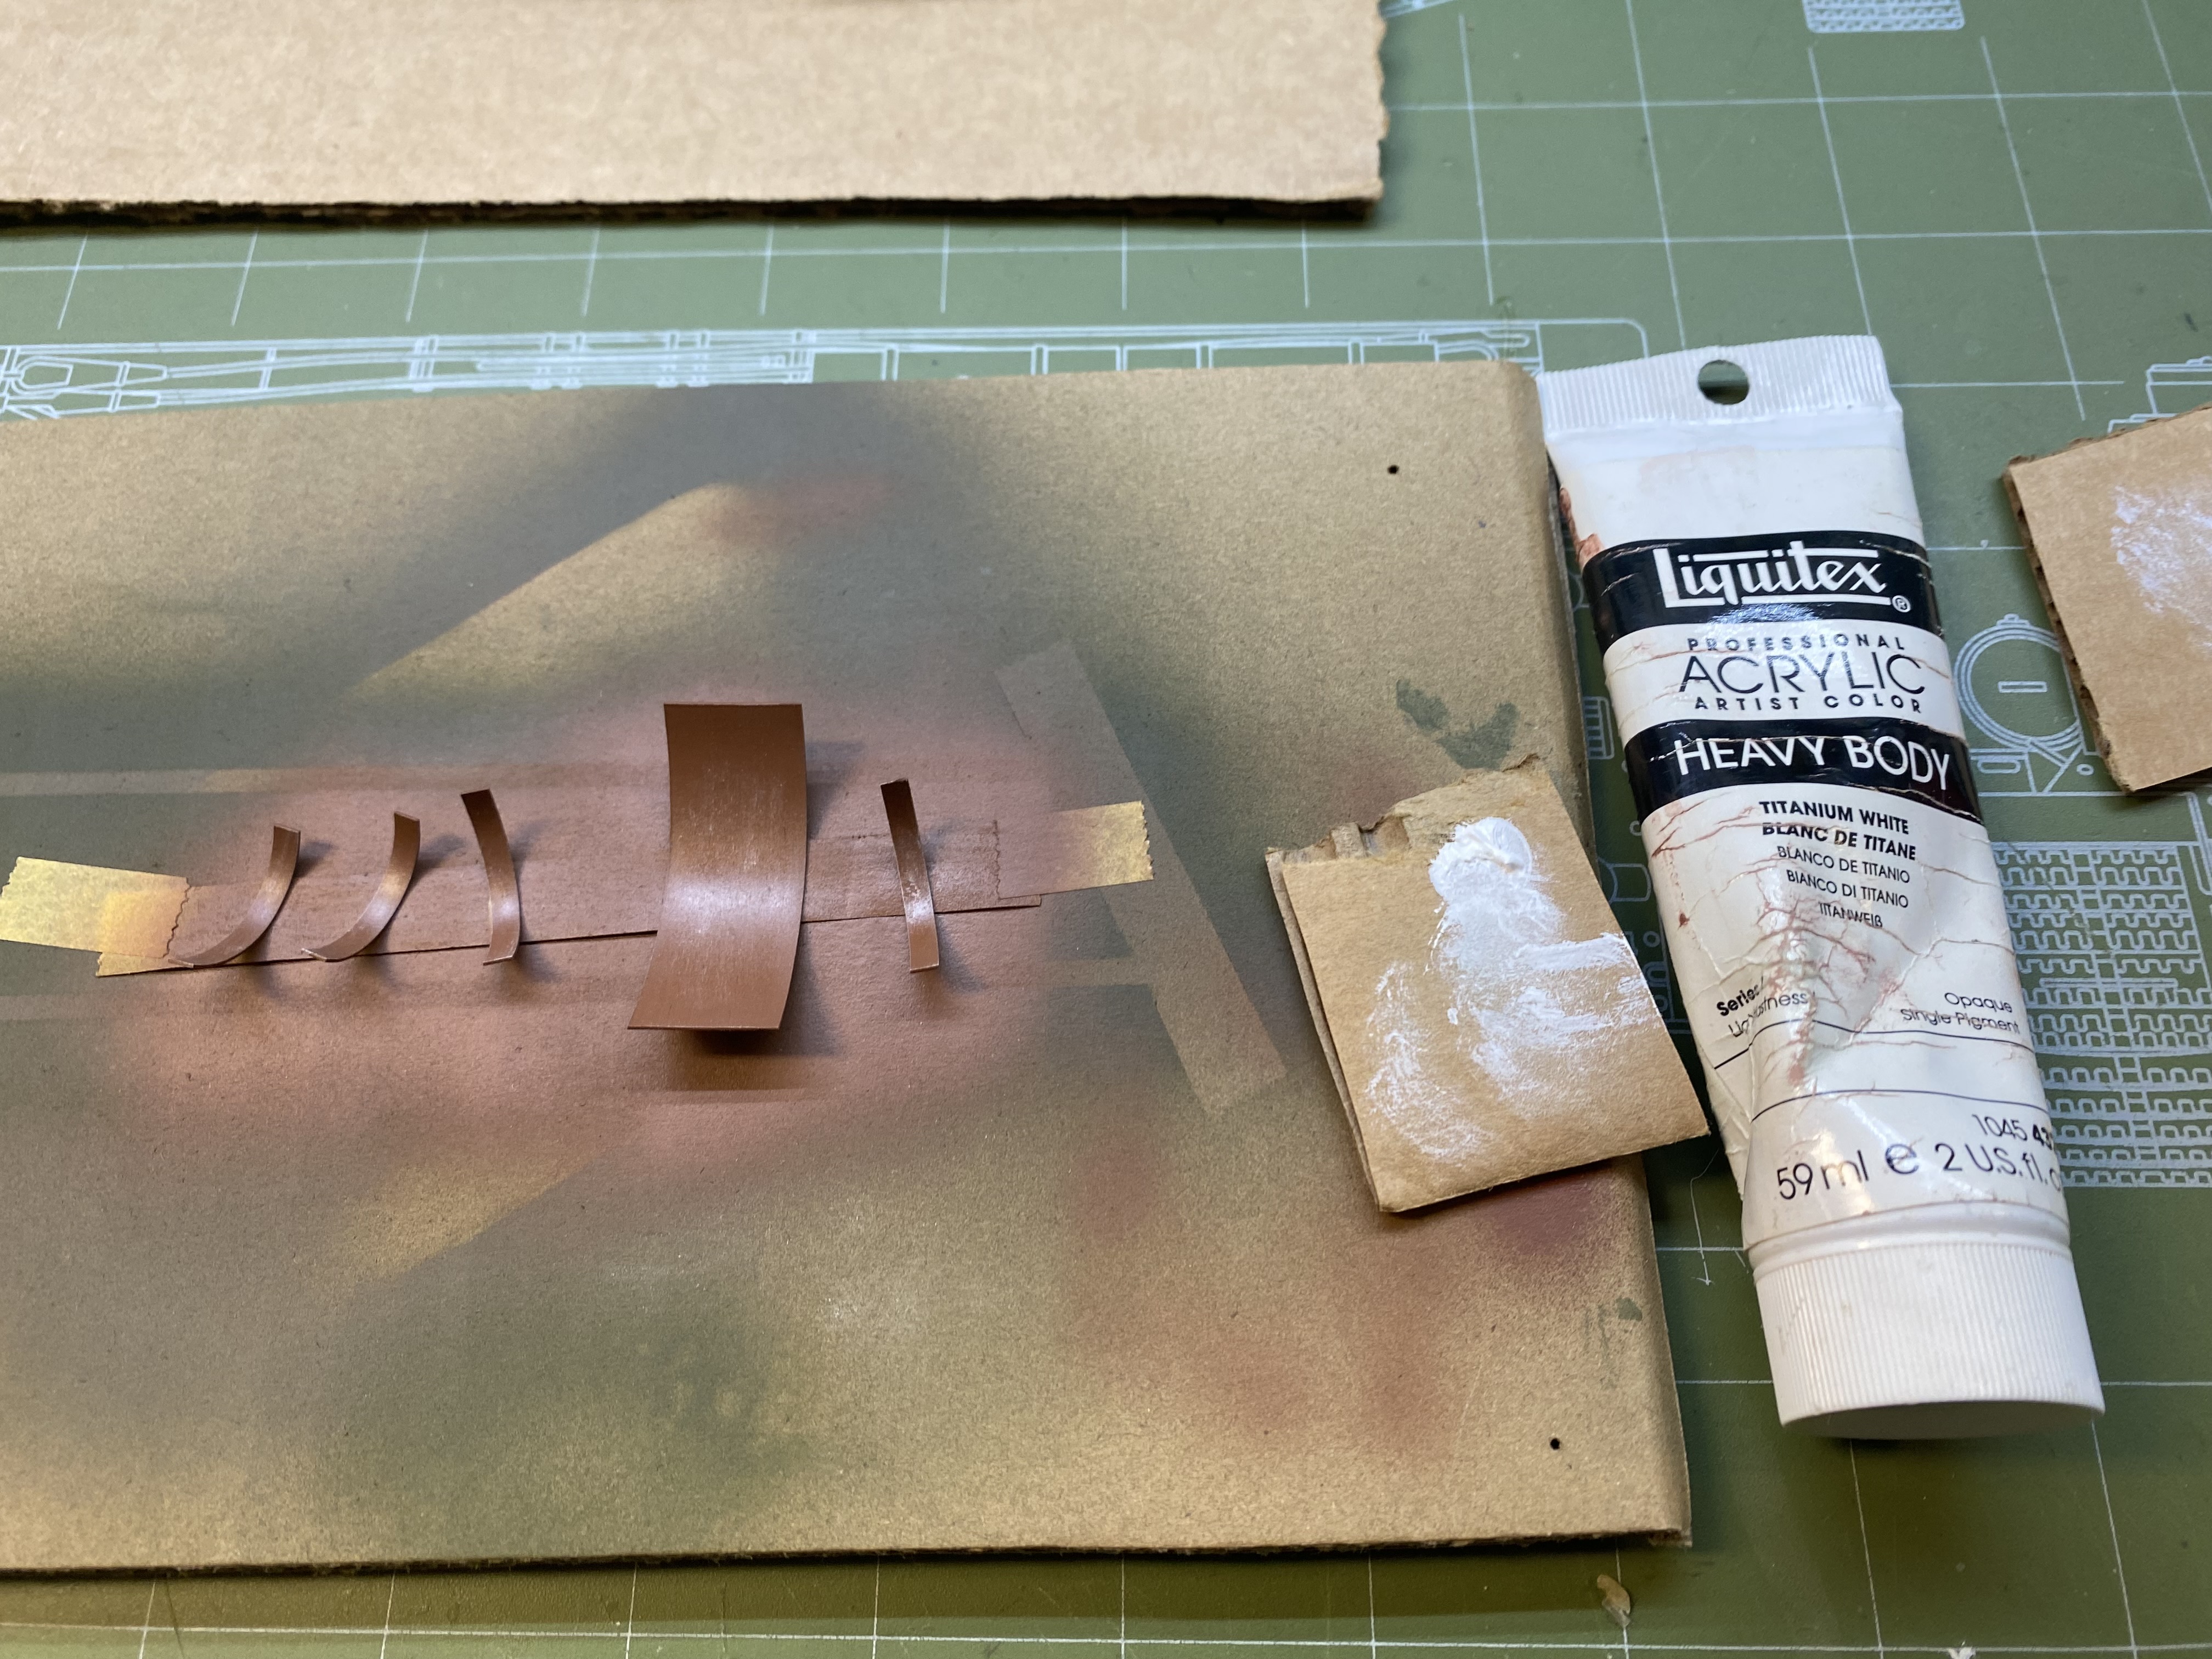
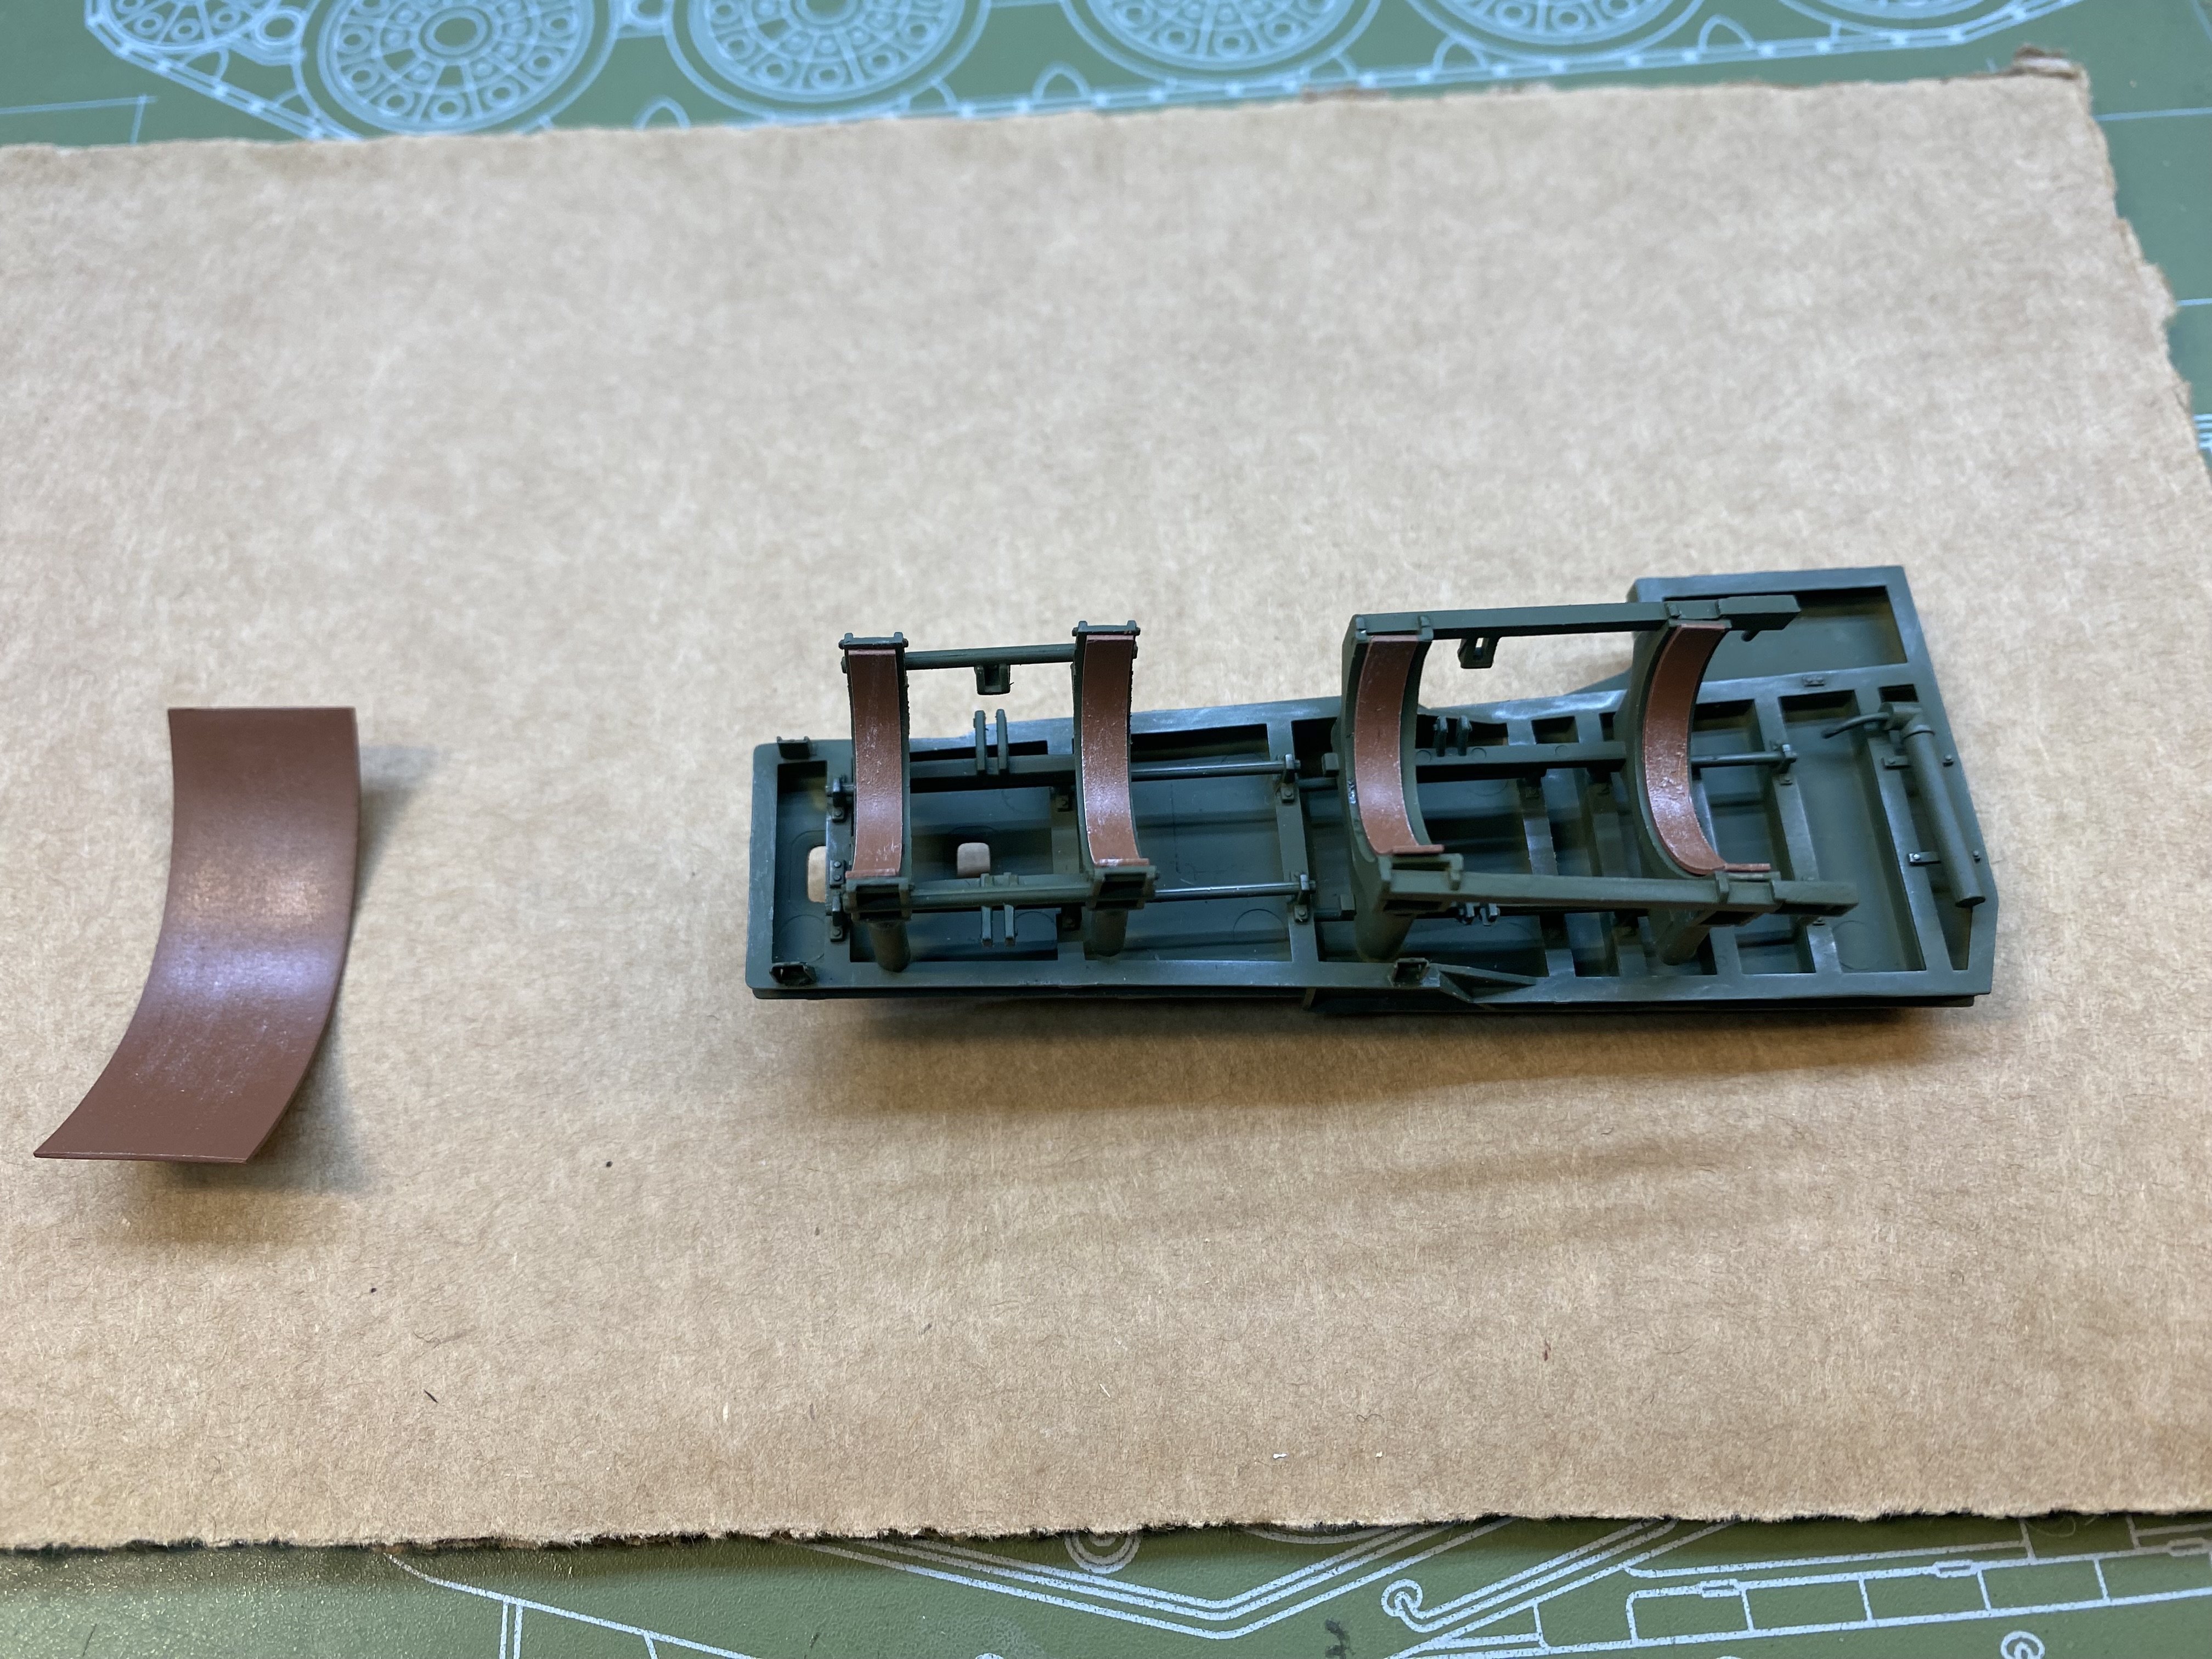
Al that’s one fancy-schmancy weight to hold down the cladding. Quite ingenious but it probably took you longer to make it than it took for the glue to dry. Excellent problem solving though! Starbond Black has to be the greatest glue on the planet.

4 Likes

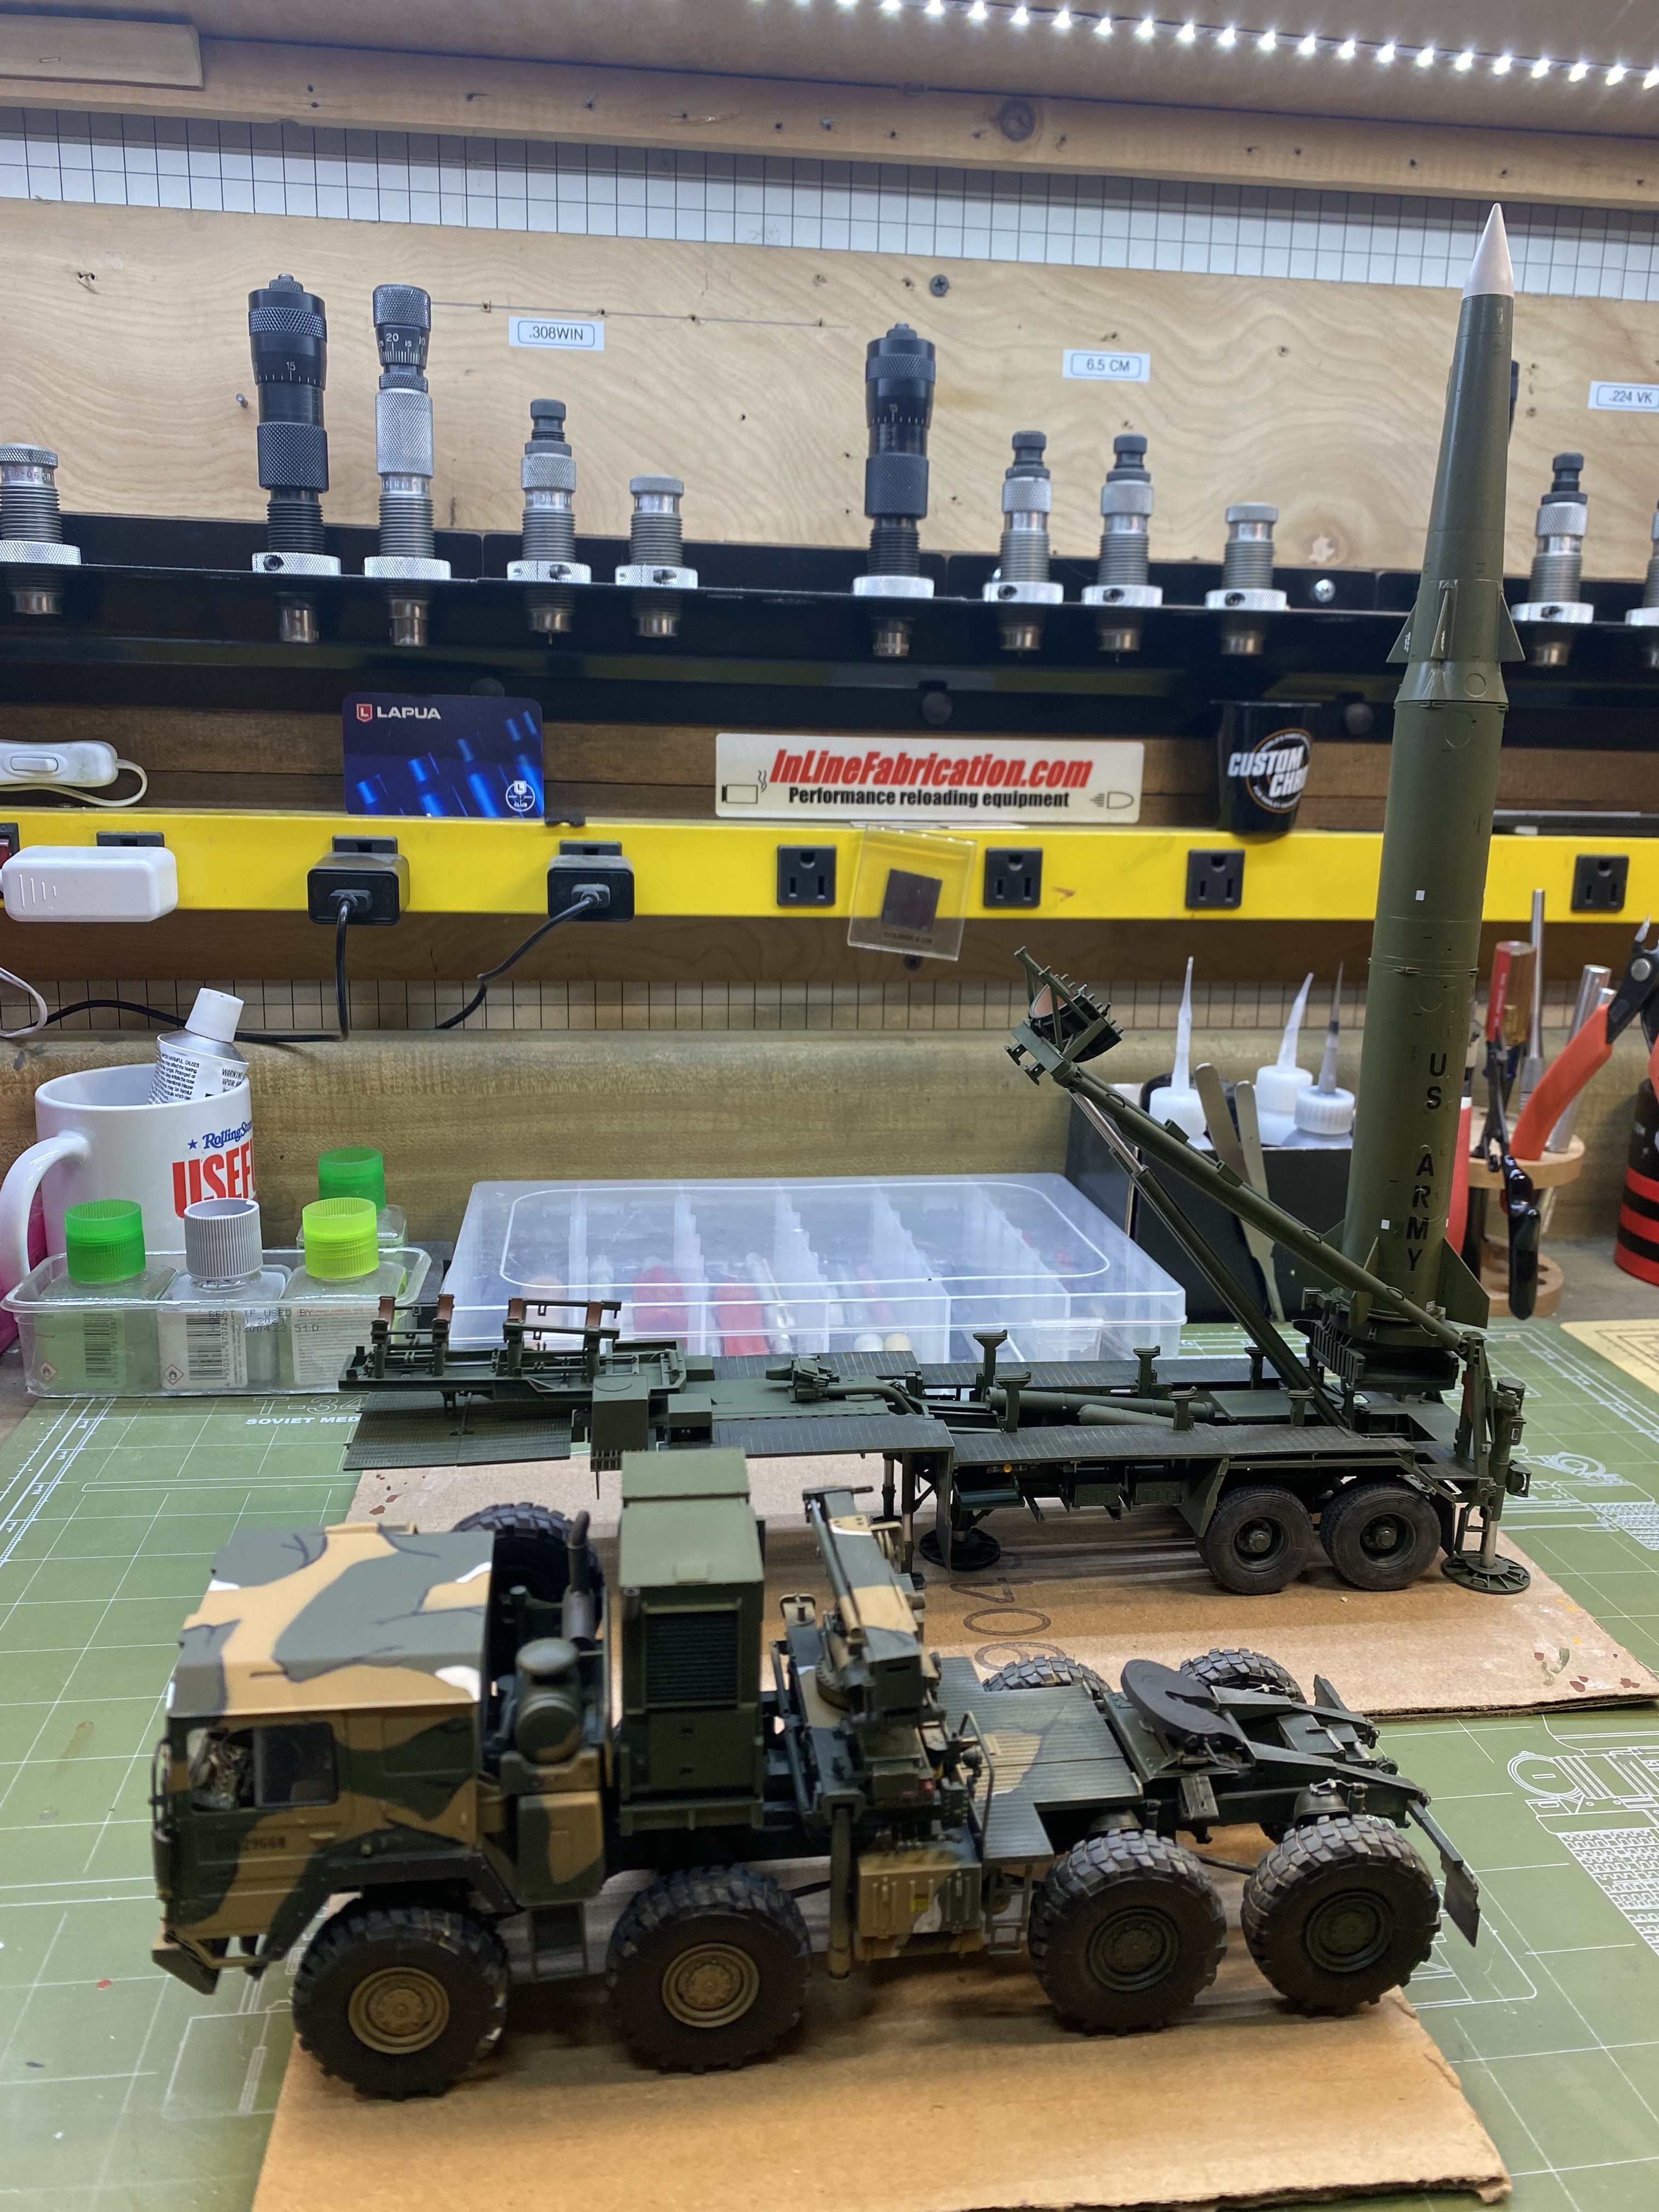
I picked up my copy of this kit yesterday from Skyway Model Shop in Seattle. There is a LOT of styrene in that box! As my interest is in the weapon, I will probably built the Pershing and TEL in launch position. I may build the truck later. Thanks for the detailed build log - it is a great “go-by”.

4 Likes

Rick, I’ve got a second sealed kit and my intention is to build the trailer erector launcher with the missile in the transport position.

When I get around to it I will use the M1001 from this build for it. I’m not anxious to build another tractor….

It’s by far the most complex portion of the kit.

3 Likes

I found some one and two paragraph stencils and more Forward decals. Shot some clear on them.

R/H side

L/H side

And the guidance/warhead/radar sections

7 Likes

The decals are looking great and really bring it to life. It is looking awesome overall. Almost there.

4 Likes

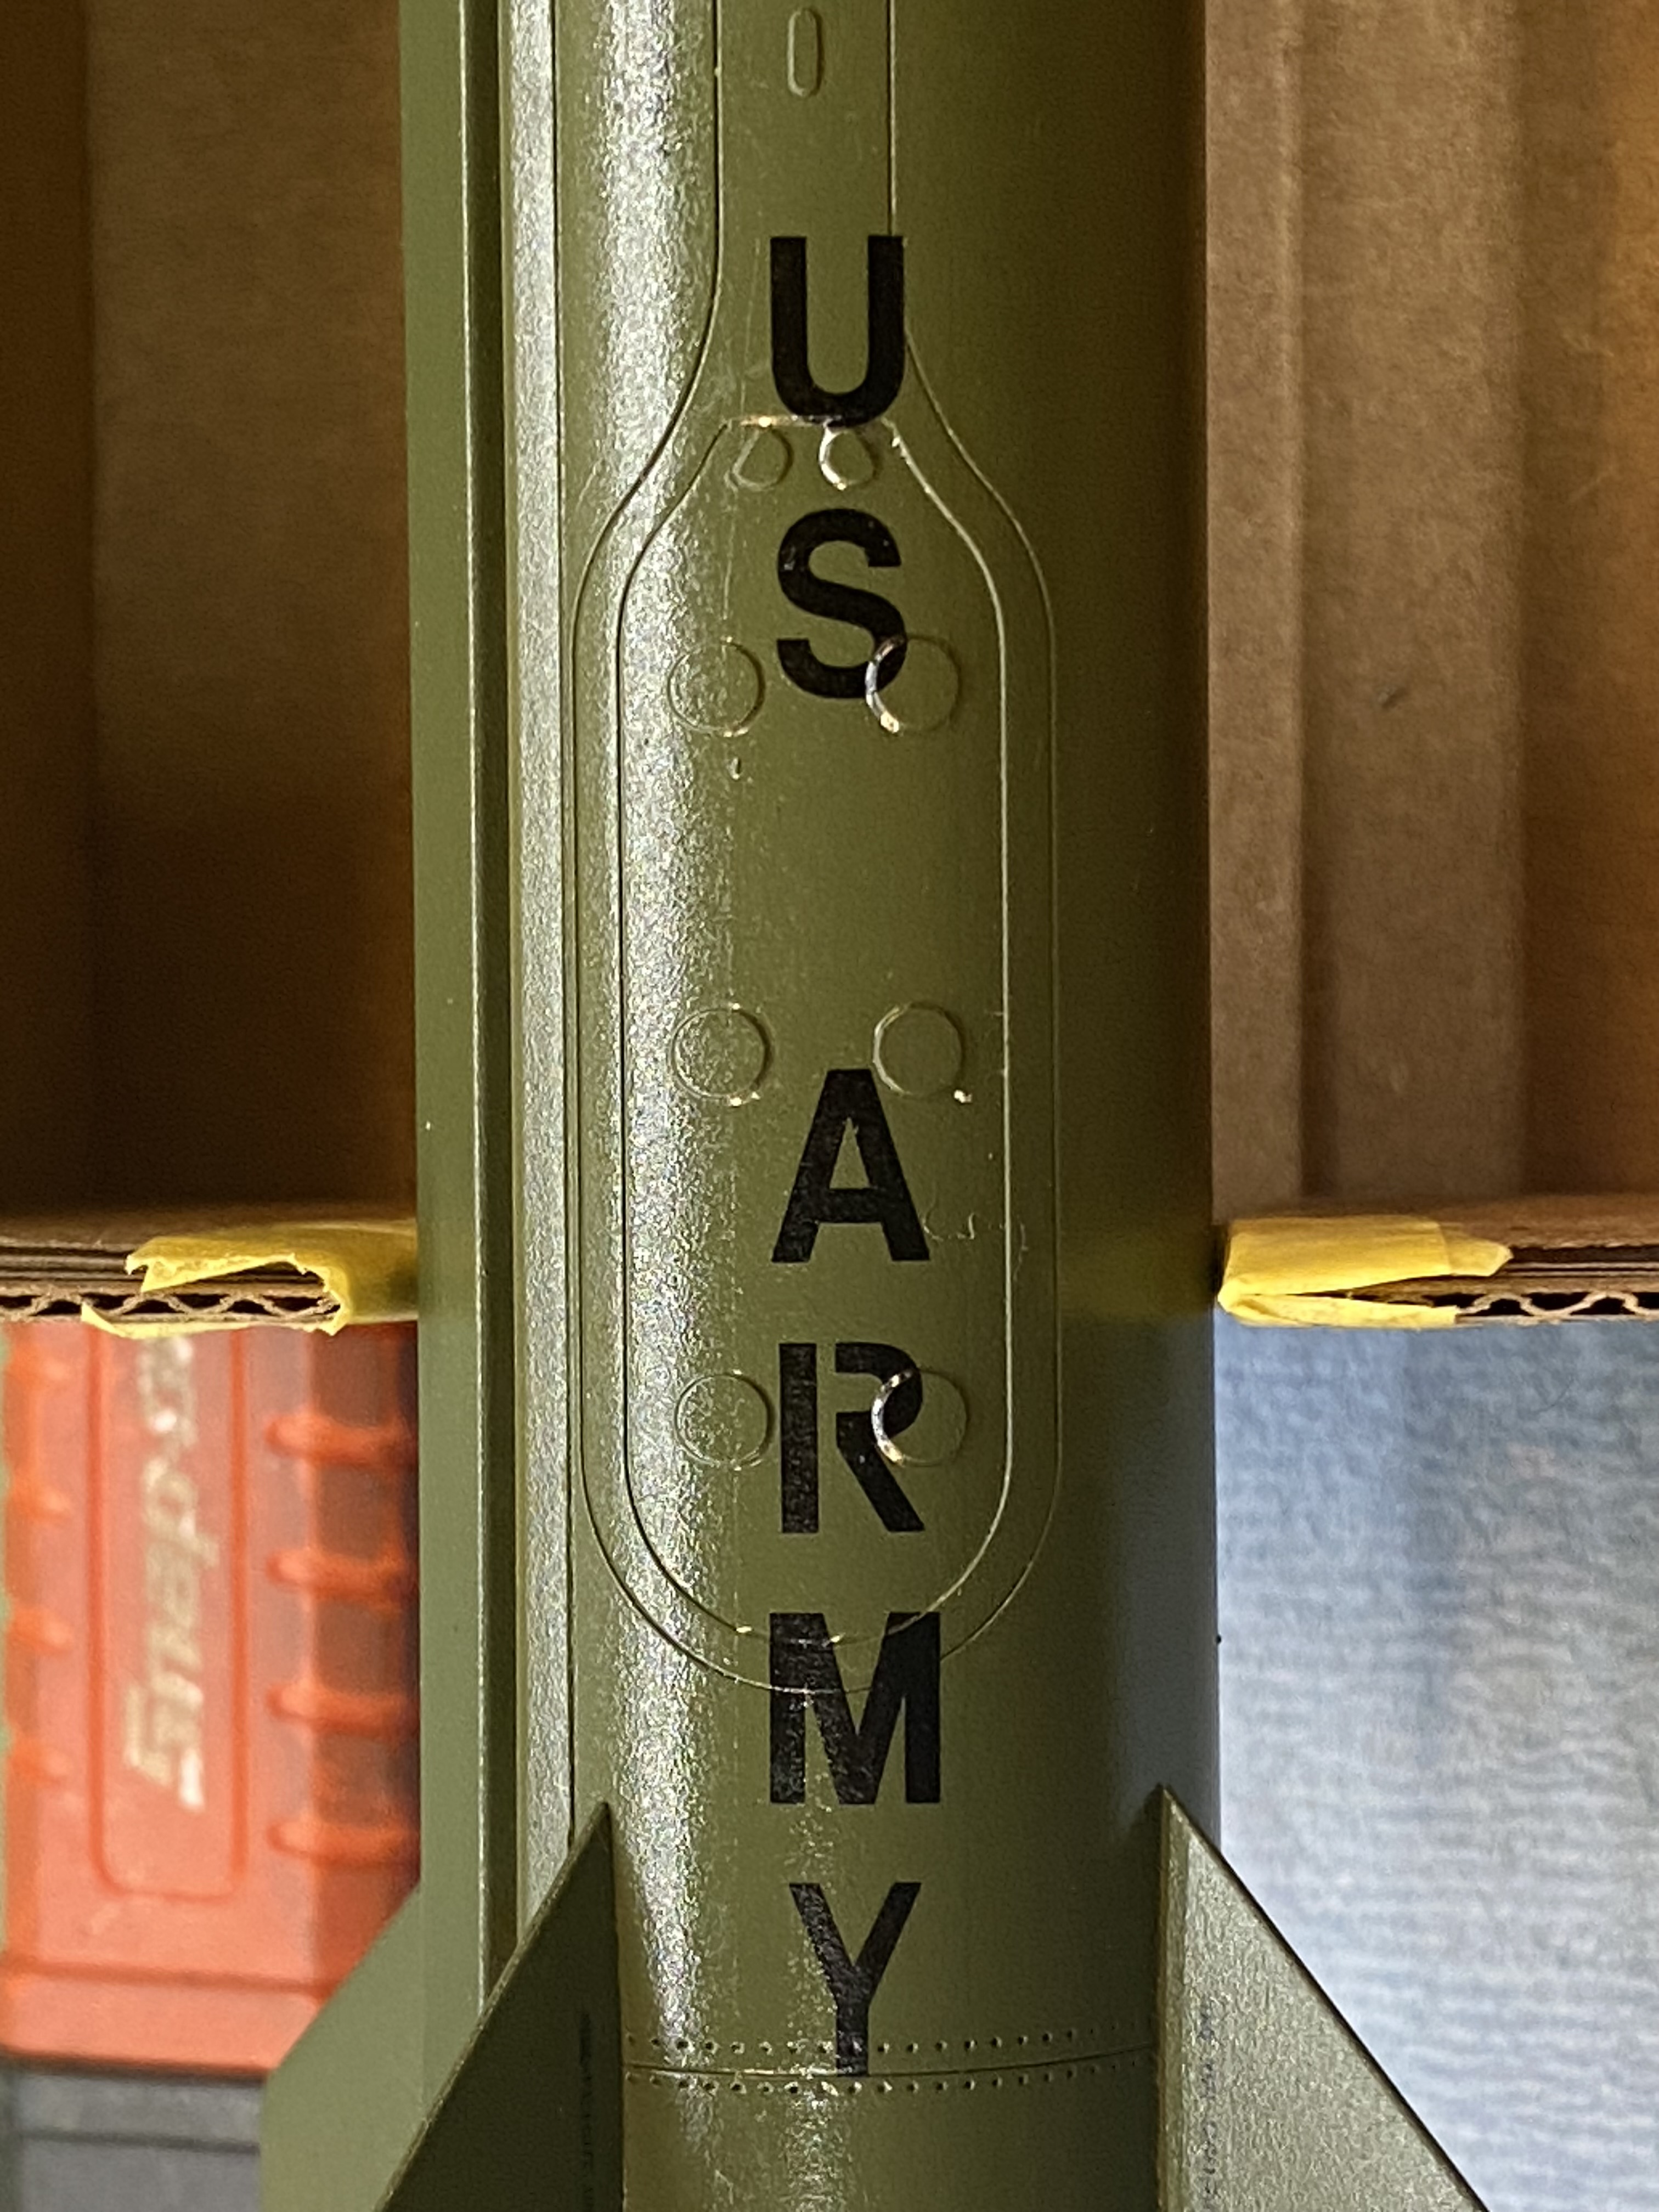
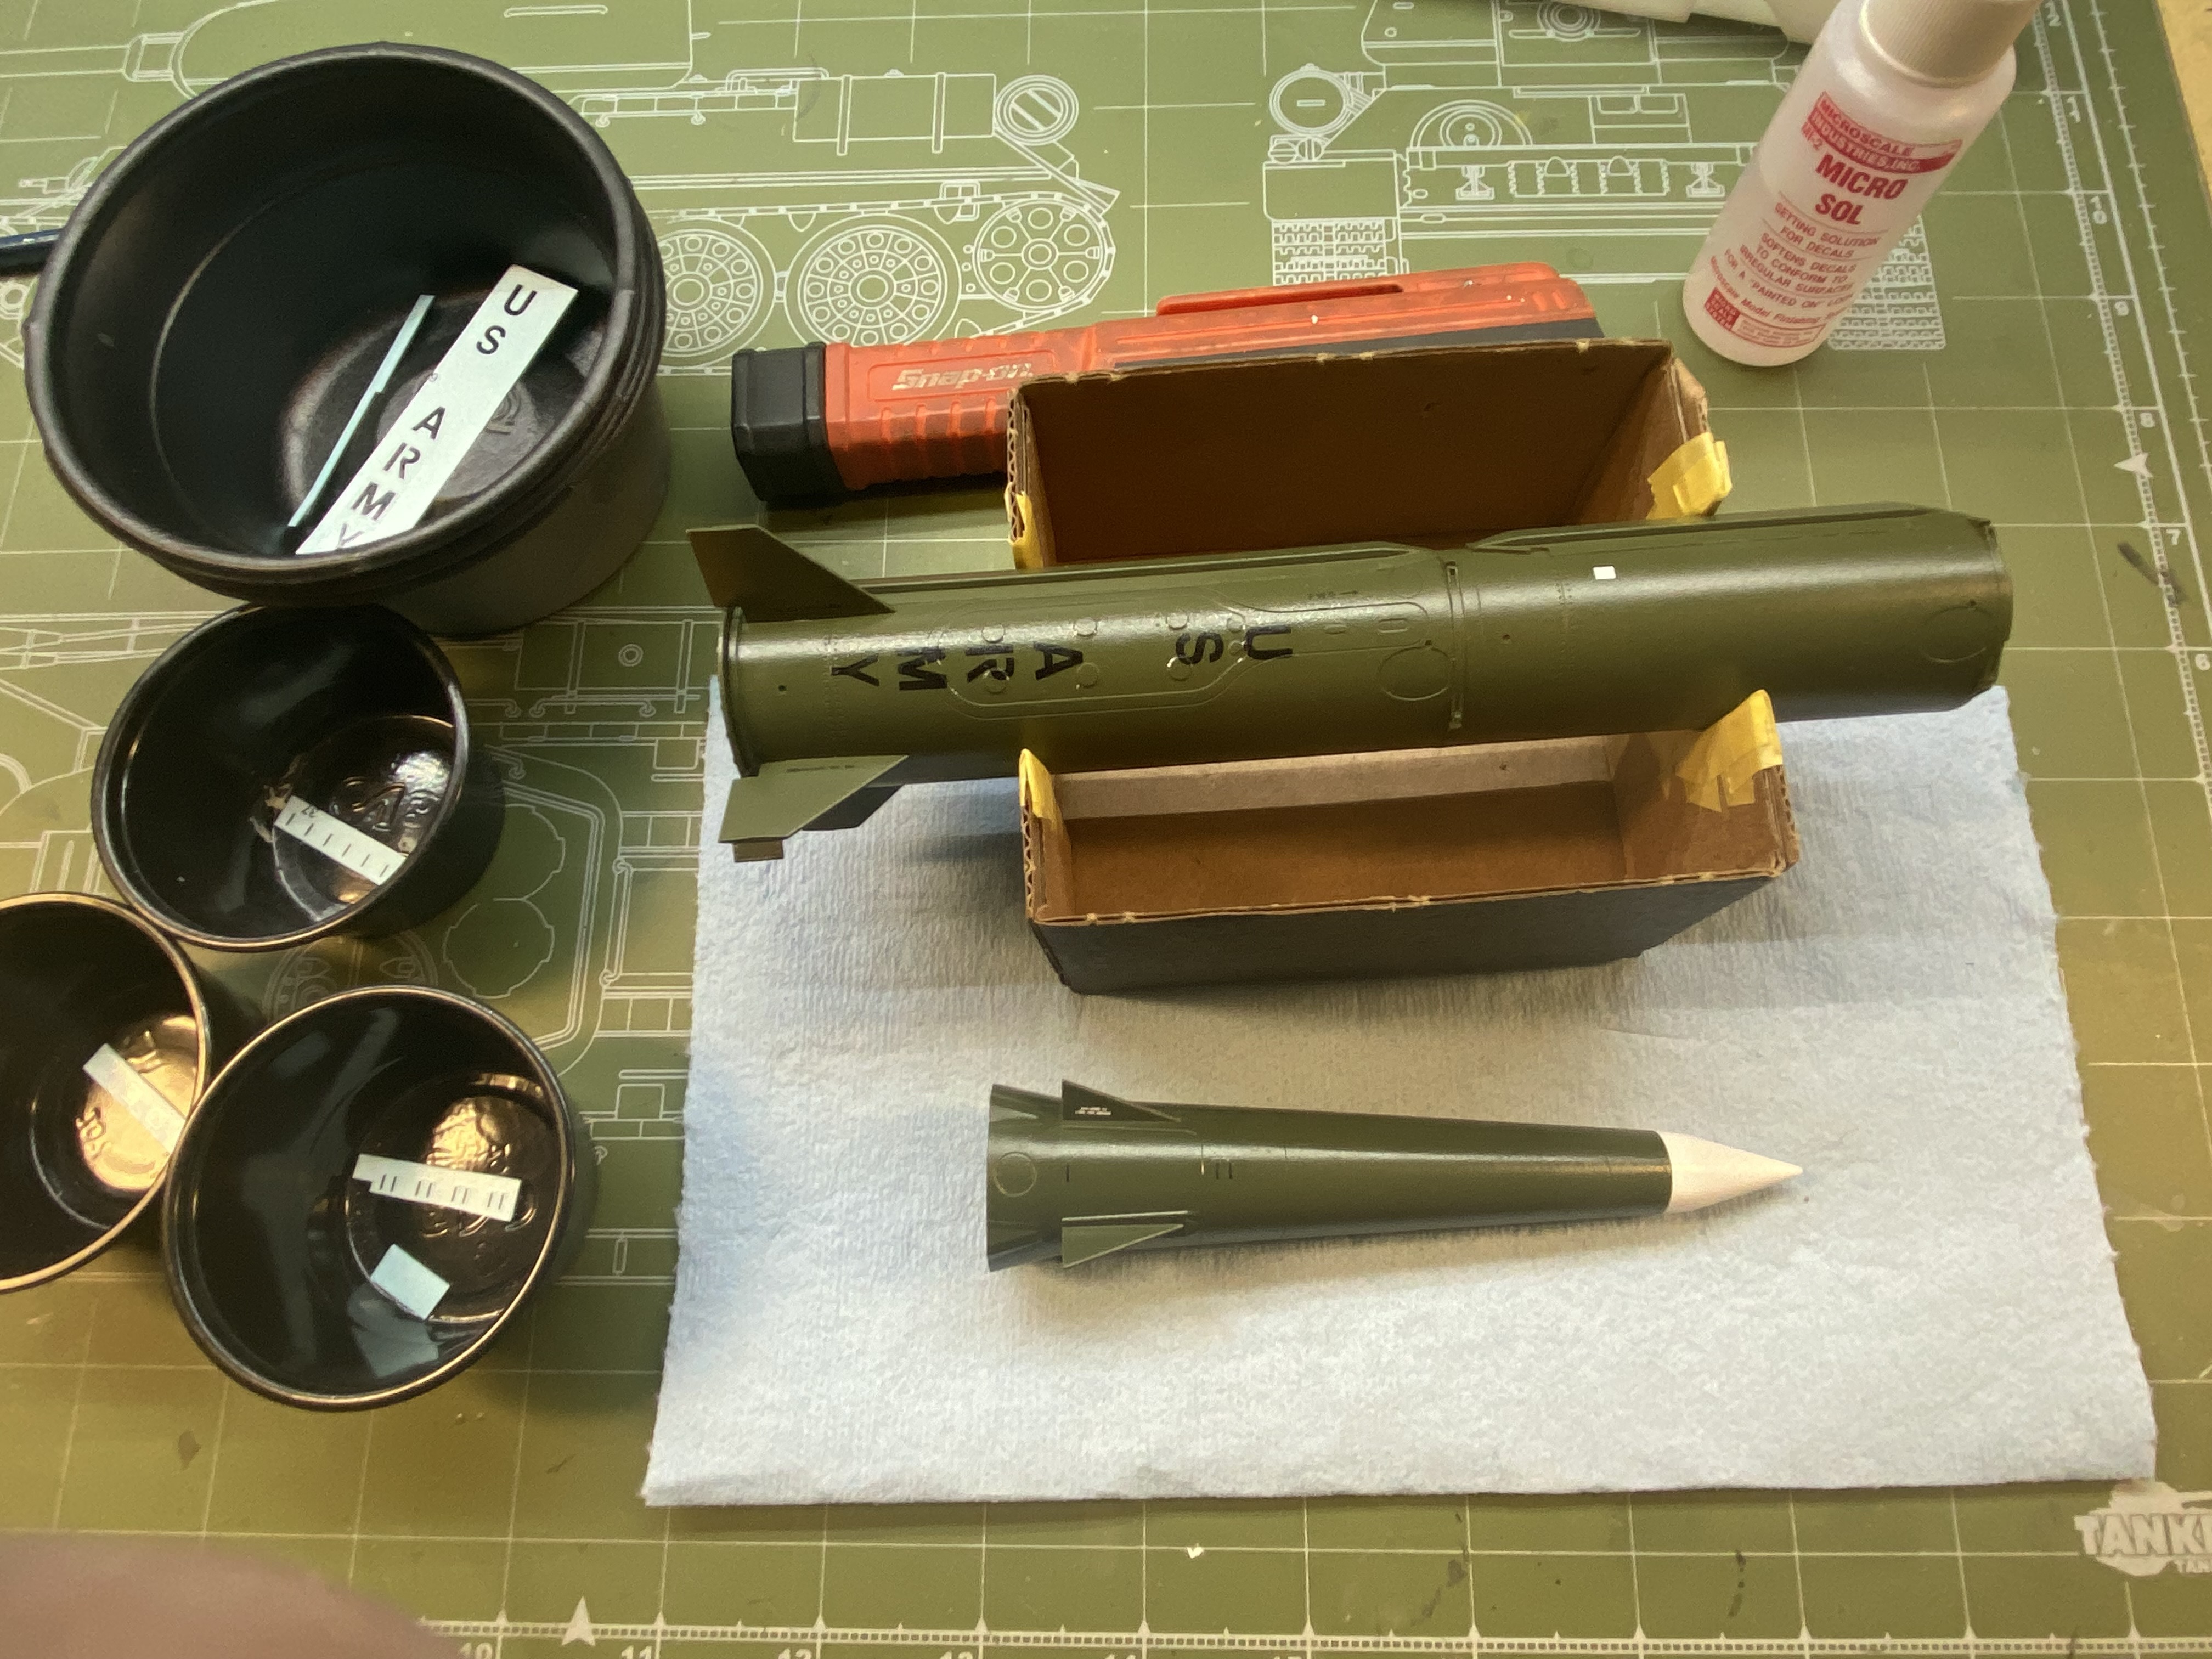
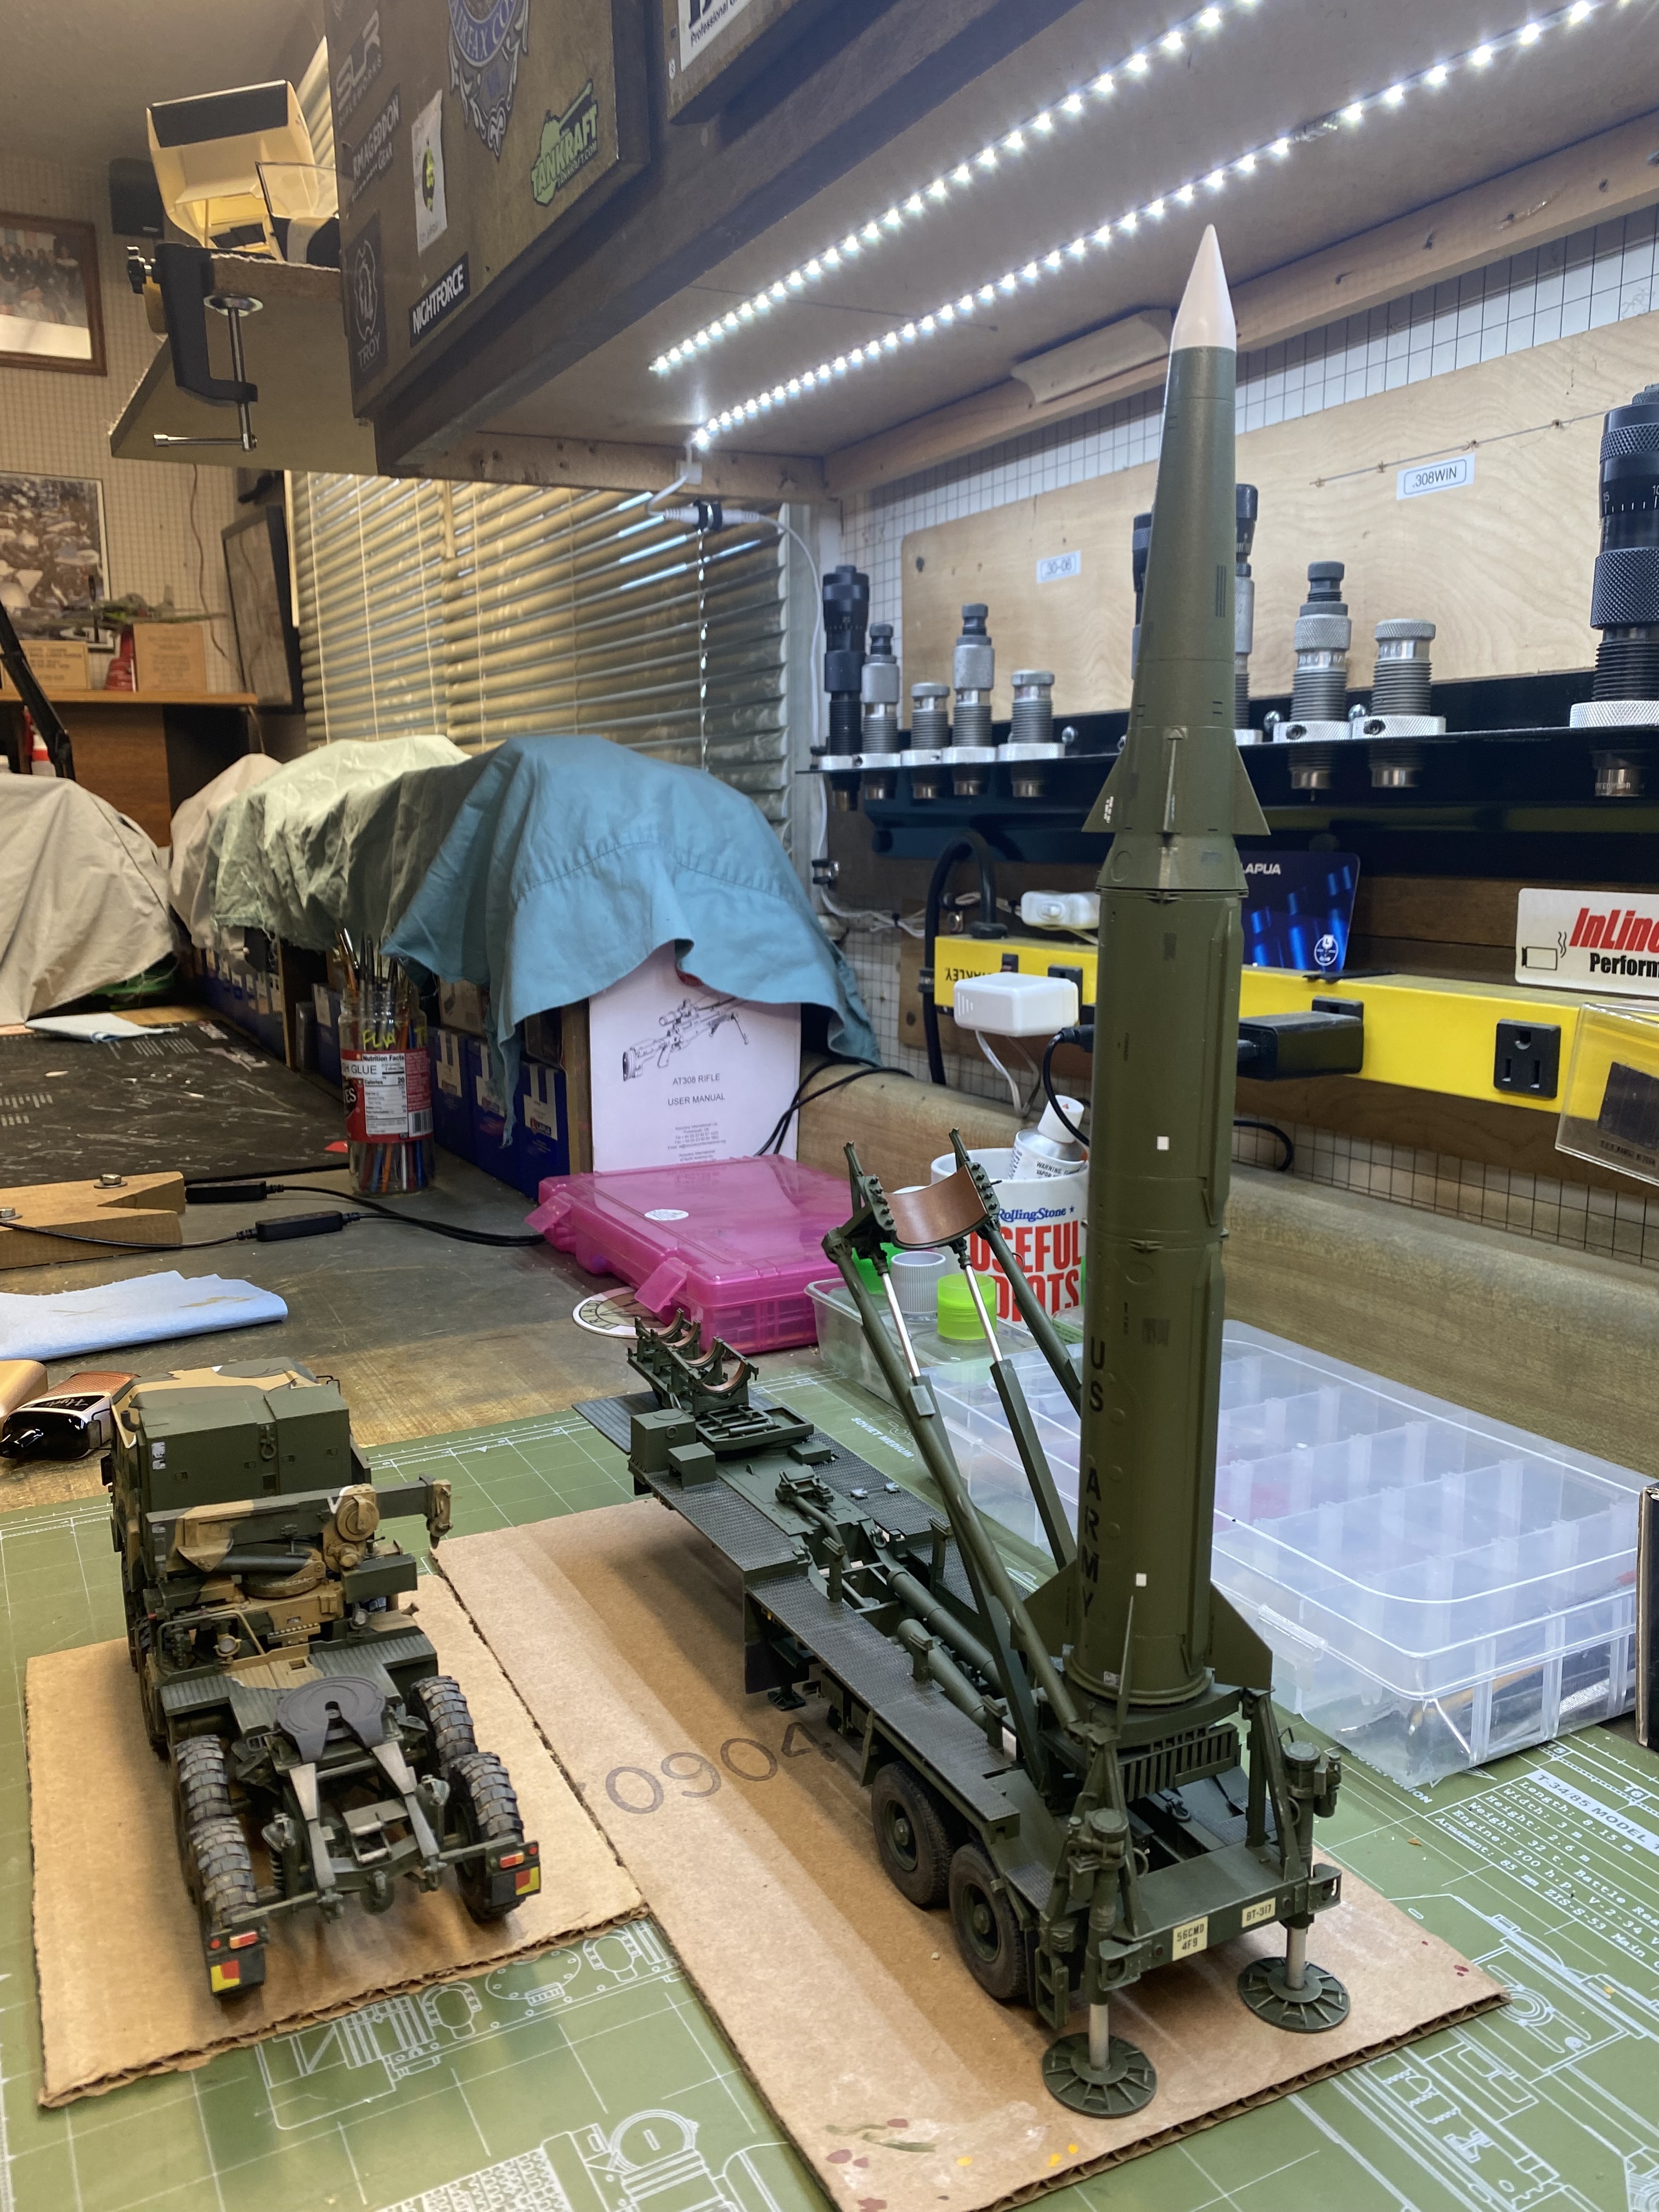
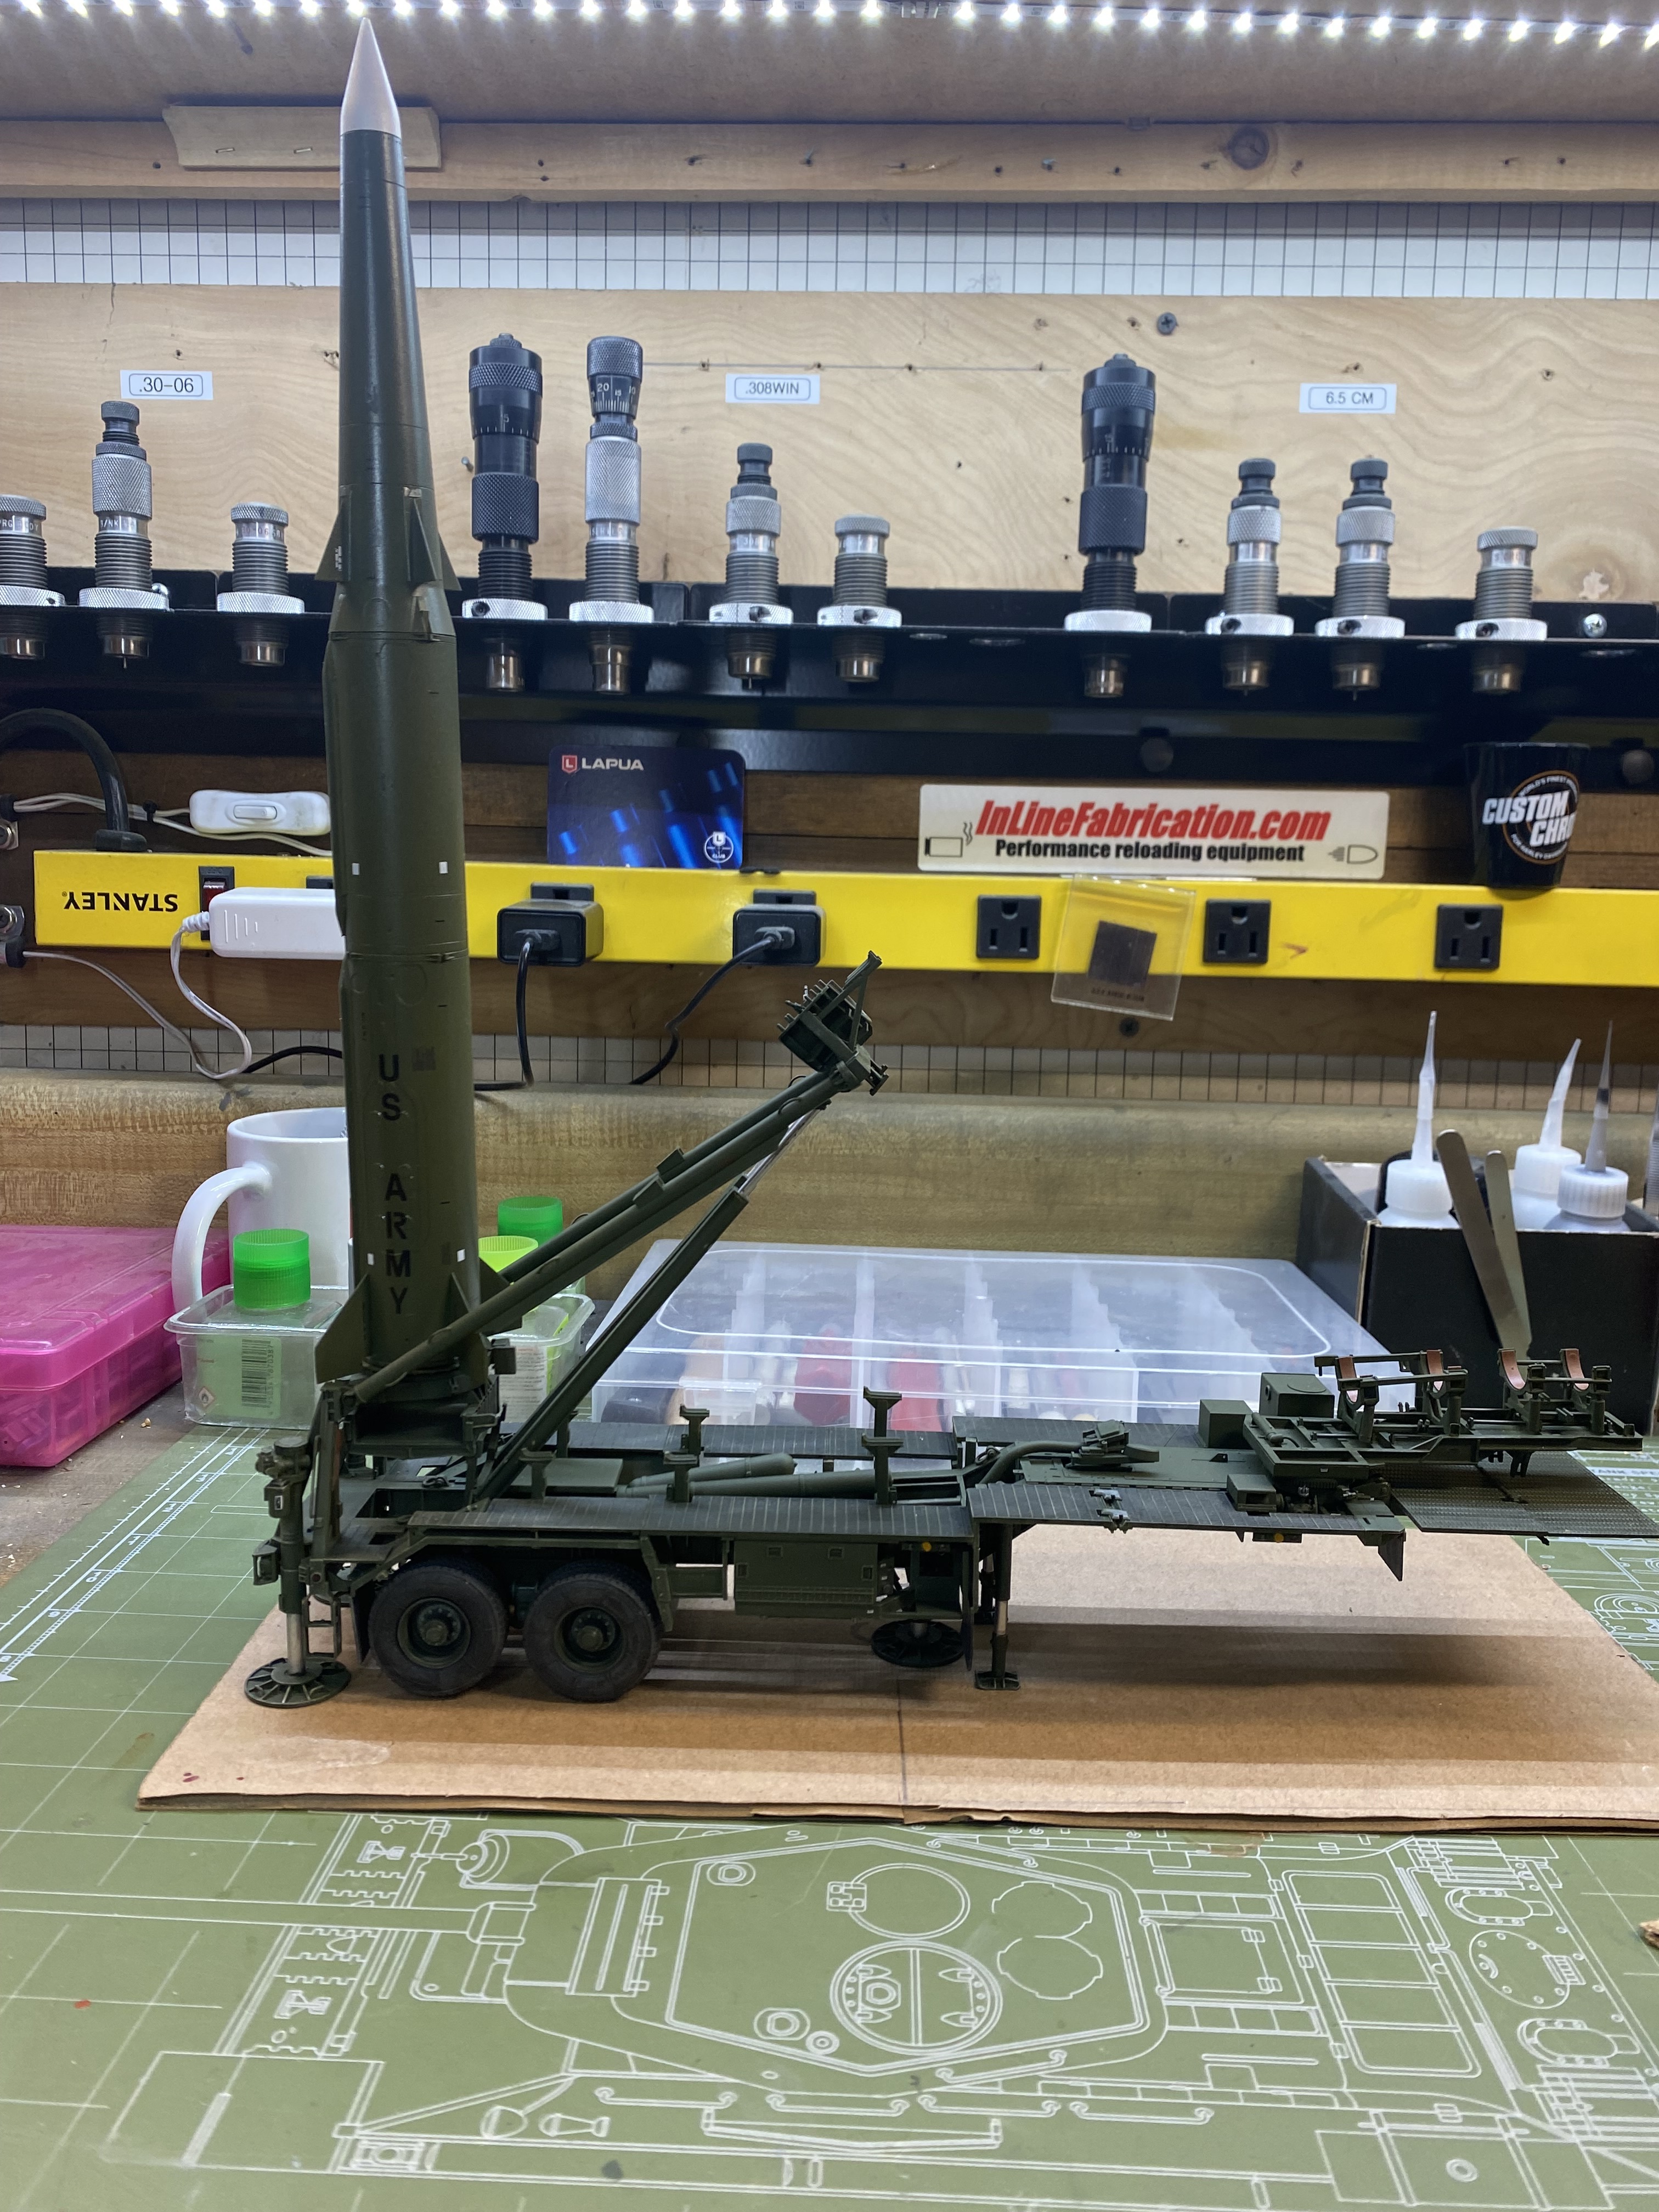
Thanks Gino. Pretty much done. Semi glossed the missile, but I think I’m gonna reshoot it with a flat finish.

I’ll try to take some glamor shots a better background before it leaves the workshop for the top with of the display case with all my other Cold War nukes.

12 Likes

That whole thing is stunning. What a brilliant build …also, those decals have settled perfectly over the raised areas and sunken into the lines … They look totally realistic Al. :+1:

3 Likes