Had the grandkids and kids here the last couple weeks, so not much modeling time. It was lots of fun though. They left last weekend and I got back to the M978A4.
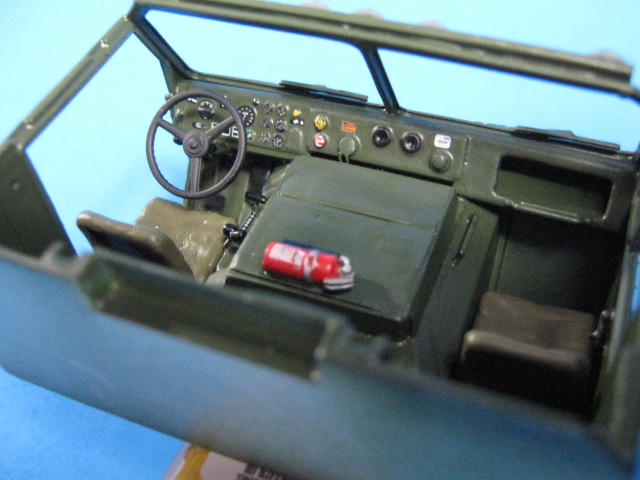
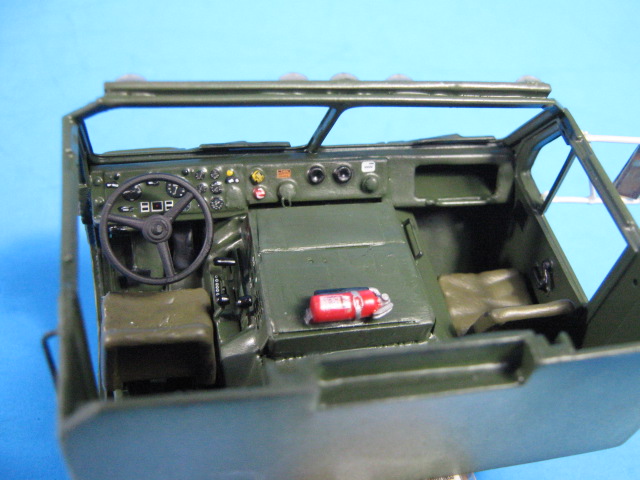
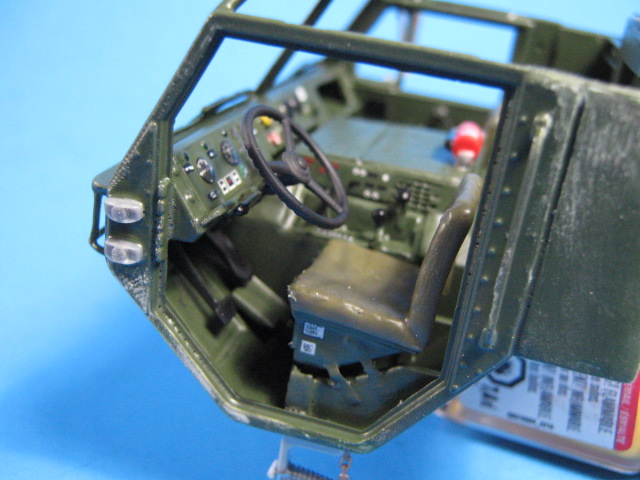
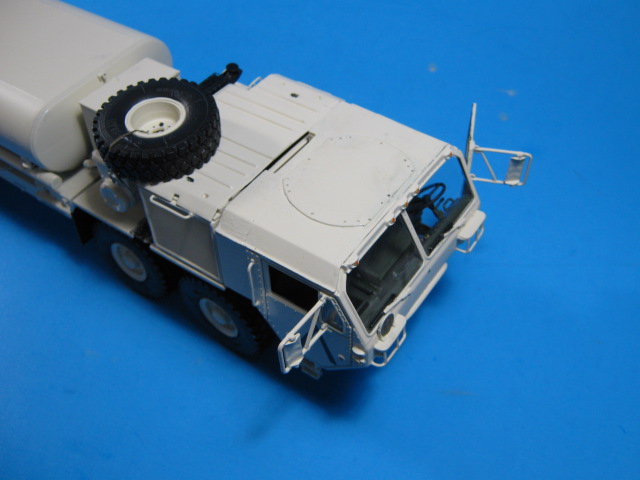
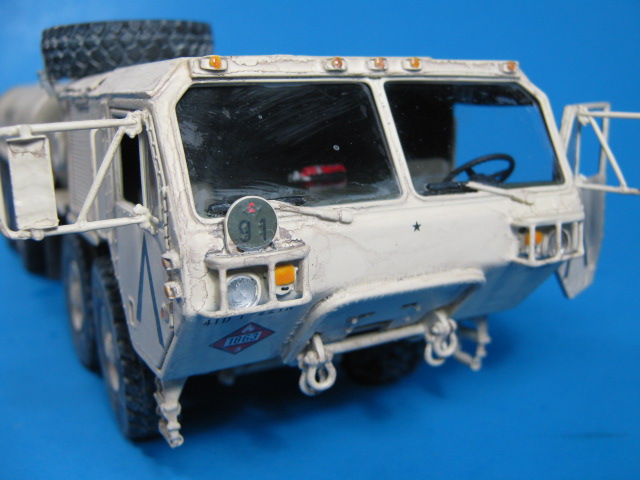
I have completed the cab detail painting. I used kit and leftover decals for most of the details. The gauges are from a 1/32 aircraft instruments set.
I modified the Italeri seat base by adding a large spring under it to raise it a bit and made the two straps that allow it to move out of left over PE frets.
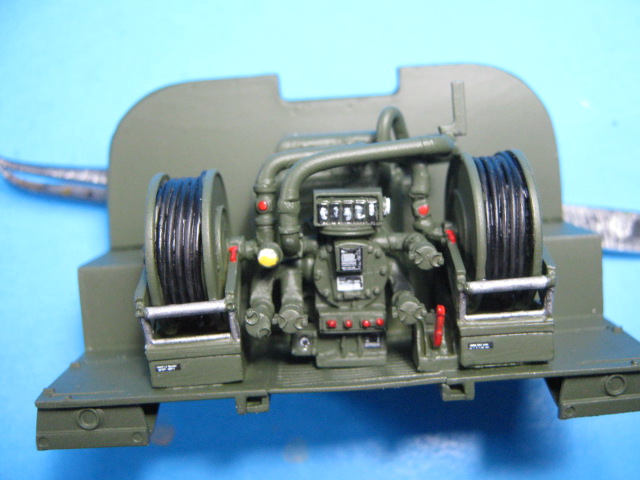
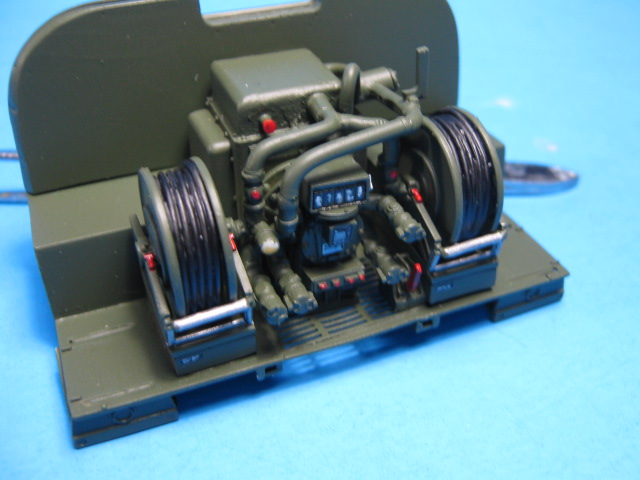
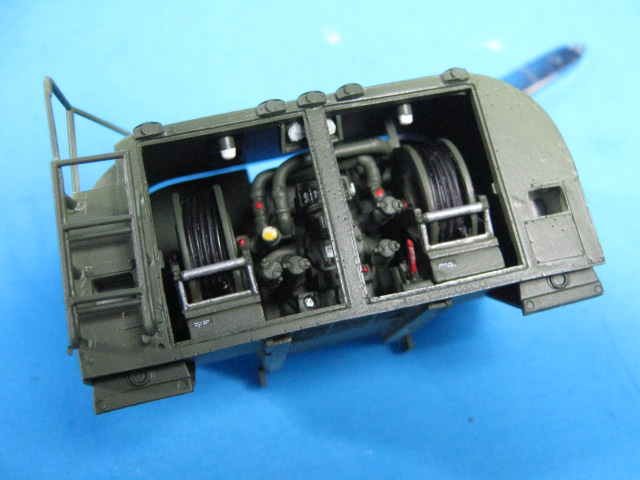
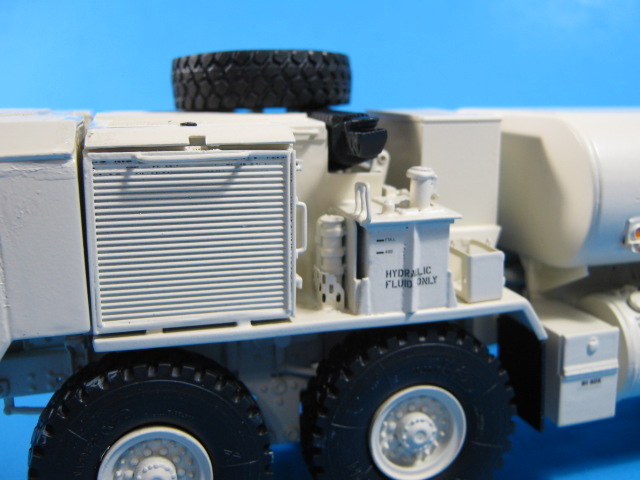
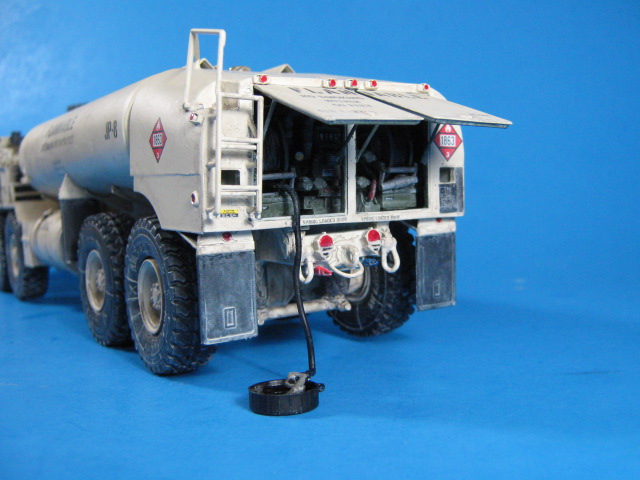
I also finished the pump compartment that goes on the rear. I painted it w/NATO Green overall, then picked out details with red, white, black, and aluminum. I added the gauges from another aircraft set and some date plates from leftover sheets.
Next up is to close it all up and paint it overall. I haven’t decided if it will be sand or NATO Camo. I am leaning toward sand as lining up the multi-colored stencils on the camo is a PITA. We shall see.
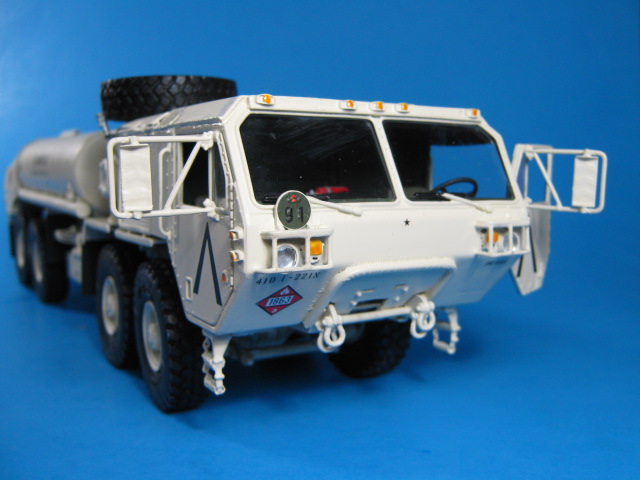
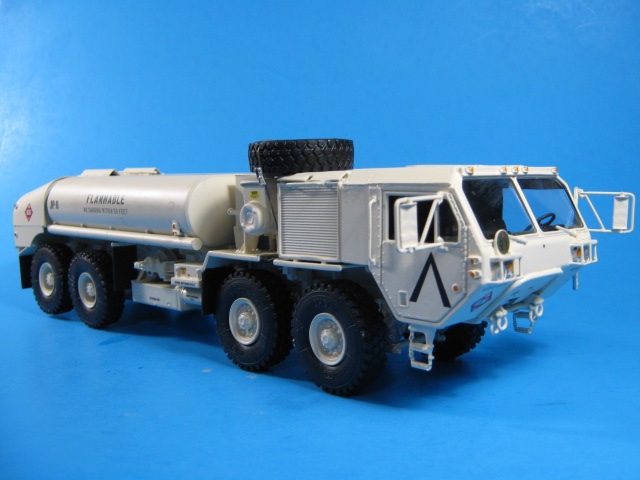
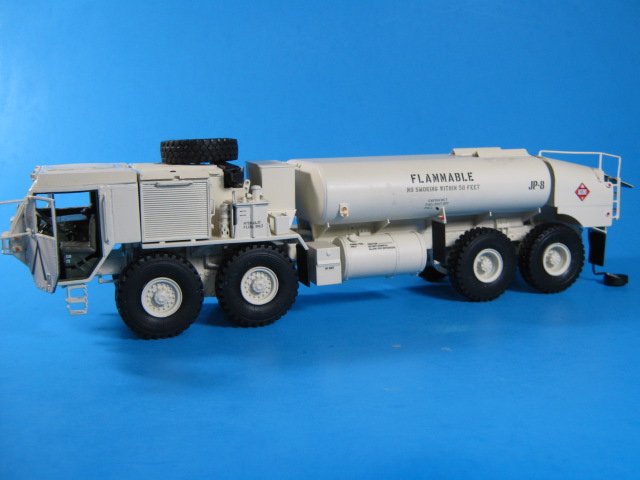
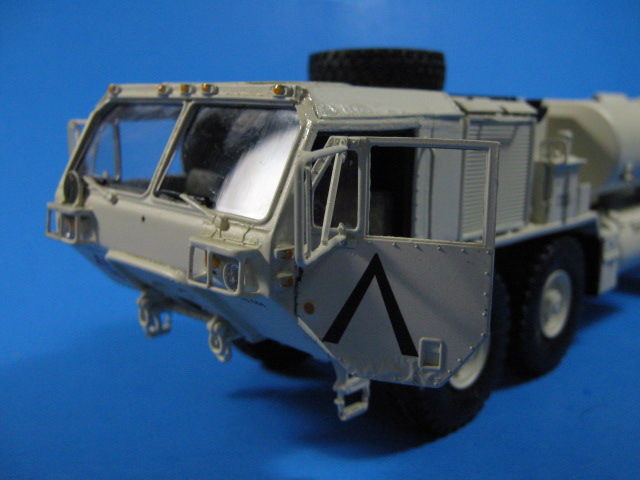
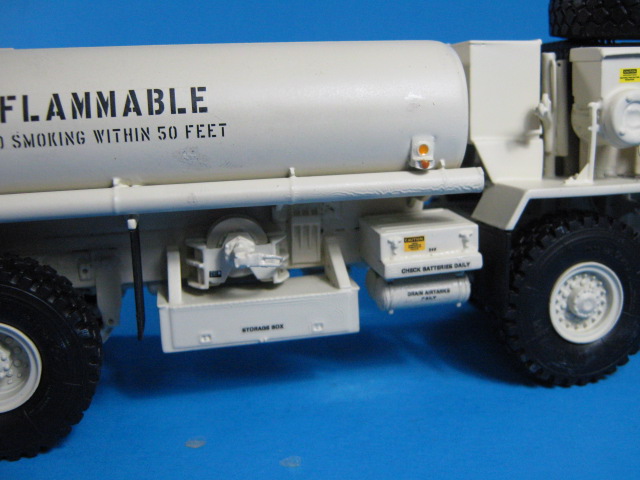
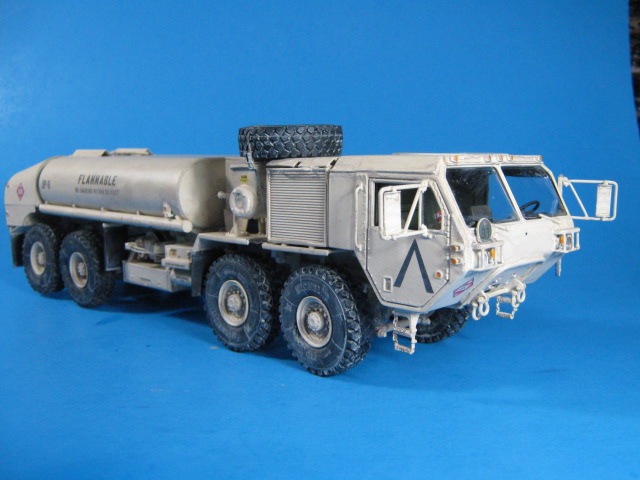
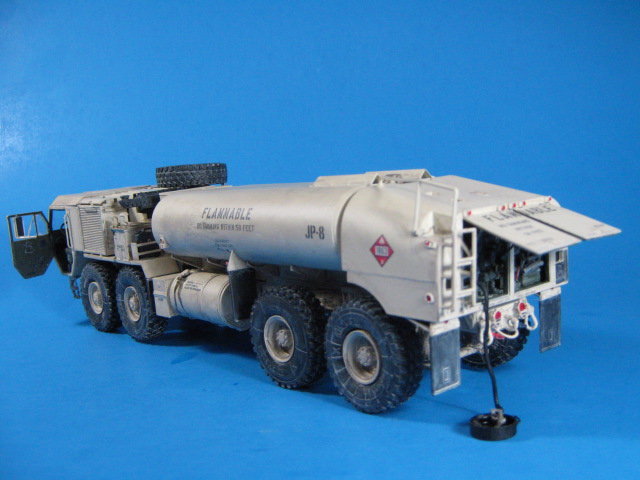
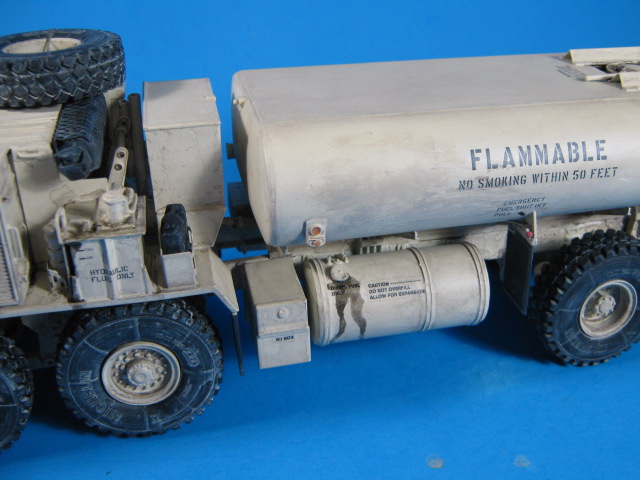
I have just about completed the M978A4. I painted it with Krylon Ivory spray paint. I also used decals from the Italeri M978A2 kit, plus a lot of common stencils I made myself using computer decal paper. All 8 wheels sit on the ground too!
Here it is so far.
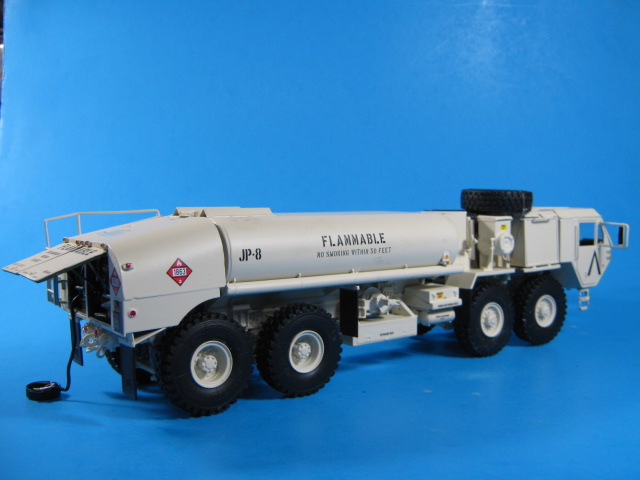
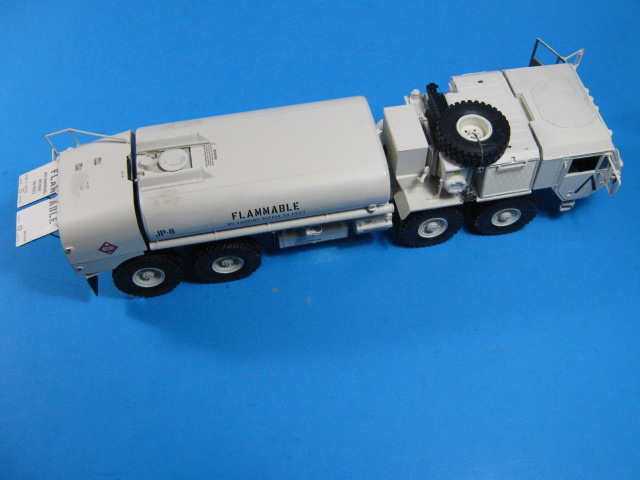
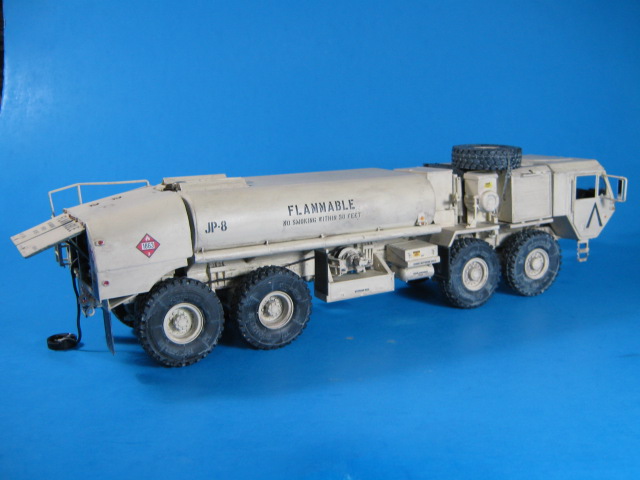
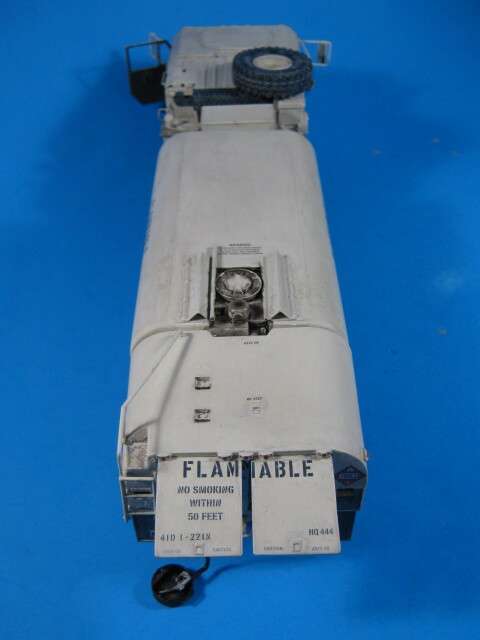
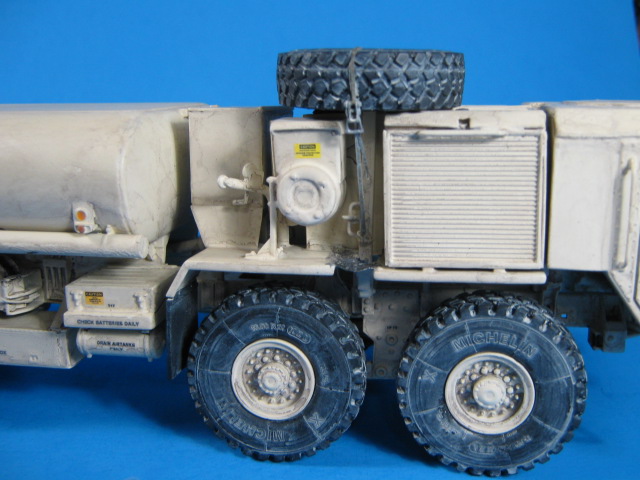
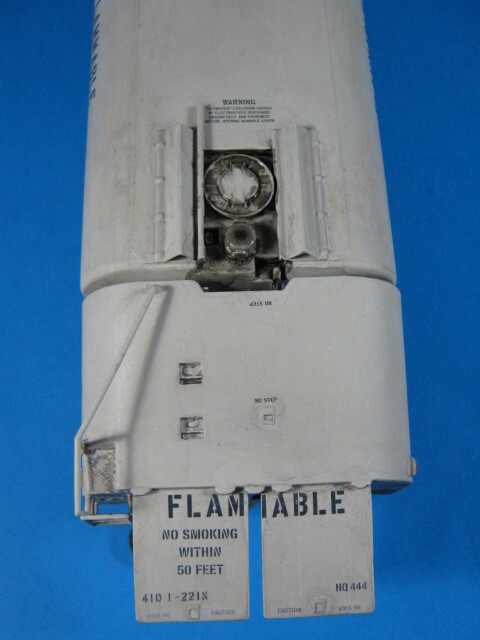
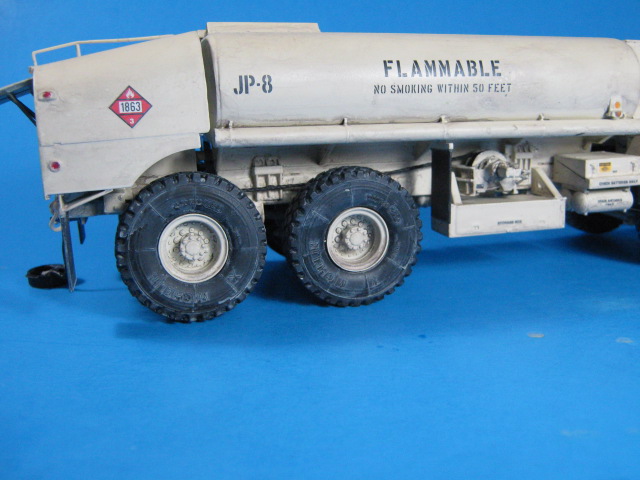
Some detail shots.
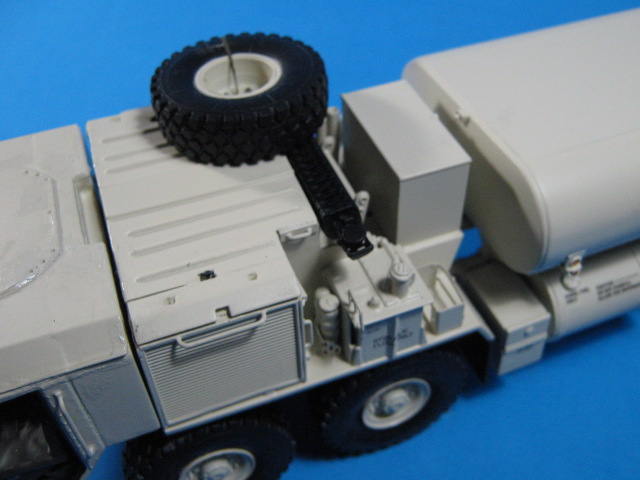
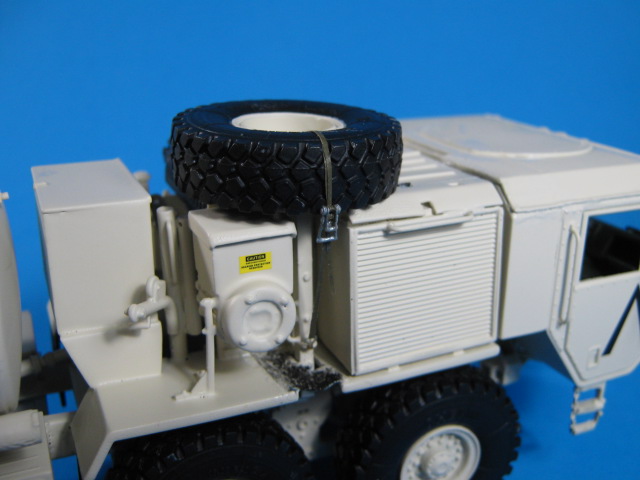
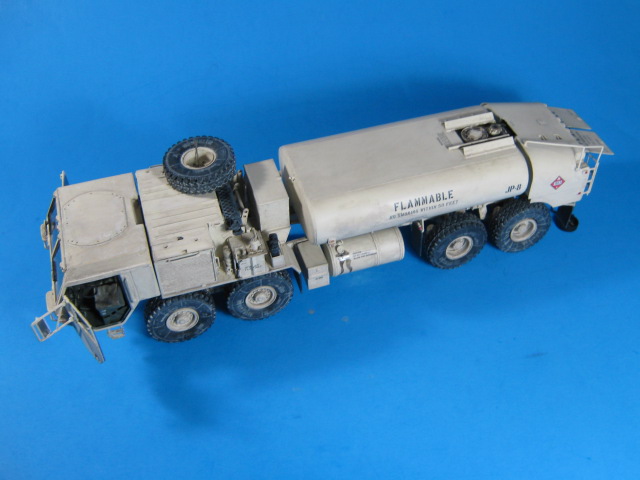
I added a strap and Djiti Prod. ratchet strap mechanism to the spare tire mount.
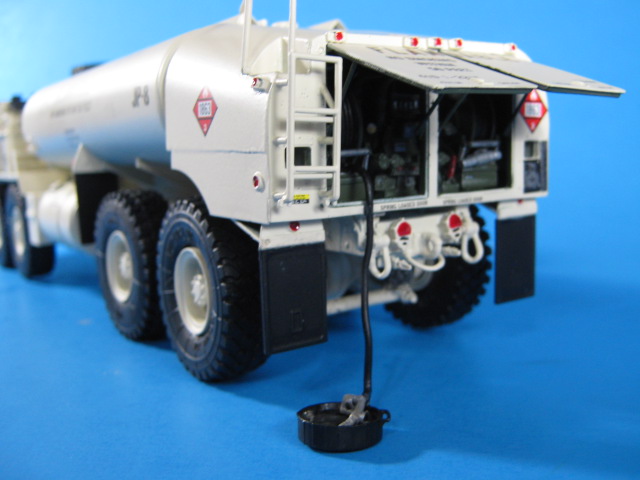
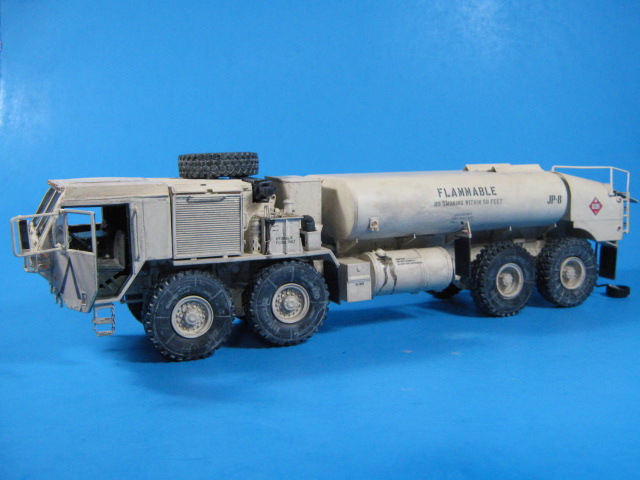
In the back, I opened up the pump area and added a hose to the Pro Art dispensing handle and placed it in a drip pan.
You can also see the A4 suspension parts from the rear here.
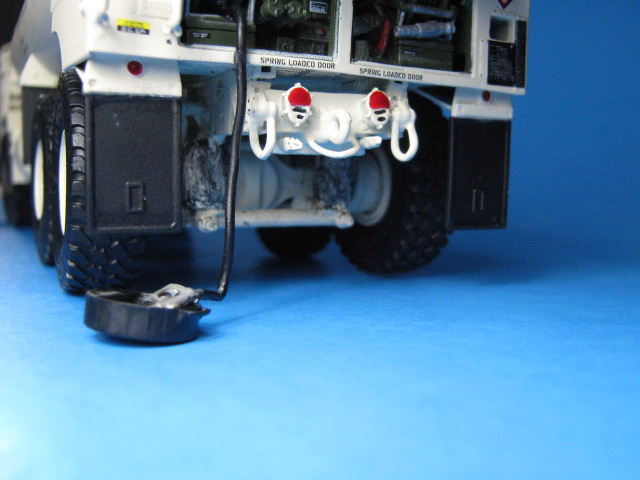
Ew, may have to redo the rear light blackout lines here. Amazing what you see under a macro lens.
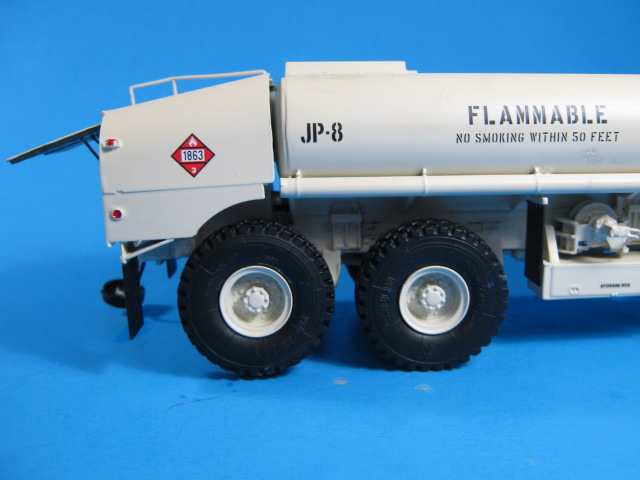
I weathered it with a couple earthy-brown colored washes and a sandy wash. I then dry-brushed selectively with a different sandy color. Lastly, I used Tamiya smoke for the spilled fuel and hydraulic fluid stains.
I also added the cable for the self-recovery winch, along with a clevis at the end.
It was a fun and rewarding build. I really enjoyed it. Again, this build shows how you can combine parts from the excellent Trumpeter HEMMT kits with parts from the mediocre Italeri HEMMTs to get a really nice end product of just about any HEMTT version. I might just have another HEMTT idea waiting in the wings…we shall see.