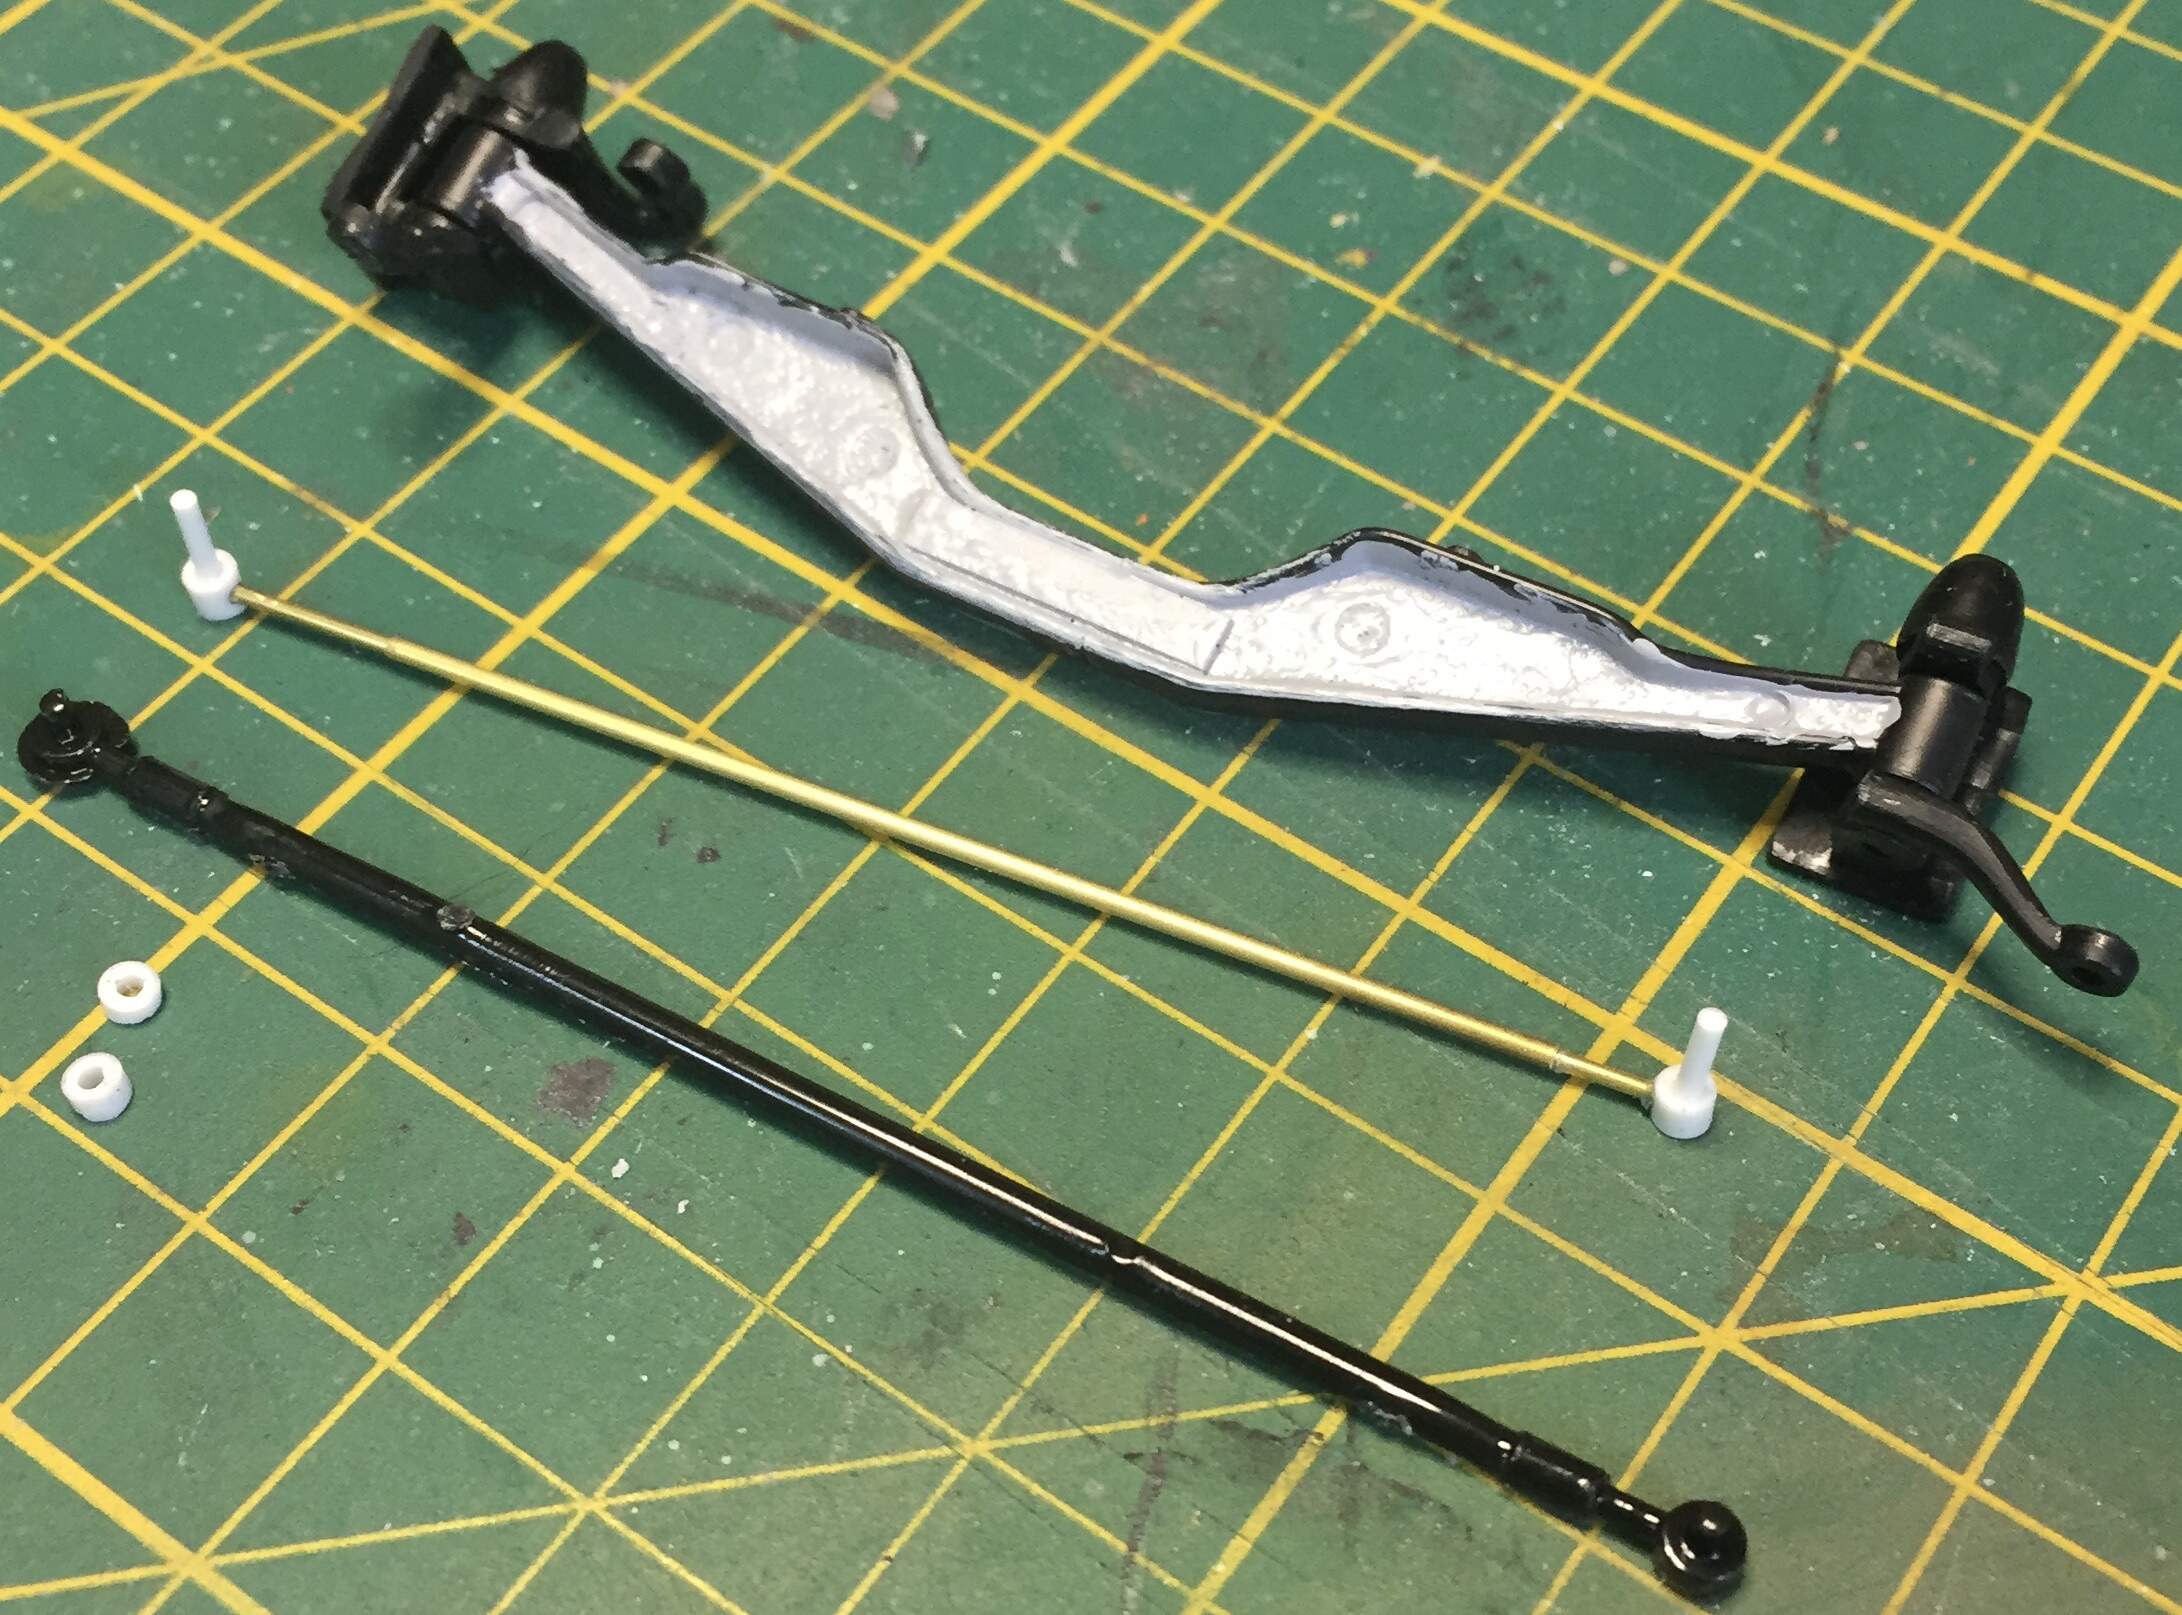
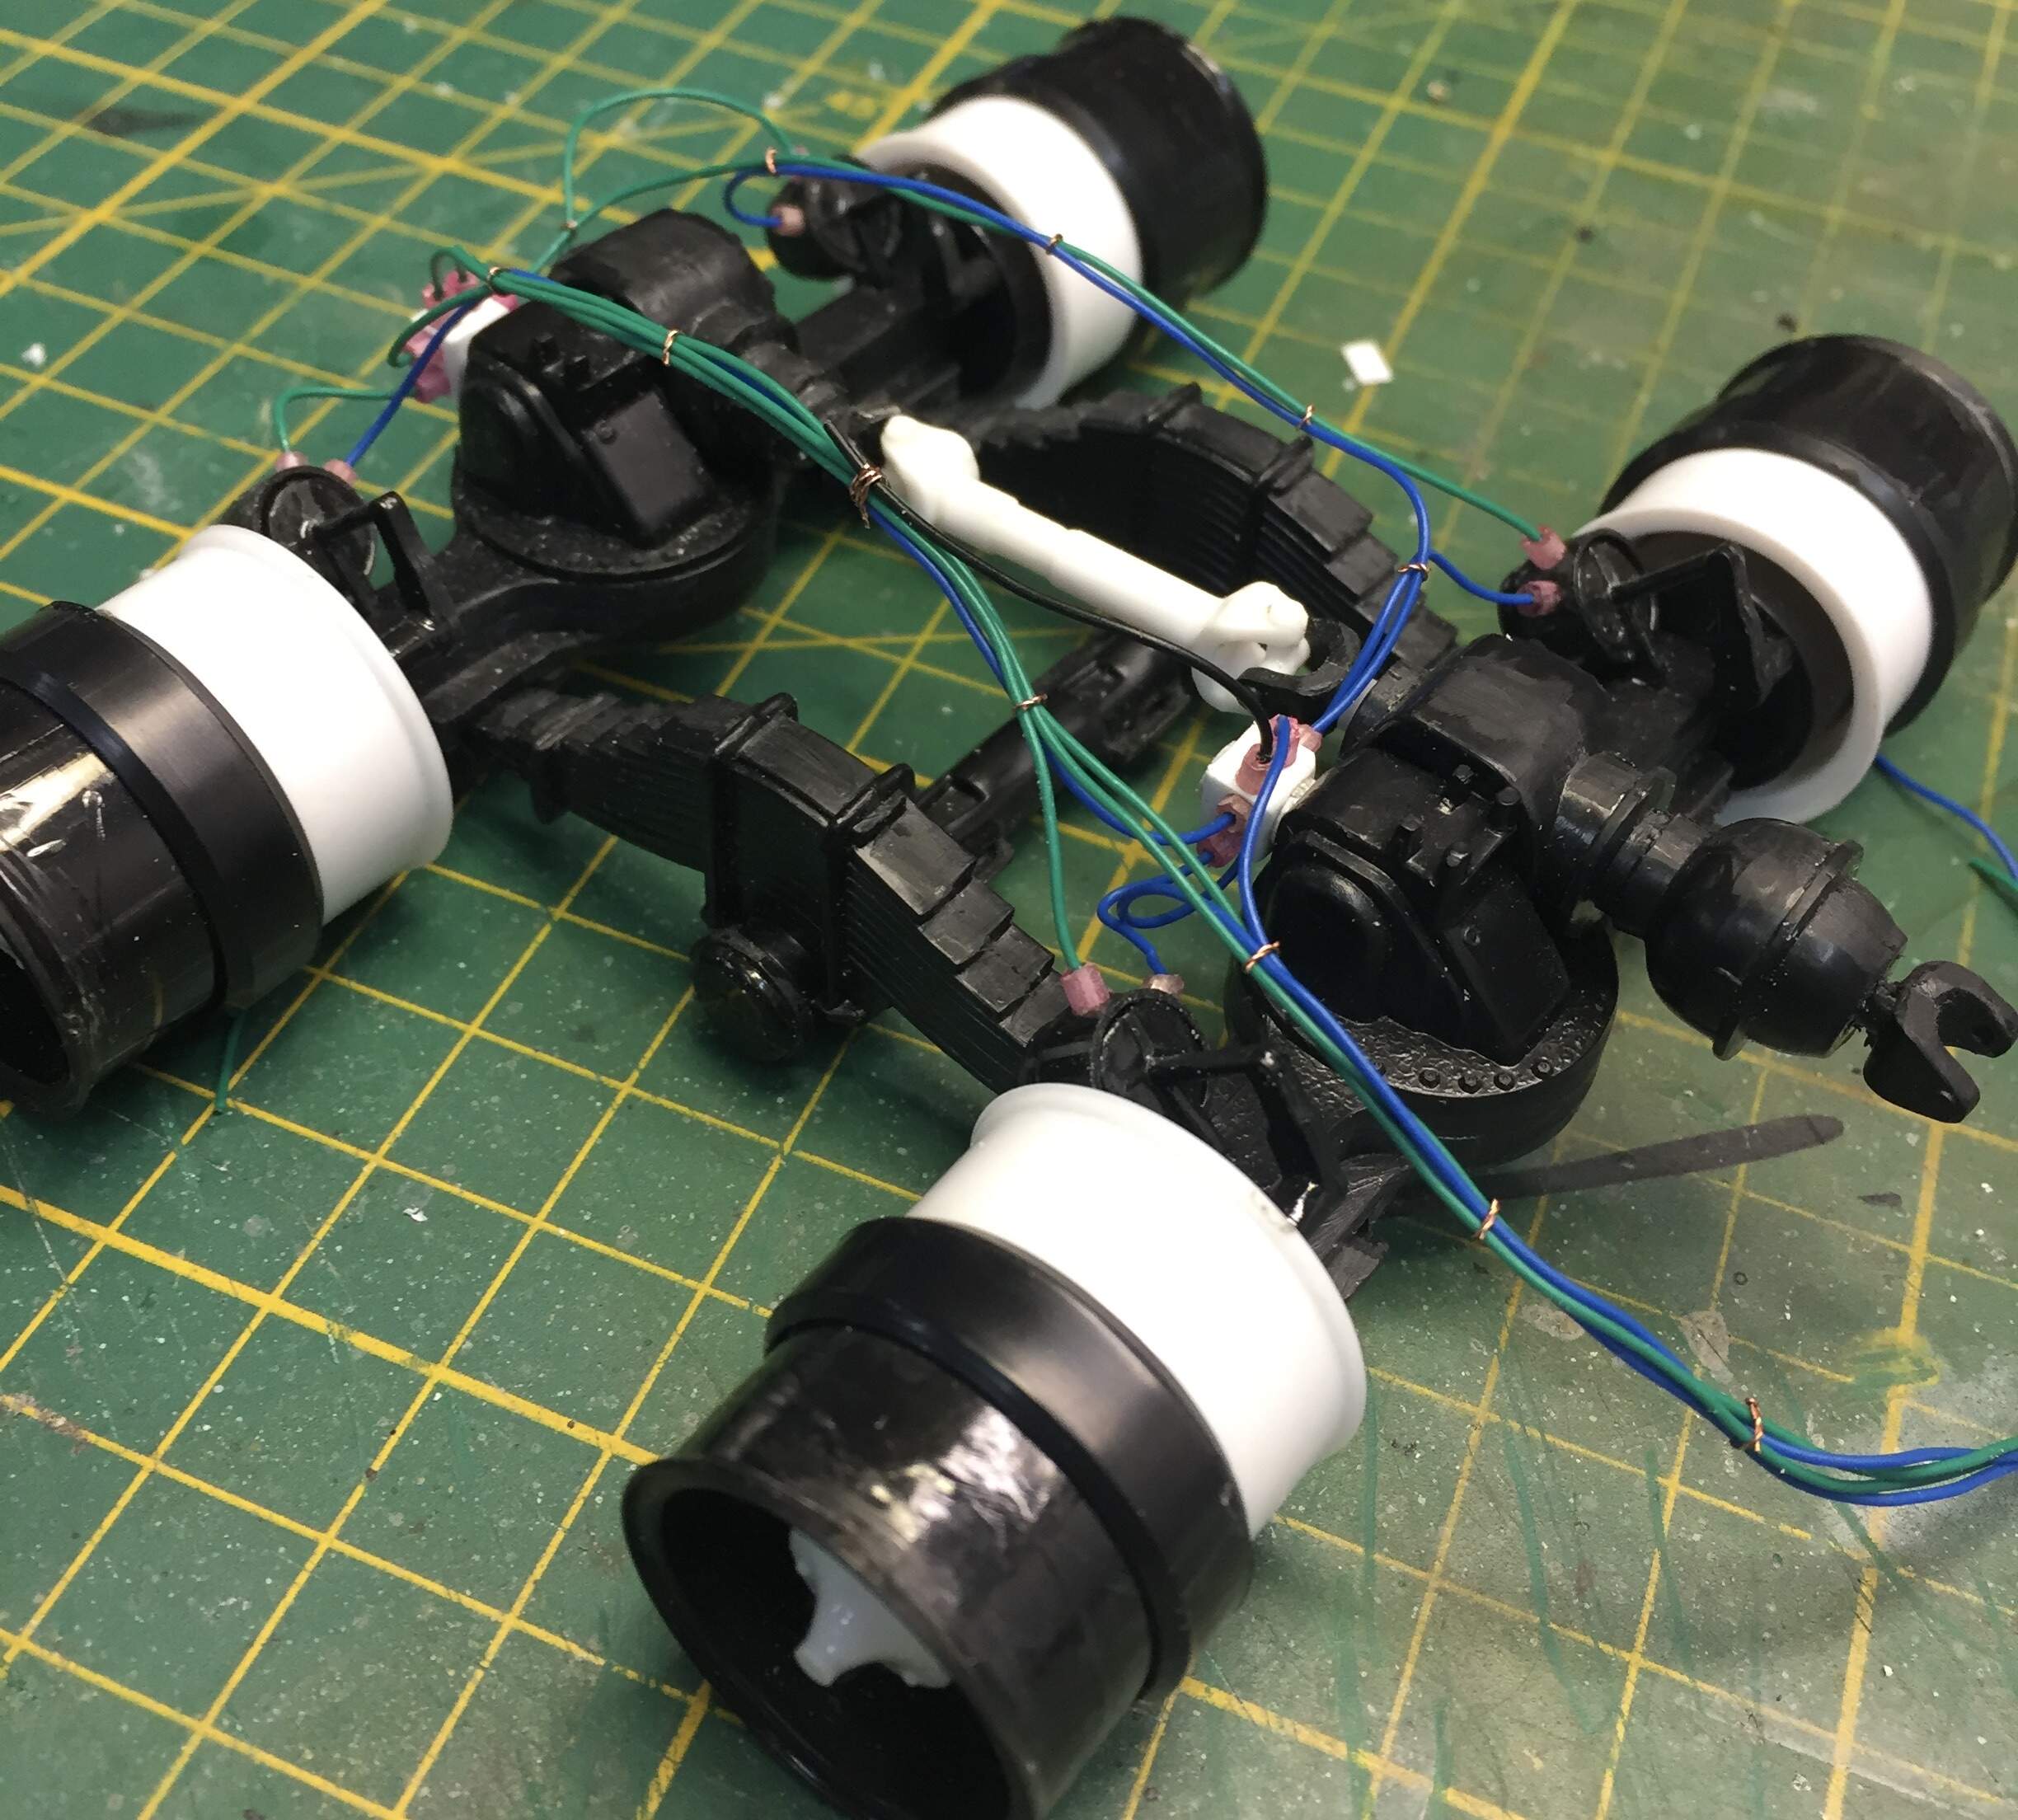
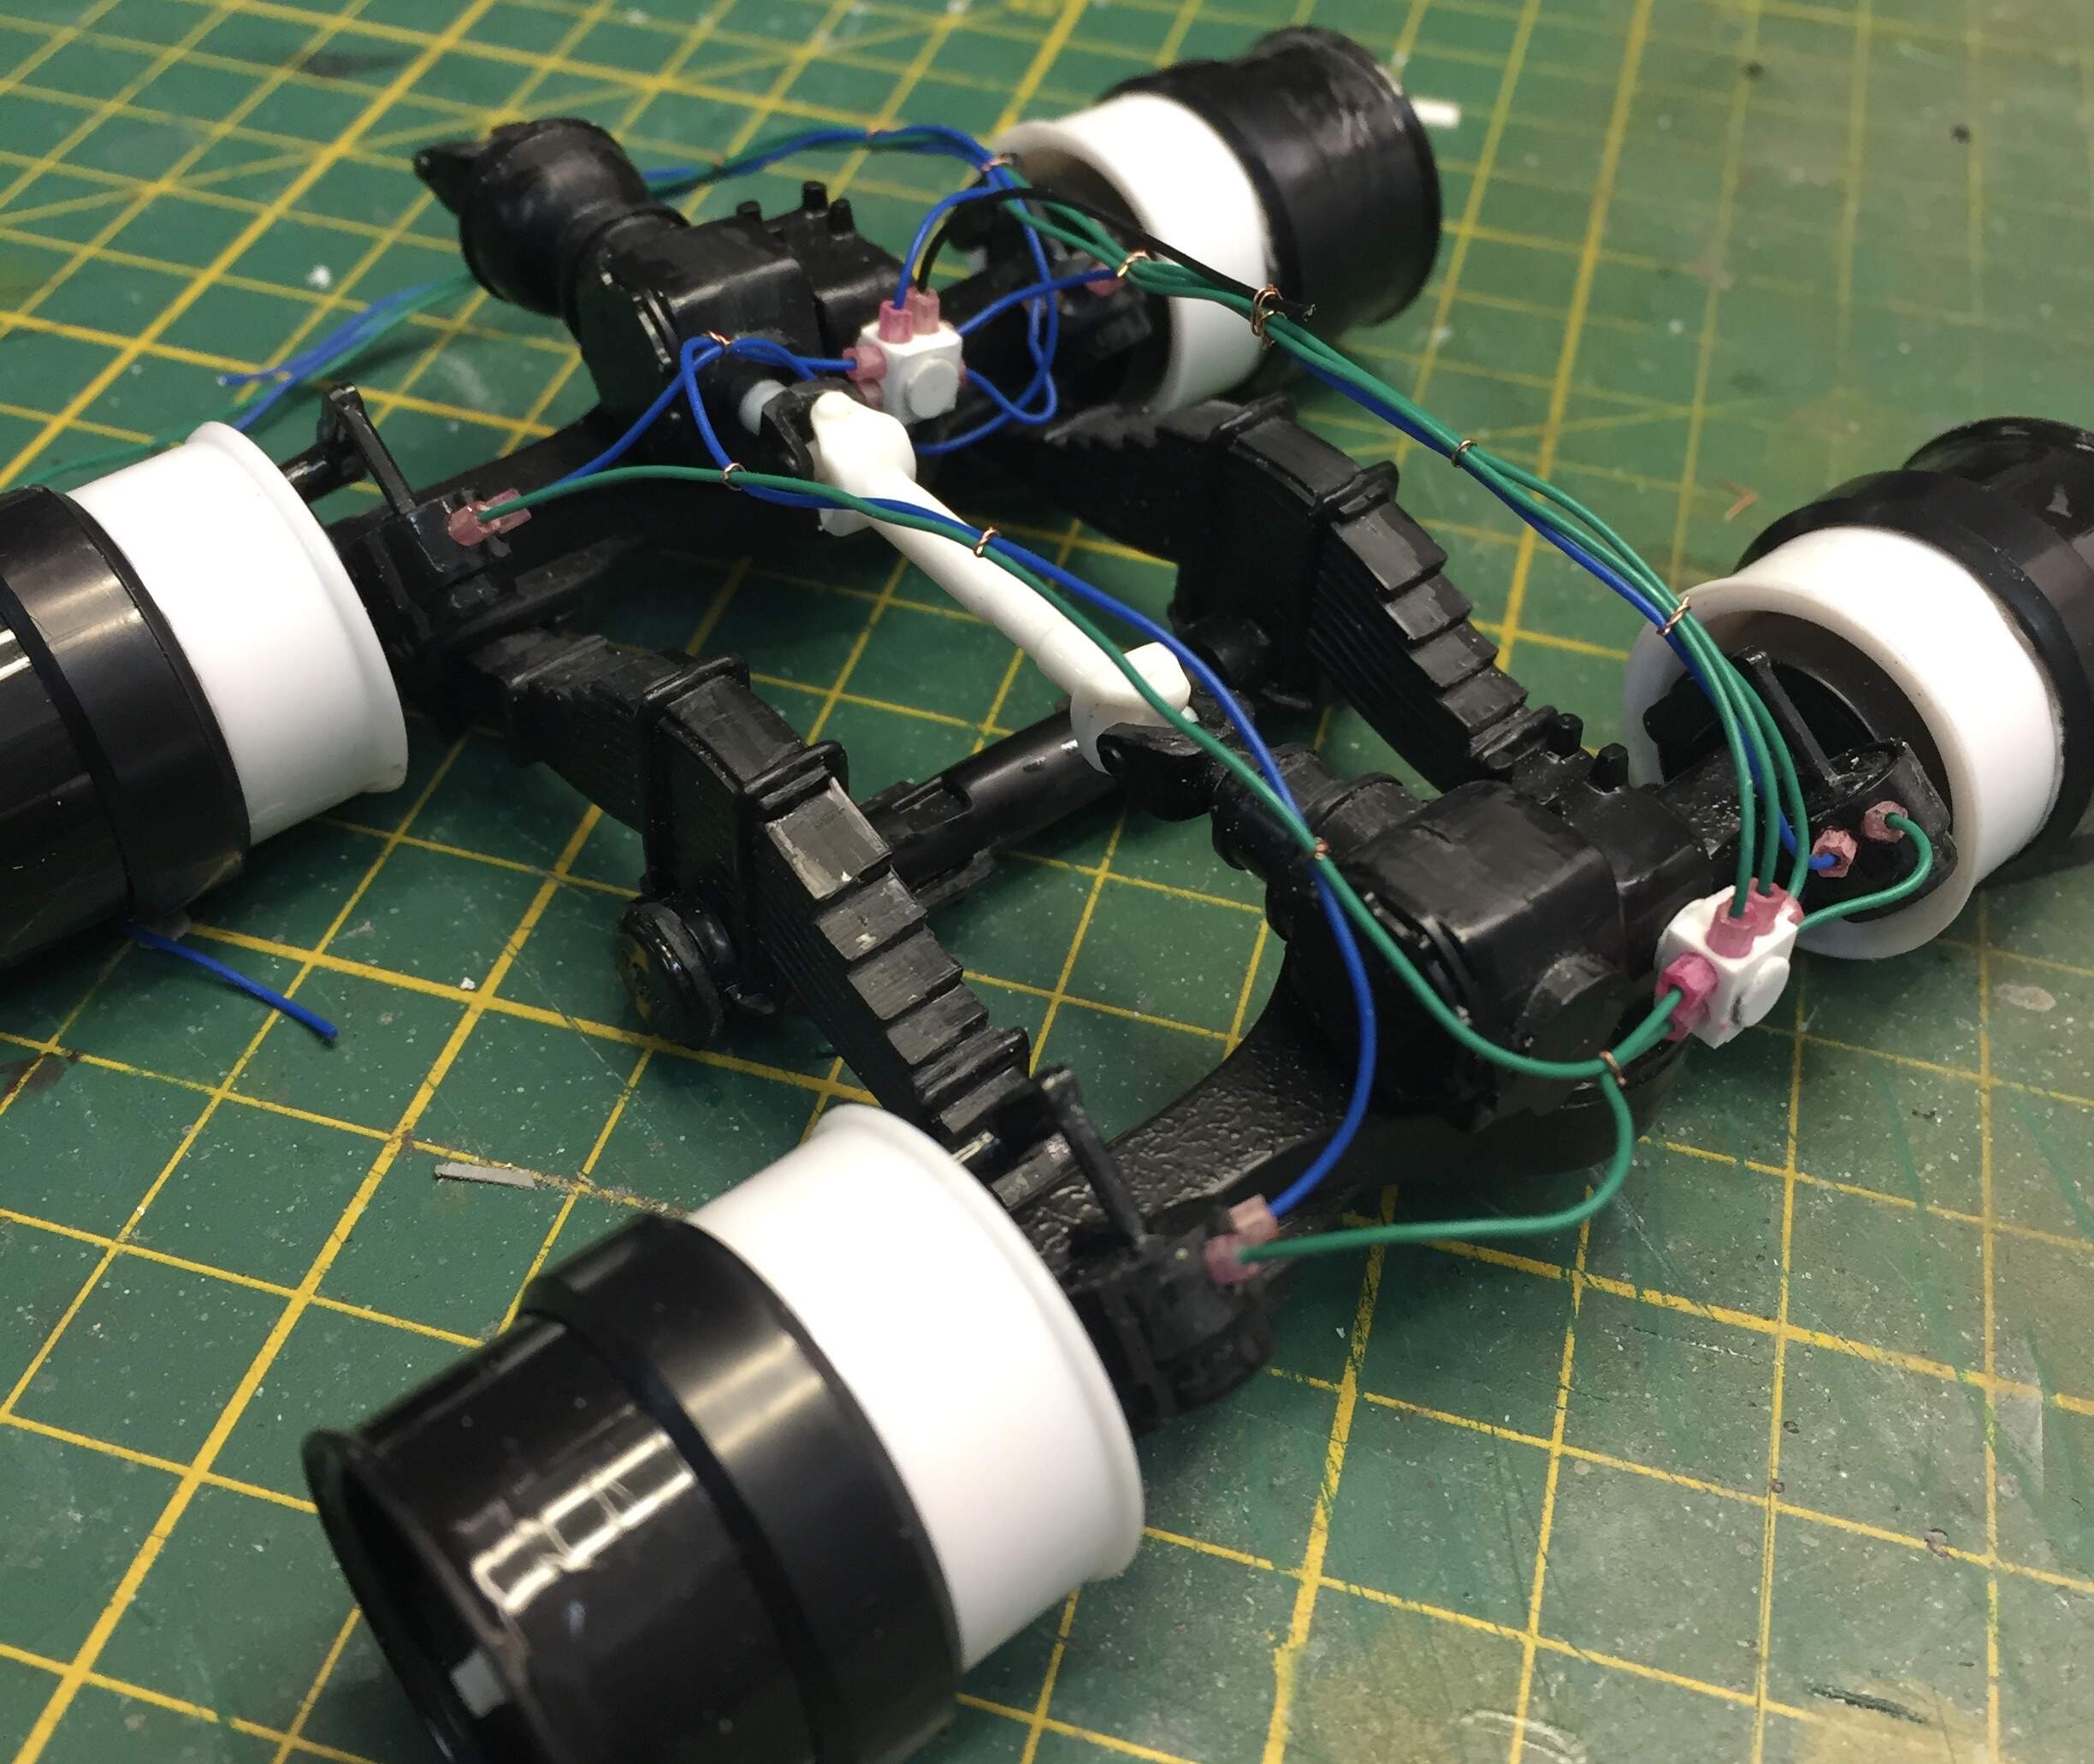
I had read the kit front axle was too wide, and put the front tyres too far outside the guards. I shortened and plated the axle and made up a new tie rod from brass and bits.
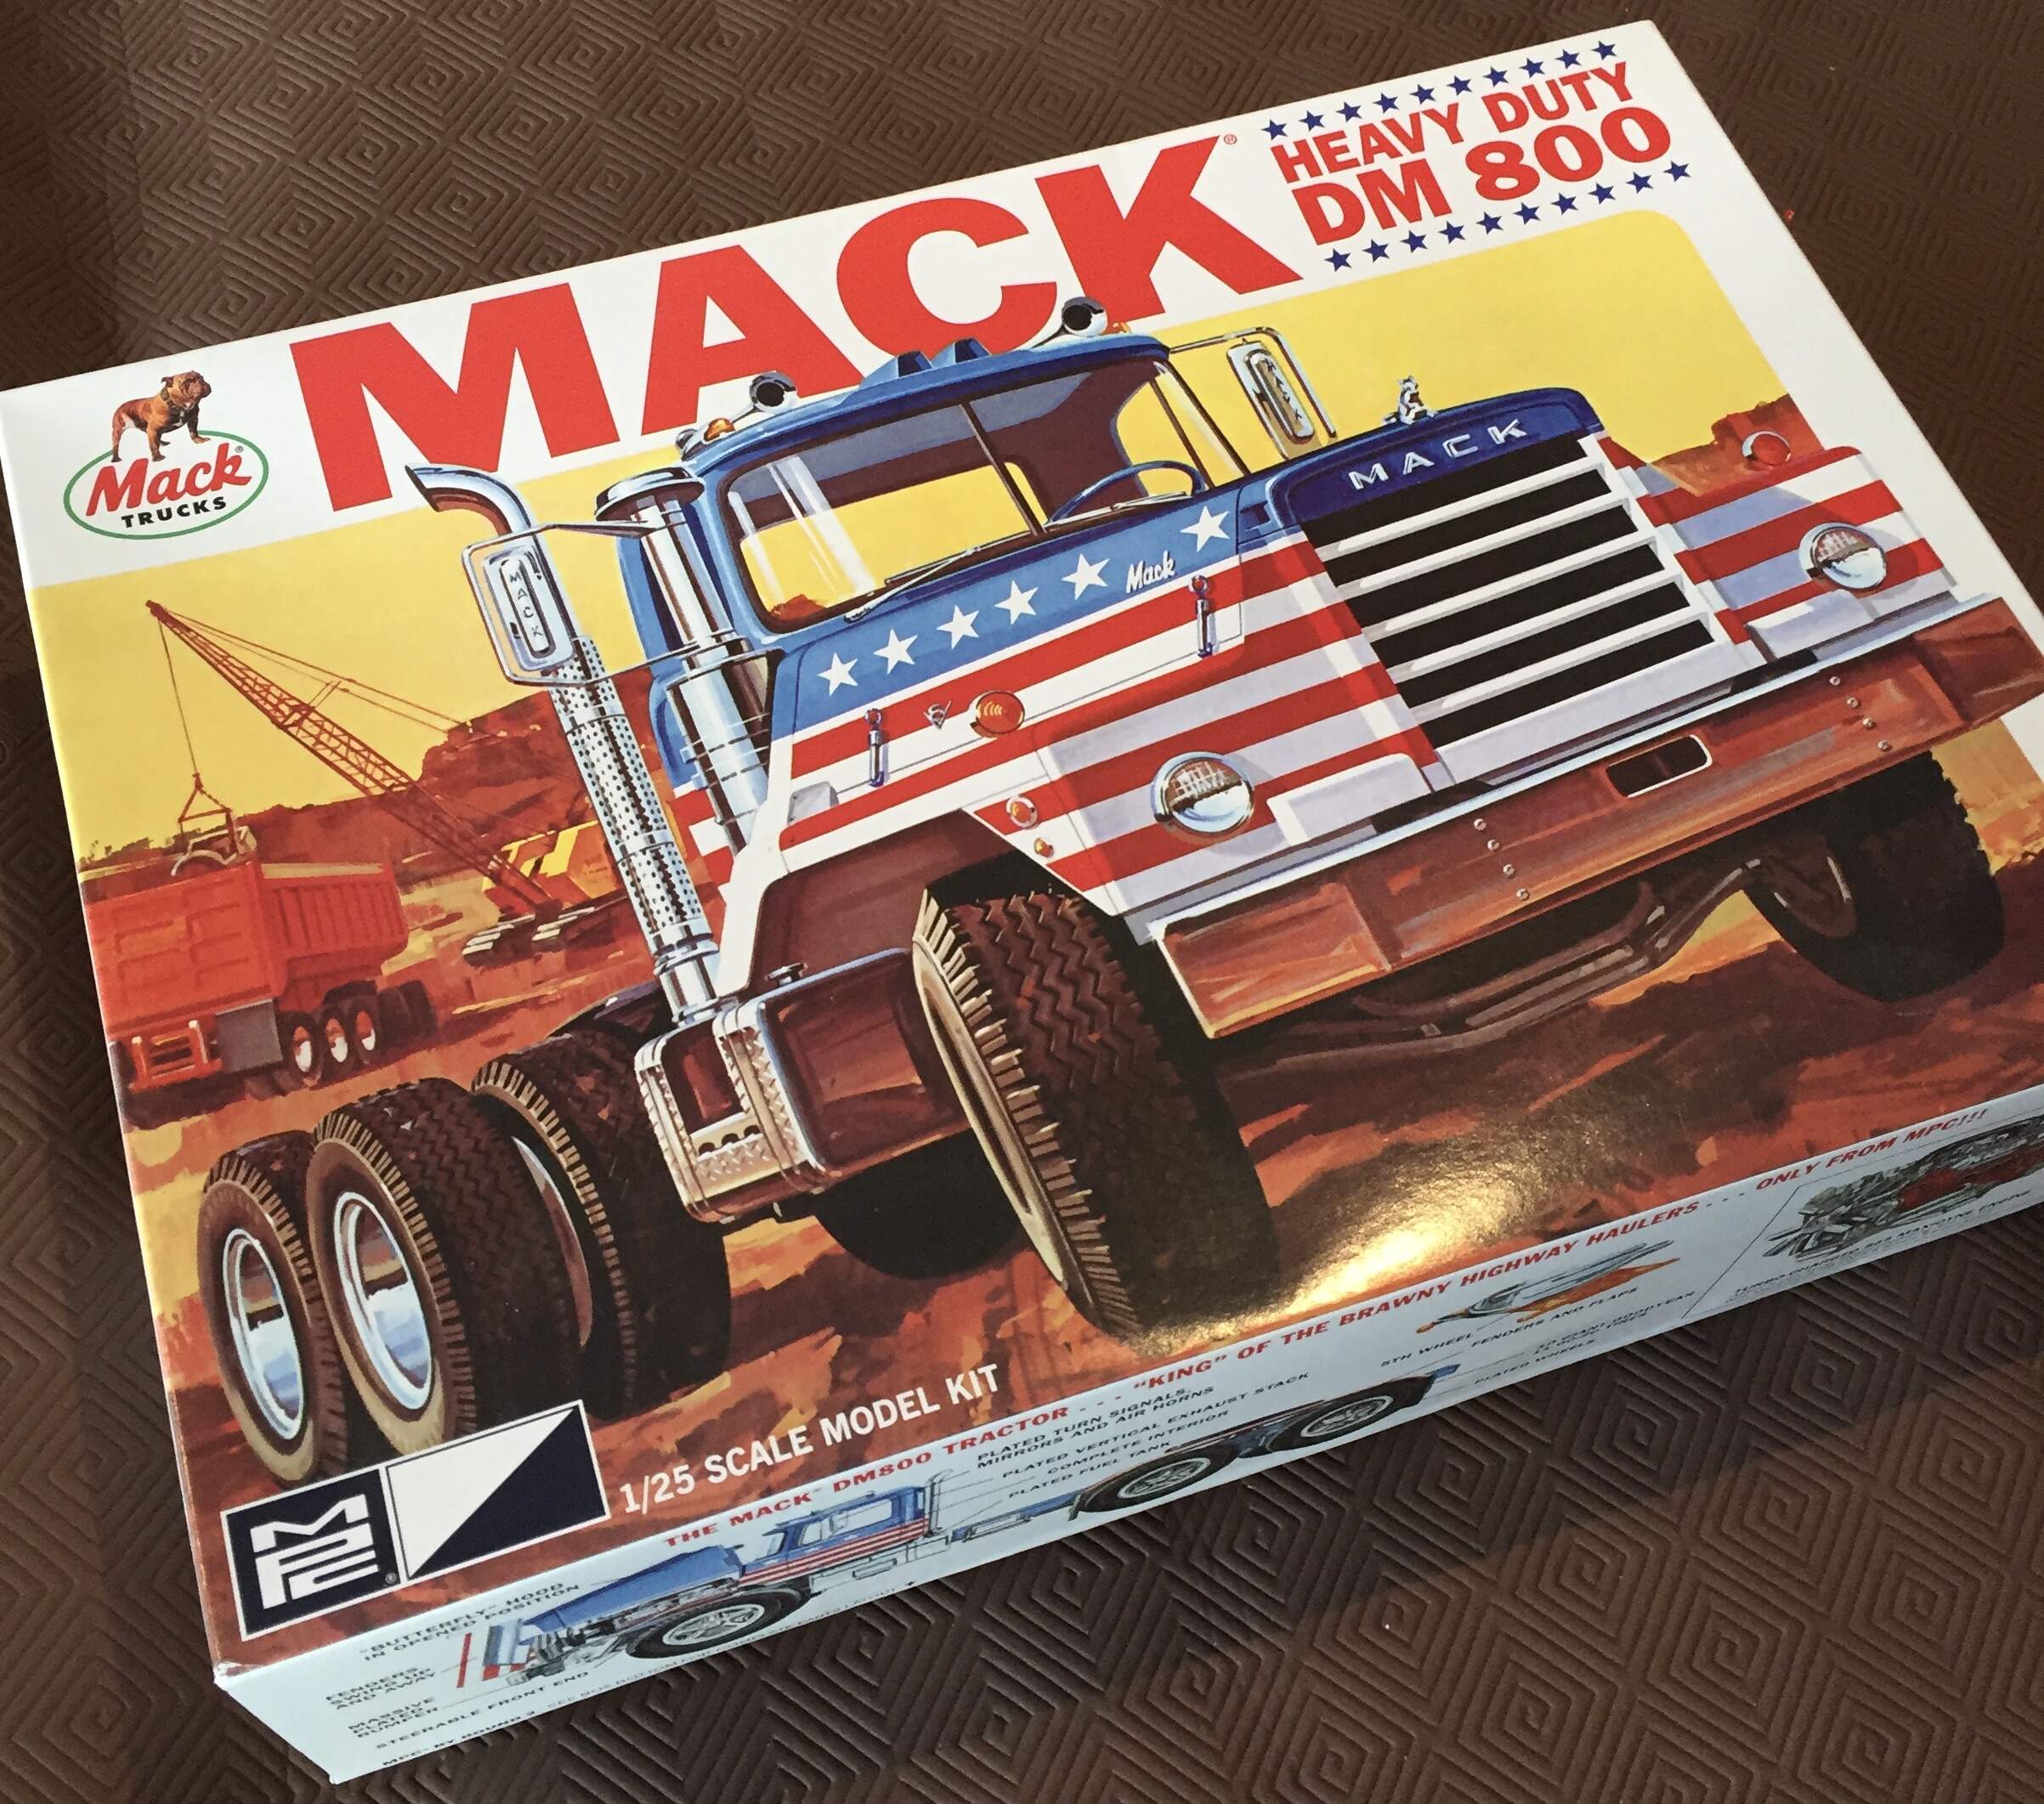
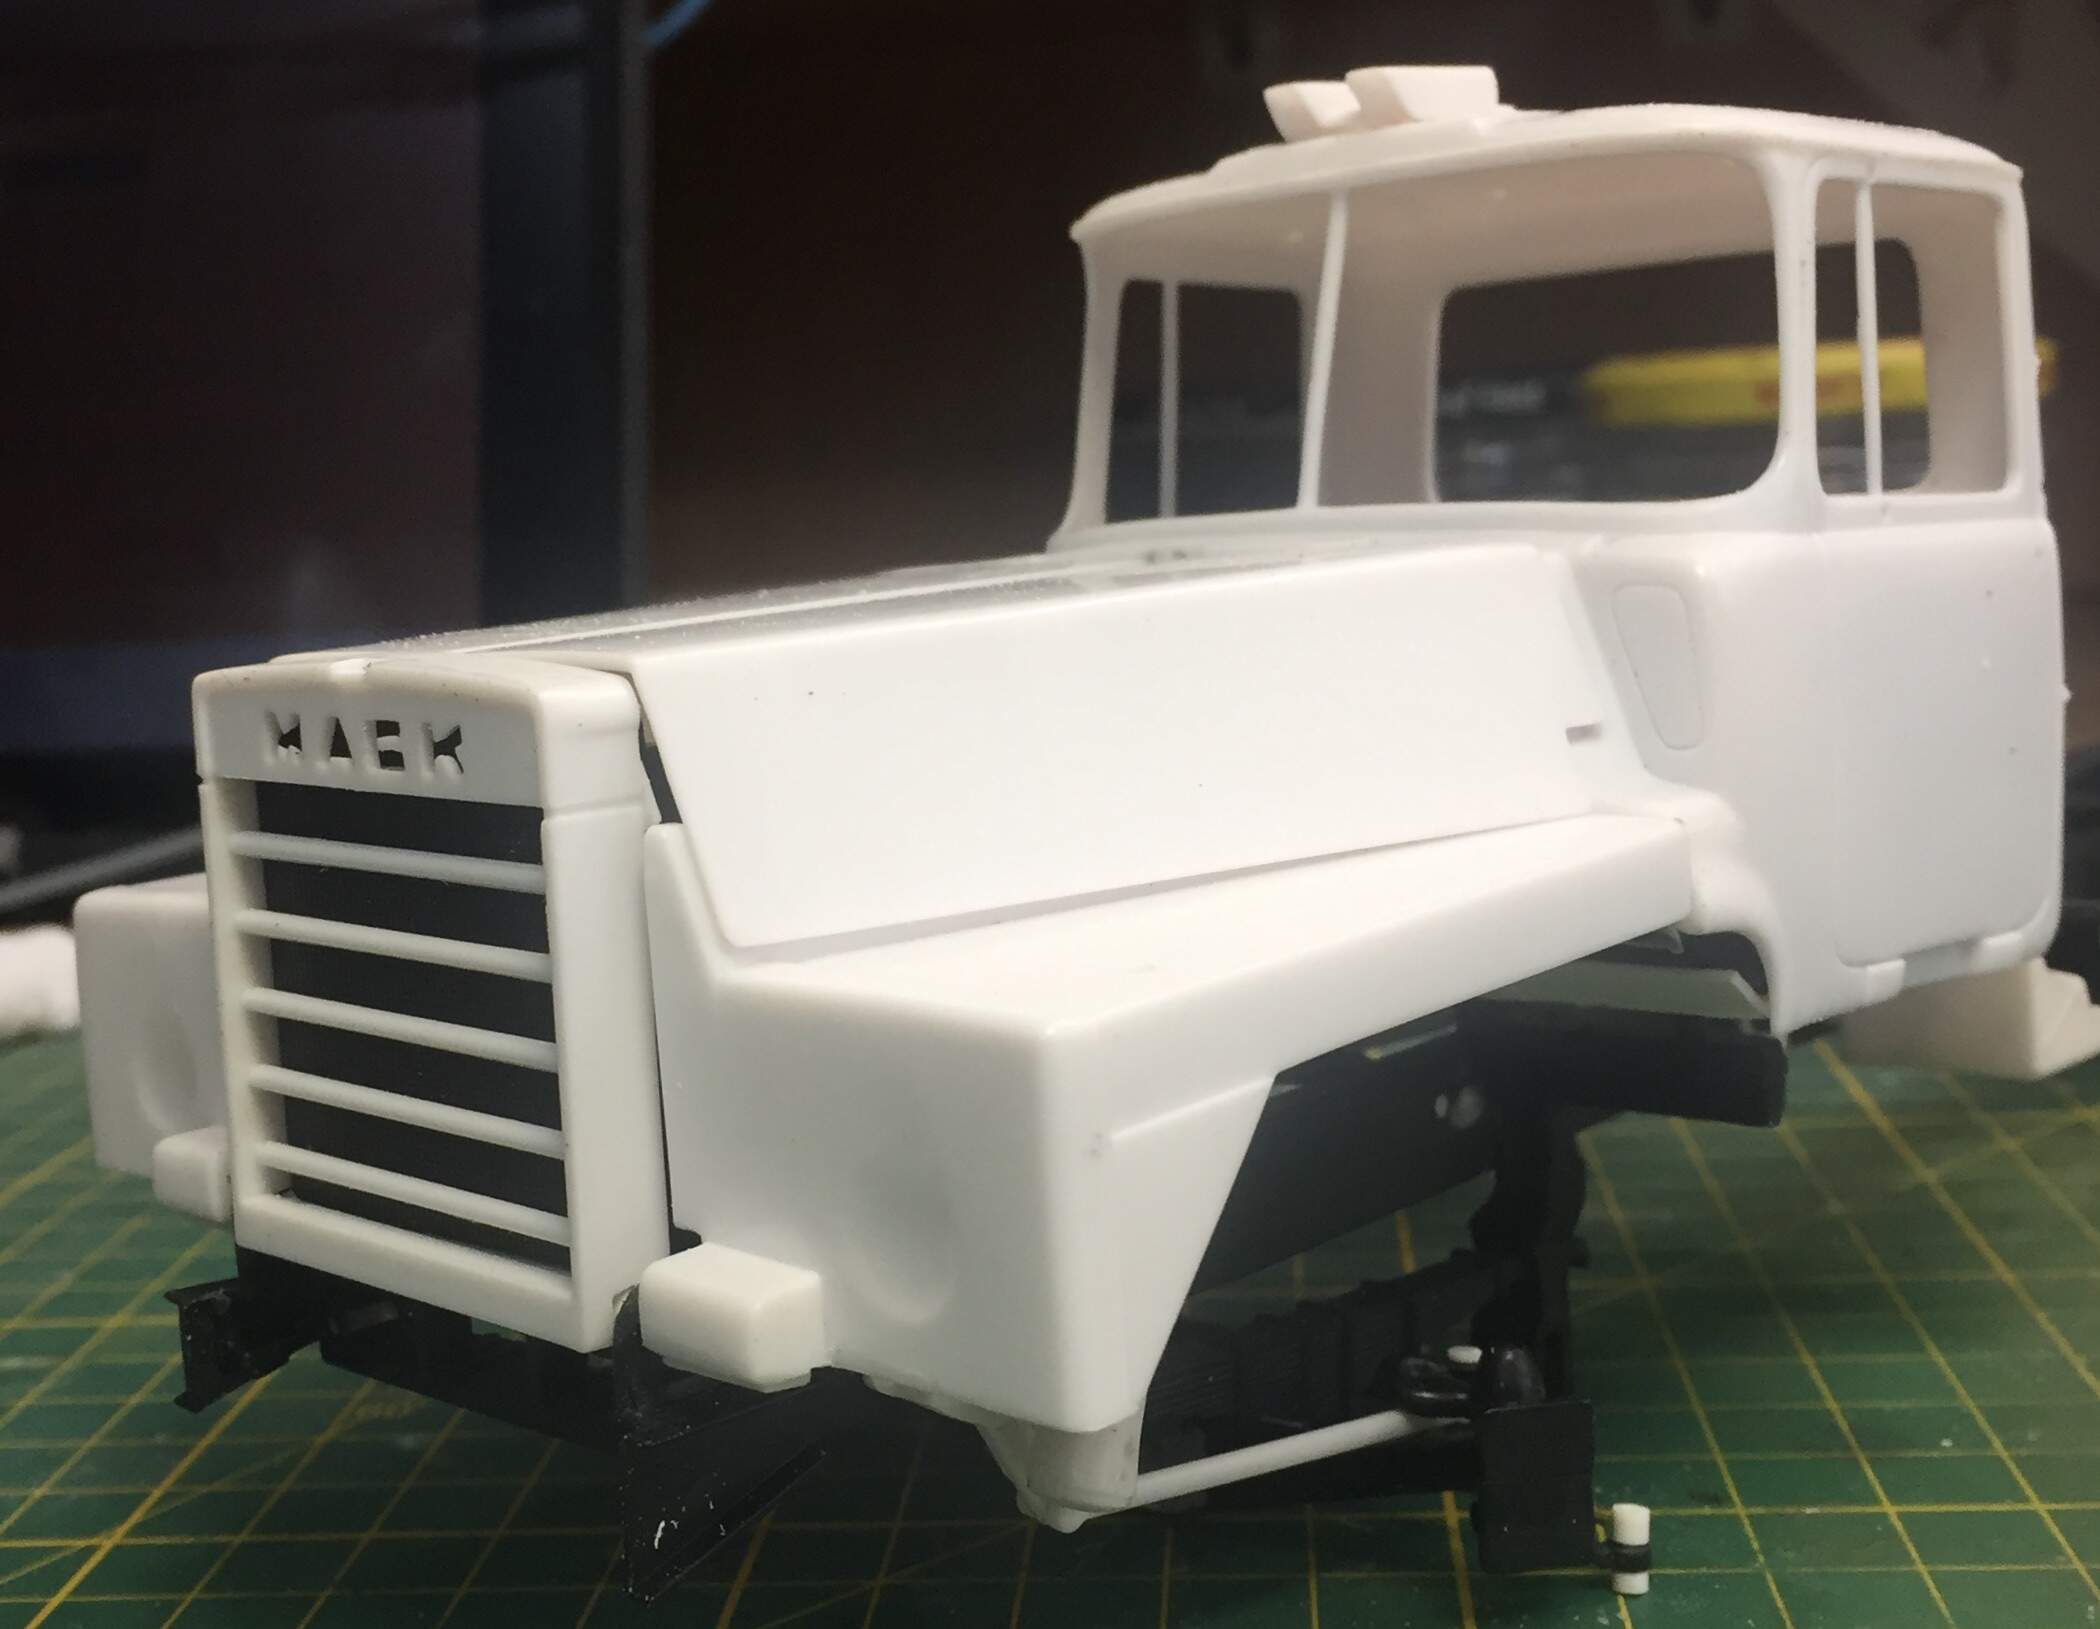
This kit reminds me of when I built AMT’s Mack 600 - what struck me odd about that truck, was the engine hood cover was off-set to the rest of the cab. It looked really odd when you looked at the truck from straight-on.
So anyway, Graeme, I was wondering what you’re using as “cable ties” on the various hoses you’ve added. It sort of looks like the metal that is inside a bread package’s twist tie.
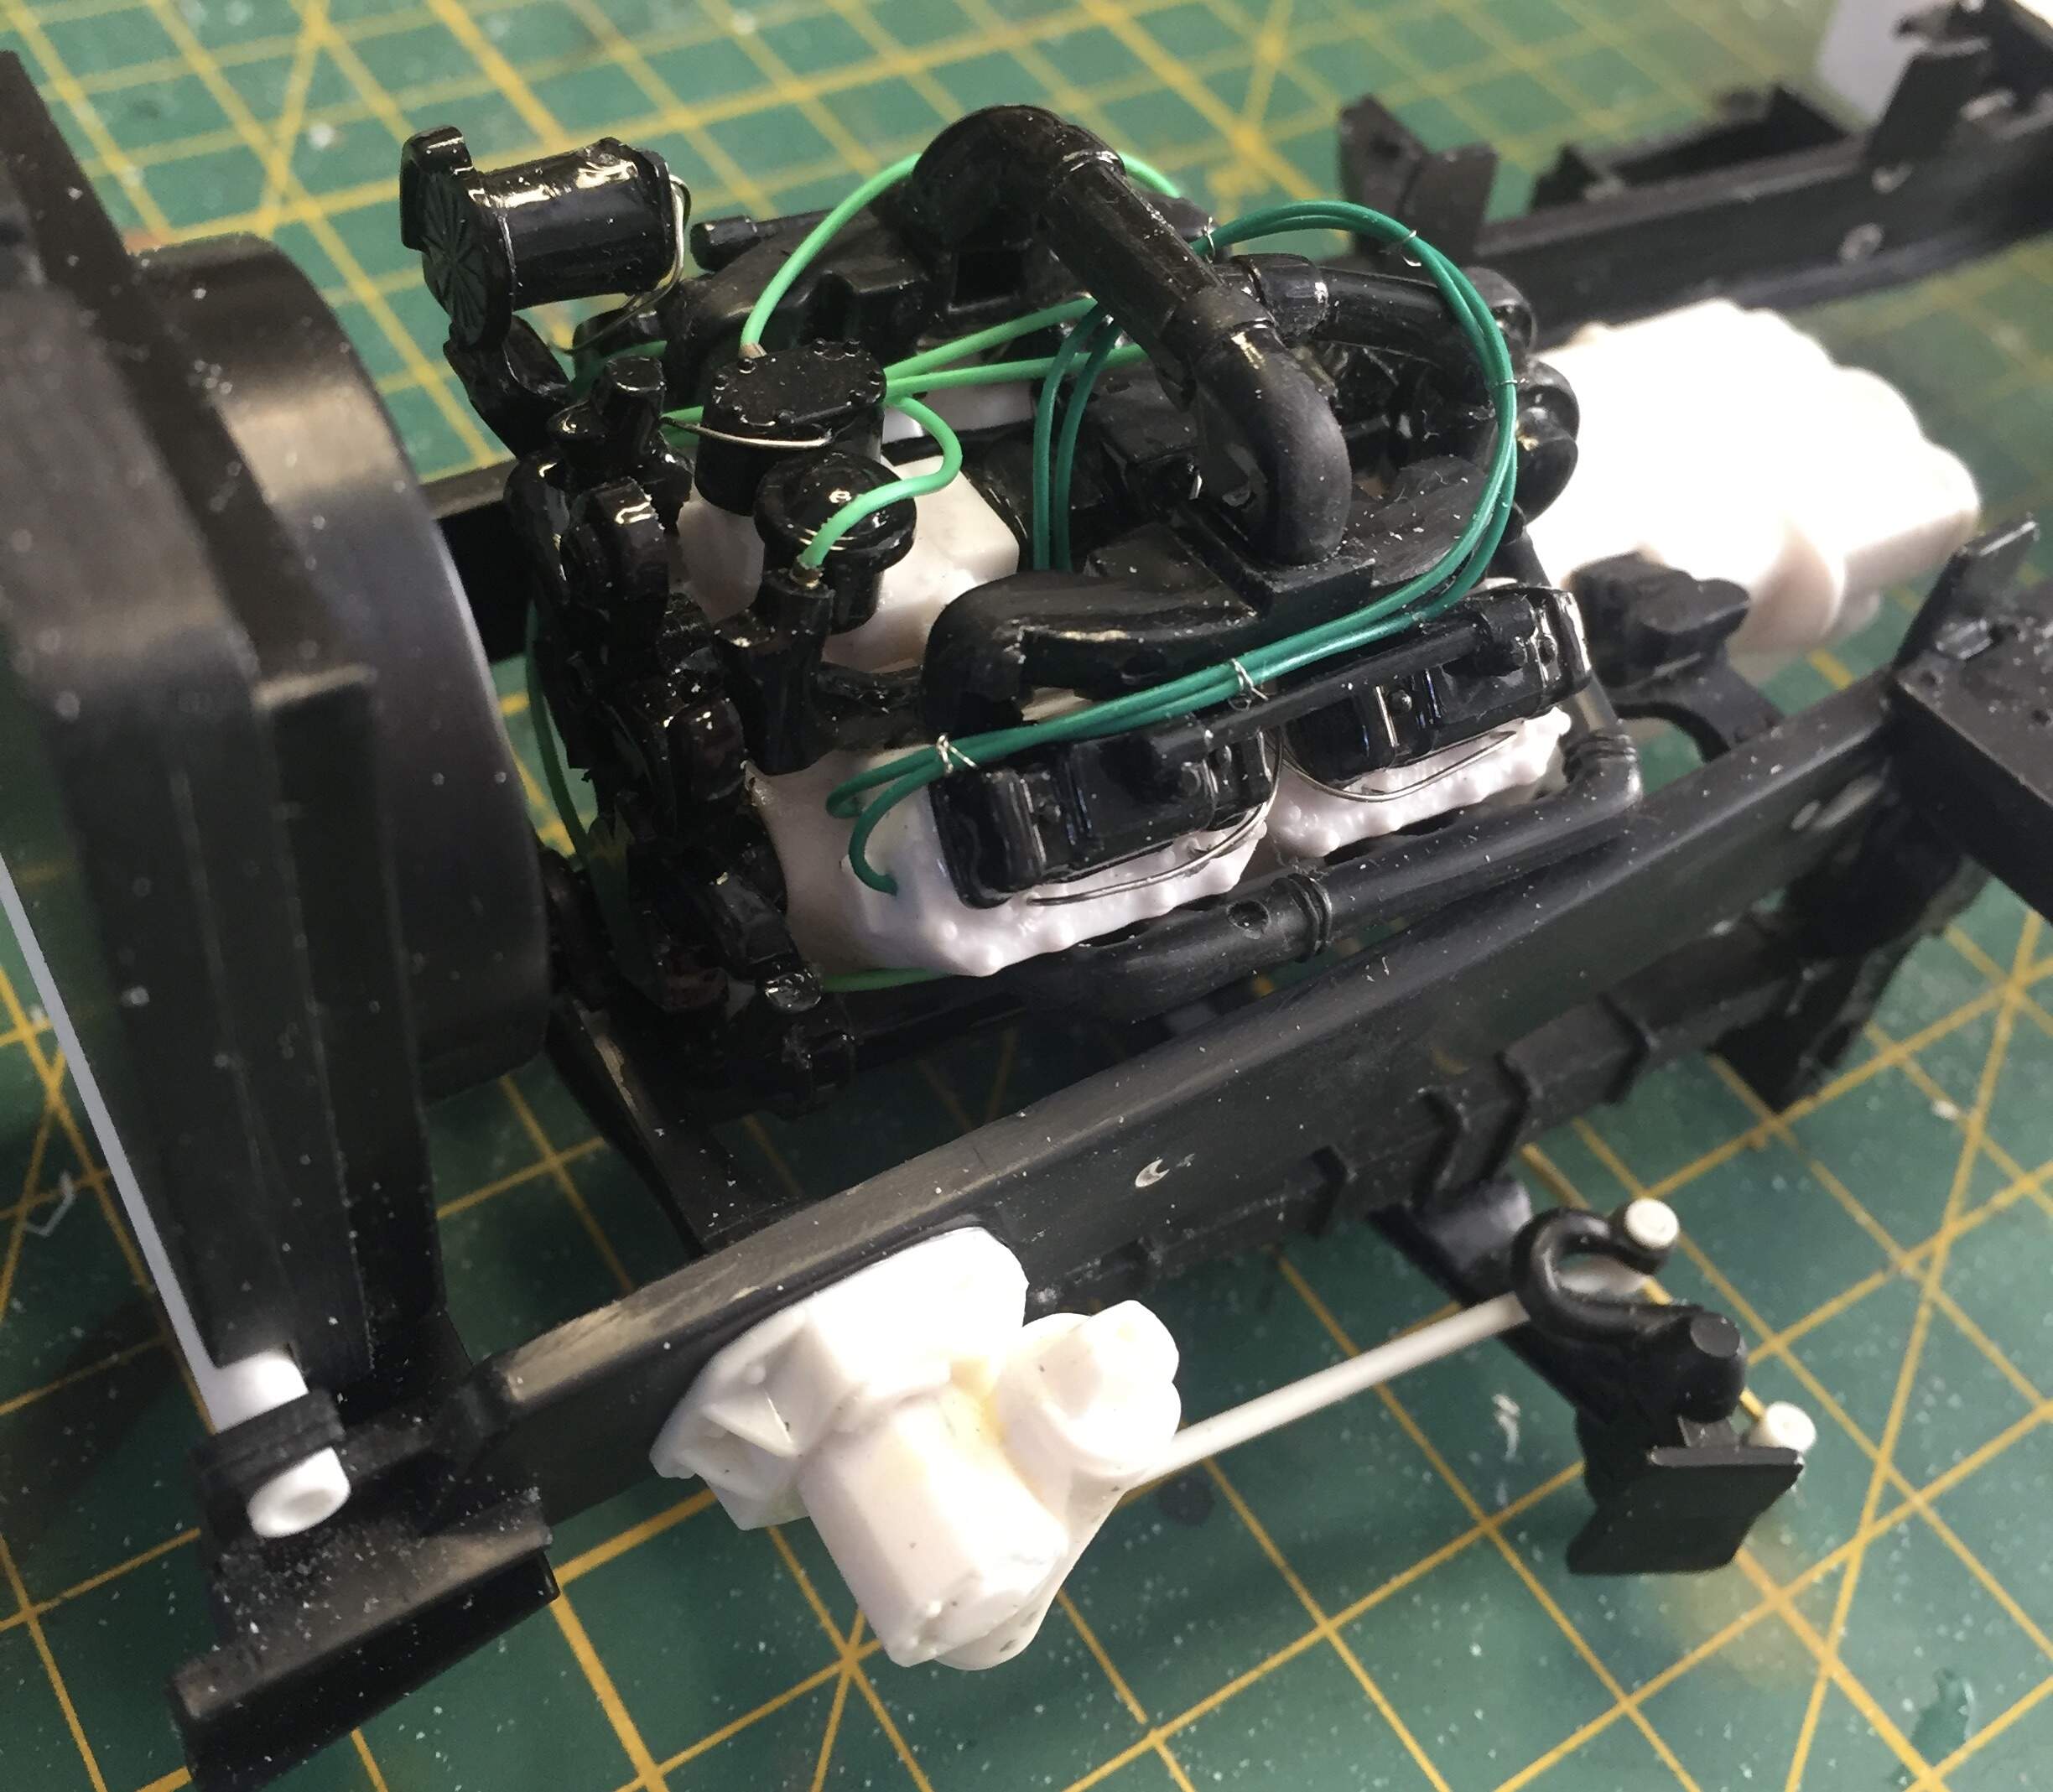
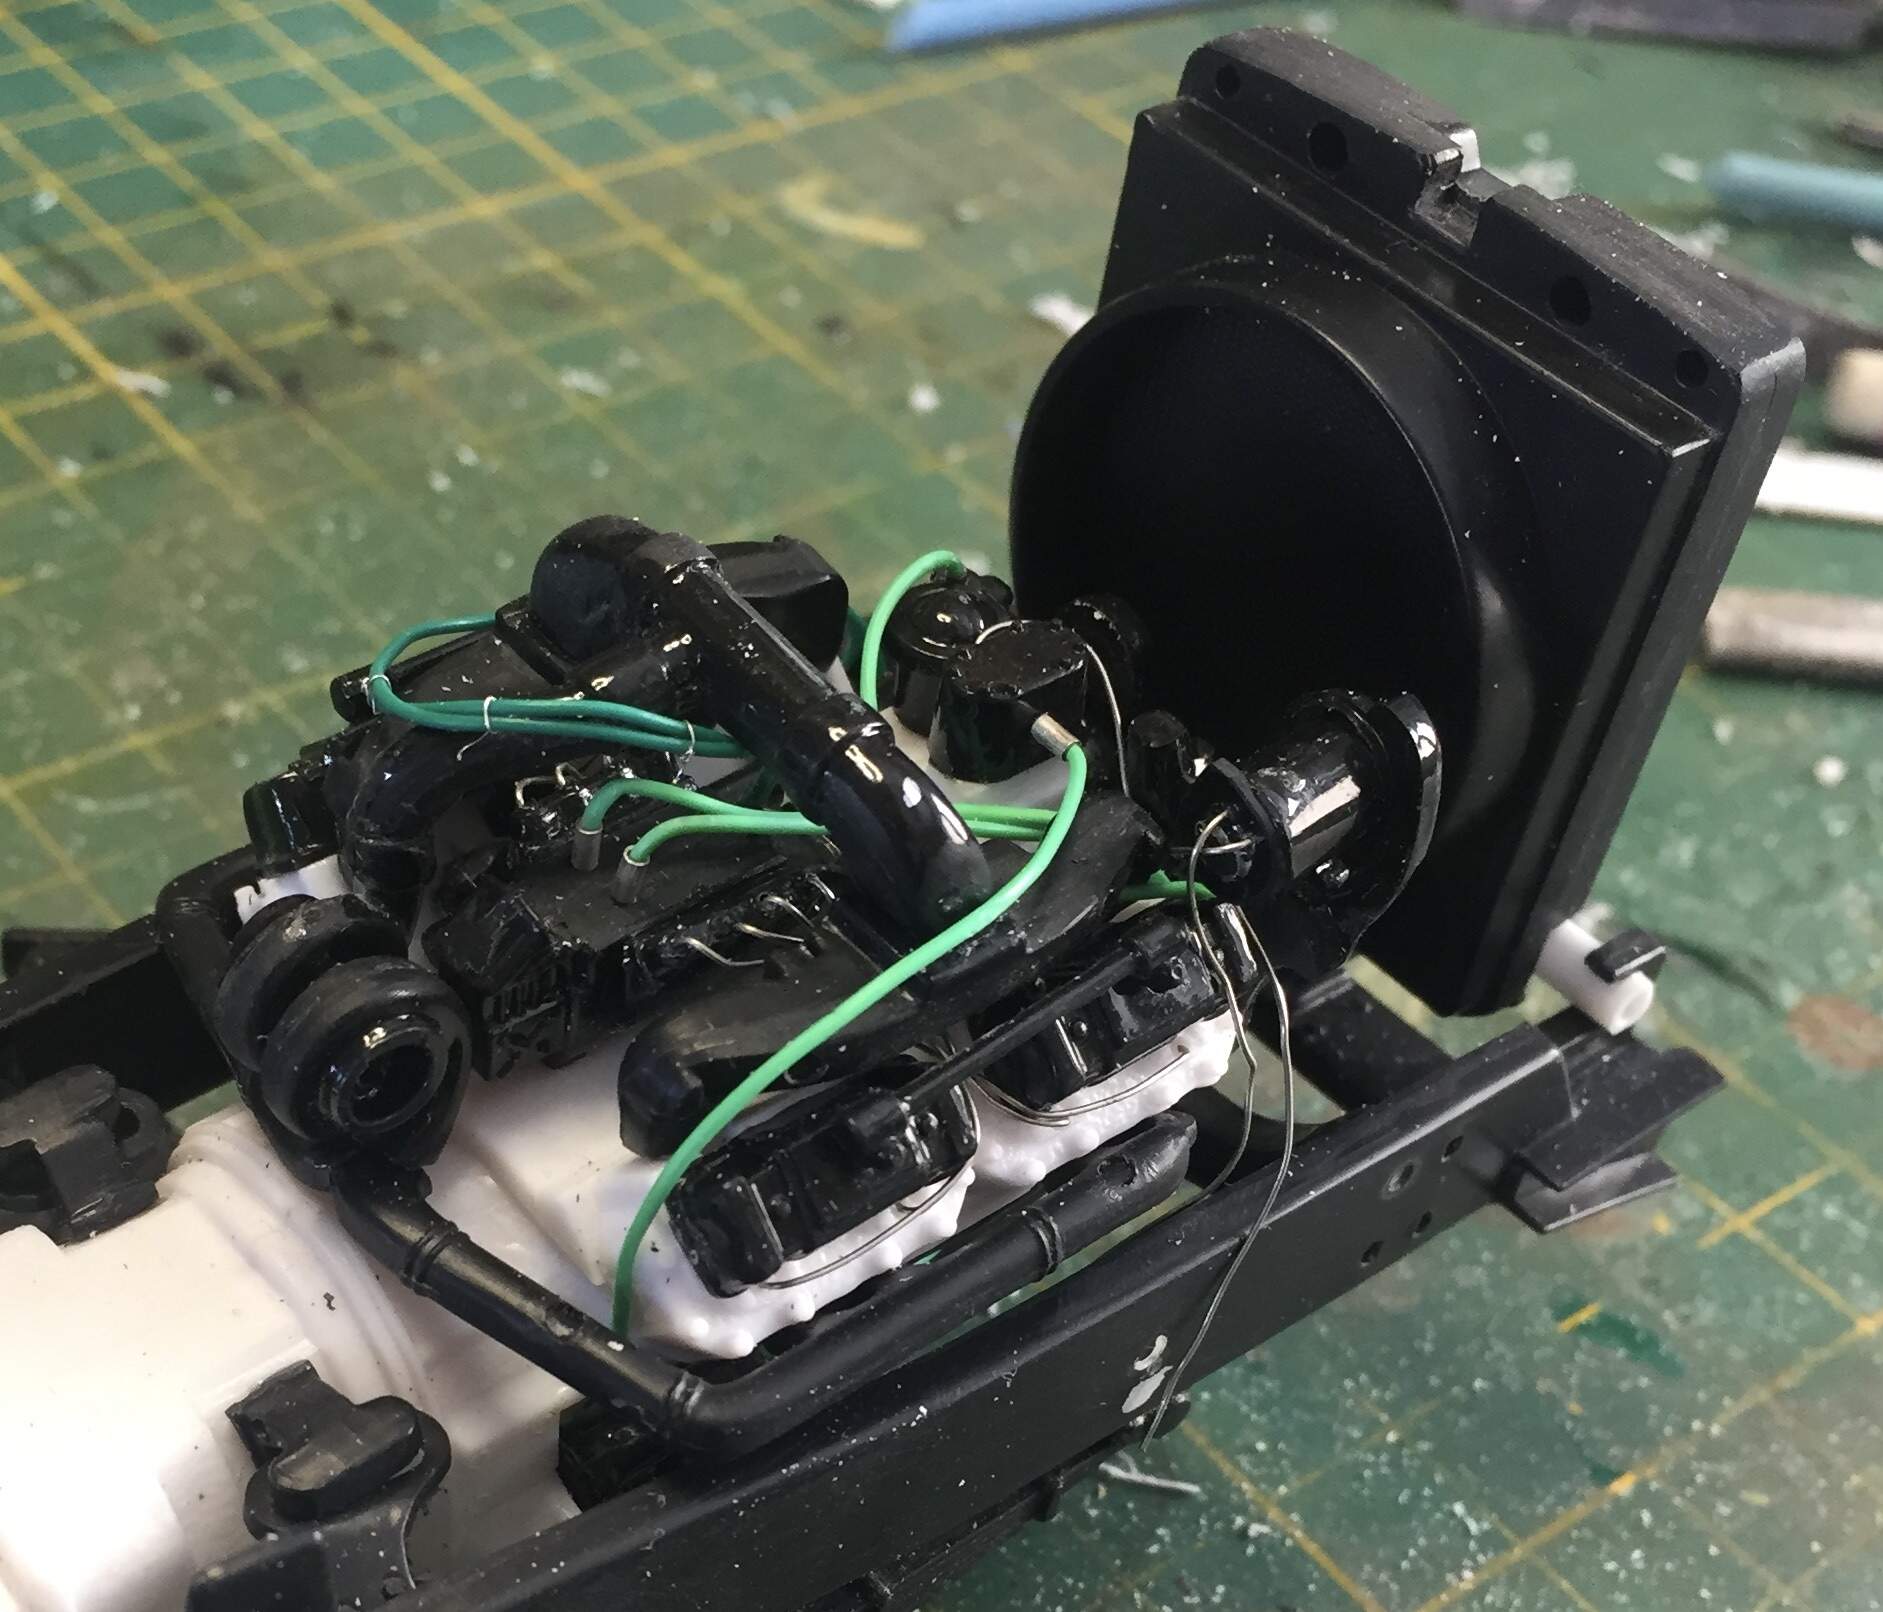
Hi Tim, It’s actually the cab that is offset compared to the chassis and bonnet! It’s something to do with the driver being able to place the left side of the truck accurately. The ‘cable ties’ are just fine copper wire from inside an electrical cord. I found some that were quite stiff and so hold together well with just a single knot and then the ends snipped off.
Hi Tank, The cast texture comes in the kit. I did try and replicate it with Tamiya liquid filler, to hide the ejector pin marks and the reinforcing plate, but it did not work! The pink cable ends are hex glass beads from the local craft shop. They look enough like connectors to me! Graeme.
Silver connectors were from an old necklace. Nice little cylinders. I normally just scrape, fill, sand pin marks, but I was trying to replicate the texture.
Grubby Fingers,
While I’m not a truck type of guy, I do love great modeling, and your truck build is simply amazing. All the details added really make quite a difference, and now your scratched water tank. Now that’s impressive for sure.
I’m just a little confused as to exactly what the machine is that you used to machine the plastic parts. Can you post a few pictures of it?
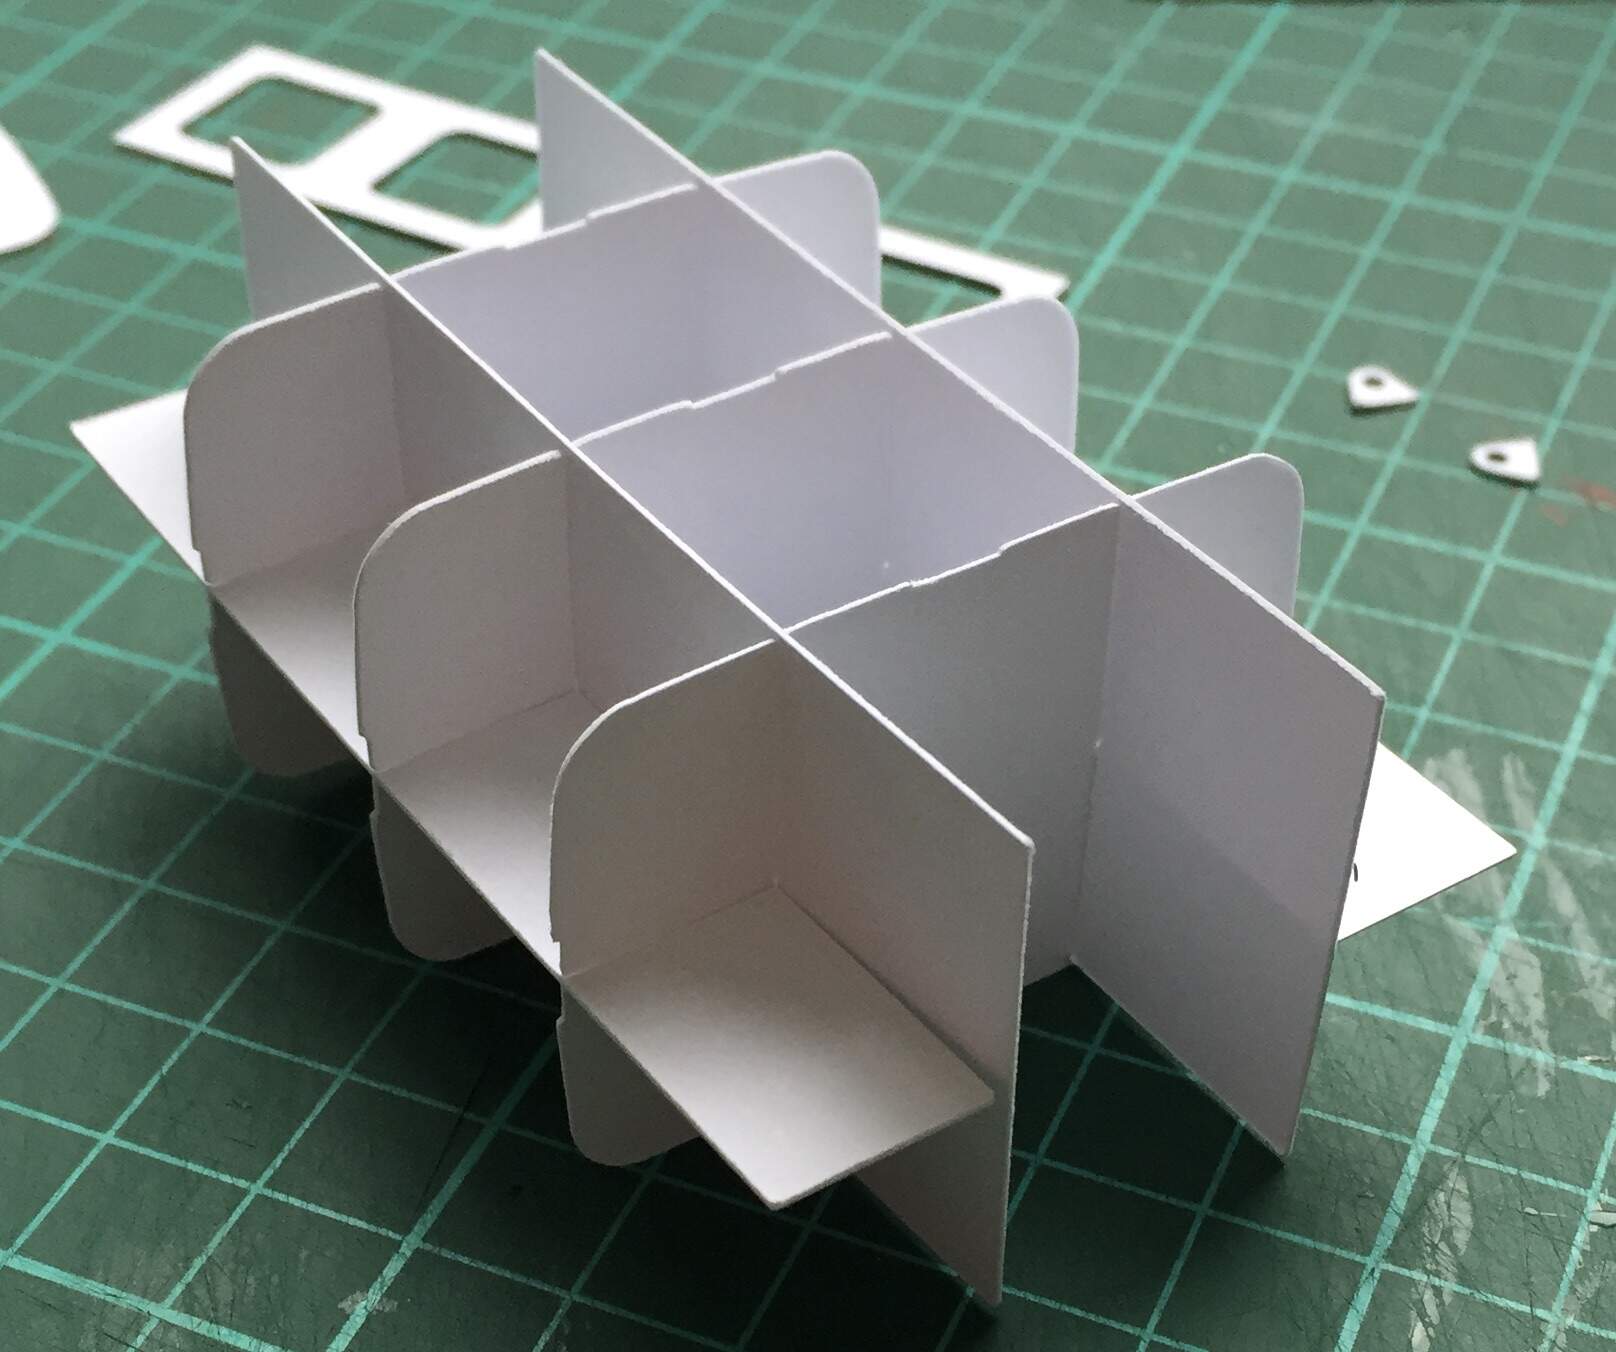
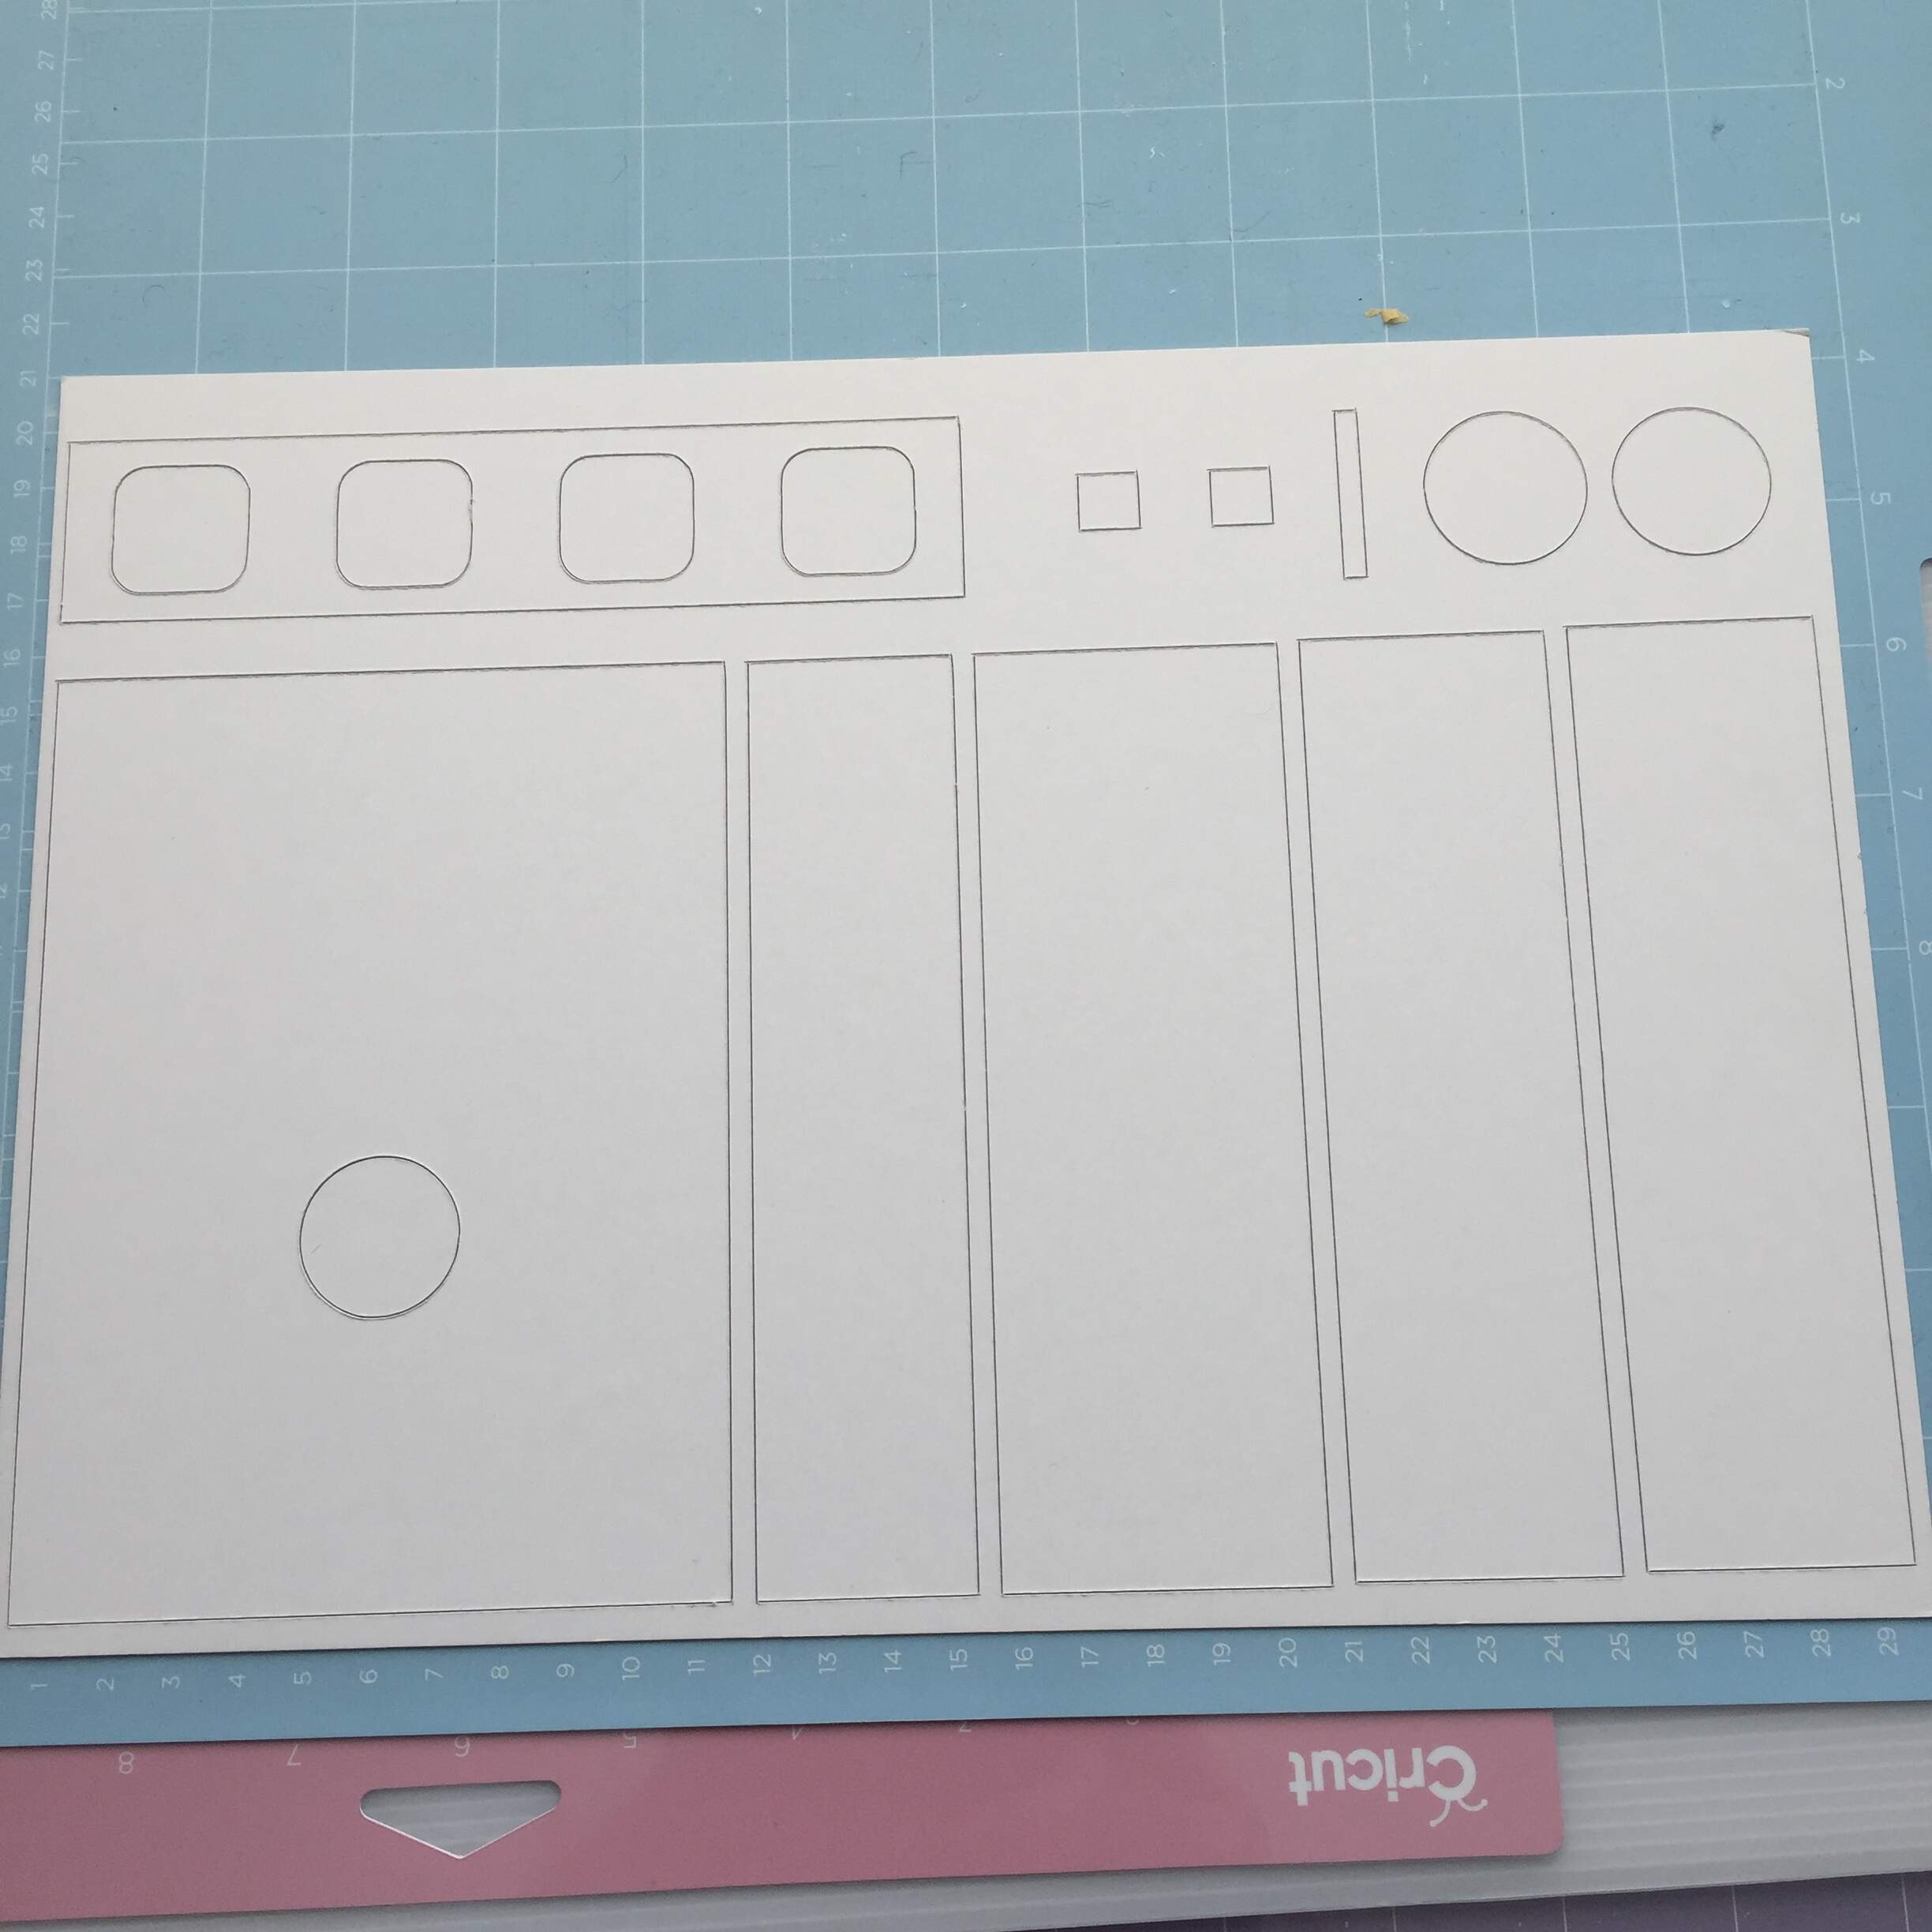
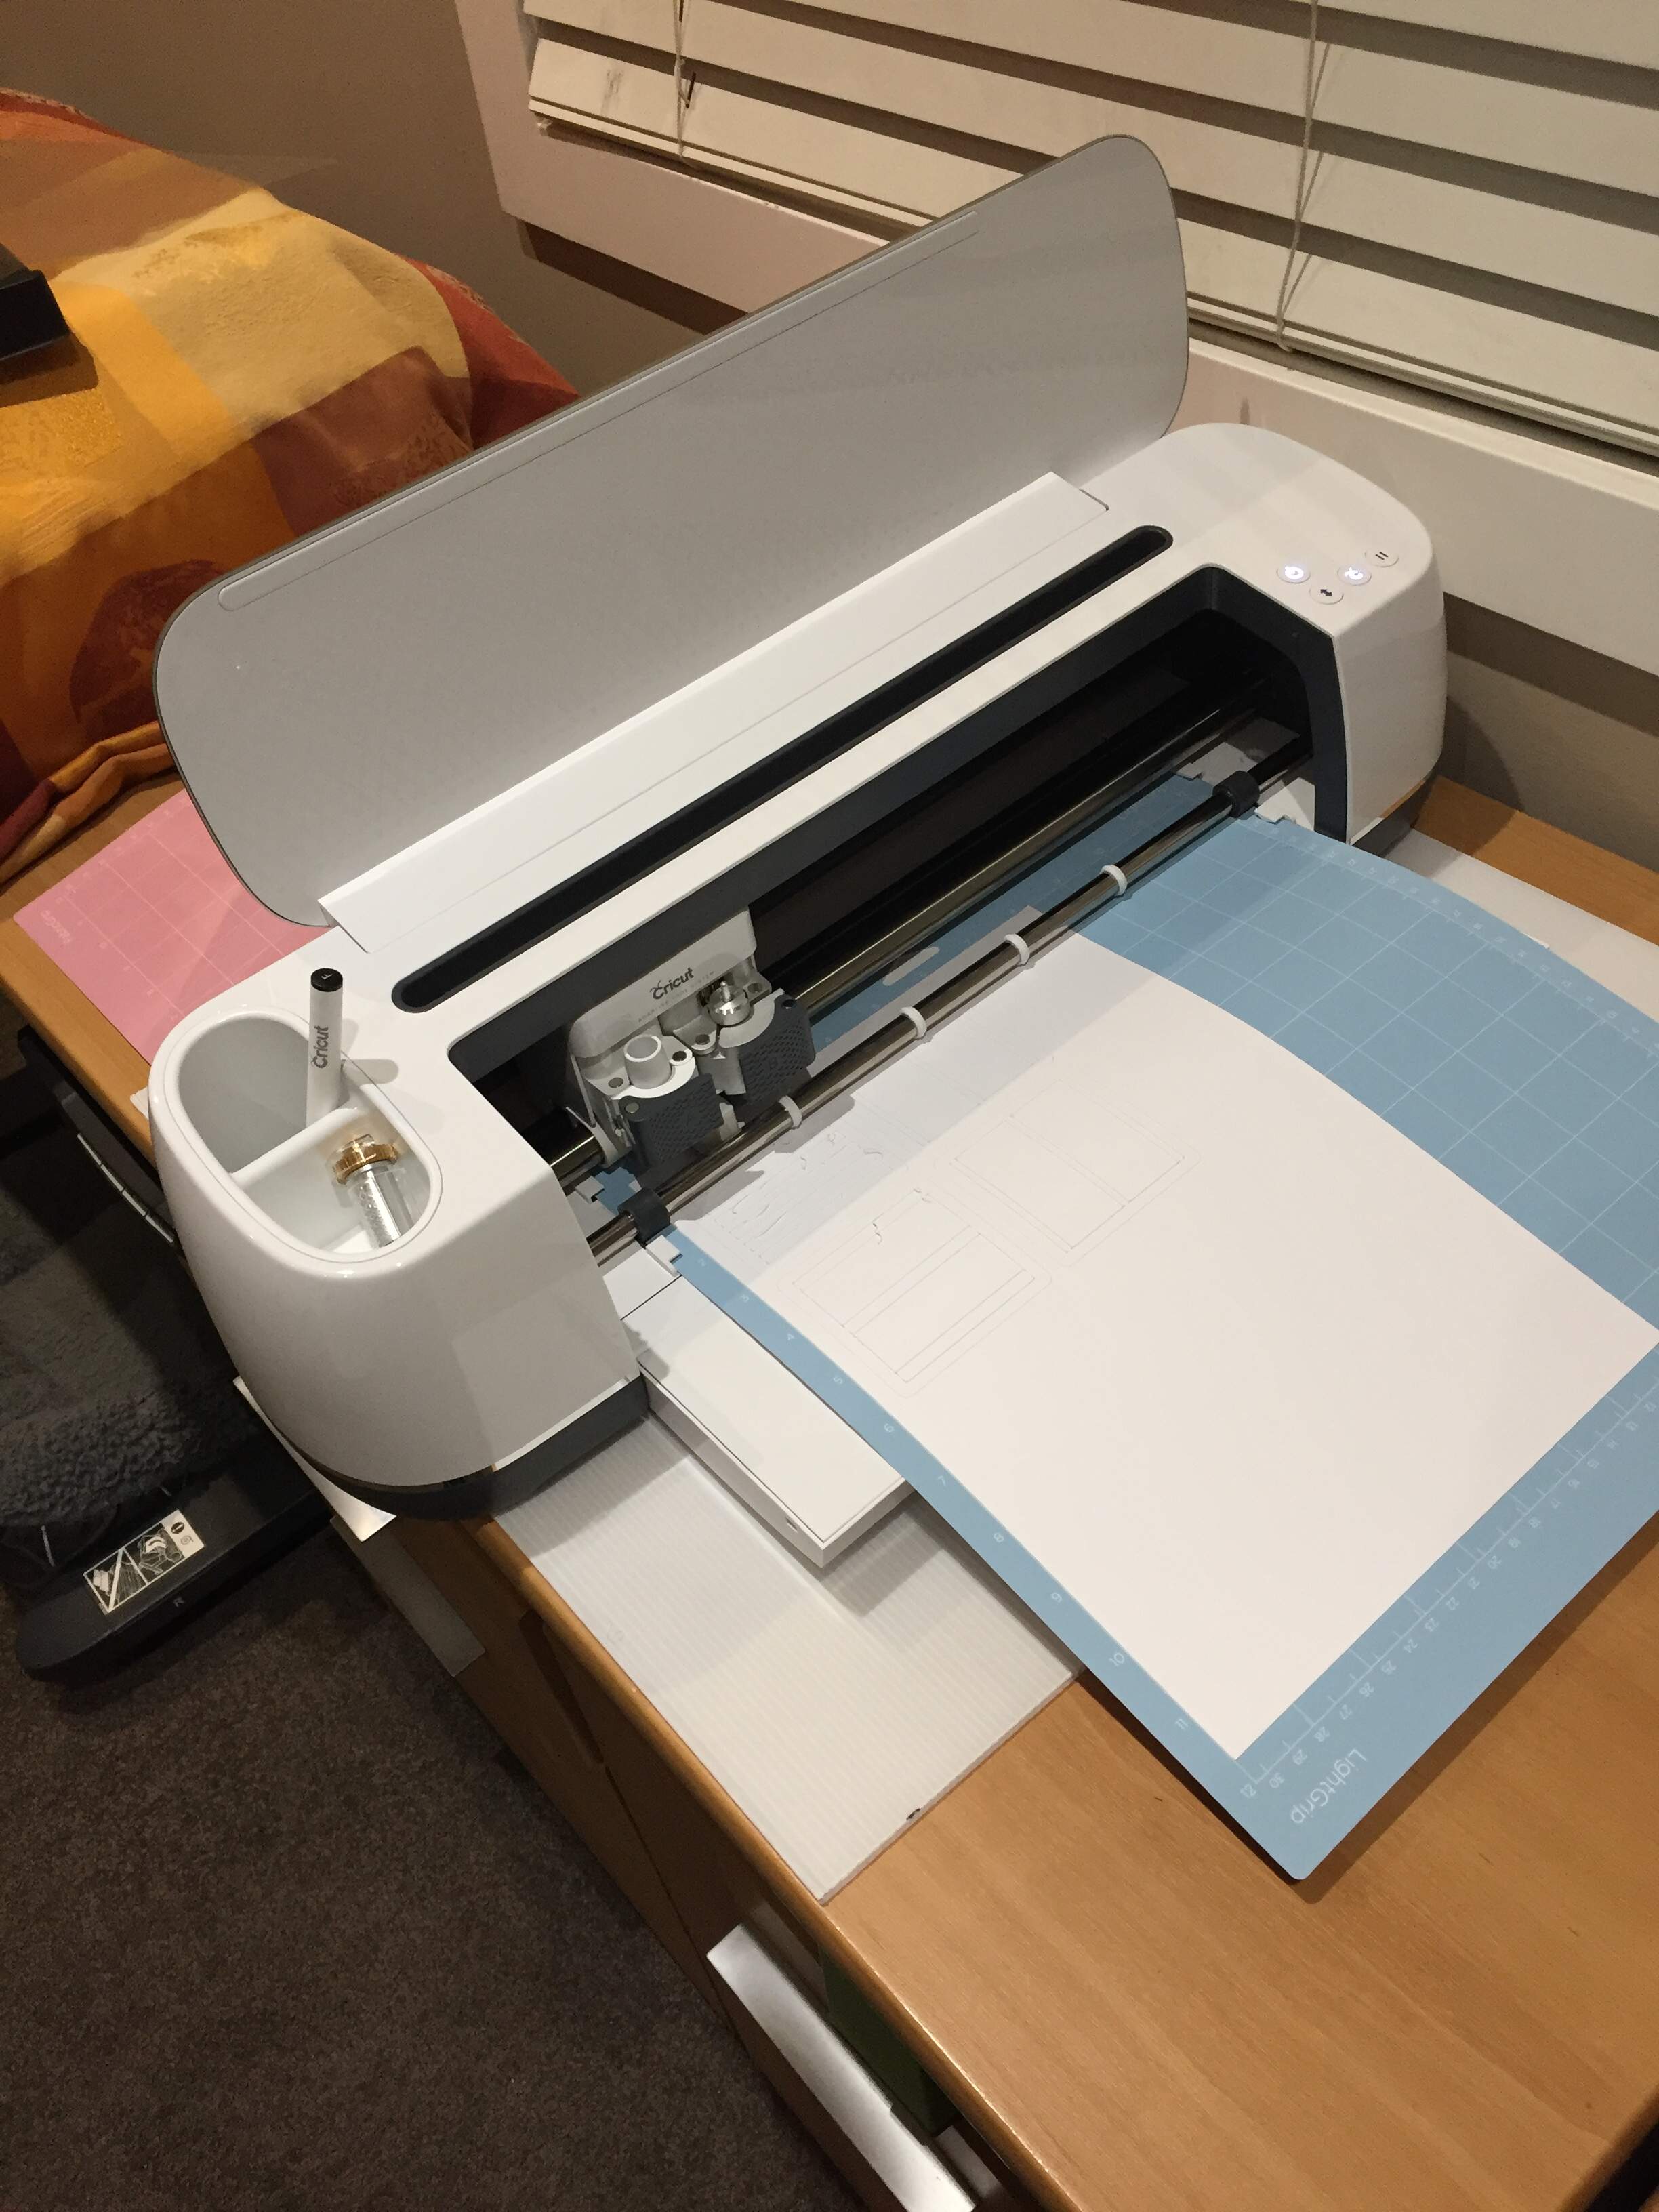
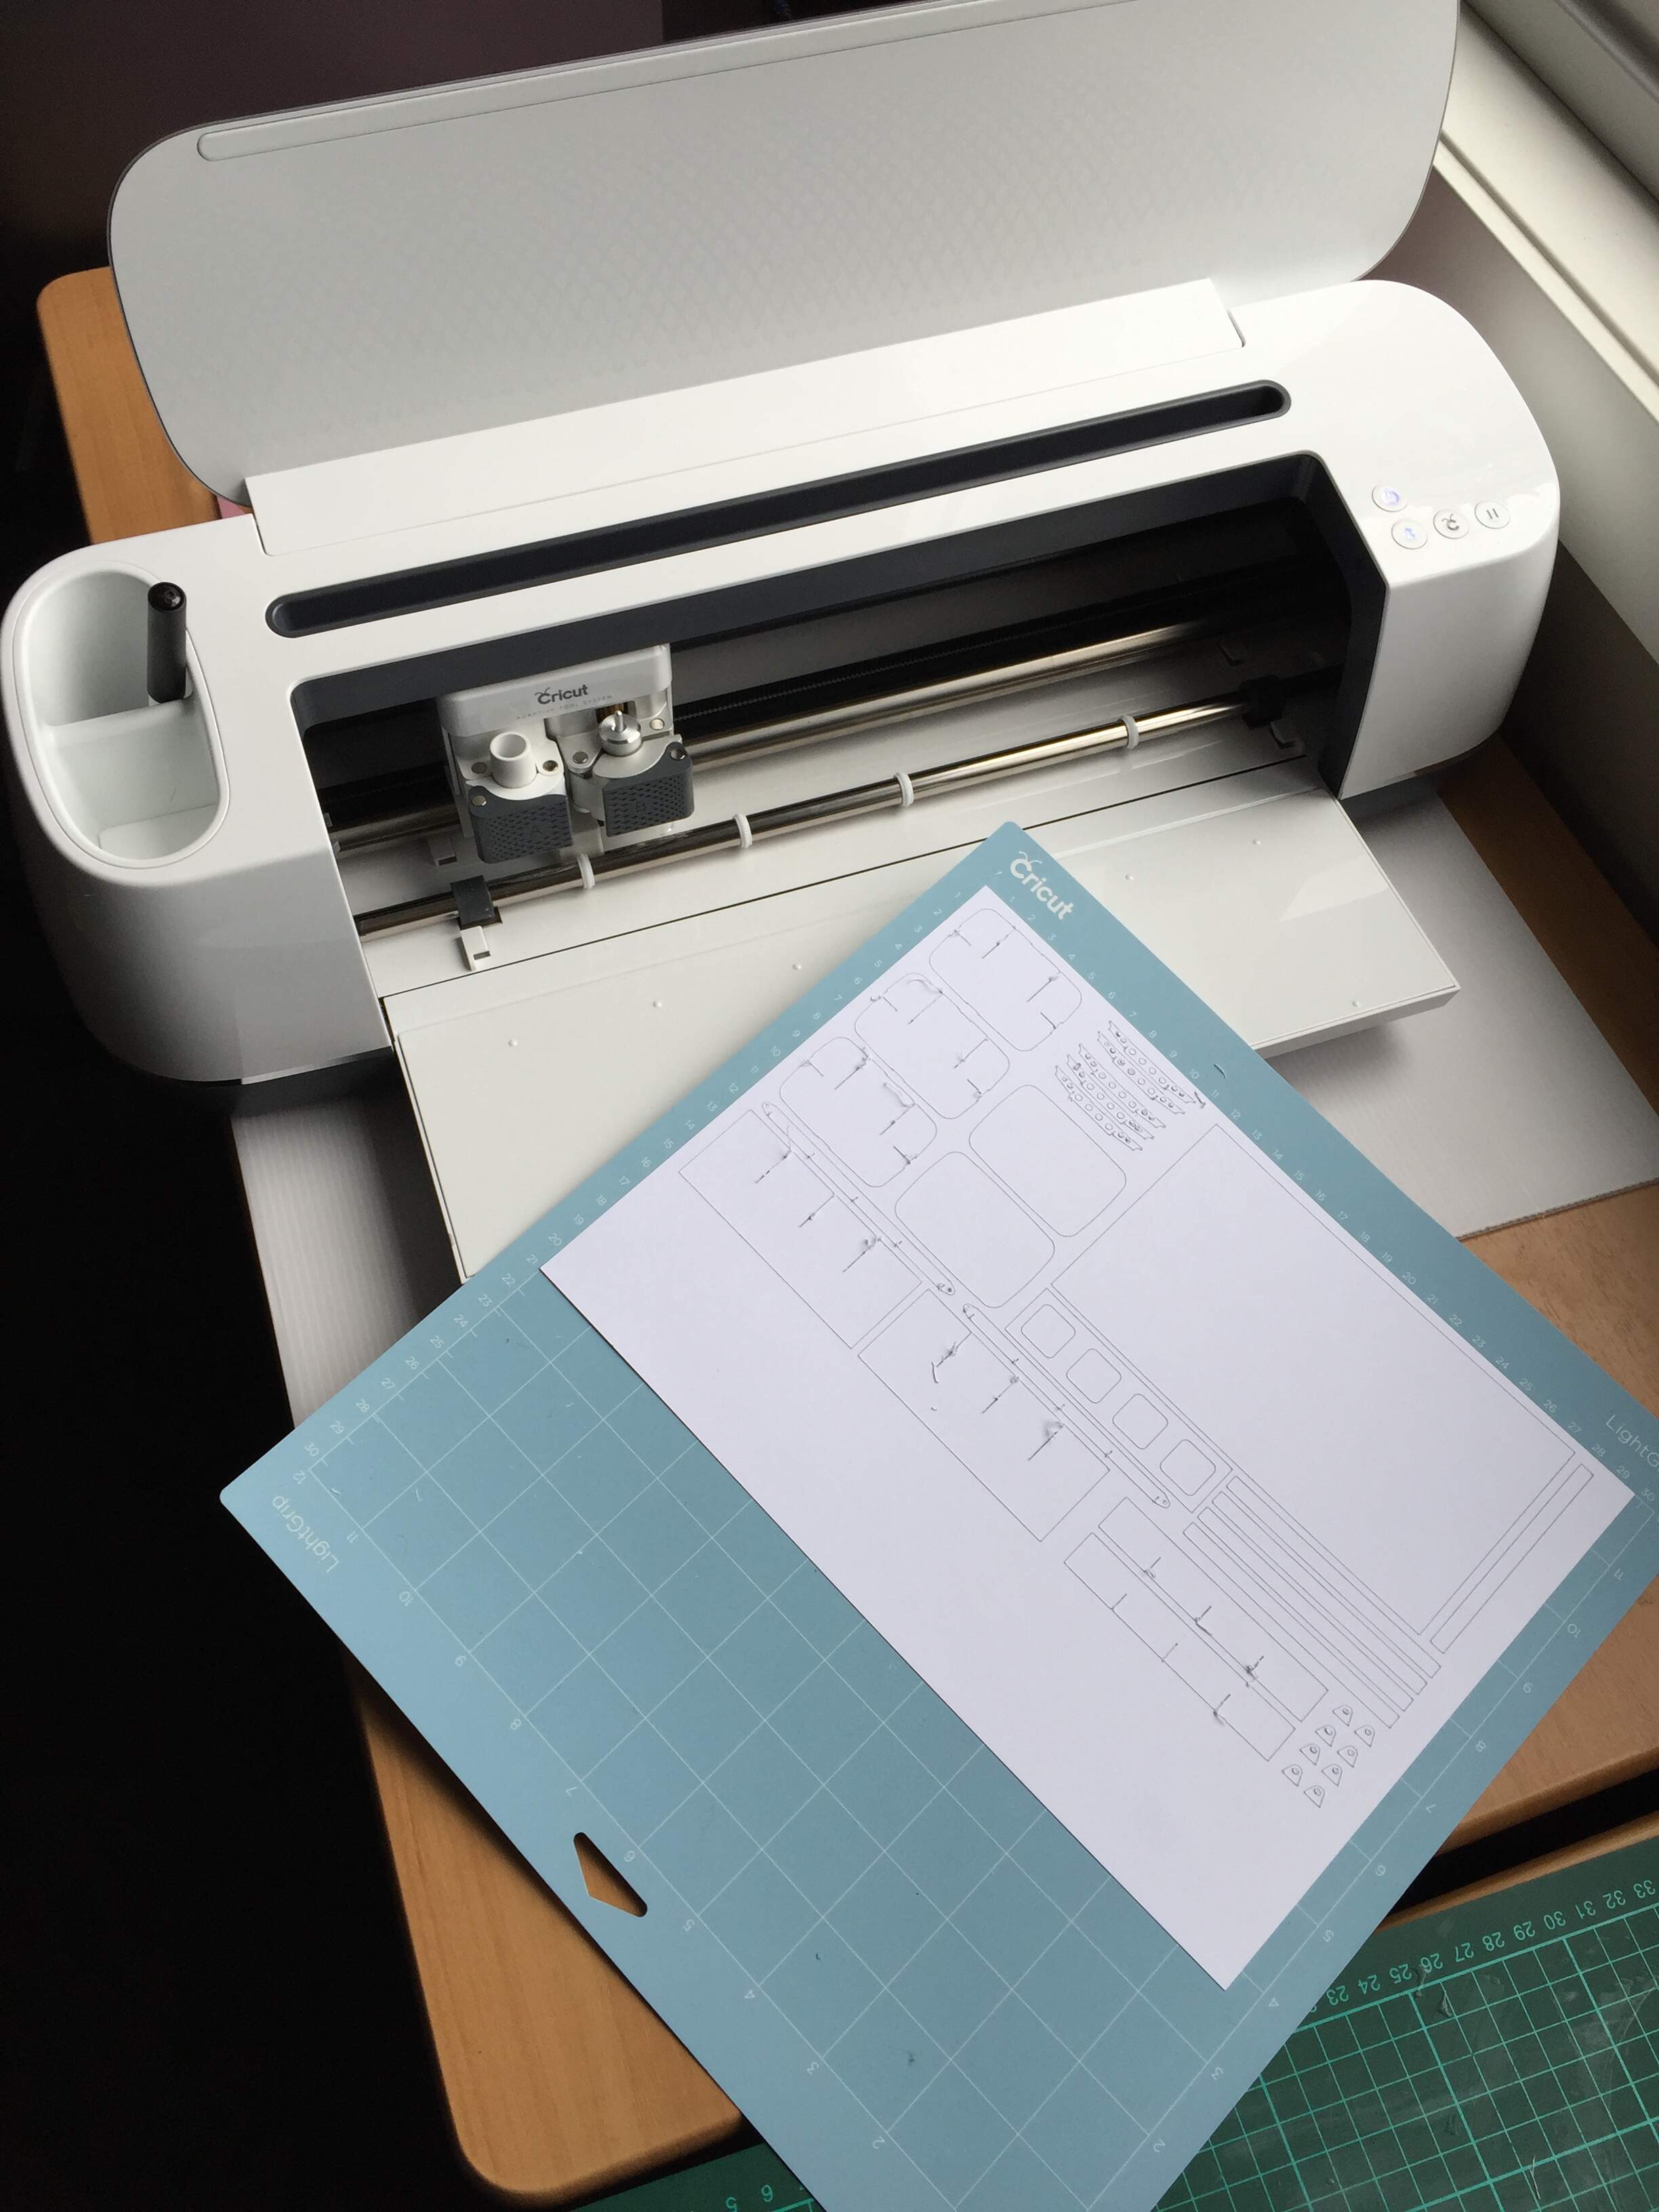
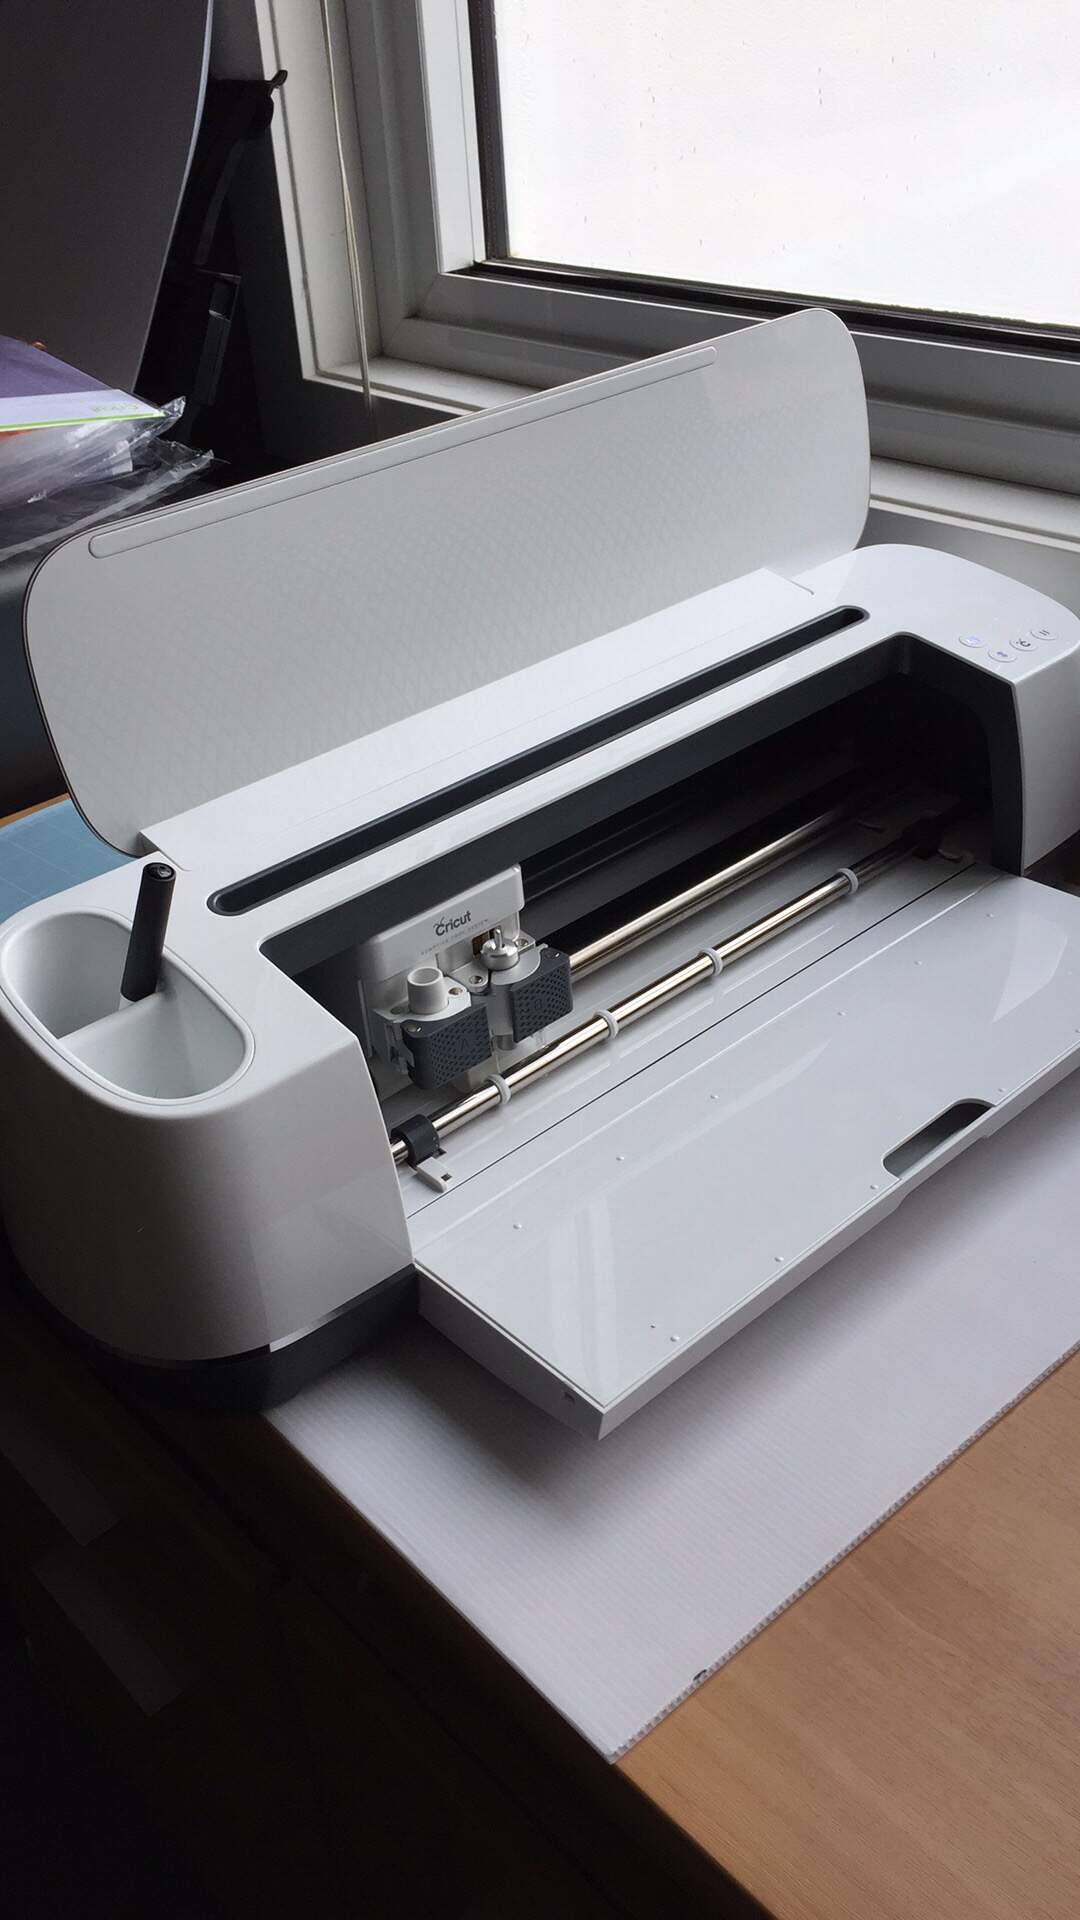
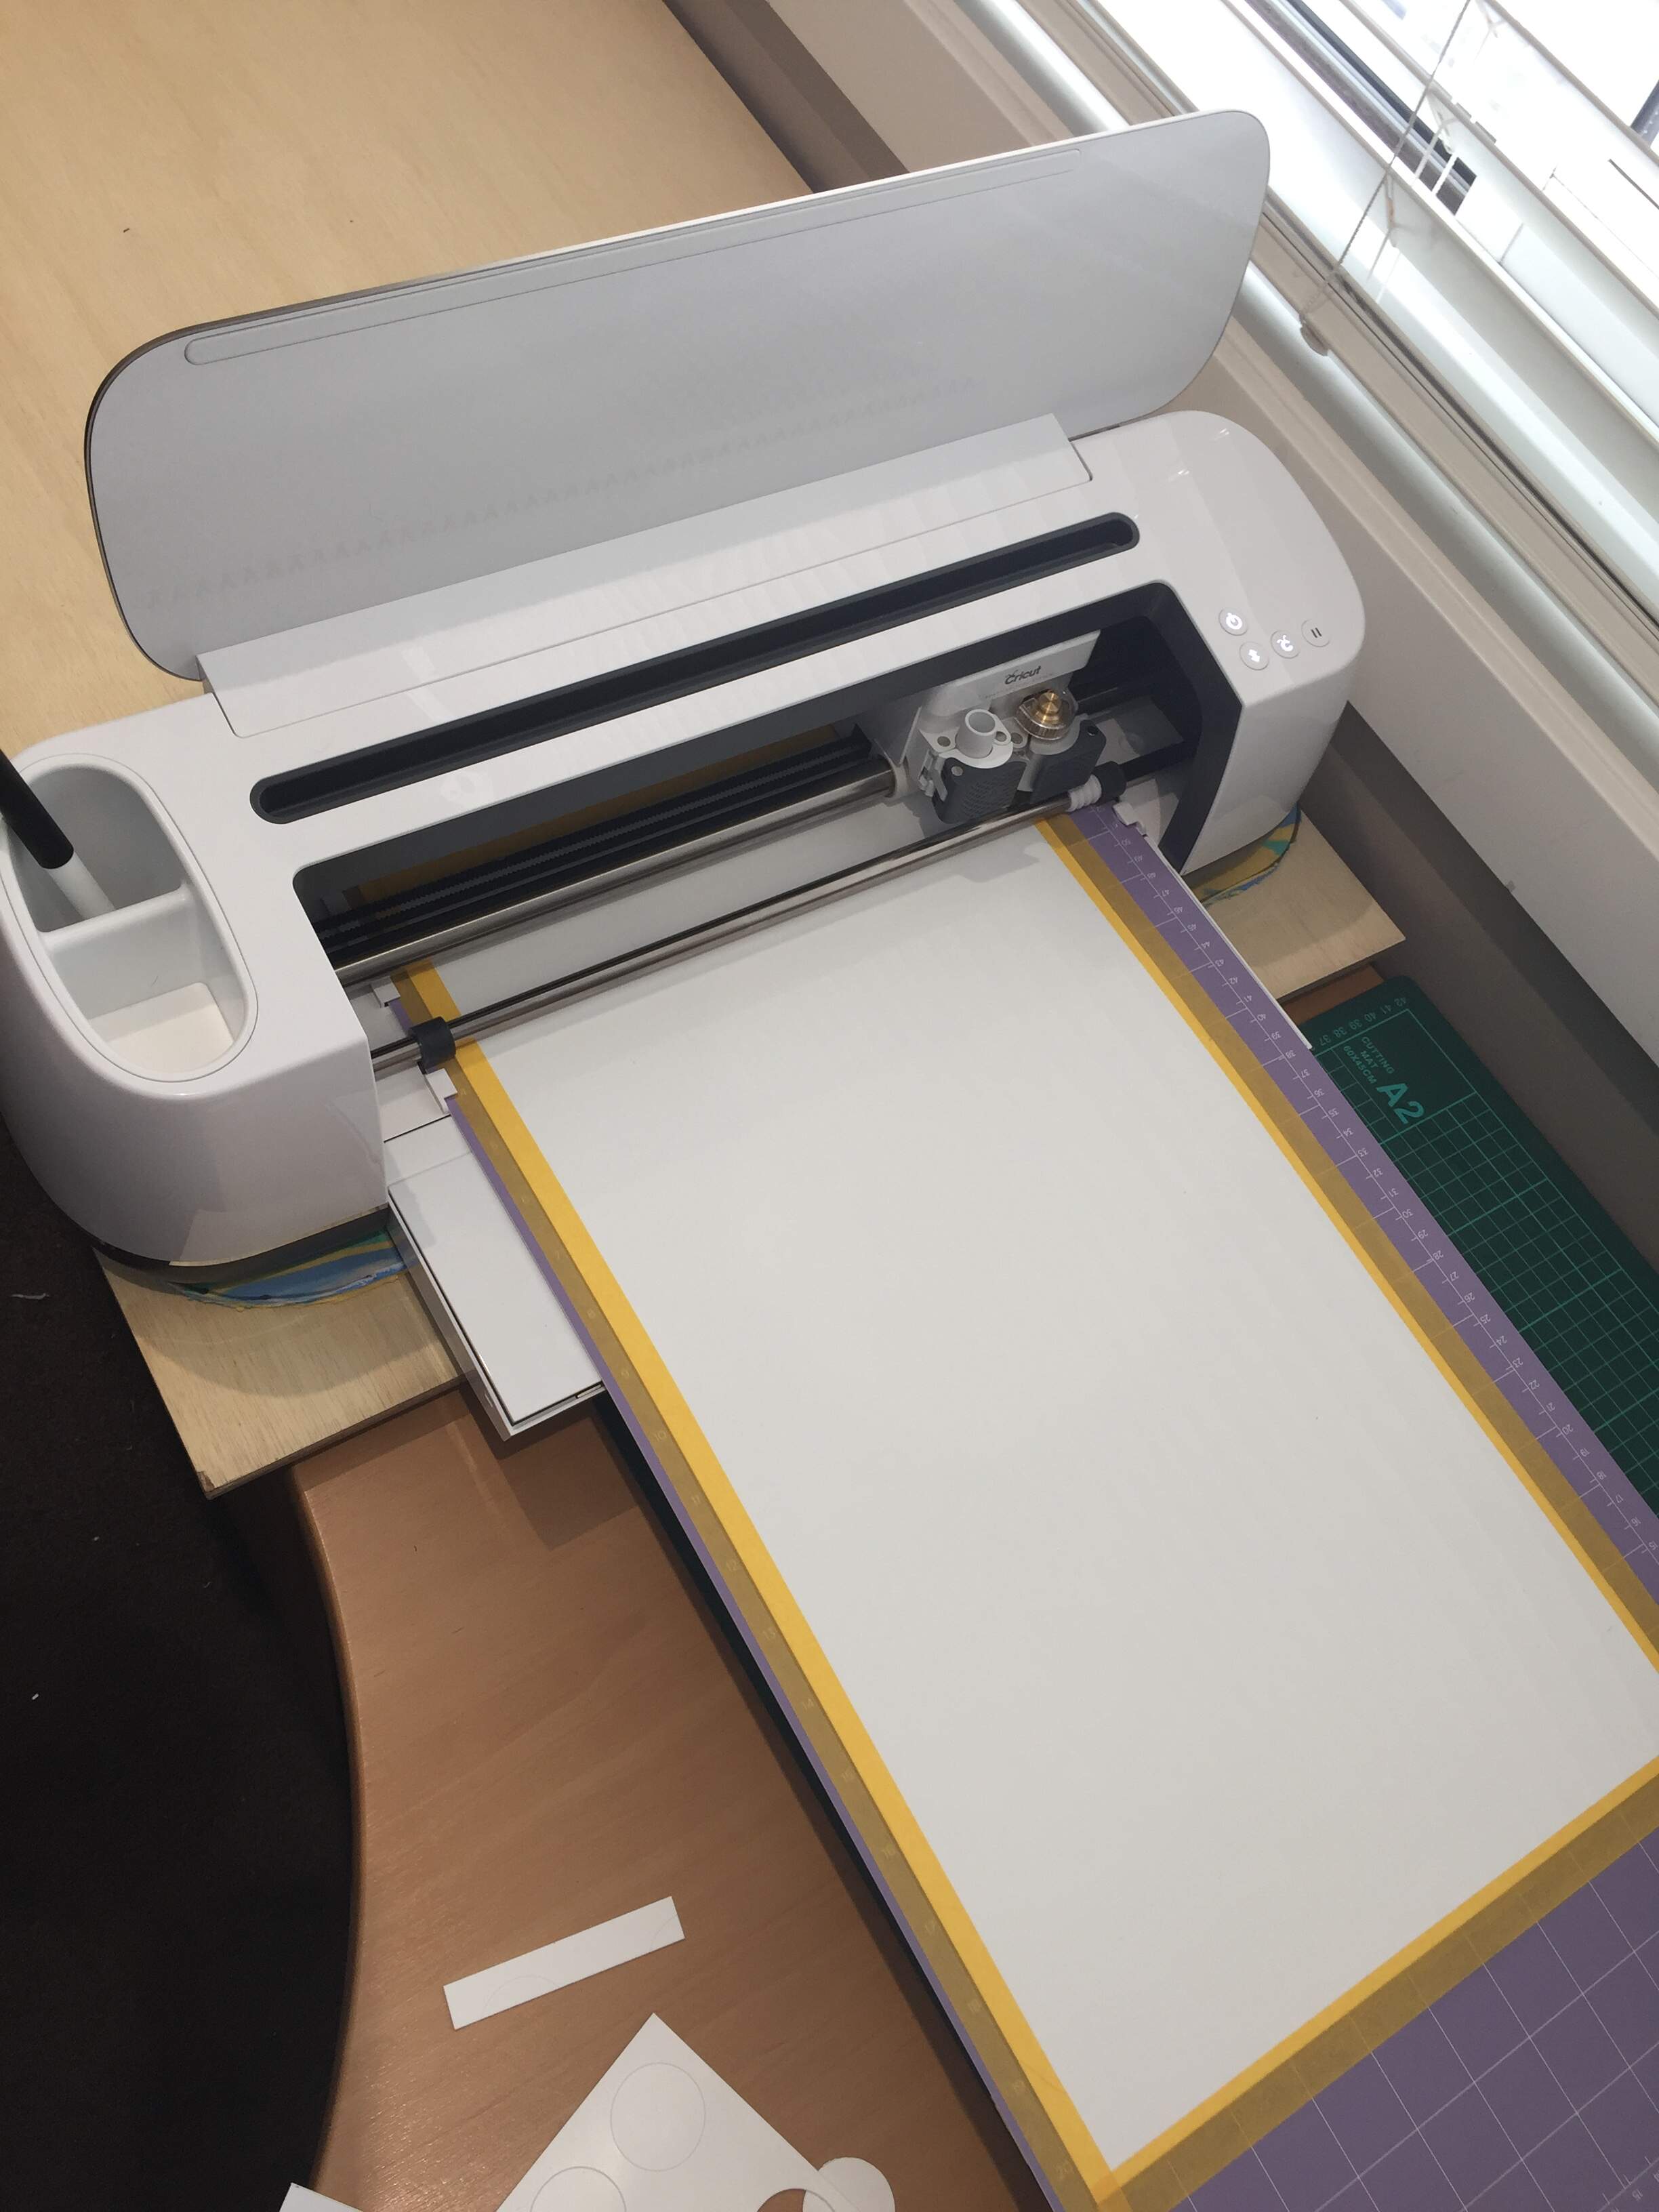
The machine is a Cricut Maker. It’s a U.S. brand made in China. It is a computer-controlled knife crafting machine, basically. It can cut up to 2mm thick material like cardboard. I have cut 1mm styrene sheet with it, but I haven’t got it to cut completely through yet. I still have to snap the pieces out of the sheet. You can get different blades for it and one of them is mechanically rotated as it moves around the work. The others are all dragged around so the corners are not as precise. Being a blade cutter, the edges of thicker styrene cuts do have a slightly bevelled edge.
I was mucking around with a hobby-grade laser cutter before this but the results were even worse, with melted, rounded edges. I can use this Cricut machine inside the house. Bonus! It’s pretty quiet, too. U bit like a laser printer.
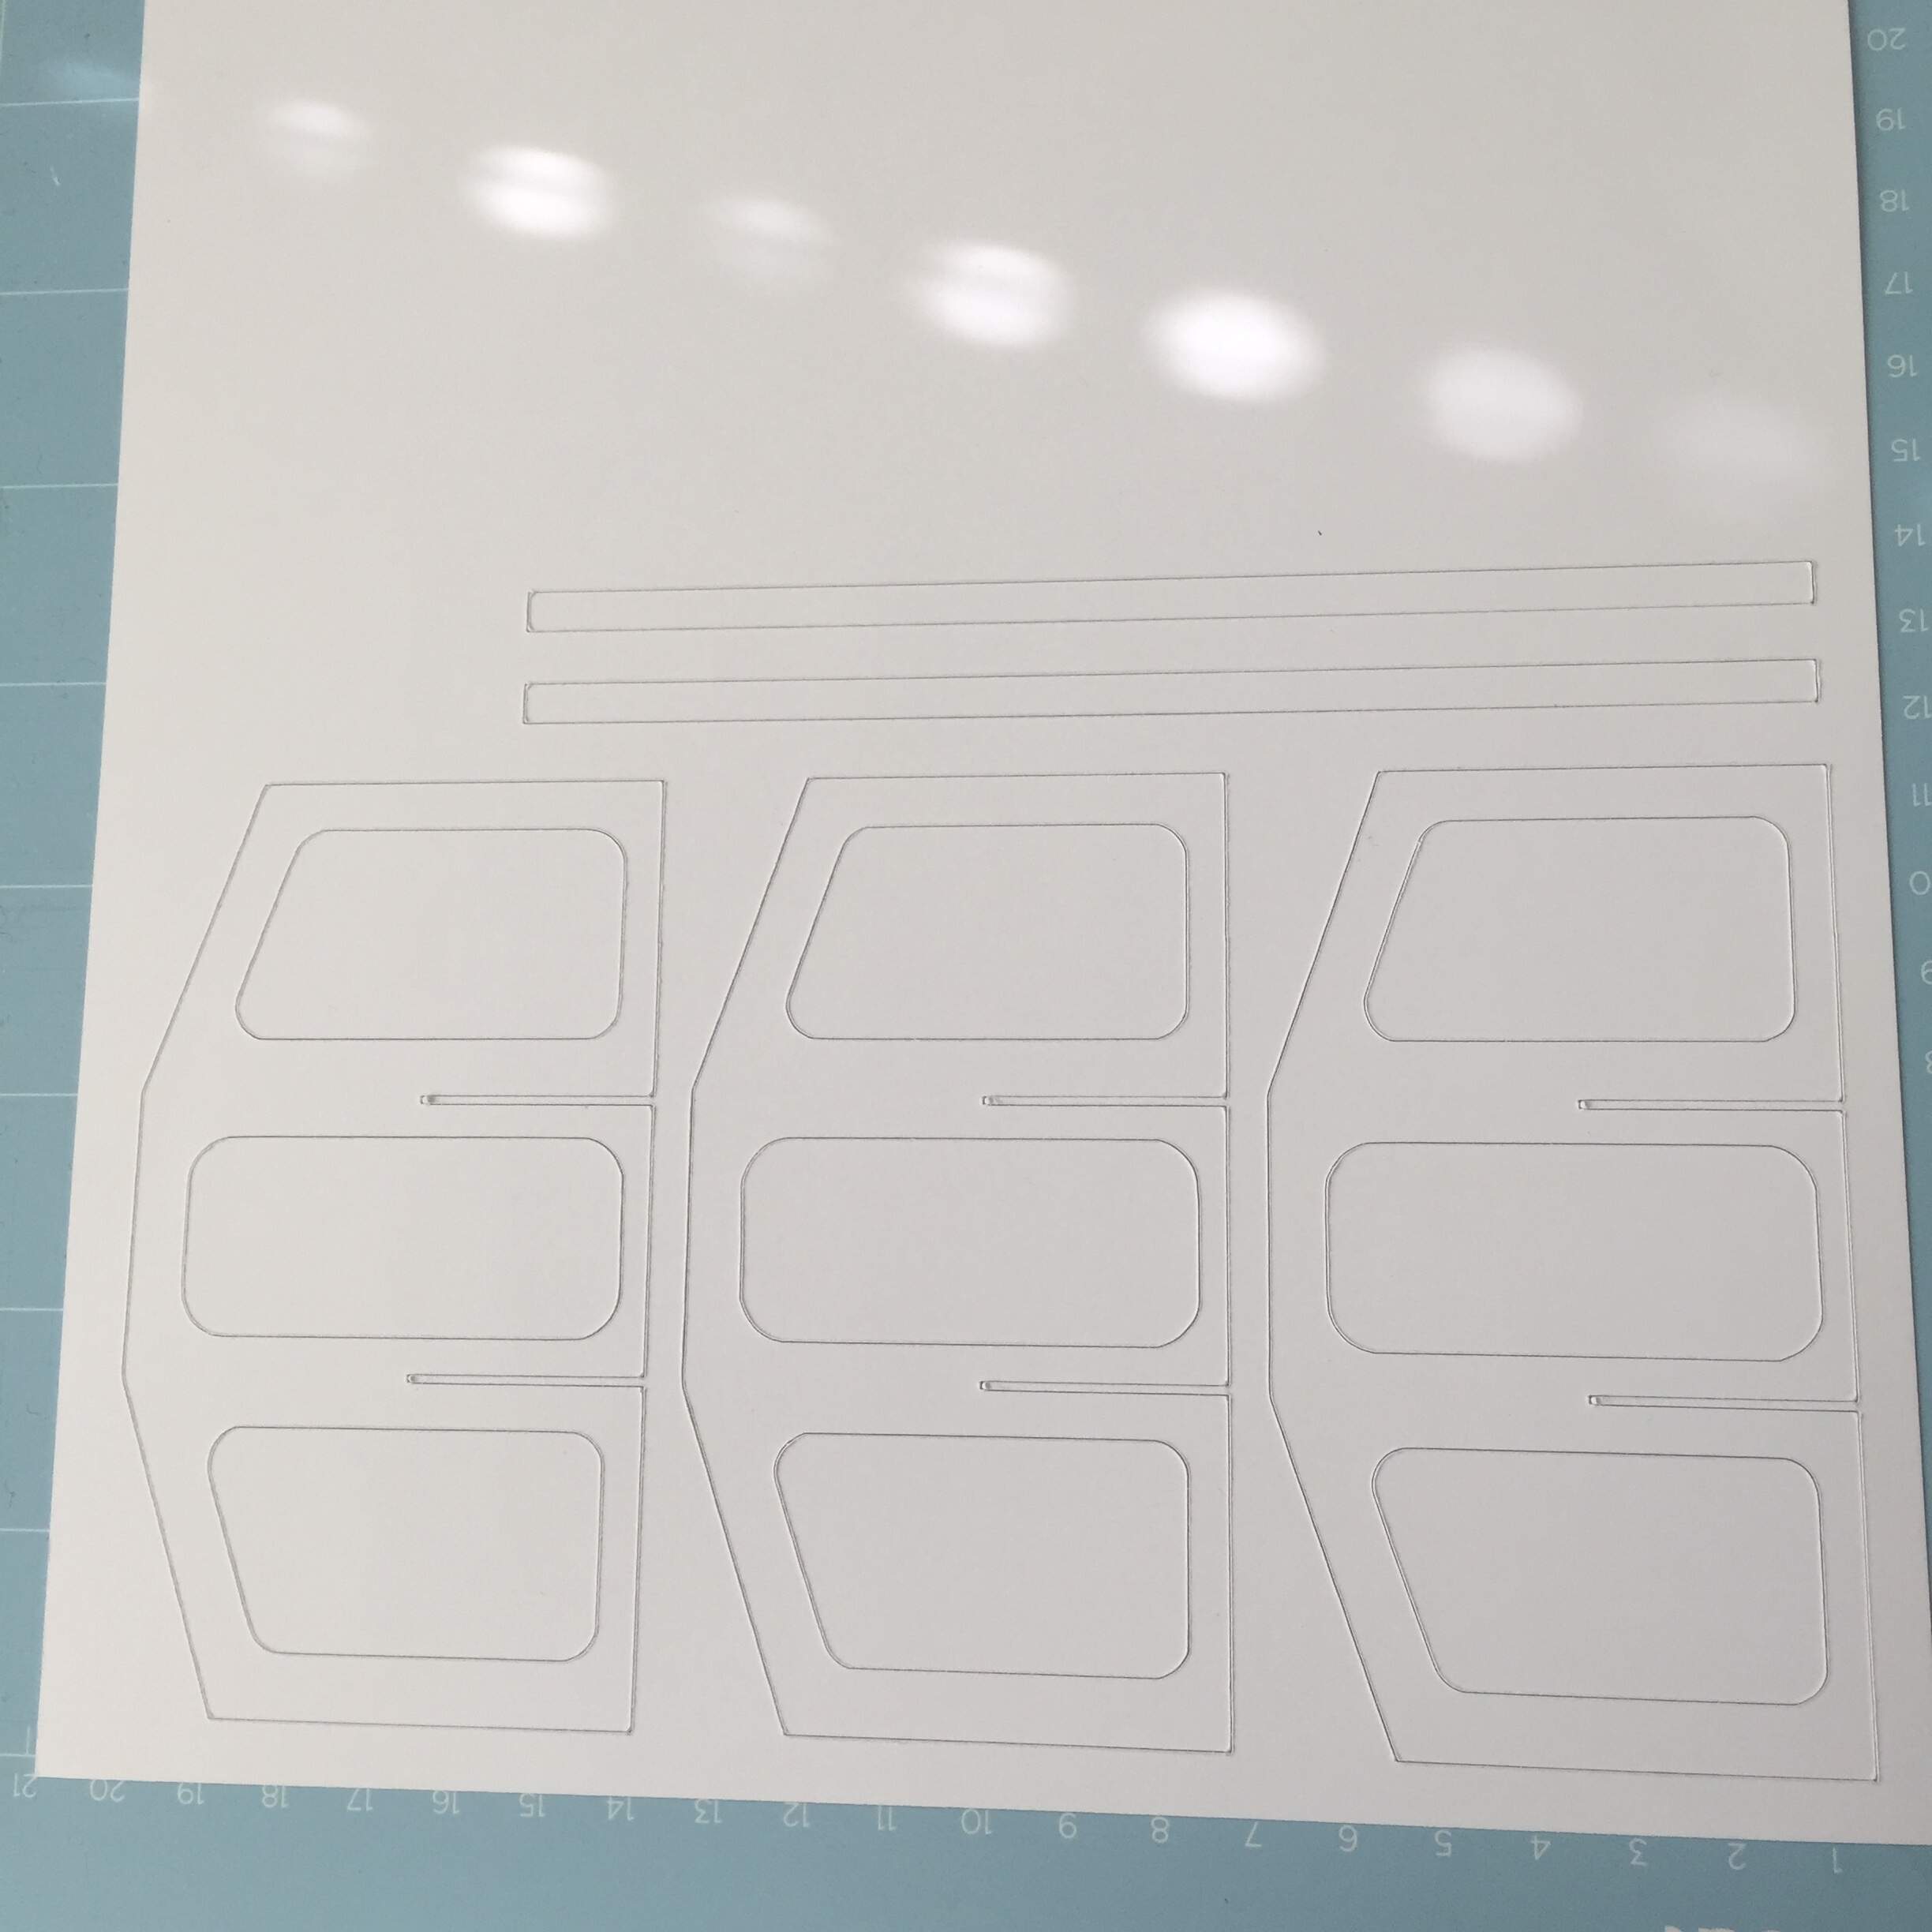
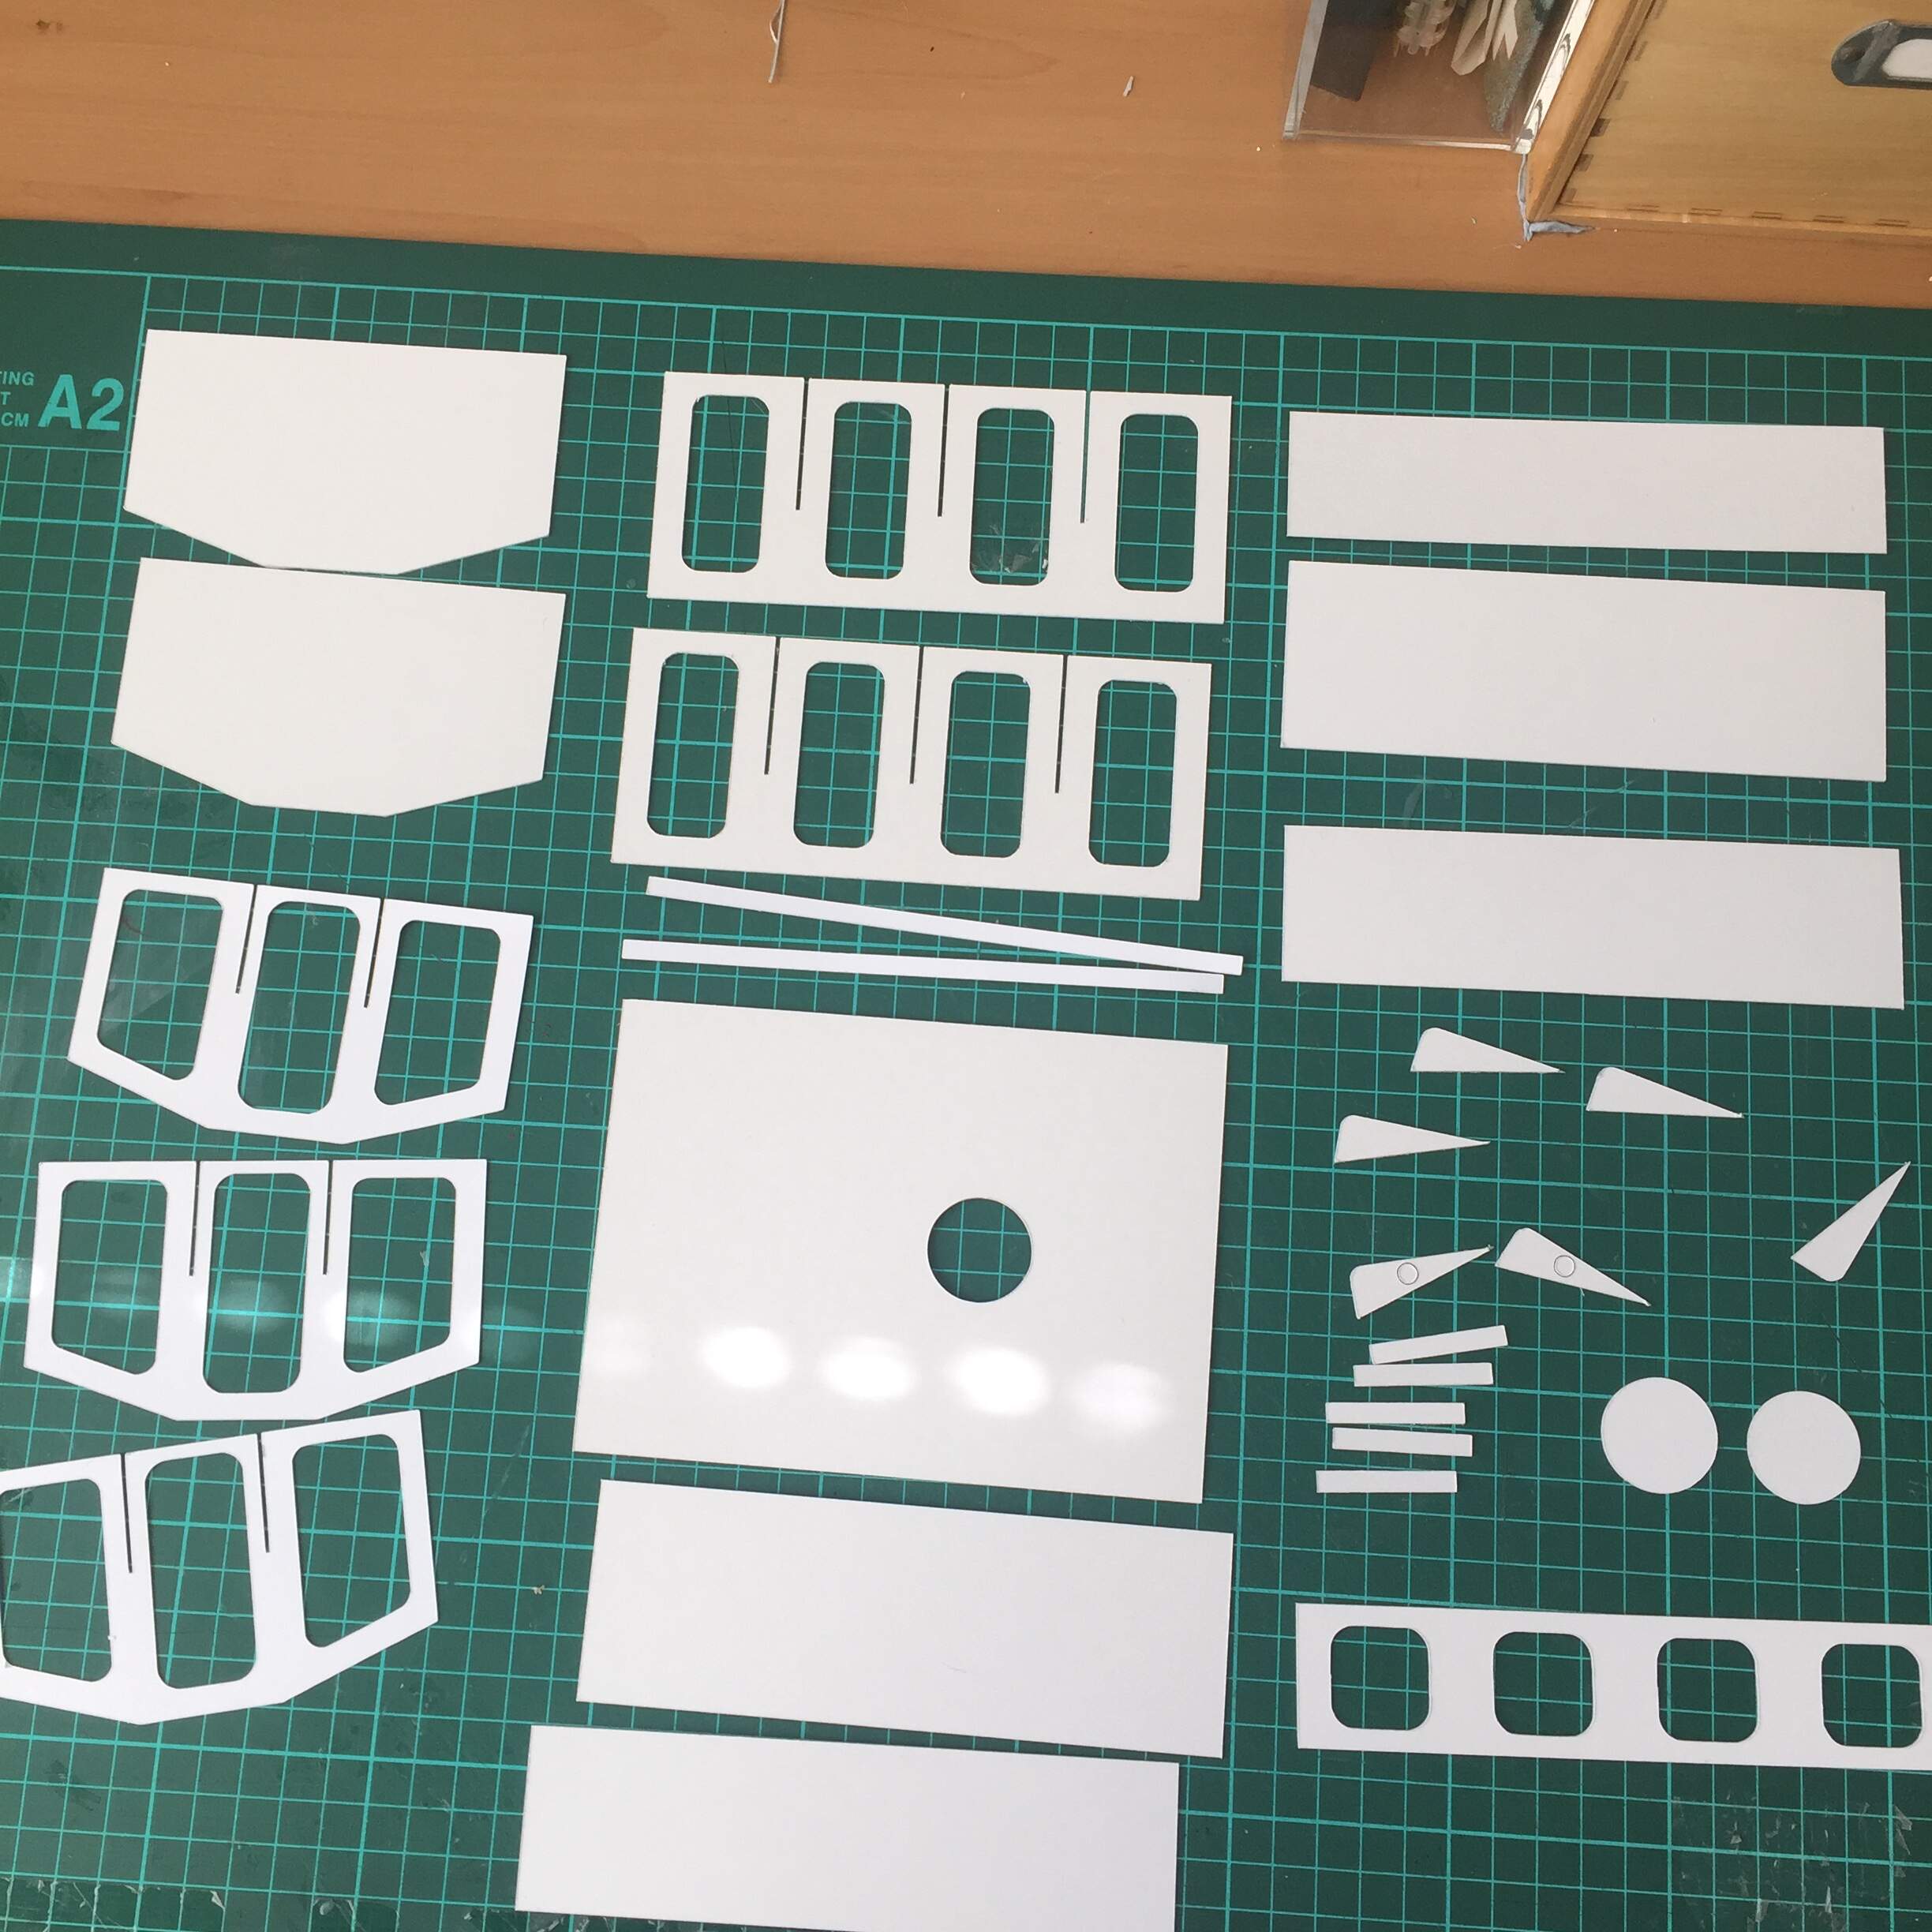
The pics so-far in this build are using 0.5mm cardboard as a mockup for size, fit and accuracy. I will show the styrene cuts as I make them.
I’ve seen this Cricut stuff advertised at Michael’s craft stores, but never investigated it. I’m guessing the design software comes with the machine, which you would install on your PC, and then the machine is connected to your PC? Or is it a total standalone device?
For your build, and since you’ve already done a mock-up, maybe you could just keep the tank baffles in cardboard, and then just make the tank exterior out of styrene? The mock-up looks good, and I don’t think anyone is going to know if the interior tank parts are cardboard!