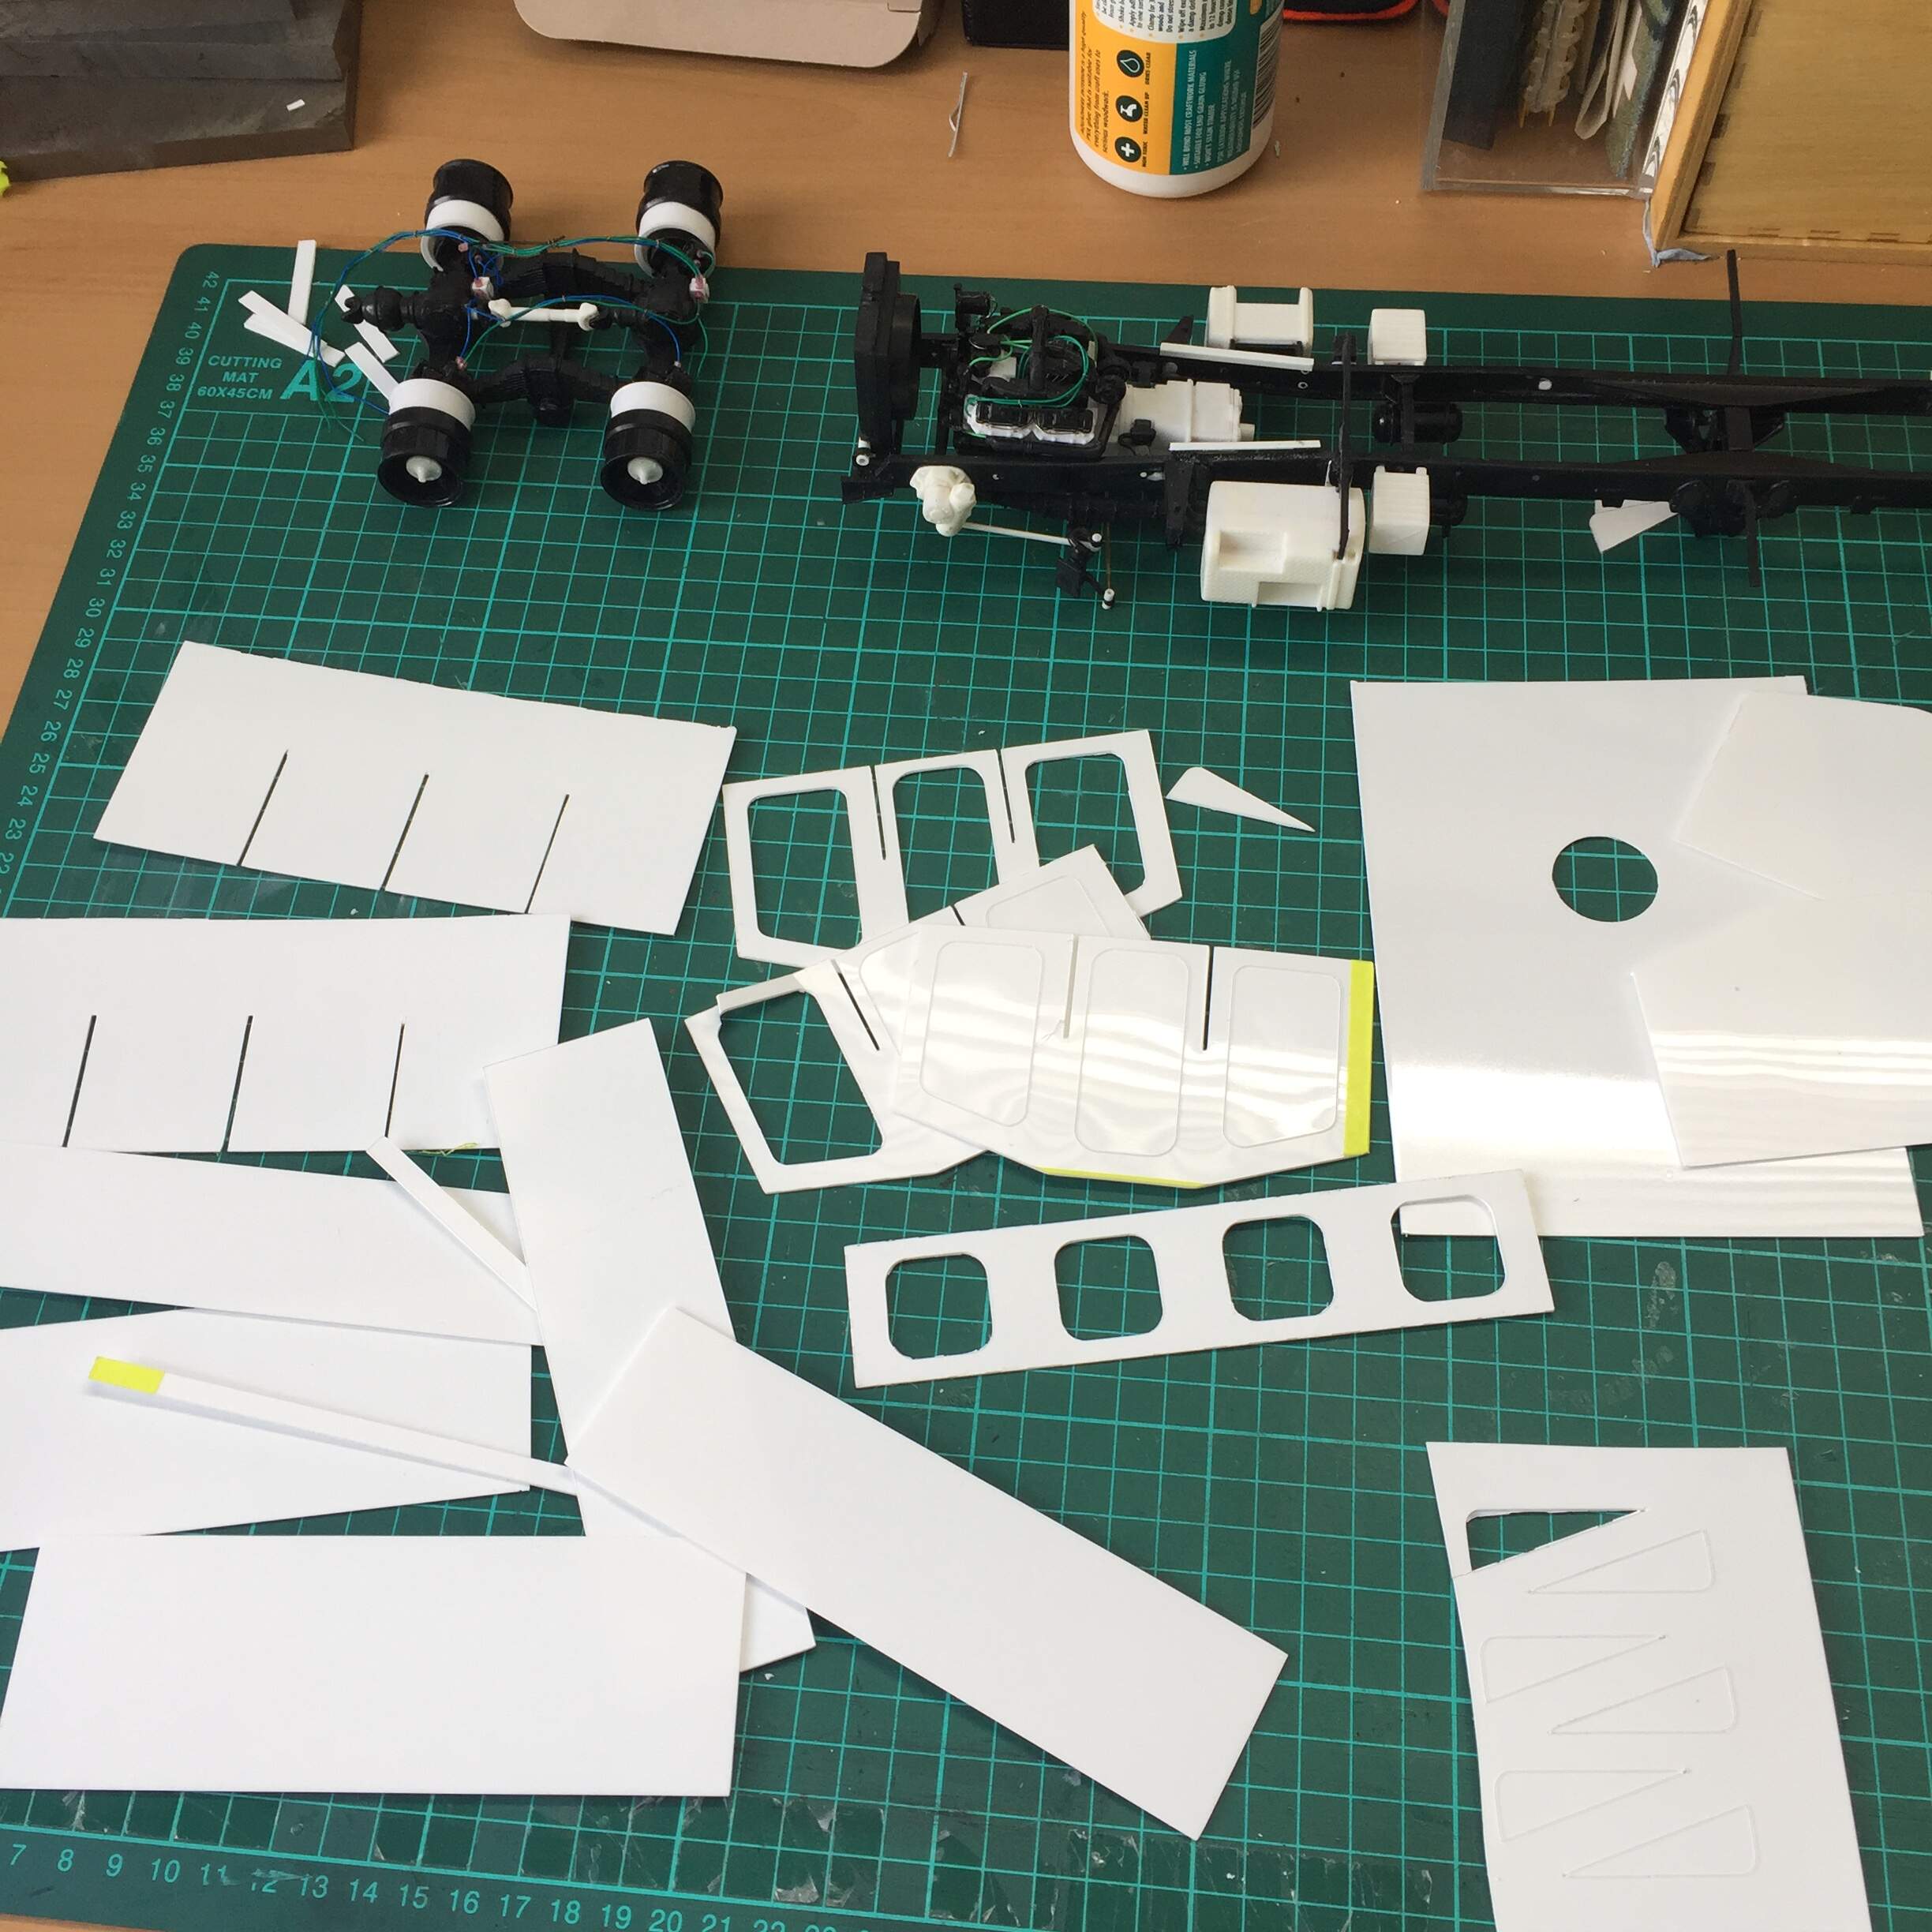
Hi Tim, the software is proprietary and you have to be online to use it. I do the design work in Affinity Designer and then import the final image as a JPEG. The software (Cricut Design Space) then converts it to a cut file.
It apparently recognises .dxf files, but I have had little success getting files saved as .dxf to work. The fundamental thing about Design Space is that it is raster/pixel based, not vector/paths based. It recognises a shape and cuts that out.
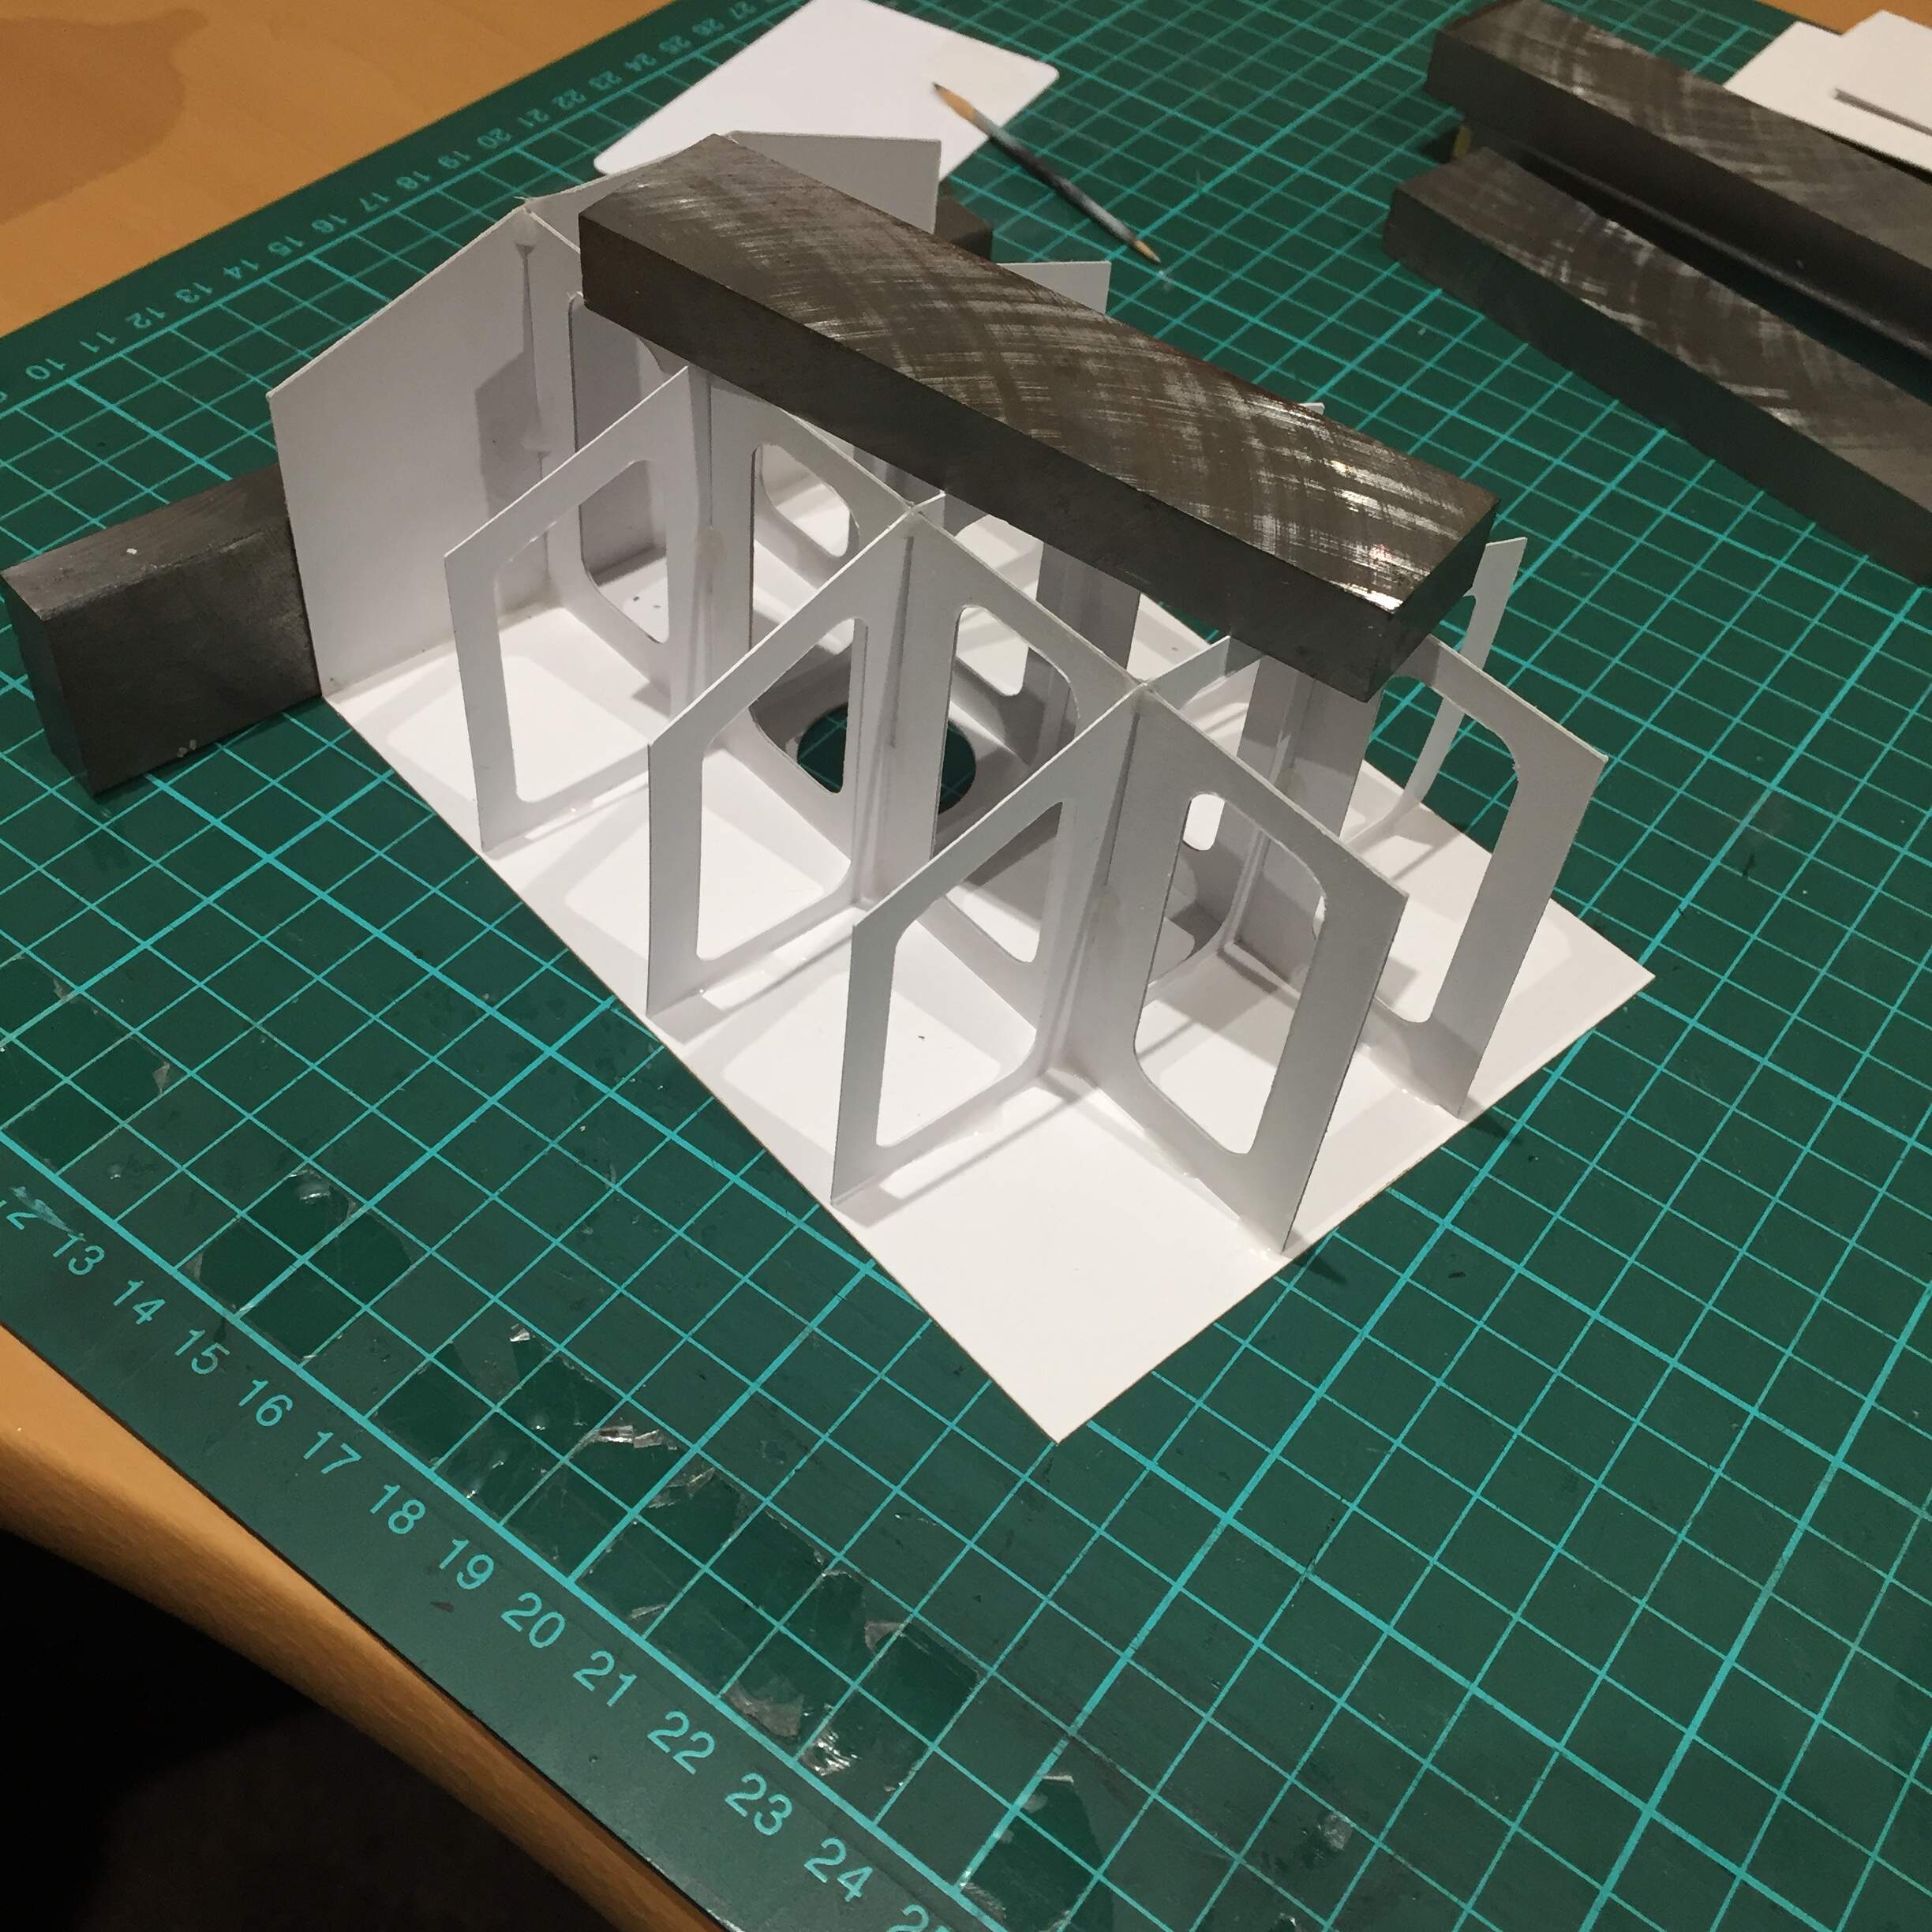
I don’t really see any benefit in having the baffles in cardboard. I want the strength glued styrene will give me.
Thanks for the info on the Cricut stuff. Sure, the styrene will give more strength; the baffles looks great in cardboard! Looking forward to more posts!
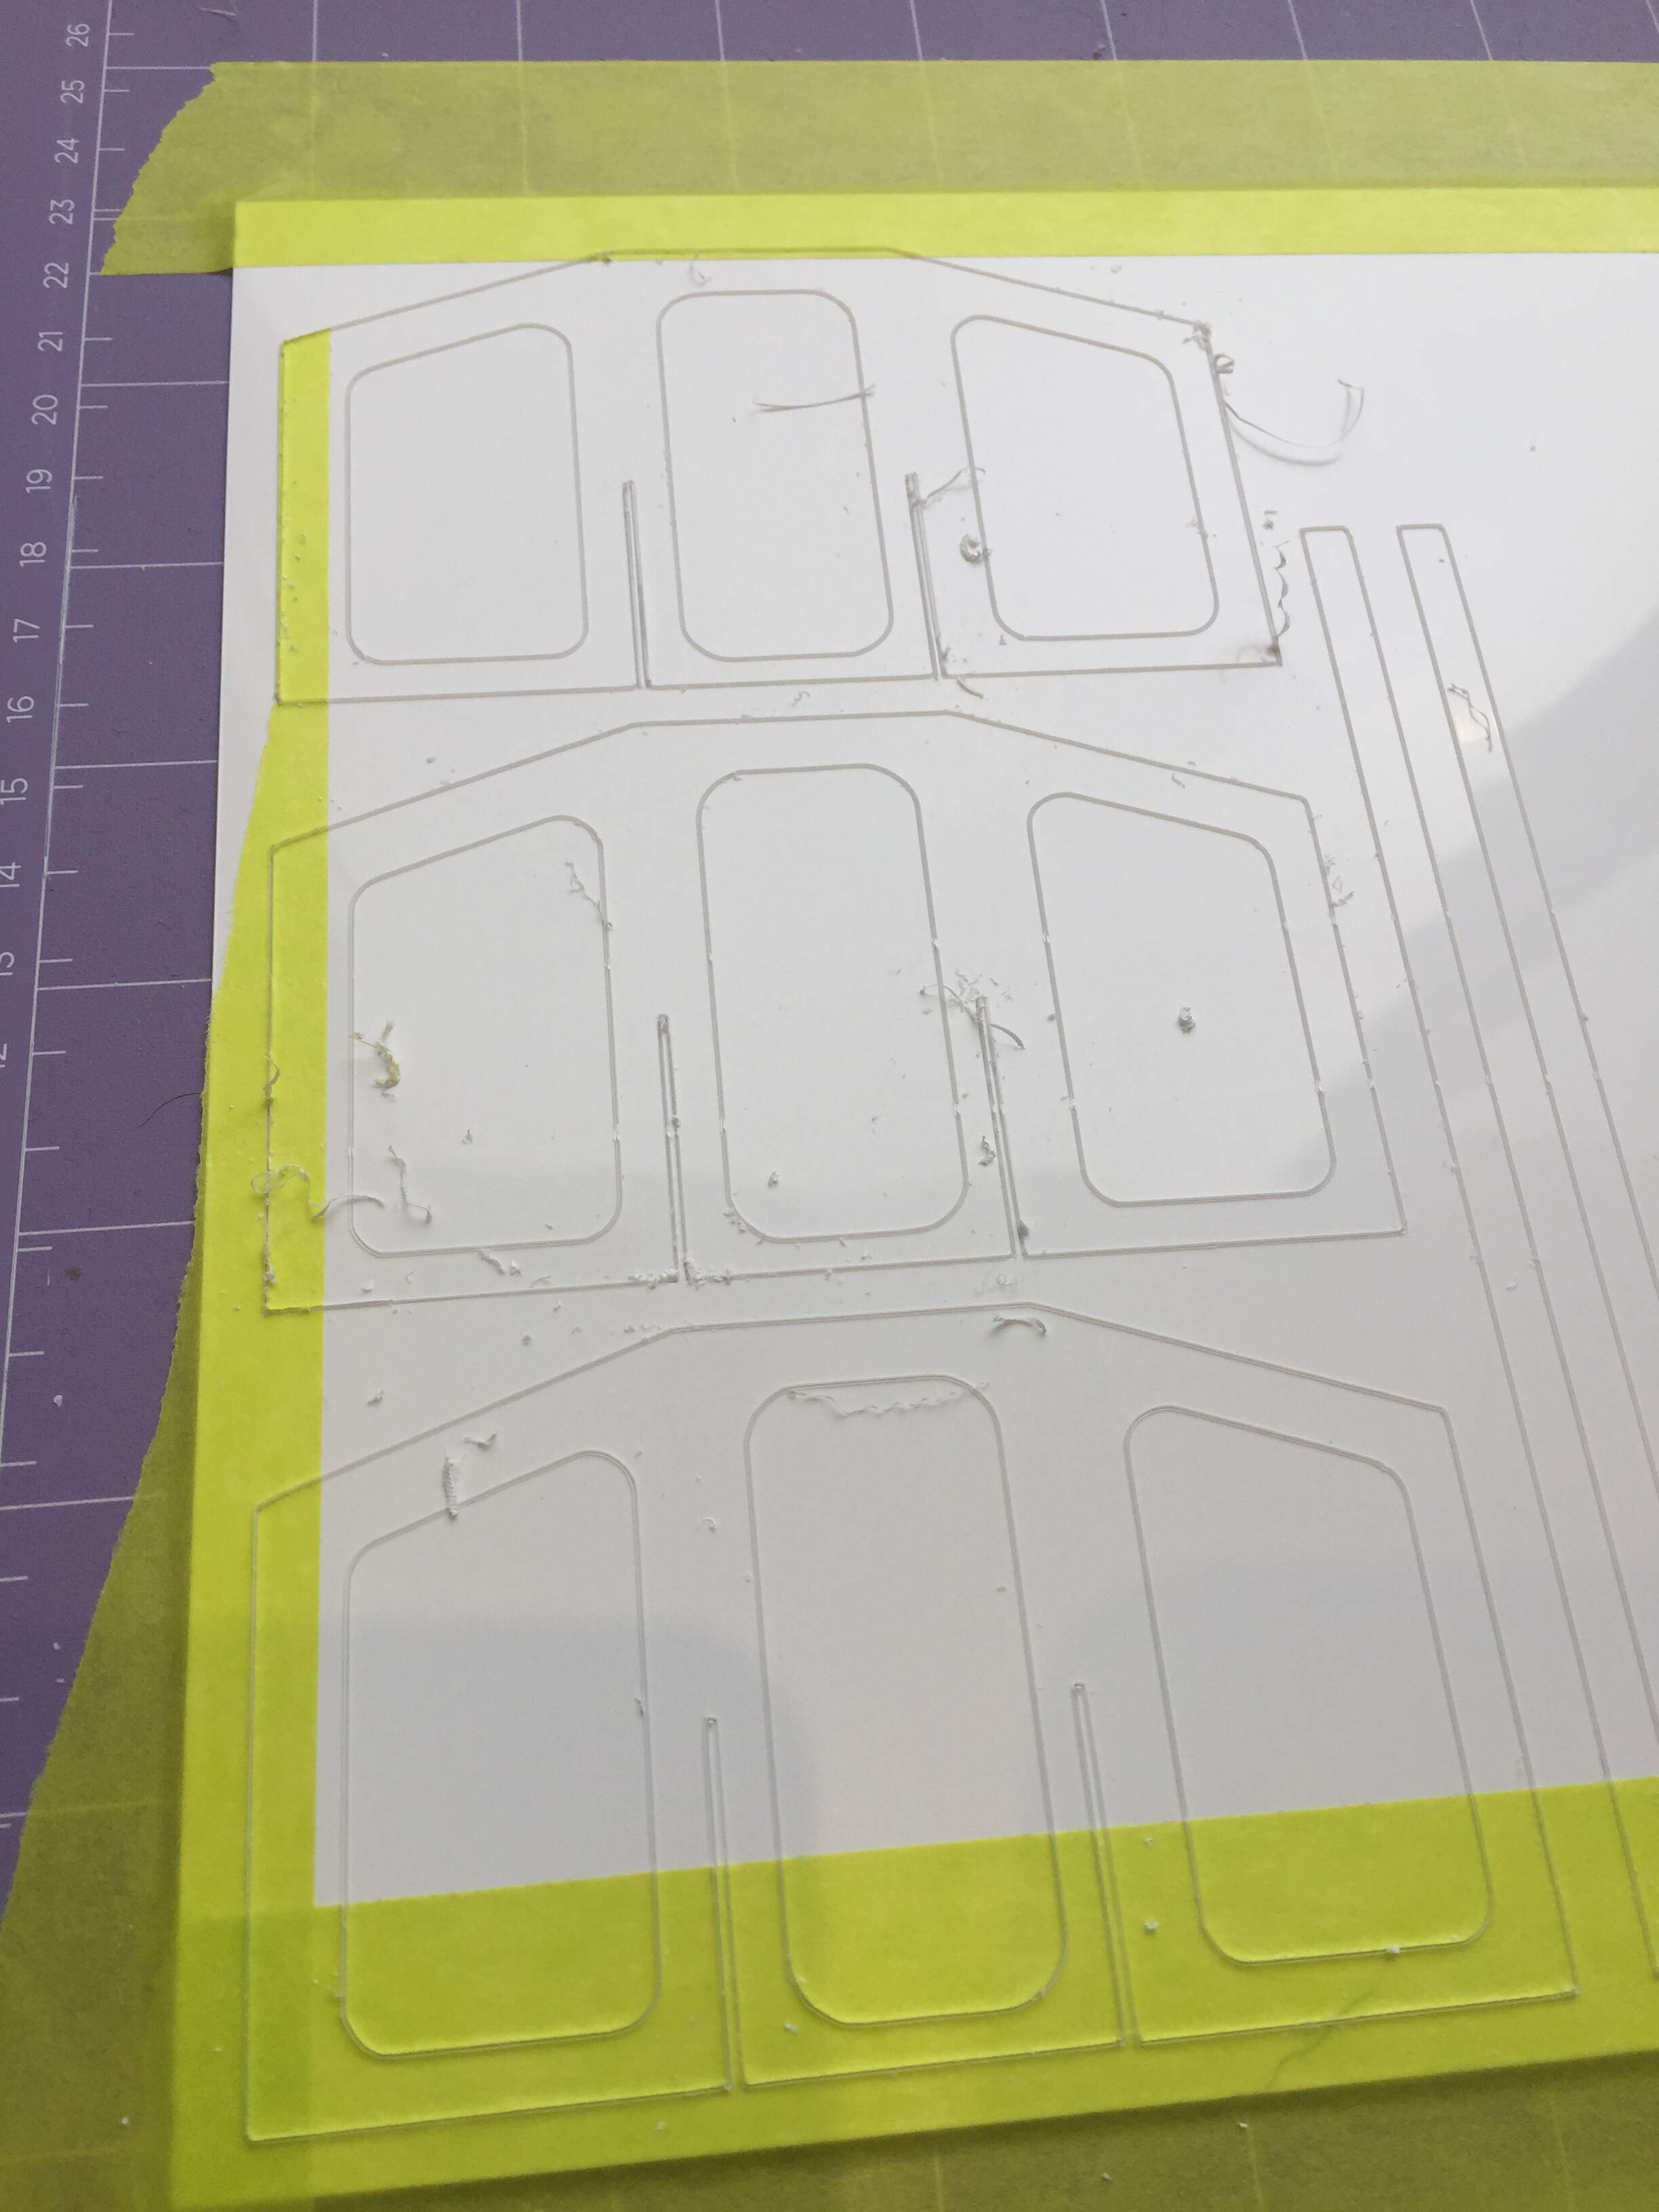
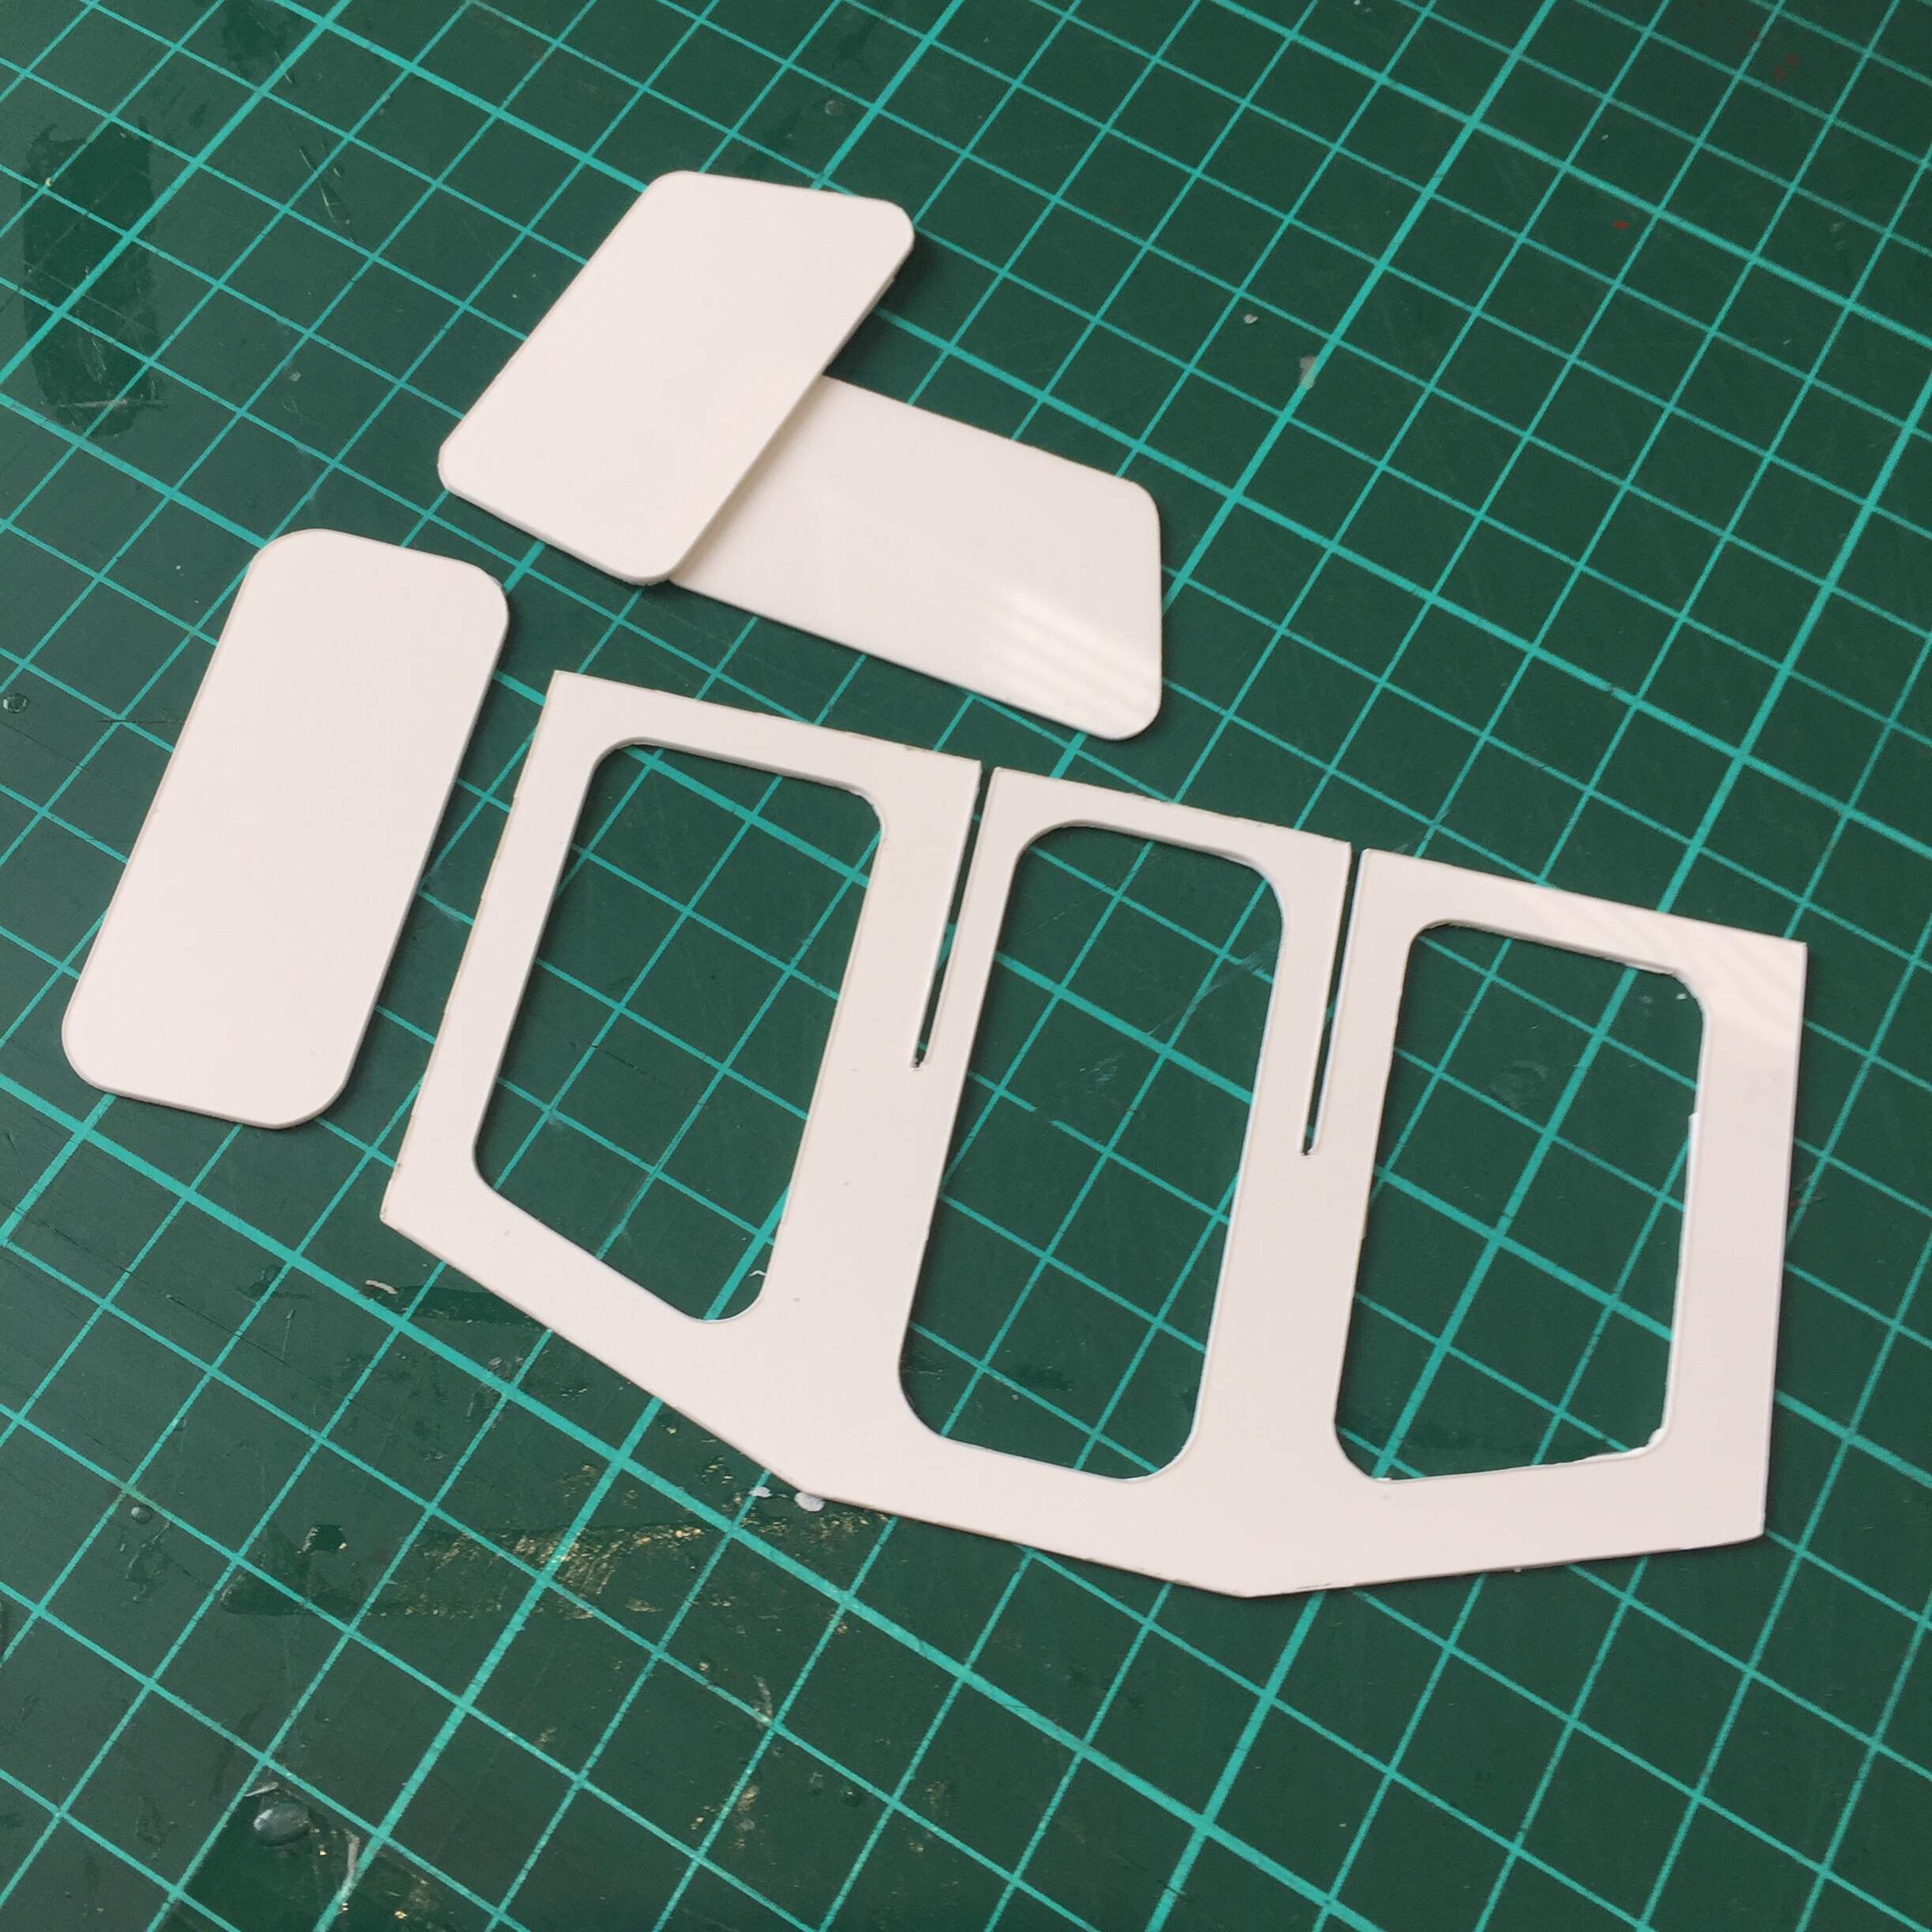
I didn’t have any 0.5mm styrene, so I used some 0.75mm sheet. I adjusted the file accordingly and ran it through. It did not cut all the way through, but it was about 90%. This is plenty to bend and snap most parts out. The internal shapes were a bit trick to snap out, so I’m leaving them in where they won’t be seen. A quick clean-up of the edges and I can start gluing!
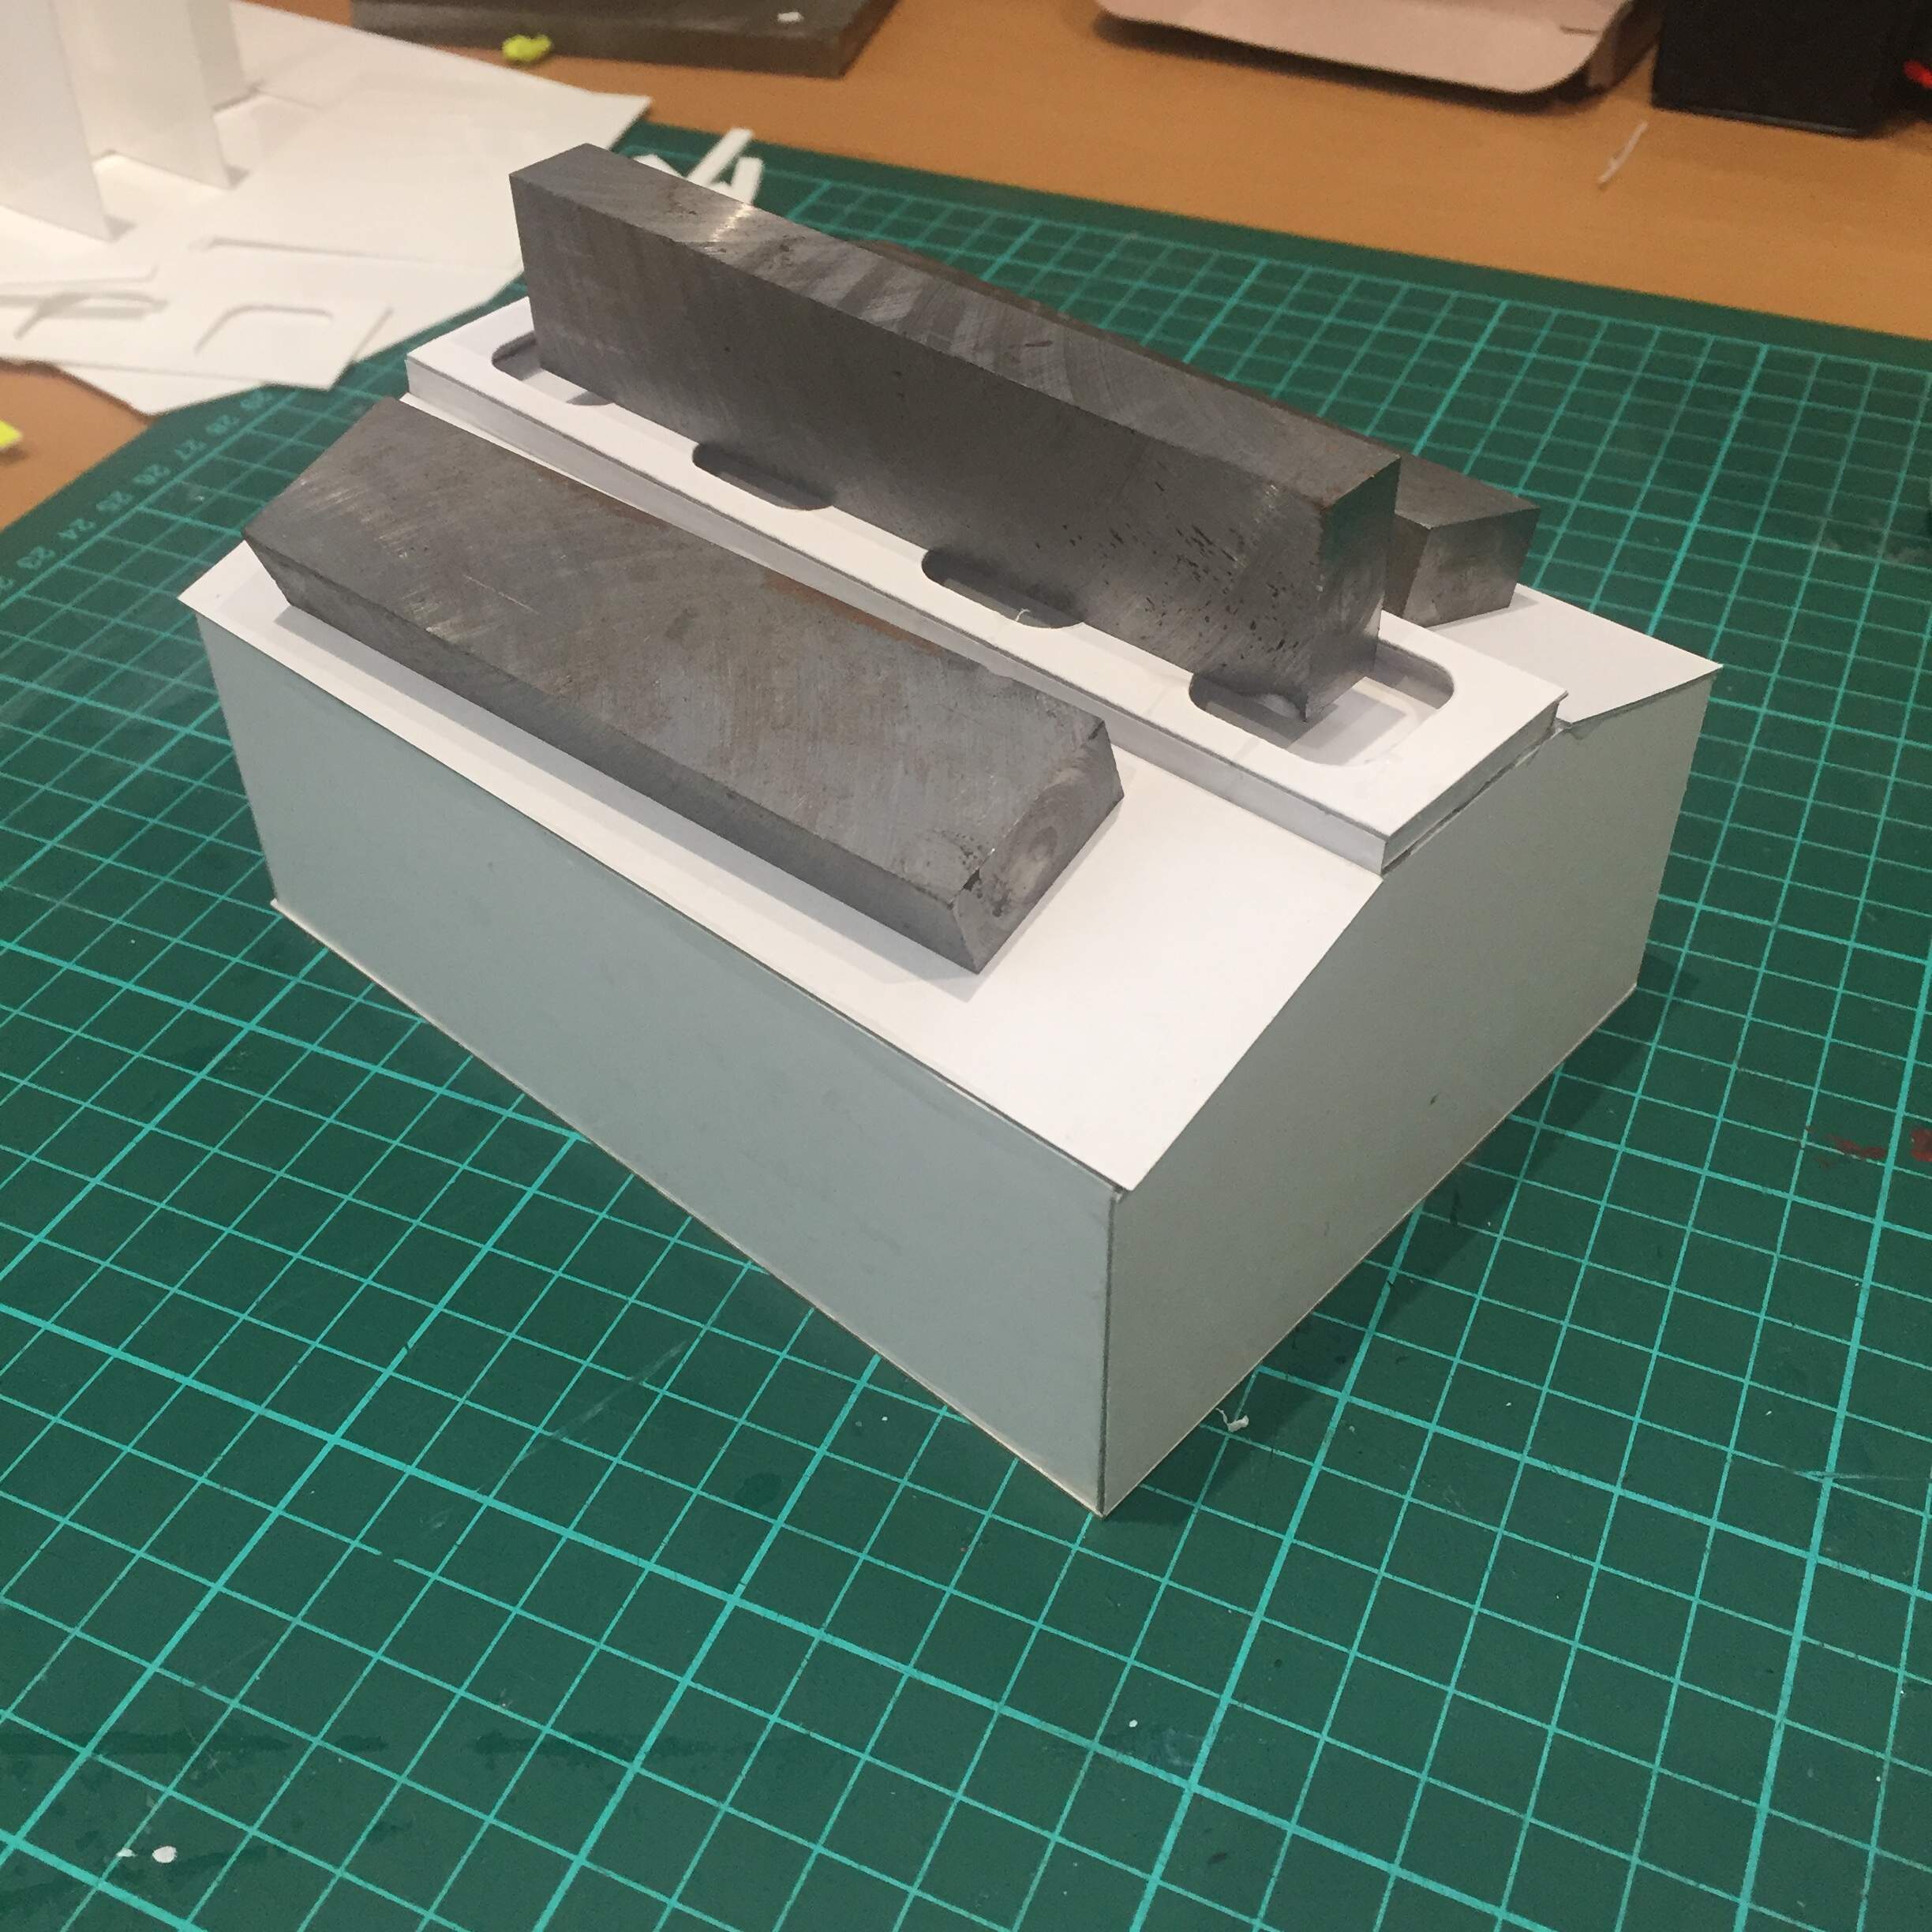
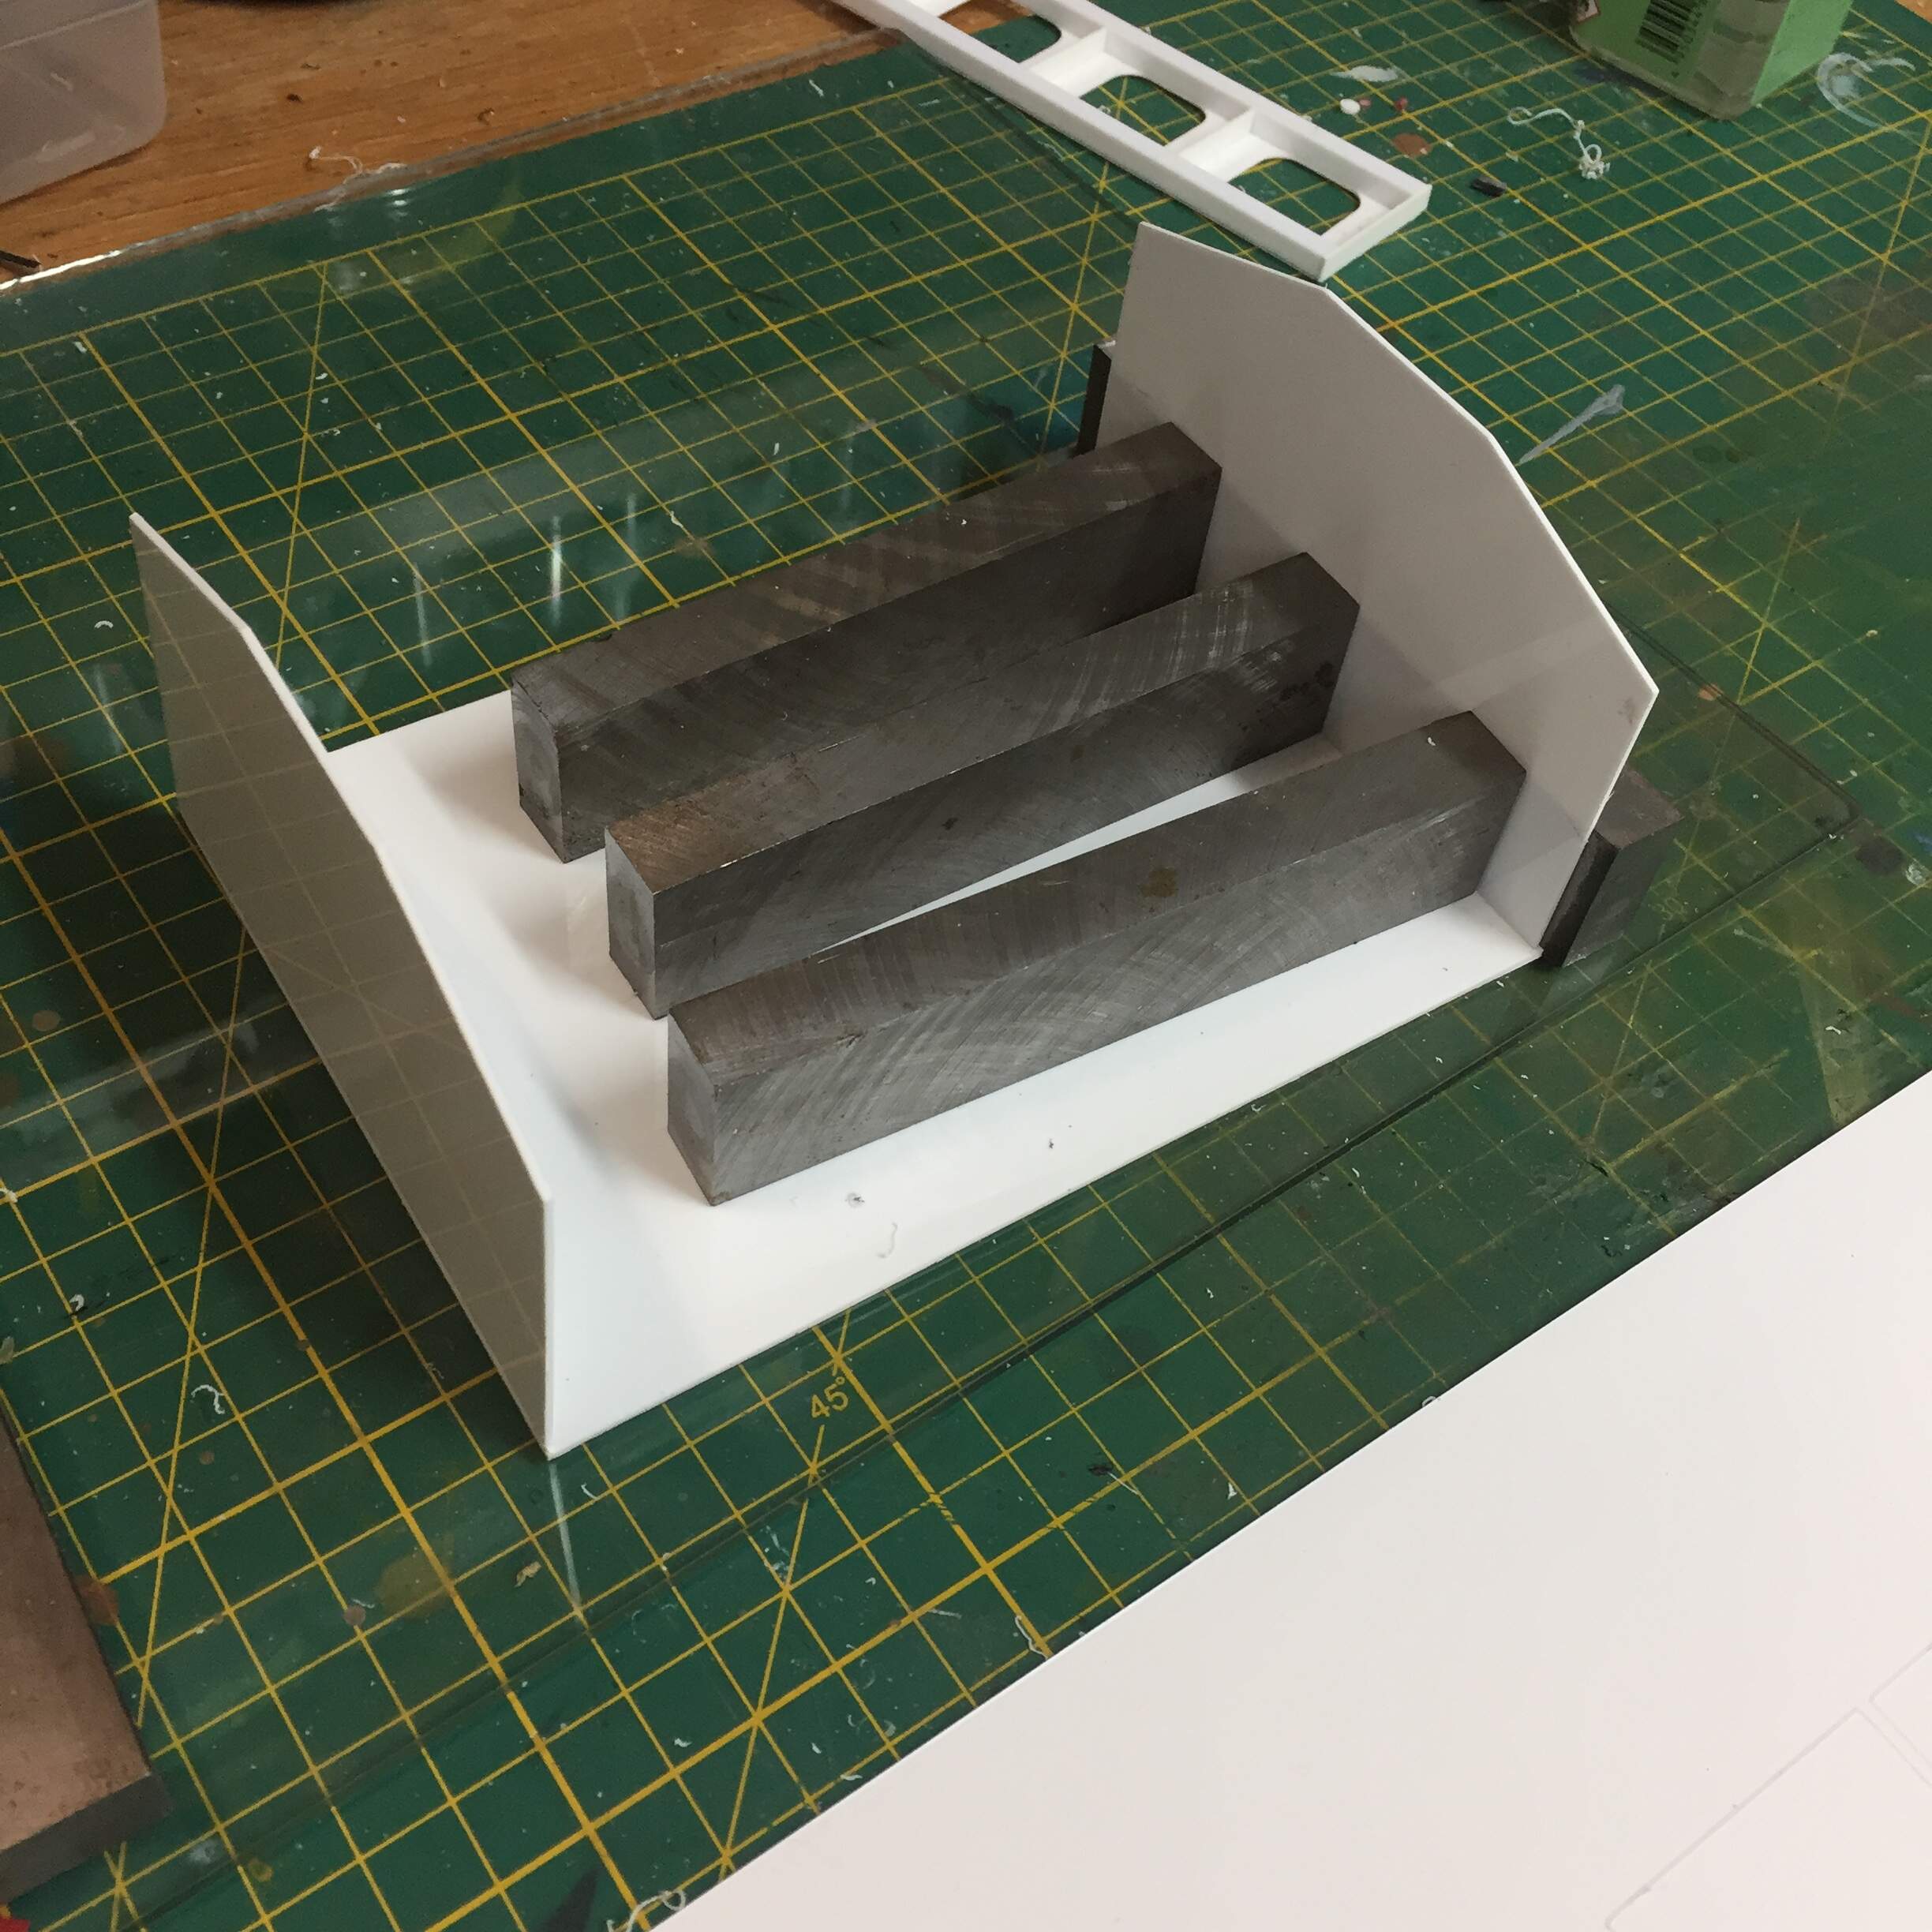
O.K. So … Plan A has not worked. The 0.75 mm styrene distorted quite a bit and my wayward gluing meant that when I went to put the tank sides on, they were bowed. I think I have way over-engineered this. Ah well, it is a good exercise in the finding out the limitations of cutting with the Cricut. I am not sure now just how useful it will be.
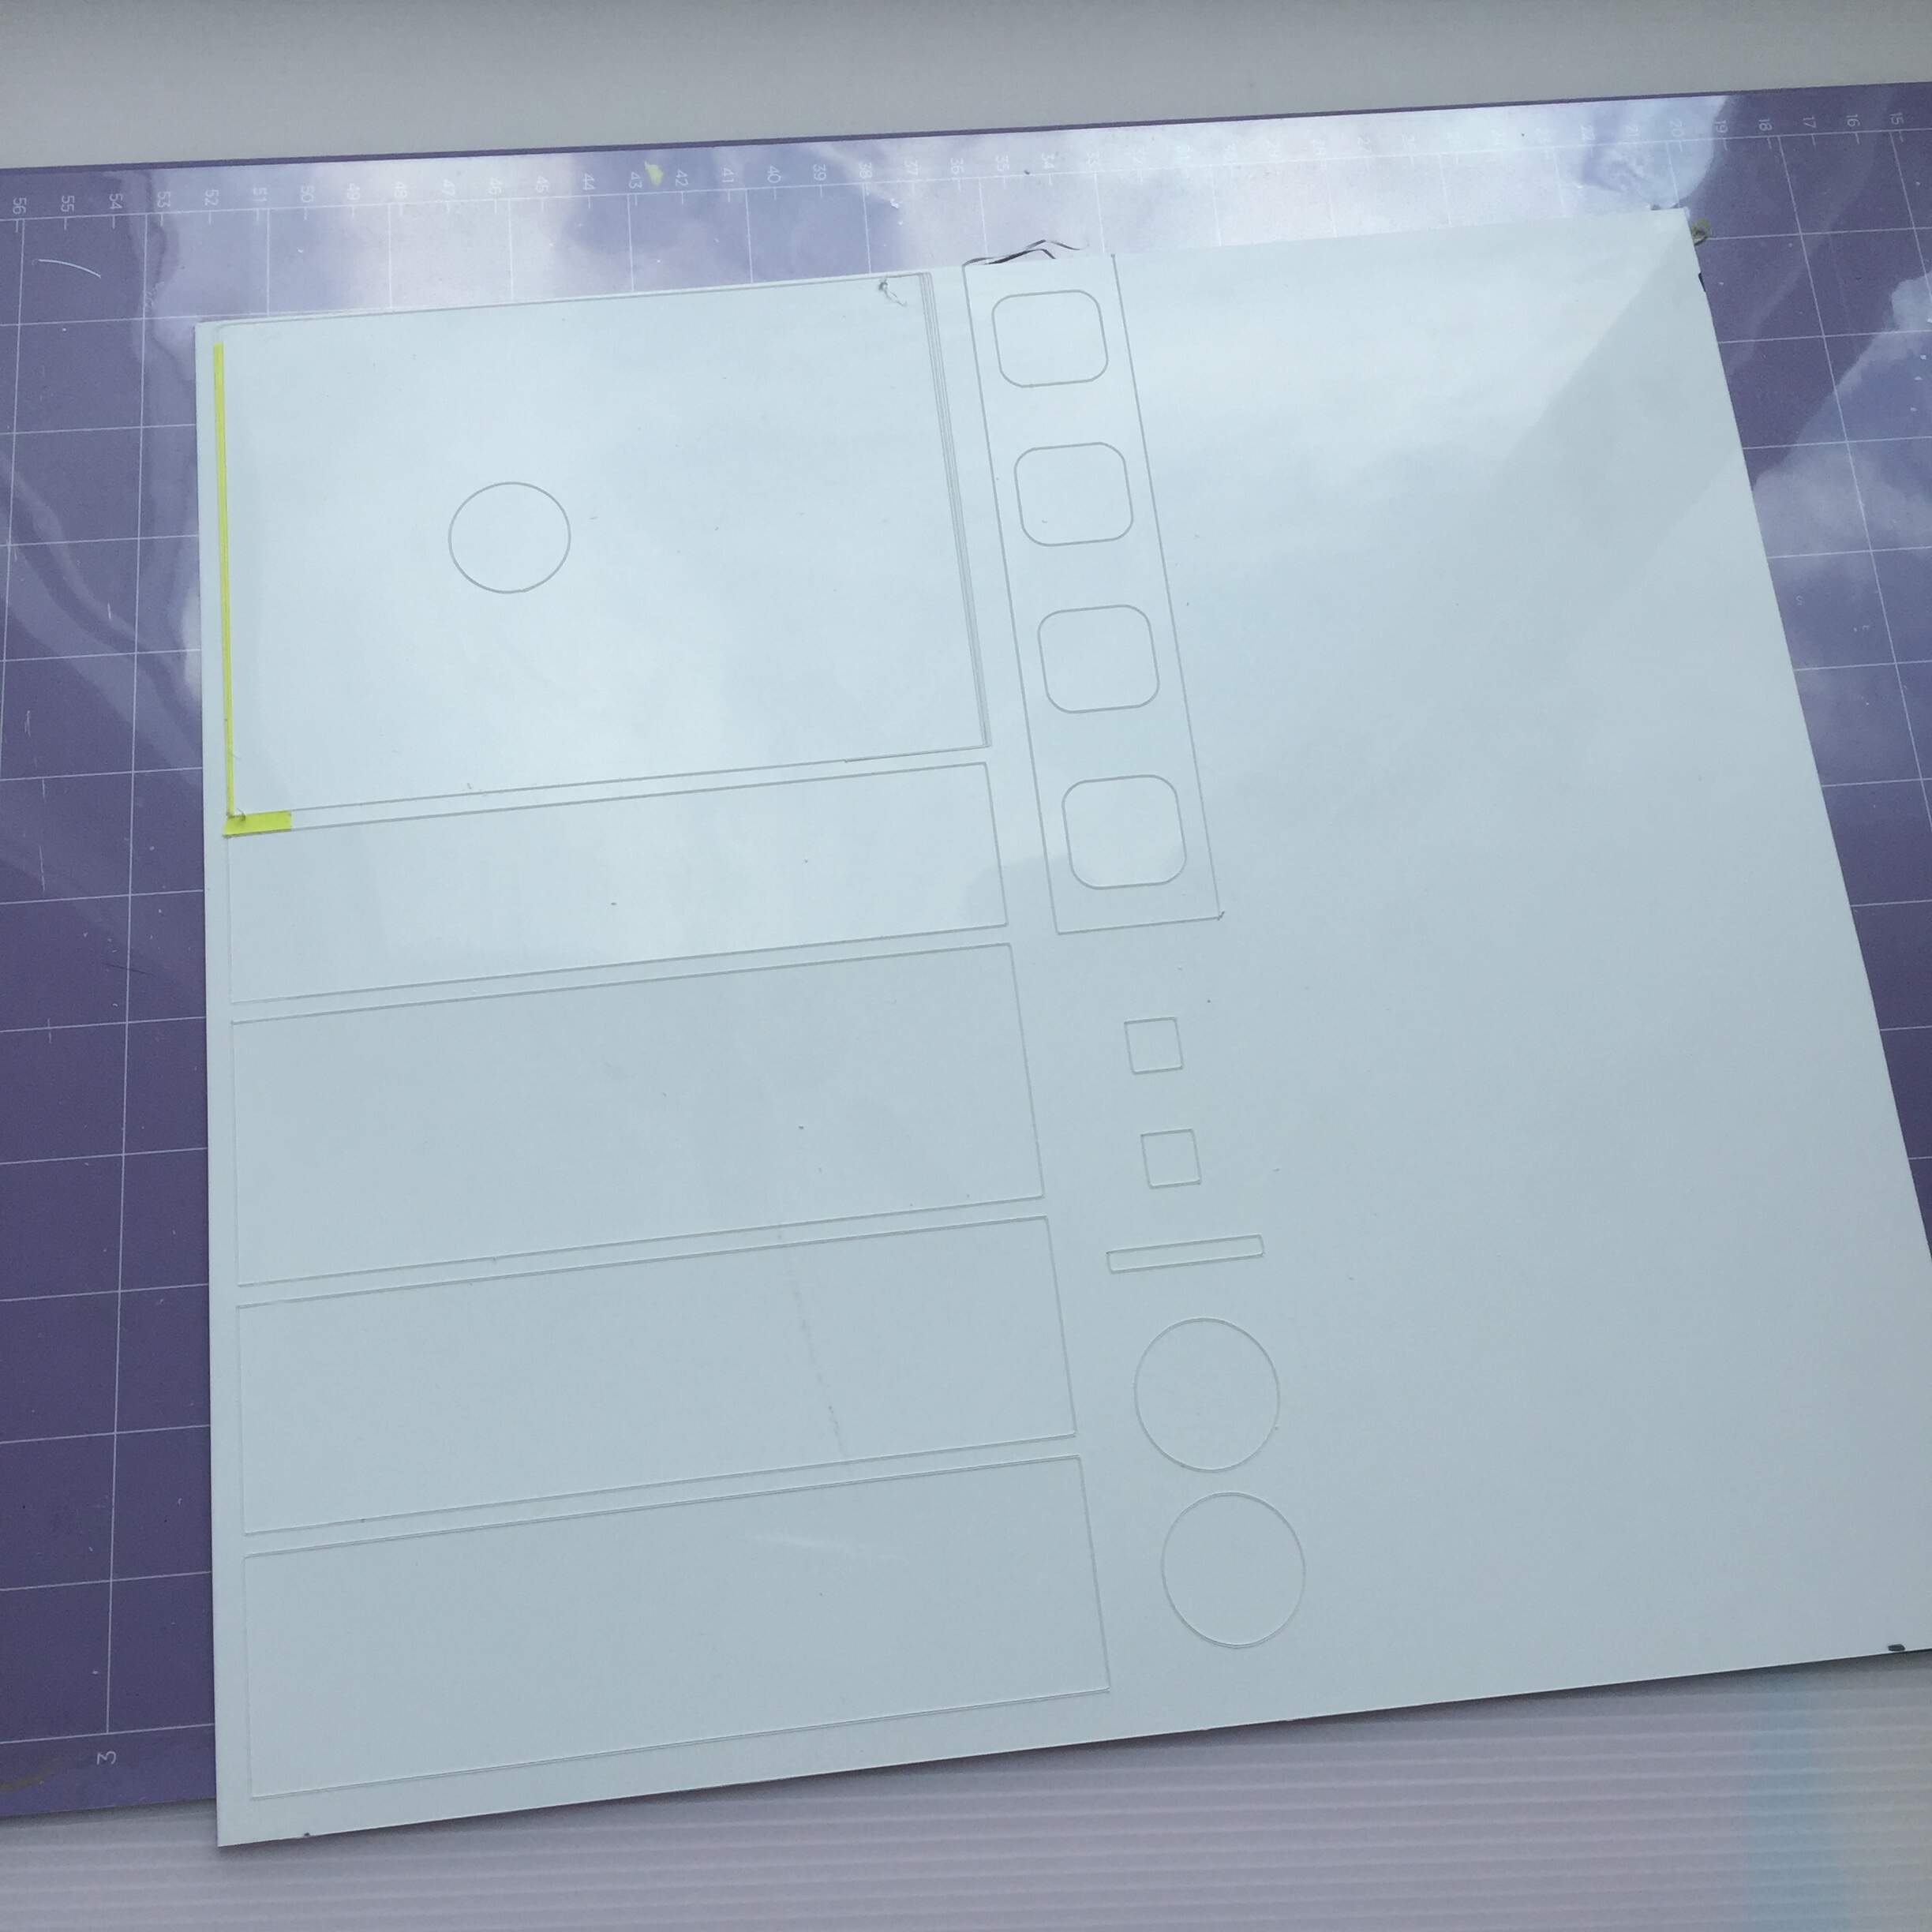
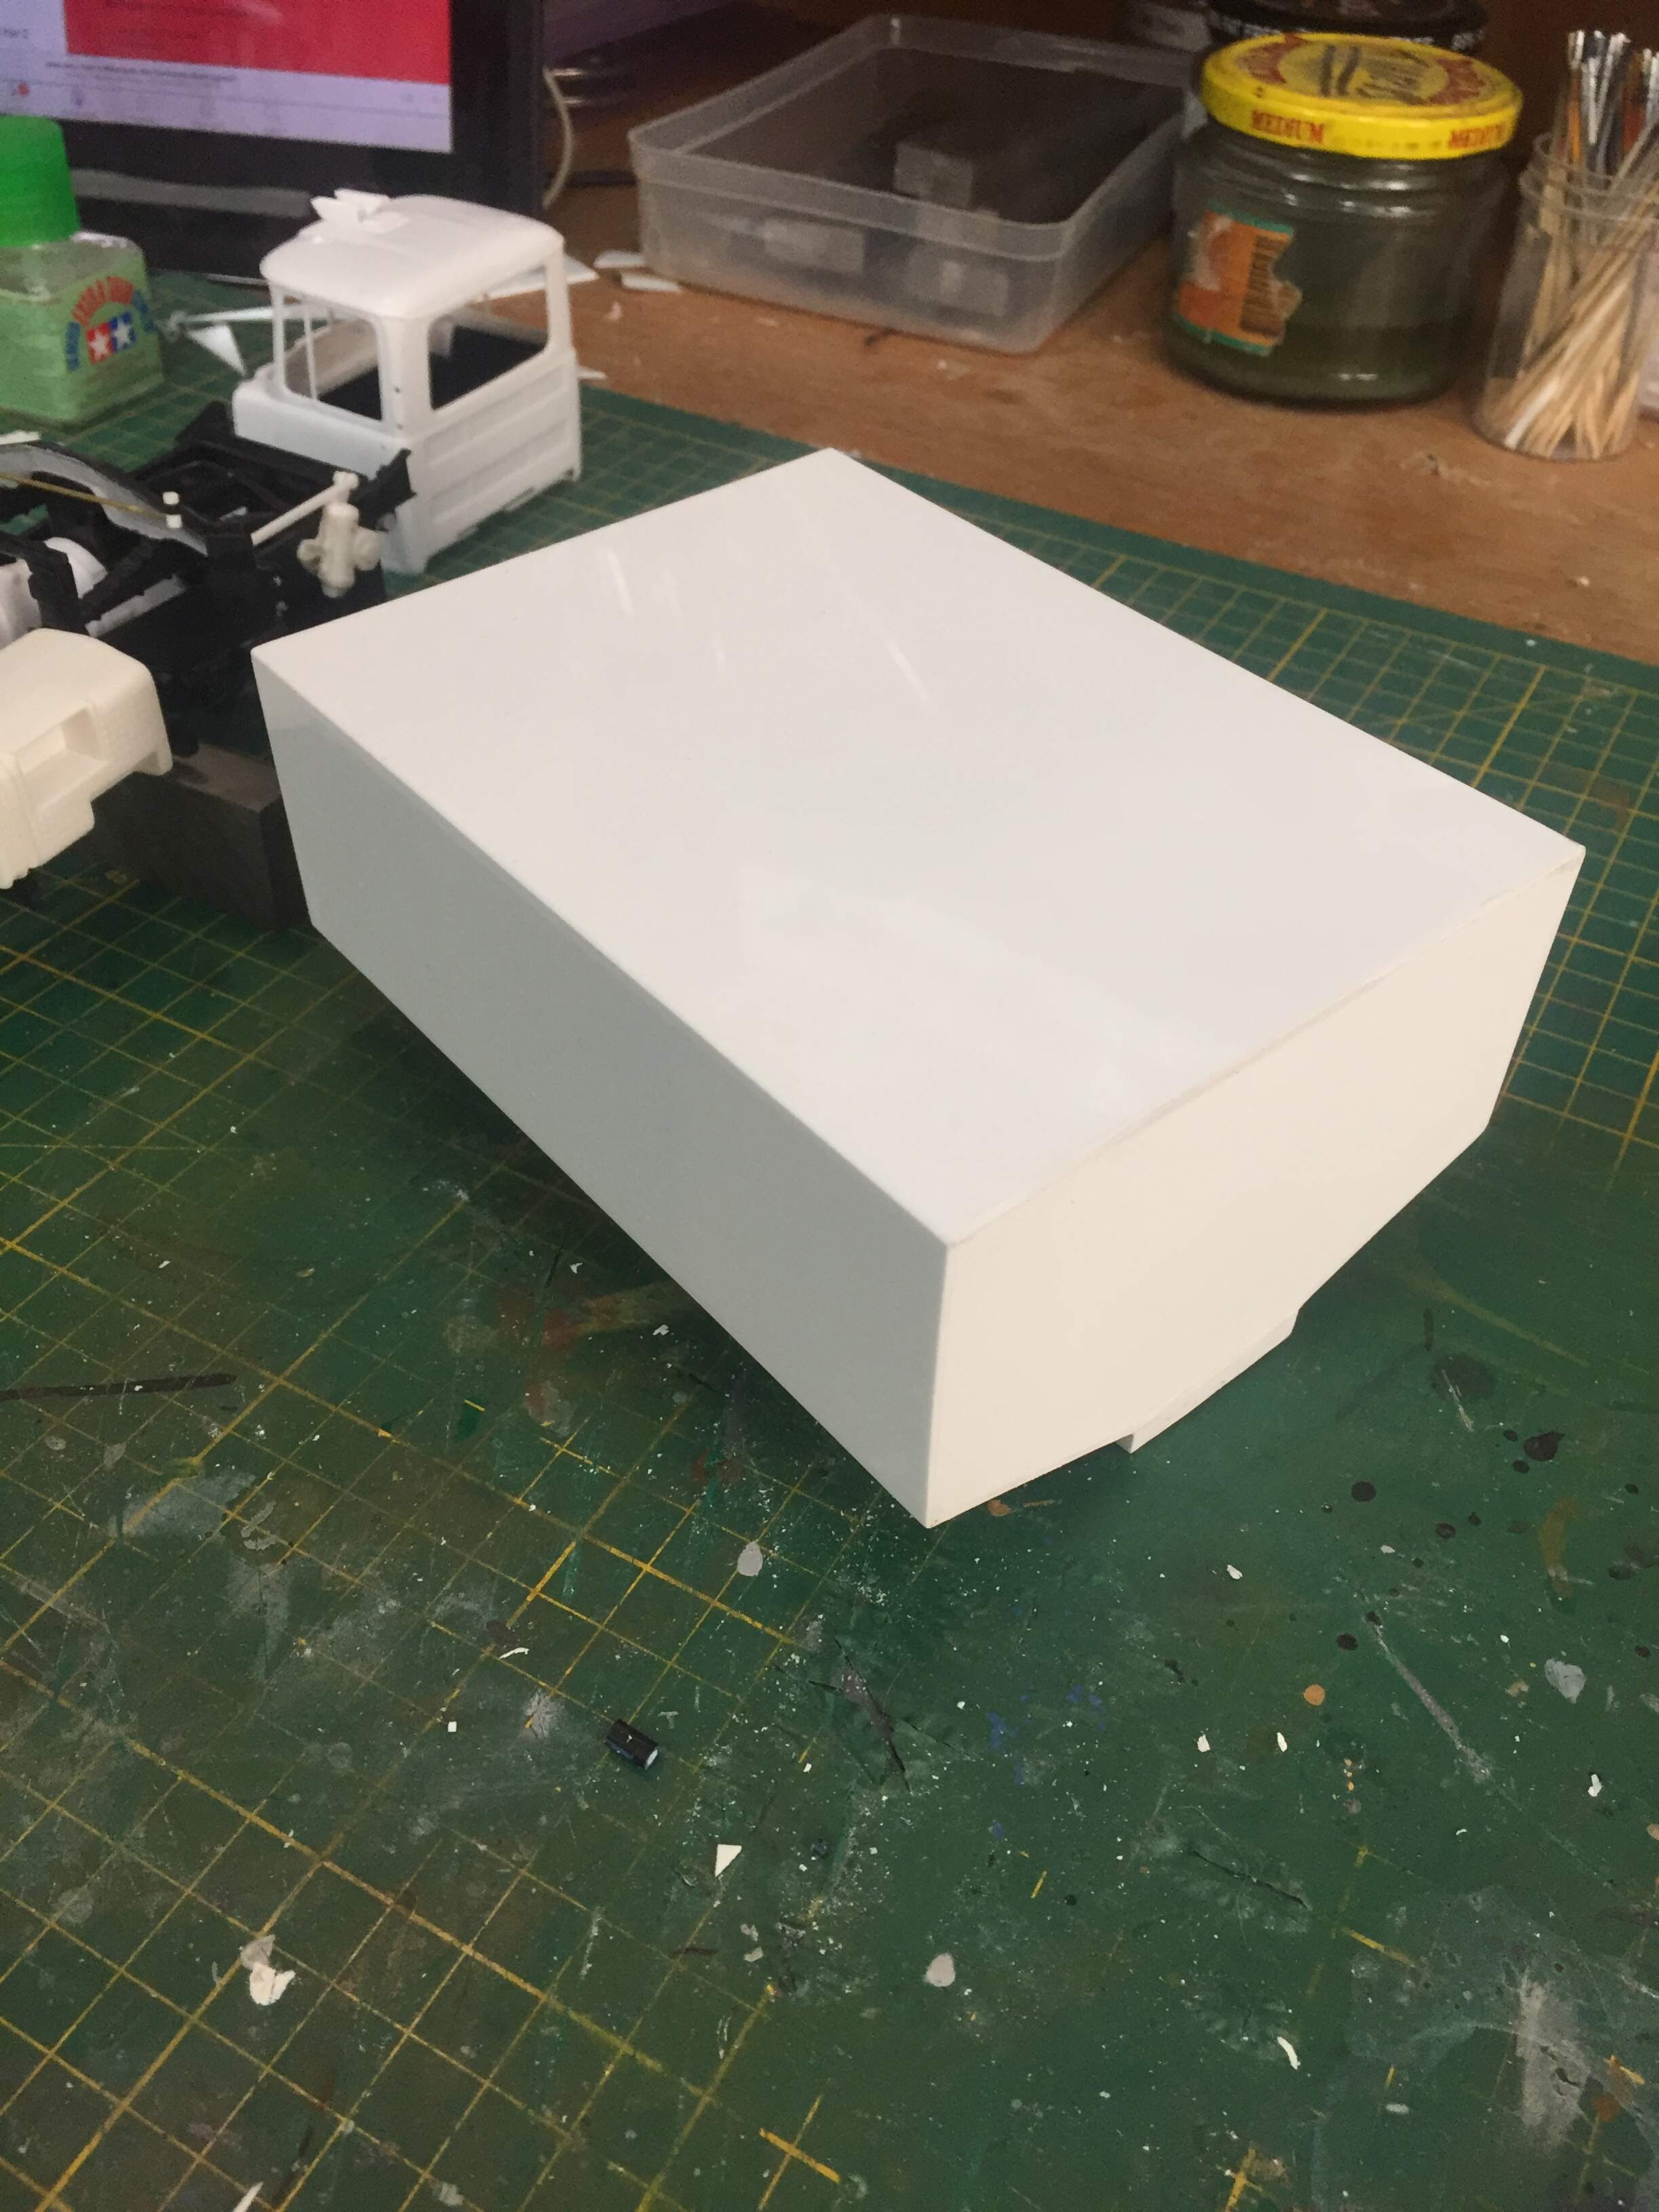
Plan B: Make a basic box out of 1.0 mm styrene. Use some basic shapes and a shallow cut on the Cricut, and then cut them out by hand. This might seem like a complicated way to make rectangles, but they are all very accurate. Something I have huge trouble with when measuring and cutting myself.
I figure it is mainly because the Cricut machine is designed to cut cardboard, and cardboard does not tend tend to bow like styrene does. Bear in mind that the machine made a bunch of cutting passes on one side of a styrene sheet, with considerable force. With the lighter cut, the styrene sheet stayed flat.
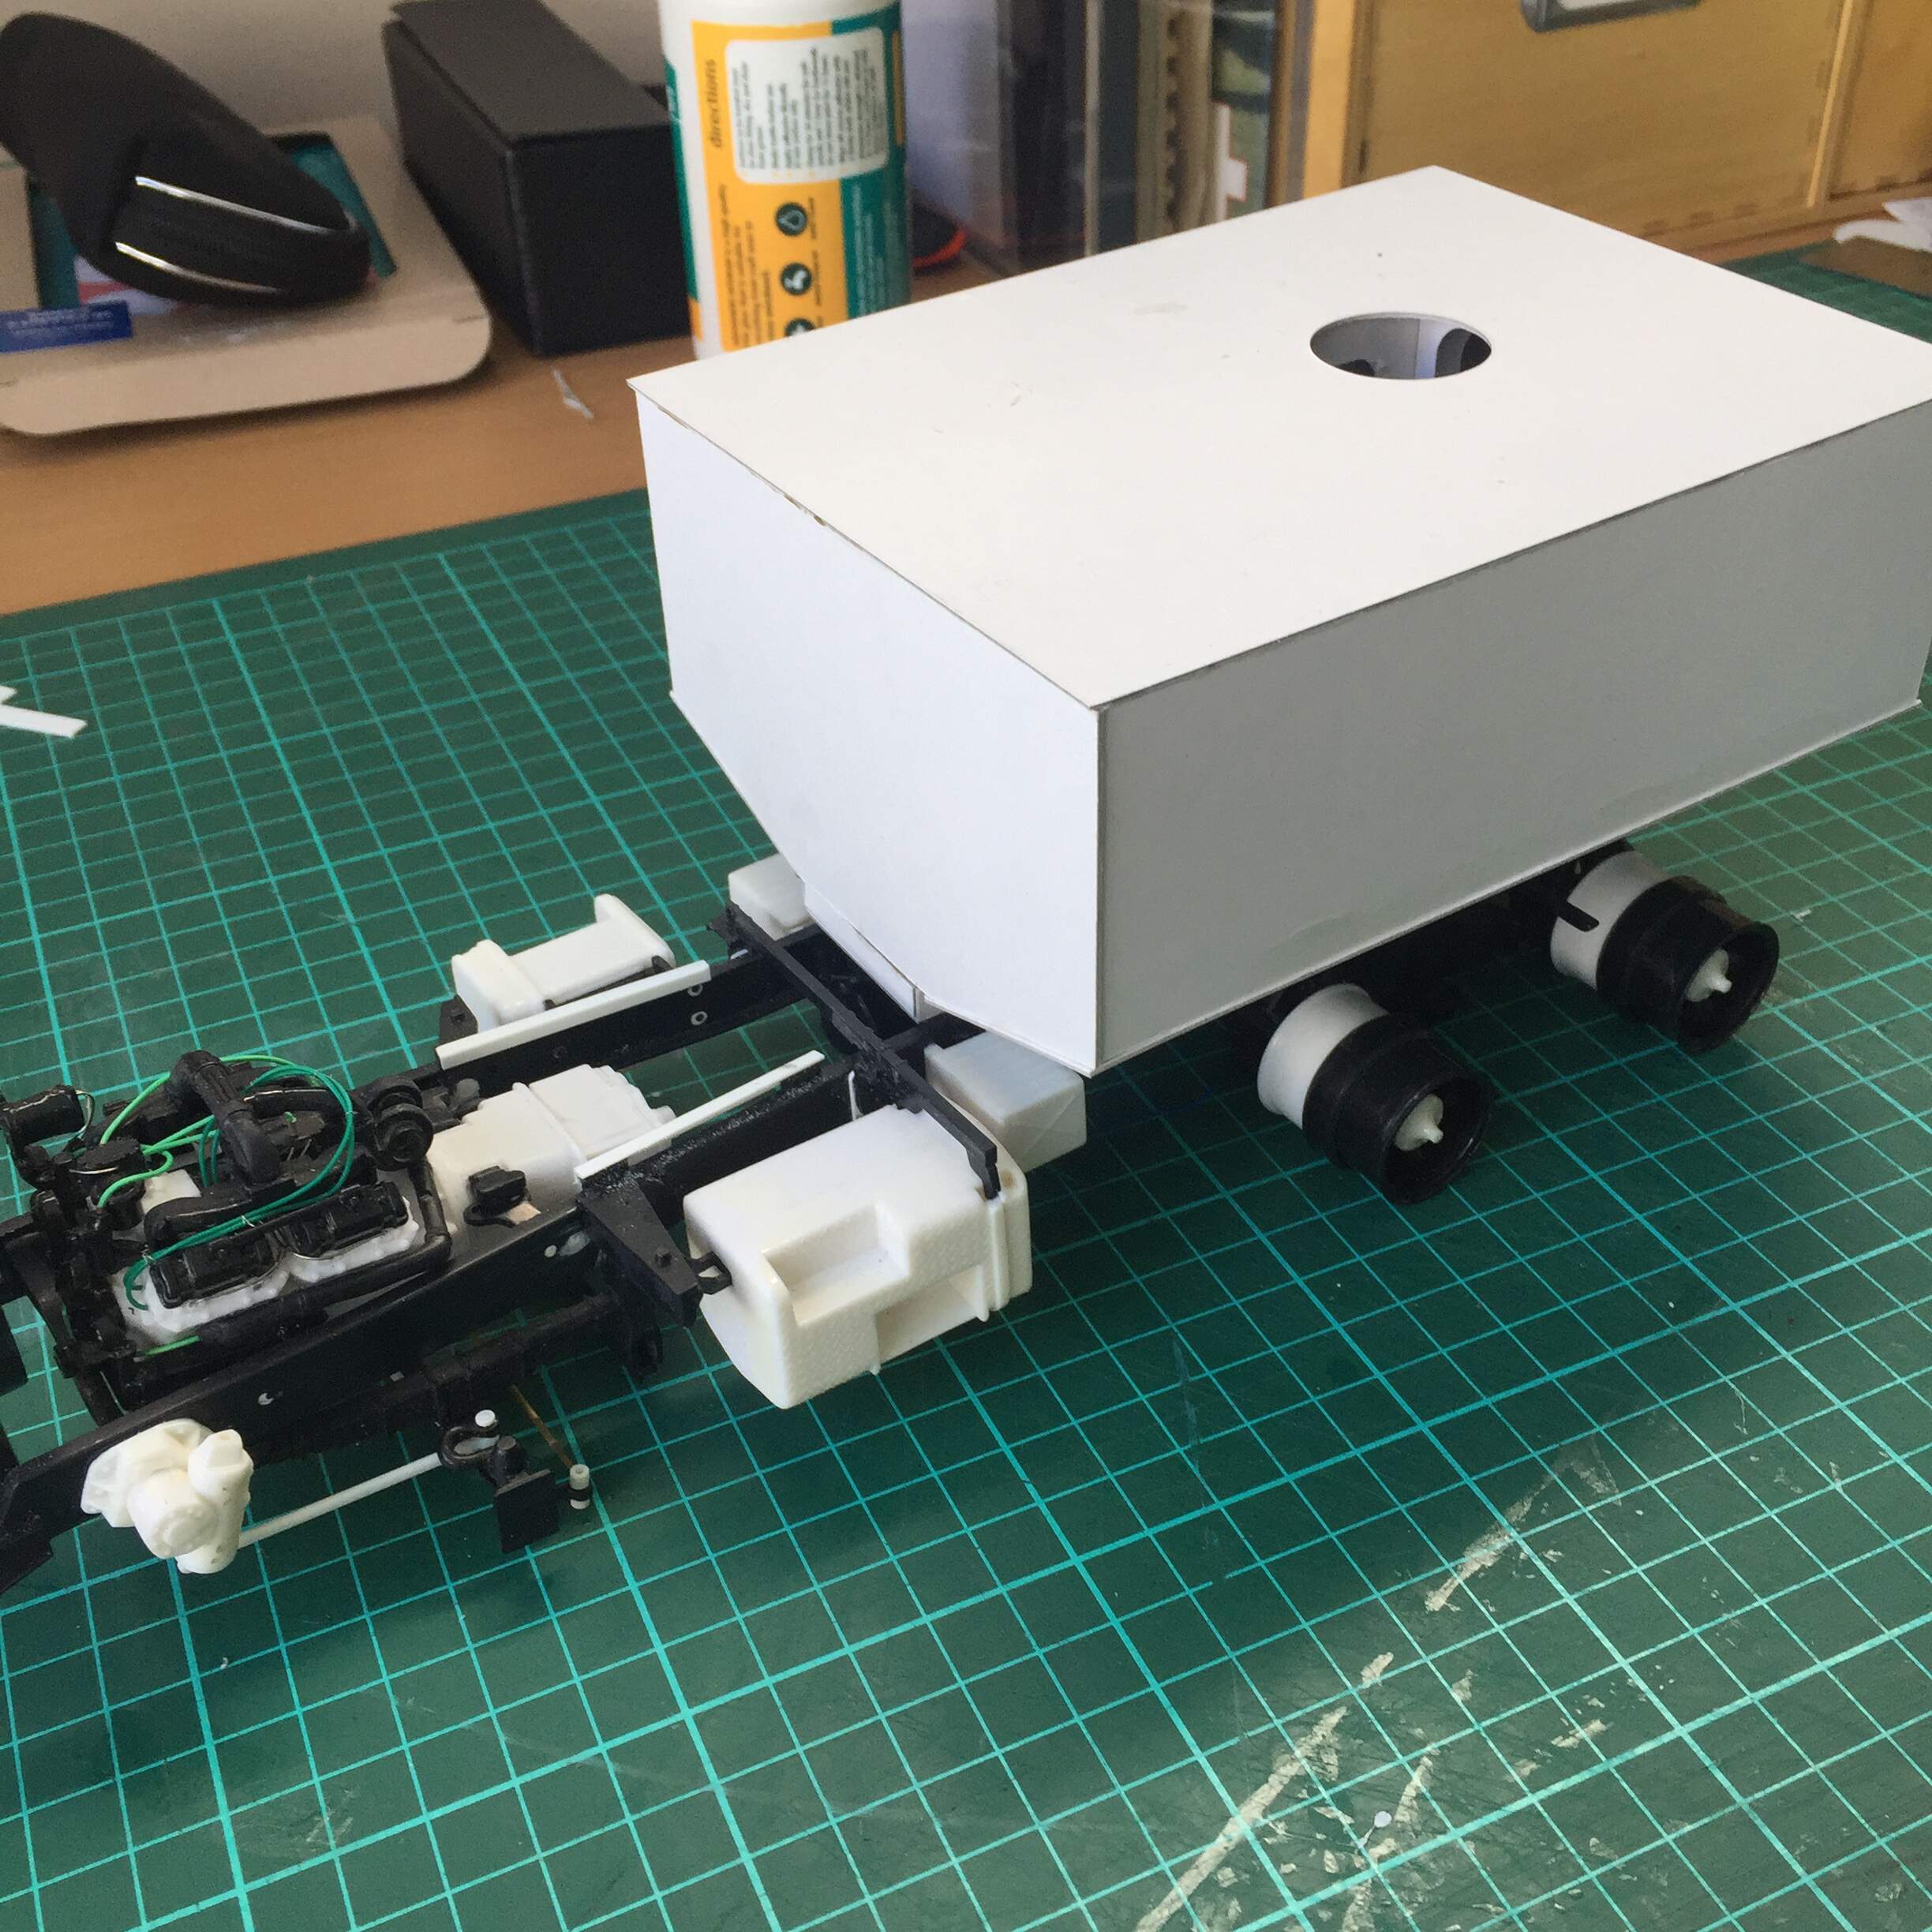
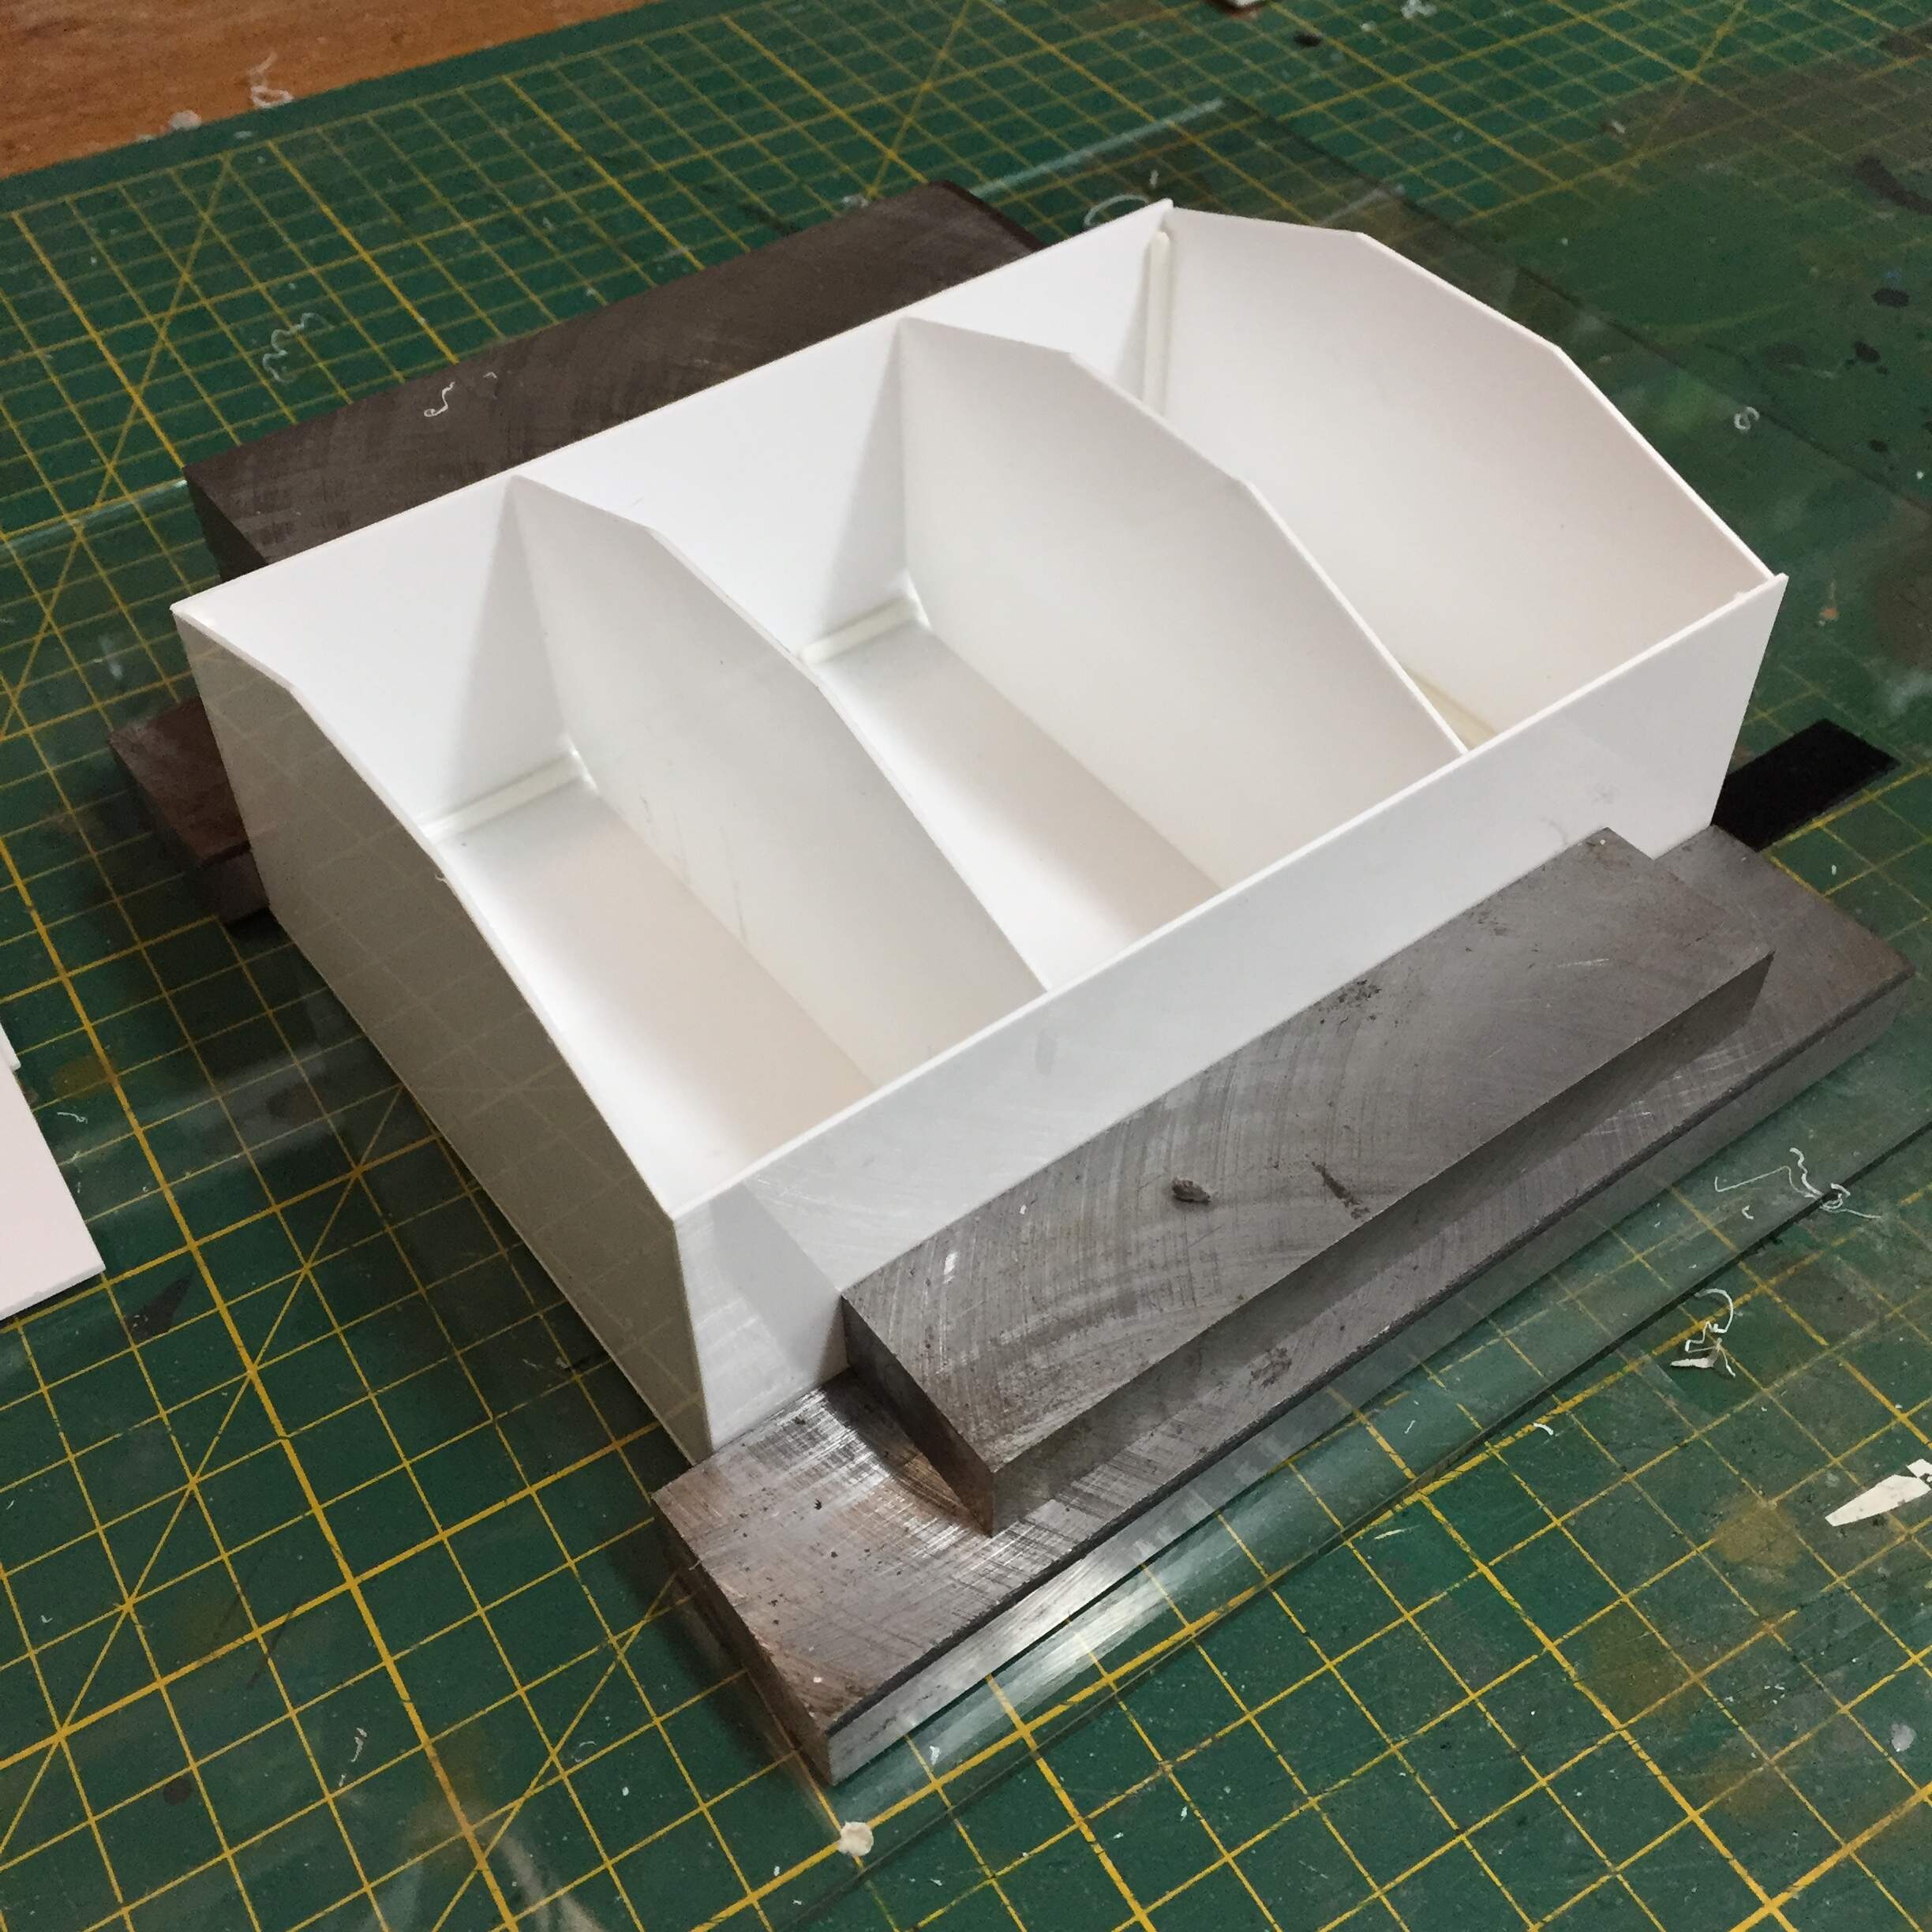
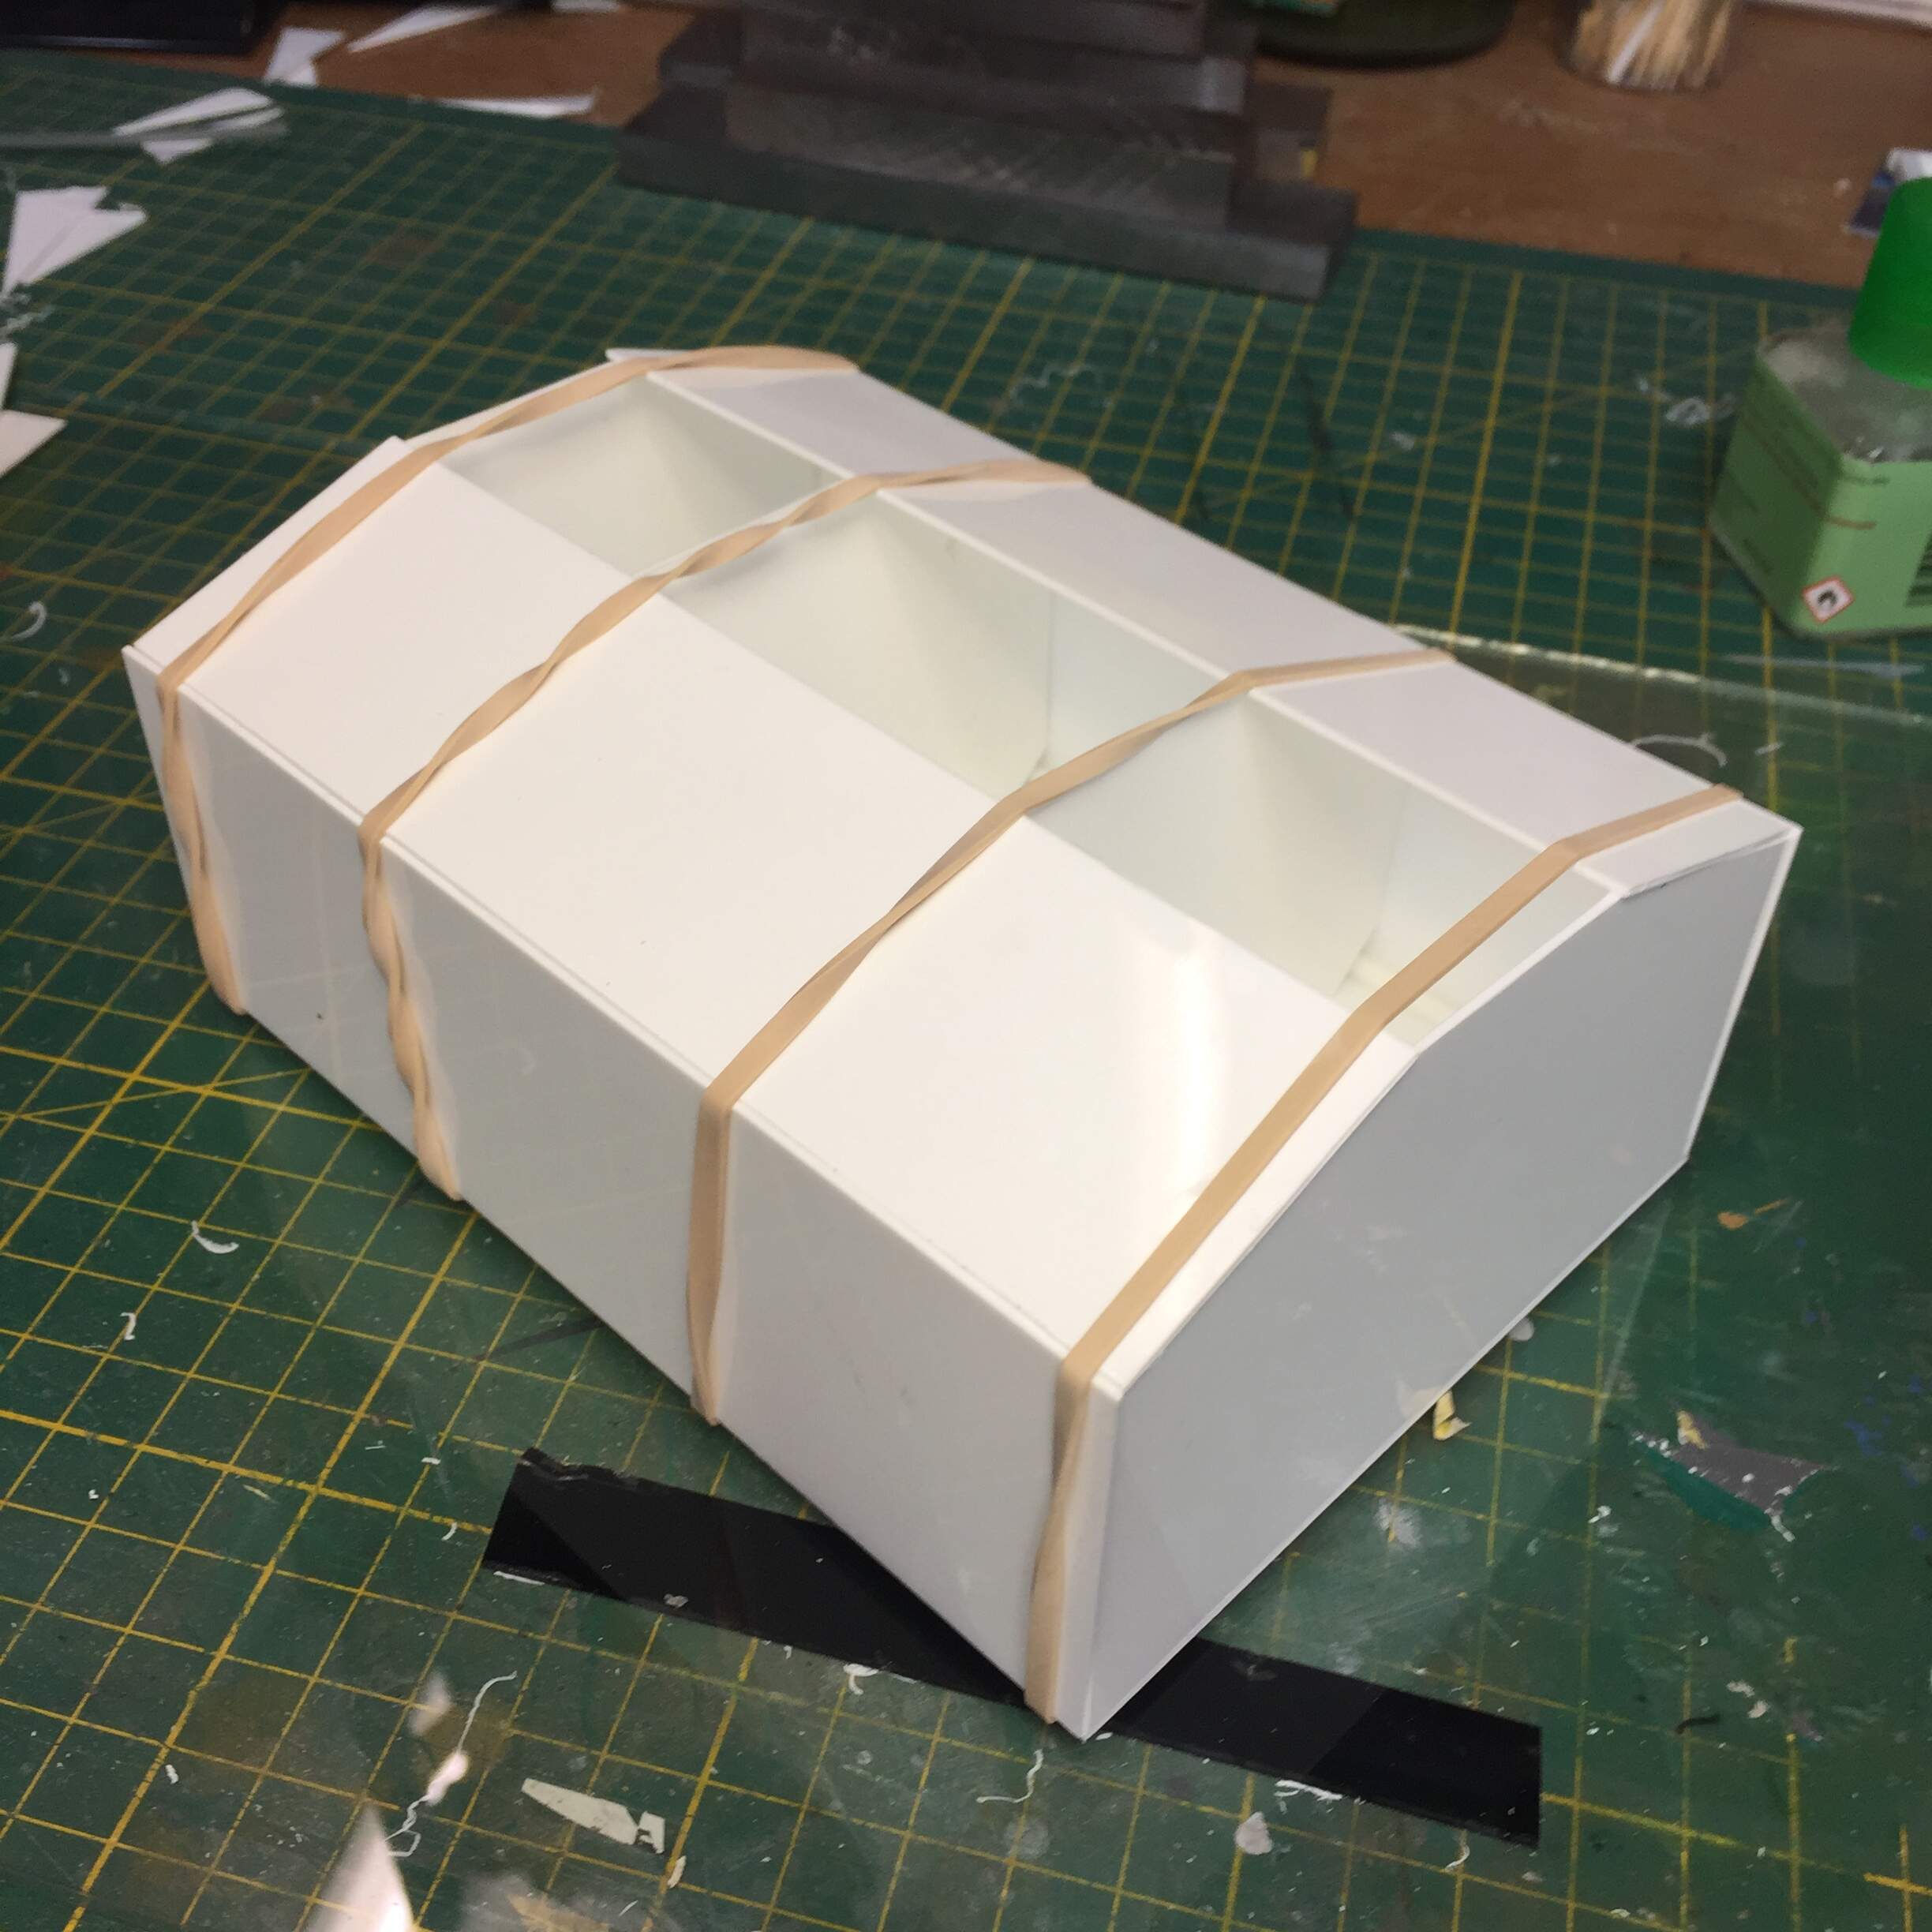
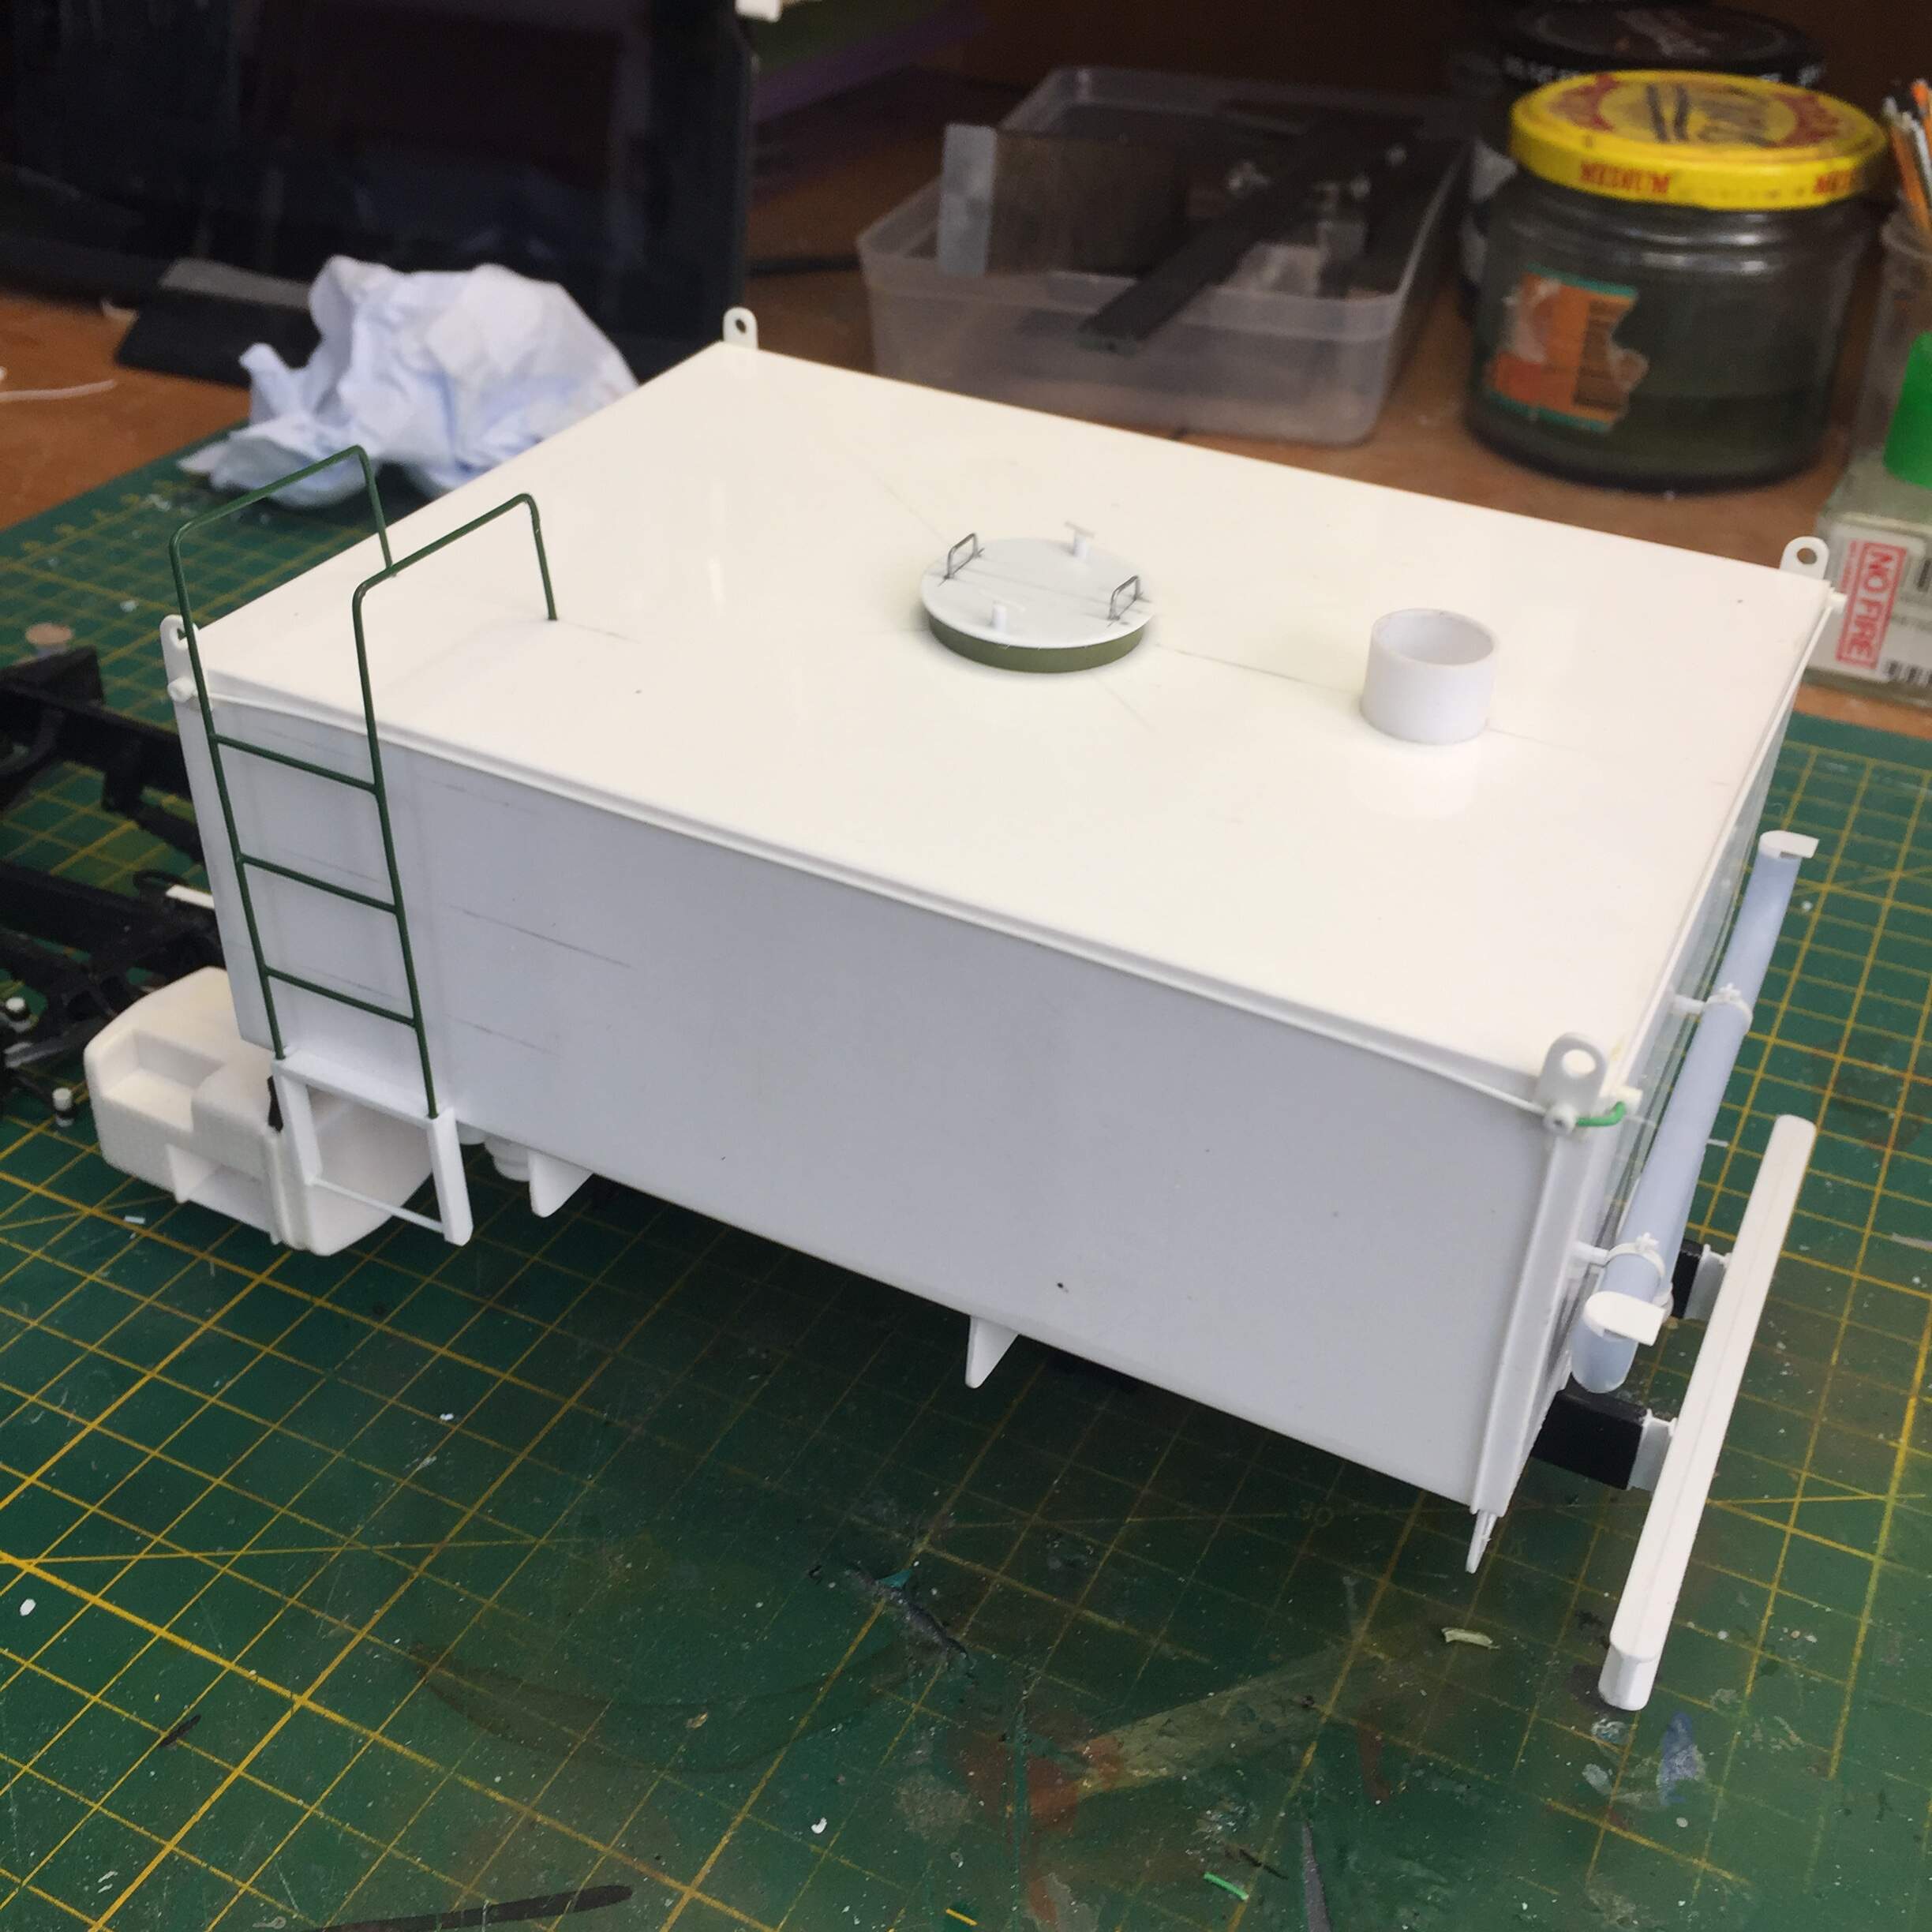
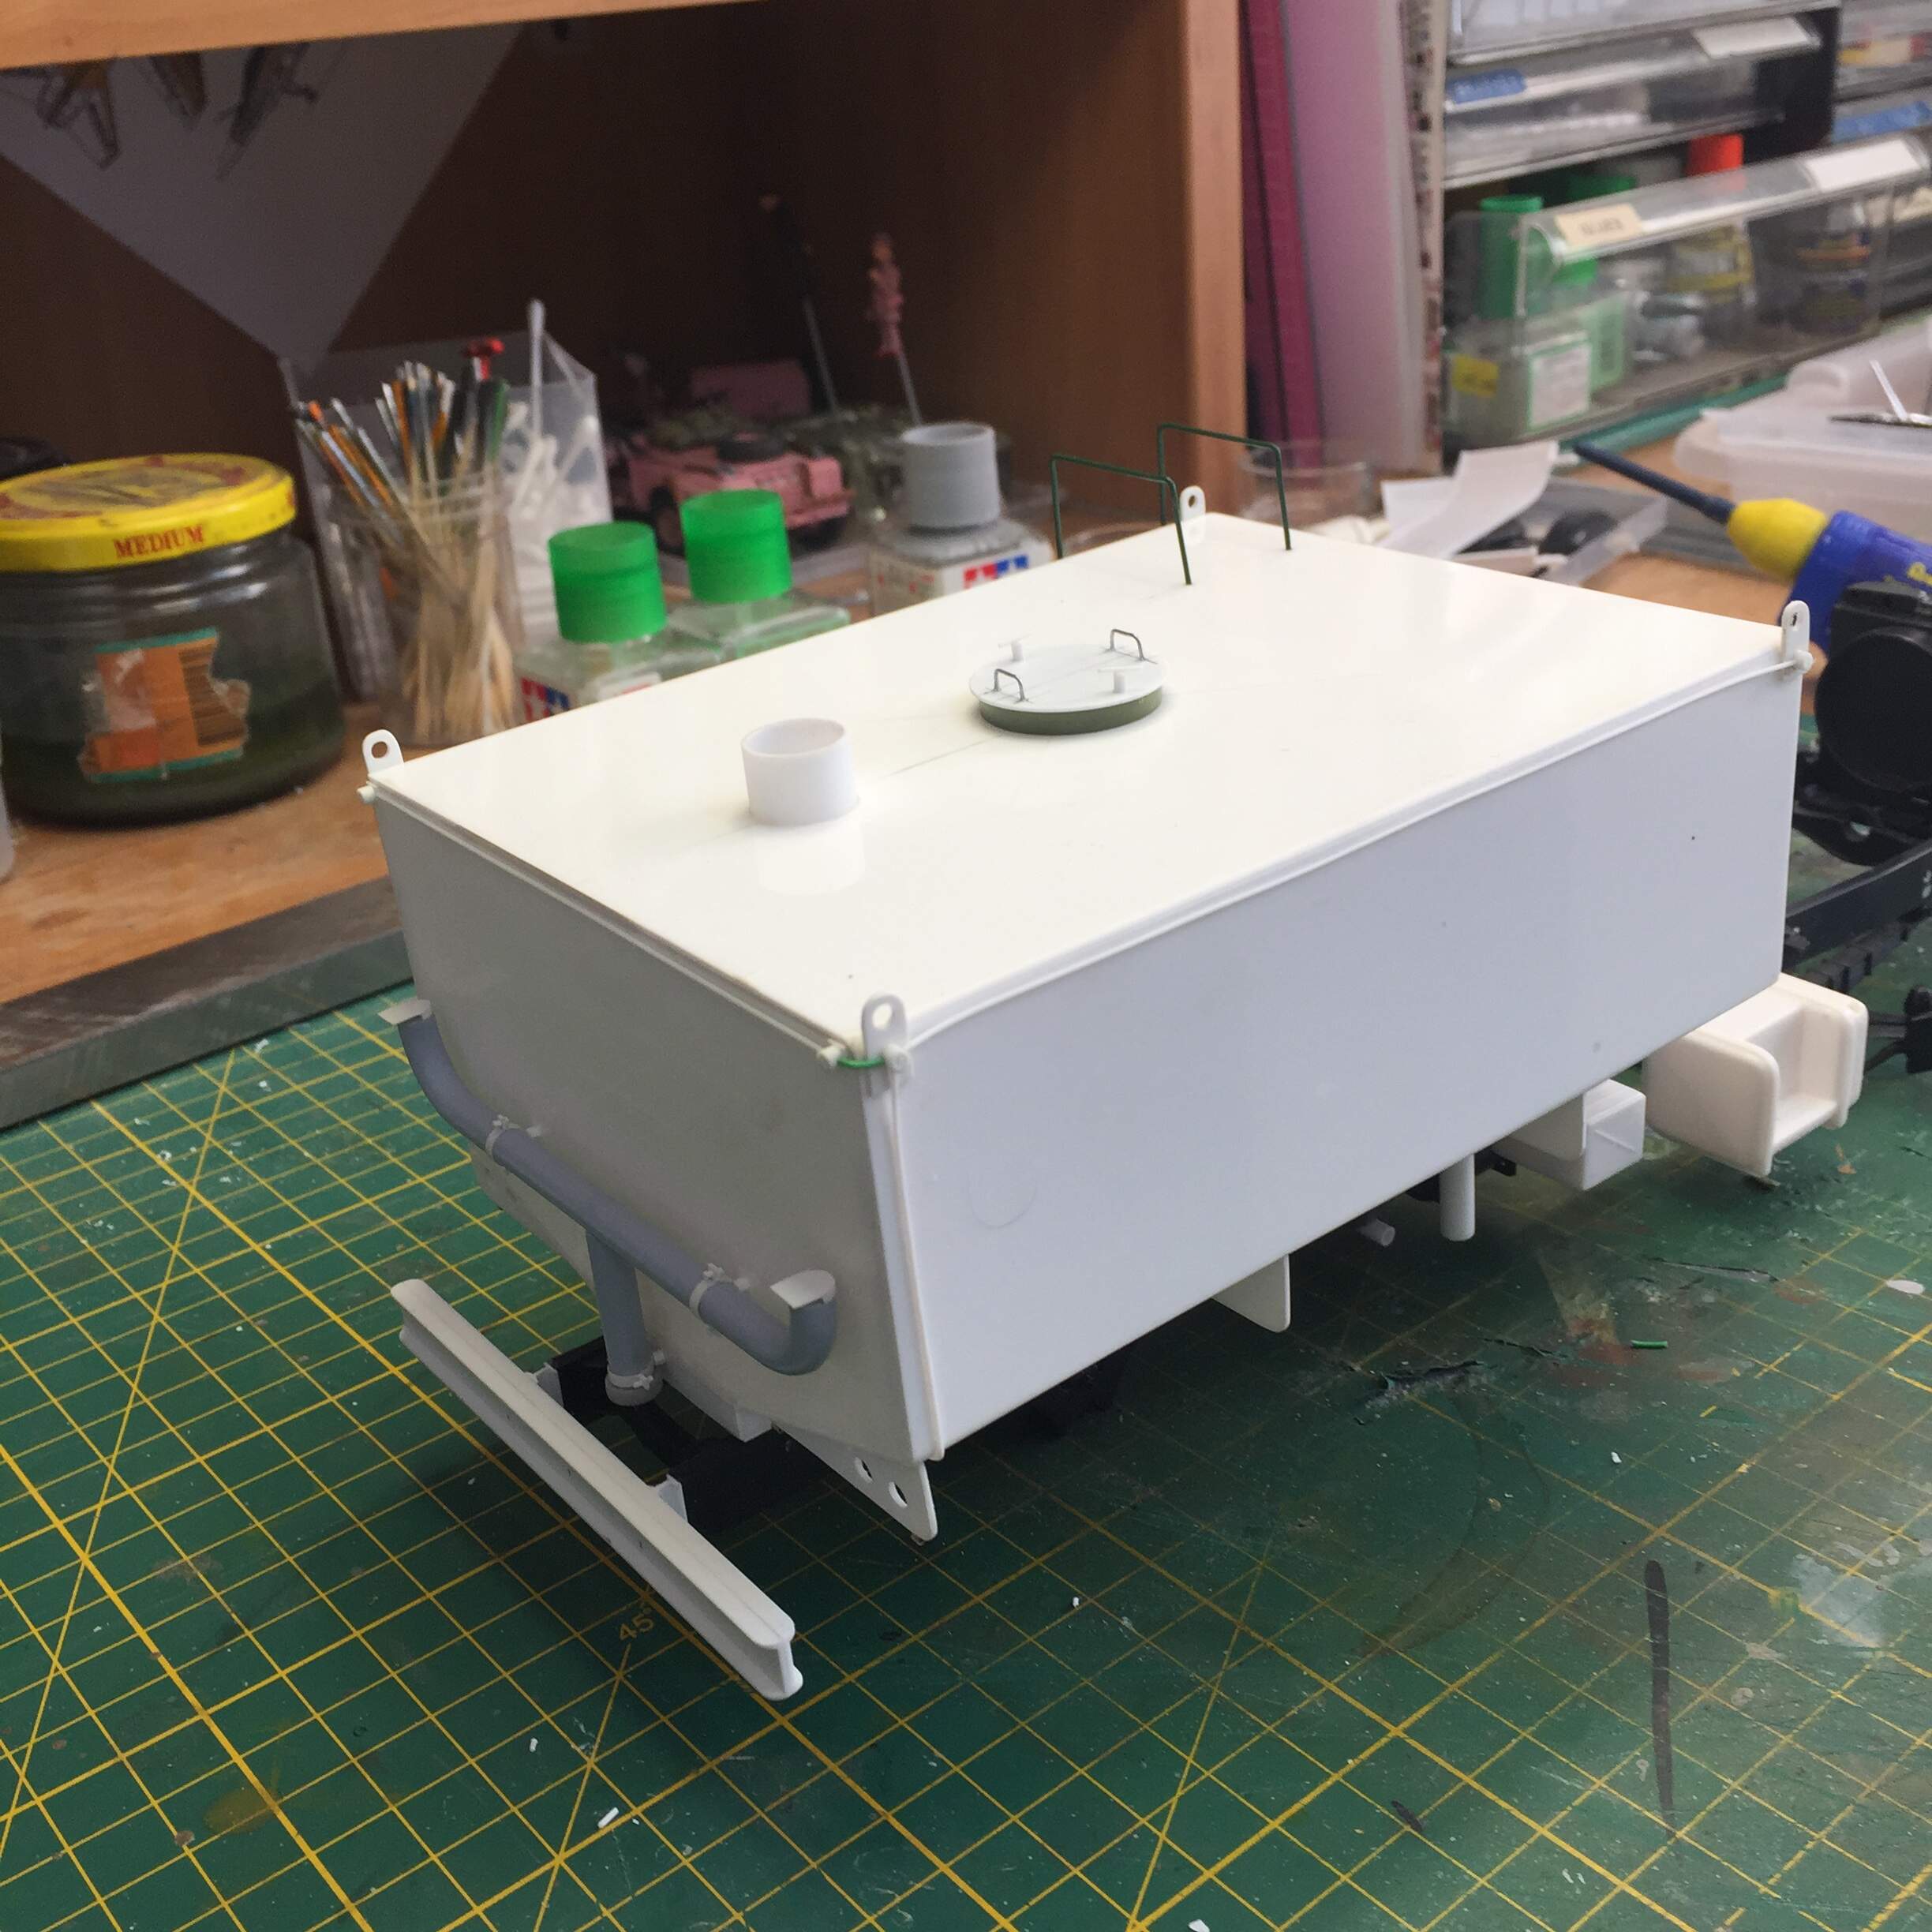
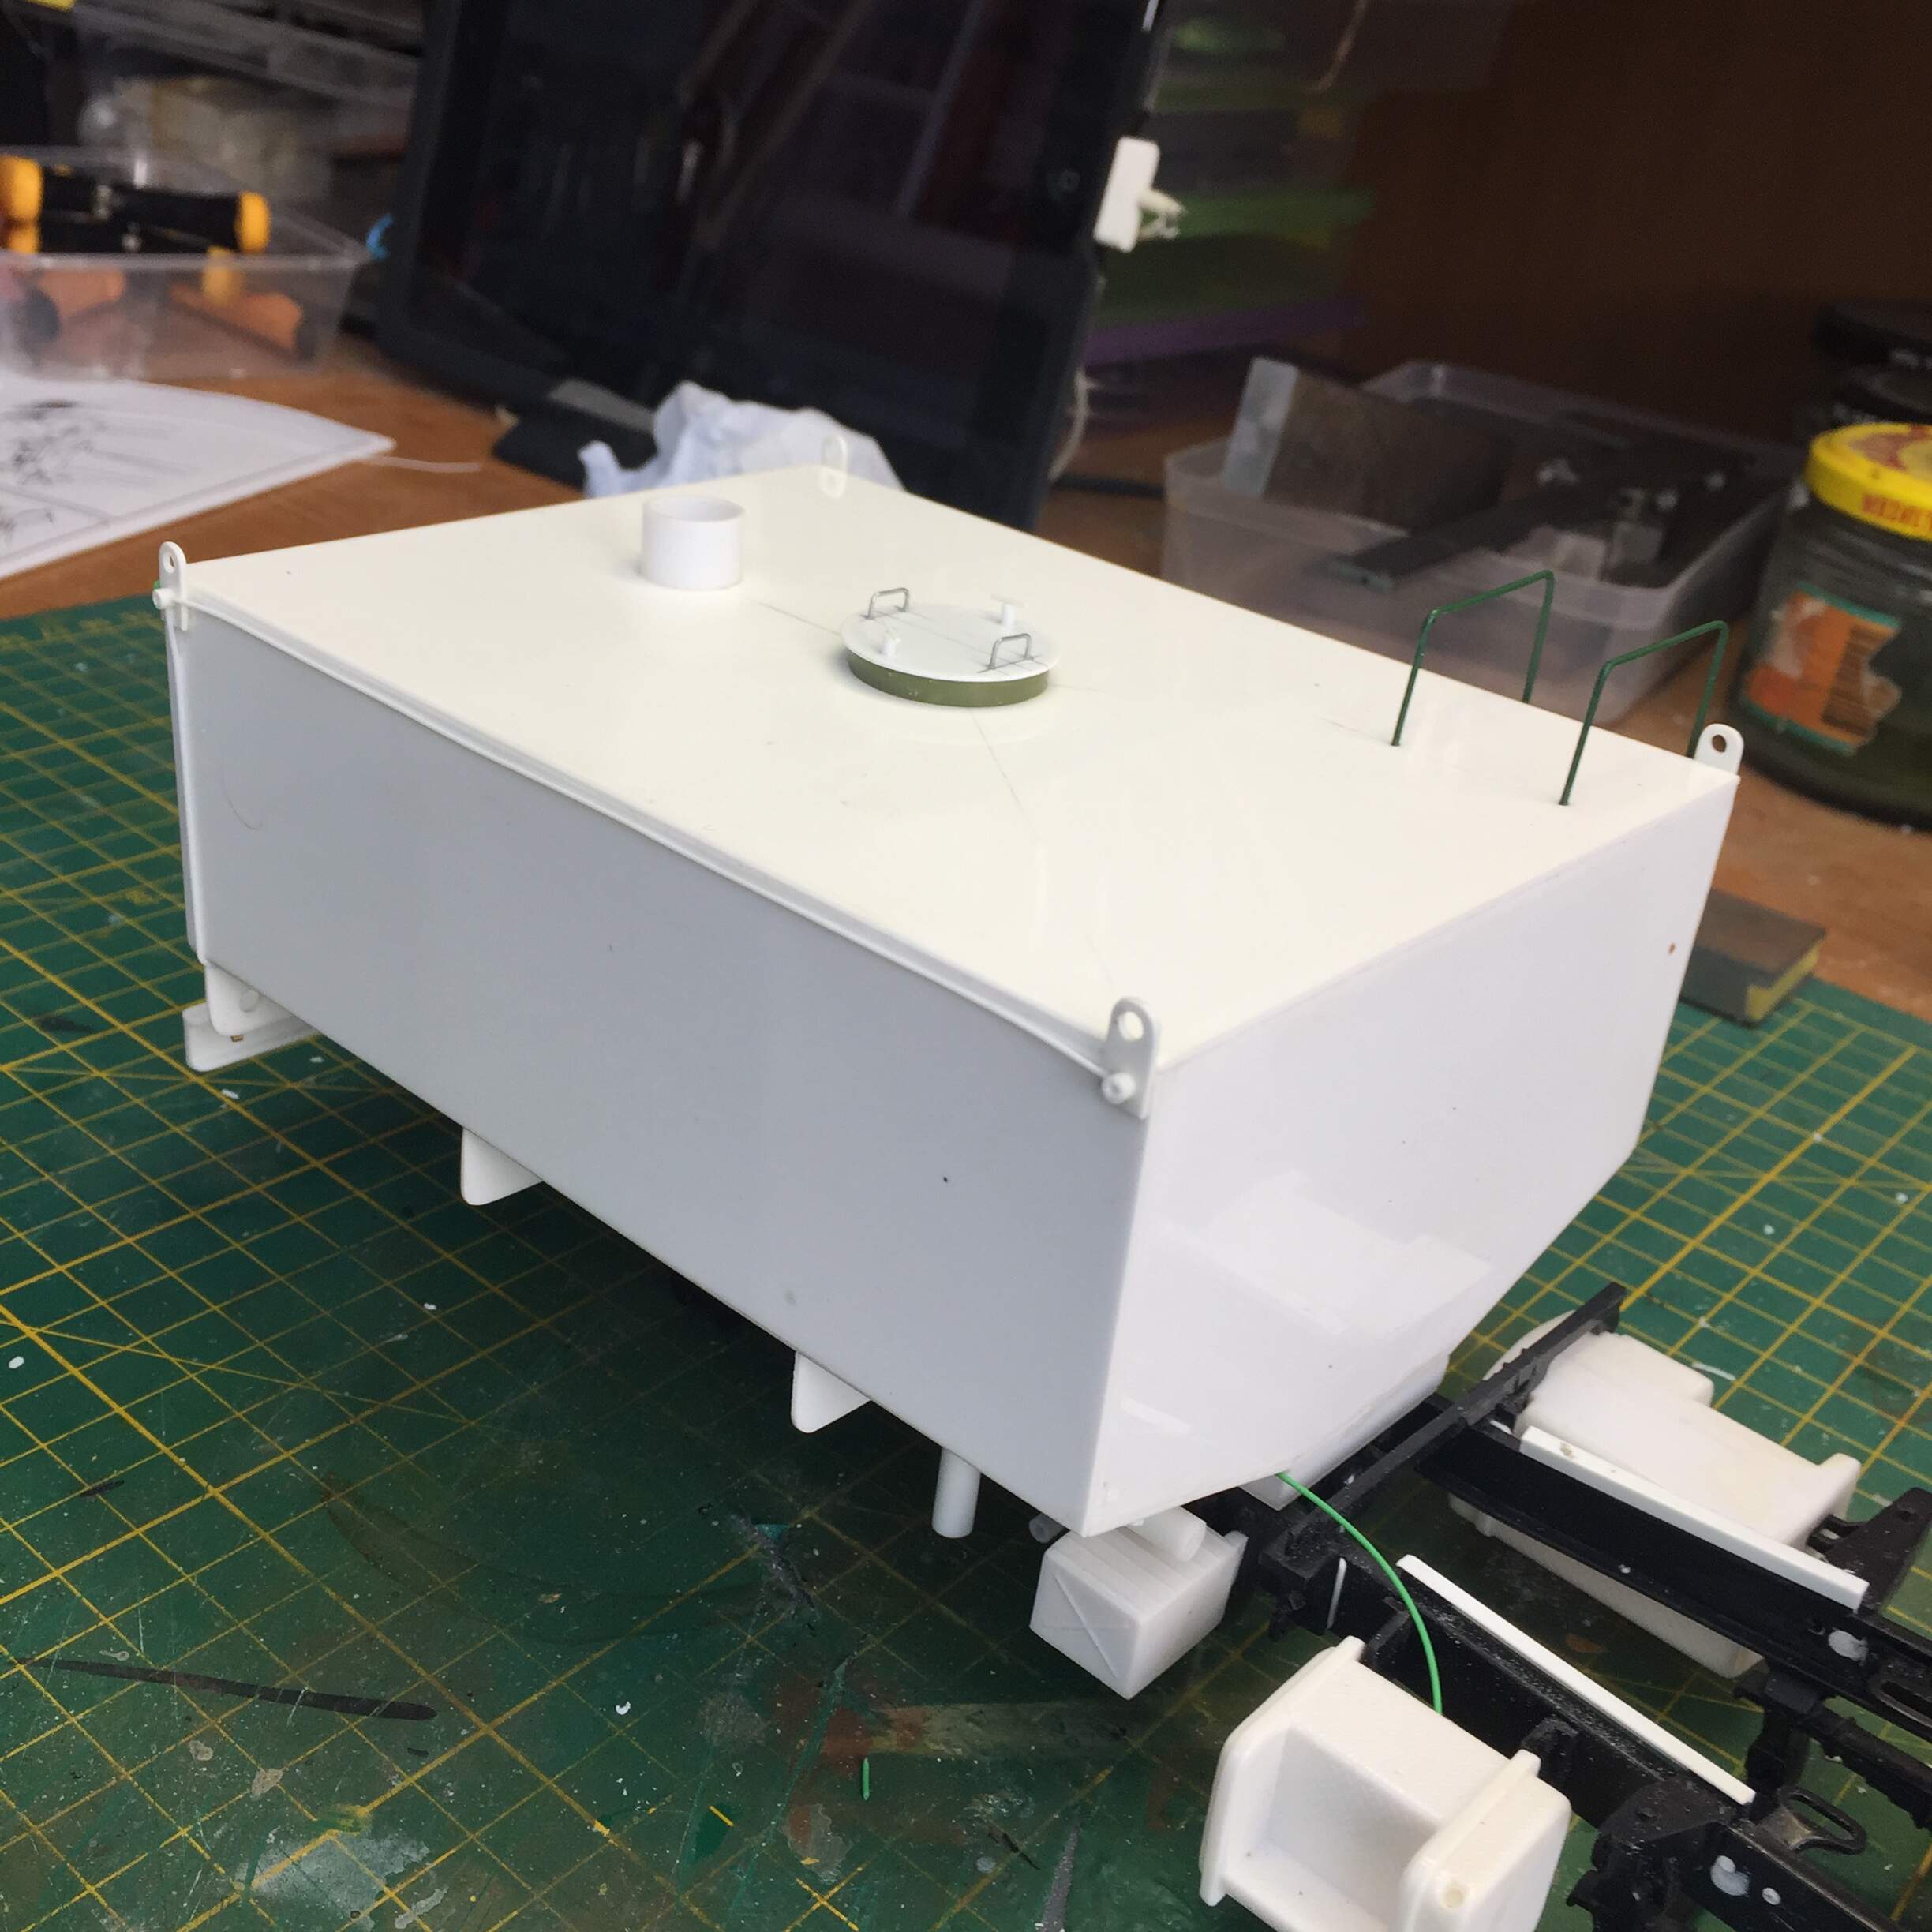
I think this is working much better. Internal bracing has been added AFTER the ends and sides were added and squared. Lengths of sprue added to the inside corners to add more strength.
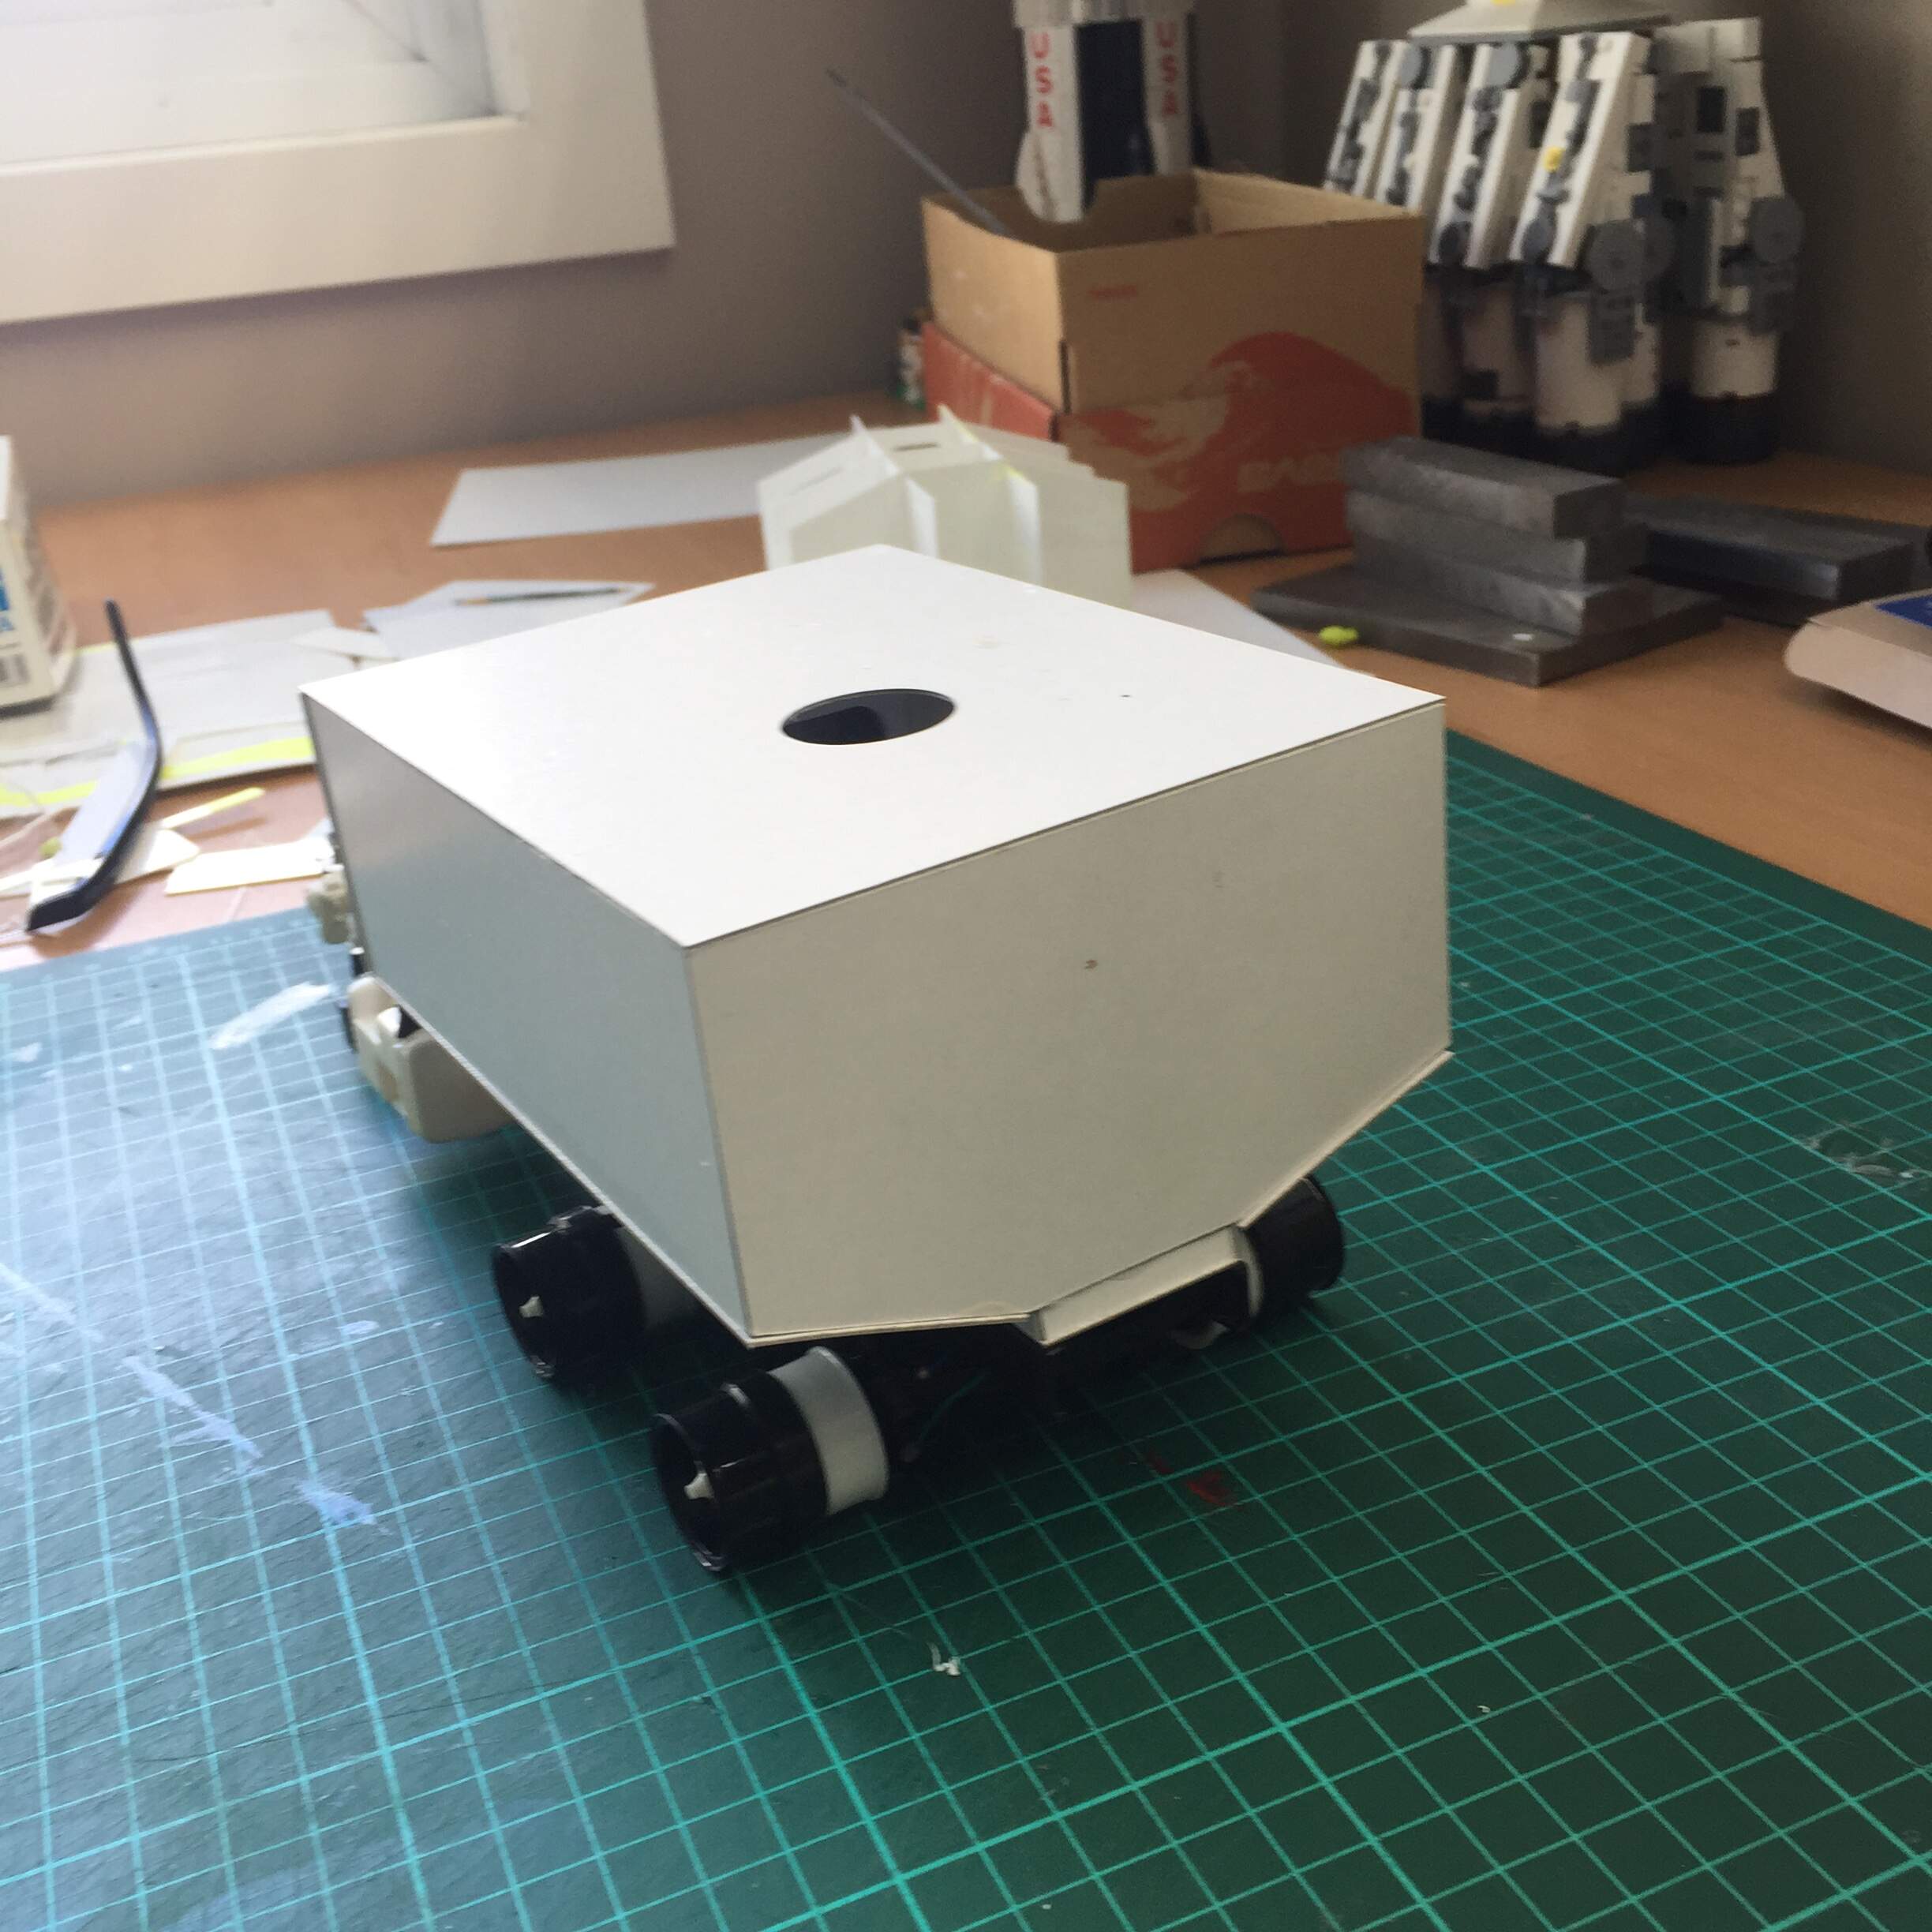
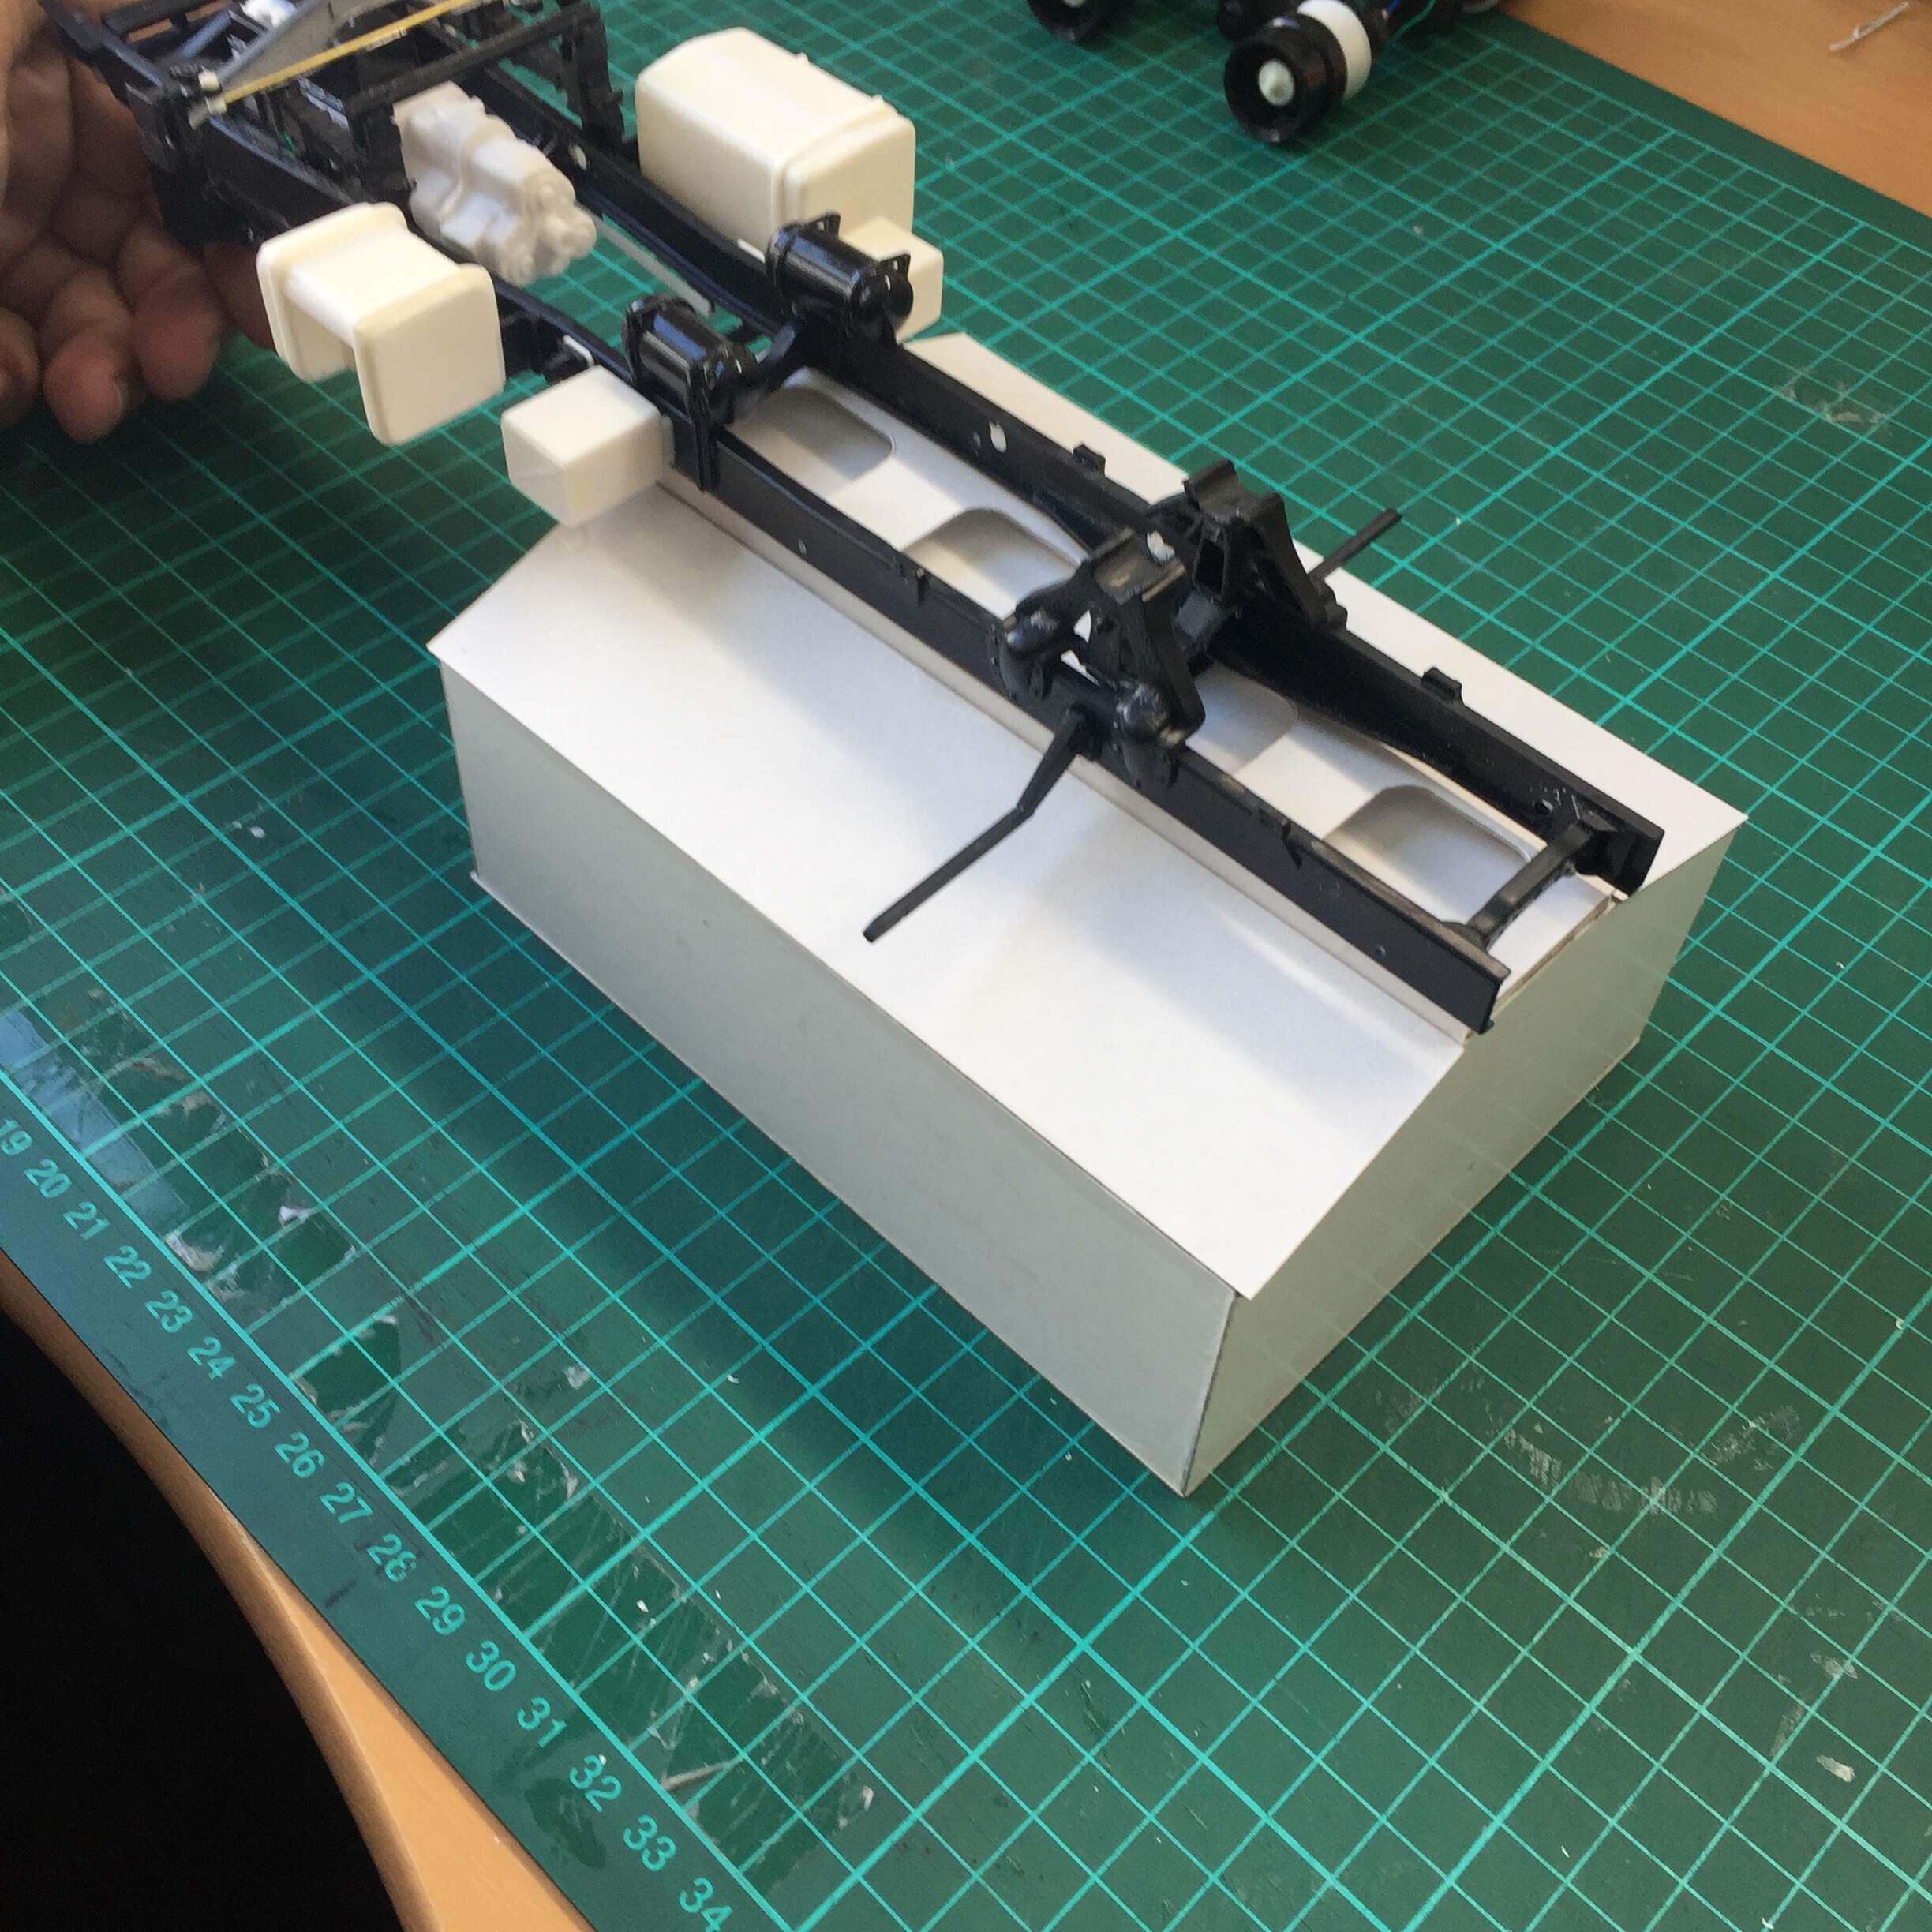
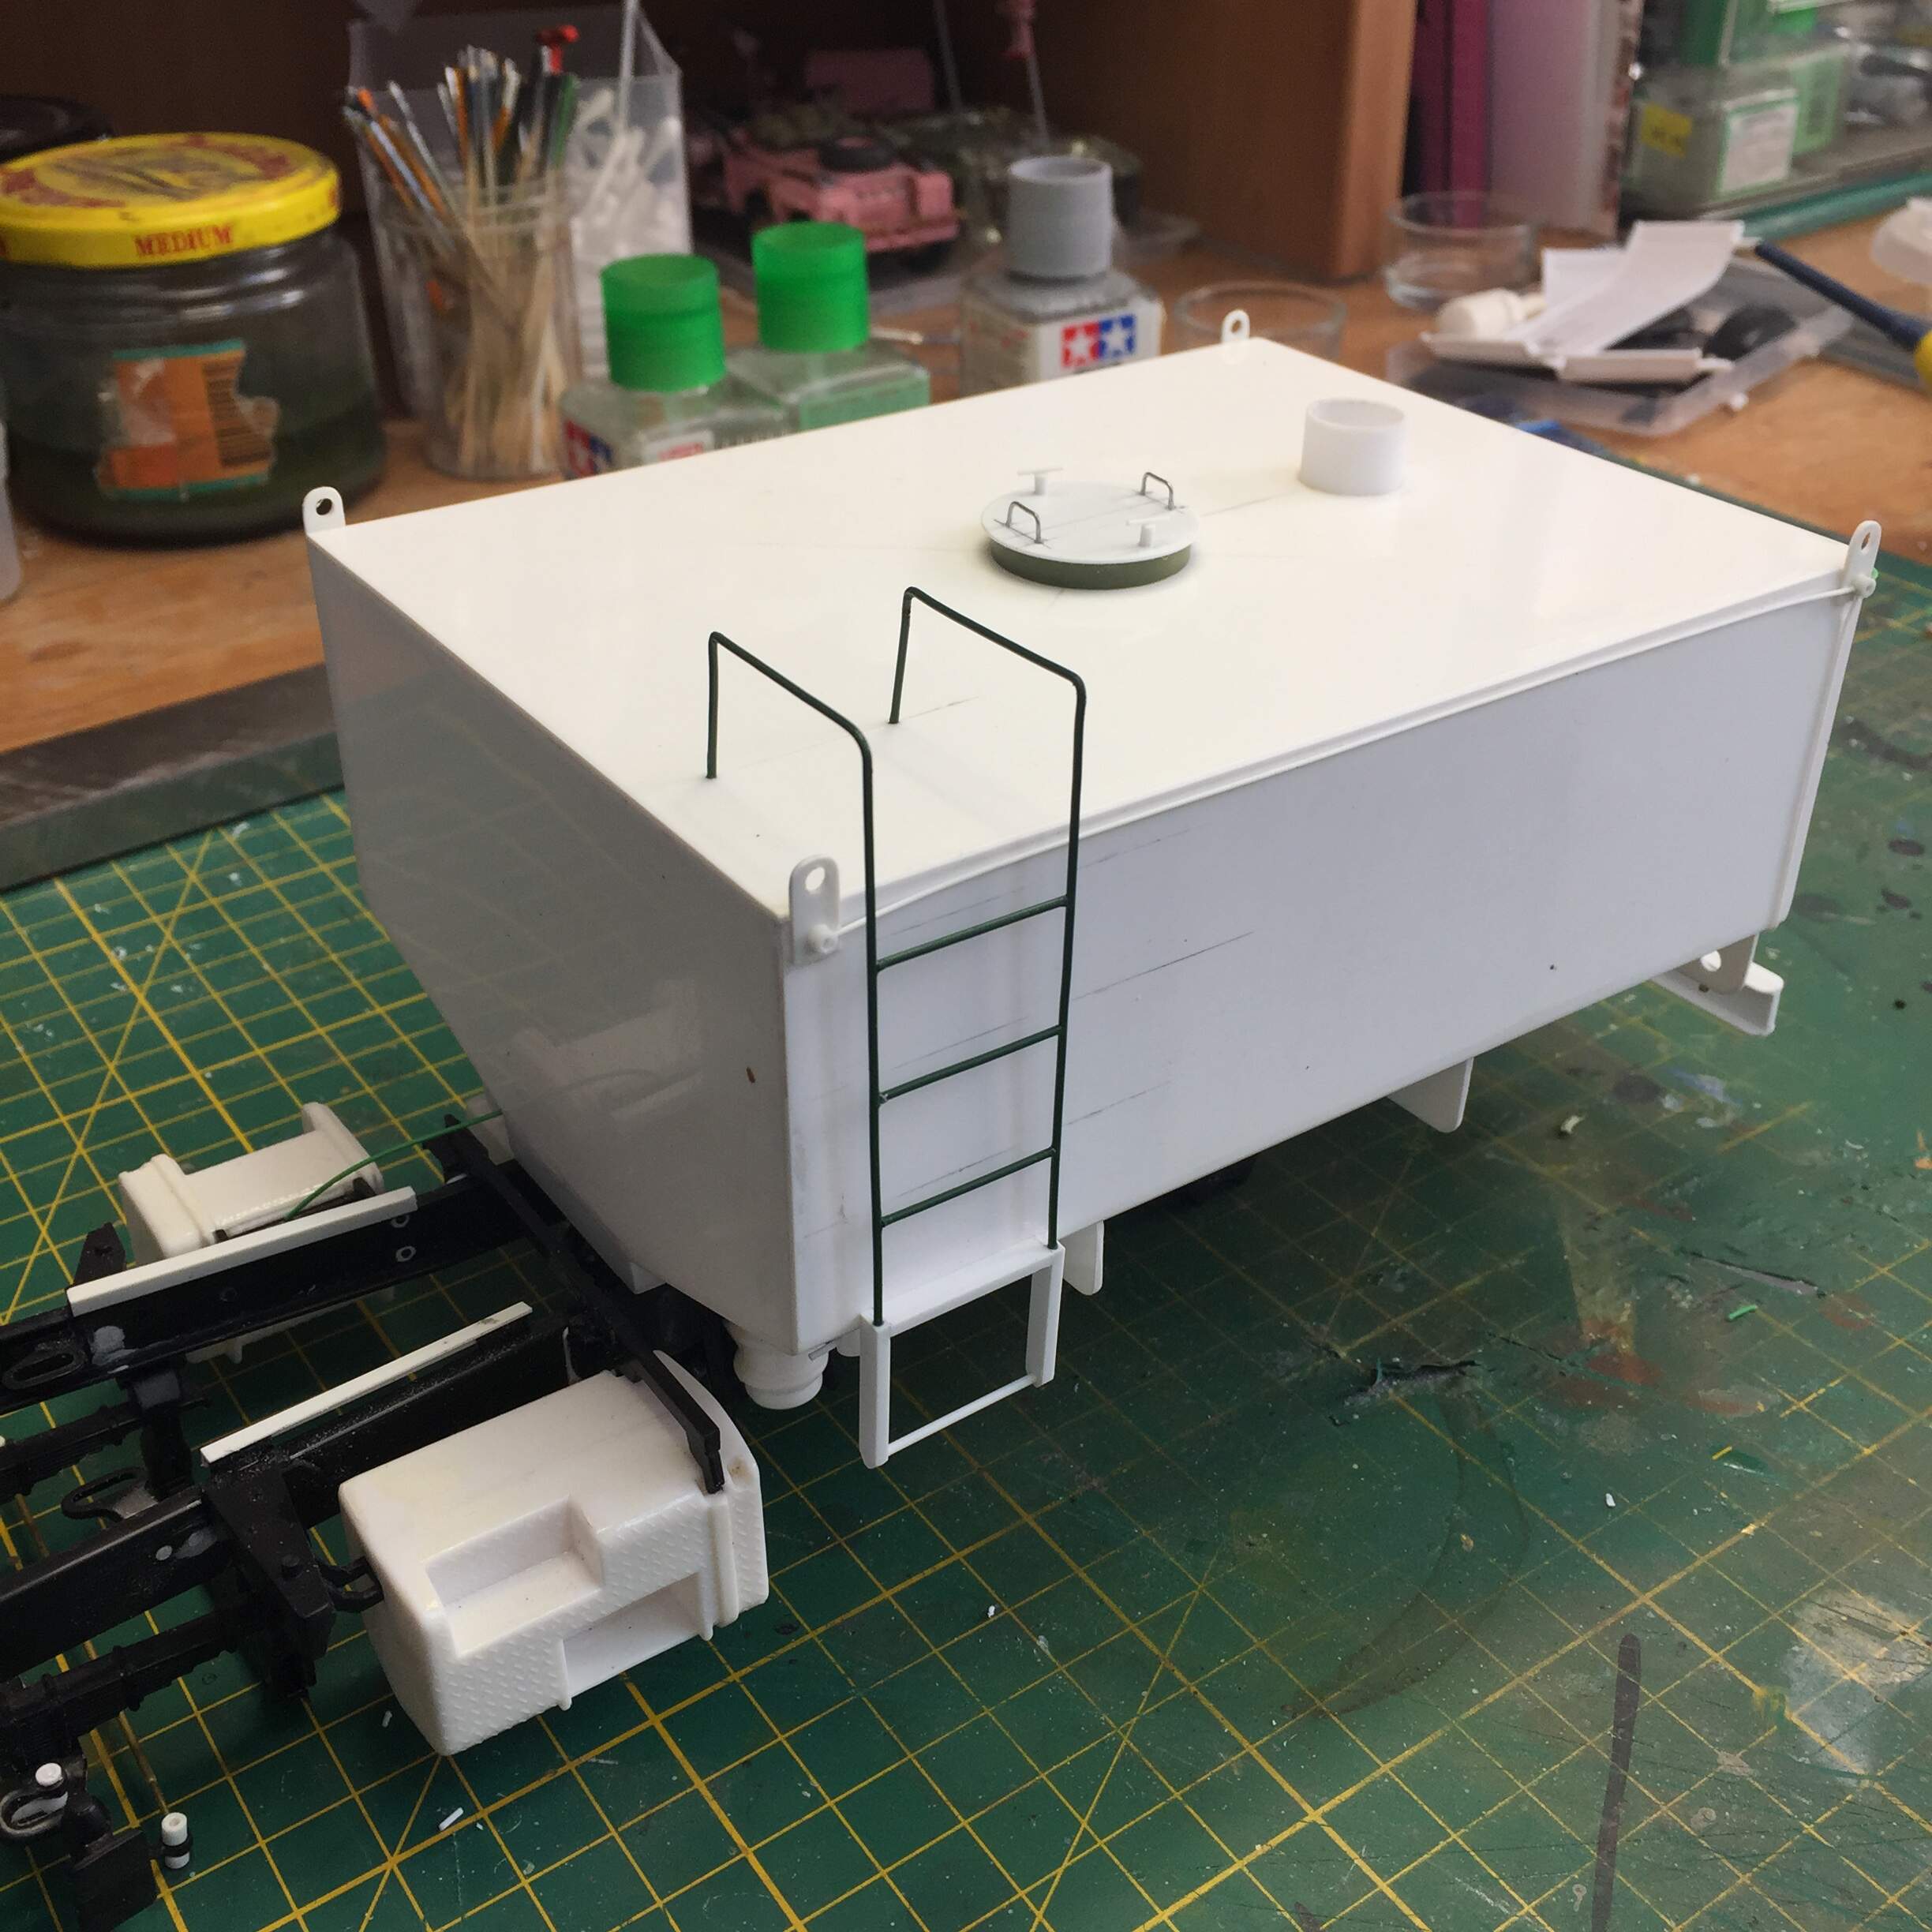
So, I am calling the construction of the water tank done. I am quite happy with the result so far, nice and square and strong. Everything fits where t should and the plumbing lines up with the pump and chassis. Happy days!