Mack DM800 Water Truck

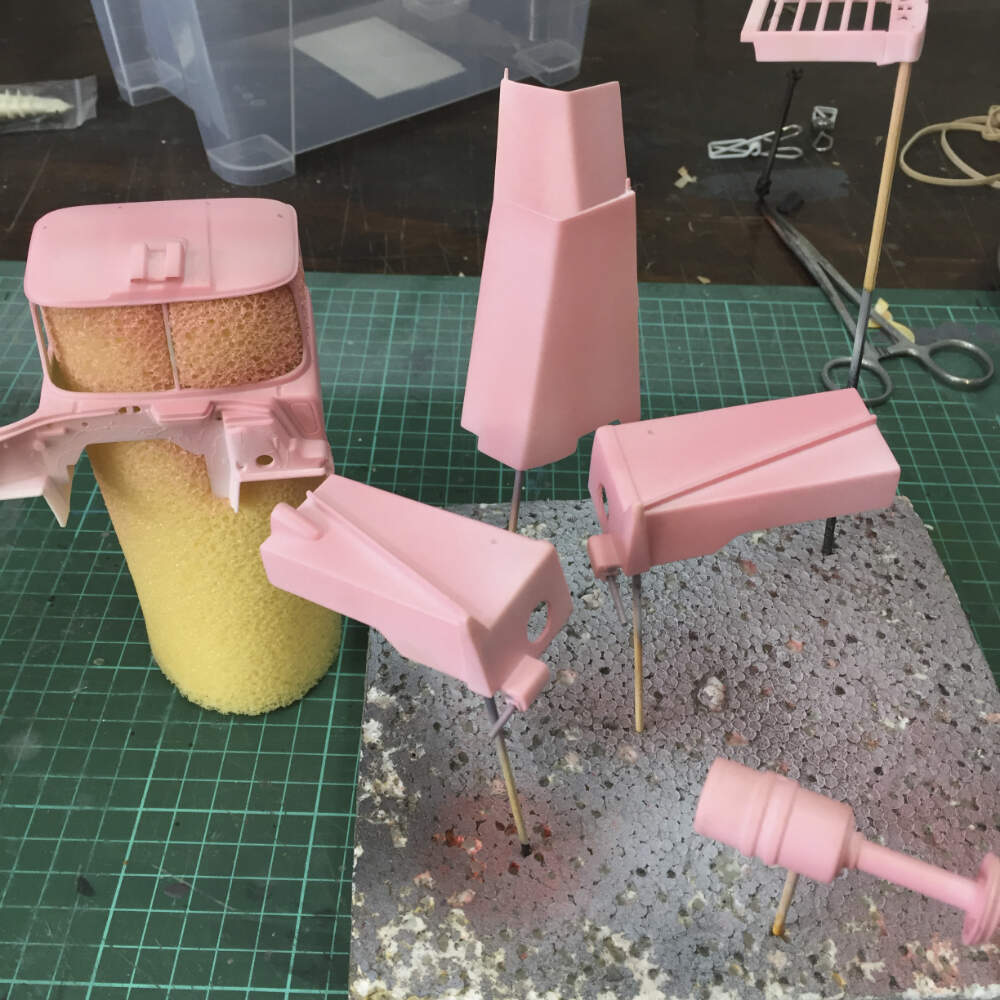
With the structure of the tank complete, it is on to the painting. I am using Mission Models paints quite a bit on this build. I will let you know what I think as I go. Being an impatient person, I sprayed the completed tank with Mission Models grey primer. I have pink on order, but, like I said, I am impatient. I did prep the raw plastic with a scrub with a green scourer and a wipe with isopropyl alcohol. I laid down a thin wet coat to start followed by two thicker wet coats. The primer is nice and hard and smooth.

image


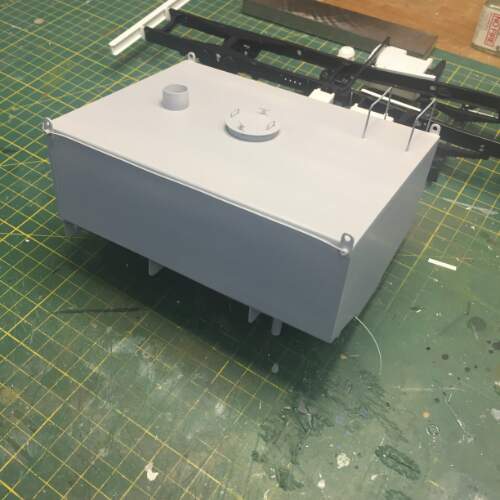
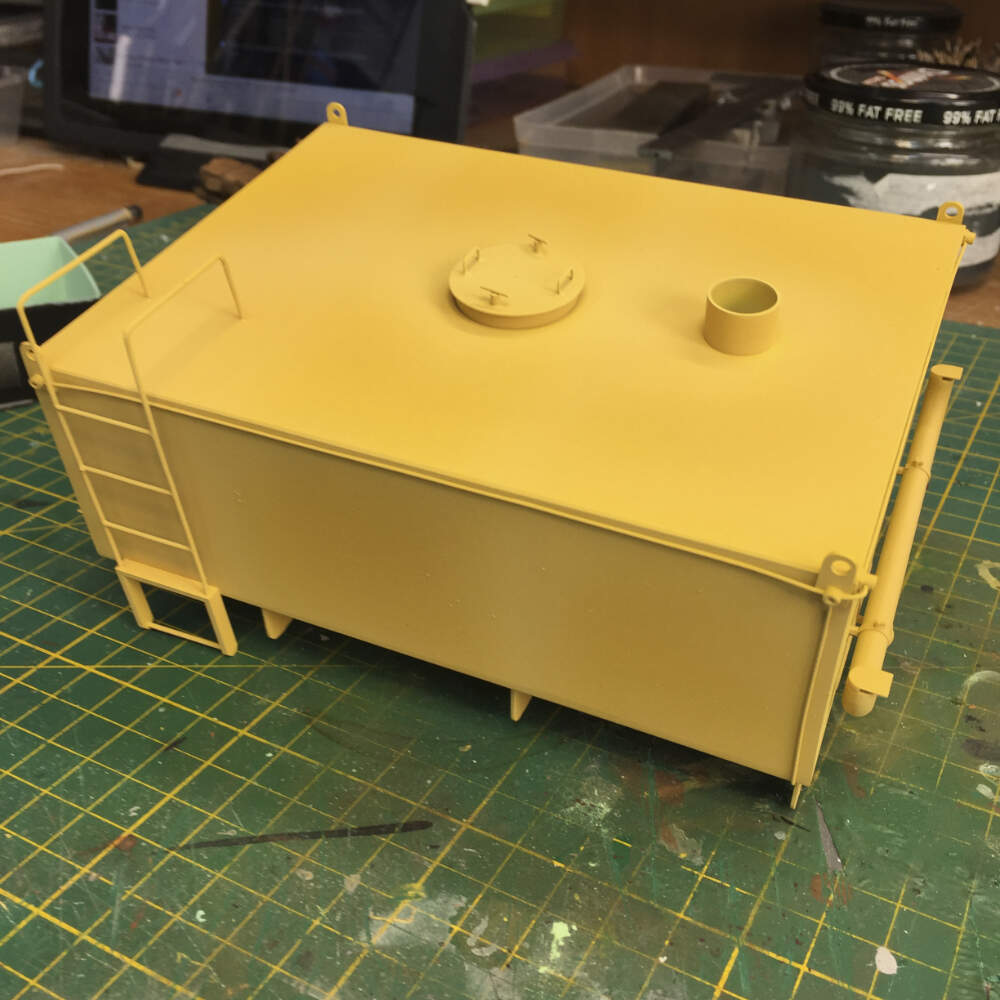
Here’s the tank with a good coat of Mission Models grey primer. This is a polyurethane paint that went down well and seems to have good adhesion.


For the main colour of the tank I used Mission Models MMP-126 Farm Tractor Yellow. This looked to be a good match to the original truck. Mission Models paints utilise a proprietary thinner/reducer as well as a poly additive, so the mixing does take three steps rather than the usual two. I mixed around 10:3:3 paint:thinner:poly and I got a good solid colour out of the airbrush. Going down over grey primer did mean I had to lay down three good coats to get decent coverage. I will use the pink primer on the cab and see if it then takes fewer top coats. I bought a set of MMP paints, the construction vehicle set, as it had colours that will be good for topcoat, pale scratches and deep scrathes as well as faded areas.

image


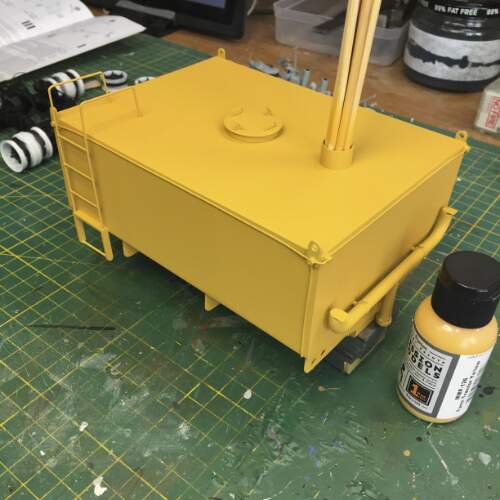
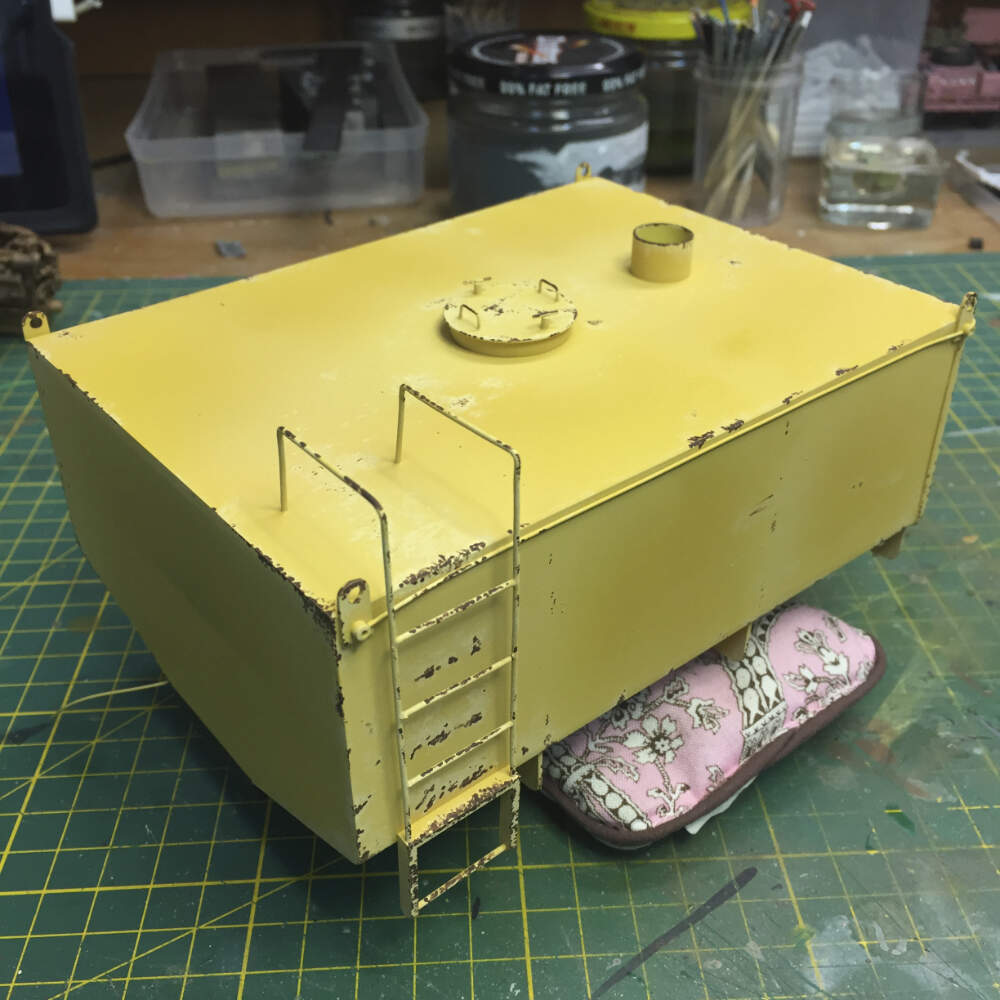
Three coats of Mission Models Farm Tractor Yellow went down over the grey primer.


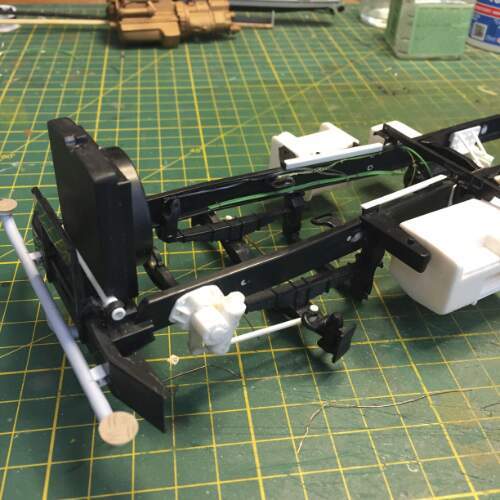
I always get a kick out of adding wiring. It is one thing that I find really adds to the realism of truck models. Don't try and trace where these wires and hoses go, though! I usually run pipework from an object and then just hide the ends in the chassis somewhere. The object here is to make it look realistically busy.

image


The front of the chassis showing some of my magic disappearing cable work.

image

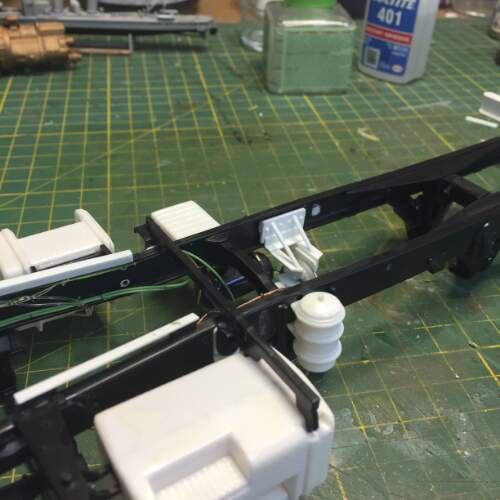
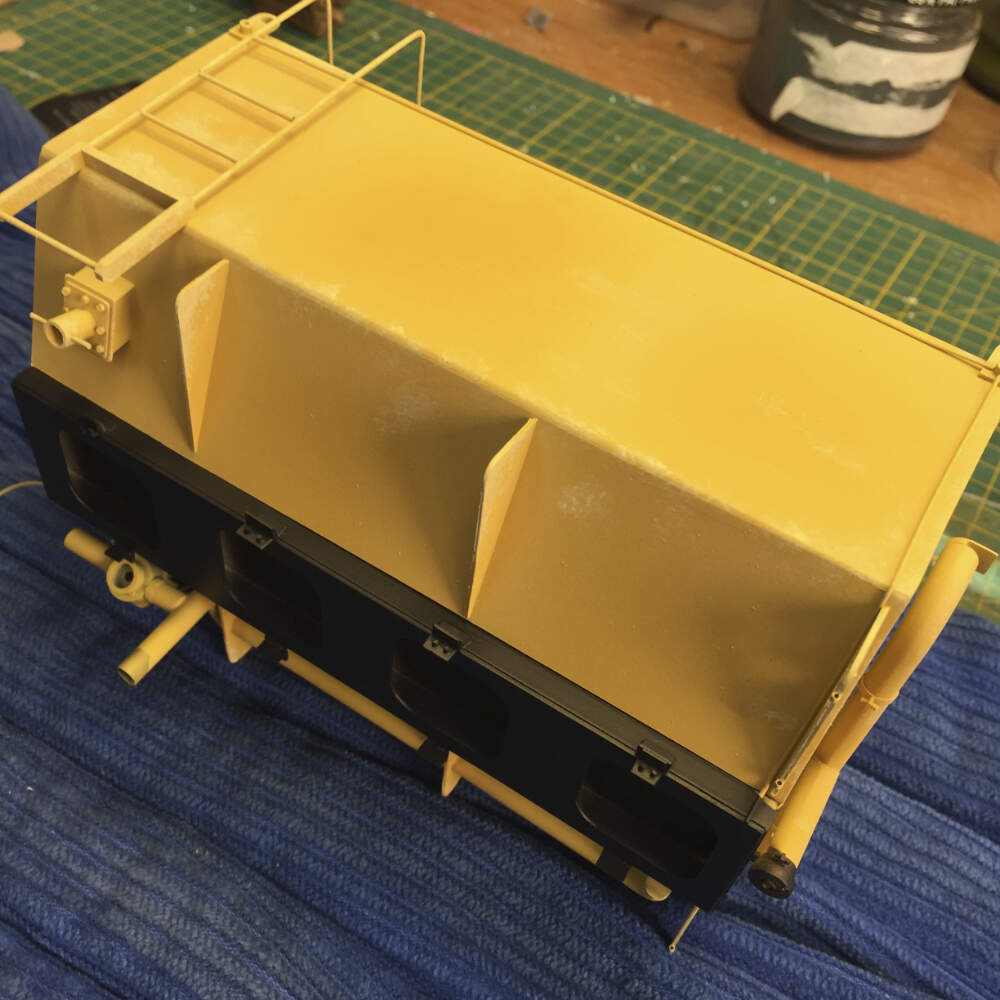
The white structure between the chassis rails is the mount for the PTO driven water pump.

image

Copper wire, phone cables and fishing line all get used to add visual difference. The white styrene rails will hold the cab floor and give me plenty of wiggle-room for when it all comes together.

image

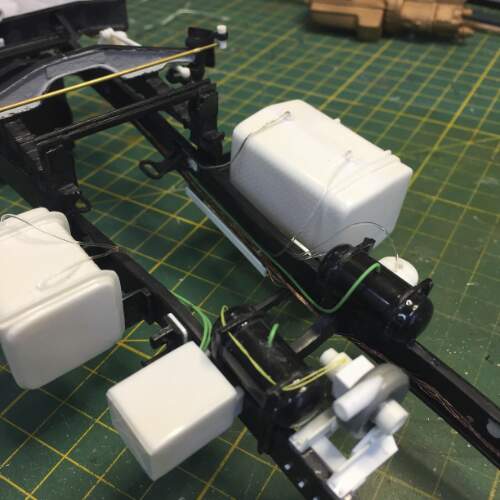
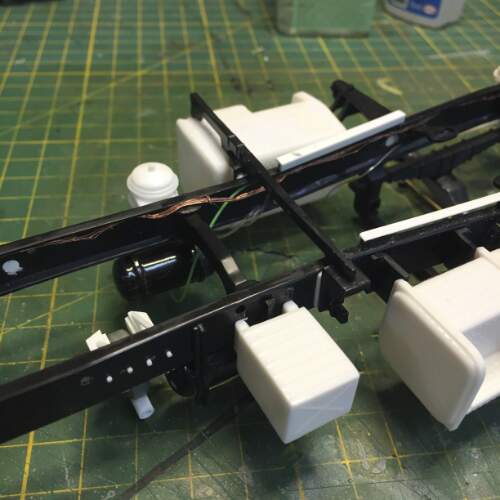
Chassis underside showing fuel lines, air lines and electrical cabling.


The engine I sprayed in metallic gold to emulate a standard Mack colour, metallic without being super glossy or having large metalflake. I have started picking out details in other colours. This will eventually be heavily weathered.

image

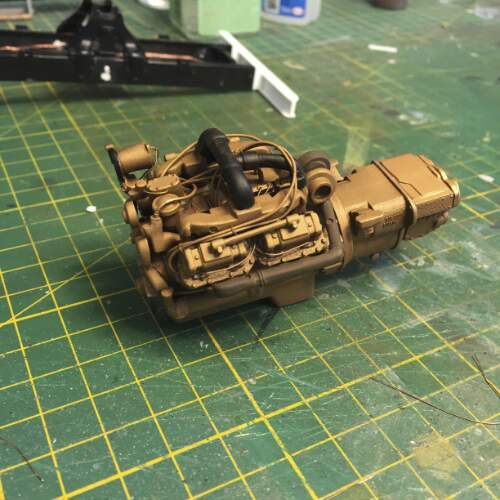
The Mack V8 in an appropriate gold.


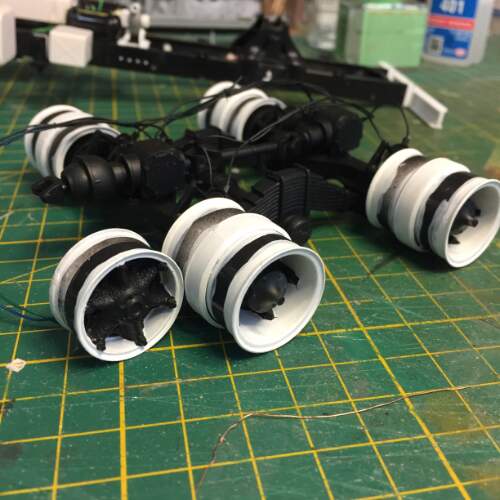
One of the more time consuming painting jobs so far has been getting a reasonable demarcation between the white rims and the black hubs. These will be quite heavily weathered, too, so hopefully my woeful painting won't be too obvious!

image

The drive bogie showing the colour-separated wheels.


1 Like

Interesting … why didn’t the links work this time?

beats me …

Who knows.

How do you insert the images into the post?
Drag and drop?
Copy & Paste?
Adding links?
@staff_Jim Jim? Any ideas?
The image “links” look like this:
bild

Hi Robin, I’m cutting and pasting HTML from my website. It worked on the first post and then appeared to on the second, but the images have since disappeared and the HTML has appeared.

Try copy-paste of the actual image instead
The HTML on your website is instructions that upload an image onto your website and it seems that it can’t be reused in this forum. The implementation here can’t access and upload the original image.

Image copied by right click on the image on your website, copy image and pasted here:
bild

… and now the unaltered links are working again!

Did you visit your own website so that the images got loaded into your browser?

I only get this:

I copied one of the broken image links and opened it in a new tab but when I came back here again the blank frames had been replaced by just the links (copied html)

I appreciate your help, Robin. Thanks! I have now tried going to my website and lrft-click 'Copy Image". I then paste that into the editing window in KitMaker forum. What do you see now? I am seeing some images, but not all. Graeme.

The top two, grey tank (primer) and yellow tank

Let me know how that looks. There was a para return code at the start of the image code. Graeme.

Three images are the same but there are no broken links/images

We get three copies of this:
bild

Looks like I have to wait for an imge to completely upload before pasting another into the editor. Does it look OK now? Graeme.

Now they are all different and show up as expected :slightly_smiling_face:

Excellent work on that scratched conversion! :+1: :clap:

I’ve been checking in patiently waiting for the image loading issues to get sorted, I’m no help at all with such tech detail, and the wait was definitely worth it! Awesome work Graeme, the tank looks great and the pipework and wiring really add life to the sub assemblies already. Your “make it look realistically busy” objective has been achieved. I will be unashamedly stealing that for my current Western Star/Reefer project.

Looking forward to more progress updates.

Cheers, D

1 Like

As I mentioned before, I am trying Mission Models Paints on this build. I used the grey primer under the tank and it took a few coats to get a good yellow. This time I am trying the MMS Pink Primer to see what happens.


Here’s the first coat of the Mission Models Pink Primer on the cab parts.


I mixed up a 50/50 batch of MMS Tractor Yellow and White, thinned it down and sprayed areas on the tank that would have the most fading and wear. It's subtle, but it gives a good effect.


Thinned pale yellow sprayed on high traffic areas.


Using another mix of 50/50 Farm Tractor Yellow and White, I applied a bunch of chips and scuffs on all the corners and edges. I also masked and sprayed the lower frame in MMS Black. This is a really solid colour and what you see here was a single coat over the Farm Tractor Yellow. There was not a hint of paint lift or damage from the Tamiya masking tape, as well. I am becomoing quite impressed with these Mission Models Paints.


Subframe painted black and scuffing added around high-wear areas of the tank…


1 Like

So .. putting yellow down over pink primer is not working so well. This is a very strong orange! I think I'm going to have to hit the cab parts with white and then go back to the yellow.


Yellow on pink equals orange. You’d think I would have known that.


I thinned down some Mission Models Brown and used a toothpick to apply some chipping. A very Zen hour or so of work! It's looking suitably beaten now.


I beat the hell out of the tank.


3 Likes

Light grey or white under yellow …
Been there, done that …

1 Like

Beautiful job on the chipping Graeme, your zen is strong! The chipped areas are logical and realistic. It’s hard to deliberately create a random pattern in terms of chips sizes, your mind tends to force you to do regular even patterns. Yours looks really good.
How did you produce the faded pale areas, with oils?

Cheers, D