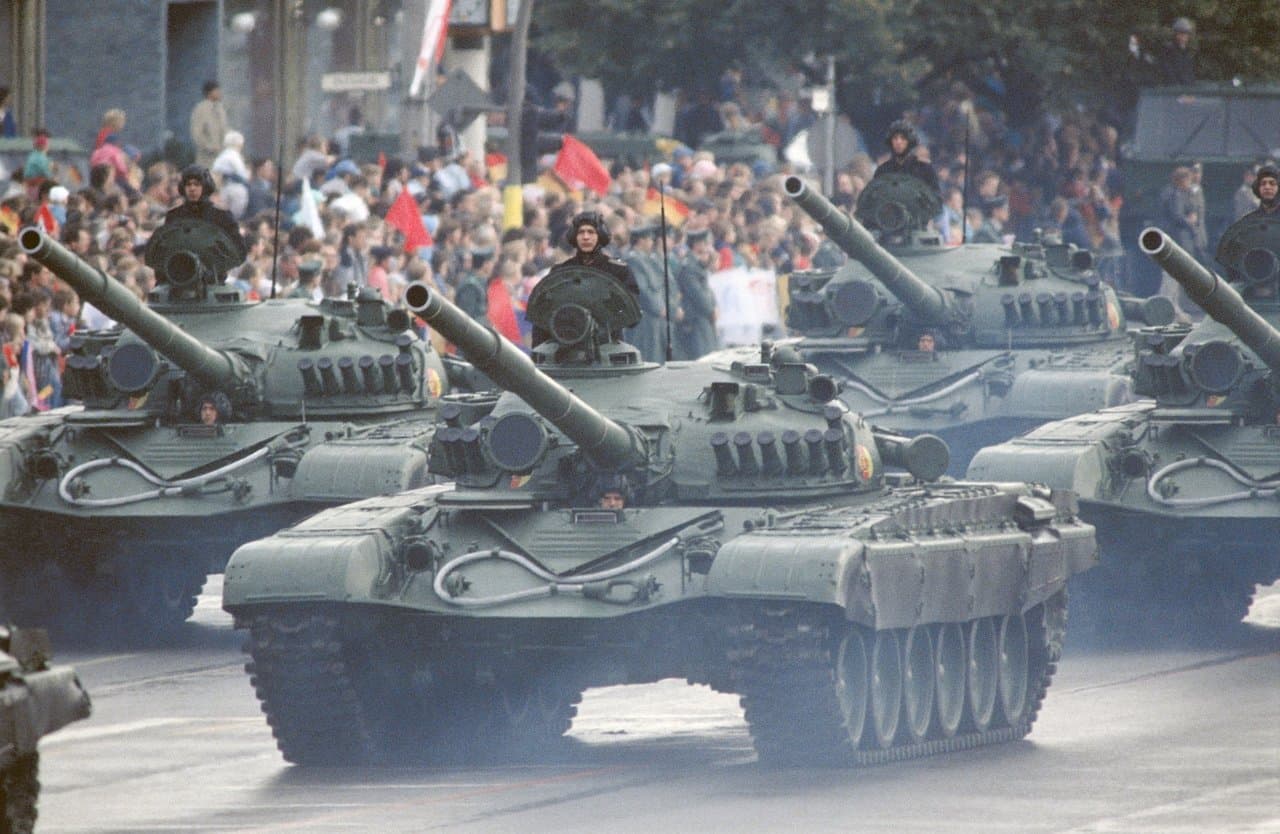
Short answer on the uniform is a resounding yes.
The pennant on the aerial, I don’t know. I don’t think they did.
Short answer on the uniform is a resounding yes.
The pennant on the aerial, I don’t know. I don’t think they did.
Thank you, I’m using the Tamiya crew figure included in the kit so wasn’t sure.
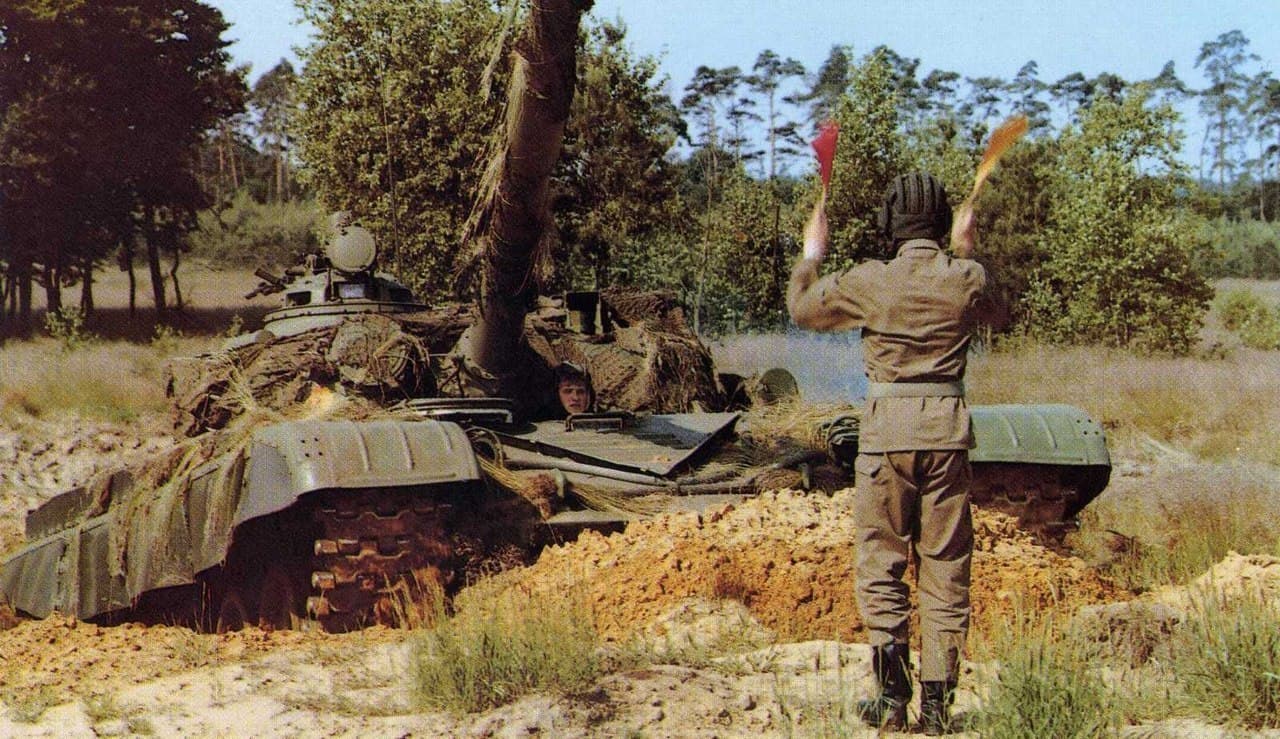
Only reason I’m looking for a pennant is the aerial is made from steel wire and I keep thinking I’m going to poke myself in the eye with it, so something colourful flying from the top would help me see it before it’s to late.
Nice paint Littorio!!!
@shaky962 thank you Jose.
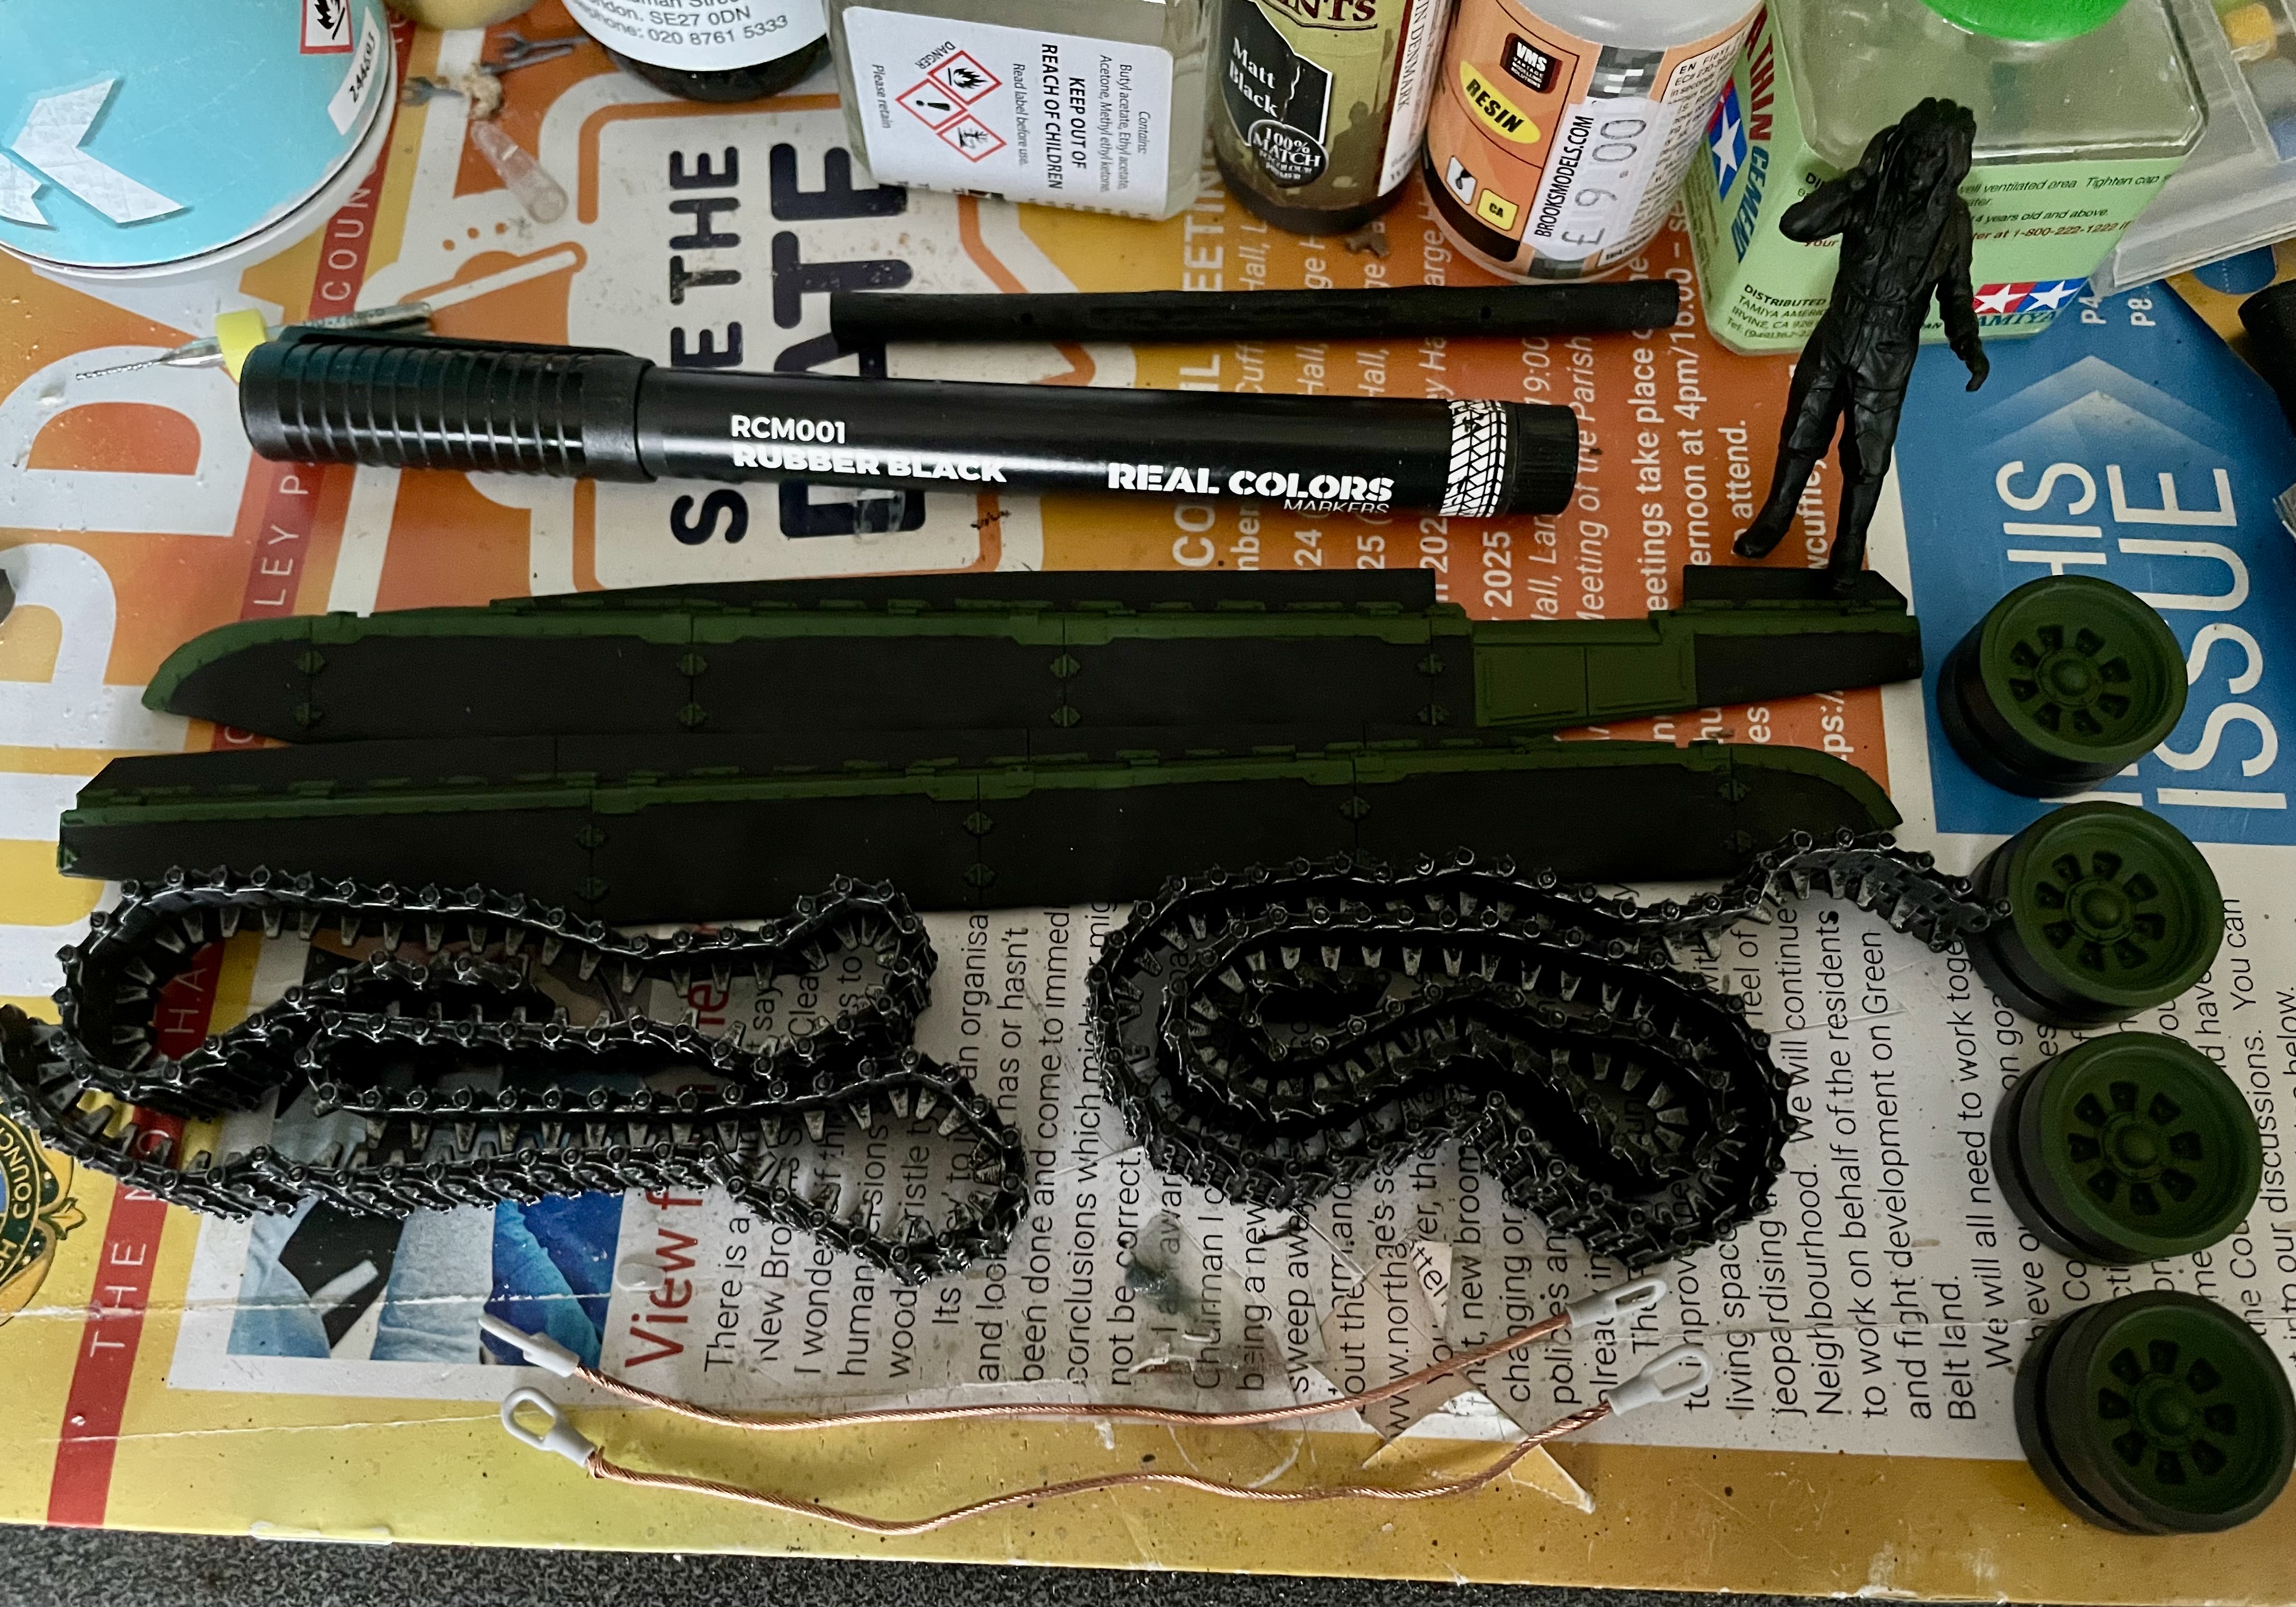
Starting to get down to details, hull got a gloss coat and now left to dry, side skirts painted, track primed black and dry brushed, commander primed, started painting the tyres on the wheels and made the tow ropes. Also stripped and cleared a blockage caused by the gloss varnish not reacting well to the thinners in the airbrush ![]()
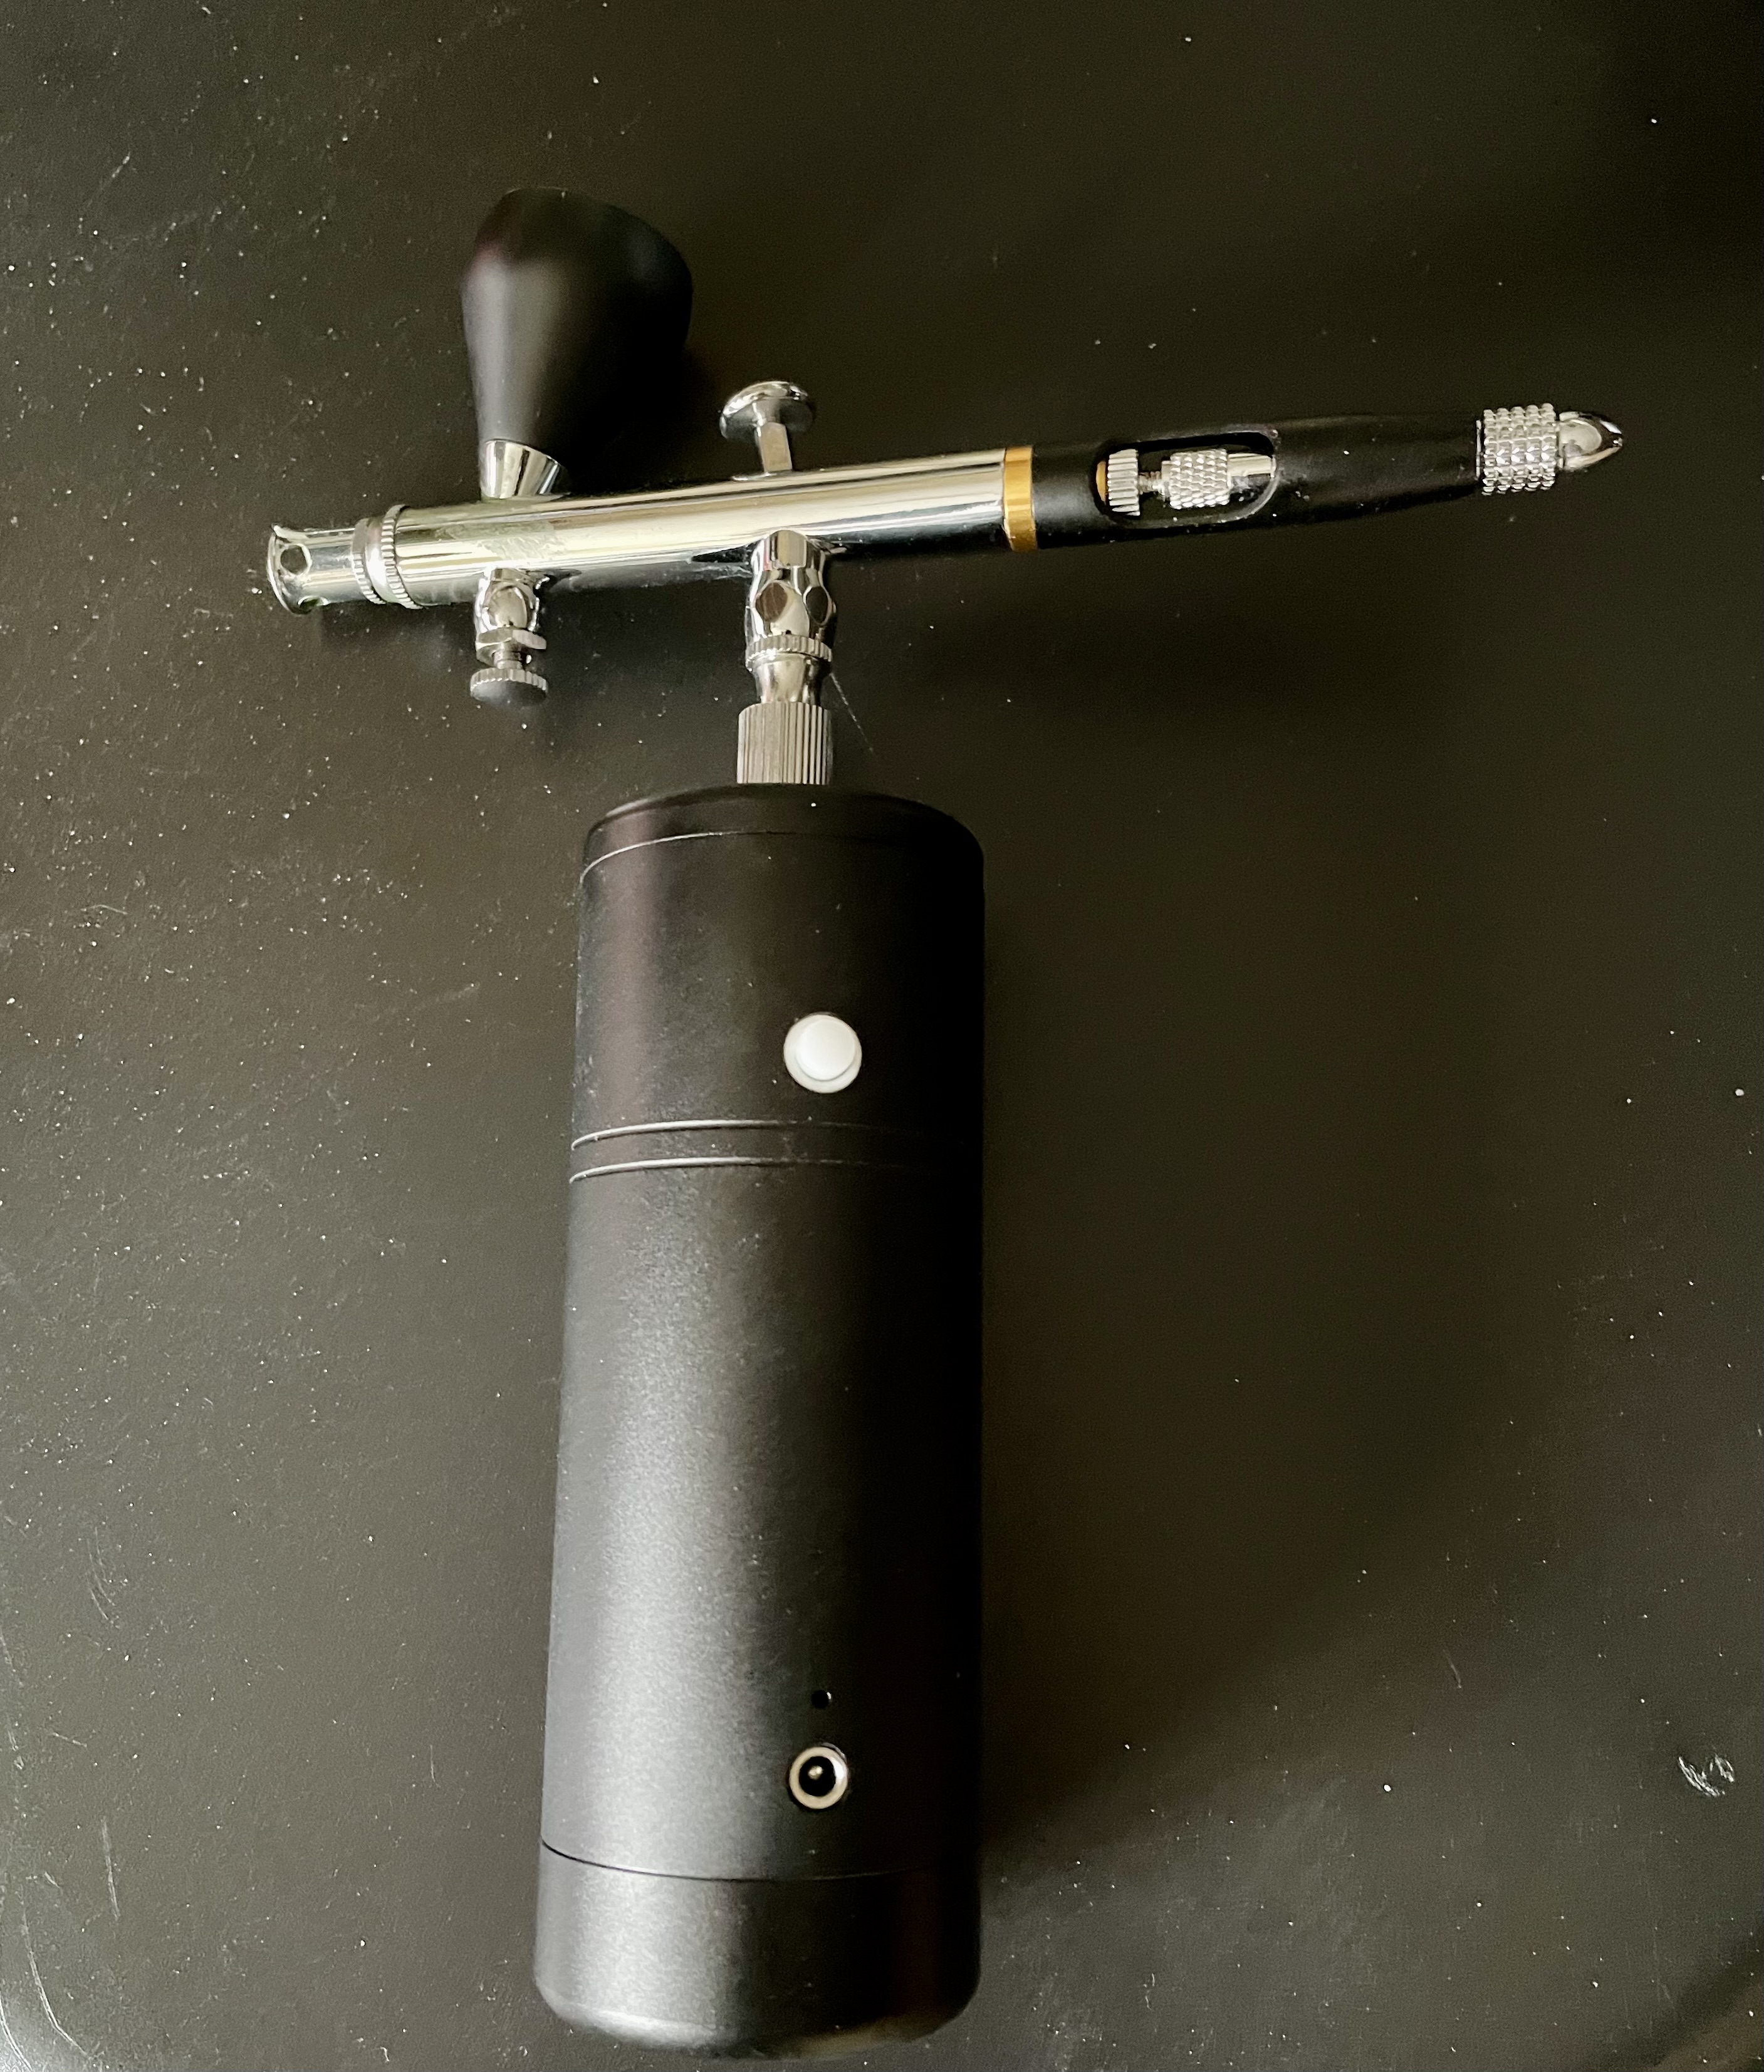
What are your thoughts on that airbrush?
I see them popping up quite regularly.
@RonW
So far ok, I haven’t have the battery die on me yet and this one came with a hose so if you want you don’t have to have the battery/compressor in your hand. I personally prefer the thing in my hand as it gives me something to hold otherwise I get cramp in my fingers very quickly, which is one of the reasons I have stayed away from airbrushes for so long.
The airbrush kit also came with some cleaning brushes a spanner and two large paint cups, it can also work as a siphon style with a bottle under the airbrush but I feel I’ll never use that feature.
The only issue I can see is you have no way to control the pressure, however you could fit a MAC valve between the compressor and the airbrush if that is an issue for you. Spraying Real Color I had no issue with the pressure output.
To charge the battery you plug the included lead into a USB socket, standard size USB-A I think it’s called. Takes about 40 minutes for a full charge which gives around 30 minutes of continuous spraying, enough for the hull, turret and wheels of a 1/35 tank, plus cleaning it out and still has charge left.
If 30 minutes spray time is not enough I have seen one that comes with two batteries, the battery screws into the bottom of the compressor. In theory you could almost spray all day with that setup.
Not sure on any of them if you can use it while the battery is charging.
Looks like you have a MAC valve under the paint cup. You don’t have a gauge on any of them so it’s more by feel as what is the pressure being used and desired. I have one similar for spraying smelly paints outside. Still need to work out my travel spraying process. Always going back inside to grab some that is next to my spraying area.
So I went to my local hobby store yesterday… they had this on the shelf, so I thought " hey this will work", so here we are. I have aftermarket decals for a Finnish T-72. Not sure if I will do that one since one of the greens (34077) is hard to source. I know I can mix colors, but I do not know. Want to keep this one simple.
I have this one in the stash, looks very nice and plan to do the Iraqi one once I have the Tamiya T-72M1 finished and a few others done then I also plan on a Finish plus an Indian T-72.
I’ll watch your build and see how you get on. I really like the looks of the T-72 so much so that I’m contemplating getting the Amusing Hobby one with an interior, I don’t normally do interiors in tanks as you can’t see enough IMO to make it worthwhile. Oh if you didn’t know the Das Werk kit is the same as the Amusing Hobby kit just with no interior.
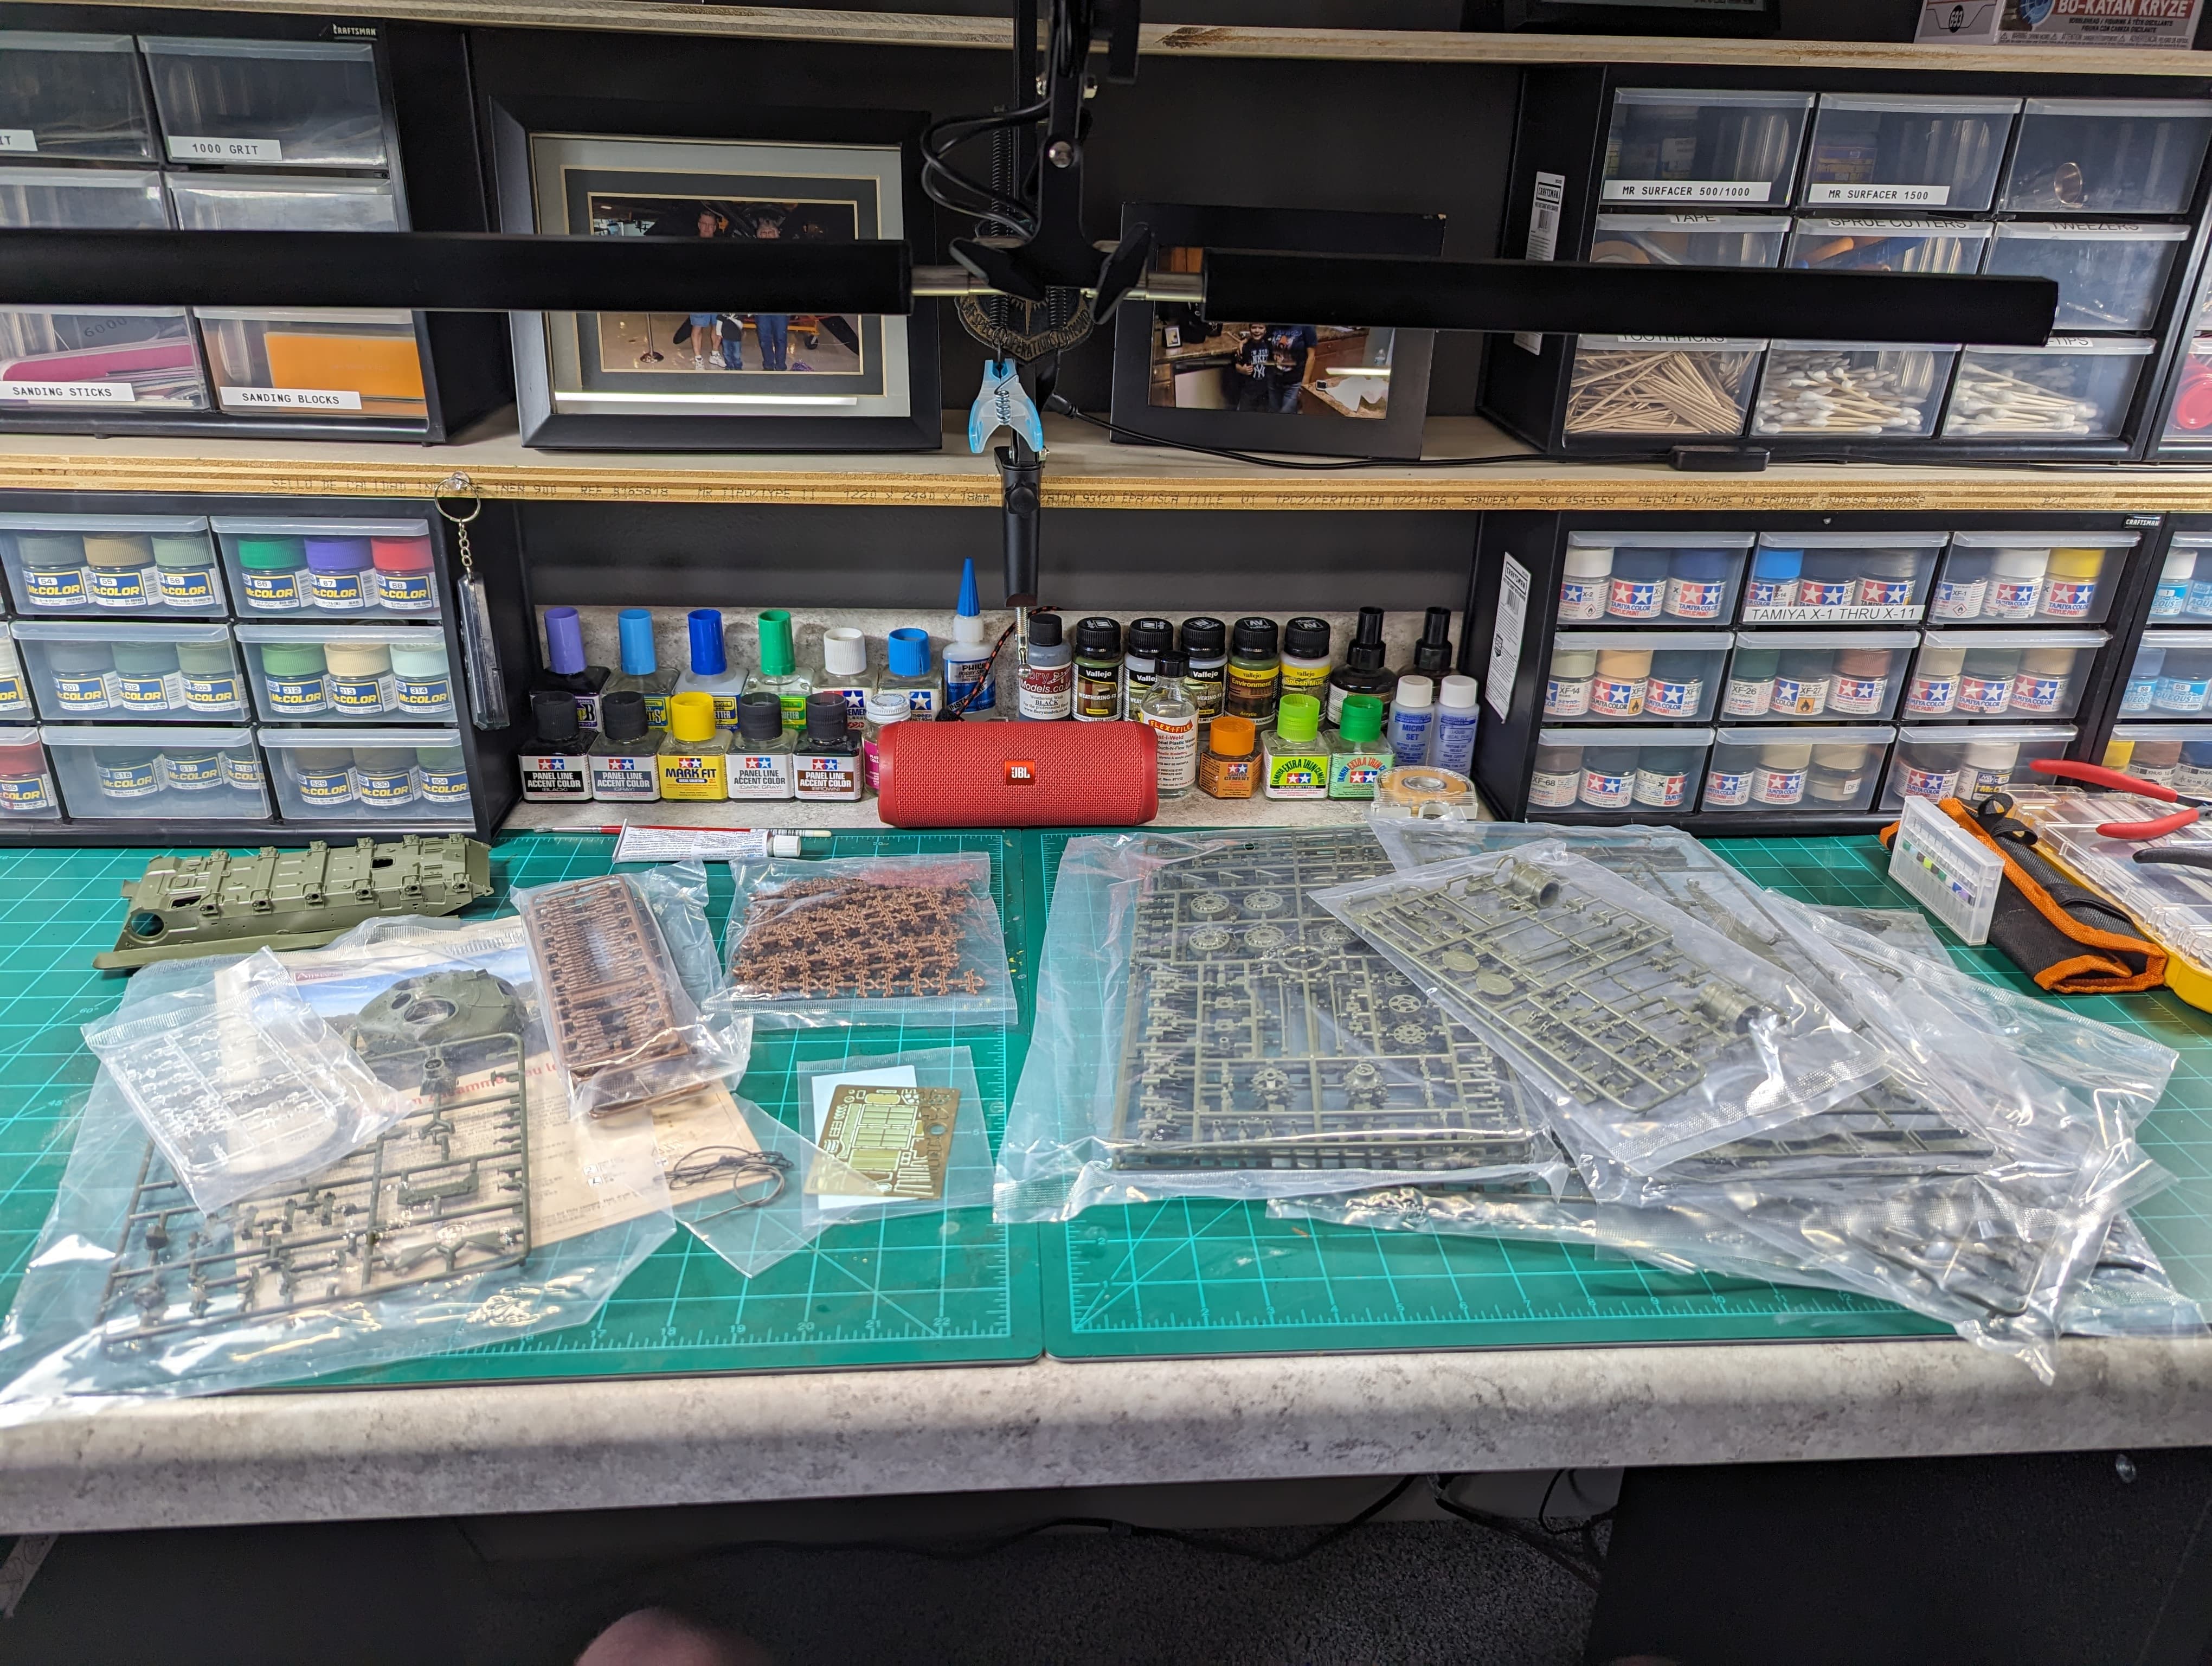
Excuse me: can you turn on the lamp, take a photo of the table and show it to us? If this is with the light on, then vice versa - turn it off. And at the same time tell me what kind of lamp you have. It seems to me that I need such a lamp.
A little update of the Be-12
 20220416_045827 by Shaky962, en Flickr
 IMG_20220220_013417_mfnr by Shaky962, en Flickr
I saw that in the reviews I watched. It looks pretty good, should be starting it this evening.
Time to show my progress at my B-4 howitzer here to the audience:
I finished priming, painting and an acrylic wash. As Salekhard told us the camouflaged guns were mainly at the beginning era of WWII I had to stay with a plain green one. But as this beast have a lot of rivets I think the drybrushing and weathering will bring out a good look of it, too
I stuffed some dirt (made of acrylic paste, russian earth pastels, static grass and fine sand) between the tracks and upper suspension cover
…and I couldn´t resist to apply a slogan onto the giant gun barrel. This one is from an old Verlinden WWII Allied slogan sheet and according to them (I am not able to read hand written cyrillic) “Revenge”
After drying I will continue with wear, dust and highlighting all these tiny rivets (and there are a lot of them…)
![]()
![]()
“Take revenge!” This is very appropriate here.
Excellent coloring - quite enviable!
Beautiful painting and weathering, Thomas. Love the fading of the paintwork on the gun tube.
That’s very nice! Looking forward to seeing all that hard work come together in the final piece.
One thing I’ve always wondered about this gun though, were it tracks powered and could it move itself around in a limited way? Or was it strictly towed?
Getting close, wheels and tracks fully painted and fitted, unditching log painted and fitted together with the hoses for the fuel drums, details painted lights etc and started painting the commander. Will finish the commander tomorrow and start the weathering then look at the base which will be just a little bit of ground work around the tracks. Tow ropes have been primed ready for painting, and fitting.
Nice…!!!
Small update, didn’t get as much done as I’d hoped, but did get the commander done and the tow ropes fitted and decals on all two of them.
Wanted to start the weathering but when reaching for the first bottle noticed I didn’t have the colours I thought I had so quickly on the net and placed an order for the correct colours, so a slight delay in getting this one finished.