That’s coming together beautifully Mike! Very nice progress!
Yesterday’s progress update on my Mig:
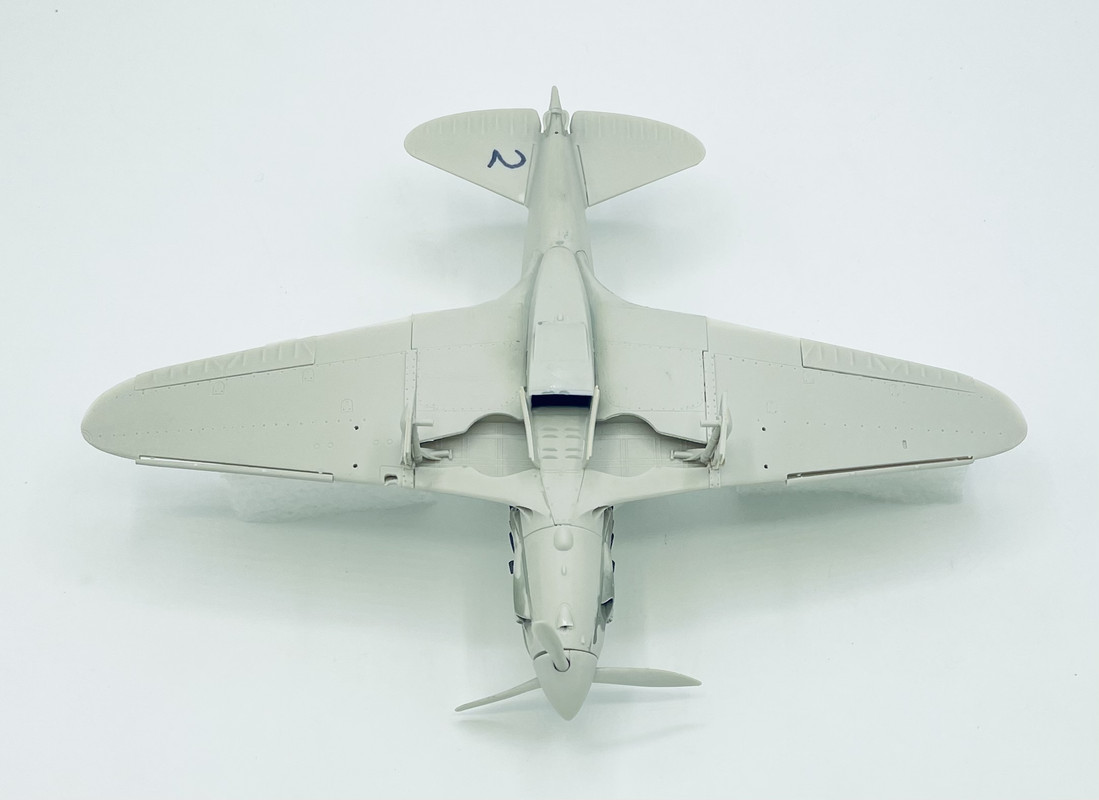
First up, I assembled the main landing gear struts. ICM must have brought in someone from AFV Club, or Bronco, or one of the other Chinese model companies to design this kit, as they sure went intricate. Each strut is four separate parts, including some a pair of tiny side rods. Then you add the wheel well cover door. I’m not quite sure why each strut wasn’t molded as a single piece
Then I painted and installed the radiator on the belly. I couldn’t get a good view in the camera of the added screening, but it is quite visible in real life.
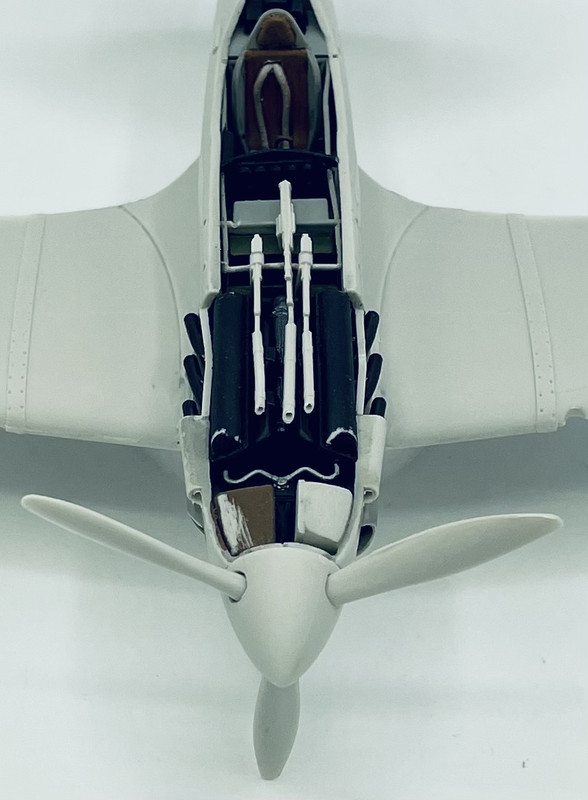
After that I installed the armament. After they had dried a bit I did a test fit of the cowling top, which fit with no problems over the guns. So I’ll paint them up and close it up. They won’t be visible, but I know that they’re in there. Also I cleaned up the prop and did a test fit. Man did they mold everything to fit snug. I could literally use no glue on those parts and they’ll be sitting in place just fine
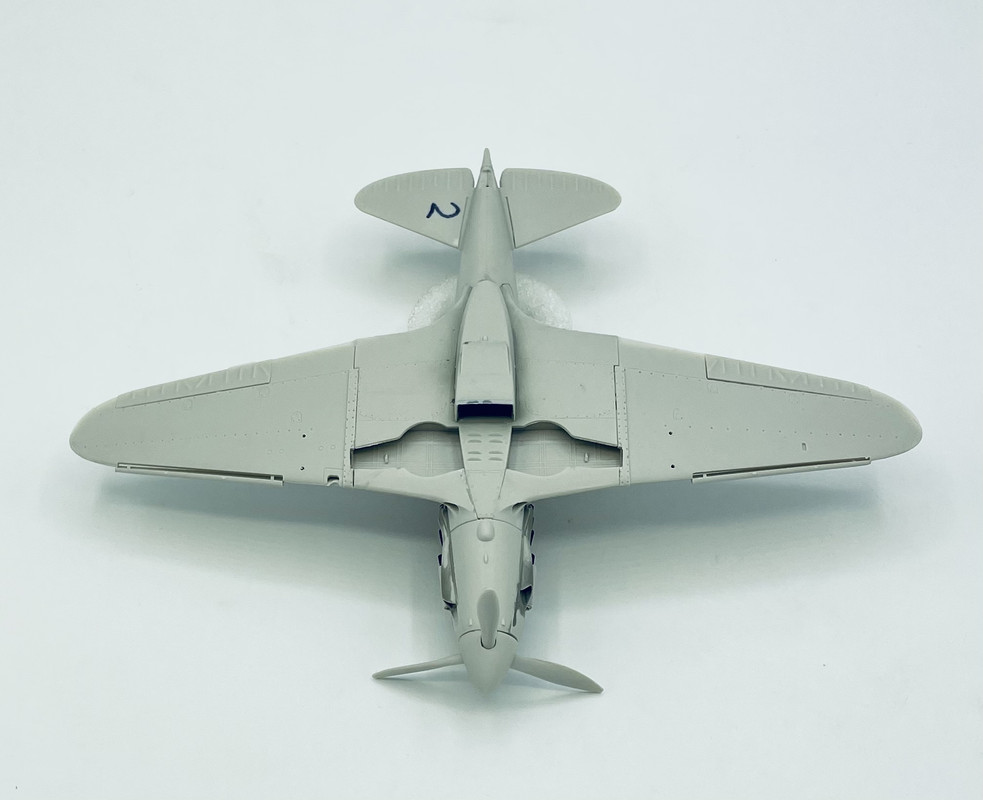
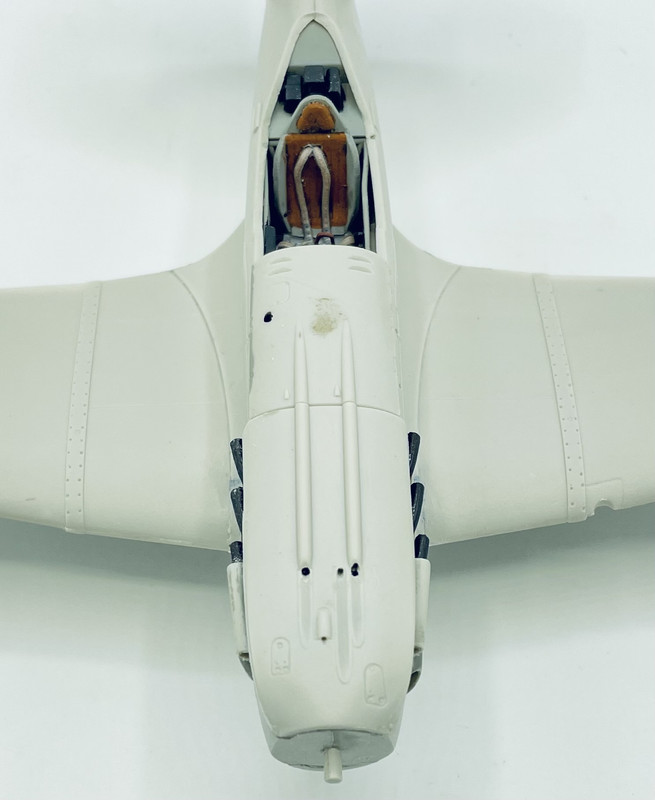
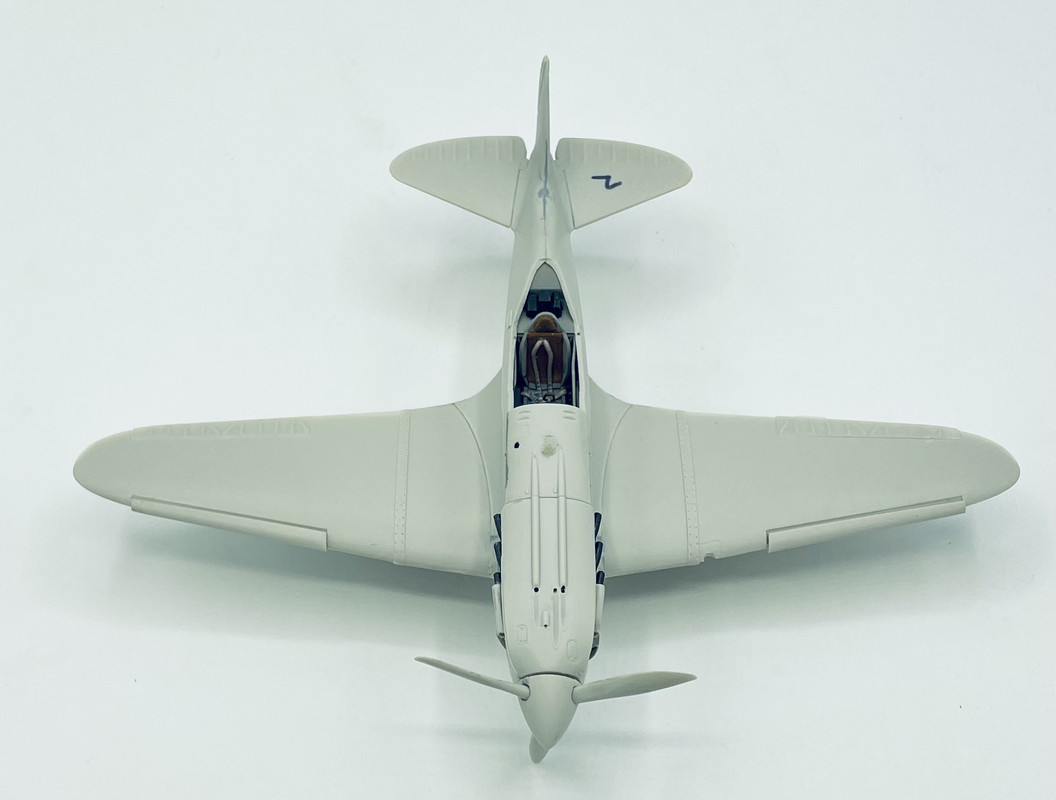
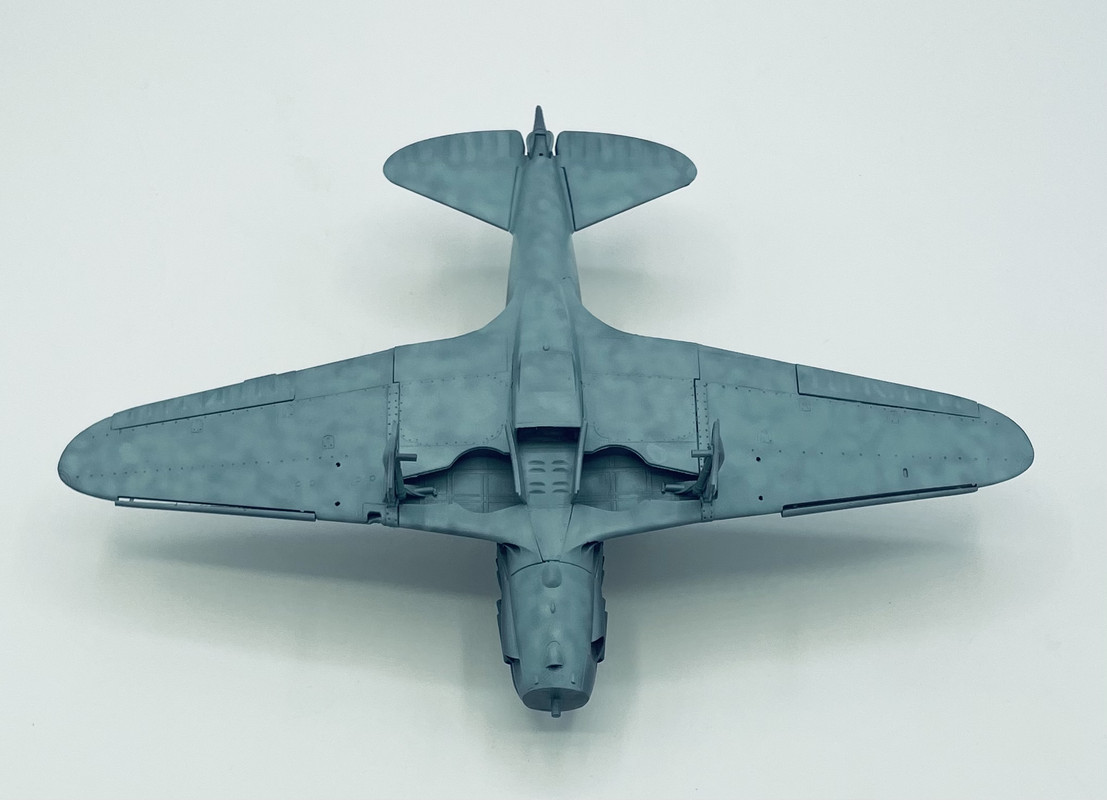
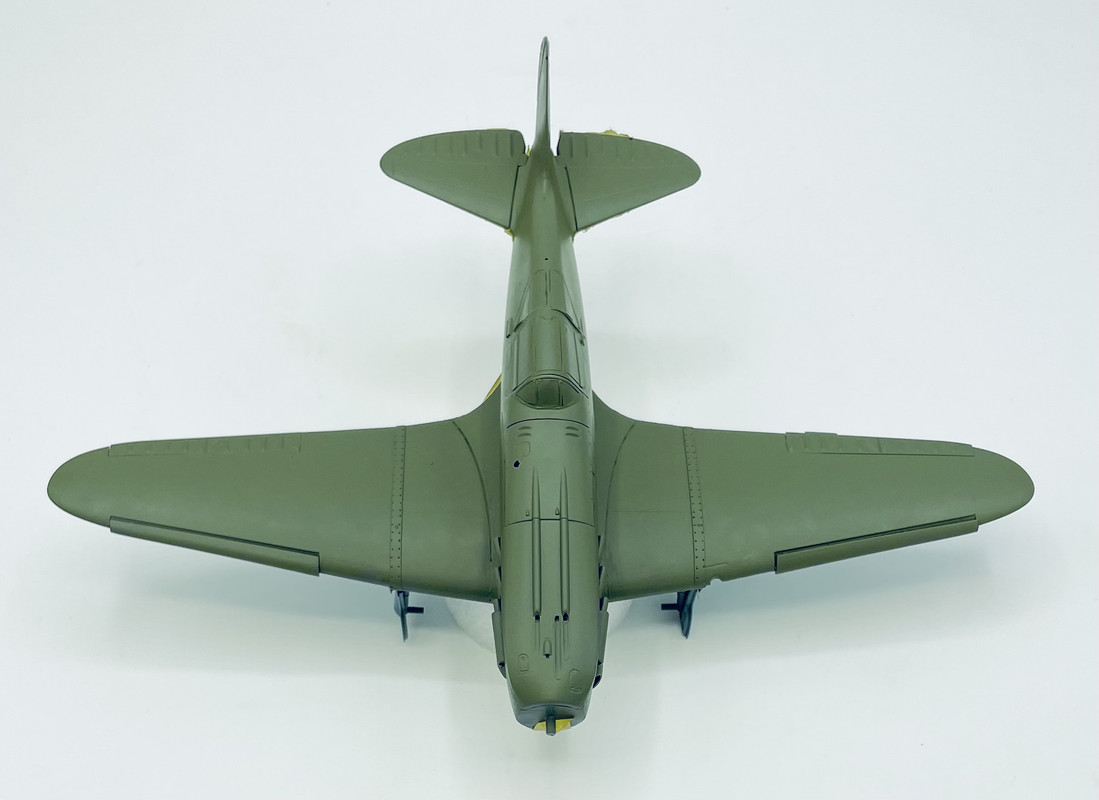
Lastly I had to get an underside view
I’m on the home stretch for assembly now. Hopefully I can get the basic paint on next week…
@SGTJKJ, thanks Jesper. This project is still moving along well enough!
Well here is the latest progress. Not much by the past few updates standards, but…
First up, armament painted. Seems something of a waste of effort since I’m not leaving the cowling open. This kit really should be done in a dio or vignette with the cowl opened and the engine exposed.
Say goodnite to the guns… all closed up now
And how this little Mig looks now.
I have the canopy drying after its’ dip in Future. So tomorrow I can start to get it masked up then installed for painting. Also, due to the intricate method of landing gear installation, I’ll be getting those glued in place before I start painting.
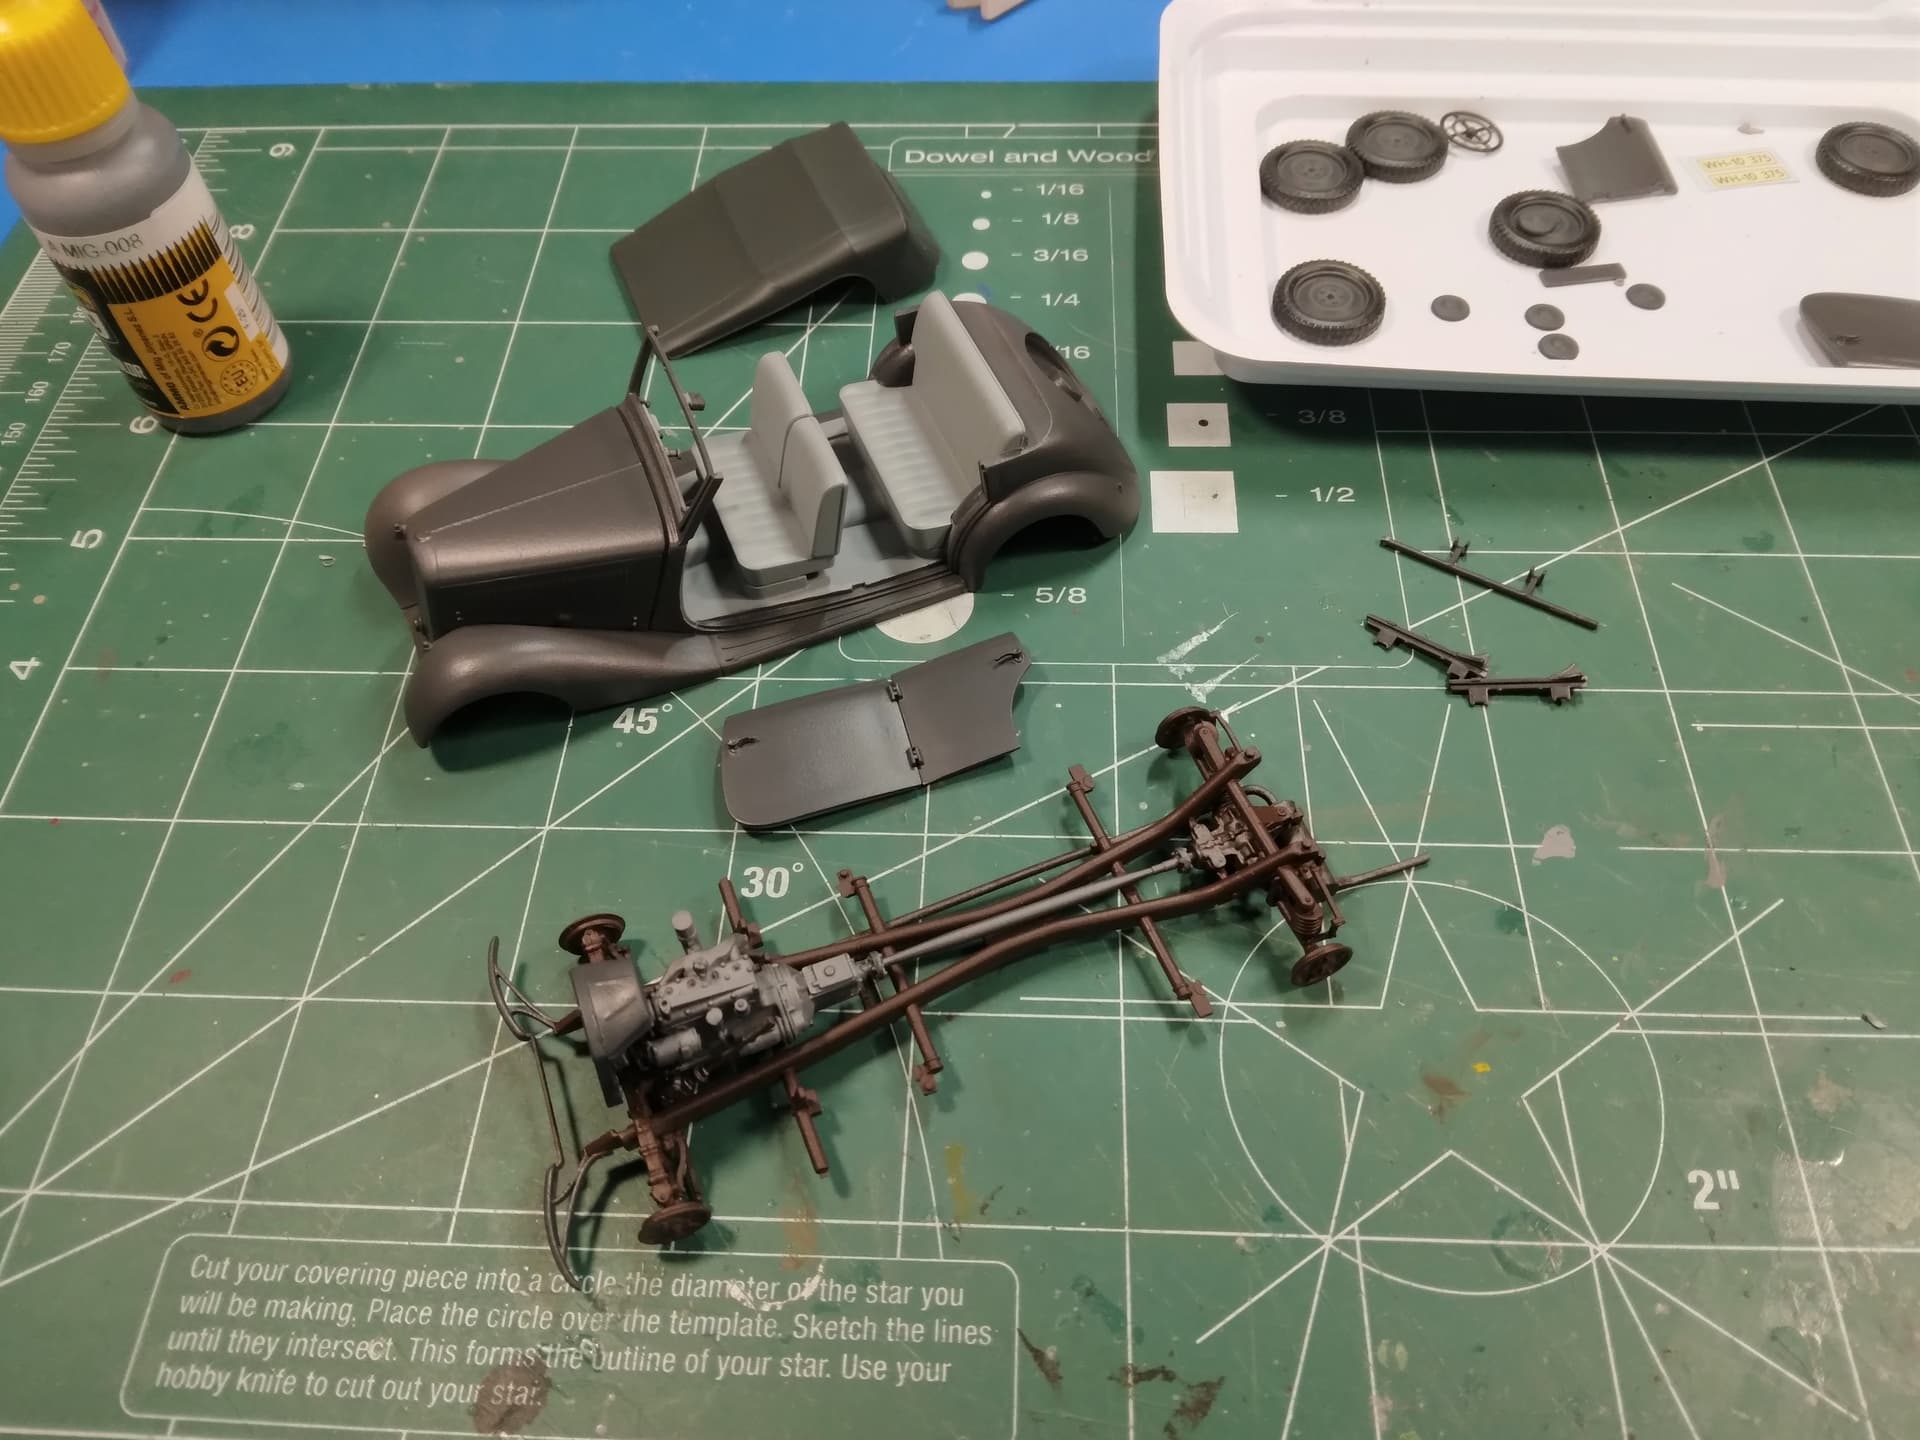
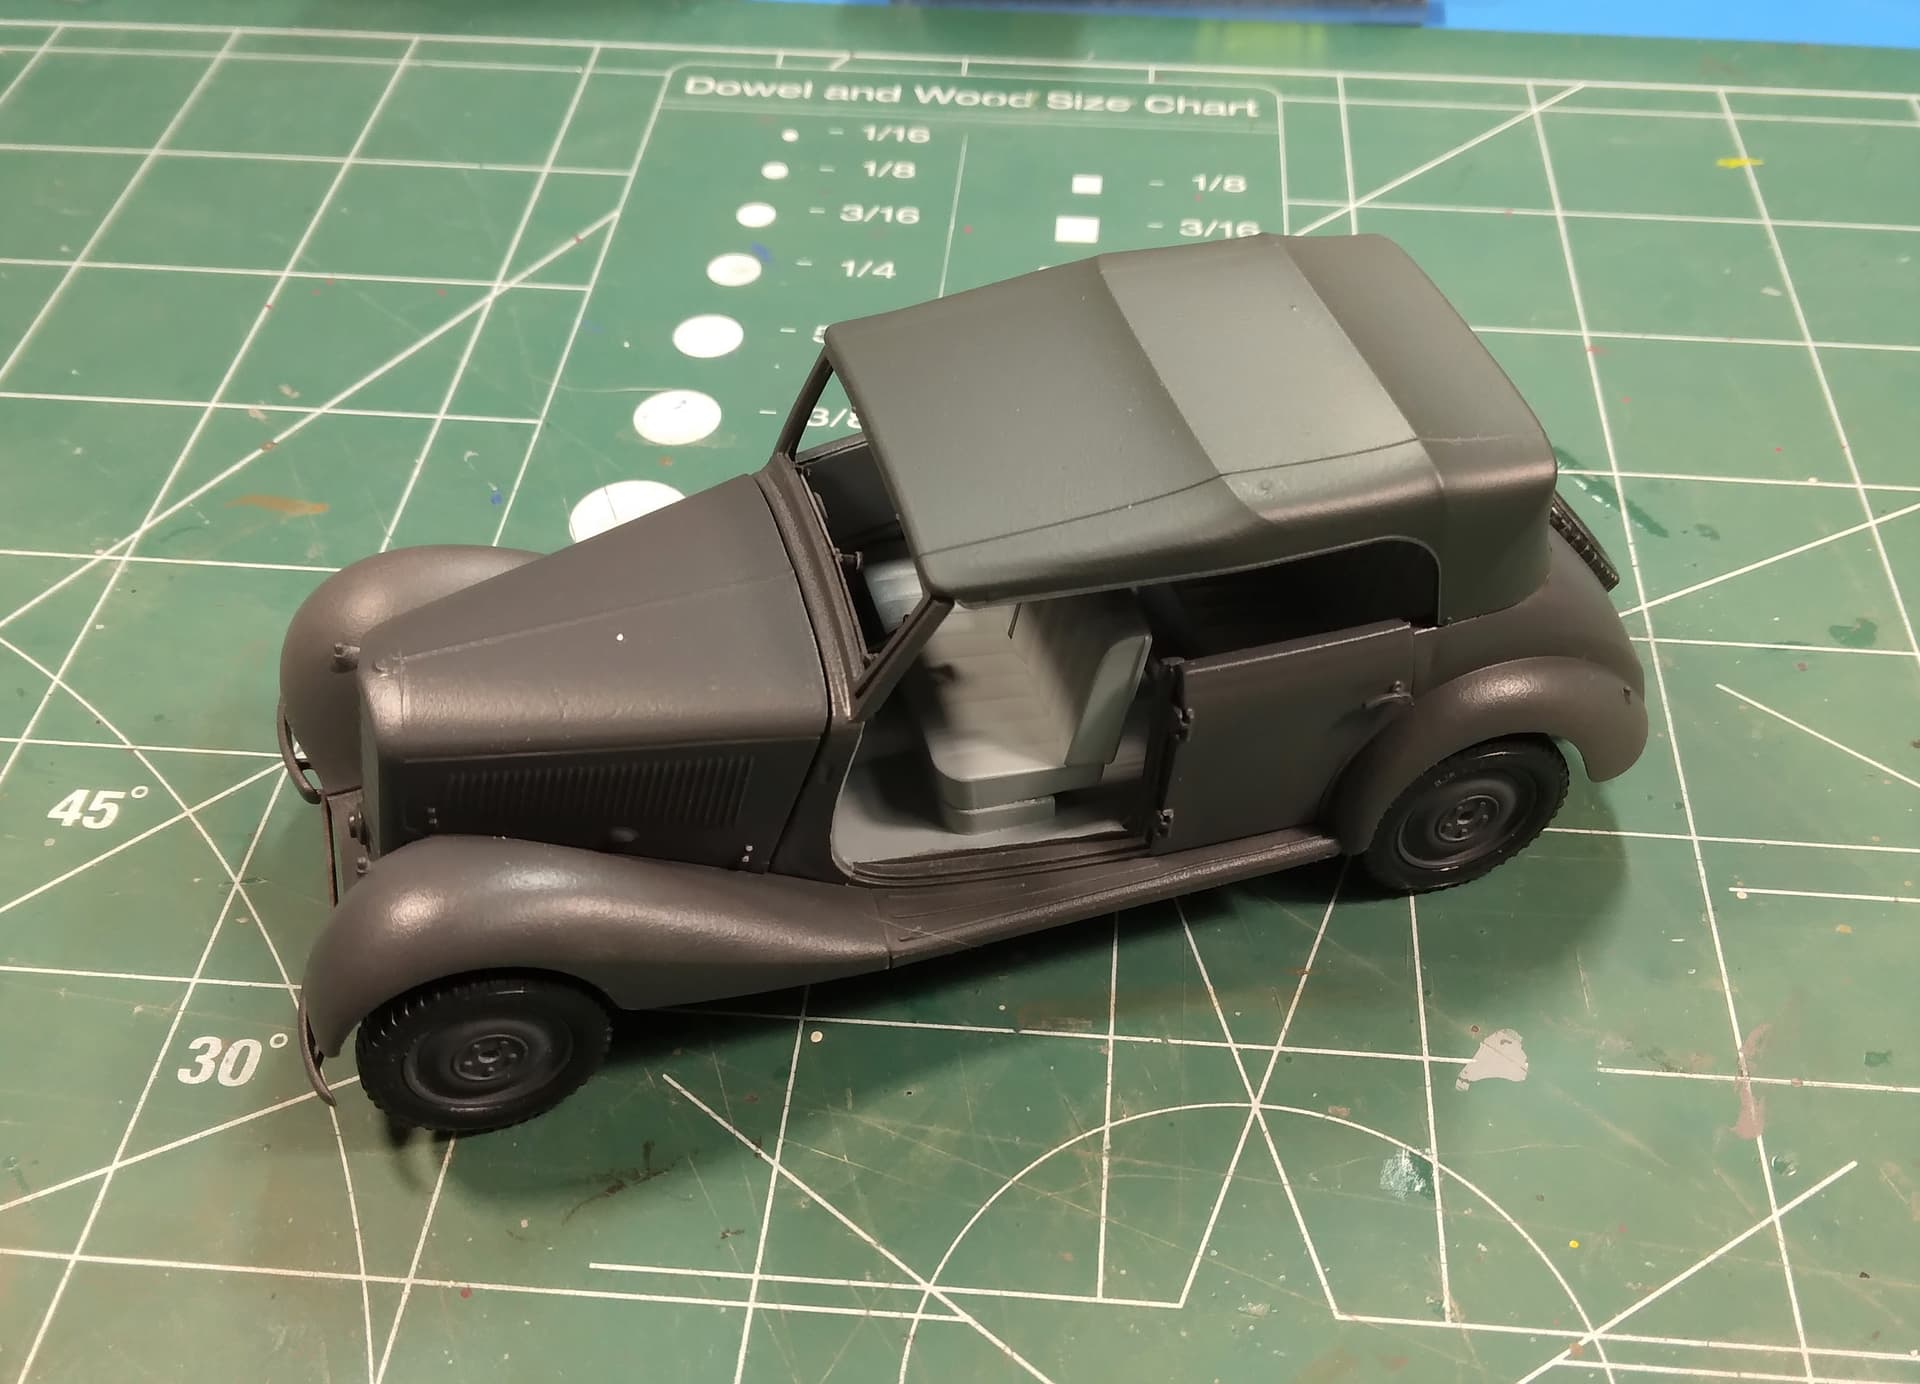
Getting closer. I think I’m going to pose this one with the front door(s) and/or a passenger door open. Just a few more little bits to paint/add and then of course the sub-assemblies. Pale Blue Gray interior, Dark Gray exterior, and the “roof” is Black Gray.
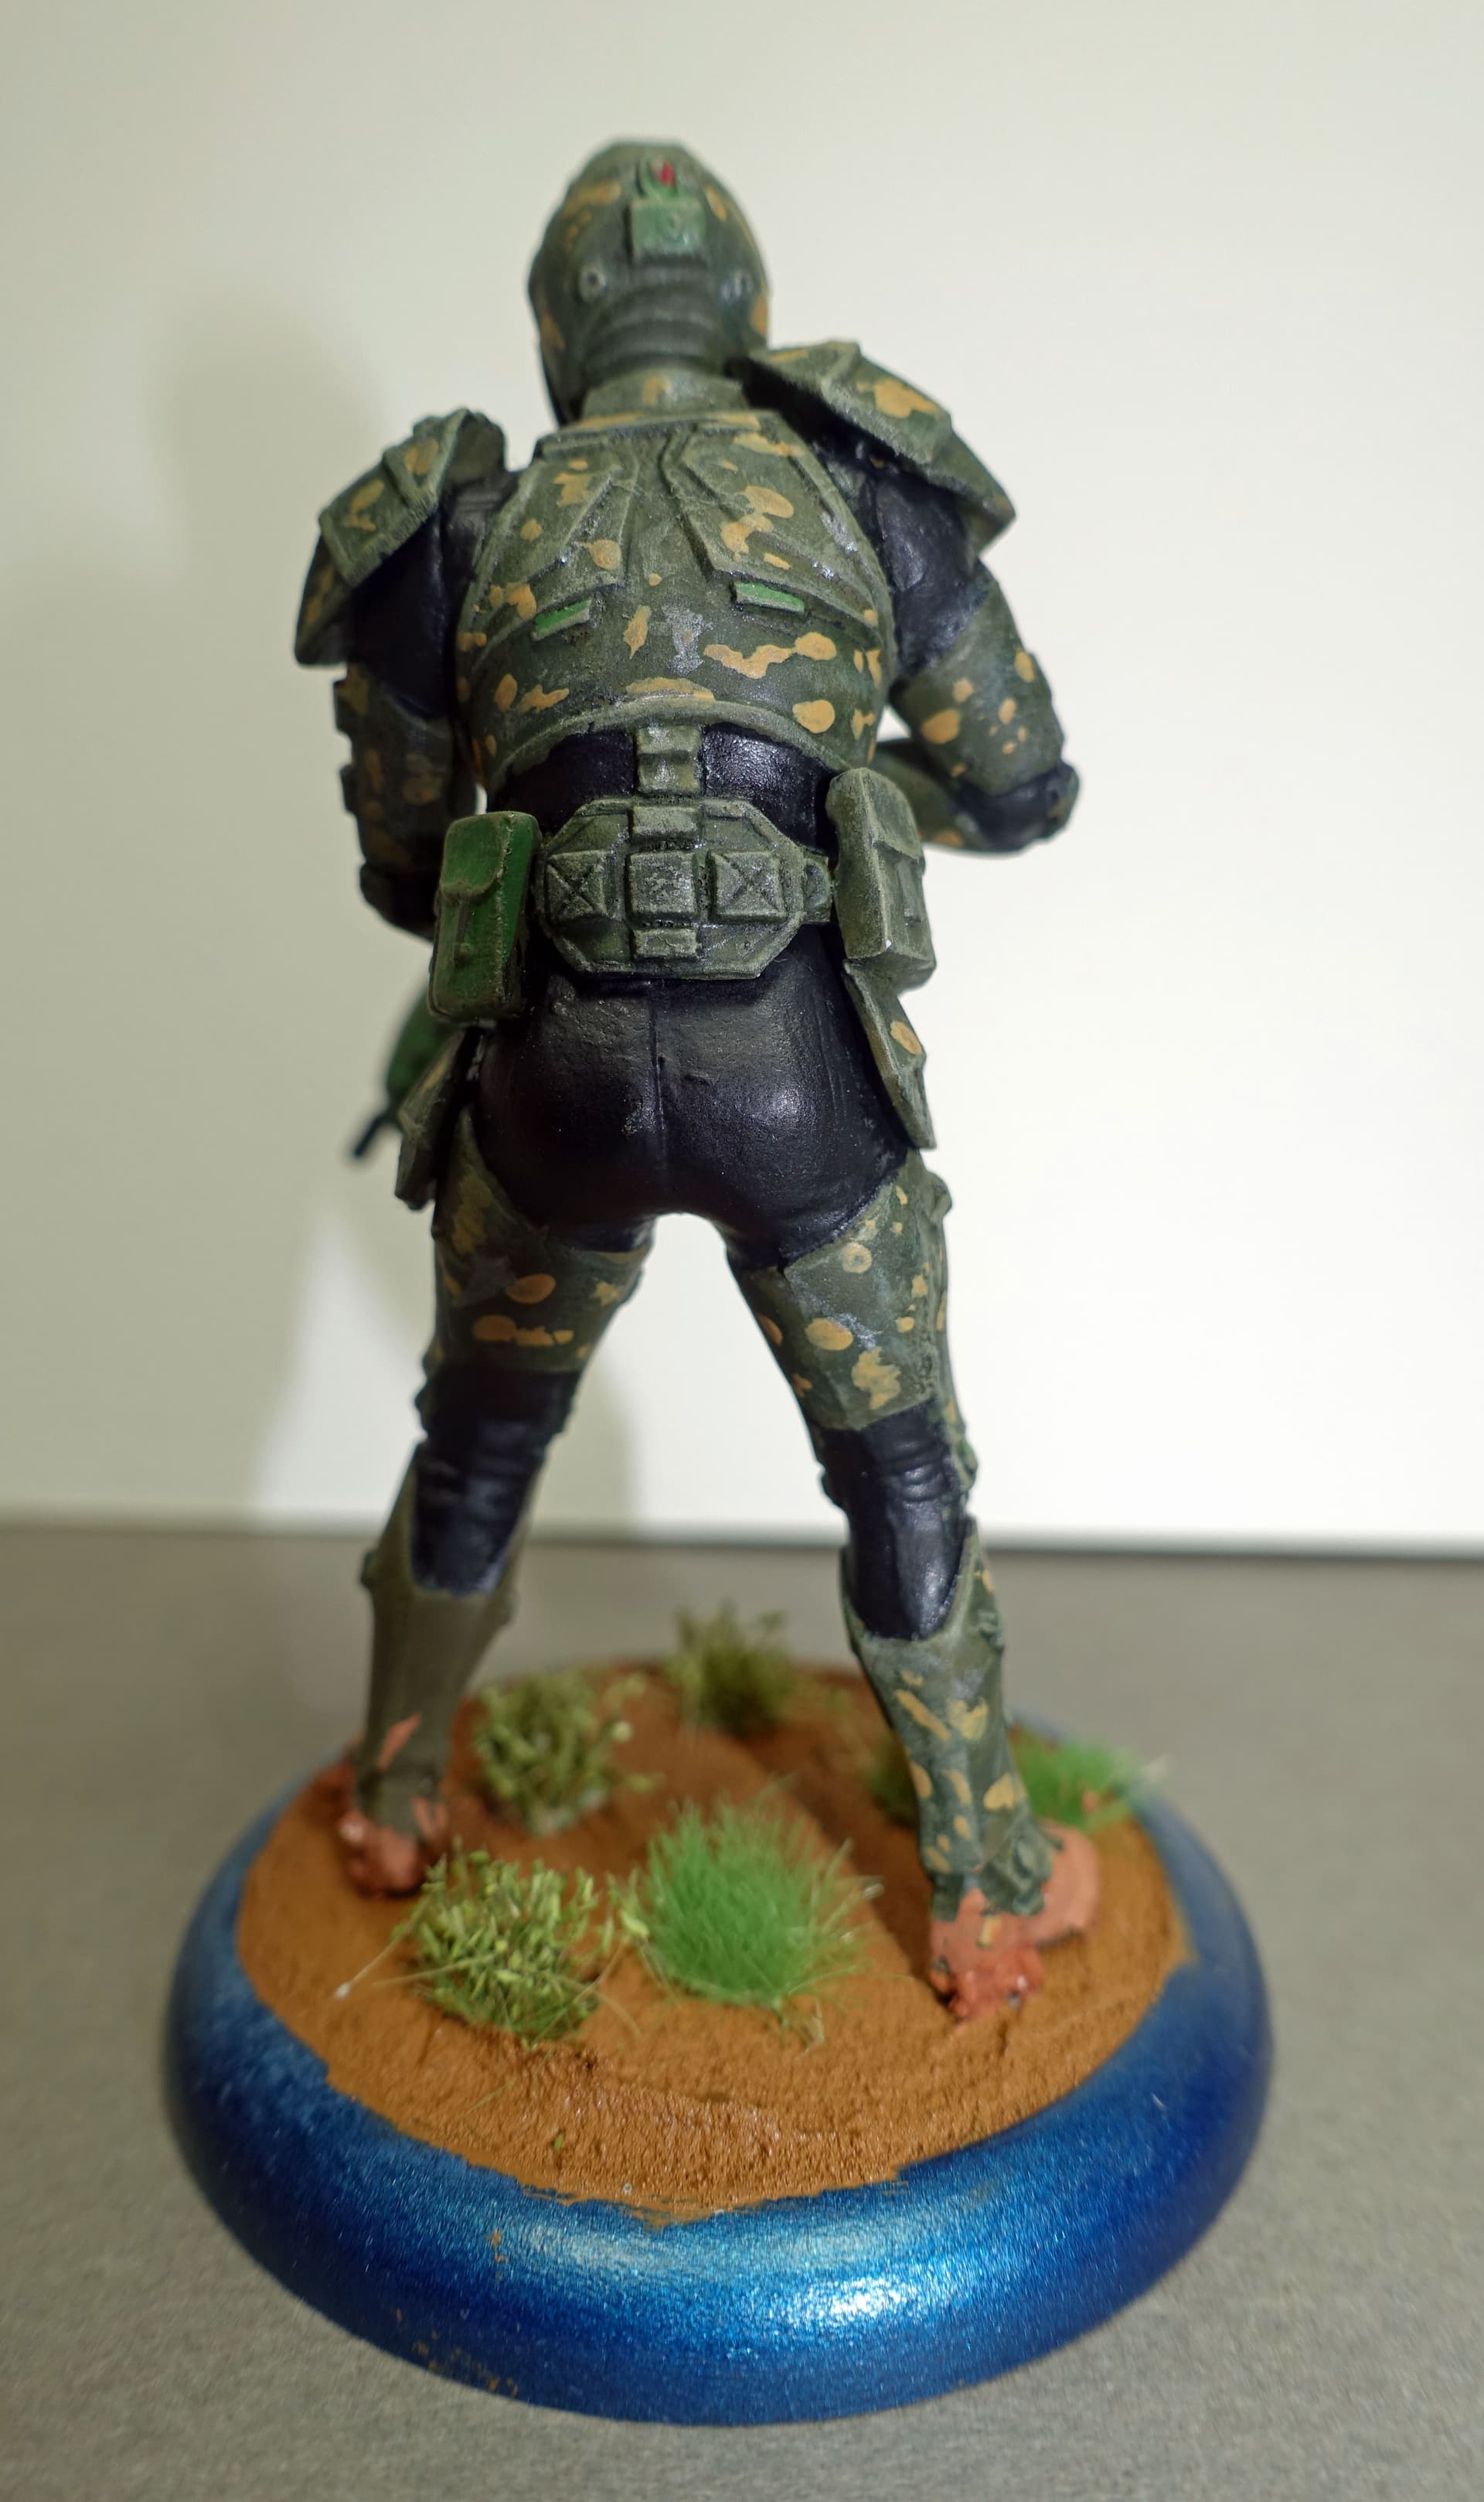
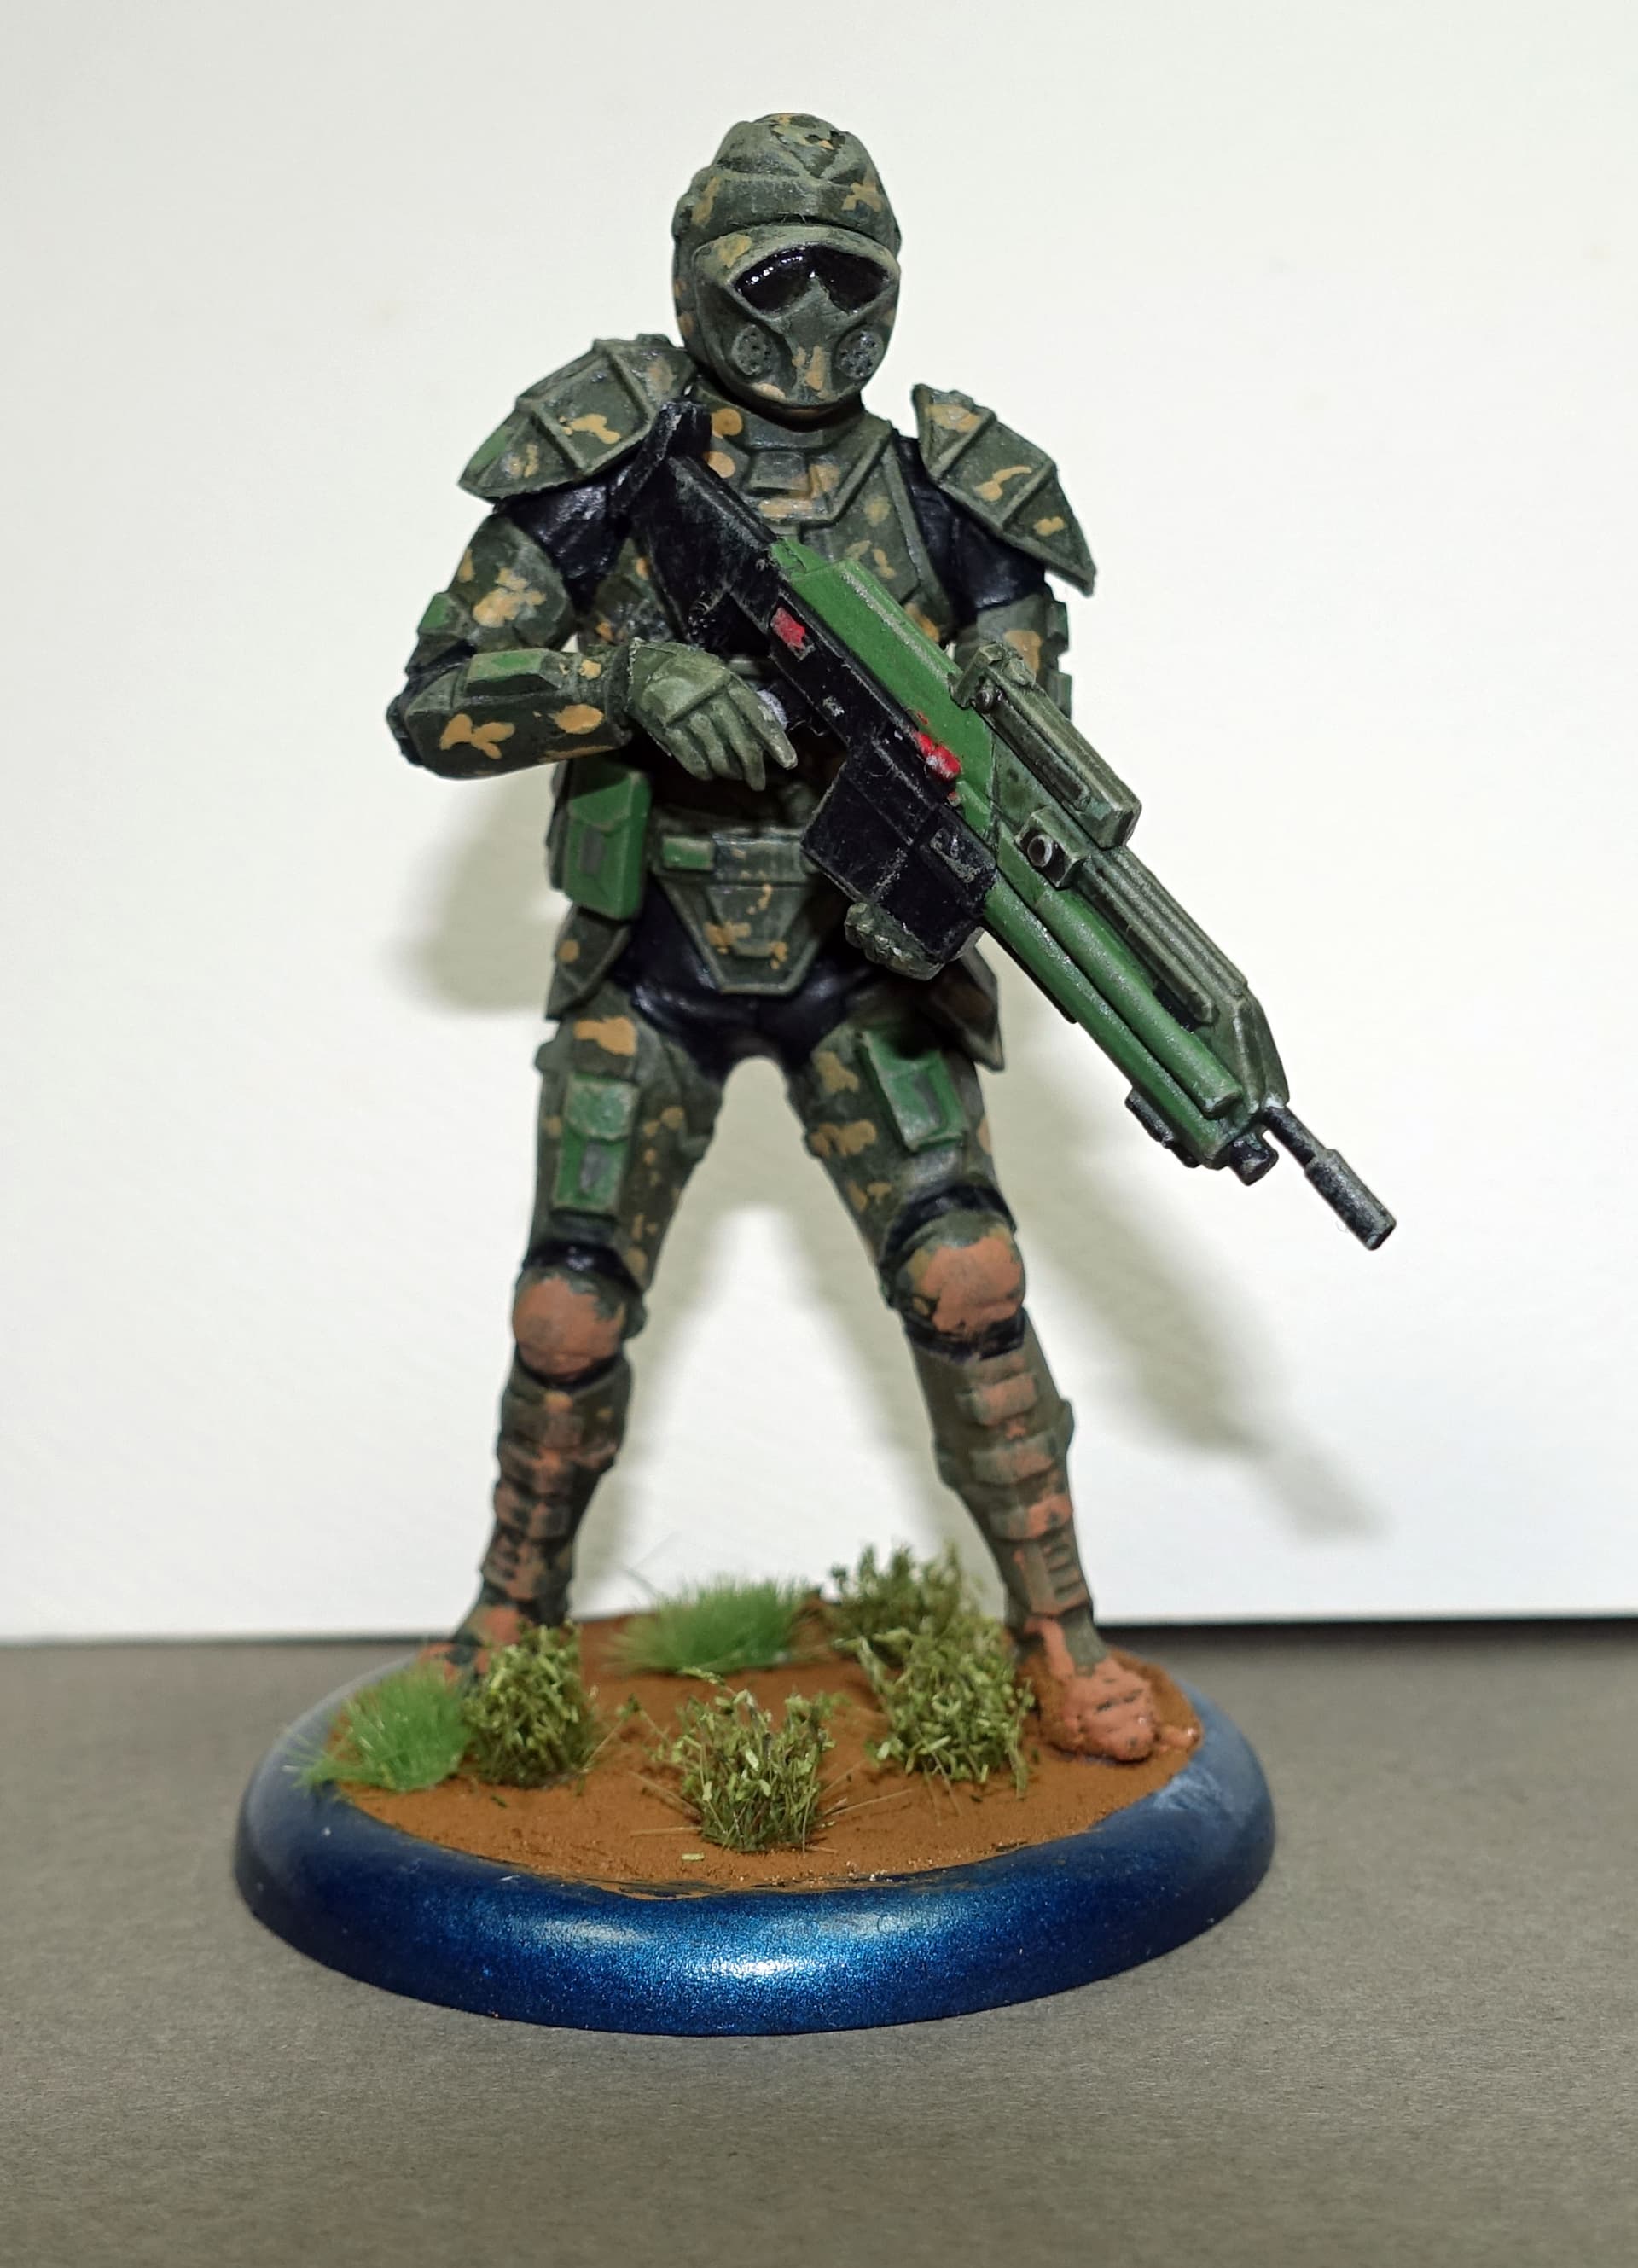
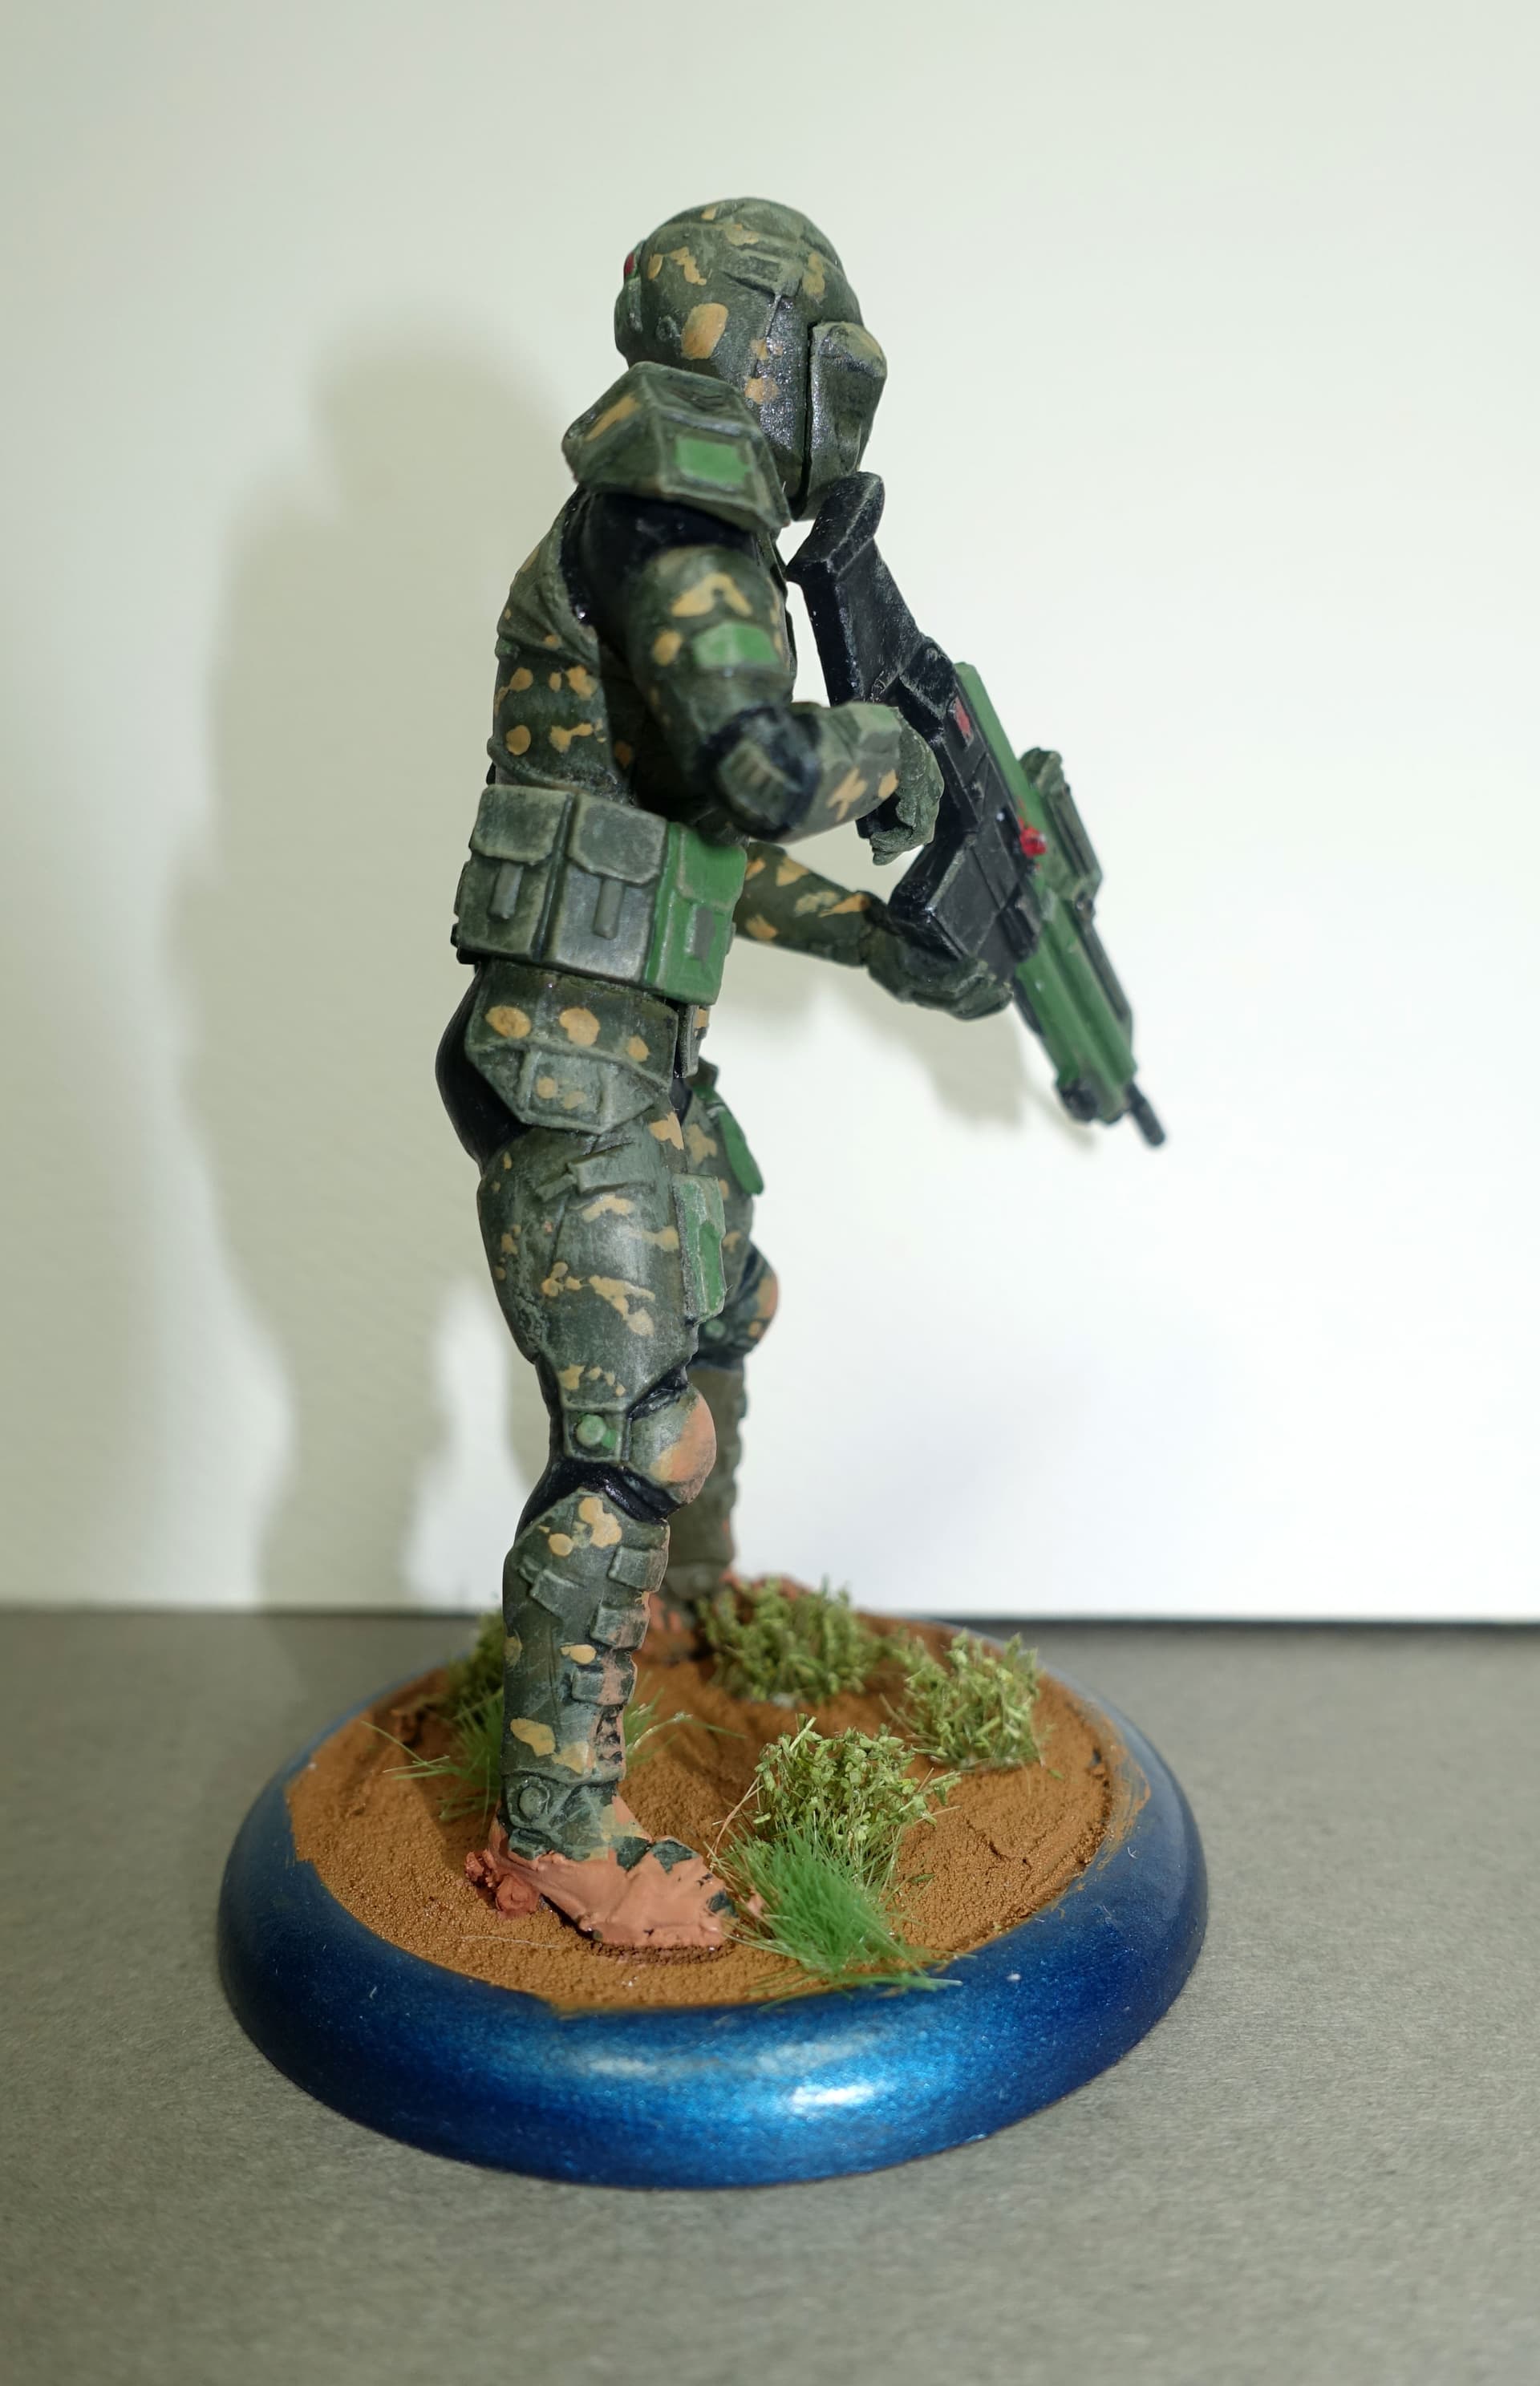
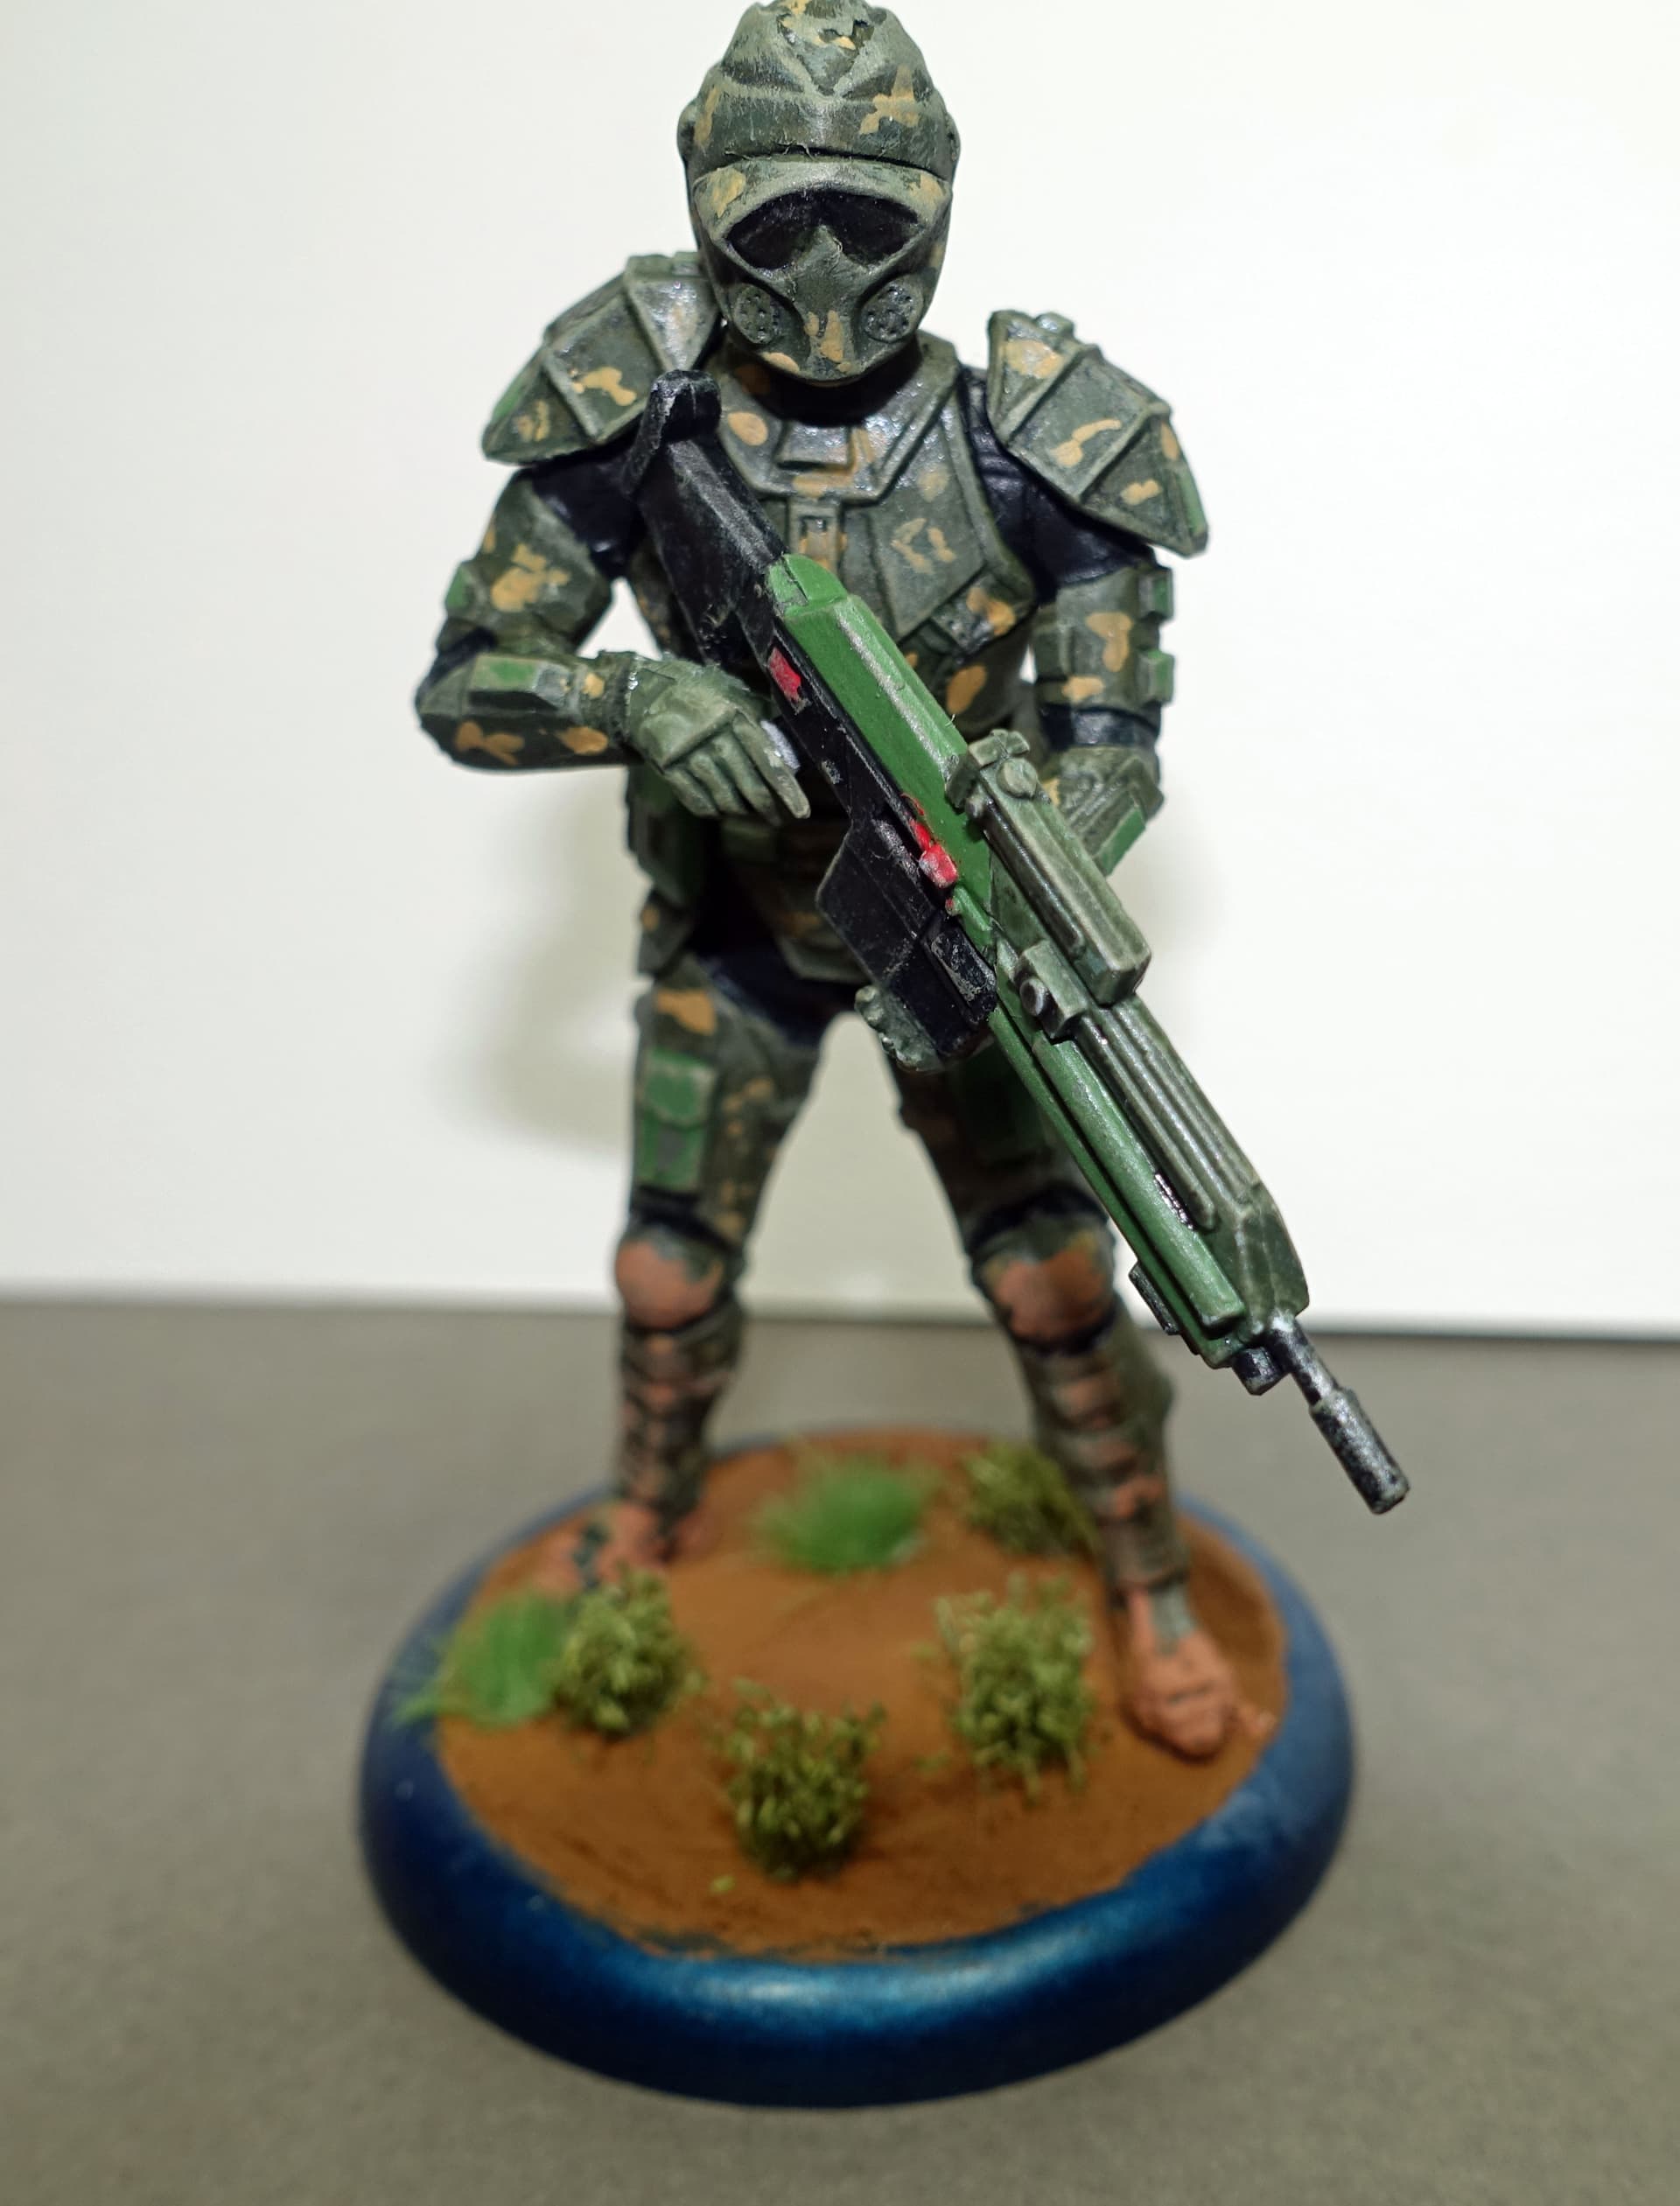
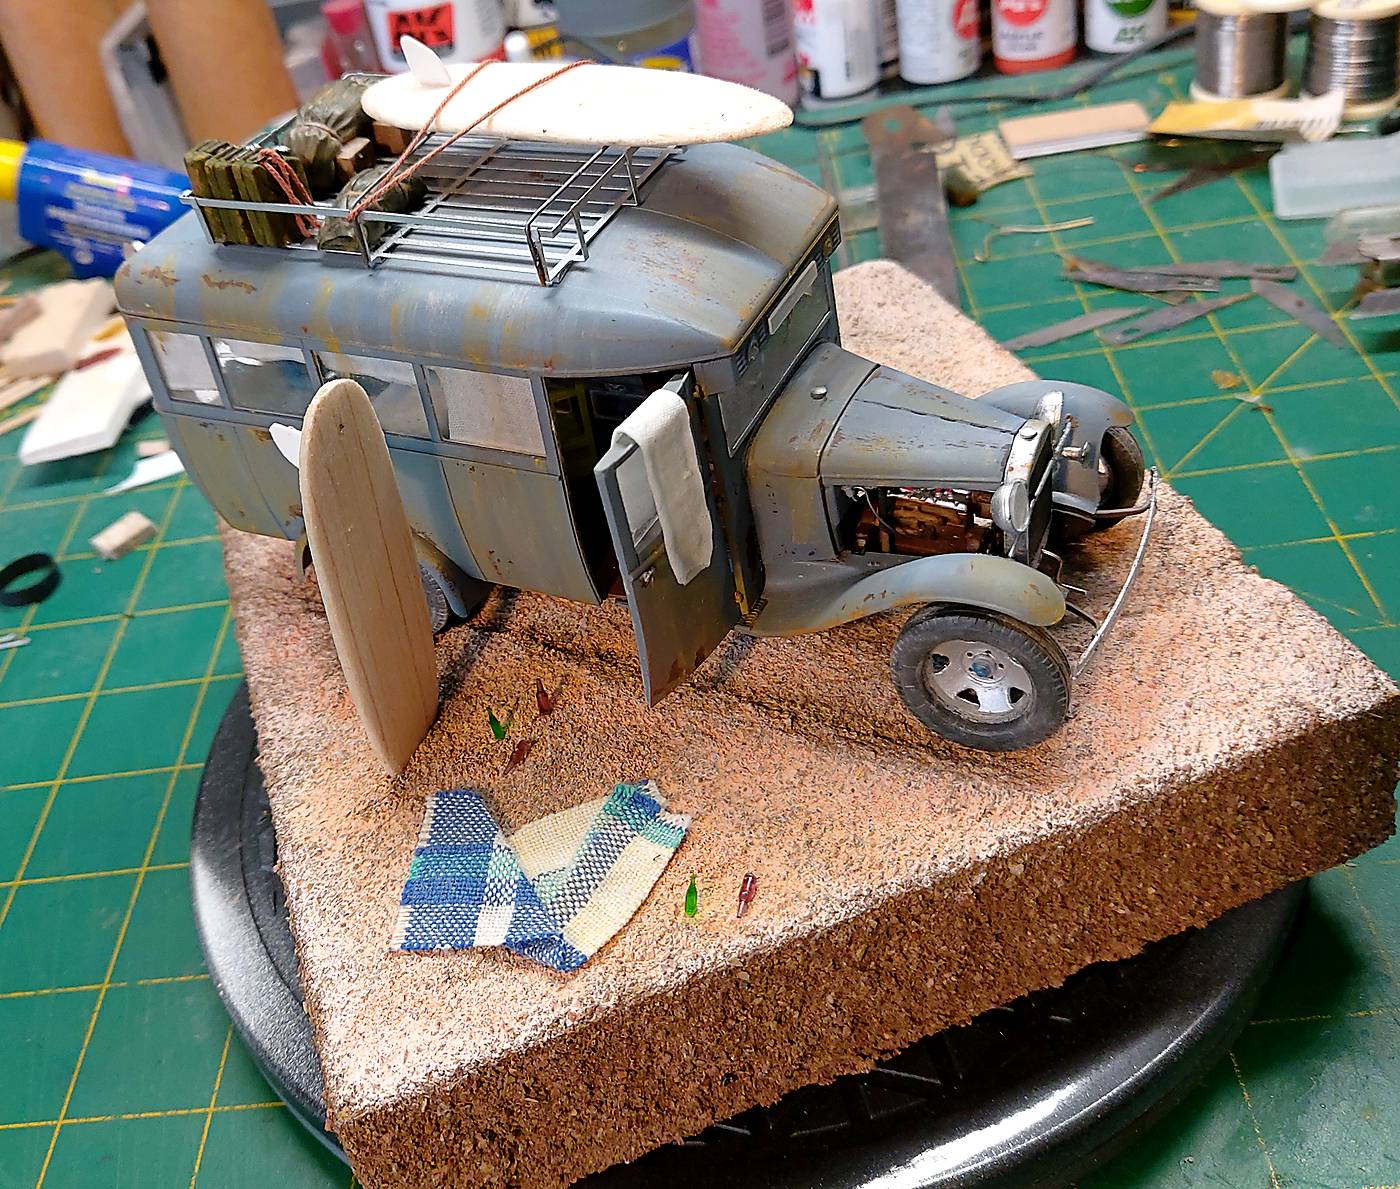
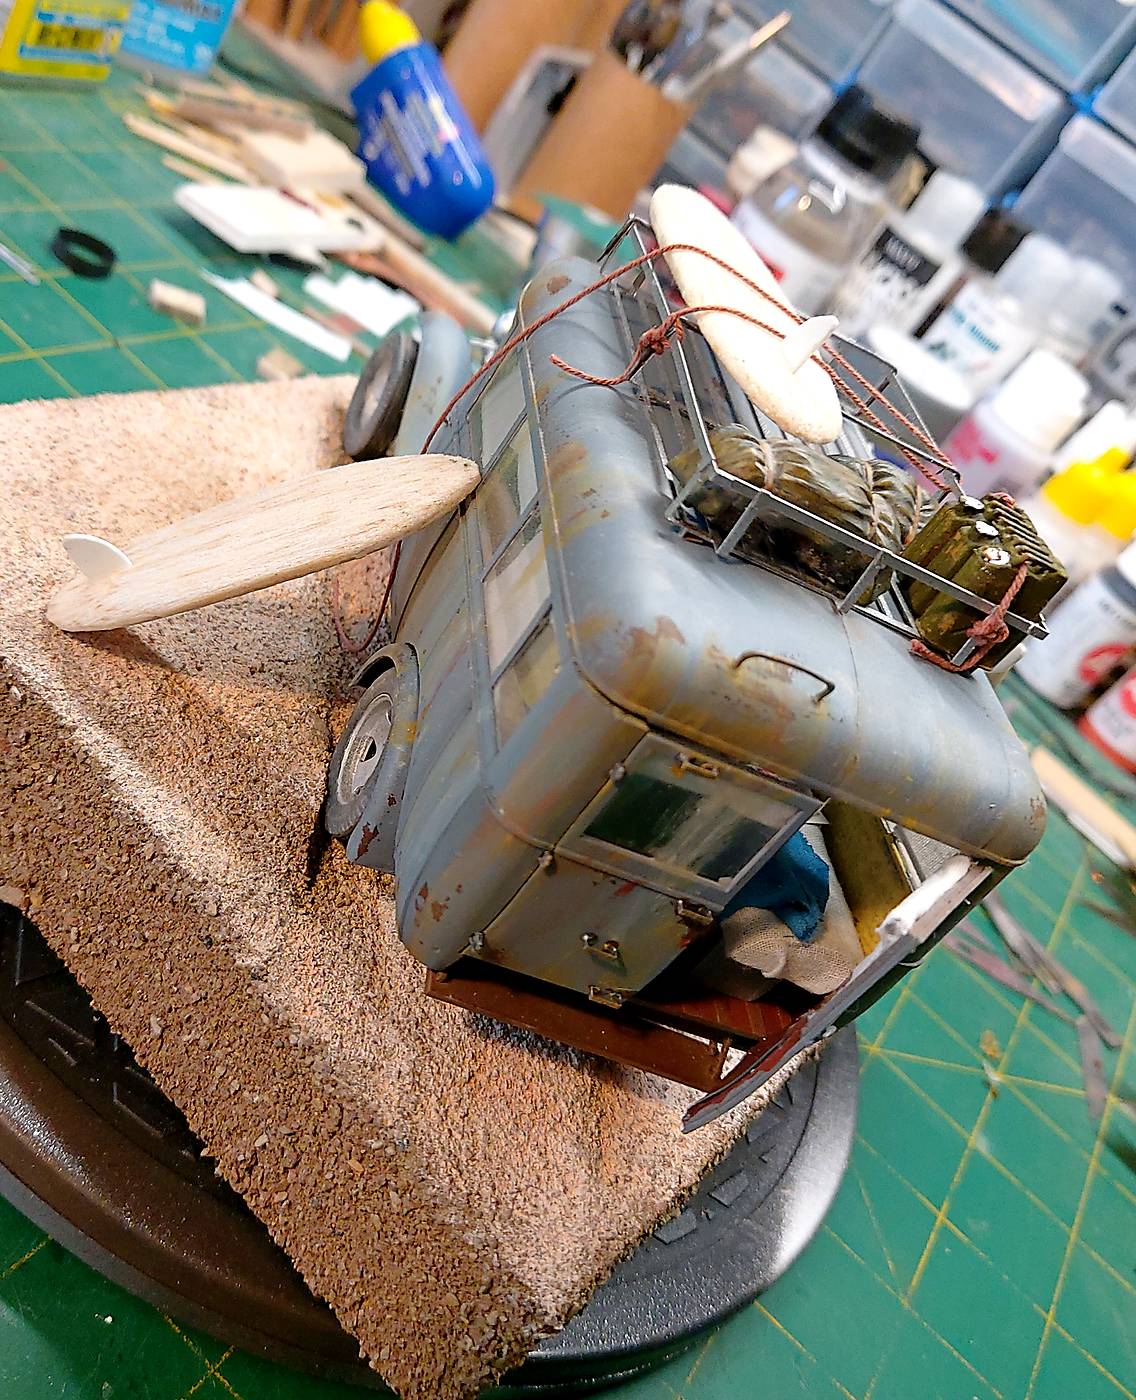
1/24 Masterbox’s “Tiberious `Ty’ Constellation Hackington III” from “At the Edge of the Universe, Strange Company’s adventures, Episode I.”
Painted, washed, and drybrushed with Vallejo acrylics. Base is a Warhammer plastic disk. Groundwork is AK Interactive, and grass tufts are from Army Painter. Pigments are AK Interactive. Built OOTB.
Fit is generally excellent…details are good…overall, not bad for a 1/24 Sci-Fi plastic figure.
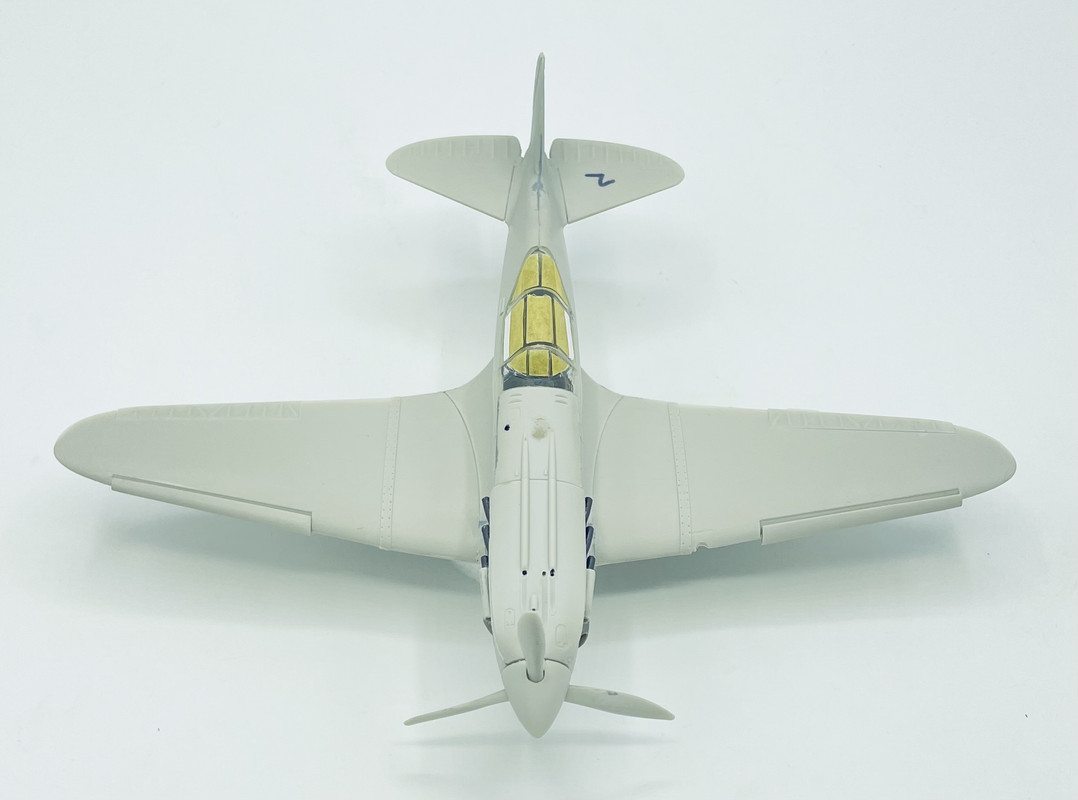
So over the past several days I’ve started painting. I used Gunze Aqueos RLM 78 for the undersides. Which turned out ok over the dark primer
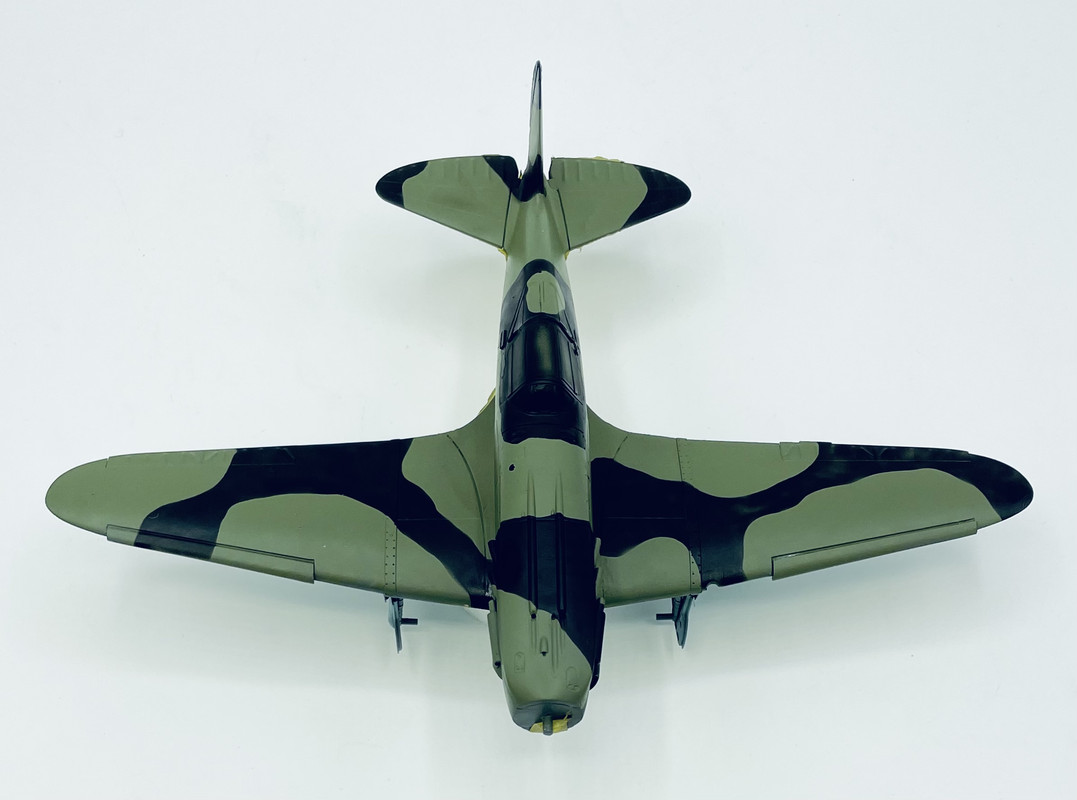
Then Gunze Aqueous FA 34102 for the topside base green… which had minimal tonal contrast over the dark gray primer in the lighting of my work area. It really doesn’t show up in the photos
The speckling is there in sunlight to the Mk.I eyeball, but not so visible here. And in the meantime, research turned up that the kit markings for Pokryshkin’s mount, White 5, was an early production Mig-3, while this kit is a late production Mig-3. So a bit more research turned up another Mig-3 that he flew, White 67, which was a late production model. And it was also in a two tone Green & Black scheme, so I used Tamiya Semi Gloss Black, masked with Silly Putty for the hard edge pattern.
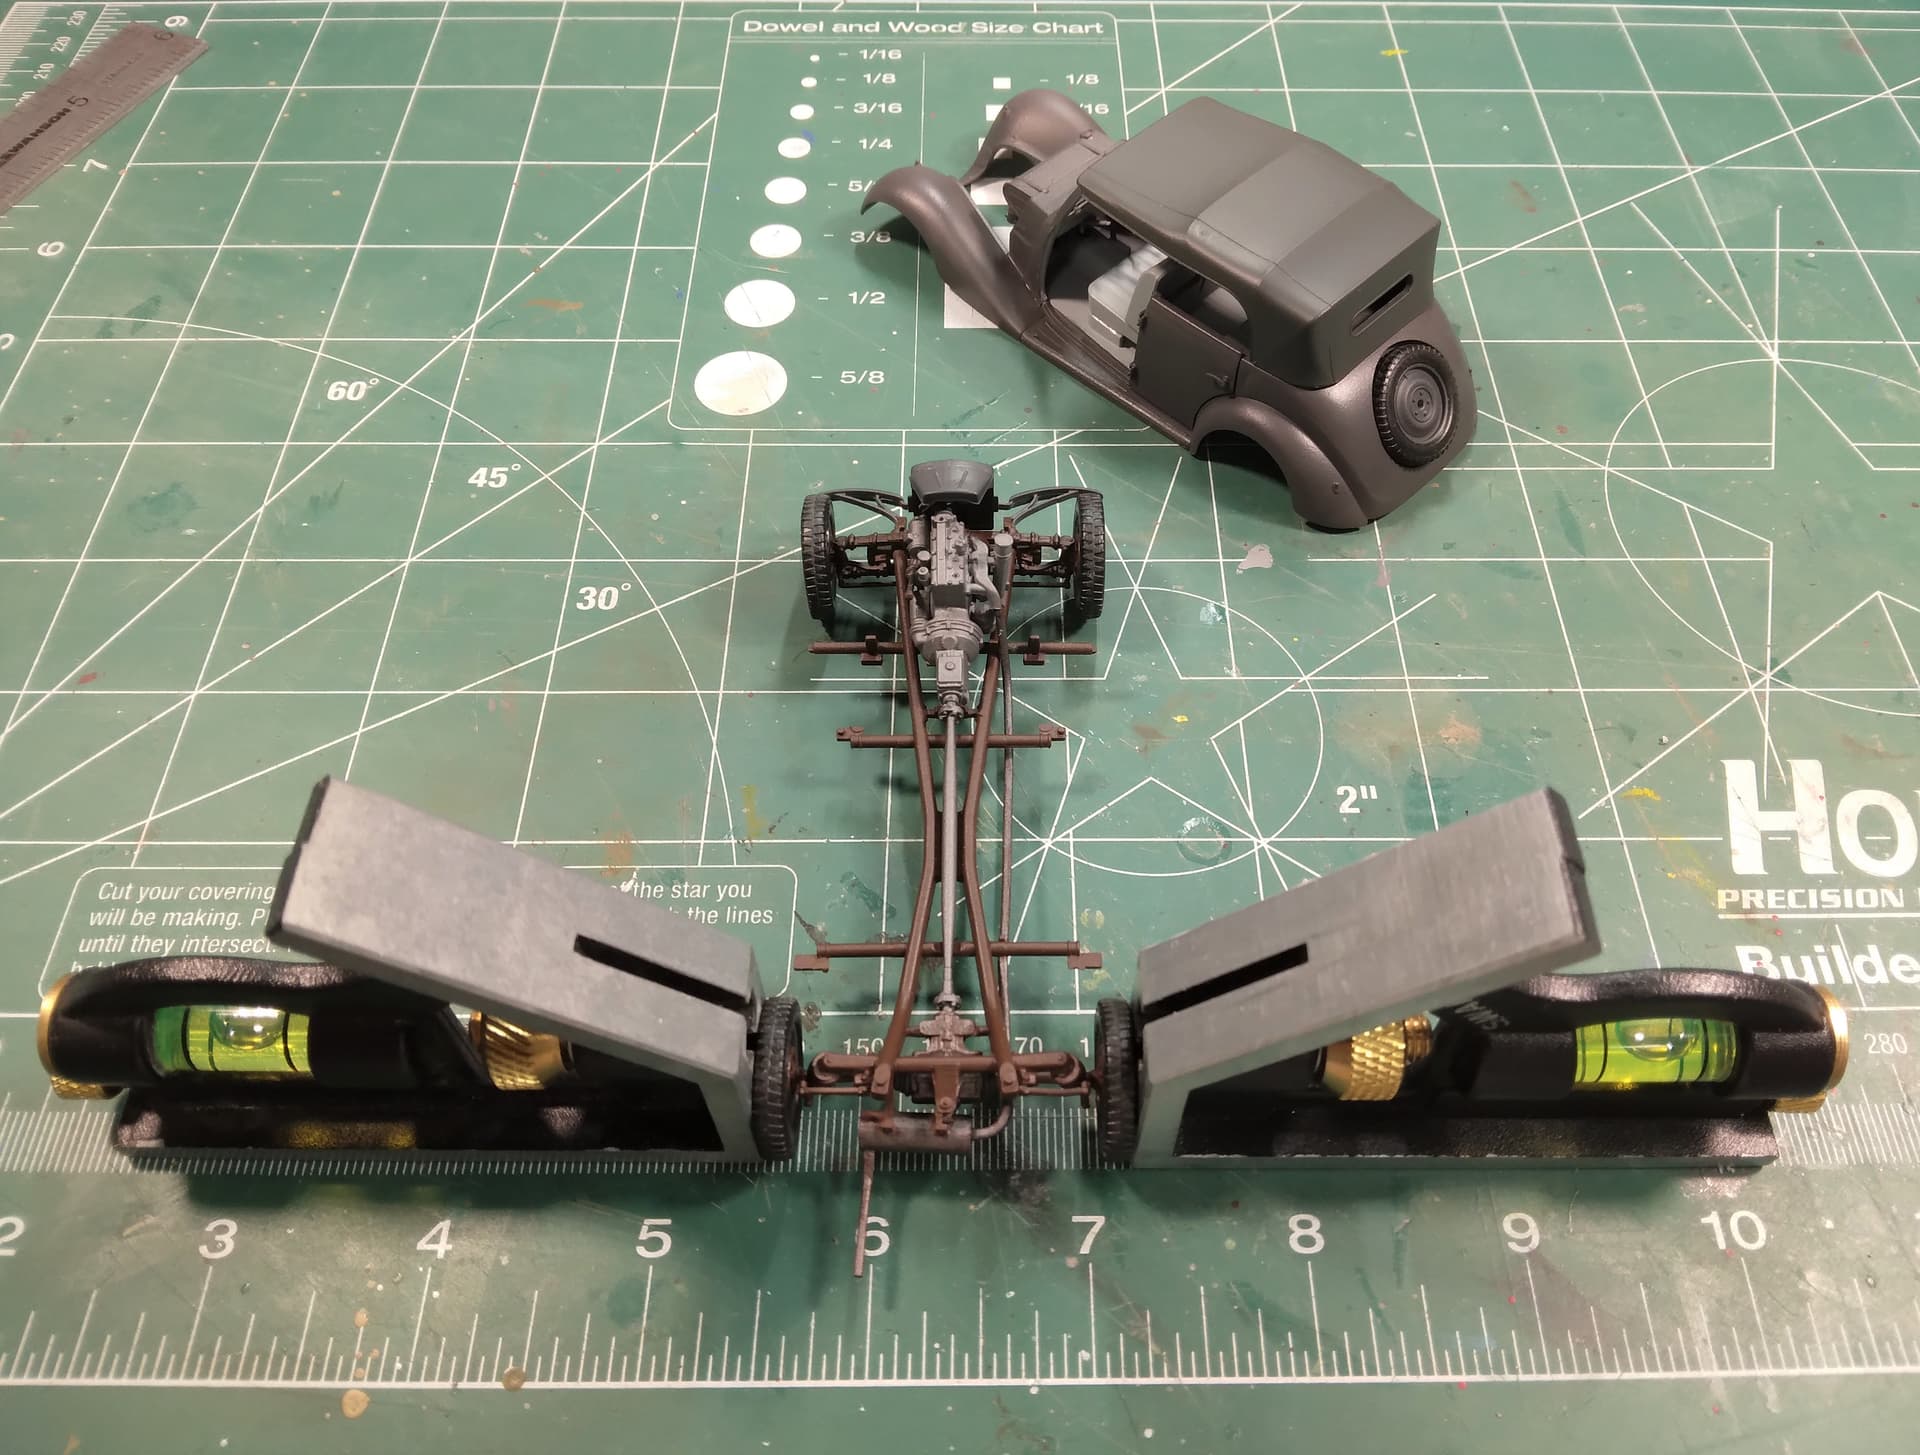
Lower frame has shoes and socks on. Very happy with that little step forward. Driver’s door will be open and rear right passenger door will also be open (driver got out and opened door for the VIP kind of vibe).
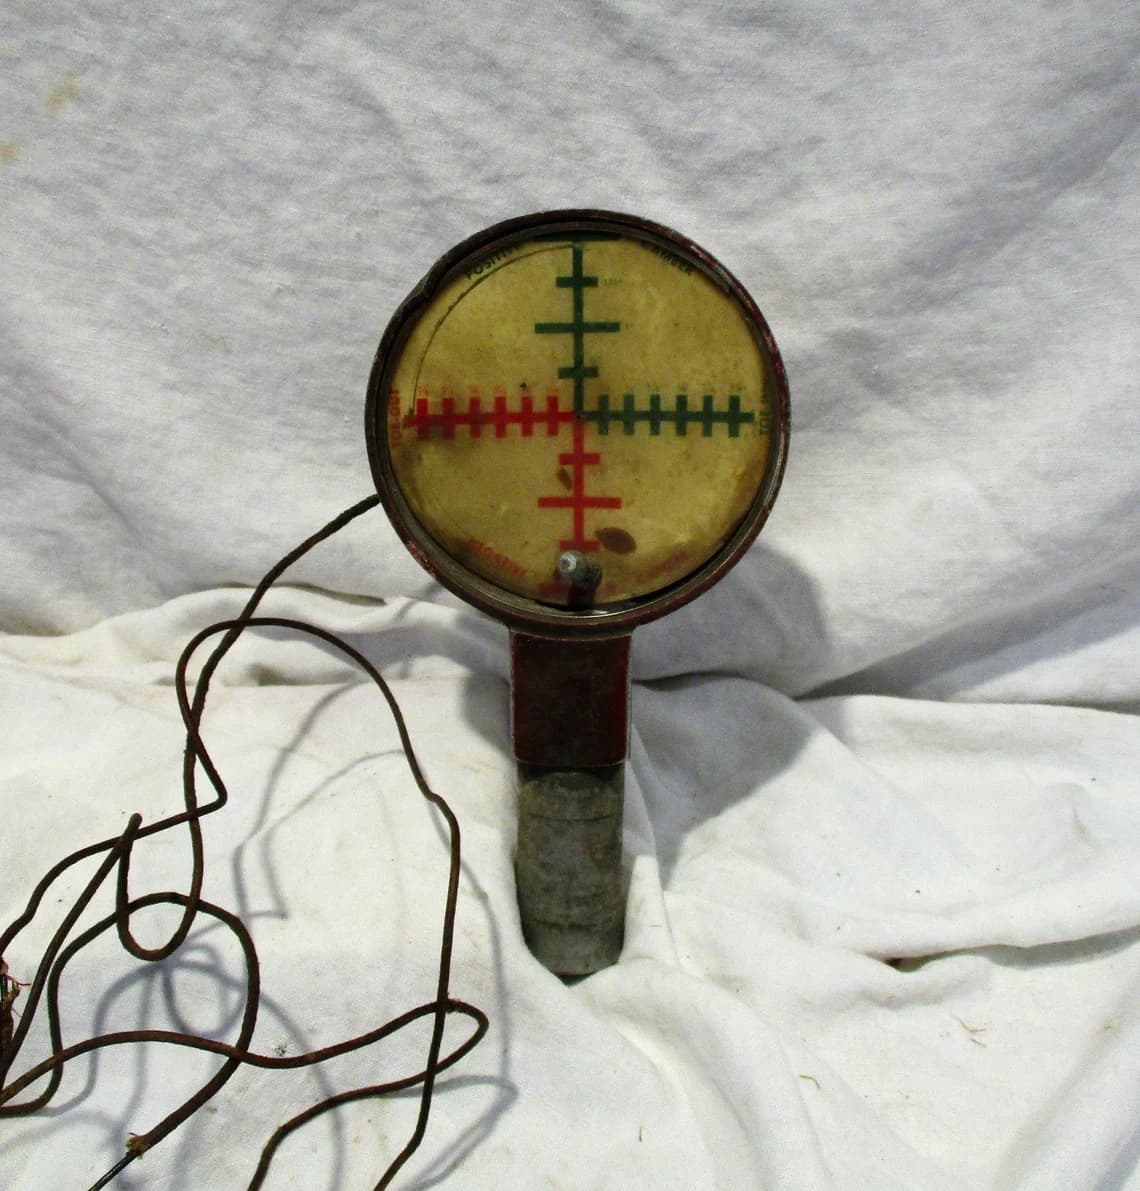
Is now a good time to bring up the issue of camber?
Most people do not realise that vehicle wheels are not in neutral camber (perfectly vertical). Vehicle wheels usually have negative camber (tilt toward the vehicle at the top) as this benefits turning. When a vehicle is moving, there is body roll and G-forces that ‘twist’ the tyre and Neutral camber then becomes positive, and this results in less traction and is more difficult to control. The more speed, the more weight, e the less control the driver has. The thinner the tyre (like on old cars) the less grip there is and so the more camber effects the speed.