I don’t know if Dragon is what some would call relaxing. Yes the part fit might be easier but the problem comes trying to figure out what two parts really need to go together. The instructions and 1000 extra parts for different versions is just a different headache.
What a pity the fit isn’t better. The detail & panel lines look great and its a very appealing aircraft. When I was a kid these C-119s were flying around all over the place. Later on, they worked as borate bombers. Now, they are all gone, replaced by turbine engined aircraft.
Paul
Some progress to report on the Monitor. The turret is supposed to be built with the walls around the floor but I just couldn’t see how to paint & detail it that way. I built the floor separately and did a lot of sanding & trial fitting to get it to slide into the turret walls from the top. Once this worked the interior walls were painted white. I have no reference materials at all and can only guess that with candle/kerosine lighting it would have to have been painted a light color which would then have been darkened by powder fouling. It hardly matters as nothing of any of this can be seen once the turret top is installed.
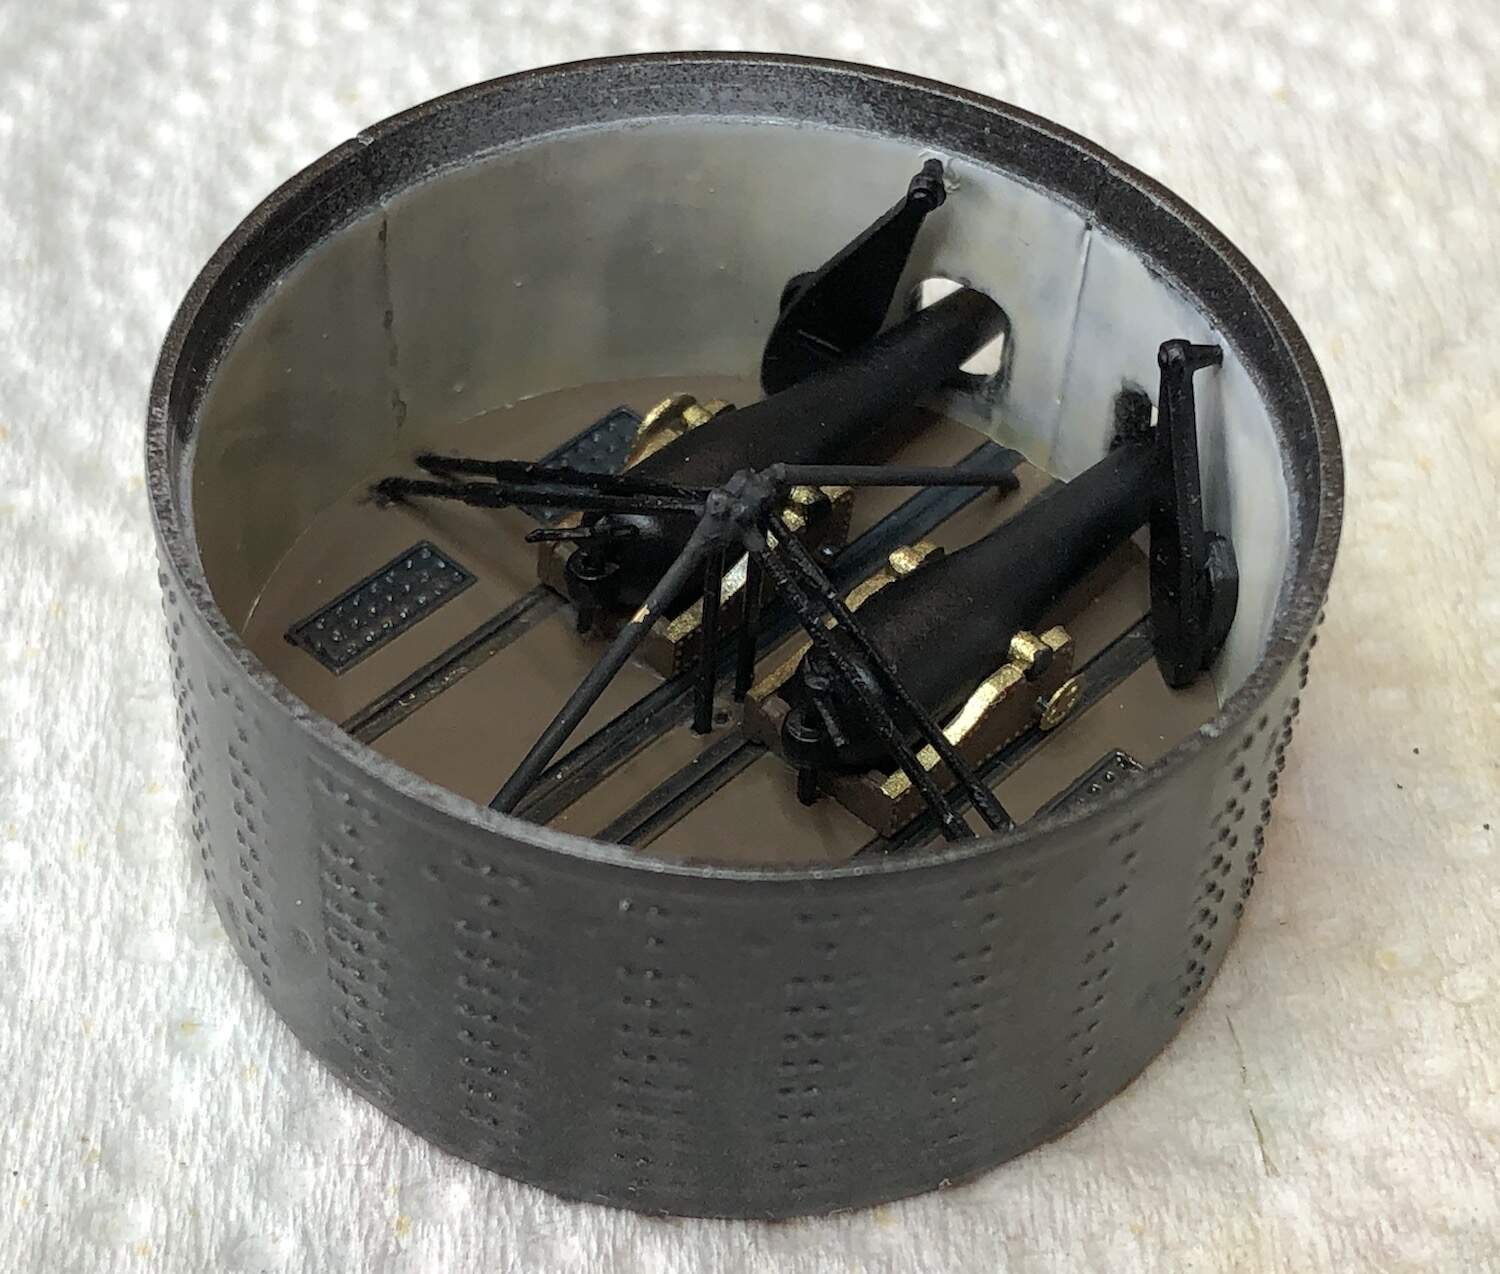
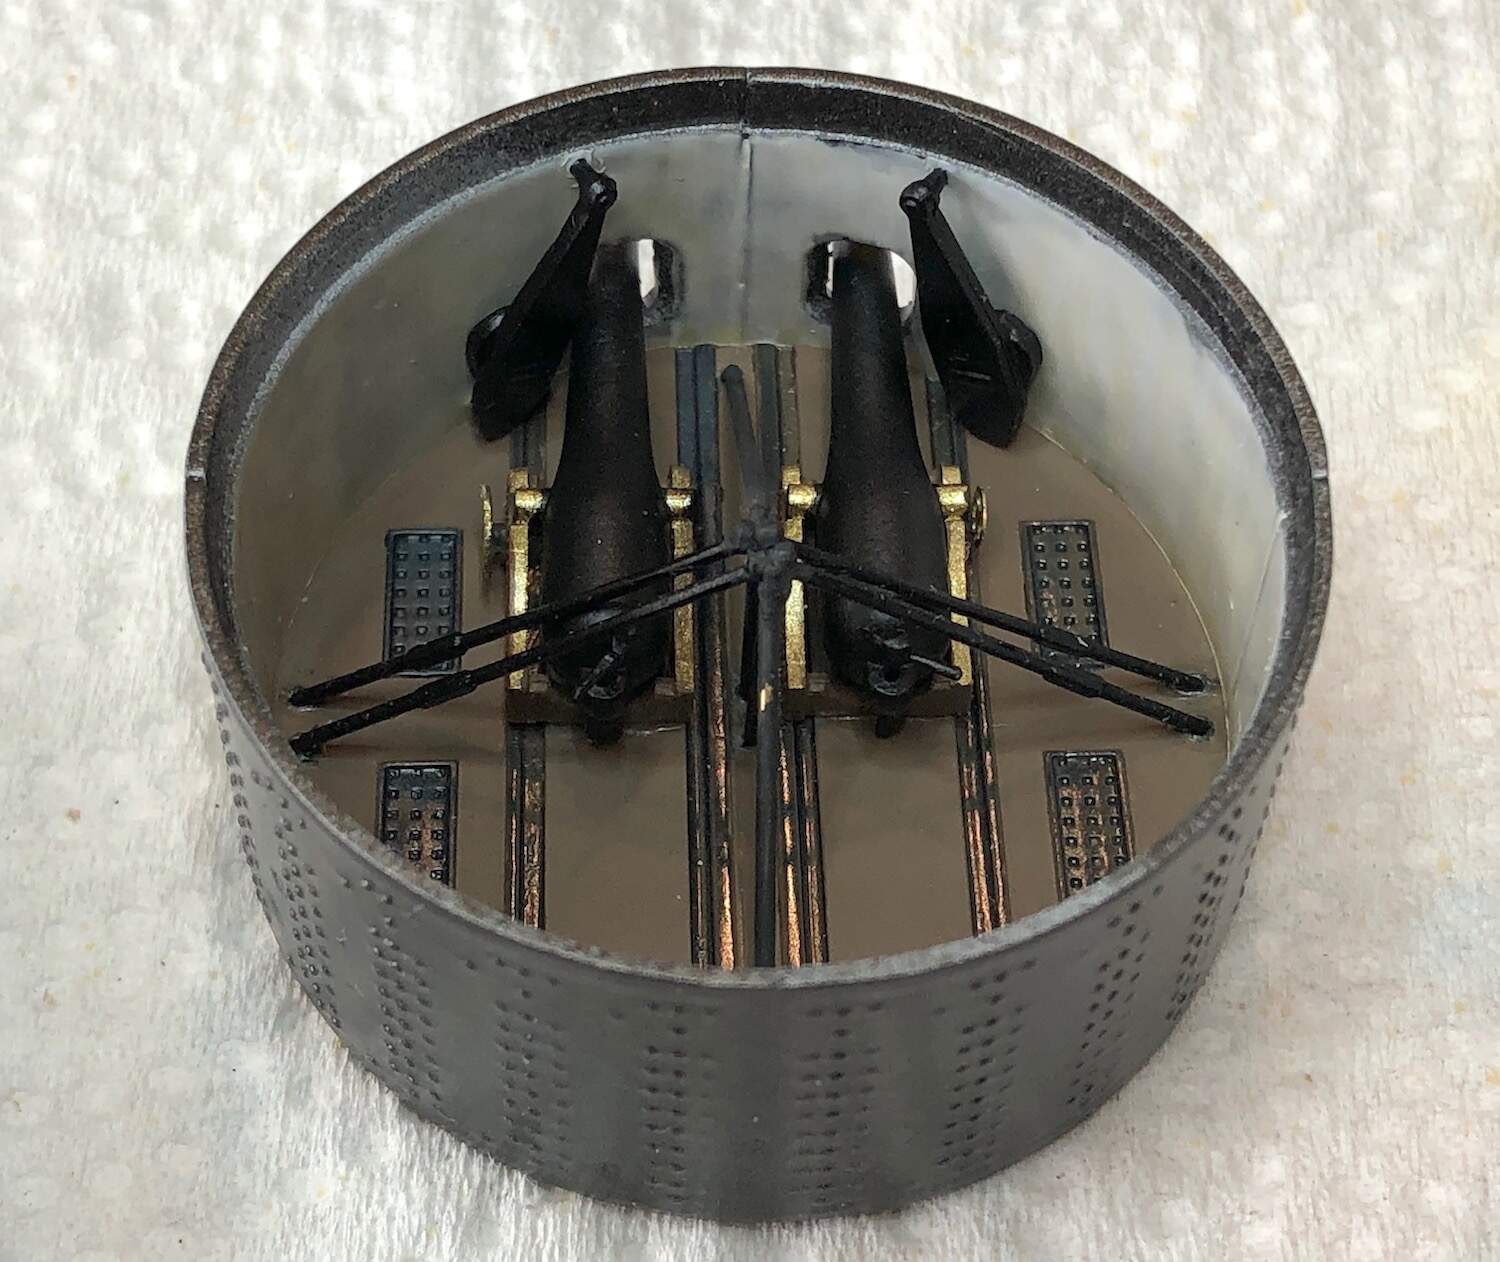
The turret was buttoned up and sure enough, nothing on the interior can be seen. Were the hours spent there wasted? Perhaps, I at least sharpened my skills somewhat and learned the limits of my knowledge on this important ship.
The same Rustoleum Dark Stainless Steel paint tried on the turret was used for the upper hull. It really looks nice and captures some of the semi metallic glint shown in contemporary photos. Once that was dried, the propeller was brush painted with Model Master Brass, a thin paint that separates very quickly. Over the course of several days, it was painted no less than four times before satisfactory coverage was achieved. Now its waiting for the paint to fully harden before more work can be done to dirty up the lower hull.


Paul
11 Likes
Looking great Paul.
A trick I found, using MM Brass to paint 1/35th scale ammunition, was to paint the round Matt Buff first. The Brass brush painted over that only needed one coat as the matt finish tended to hold the brass pigment better than if painted over a smooth finish.
2 Likes
This trick is also good for 1/72 scale brass and can be expanded to other colors, I think
2 Likes
That is a very good trick. I was painting over the gloss red and not happy with the results. Somewhere is the mass of unpacked stuff are my old tools & paint. I had a brass that did not settle of as badly as this MM product does. I’m not sure it would have been one coat over the slick gloss though.
1 Like
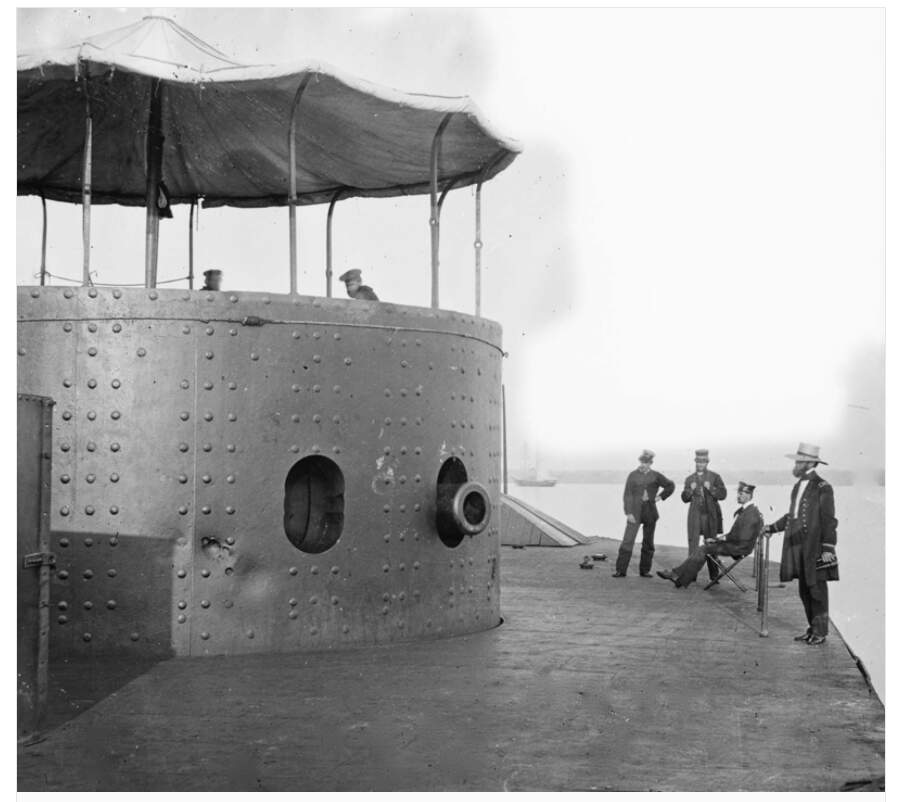
You can see the dark metallic grey on the upper surfaces in the pictures. I want to do a wash to bring out the details. Is the color too dark for black to work? If so, what color will bring out the life and look right?
Also, what sort of finish would knock the gloss back just a hair? As you can see in the pictures, the original is not glosey but its not dull either. It seems to be somewhere in between. Would a fog coat of clear flat work?

Paul
3 Likes
Paul, that looks fantastic!
My dad would love that, he’s always had an interest in the Civil War. If I could find one, it would make a great gift.
Black may be a bit too much or not show that well. Try using a very dark brown (say Raw Umber). Think dust blown around, then washed into the grooves by rain or splashed water.
If you want to keep a sheen, but not gloss, a Satin Clear would be the way to go.
You might try a satin clear coat misted on lightly. As for a wash, I do think it’s too dark for black. I’d go with a medium brown and then dry brush with a dark grey. Just enough to contrast against he black base.
2 Likes
VMS or similar satin varnish.
Thanks for the suggestions. I’ll try a dark brown wash & see how it looks. It may be a few weeks as other things may keep me away from the workbench.
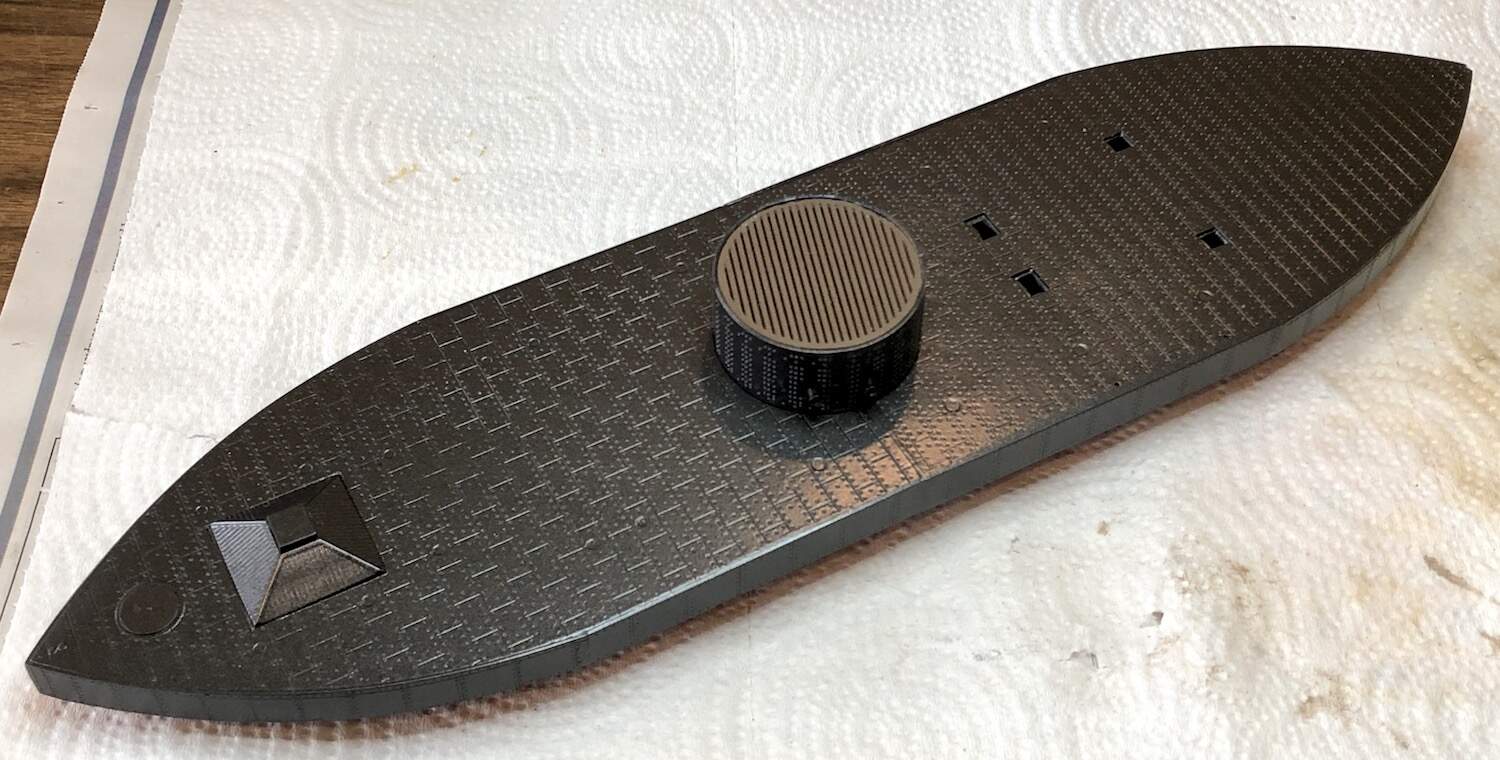
I still have the two boats to do. They have a very fussy looking PE part to attach them to the davits so I may try a bit of wire.
Paul
1 Like
Guys, great news, the new stuff from ICM just arrived at my LHS. This is the stuff that was released AFTER the russian invasion including th Gotha glider !
4 Likes
That is very good news indeed. I too got an accessory from the Ukraine but it had actually been posted just before the invasion. ICM has some very nice kits in the works including a 1/48 Bristol Beaufort. I’m looking forward to that one!
Paul
2 Likes
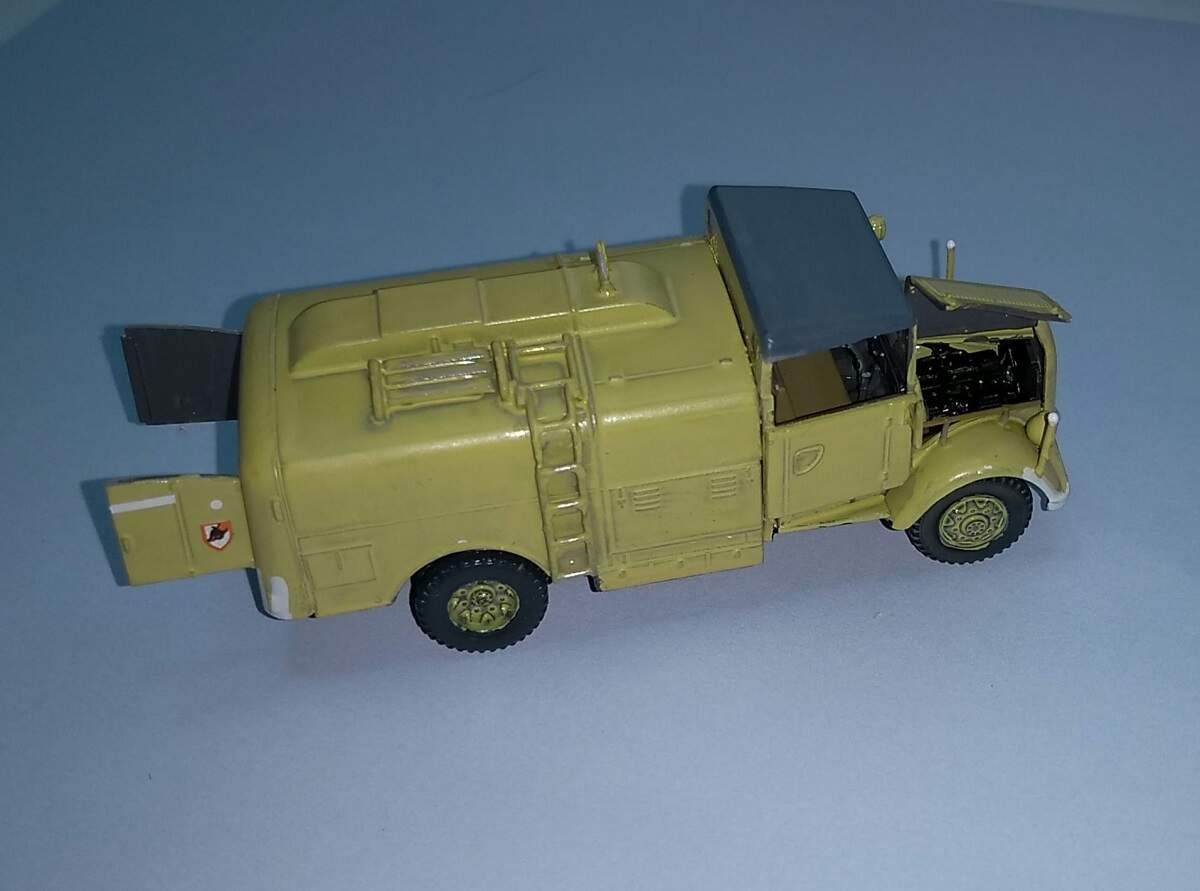
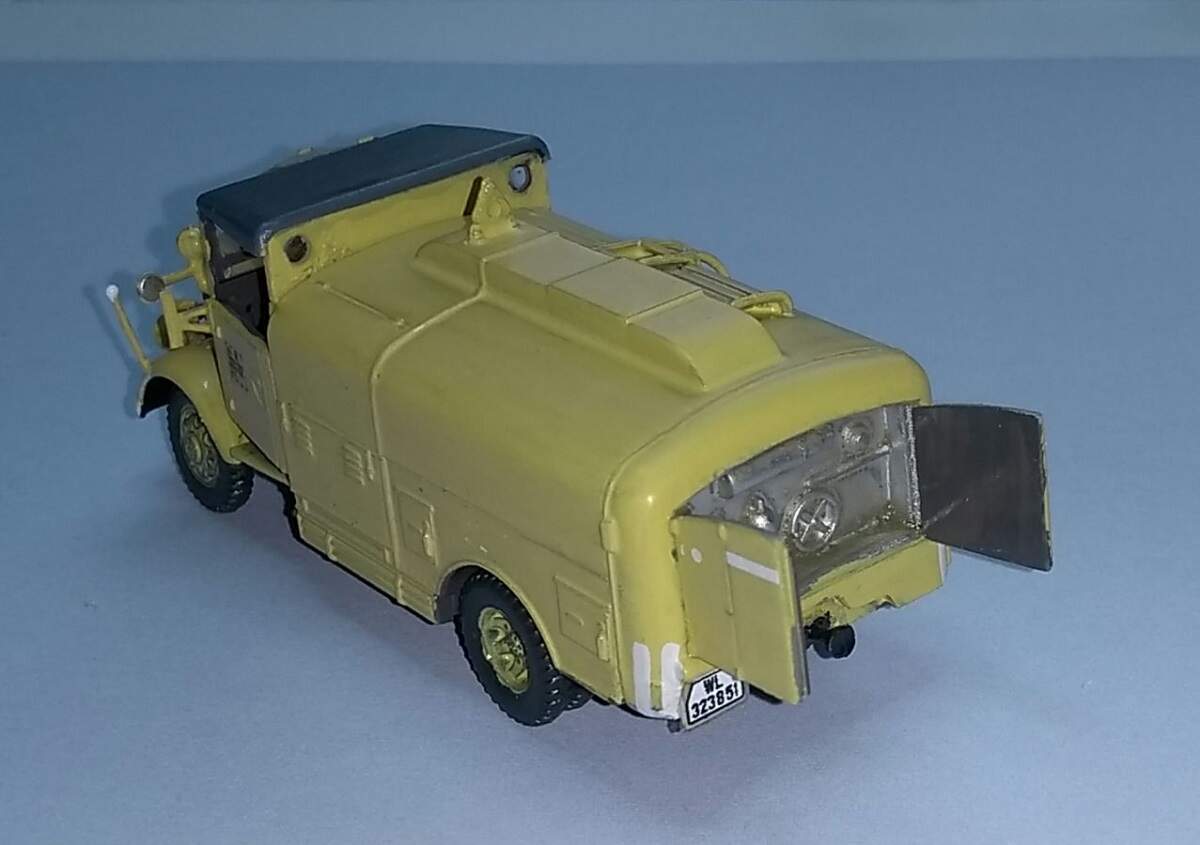
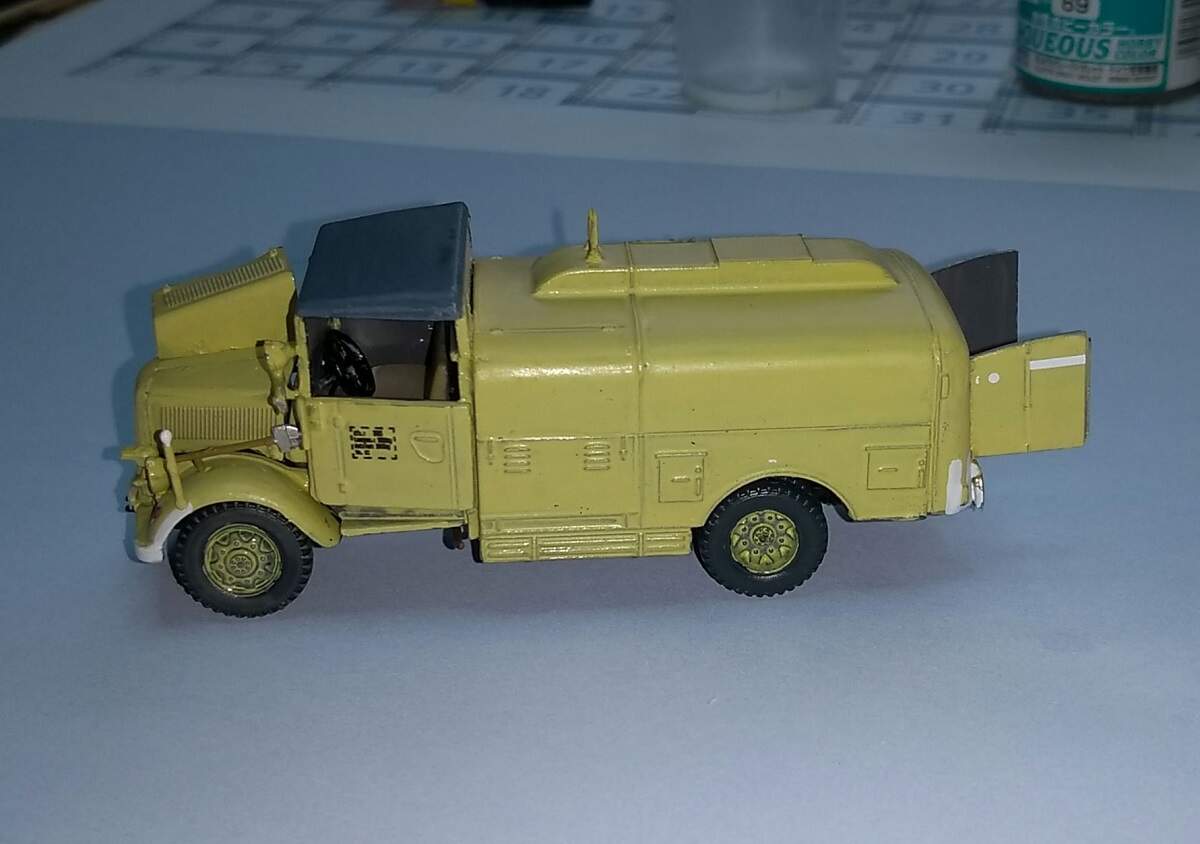
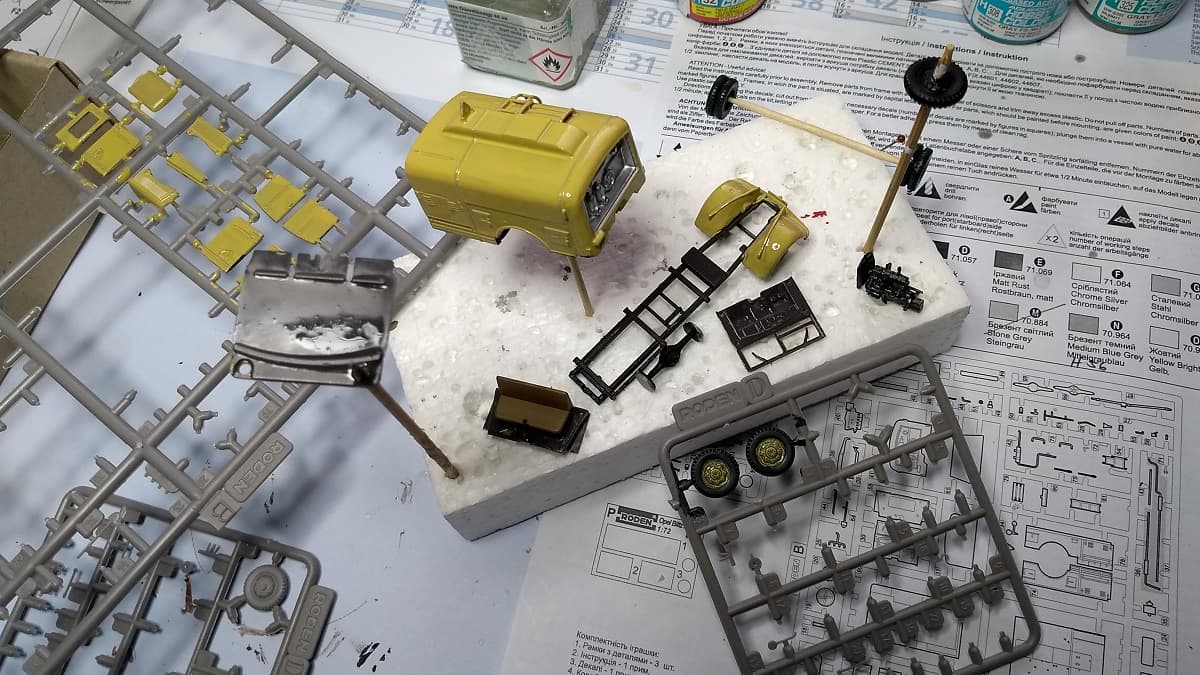
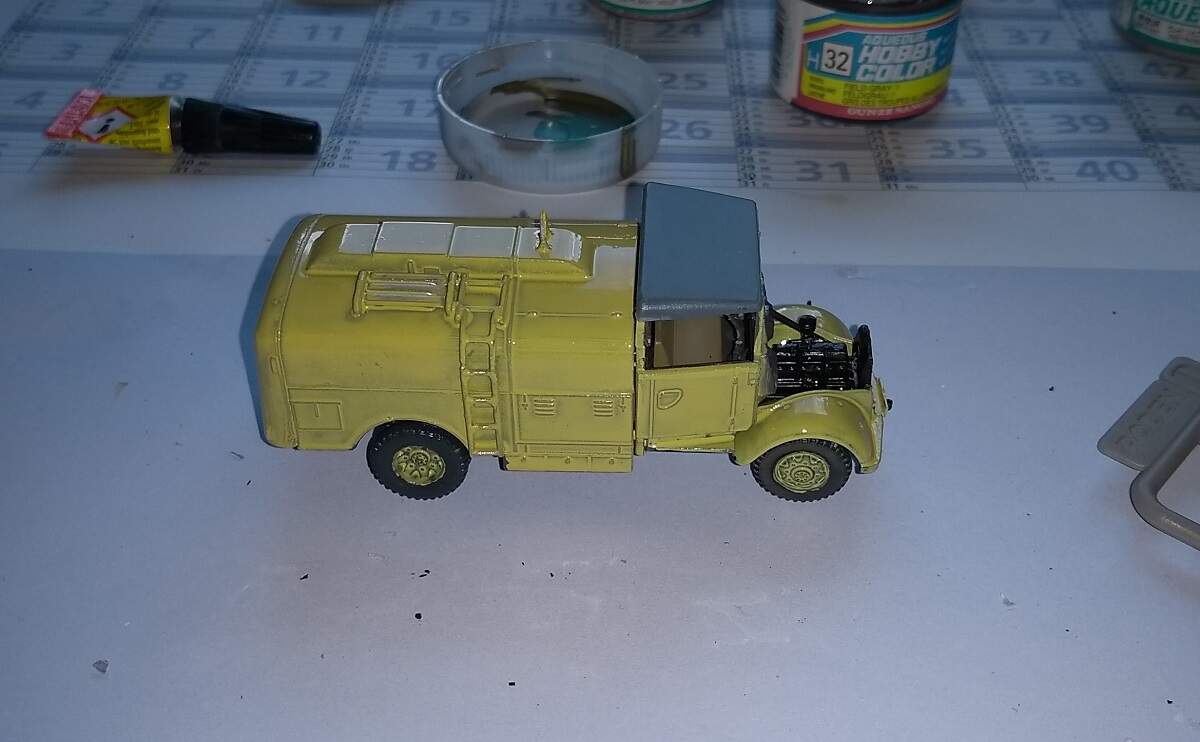
Got a little more work done on the Ambulance.
Box is mostly together and mostly square. Fit was abysmal thanks mostly to a lack of alignment/locating pins or tabs. I actually had to pull the entire floor assembly apart and re do it once I realized how the walls were supposed to fit.
The bottom benches have buckled at the end as a result. I’ll putty the worst of it, but I’m building this one with the doors closed so there won’t be much to see anyway.

3 Likes
I’ve heard folks say that Roden kits can be a tough build. I hope you can fix the issues with this one. I love those big Dodges and do want to build one in the near future.
Paul
1 Like
Hi mates,
at last I got under way, here is my (first) kit, I hope I can do one or two more for this campaign…
Started today and glued the engine together, fiddly thing
3 Likes
Nice start, Peter. Looking forward to see more ![]()
…and here are more pictures!
Fitting is ok, I hope for the final result after decals and a little weathering…
Cheers
Peter
7 Likes