I’m going to post new pics of this model, the third one I was doing on the “dual M48” thread, under this separate subject so that when I wrap up the “other” Magach 3 I can actually finish that thread. It makes me feel better.
For anyone not wanting to go back and look at the other M48’s I’ve been working on, this model is one of the many Magach 3’s converted from a Magach 2 or M48A2 or -A2C. They’re easy to spot in pics since they have the diesel engine and 105mm gun but only three return rollers per side. The unusual part is that the IDF used a lot of the original intake grills from the gas engined tanks rather than buy the whole conversion kit, something there are very few pics of.
For some reason that makes me and others scratch their head, I used a Tamiya M48 as my starting point, (maybe because I had a pile of them in the stash) along with a Takom M48 turret out of a “Brave Tiger” kit, the hull having been used in a Magach 7 build. So pics so far:
 IMG_3959 by Russel Baer, on Flickr
 IMG_3960 by Russel Baer, on Flickr
 IMG_3961 by Russel Baer, on Flickr
The hull is actually pretty close to finished, and since the turret is easy-peasy compared to the hull, I may be priming pretty soon.
Nice scratch work. I’m impressed.
But Russ, you can’t post a third tank in a thread titled “Dual”. That would defy logic. And that would bug the bejesus out of you. So it’s only proper and correct to start a new thread for a third tank. Kudos for making a sound and wise decision.
Once again, your scratchbuilding is outstanding. Your work is excellent and your attention to detail is remarkable. I’d like to see you build other tanks someday, but you are really building the snots out of these IDF M48’s. Keep on keeping on with the high quality builds!
Really fantastic work Russ. These are the go-to threads for M48s it seems along with a few others on this site.
Nice work, Russel. Looks like a lot of painful conversions and scratch-building. Kudos to you for sure.
T’anks y’all. Kit-bashing and scratch-building are my happy places.
Can you share us more pics of air filters?
Can do as soon as I’m home, possibly by late tomorrow.
Another great start. I like your skills.
Cheers,
Ralph
Pics of the air filter housings.
 IMG_3962 - Copy by Russel Baer, on Flickr
 IMG_3963 - Copy by Russel Baer, on Flickr
All I did to make these was to add card stock over a couple of Academy side-loading housings, copying the DEF Models/Desert Eagle parts, but making them close to 1mm taller. Handles/lifting grips are 3D printed from MJ Miniatures, beautiful but incredibly and ridiculously fragile.
do you also modify engine top grill (near filters)?
All I had to do was cut away the grills from the front to just behind the filters. The engine cover is the same part on the -A2 and - A3. All the white is plastic stock, green is kit parts. As near as I can tell, the IDF used the existing -A2 grills, just raising the outboard hinged side to work with a raised hull side. I may have a pic of one without filter housings that shows this better.
I started the stowage in the turret basket last night, my first time using Milliput “extra fine”. I alsready had some done with Aves, not sure which I like better. I kind of copied the rolled and bagged camo net from the DEF Magach 3 conversion, the rest is generic-looking stuff I can paint a different color than khaki, just for visual interest.
 IMG_3967 by Russel Baer, on Flickr
 IMG_3968 by Russel Baer, on Flickr
I actually believe (hope) I can have this ready for IPMS Nats. Yeah, right.
More stowage and the commander’s MG mount done.
 IMG_3969 by Russel Baer, on Flickr
 IMG_3970 by Russel Baer, on Flickr
Looks great. ![]()
![]()
![]()
You might want to look into what type of travel lock was installed after the upgrade and if the bustle rack had a mesh or not. ![]()
From the pictures I’ve seen of the Magach 3 tanks on display in both the US (Jacques Littlefield) and in Israel, none had meshing on the bustle rack. The travel lock is different. The Magach 3 may have used the same travel lock used on the Magach 5/6/7 (M60A1/A3), since it is armed with the L7 105mm gun.
From the Magach 3 in Jacques Litlefield’s collection.
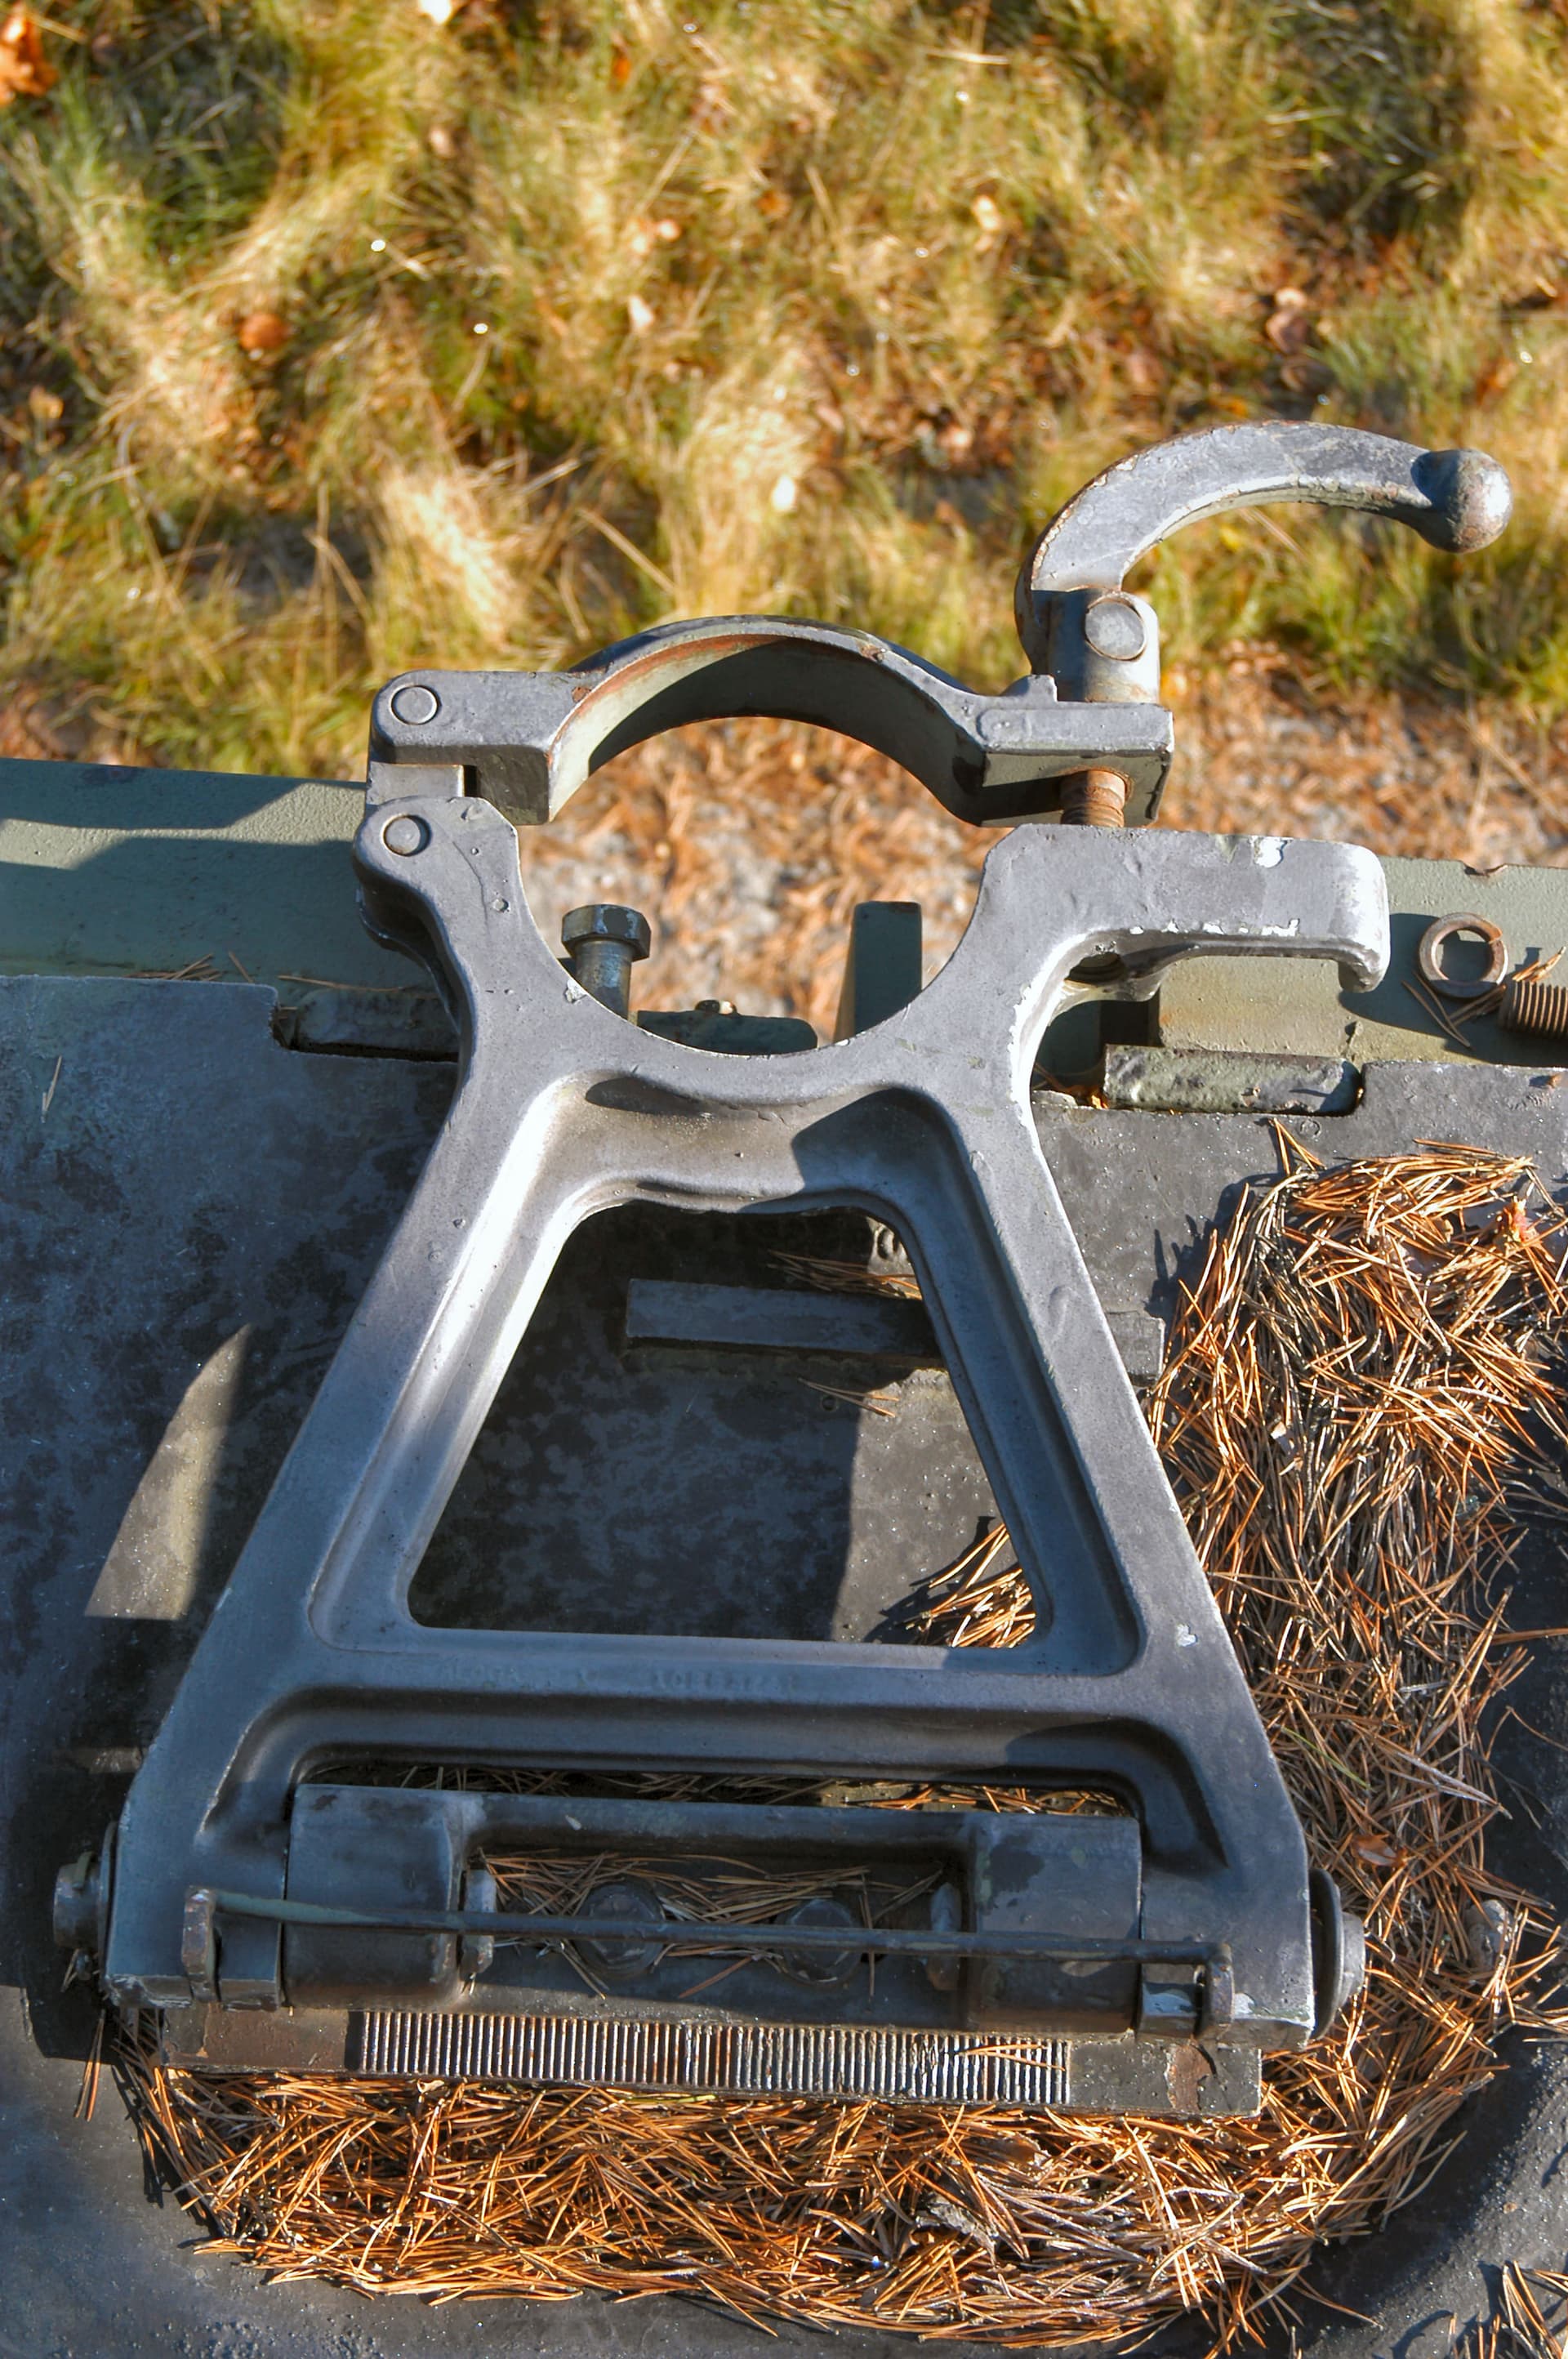
Here’s a very nice picture of the travel lock an a Norwegian M48A5, which gives you a good idea of the general shape.
The Magach 3 in the Littlefield Collection was a former Jordanian M48 (serial number starts with 1, which is what captured M48s had). So it received a brand new engine deck and grilles.
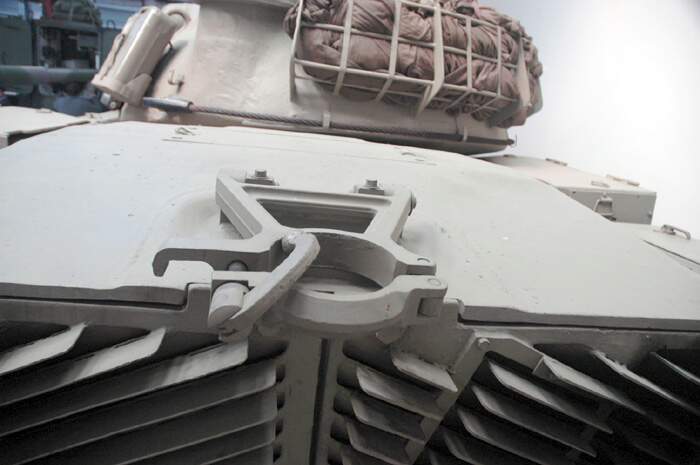
The Magach 3 Russel is building came from a Magach 2 (M48A2C). So it retained the original M48A2 engine deck, which is slightly different than the A3 engine deck, and the A2 travel lock which is the one that can be seen in the first photo (the mounting bracket and the mounting eyes are different in IDF vehicles, note the two bolts and the rectangular mounting plate under the lock).
The longer travel lock was seen on M48A3 tanks but not on Magach 3, since the IDF had not received A3 tanks prior to the YKW. So all the travel locks of Magach 3 tanks are the short A2 type, since that is what the IDF had at the time. This is also the reason why there is no mesh on the bustle rack (I should have remembered that detail), because all Magach 3 at YKW were either M48, M48A1 or M48A2 upgraded vehicles. The mesh was first installed on M48A3 mod B tank, which the IDF received after YKW.
So in summation, I should change the travel lock to the shorter one? I should have one or two floating around if so. Also, I didn’t change the engine cover at all, didn’t catch that and I suspect it’s too late to do so at this point unless it’s the area around the travel lock. I’ve seen a couple of different types, probably casting variations or how it’s welded into the main cover section.
I would change the lock. Just the lock.
Forgive me for no posts as I painted but I was kind of rushed. I decided to bring this to IPMS Nationals since I live an hour from the event site, which meant several very late nights to finish, or very nearly finish. I still plan to use a loader figure and add an air recognition panel, but here’s pics as it is now, as shown at Nats.
 IMG_3994 by Russel Baer, on Flickr
 IMG_3996 by Russel Baer, on Flickr
 IMG_3995 by Russel Baer, on Flickr
 IMG_3998 by Russel Baer, on Flickr
I think the new engine deck grills came out okay, but in retrospect, I should have done ALL of them since I can tell the difference in the kit parts and mine, to be expected.