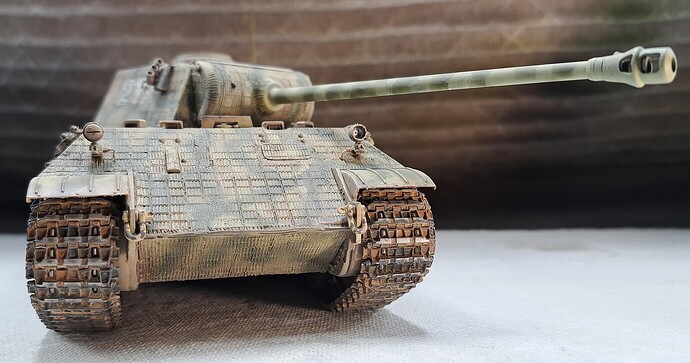
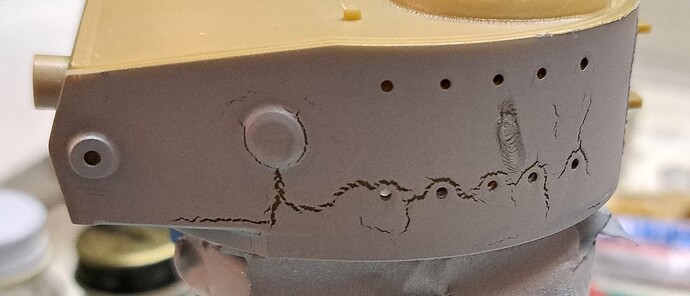
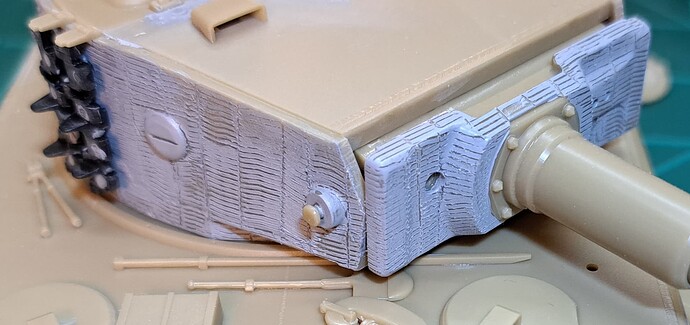
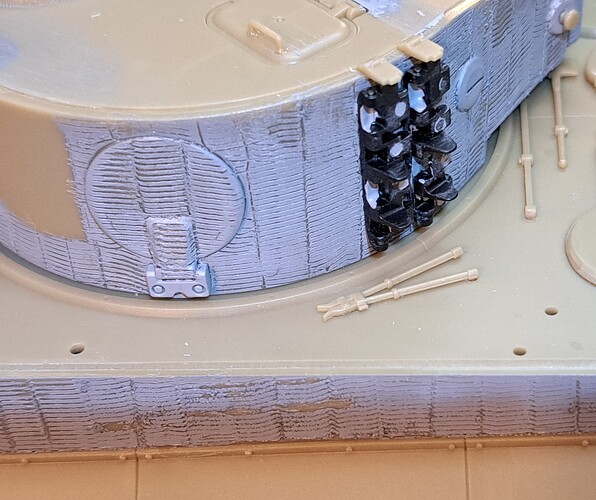
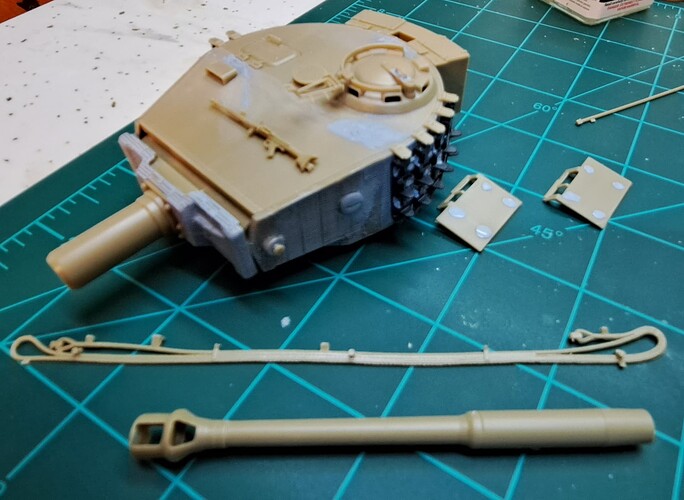
Thank you, Randy!
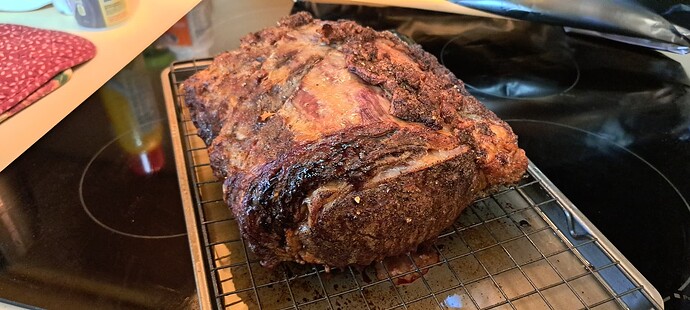
Up early and slow cooking this morning, so wanted to add…
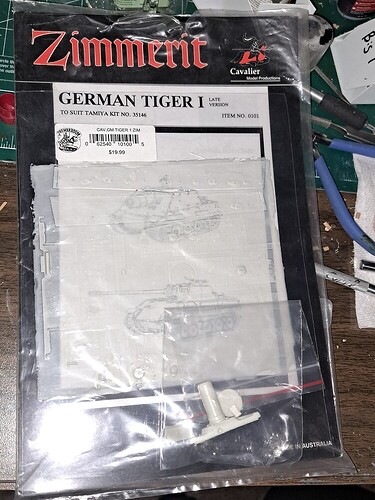
…hopefully it will taste better than Zimmerit!
Highbrow Disclaimer
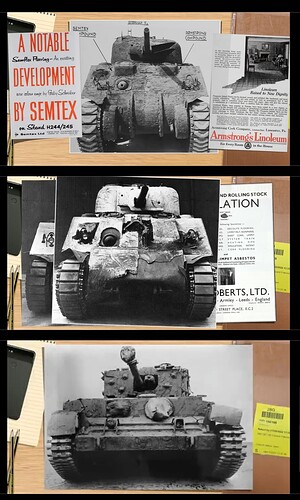
War time photographs are the correct authority on details. I strongly encourage those interested in that level of detail to do the appropriate research instead taking my statements as facts.
Lowbrow Disclaimer
Basically, petting Kali-Katt, fast cars, party girls, making bank  , eating tastey vittles and building models are my favorite hobbies. We can argue about the order but notice, research isn’t in that list!
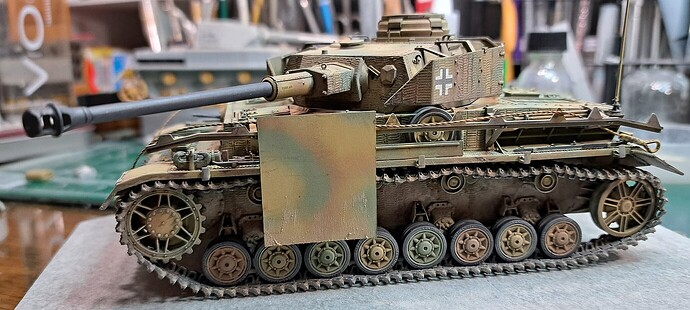
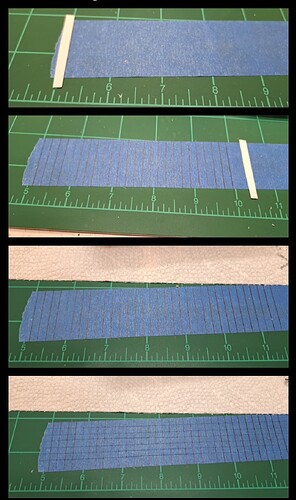
Anyway, if I recall correctly, generally for a Tiger 1, the hull zimmerit rows are slightly shorter in width than the turret zimmerit rows. We’ll use ~4 mm (5/32 inch freedom units) for hull and ~5 mm for turret (13/64 inch freedom units)
Loved the original series of Star Trek, thanks to Scotty, so going forward it’s all metric system baby!
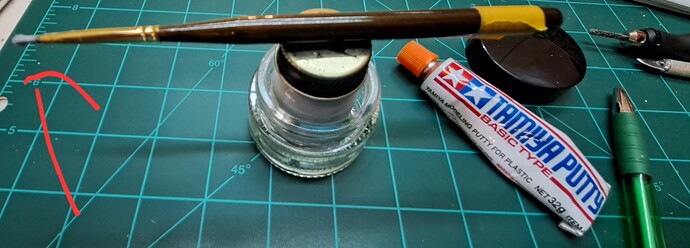
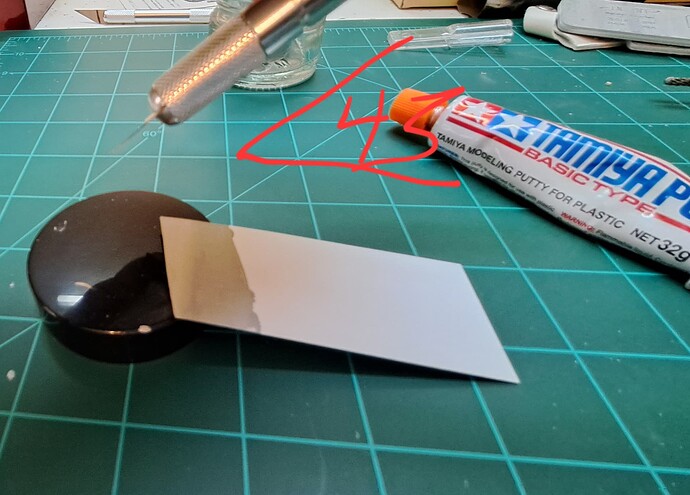
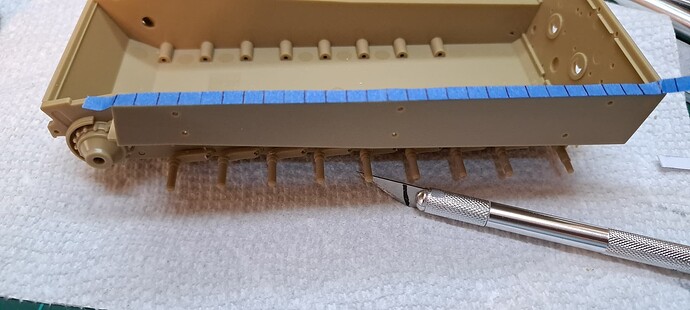
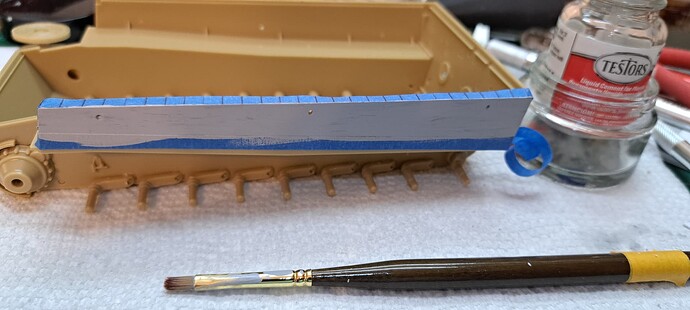
Using a roughly appropriate piece of scrap, marked a strip of wide painters tape and cut as shown. The tape should be slightly longer than the box top of the Tiger 1 hull.
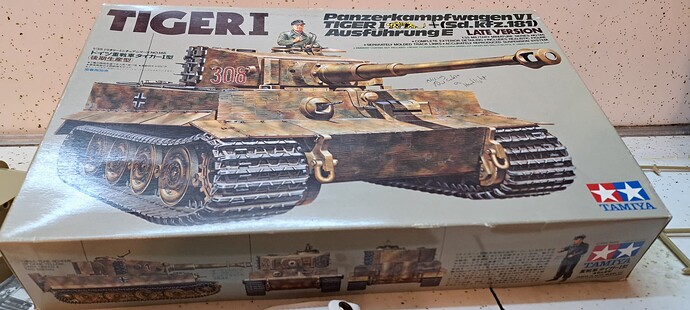
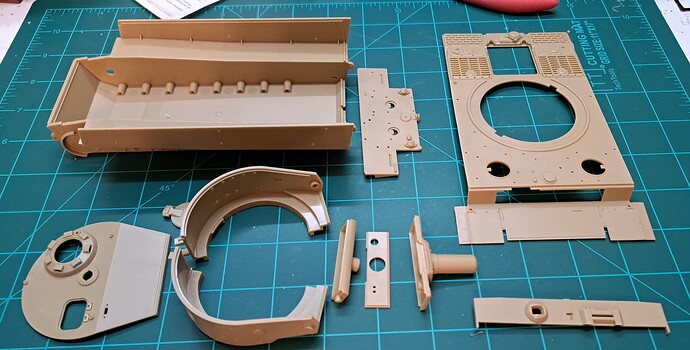
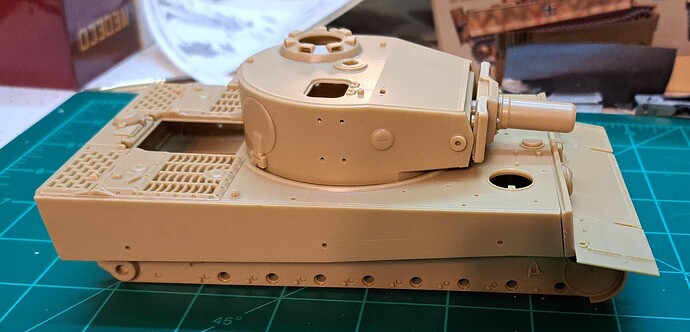
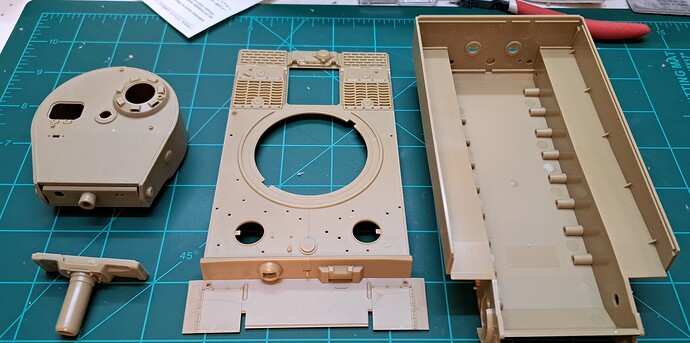
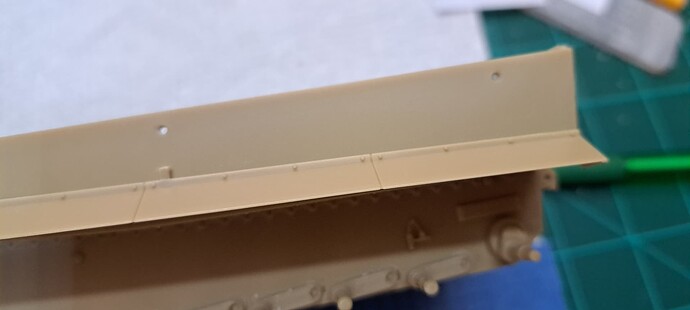
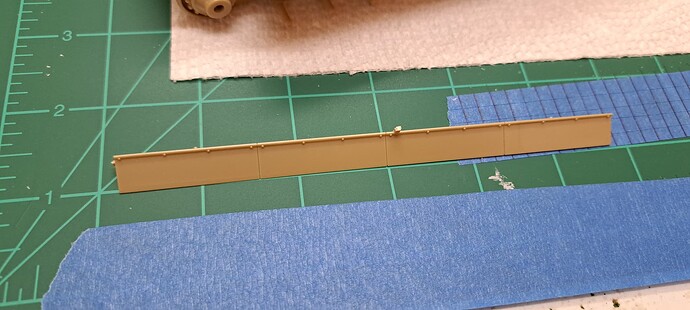
Next for the Tamiya Tiger 1, decide if one wants the fenders on the model or not.
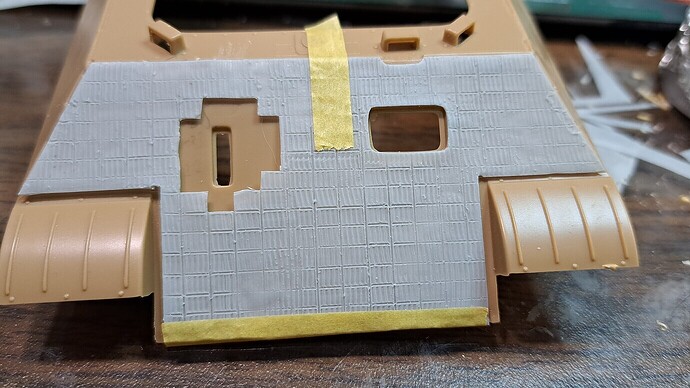
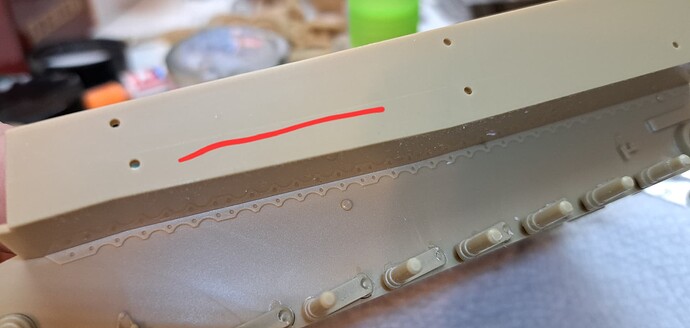
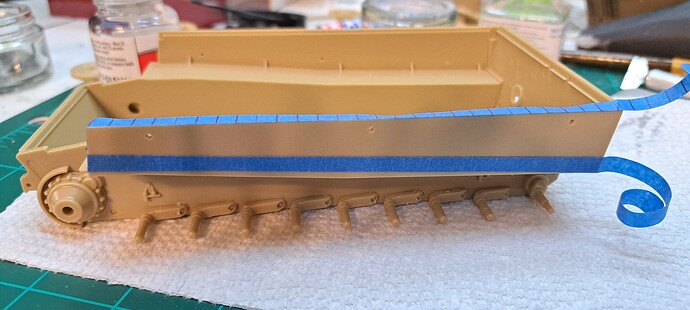
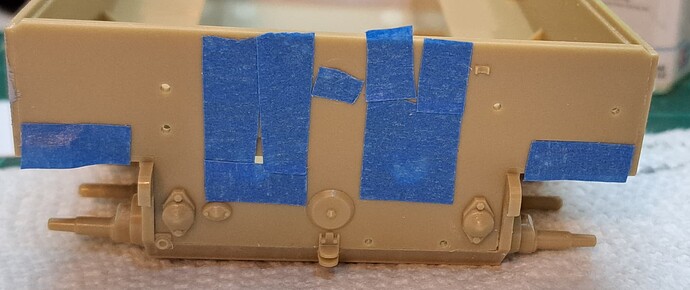
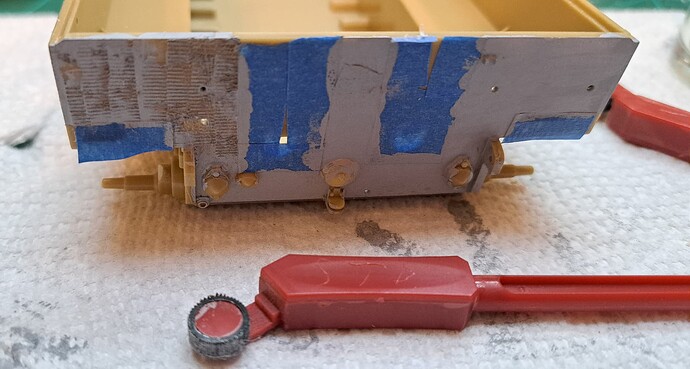
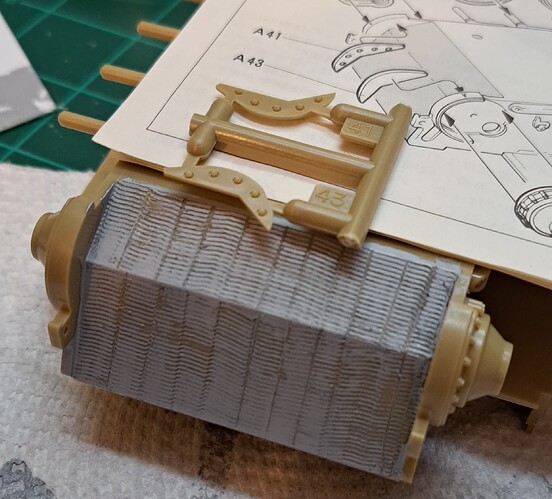
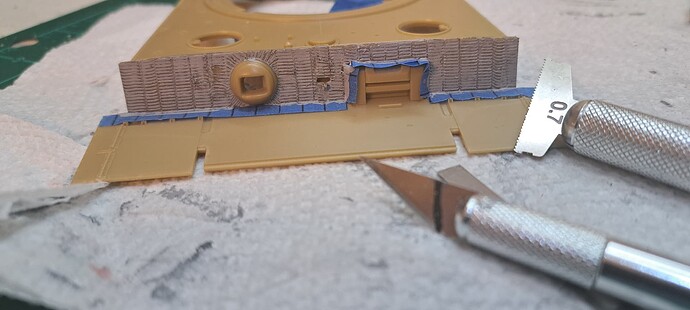
Plug fender attachment holes and Zimmerit the whole side if skipping the fenders or in areas the fenders will be removed etc. I want the fenders so will mask off based on Tamiya’s fine guidelines.
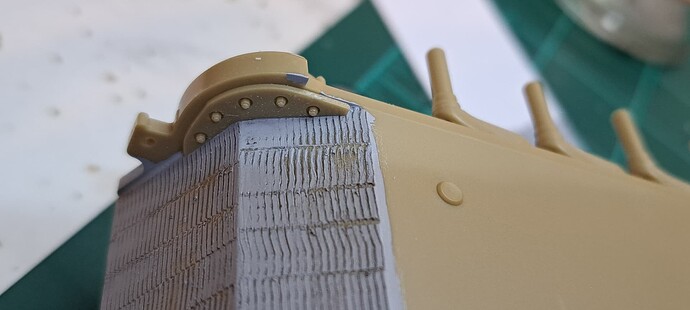
The zimmerit rows are perpendicular to the hull top, NOT the fender guidelines. Line the fender guideline tape mask up to match the top strip of tape. This gives an end point on each side for the two and helps as a visual guide to keep it mostly in alignment.
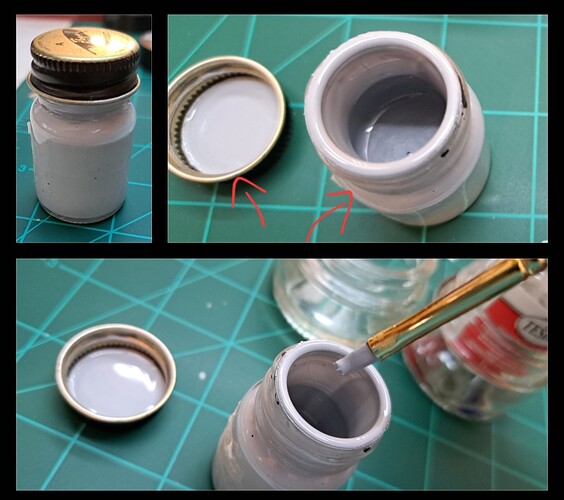
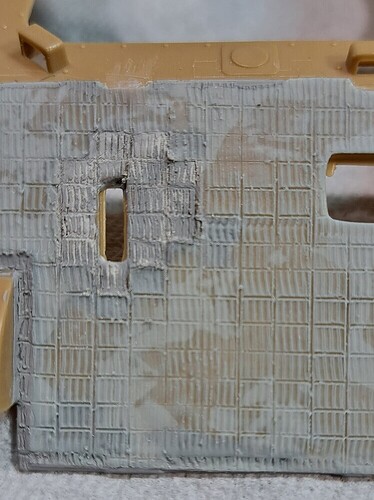
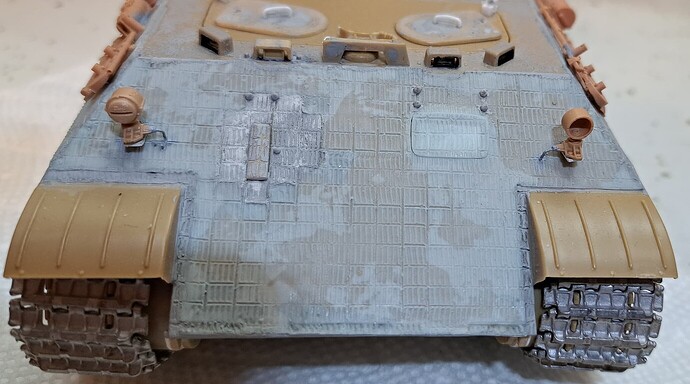
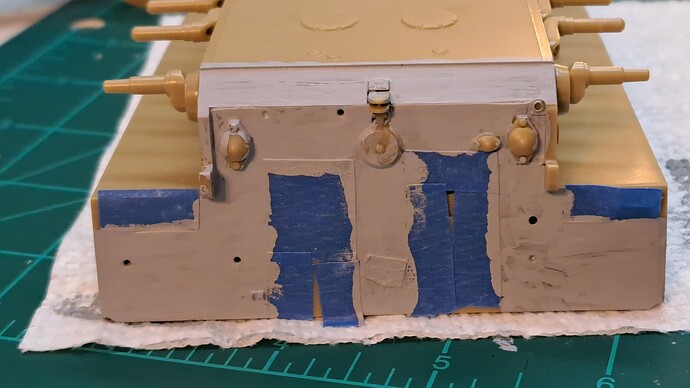
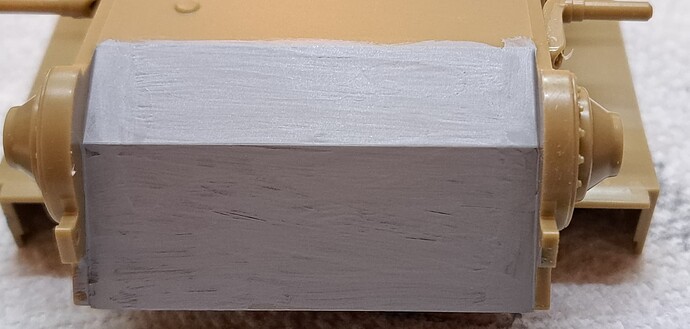
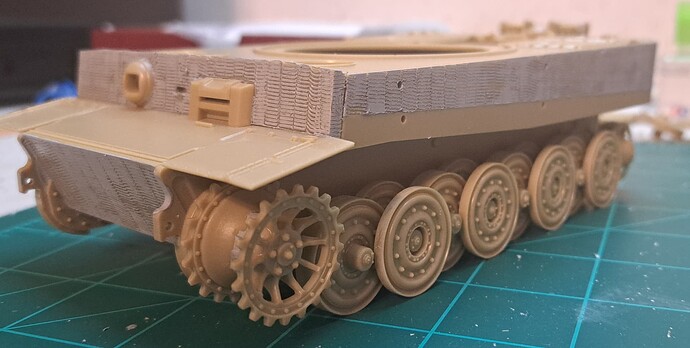
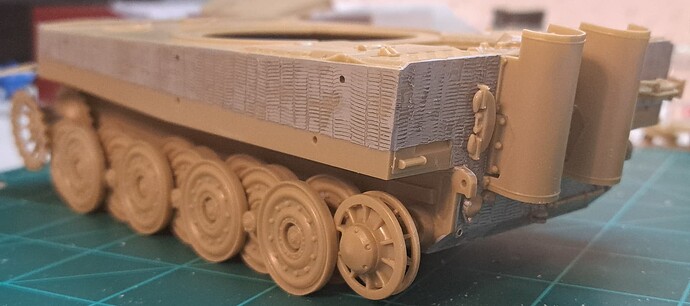
Paint ~ 2 or 3 coats of the zimmerit compound into area to receive zimmerit. I like to let it briefly flash off solvent for ~ minute(s) between coats. It should will be fairly smooth but a perfect surface isn’t needed or wanted. All of the platic being zimmeritted should be coated.
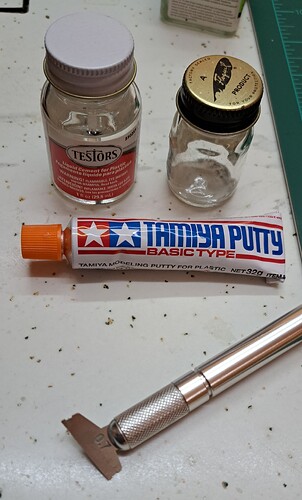
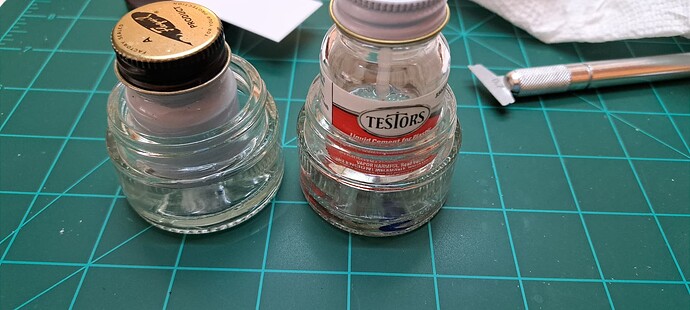
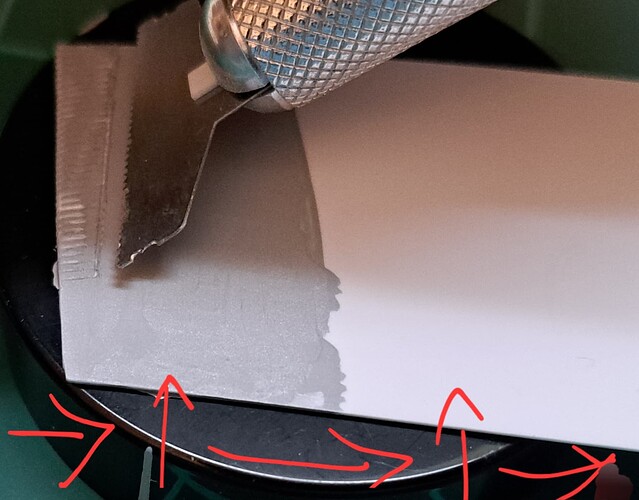
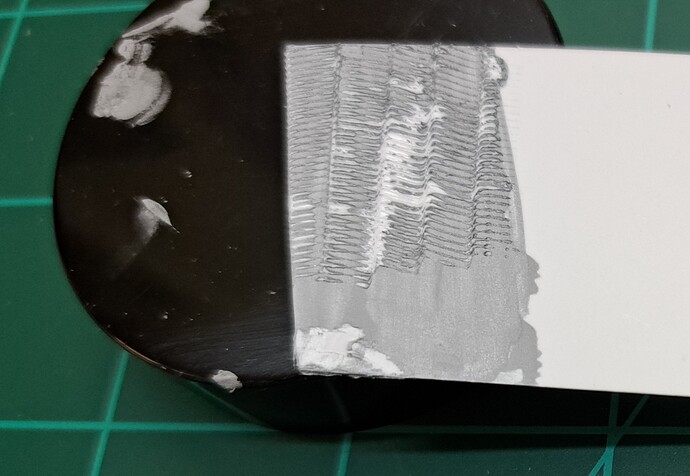
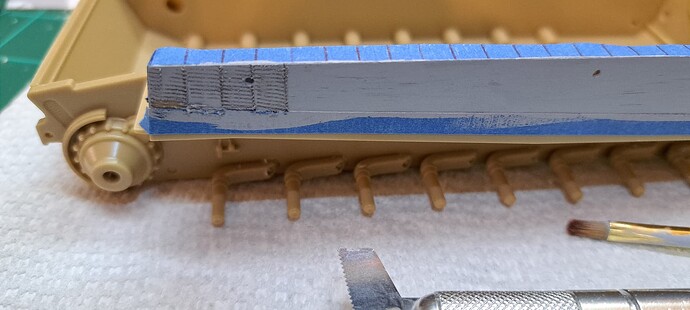
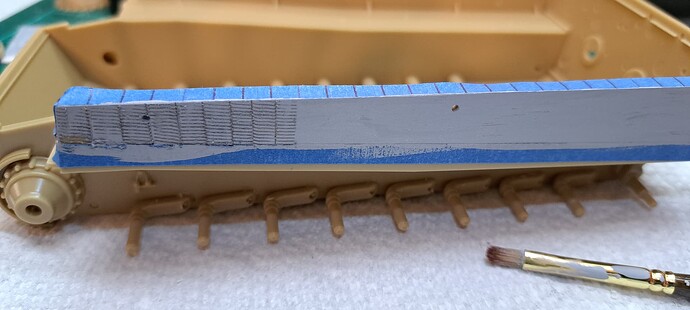
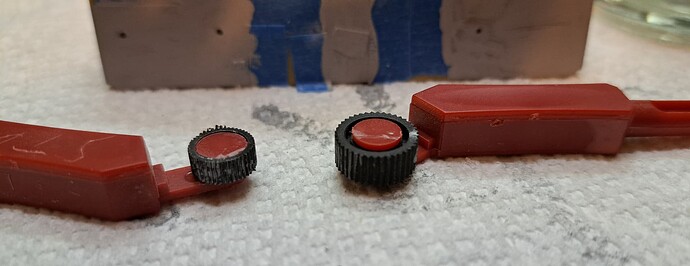
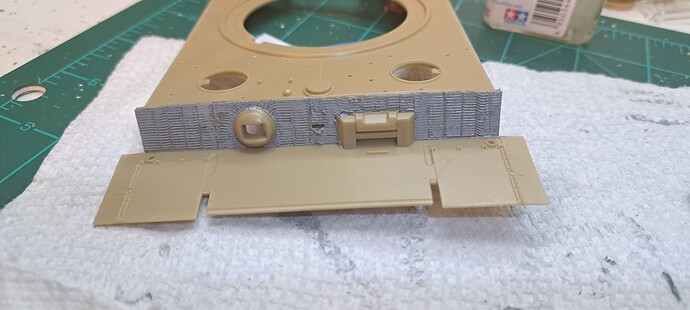
Bottom edge of the tool pressed against the guide tape, slide tool ~4 mm based on guide mark on tape. Works best for me at ~45 degree angle with tool. Make ~4 rows, check back of tool, clean with Testor’s Liquid Cement if needed.
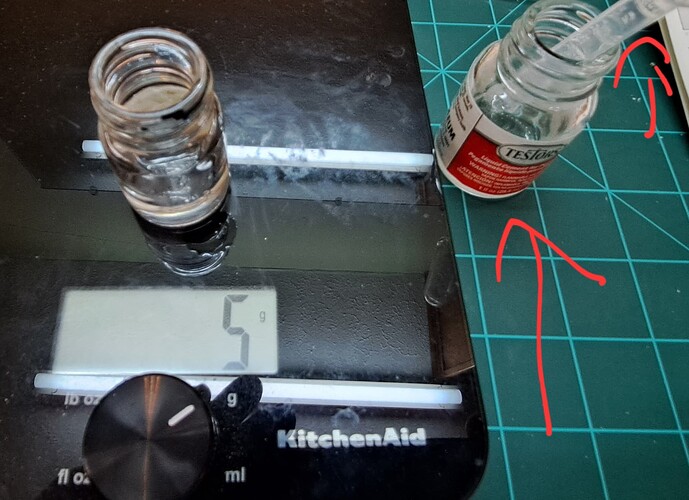
If the zimmerit compound sets up and can’t be worked, dampen it with Testor’s Liquid Cement and reactive it.
If too much excess acculates on back edge of tool, that can cause pull outs.
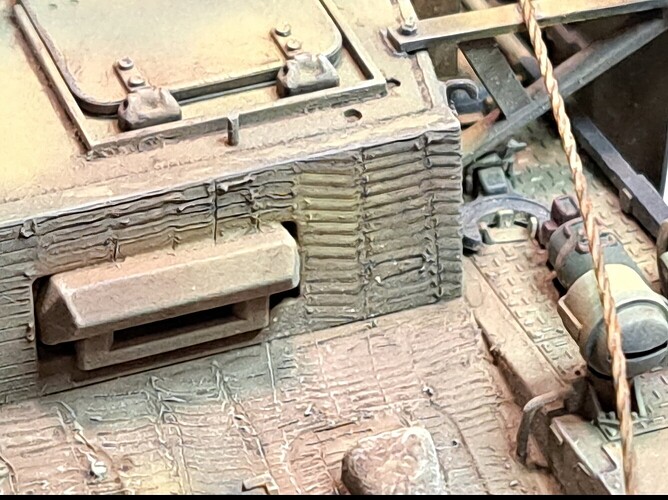
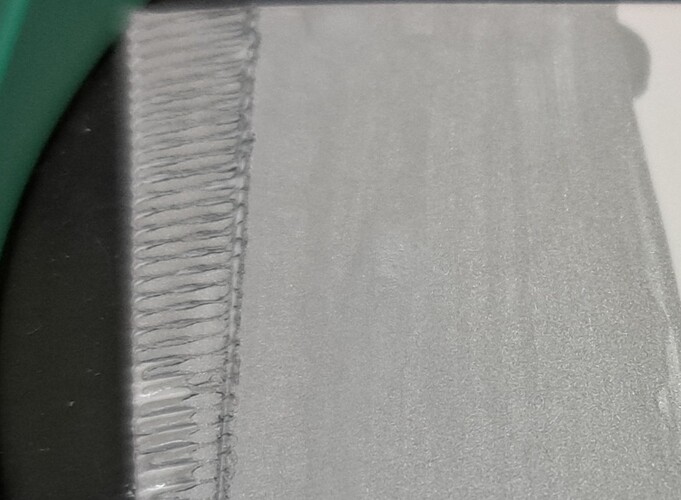
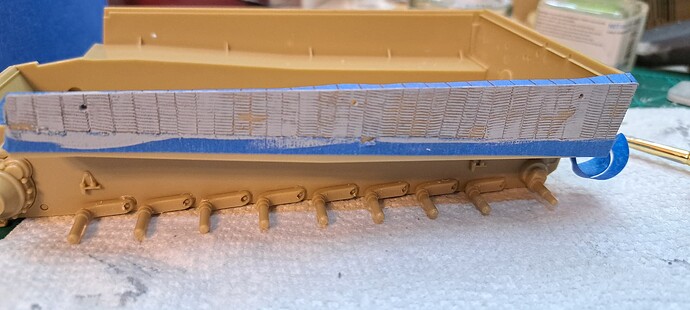
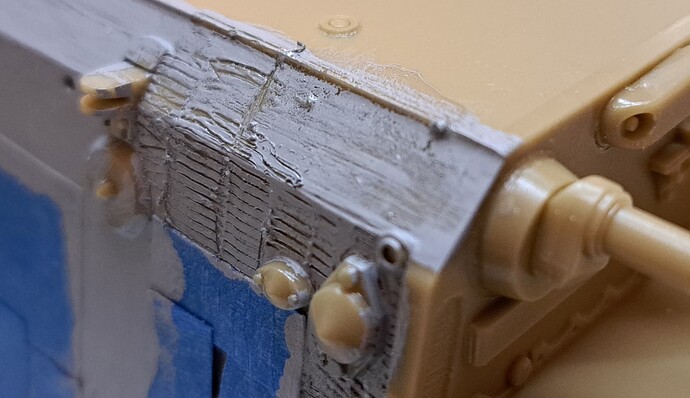
There’s a slight pull out in the middle. I find this acceptable as it adds a little unique character. However, when that pull out occured, the back side was immediately cleaned. Otherwise, can risk a potential mess that has to be recoated and redone.
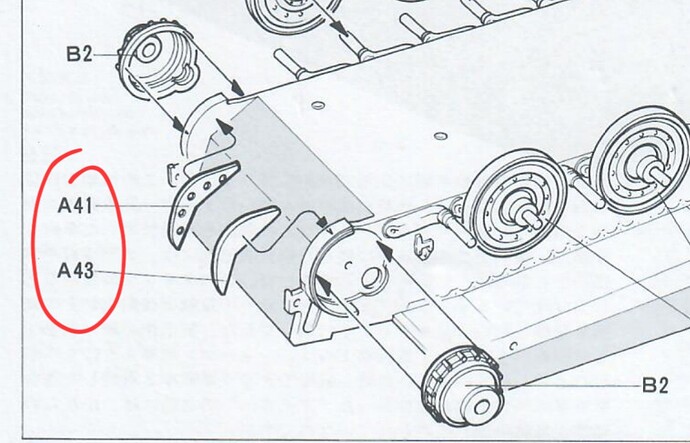
The holes in the zimmerit pattern are where the stock kit track cable mounts.
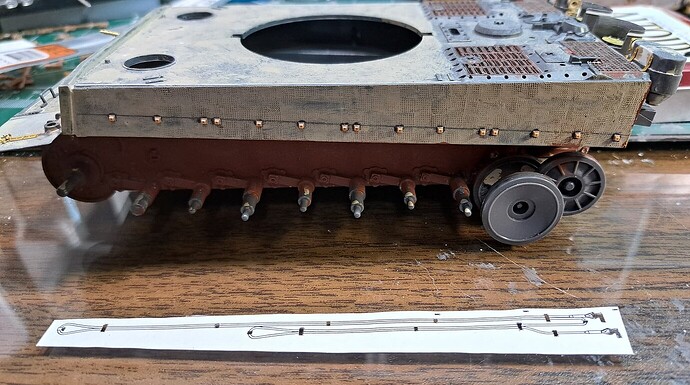
I plan to use the kit part so left the mounting holes. If doing PE bracks the holes should be filled and zimmeritted over. A xerox copy of a template can be used to mark where the PE goes but that’s beyond the scope of this discussion at this stage. However, briefly…
Xerox template and mark…
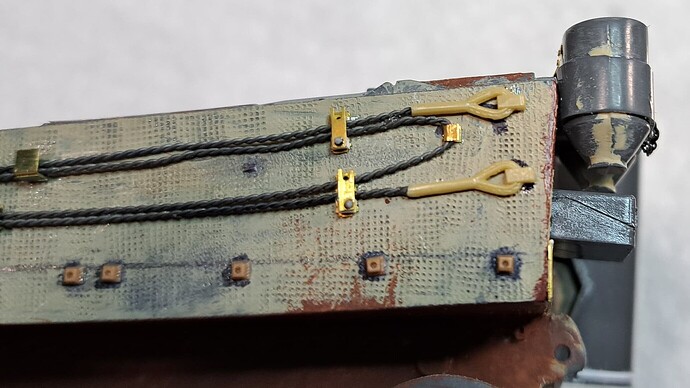
Reactived zimmerit wirh Testor’s Liquid Cement allows ebedded PE parts (with super glue).
Brackets are secured so that home made cable (as shown here) or Eureka can be used.
That’s all for now as it’s back to the kitchen…
