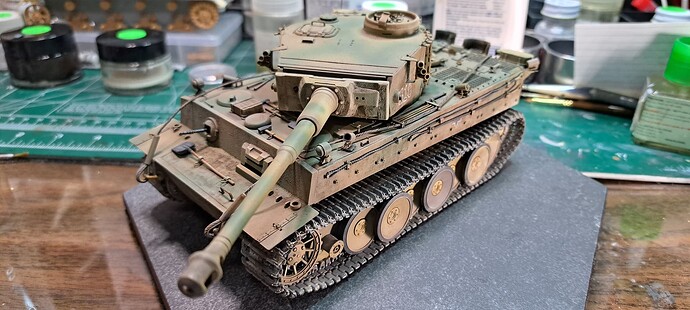
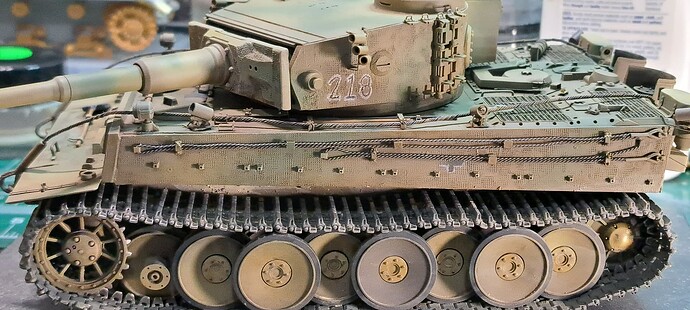
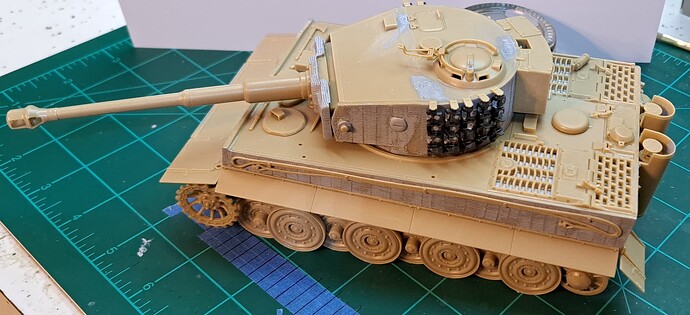
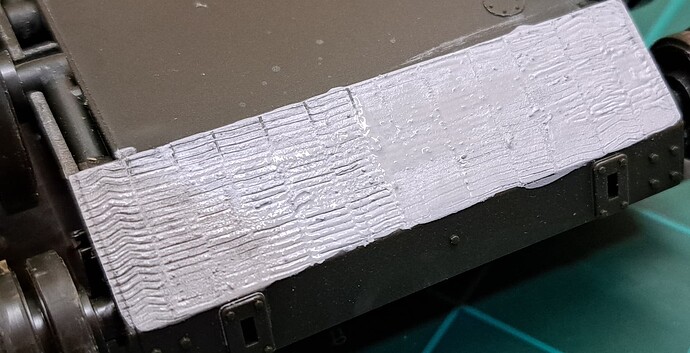
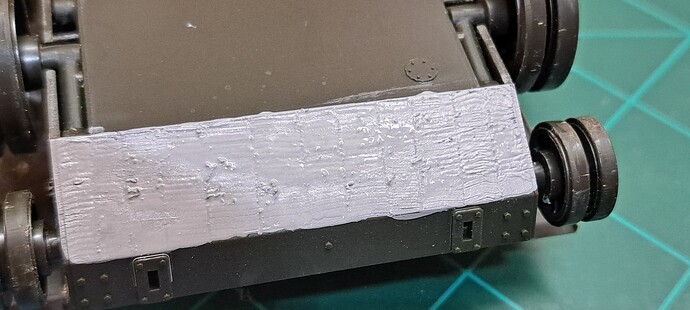
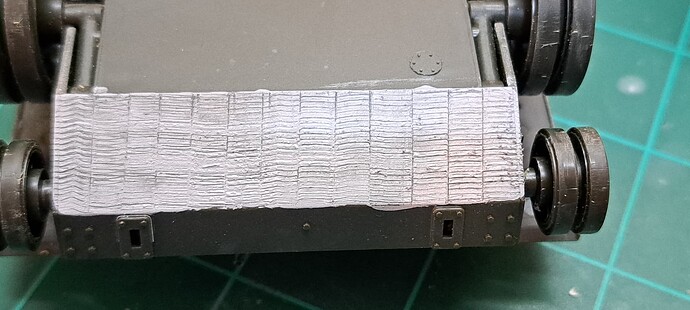
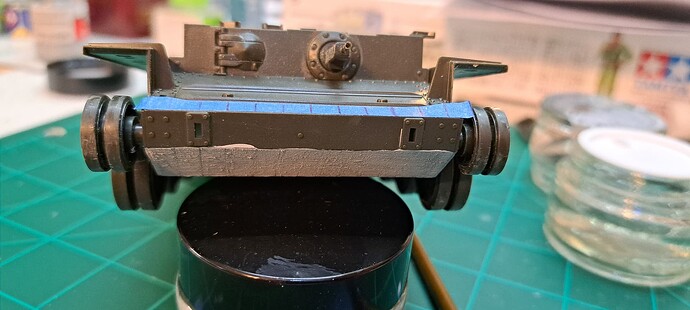
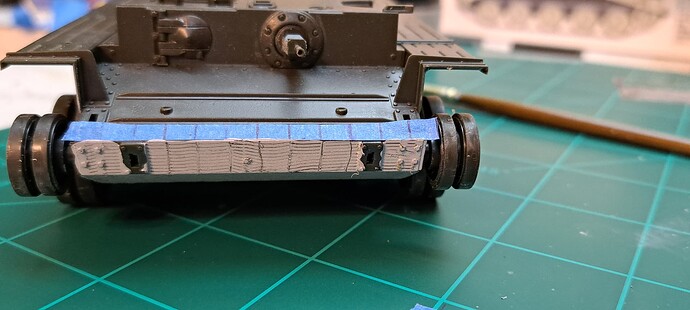
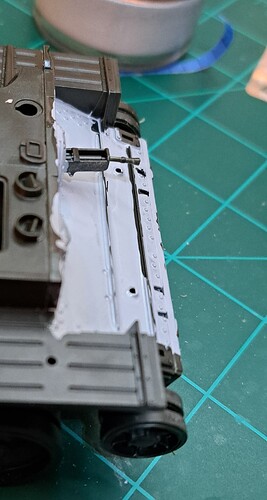
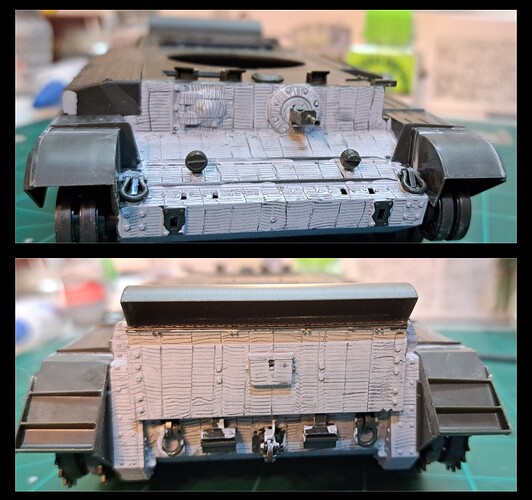
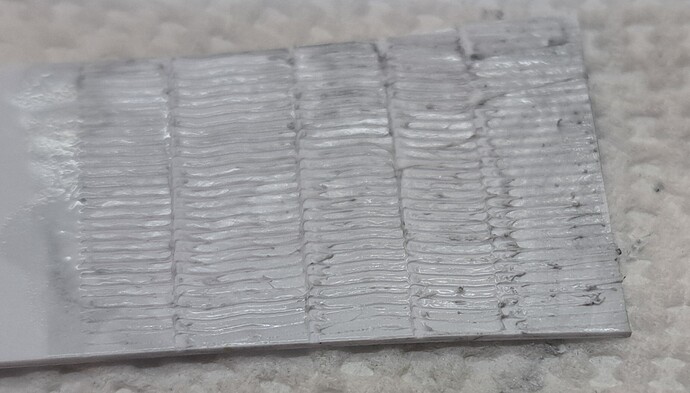
Make your own Zimmerit with Tamiya Gray Putty & Testor's Liquid Cement

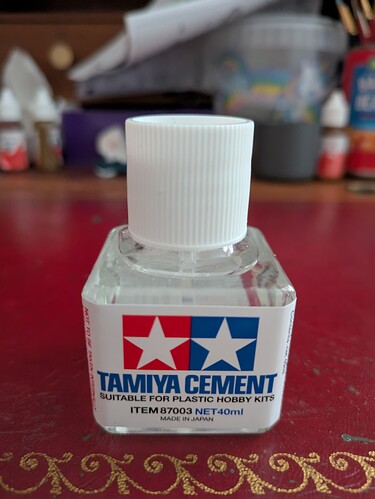
Chepster, the standard Tamiya Liquid Cement? Is that the one with the orange cap?

I’ve never used the orange or white cap one before. I think it would probably work if it’s slower acting than Extra Thin.

There’s one of the Mr Hobby ones that works well. It’s slower than Extra Thin.I have some, I’ll check which one and update.

With a bit of experimenting on plastic card stock or an old model, getting the hang of this technique just takes a little practice. It’s surprisingly how quickly it goes from scary to strange forward to mastered.

Honest

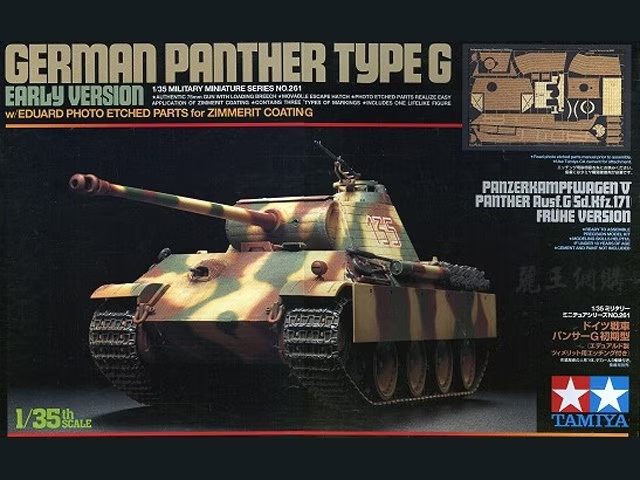
  1. I practiced on an old Tamiya Panther G hull to learn and plastic card.

  2. Patched and fixed Cavalier Zimmerit sheet on a King Tiger using this method in a few spots.

  3. Did the Panzer IV J in the 1st post.

  1. Patched and fixed Cavalier Zimmerit sheet on a Tamiya Panther G & Italeri Panther D.

  2. Did that old Tamiya 1970’s vintage Early Tiger 1 build with waffle pattern zimmerit. Used a stamp on it for waffle pattern.

  1. Did a bit of plastic card as a refresher for this thread.

  2. Did the Late Tiger 1 in this thread.

I’ve done a fair amount of other Zimmerit with Milliput, wood spakle, Squadron’s god-awful Green putty plus razor saw and stickers etc.
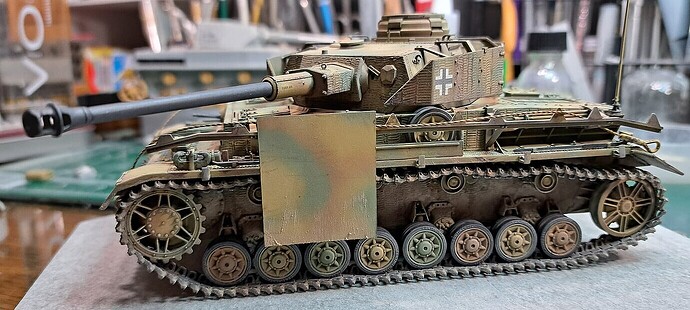
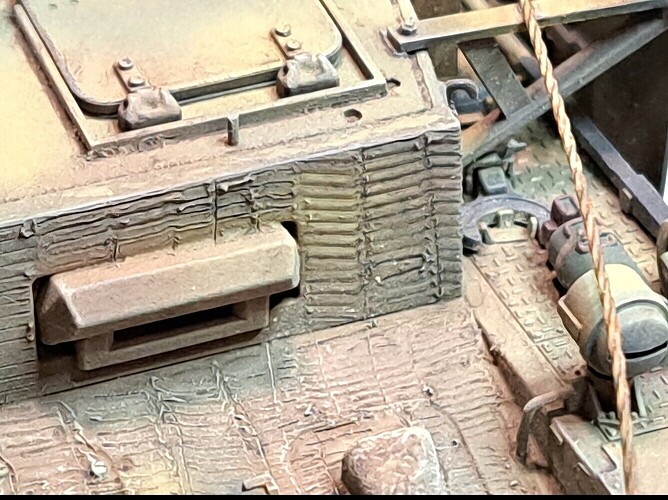
4 Likes

This stuff

Not sure if they have different colour caps in USA compared to UK

2 Likes

I’d give it a try on some plastic card and see. It will probably work very well if it doesn’t evaporate too fast.

2 Likes

I’ll get some Tamiya putty and play around with the white cap cement.

It’s for the same Tiger kit so this guide is doubly helpful!

I may also play around with some Humbrol filler and cement, as this has jogged a memory of reactivating the filler with cement many years ago.

If you don’t have any objections, I’ll (eventually) share my results on this thread?

2 Likes

Sweet! Let us know what you think and impressions.

For what it’s worth, Molak Stucco Putty
Is my pet favorite :heart_eyes:

3 Likes

Outstanding tutorial Wade. Very thorough and detailed. Wow!

2 Likes

Fantastic demonstration Wade. You make it look so quick and easy.

2 Likes

Wade, is there an alternative to Testors Liquid Cement? My LHS doesn’t carry the stuff in the bottle, just the old tube stuff.

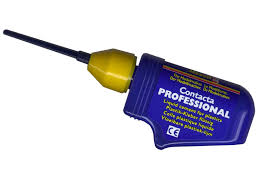
Would Revell Contacta work? I think the viscosity is a little thicker than Tamiya?

2 Likes

@Barney Steve,

I don’t think Revell Contacta will work.

Let me experiment with alternative liquid cements before commenting too much, I think these two will work.

Fume City…but outside or with great ventilation should work:

  1. Mr Color Leveling Thinner with Tamiya Putty should work. I use it as filler but not for zimmerit.

  2. Lacquer thinner should work too.

3 Likes

Coffee :coffee: :coffee: :coffee: :coffee: is good!

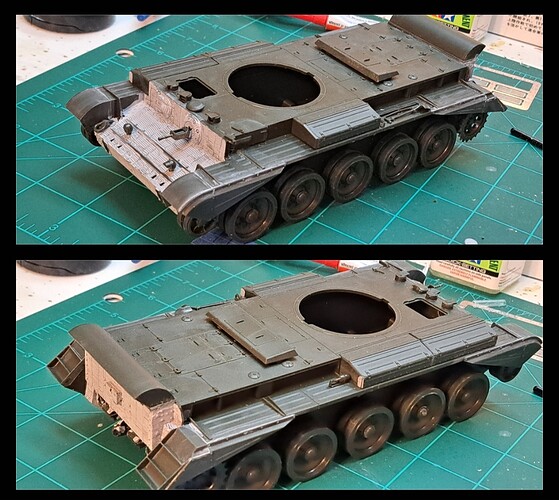
After my 4th cup this morning, an idea occurred…I’m building this British Cromwell with Zimmerit as it was part of experimental testing for Best Tank That Never Was #3 - Campaign …so why not test some New Zimmerit compounds on this Cromwell?

4 Likes

Just happened to see this in the old archives. It’s worthy of a quick look.

Zimmerit pattern on HJ Panthers in Normandy?


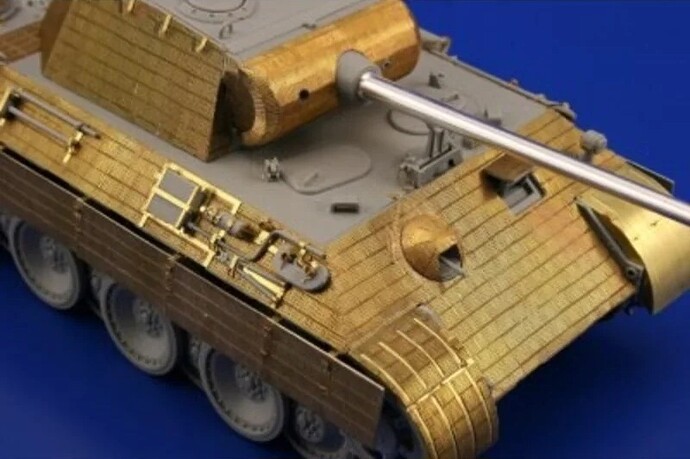
One of the least user friendly zimmerit options in my opinion…photo-etch!

Run away!

4 Likes

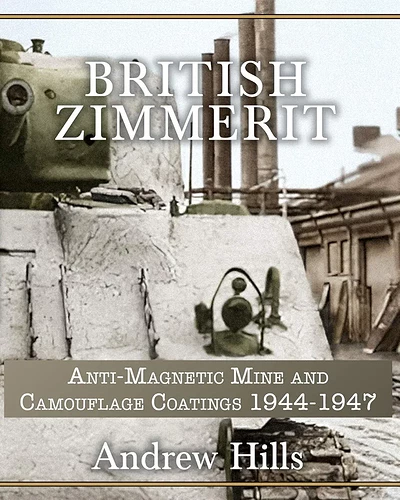
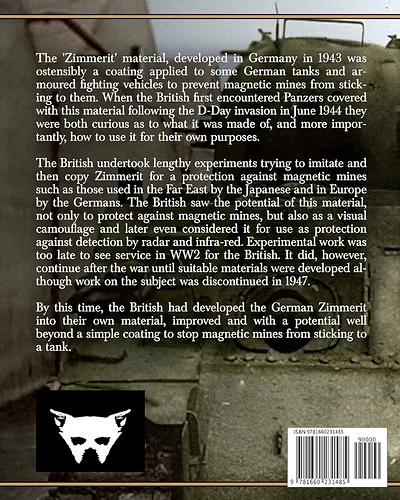
Found this on Amazon…decided it would be helpful with the Cromwell’s zimmerit pattern. Shoukd arrive this weekend.

…covers British evaluation of German zimmerit and British developments.

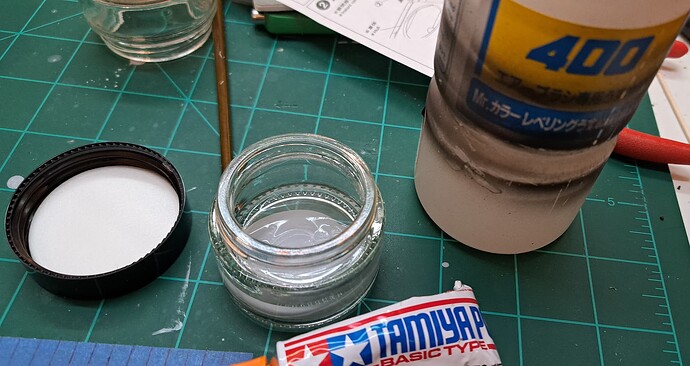
For the Cromwell, will make Zimmerit compound out of Tamiya Basic Gray Putty & Mr.Color Leveling Thinner. I think Mr.Color Leveling Thinner has wider distribution than Testor’s Liquid Cement.

I’d planned to try Mr. Hobby S Liquid Cement but haven’t found any locally.

5 Likes

Hobby Lobby sometimes has Mr. Hobby cement since they stopped carrying the Tamiya. $3.99 a bottle.

3 Likes

Thanks, will try there next.


This Zimmerit compound demo will feature Mr Color Leveling Thinner & Tamiya Basic Gray Putty. As always have outstandingly good ventilation, wear gloves & correct respirator etc.

Approximately 5 grams of each were mixed together. It doesn’t mix as readily as Testor’s Liquid Cement but with stirring it mixed well enough.

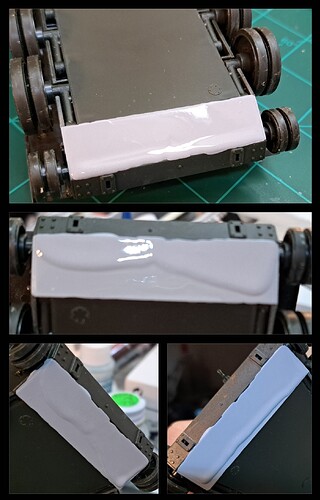
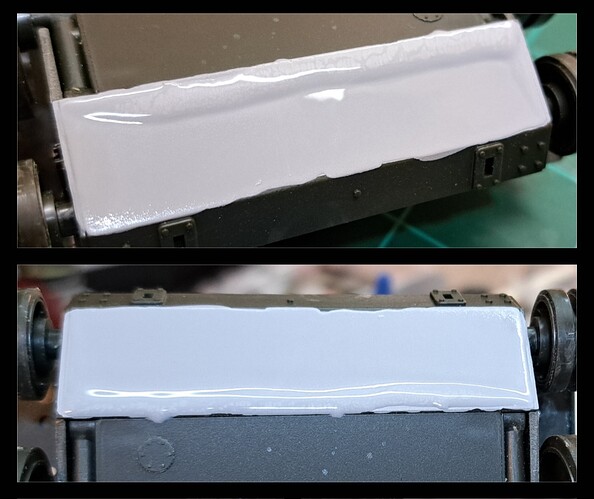
Brushed the MCLT Zimmerit compound on…and it didn’t stay put…it wants to level…so one may have to tilt the model to get a level uniform coat as the mix flash cures on top. This took a minute or two.

If it jacks up, its not an issue as MCLT doesn’t affect plastic. The mixture can,be wiped of and the model brush cleaned with more MCLT if needed.

The bottom is even enough. Decided to add more putty to the mixture as this proved a little too loose. Trial and error but nothing to panic over etc.

Initial mix was too loose and or too thickly applied. It wouldn’t hold pattern etc. Wait and touch up texture wirh the smaller Tamiya Zimmerit tool. Excess is removed as pattern is touched up…

…but it looked like crap so I nuked it with a light brush over of MCL.

Reapplied all of the texture with the medium size Tamiya Zimmerit tool.

Felt like that was acceptable.

Realized in my haste working and taking pictures, I’d forgotten to apply guide tape and free handed the pattern size. However it’s on the lower nose and barely visible.

Rinse and repeat all over again…

…and again…

I won’t be labor this as MCLT worked similar to Testor’s Liquid Cement. I’m used to using the Testor’s mix was it stays where placed. Likewise, the viscosity of the Testor’s version is dialed in and more experience is needed to optimize the MCLT version. The MCLT version is a little harder to work but very forgiving of mistakes.

The MCLT reactivates the mix so removing from unwanted areas is easy…

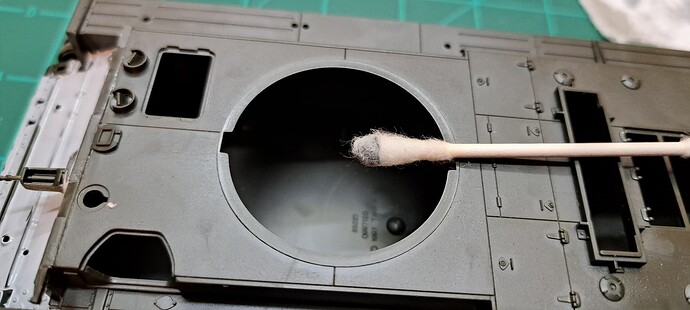
…Wet Q-tip and wipe away without harm to the plastic…

…take a Q-tip full of Testor’s Liquid Cement rub on plastic to remove putty, the model will be going in the trash :wastebasket::sneezing_face: afterwards.

When the Cromwell’s turret is ready Zimmerit, will use Mr Hobby S Liquid Cement as the solvent or reducer.

That’s all for now.

4 Likes

Why trash the kit?

2 Likes

Ryan, there’s latitude in the outcome and I should have acknowledged that. One might salvage that area of the model but my experience with Liquid Cement accidents in general has been the part or model ends in the trash.

My hunch is using a fuzzy Q-Tip full of Testor’s Liquid Cement or Tamiya Extra Thin to remove putty from unwanted areas will marr the plastic surface and details, ruining the model.

3 Likes

Ah, meant more as a warning. I like to tape off the area close by just in case of user error. Your guide mark tape helps to protect and ensure even spacing, win win.

Yes, using Extra thin glue on plastic will mar the finish. If going for the cast look it is a great technique. Used it on my SMK and others. Not so great if wanting a smooth finish for sat a car.

2 Likes

Cromwell w/zimmerit status…

Stopped at the local Hobby Lobby to check on Mr Hobby Liquid Cement but it was very busy.

Picking up Mr Hobby Liquid Cement will have to wait until later.

5 Likes

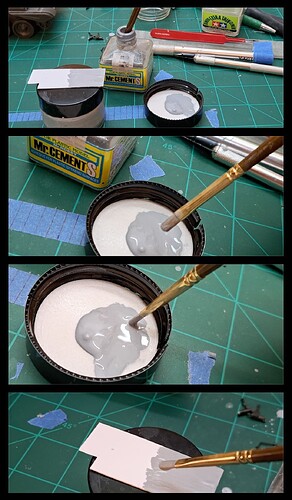
Gave up on Hobby Lobby and pulled an old (putty contaminated) bottle of Mr Hobby S Liquid Cement. We’ve covered ratio and mixing so I decided to use my preferred mix method…on the fly…

Putty on palette :art: and drops of liquid cement with the brush and mix to your preferred consistency…it is necessary to work with speed as the small amounts of LC evaporate quickly.

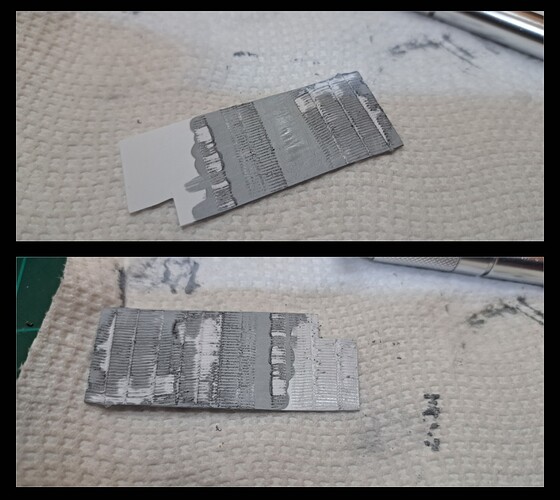
By the time the mix is applied to test strip, it needs to be reactived with a brushing of liquid cement. Rake with Tamiya Zimmerit tool as previously discussed.

My impression is the Mr Hobby S Liquid Cement is some what harsher than Testor’s.

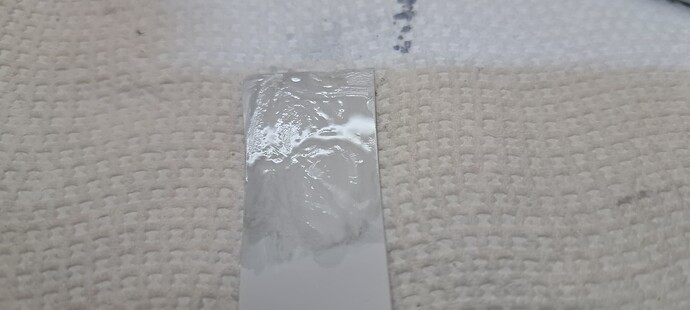
Let’s get medieval…NO Putty just thr contaminated Mr Hobby S Liquid Cement…

Holy Cow, Mr Hobby S doesn’t play around…

That’s sheet styrene which is usually softer than kit plastic but that might work on a kit. I’m not interested in using only LC to do Zimmerit as it should have thickness etc.

HTH

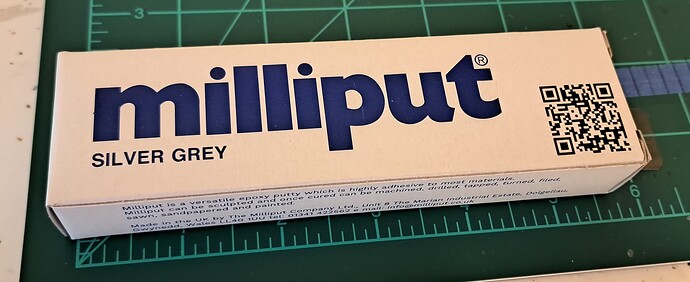
May as well go for broke and attempt Milliput Zimmerit for the turret.

7 Likes

This is a tour de force on Zimmerit Wade. Incredibly good demos!

2 Likes