Dear all,
As it seems very difficult to find nowadays the Tamiya M2A2 (pre)ODS, with swim barrier (35152), what should be the best solution : 1.to use parts from an Academy M2 slick (1335) + Academy M2A2 OIF (13205) + correct tracks ? 2. better to find a Tamiya M2A2 ODS (35264) ? 3. better to use a Magic Factory M2A2 ODS-SA ?
Thanks a lot.
If you can get the Tamiya M2A2 ODS kit and leave off all the F sprue parts (ODS parts), you will have an early M2A2. The ODS kit is kit #35152 with an added sprue (F) for ODS parts and new tracks. Get a set of T157 (early, triangle block) tracks for it and you will be good.
Thanks a lot for the rapid answer.
I will immediately look at Ebay for the M2A2 ODS as I have already the AFV Club T157 tracks.
Here is the instruction sheet for kit #35125. Follow them and you will be set.
Thanks for all.
I have in the same time found a Tamiya 35264 from a vendor here in Belgium for 42 €.
Will be delivered end this week.
You are great for collaboration ! Super !
Good deal. If you want to update/correct it some, I recommend some of the 3D sets by our own Jacques Duquette. At a minimum, you will need new sprockets as the Tamiya ones have 10 instead of 11 teeth and the AFV Club tracks will not fit on them. The Tamiya sprockets are also missing the spokes.
NEWS: 1/35 3D Printed Bradley update sets - Armor/AFV / Modern - KitMaker Network
This’ll be a big help as well.
https://vodnik.net/pages/m2a2/m2a2-p1.htm
He left out a few important things, and a few things are incorrect, but overall it’s a great guide to help you out.
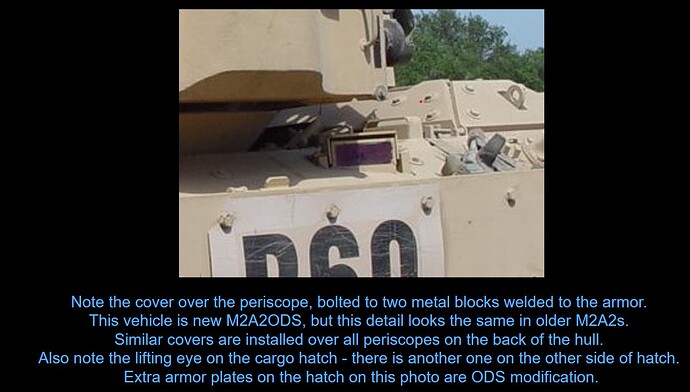
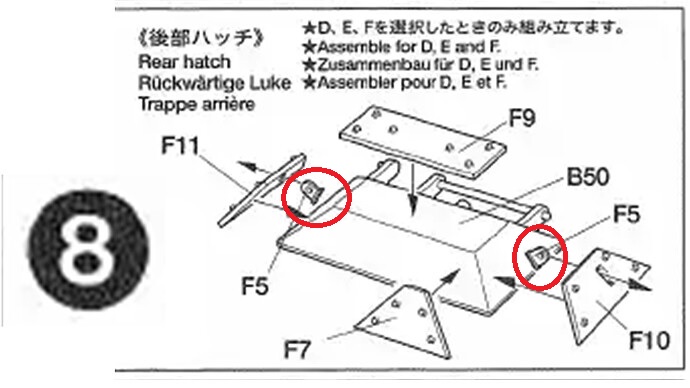
One more thing on the hull. For an initial M2A2, you should add the TOW reload hatch lift rings. These were present on M2A2s. The lift rings, F5, were actually on all Bradleys starting w/the M2. Tamiya just missed them. Disregard the rest of the hatch armor, it was added as part of the ODS Upgrades.
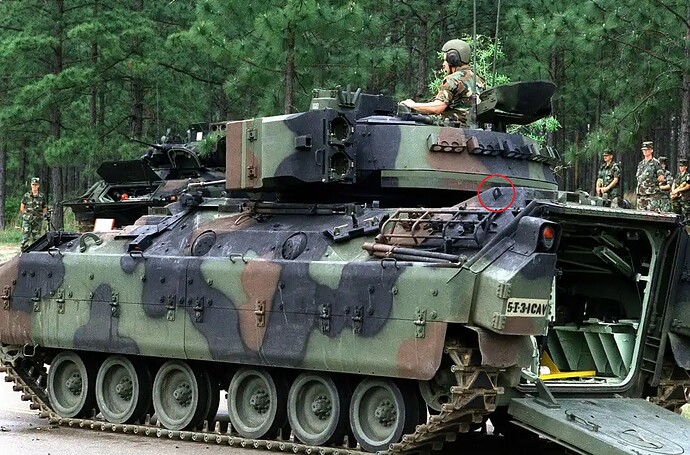
You can see them on the original M2 and M3 below.
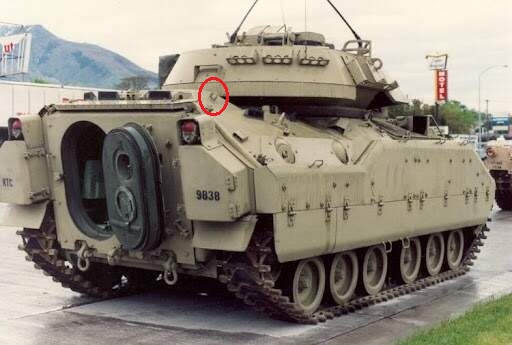
That’s one thing Vodnik didn’t miss. The article is well worth the read.
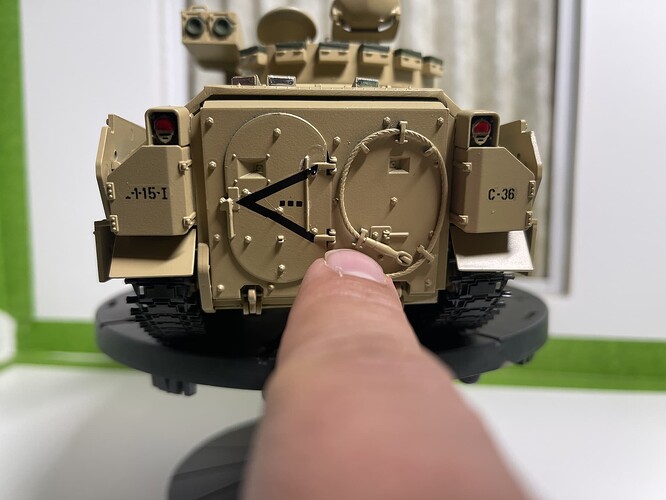
You may want to correct the notches on the ramp as well. A lot of people have missed this:
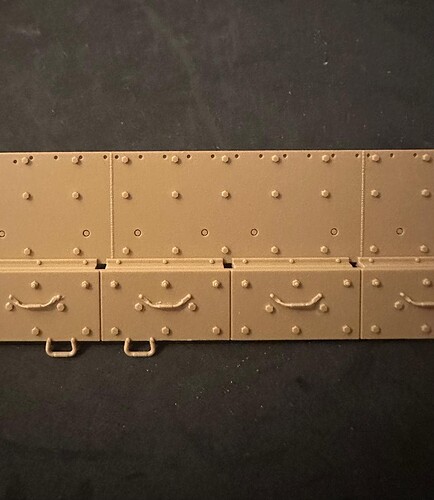
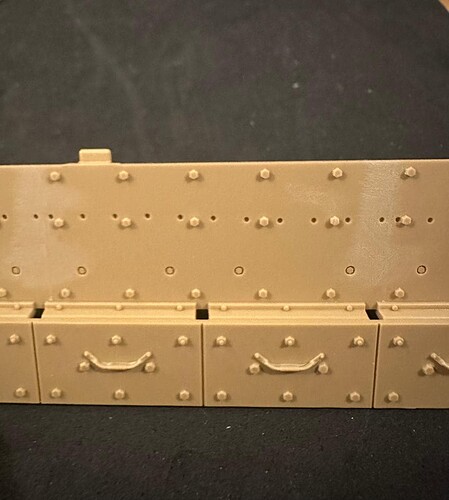
Another thing not in the article is the welds between the large armor plates. They should not be there. A lot of folks miss this or simply choose not to address it.
Here I’ve removed them. All that’s left to do is scribe the joints in:
And those molded on hand holds. Some have complained about them. Just slip a chisel blae underneath them and lift them up.
All of these little things by themselves don’t mean much, but when you add them all up you’ll get a much more accurate model with little cost or effort.
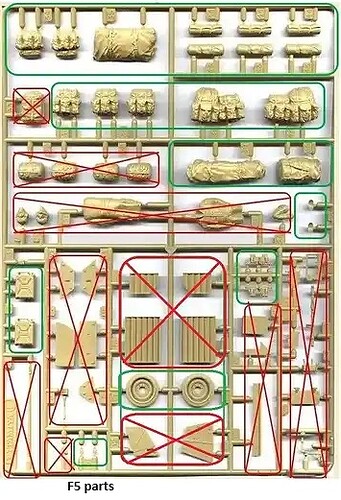
You can actually use some of the parts off the F sprue. You can use most of the gear, except the sleeping bags, which are newer, so leave them off. Usable stuff is outlined in green. Disregard the rest of the update parts on the F sprue, w/the exception of the TOW reload hatch lift rings (F5), and you will be good.
Good luck with it and be sure to show us how you are doing on here.
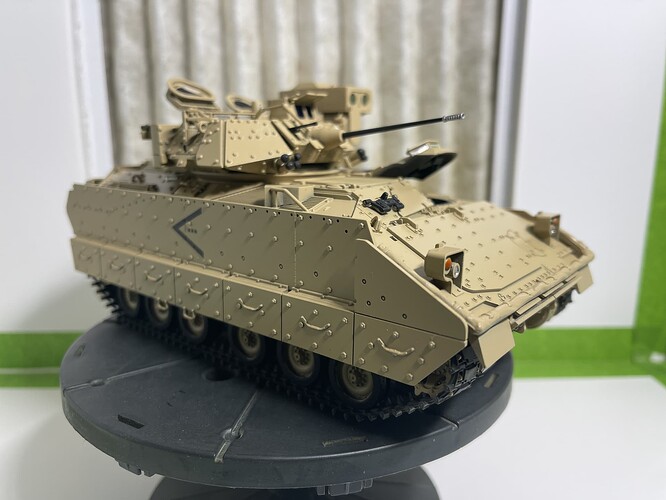
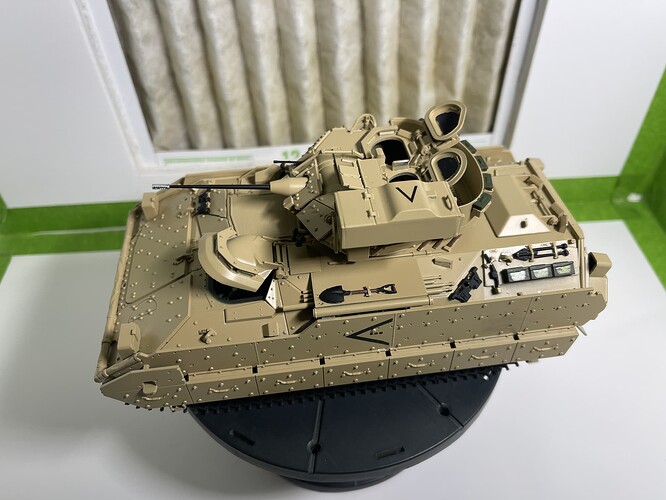
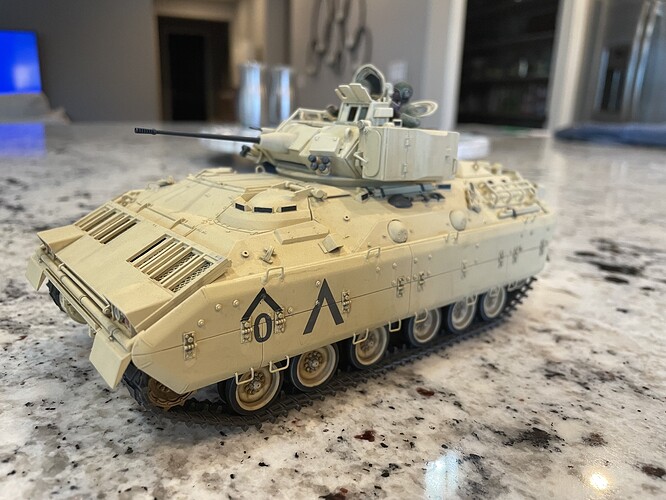
What color did you use on that? It does not appear to be FS33531, and yet it works well. I might like to try it.
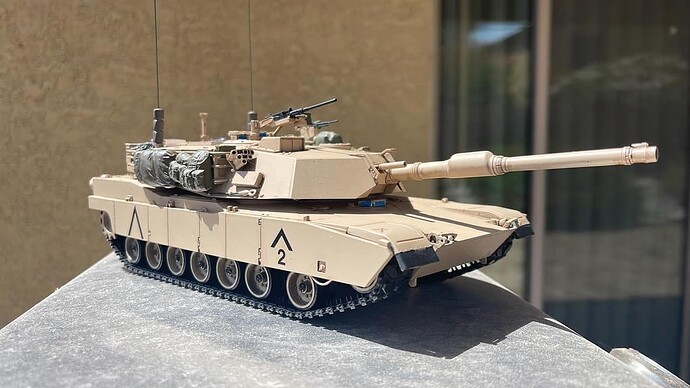
I used Tamiya TS-68 Wooden Deck Tan. XF-78 if you want to airbrush it. Used the same color on the M1A1 Abrams I built as well…
Thanks. I have seen that color at the LHS. As it comes in a spray that’s a bonus. I hate cleaning my airbrush, and I don’t like all of my US vehilces looking the same shade of sand. Unfortunately, to mix my own blends I then have to use the airbrush.
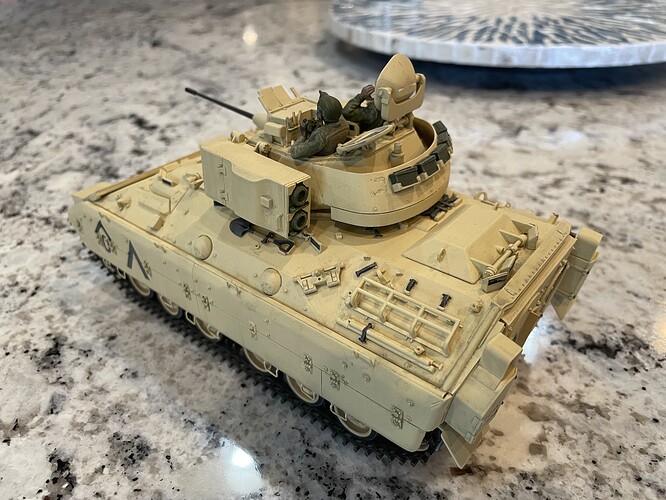
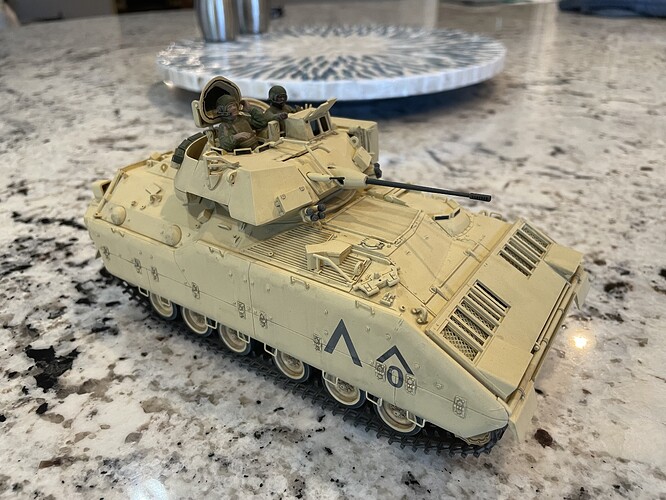
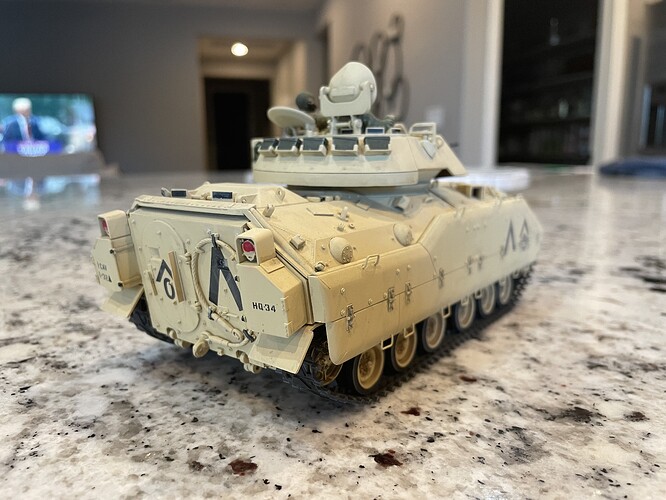
I cobbled this together a while ago from spare and busted up parts. I wanted to build an M3 from our scout platoon from gulf war 1. Not quite finished and some repair work already needed.
Solid!
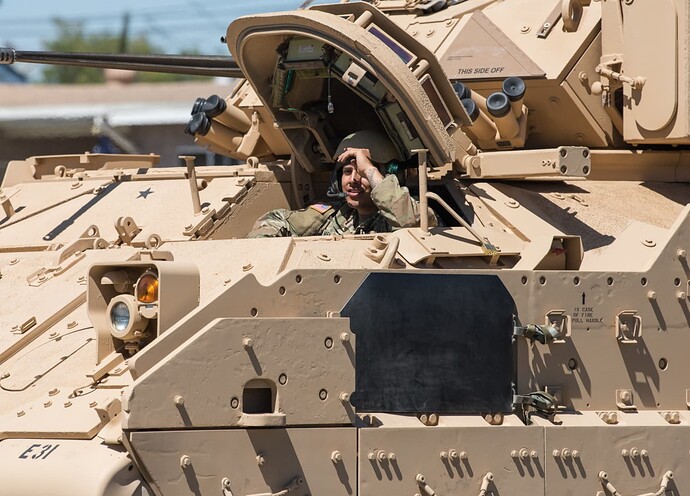
Regarding the incorrect welds on the side plates mentioned above - I just found this;
Clearly the joint is missing just to the right of the rubber flap. But its not your usual “stack of dimes” weld either. It almost looks like it was puttied over. NEver seen any other instance like this,.
Makes you wonder how many coats of CARC that vehicle has to cover up all the dents and gouches on the armor plate.
