Actually i finished it well before new years. So that makes a grand total of 2 models built for 2021. i am hoping this year will be different.
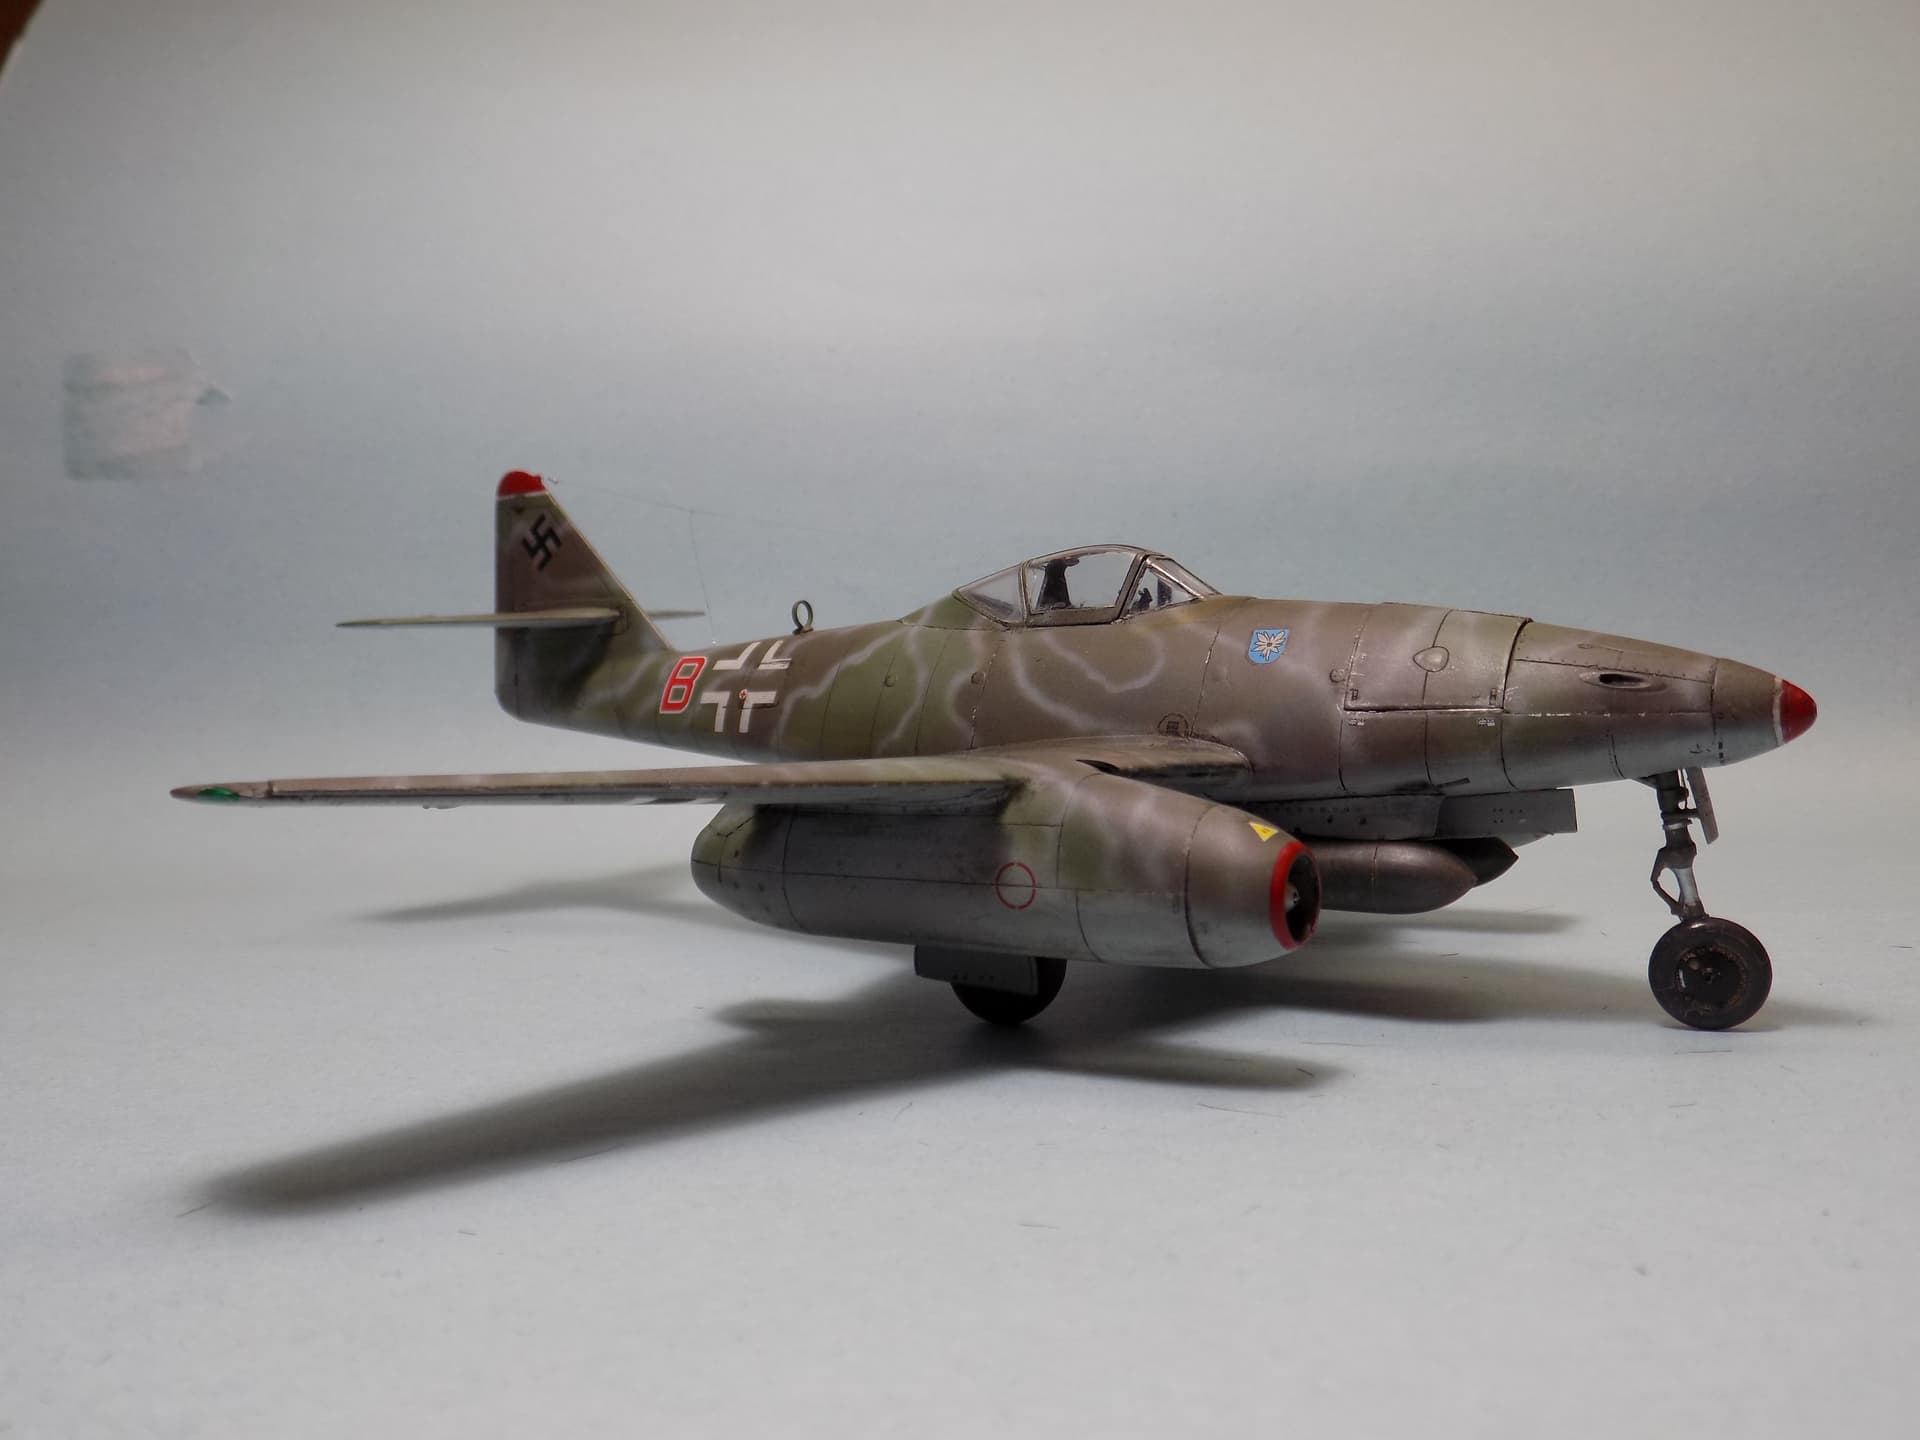
Anyway this is a hobbyboss kit with printscale decals.I would not recommend these decals, they are so thin and elastic that they are almost imposible to position. you can’t slide them off the backing like others. As soon as the edge leaves the backing it folds under and the like to twist themselves in a bunch. I had to put them back in the water to unbind them
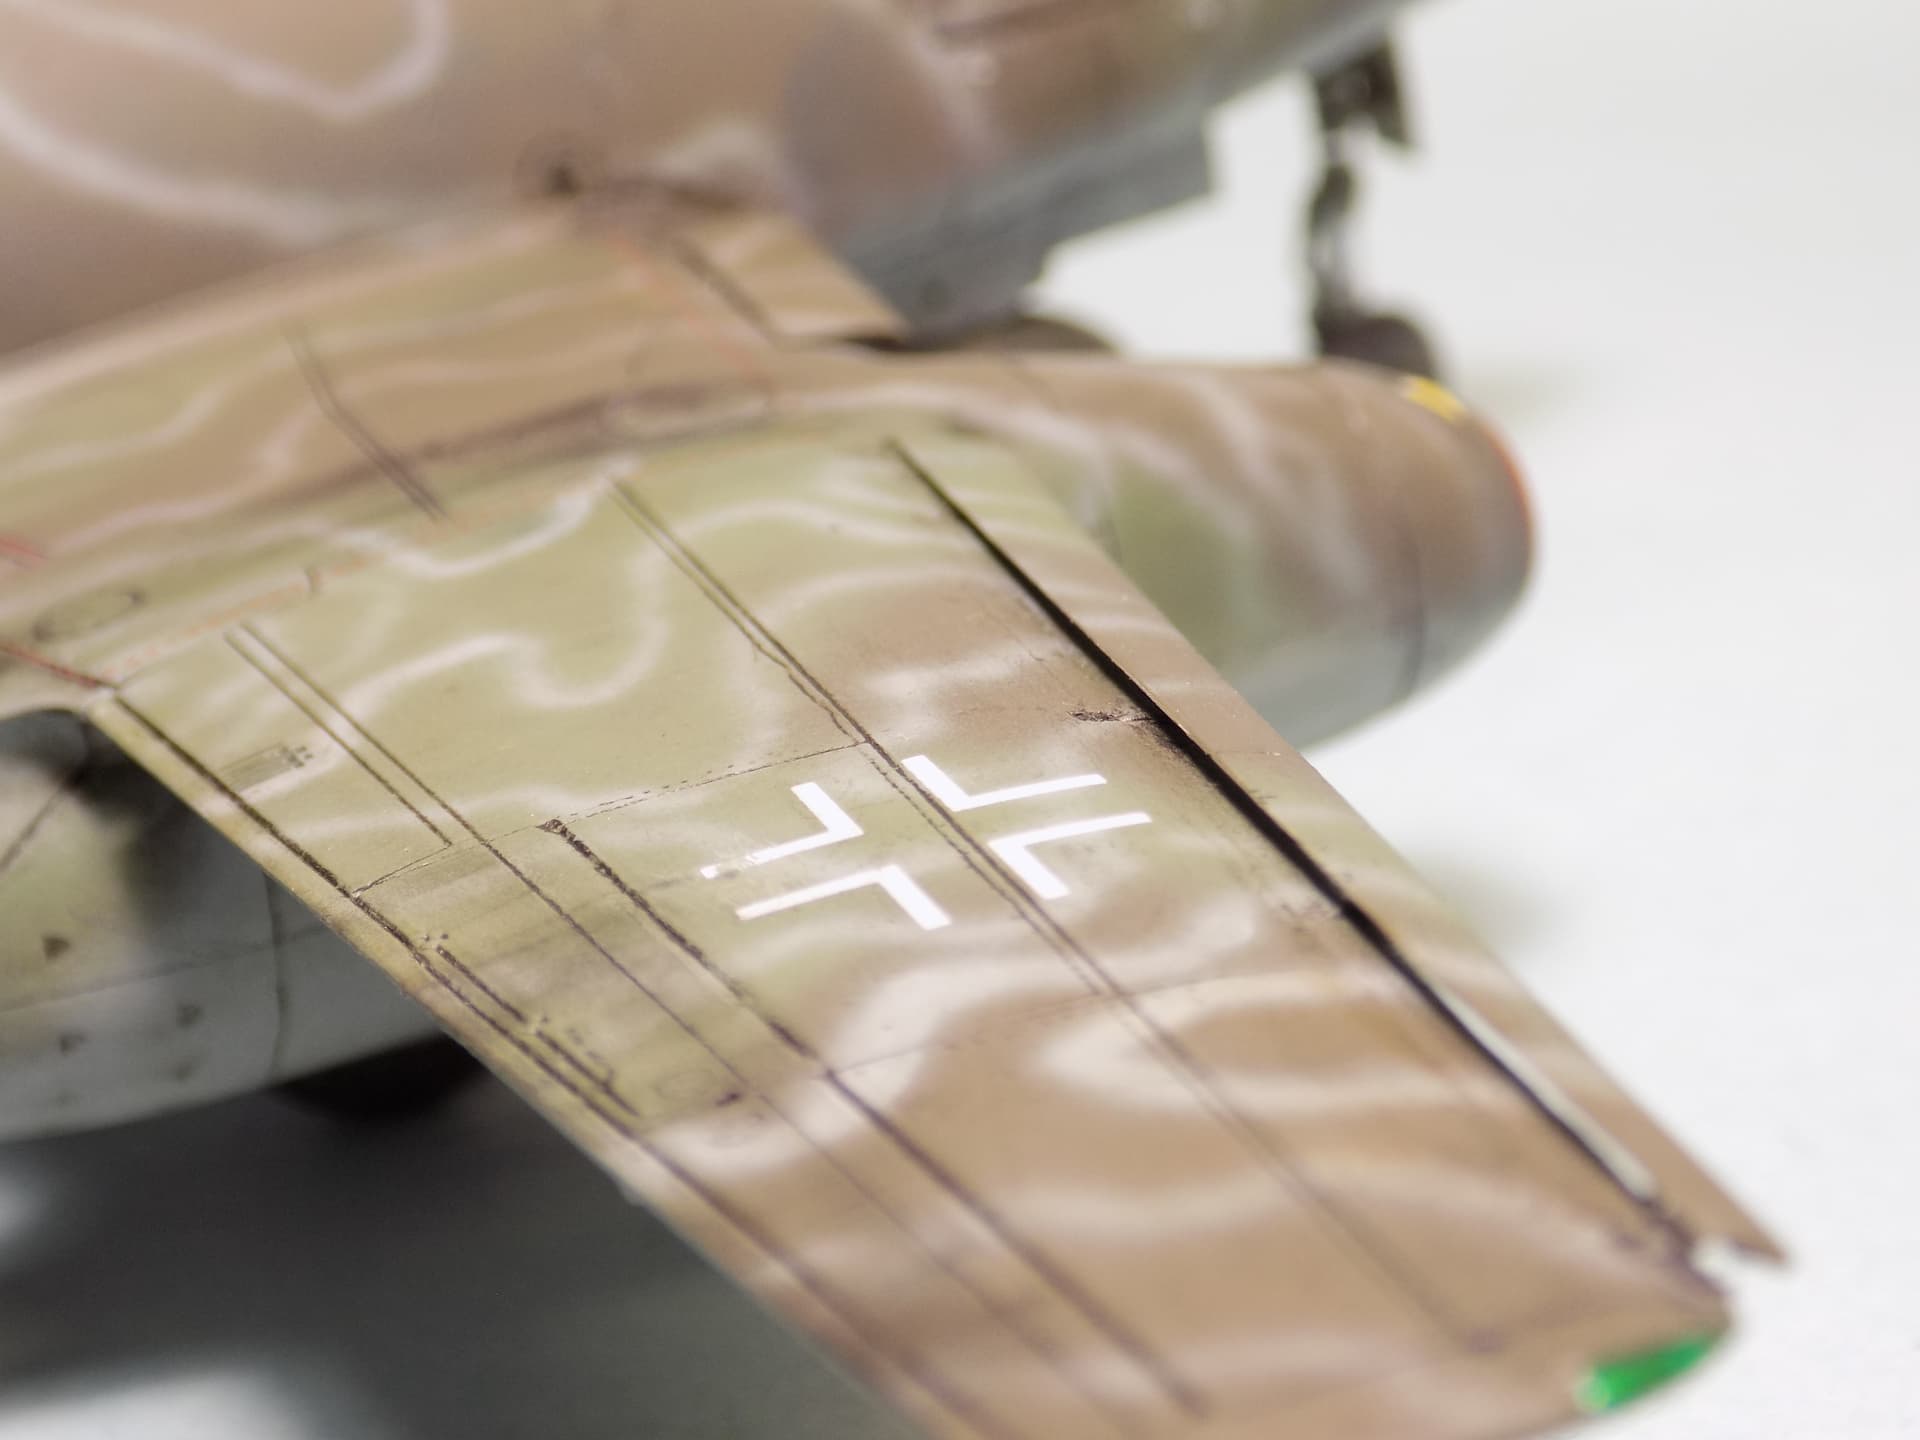
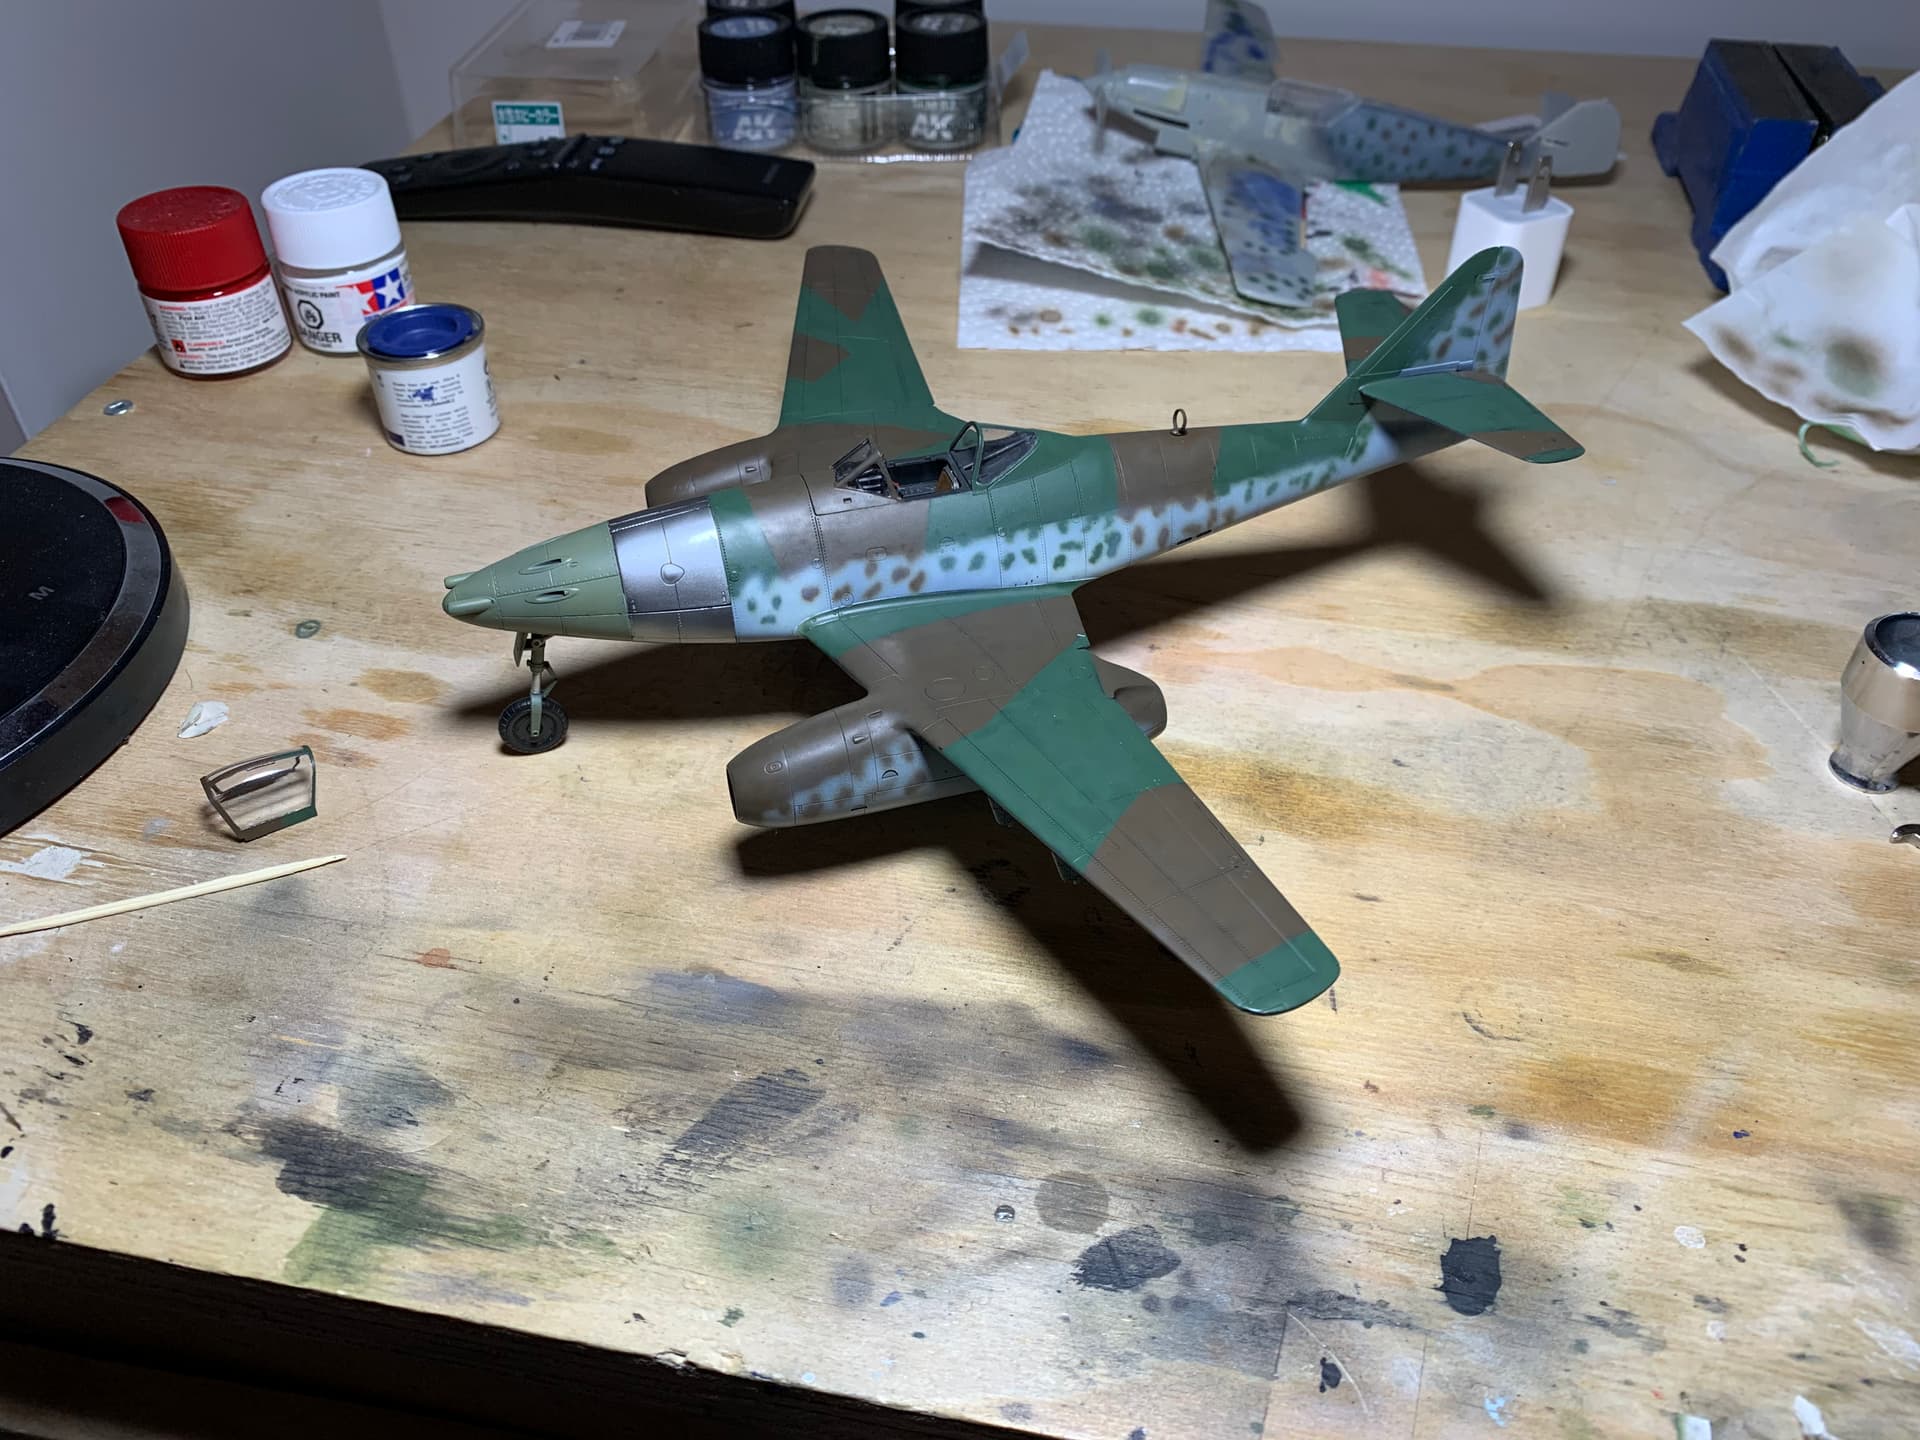
Enough of that, on this build i was looking forward to the challenging paint scheme
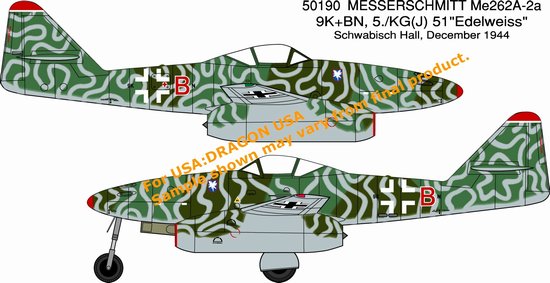
This is the camo i’m going for
On researching this build I found the pilot’s name and his fate
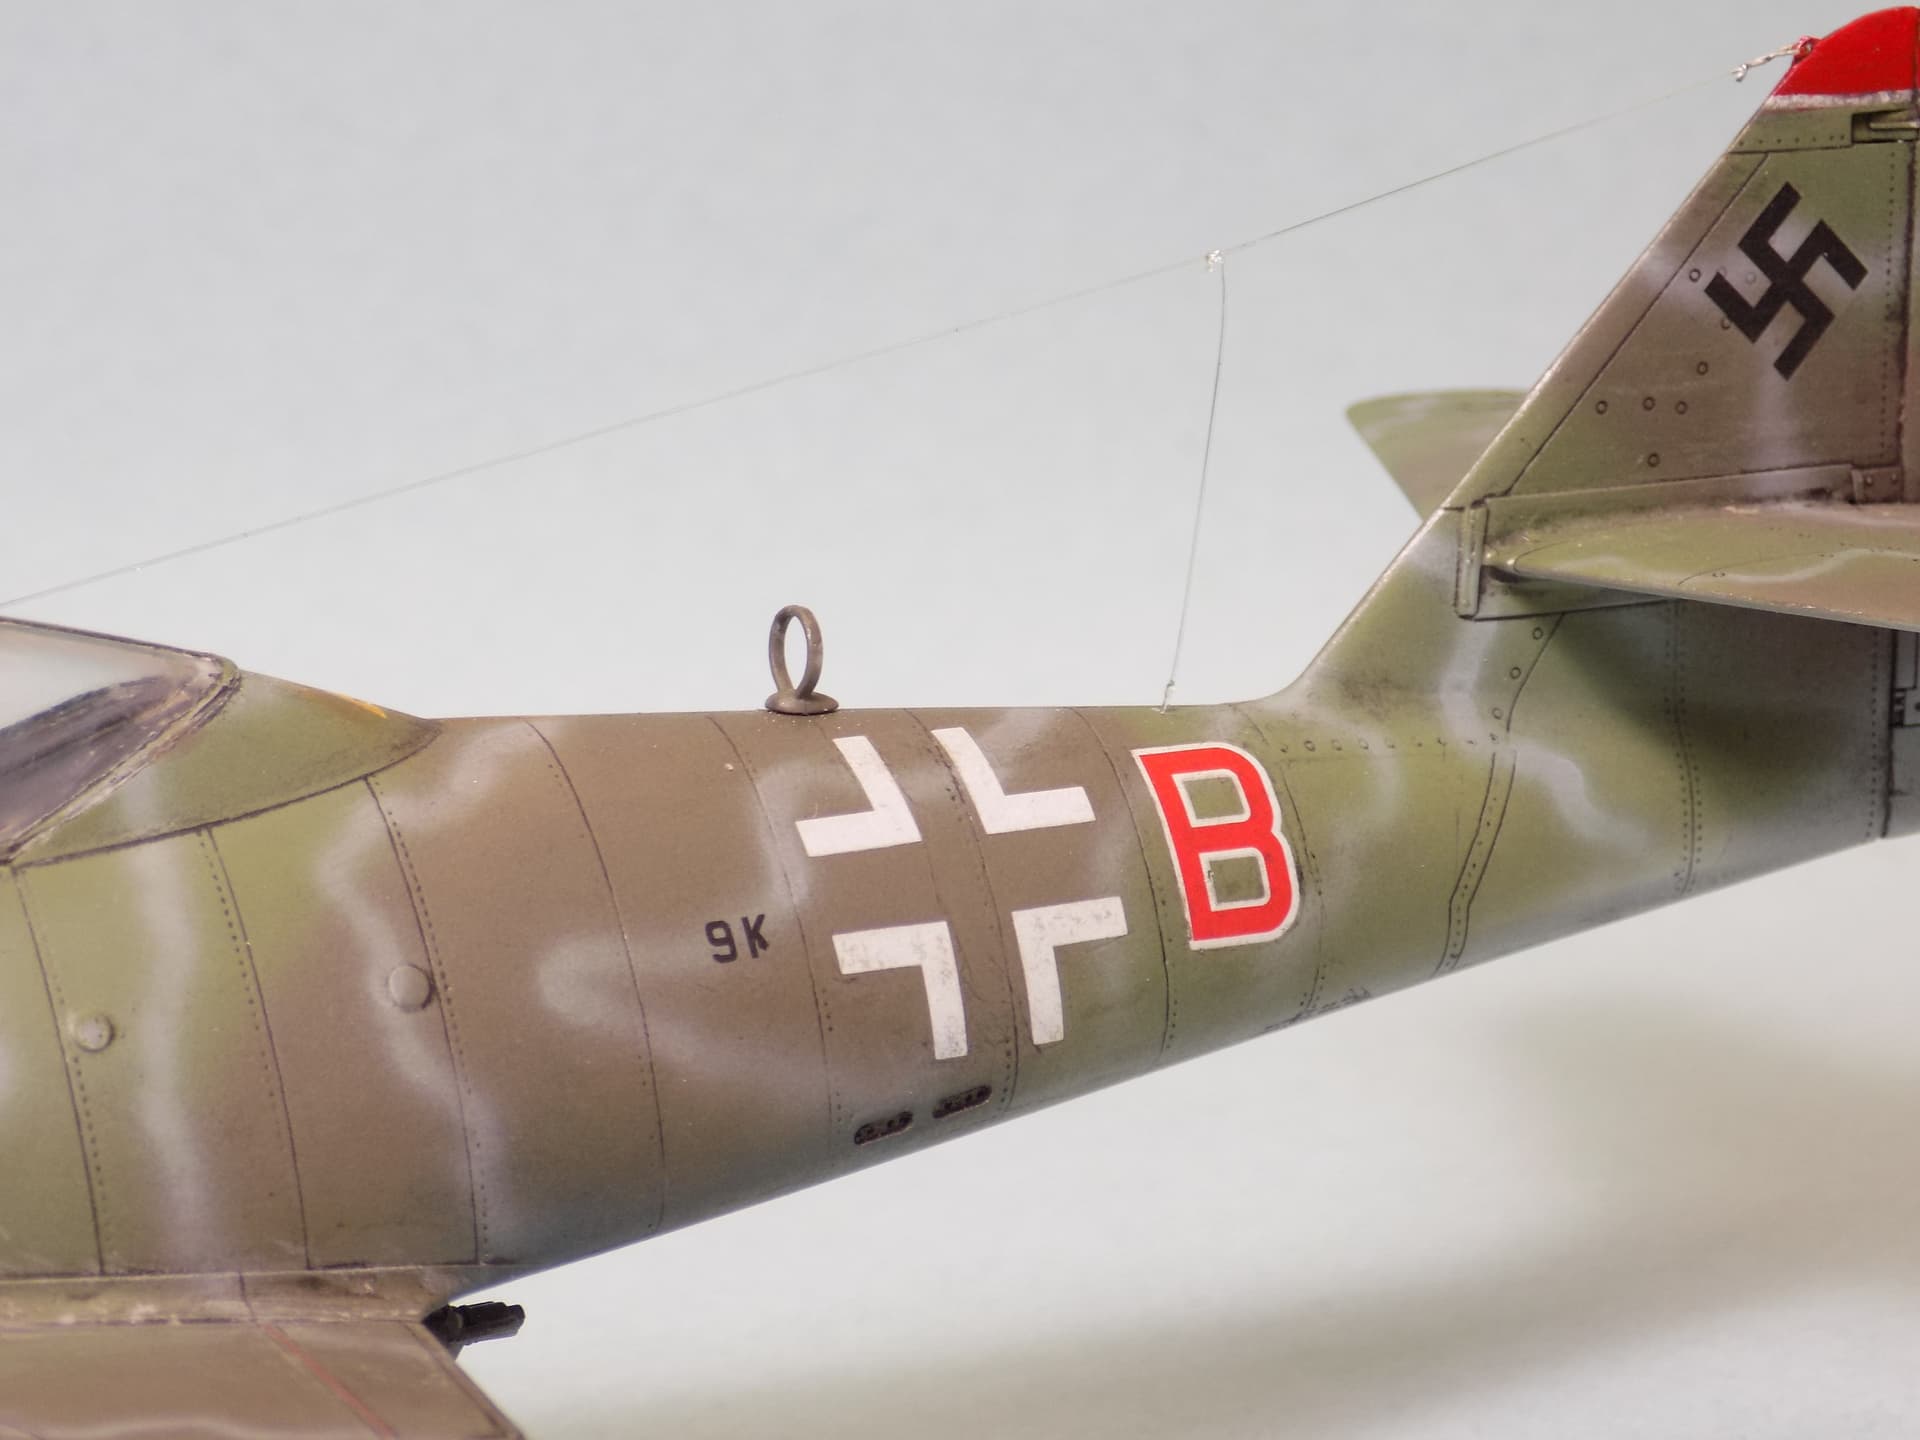
OHT Georg Richter 9K+BN 5/KG (J) 51 at Swabisch Hall 12/44
KIA 2/14/45 near Osterwieck
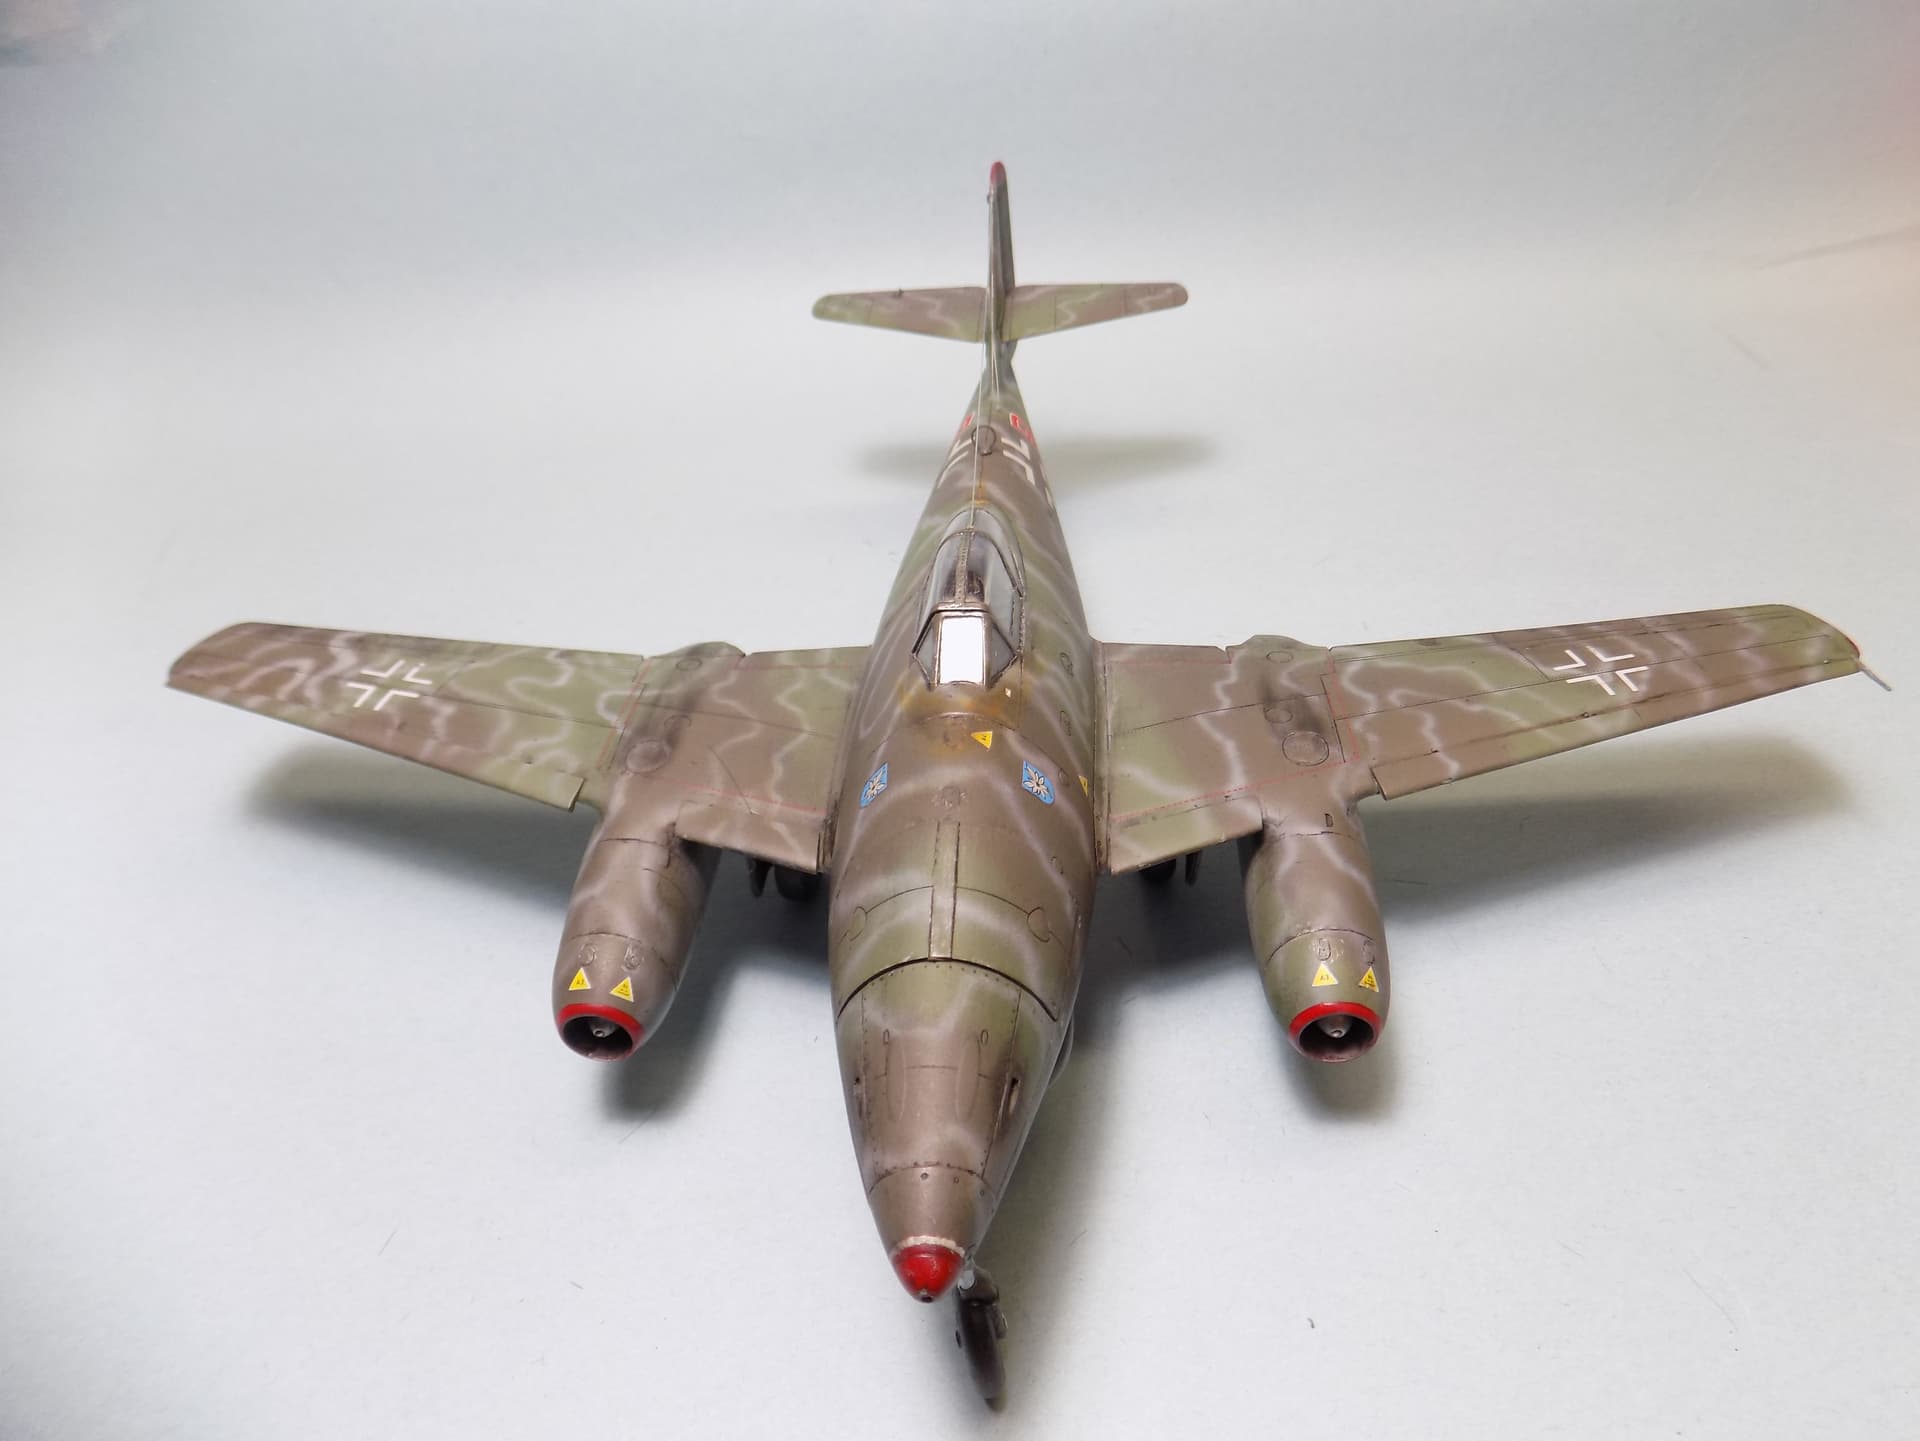
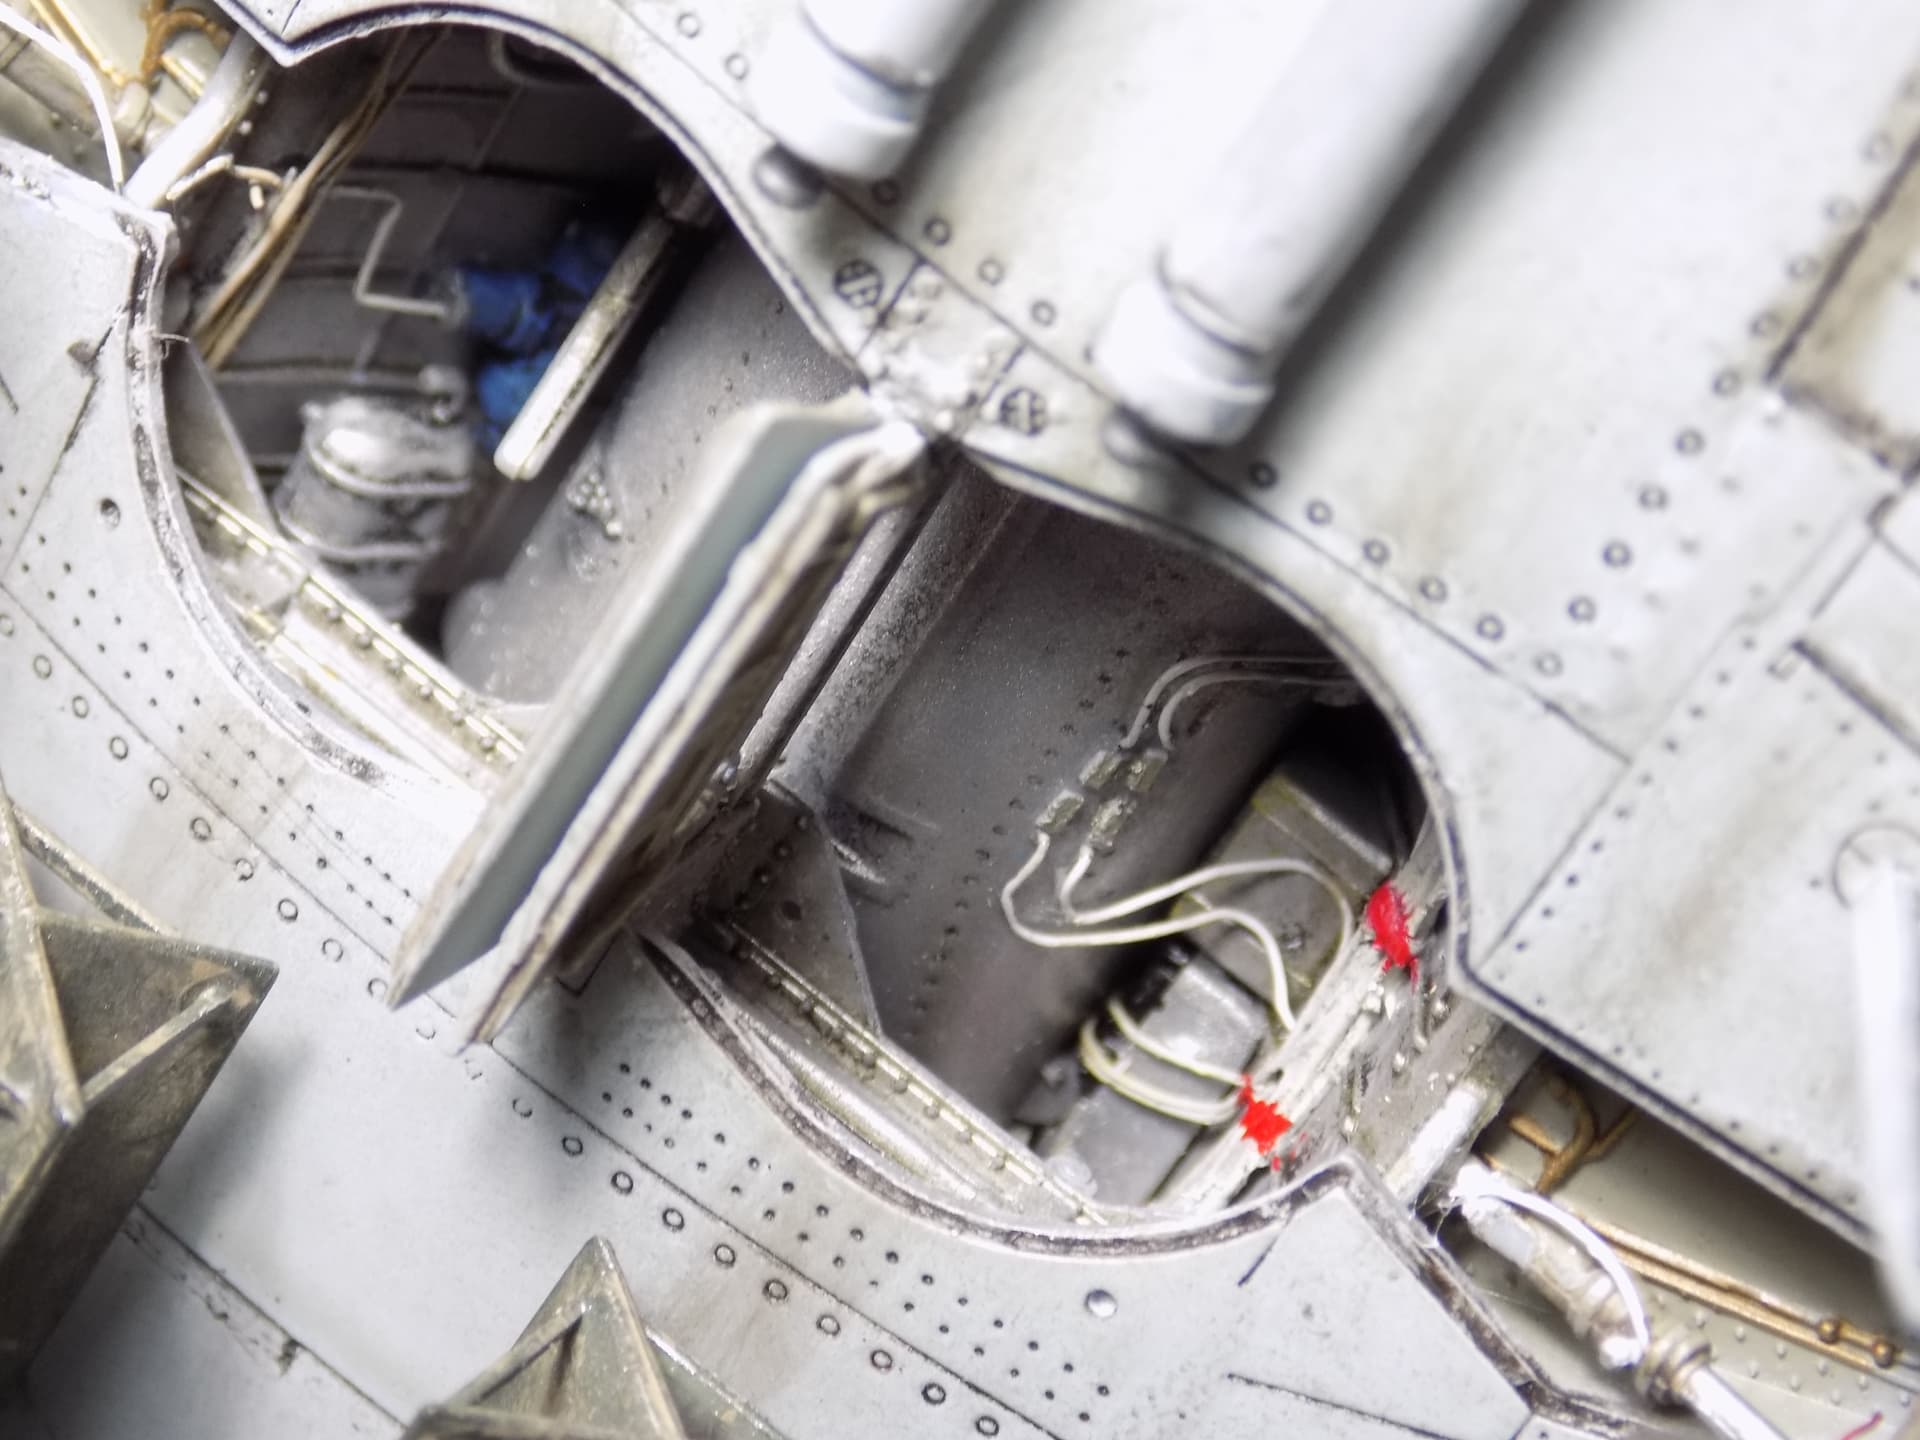
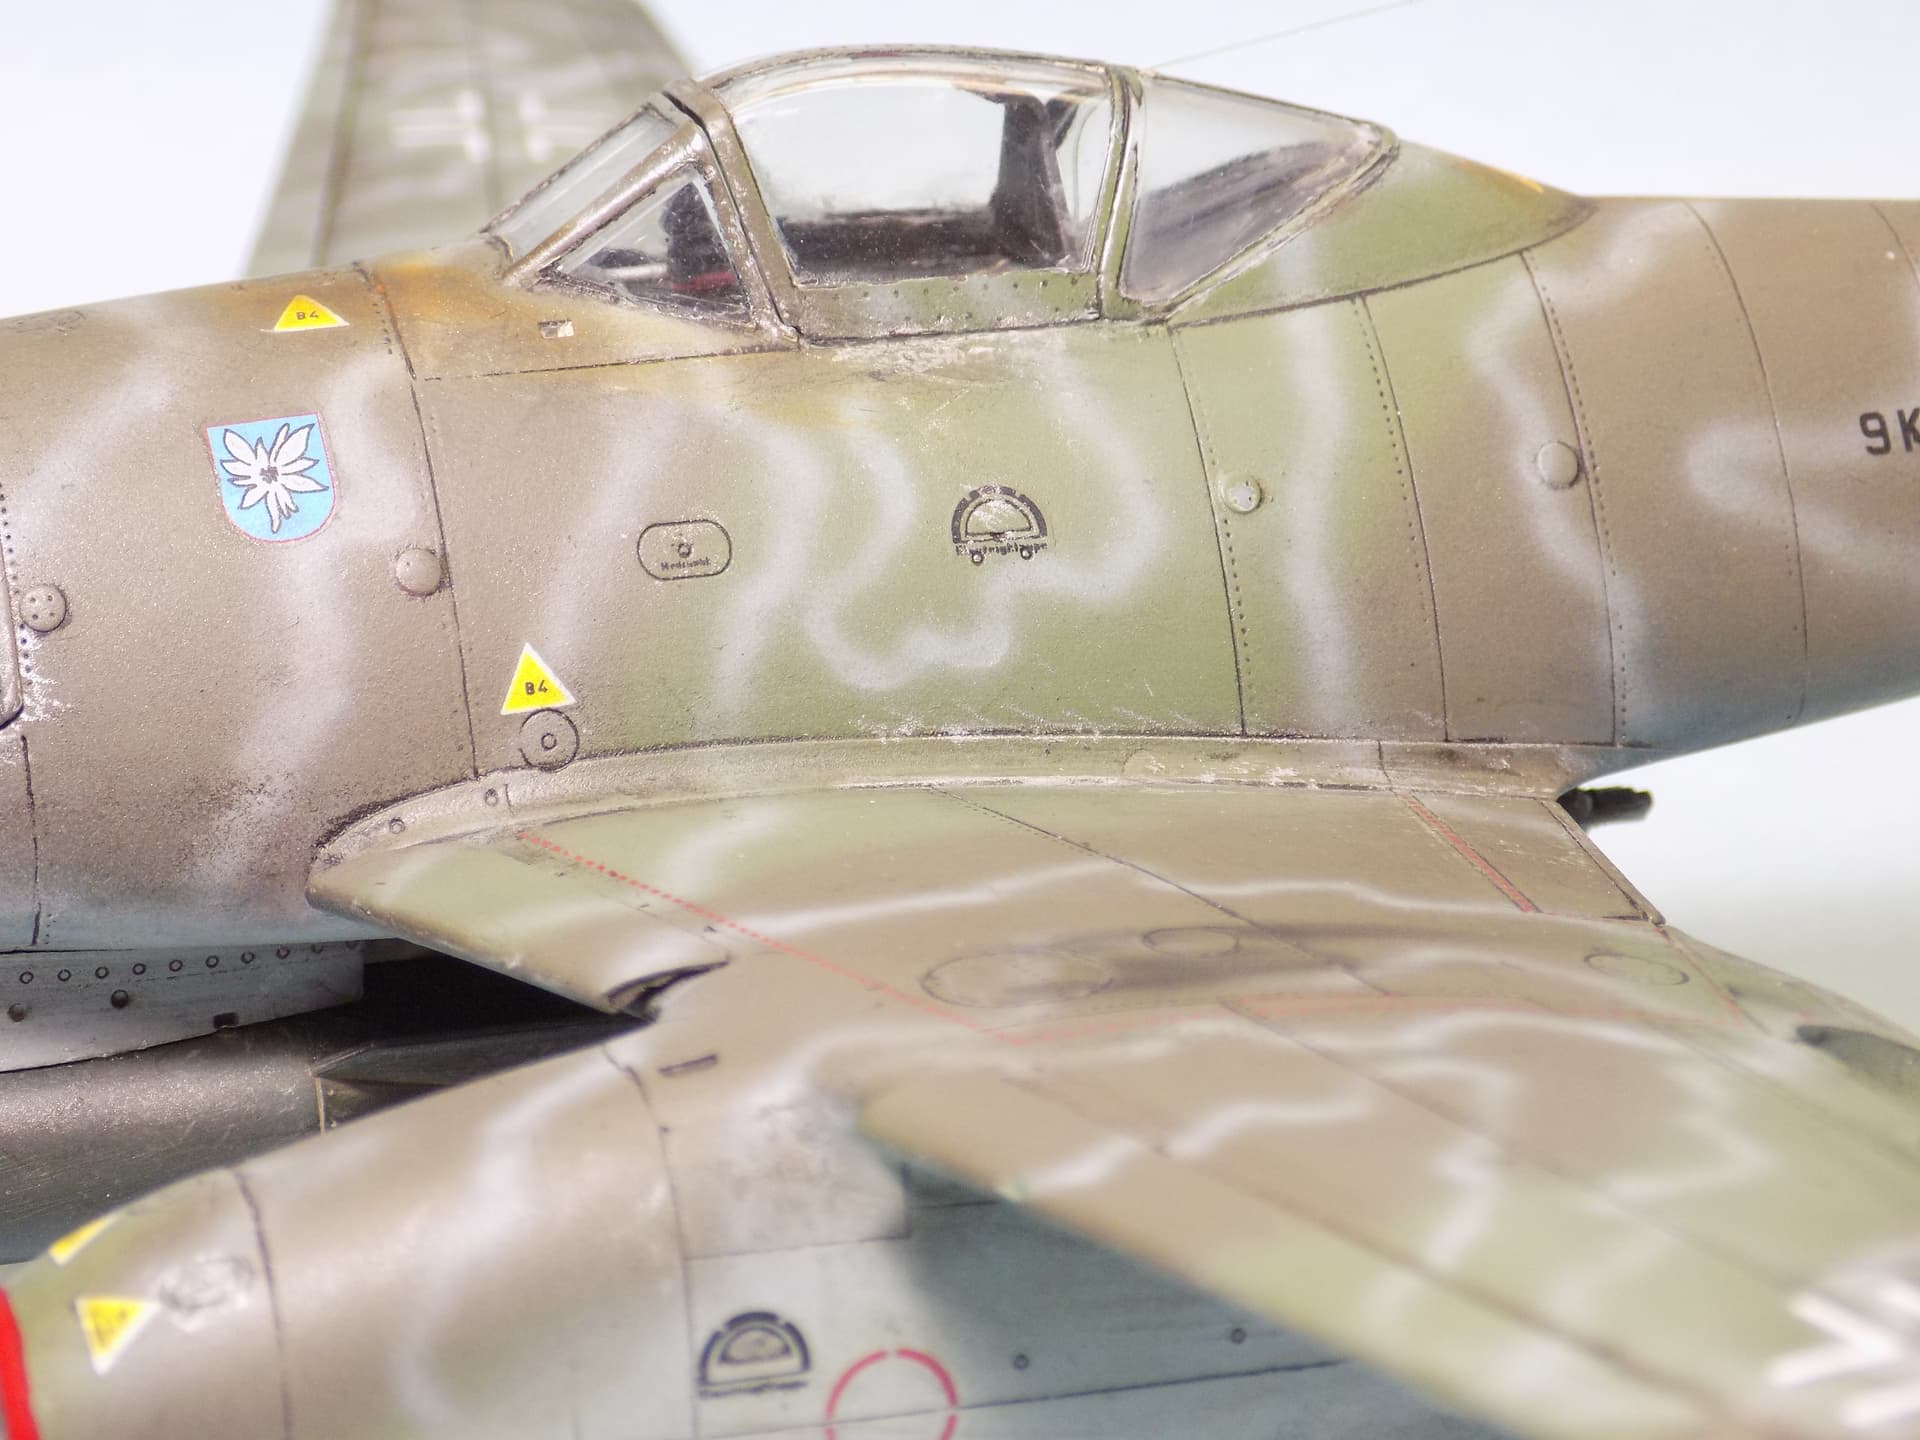
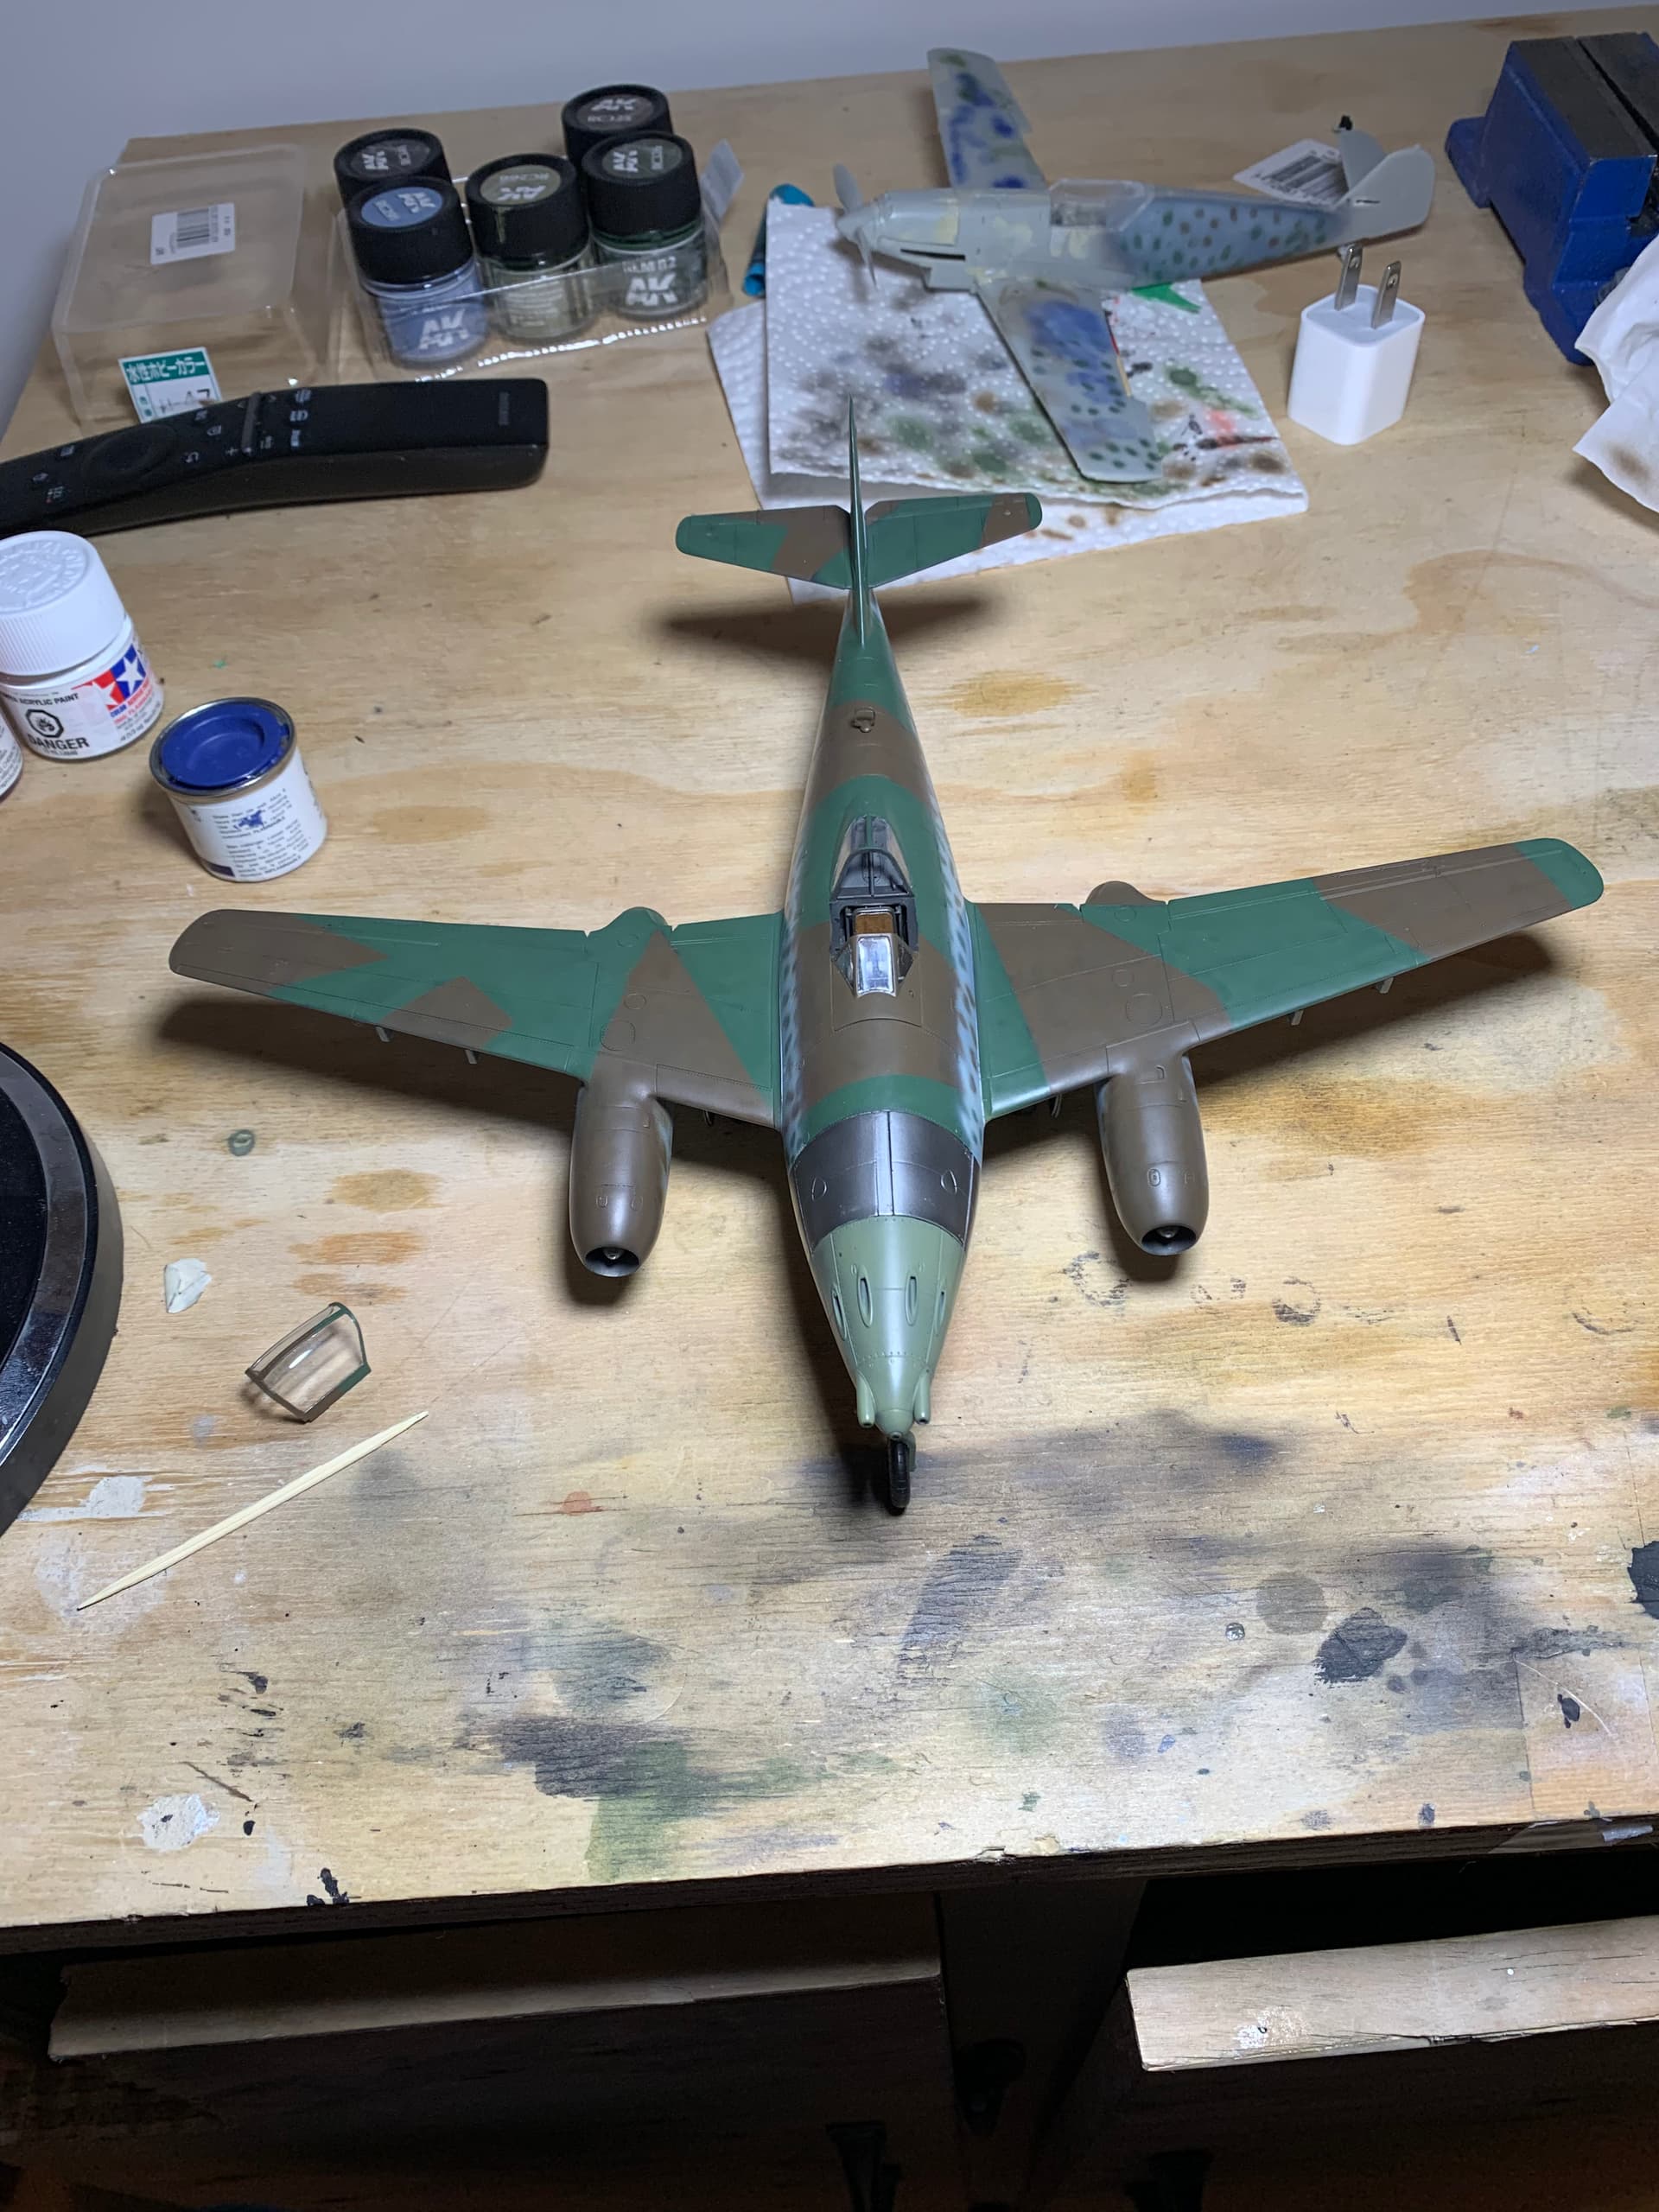
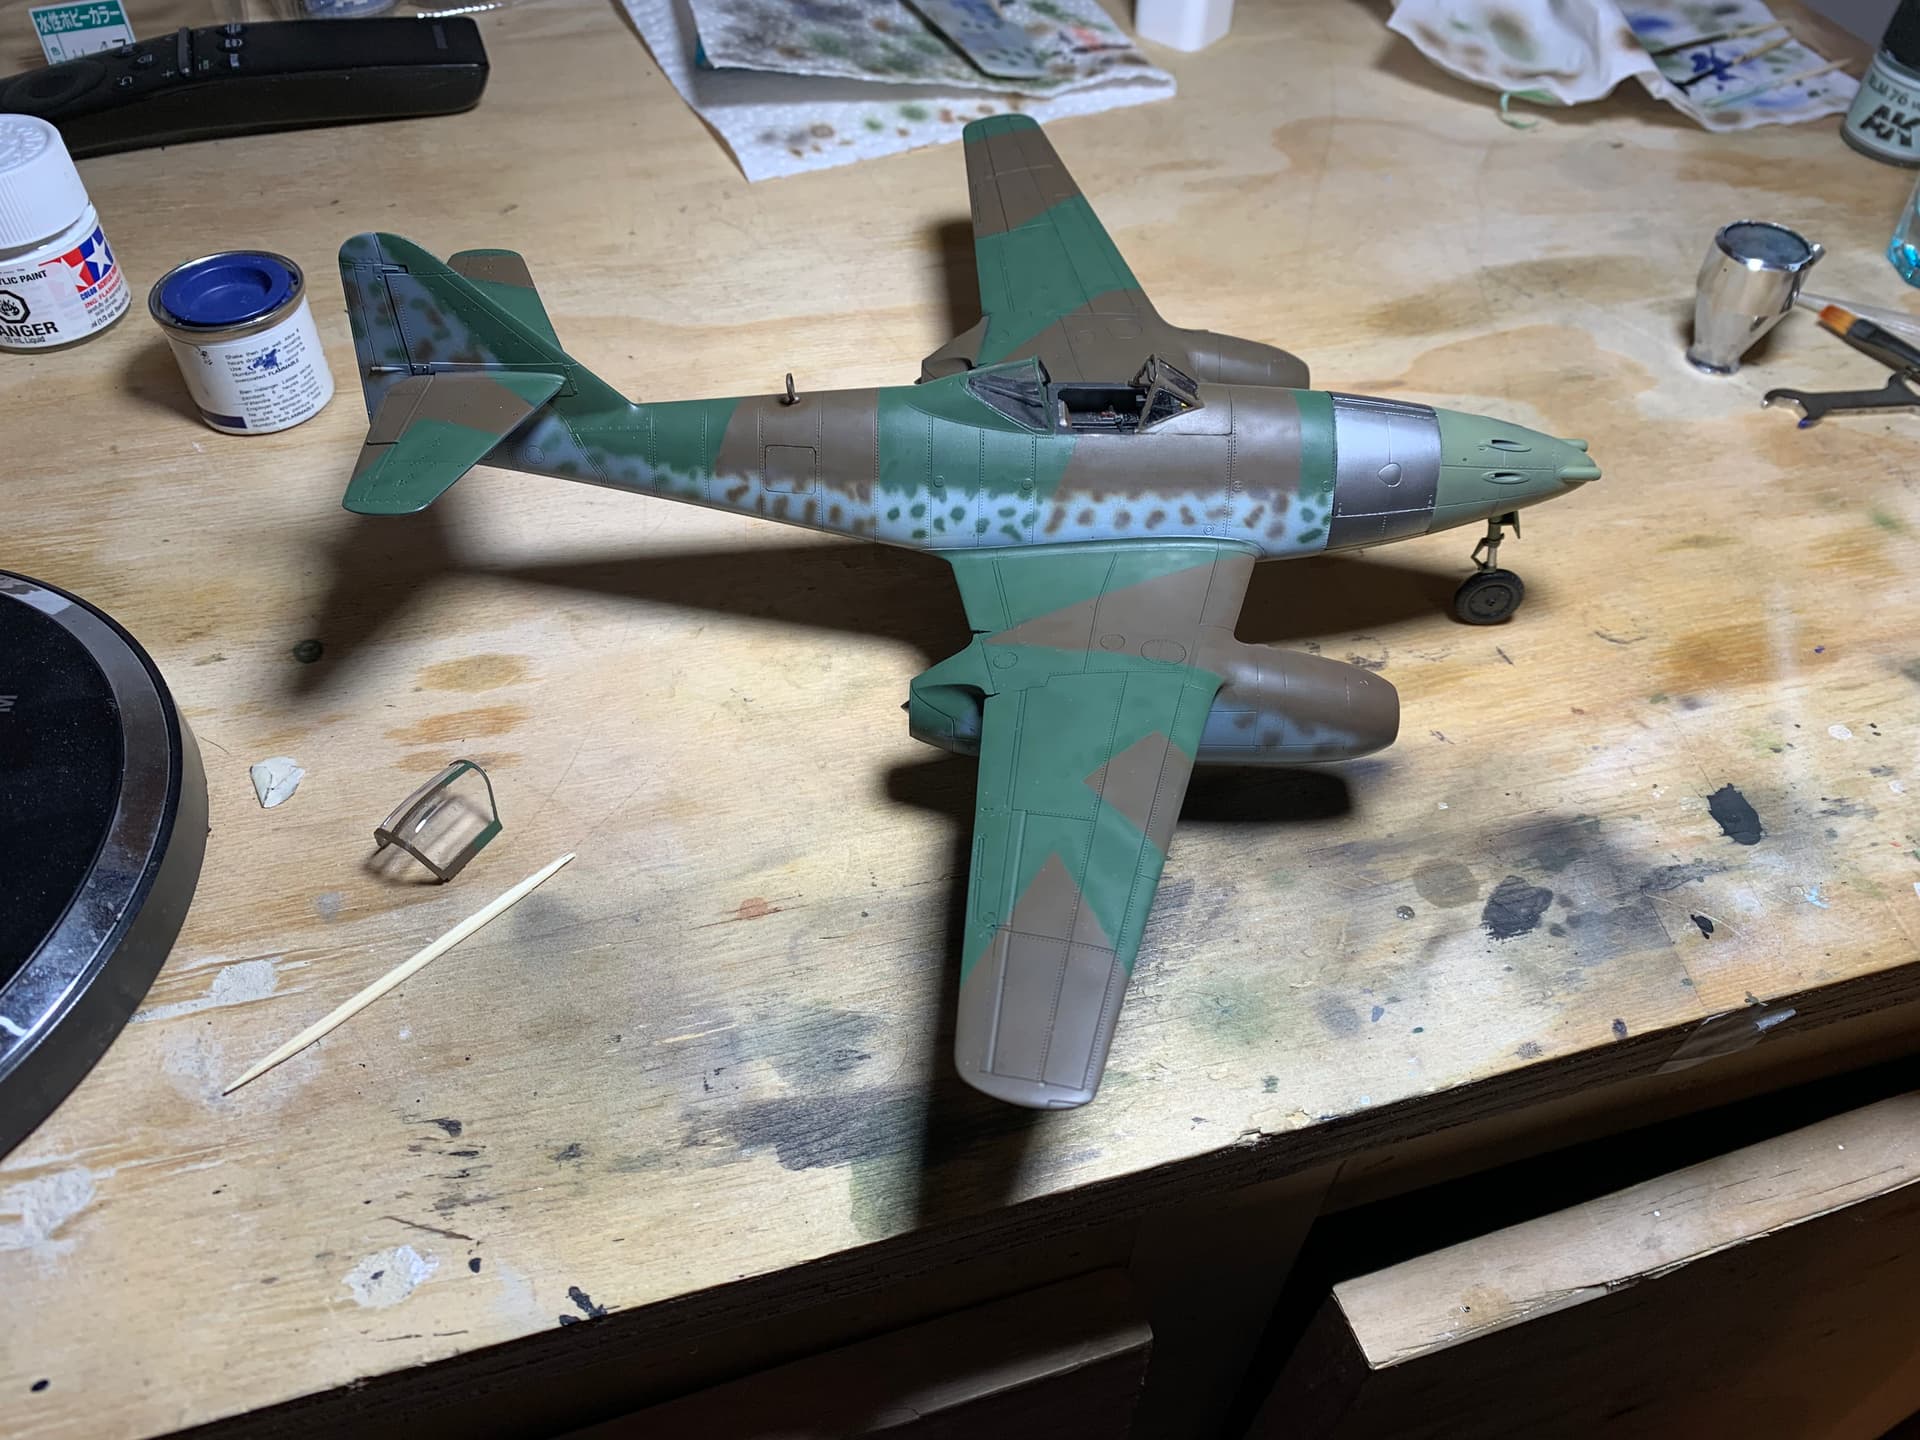
On the build I scratch made the lines and wire harnesses in the wheel bay as well as in the cockpit. There I also made the throttle and flap/trim controls and seat harness and I added slats which are part a resin kit and part scratch made, The paints used were hataka lacquer rlm 76, model master enamel rlm 82 and gunze rlm 81 with the squiggles in rlm 76. The camo came out pretty good I think. I did not go crazy with the squiggles like on the example above I used anothe drawing I found that showed it not as tight and crazy I tried to follow the pattern best i could but i guess that is something i have to work on as iIm not too good at copying patterns free hand.I considered tracing out all the squiggles withpencil but was worried they would sho through. I was amazed at how all the camo came together and blended in after the glosscoat (testors lacquer rattle can) and a wassh of Ultimate clay based wash of brown/black was done the dullcoat kind of took the starkness out and softened the edges.
I am planning on doing more kits like this. hobbyboss 262 is just about as good as tamiya’s but less money. But for now i think I may go in the allied direction for the next one.
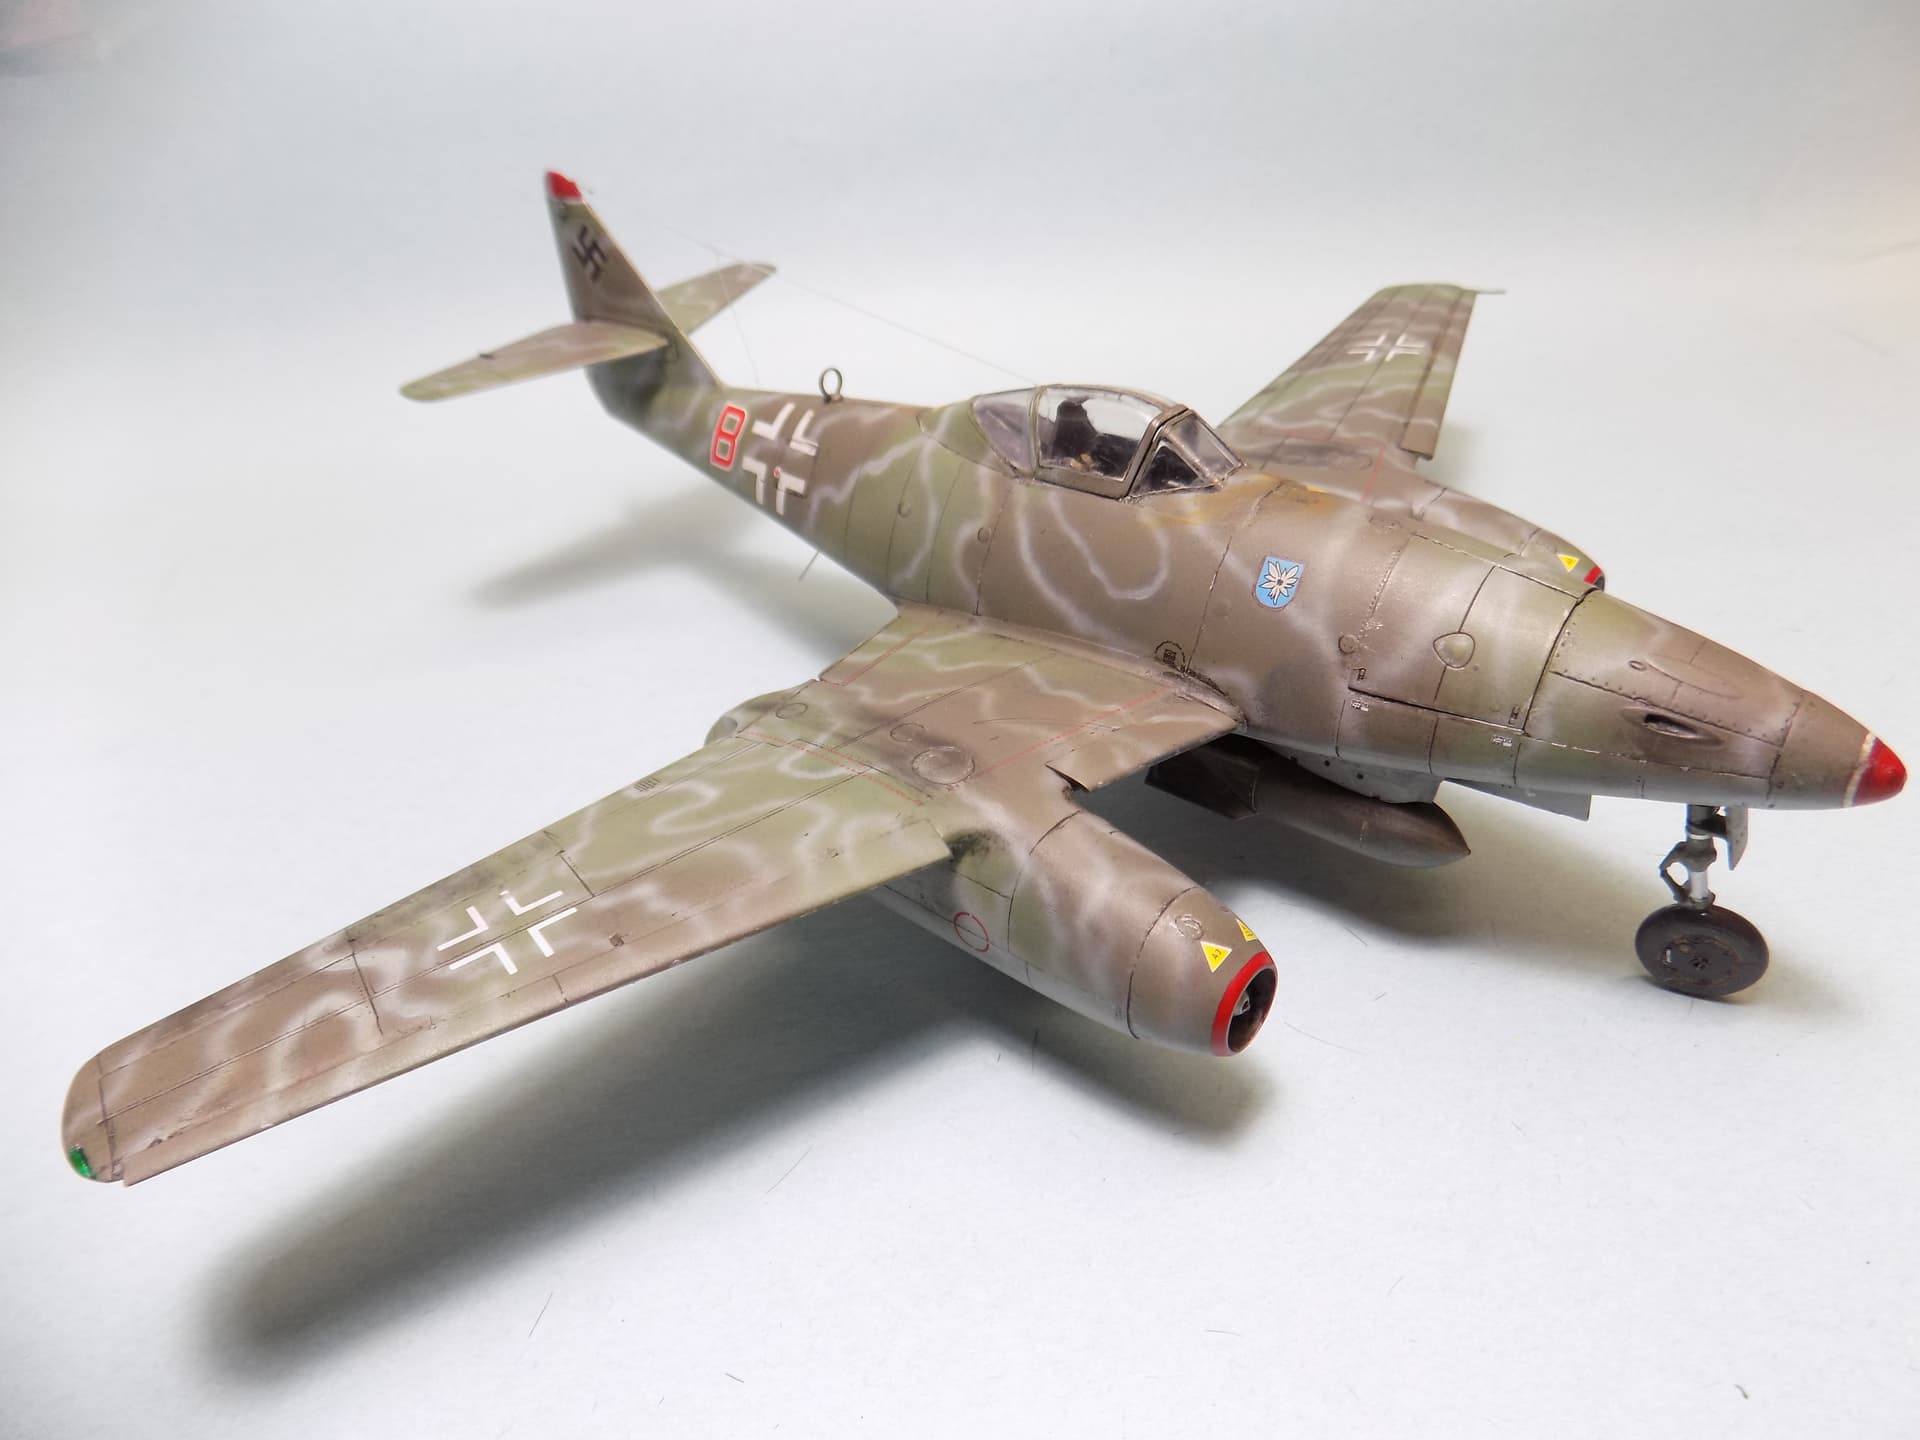
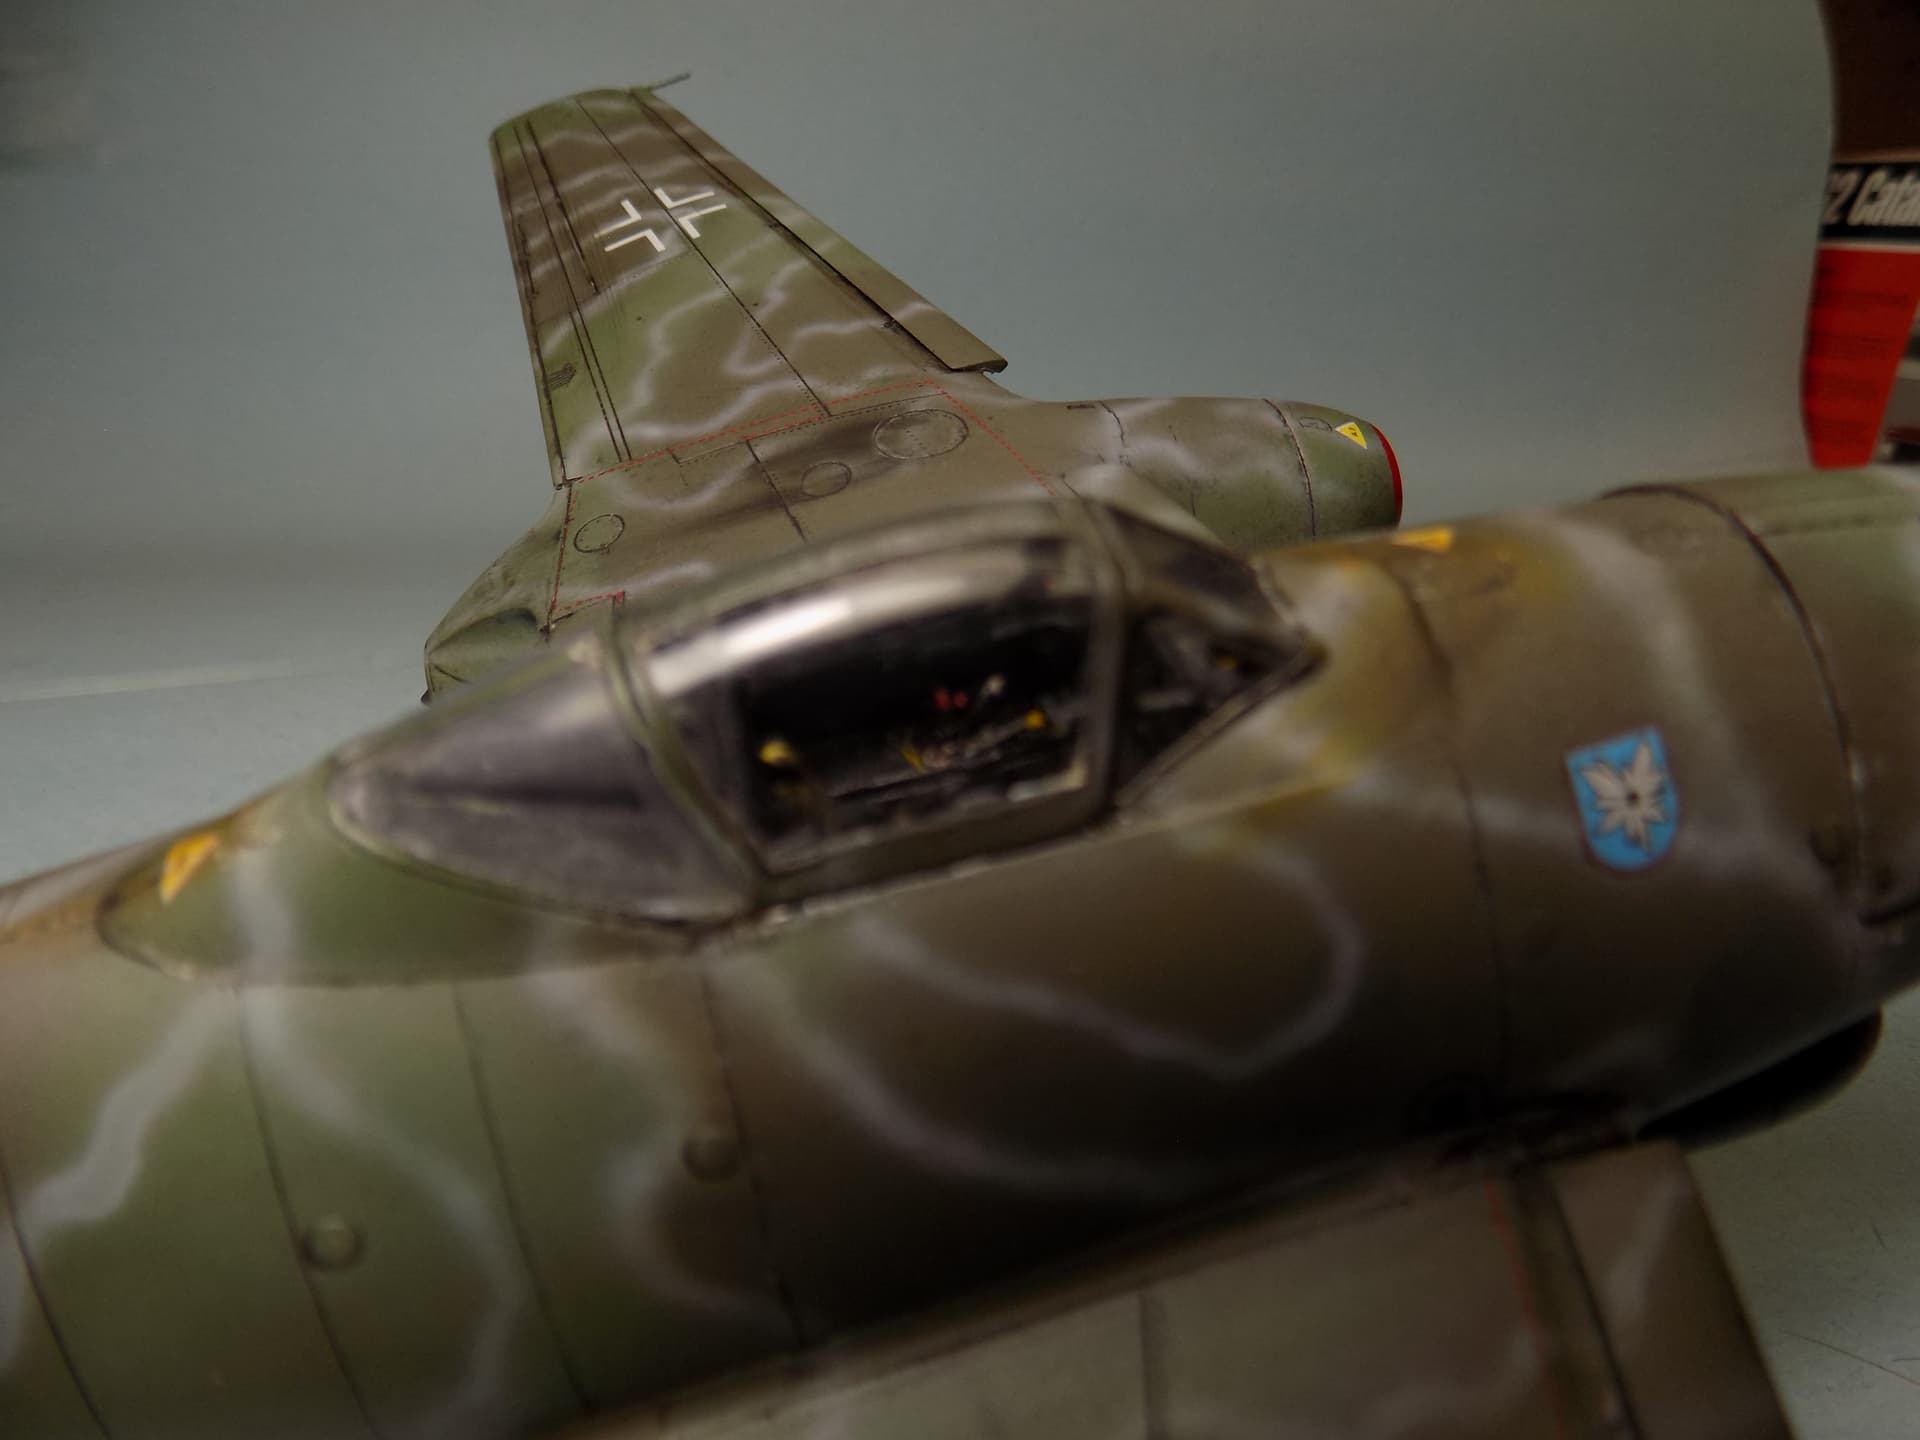
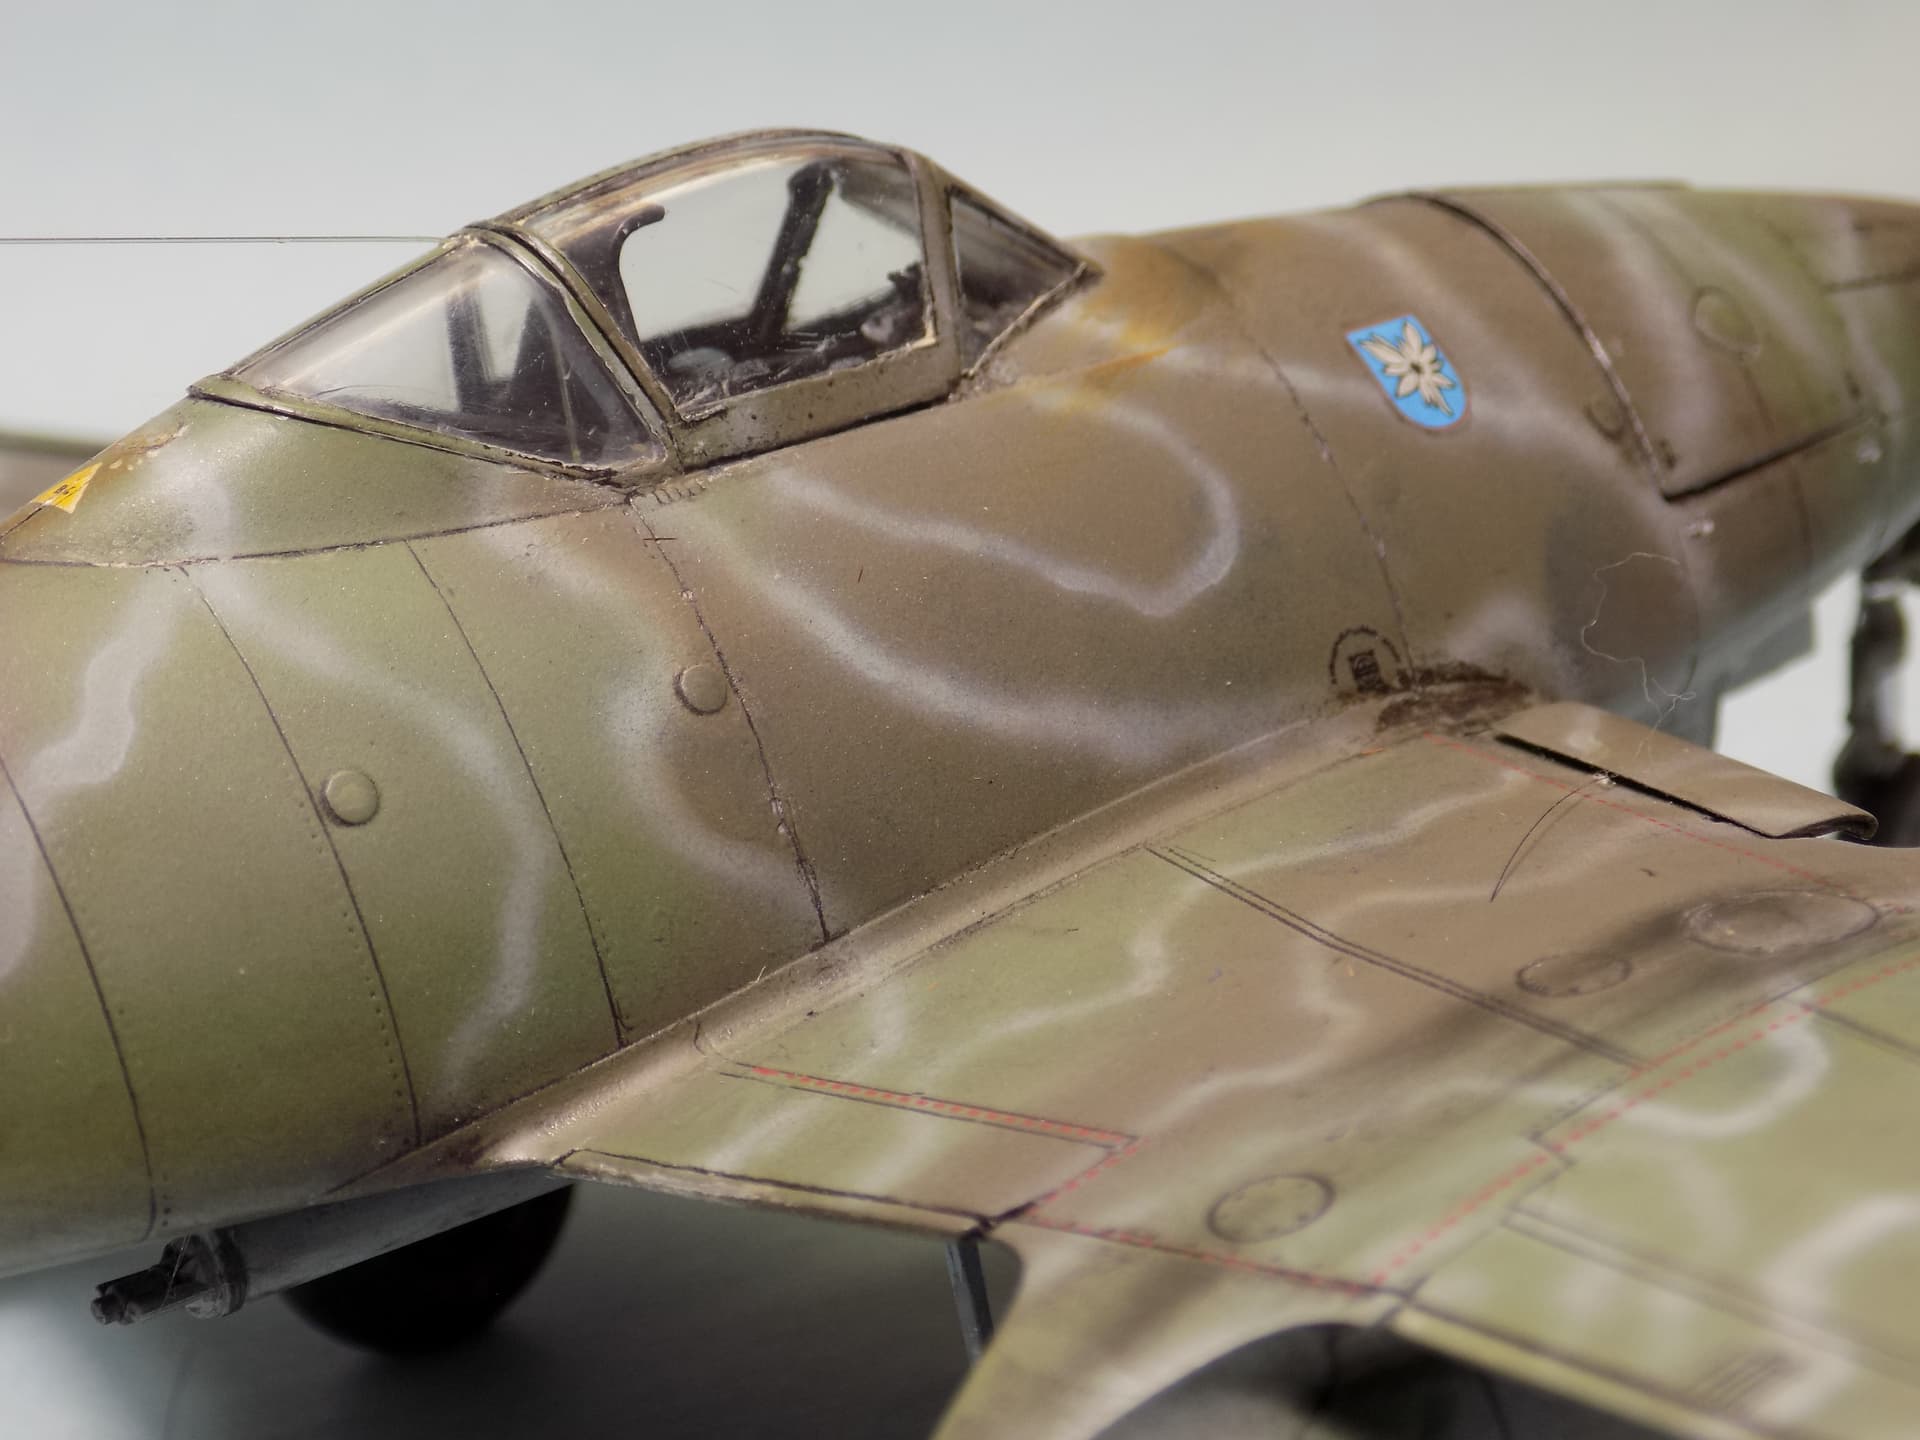
Joe, I love the camouflage you put on. That squiggly line over the regular camouflage. I’ve been trying to think of how to paint my me-262. Yours looks wonderful. In front of the windscreen, there’s a yellowish Brown looking area. Is that reflection off the paint or some sort of weathering?
JPT-no, there is a fuel filler there. i was trying to replicate fuel spillage. not to good a job. i am not too good yet on how to show staining and oil and fuel drips yet, for example fuel drip/staining on a drop tank or oil leaks from the cowl area streaking back i the direction of air flow. if anyone can share their technique with me it would be appreciated.
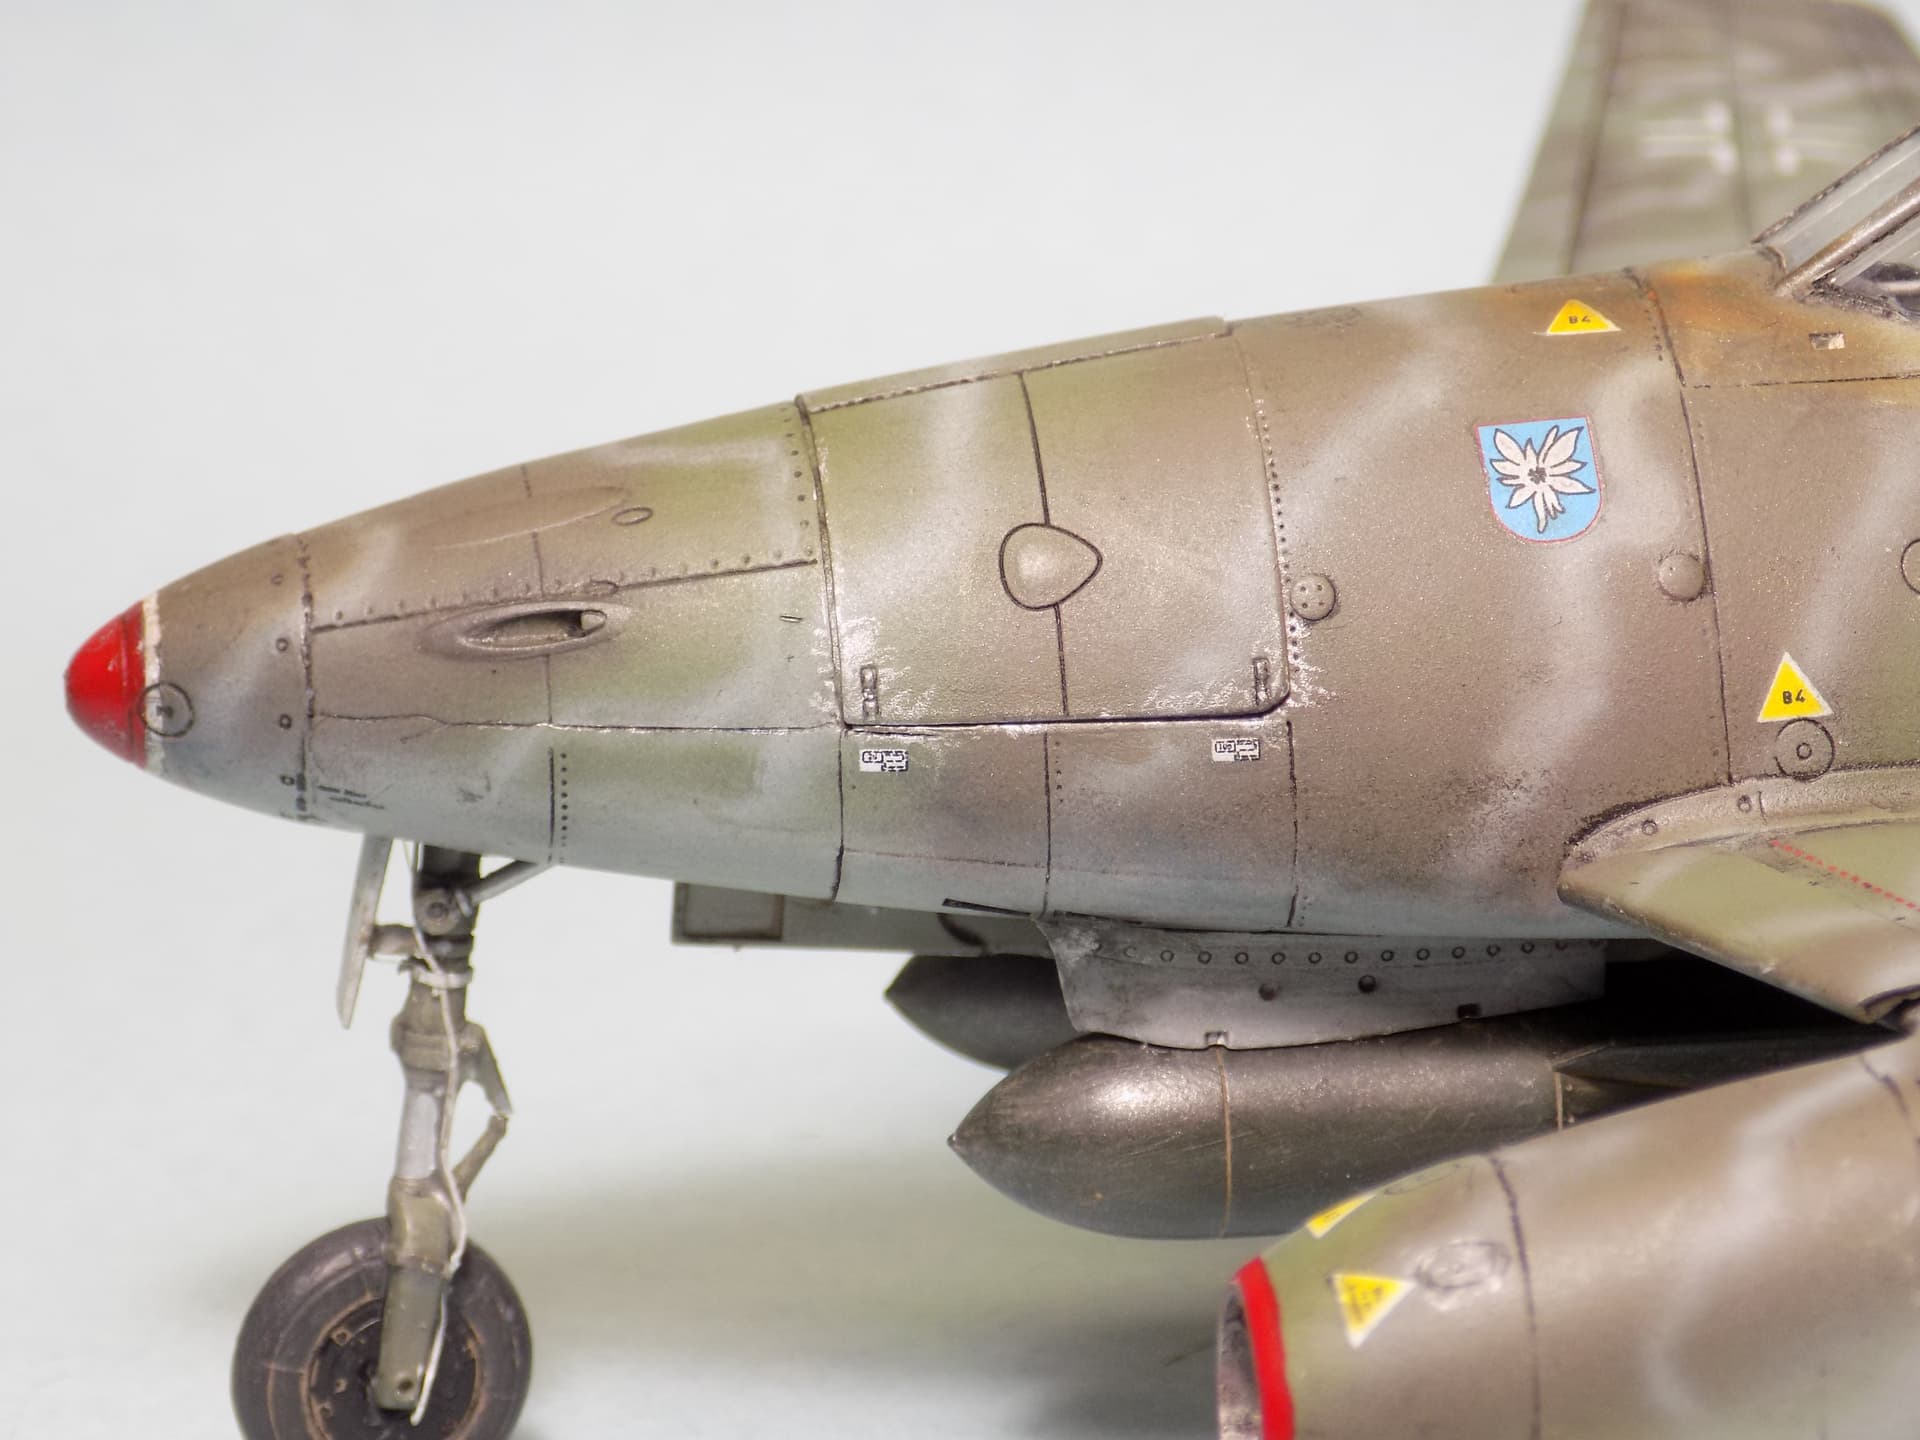
I like it and have one to do. I did notice on yours and another I saw that the nose area is a bit odd. I think Hobbyboss made the kit to have the nose gun bays open and when closed they don’t blend well, not your fault as I saw the exact same thing in another build. I will watch out for that, you did an excellent job and any flaws are NOT yours. John
Joe, give them another chance. all thier kits i have done have been decent. they all got their little issues, for example their wildcat kit, the landing gear are a little flimsy and i had trouble attaching them to the wheel bay. in that kit too they give you 6-50 cal machine guns for some reason even there is no gun bay detail in the kit. good spares to have.
Hi john, yes their gun covers, unlike tamiya’s are two separate covers plus the center hinge/support. it is made in three pieces so it can be displayed with one cover off, the real aircraft was not like that. tamiya’s cover is one piece. i decided to glue all three pieces together to replicate how tamiyas kit is. i built tamiya’s kit too and even their’s does not fit flush, just something you have to deal with i guess.
Thanks, You did an ace bang up job. now I wonder if I should have gone with Tamiya. I will study it as it seems Hobbyboss has 2 different angles. one on the nose and a different one on the doors. Like I said I saw this exact same thing on another build so it seems to be an engineering problem with the kit. Nice build out side of that, I’ll see what I can do but am not sure now. John
thanks litespeed. yeah there is little imperfections here and there but i like the results. plus now i feel more confident to do other schemes like this.
I would not say you did not do a good job with fuel stains.
The Jumo 004B used two types of diesel oil. Most installations used J2 oil, which had a specific weight of 0.815kg/ltr to 0.845kg/ltr. The alternative fuel was K1 oil, with a specific weight of 0.81kg/ltr to 0.85kg/ltr.[2] - Junkers Jumo 004 Engine. World War II Wiki. [Junkers Jumo 004 Engine | World War II Wiki | Fandom]
I don’t know what that stuff would discolor the paint of the day but it is plausible it could discolor it.
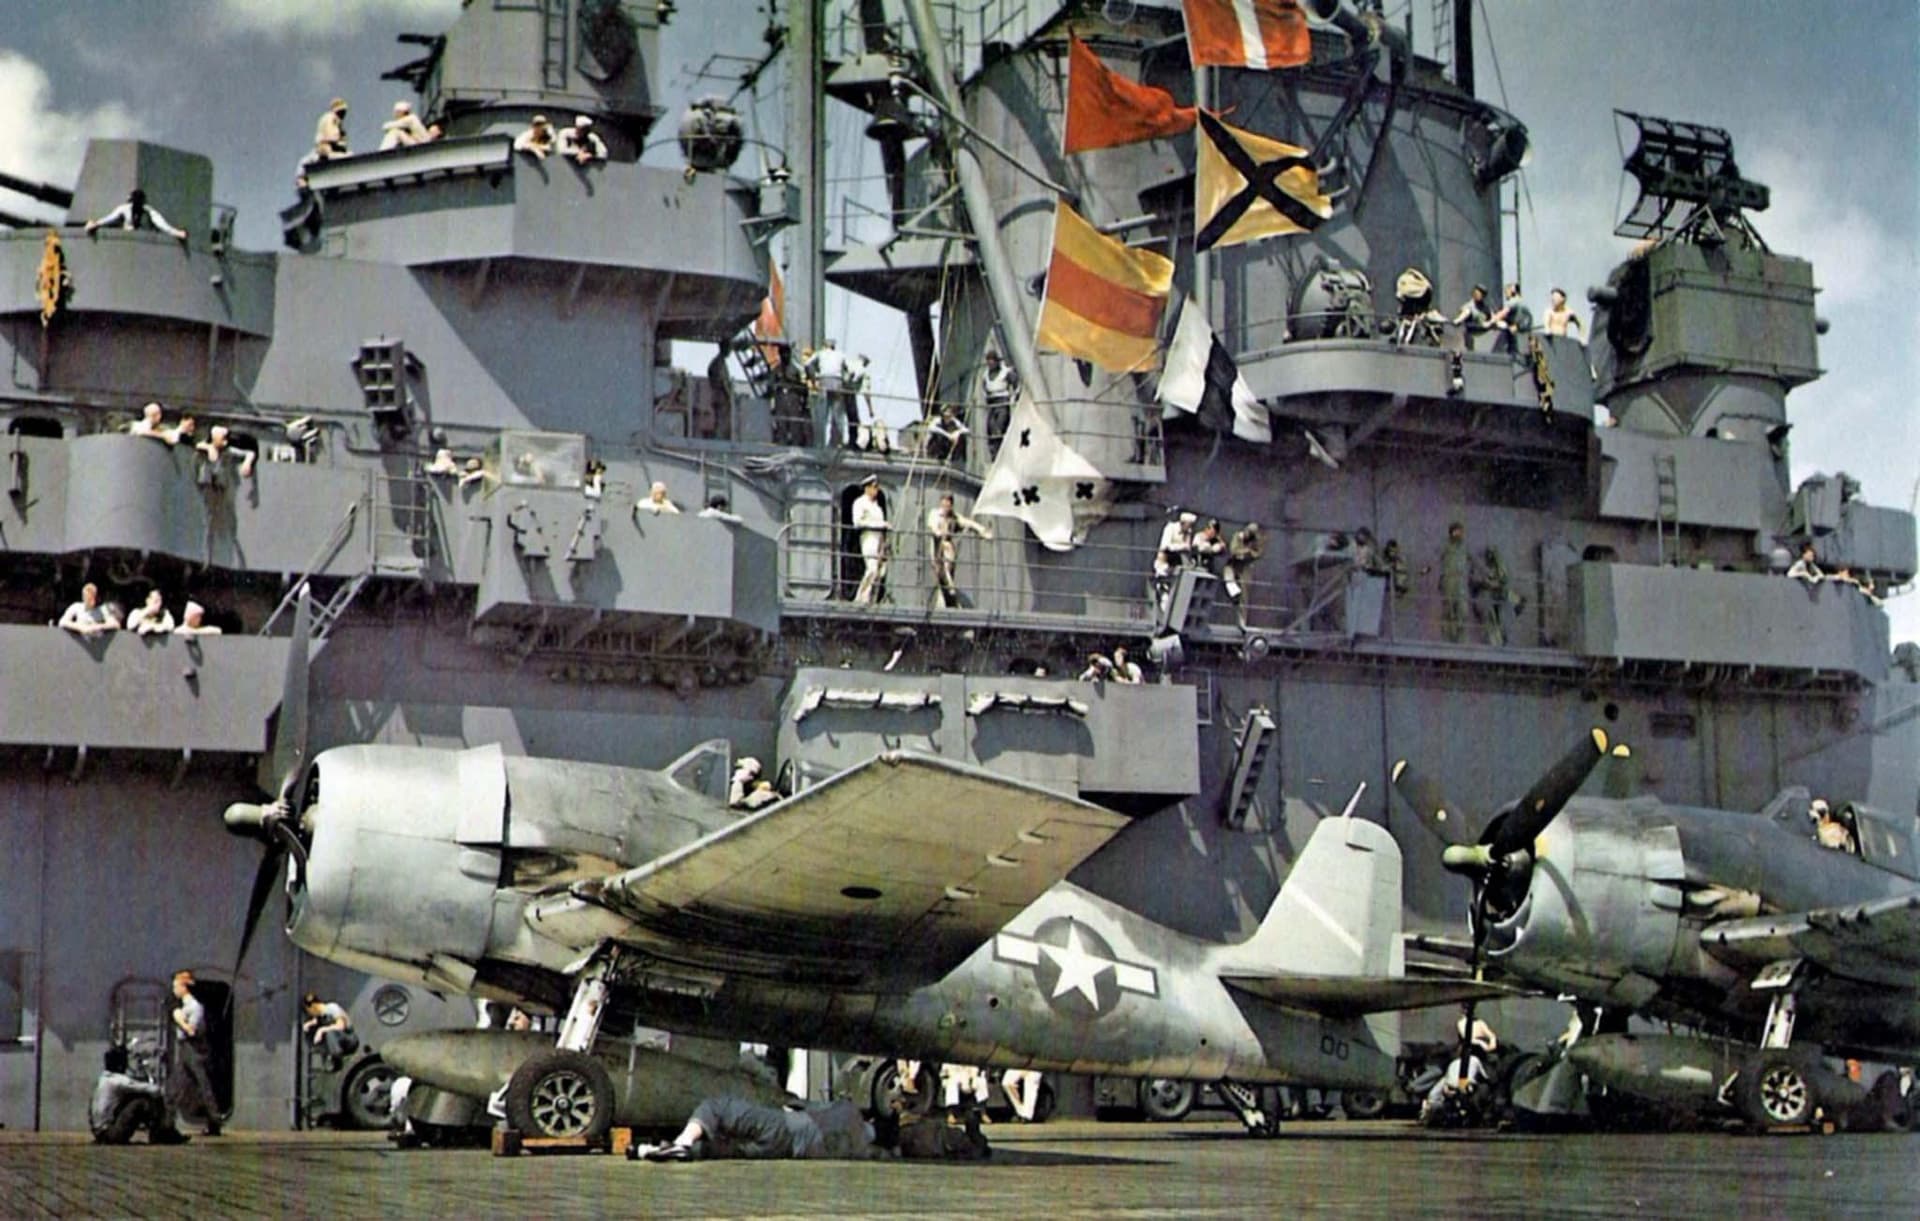
My method is to buy some cheap oil paint, umbers look oily. Just a dot here and there. Then use a still brush and pull them back along the slipstream. Oil will follow gravity and will also act in a capillary fashion and some will ooz out along cowl panels. I simulate that with dark wash. But don’t go overboard. All radials drip oil and cowlings catch it but big pools are a fire hazard. I like this image of heavily used F6Fs working up and notice the heavy exhaust (and gun) staining, but barely any oil along cowl panel lines. No doubt some mixed in with exhaust on bottom but even the drop tanks look fairly clean.
The nose doesn’t fit well out of the box, but I can be made to. I glued a thin plastic strip on the top that closes the gaps on the top and bottom. I then shaved some plastic out from the inner surface so it sat flusher. However, the boss is easily the worst part of the HB kit. The rest falls together pretty well. The nose is defintlely a pain though and takes a bit of work and cursing to get to sit down

