Introduced in the early 1980’s weighing about 26 tons. With upgrades and add on armor packages weight in 2020’s approaches 36 tons. Sounds like suspension upgrades, driveline & engine upgrades are definitely due or overdue.
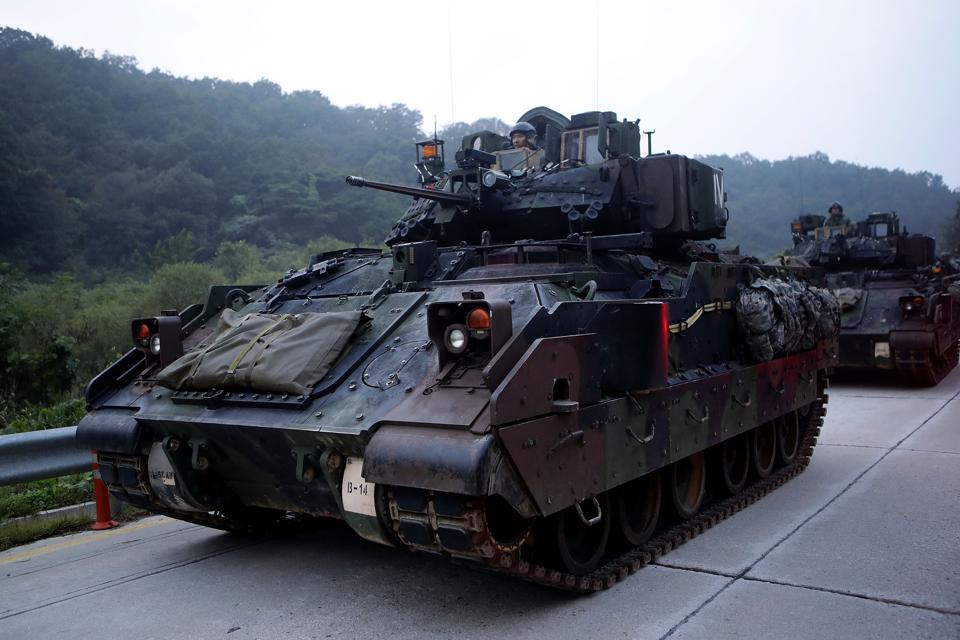
Bradley M2A3 AIFV Armoured Infantry Fighting Vehicle
New Bradley upgrade, dubbed the Bradley M2A4
The first ECP track upgrades, improved shock absorbers, and suspension, and higher ground clearance for vehicles that had been previously weighed down by armor and electronics hastily added during combat.
The second ECP to focus on “meeting electric power generation and computing requirements for network systems” through an upgraded generator and power distribution system, according to the Army.
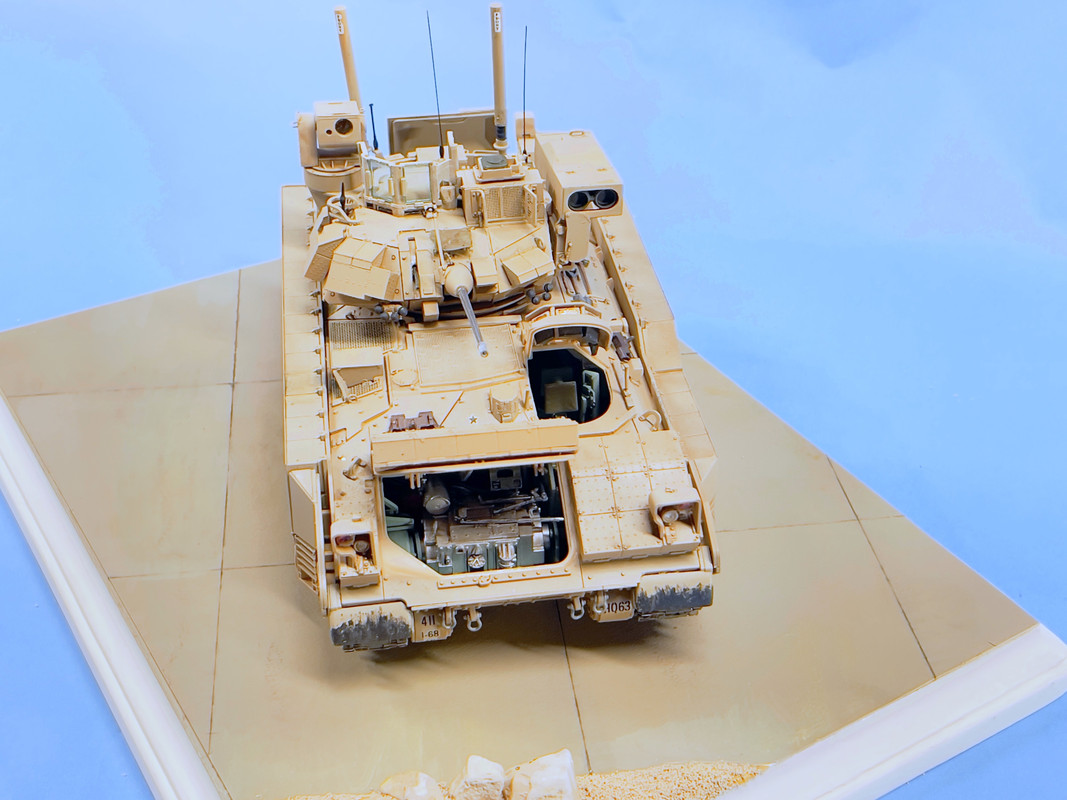
The M2A4 is the most significantly enhanced yet. Upgrades consist of: the latest digitized electronics for optimum situational awareness, network connectivity and communication; a new fire suppression and IED jammer system; and increased engine horsepower augmented by enhanced mobility functions.
The particular iteration tested by the 3rd ABCT included an upgraded engine and transmission, an upgraded mission command suite, and a fresh thermal device intended to improve driver situational awareness.
1 Like
Looking good!
So I’m guessing the extra weight is the reason for the kit not being permanently installed? I also have the Meng kit but was hoping i could paint it in NATO colors.
Dan, I can hook you up with very nice recent photos from Korea.
1 Like
Thanks man! The Brad is not a nice looking vehicle but all those blocks and the TC sight give it a look.
1 Like
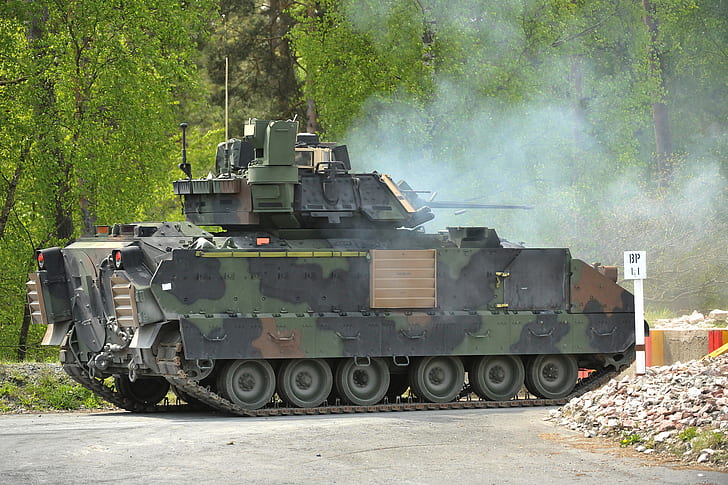
You can do it in NATO camo, with a little work.
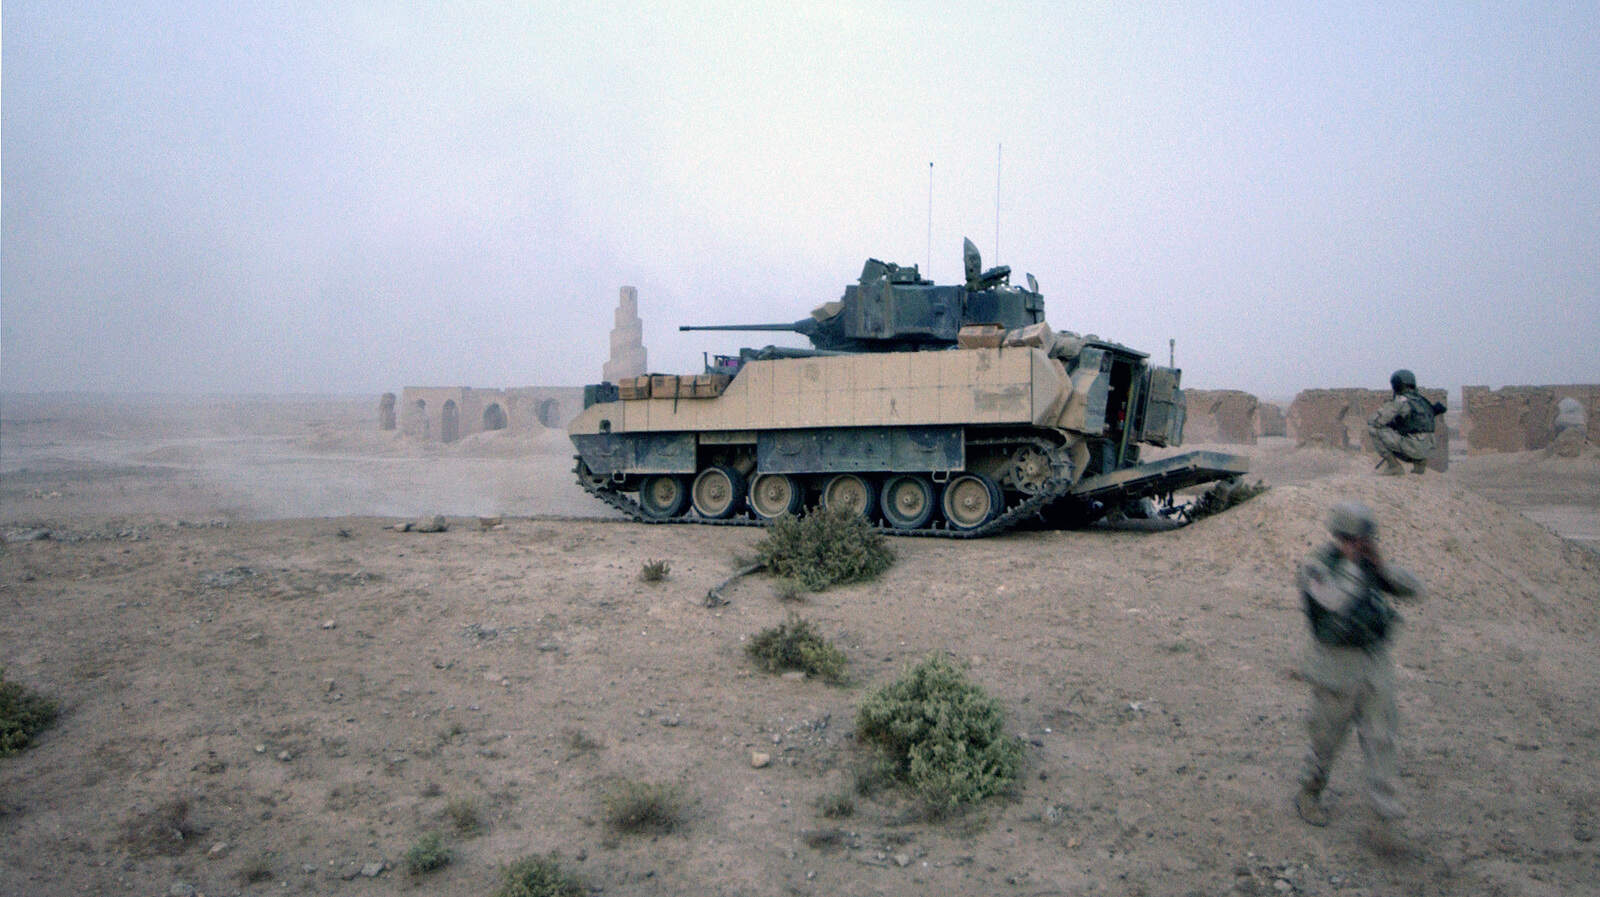
2ID Brads in Korea are in NATO camo, w/out the ERA. If you have a Tamiya or Academy M2A2, you can swap out the aide armor panels to build it w/out the ERA.
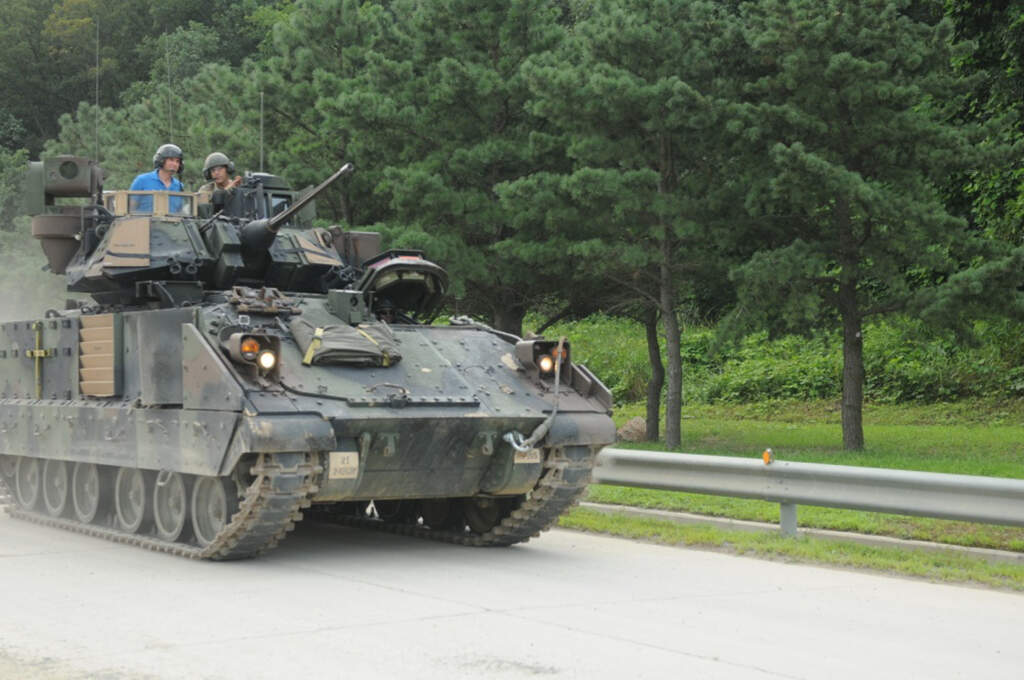
With T161 tracks (like Kinetic M3A3 kit).
With the older style tracks like the Meng kits.
1 Like
https://www.eduard.com/Eduard/M2A2-baggage-ties-1-35.html?listtype=search&searchparam=M2
This could be a second option. If you can buy it anywhere.
This was m first attempt seveal years ago!
1 Like
Great work! Great build by the way!
1 Like
You can also occasionally find the E sprue from the Tamiya M2A2 or M2A2 ODS kit on eBay at a good price, about $15. This is the sprue that contains all the M2A2 parts, including the clean side armor panels. Just swap these out w/the Meng ones and you have an accurate M2A3 or M3A3 minus the ERA blocks or their mounting hardware.
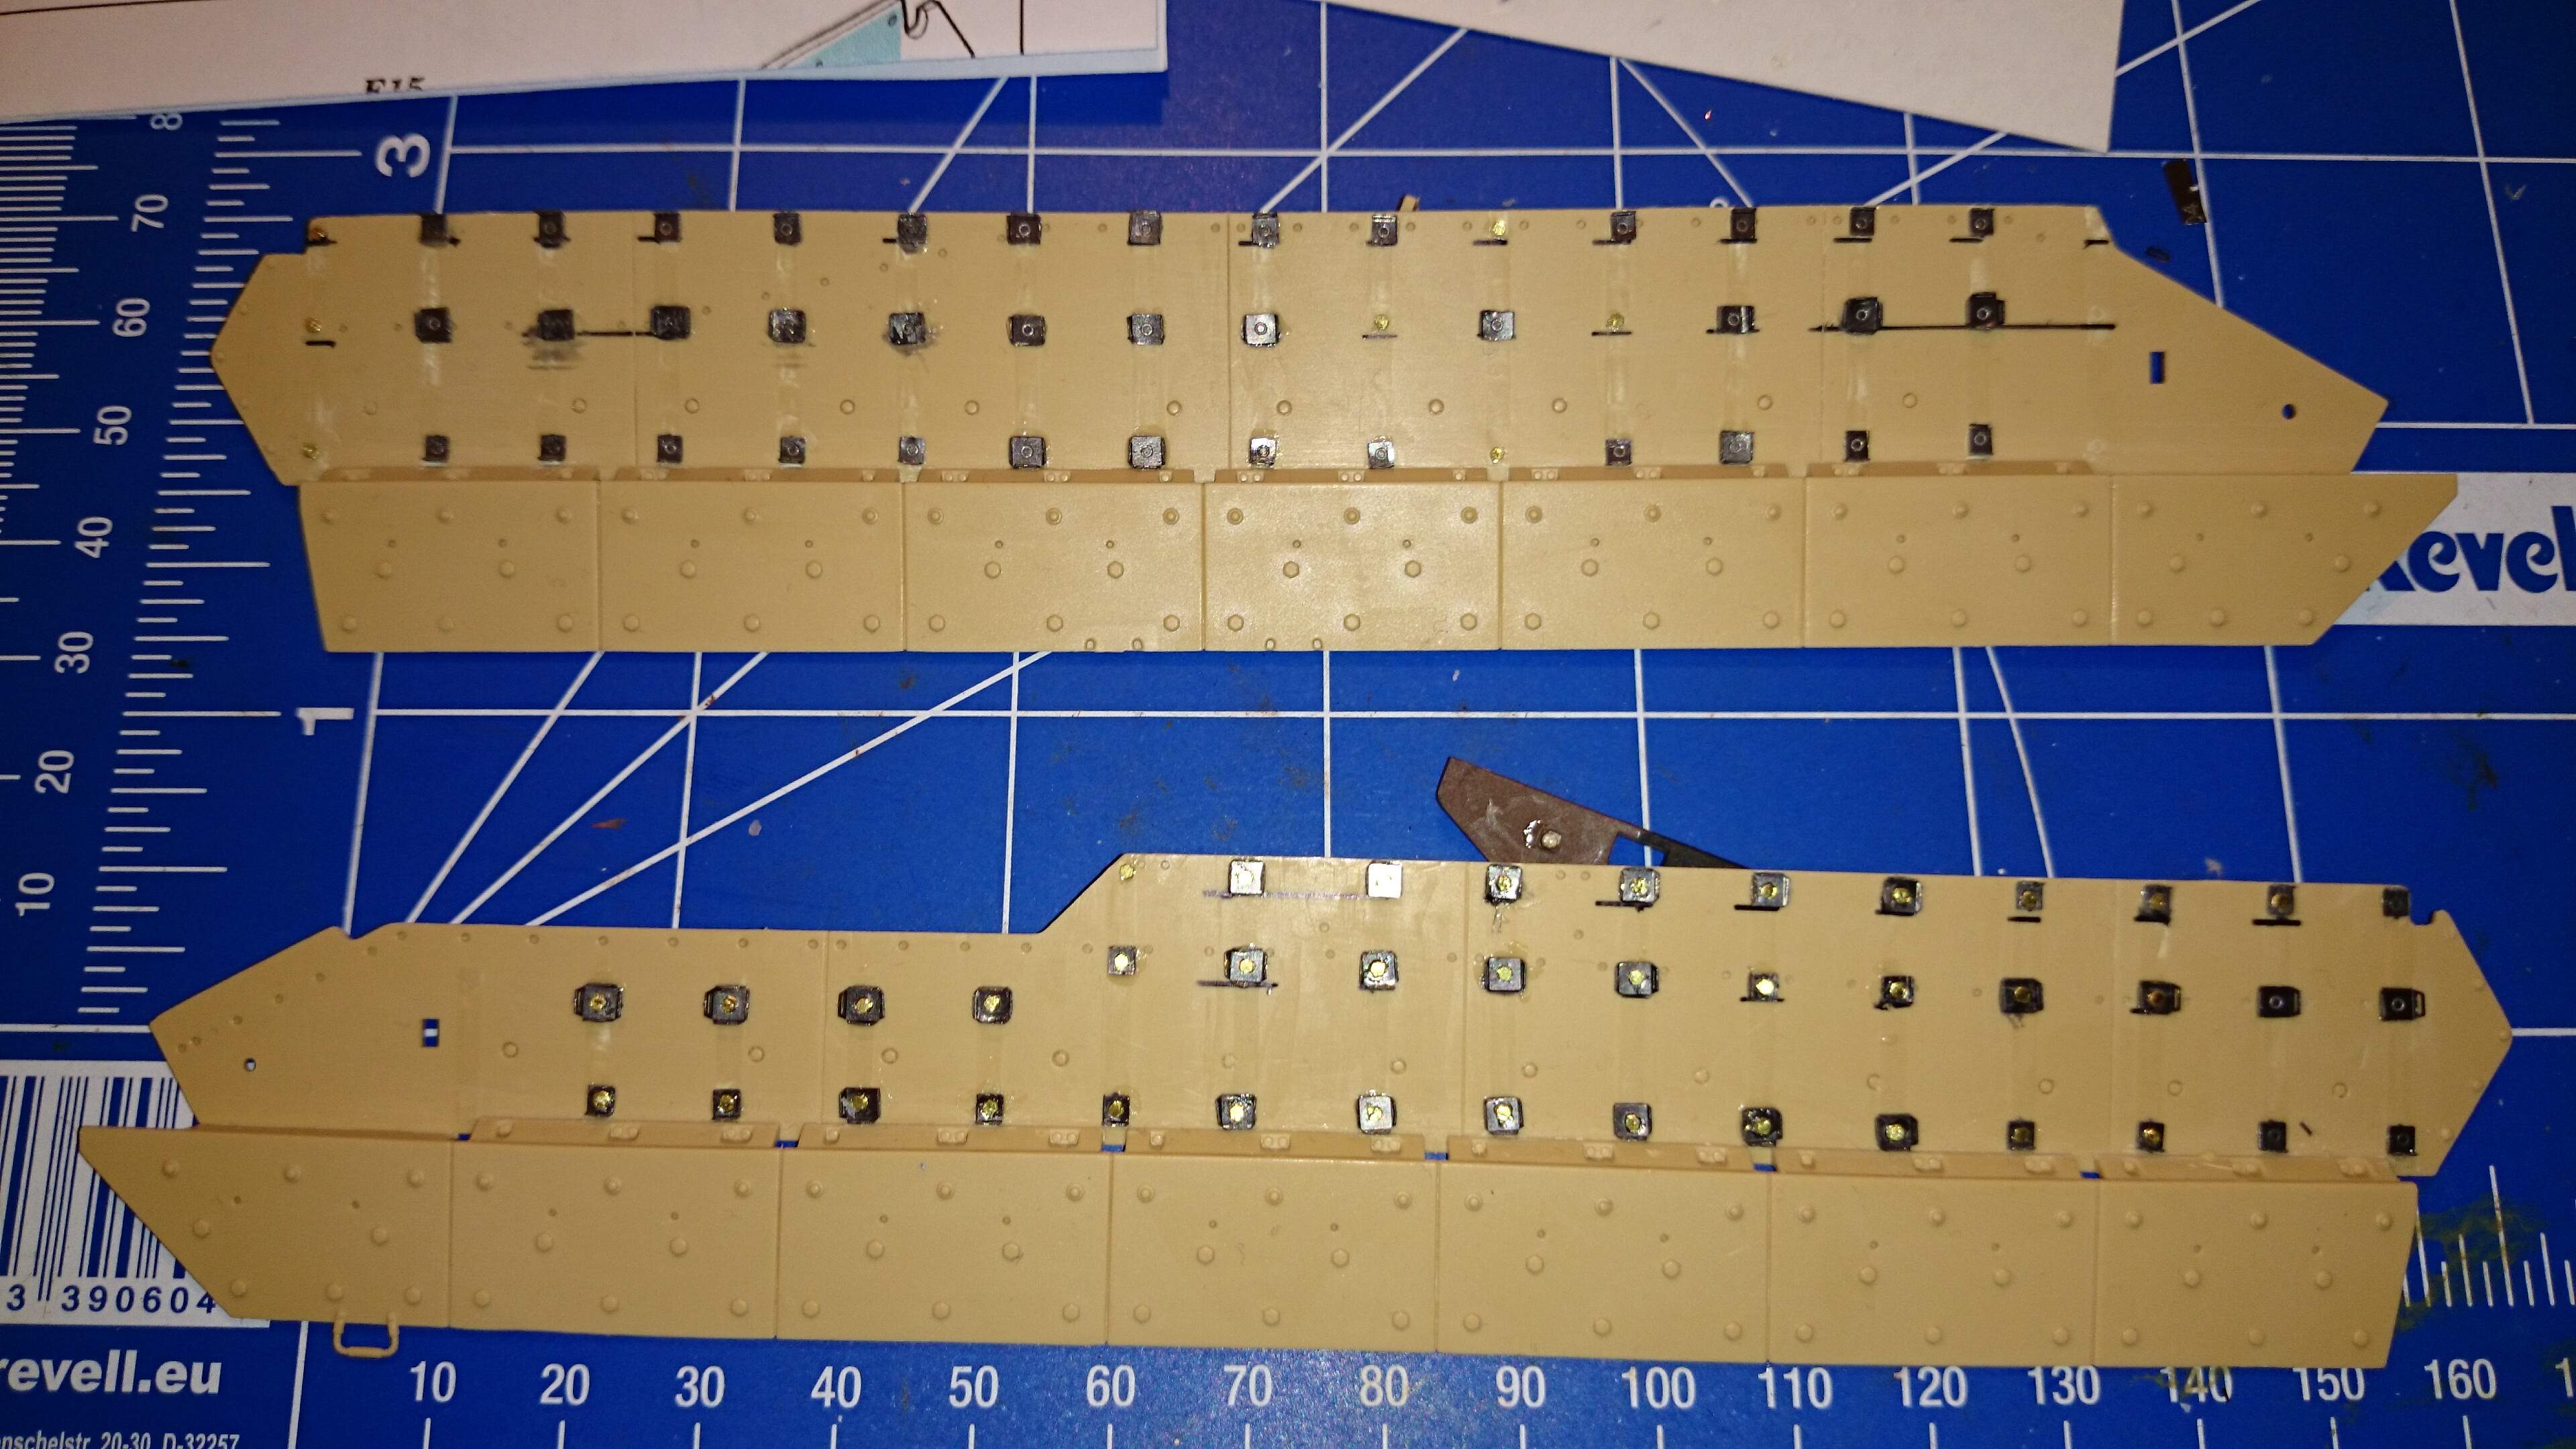
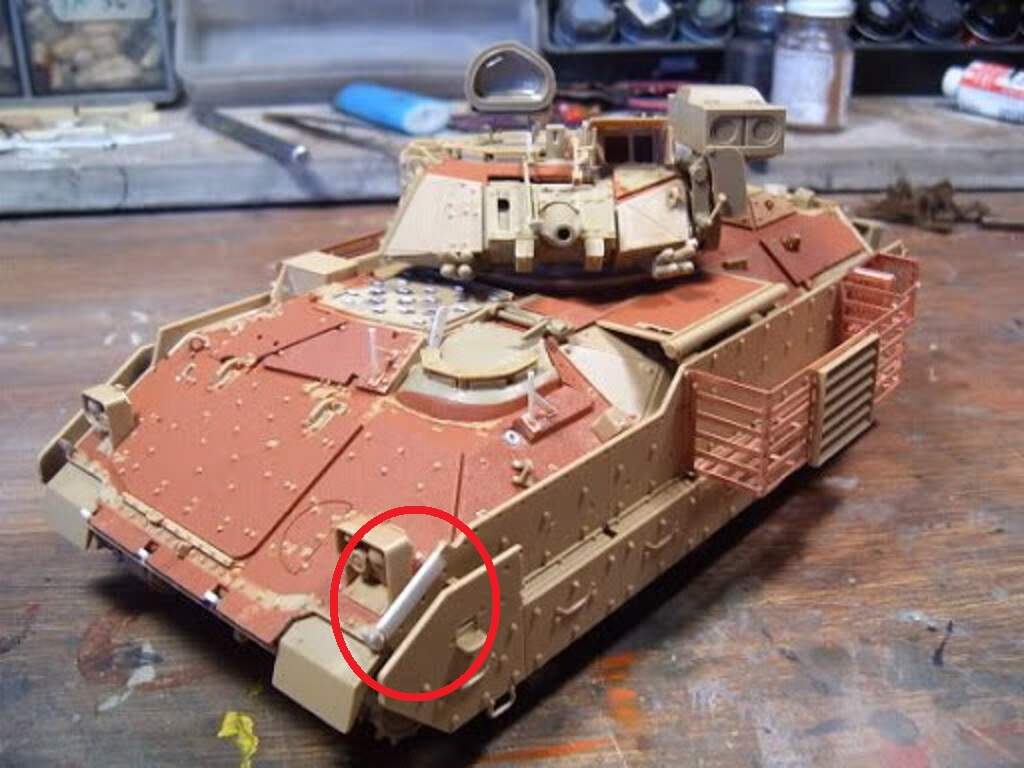
Of note though, Tamiya left a cut-out on the front part of the left side skirt. It should not be there. It was cut out so they could fit the flexible front swim barrier piece across the front in place. It is easy to fill in with a piece of 0.040 sheet styrene and a bit of filler putty to blend it in.
Tamiya’s incorrect cut-out.
Fixed with a strip of 0.040 styrene.
As you can see from Quartercav’s post above and below, Meng molded this area correctly.
Then you can use the Meng side armor panels and ERA blocks on an M2A2 ODS kit to make one used by 1/4 CAV, 1 ID in Iraq in NATO camo w/sand ERA.
2 Likes
Thanks all-had a 1SG that was in Quarter Cav in Vietnam
1 Like
Good stuff for us Bradley lovers, and thanks!
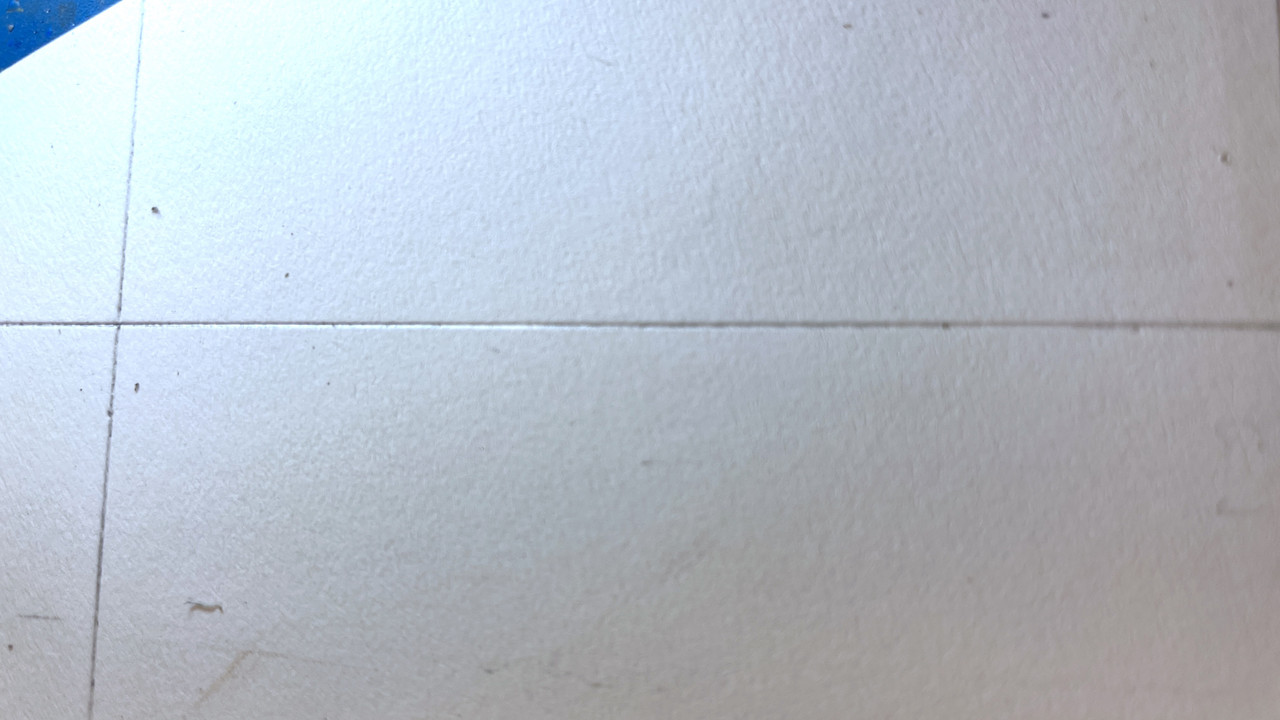
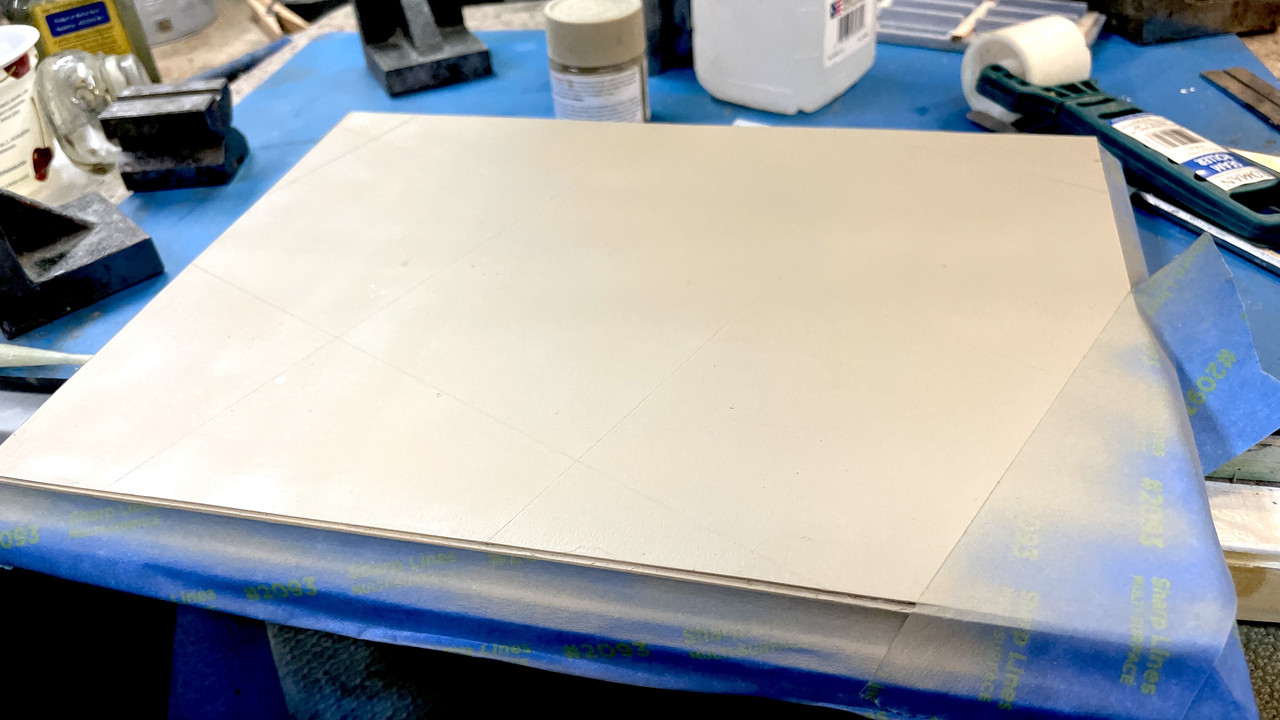
Little got done today, but started on the actual base surface. I realized that instead of “cutting” the expansion grooves in the “concrete” surface, being that I’m using a paper product, I chose to emboss them in using a dental tool upside down so it didn’t cut. Cutting would raise the edges that wouldn’t work. Embossng didn’t do that and wil look very real when properly colored. The Bristol Board’s texture works for me in this situation as well. Styrene would have been too smooth.
I then coated both sides with sanding sealer. The front side so it would hold paint without absorption and the backside so the pressure sensitive adhesive wouldn’t absorb there. Also, the sealer is water-based and was causing the piece to curl. Doing both sides balanced that out.
Tomorrow I will be gluing it down to the base and starting to color it.
2 Likes
I sealed the pine based and then coated both it and the underside of the appliqué with MicroMark Pressure Sensitive Adhesive and, when it flashed off, stuck the two together and rolled it out with a small roller. I masked the painted wood edge. I then mixed a batch of “concrete” using various Tamiya colors including, Buff, Gray and white, and airbrushed the surface.
It’s hard to see in this lighting the expansion joints, but they did come out pretty well… subtle, but really there.
I reversed the mask at the pad’s end, mixed up some Scupley Fiber-filled Plaster and built up some limited terrain at that end. In this shot you can see the joints better.
When it’s cured either tomorrow or Friday, I will apply some spackle to smooth the contours, paint it and then add some ground cover. This is be a deserty looking small plot of ground. I had sealed the airbrushed paint with some Grumbacher Final Fixativ and will do some weathering, oil staining, and tread marks. I will also get the expansions joints to stand out a bit more.
1 Like
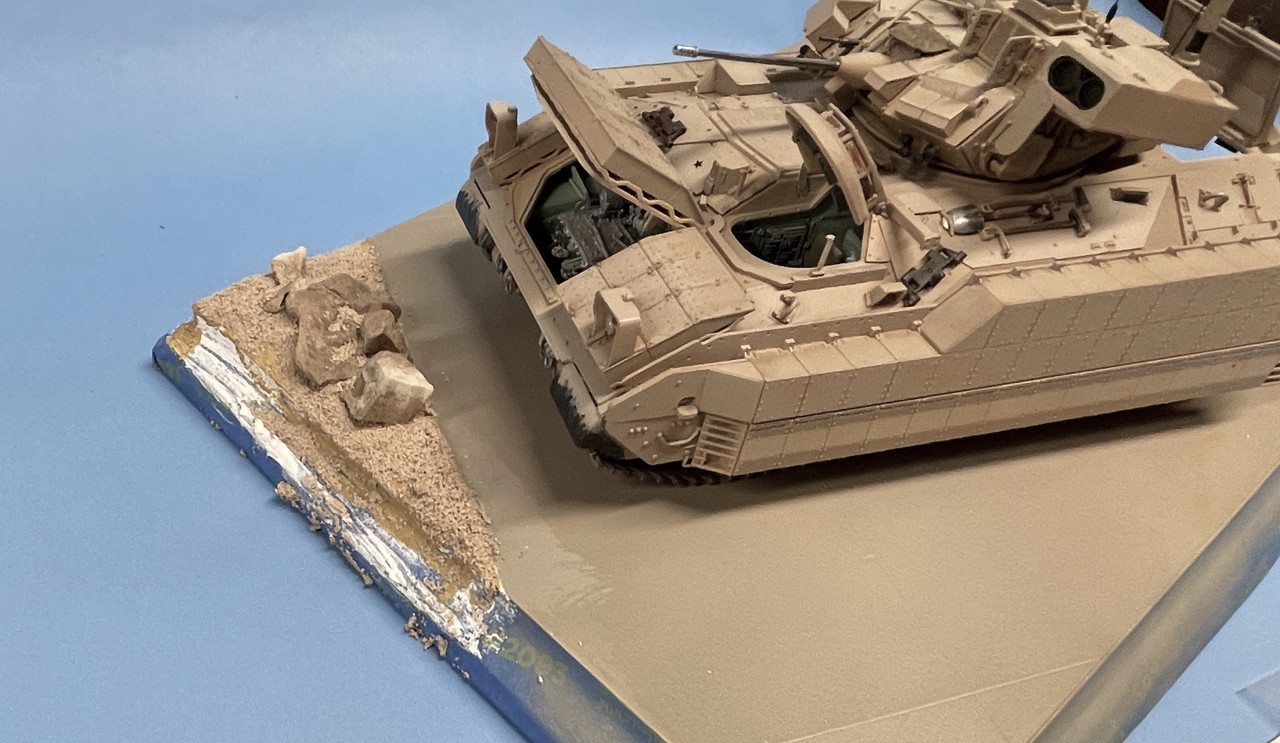
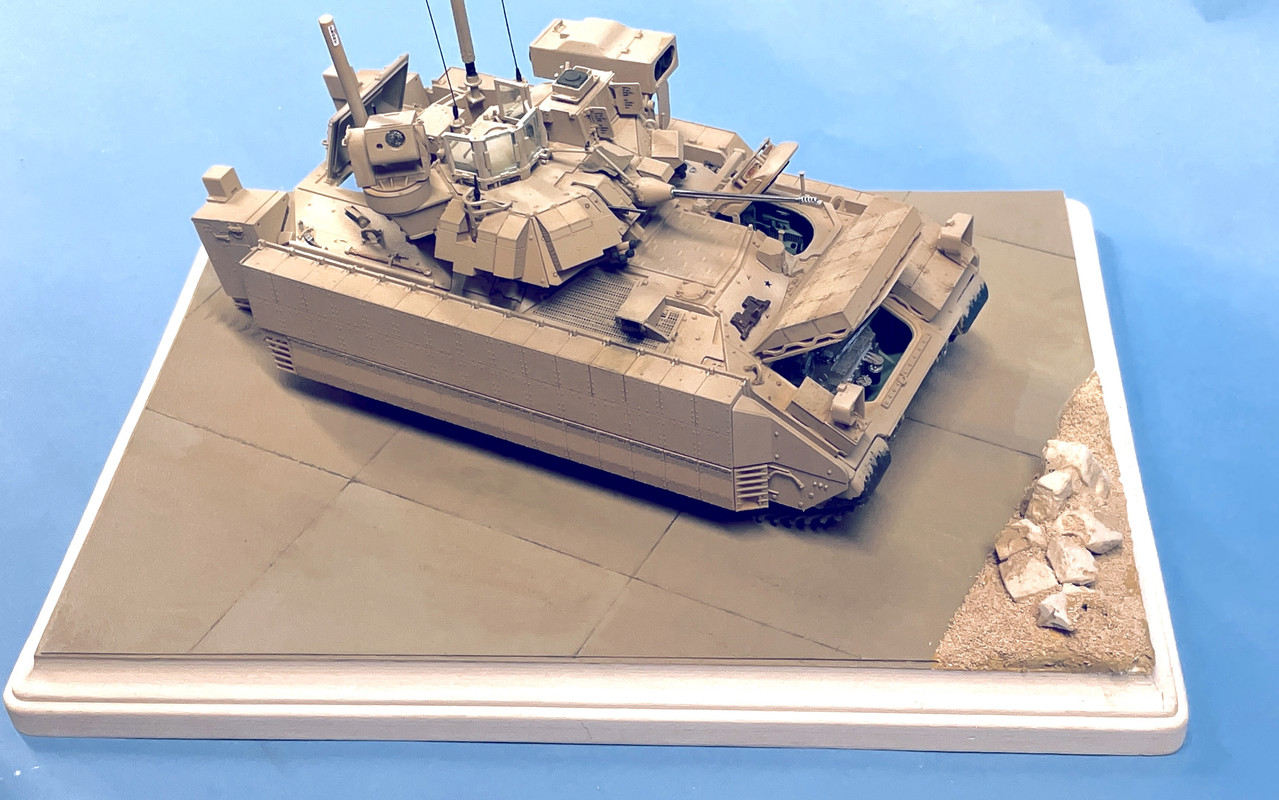
I painted the raw earth a dark yellow, the placed some strategic rock, followed by beige colored groud cover. I saturated the ground cover with IPA and then then dripped Woodland Scenics Scenery Cement to hold everything in place. It’s in the process of drying when I took this picture.
On Monday, when it’s fully dry, I’ll start weathering the concrete pad.
3 Likes
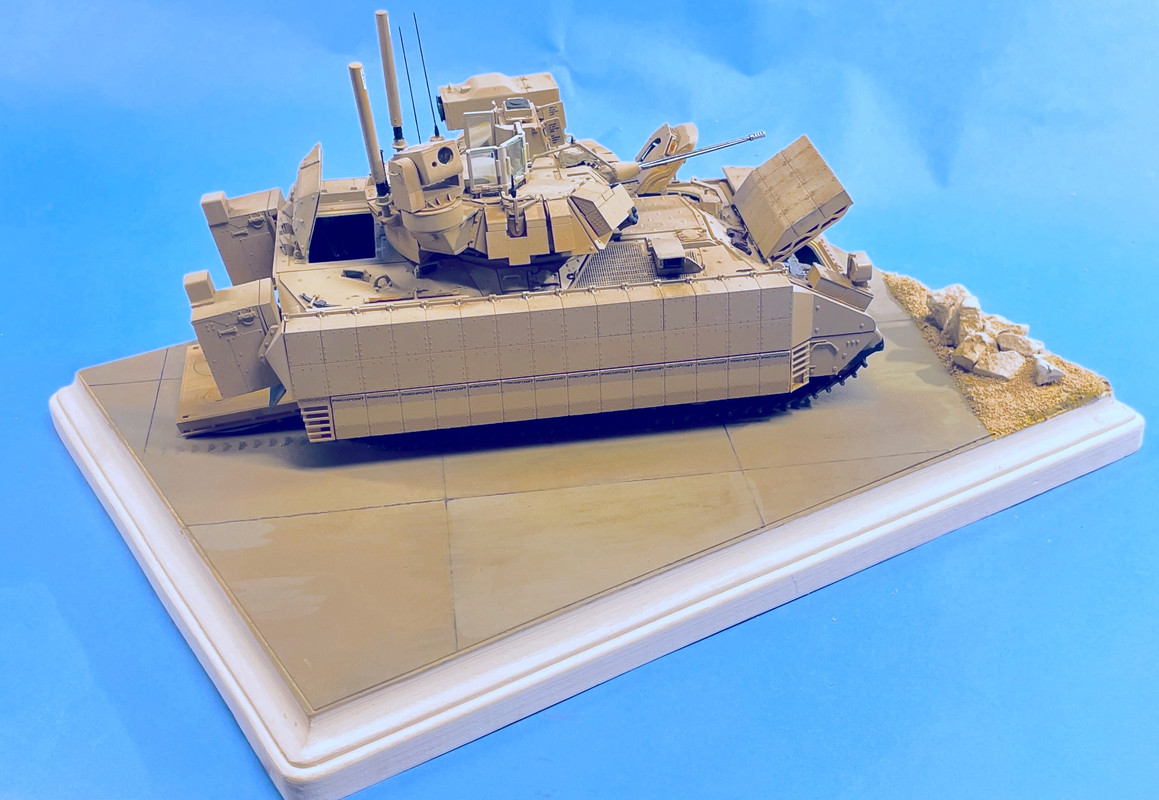
I finished up the base, although it probably needs more weathering. I took more pictures with my iPhone 12 Pro. It tends to add a lot more orange than my eye sees and I’ve had to doctor them up a lot. The LED lighting I’m using is very warm. Even setting the camera to “Vivid Cool” doesn’t bleach the orange enough. I picked up some MiniArt modern US Tank crew figures which I will also add to this little vignette. Meng asked me for a pic of the finished model and they thought it looked good. They also suggested I put it on their Facebook page where they hold monthly contests. I’m doing that tonight.
So here’s a series of the latest pictures. I bought a couple of those AK Interactive Weathering Pencils. I used them a little and made the tank tread marks with the “Rubber-colored” pencil. I used Tamiya Black Accent for the expansion joints cleaned with a Q-tip dampened with low-order mineral spirits.
When I get the crew done, I’ll post some more images.
7 Likes
Its looking really good. The base came out nicely.
1 Like
Wow, that looks stellar! The shades of tan and brown with washes really make it stand out.
I can see how and why the U.S. Army wants to up-arm for the Bradley replacement. The 25mm autocannon barrel looks mighty skinny and “weak” compared to the massive size of the Bradley—nonetheless, it will do “the job.” It’s amazing how much detail can be put into a 1/35 AFV kit by MENG.
1 Like
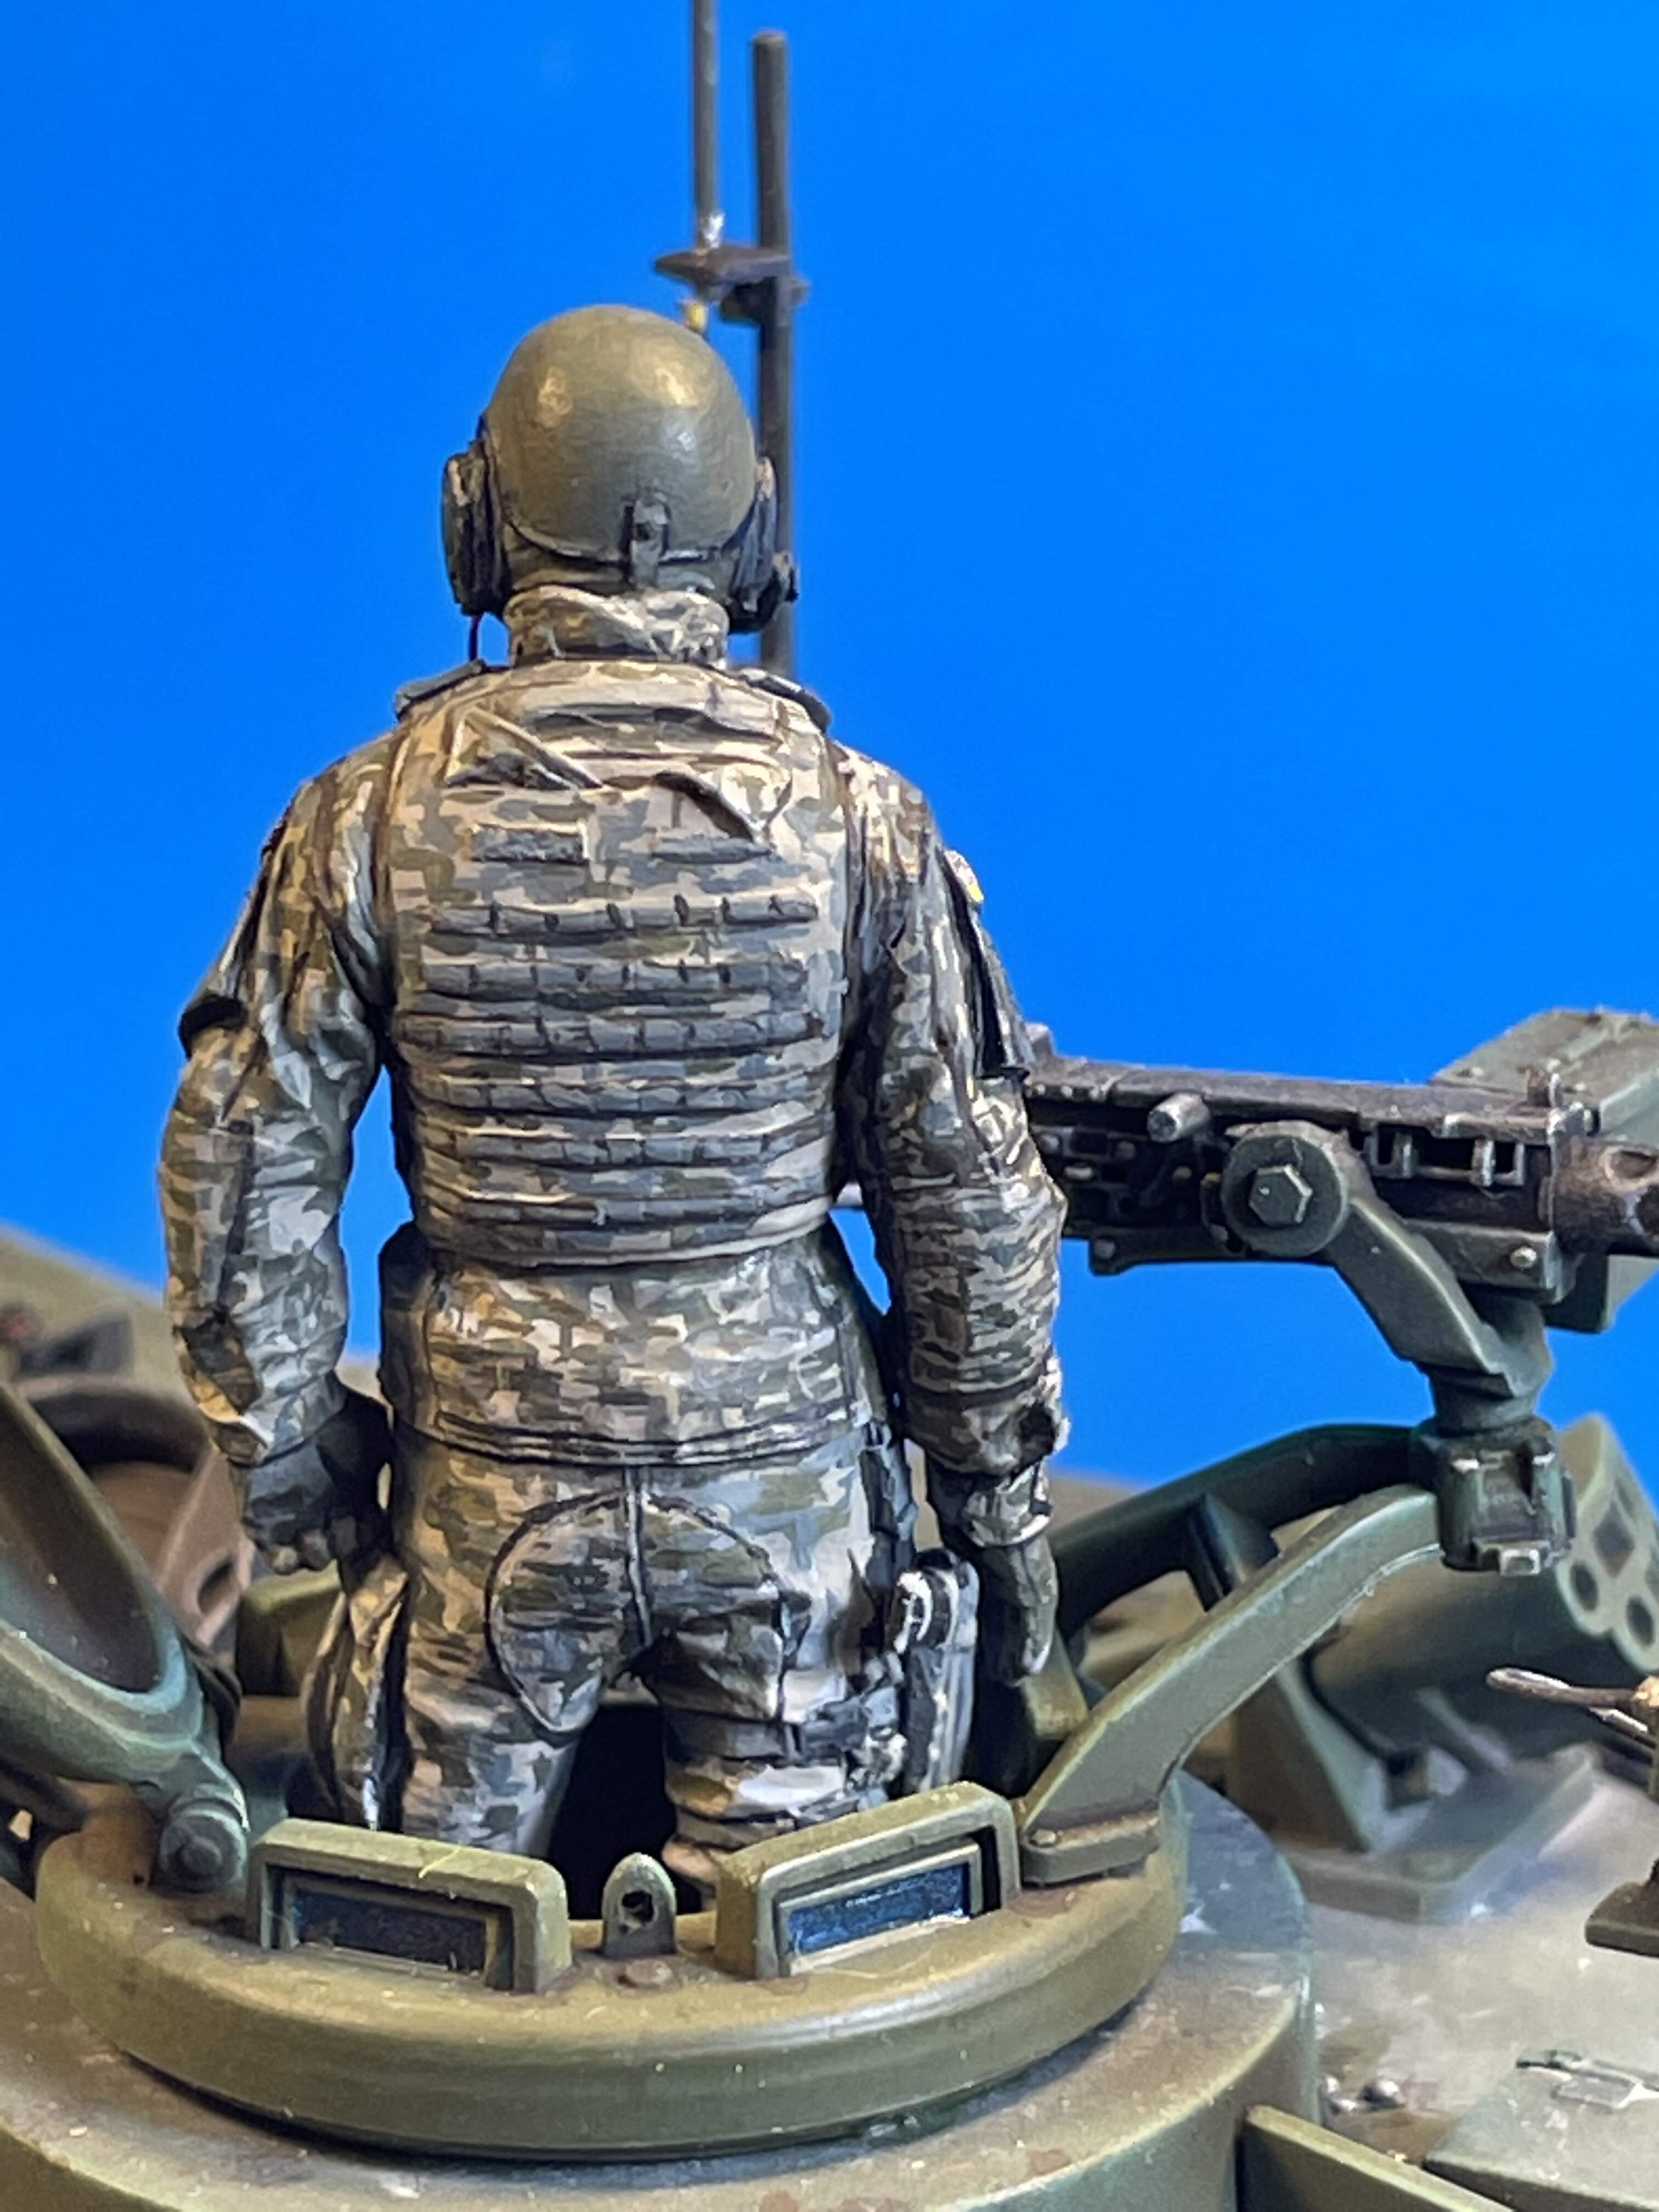
Thanks guys. That beast is really loaded with stuff. It was a terrific model and very satisfying to build, but not a slam dunk by any stretch. I’ll post more when I’m creating the crew. Any ideas about how to paint digital camo on their uniforms?
1 Like
First off let me congratulate you on an outstanding job on the model! Amazing build and great finish. The base looks great too. Reminds me of a motor pool I was in only a lot smoother!
As far as digital camo goes, get a 2 or 3/0 brush with a good point, thin the paints adequately, and take your time. I think some one makes decals for uniforms but can’t remember.
I also use an optivisor. I used an enlarged picture of an Alpine figure painted by Calvin Tan to help me which was a big help. I did a so-so job I think.
5 Likes
Thanks for the nice comments!
Those guys look great! I too use an optivisor almost all the time. At 75 my vision has been changing slightly and I need a little more plus diopters on my bifocal portion. My near sightedness almost disappeared as I aged and now I basically have an astigmatism. My son is a terrific ophthalmologist and I get great eye care. I do have a cataract that’s gradually developing.
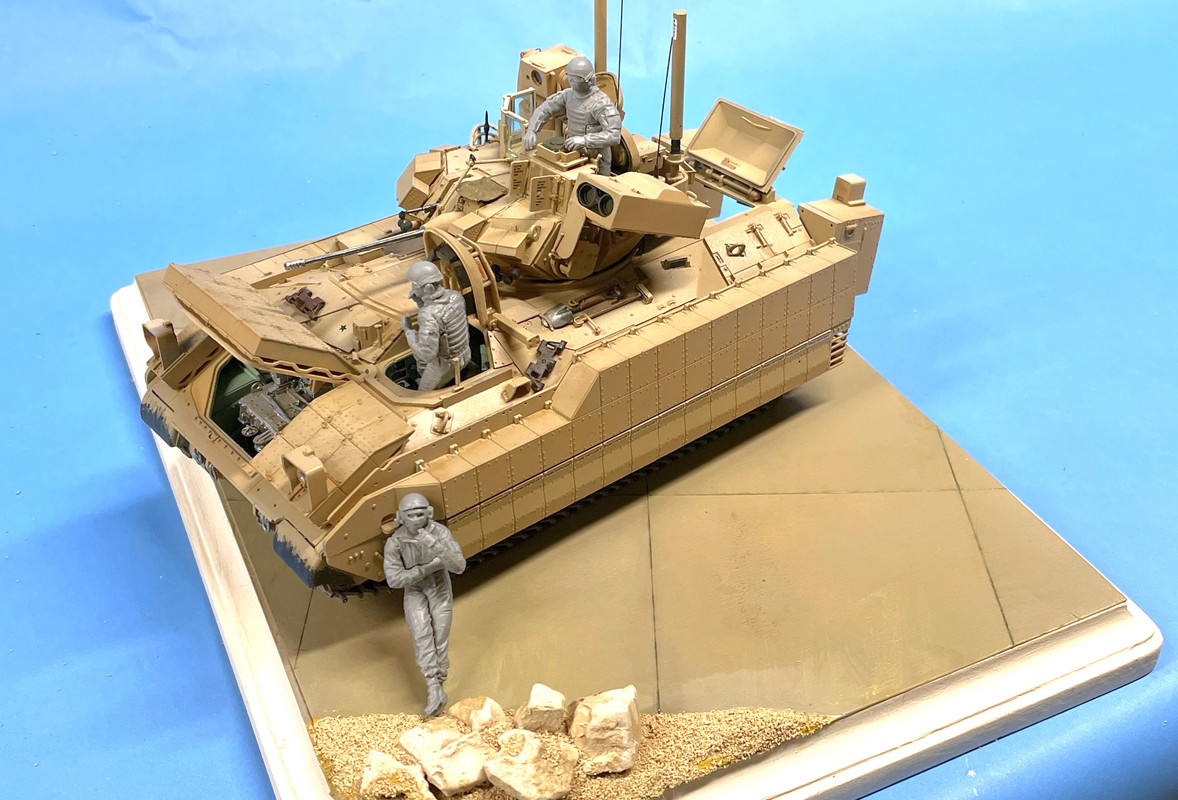
Started assembling the crew today. I’m working this project concurrently with the rick house. As one is drying/printing/etc., I’m building the other.
Got three assembled today. It’s kind of hard to figure out who’s the commander, etc., so I’m winging it based on how they positioned going together. When they’re all assembled I’ll paint them.
The Mini-art set had five figures, none of which is totally seated and I don’t feel like kit bashing and the figures legs were specifically molded to a position that looks like it’s hard to alter.
4 Likes
That figure set is perfect for it. The figures are not really designed with one figure as the commander or driver, etc. Their gear and uniforms are pretty generic and similar, as modern AFV crewmen are, so they are good. Personally, I would not put them in the hatches though since they will obscure viewing the interior details. It may be better to have them milling around outside the vehicle.
1 Like
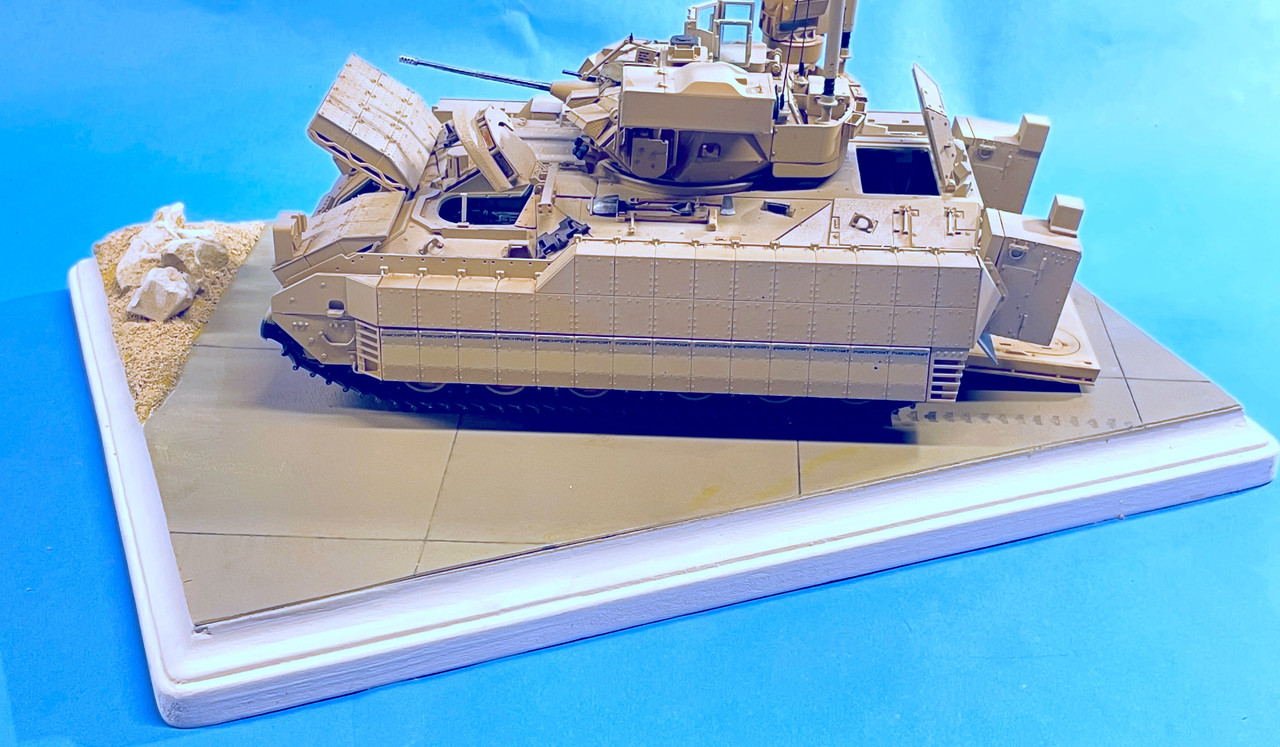
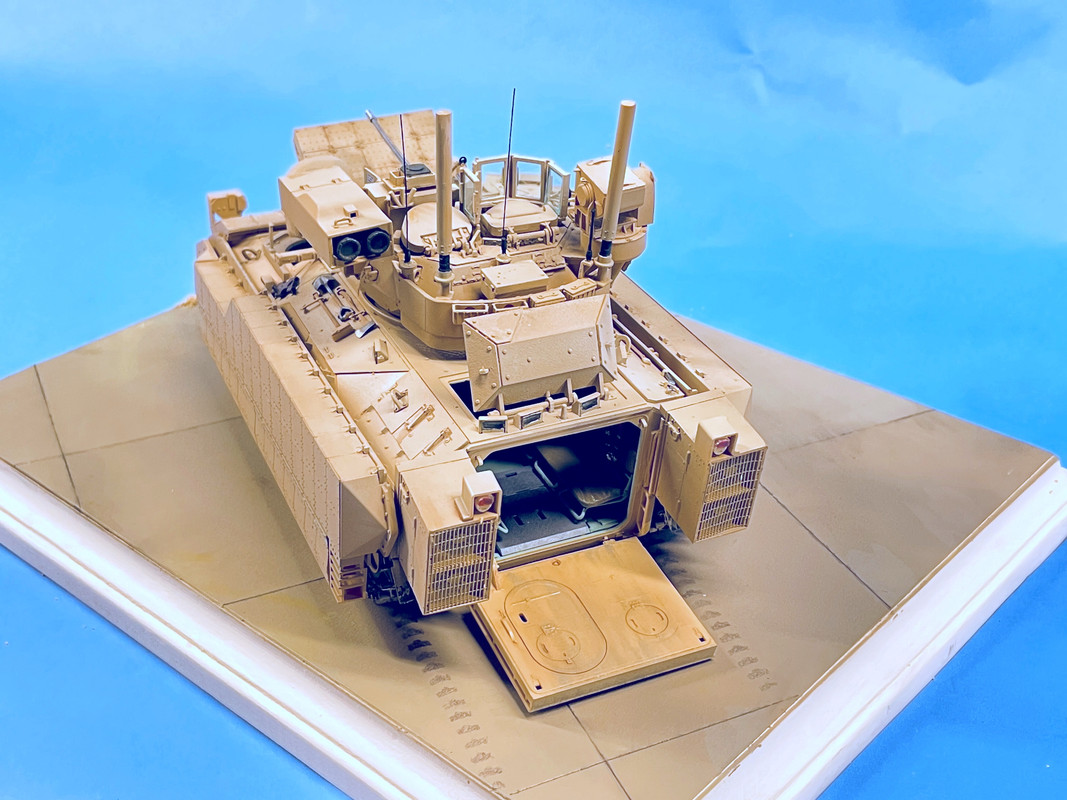
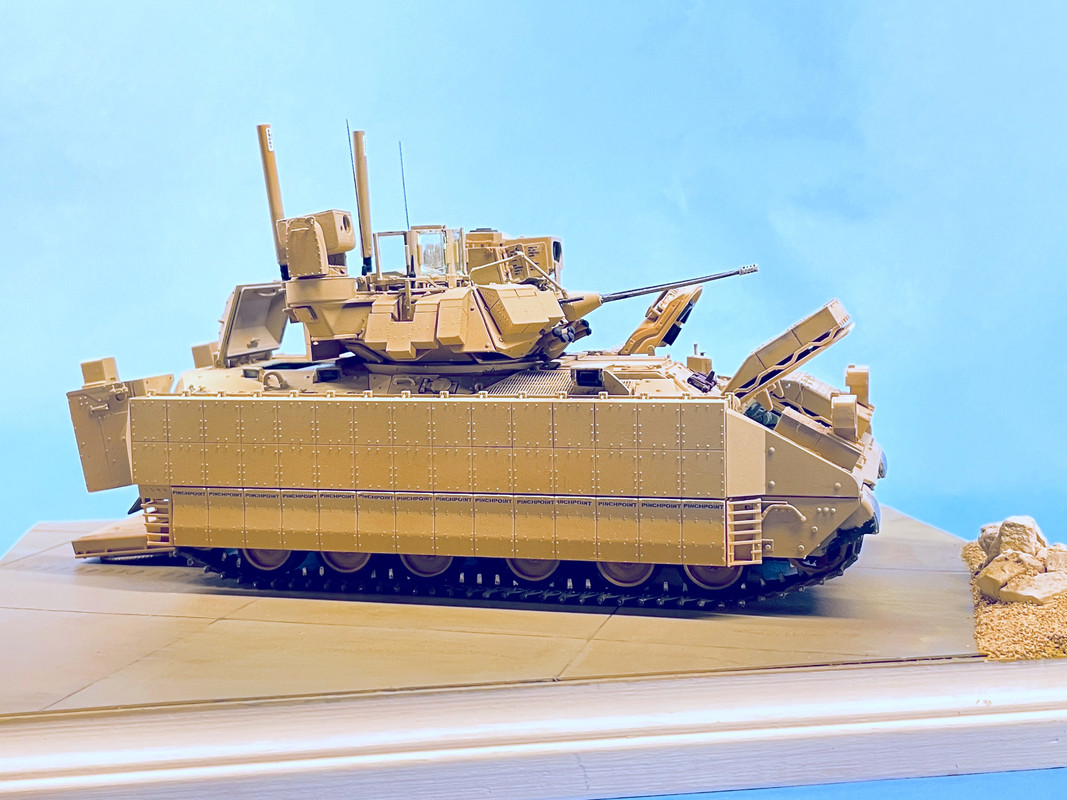
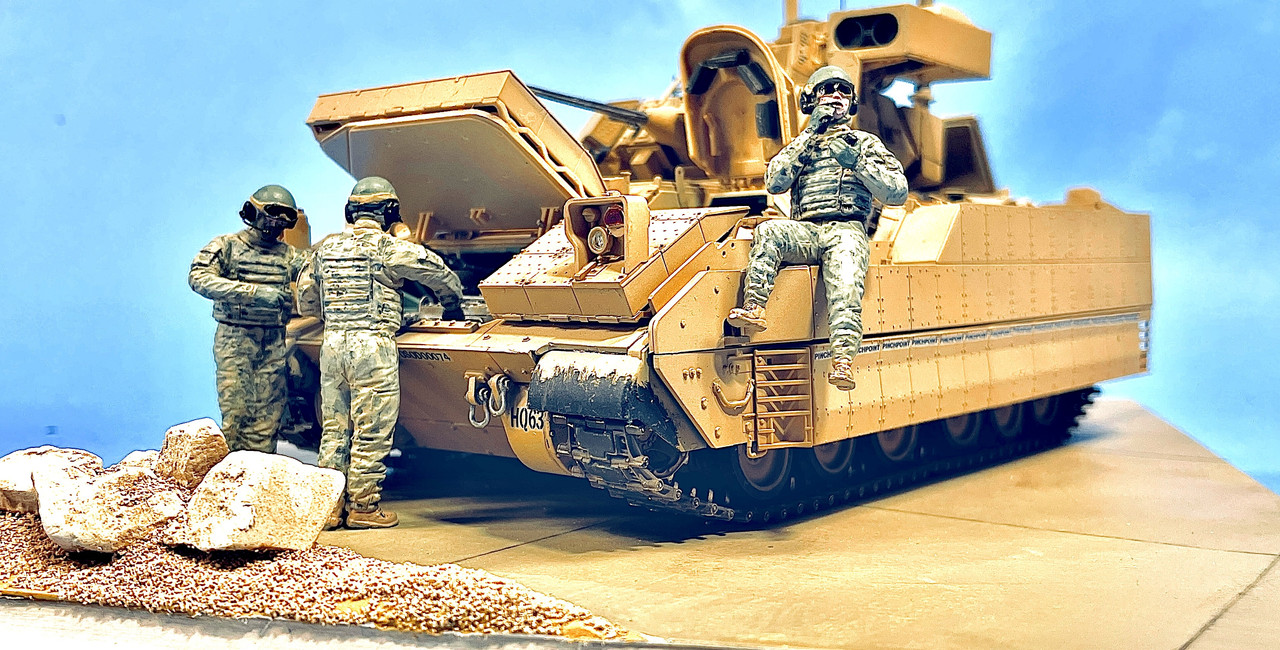
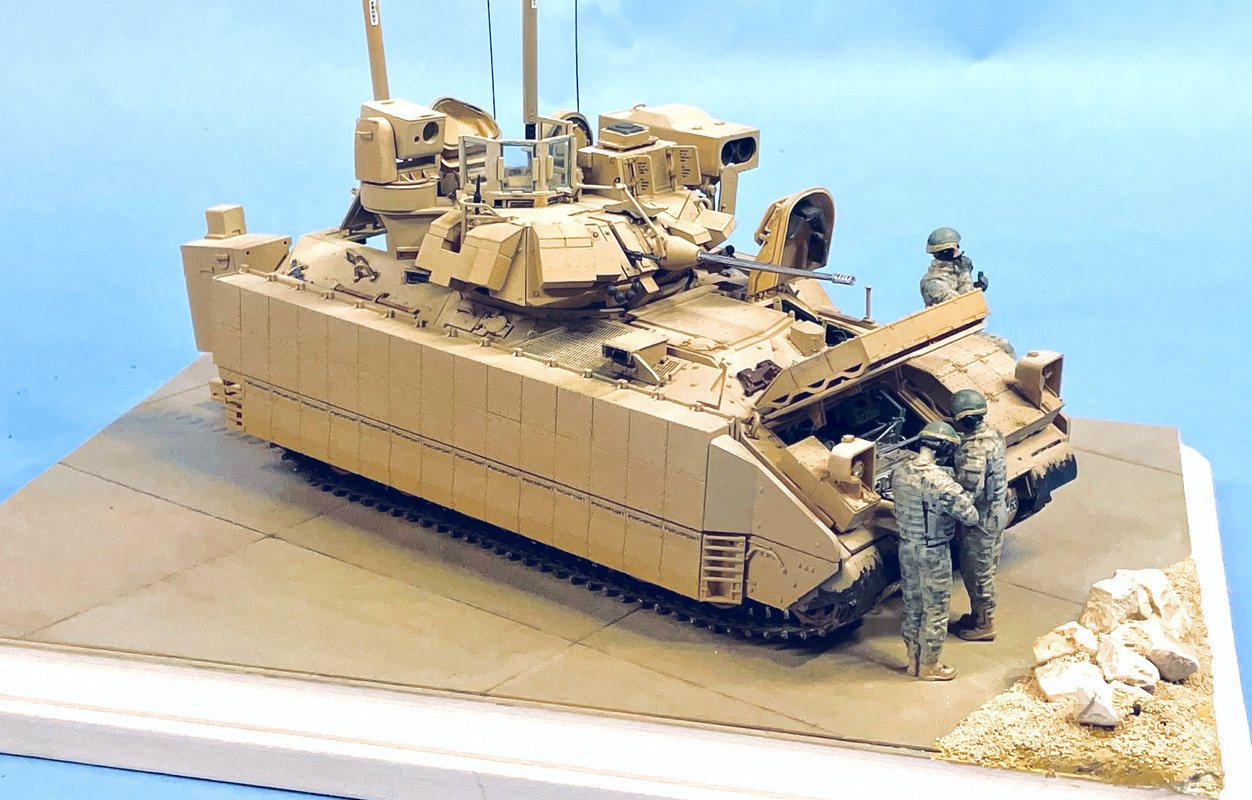
I’m declaring this baby DONE! Gino suggested losing some of the figures that didn’t work, and as usual, I took his advice. The Bradley sits on a concrete pad in the motor pool being checked out by the crew before having any any maintenance personnel checking it out.
Another view:
And still another:
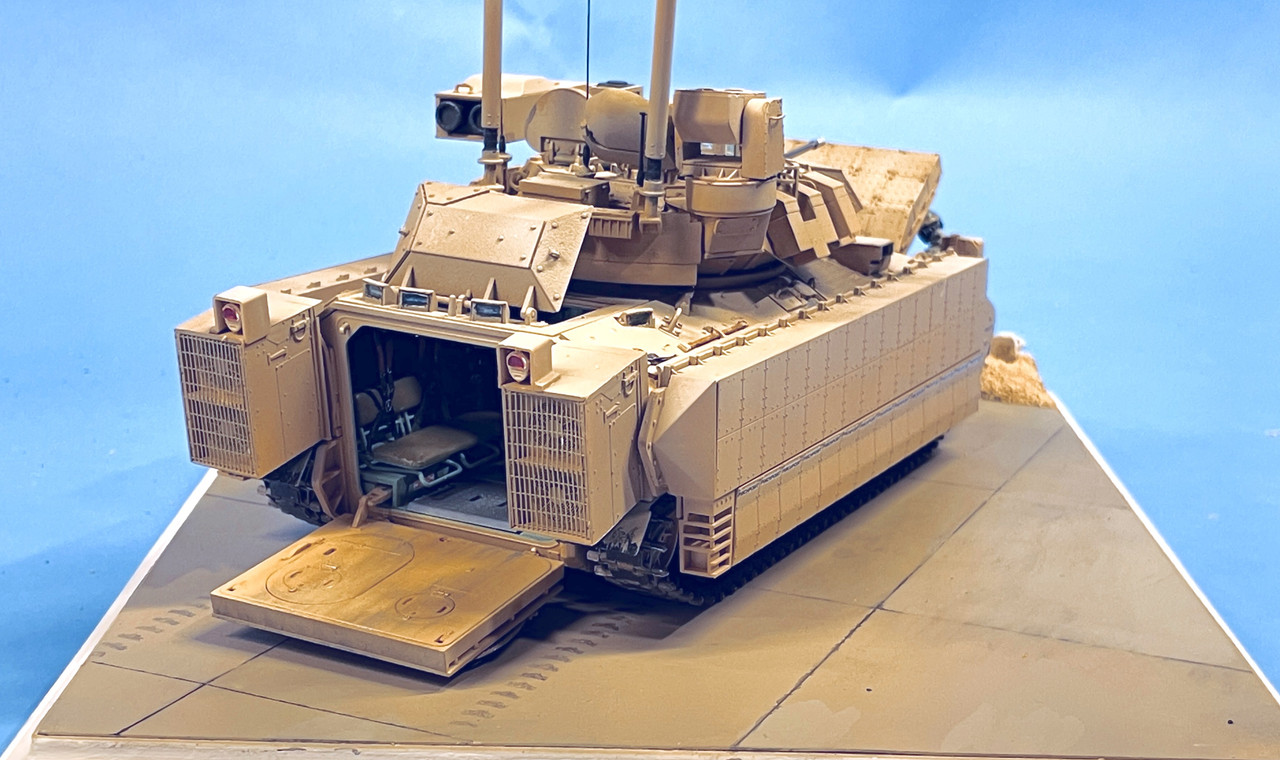
And the back:
I’m pleased with how it turned out.
Next up after I finish a model railroad project is the Kitty Hawk SH-69b Seahawk which will be posted on another thread. So stay tuned.
8 Likes
It came out looking great. Good job.
1 Like