Meng Gepard A1 SPAAG

Dear All,

This is my first topic in the new forum and it is about (as in the title) the Meng Gepard A1 SPAAG kit in 1/35 scale.

The build process started a month ago during a business trip in Poland, utilizing empty hours in the hotel room. I picked up the kit in a local model shop in Warsaw, purchased also the very basis tools for the build process.

The kit itself was easy to build but I had quite some issue with Meng’s crazy working suspension (which always collapse when I placed the hull onto the wheels) and with the even crazier tracks which were not always staying together. But after rejecting some parts (at least the Meng guys designed and molded several extras), the tracks are now ready.

I hope you will like the final result, too.

2 Likes

There were no photos taken during the build as it is a full OOB this time. The kit provides some PE parts and some options for the modeler including A1 or A2 version, an extra hardcase to the hull and movable guns, radar and open or closed position for the hatches as well as for turret backdoor (it is nicely detailed!).

So when I returned to home, I also primed the kit with Mr Hobby Finishing Surfacer 1500 black (my preferred spray for this step) and the result looks extremely evil and cool now.

This is where I am now. Planned to paint the standard 3-color NATO camo as I opted a german vehicle this time.

Cheers,

Tamás

4 Likes

Nice and clean build, looks good! Look forward seeing it painted :slight_smile:

Thank you Sir, I will surely post progress photos.

Tamás

Hi Tamas!
I will for sure follow your build. Have seen Gepards in action during my service time in the 1980’s. Amazing fire power!

And welcome to the new Kitmaker Forum! :slightly_smiling_face:

Torsten :beer:

Hi Torsten,

You are warmly welcome! I have seen them recently in Poland on the arty field, lining up for firing excercise, it was amazing!

Tamás

Very sharp looking build so far! The detailing is better than the old Tamiya kit. I look forward to seeing the camo paint on this.

Hi Gentlemen,

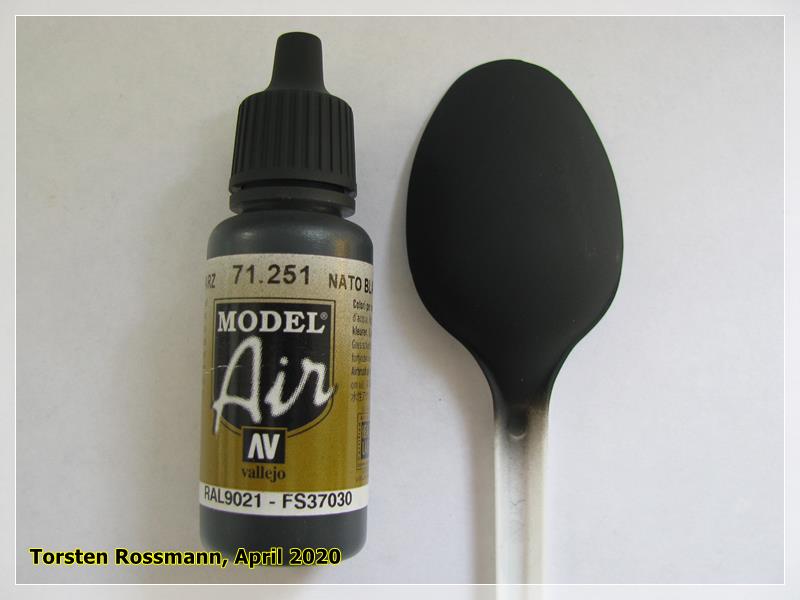
I could find some time recently and completed the basic paintwork on the kit. For this kit I used the AK Real Color NATO set which I bought together in a package deal with a Meng Leo2A7 kit so the Gepard made a good reason to challenge this product line.

My impressions? Well, mixed. I always dilute the paint regardless what the manufacturer declares in the brochures and this job was not exception. It all started with a nightmare because I tried the MENG Acrylic Thinner which is promoted to be useful for most of the paints on the market. Probably this was my fault that the thinner did not work for the RC line paints, since I looked after it on many modeling sites and learnt that the RC lines is special and can be thinned with its own thinner or the Gunze’s Leveling Thinner as the later can thin every modeler paint (someone defined it as “elixir from heavens” and I do agree on 110%).

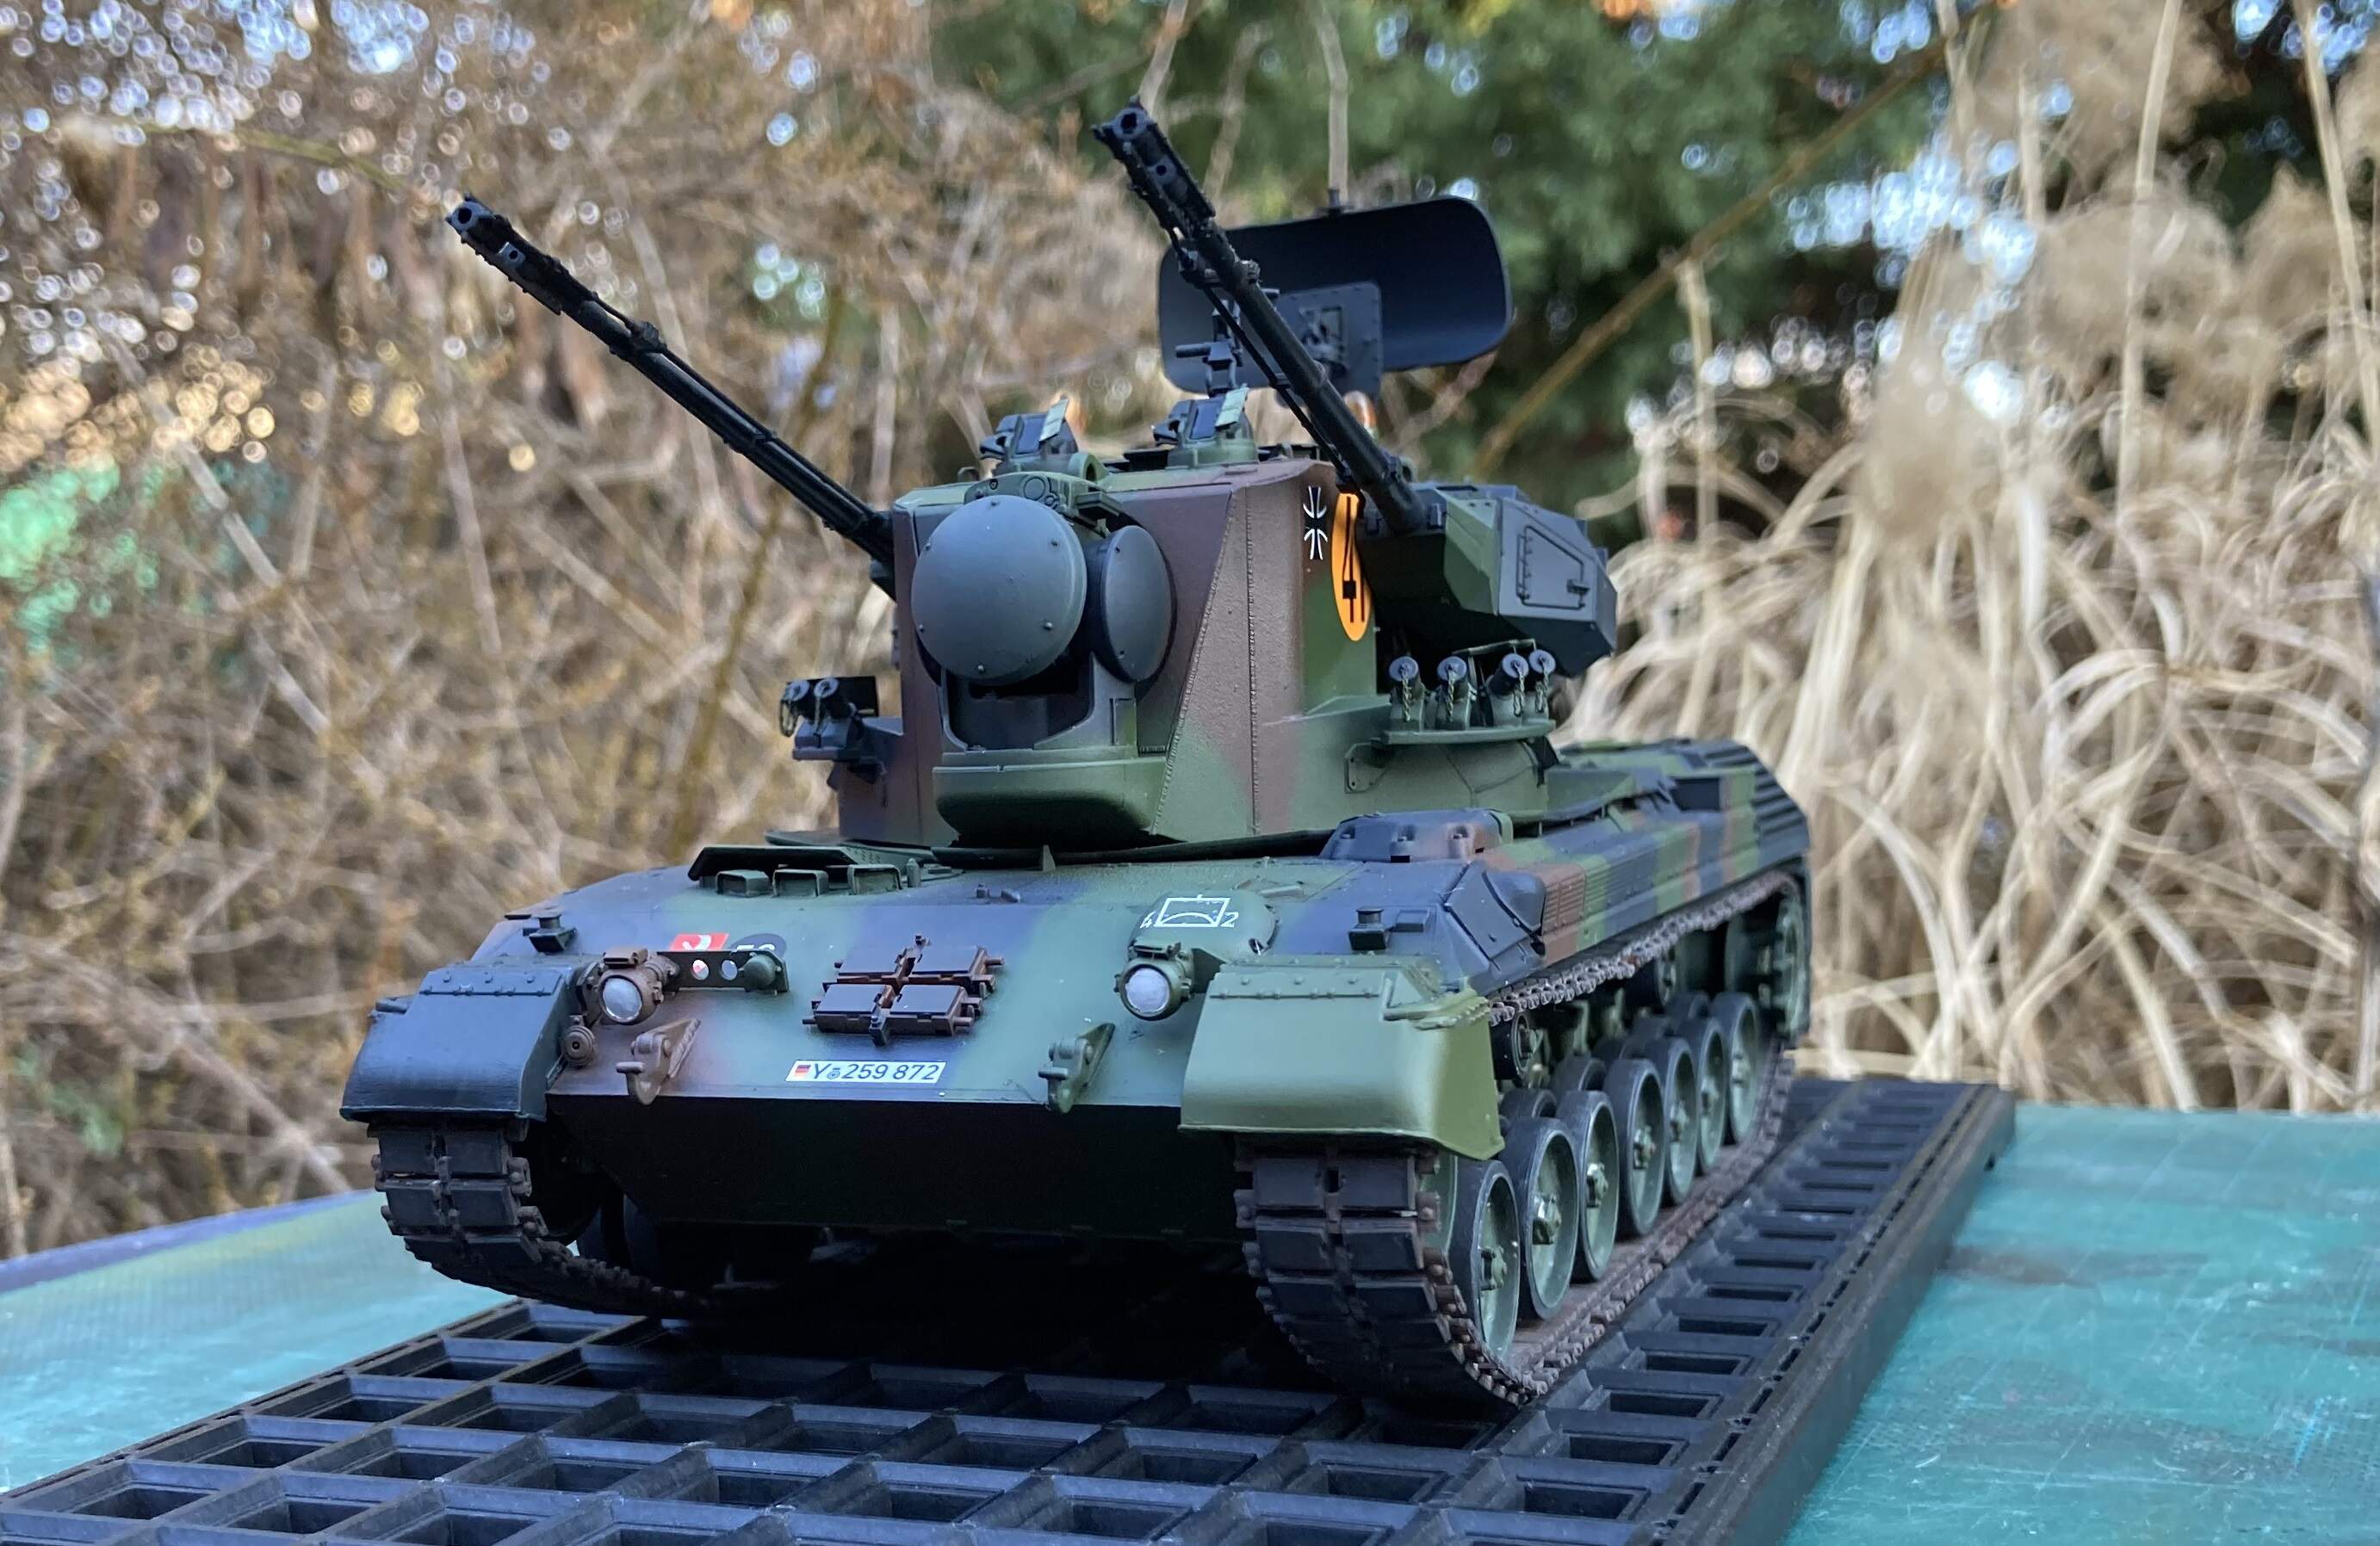
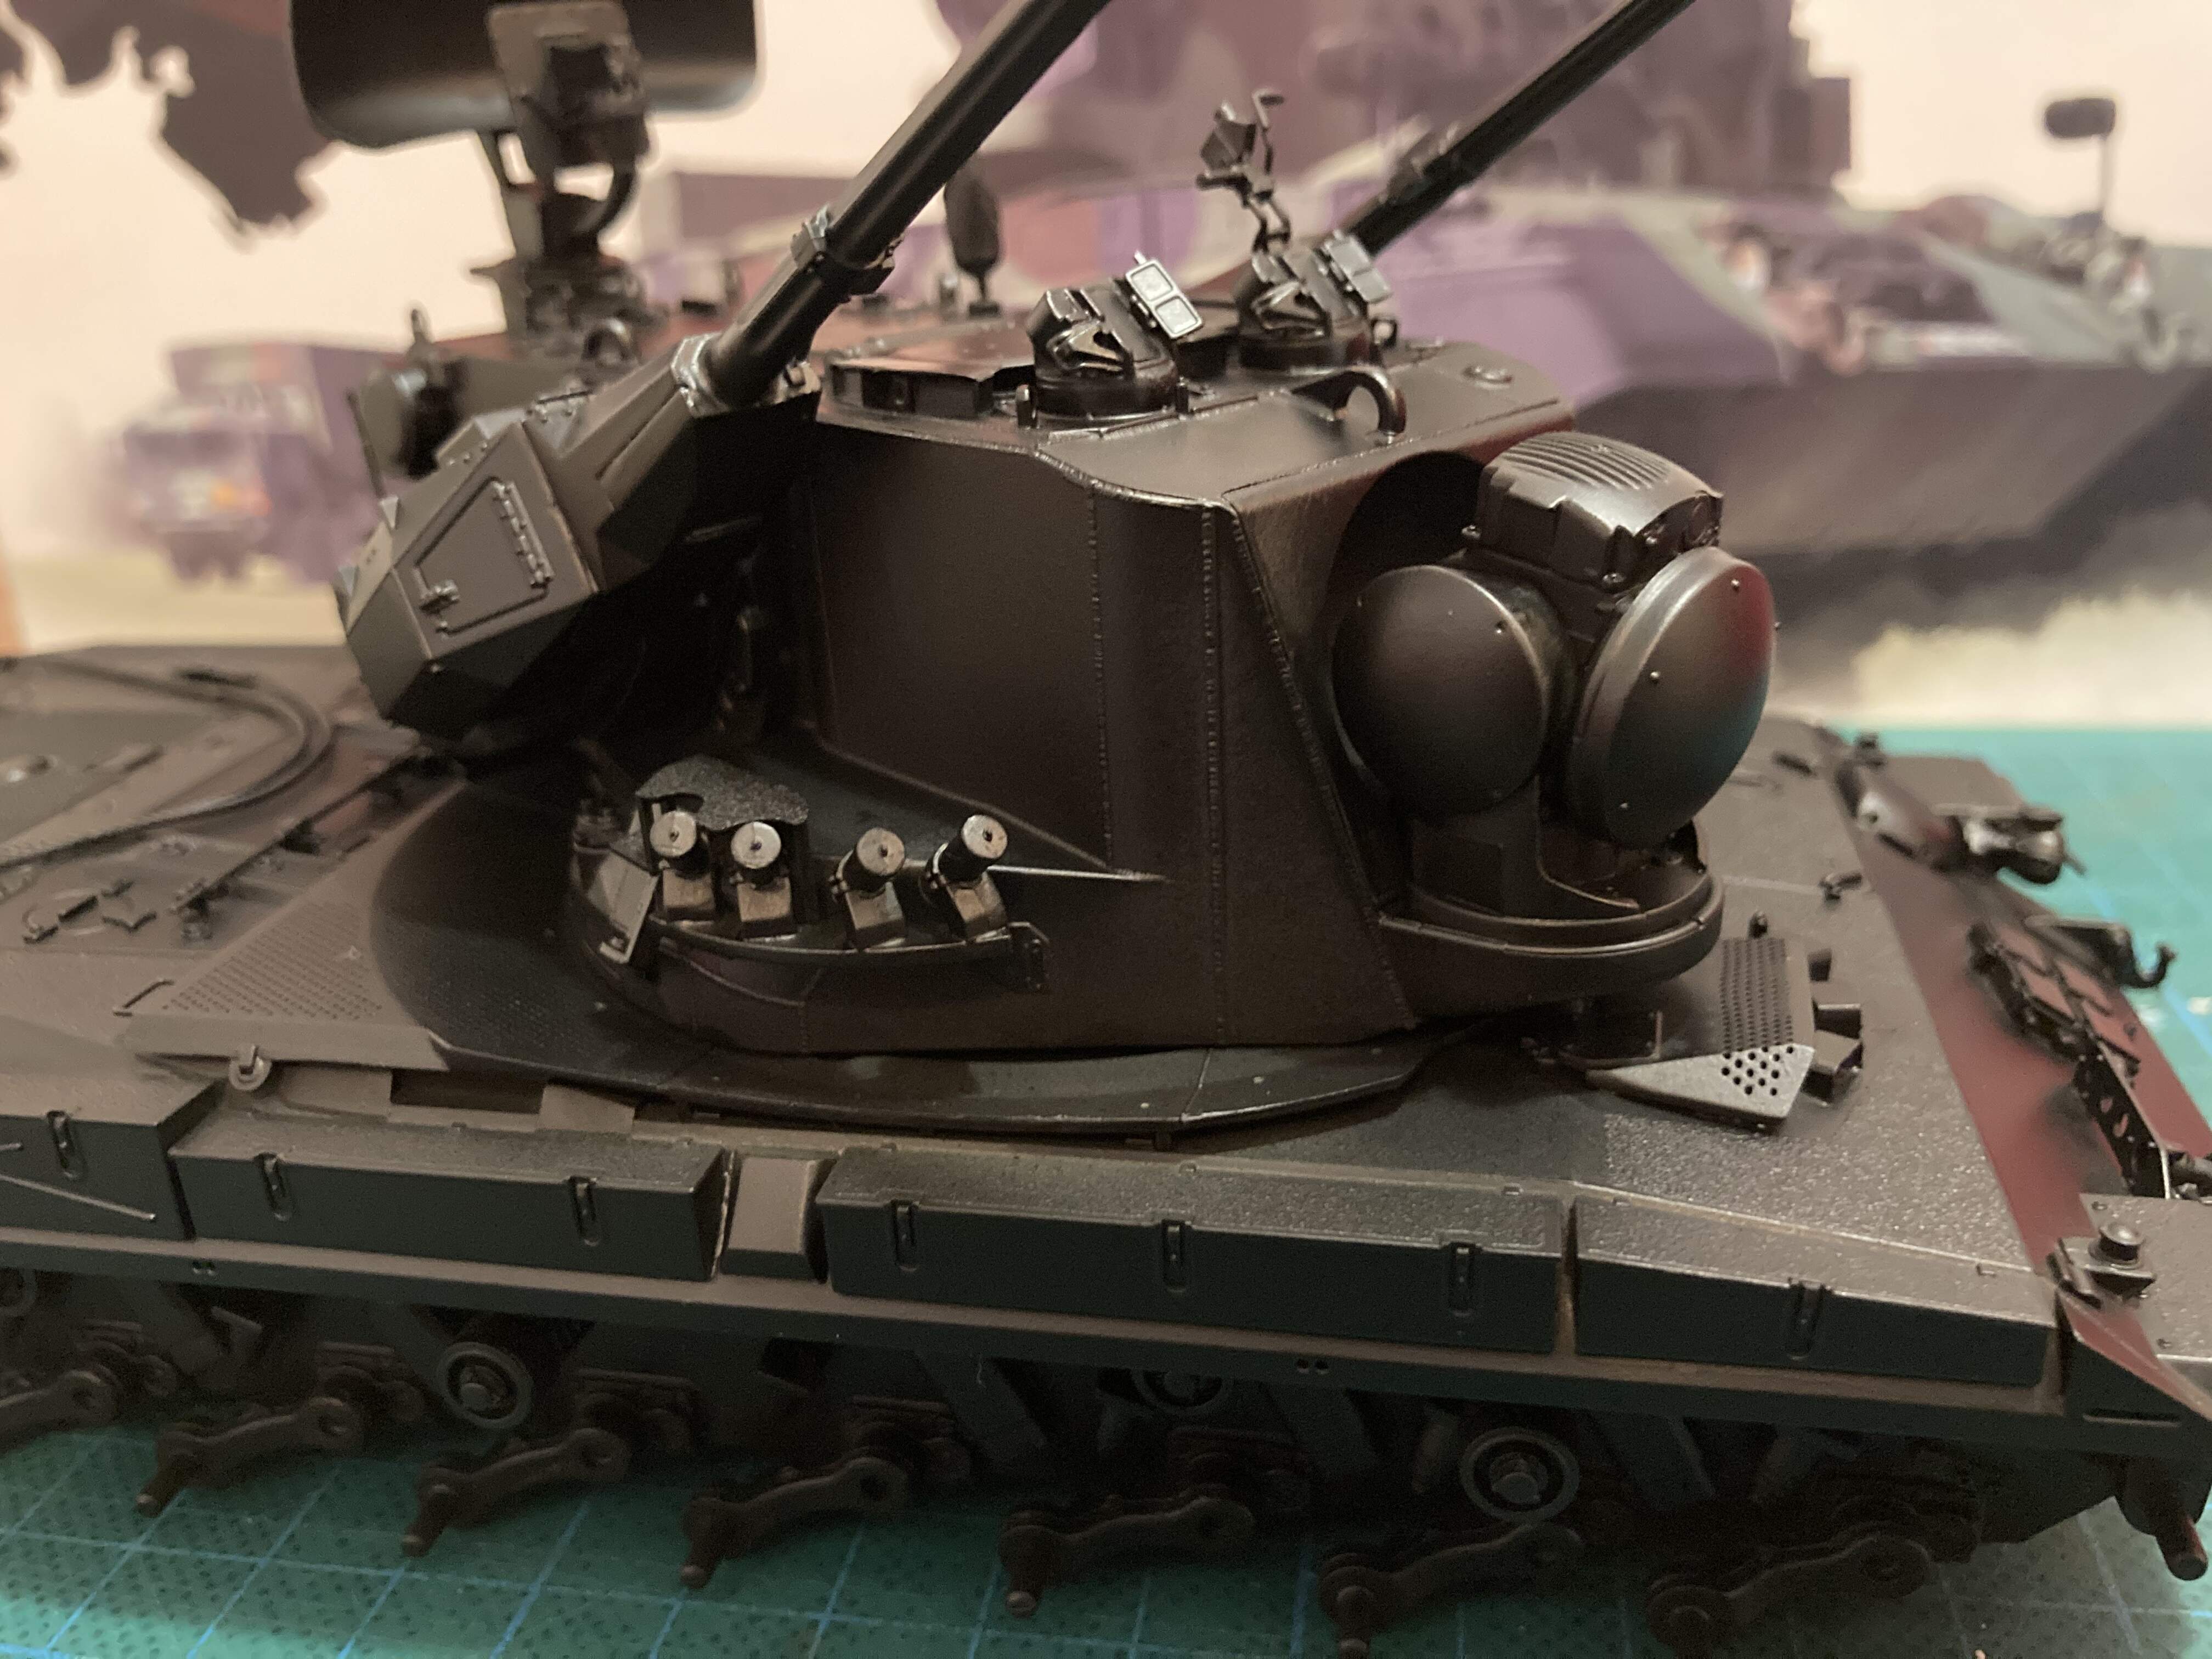
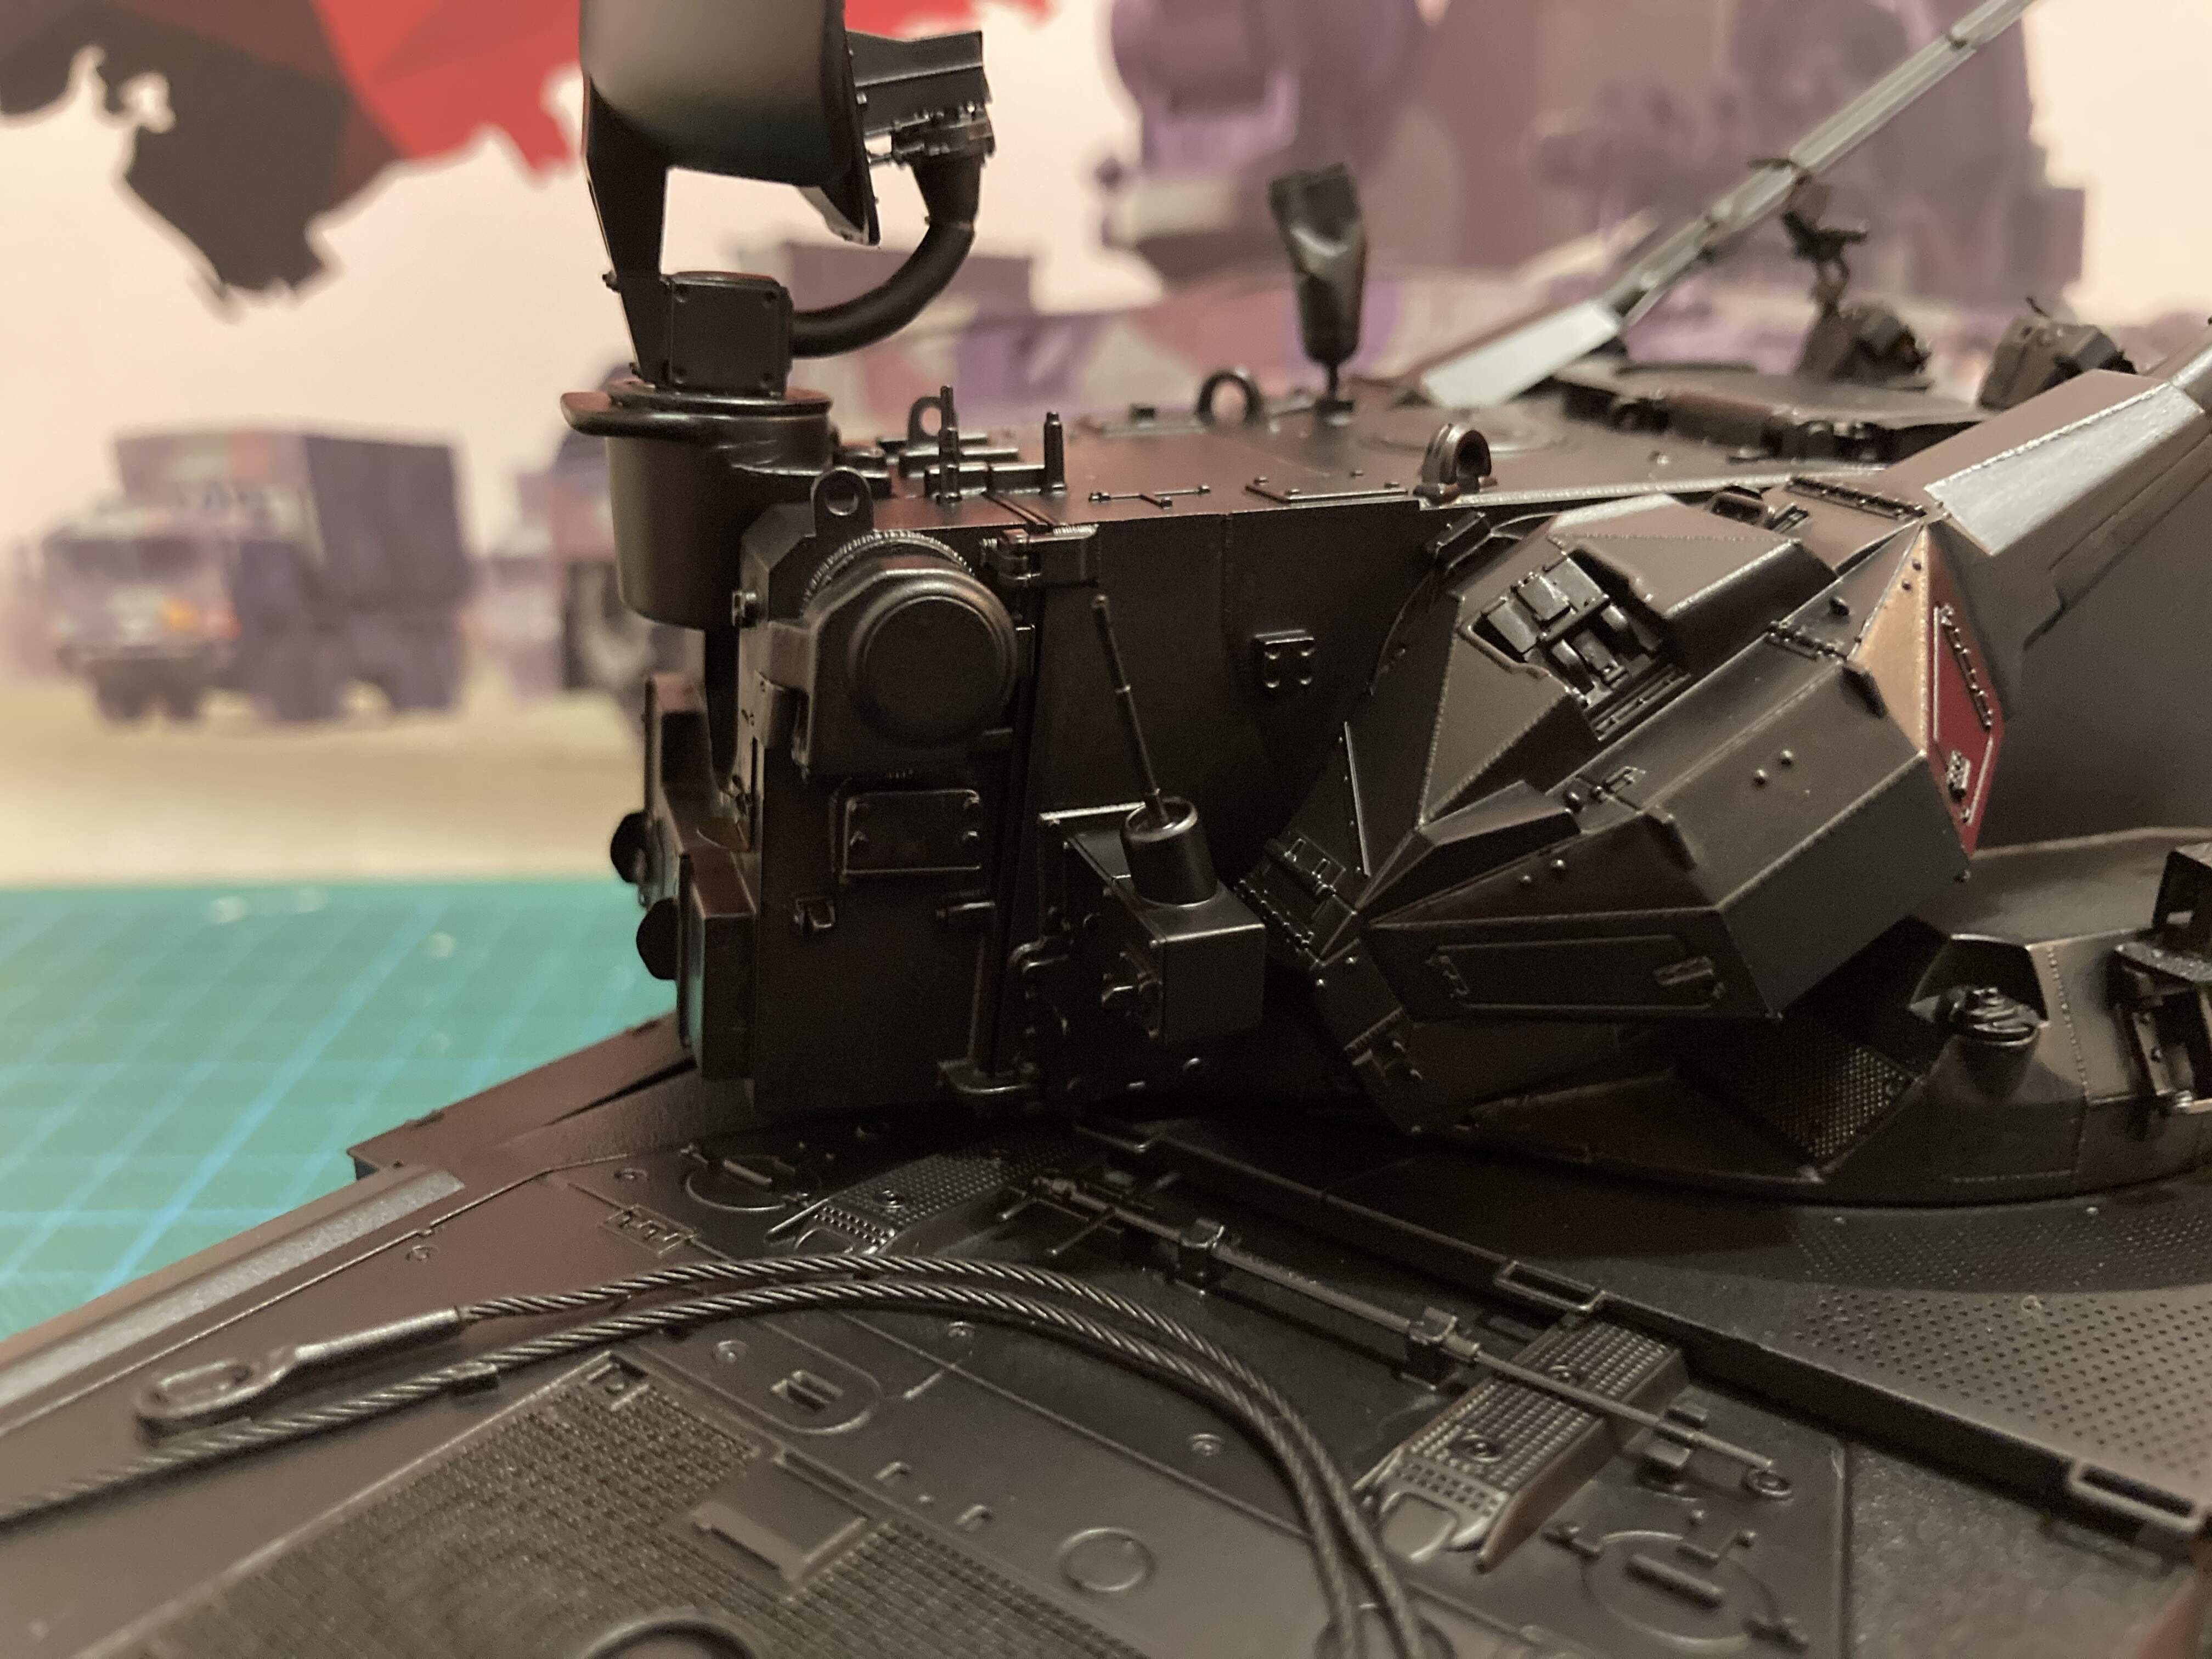
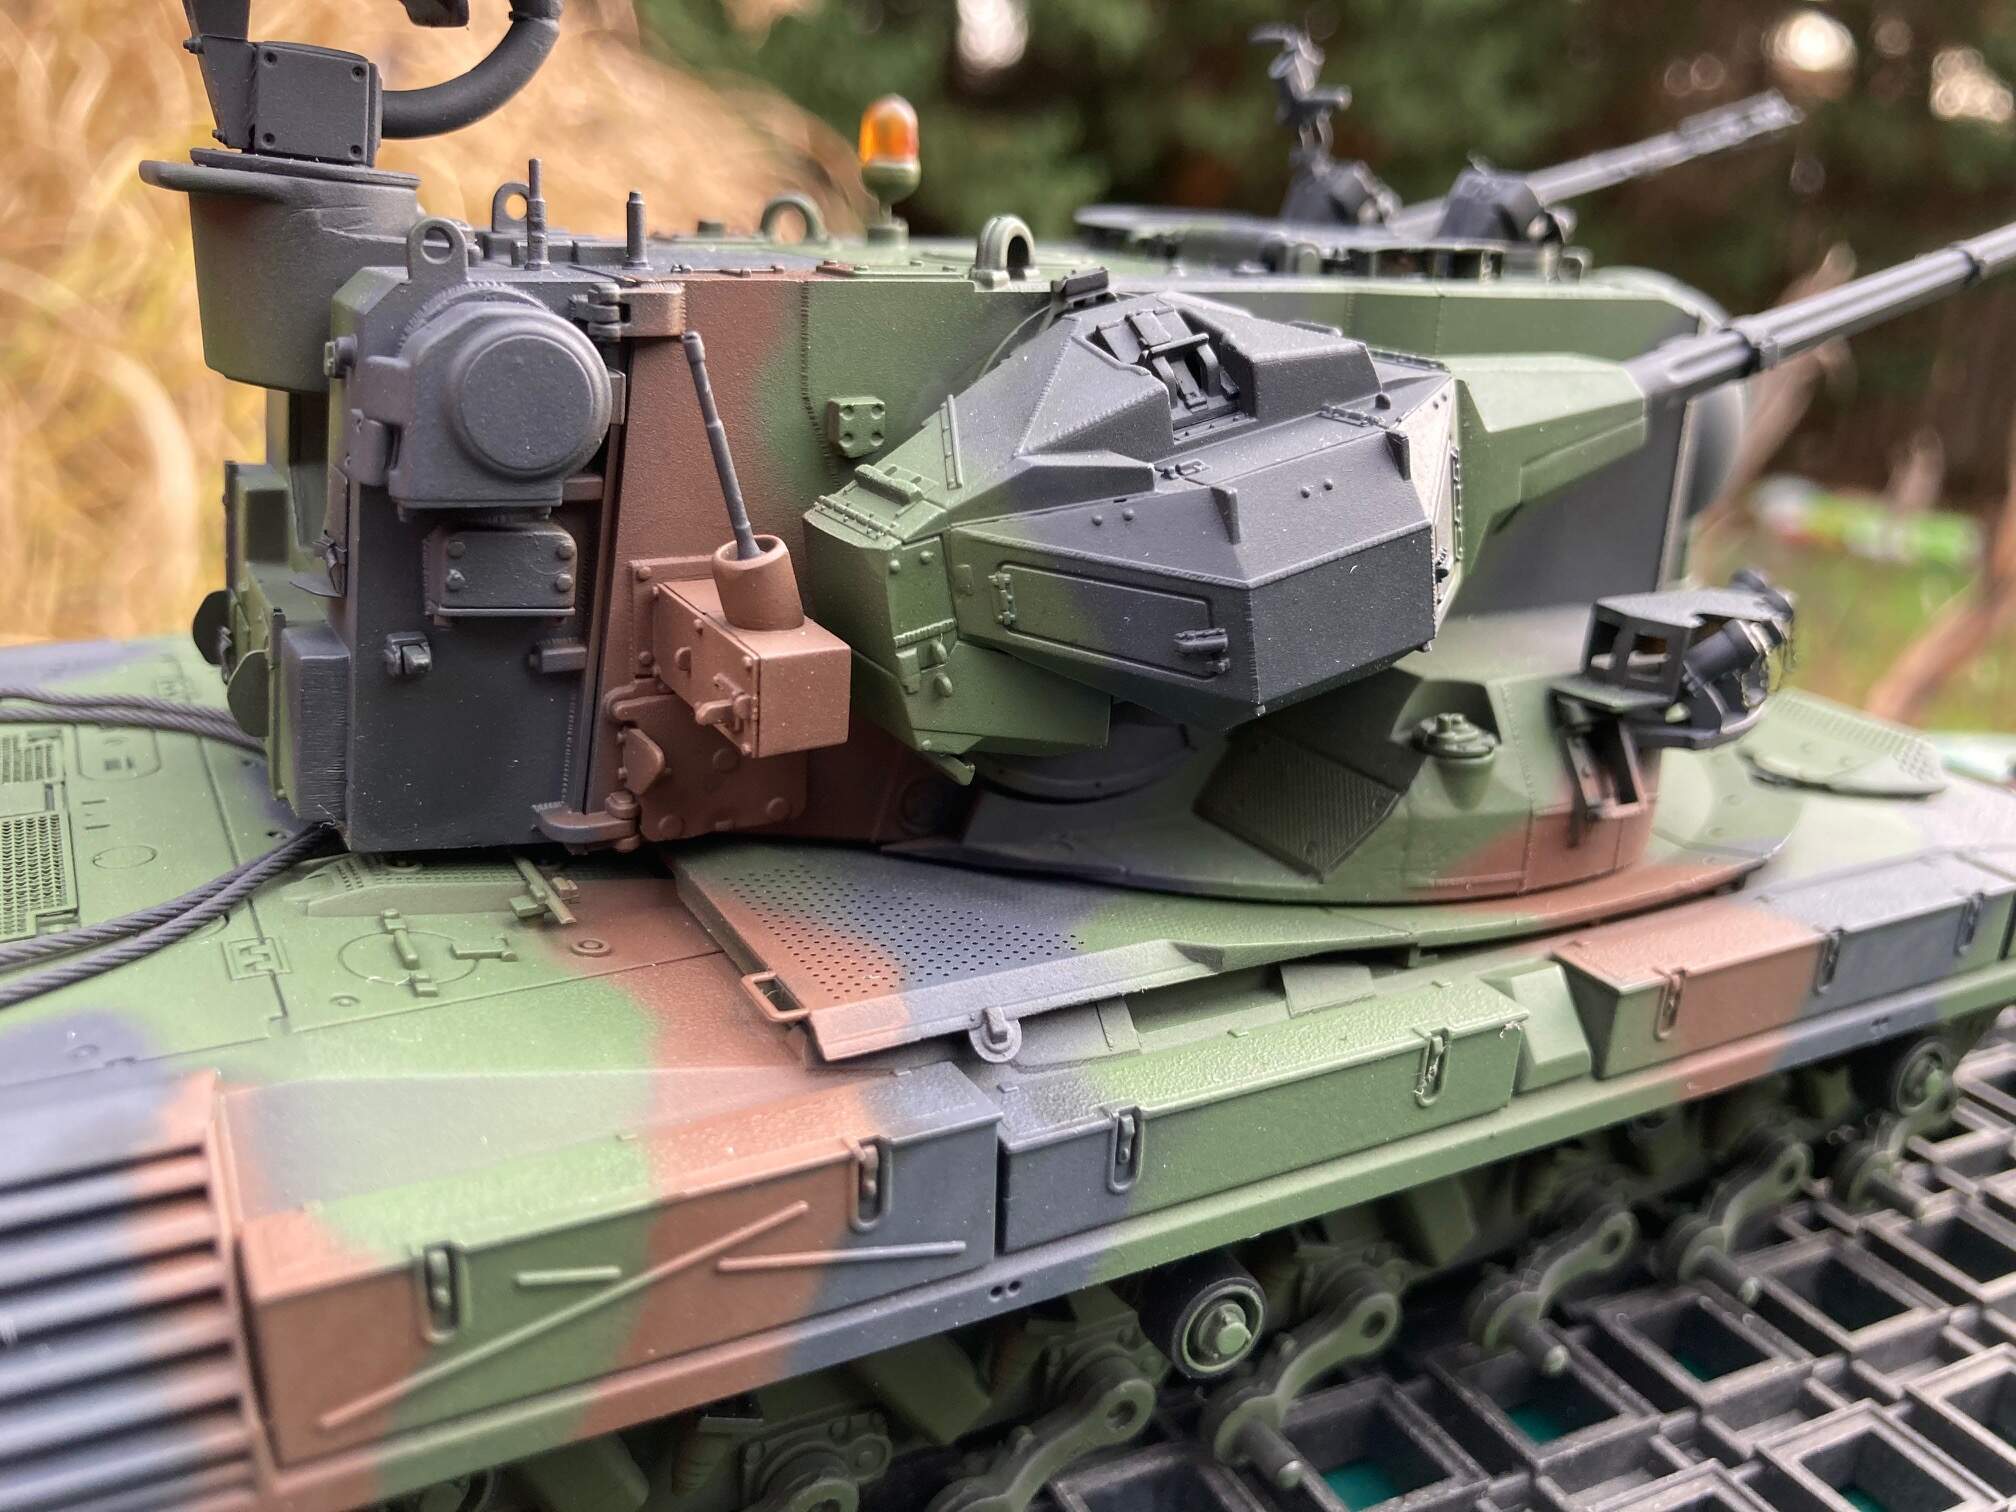
So after a complete clear-up of the RC paint mixed with MENG’s thinner (resulting a complete disaster) from my 0.20mm Evolution Airbrush, I could perfectly thin the RC paint with the elixir and the paint laid down perfectly. Just look at the photos, it is nice, even, free of any smudge, dots, spots, anything. The first colour was the NATO green with a certain overspray pattern at its edges (I only painted the green zones of the camo scheme). The second was the NATO brown (to my eyes a bit light looking first, but finally it turned out OK) and during this I could manage reasonable narrow soft-edges of the pattern. Finally the NATO black went up which was the most difficult due to late evening painting session (low light conditions on the table) and also the black base color. Also nice and lovely narrow soft-edges. Paint work stopped here to give enough drying time.

Next evening I looked at the result under artificial light and the NATO black looked damned mid grey! I was torn to the ground, shocked and felt abused by AK. So I decided to re-paint the grey on the third day using AK normal acrylic NATO set (which I found randomly in my paint holders and the black paint looked blackish, at least much darker grey than the one painted already onto the model). This decision did not result any better shade because this normal acrylic looked exactly the same shade during airbrushing. I could identify the re-painted areas by the fresh-paint shining effect. Finally I airbrushed some fine layers of MIG Matt Varnish. A side-note: this product really does not need additional thinning, interestingly. And results a perfect finish.

Next 24hr stop in the process - this time for the varnish.

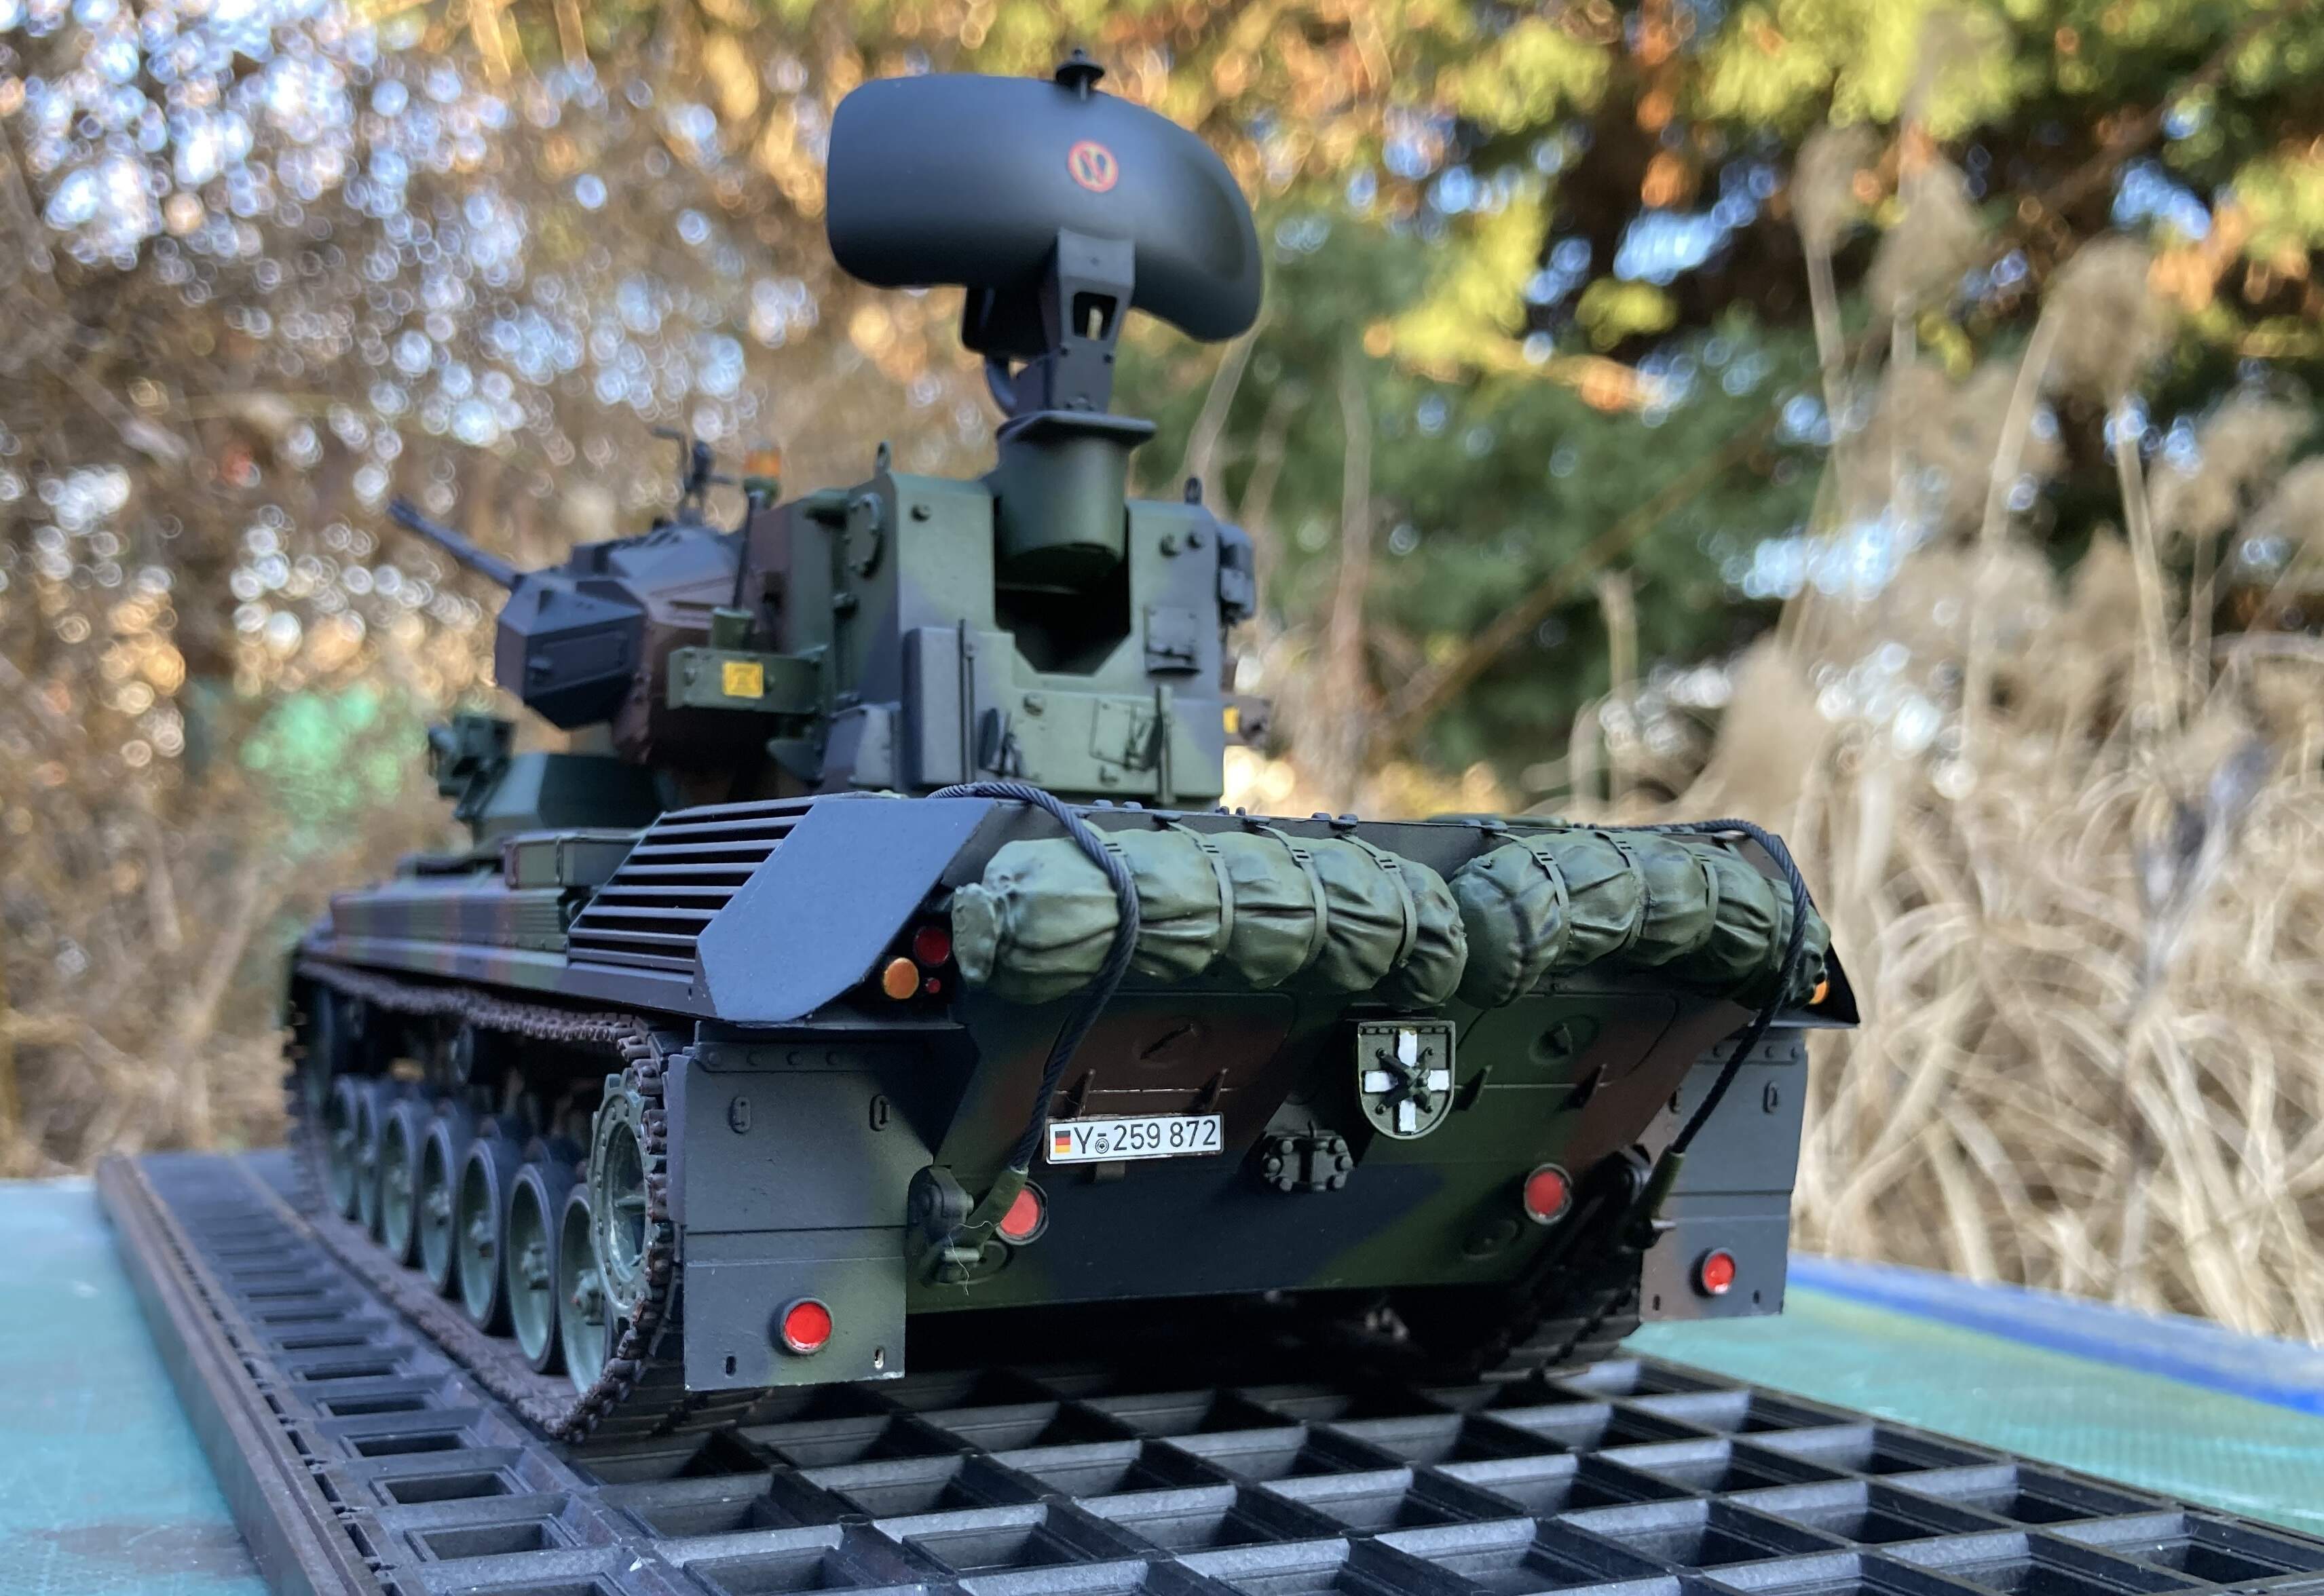
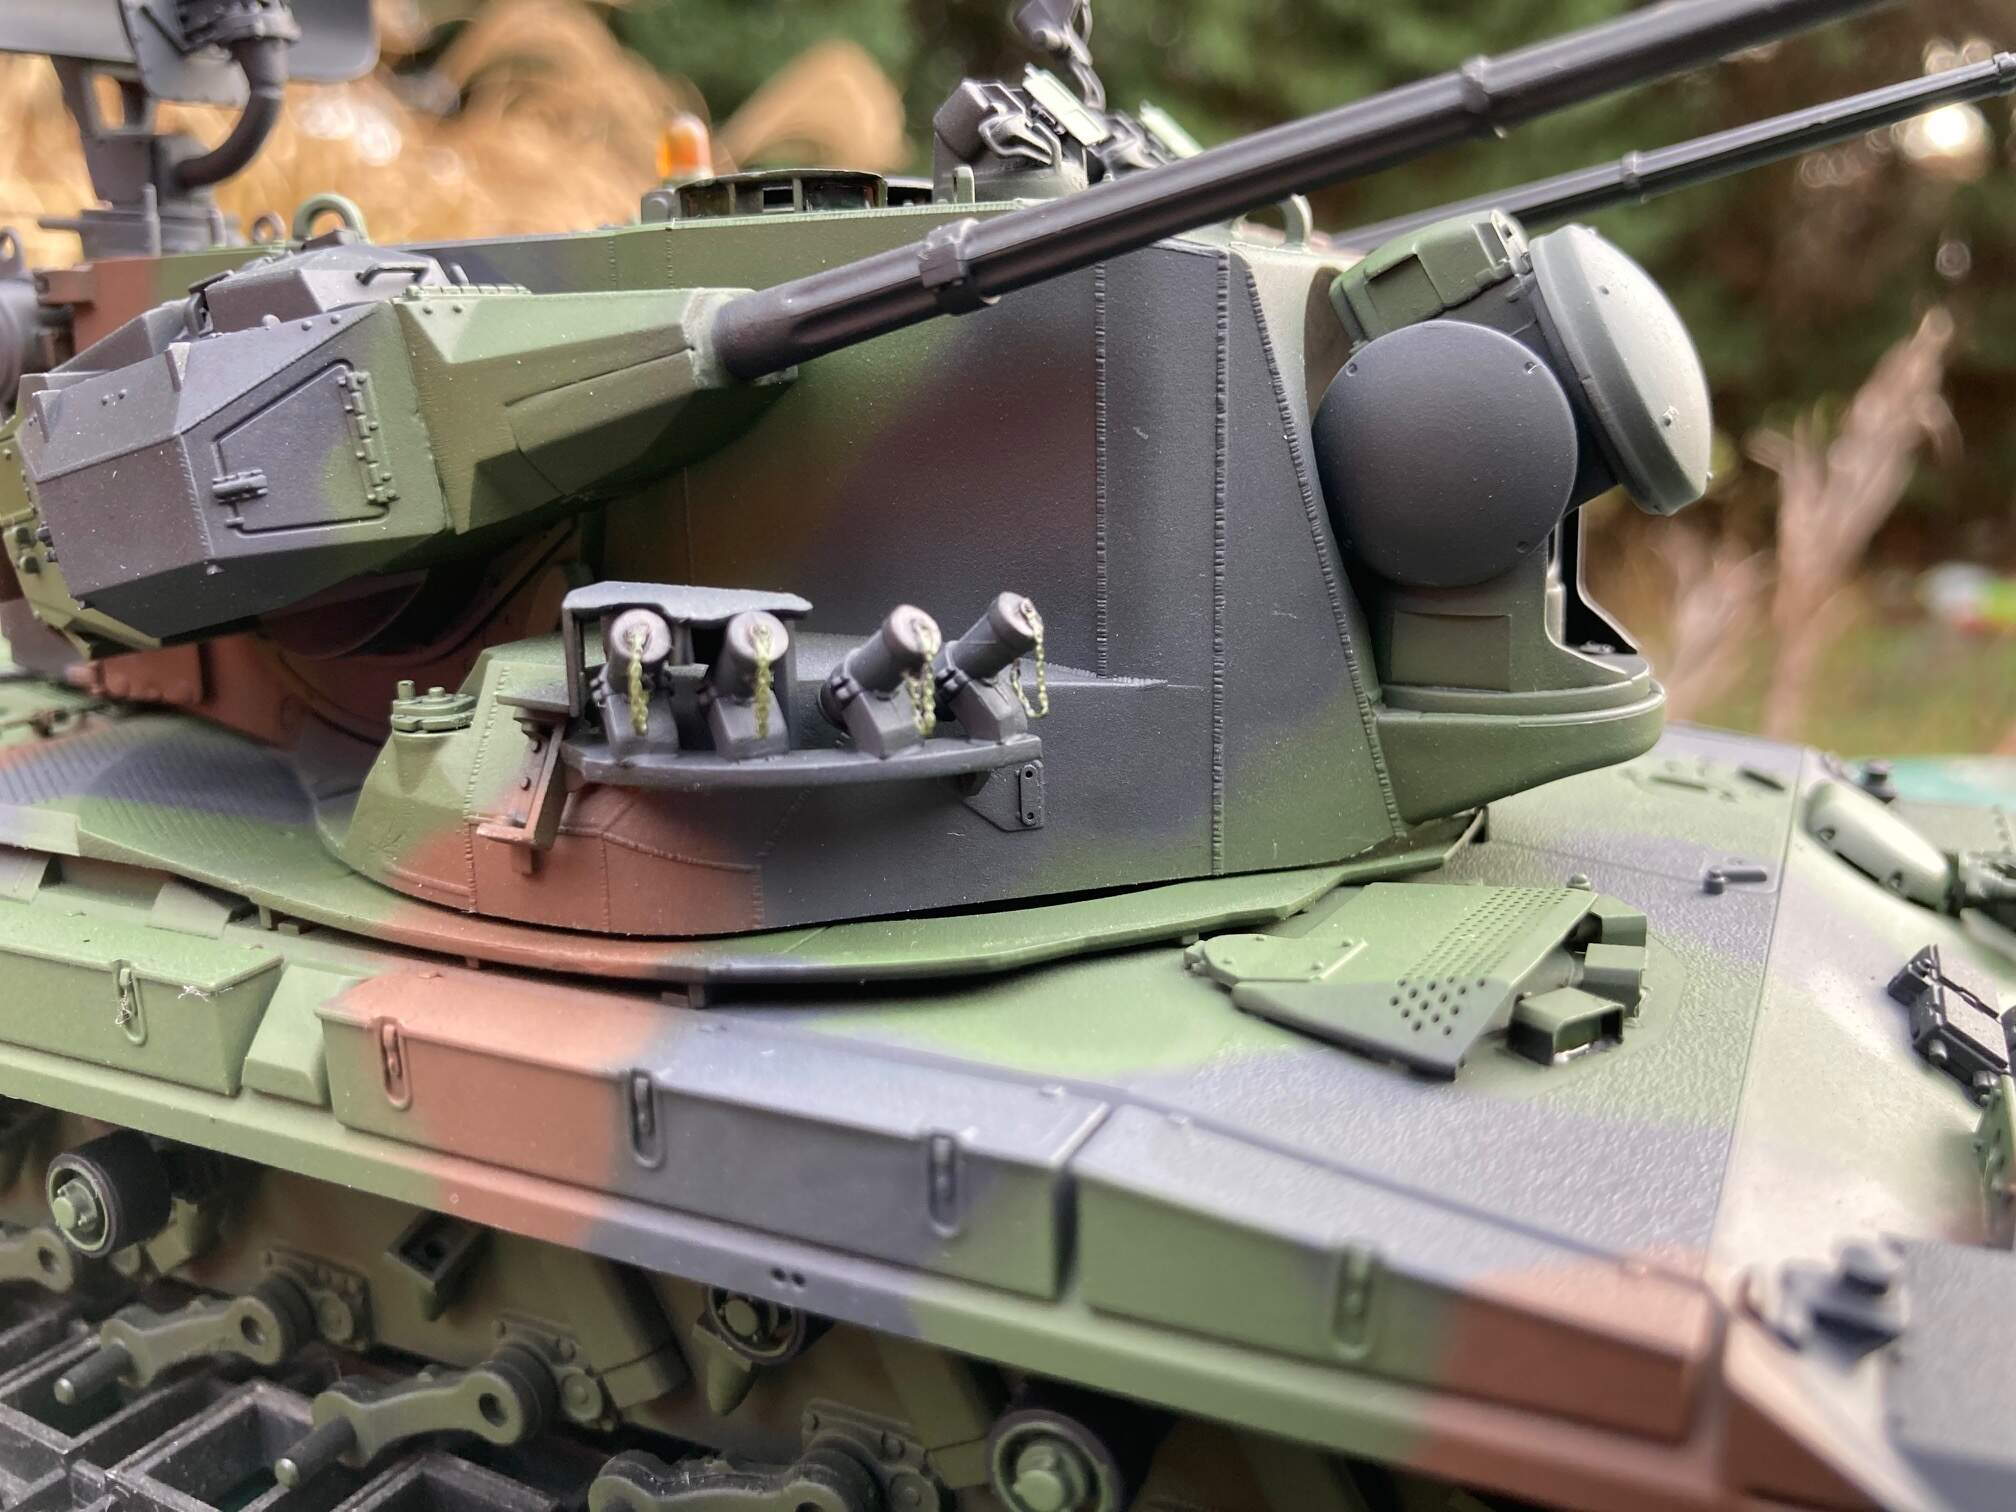
Yesterday and today I and painted various details including the lamps, headlights, the periscopes, towing cables, the smoke grenade launchers’ chains…

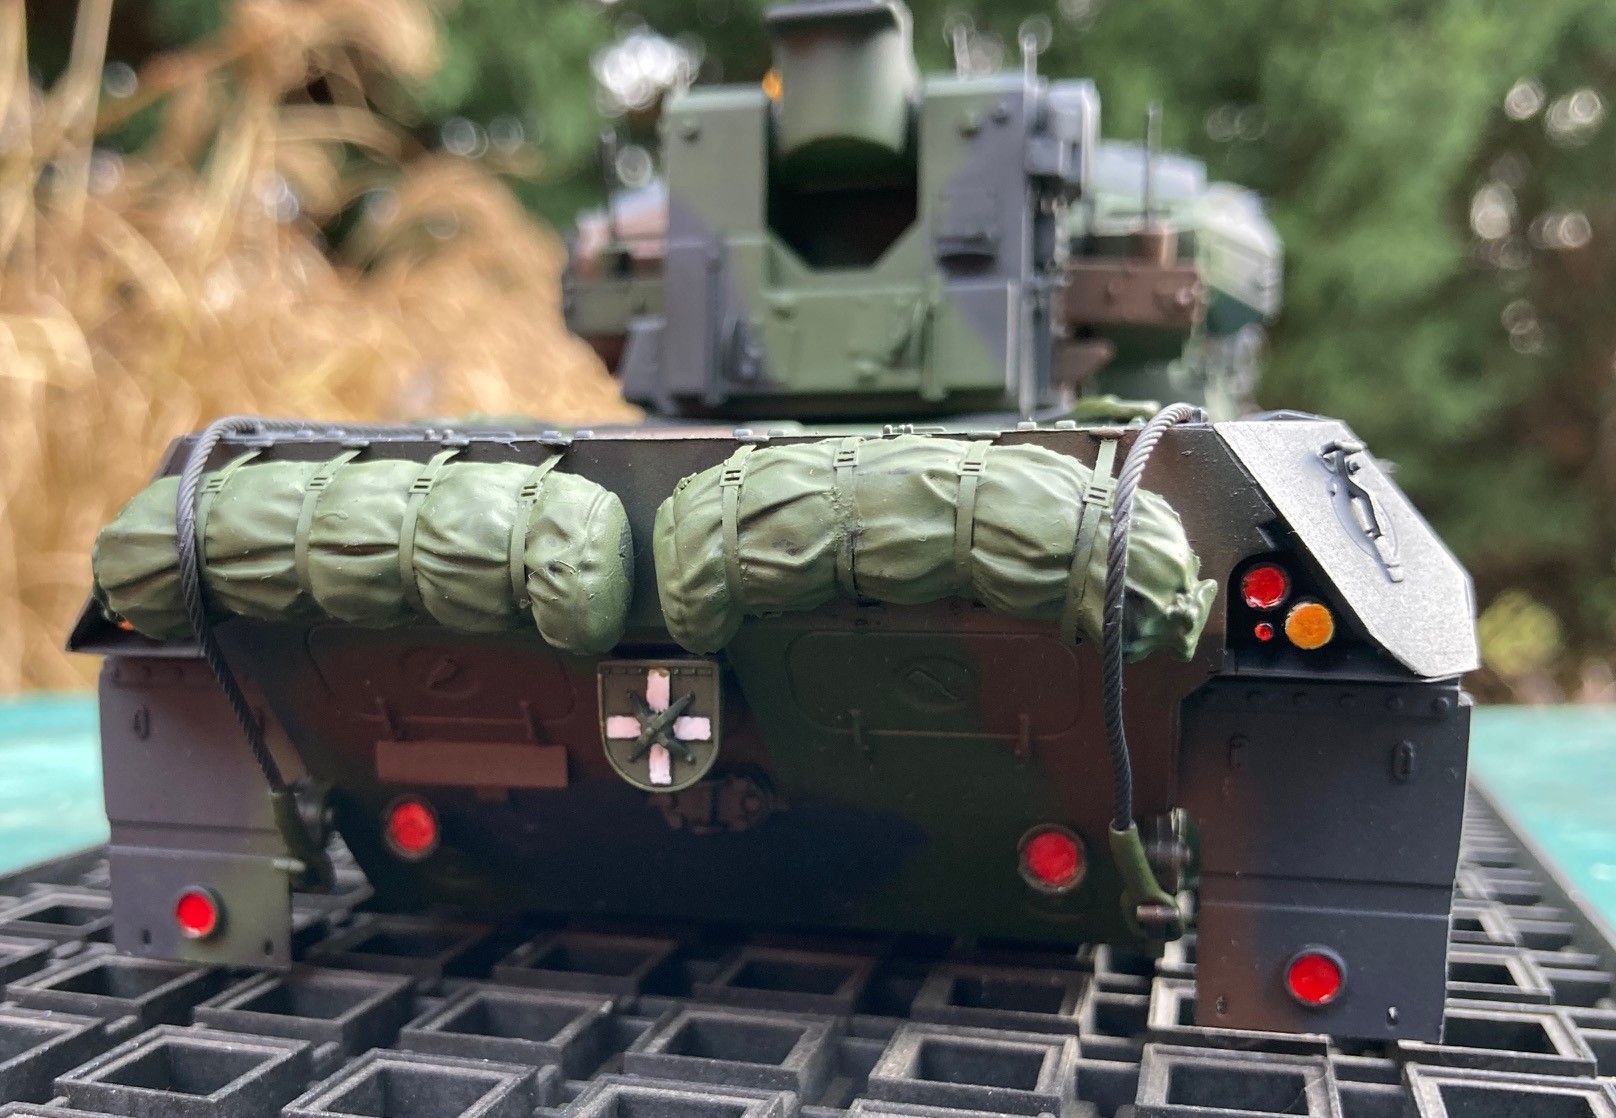
…and the two packs on the hull backside. Another side-note: these packs are provided with the kit, made from some vinyl stuff and pretty good looking after the mandatory scrape-off of the molding lines.

One more side-note: it is not a full OOB hence I used aftermarket towing cables (the kit comes with a poor looking thread only) and also the aforementioned chains of the grenade launchers. Both of them add a lot to the final look, highly recommended additions.

So here I am now. The next step will be some filter to homogenize the camo pattern and some good weathering on the running gear. Once that is done, I will insert the wheels and the tracks (both are painted already), so the front parts of the fenders can be glued on as well as the external mirrors (left off intended due to bitter experience with breaking them off on the Ariete C1 kit, due to massive handling during paint work).

Take care!

Tamás

4 Likes

I like it. I agree with you about the working suspension. As I only build static model (not displyaed in a diorama I mean) I really don’t need this kind of extra difficulty.

Olivier

Thank you Olivier! I have the Meng T-90 and the Terminator kits still in the stash, with the same silly feature. Brrr…

Looking great Tamas, you have got a great look going with the Tri cam… Top work :+1:

Despite your paint troubles, it has become a good result on you Gepard so far, Tamas! I also always dilute my paints and have found out that Sidolin Window Cleaner works well with all water based paints (not with alcohol based!). The mixing ratio goes from 20 % (Vallejo) to 50 % (Revell), depending how thick the paint is. You might give it a try.

Concerning your troubles with AK NATO Black, I found out that Vallejo 71251 is a good tone. Have used it on several vehicles already. NATO Black is slightly on the grey side, not as black as RAL 9005 Tiefschwarz. But beware, it becomes really dull in the end, not to say dead flat … :innocent: You might check that one out, too.

Oh, and a happy new year to you! Have a healthy and lucky 2021! :fireworks:

Thank you Torsten, maybe next time when I’ll build the Leo2a7 in NaTO camo. This kit will remain like this, I will apply some more layers of treatments, so some darkening is expected.

Tamás

Thank you Sir, highly appreciating!

Hi Everyone,

I had a way too long silence because of various family and work load occurred in the last weeks but some two weeks ago I could assemble the tracks onto the vehicle. They were ready to add to the running gear but I always wait until the base paint is completely dry. This time I had other reasons to suspend the construction but finally both tracks were inserted. Actually I under-counted the single tracks so I had to add another 5 units to gt the entire track closed on both sides. The result was that I had to re-paint these new units and if you look carefully you can see them less sandy than the original ones. Before inserting the tracks I weathered the running gear and the bottom of the hull (at least behind the tracks). Now I see that some of the wheels are a bit over-weathered so I will touch them up next time, right before I will do the final weathering.

After the tracks were inserted I glued the front fenders, too. Hand-painted simply because they will be attacked with sand, dust and perhaps some mud weathering agents. I am pretty sure that the base paint will be mostly clouded by them.

BTW, there is no any dry-painting yet to highlight the edges as I planned to do it when all parts will be inserted and tested. Today I sprayed some glossy varnish to the decals’ locations and after dried, applied the decals. There are four sets provided by Meng and I chose the last option as “Gepard A1 with normal barrels from 2nd Battery, 2nd Armoured Air-Defence Battalion, on Exercise Caravan Guard, Westerwald, 1989” because this one has the most decals on a relatively boring camo scheme.

I like what I see now and I am looking for the next session - the real weathering. The very last step will be the external mirrors as they are so delicate that I do all my efforts to avoid breaking the off during handling.

4 Likes

Just a bit of update from yesterday: I planned to do some initial weathering yesterday evening but having seen a little shine on the back side of the main radar antenna on the uploaded hi-res photos I decided to correct it. And having the airgun prepared for painting I also corrected the front left fender green to the same shade as everywhere on the vehicle and some overspray on the roadwheels to ease the overdone mud / dust effect. No photos were taken as it was too dark already by the time I finished all correction works.

Next planned update will be about the weathering process.

Tamás

Looking really nice. Will be waiting for the weathering update. :+1: :+1:

Very nice and clean job. I would suggest you adjust the track above the left sprocket. At least one link could be more horizontal.

Olivier

Merci Olivier!

The kit does provide possibility to the builder to do a nice and clean work. After a minimal of panel line extra scribe, the details are more eye-catching. Right now I like this vehicle a lot because the combination of the details and the camo pattern.
I also see the issue with the left side sprocket and track. Actually I am afraid to touch that part as these Meng tracks are really fragile. I broke about 3-4 pieces during the insertion (the outer interlocking part fell out because the pins inside the track pads broke); also as I mentioned, the track-width is bigger than the clearance between the sprocket halves and I had to file-off a bit from the sprocket internal surface.
This issue surely decrease the builder satisfaction.
I might try to touch that track-link and gently push downwards, meanwhile hoping and praying :slight_smile:

Tamás

1 Like