Great build so far, Tamas! Well done! 
The Oerlikons look really sharp. Are they from the kit or aftermarket? The Gepard is one tank that is still missing in my Bundeswehr collection. I don’t even have the old Tamiya kit … 
Oh, and don’t do too much weathering on you build, don’t spoil it!
Stay safe!
Torsten 
Sad to read about the fragile tracks. So don’t ruin your model because of my comment
Olivier
Thank you Torsten!
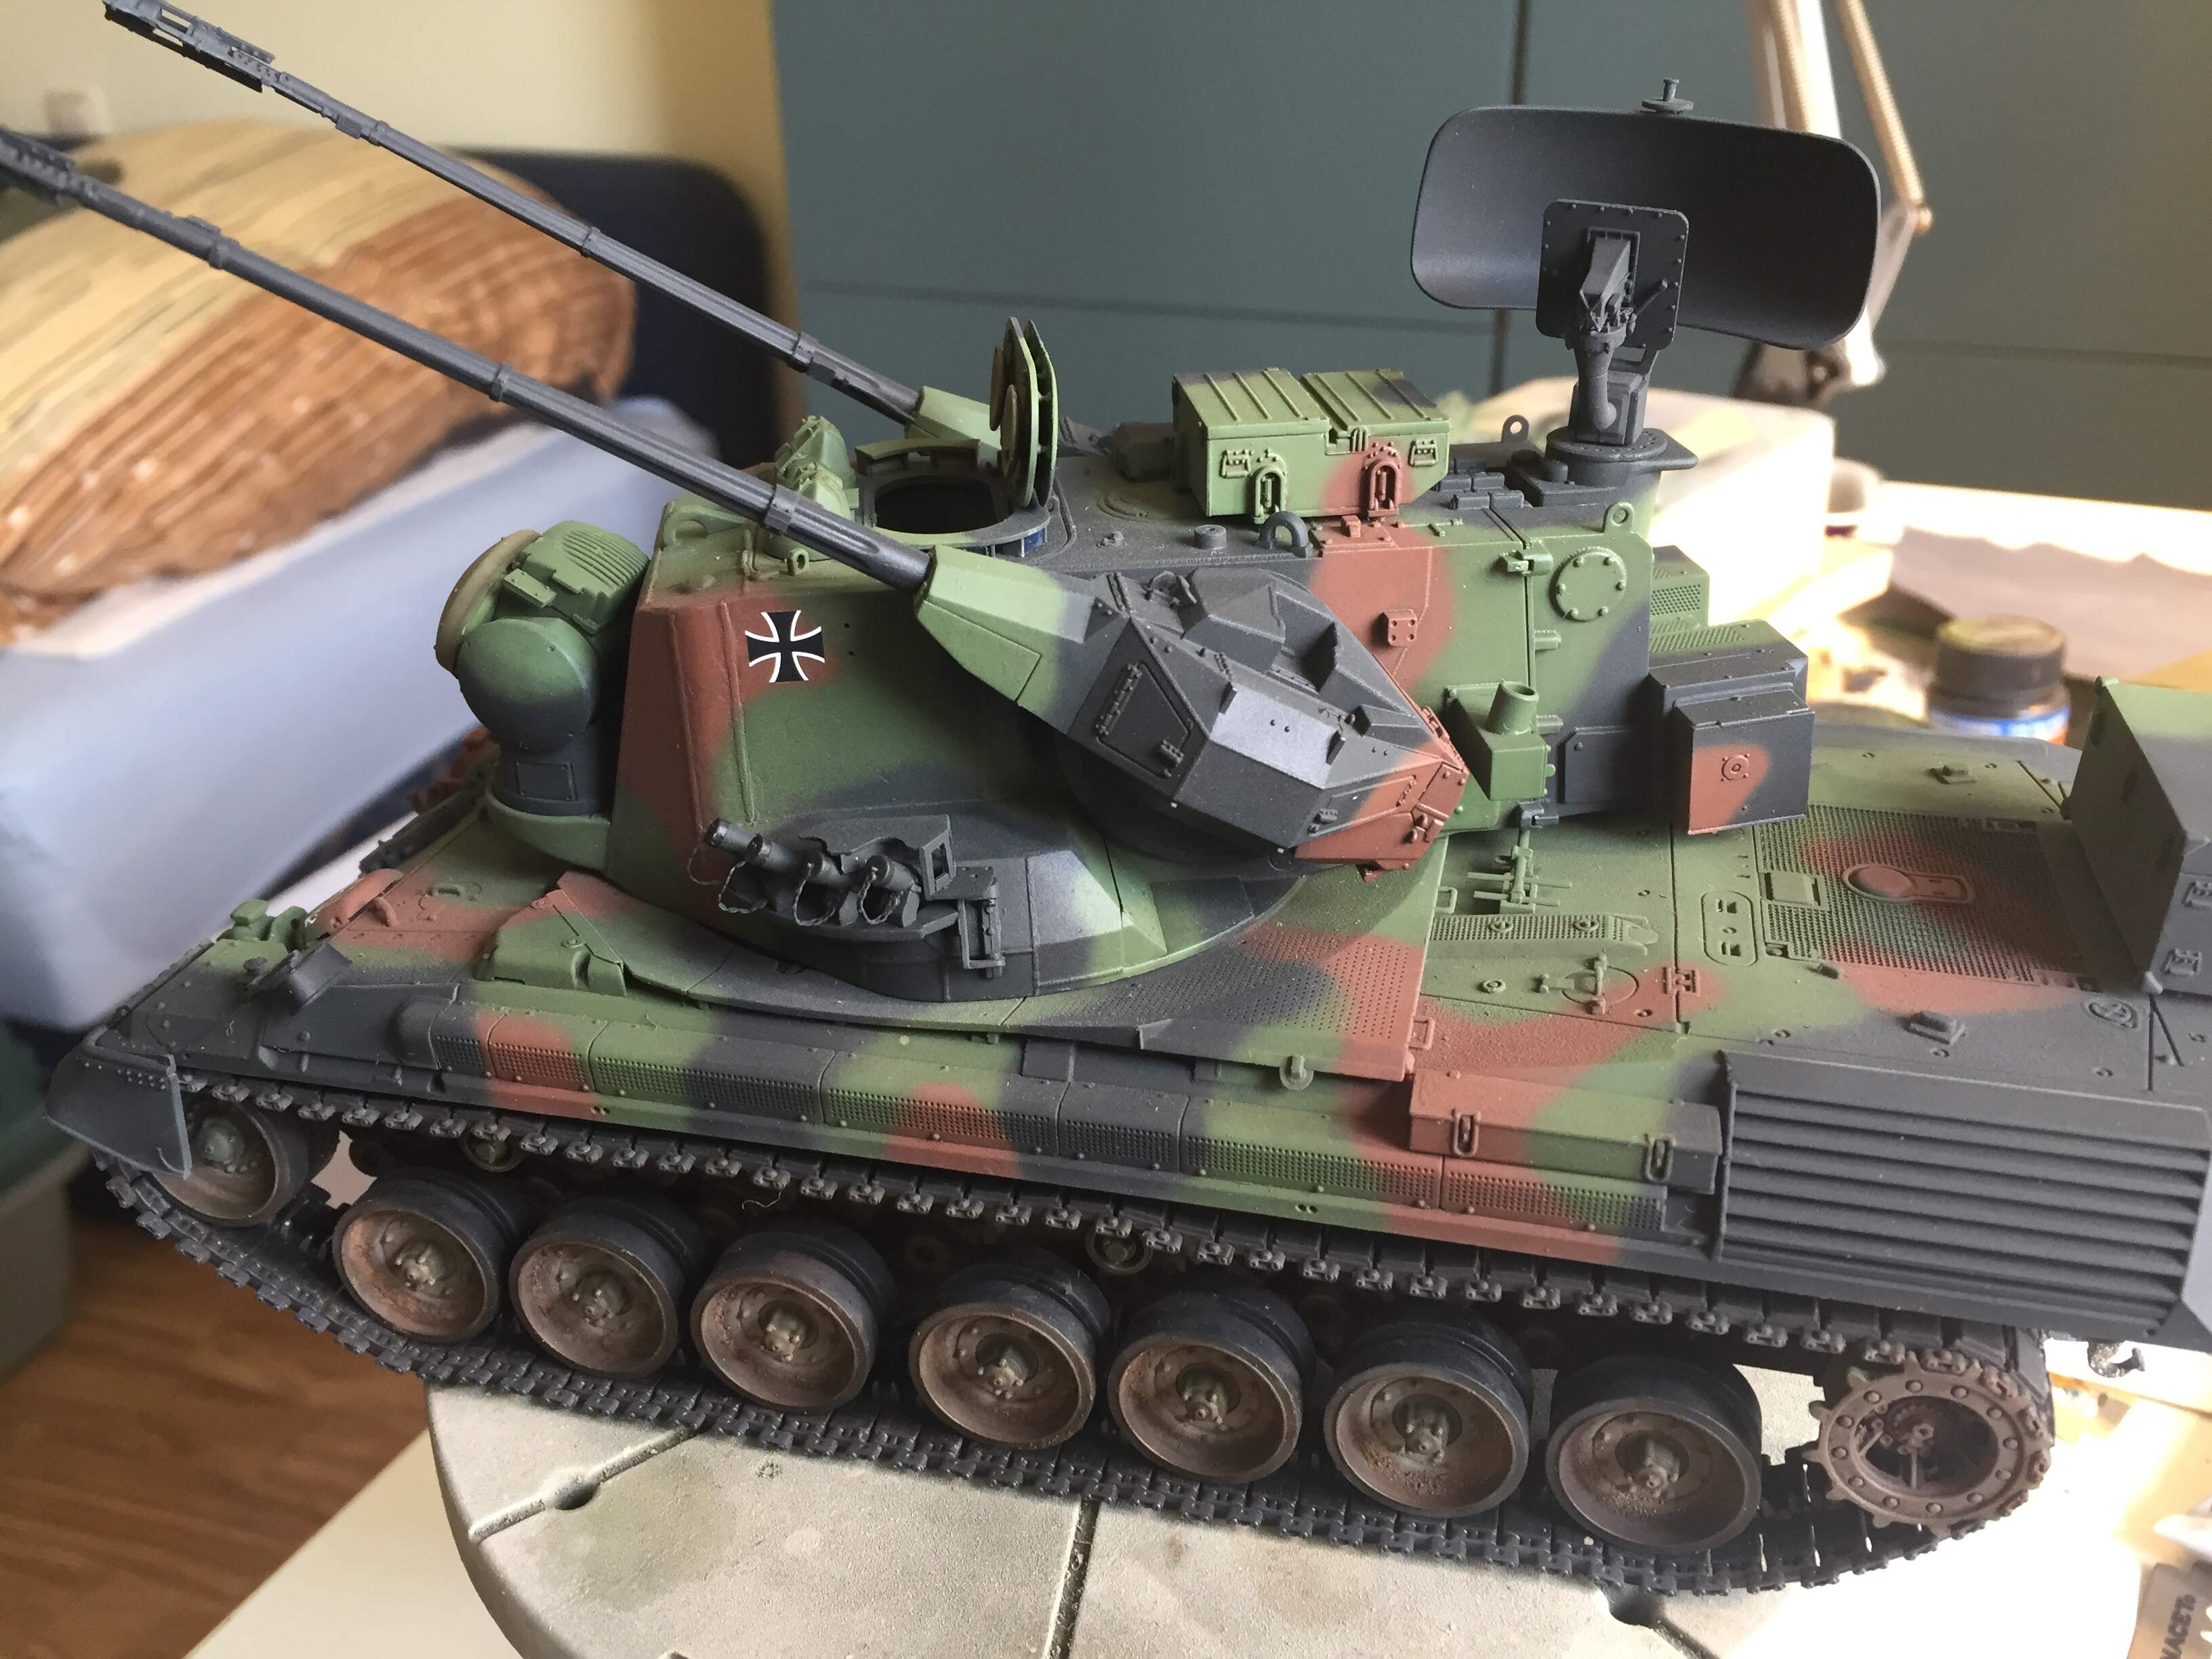
The Oerlikon just like all other parts (except the Leopard Club smoke grenade launchers) are included in the kit as you see them on the pics.
If you want to complete your BW collection I do recommend this kit above the old Tamiya and even on the competitor Takom kit although I did not build them. Details are sharp, relatively easy build with one mid-serious issue: the running gear is tricky to build properly, I had to glue them ensuring they keep their height.
Tamás
Hi Olivier,
Surely I have no intention to destroy it but does worth a very smooth try. I prefer to do proper job, just like you do, having seen your build logs 
There was a motto in my former workplace saying “Strive for Excellence”. I think this is valid in this hobby, too.
Tamás
1 Like
Turned out very nice ! … like it ! 
Done two myself … well one for me and the paint job on both.
I work on it on and off … just too many other projects 
Cheers
Christopher
2 Likes
Thank you Christopher!
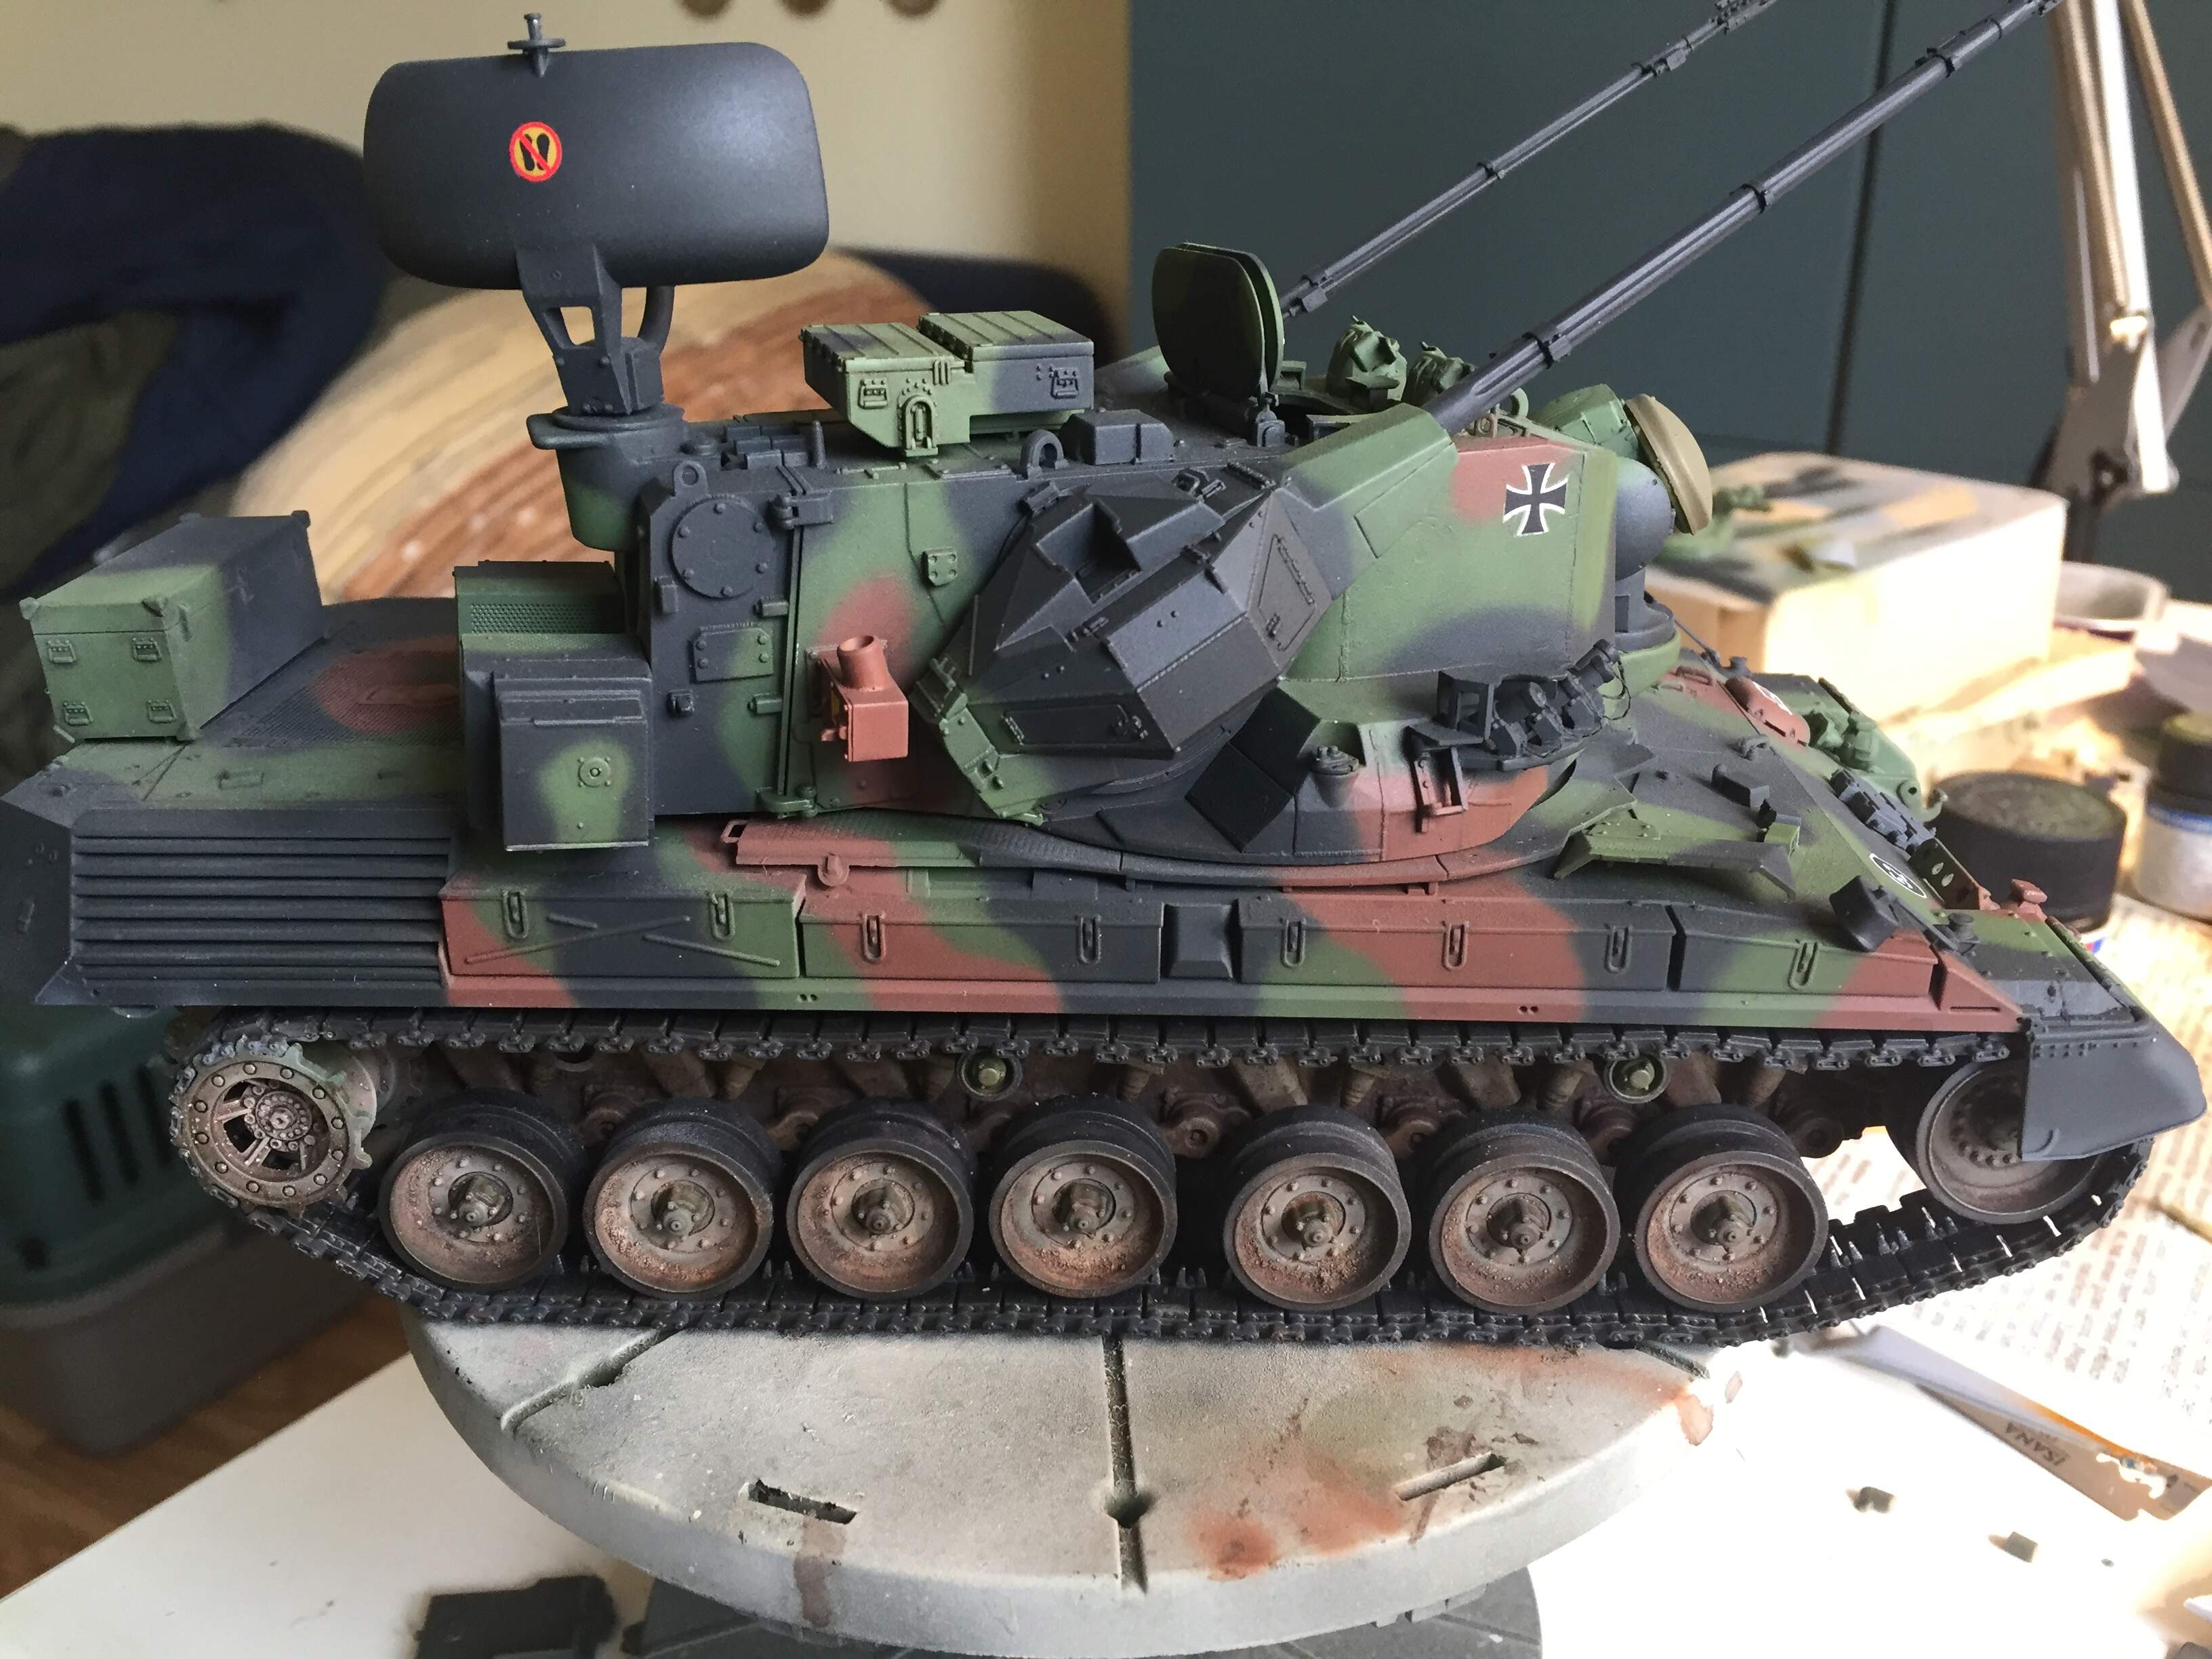
Your model looks great, I particularly like the mud built-up on the road wheels. Looking at the details I saw that the small antennas are missing - is it intentional that you did not use them?
Also if I may suggest: you could enhance the look with some panel line was. That could add some depth to the surface details.
Great job so far!
Tamás
Thankx !
The model is still far from finished … I tend to replicate my models closer to real life appearance rather than “artistic” features so things stay quite subtle with this one … at least for the time being.
Cheers
Christopher
1 Like
HI Christopher,
Respectfully your approach of presenting the subject in model scale, let me explain what I meant,
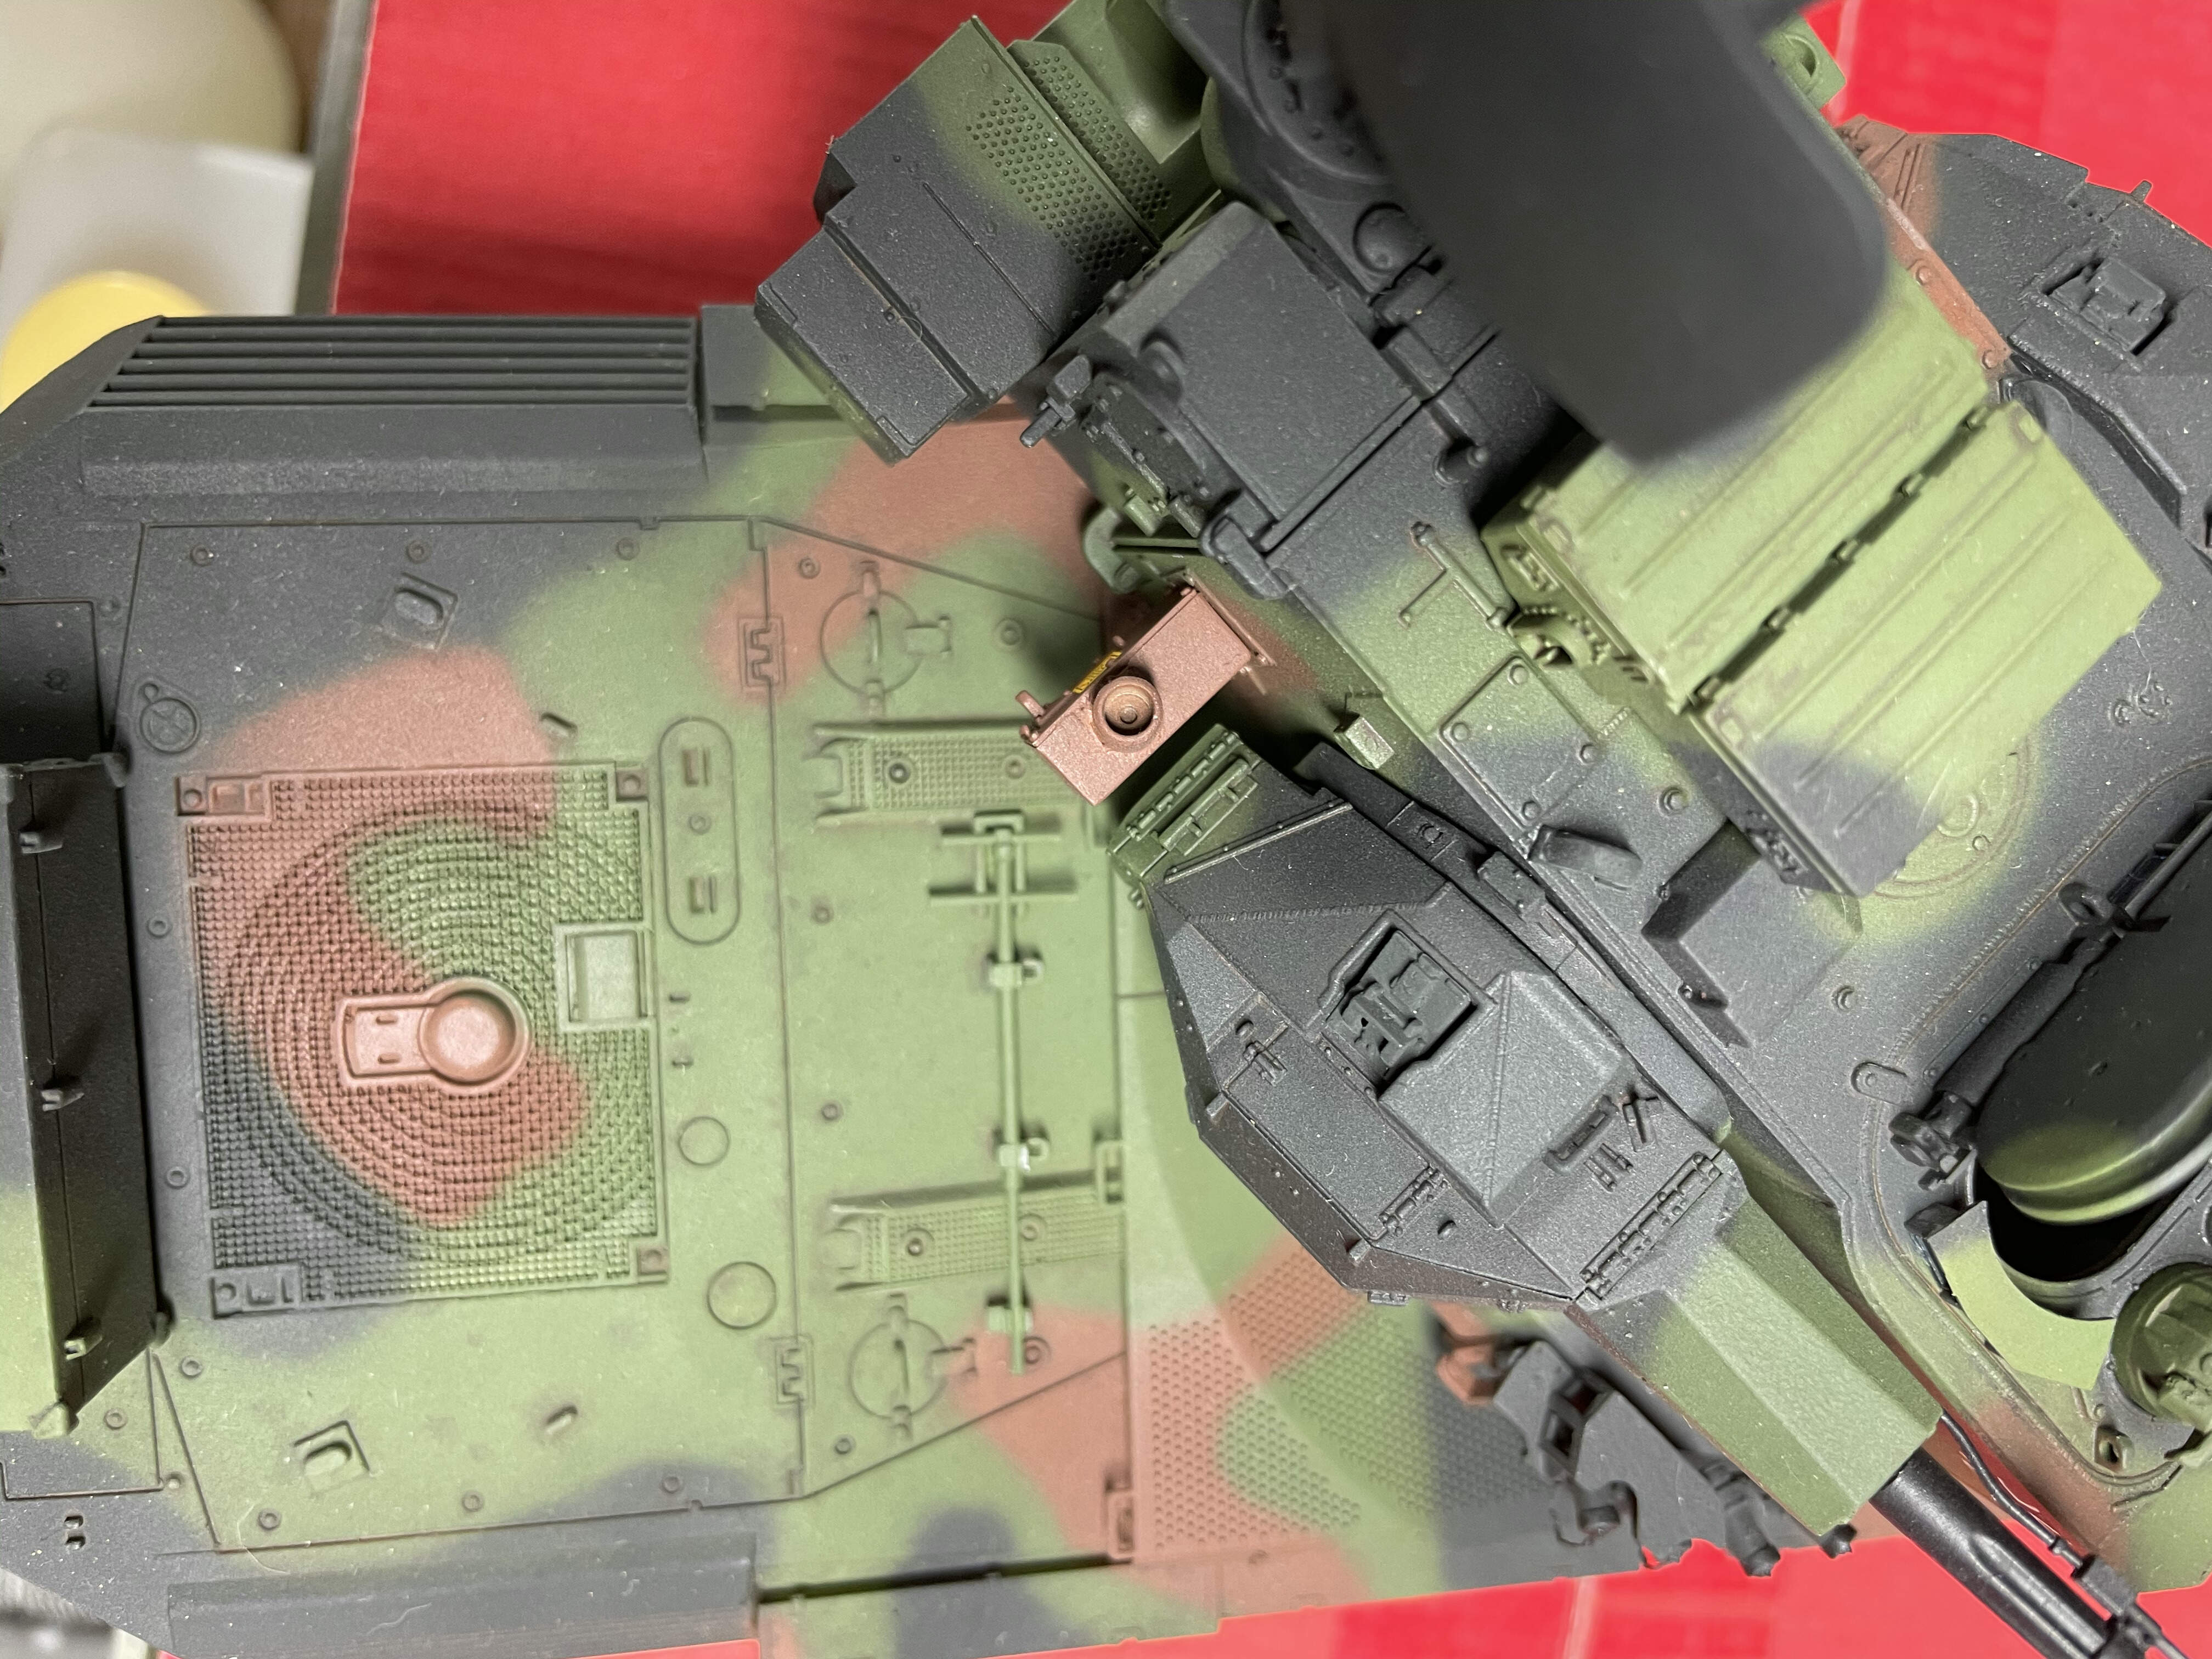
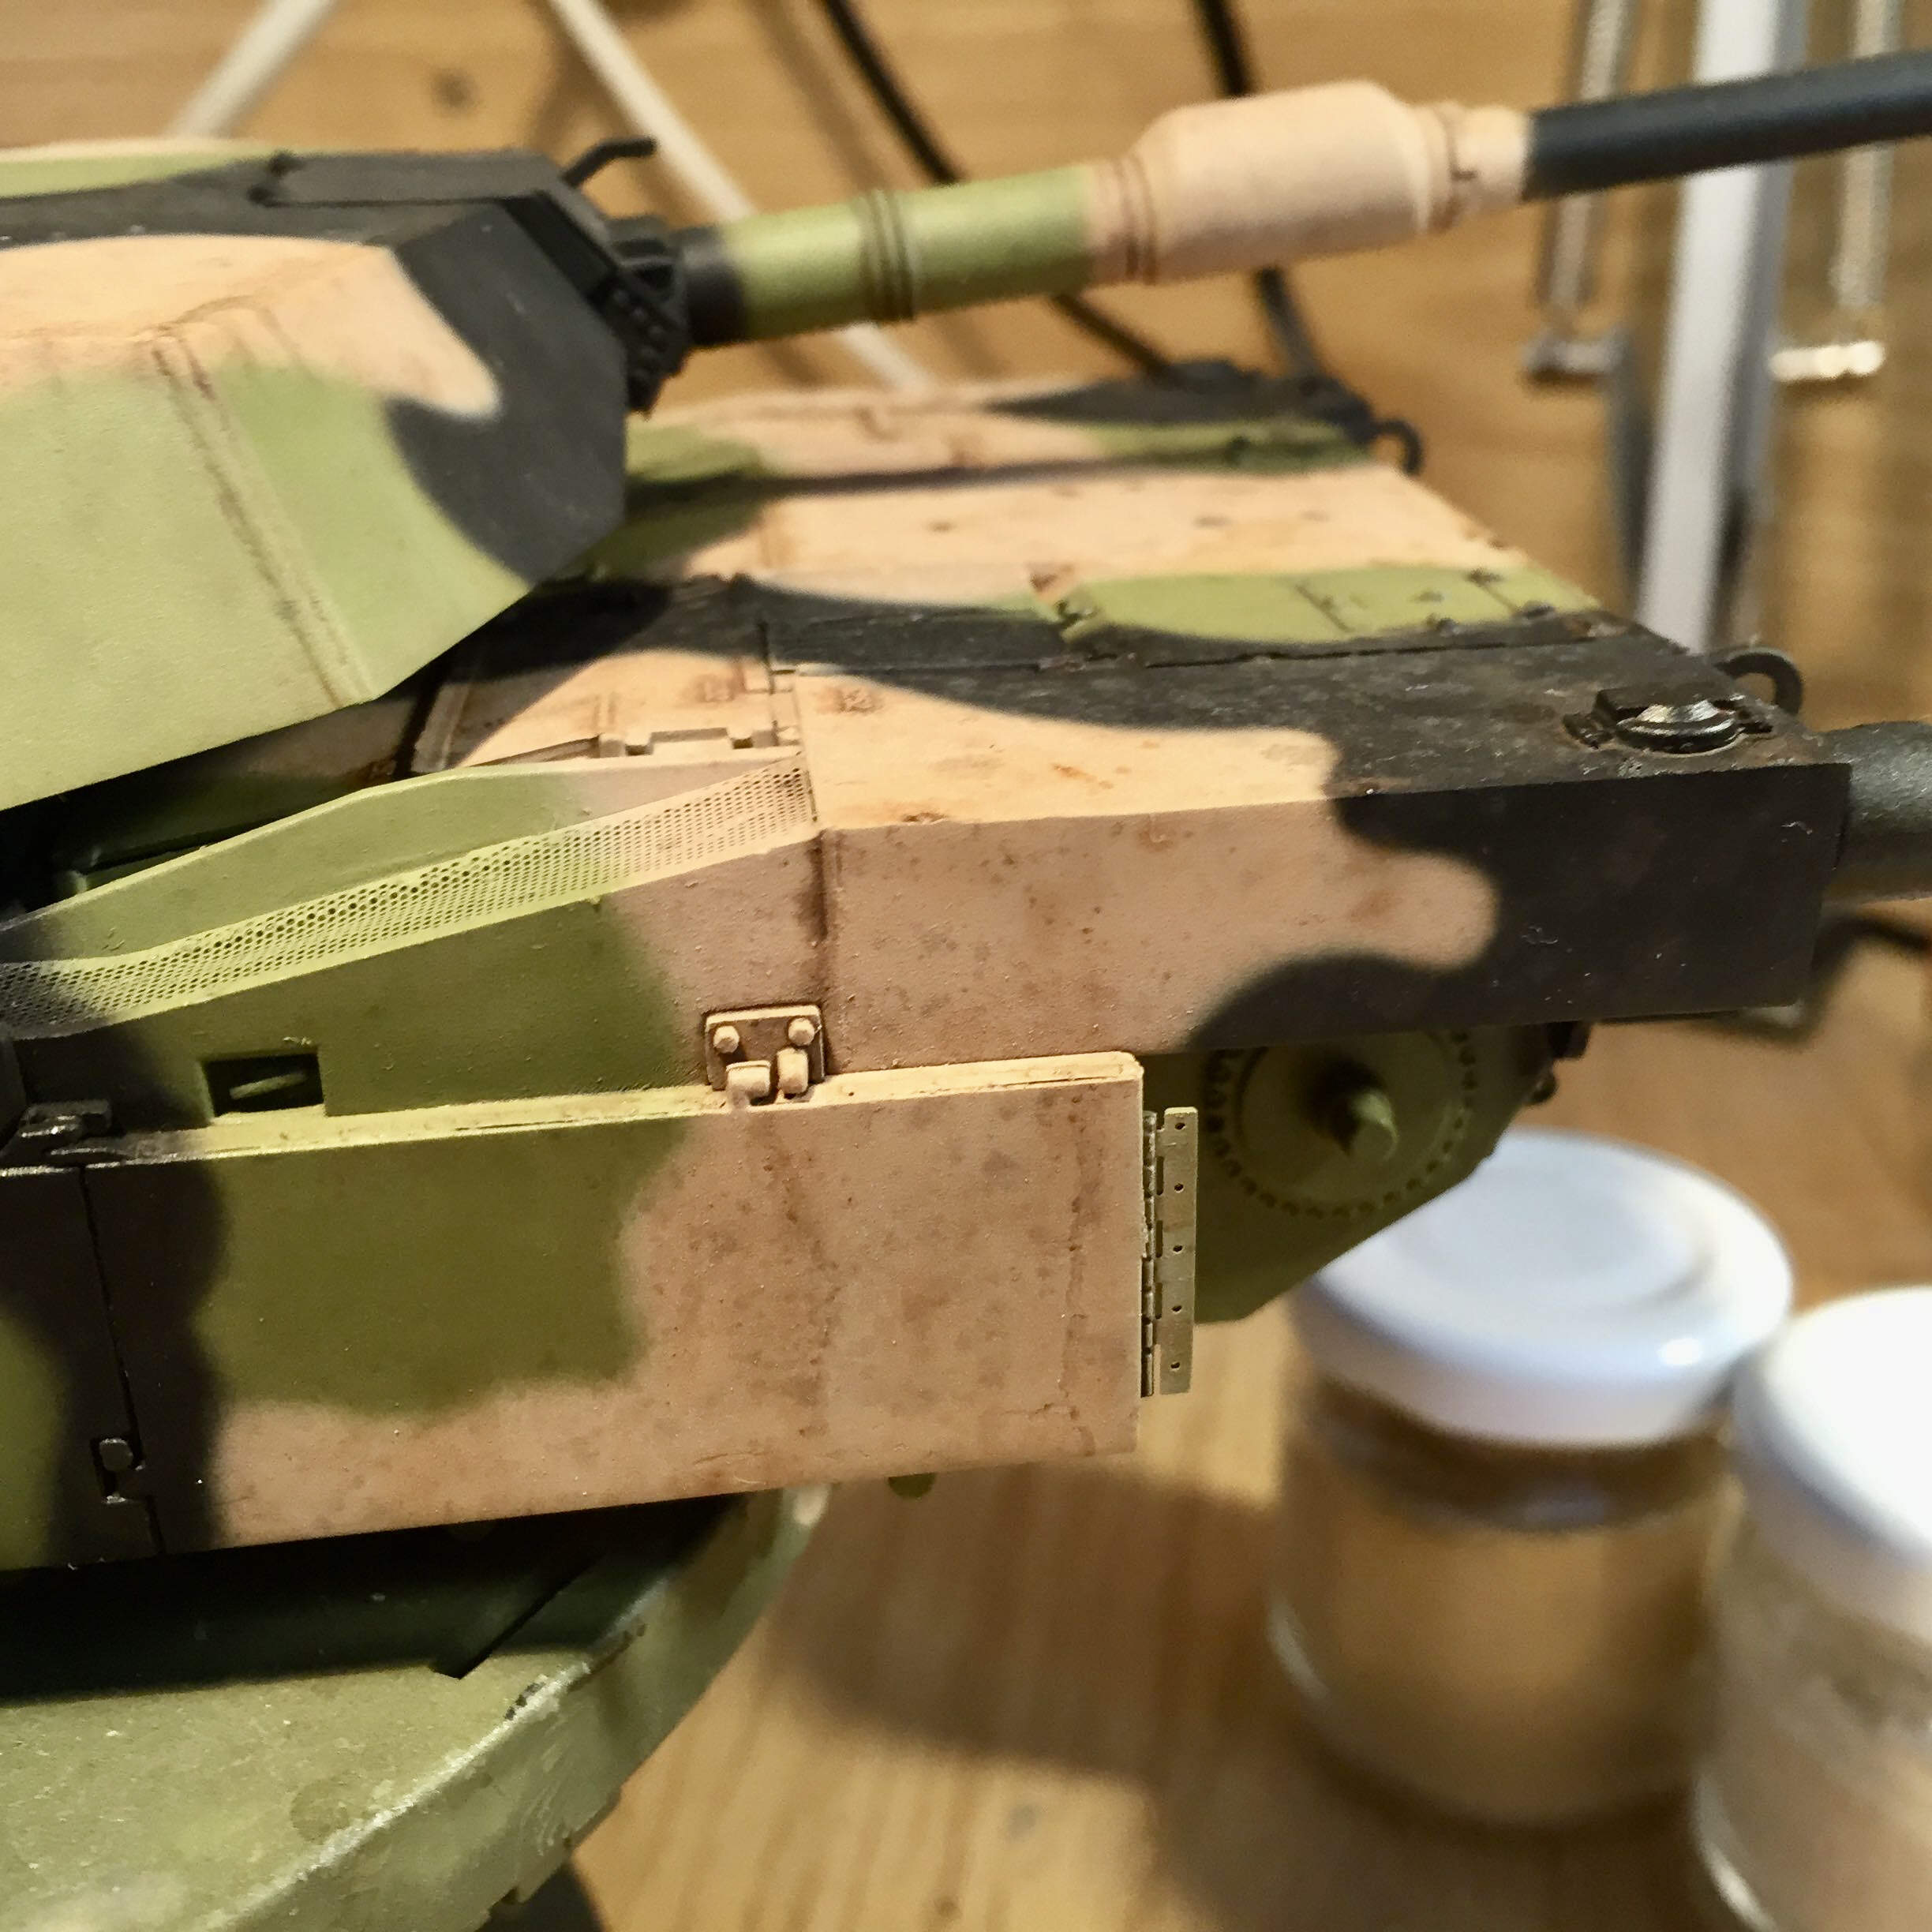
The wash I wrote is simply some highly diluted dark paint (artist oil) flowed into the recessed panel lines and (in this particular case) into the tiny bit deep recessed “holes” on left side part above the tracks. I believe these holes are real holes in a real tank but the plastic does not allow to make them real holes (a/m photo etch could, btw). To imitate this depth (darkness in the real holes) I flowed diluted black oil into them so now they imitate the depth of a real hole. Same technique used on the recessed panel lines, screws etc… just to improve the look without being too artistic.
About the “heavy artistic method” you avoid: I do agree you. Having seen many photos of Gepard vehicles I could not find any BW vehicle being rusty, worn, full of scratches. So my weathering will be mostly dust. If I find out what you did with the road wheels, than will try to replicate yours as they look exactly what I imagined during the project.
Tamás
Hey Tamás
… I do exactly as you described, I actually “sprinkle” the whole model with diluted oil paints after I highlighted the nuts & bolts and other recessed areas.
But then I go over each spot with the appropiate tone highly diluted to tone things down again.
A real life tanks are covered with “spots” of any color, shape and depth … this breaks the uniform appearance of each color.
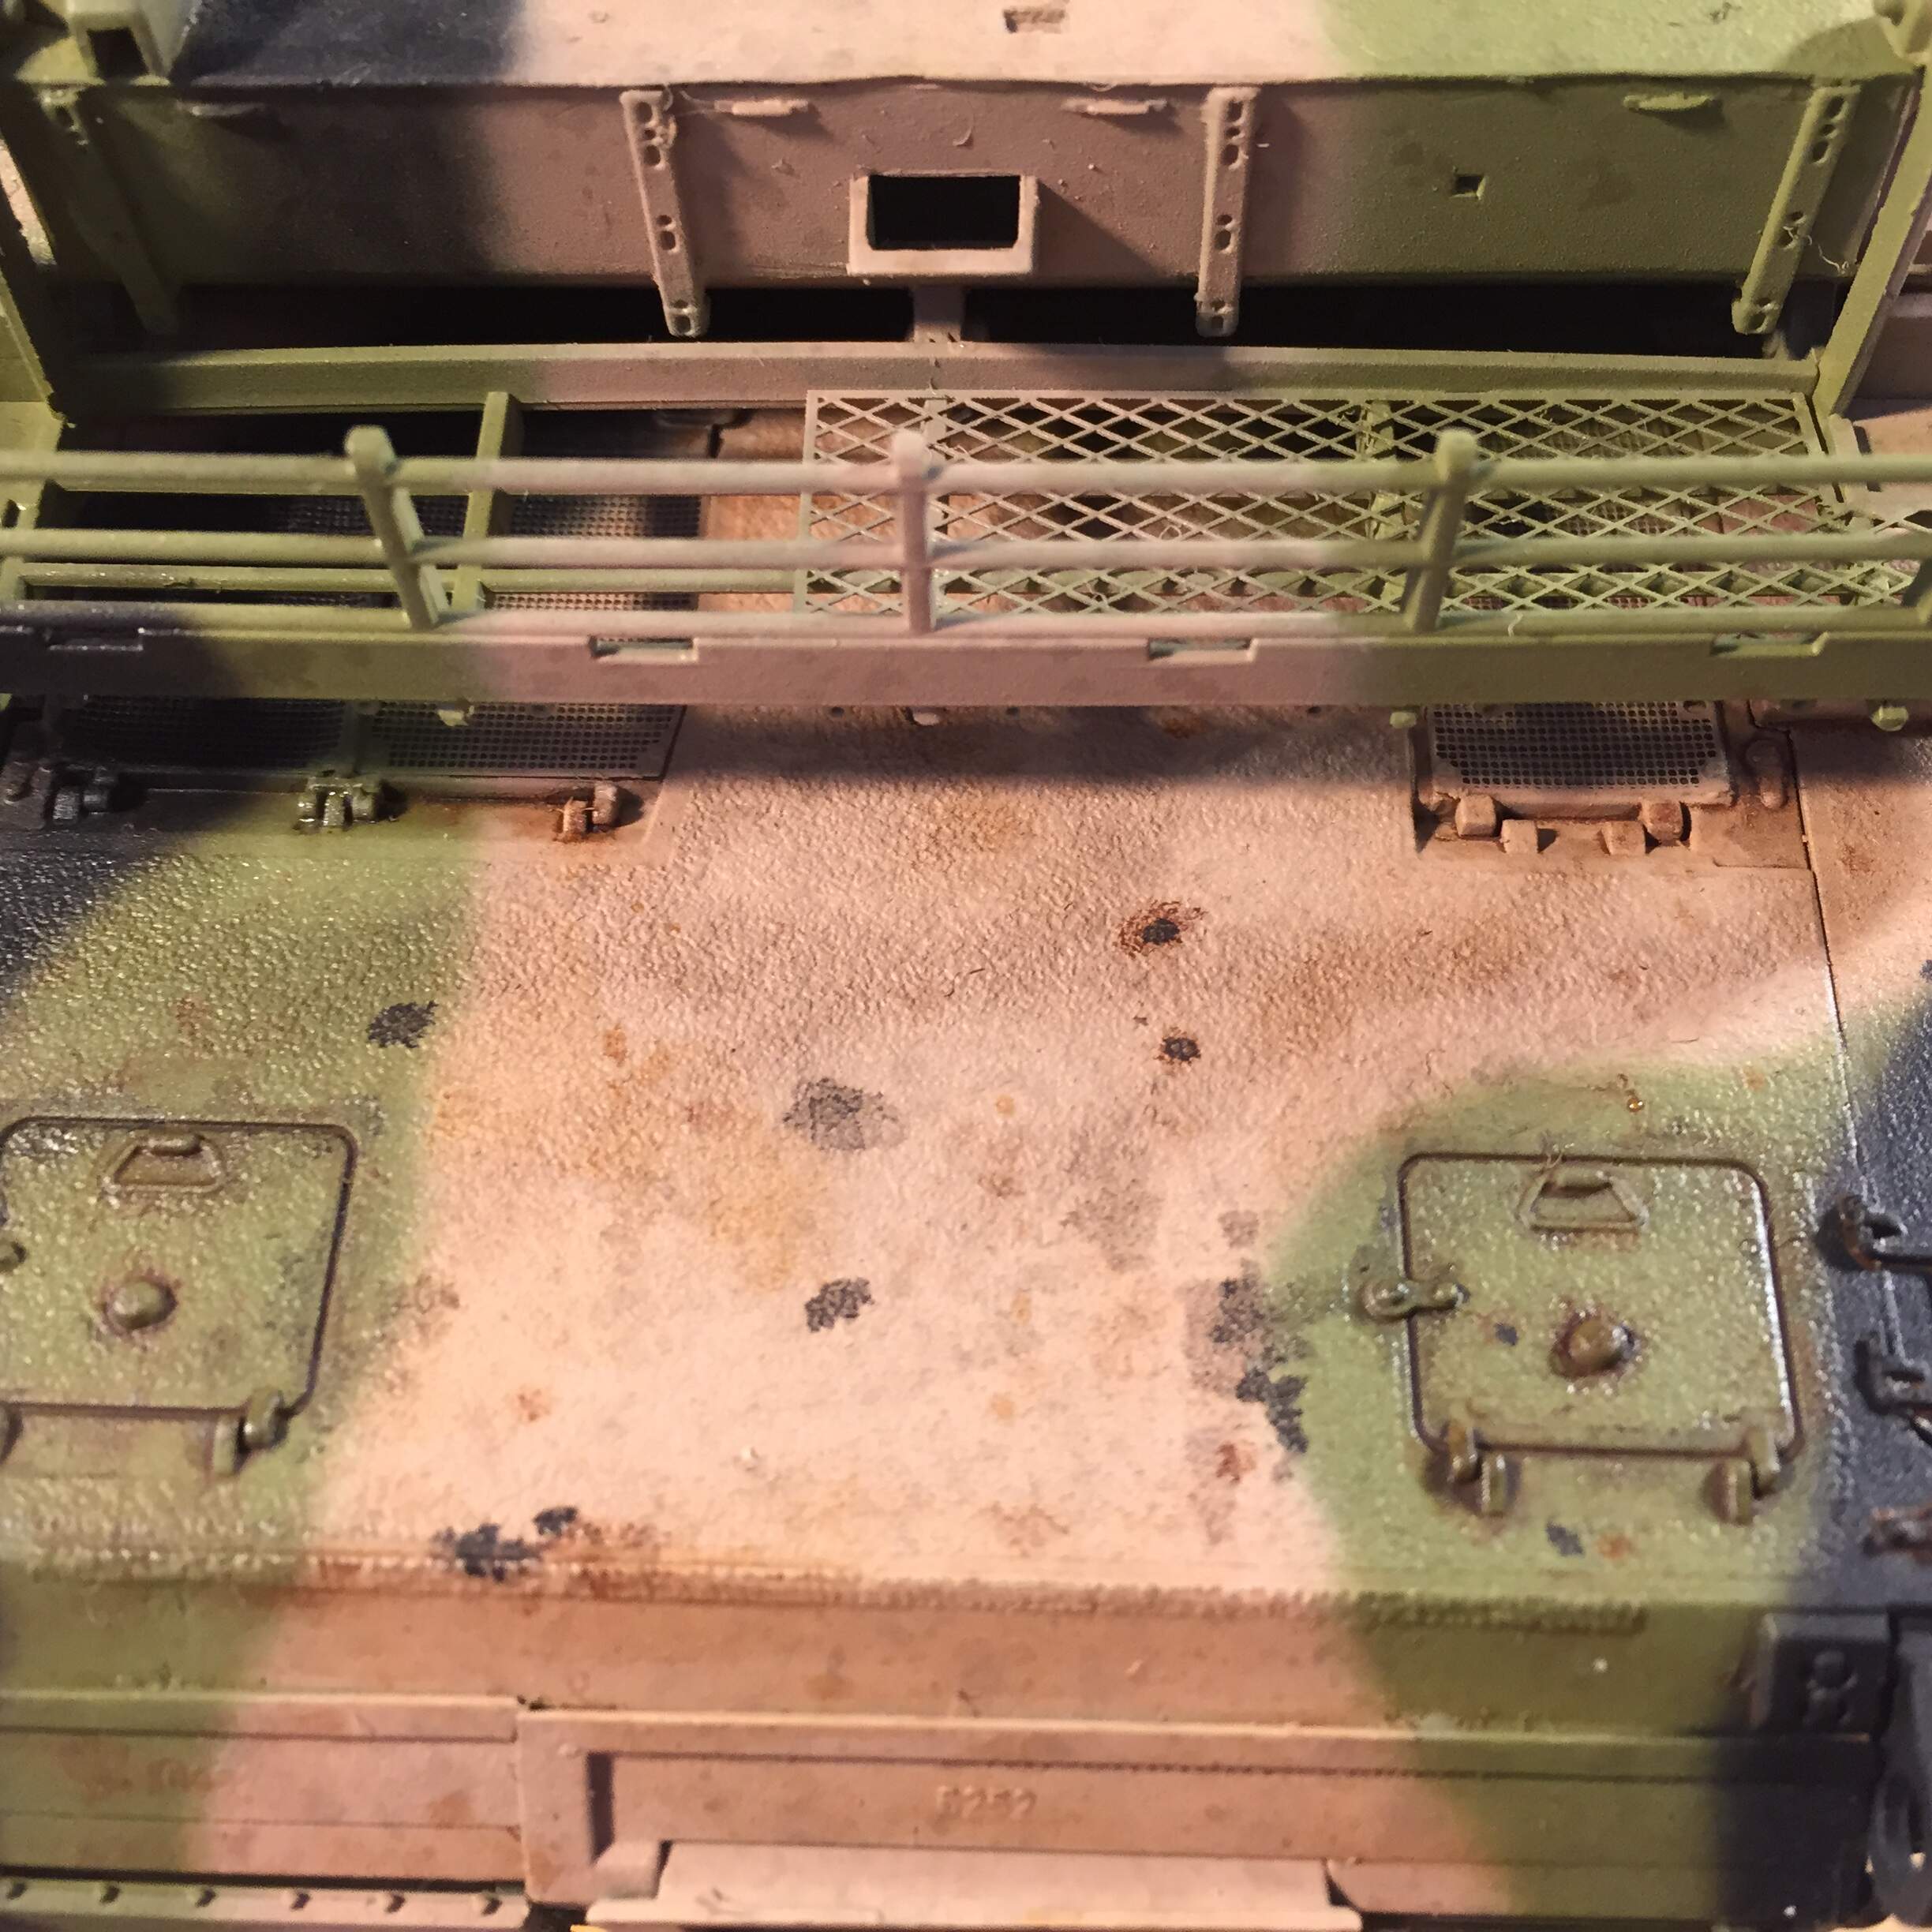
Before:
![IMG_2944|553x500]
After:
Then I pick out individual spots/ areas and enhance them again … quite time consuming but this way a “clean” vehicle doesn’t appear spotless … so to say.
Then comes the weathering with pigment or such and again “fresh” spots and spills are individually highlighted.
It always depends what my reference shows since I mostly replicate original vehicles.
Cheers
Christopher
1 Like
Wow Christopher, this is coooool! I am really excited reading your method, the photos confirm it is unique and gives a realistic result. I will definitely try it on the Gepard model as no weathering was done on it yet.
I hope to get somewhat same impressive results!
Tamás
Here is a finish example:
Cheers
Christopher
2 Likes
Hi Christoper,
Great model, I like it a lot! Your approach seems to be very effective.
Tamás
Hi Olivier et Al,
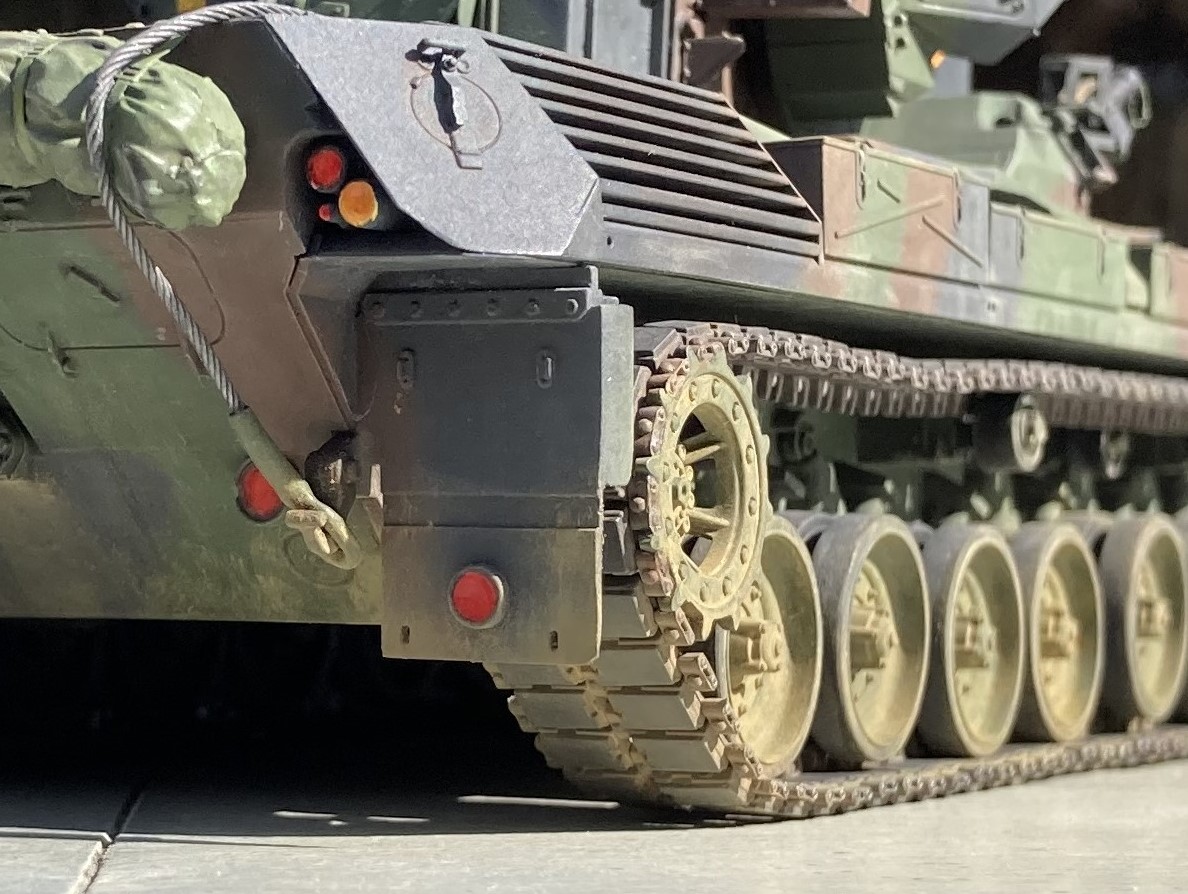
After remembering that actually it is a workable track on the model,I took some external braveness (or as you know it - “Beer”) and carefully turned the sprocket 5-6° to the top and voilá! the track looks much better.
It was not a Klingon technology but had to do with extra care. Interestingly after the turn, a broken track-link part fell onto the table. As I did not find any missing, it must be one from the last time when the tracks were applied. I remember that I had to replace one from the spares…
So. I had a small break this week (and countless hours working in the office) so weathering is planned to the next weekend.
Cheers,
Tamás
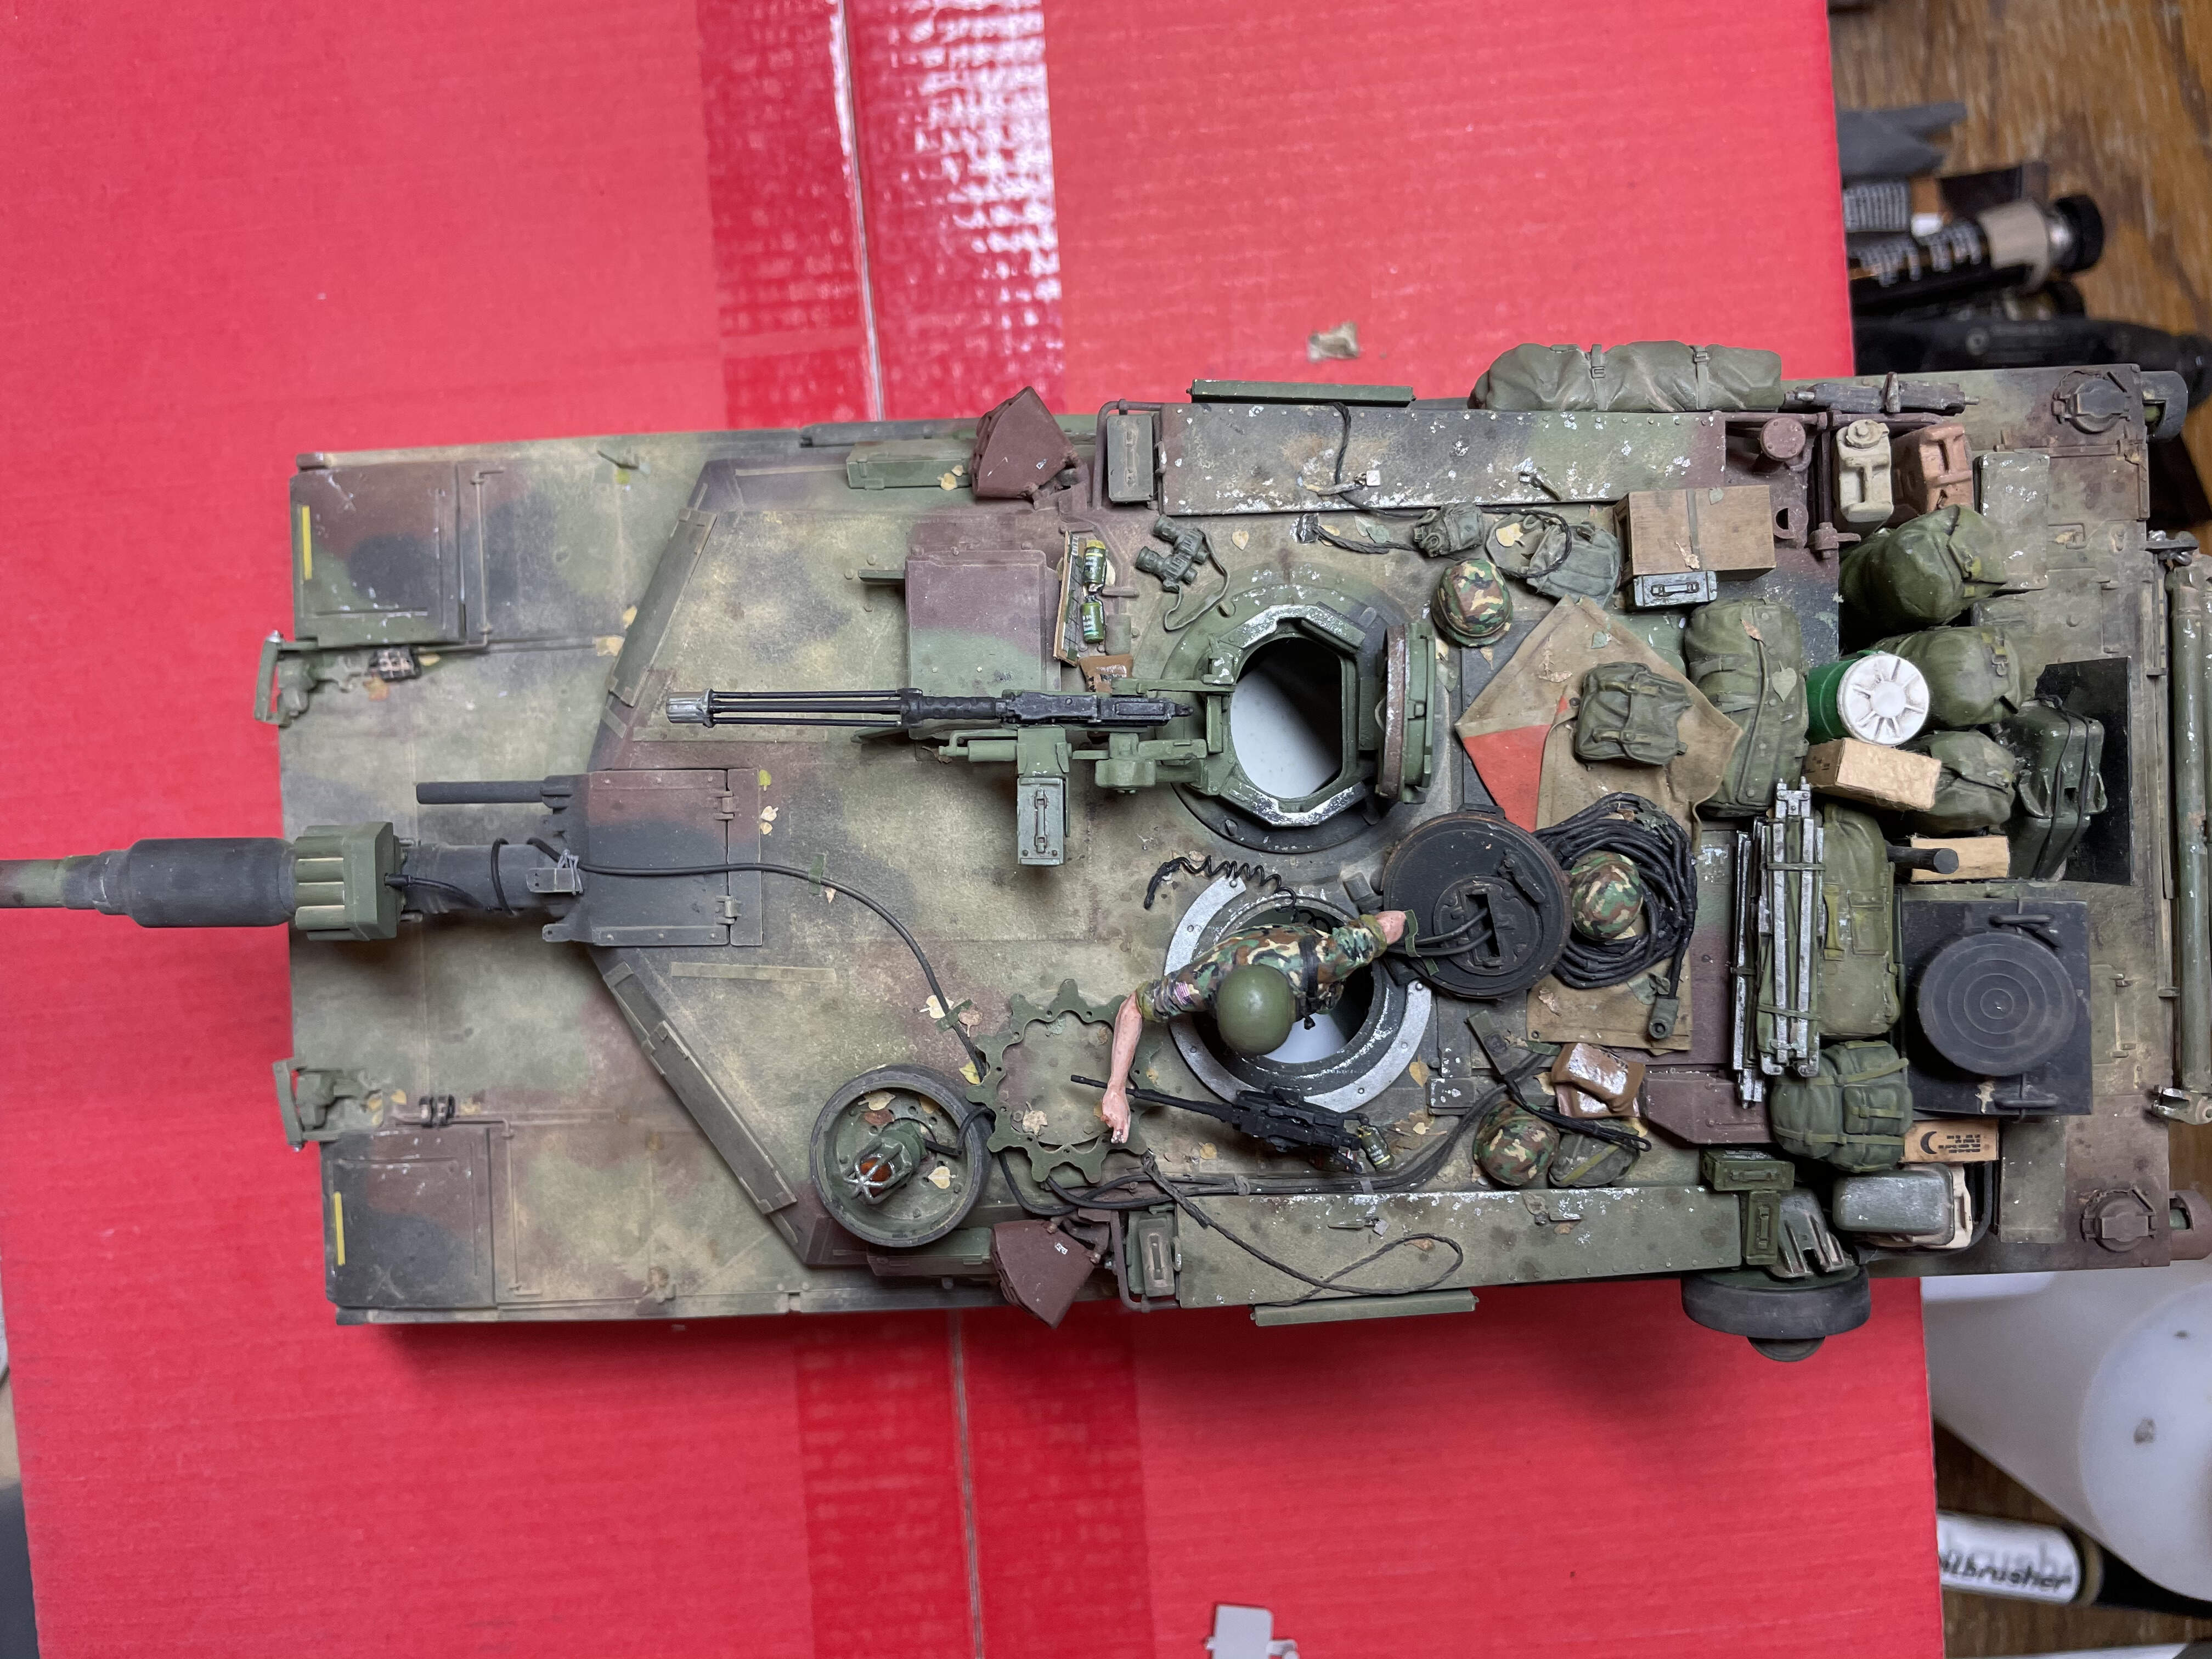
Hi my friends,
I had a minor step this weekend when I tried a new tech for creating highlights on the model. So it is painted and applied a protective coat of mat varnish and as so, it was ready to some drybrushing.
As I could imitate/enhance the highlights using pigments during the last builds, I had an idea now to test if same effect could be reached using acrylic pencils from the AK Weathering sets. I have almost all pencils so I could use light green (AK10007), sand (10009) and buff (AK10029) colors.
The light green was used itself only on the green surfaces where I applied a mixture of sand and light green or buff and light green on the black and the brown camo patterned places. I specifically like the light green-on-green result and a bit less the mixed on the brown and black areas (although my old drybrushing would probably lead similar result, so it is fine to my skills).
One important comment came up this morning when downloaded the photos from my mobile: the buff pencil was not sharpen enough so when I used it to add some highlight to the engine cover plate, the outer edge of the pencil left an awful zig-zag trace around the panel.
I am unsure how to remove it, I hope the some water can ease the effect (although I will apply some mid-heavy dirt following Chritopher’s method as a test on this vehicle, and I hope it will cover the residue of the pencil trace, too).
The mat-black guns received hightlight using gun metal (AK10018 graphite).
Also used some minimal chipping color (AK10019) here-and-there but it is almost unseen on the photos as I did not want to make a “WWII-worn” look model. The chipping color application was a bit different as after some touch I added a bit of water to decrease the direct effect. It is now if normal chipping paint could have been used. I like the outcome.
Any comment and congratulation is warmly welcome as always 
Cheers,
Tamás
6 Likes
Beautiful build Tamas, you have done a great job on the finish… Thanks for sharing it with us
Thank you John, appreciating!
Tamás
Very nice finish. Did you try removing the pencil mark by gently rubbing it?
Are you going to do anything to the exhaust grilles? Some black pigment might look nice.
Thank you Nikos!
I still have many steps and effects to apply, the exhaust will receive dry pigments later. Probably at the very end. Next plan is to apply some streaks (wet oil washes etc…) than dust (dry pigments), oil stains and finally the exhaust.
I will try some never-used techniques on this model, with good results hopefully.
Tamás
1 Like
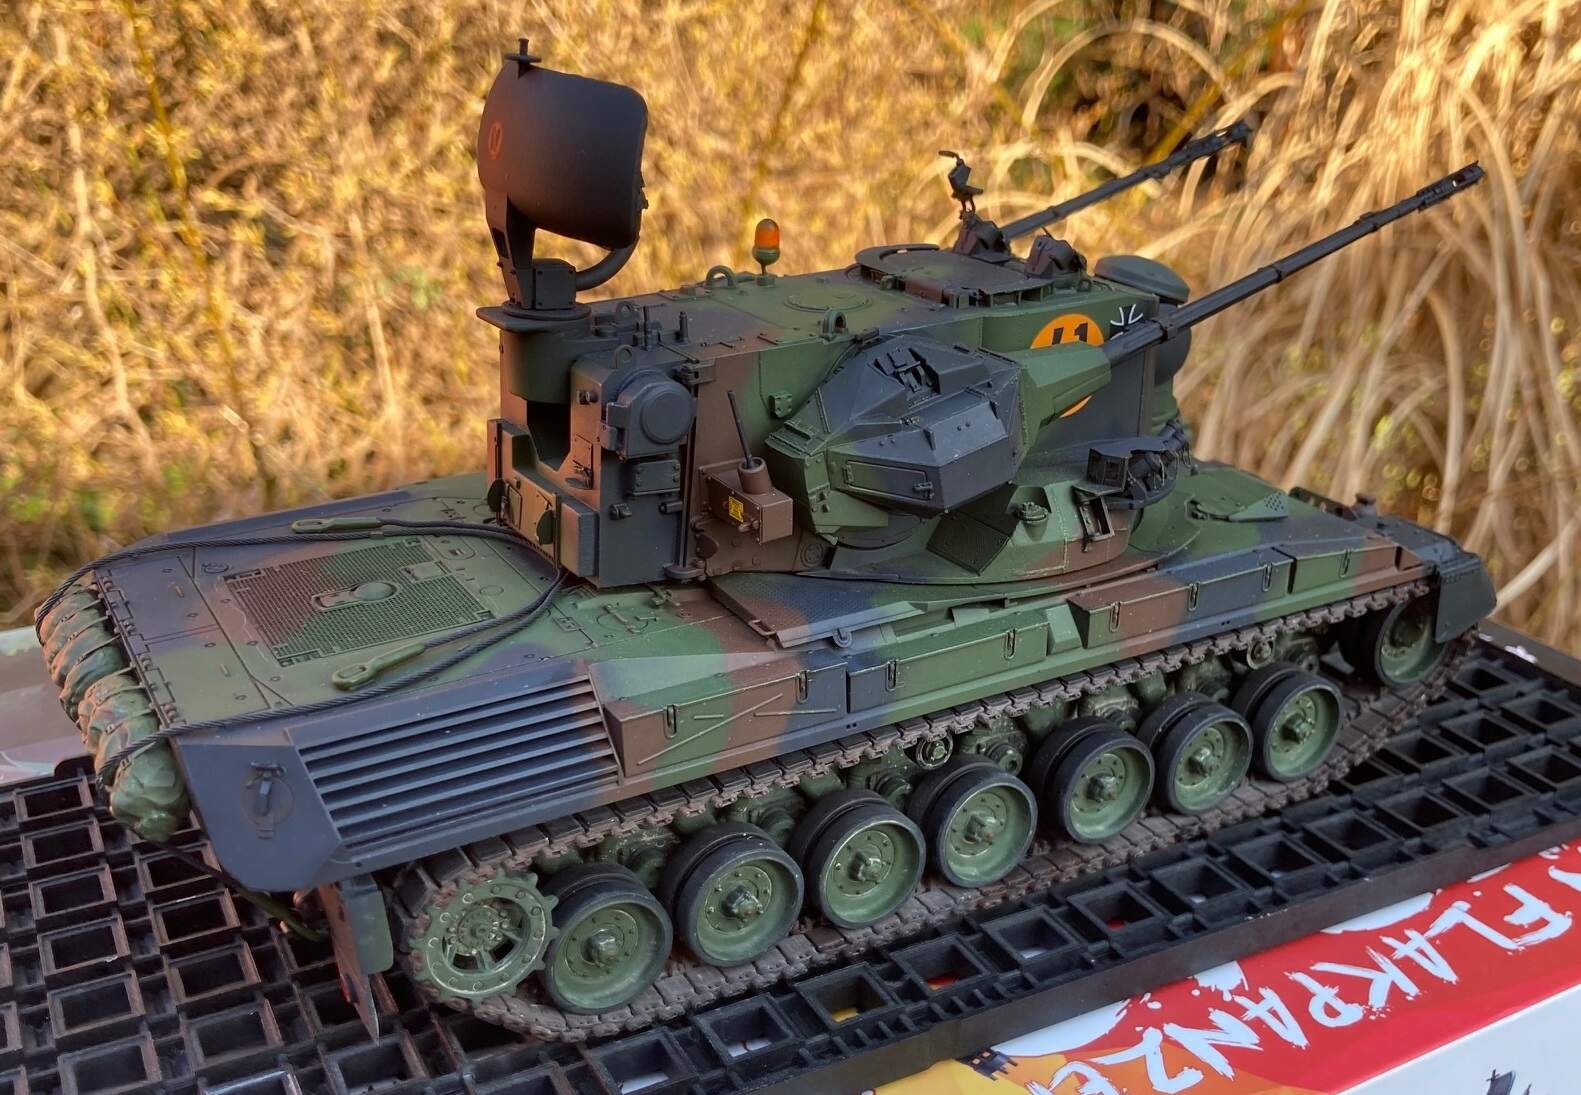
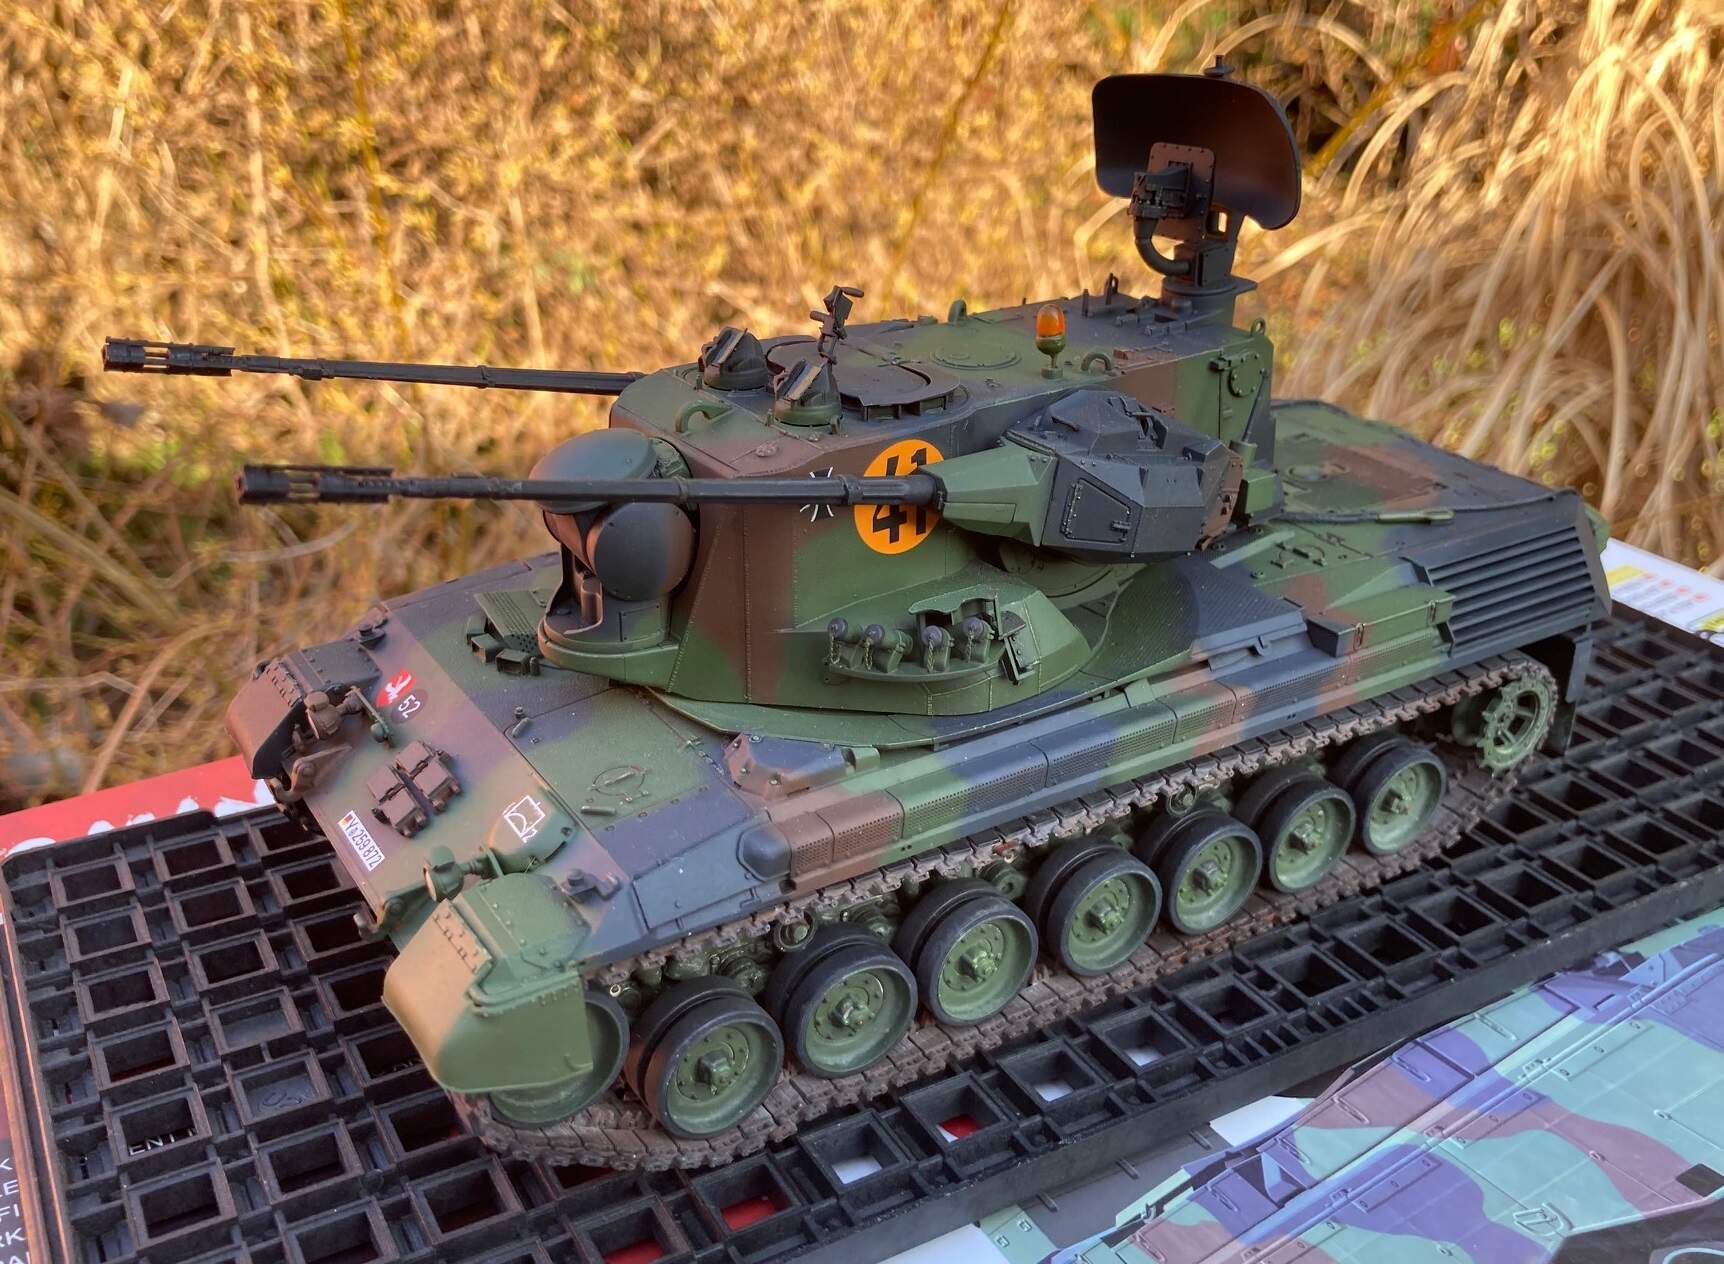
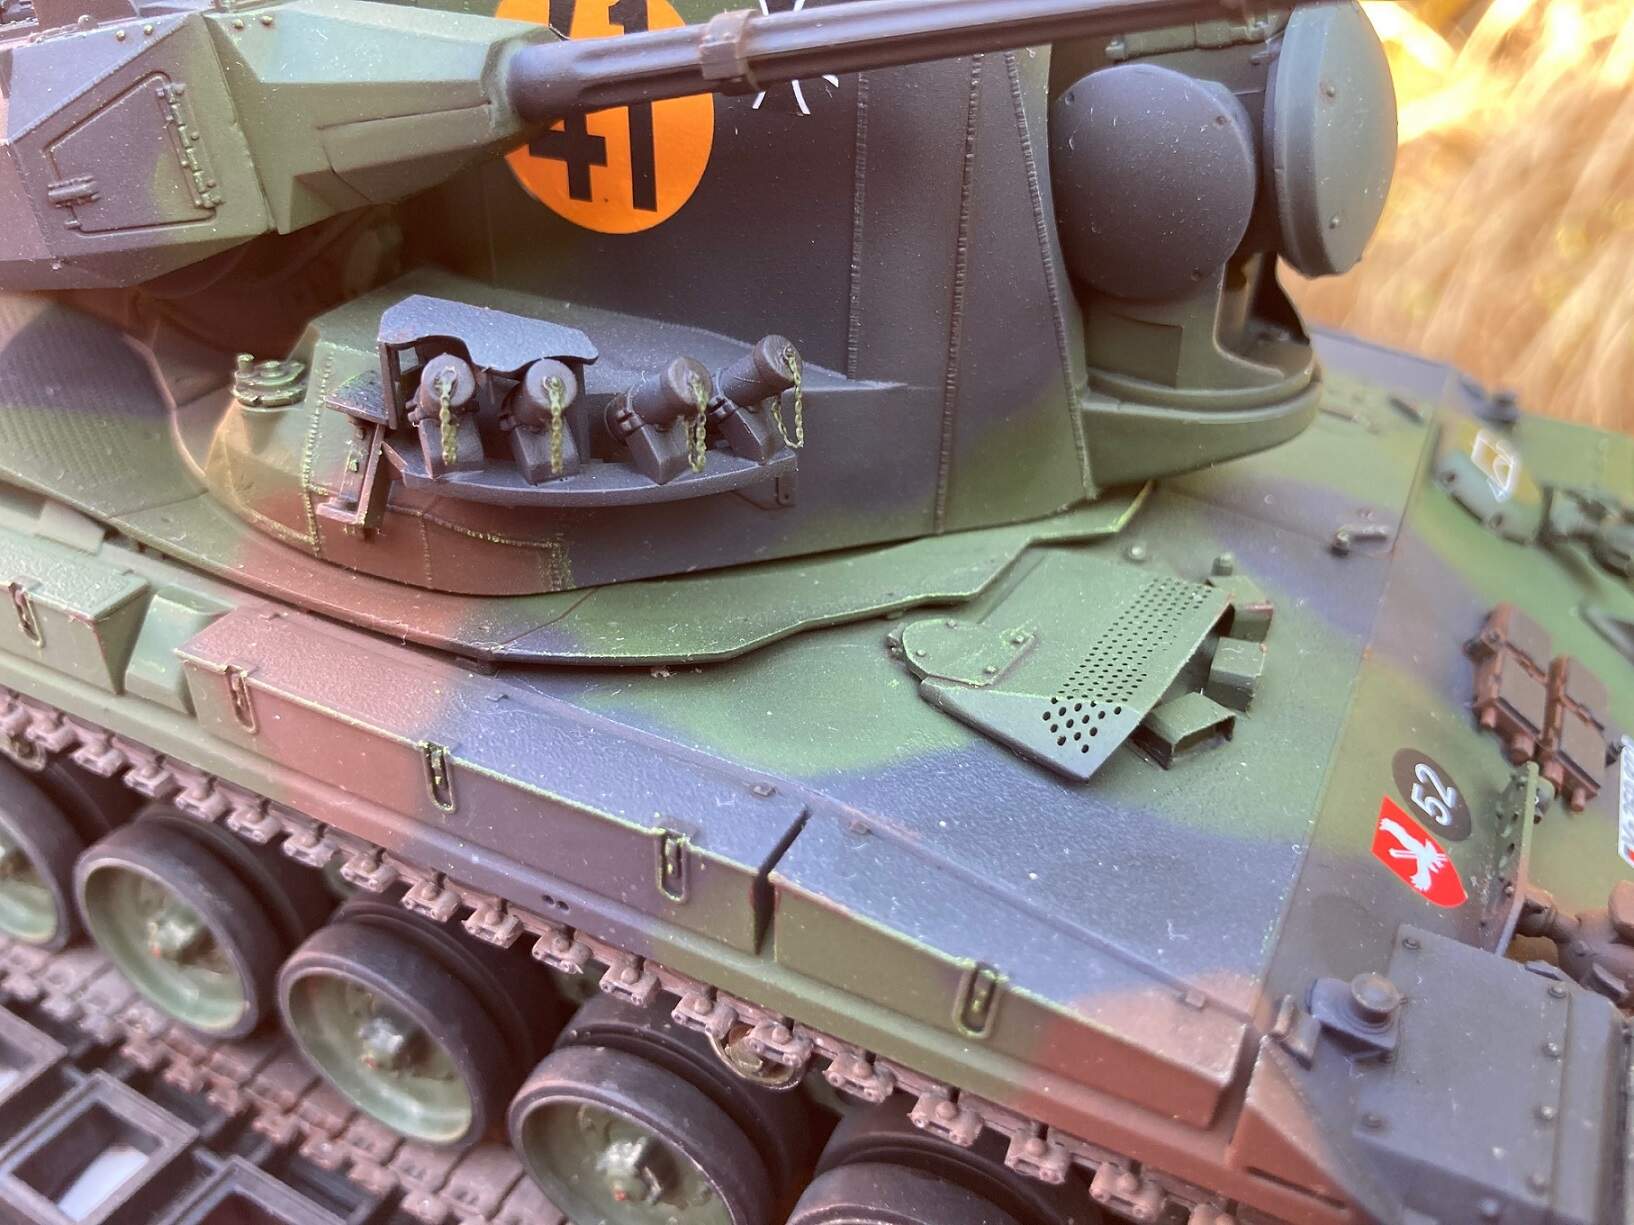
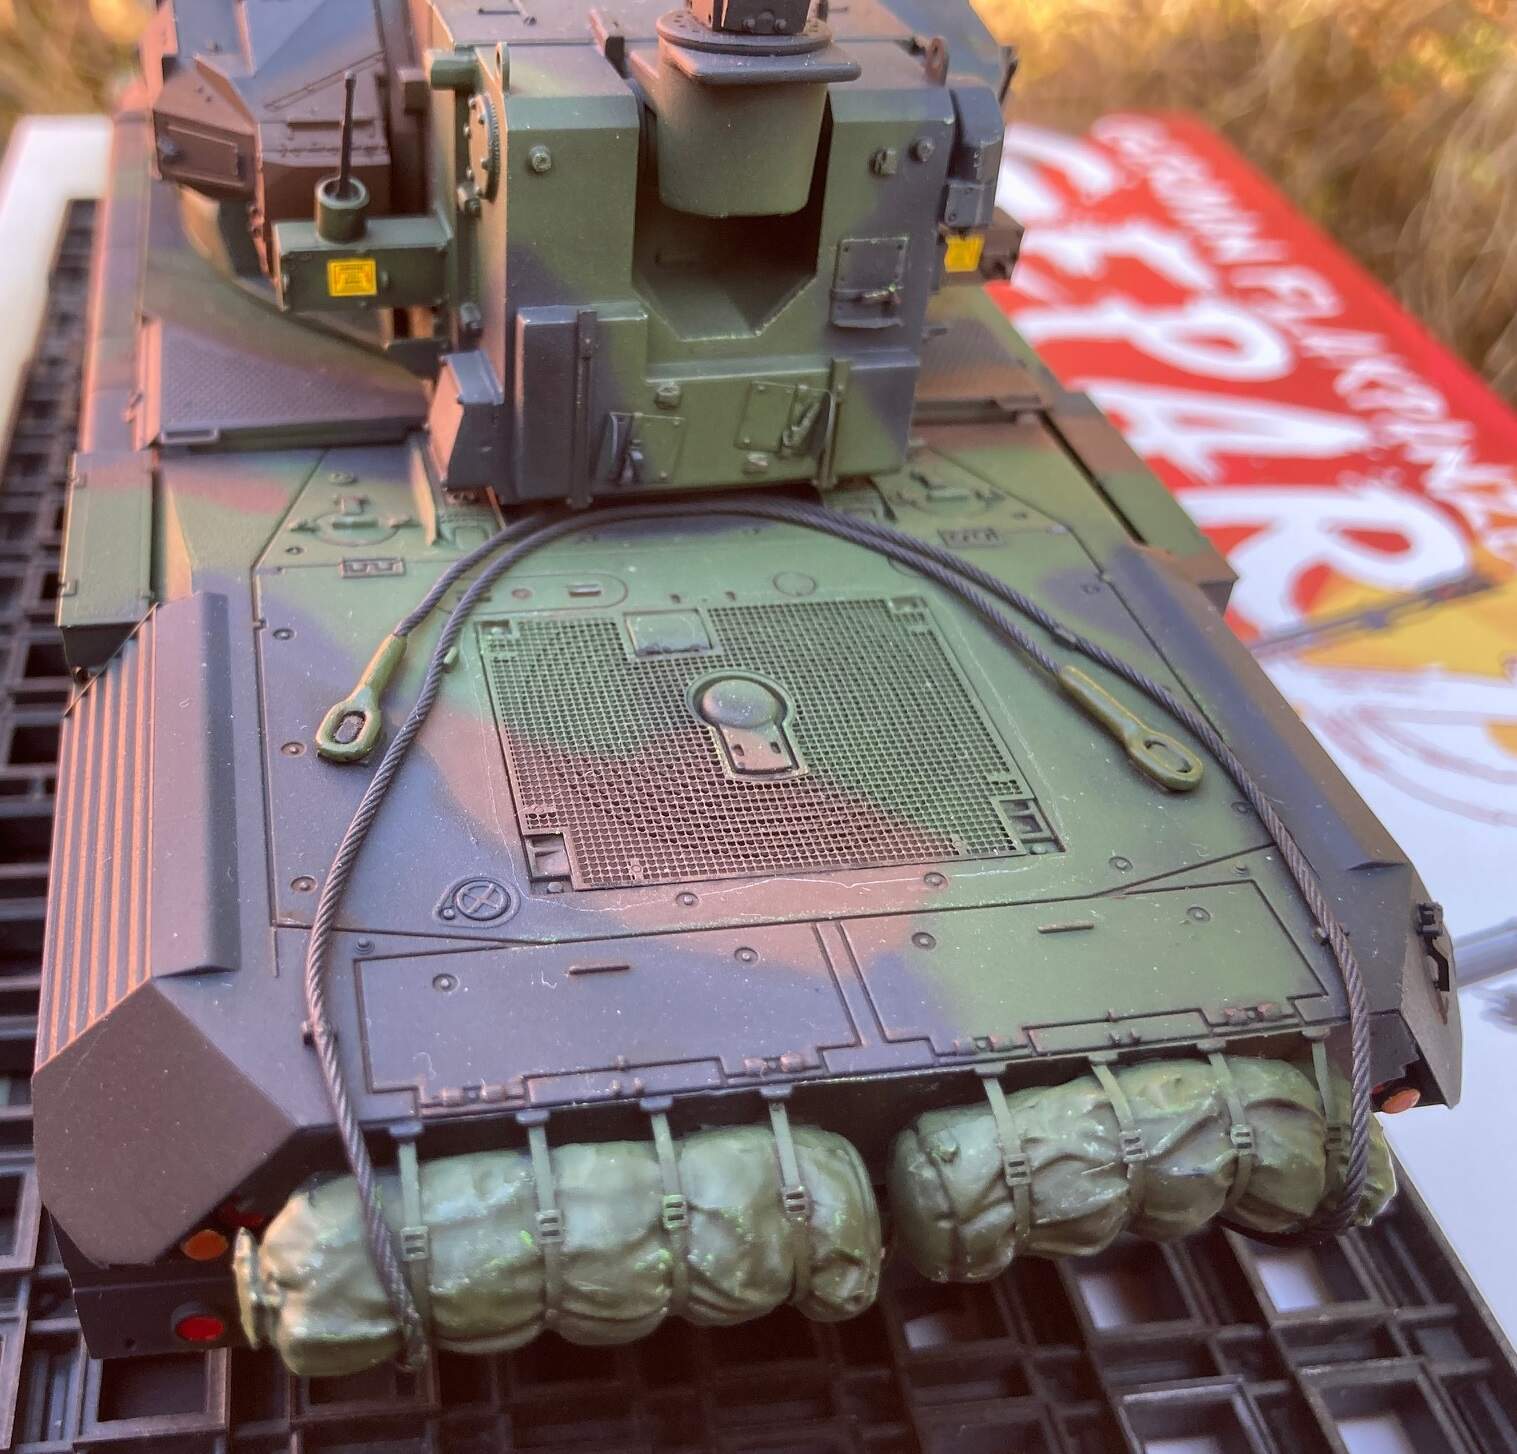
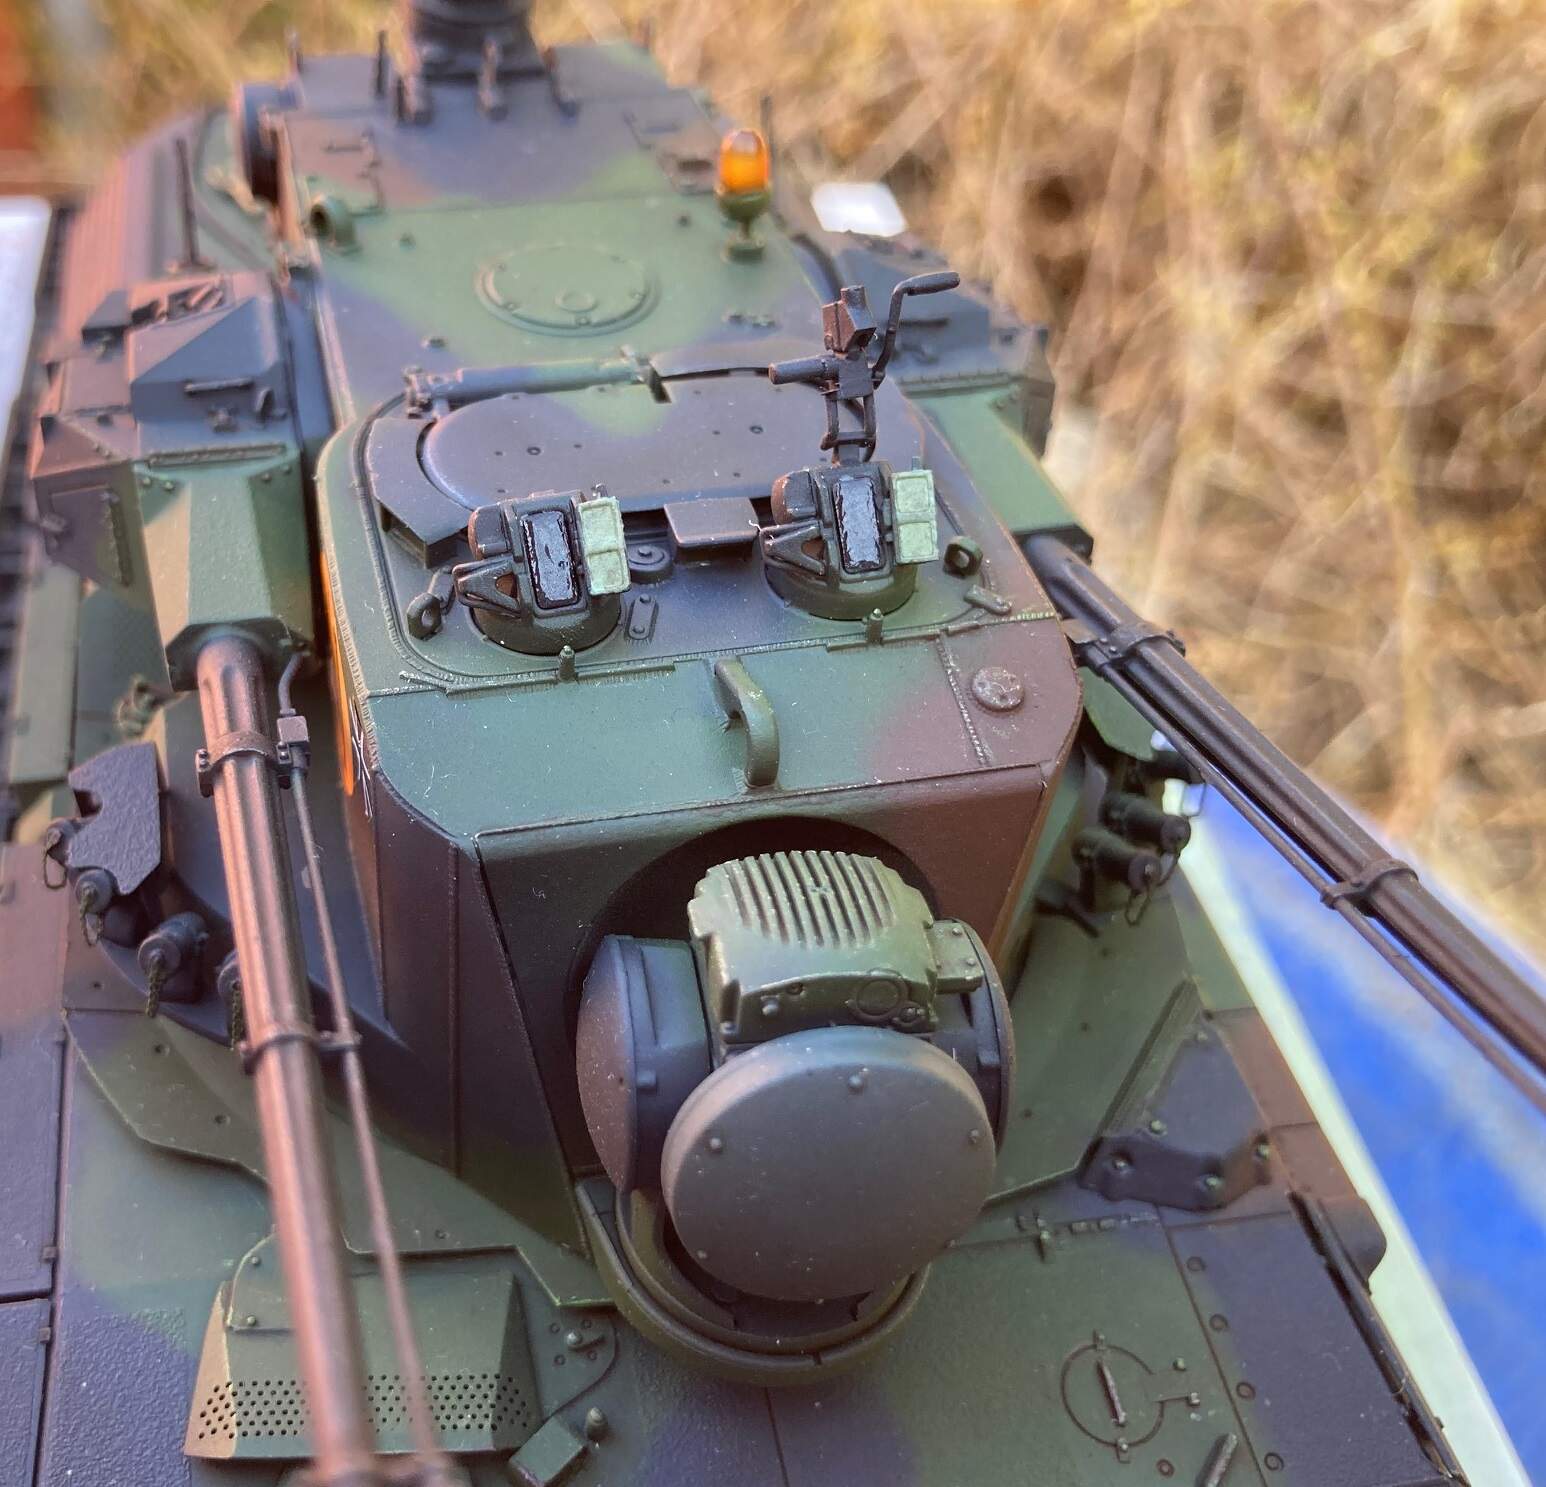
Dear All,
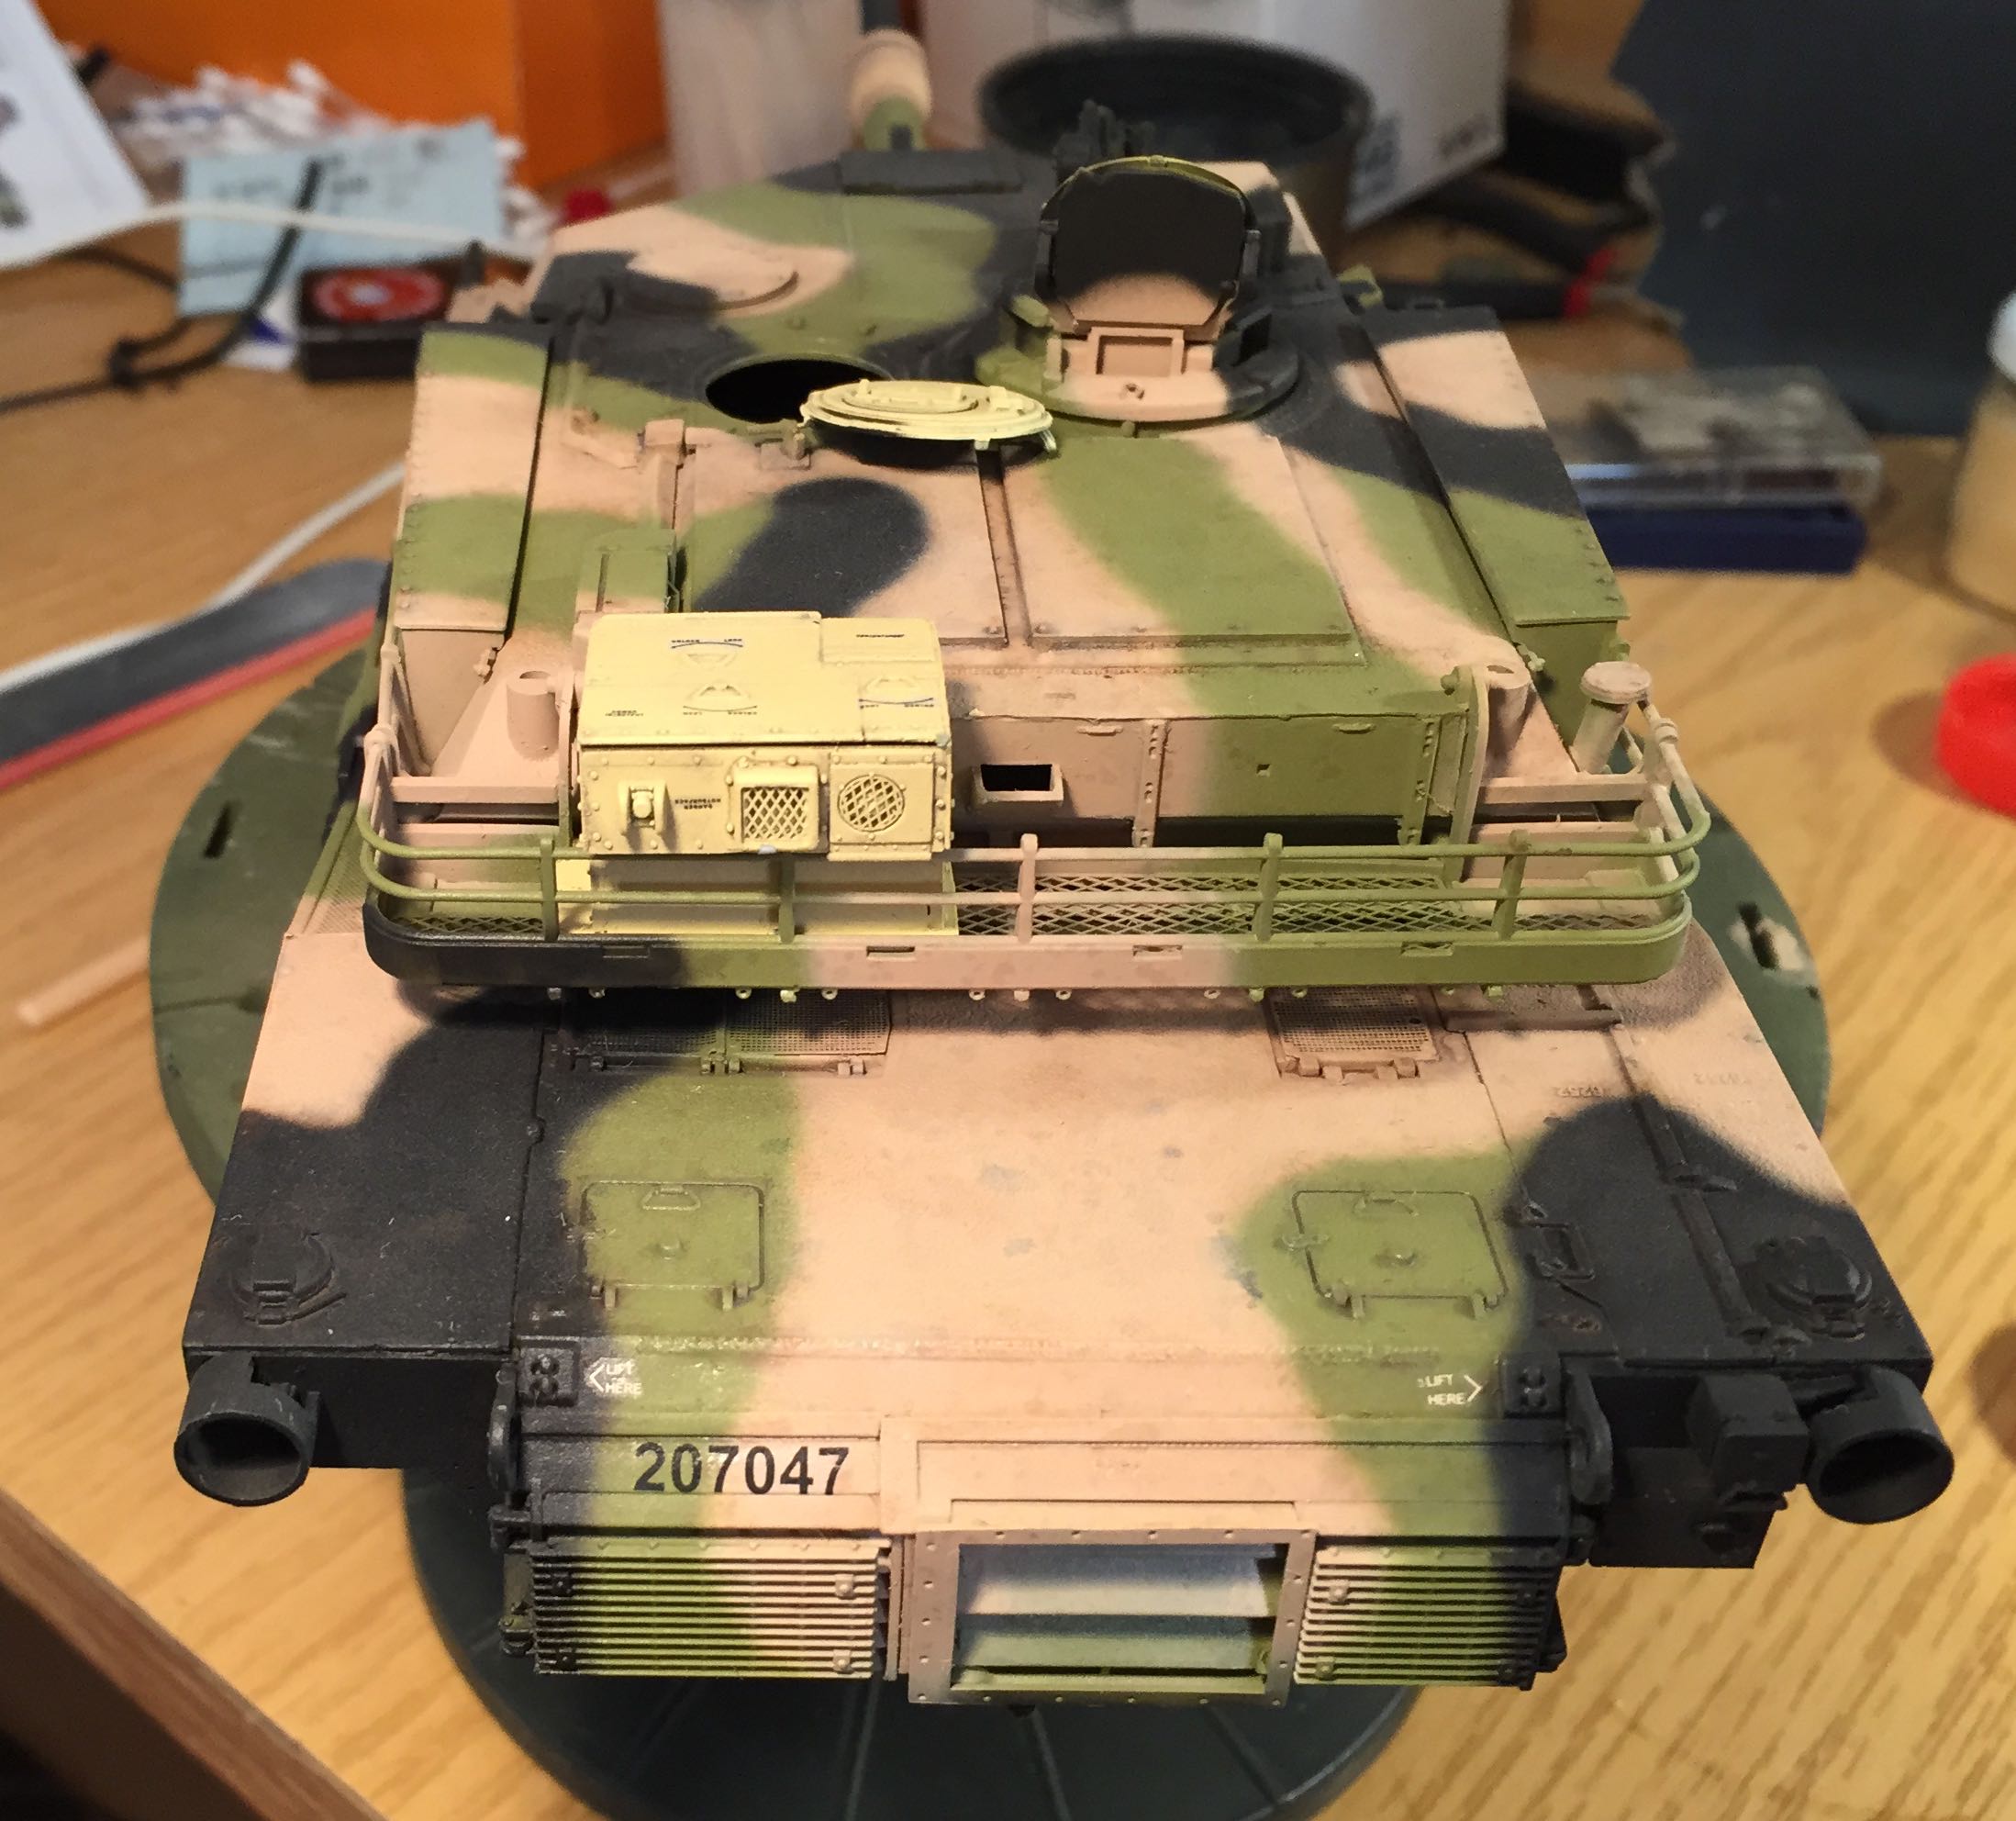
Finally I could finish the model with a relatively light weathering (the heavy stuff learnt from Christopher here was done on my Polish Leopard 2A5 instead) and now I am proudly sharing the photos taken yesterday.
I disliked the first weathering so it was all washed off. Thanks to the dry pigments, it was no problem. The pencil issue was solved with water and some scrubbing. For the second attempt I used the Tamiya weathering set A which adheres better to the model surface. Beside this I used the Revell weathering pigment set (dust and exhaust) and some Mig light dust pigments. All these were fixed with Mig pigment fixer (first time ever) and I am really happy with the result. The most pigments are applied to the wheels which I wetted with the pigment fixer first (3-4 wheels at a time) and added the pigment, then removed the excess with a brush. This gave me some variation, too.
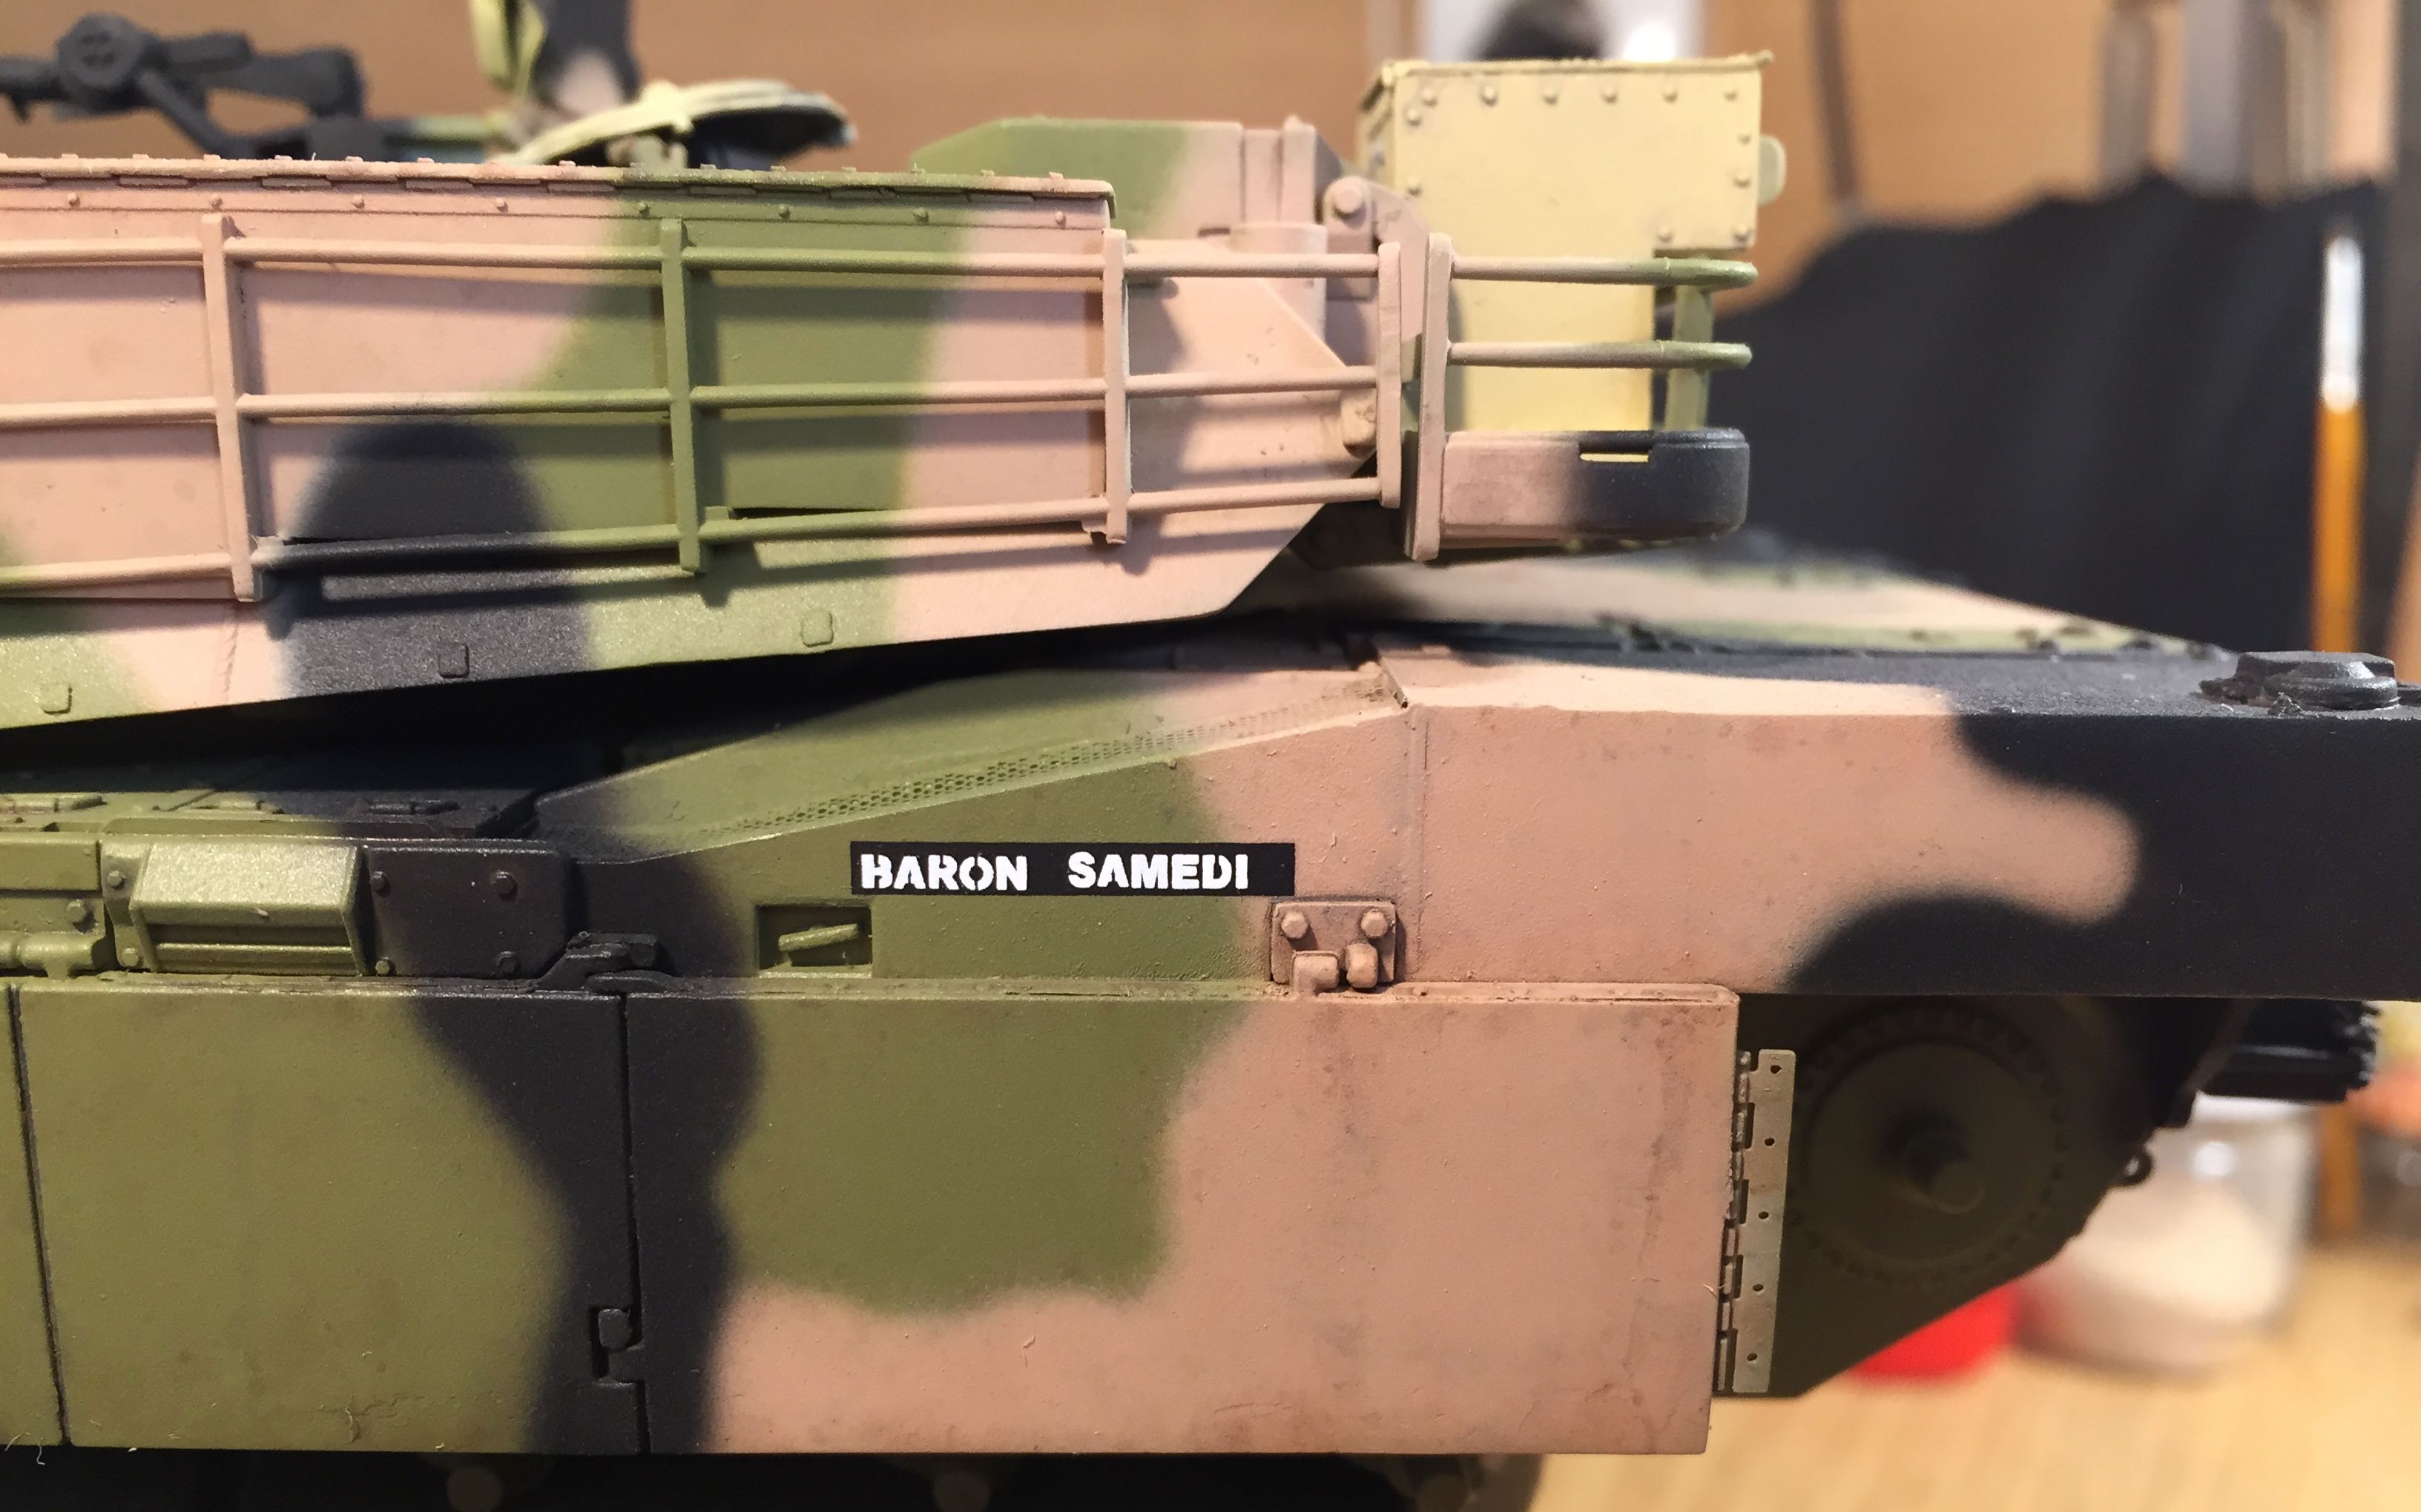
Also used many AK weathering pencils to highlight the welding lines and it was also a very good experiment. This time I could better manage the work with them so the result is very light and even.
After a set of photos taken from the model, a friend of mine pointed out that the tracks need some correction and this was the last step to complete. Here are some pics from my Flickr album. The last photo is my favorite, it is quite realistic, I think.
Cheers,
Tamás
3 Likes
Very nice work! I like the weathering, looks realistic!