In my opinion - given the scale - black is about the only colour one can apply; blue is totally wrong.
Same here. I leave the glass face clear, paint everything else black, then paint to match the vehicle. The clear gives it some depth and the black makes it look dark inside. I only put color on the glass part if it has some kind of a coating or is armored.
Ken
Thank you, all!
I’ve been doing airbrush experiments today and haven’t gotten to the Leopard yet.
Being contrary by nature, I’m thinking of painting the periscopes as suggested but using RLM 74 (dark greenish-gray) instead of black or maybe Gunzy Tire Black (very dark gray).
It’s sort of a personal mantra to minimize using white or black when painting models in general.
Sometimes just tamiya smoke over the lens area gives the shine, with the rest green
@frank , thank you.
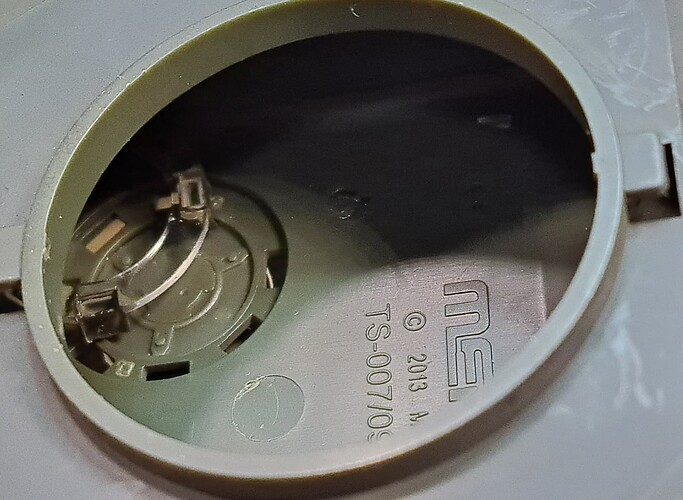
I will definitely be trying Tamiya smoke on the model. The IR light has a clear plastic “glass” it just looks too “plastic” to me without a hint of tint or something.
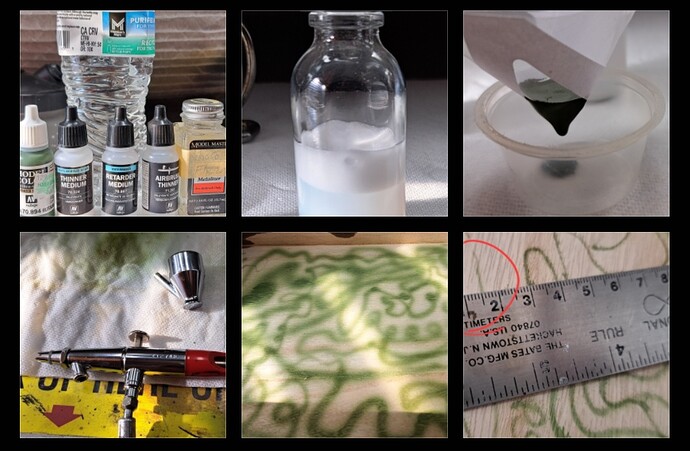
Yesterday, I side tracked into an airbrush learning experiment, learning to spray Vallejo Model Color for the first time. VMC isn’t an airbrush worthy paint in my opinion. The other Vallejo line is designed to AB etc.
Shot a 1 mm line w/the Paasche VL and then got on another tangent. Wasn’t interested enough to tweak to the VL’s rated 1/32 of an inch with VMC. It’s not a paint that will see the color cup in the near future.
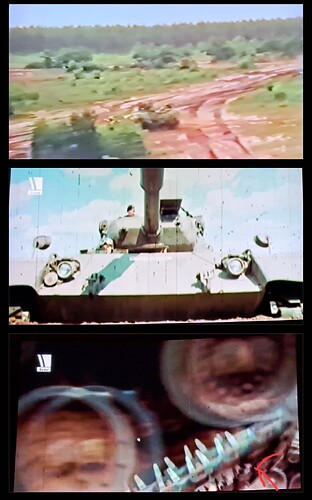
Next tangent, Leo videos!
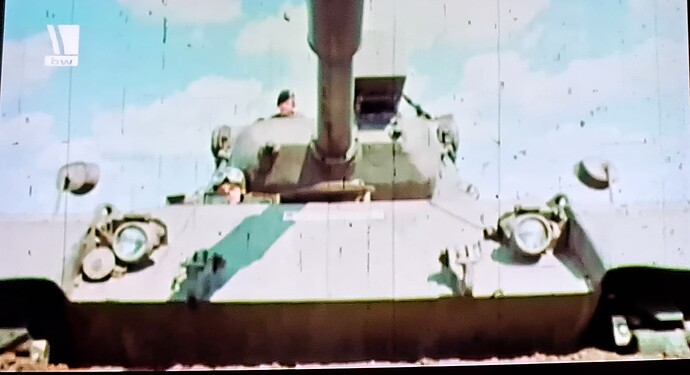
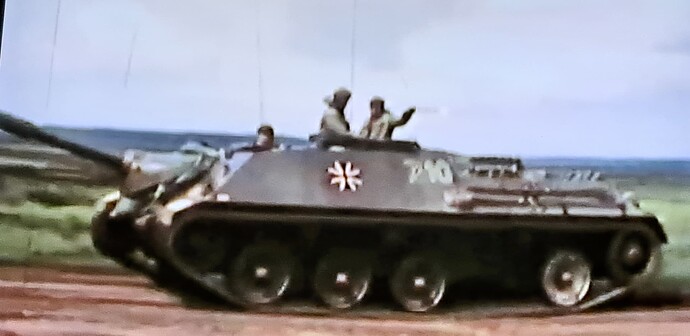
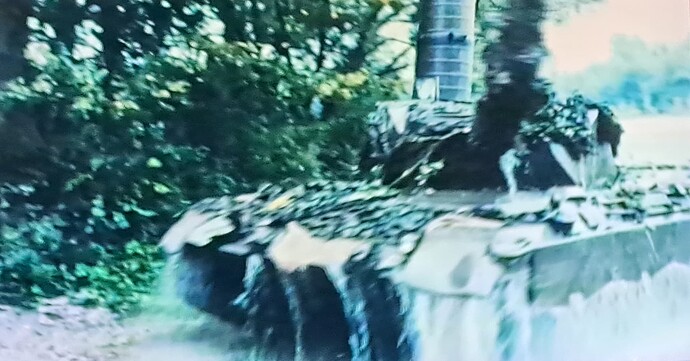
BundesWehr - YouTube: Leo 2 A7V Trophy System
My wife was in the other room, stormed into the living room and was like WTF are you watching!?!?!
That was a first ![]()
![]()
![]()
Excited Panzertruppen, talking enthusiastically in German, growling tank engines apparently makes some folks…nervous…
The older videos were more Leo 1 focused.
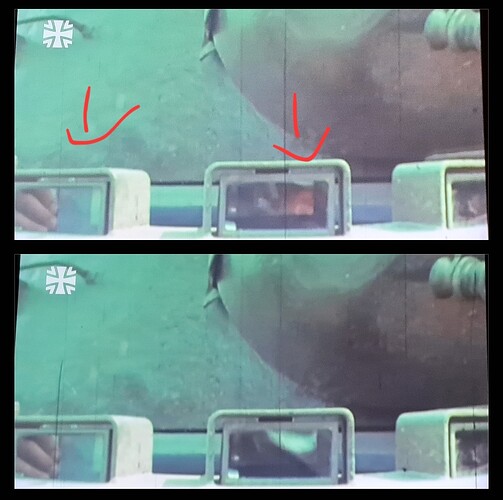
Anyway, one video showed periscopes, close in daylight, which I really wanted to see before proceeding.
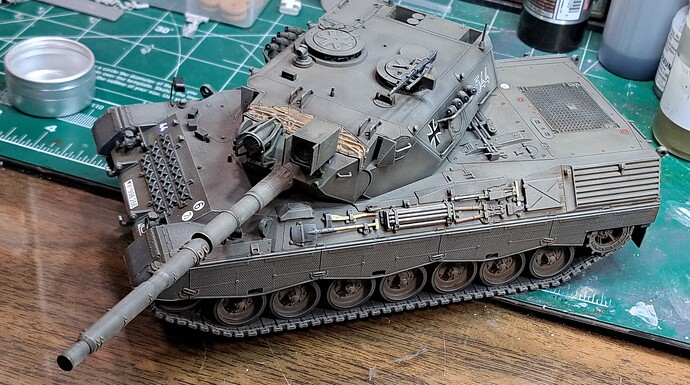
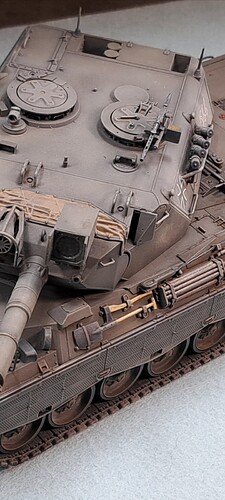
So very little work on the Leopard got done but a little bit was accomplished. Needs touch ups obviously…
… I like to pretend there’s a hint of depth when squinting.
Yeah, like most of Europe I should think!
Random stuff today close but not completed.
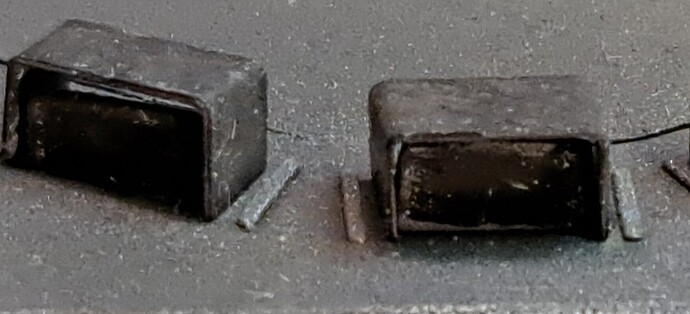
Rather than follow instructions, paint the ring of periscopes during assembly then mask all periscopes and install when the turret halves were separated, I elected to install after turret assembly. Painted the part and skipped the masking.
Aligned on third attempt and press fit perfectly in place. Glued afterwards.
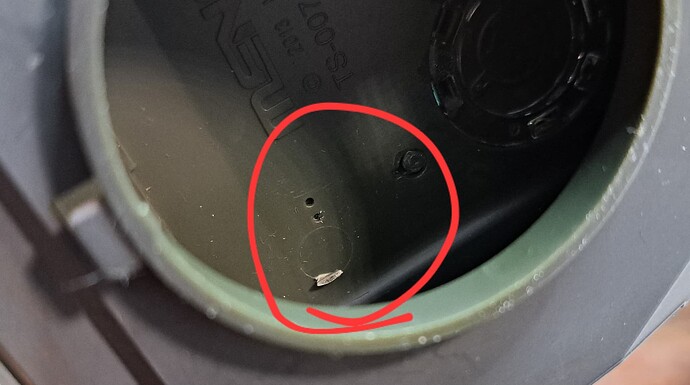
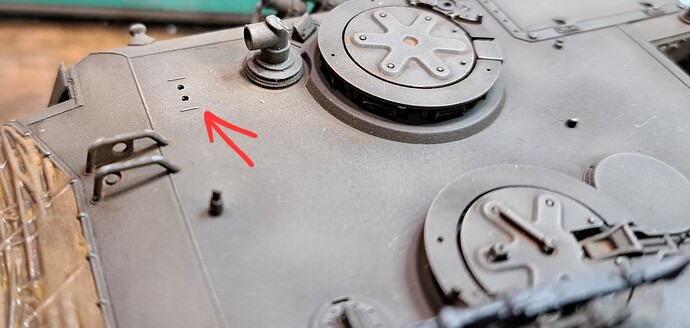
Well I actually missed drilling two holes for alignment of one periscope. That happens when you lose the instructions to the kit on step #3 and look at a pdf on a cell phone…![]()
My old UK MiniCraft (prototypes for Proxxon, who bought MC) punched the holes in seconds.
The Holes!
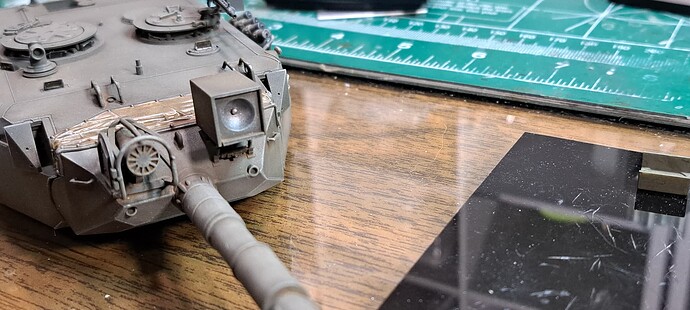
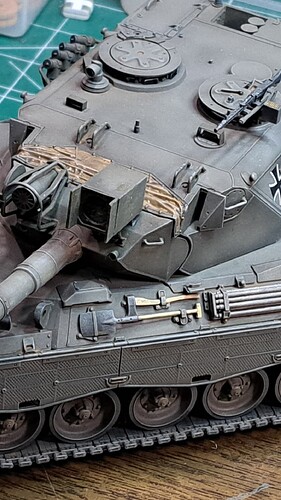
Happy with the aluminum color (pigment wiped on in place) of the infrared light. Periscopes all installed.
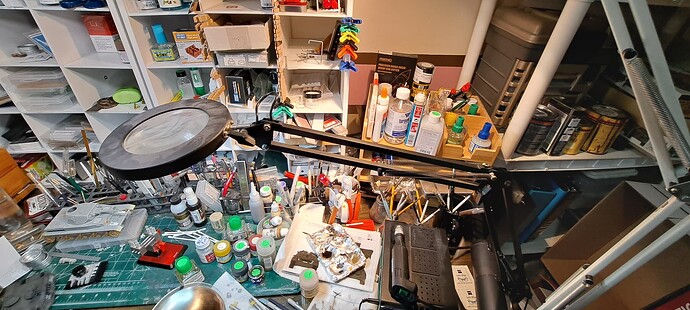
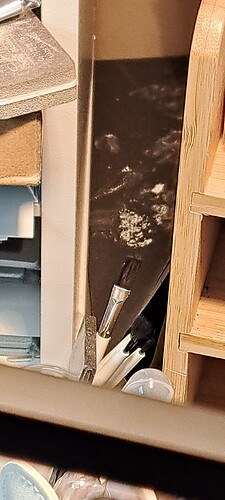
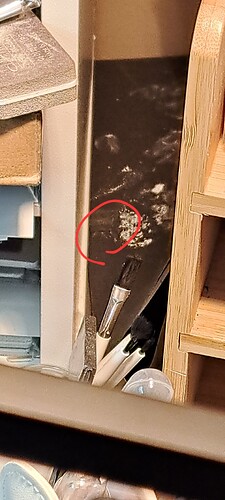
Wasn’t happy a minute later when the shutters for the infrared light, tweezer launched across the work bench into the pictured area. Two parts to the Dragon Panther D were lost in that void.
Much later…found the shutters.
They were hard to see.
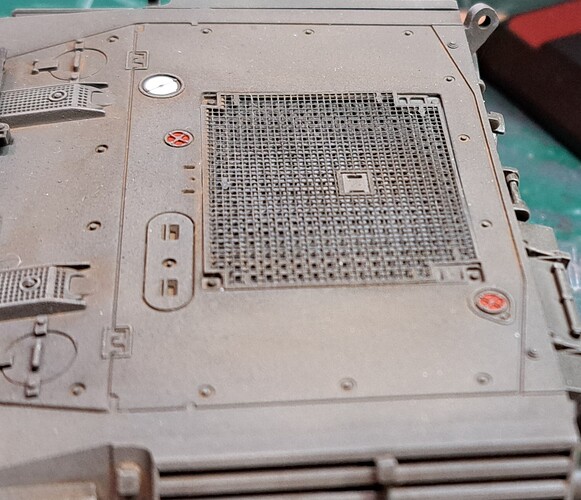
Added paint detail to engine deck. I think the red means lubrication. No idea on the white. Per museum picture and other sources.
Mirrors & periscopes added.
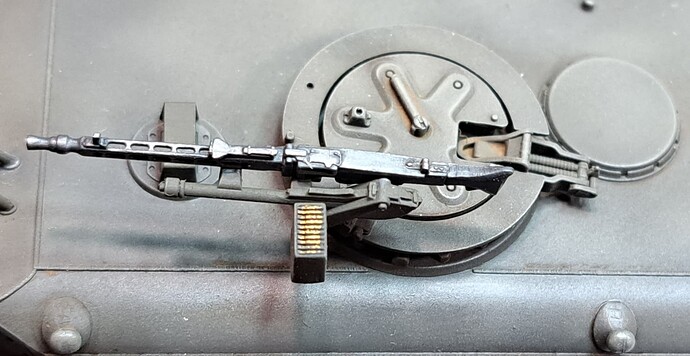
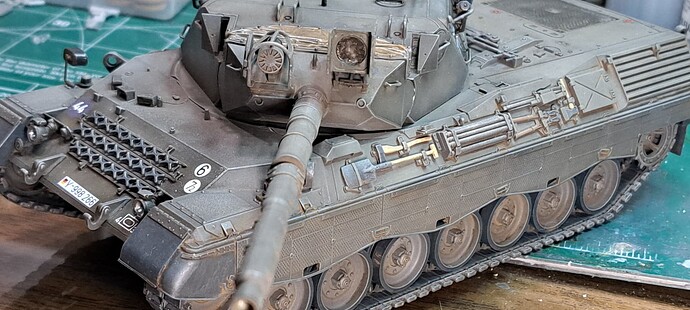
Rubbed the MG3 in Mig Gunmetal pigment. Pretty happy with the brass color @Mead93 (thank you) shared. The Vallejo brass color is excellent.
Yes, I know brass is probably (99.95%) wrong because steel cased ammo is favored by militaries due to cost. However, I like the contrast of the brass and favor Verliden School Finishing so am OK with an artistic cheat on occasion.
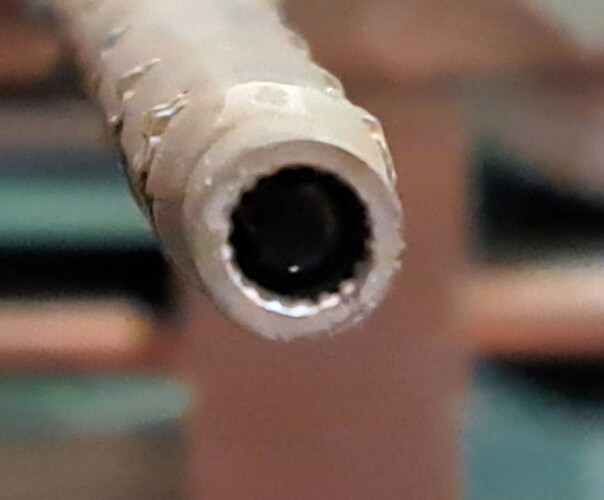
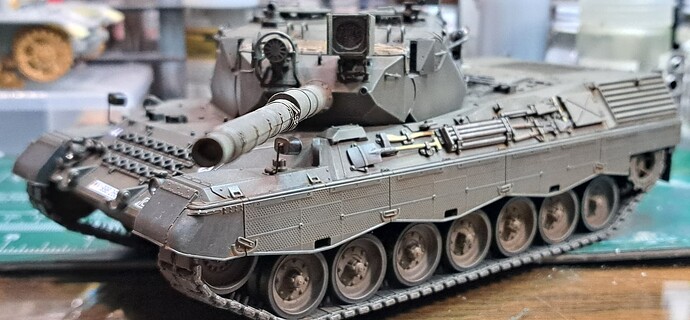
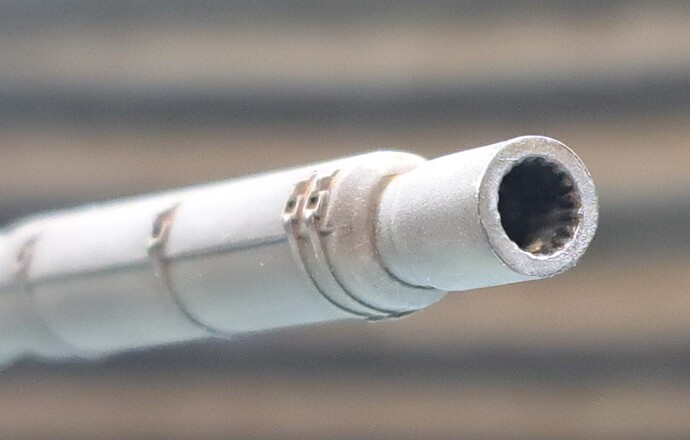
Speaking of Verliden, he used to darken muzzle brakes on WW2 tanks. I like to think he’d approve of slapping pigment on the main’s gun rifling to make it pop.
^ That was hard to focus on and is best of a half dozen pictures.
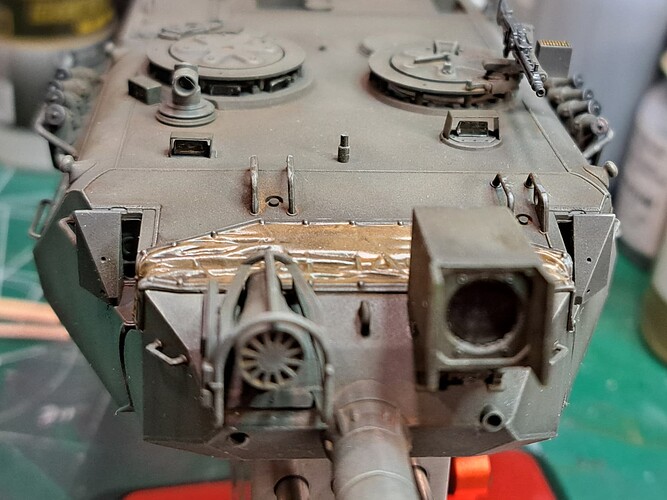
Very happy with the smoked glass for the infrared light but…
…F’d up with CA super glue. I don’t work with clear parts very often and forgot.
Couple of coats of flat coat and I think it will be OK and pass as dirty glass but it doesn’t look as nice as it did before I fogged it up.
Leo status…waiting on tow cables then time to flat coat & wrap.
Ah!
One verb catching two actions in one word
![]()
![]()
CA and clear parts …
Sh!t happens man …
Spoiler Alert !
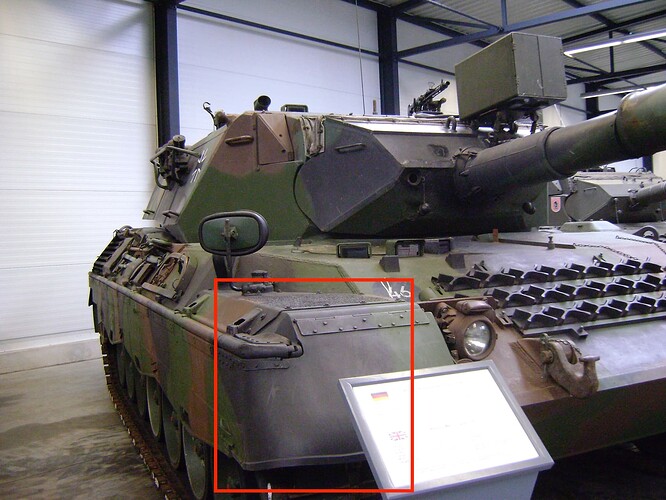
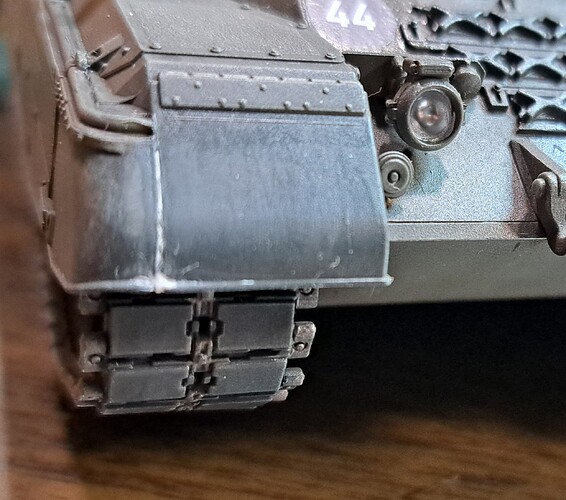
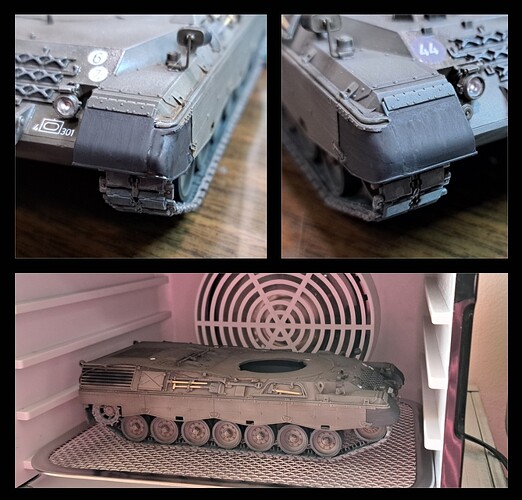
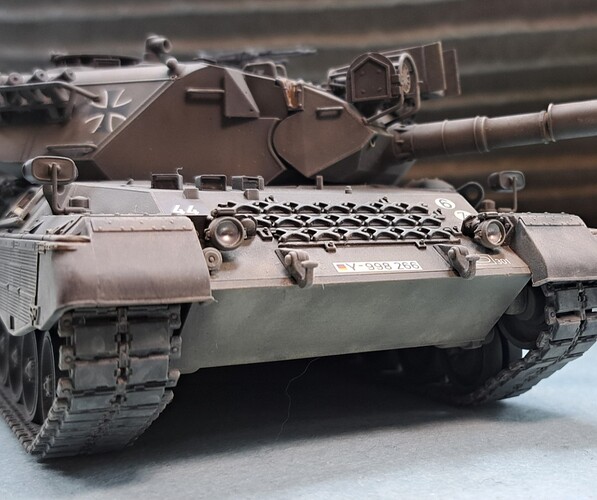
Hey Wade … one last thing, the front rubber fender/flapp is one piece. So a little filling and sanding …
Cheers
Christopher
oooooohhhh
DANG!
With Future or modern alternative it doesn’t have too. You too can be fog free from CA.
Wade, I’m pretty sure the red and white detailing on the rear deck is fallacious; it’s possible that your ref pic was that of a Leo 1 in the Brussels Military Museum whereby every last recess/protuberance was painted red or white.
I’m quite sure that Bundeswehr tanks did not have this applied to them (always happy to be proved wrong though).
This is the trouble with museums: often, even generally, they can’t be trusted.
Not to nick-pick for the sake of it though, just thought you should be aware.
@Chnoone , thank you!!!
I hadn’t realized that rubber cover was one piece ![]()
@BootsDMS , thank you.
Pleading Verliden School Finishing on the red & white cap colors.
If the Meng Leopard 1A5 hits the workbench, it will have hopefully a lower level of builder inflicted errors. I expected to make more mistakes than I normally do moving away from from building in my comfort zone.
Goes with the territory of new subjects sometimes.
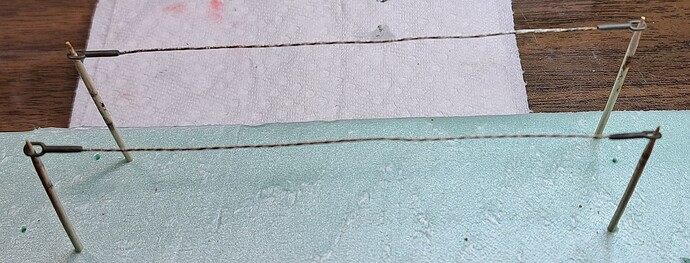
With the above in mind…here’s my version of ColDemonPL’s “tow cable holder” for painting. The toothpicks are in exactly the same spots they were for the Italeri Panther D done previously. I wonder if real Panther tow cables & Leopard tow cables are close to the same length ![]()
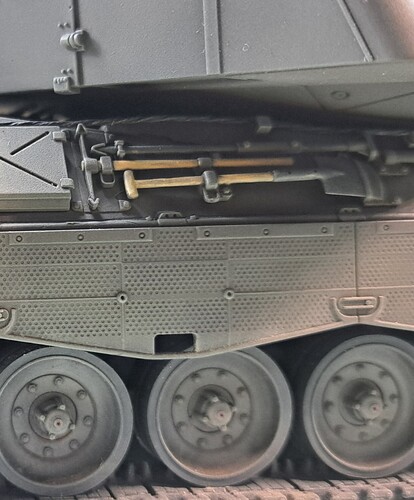
Kit cables on the rack.
Decided not to waste good aftermarket tow cables on this build and will use those on the Meng Leopard 1A5 sometime in the future.
Fender filler attempt has begun…
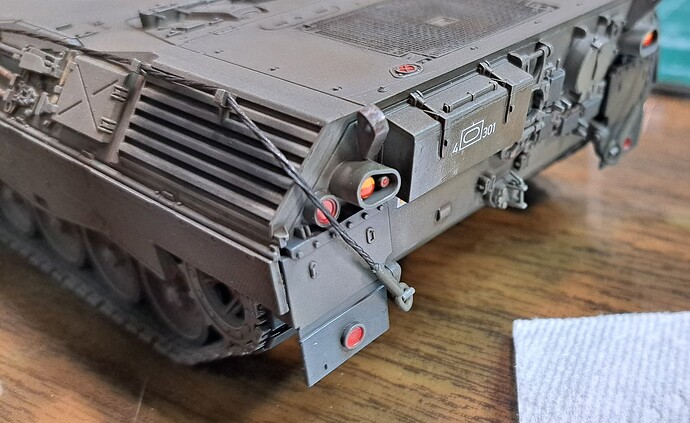
Kit tow cable, painted, penciled & installed.
Did you consider stripping electrical wire?
Better than the kit parts but probably not quite as fancy as those
aftermarket parts.
No, not for this one, decided to use the kit provided wire to cut corners & save time.
After fogging the glass, it’s just a push to finish before road trip tomorrow.
Nice job. Meng should have molded that rubber guard in one piece.
It would have been nice if Meng had been able to make that one part for sure.
I should have checked references but I hate doing research ![]()
![]()
![]()
Probably less time wasted slapping on the bandaid today than the inevitable tangents my research always side tracks towards.
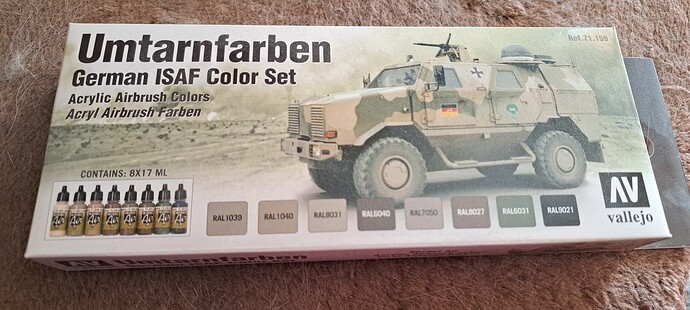
There’s a lot of rabbit holes ![]() with Cold War & Modern German AFV’s like eight more colors to play with plus Nato Tri-Color…
with Cold War & Modern German AFV’s like eight more colors to play with plus Nato Tri-Color…
I wasted a lot of time learning to spray Vallejo latex house paint earlier this week for example. The Model Air Vallejo should work better.
Not that those colors, learning to spray Vallejo and an old Tamiya Leo 2A6 kit might have anything in common.
Bandaided, hairbrushed and into the dehydrator to bake for a few hours.
Those Umtarnfarben from Vallejo are really good. I have used the desert camo on my Boxer and Dingo so far.
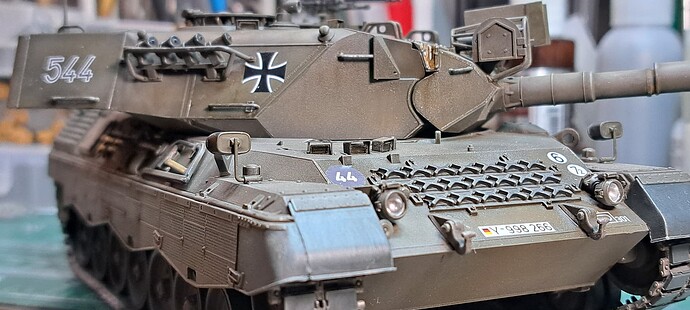
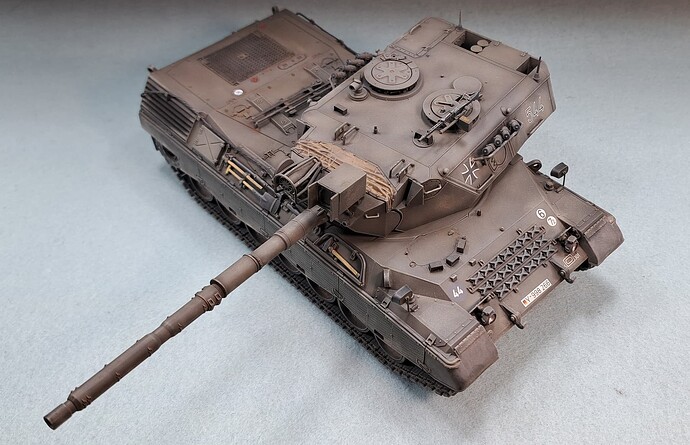
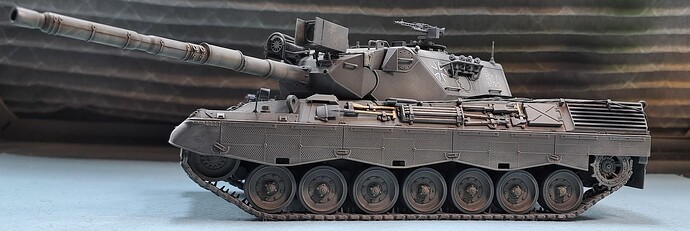
Added to the display case for now. Should have a name plate after the holidays for the base.
Thank you all to who took time to look!
I especially appreciate those talking time to comment with constructive criticism and comments. That truly helped this model be better than it would have been otherwise.
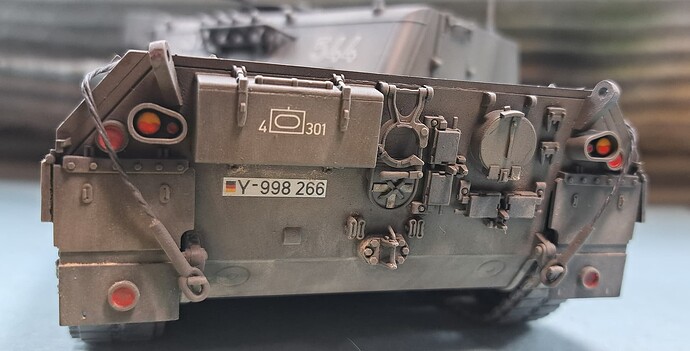
Wade, I regret I missed the searchlight cable - I really should have noticed and tipped you off; perhaps for a future project. I’m also assuming that the PZB 200 had some sort of power source but I’m not sure at the moment (away from my refs).
Anyway, cracking build and finish.
