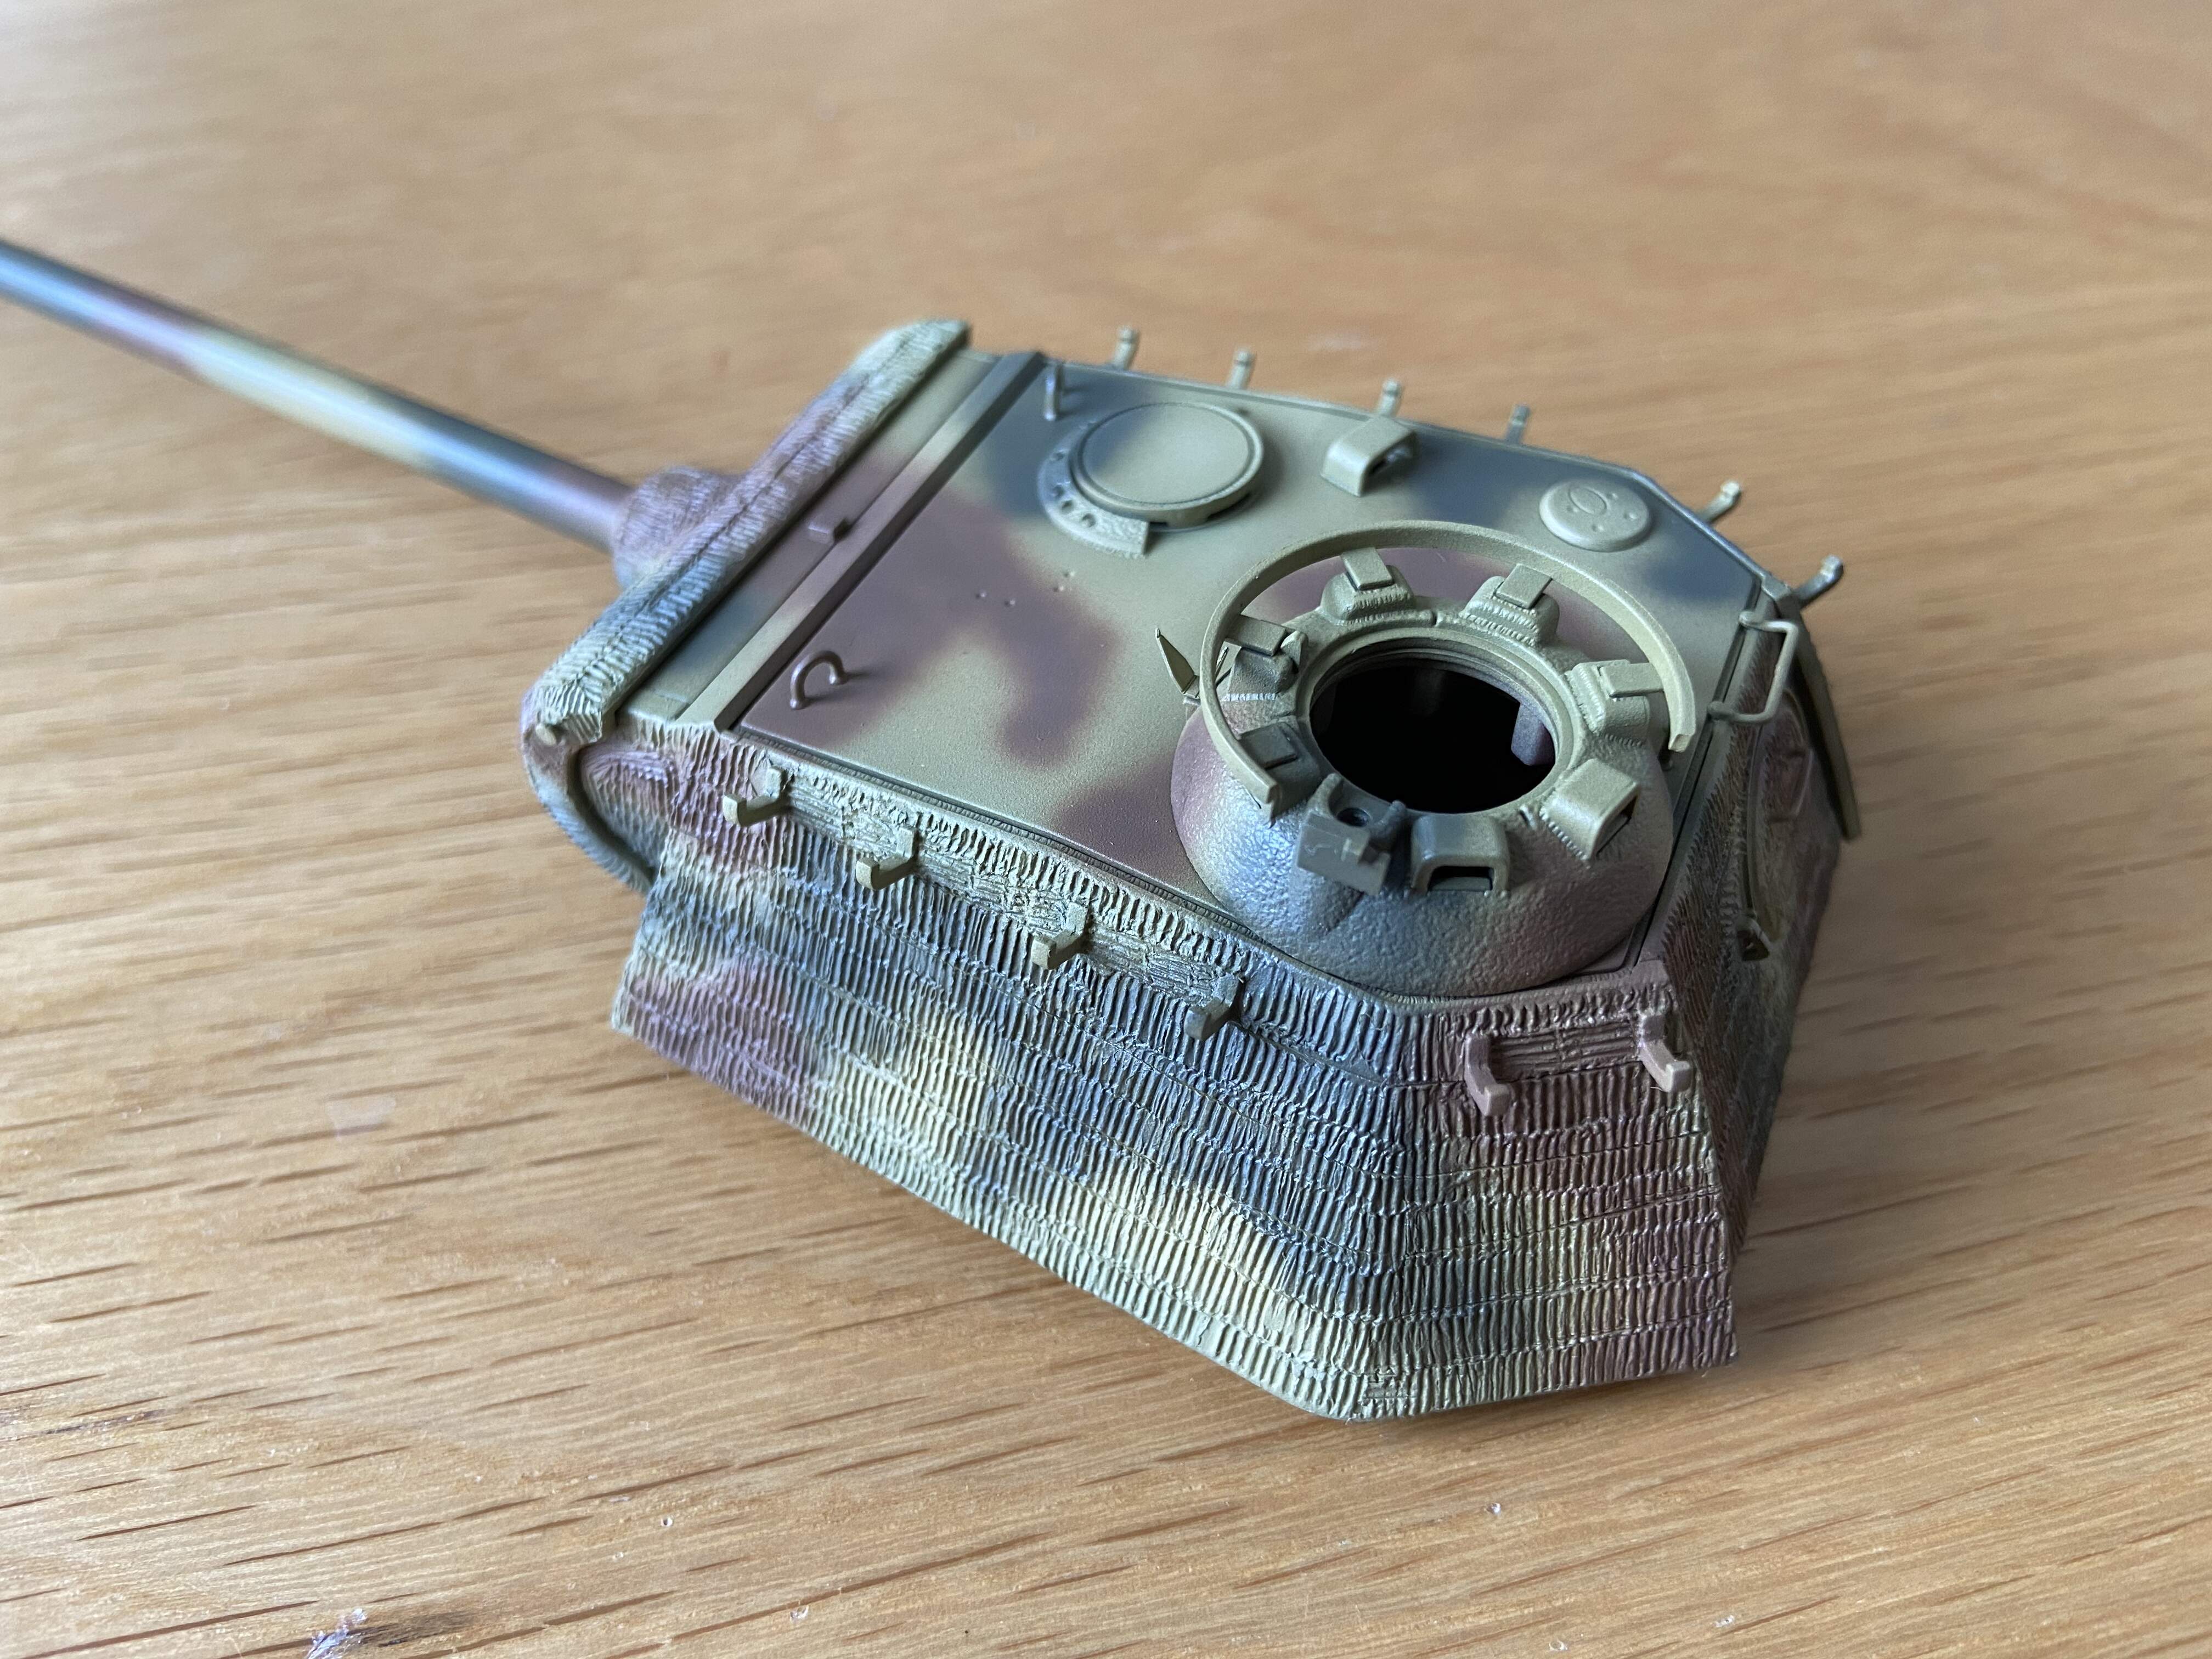
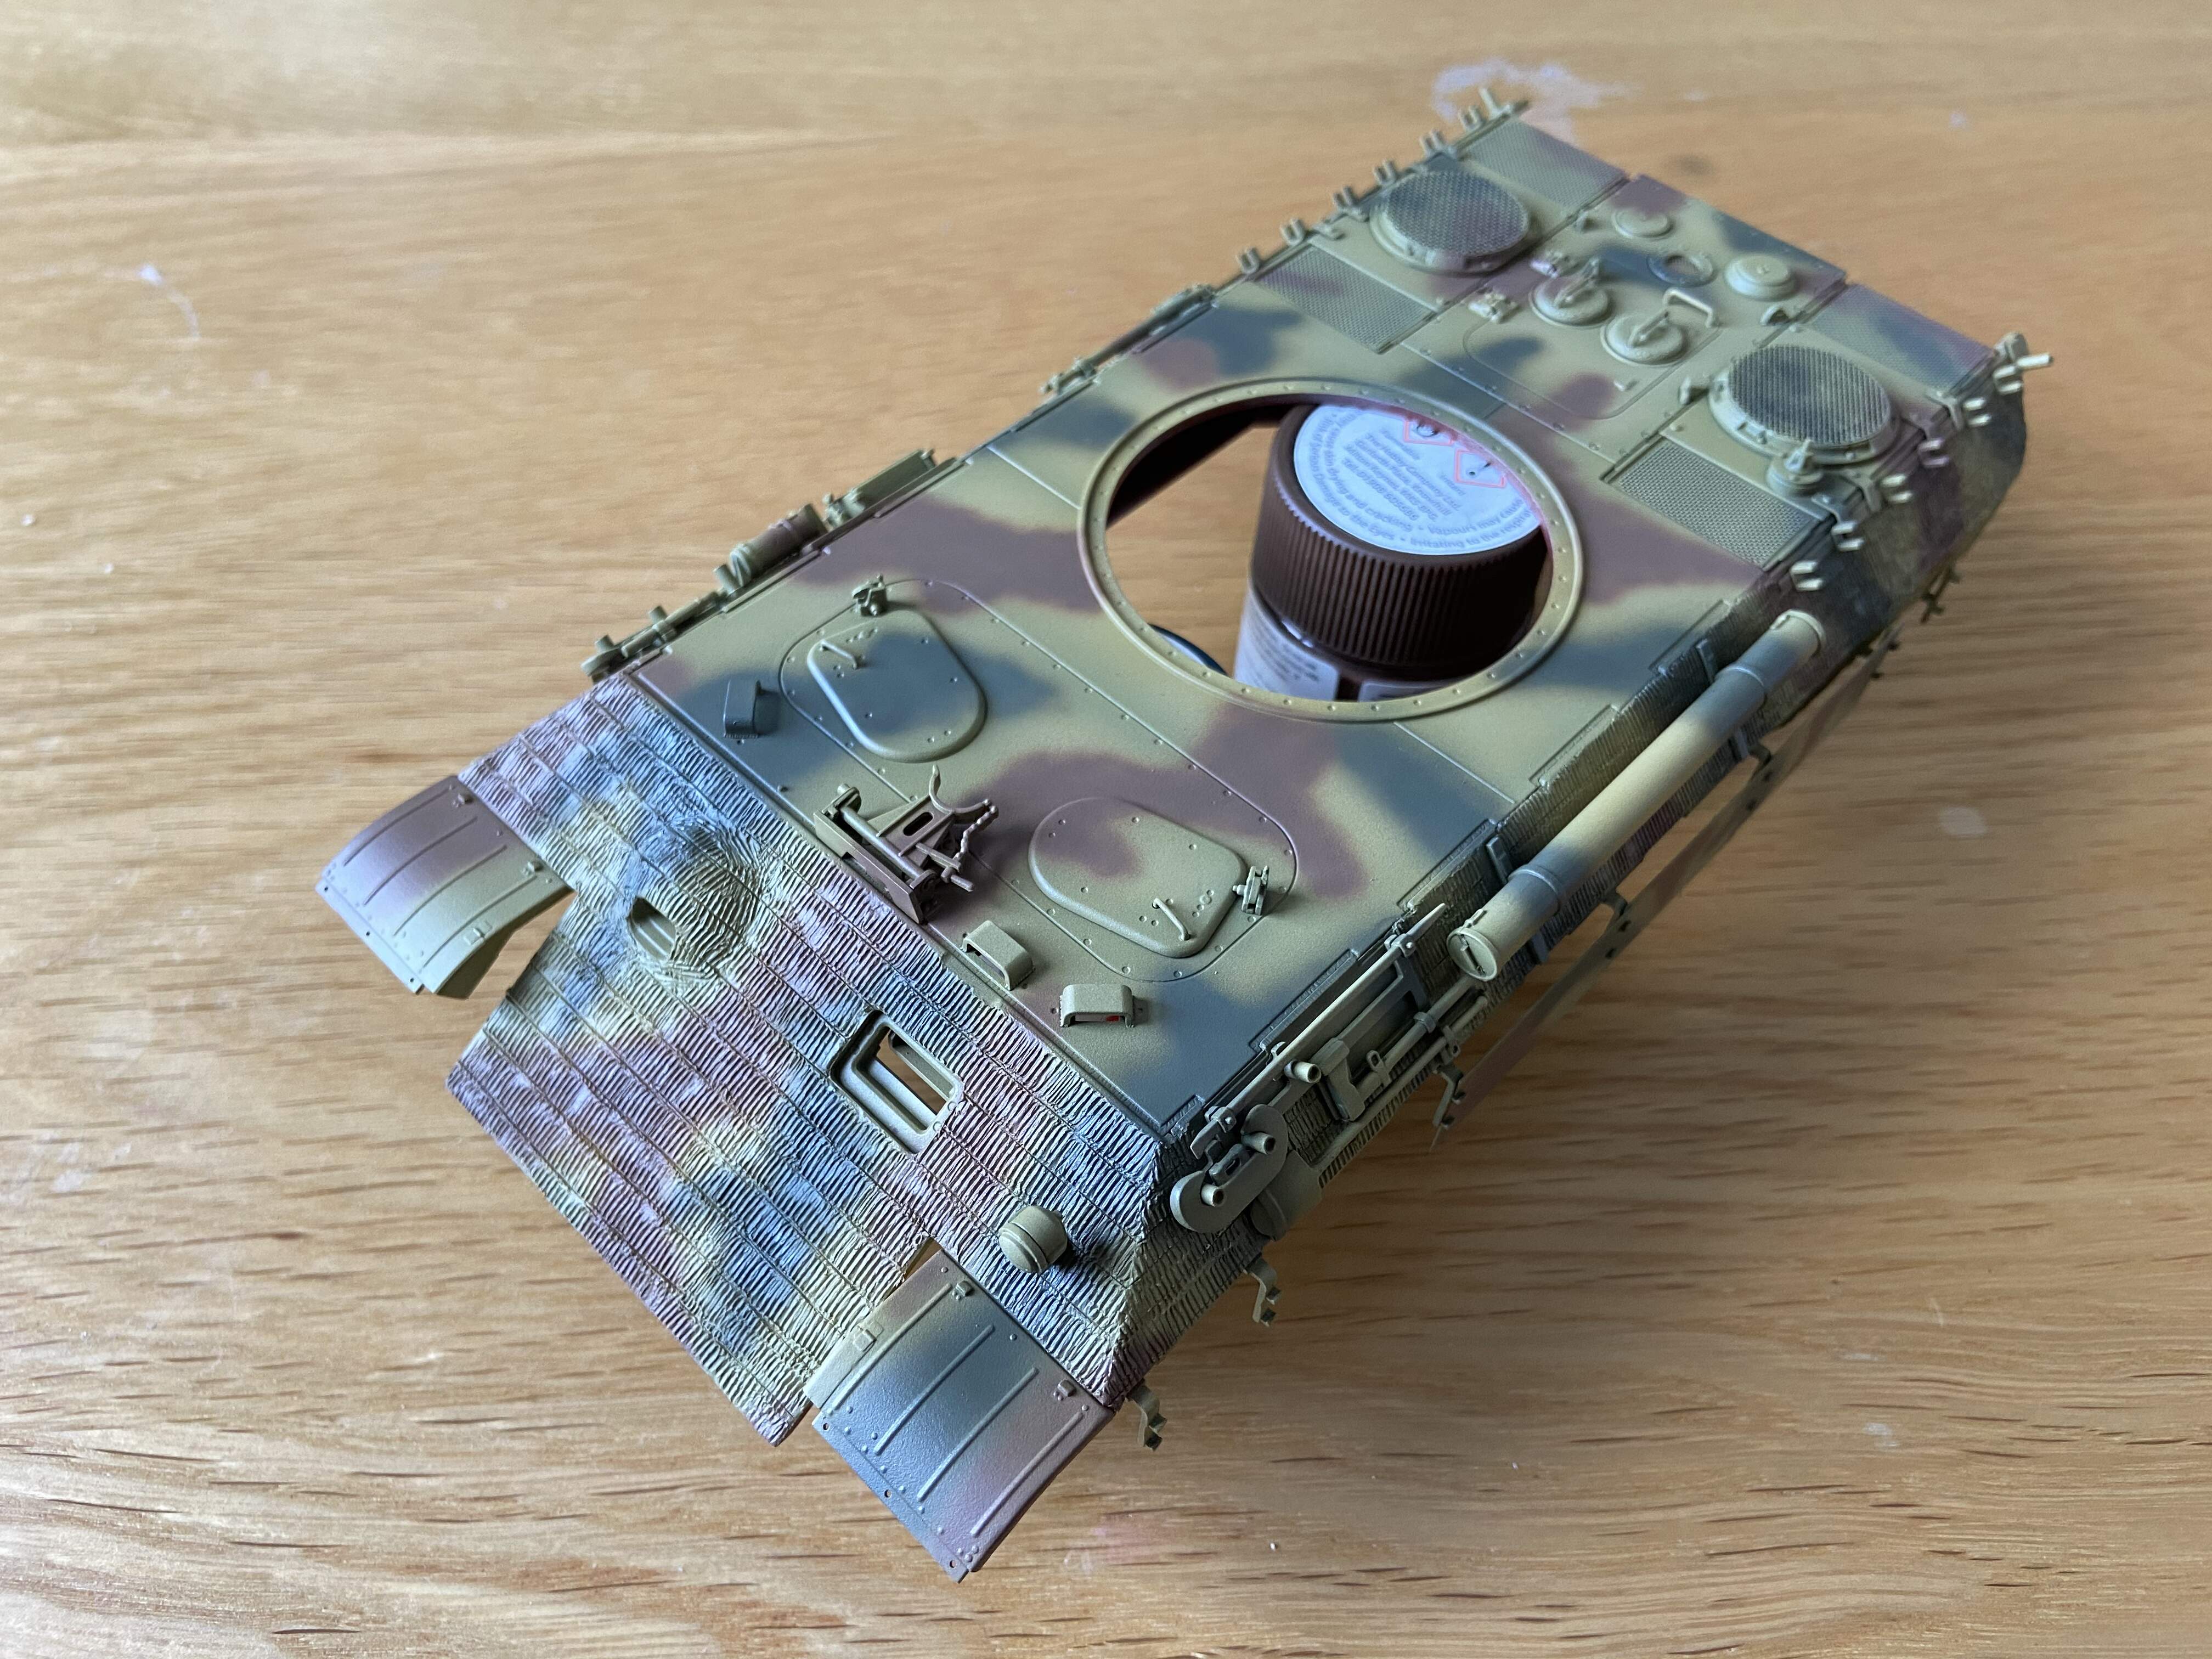
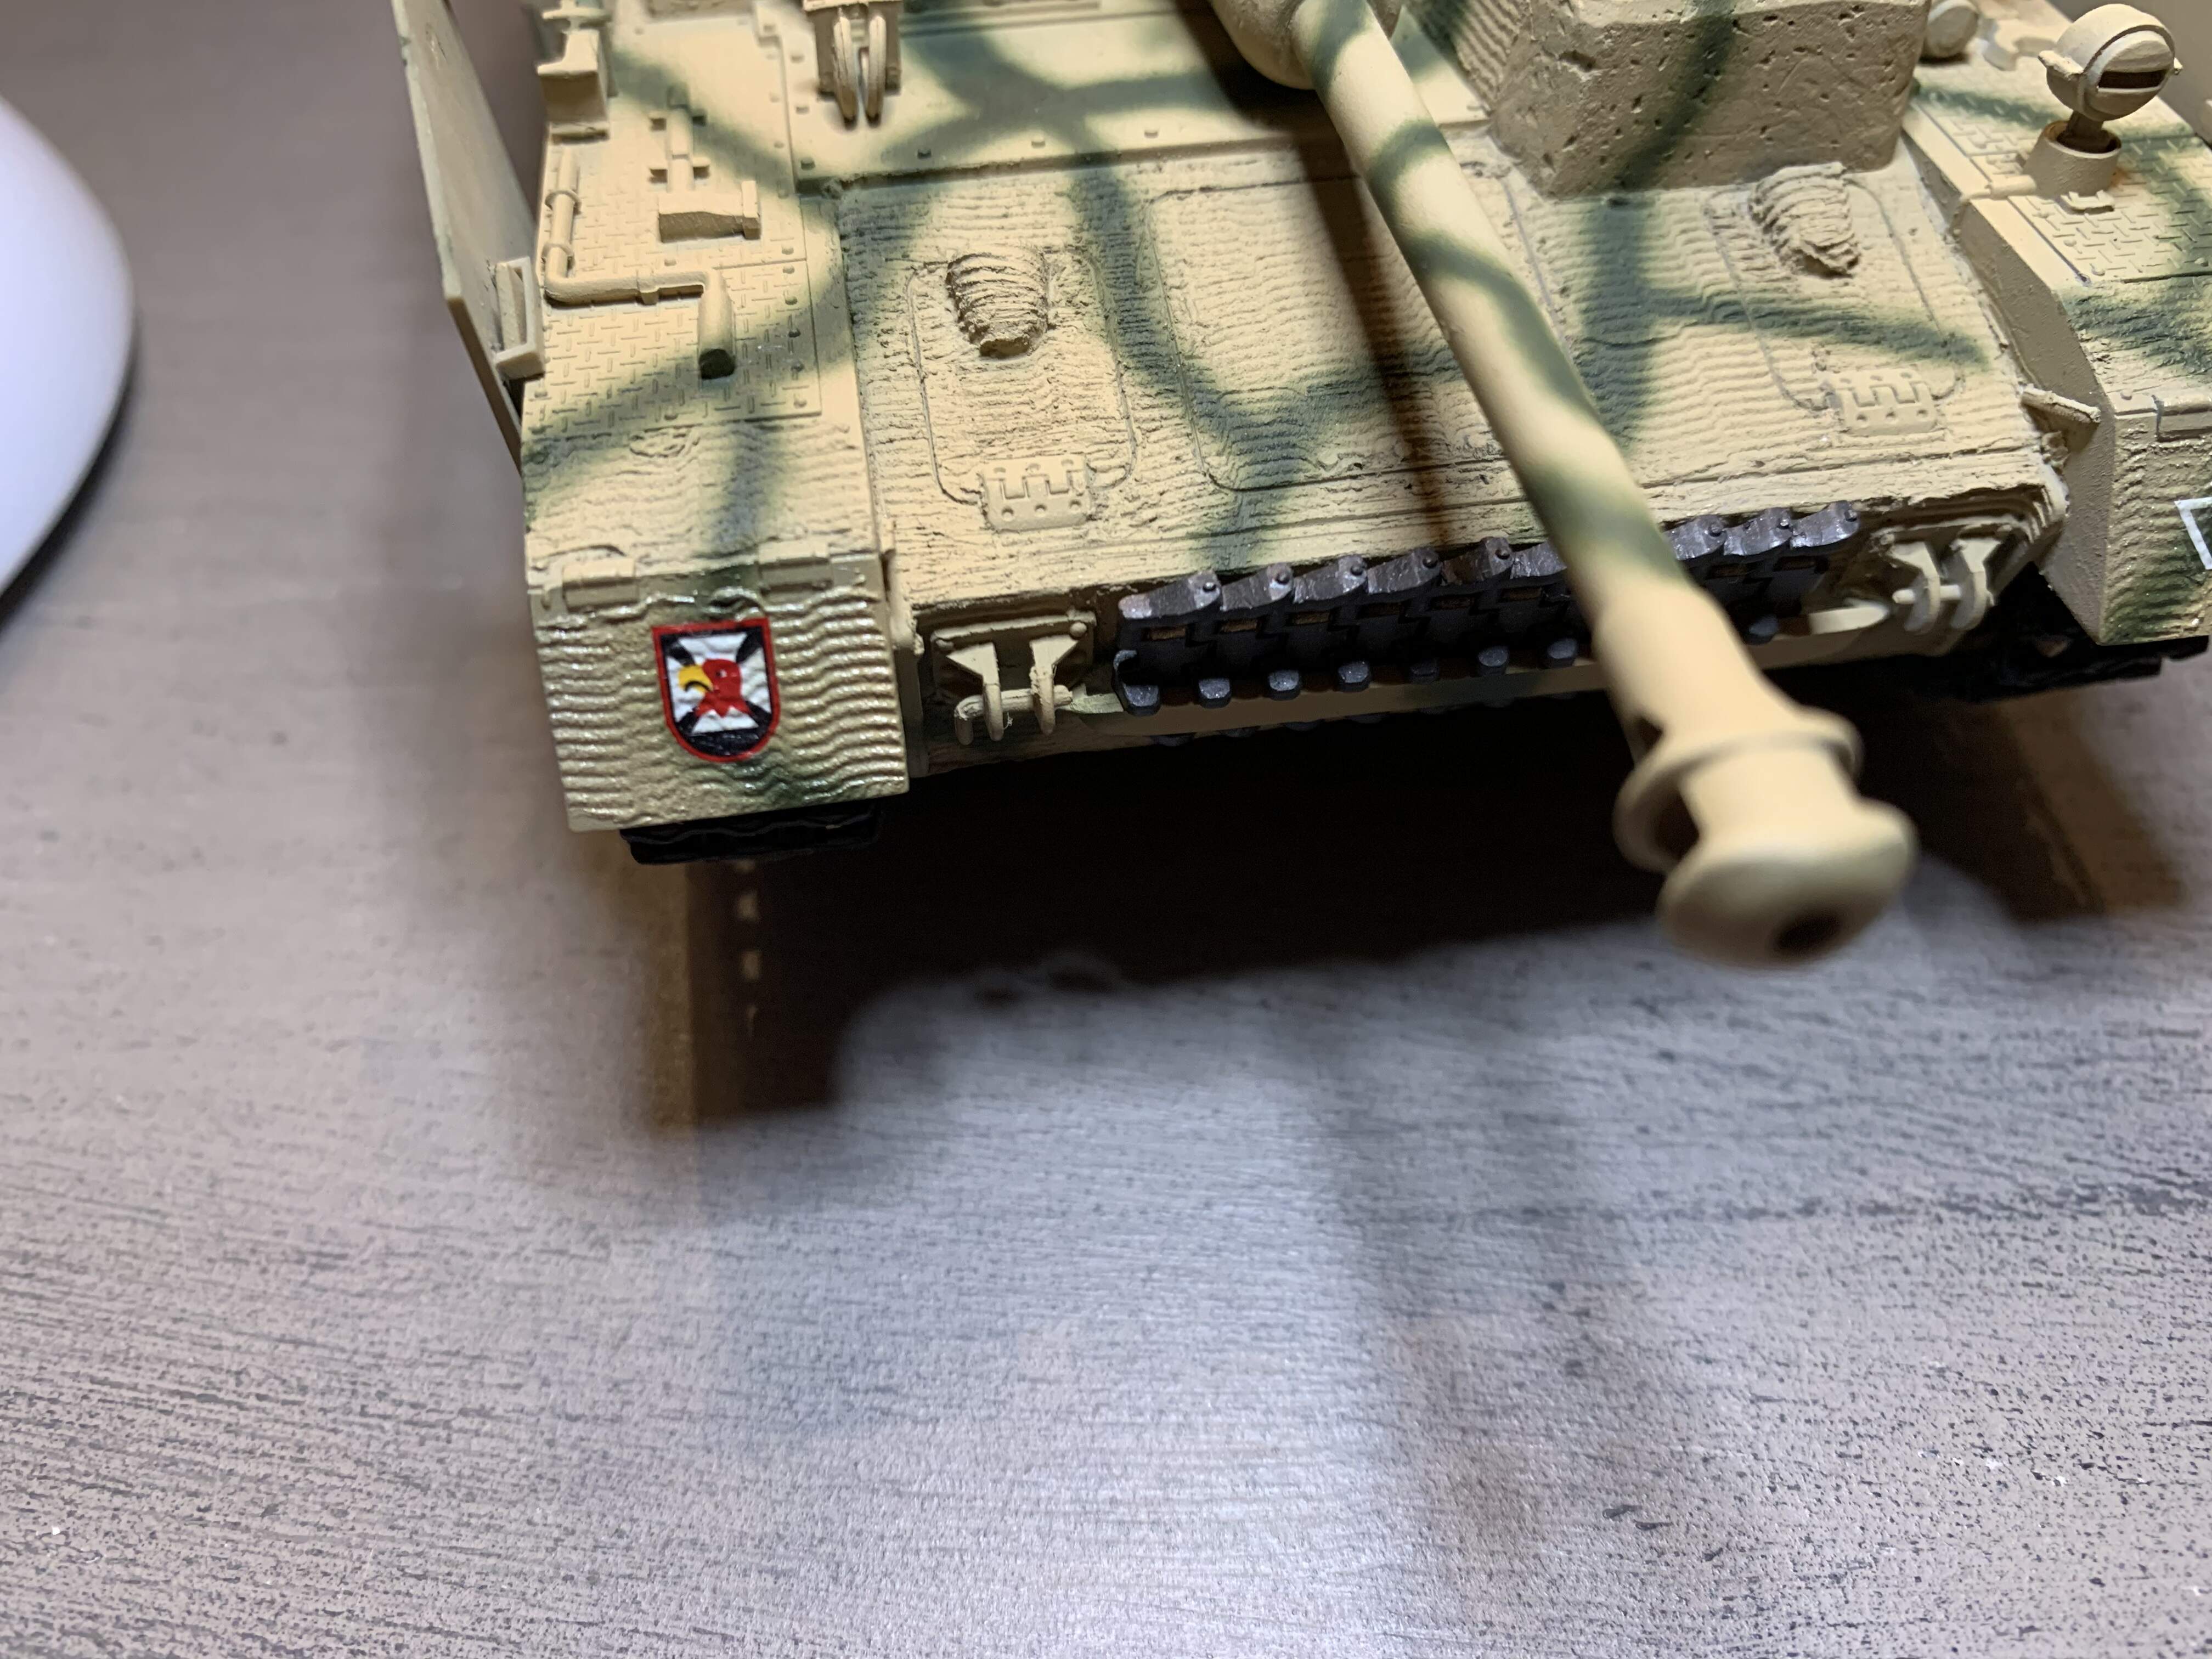
Thought I’d share a couple of photos of my current wip, Meng’s Panther A late. I picked up this kit when it was first released but have only just got around to painting it.
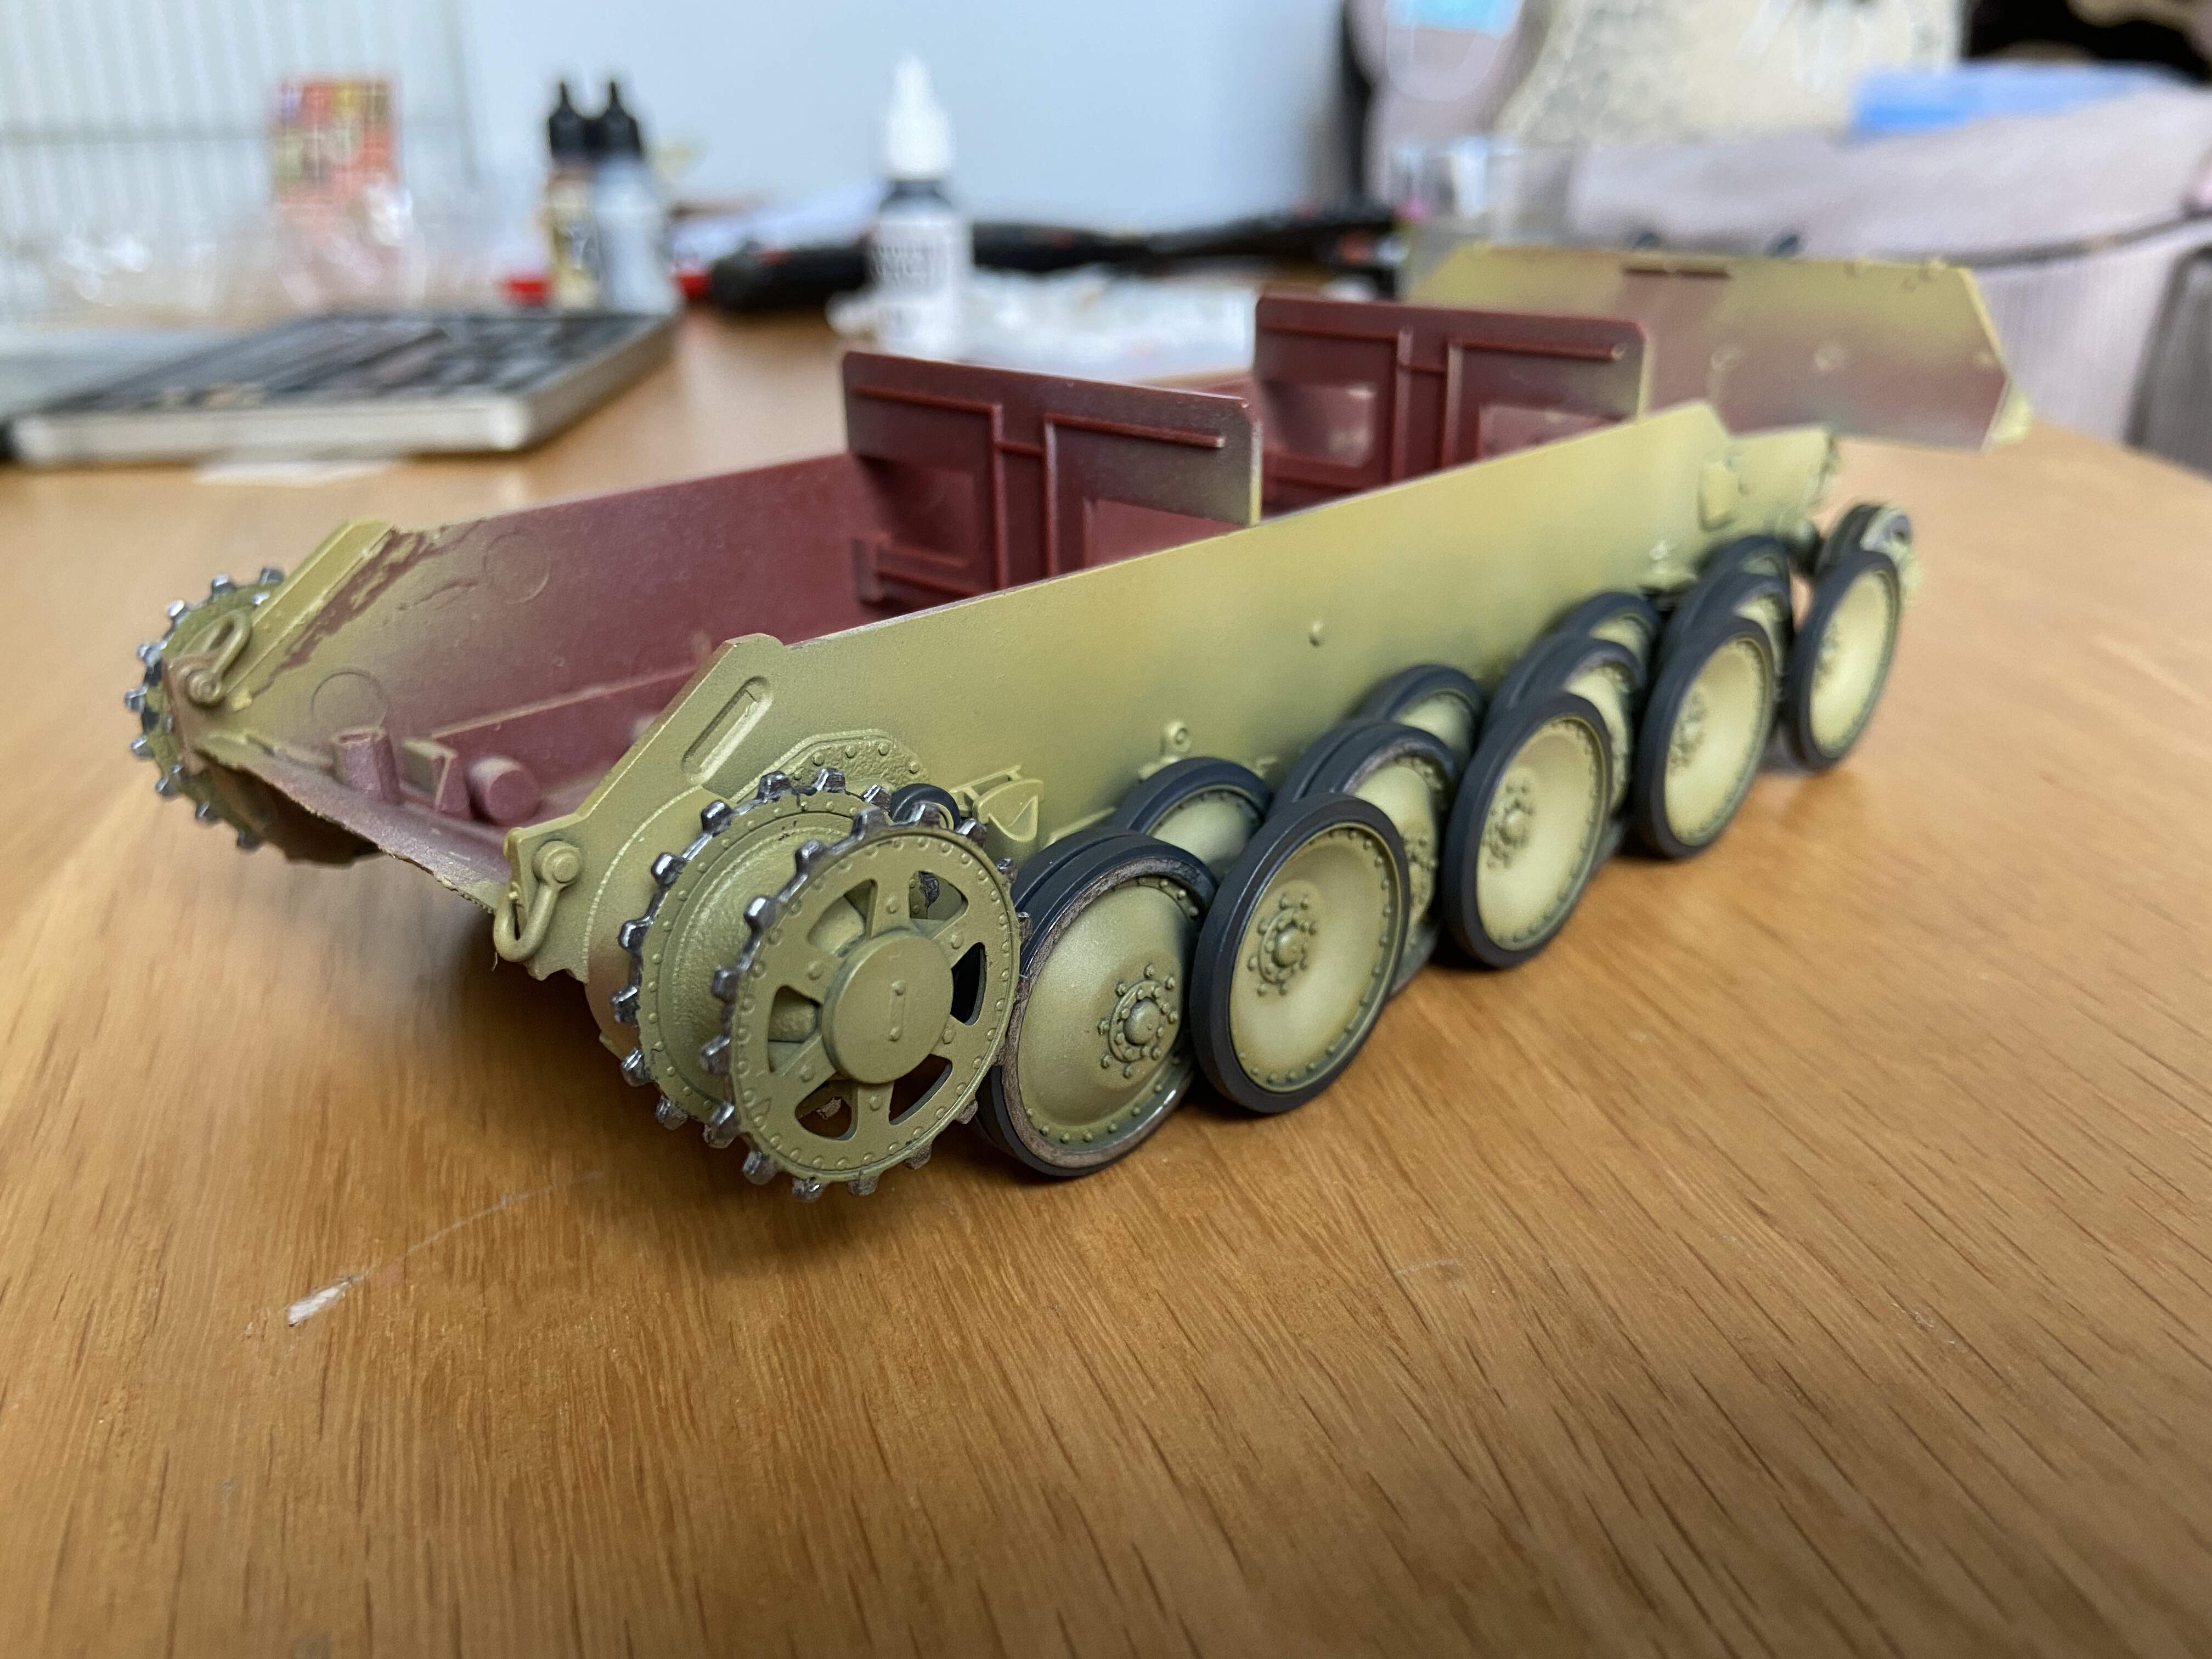
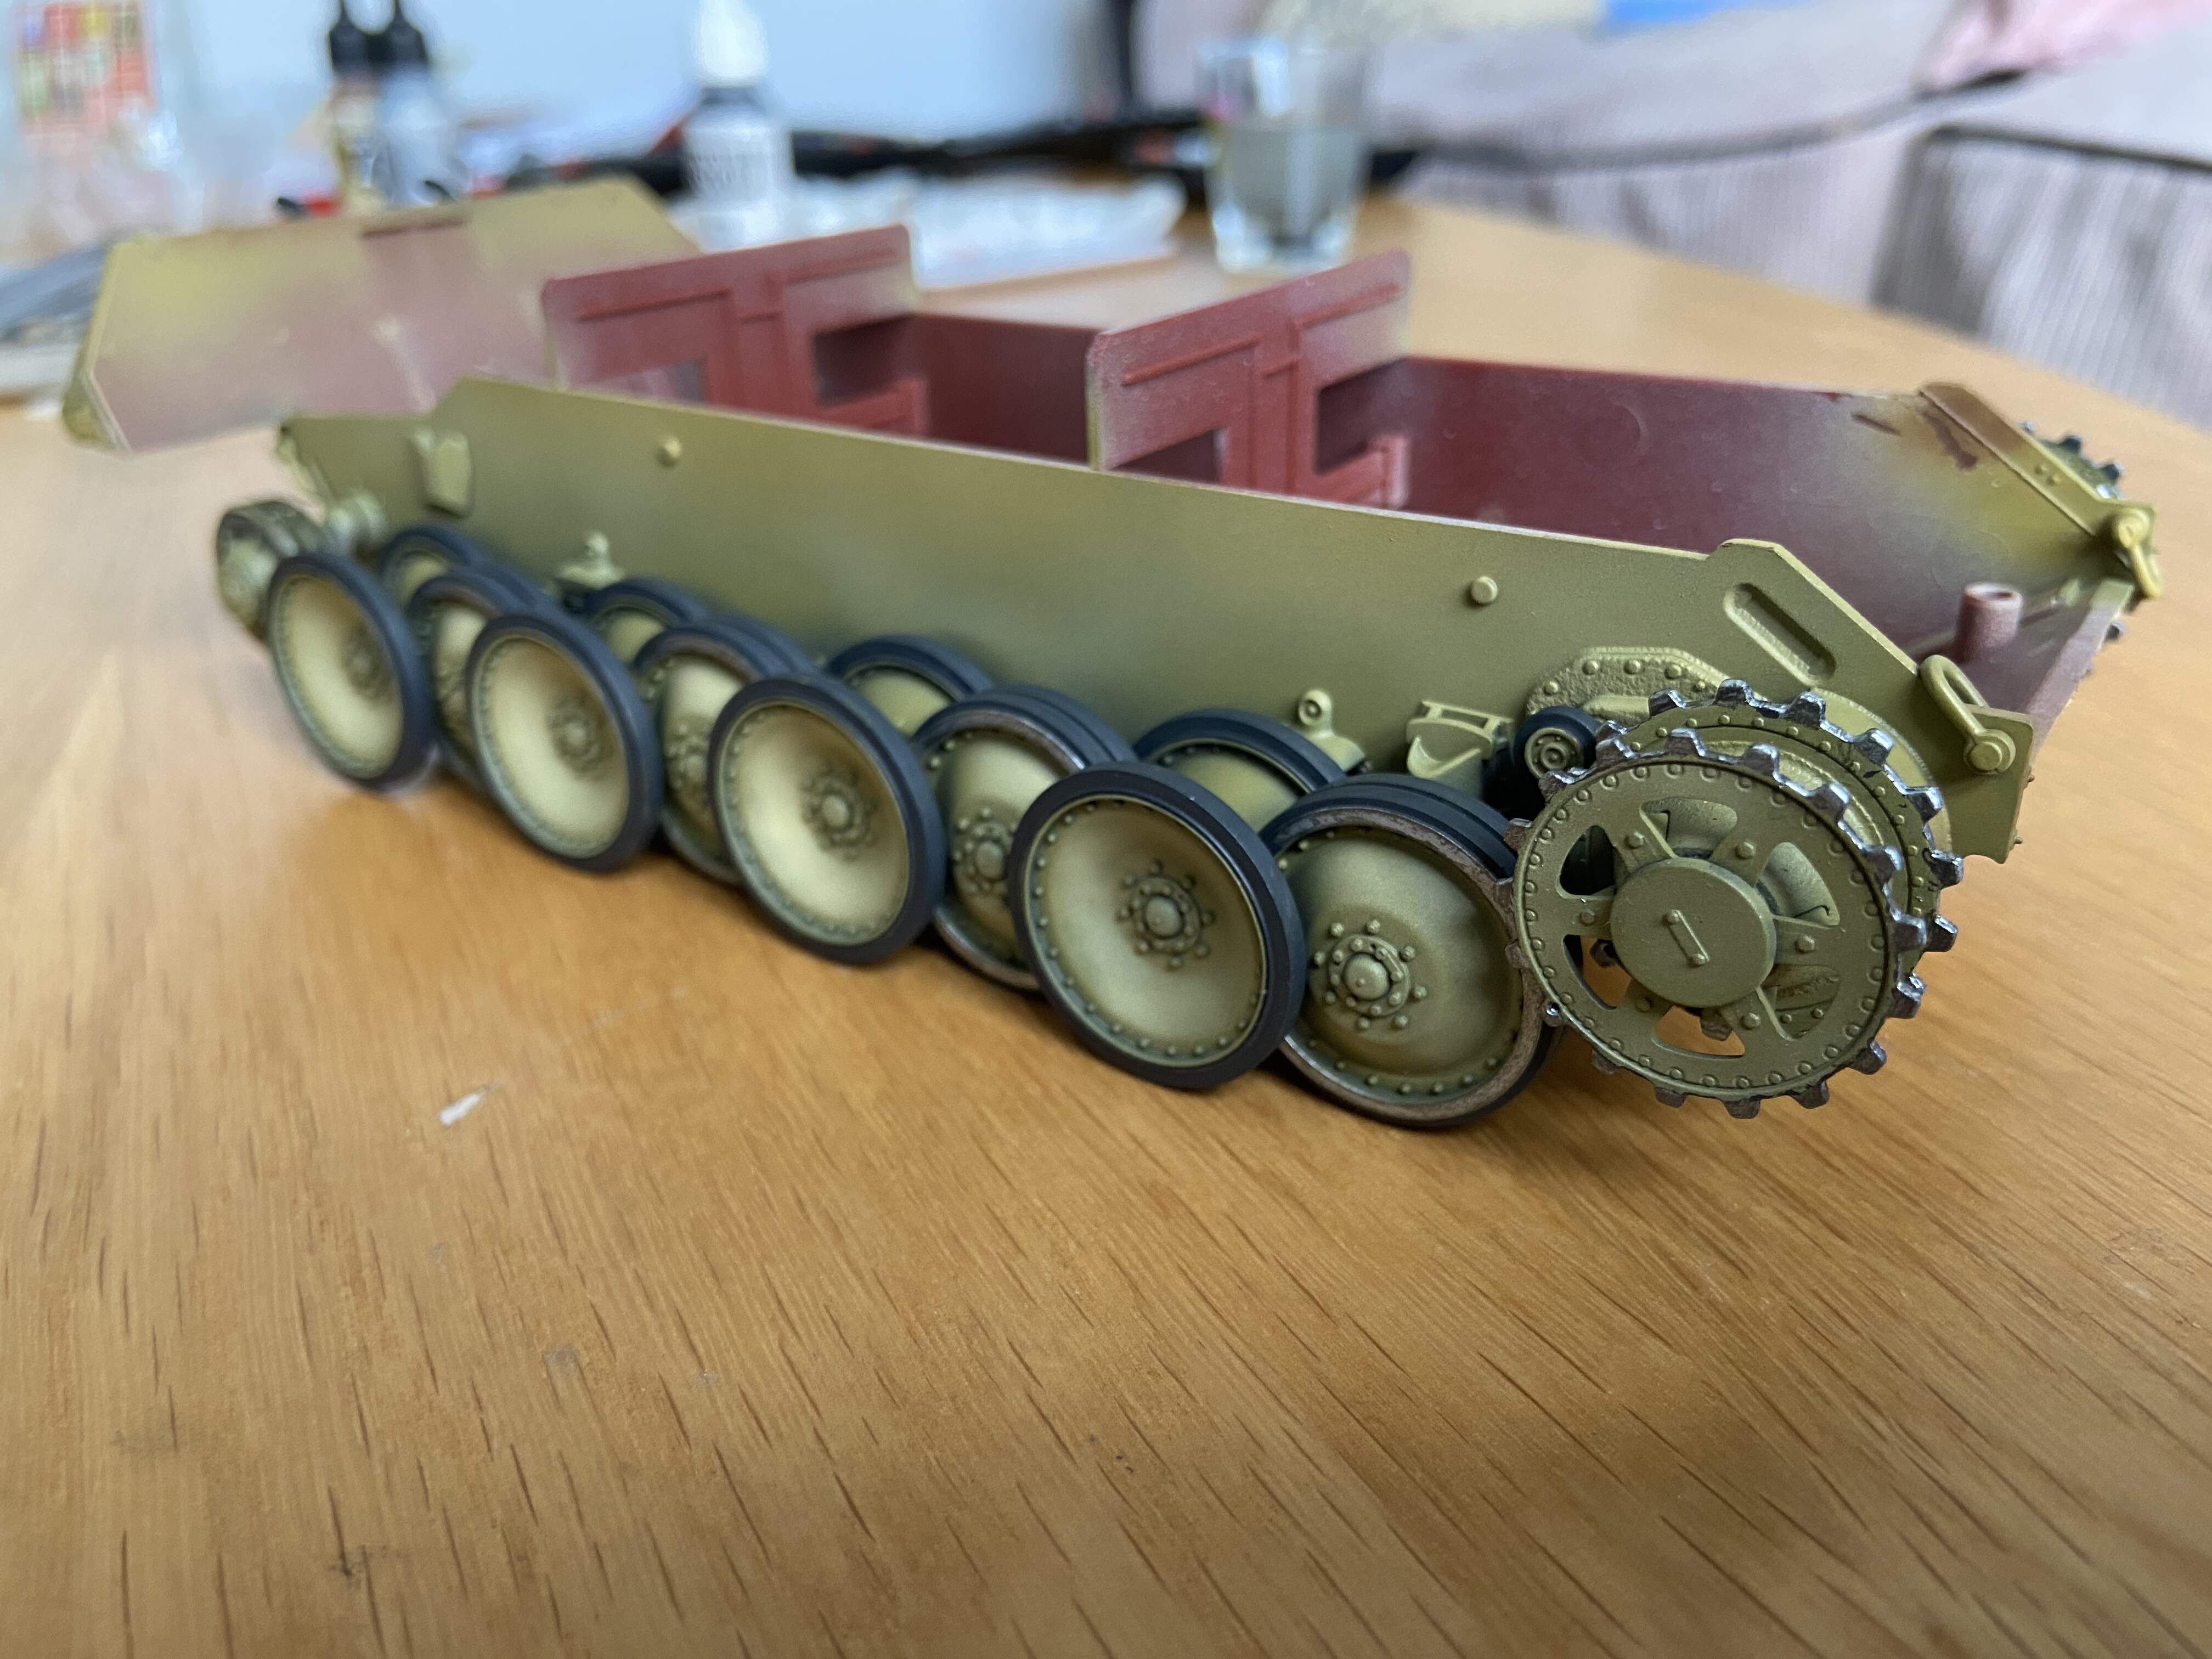
It’s a nice kit, goes together really well. I replaced the kit wheels with some spare Dragon wheels as I had some already cleaned up and ready to go. Didn’t touch the kit tracks and have a set of fruils already build. The zim was made with milliput and trumpeter zim tools, the rest is oob.
Cheers Armorsmith, I’m really pleased with how the zim turned out. Think it’s the first home made zim I have done that actually turned out how I wanted it to
My first try at Zimm also turned out well. I think the homemade zimm is like riding a roller coaster the first time. Can be scary at the start but it turns out well.
Welcome to the new forums @guern !
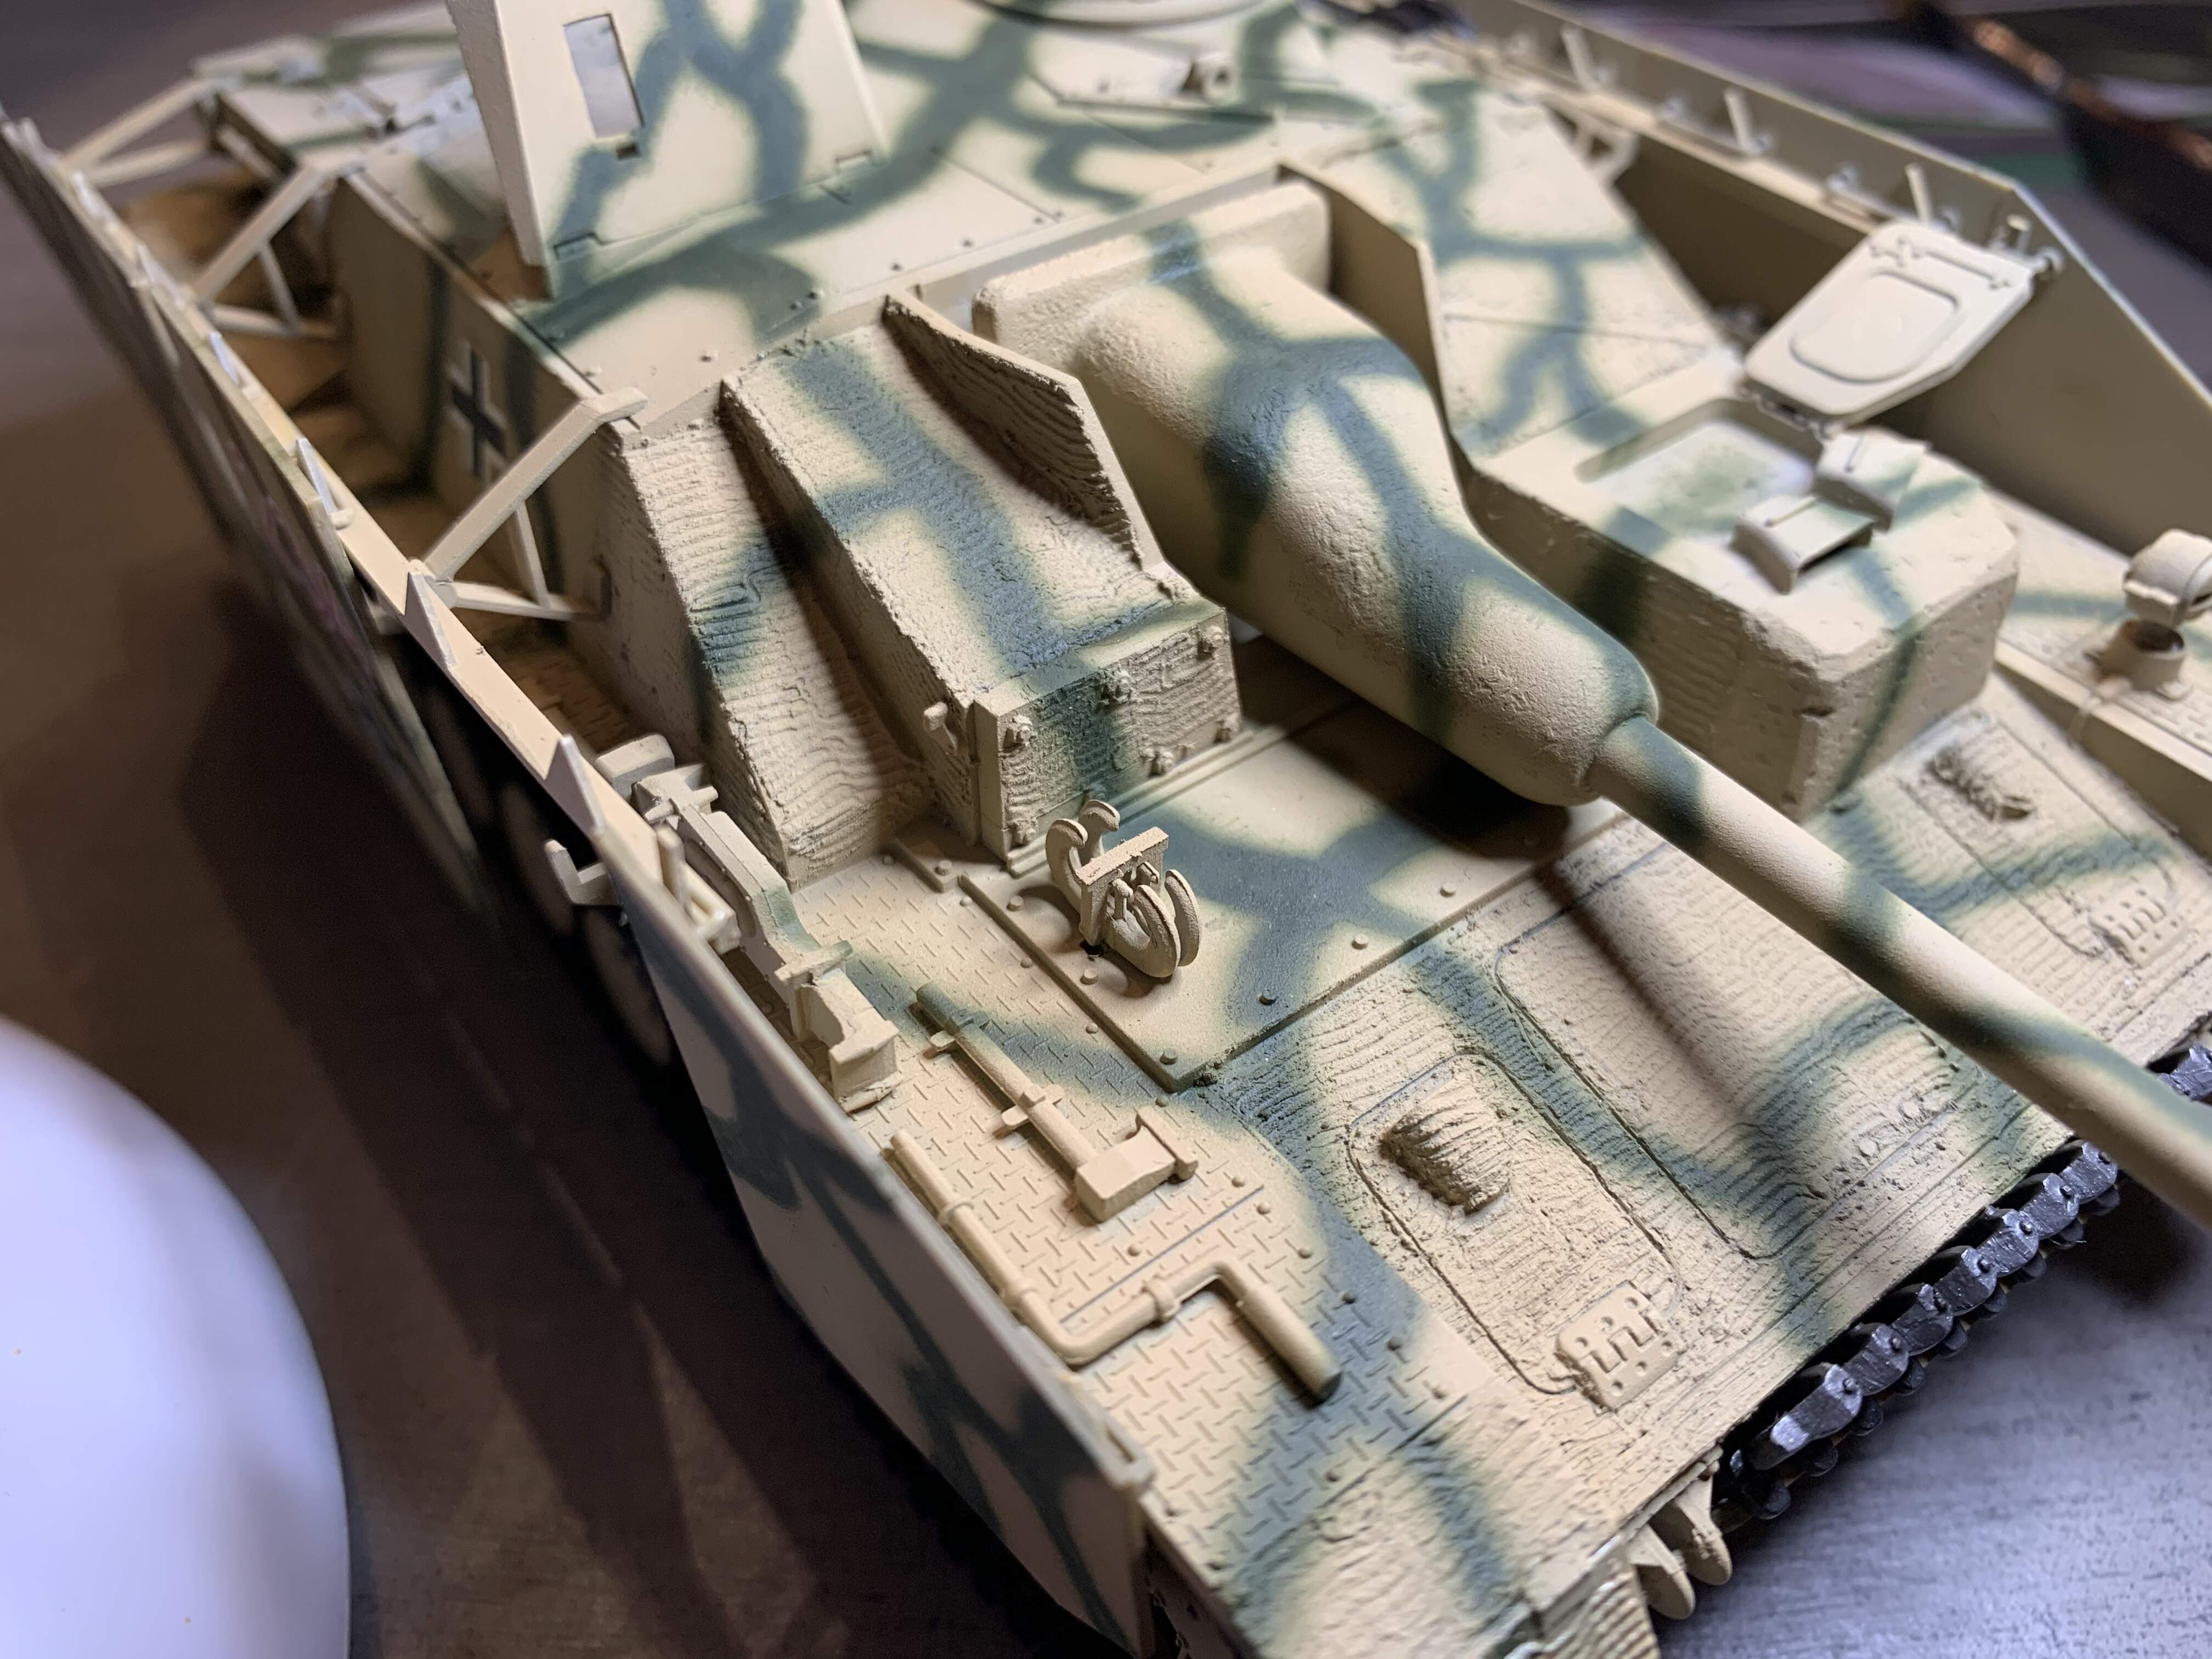
Really nice looking zimmerit. You’ve done a bang up job on the camo painting also. It’ll be great to see the finished photos. Can never have enough Panther pictures.
Cheers,
C.
Excellent work. I think these home made zimmerit s are the way to go. Look awesome and natural. I agree with @TopSmith the first time is a roller coaster. I removed mine and restarted like 5 times. Really happy with the end result though.
What I like about the home made ones is they are perfectly imperfect with thicker areas, thinner areas, worn areas, wavy, etc.
Thanks everyone for the welcome and kind comments. Agree that homemade zim is the way to go. I had a few attempts that were either a bit meh or pretty rough so changed my approach. I think the key for me was getting the milliput nice and thin and applying it really early in the build. Once I started doing that I started seeing much better results
I’ll keep the updates coming. I’ve moved on to the basic detail painting, starting with the tyres so it might take a little while!
How did you get the milliput thin enough? I used latex paint and wall spackle for this one on my stug but think I may need milliput for my Elefant build.
@Mead93
For the milliput, first i rolled a small amount together and thinned it out with my fingers as much as possible. Next I placed it in the center of the area that is to be coated and used my thumb to spread it out to the edges. I also used to back of a blade or small chisel in some areas. The trick was to keep the milliput very wet and apply a bit of pressure when spreading it out.
I did this early on in the build before adding any many fragile parts. I also masked off weld seams and recessed details before applying. It was a messy job and it’s very easy to accidentally fill in details when spreading it out. Finally I cleared up the edges and stamped the pattern. For larger areas like the hull sides I worked in sections. As long is the milliput is kept wet it will take a fair amount of time to harden which allows for each section to be blended in as you go.
Hope that is of help! Also, I think you have done a great job on your stug, looks really good to me
Thanks! I like the stug too but I think the elefant zimmerit pattern will be closer to your panther than my stug based on photos I’ve seen and I think the technique you used will do a little better on the elefant I plan to build. It looks superb on that panther
I also found zimmerit a messy job, like you I did it early one of the first things I did and also had to mask off a ton of detail to stop the zimmerit from getting in it and consume it
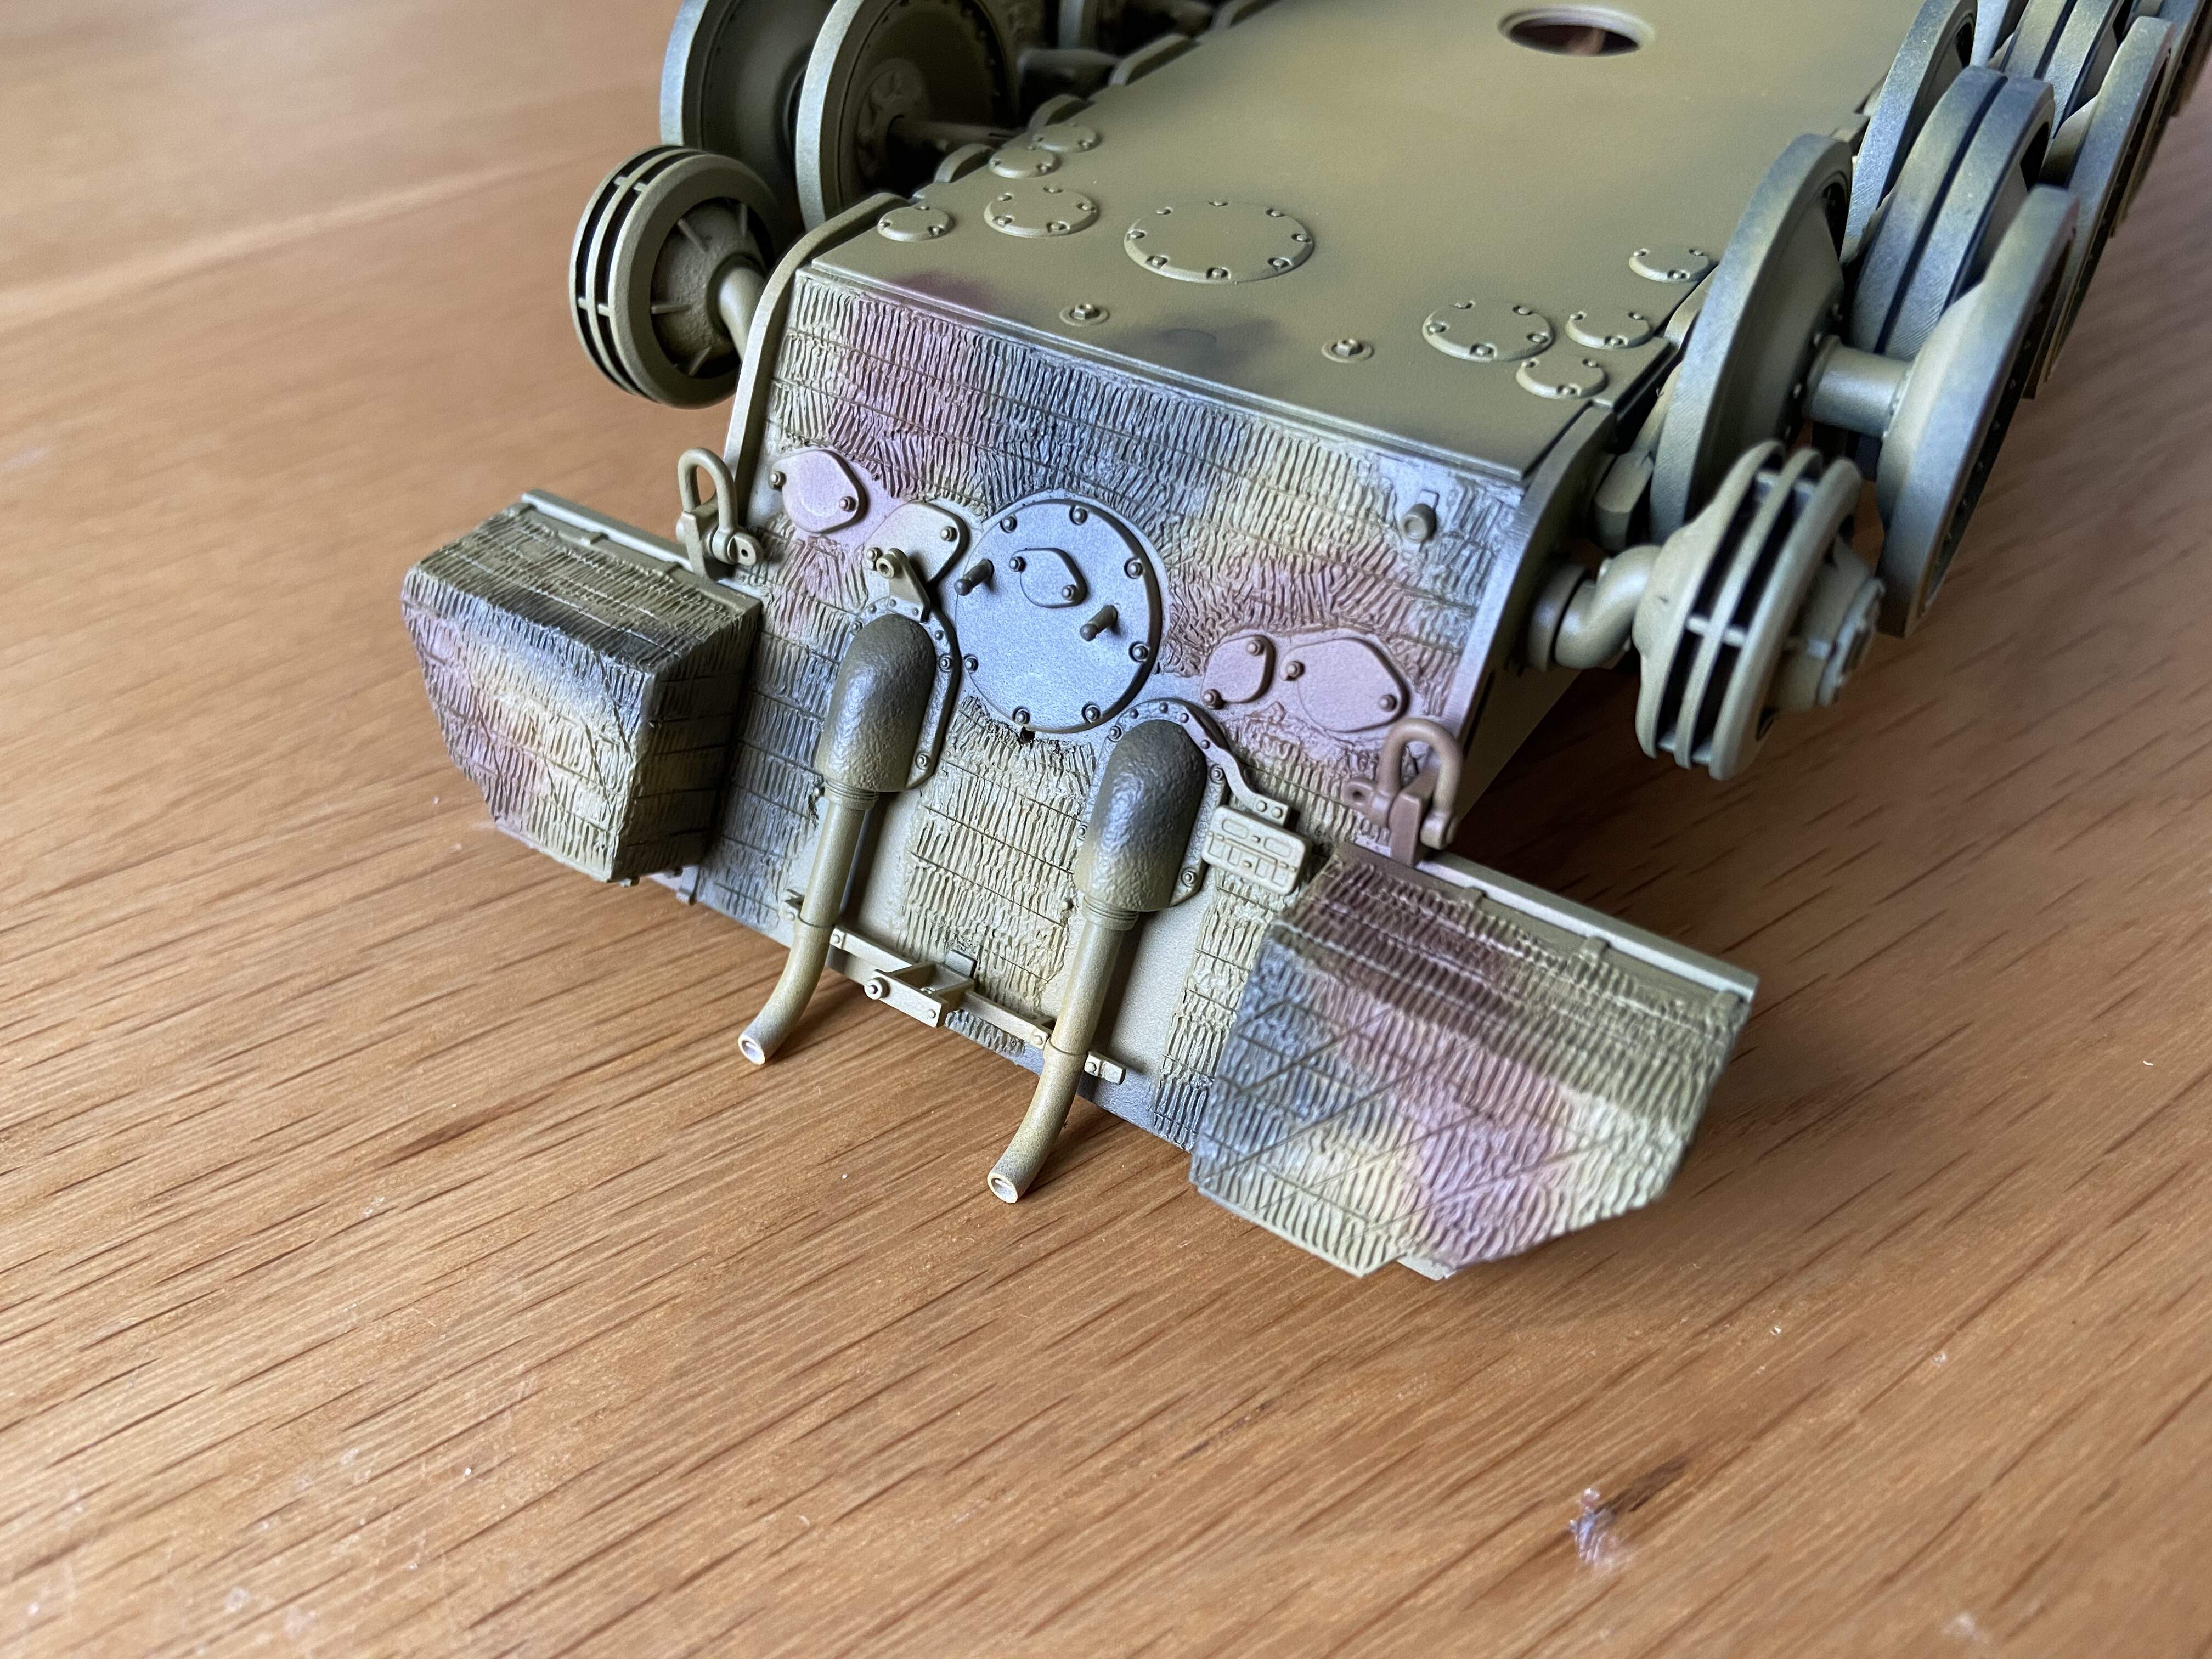
It won’t be very visible if you are fitting Schuerzen but there should be Zimmerit on the lower hull sides too. There are factory photos (e.g. in Panzer Tracts 5-2) which show the areas covered.
Painting and detailing are at a premium here on this one. I’ve never built an armor kit before (outside of throwing them together as a young kid) so I’m taking notes whenever I see some good work being done.
I agree about the need for zimmerit on the lower hull. Though like mentioned look at photos. On my StuG I put it in places it probably shouldn’t have gone