Coming along fine D.
the fuel lines should be, fairly, easy to replace, with cobber wire and will add a lot to the overall look, of the engine.
Coming along fine D.
the fuel lines should be, fairly, easy to replace, with cobber wire and will add a lot to the overall look, of the engine.
D,
I’d say that the Oven Cleaner did it’s job perfectly. I love the stuff for stripping, but the smell and fumes is an issue, so I only use it in the garage and wear my respirator. But the end results are well worth it.
joel
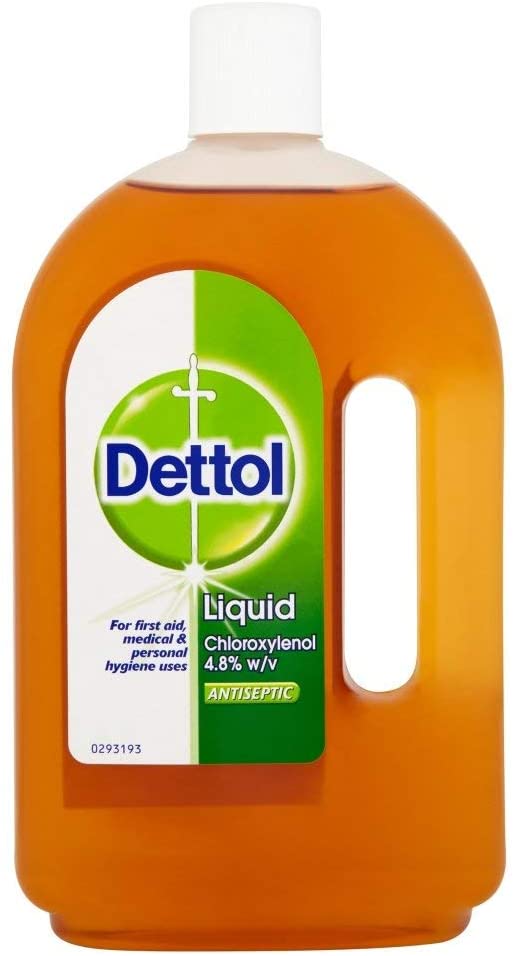
I use Dettol for my chrome stripping. Different strokes for different folks, they say.
Back to the abundance of chrome, the older kits appear to be quite guilty of overloading the “bling” and forget about the rest and the lack of detail.
Anyway, it looks like you have high expectations with regards to super detailing this kit.
Looking forward to future updates. 
Gavin,
Never heard of Dettol, so I googled it. It’s a hand sanitizer. If that’s the same thing you’re stripping chrome with, the stuff must do a number on one’s hands. Or is this the wrong product?
joel
Hi Joel,
On my side of the pond it is also a domestic antiseptic disinfectant. It probably isn’t as thorough and as quick as say oven cleaner, but less caustic and safer to handle.
Fairly strong smelling, but I prefer it.
Different strokes for different folks as the adage goes.
Gavin
Chloroxylenol:
Don’t drink it …
Also contains these “tasty” ingredients:
Pine oil (contains d-limonene and benzyl alcohol)
Isopropyl alcohol
Castor oil
Caustic soda solution
Caramel
Water
Yip, not for consumption.
Gavin,
Sounds as nasty as Oven Cleaner.
joel
Got any updates on this one? Both of these kits look like good fun and the back story here is just amazing. Will be following along on this.
Thanks for checking in folks, unfortunately no progress to report due to ZERO bench time for several months now. Hoping to change that situation ASAP!
I’ve used Dettol diluted 50/50 with tap water to strip paint and it works very well. Easy to filter out the crud and re-use as well, the active ingredients don’t seem to weaken much after several uses.
Cheers, D
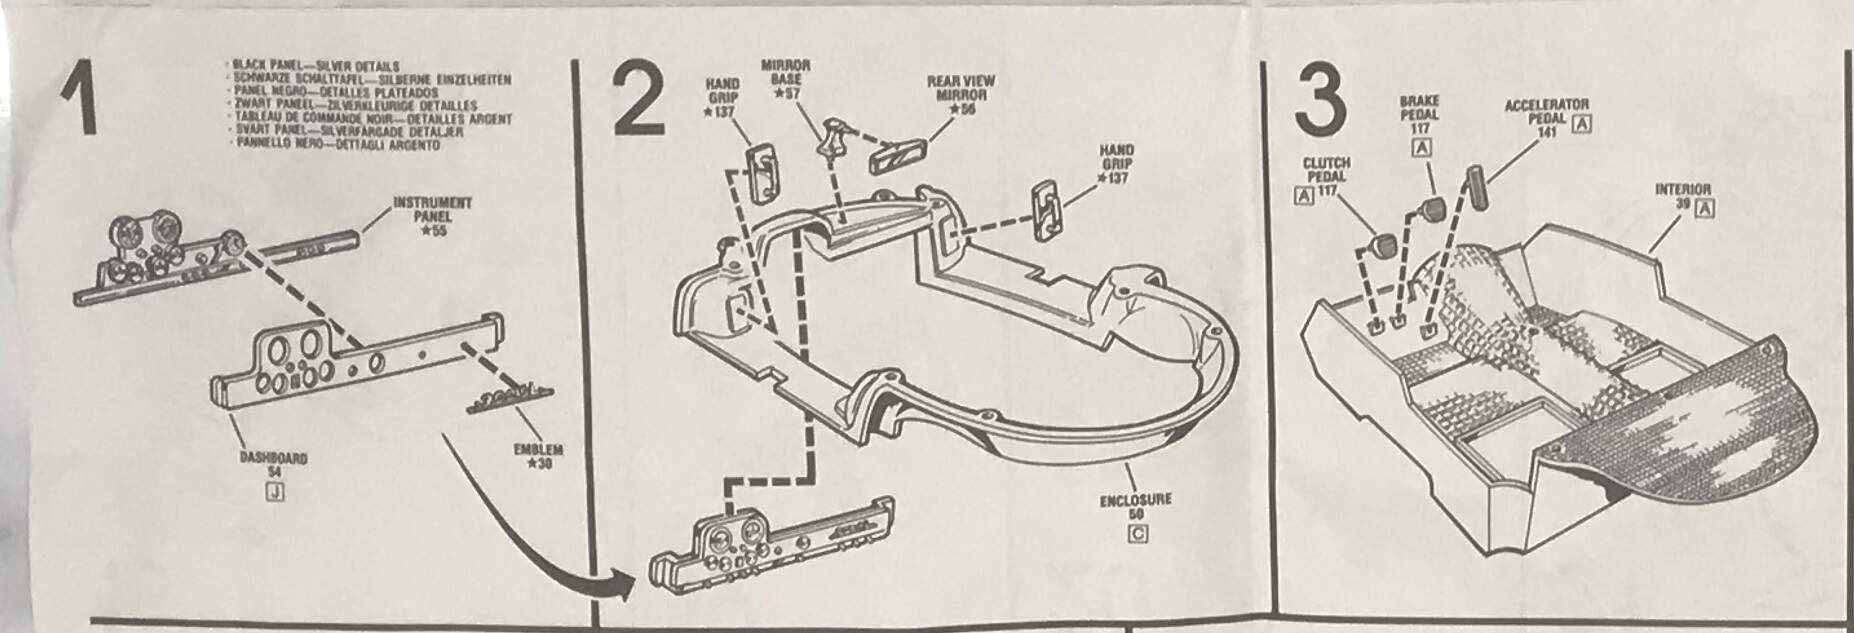
A meagre little bit of progress here, cleaning up and dry test fitting the parts for the first 3 steps. The chrome will need to be stripped and redone, mould lines and ejector pin marks on the most obvious surfaces 

I’m working my way through to try to figure out the most logical pathway for sub assembly and painting, hopefully I will be able to lay down some primer soon.
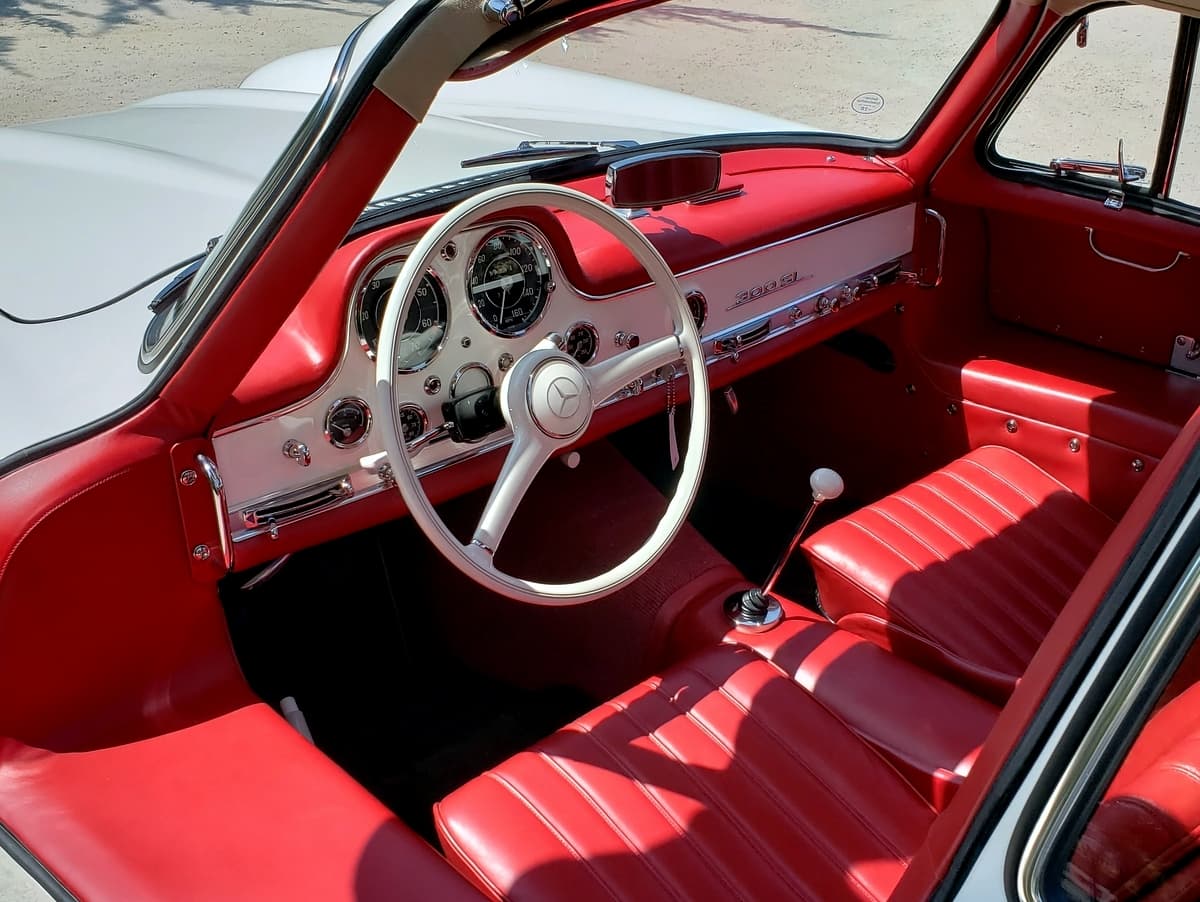
Interior shot on my reference car. Note that there is a strip of interior red beneath the chrome section of the dashboard here, but not present in the kit. I’m considering adding a painted strip to the bottom of the chrome section after the dash is all painted and assembled.
Cheers, D
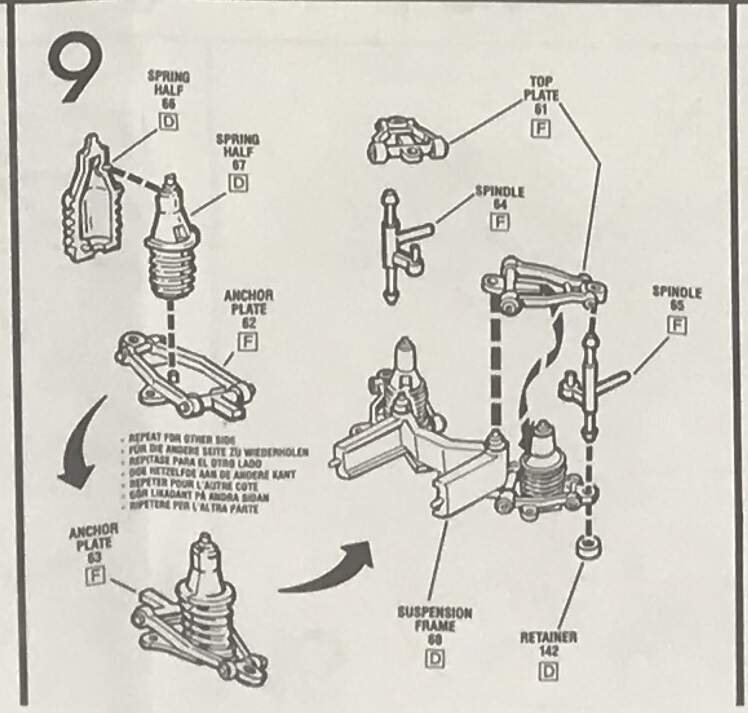
A little bit more done tonight, cleaned up the parts for Step 9 ready for primer.
I shot the primer (MS1500 Black), and once it has cured I will shoot Semi-Gloss Black on all parts, the Aluminium on the parts marked “F”.
Lot’s of memories and emotions going on with this build.
Cheers, D
D,
Still, nice progress for sure.
If the 300 SL was built like American cars were back in the day, then the dash was a single stamped piece of sheet metal and the chrome was an insert. All dashes back then rolled the lower lip down and towards the firewall for two main reasons: A) it looked much nicer, and B) the bottom of the dash left pointing down often cut a driver or passengers legs in case of a accident or sudden stop where they were thrown forward. My brother found that out the hard way and ended up in the hospital after his accident as the bottom of the dash in his MGB did some number on his legs in his head on crash with a telephone poll.
joel
Great info Joel, many thanks. I can imagine that a straight edge beneath the dashboard would be a recipe for disaster.
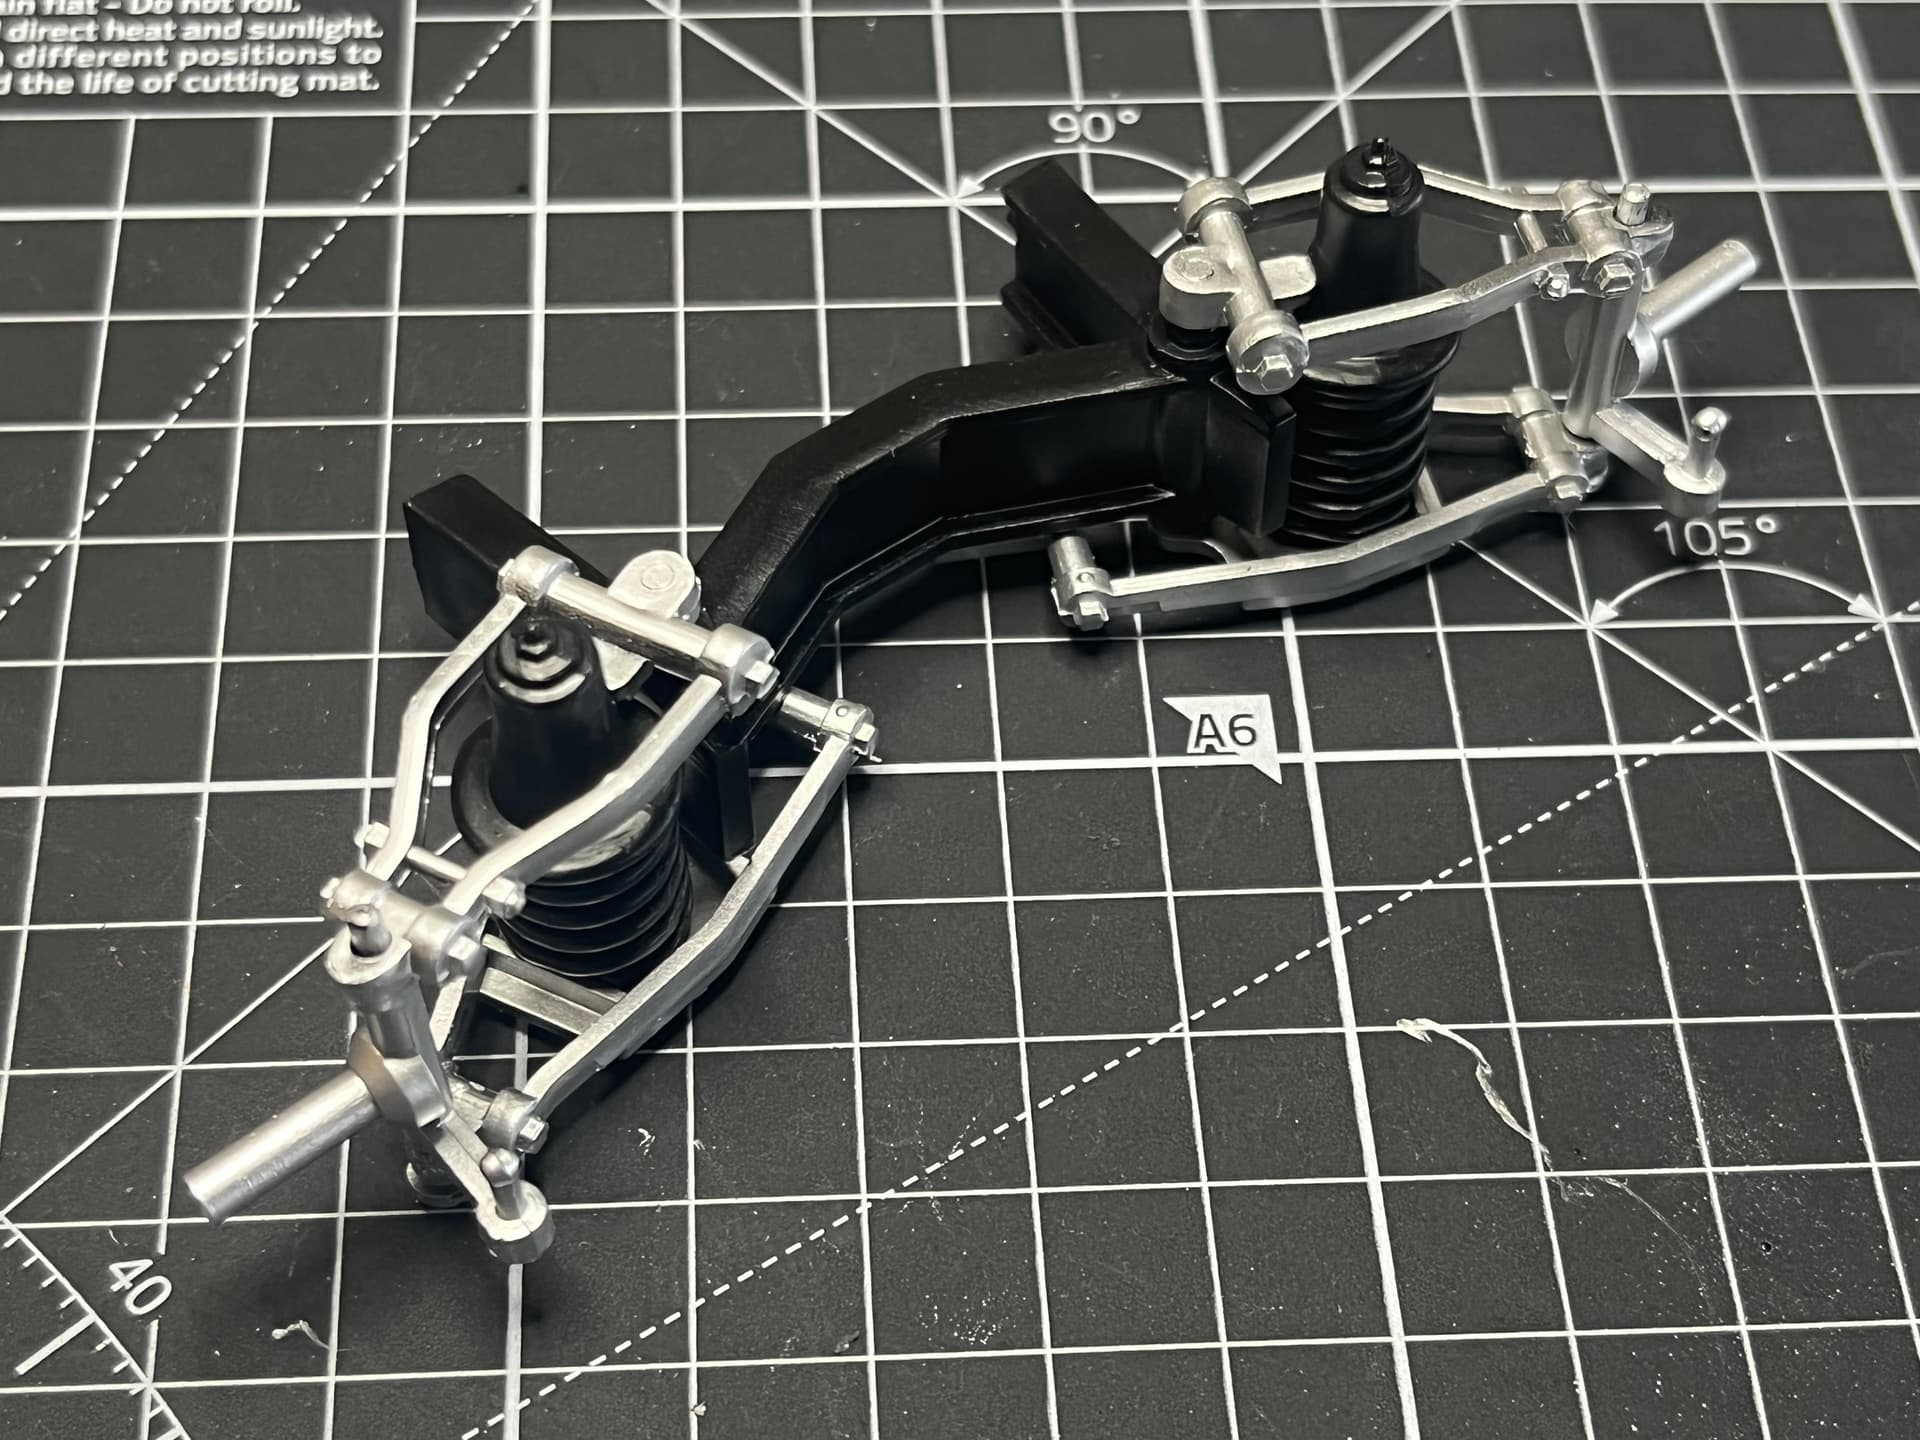
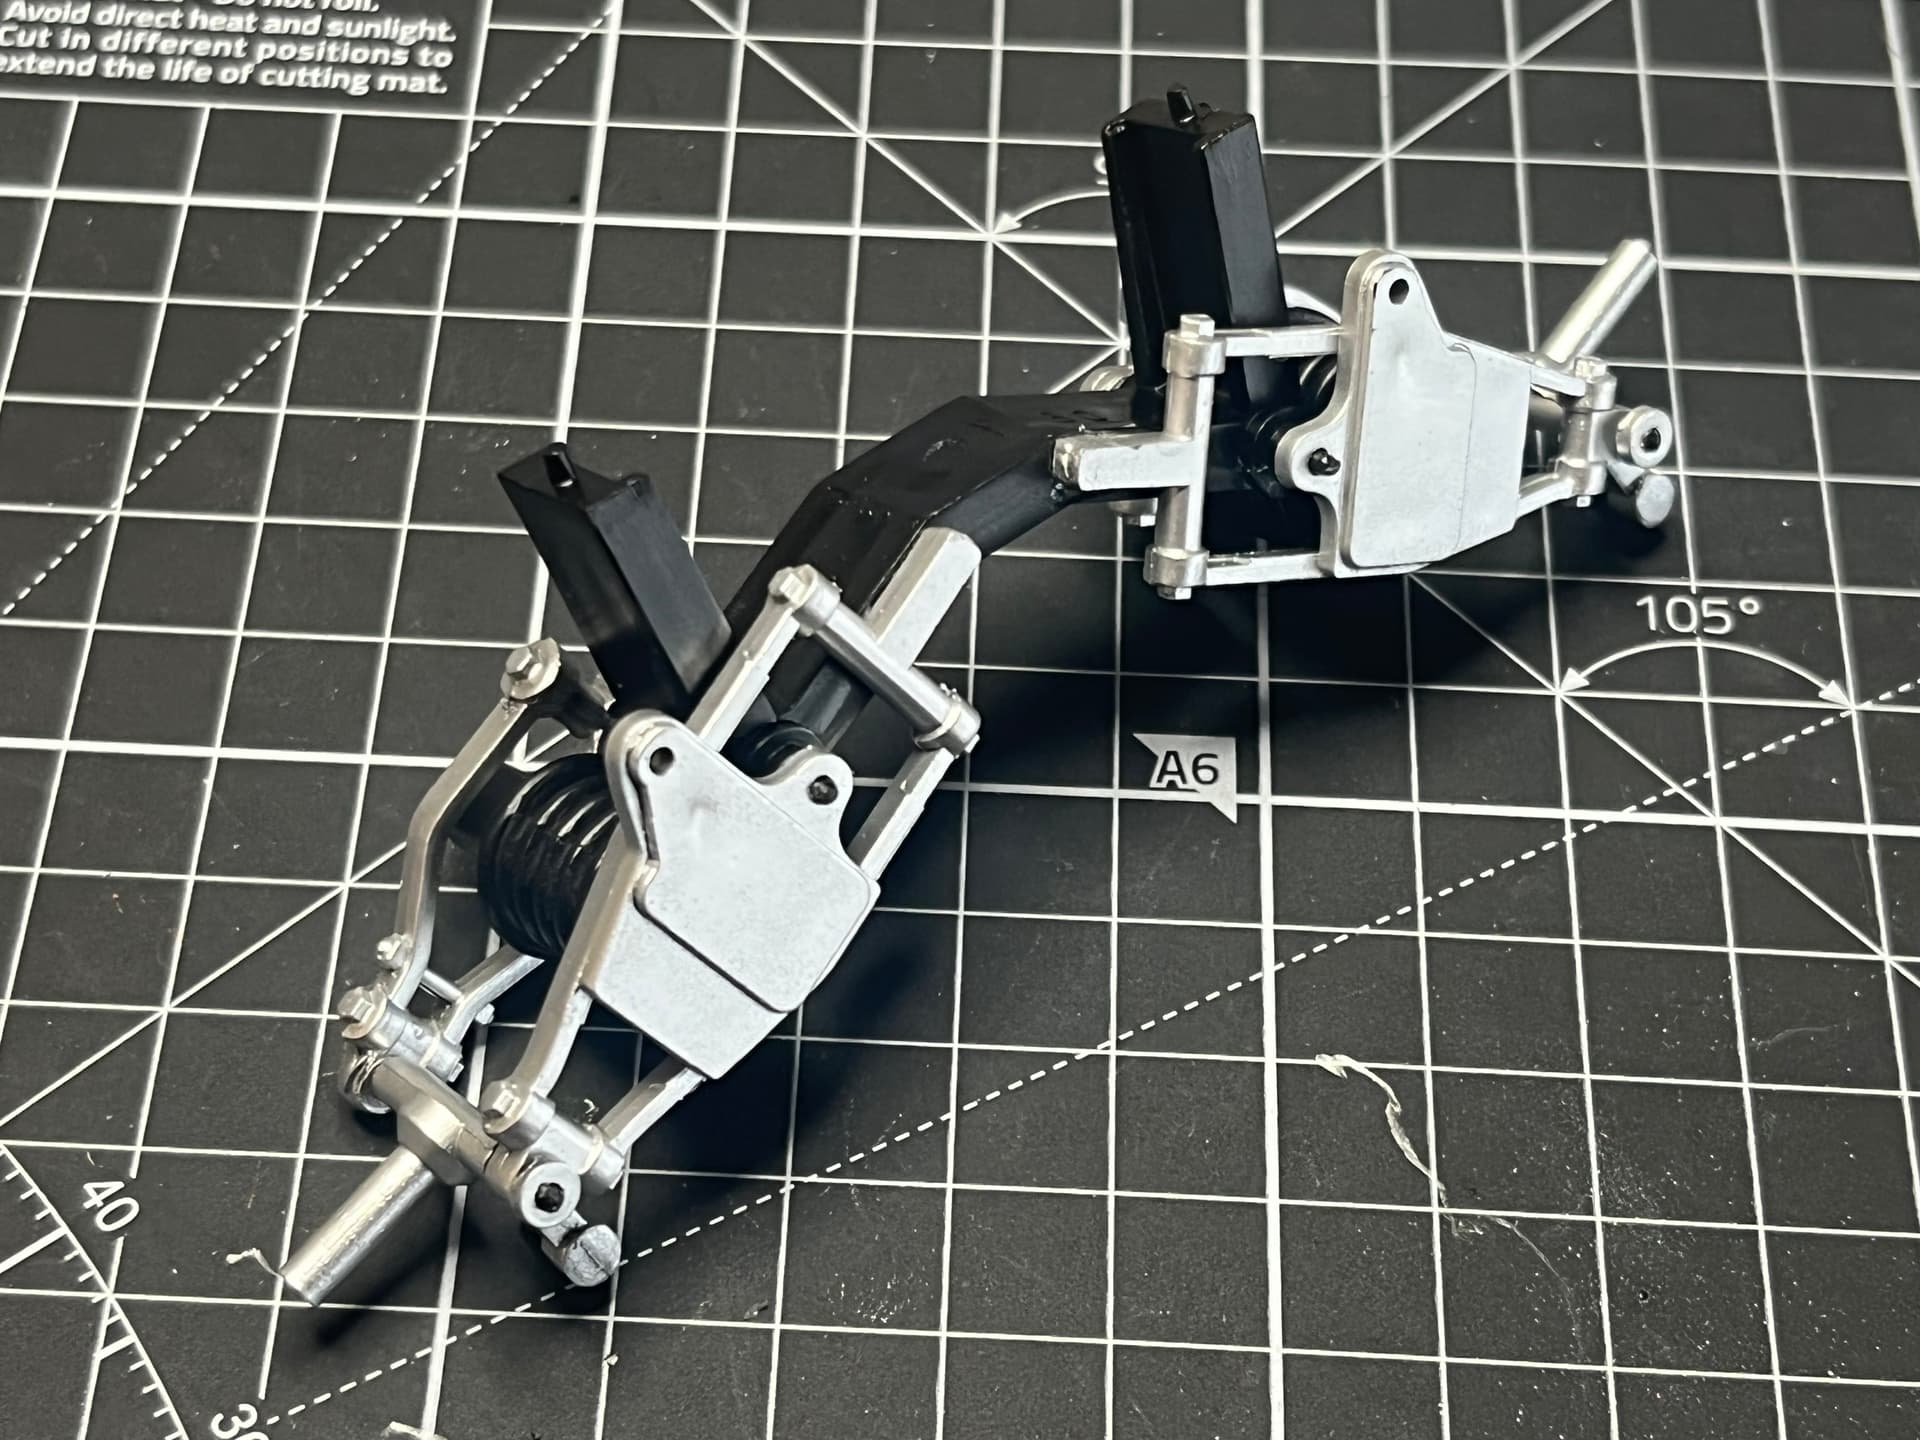
Step 9 completed today, no fit issues after I drilled out the receiving holes by about 0.25mm to allow the spindles to rotate freely.
Test fit of the steering gear rod, again cleared out the holes a fraction. If I do this carefully and according to plan, the steering is fully functional on this kit using the steering wheel!
Cheers, D
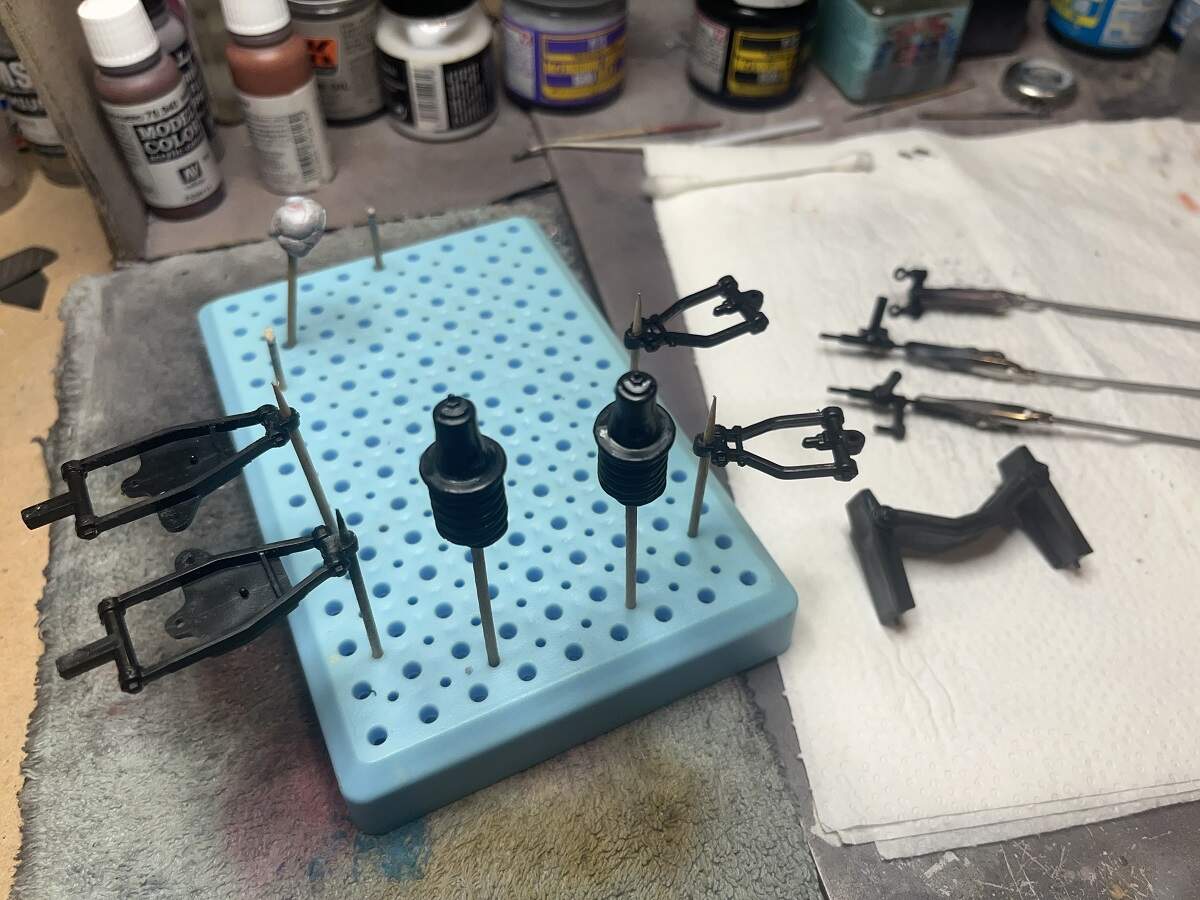
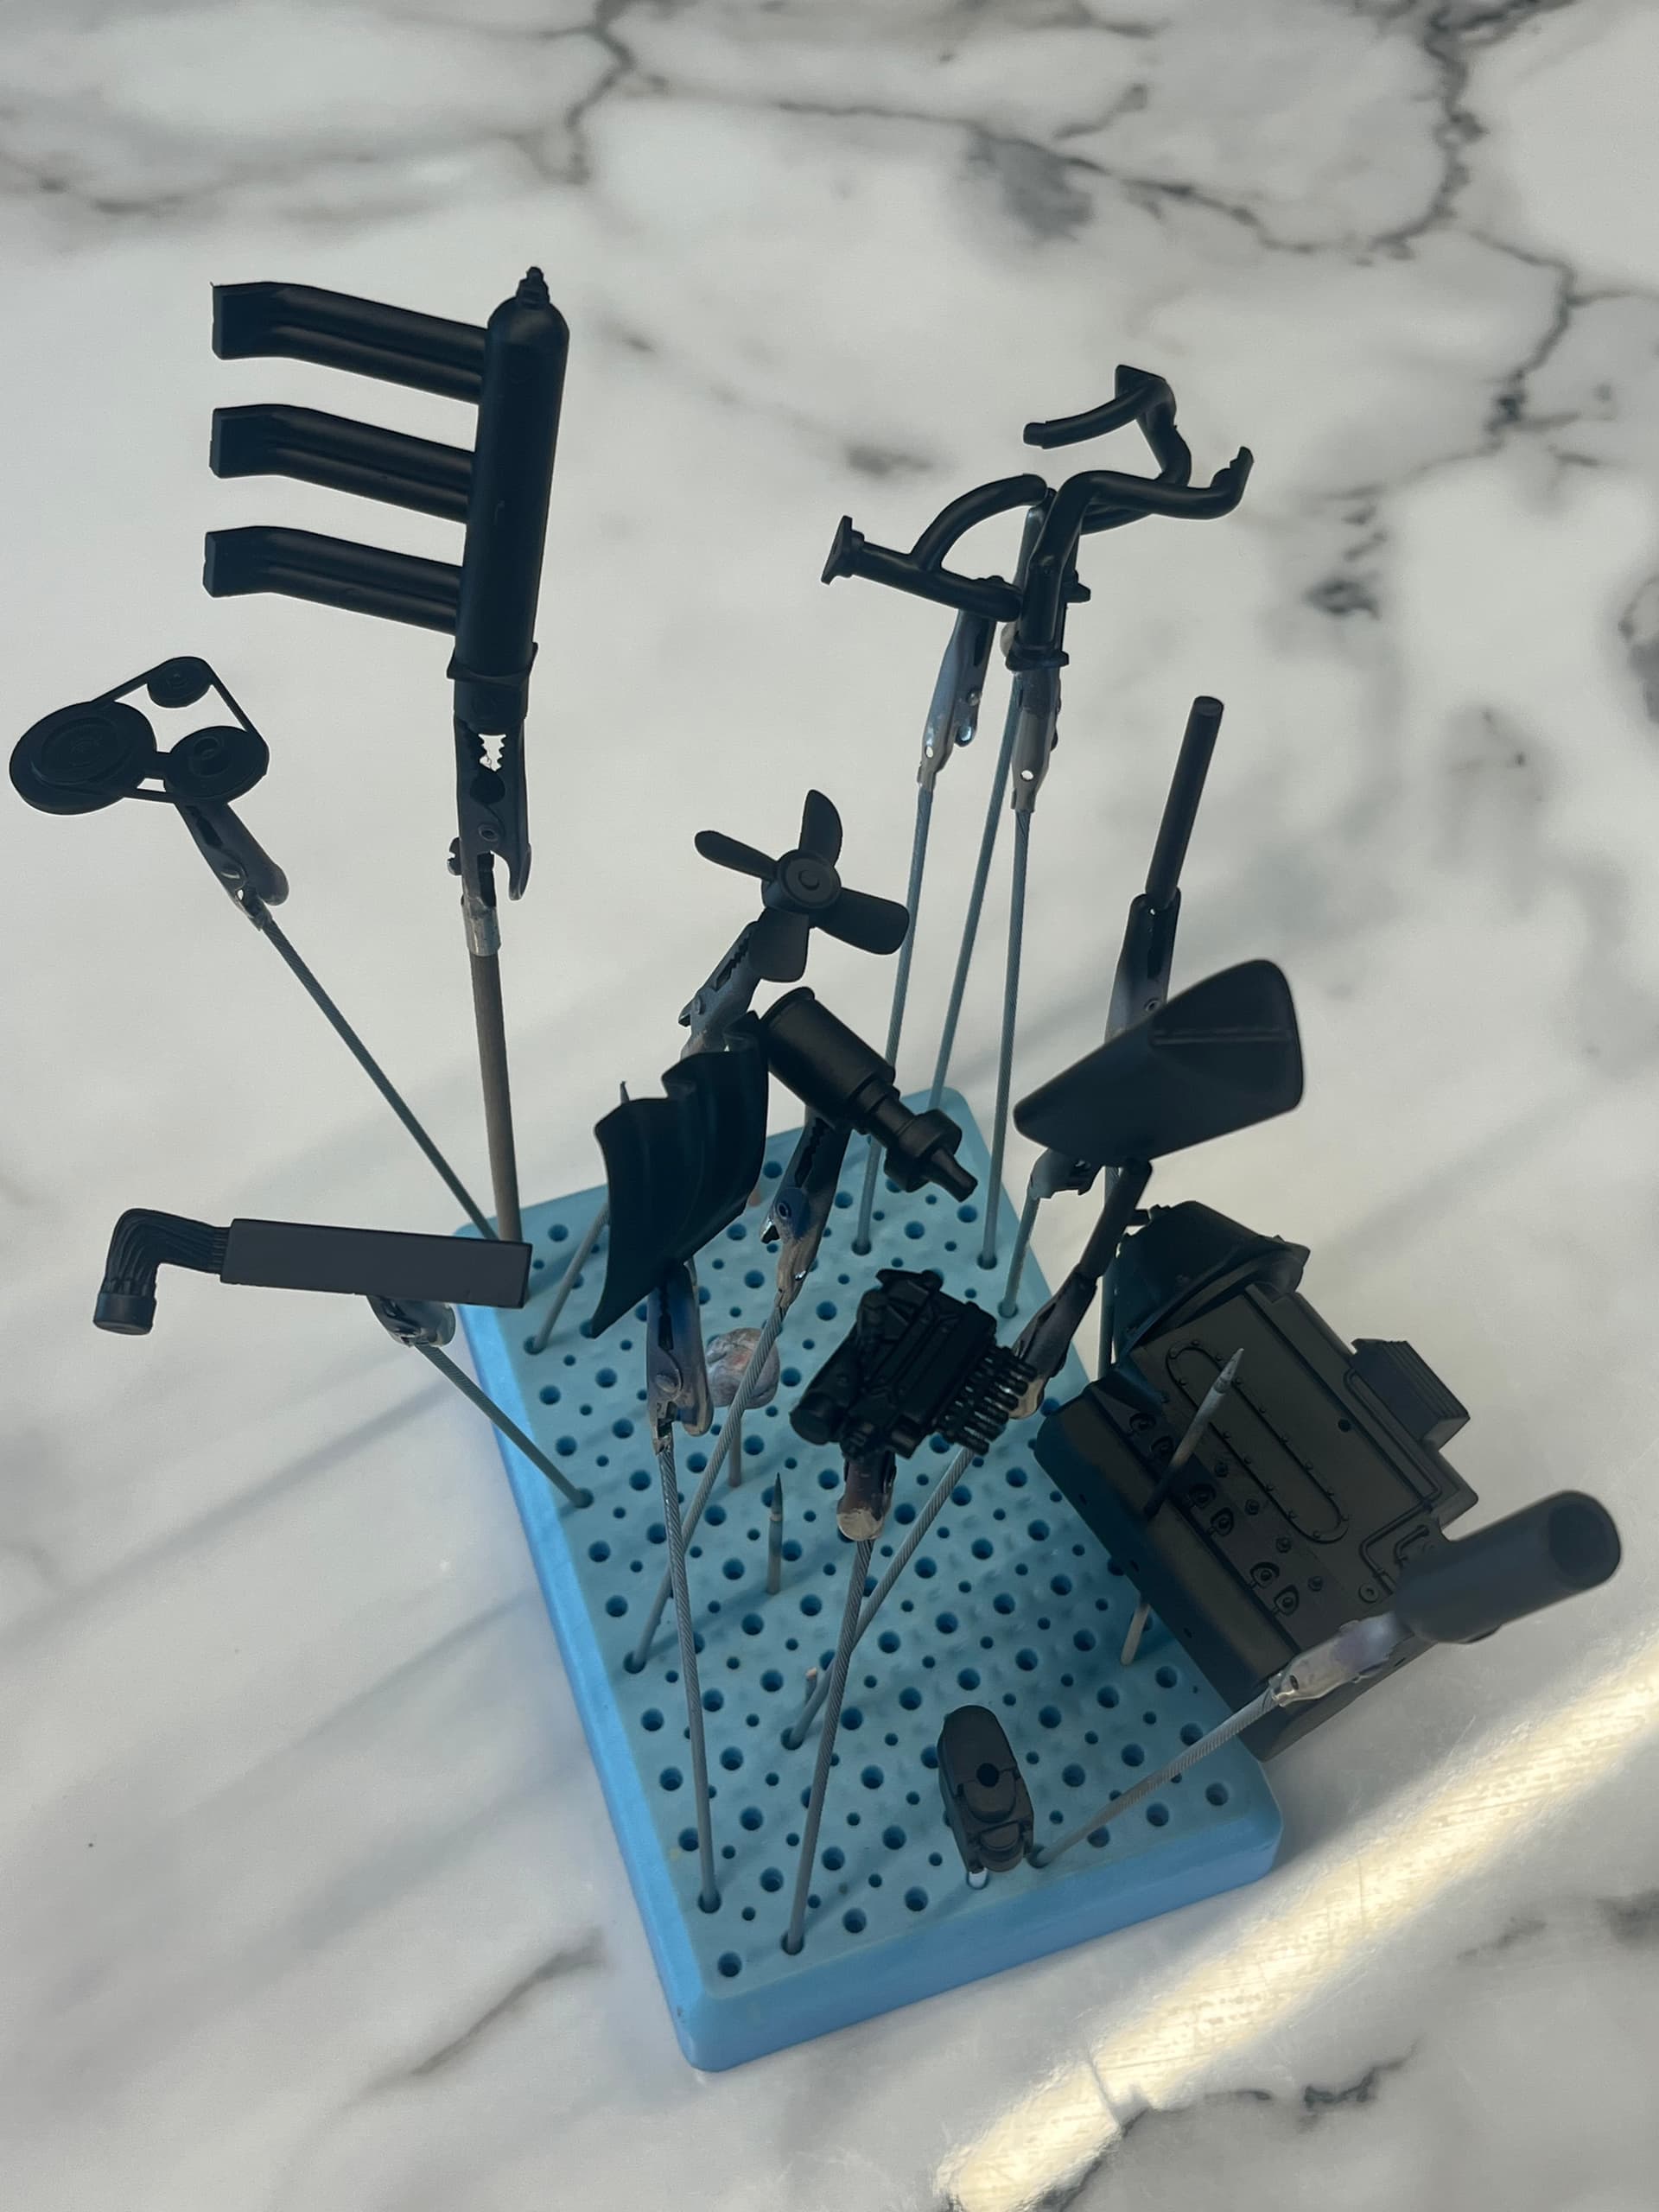
The black primer jungle! Engine and exhaust components all cleaned up and primed ready for a variety of metallics and black paints.
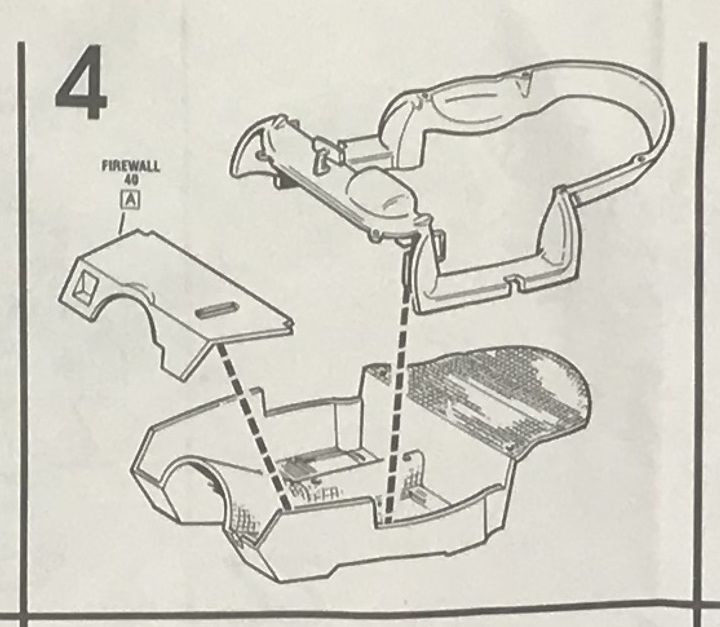
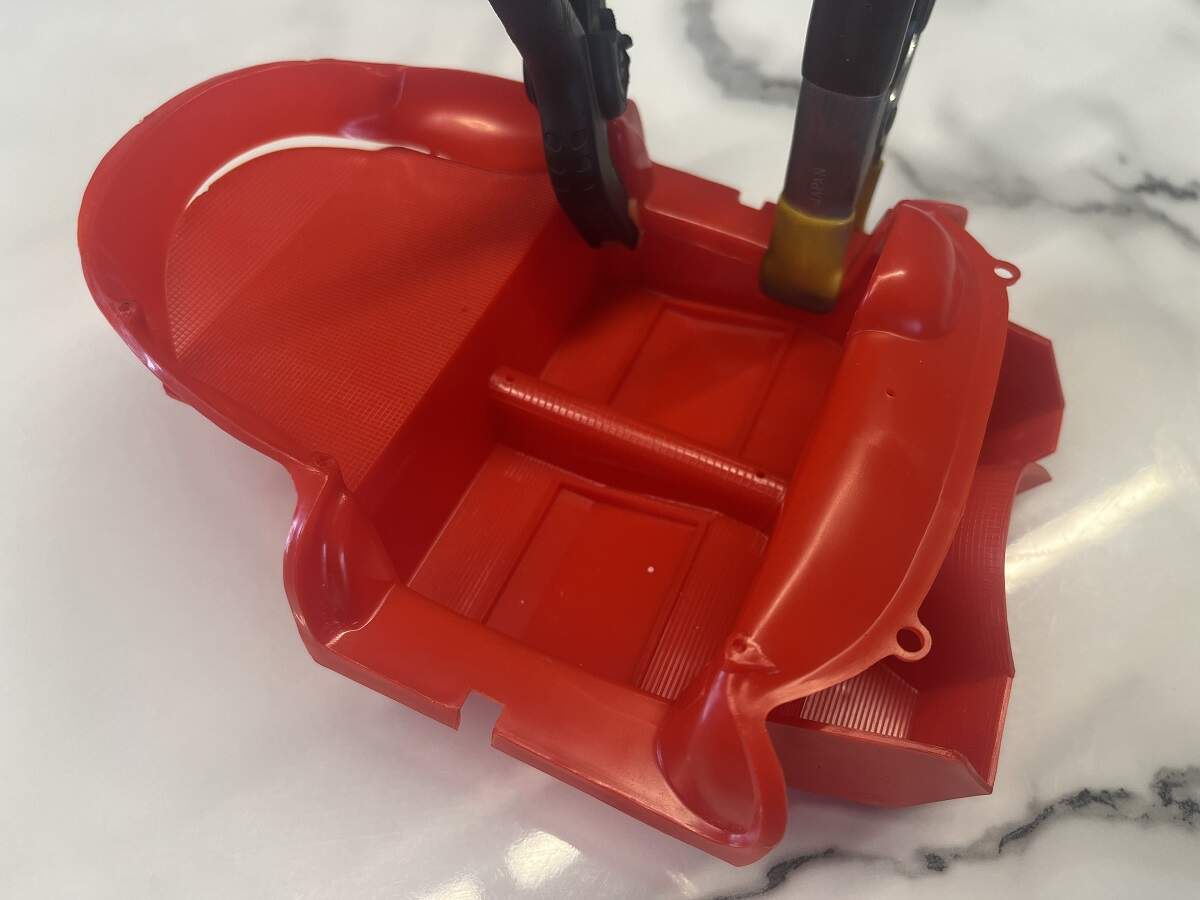
I’ve also made a start on Step 4, major interior tub assembly.
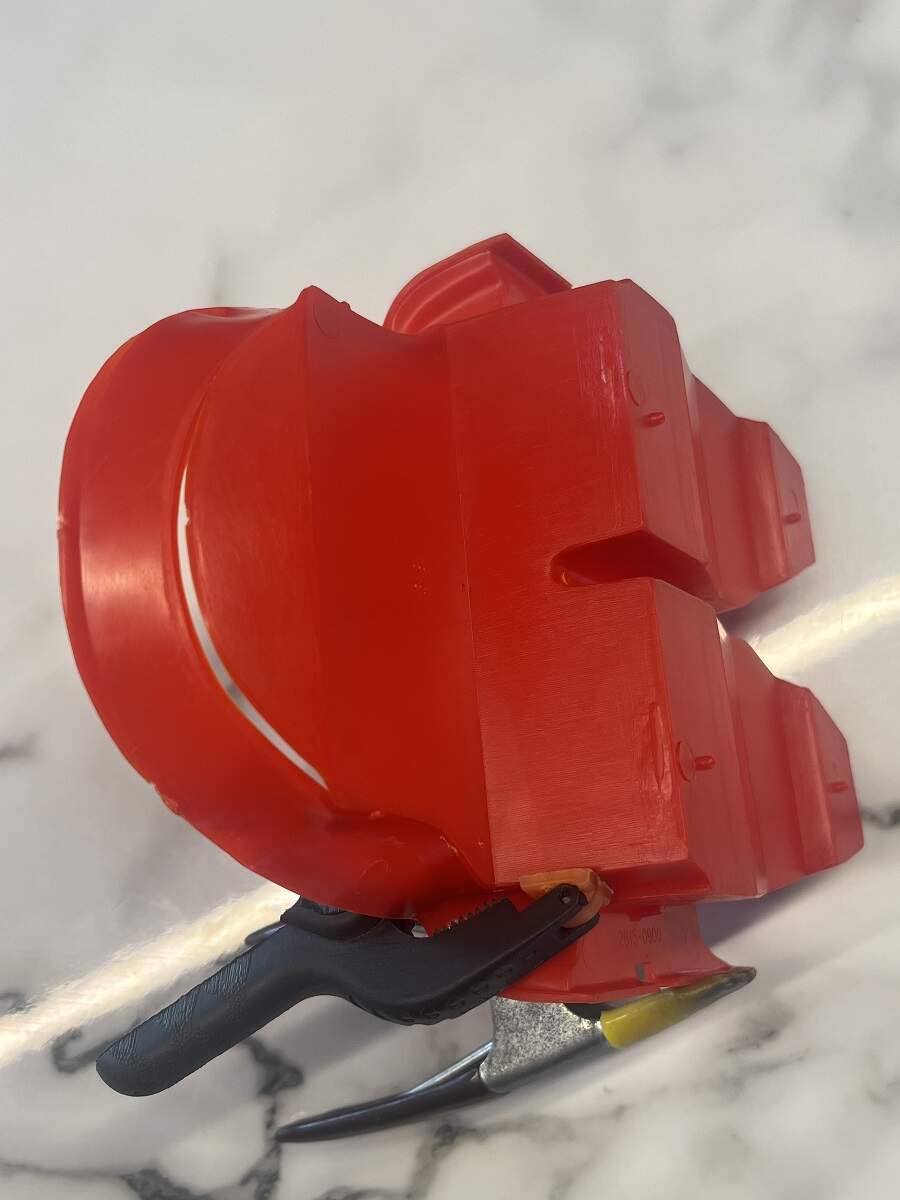
I primed the firewall black, but will leave it off until everything else is painted and assembled. Fitting the surround to the main tub is a challenge. The passenger side lined up nicely and with a couple of days to cure it seems secure.
Now comes the fun part. A combination of dubiously thin mating surfaces and mismatched twisted parts means I need to fit these together in stages. Drivers side is glued and clamped now.
Cheers, D
D,
Excellent job on the front suspension. I’m thinking that the kit rack and pinion gear on the steering shaft rolls over the teeth and the wheels turn.
Like you, I always end up cleaning up holes and pins that go into the holes so that they once again fit after air brushing them.
I’ve cut down on my primer jungle by priming and painting in stages rather then all at once. It’s slower, but helps me keep the parts organized for each sub assembly. Besides, I really like to air brush.
Egads, another twisted interior parts, but you’ve got it covered just fine.
joel
Front suspension looks great.
If possible, you could add pieces, of sheet plastic, on the outside, of the tub. This could strengthen the joint parts and help glue them together.
Thanks Joel! Yes, rack and pinion steering shaft comes in at Steps 11 and 12.
Thanks for checking in Jesper! I’ve run some CA into a couple of small gaps and also a bead of sprue goo around the back of the joins for extra strength. Everything seems to be holding well now.
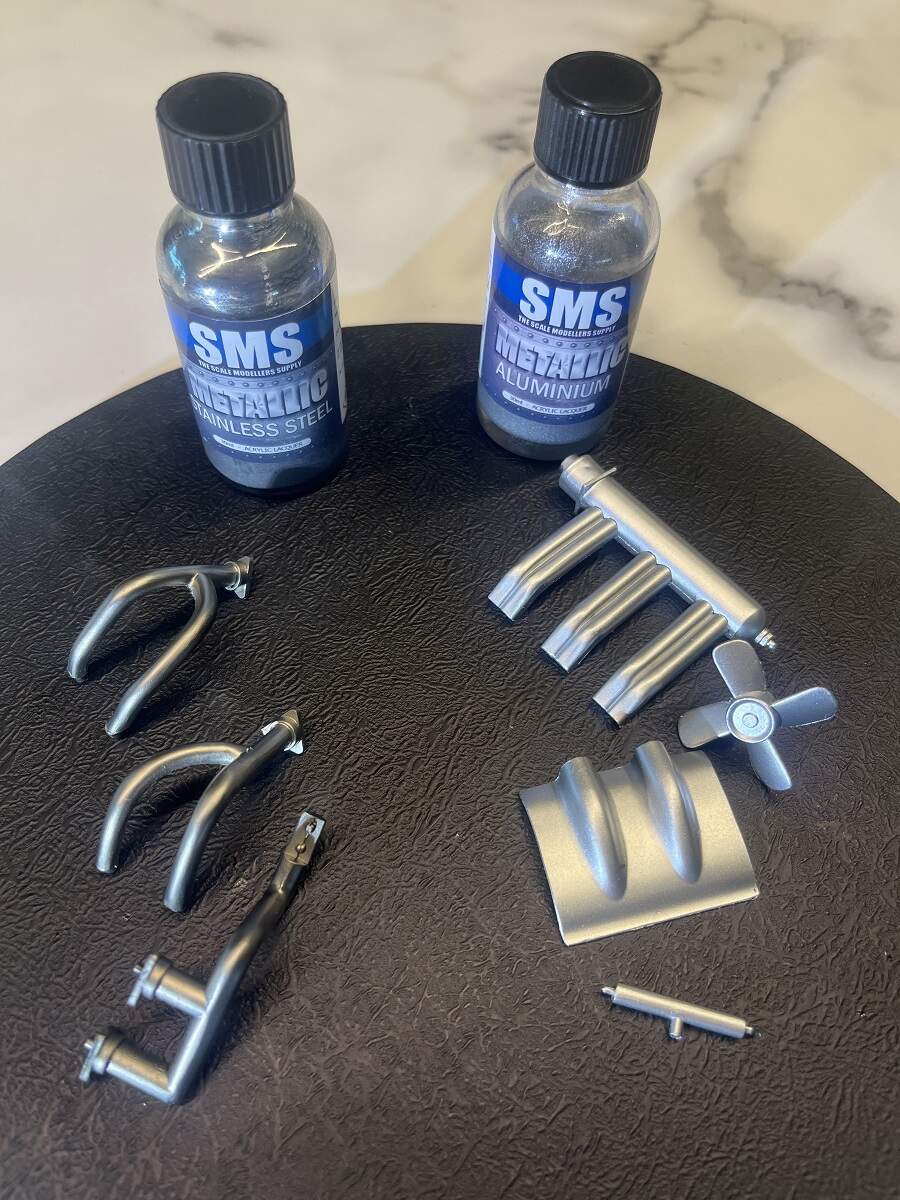
I’ve started on priming and painting the engine assembly parts, some of the metallics are done and going back into the sorting box to wait on assembly time.
Cheers, D
D,
Job job both on the Steel and Aluminum parts. I’m guessing that you used gloss Black under both as a base coat?
joel
D
Still catching up and enjoying. Nothing better then a build thread coupled with nostalgia, as it adds a wonderful personal touch.Thoroughly enjoying following your progress to date and enjoying how you tackle and solve build issues. Some mighty nice work.And of course, will be along for the journey.
Peter