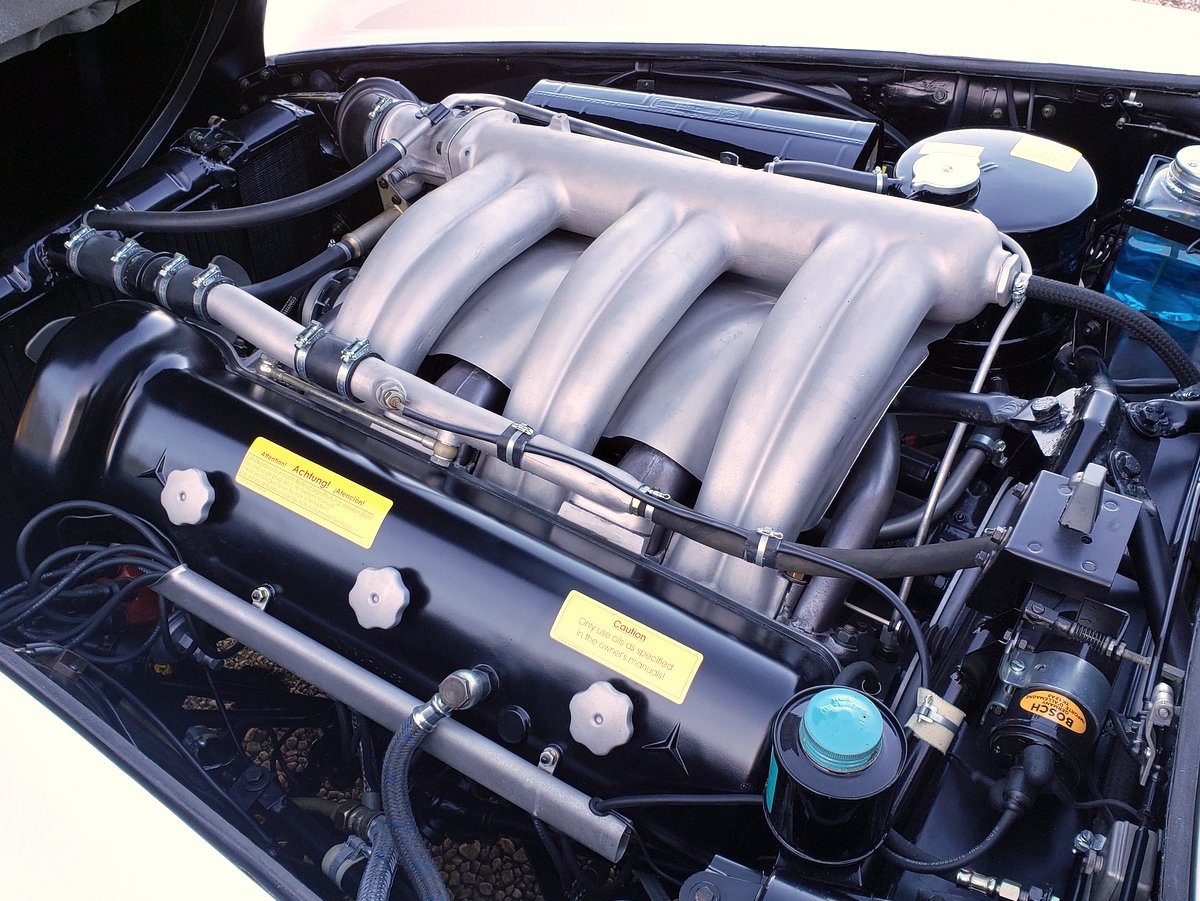
@Joel_W , I just gave the MS1500 primer a light wet polish and sprayed the metallics straight over that. Looking at the reference images, the metallic parts in the engine bay are a satin(ish) finish.
I did give a few parts a gloss black coat to match the references, shot a couple more parts with Silver, and also masked up part of the engine block and transmission ready for some more metallics.
I’ve seen reference shots with the distributor cap in Black and in a Brown Bakelite colour. I think I will go with the Bakelite on this one to give a little splash of a different colour in the engine bay.
Cheers, D
D,
I done the same with polishing out primers as it adds yet another variation in tone and texture to our Natural Metal inventory.
joel
1 Like
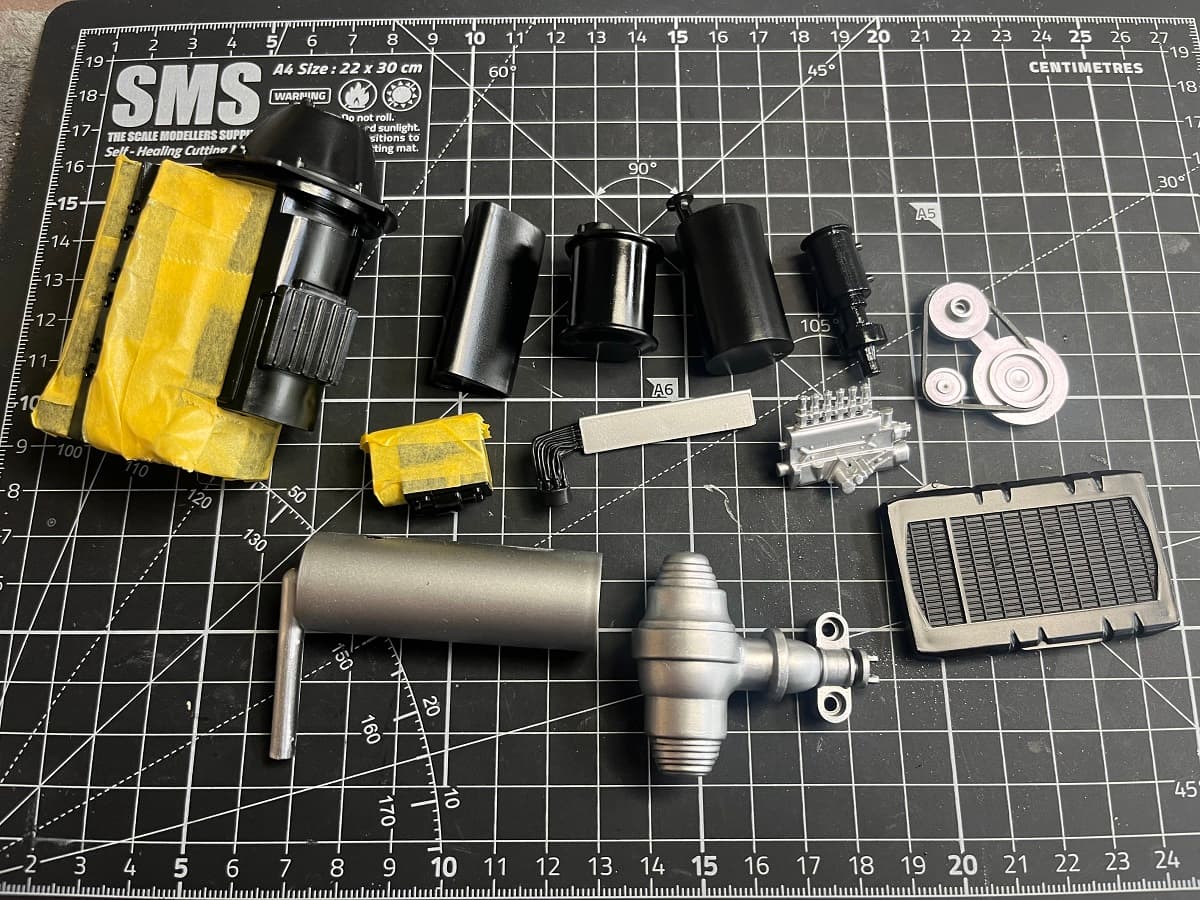
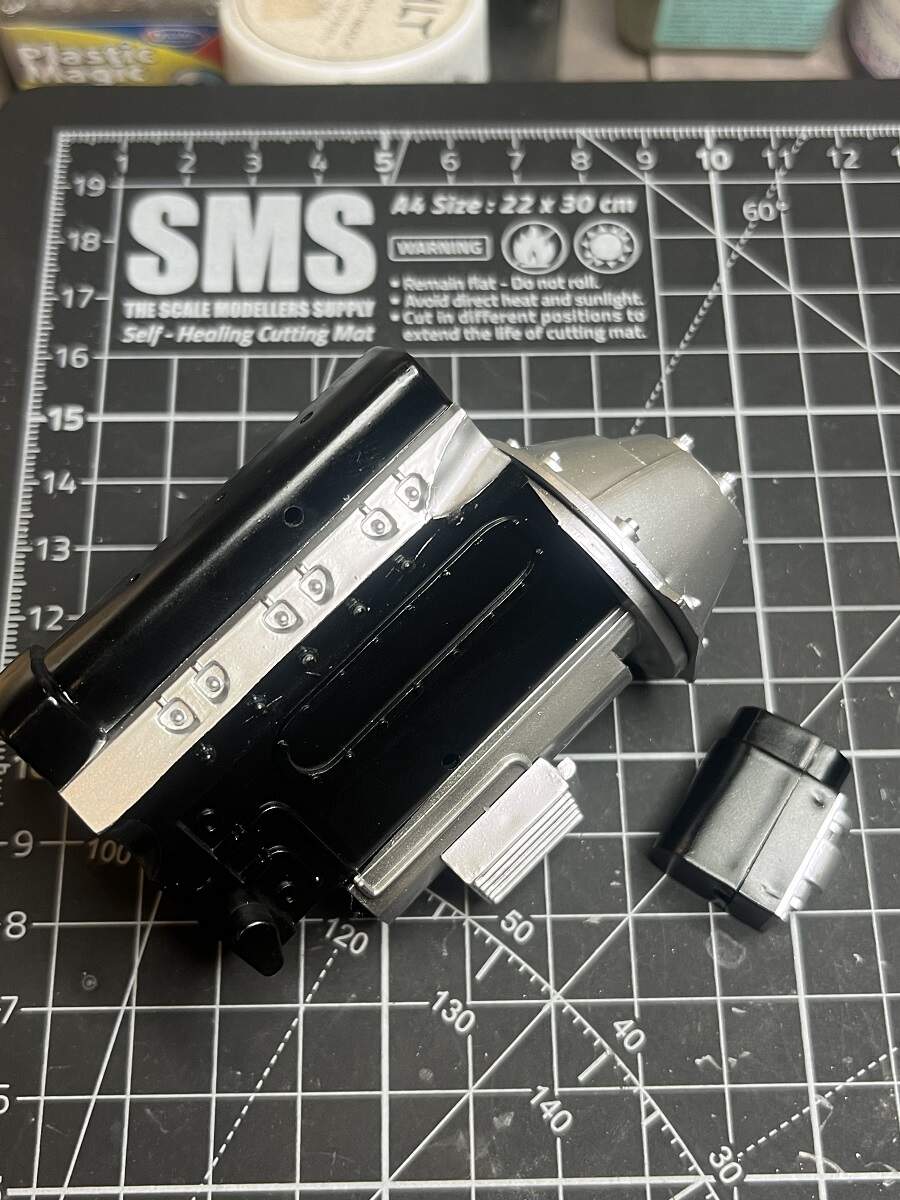
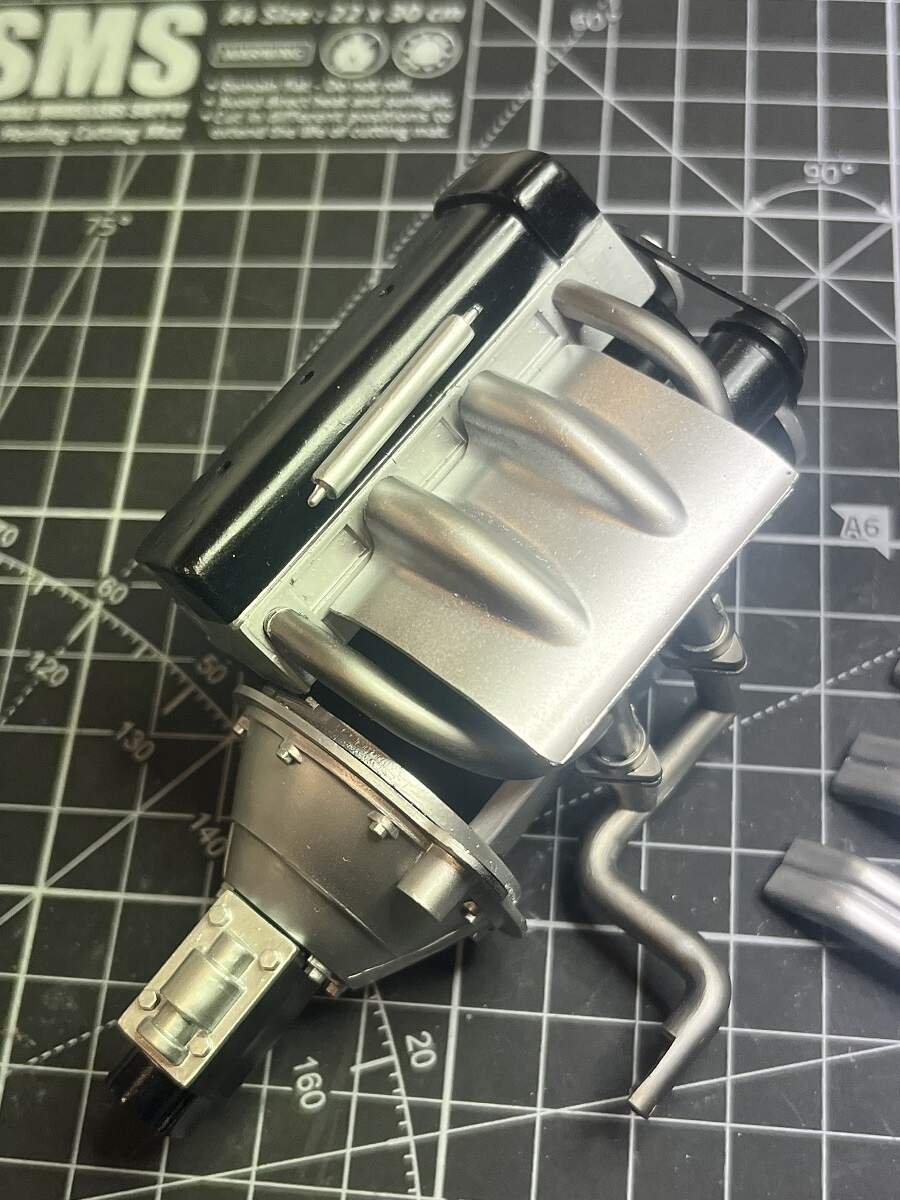
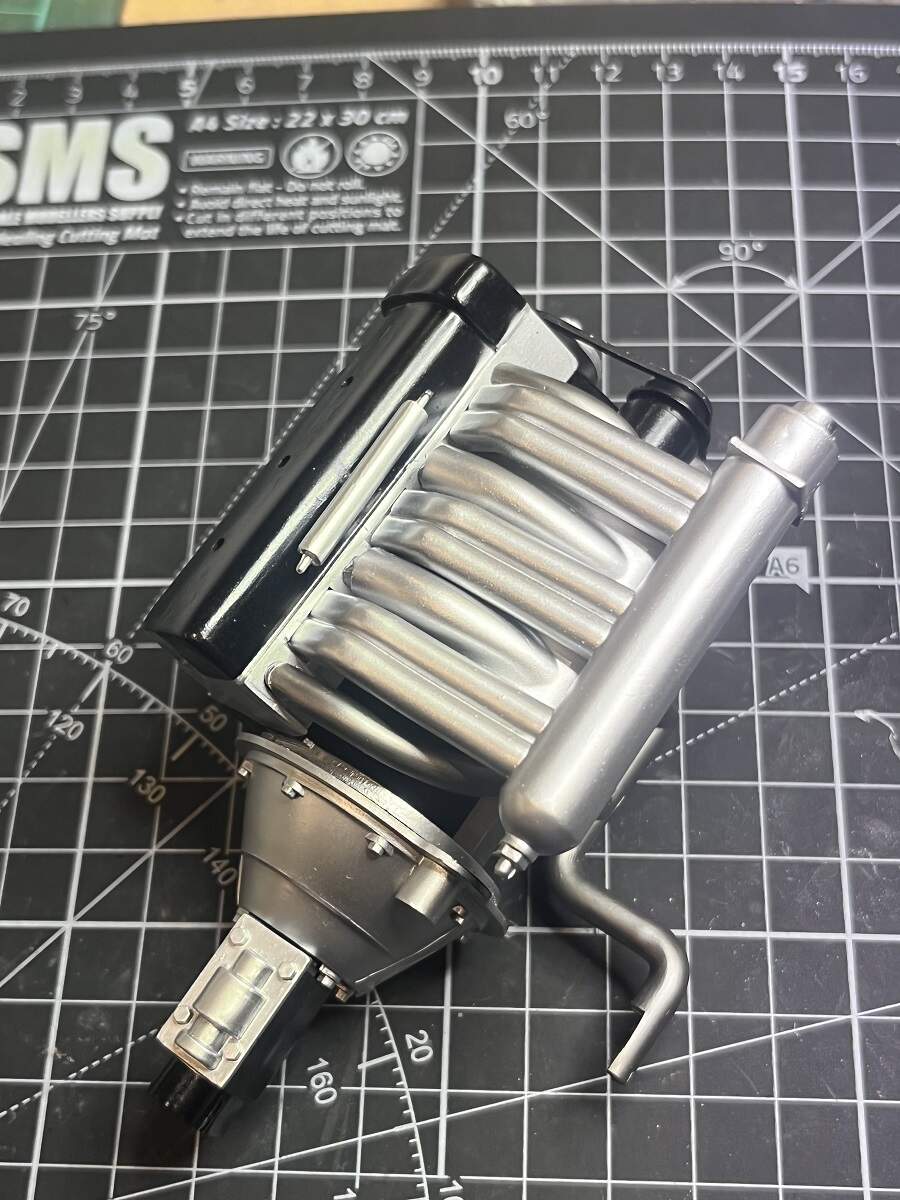
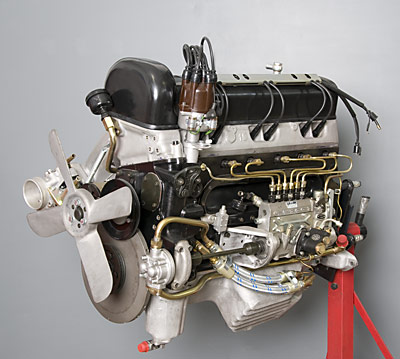
Some more work on the engine with the silver paint applied to the main block and transmission.
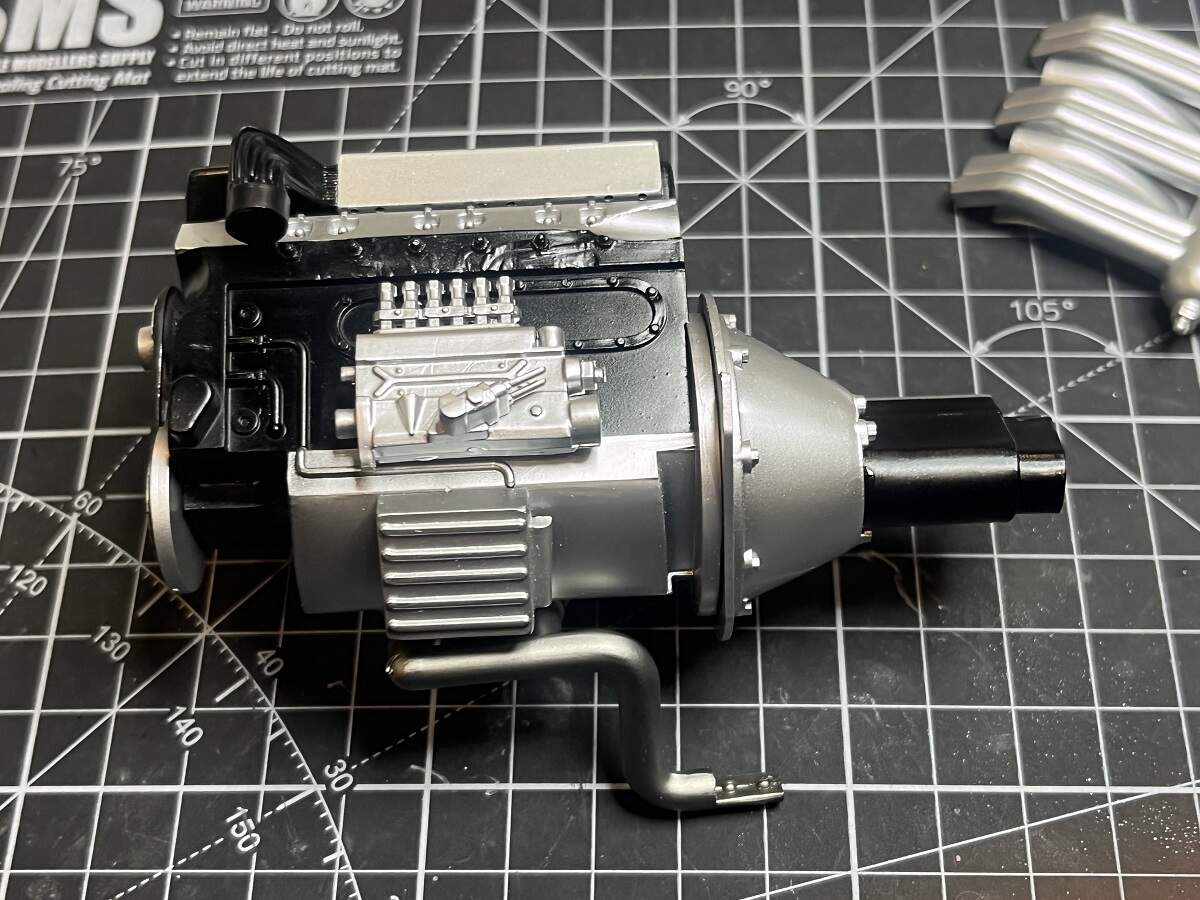
Test fit of distributor and fuel pump . . .
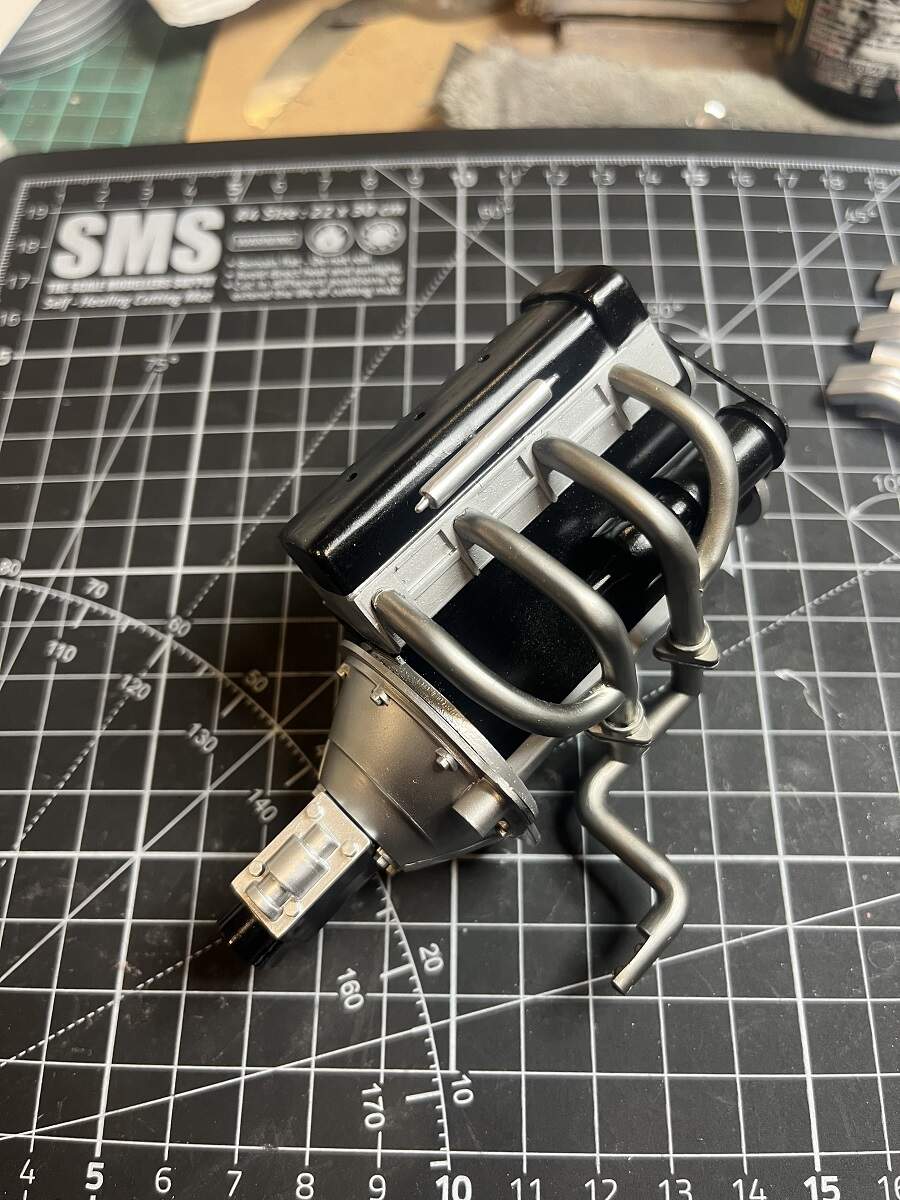
exhaust assemblies (I will apply some clear blue to the bends later) . . .
heat shield . . .
and intake manifold . . .
Everything seems to line up ok at this stage. Some detail painting and wires to be added as I fix things in place.
Cheers, D
3 Likes
D,
You’re making steady progress for sure on the big 300 SL Gullwing as the engine is coming along quite nicely.
joel
1 Like
Thanks Joel!
One issue that I have picked up is that the cover for the ignition leads is mounted in the wrong place on the kit and will make it very difficult to run ignition wires.
On the real car it is mounted off a pair of bolts on the top of the rocker cover and slightly off to the side.
On the kit it is on the side of the rocker cover.
I’m thinking I will drill holes along the bottom of the face of the cover to run the wires out, the distributor, wires and cover are all molded as one part and I’m not going down the path of completely rebuilding this section.
Cheers, D
Ok, it looks better than the kit box offering! Not perfect, but better. Fuel lines are 0.6mm copper wire, ignition leads are electrical wire from an old phone charger cord. Hand painted the silver tubes under the distributor and the black fuel pump.
Cheers, D
4 Likes
D,
Your option does work, as 99.9% of us would never even give it a 2nd thought since it looks correct, certainly functional, and is well modeled.
joel
I’ve got this kit sitting right beside my bench, and every time I pick it up I get a rush of emotions that makes it hard to focus and push forward. I just sit and roll the pieces around in my hands and think about how I will get this thing together, and just keep going back to sitting at the kitchen table with my dad all those years ago. No other kit has done this to me in the decades in between.
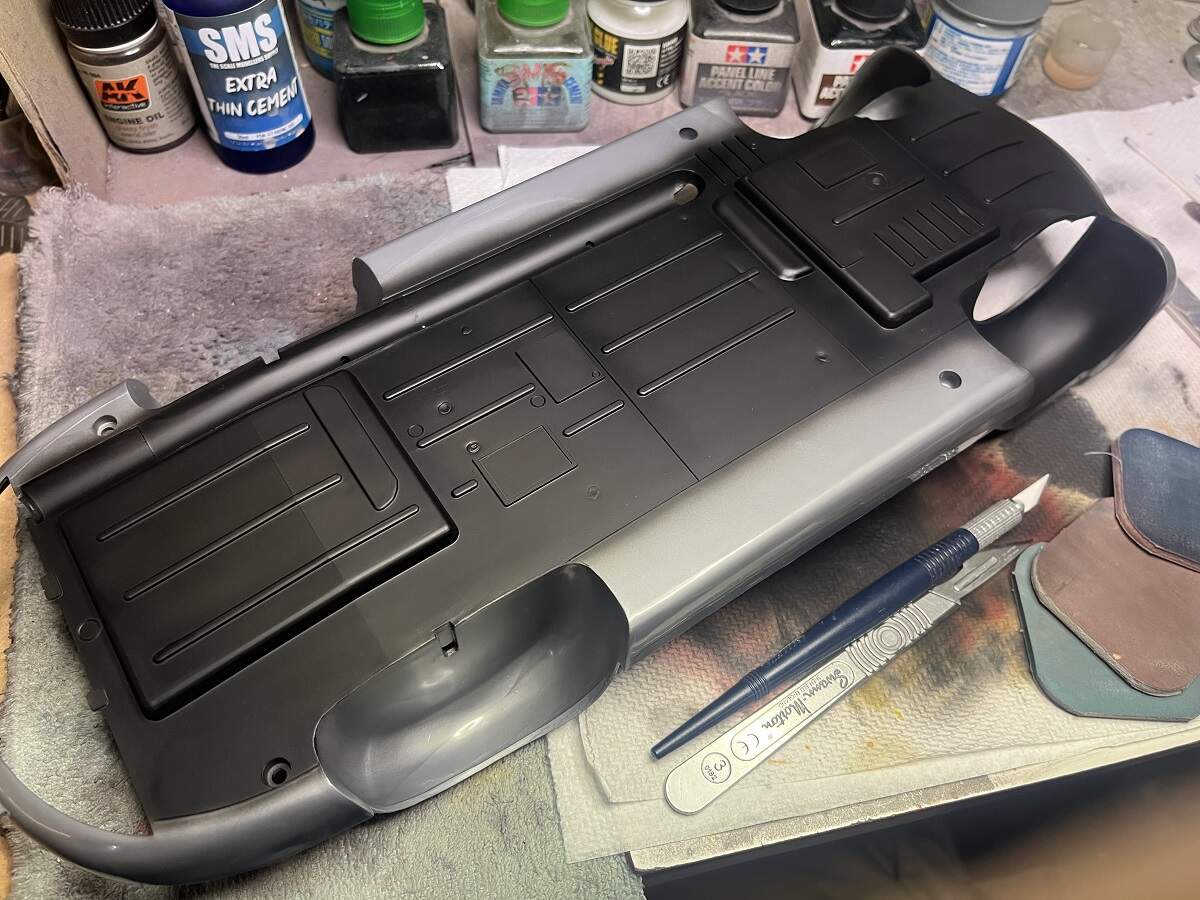
Today I had some primer left in the cup after doing the body of the '51 Fleetline, so I just grabbed the bottom half of the body and set to getting the underside painted. I ran out of primer before I got finished, with just the rear wheel wells to do, but it allowed me to cross the bridge and get moving. I picked up the upper body shell and spent a good hour just cleaning the flash off the edges and sanding out mould lines and imperfections. I think I’m ready to push forward more easily now.
Cheers, D
1 Like
D,
looking good so far. What color are you planning on going with for the 300 SL? I do remember seeing these cars either in that year’s current Silver or naturally Mercedes Black.
joel
1 Like
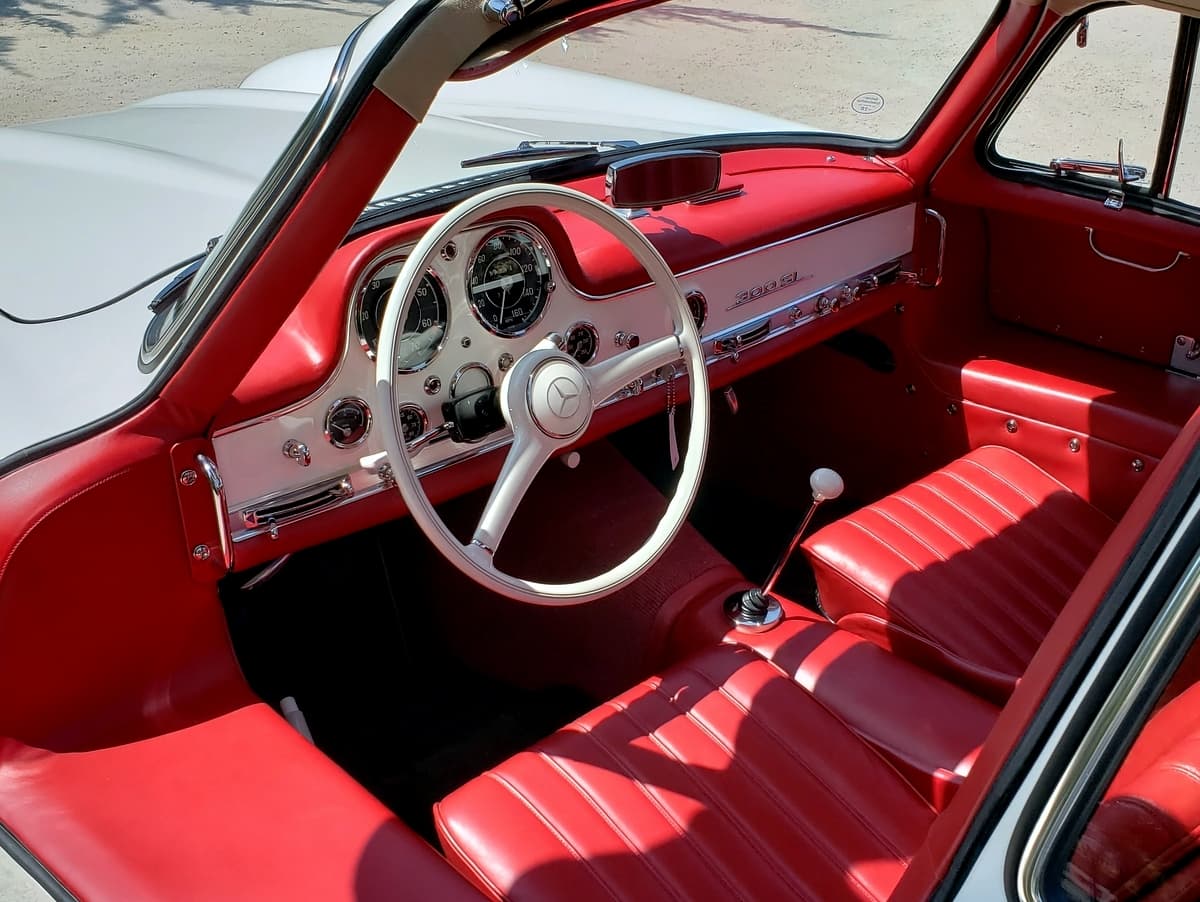
Thanks Joel. The one I build with dad was white with a red interior, like the reference car at the start of this thread. I’m going to go that way, probably with a light pearl white as well to give it a bit of flash.
Cheers, D
1 Like
Good to see you back, on the Gullwing build.
The car will look killer, in white. Cool to see someone have the b…to, not! paint the Gullwing in silver.
2 Likes
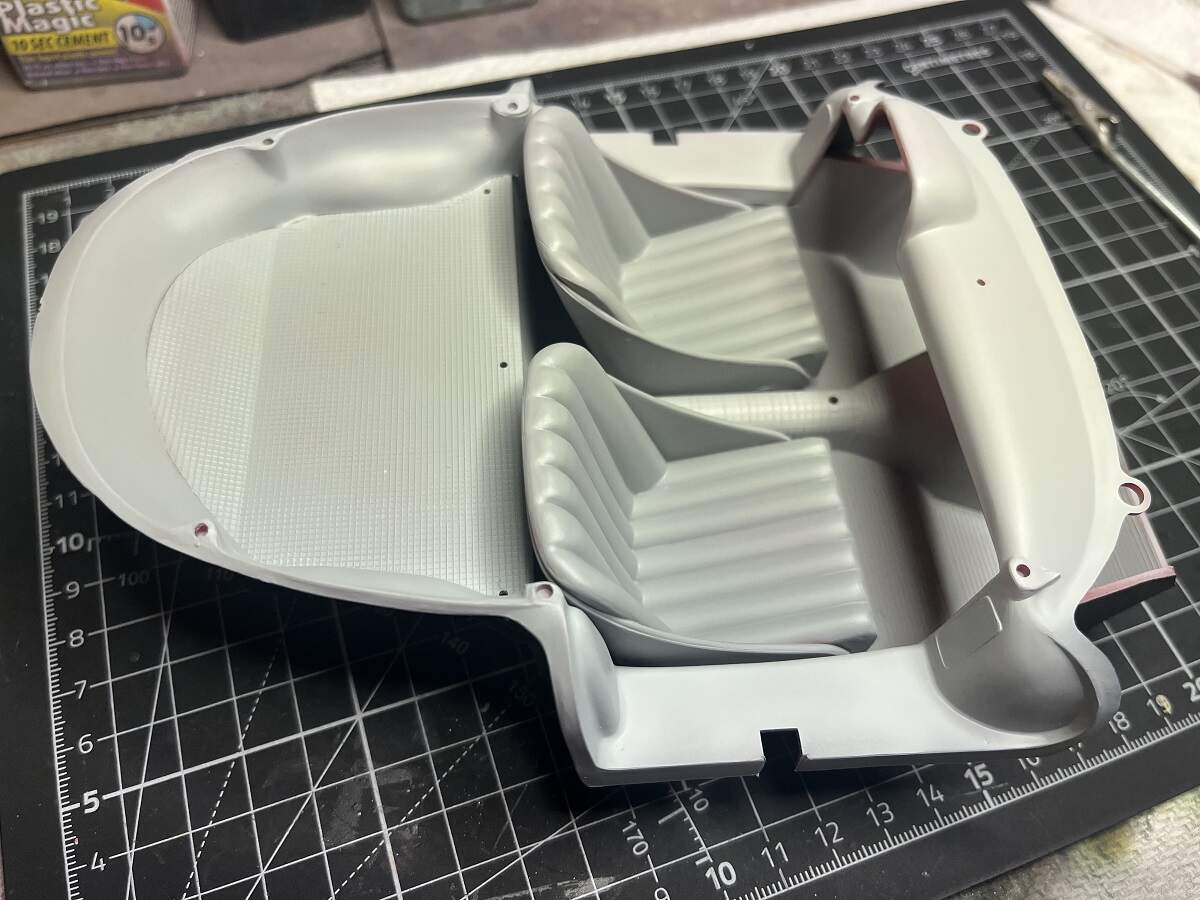
Minor progress to report. I have been continuing the clean-up of parts, sanding off mould lines and carving off flash, but I also managed to hit the interior tub and seats with some MS1500 Grey primer. Seats are dry fitted here.
Cheers, D
D,
The seats are really nicely molded. Looking forward to how the entire interior turns out. Those seats finished looking like leather should be the star of that interior for sure.
joel
1 Like
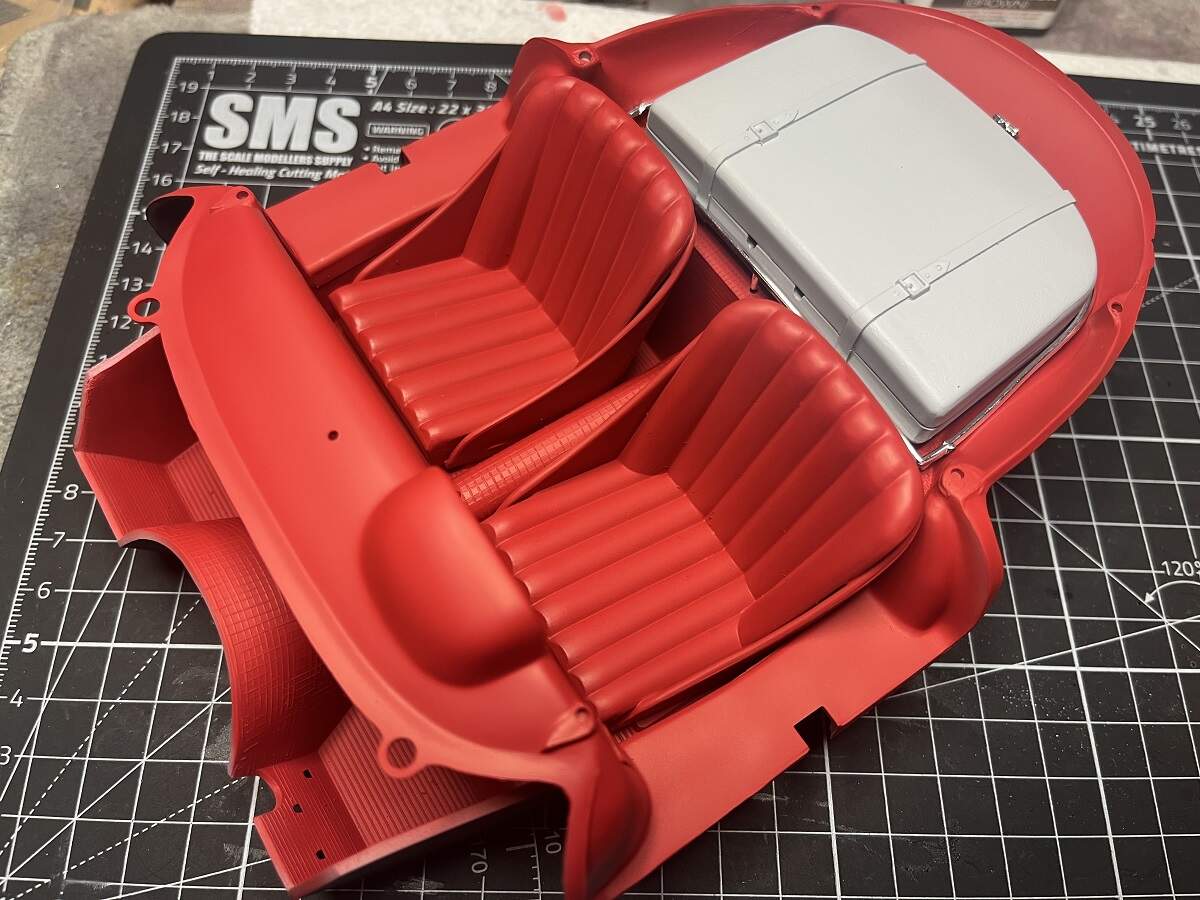
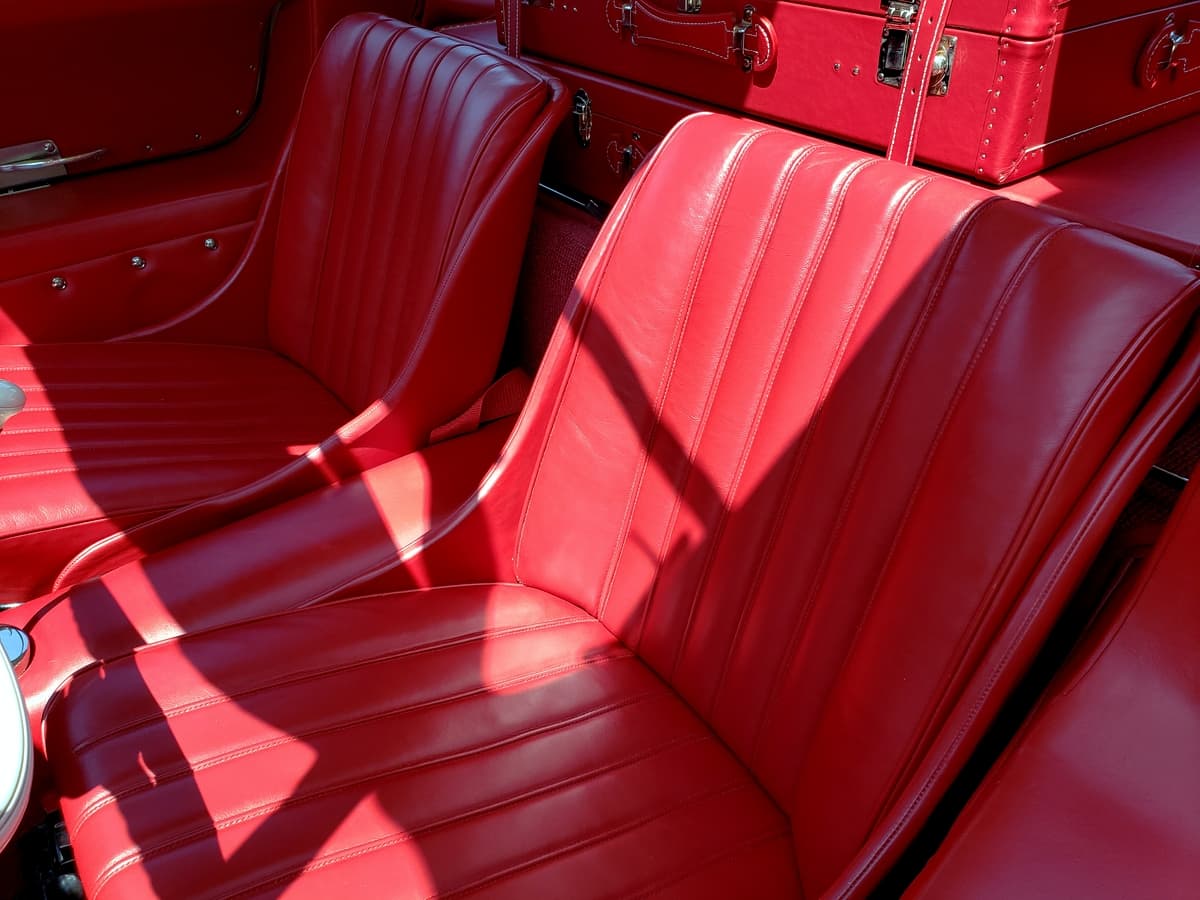
SMS RAAF Red over Grey Surfacer is just what I was looking for on the interior of the 300SL.
1:1 interior for reference.
Cheers, D
5 Likes
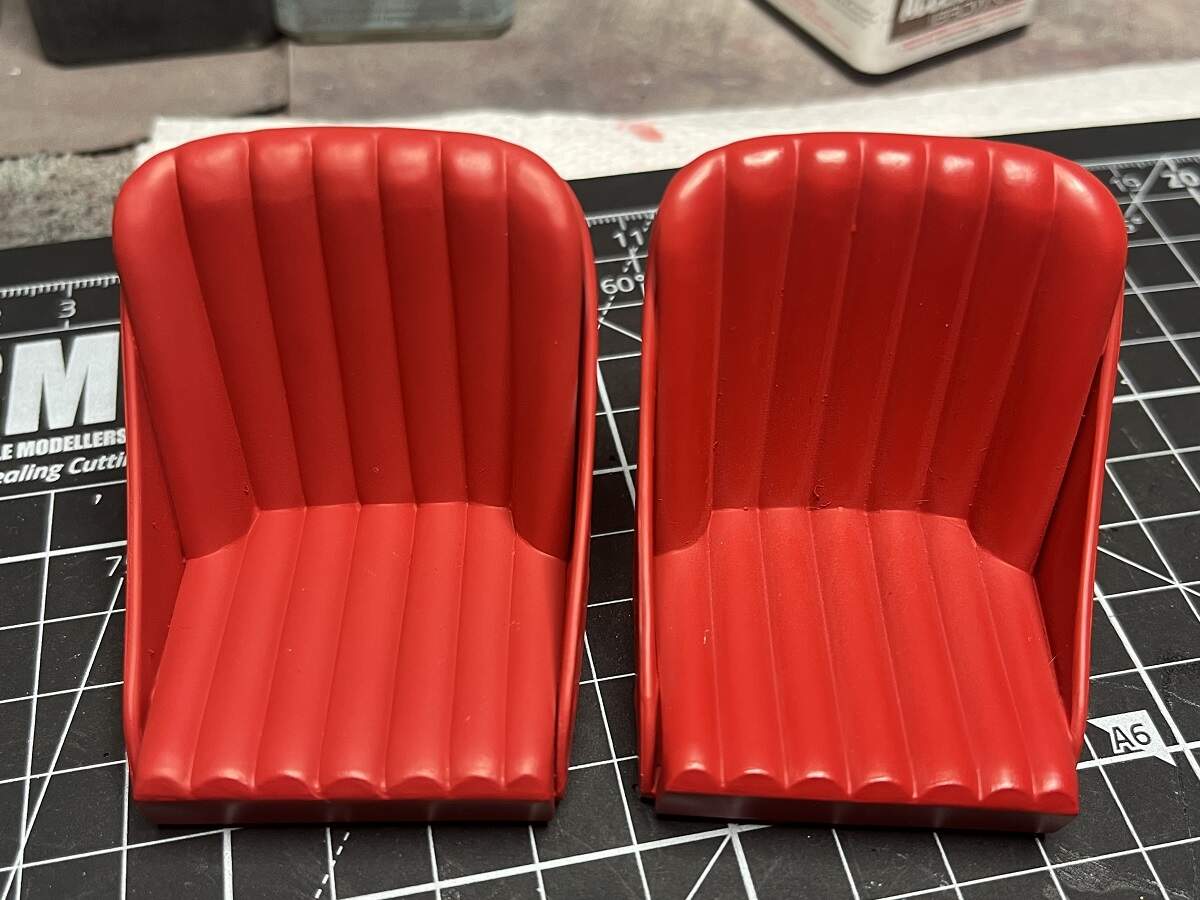
Nice choice D - looking good color wise . Maybe a light buffing with a clean soft cloth for a little leather sheen ?
1 Like
D,
I’d say that you nailed that interior Red leather to a “T”. Sure does look mighty pretty.
joel
1 Like
Thanks guys!
Richard, before and after comparison with some old-fashioned “noggin-oil” treatment on the seat! It gives a nice lustre.
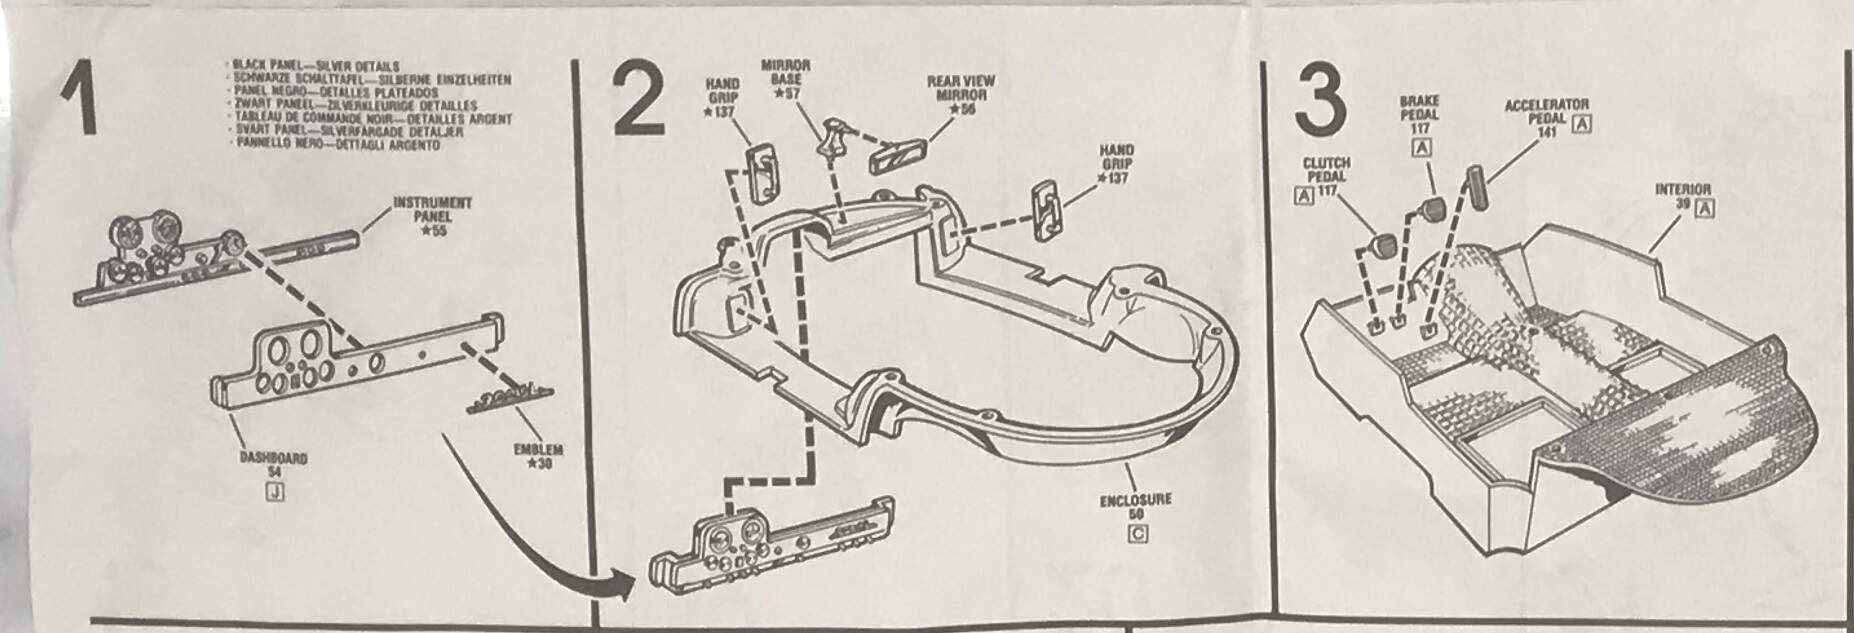
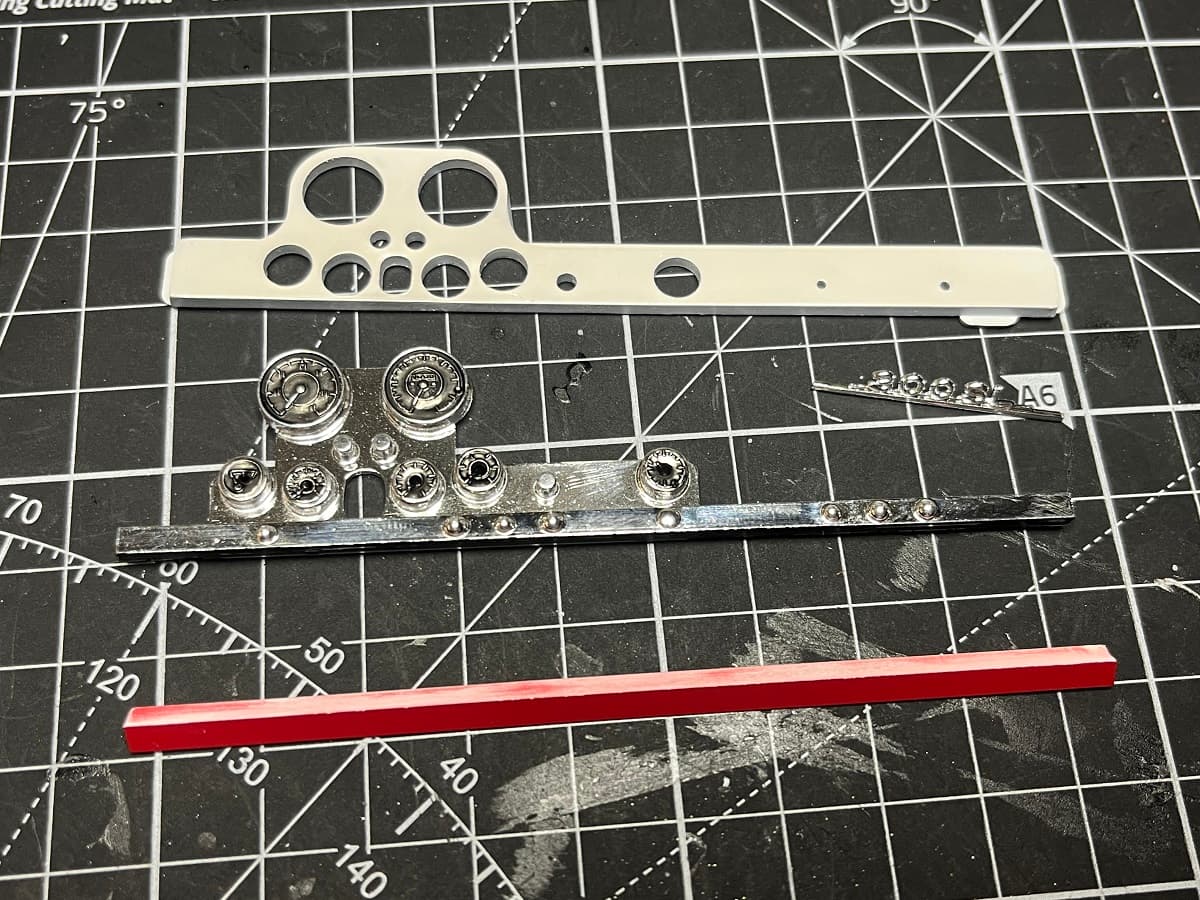
I’ve painted and assembled the dashboard, just need to do some dry-brushing to get the dial details popping out a bit more. I used some styrene angle to add the interior coloured strip along the bottom which isn’t provided in the kit.
Cheers, D
7 Likes
Stunning interior work Damain!
cheers
Michael
D,
The old fashioned Noggin’ oil looks a 100% better. And your dashboard came out looking damn near perfect to the real original
one.
joel
Oil treatment made a big difference. Great job.
The styrene strip looks just like it is a part of the kit.