I’ve built the Merkava III from MENG and those storage boxes were kind of a PITA for me to assemble…
Not AM but Meng: https://www.scalemates.com/kits/meng-model-sps-056-merkava-mk4m-fully-loaded-rear-baskets--1121436
I’m just finishing off the weathering on the Meng Merk IV with the Nochri Kal mine roller. Loved it. What a brilliant kit, it is Meng at something close to their best.
Thoroughly enjoyed it. Will post pics when completed.
2 Likes
They are also really expensive, here in the UK more so than the kit itself. When I build mine I’ll use foil to re-create the canvas covers.
Looks pretty complex Jan, but it all adds to the great detail… Great job so far.
Thanks,
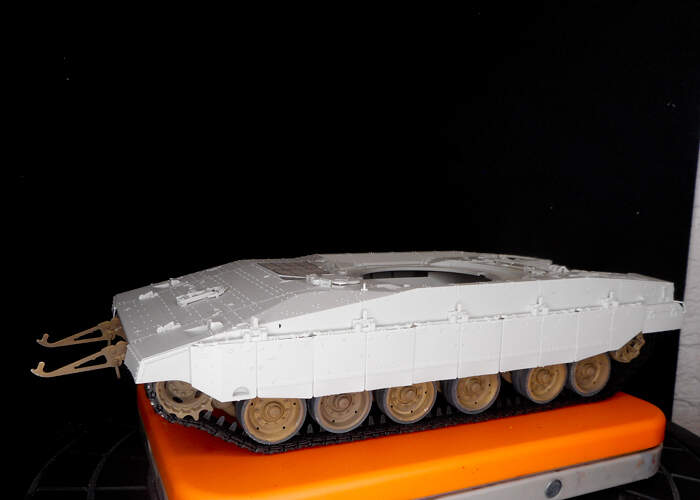
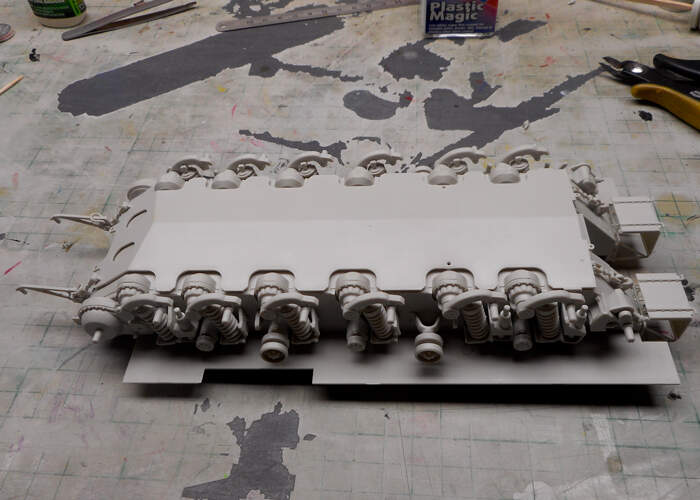
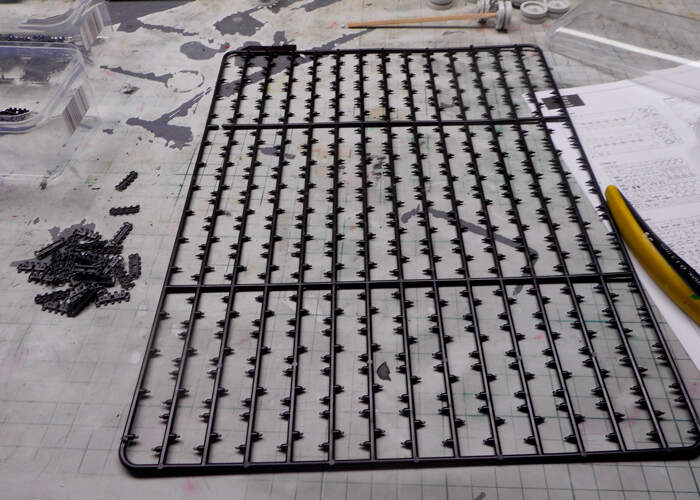
Step 11
cutting 184 parts from the sprue and clean them up x 2

Glue part a to part b and assemble to a chain
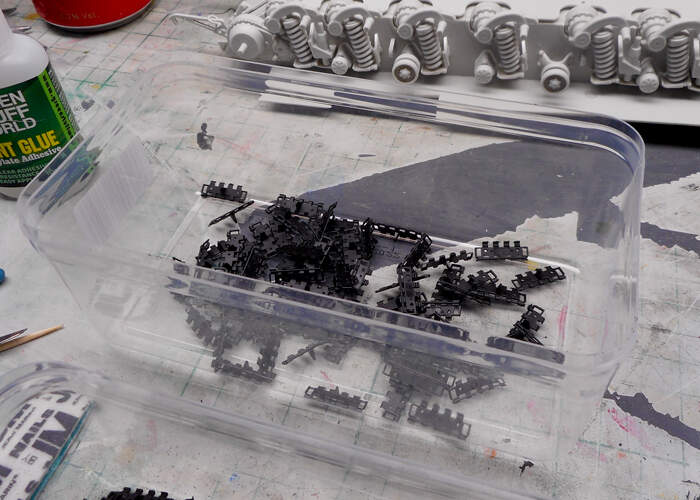
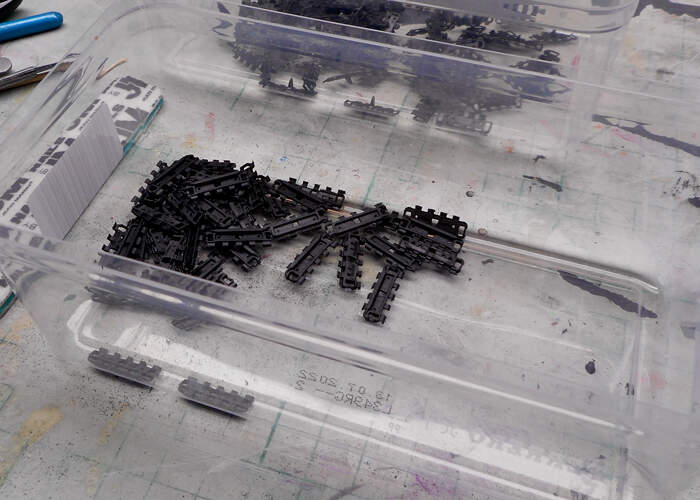
When you have understand the plan you receive a moveable chain
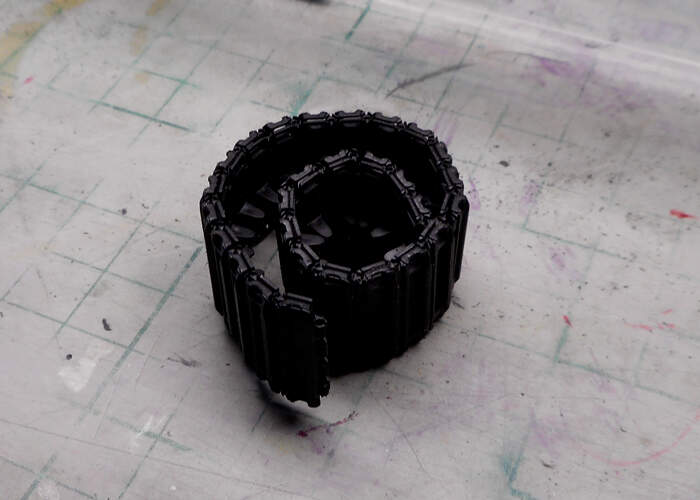
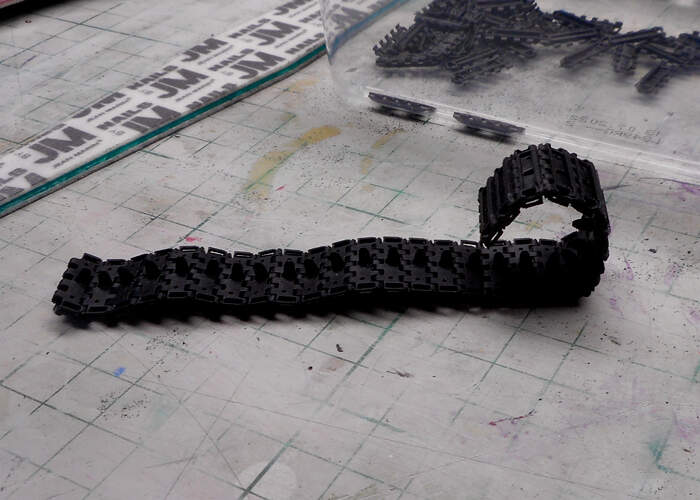
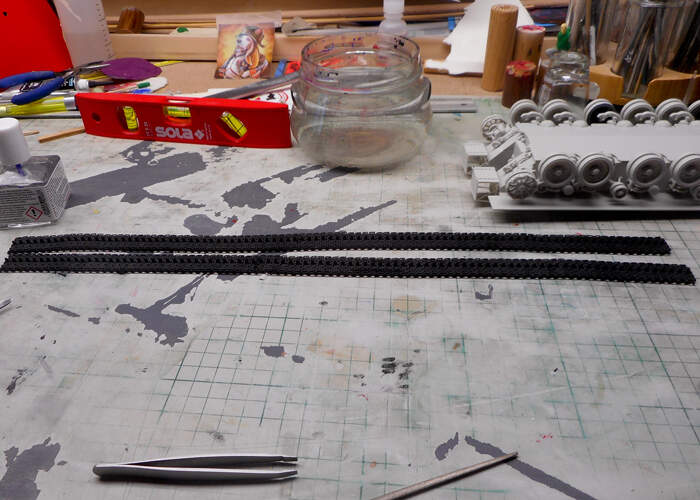
it’s just a part, the complete chain is 44 cm long for one site, the other one is for this evening or tomorrow.
2 Likes
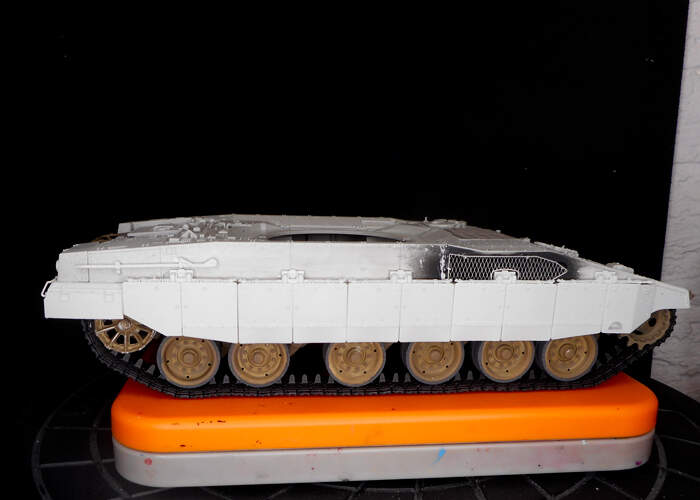
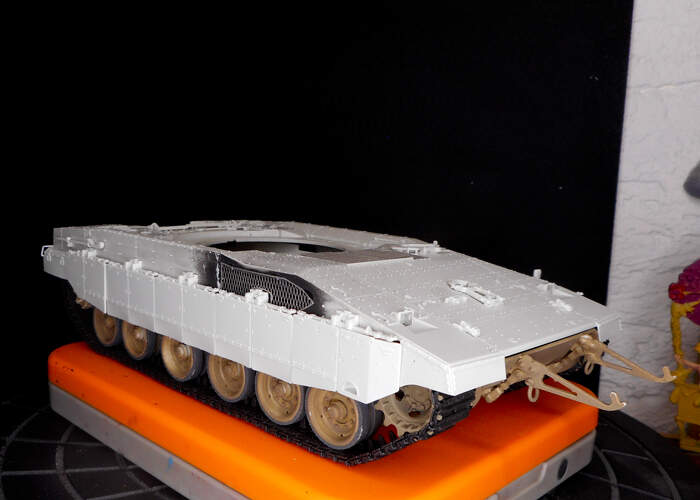
Since you don’t see the whole track due to the skirts, you could make a shorter run
1 Like
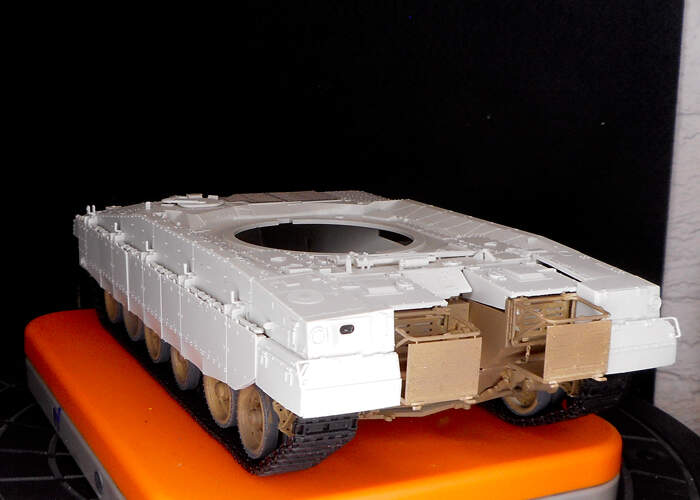
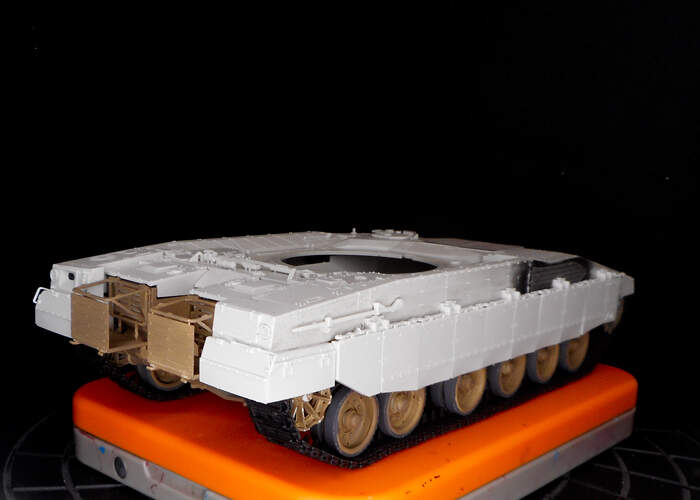
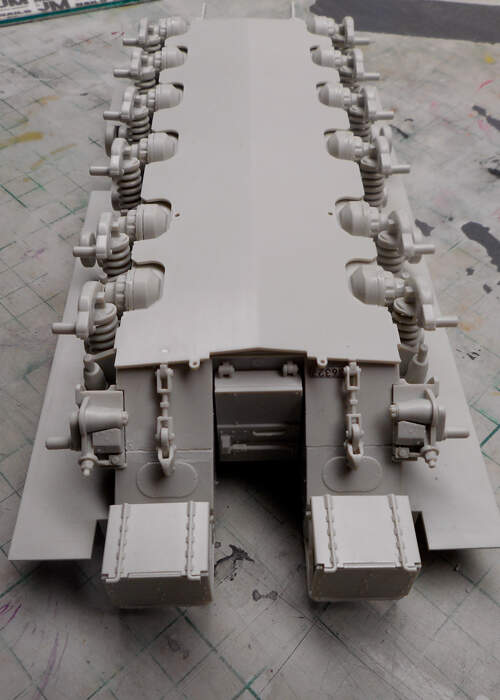
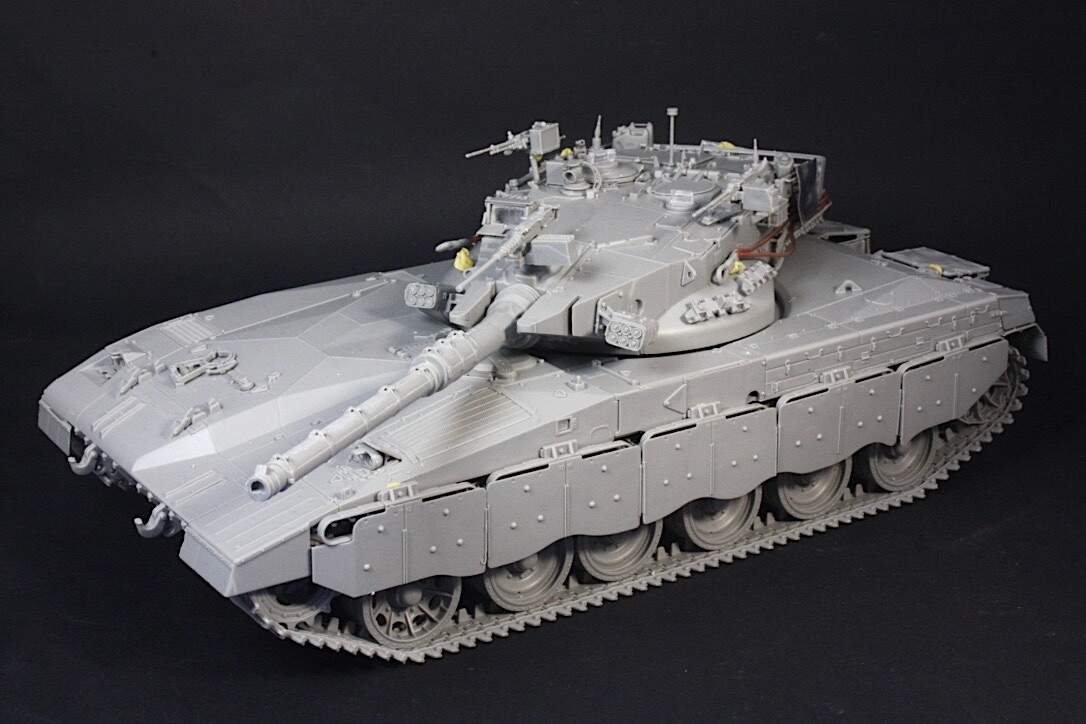
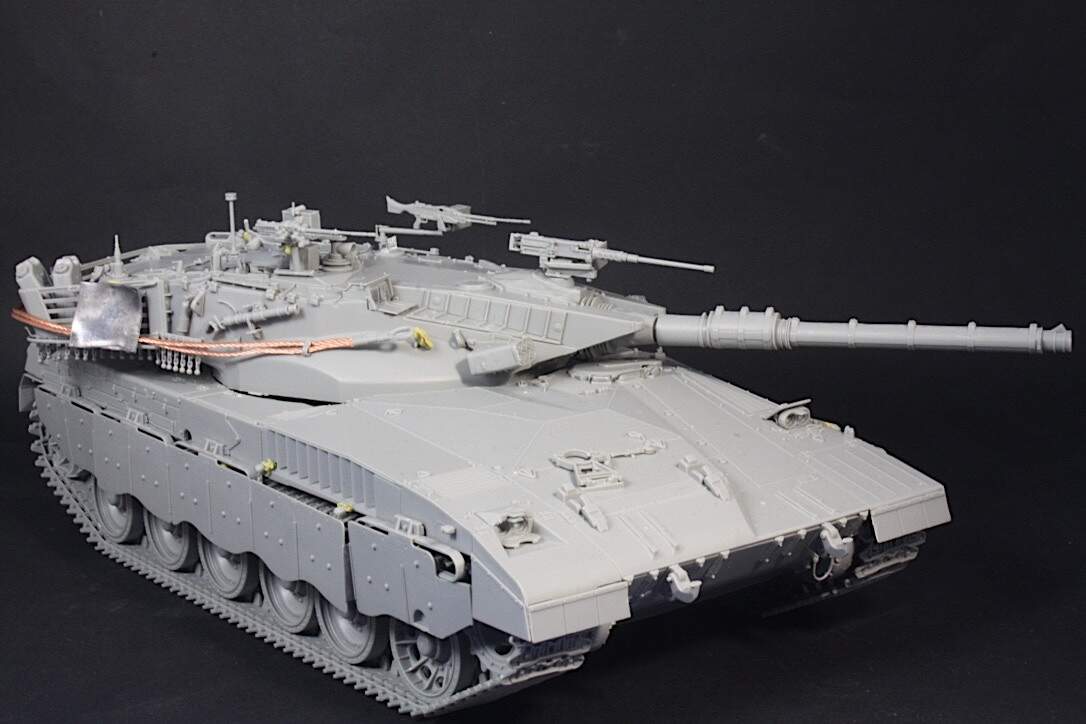
Beautiful job on that beast Jonathan! I didn’t realize how involved the turret rear area was. There’s so much stuff packed in there.
Exactly what I did on my Cr2… And will keep doing …![]()
1 Like
"The question is how to soot.
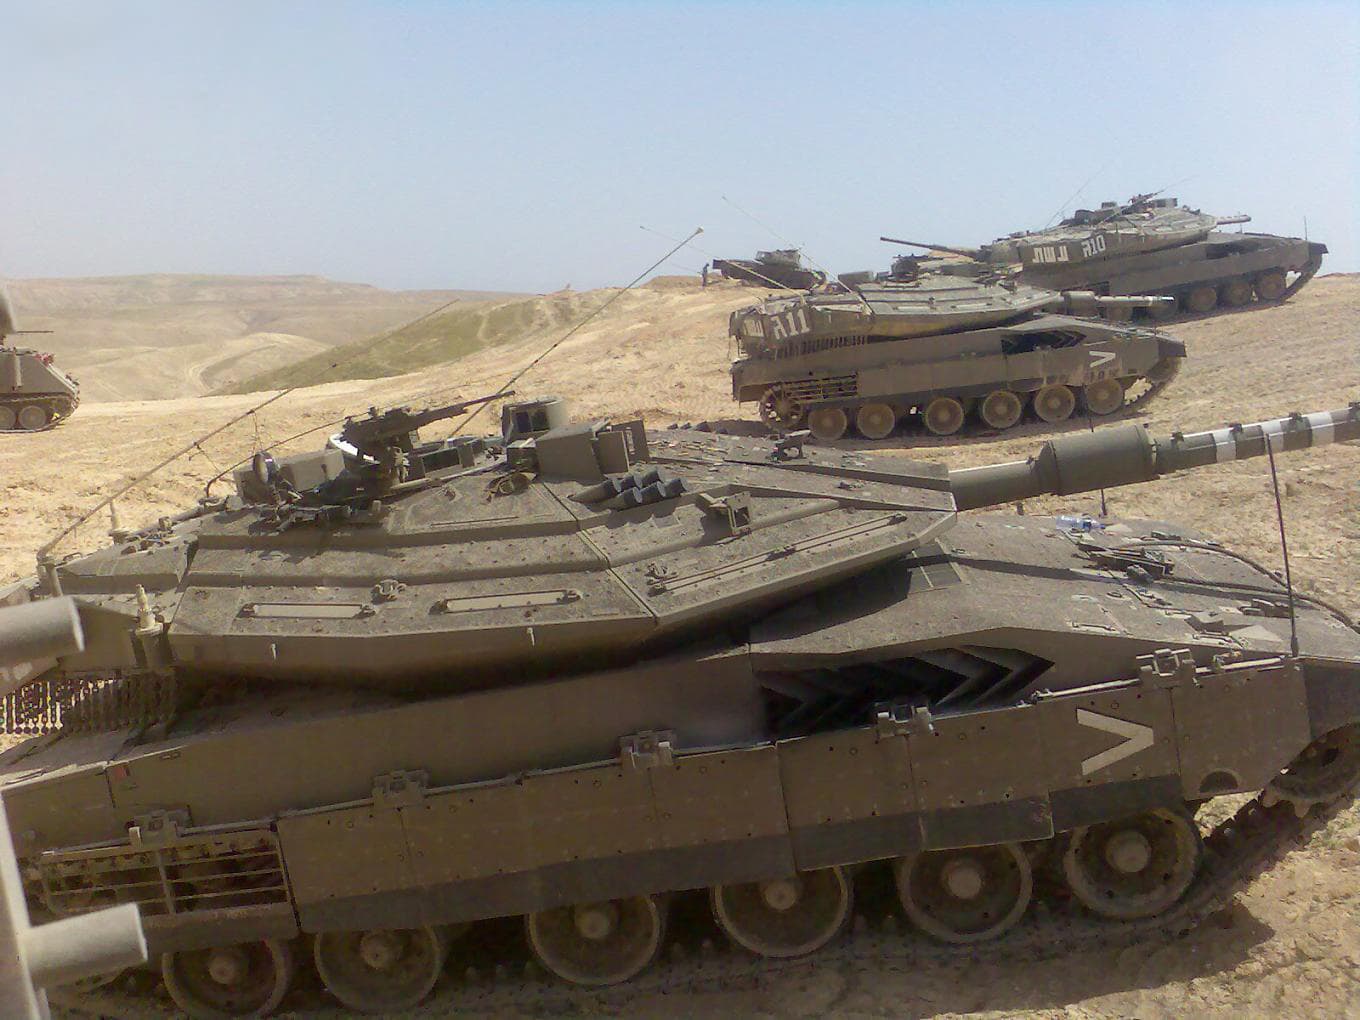
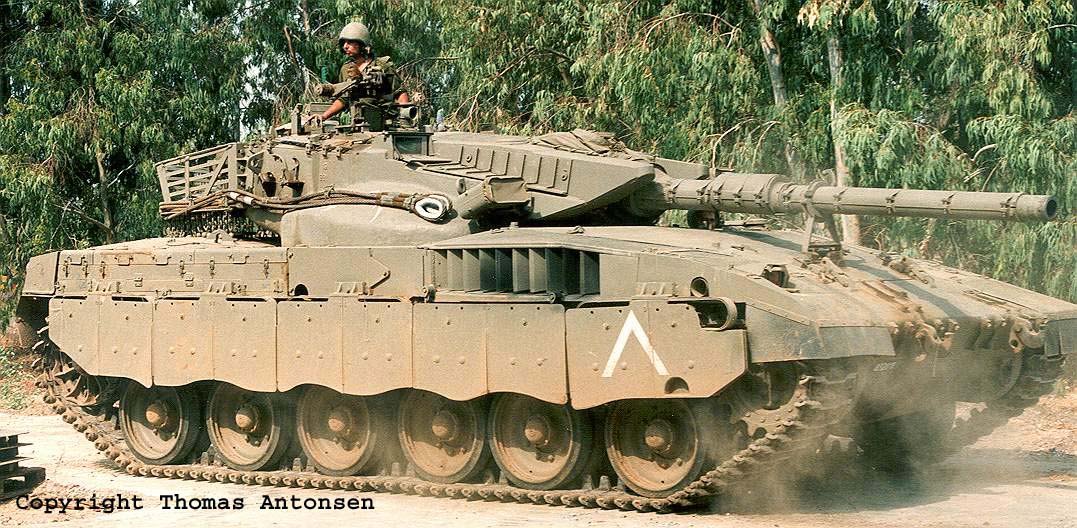
The Merkava Mk. 1, 2 and 3 are fitted with a V12 engine with two exhaust pipes, one for each of the 6 cylinder blocks. These exhaust pipes are taking the exhaust gases out of the engine compartment, through the typical deflector on the right side of the hull. Unless the case is of an engine with extreme black smoke, the deflector will be marked with two stains of soot, one for each pipe. So modellers should apply or spray two stains on Merkava 1/2/3.
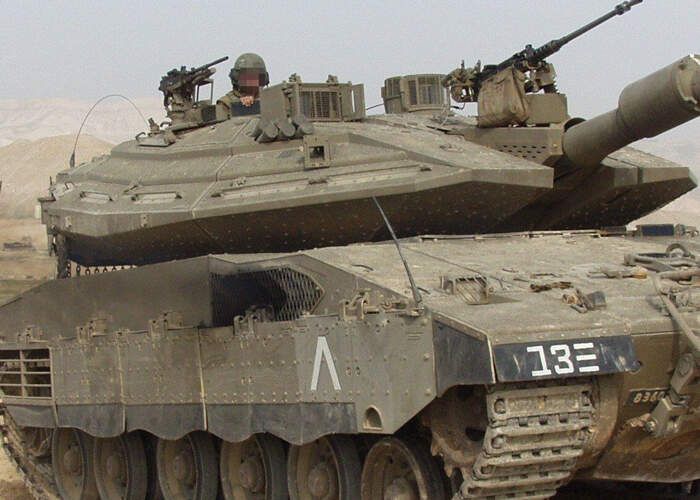
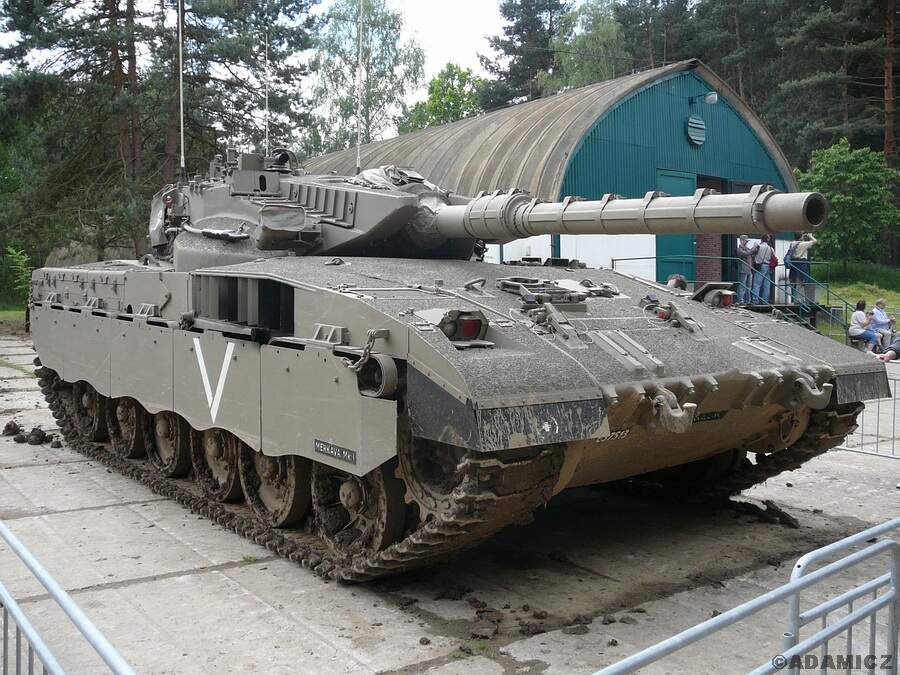
In the Merkava 4 the stain is a single one, mostly in the very center of the deflector.
Presented as service for the modellers by Michael Mass - Desert Eagle Publishing "

1 Like
Good call, I always forget to do that and strive later. Your build is looking great ![]()
thank you!
Early Mk.1s shouldn’t have stains on the deflector at all, as these had an exhaust port for each cylinder block on their respective side of the hull.
1 Like
Good call. I always thought that the left exhaust on the MkI was an APU or something
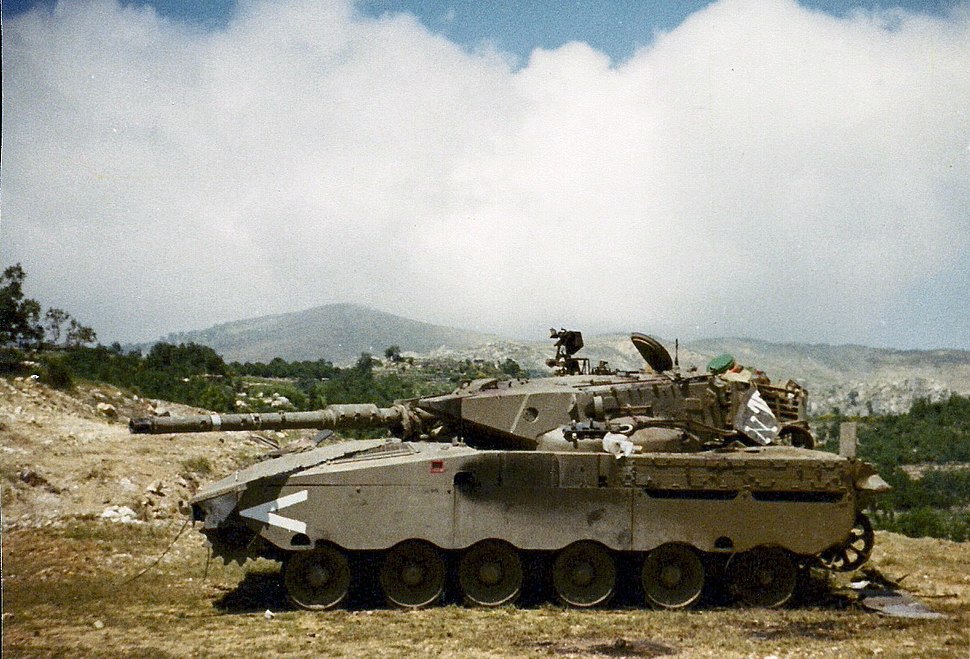
This is a later Mk.1 with uprgaded exhaust system already directed via the deflector, but still retaining the original exhaust…
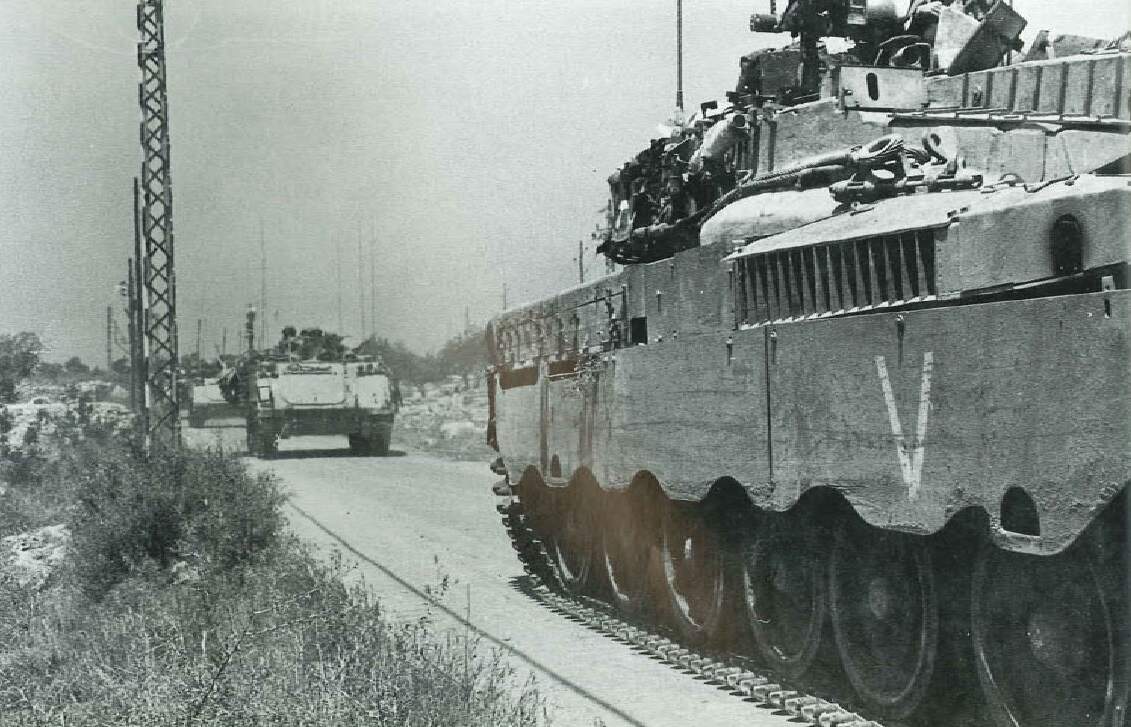
…and this is with the original exhaust removed and the port welded over (barely seen over the first bazooka plate):
1 Like