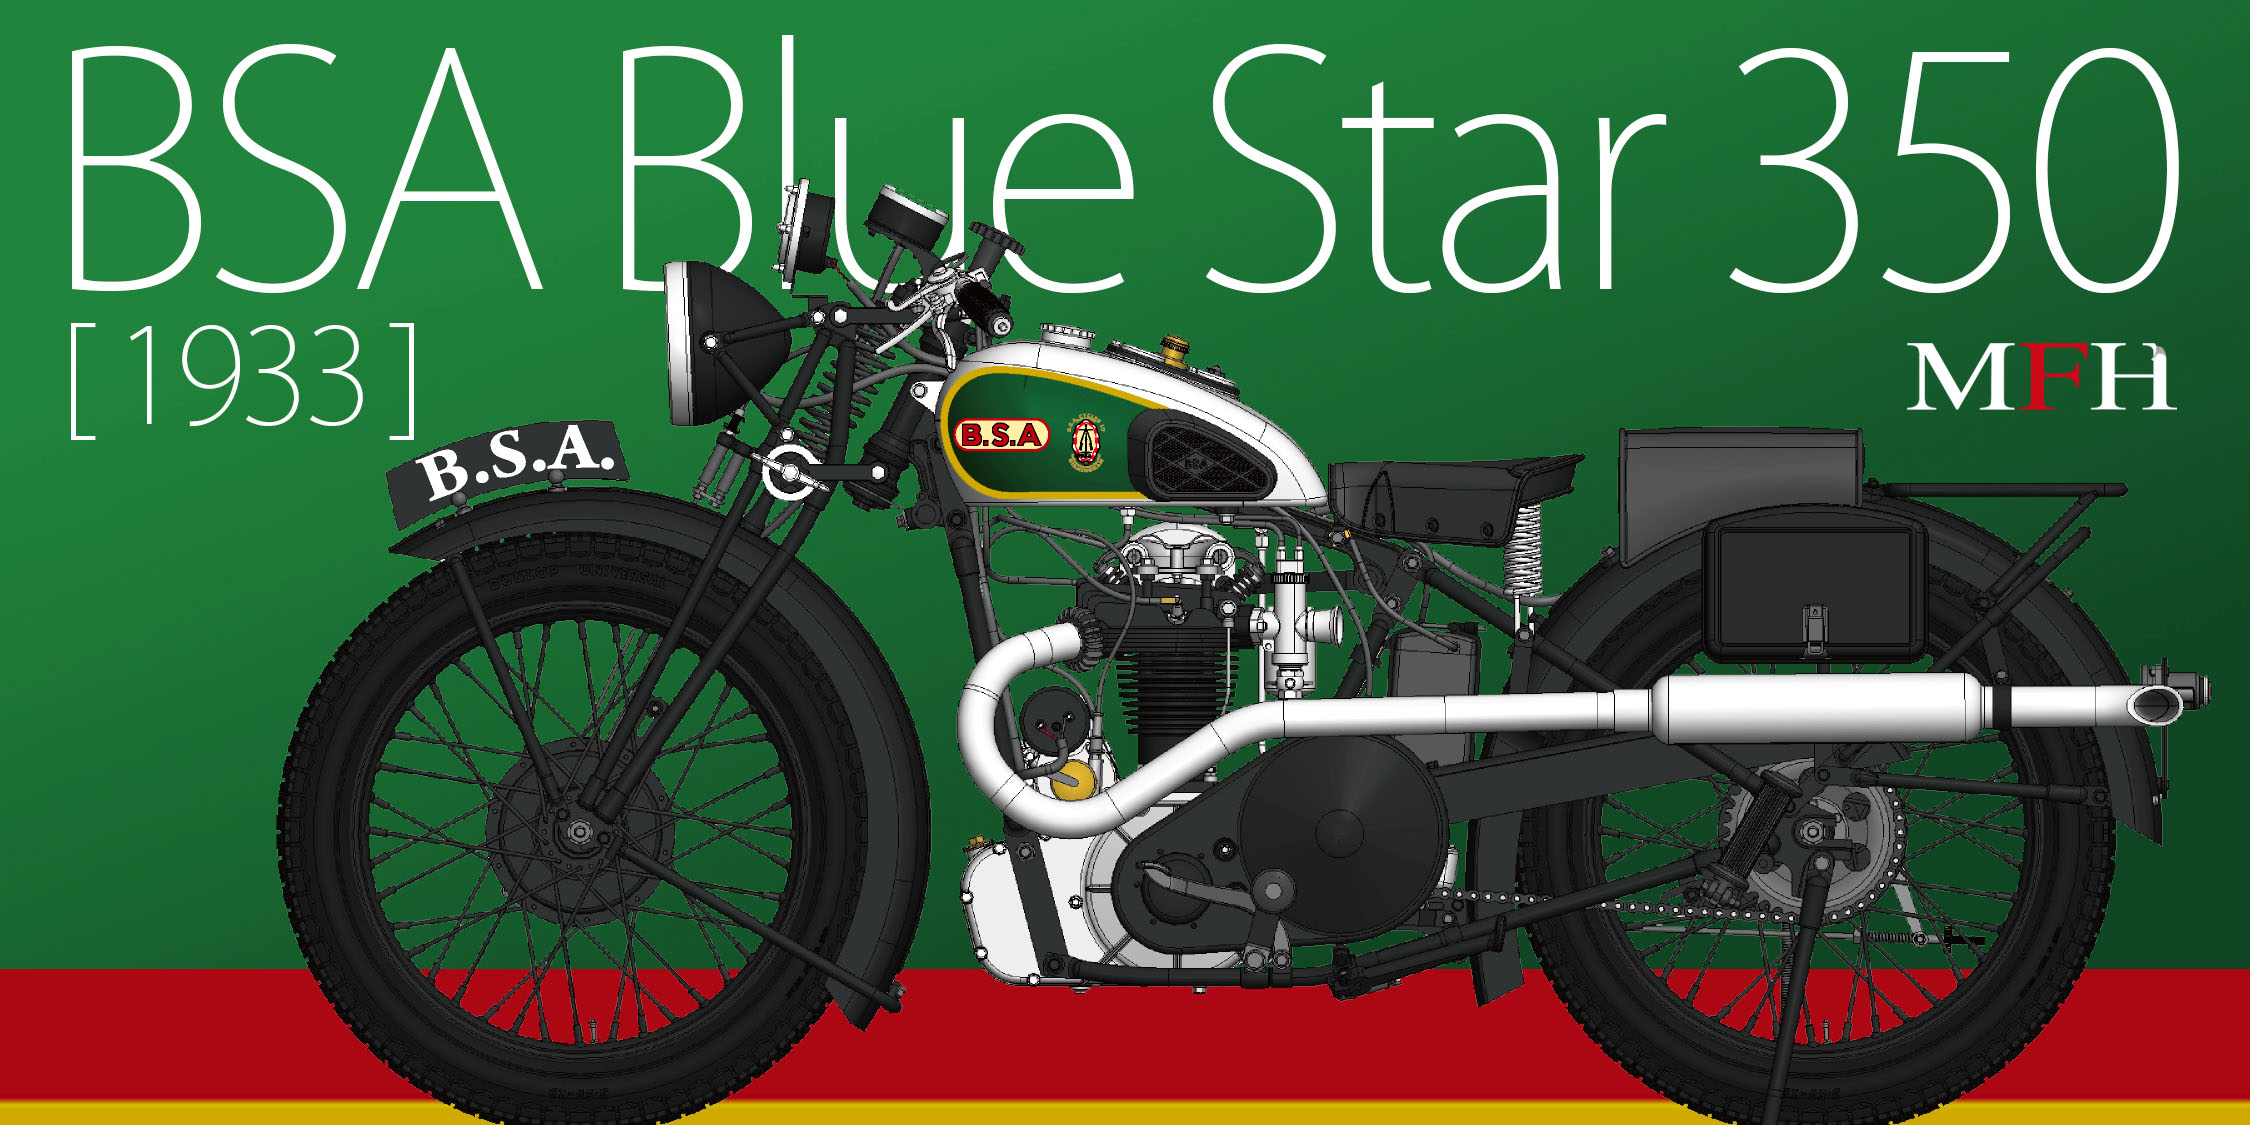
Hi all - Starting a new build log here . This kit has tremendous appeal to me as I am a big fan of British bikes . The only thing that would make it better would be if it were a Norton !
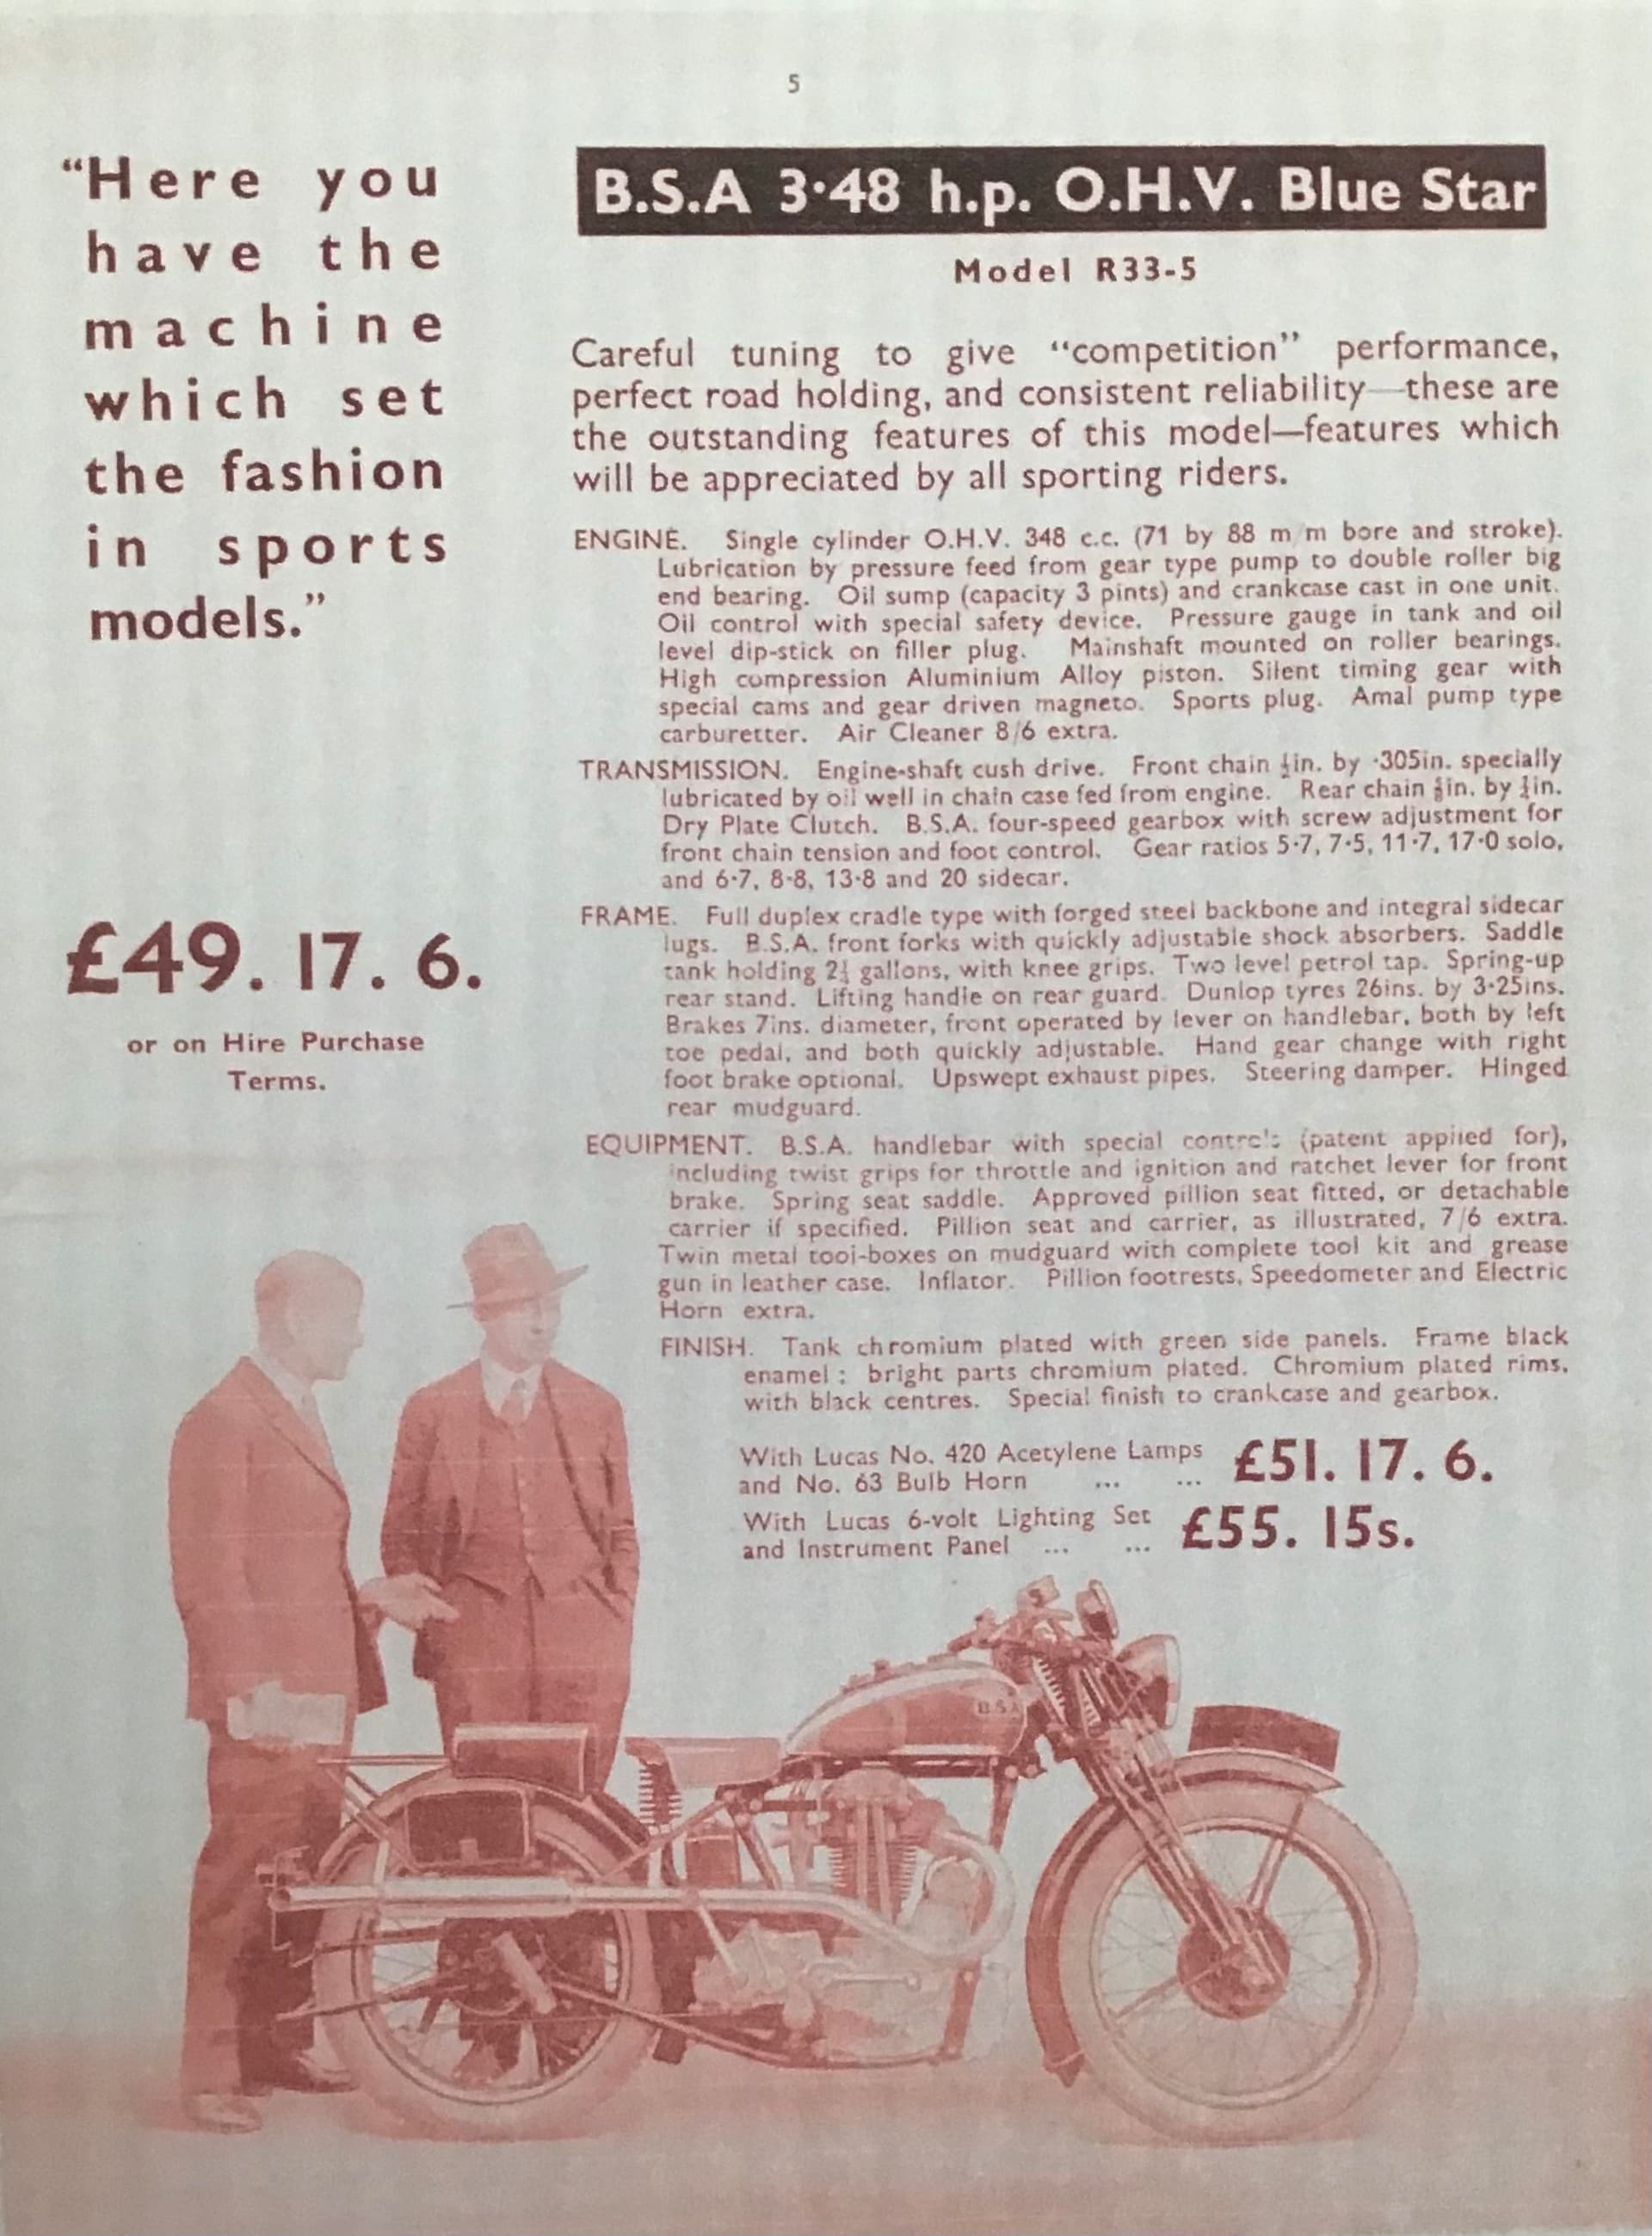
I started with an inquiry to the UK based BSA Owners Group regarding some paint details. I received a very prompt and helpful reply from their General Secretary including a shot of a period ad or brochure…
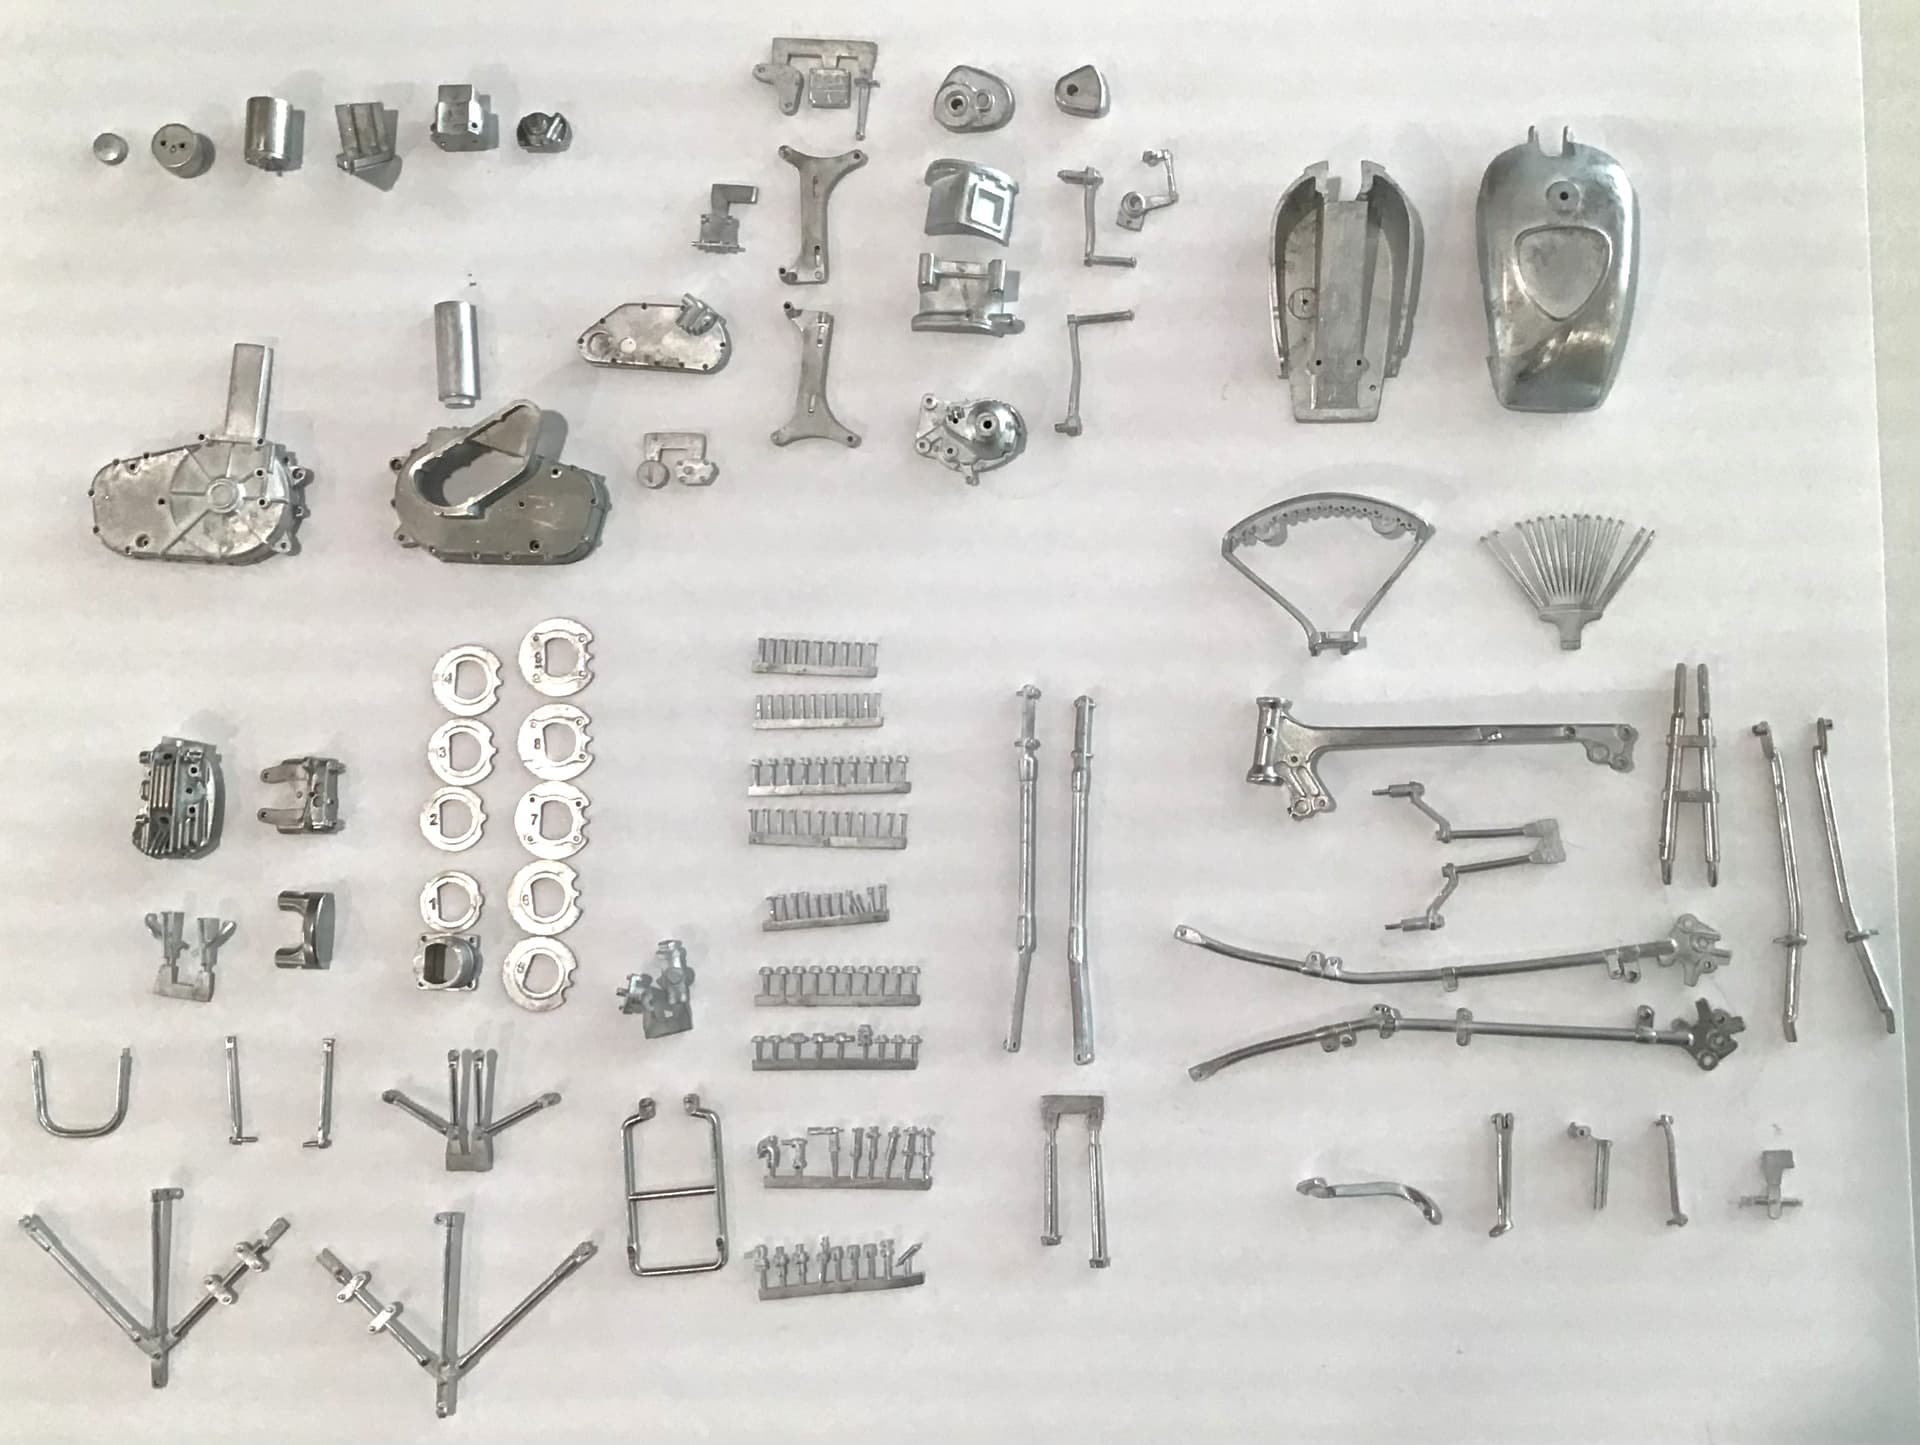
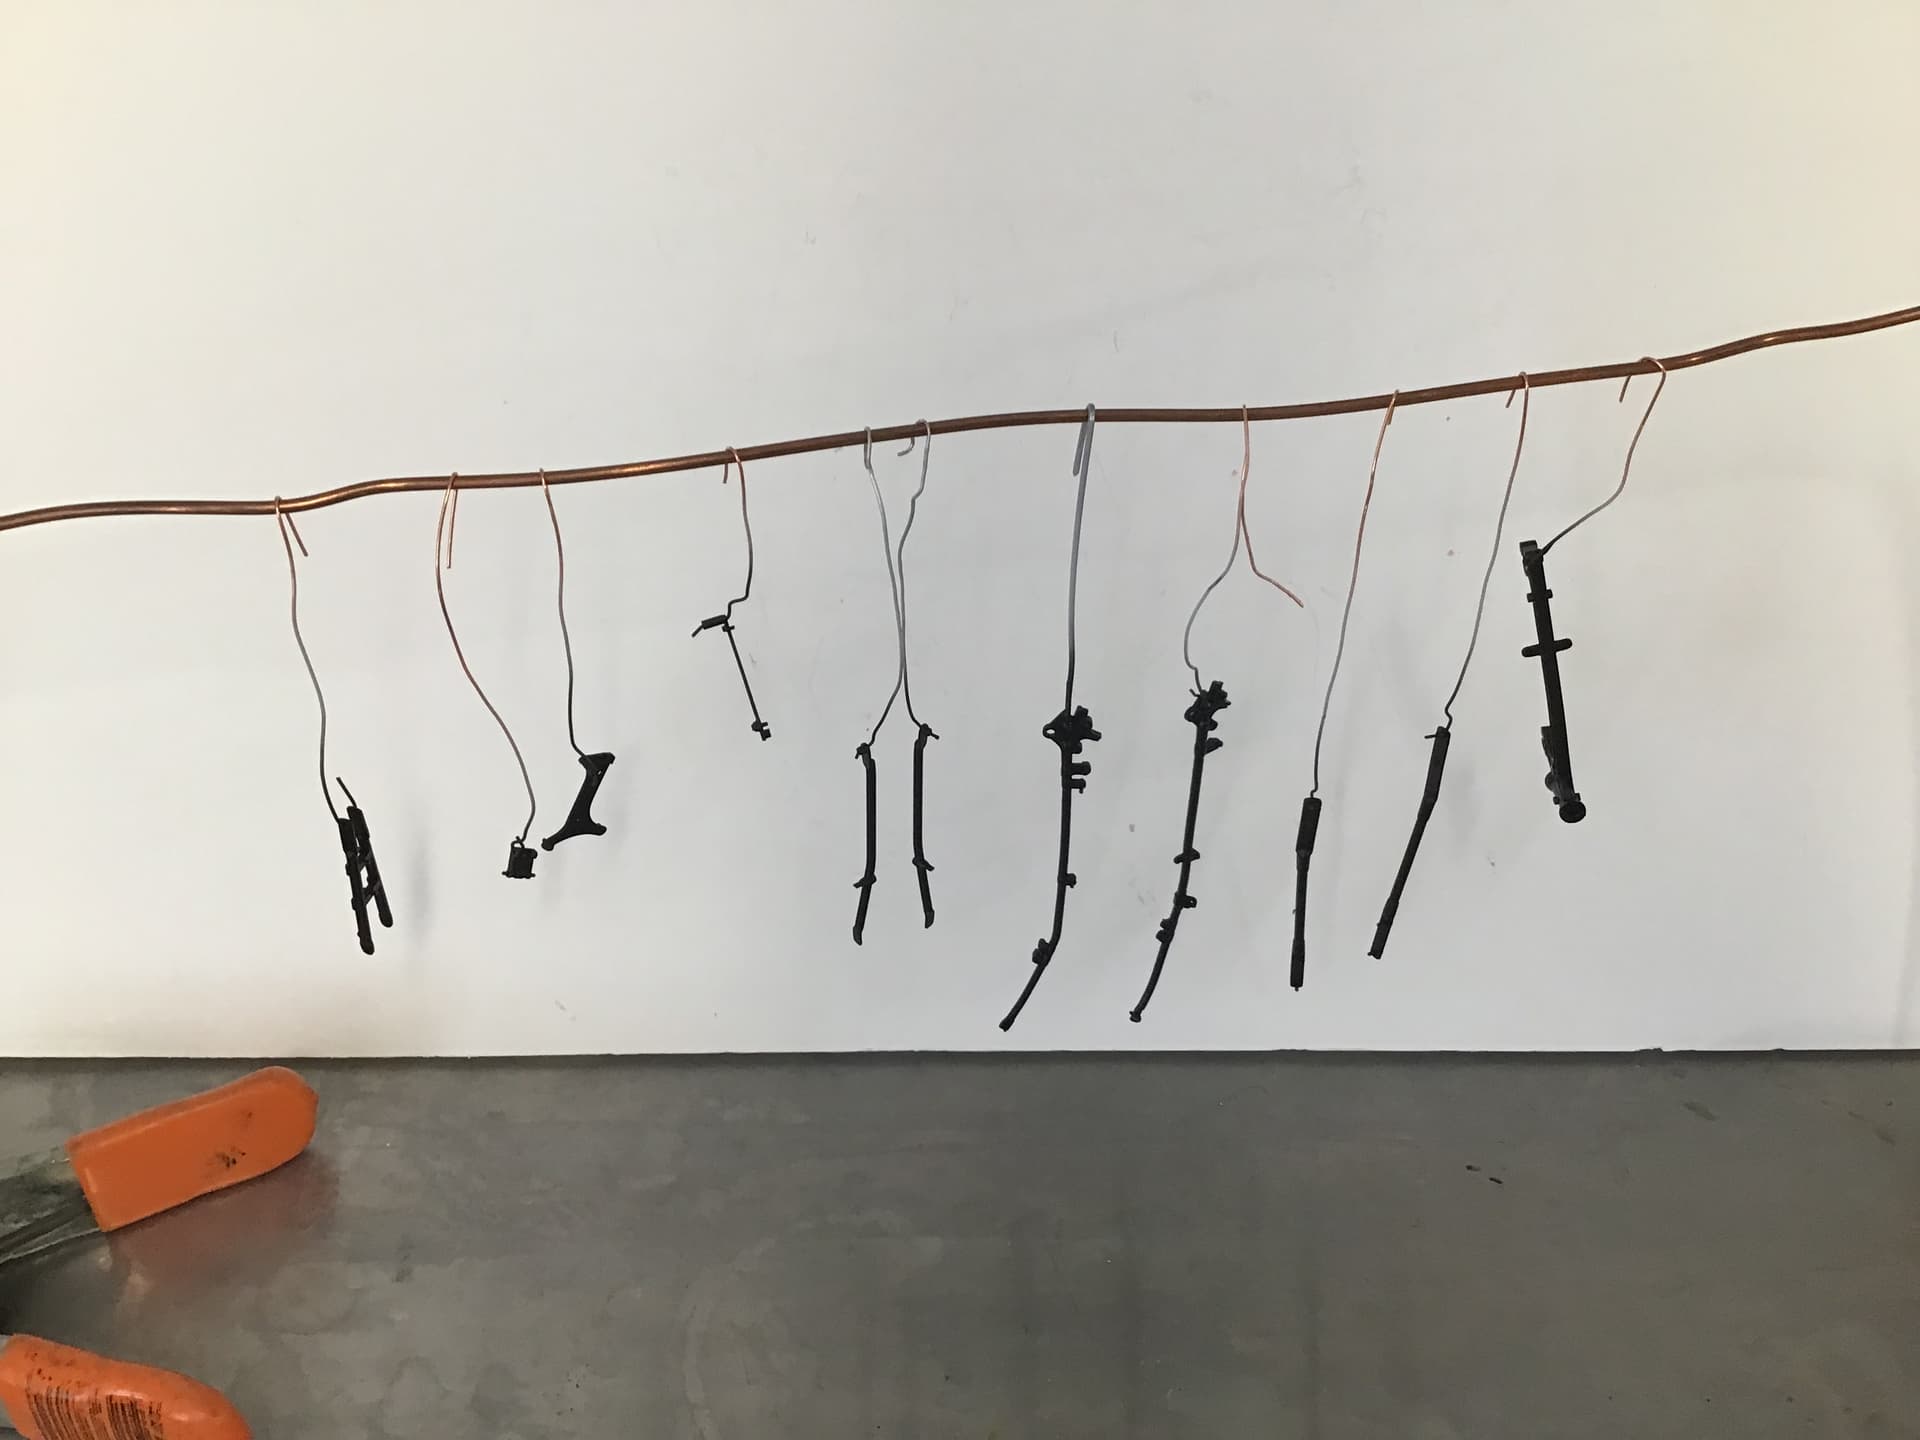
I’ve made a start by cleaning up a great many white metal castings - drilling holes , removing flash and parting lines , etc . What you see here is nearly a week’s work .
Included in this group are the components for the Lucas Magdyno , engine crankcases, gearbox and cradle, kickstart lever and gearchange lever , fuel tank, saddle frame and springs , cylinder head , rocker box and rockers , cylinder base and fins , main chassis (frame ) members, various bolt and fastener castings, axles , rear mudguard ( fender) stays and package carrier members .
Yet to be cleaned up are the fork , wheel and mudguard components.
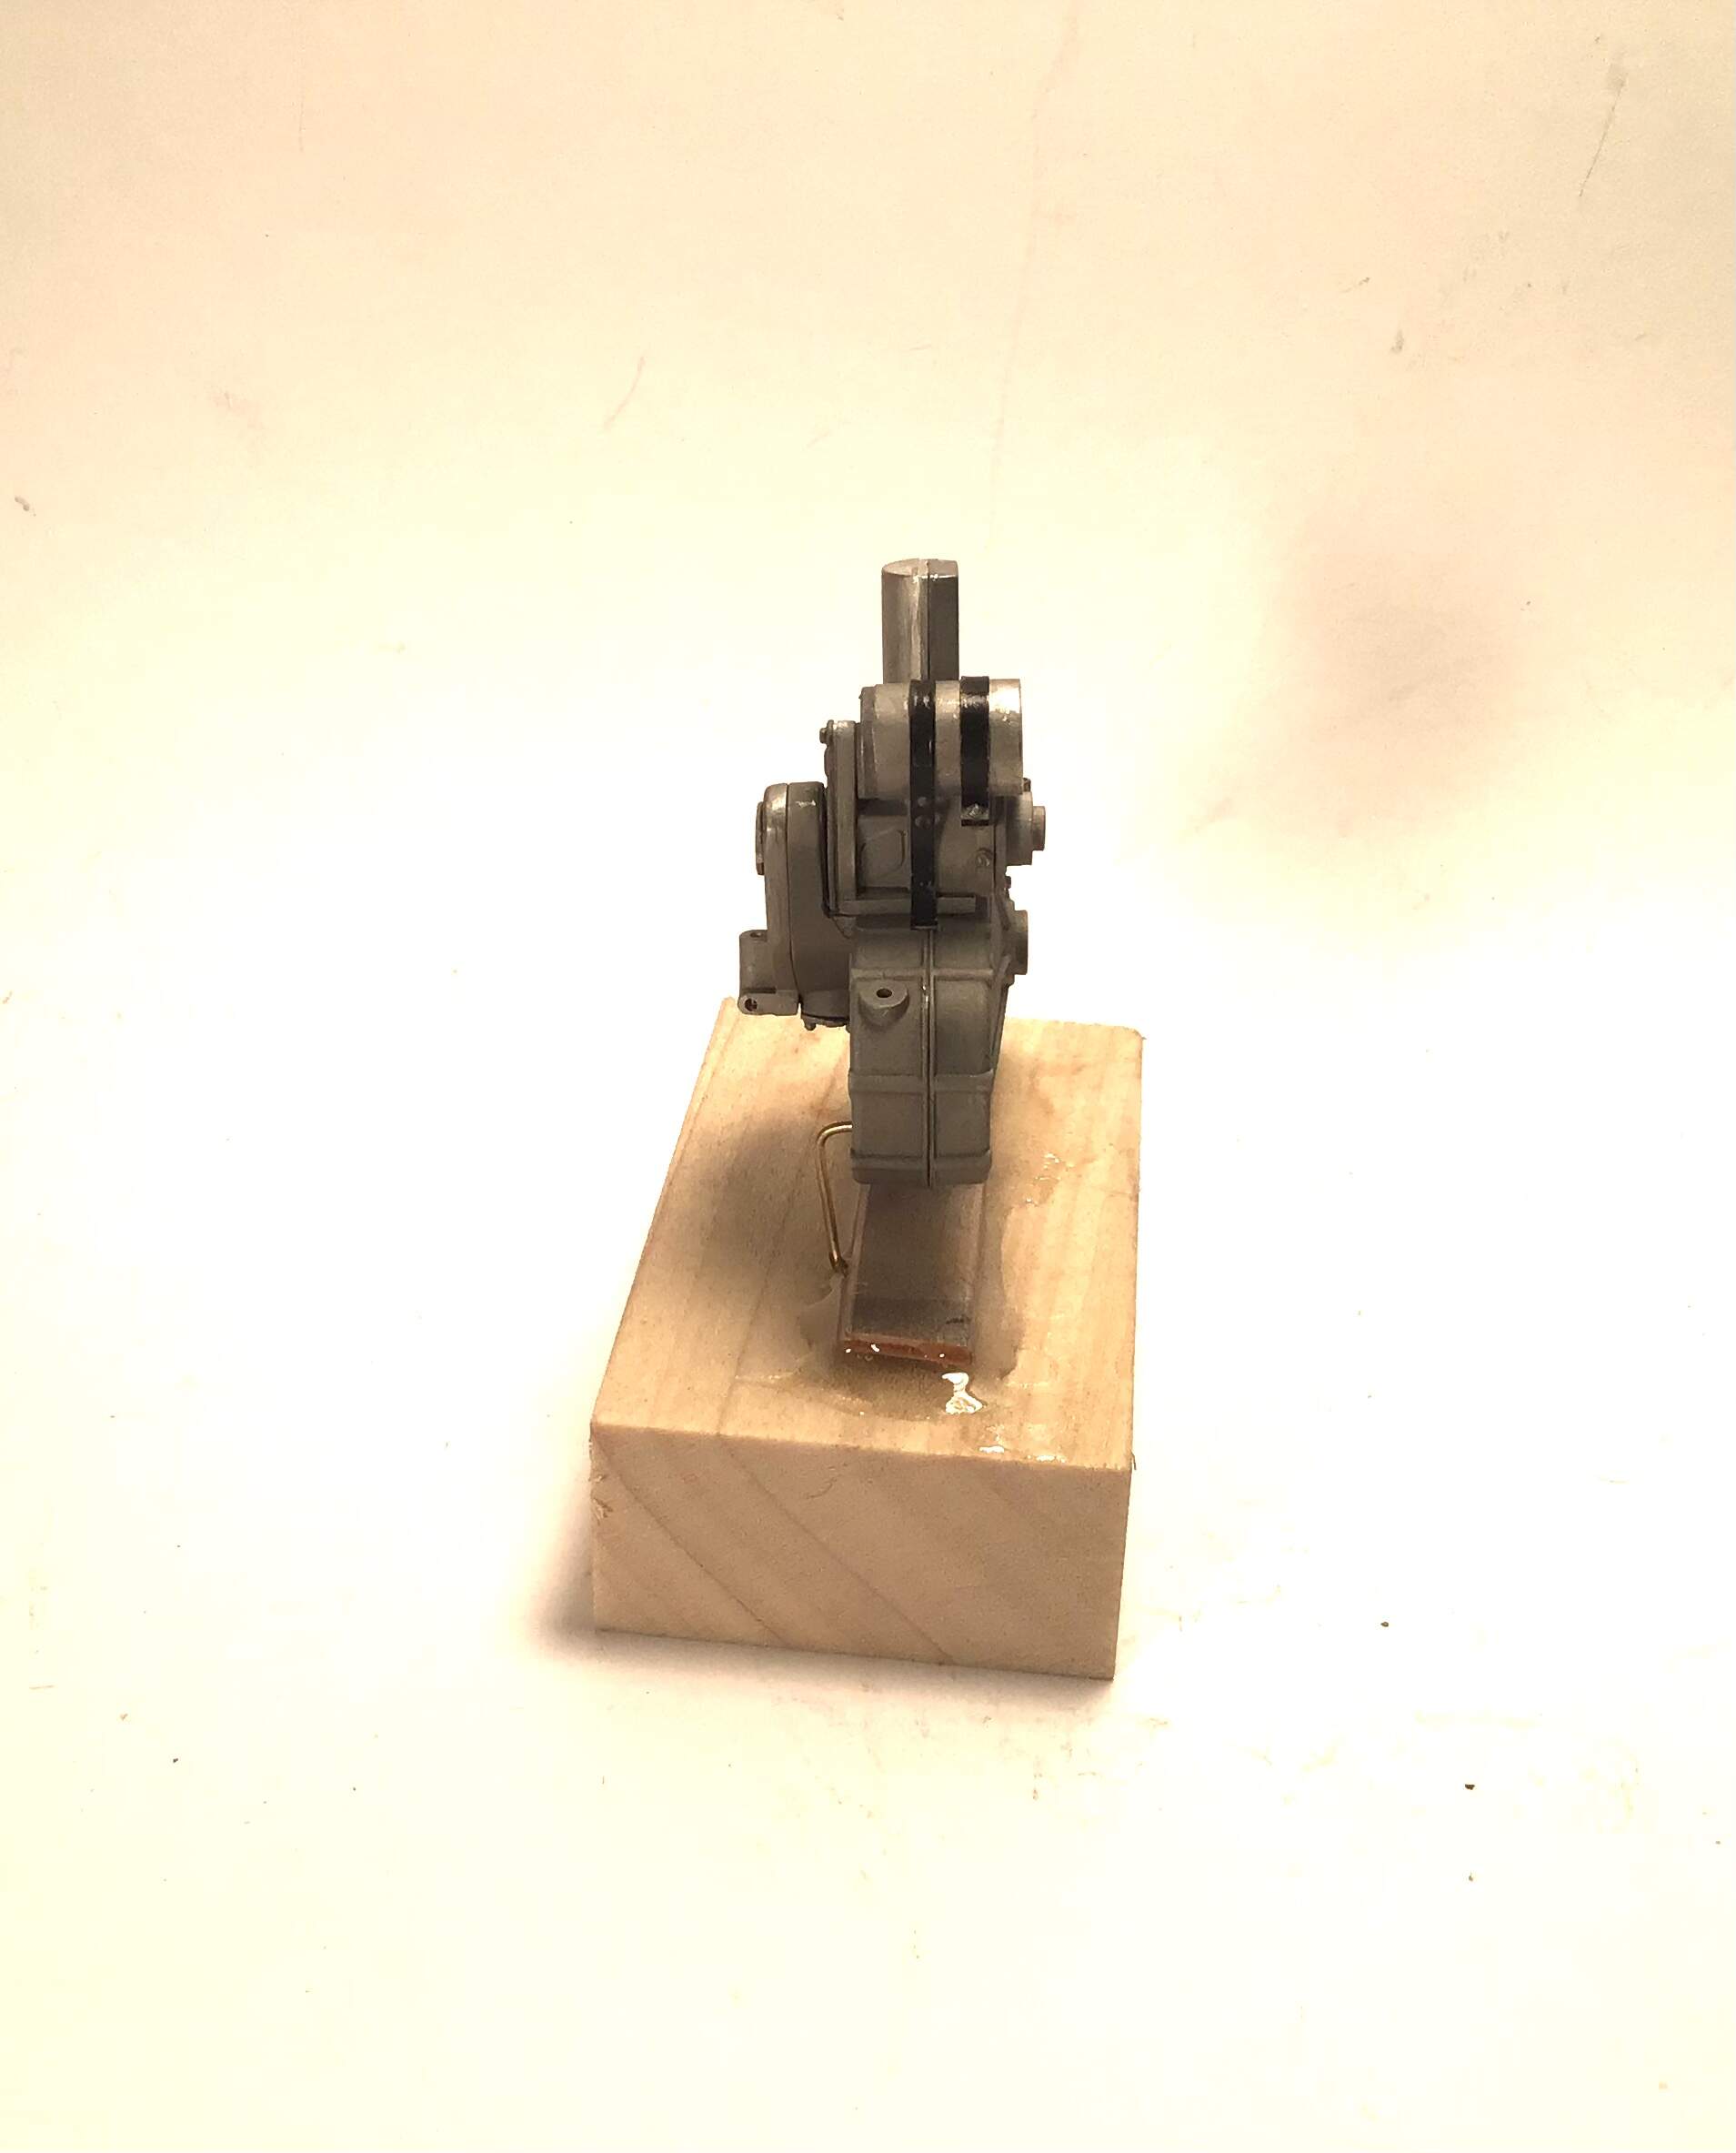
First to be assembled will be the Magdyno as it’s hold down strap is entrapped between the crankcase halves.
It is a little model unto itself and I can attest to it’s accuracy as it is the same unit that sparks my 1/1 1950 Norton ES 2 . I’ll post some picks of the model unit posed on the real thing when it is built .
Thanks for looking in - more to come .
Cheers- Richard
5 Likes
Couldn’t resist getting started? Look forward to seeing this one develop. If it comes out as sharp as your Norton it will be a ripper!
cheers
Michael
1 Like
I’ve seen images, of this model, on Hiroboy; looks amazing.
Wow! that Norton looks spectacular.
1 Like
This already promises to be another awesome build and thread Richard, count me in!
Cheers, D
1 Like
@AussieReg
@cosimodo
@Hwa-rang
Thanks gents for the kind words - indeed this one was calling to me very loudly !
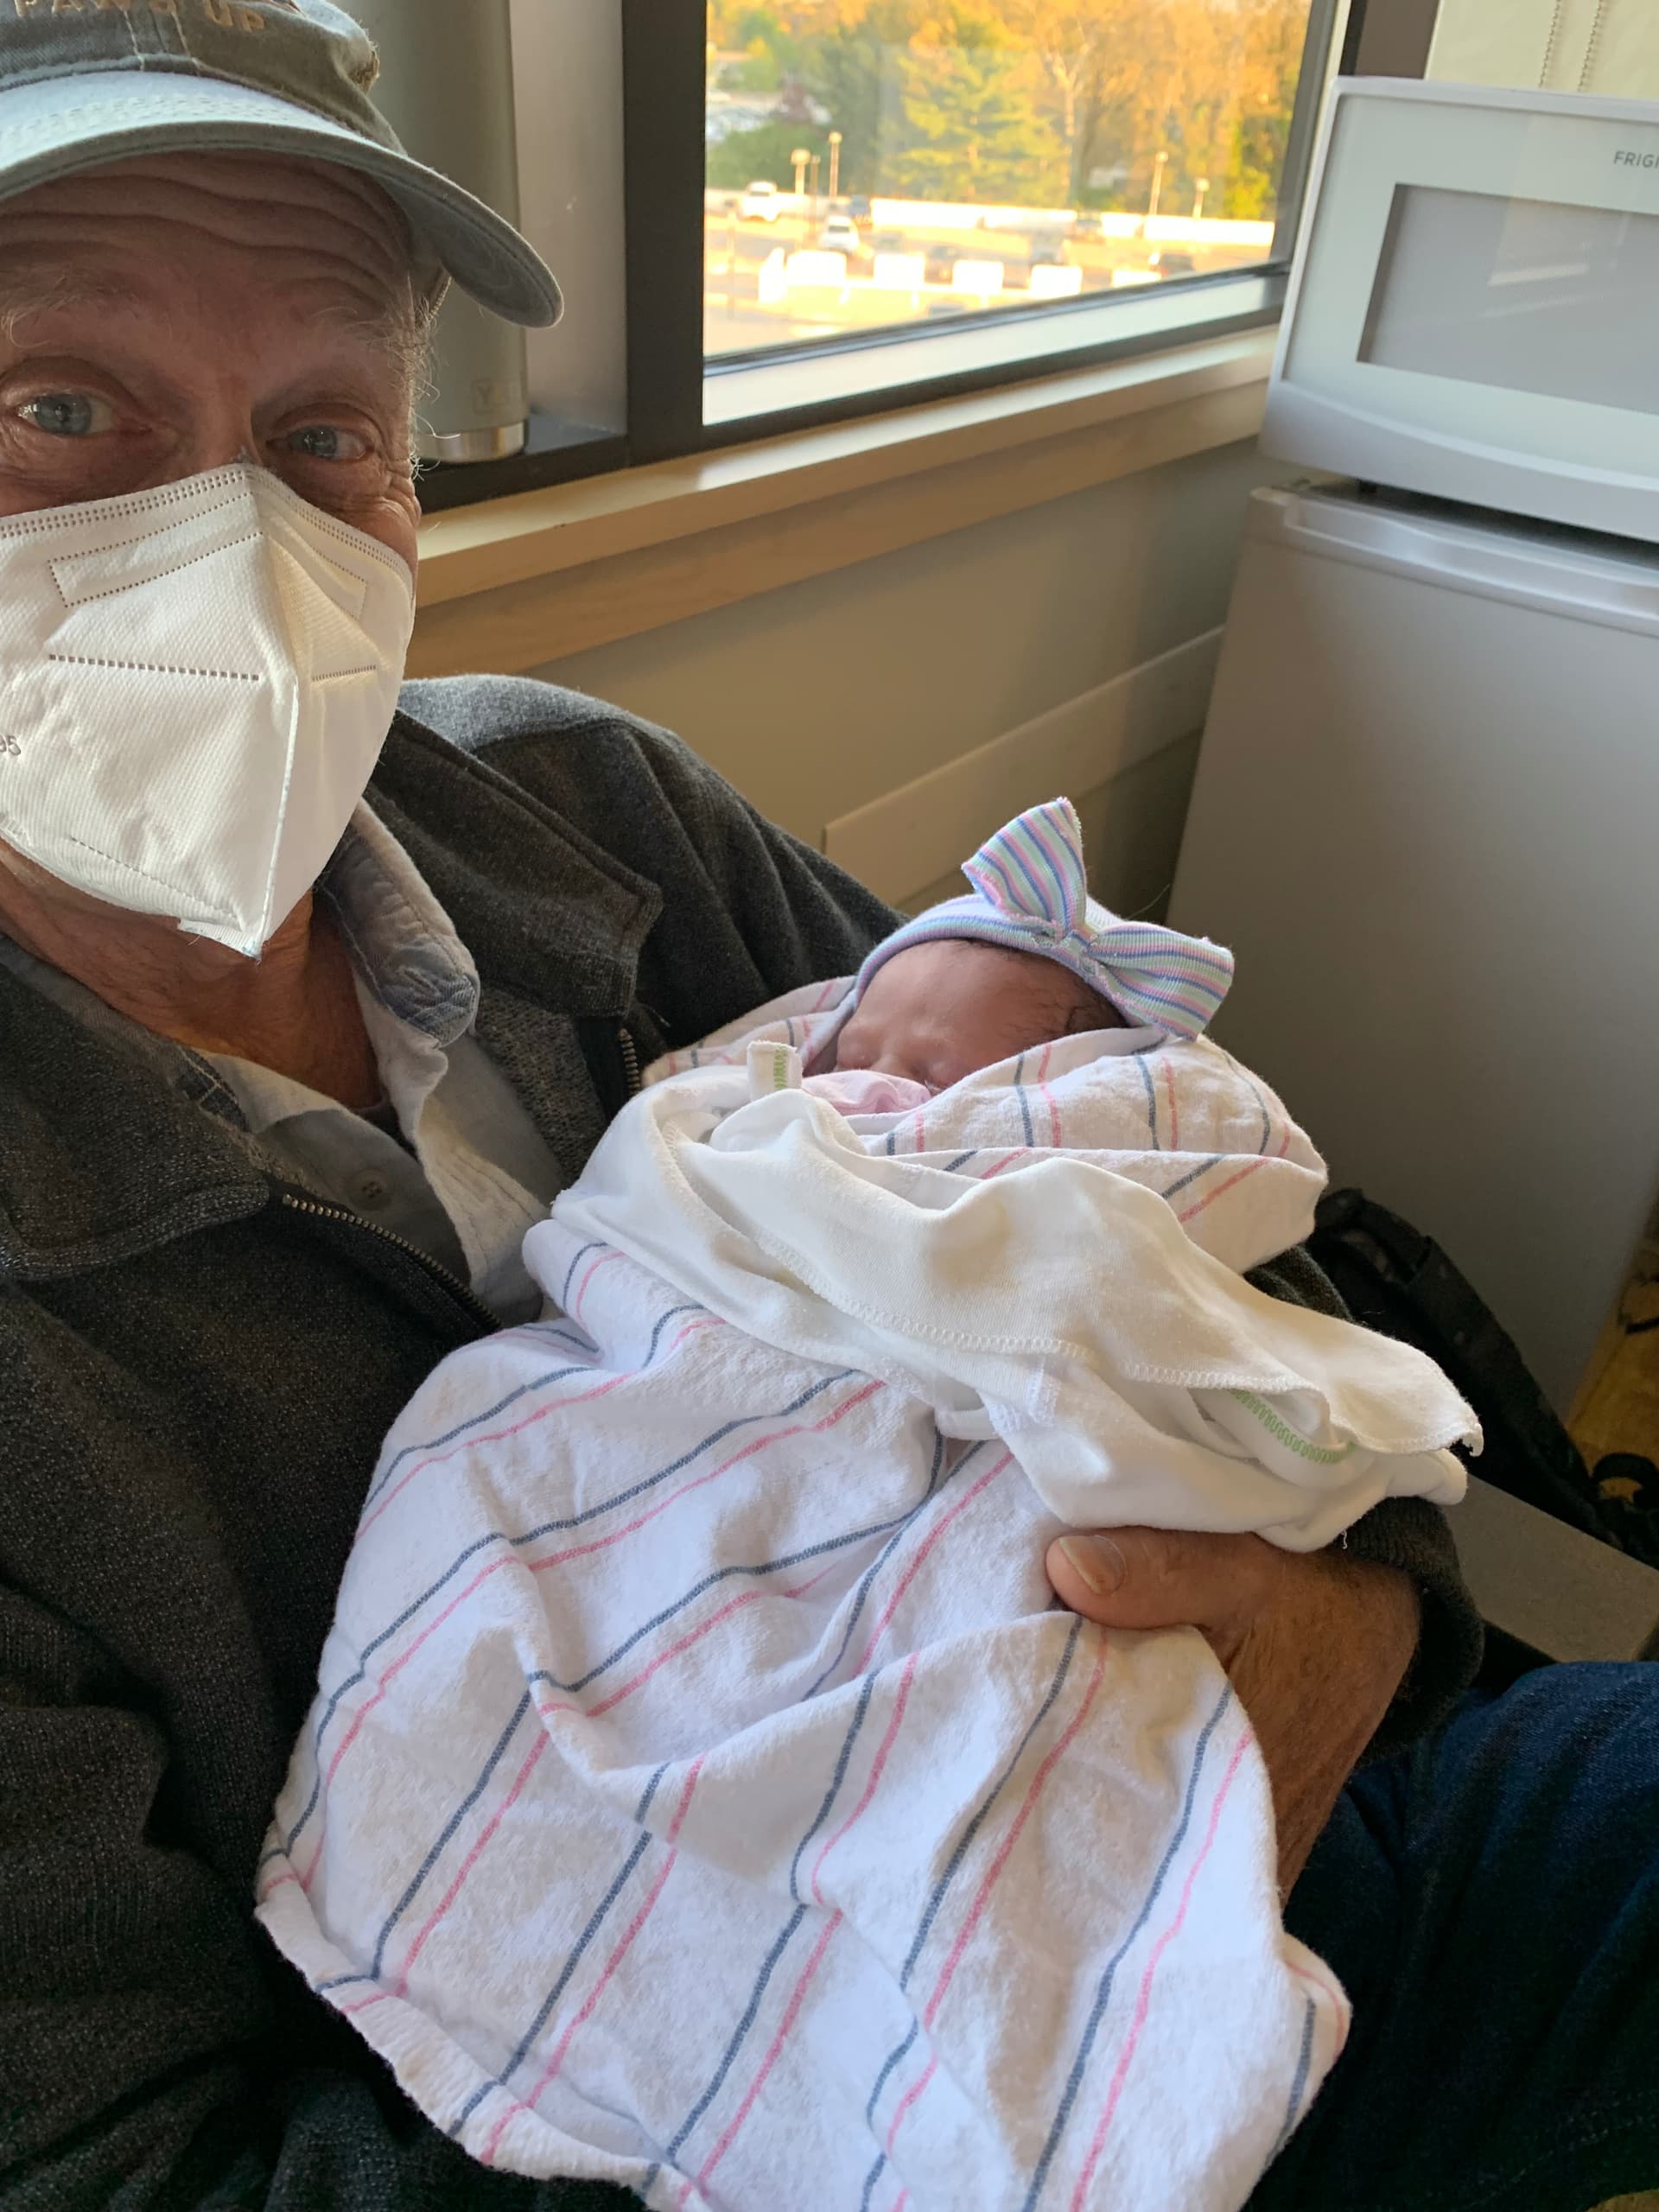
Modeling has been interrupted briefly not by what the postman brought but by what the stork brought…
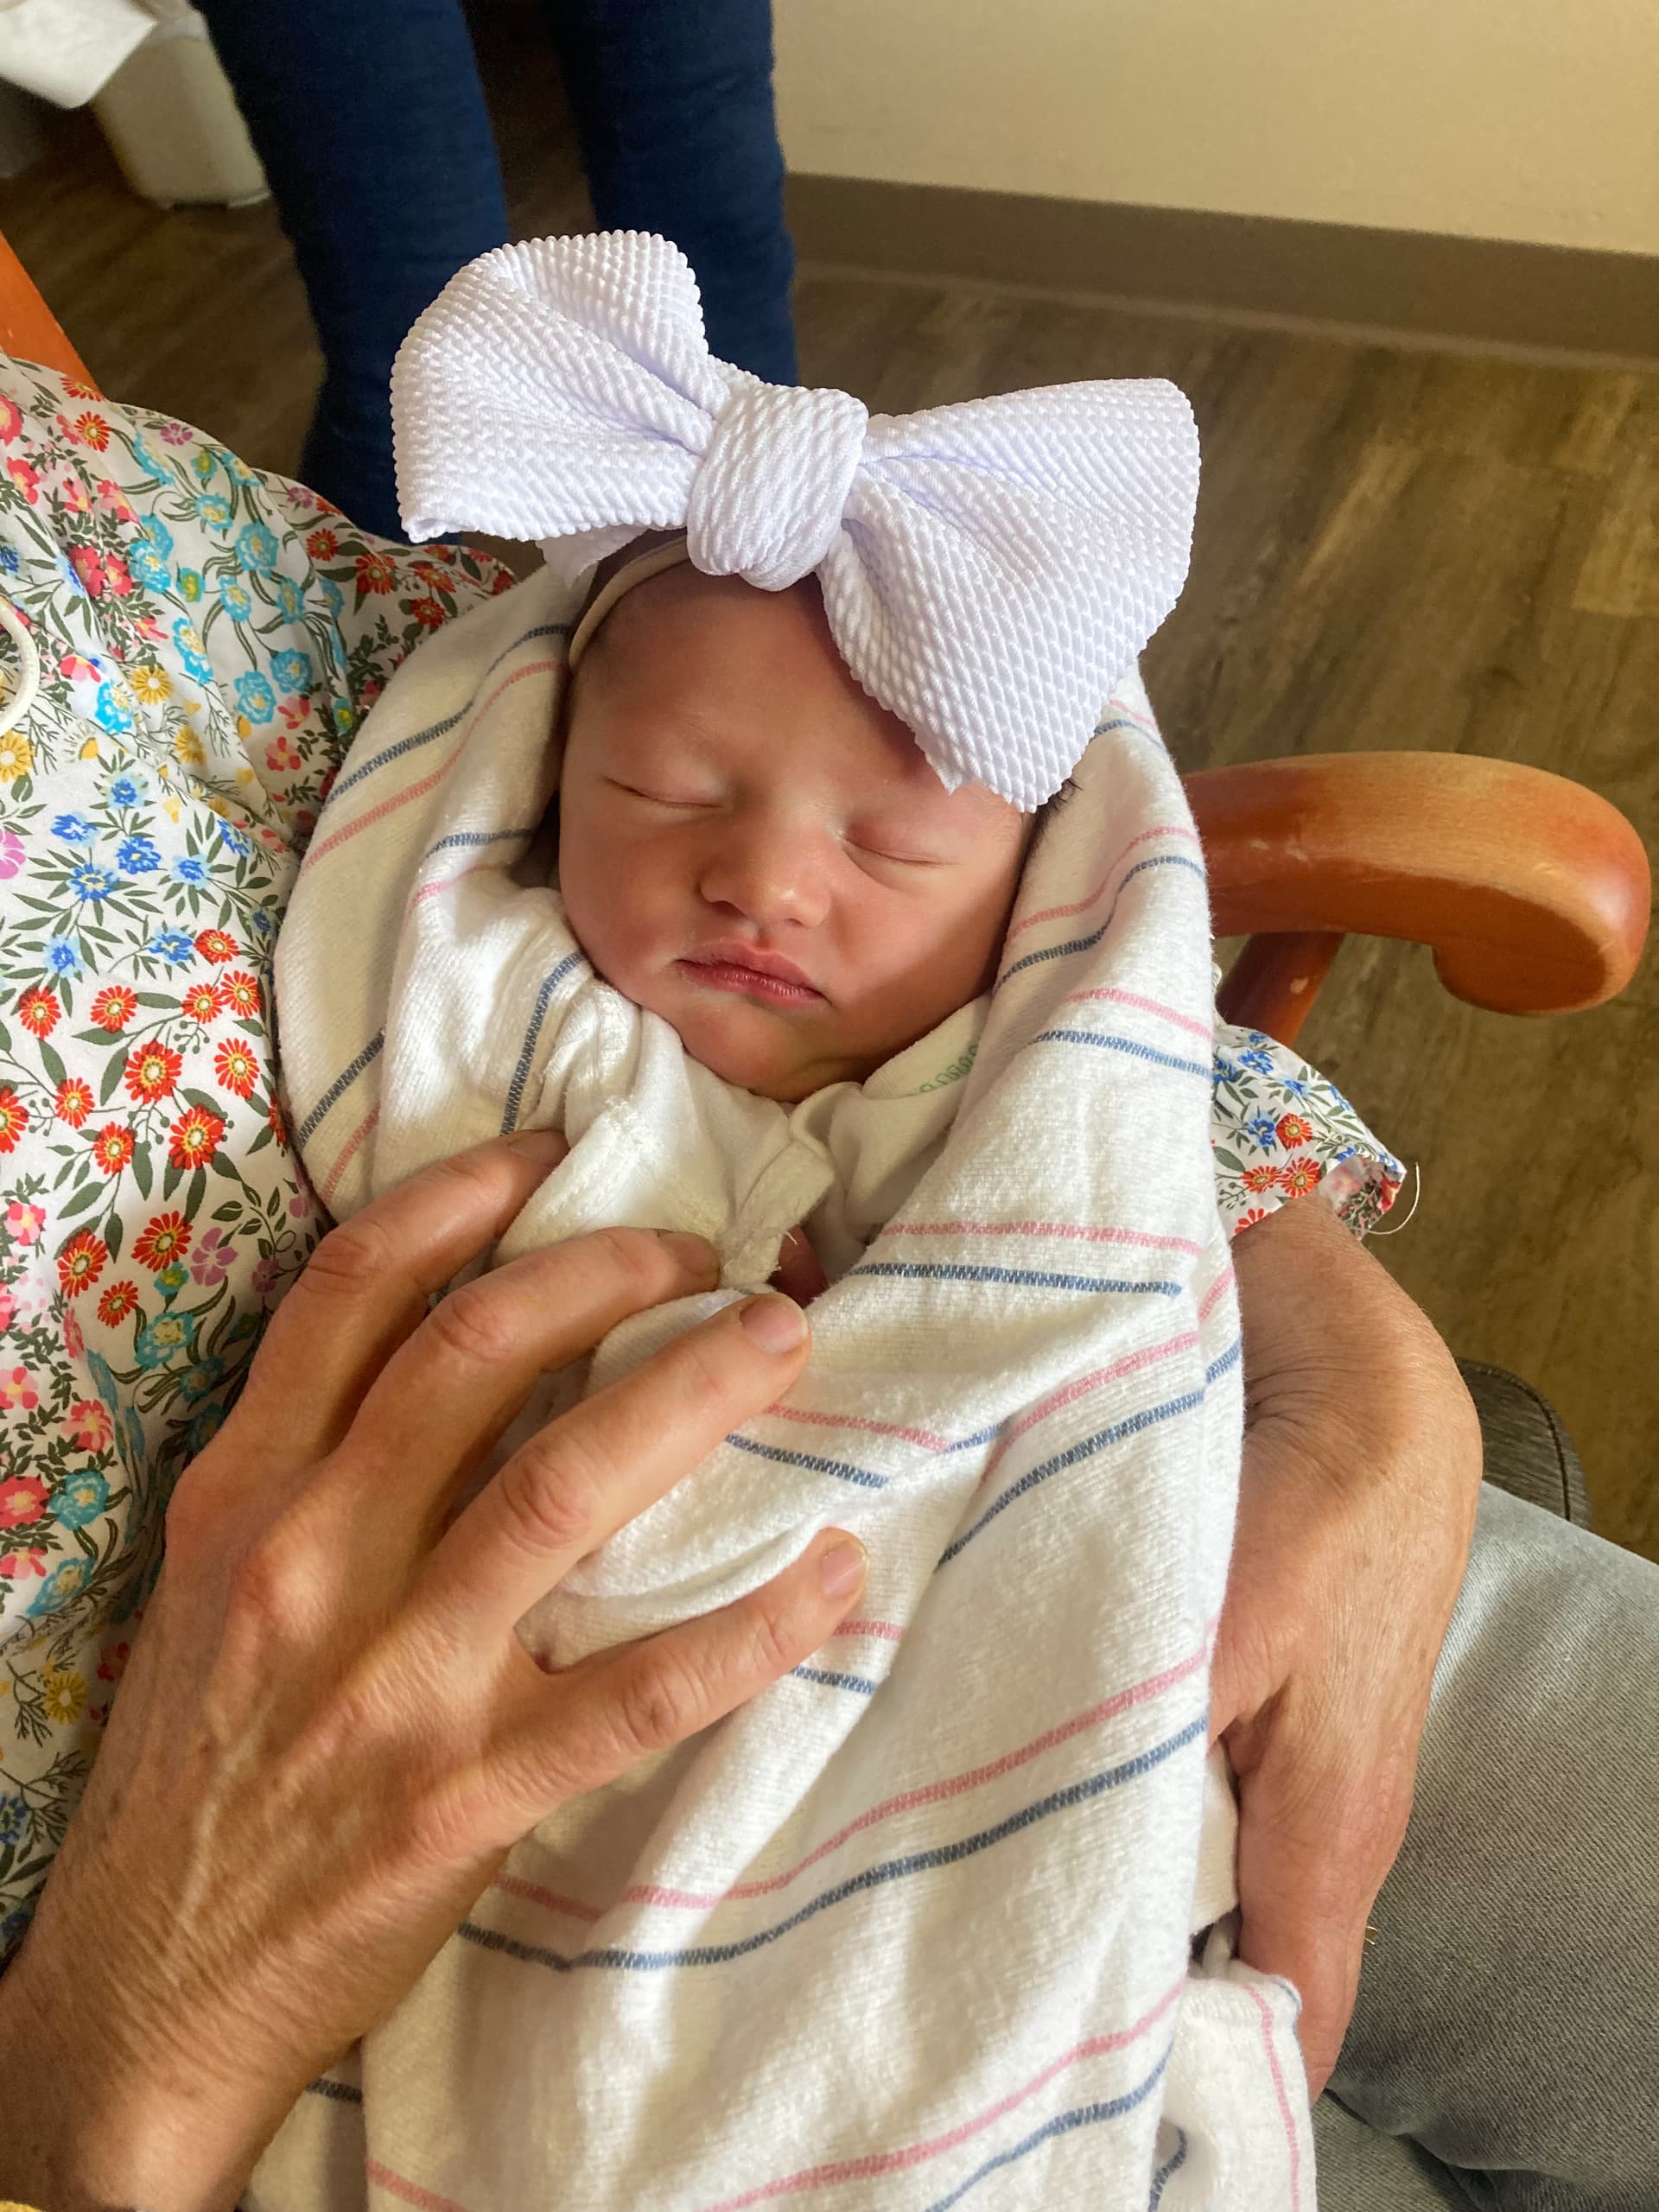
First grandchild yesterday afternoon - granddaughter
Raegan - just thrilled with this ! All involved healthy and happy - I’m a lucky guy !
Cheers- Richard
4 Likes
Wow! Huge congrats to you all Richard, such wonderful news!
Cheers, D
1 Like
Great news for you Richard! I’m sure there’s a big smile behind that mask!
cheers
Michael
1 Like
Congratulations to the family. 
1 Like
Richard,
Congrats Grand Pa, I’m sure that you and your wife will spoil her to the nth degree.
I’m looking forward to following your adventures building the BSA Blue Star. Thar era bike is right up your alley.
Joel
1 Like
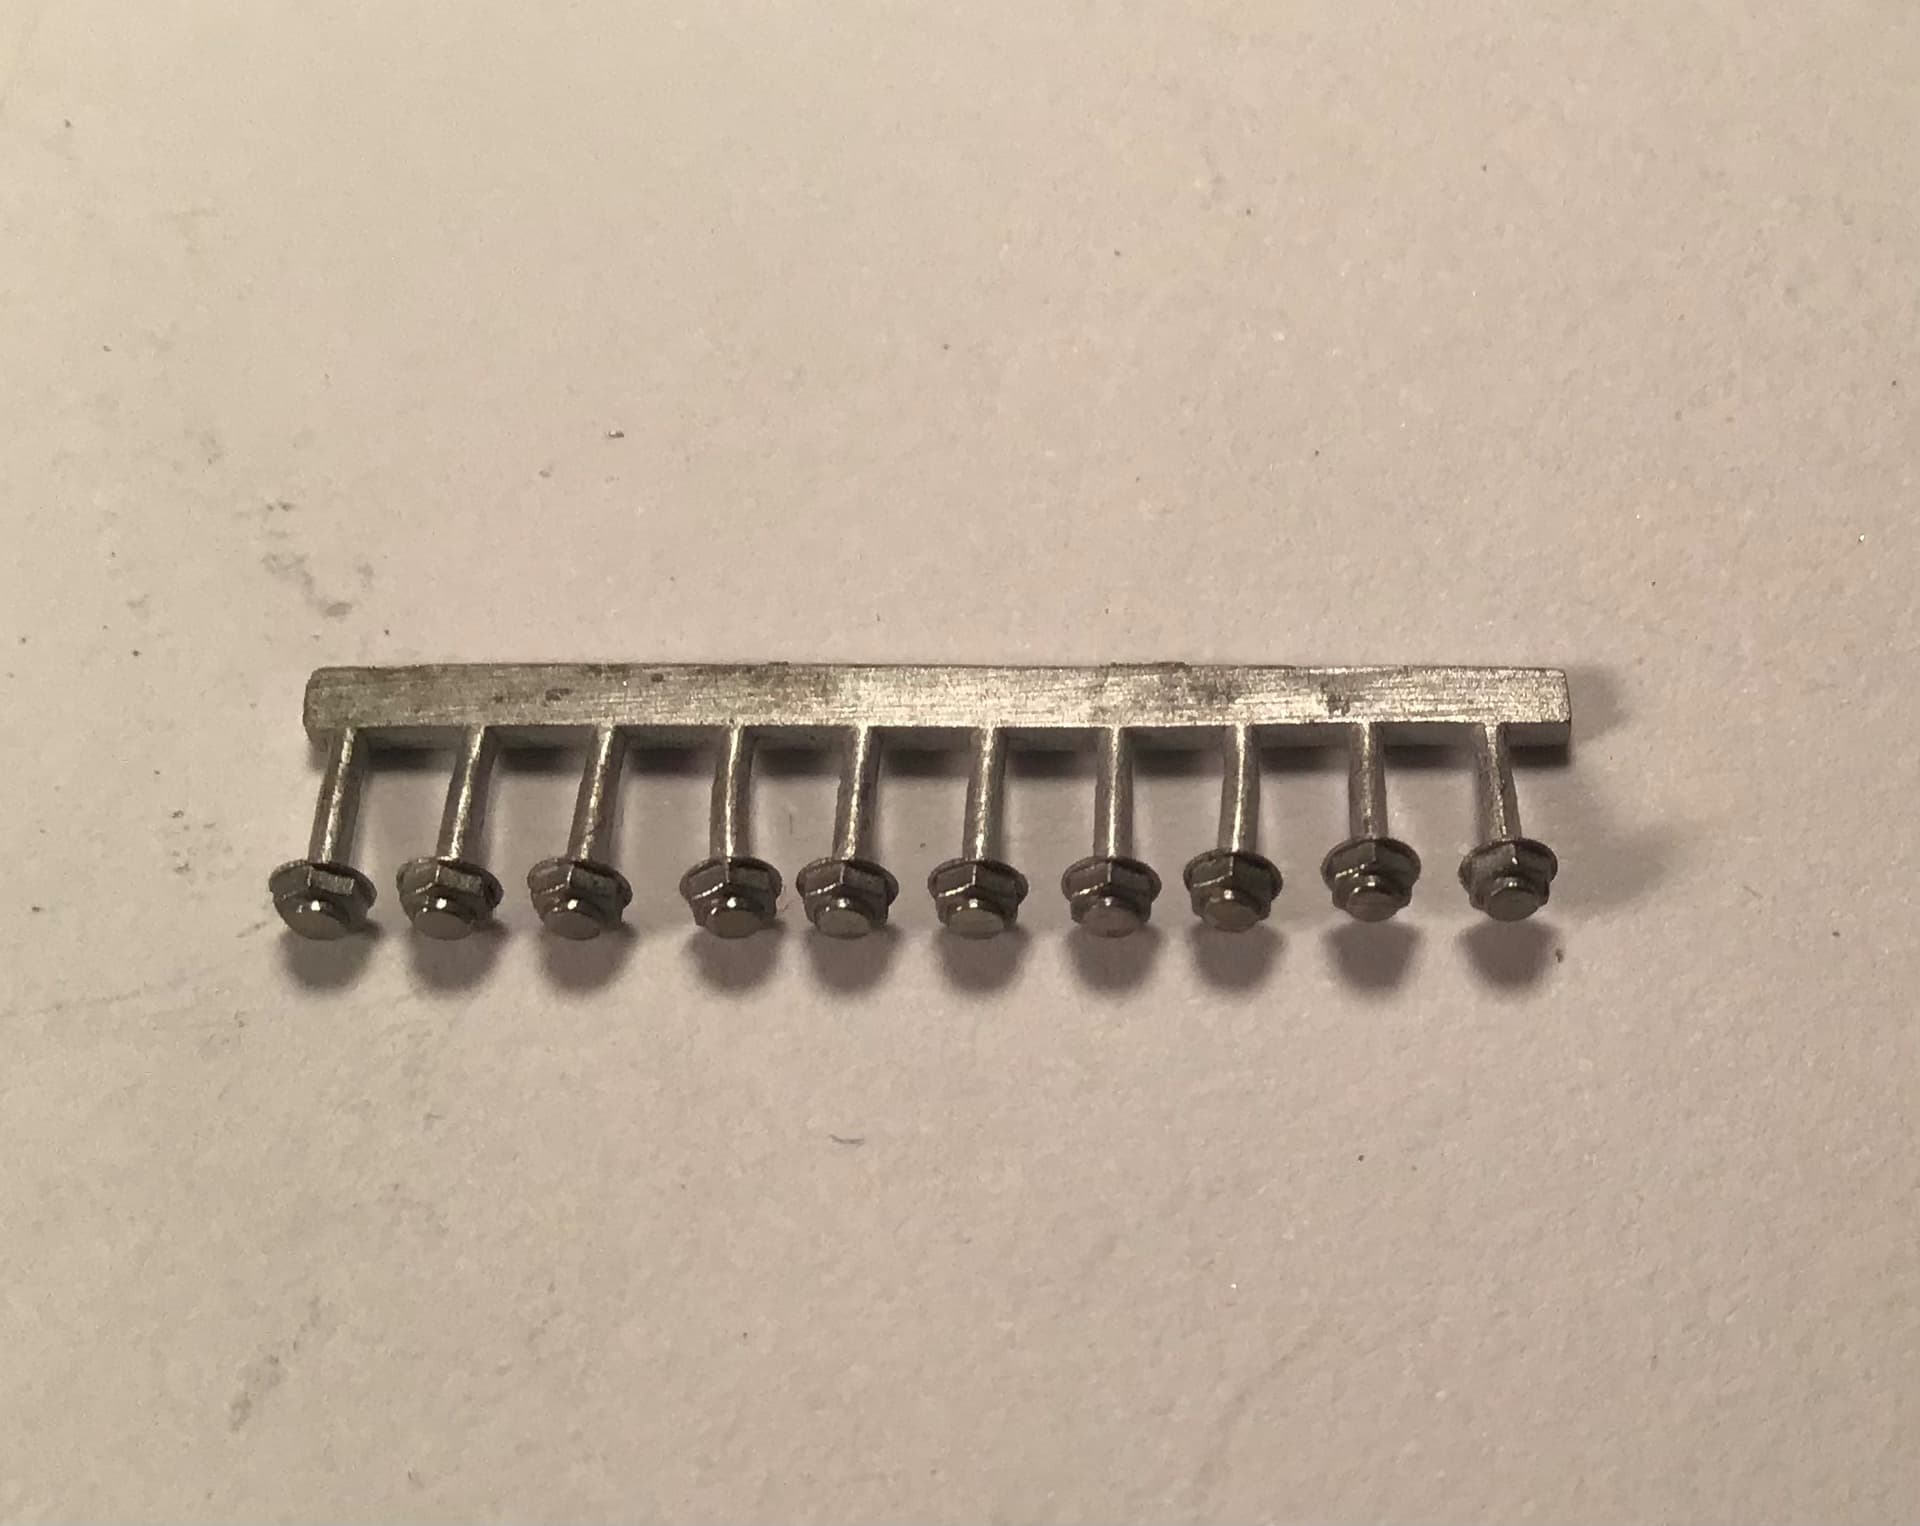
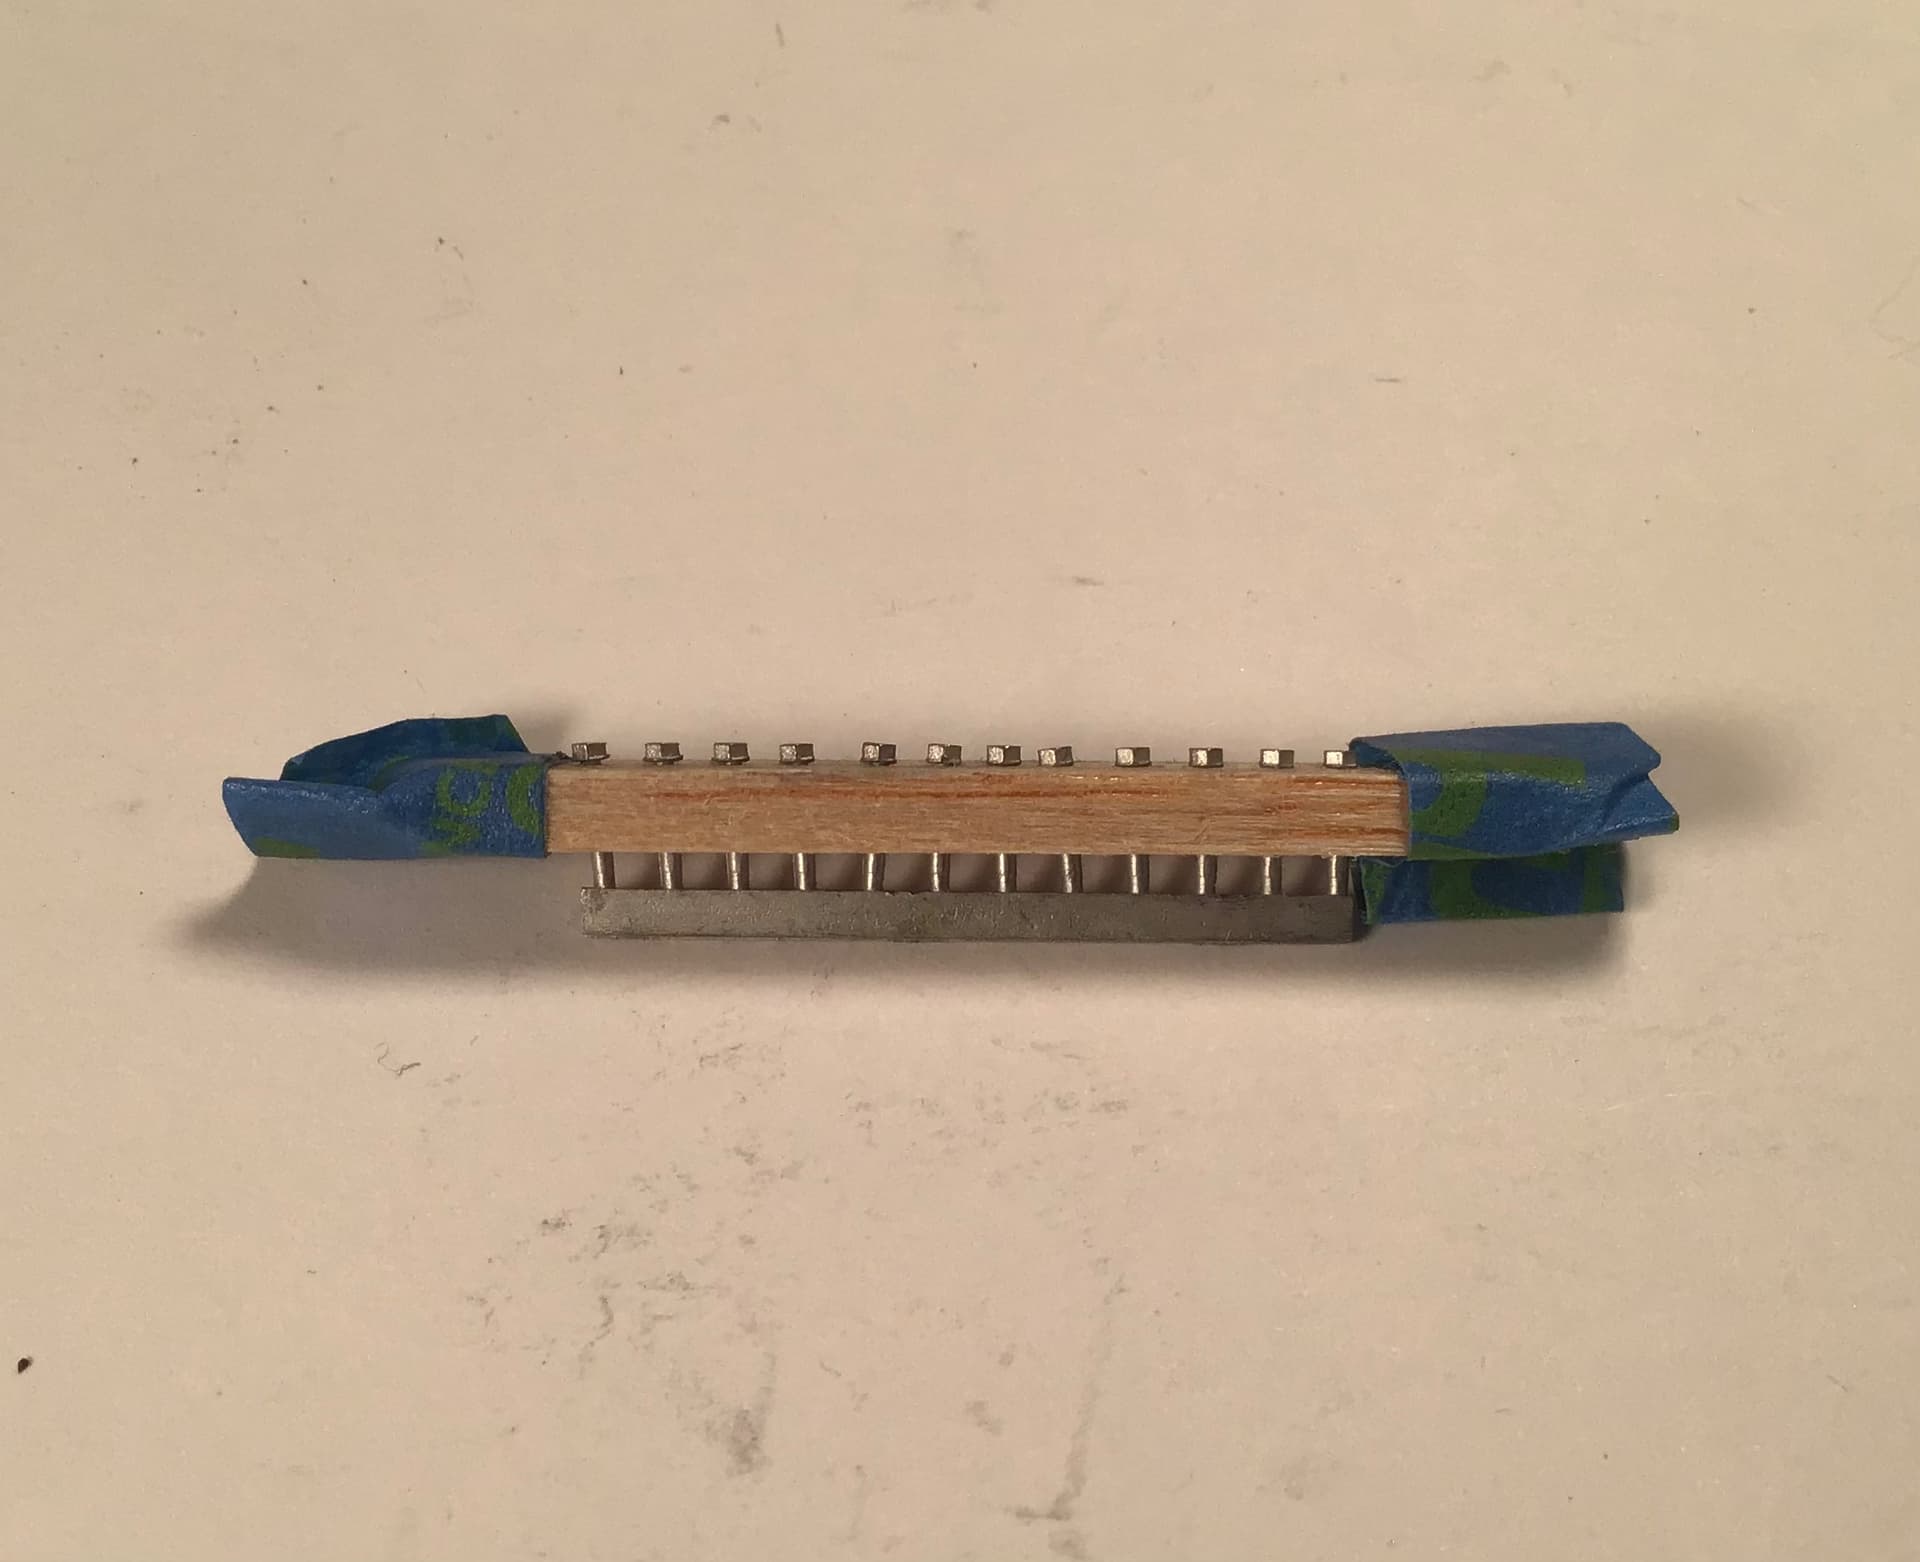
A little progress to report . I’ve begun cleaning up the various bolt castings. The task was made easier by sandwiching the castings between two strips of balsa and clamping all in a hand vise .
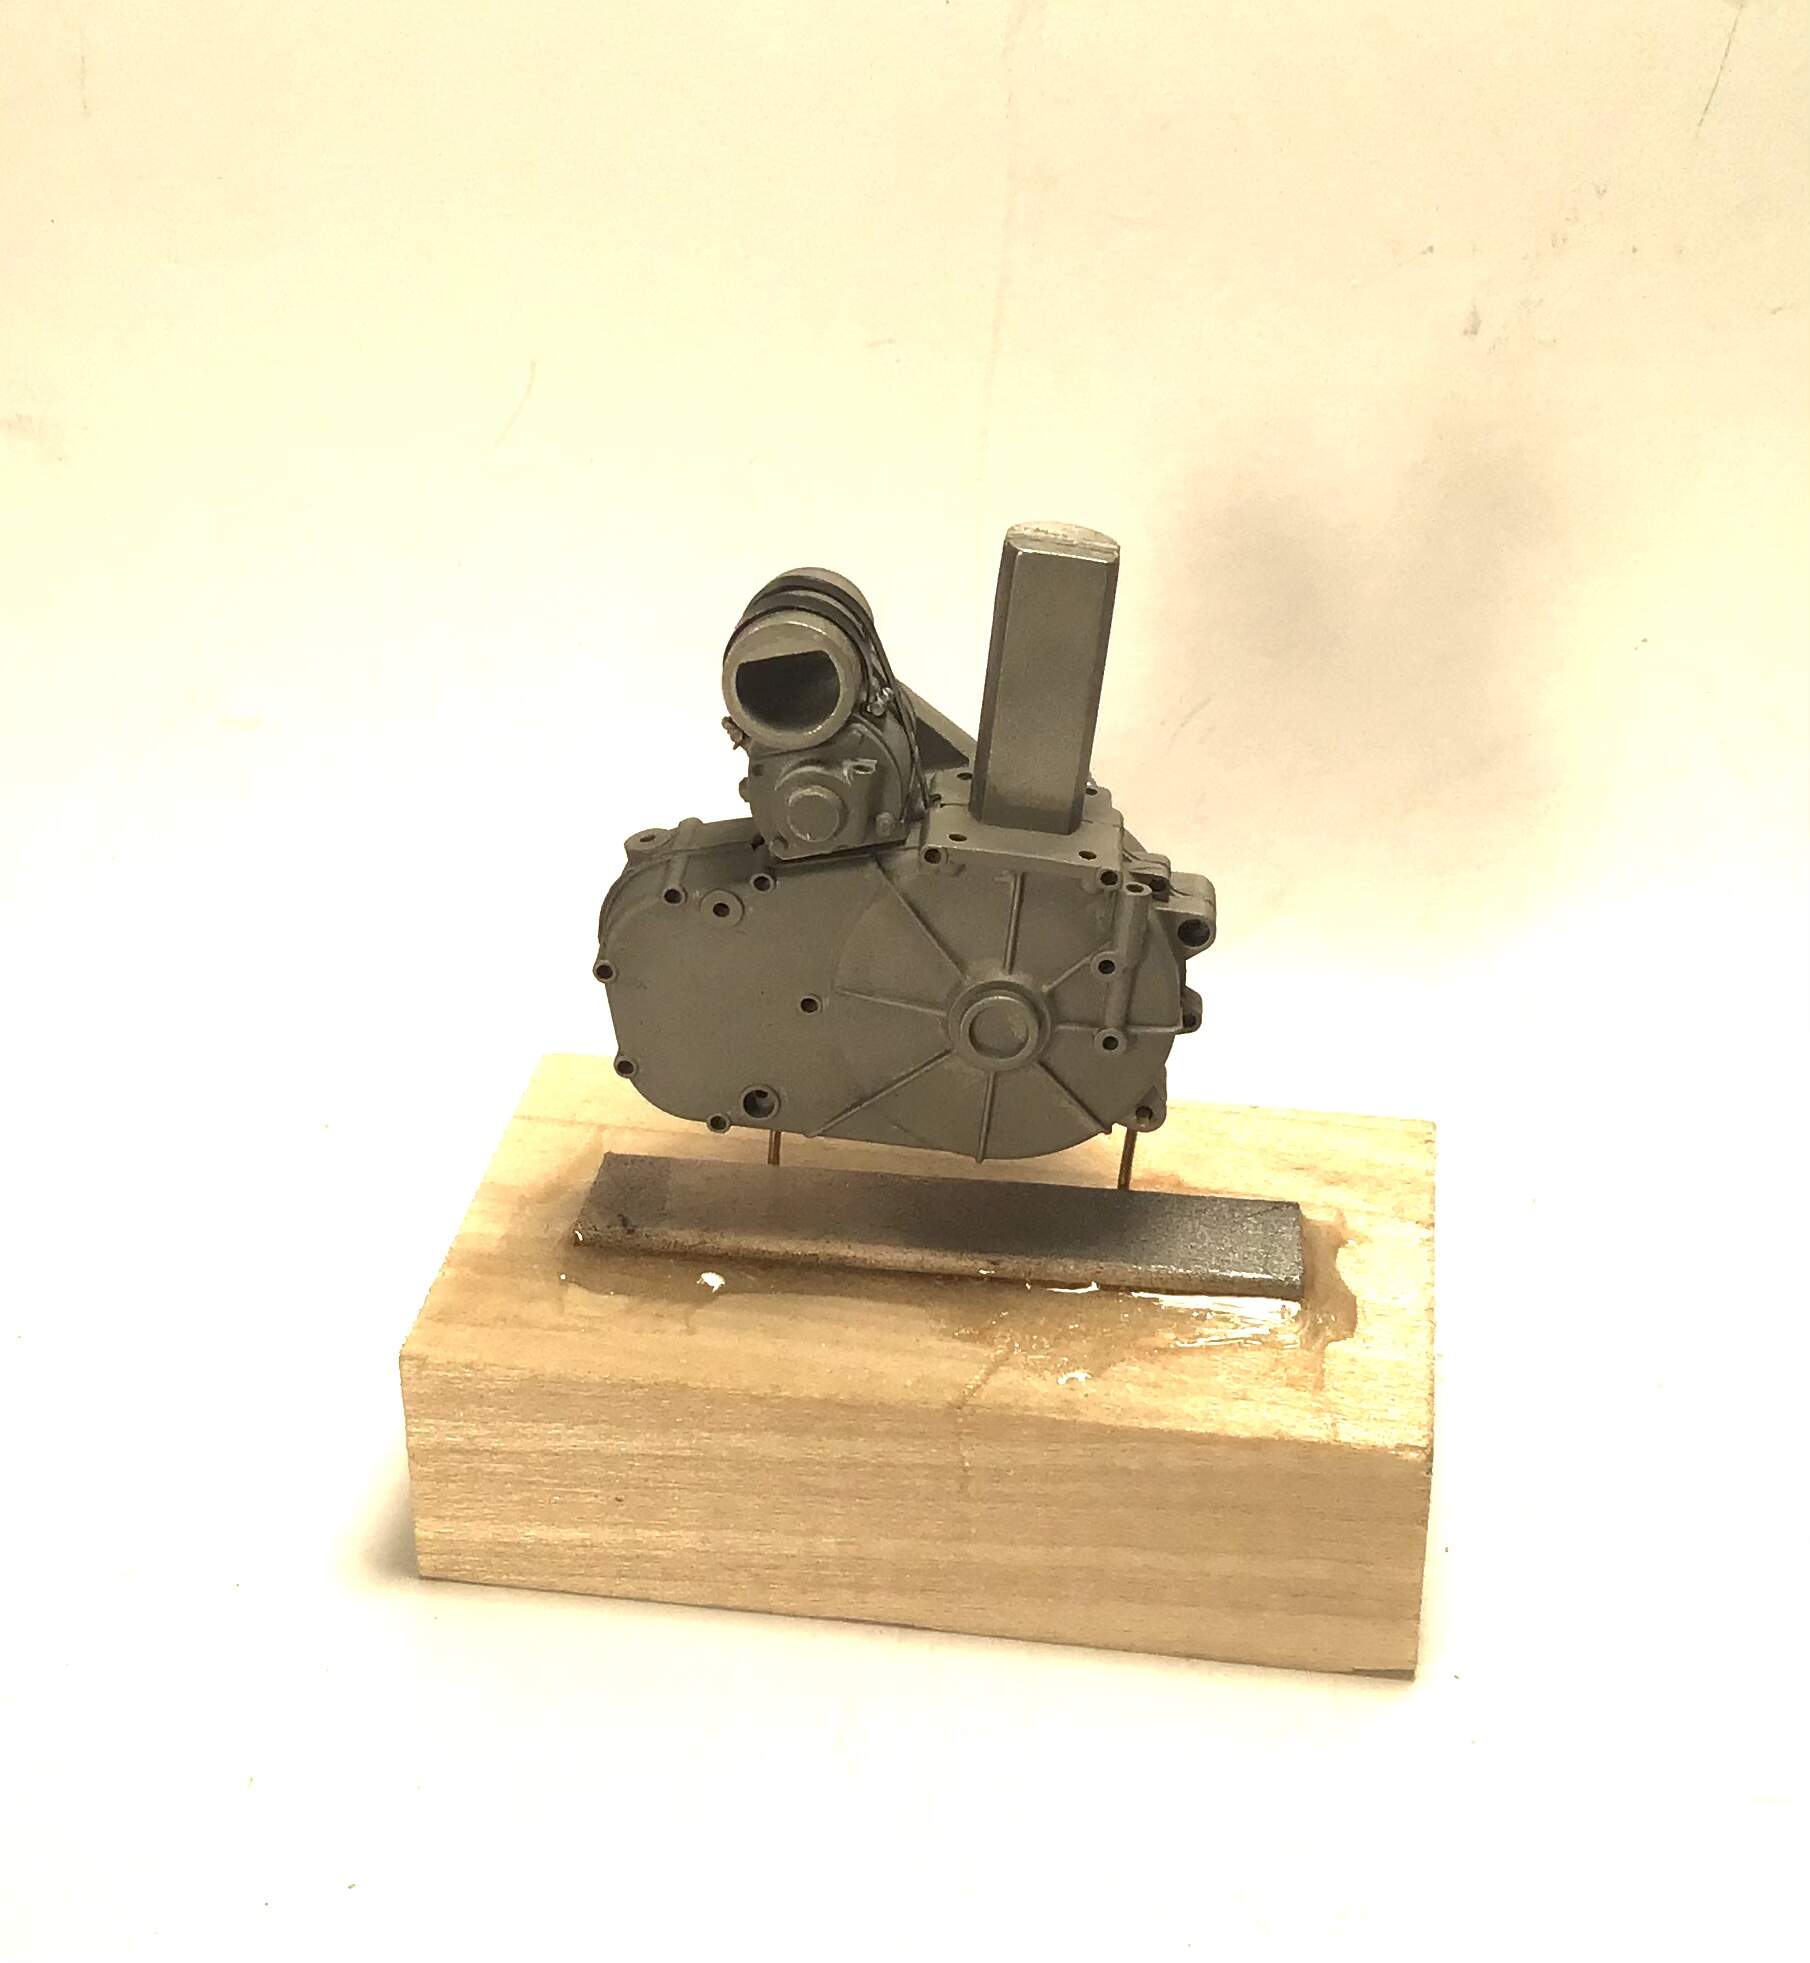
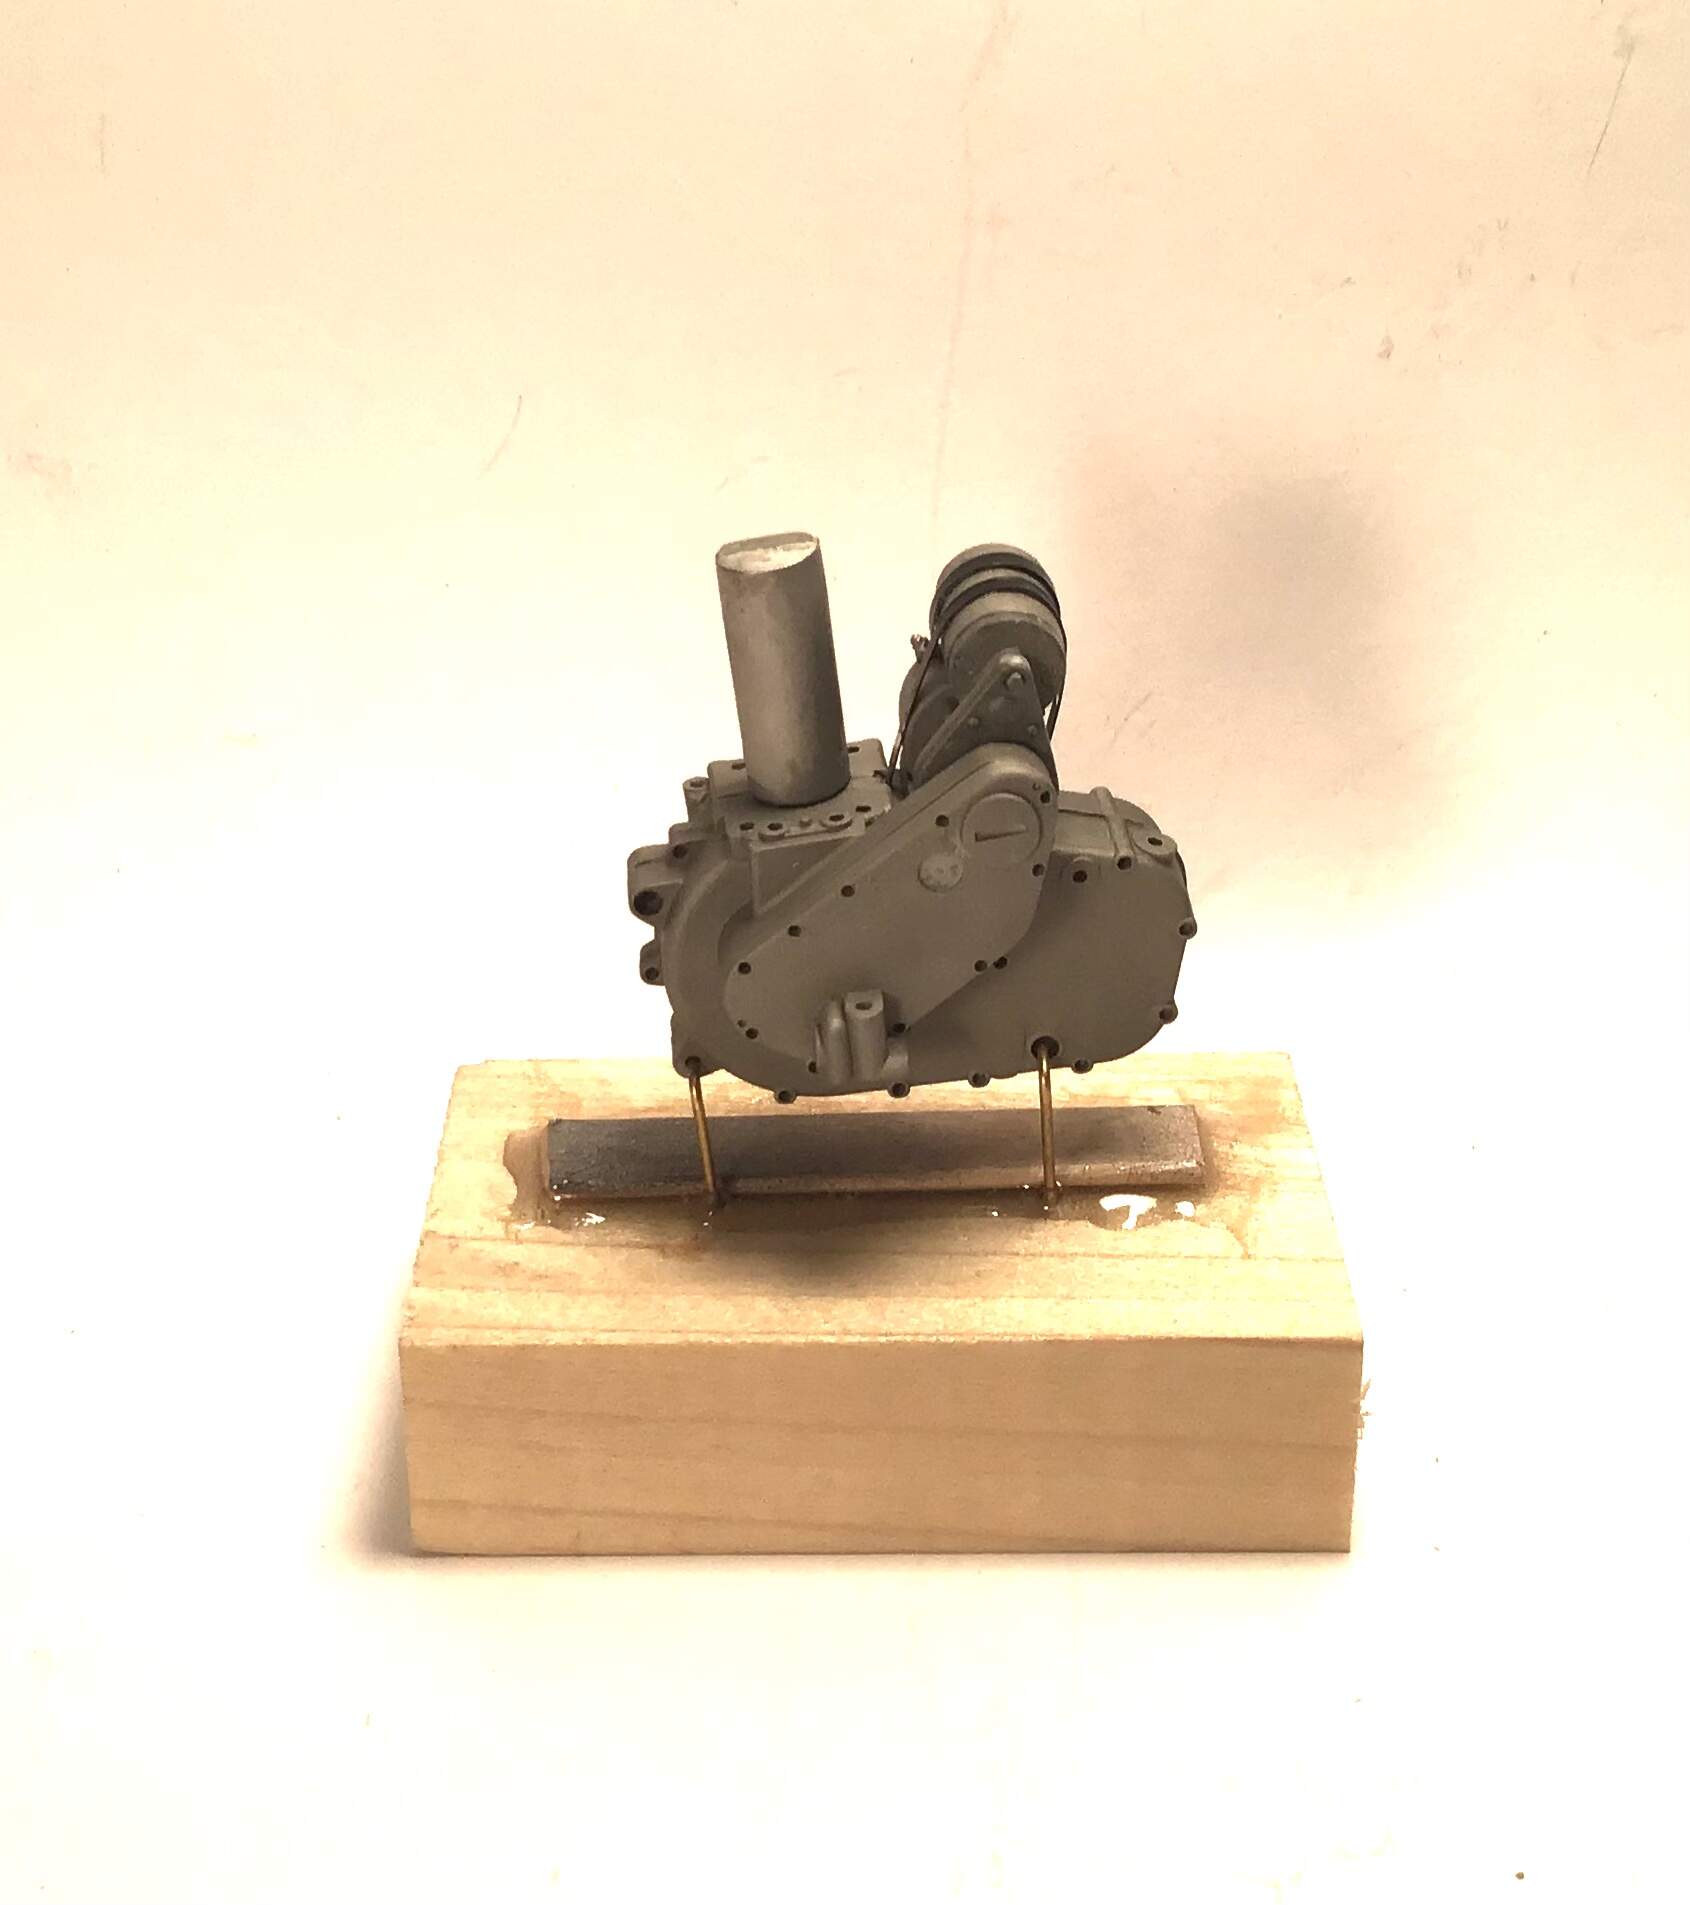
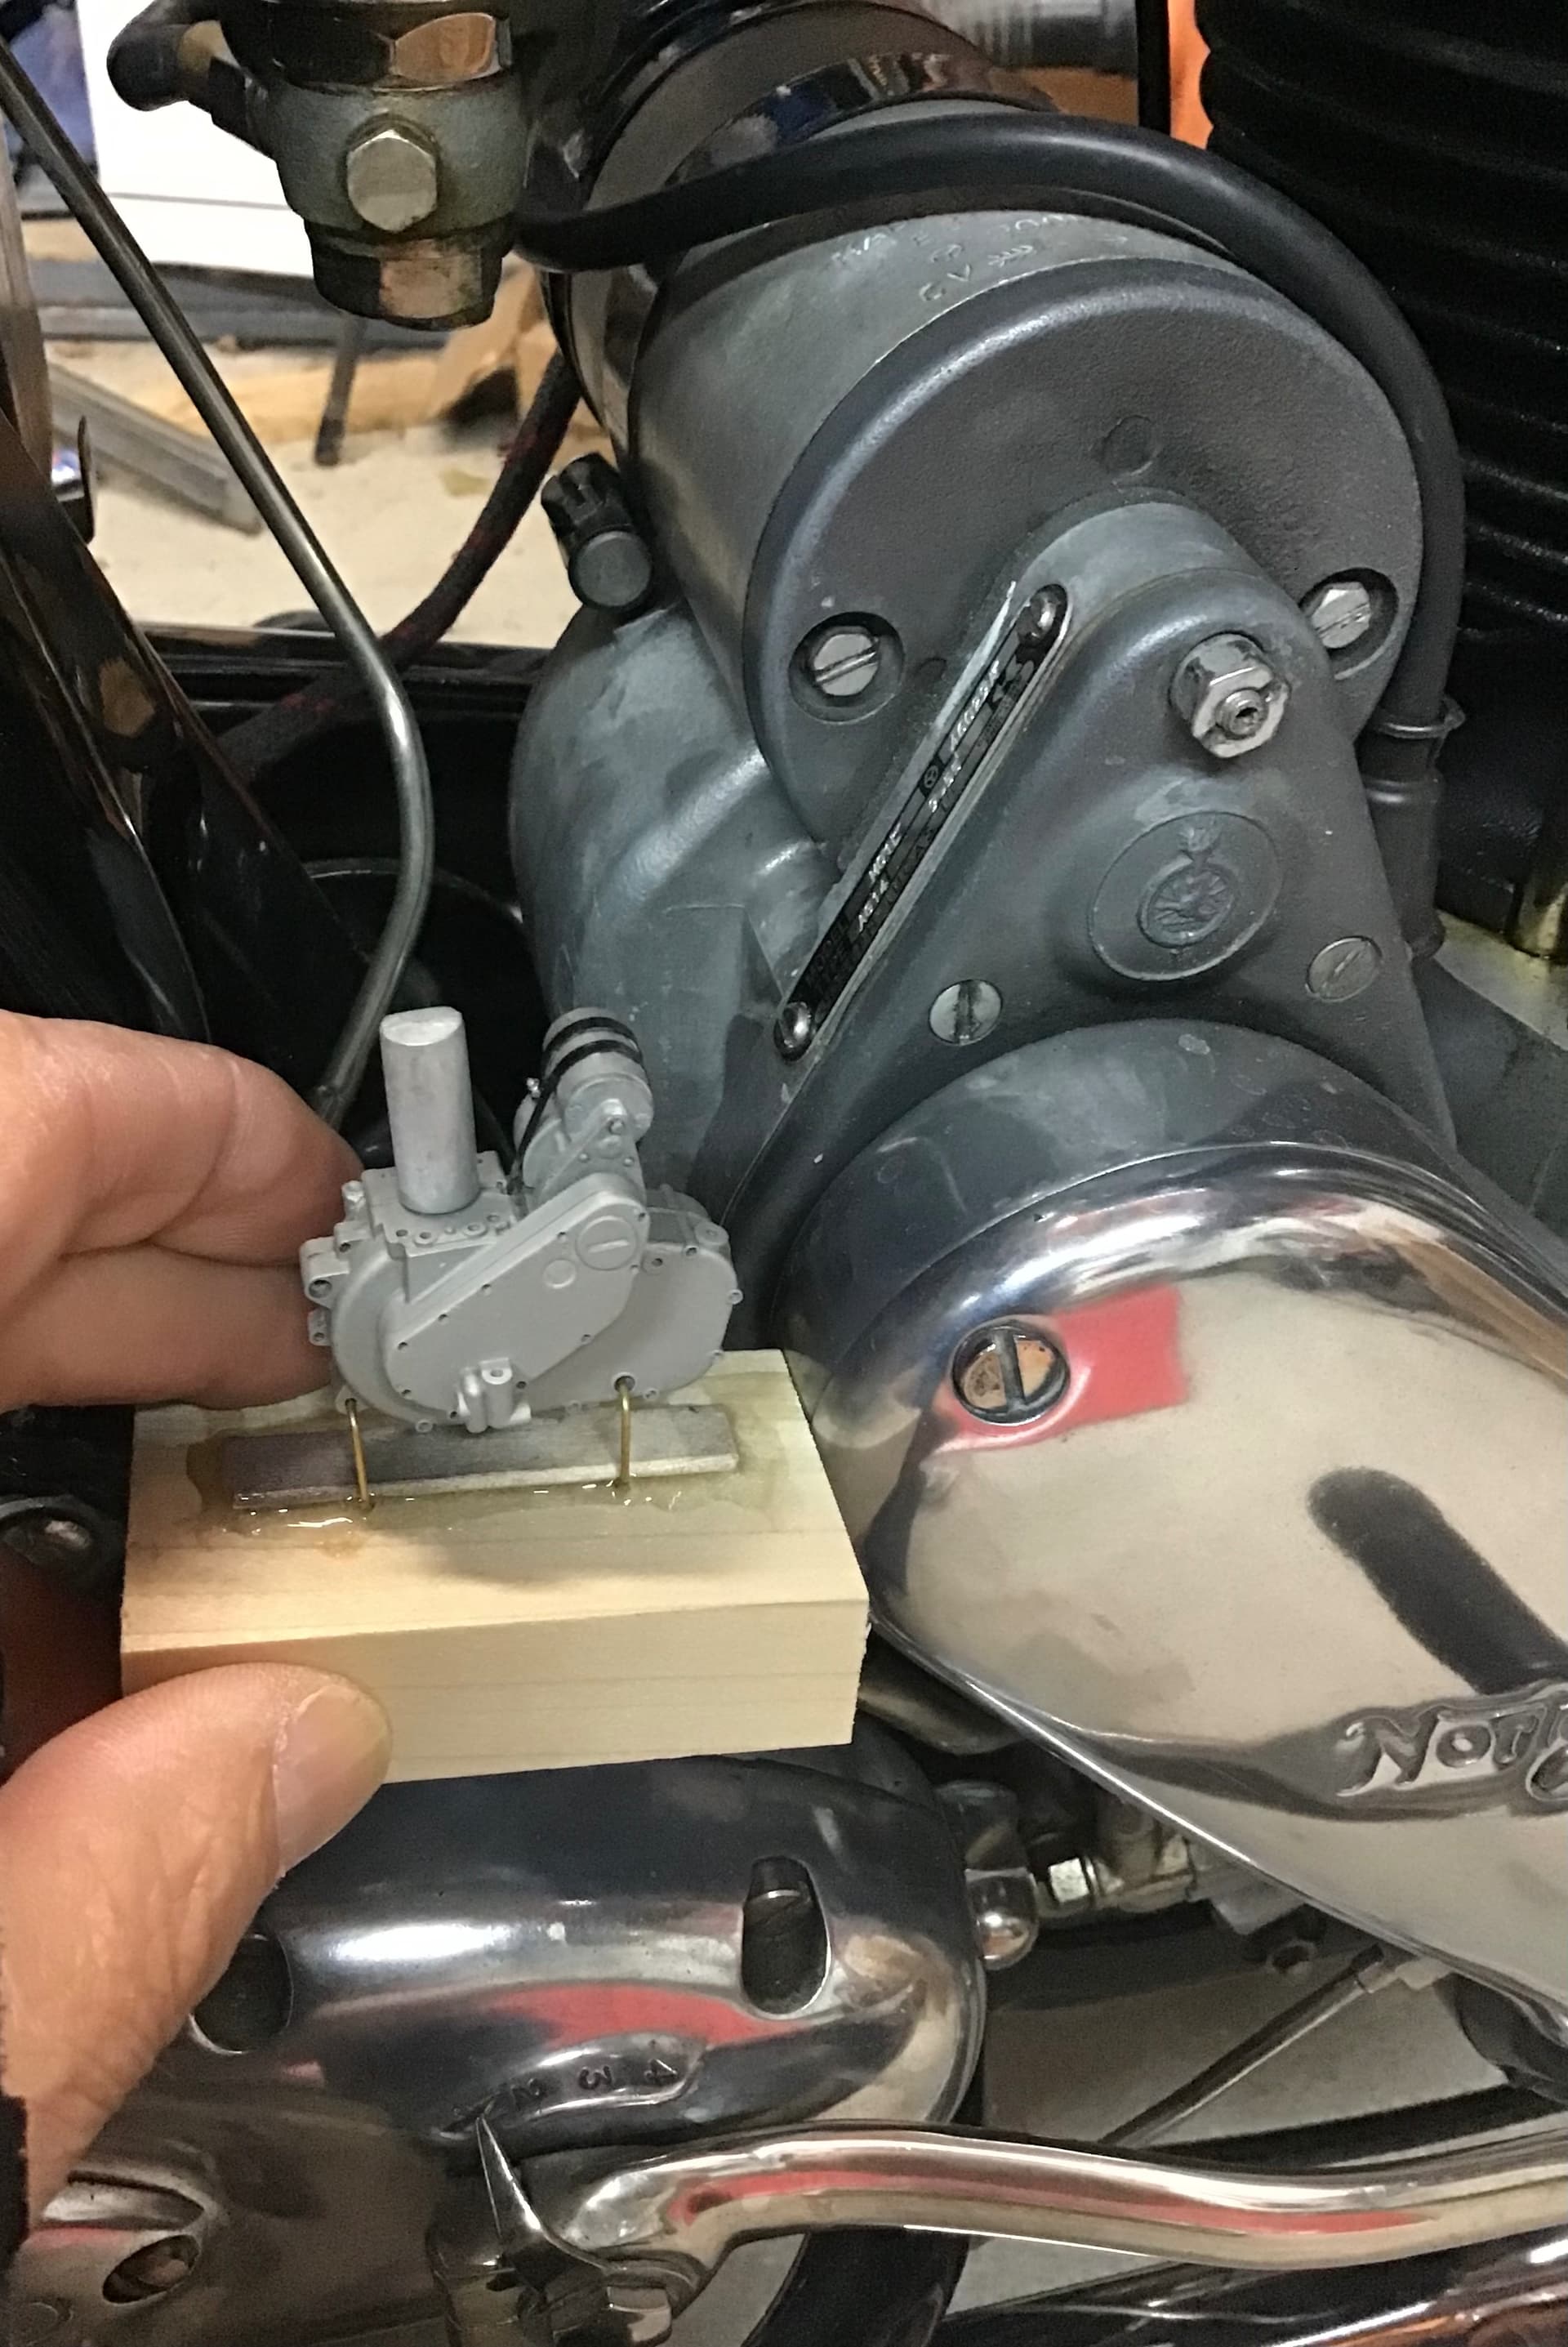
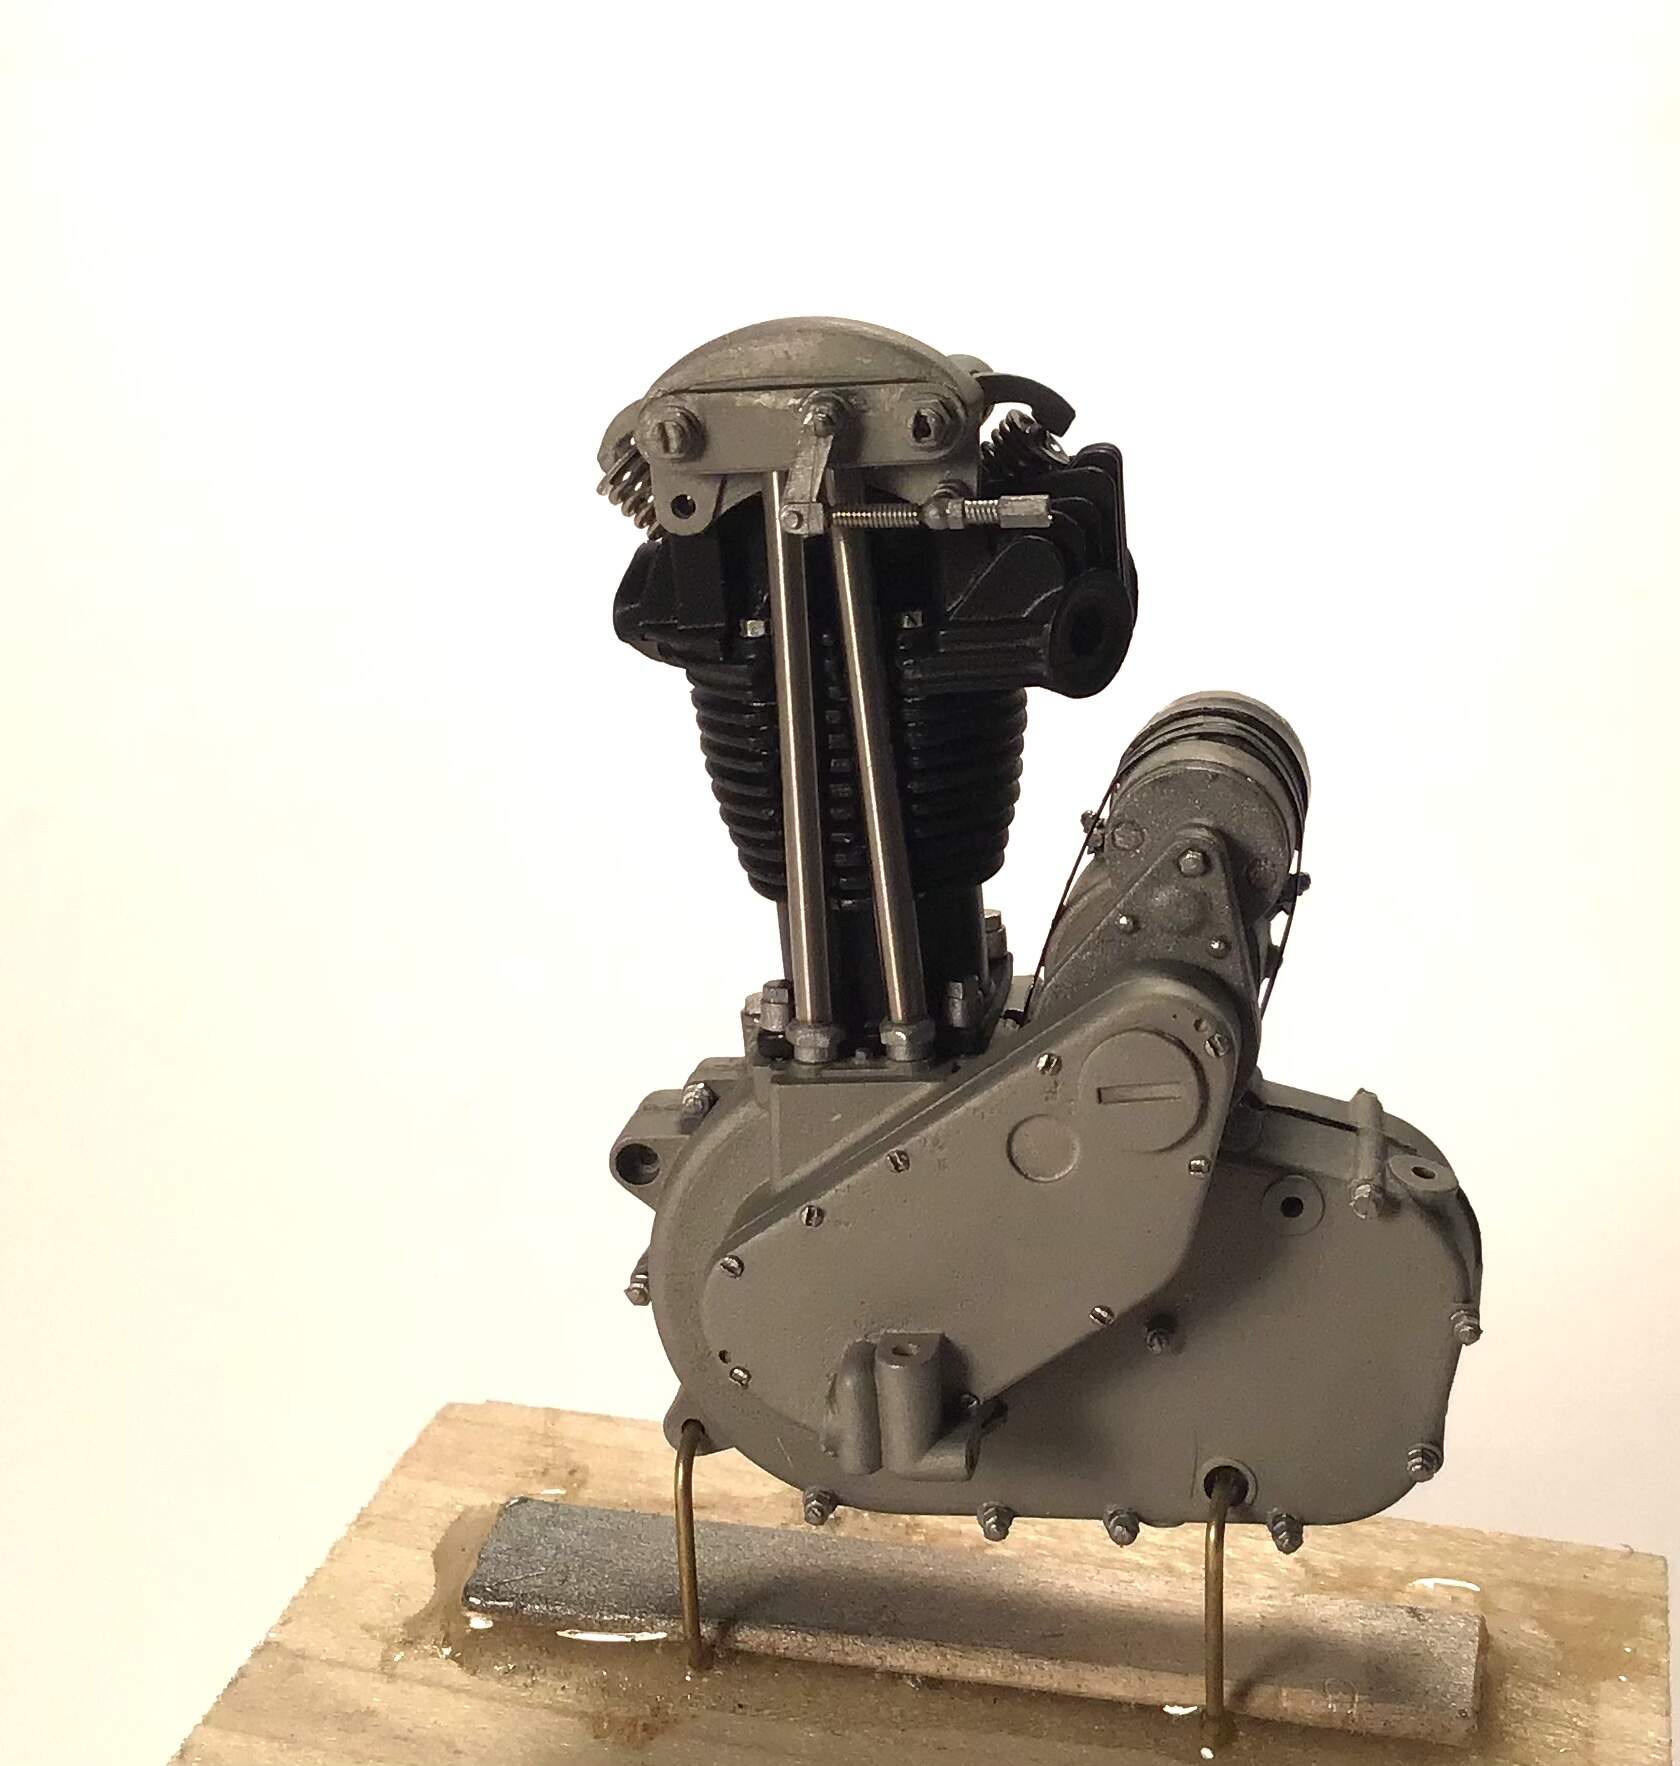
Engine starting to go together. White metal components finished by media blast with baking soda which gives a finer finish than glass beads . The Magdyno was soda blasted first than masked and the triangular drive end glass bead blasted to give a coarser texture.
Here it is next to the real thing -
More to follow but may be spotty.
Cheers - RT
3 Likes
Great stuff as always Richard, Soda and Glass Bead blasting for scale models is taking it to the next level as well!
Cheers, D
1 Like
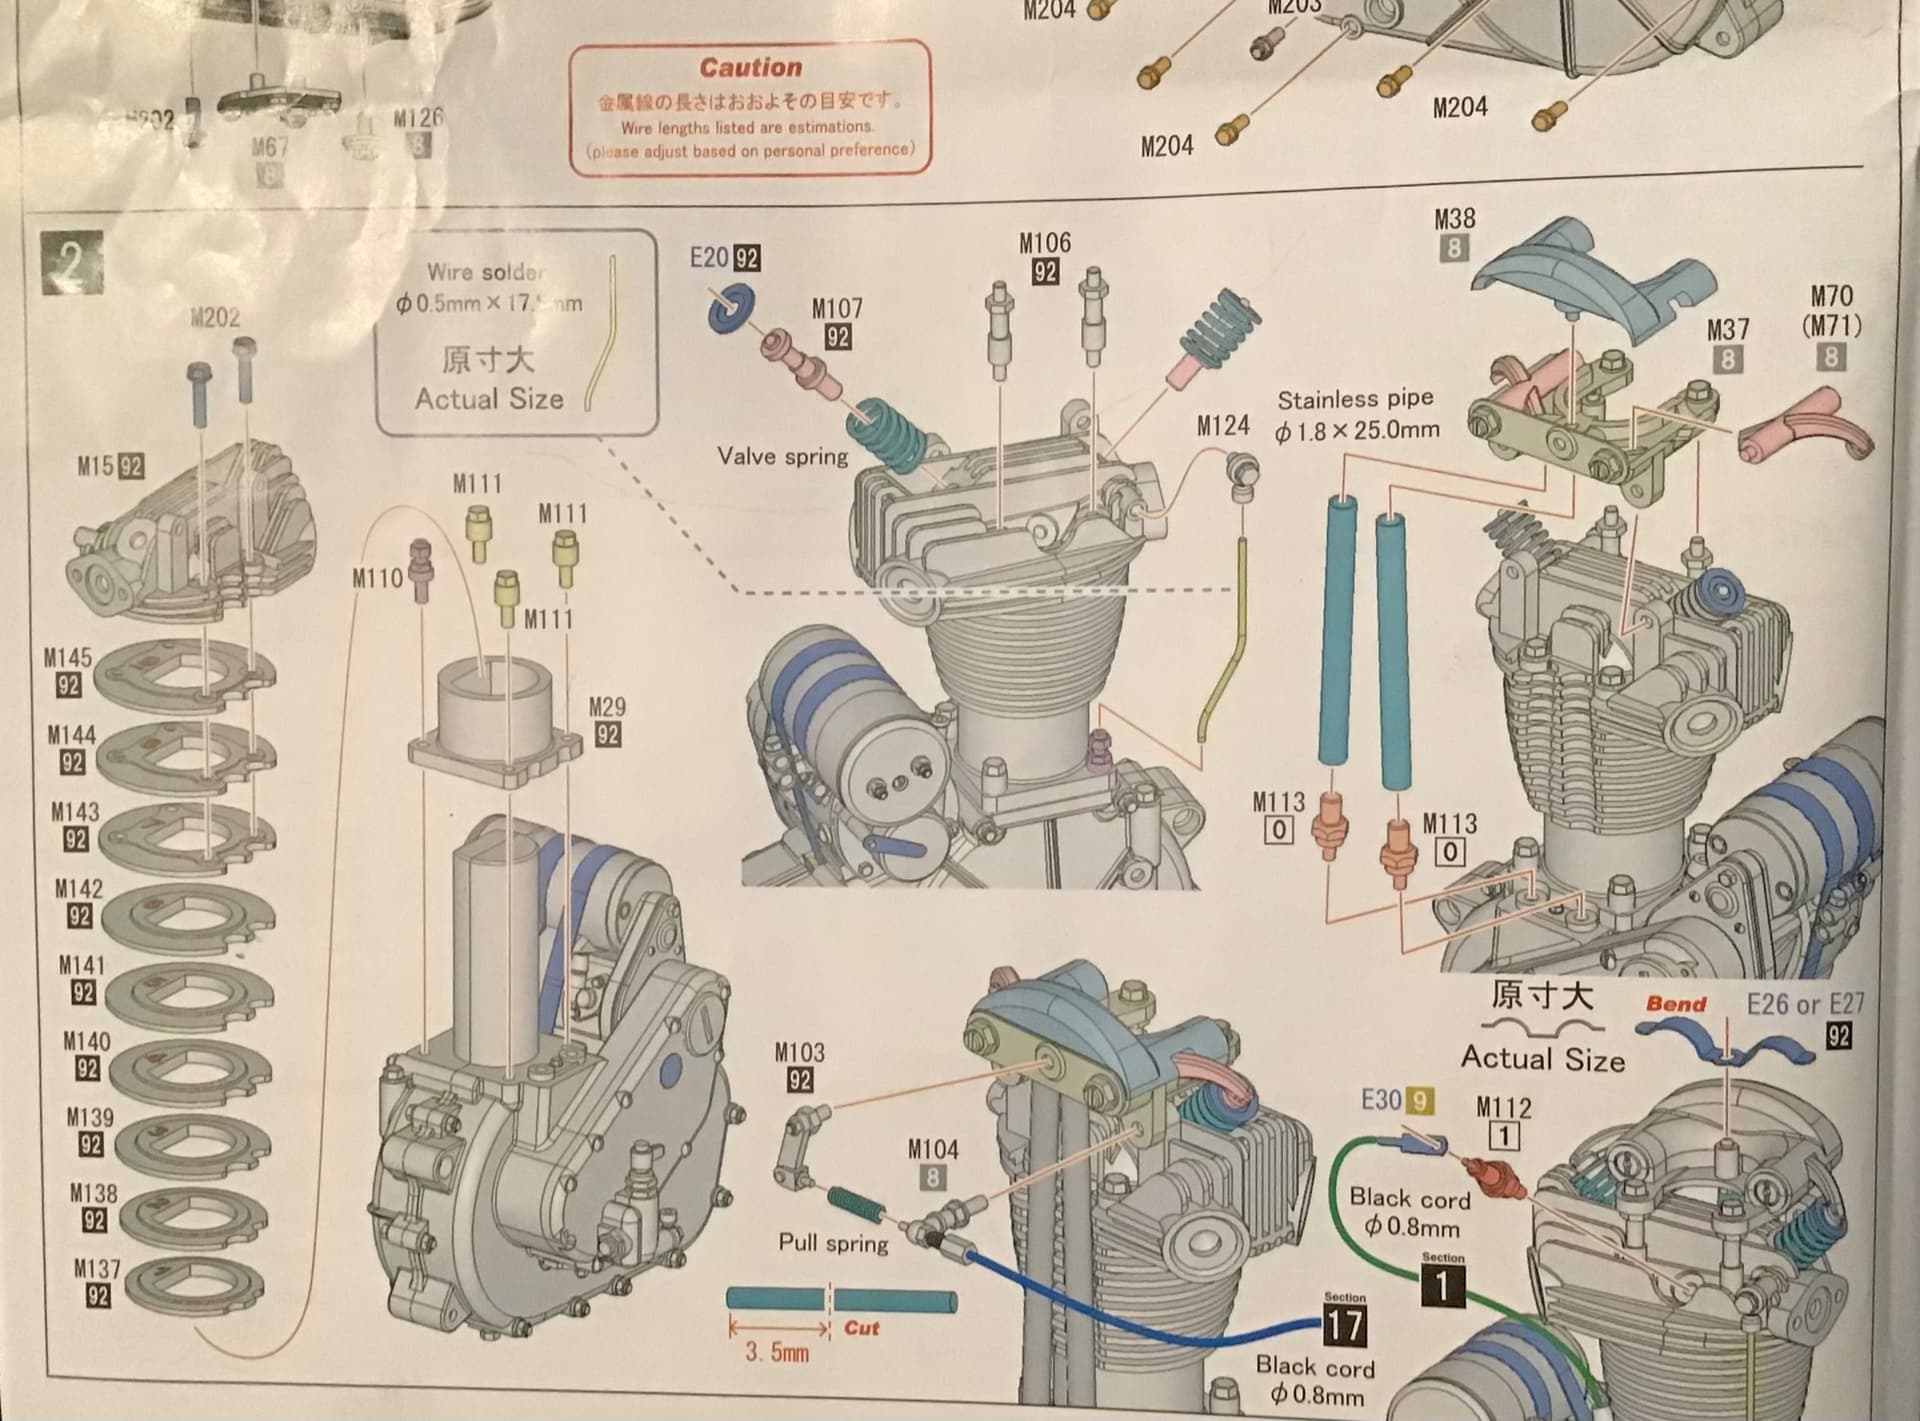
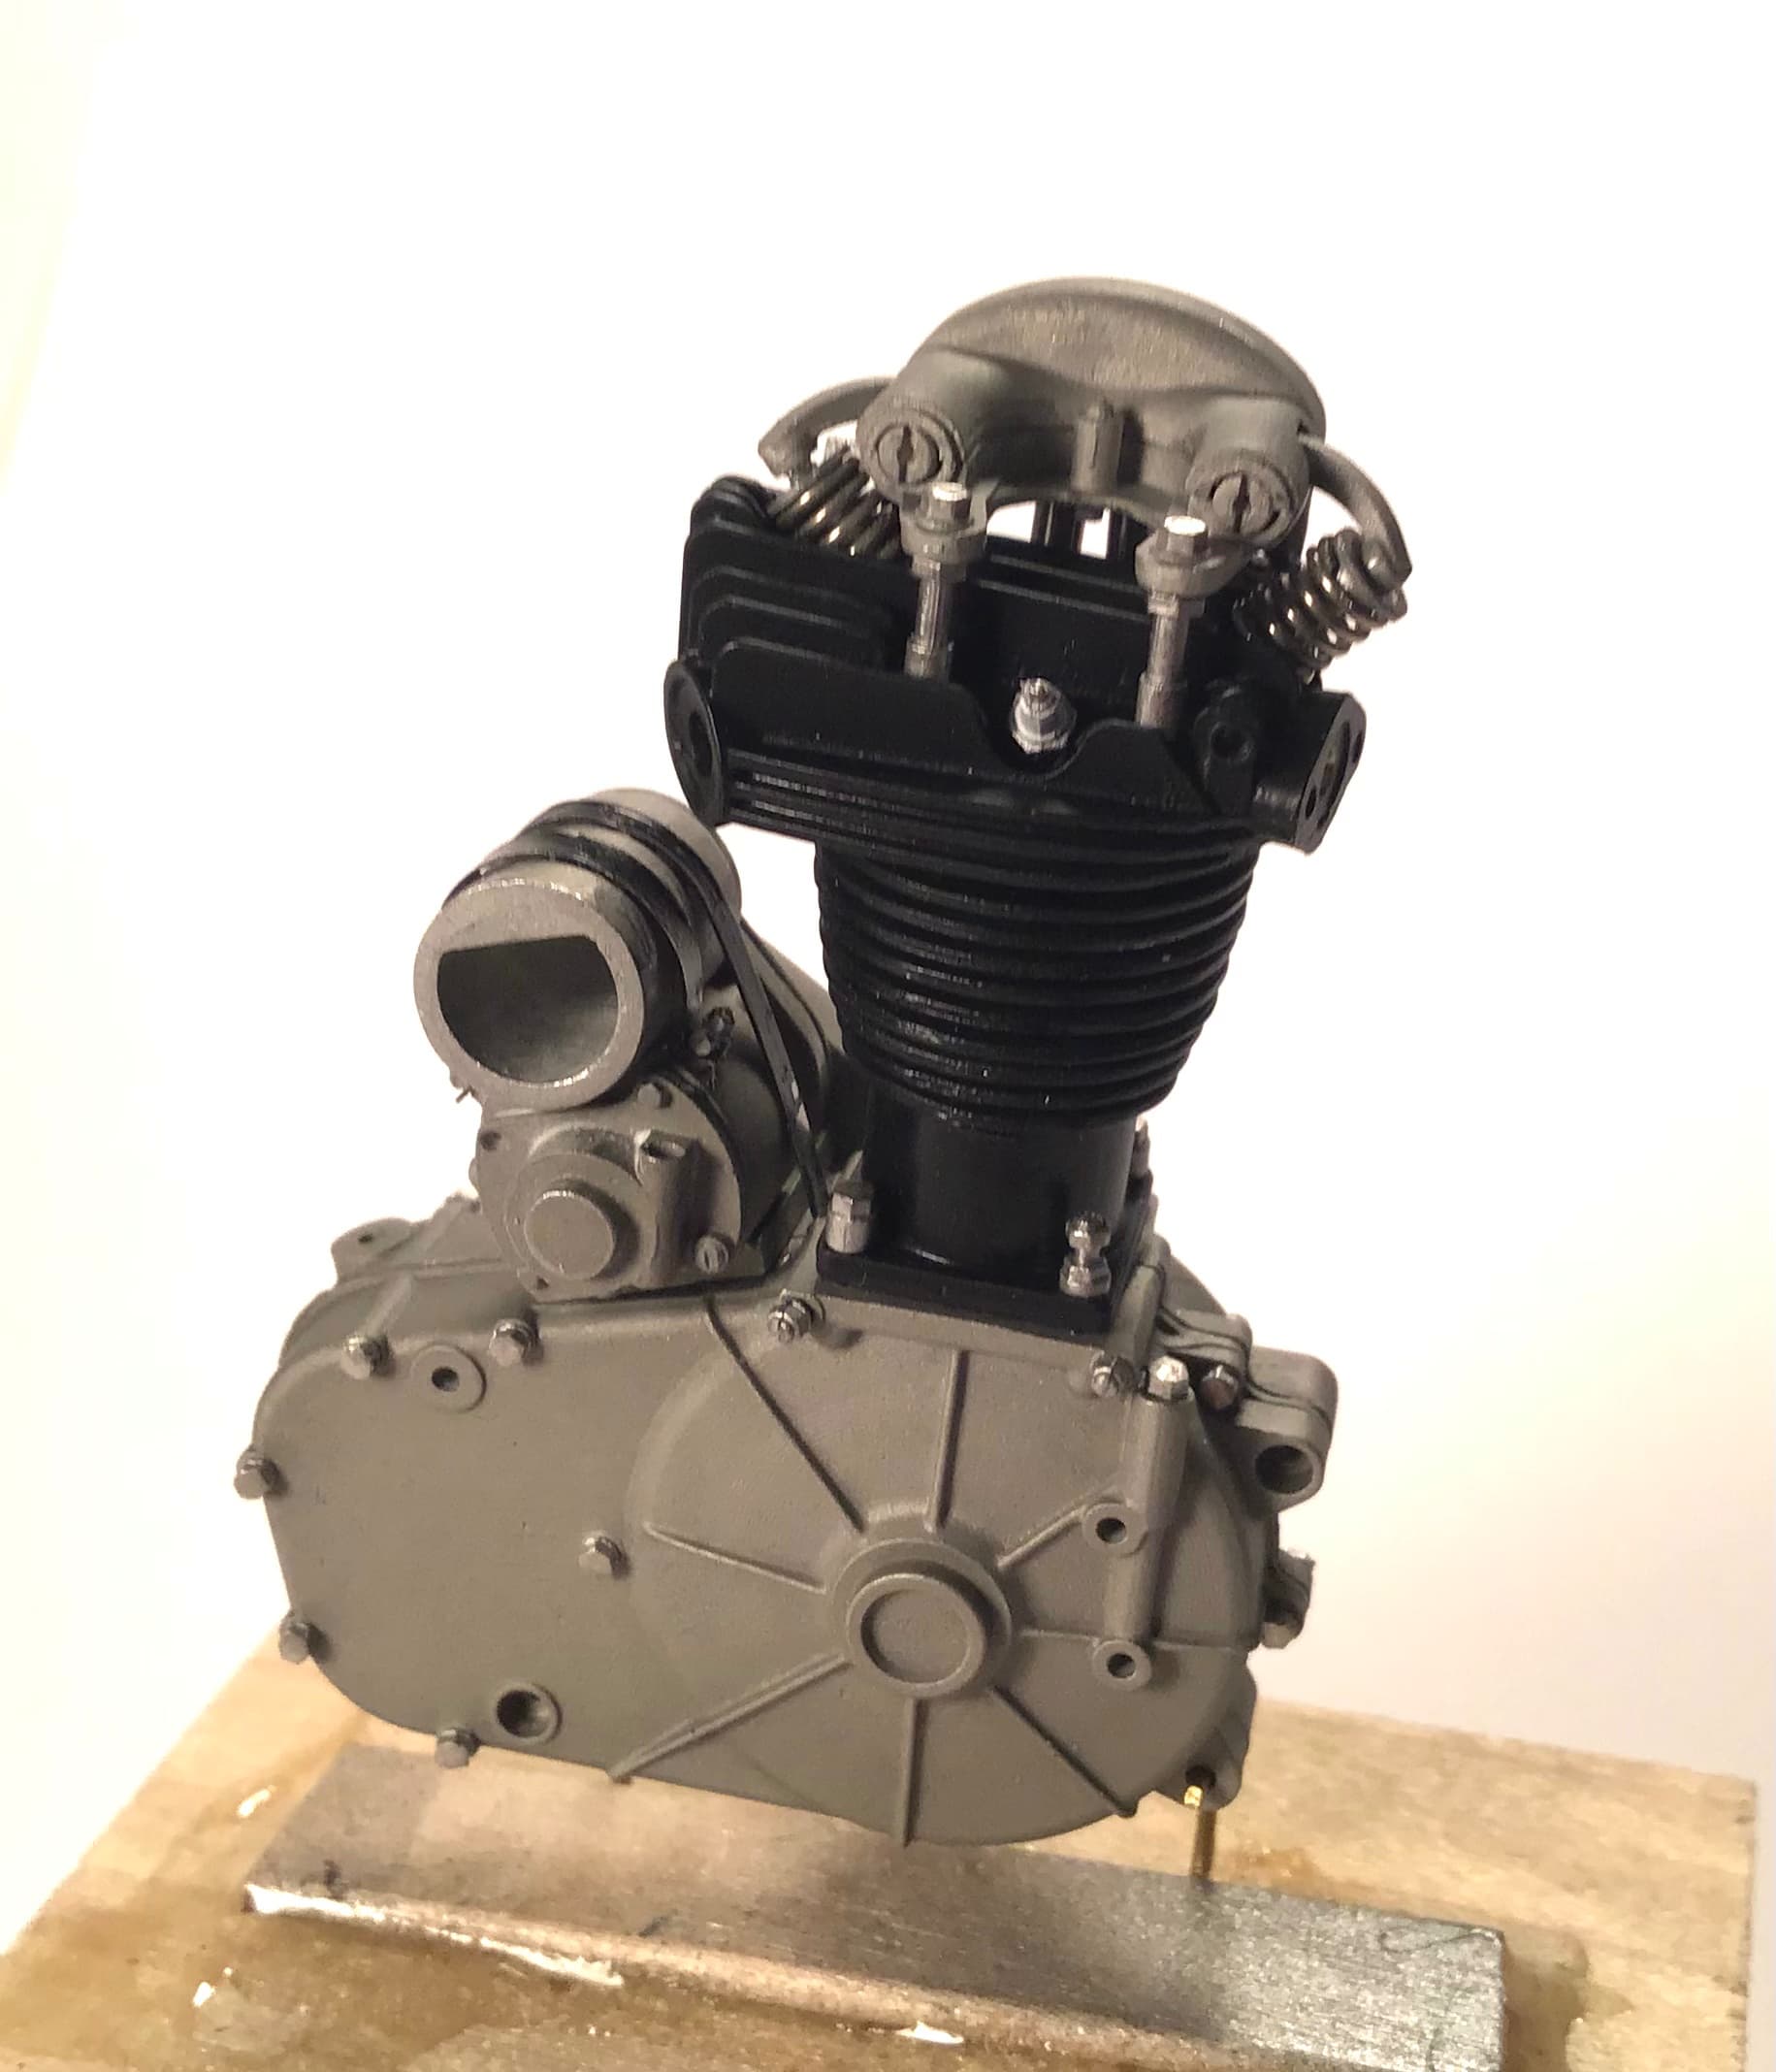
More progress on the engine . Cylinder and cylinder head done . As can be seen on the instructions the cylinder is built up by stacking individual fins and capping with the cylinder head. Individual valve guides go in the head , along with real valve springs and photo etch collars. Tiny separate spark plug. The rocker box has separate rockers and includes the exhaust valve lifter ( compression release) complete with a tiny spring. Crankcase has two separate tappet blocks topped by pushrod tubes trapped between the tappets and rocker box- just like the real thing. More amazing detail from MFH .
4 Likes
Great looking engine. I do like the way MFH create the cylinders with individual plates.
cheers
Michael
1 Like
Whoa, that’s detailed. It looks like you could 3D print it in metal then add gasoline and fire it right up.
1 Like
Richard,
Impressive work putting together this masterpiece of a 1/9 scale motor bike engine. To bad that so much exquisite detail will never be seen by the viewers.
I’d betcha that if you put it besides a picture of the real engine, we couldn’t tell them apart.
joel
1 Like
Thanks Joel - one of the pluses of doing motorcycles is that nearly all of the engine is exposed for all to see .
Some real motorcycle stuff has been taking up my time but I have made some progress.
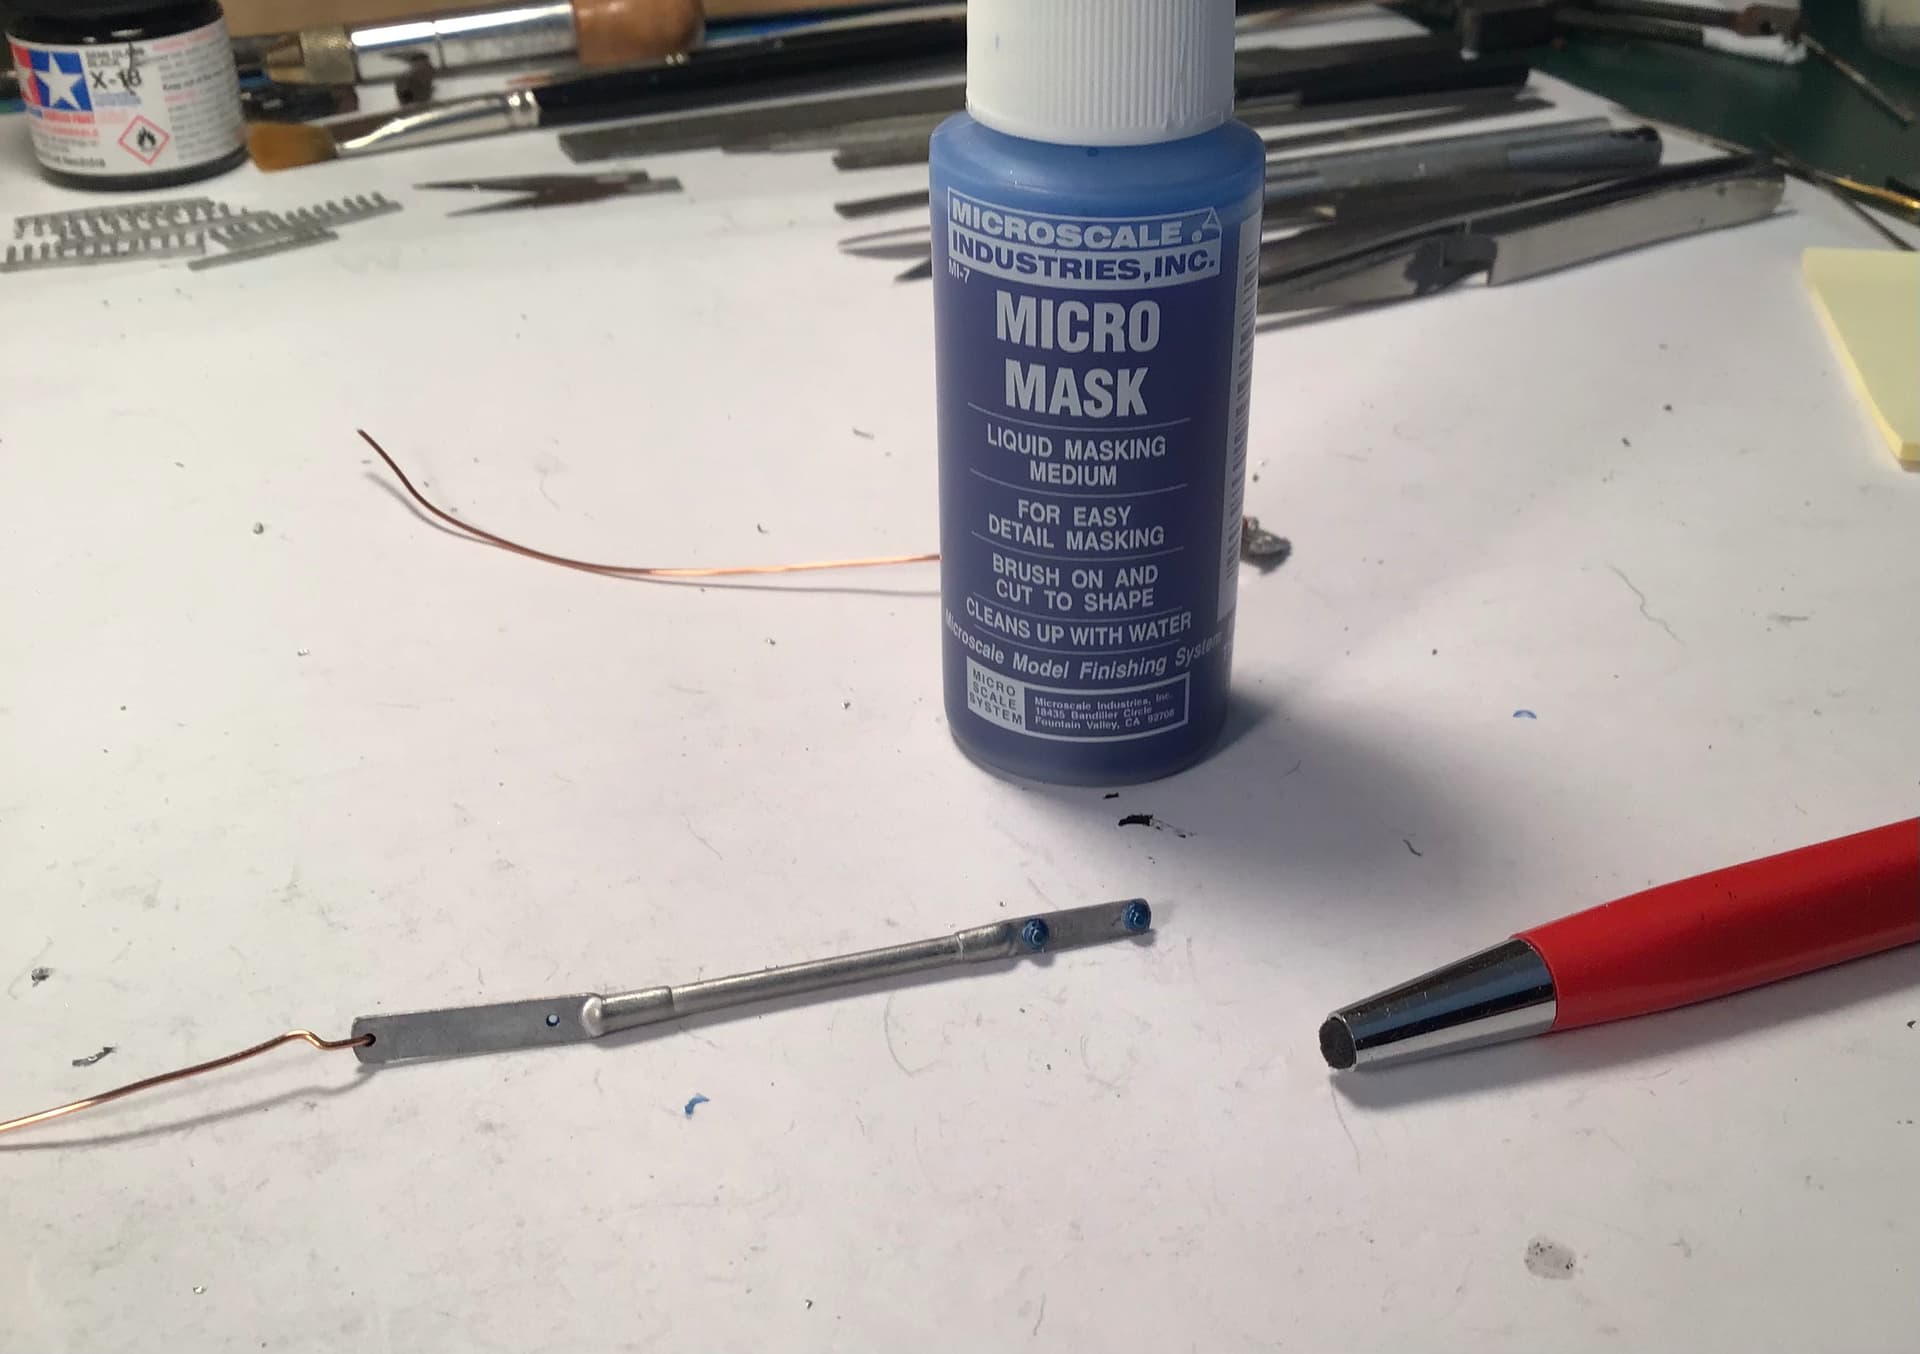
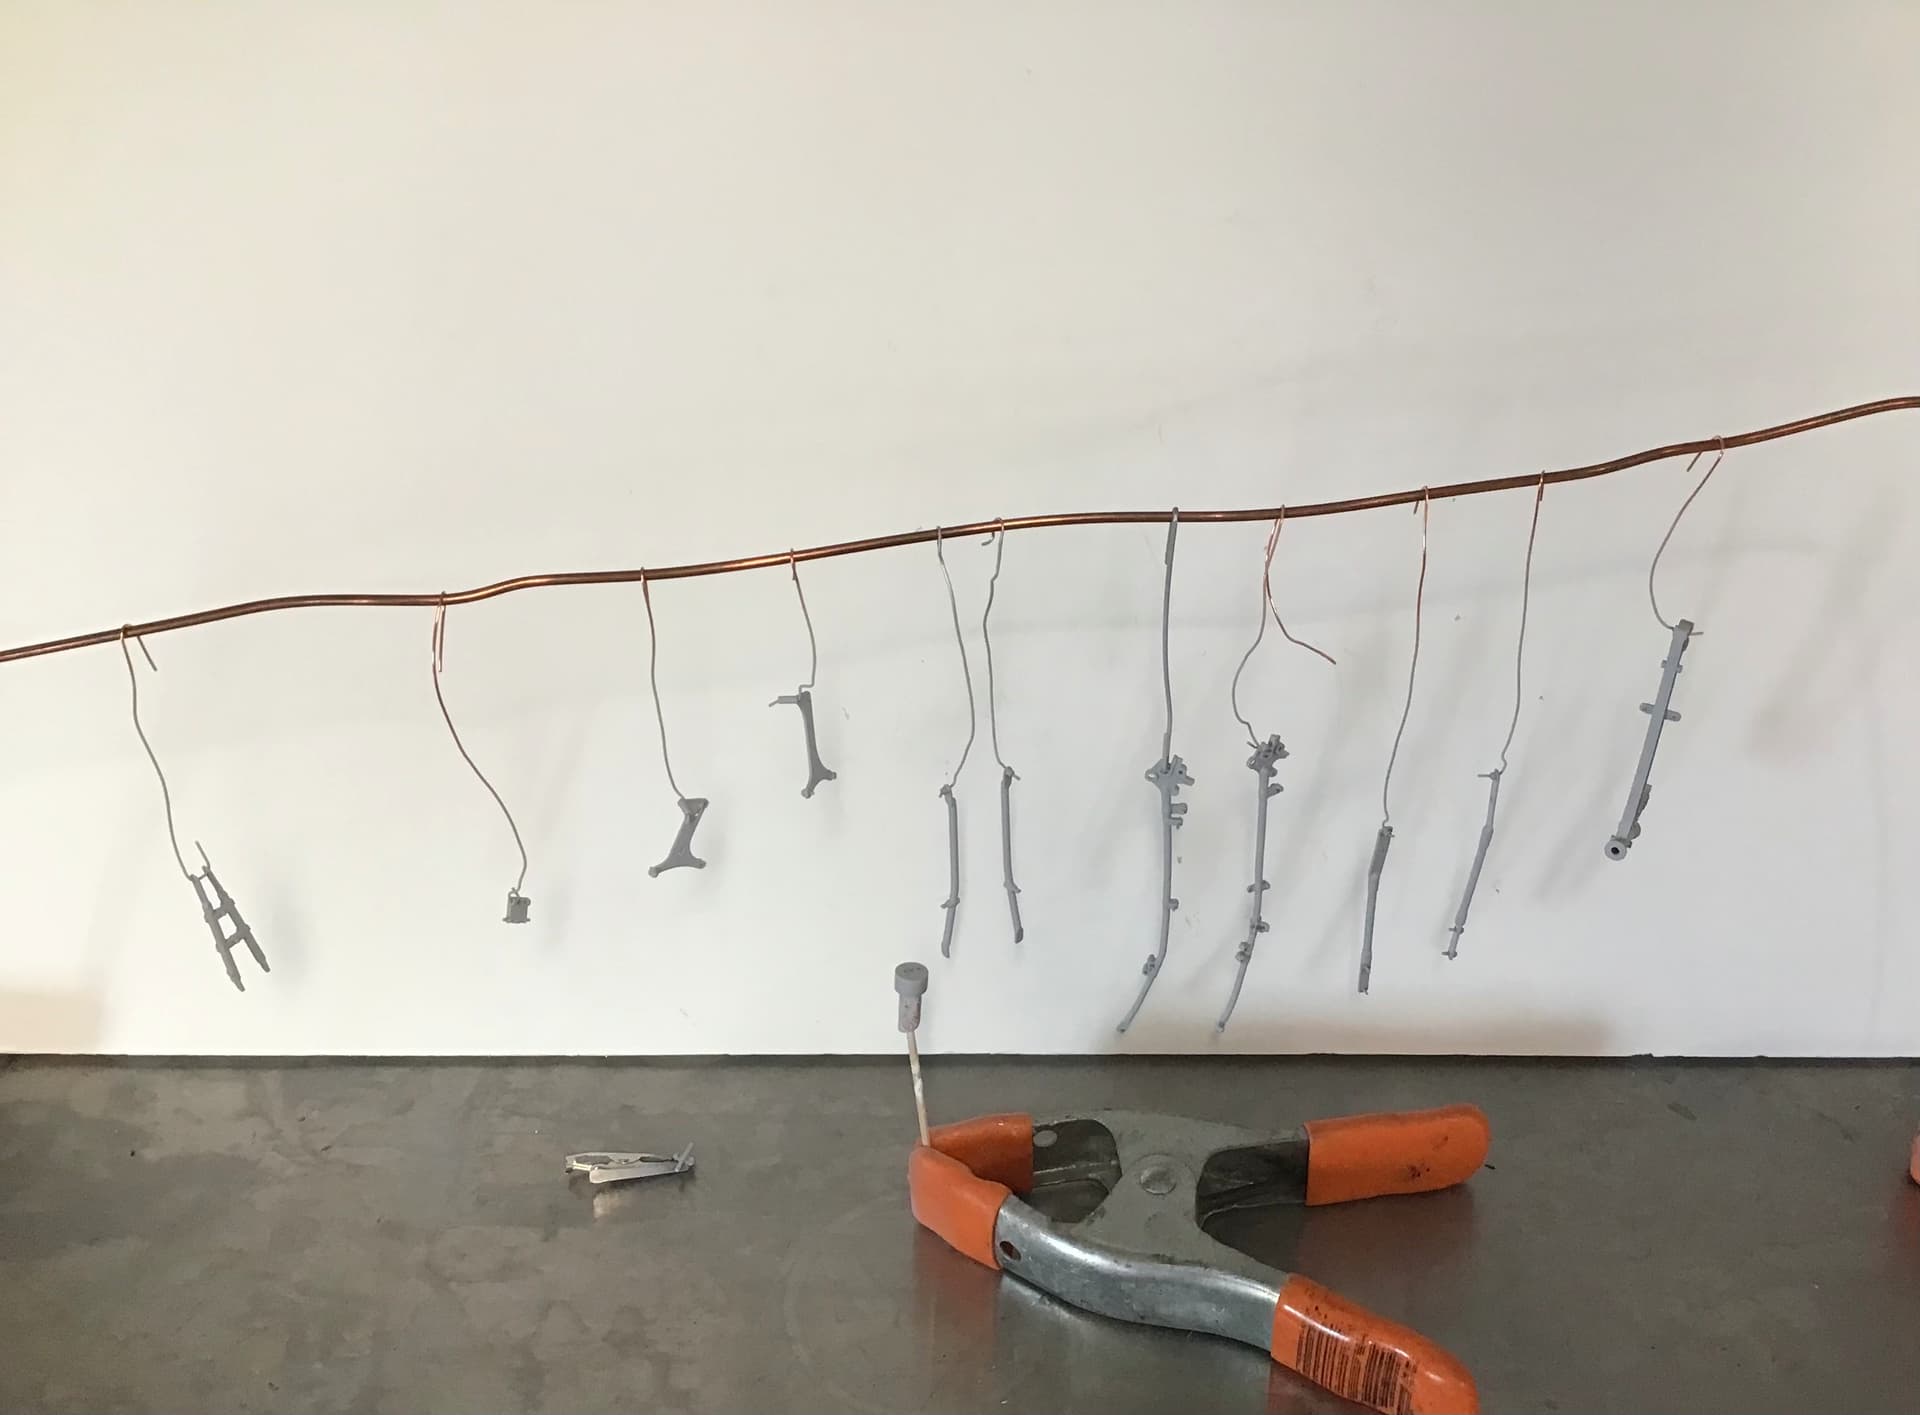
The cast in bolt detail on the frame components was polished up with the glass fiber brush and then hit with liquid mask . After the mask dried it was carefully trimmed with a new #11 blade , primed with Tamiya fine grey primer ( rattle can) and then finish painted with Tamiya Semi Gloss Black.
Gearbox cradle and gearbox installed.
Chassis assembly begun - also Amal 276 Standard Carb installed. Remote float bowl yet to do .
Thanks for looking !
Cheers- RT
3 Likes
Richard,
1st off, it’s great to see you back at the bench once again, creating your special brand of magic.
Absolutely it’s already getting difficult to tell model from the real deal, as that engine mounted in the frame is one of those: Is it real, or is a model?
joel
1 Like
Looks great Richard. Did it take much work to get the frame all aligned?
cheers
Michael
1 Like