Thanks Joel and Michael.
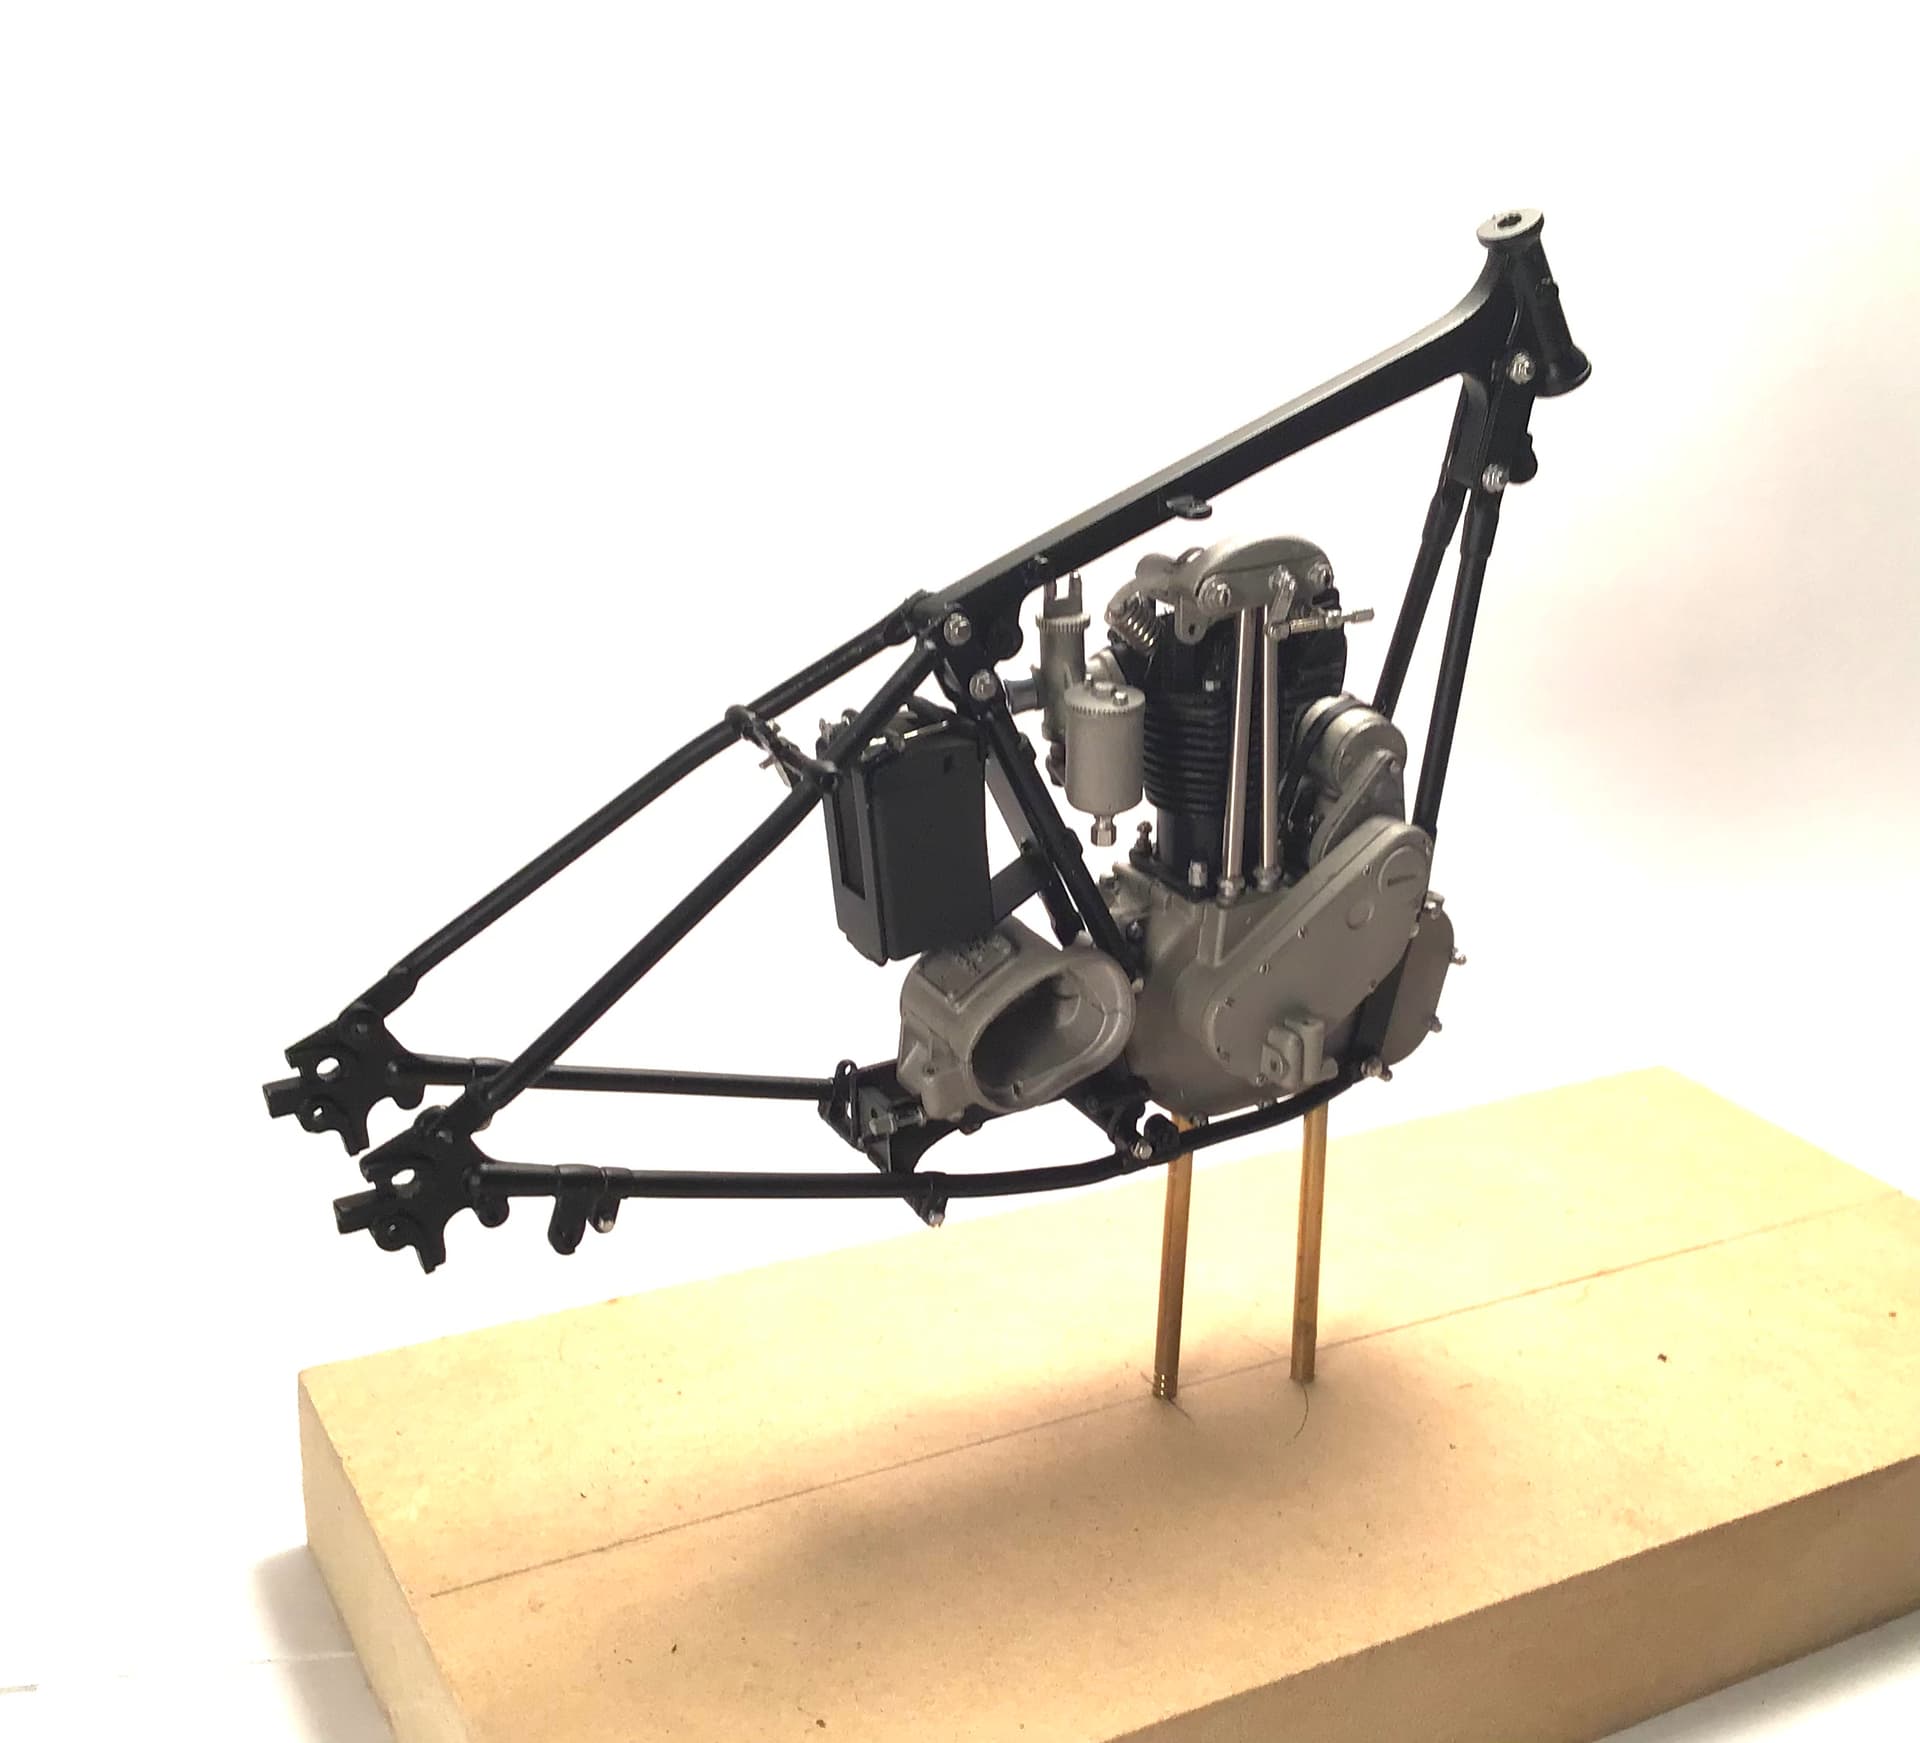
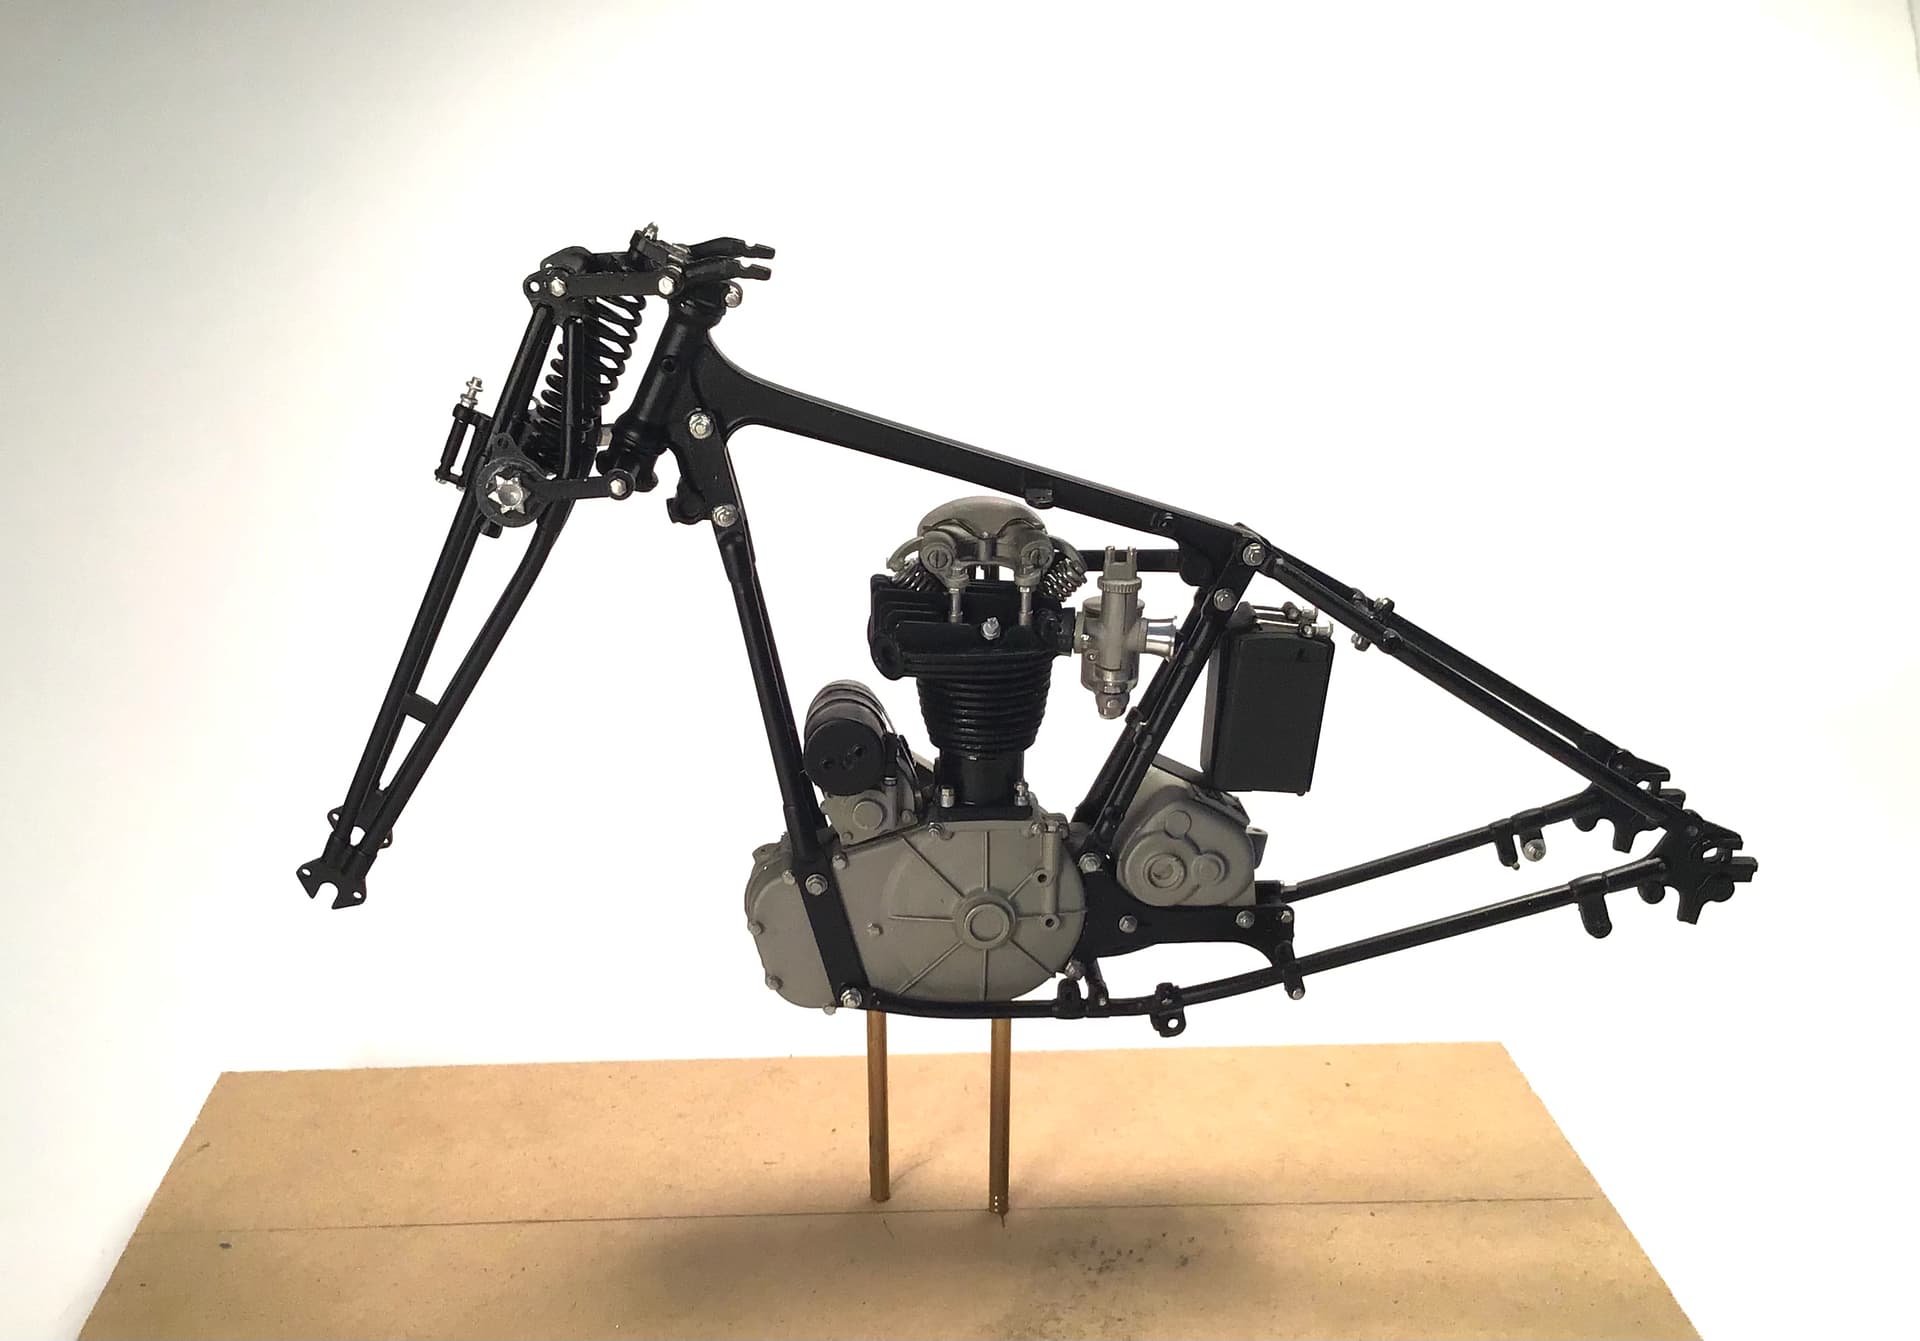
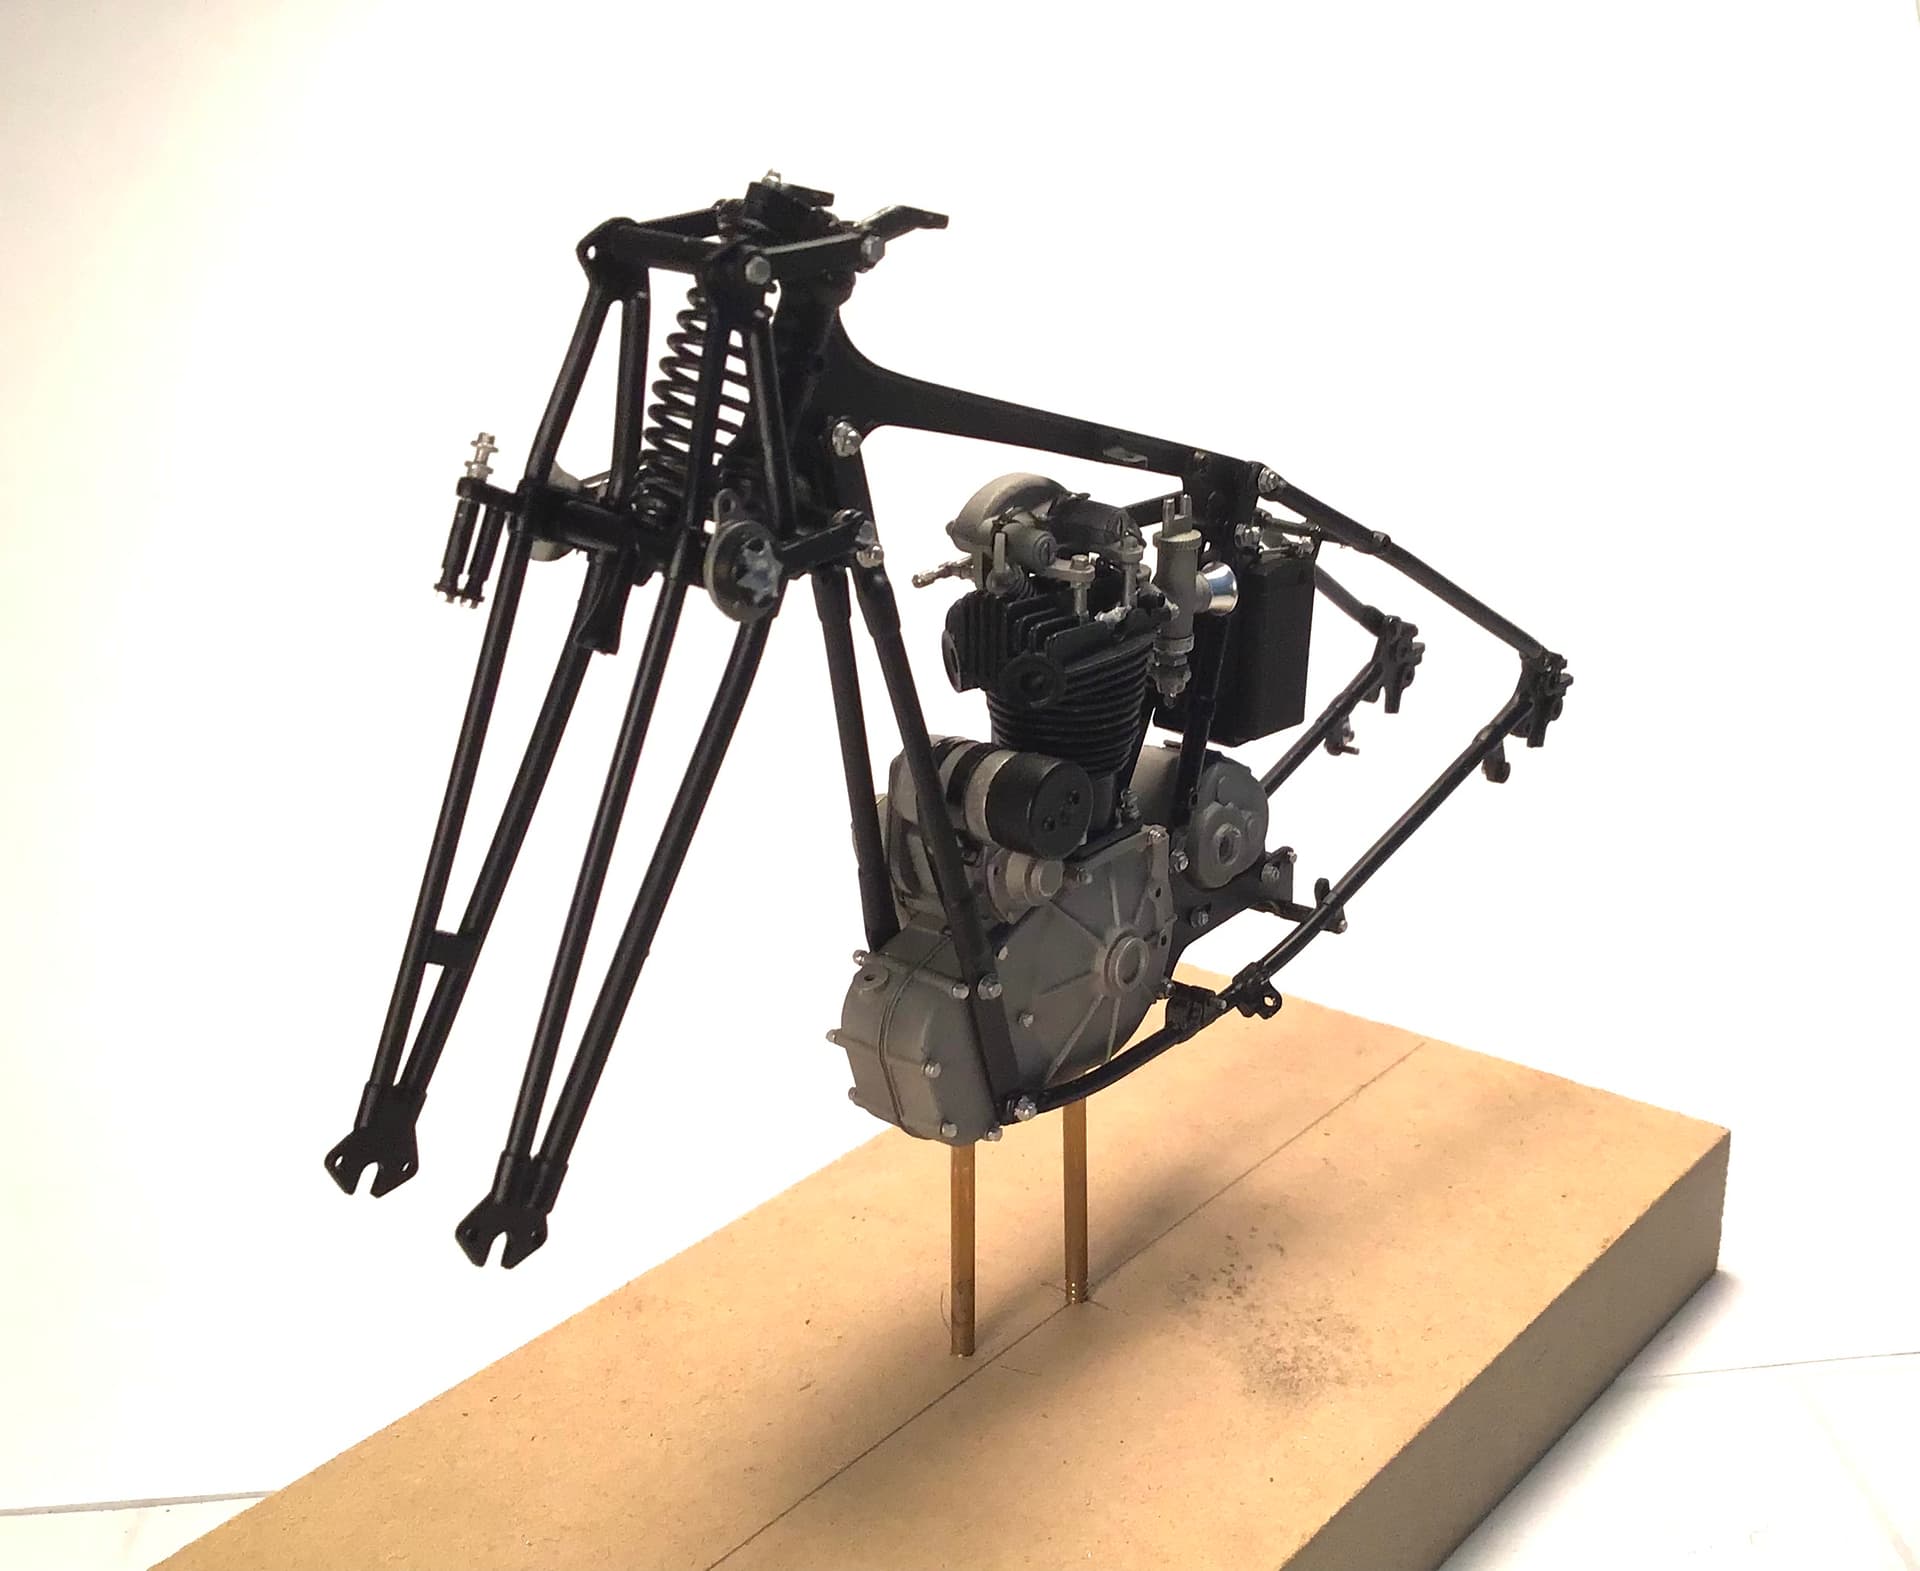
The frame went together very easily - a little too easy but I won’t know for sure until it is time to mount the wheels.
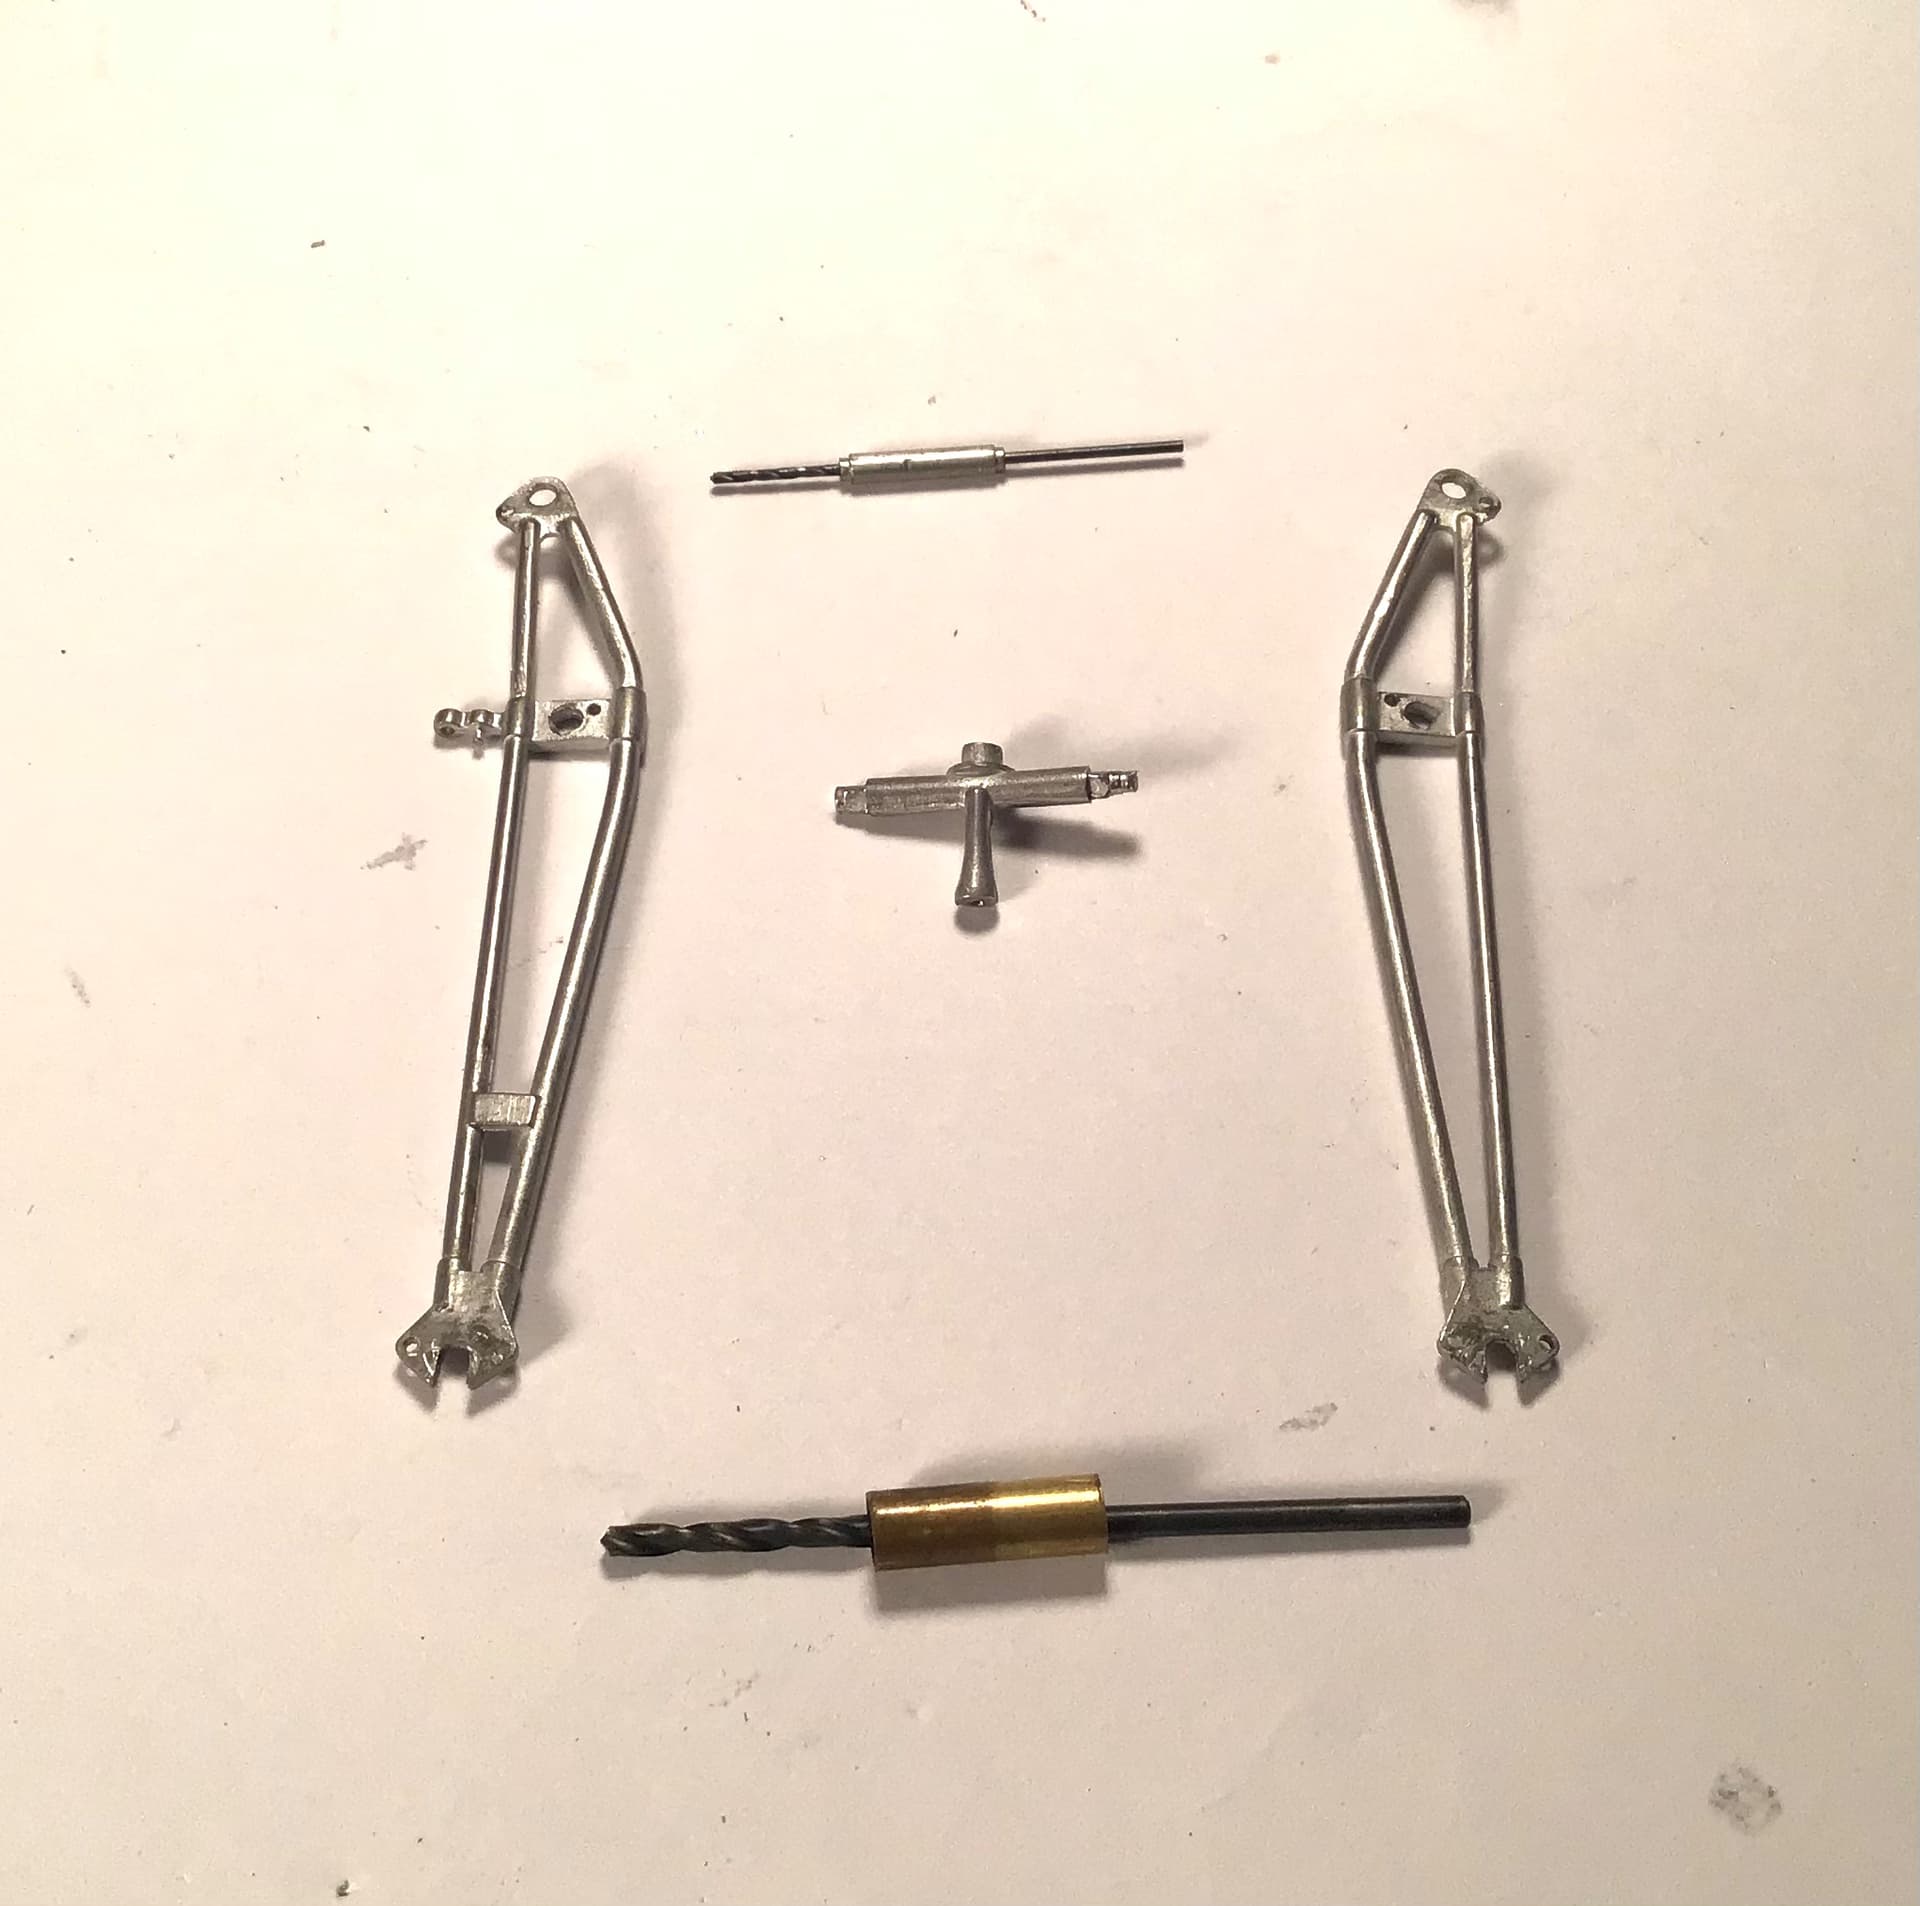
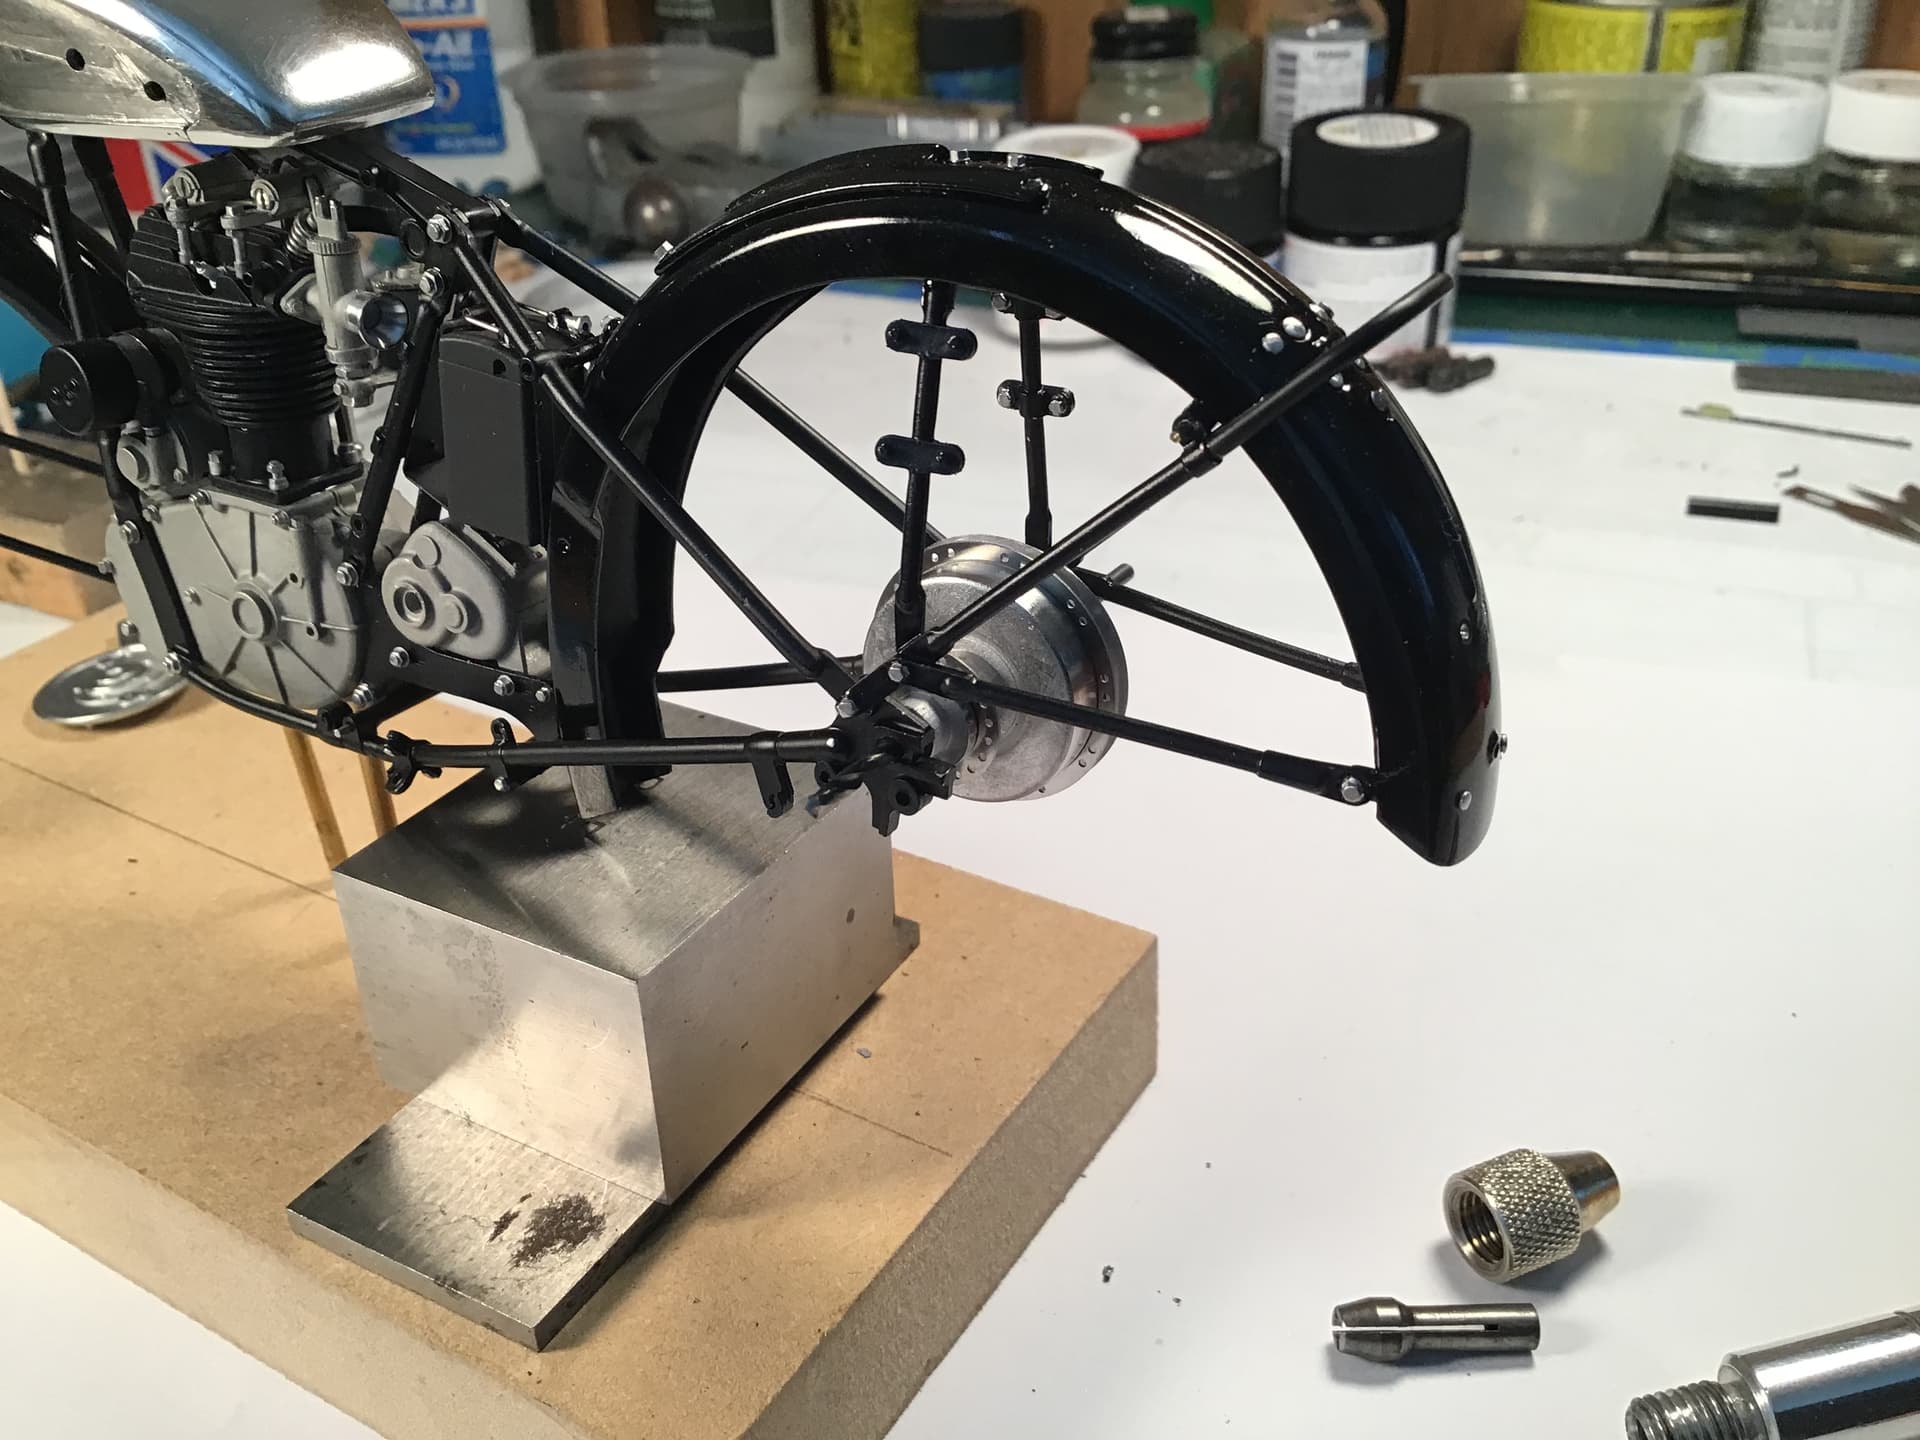
The forks however were another matter .
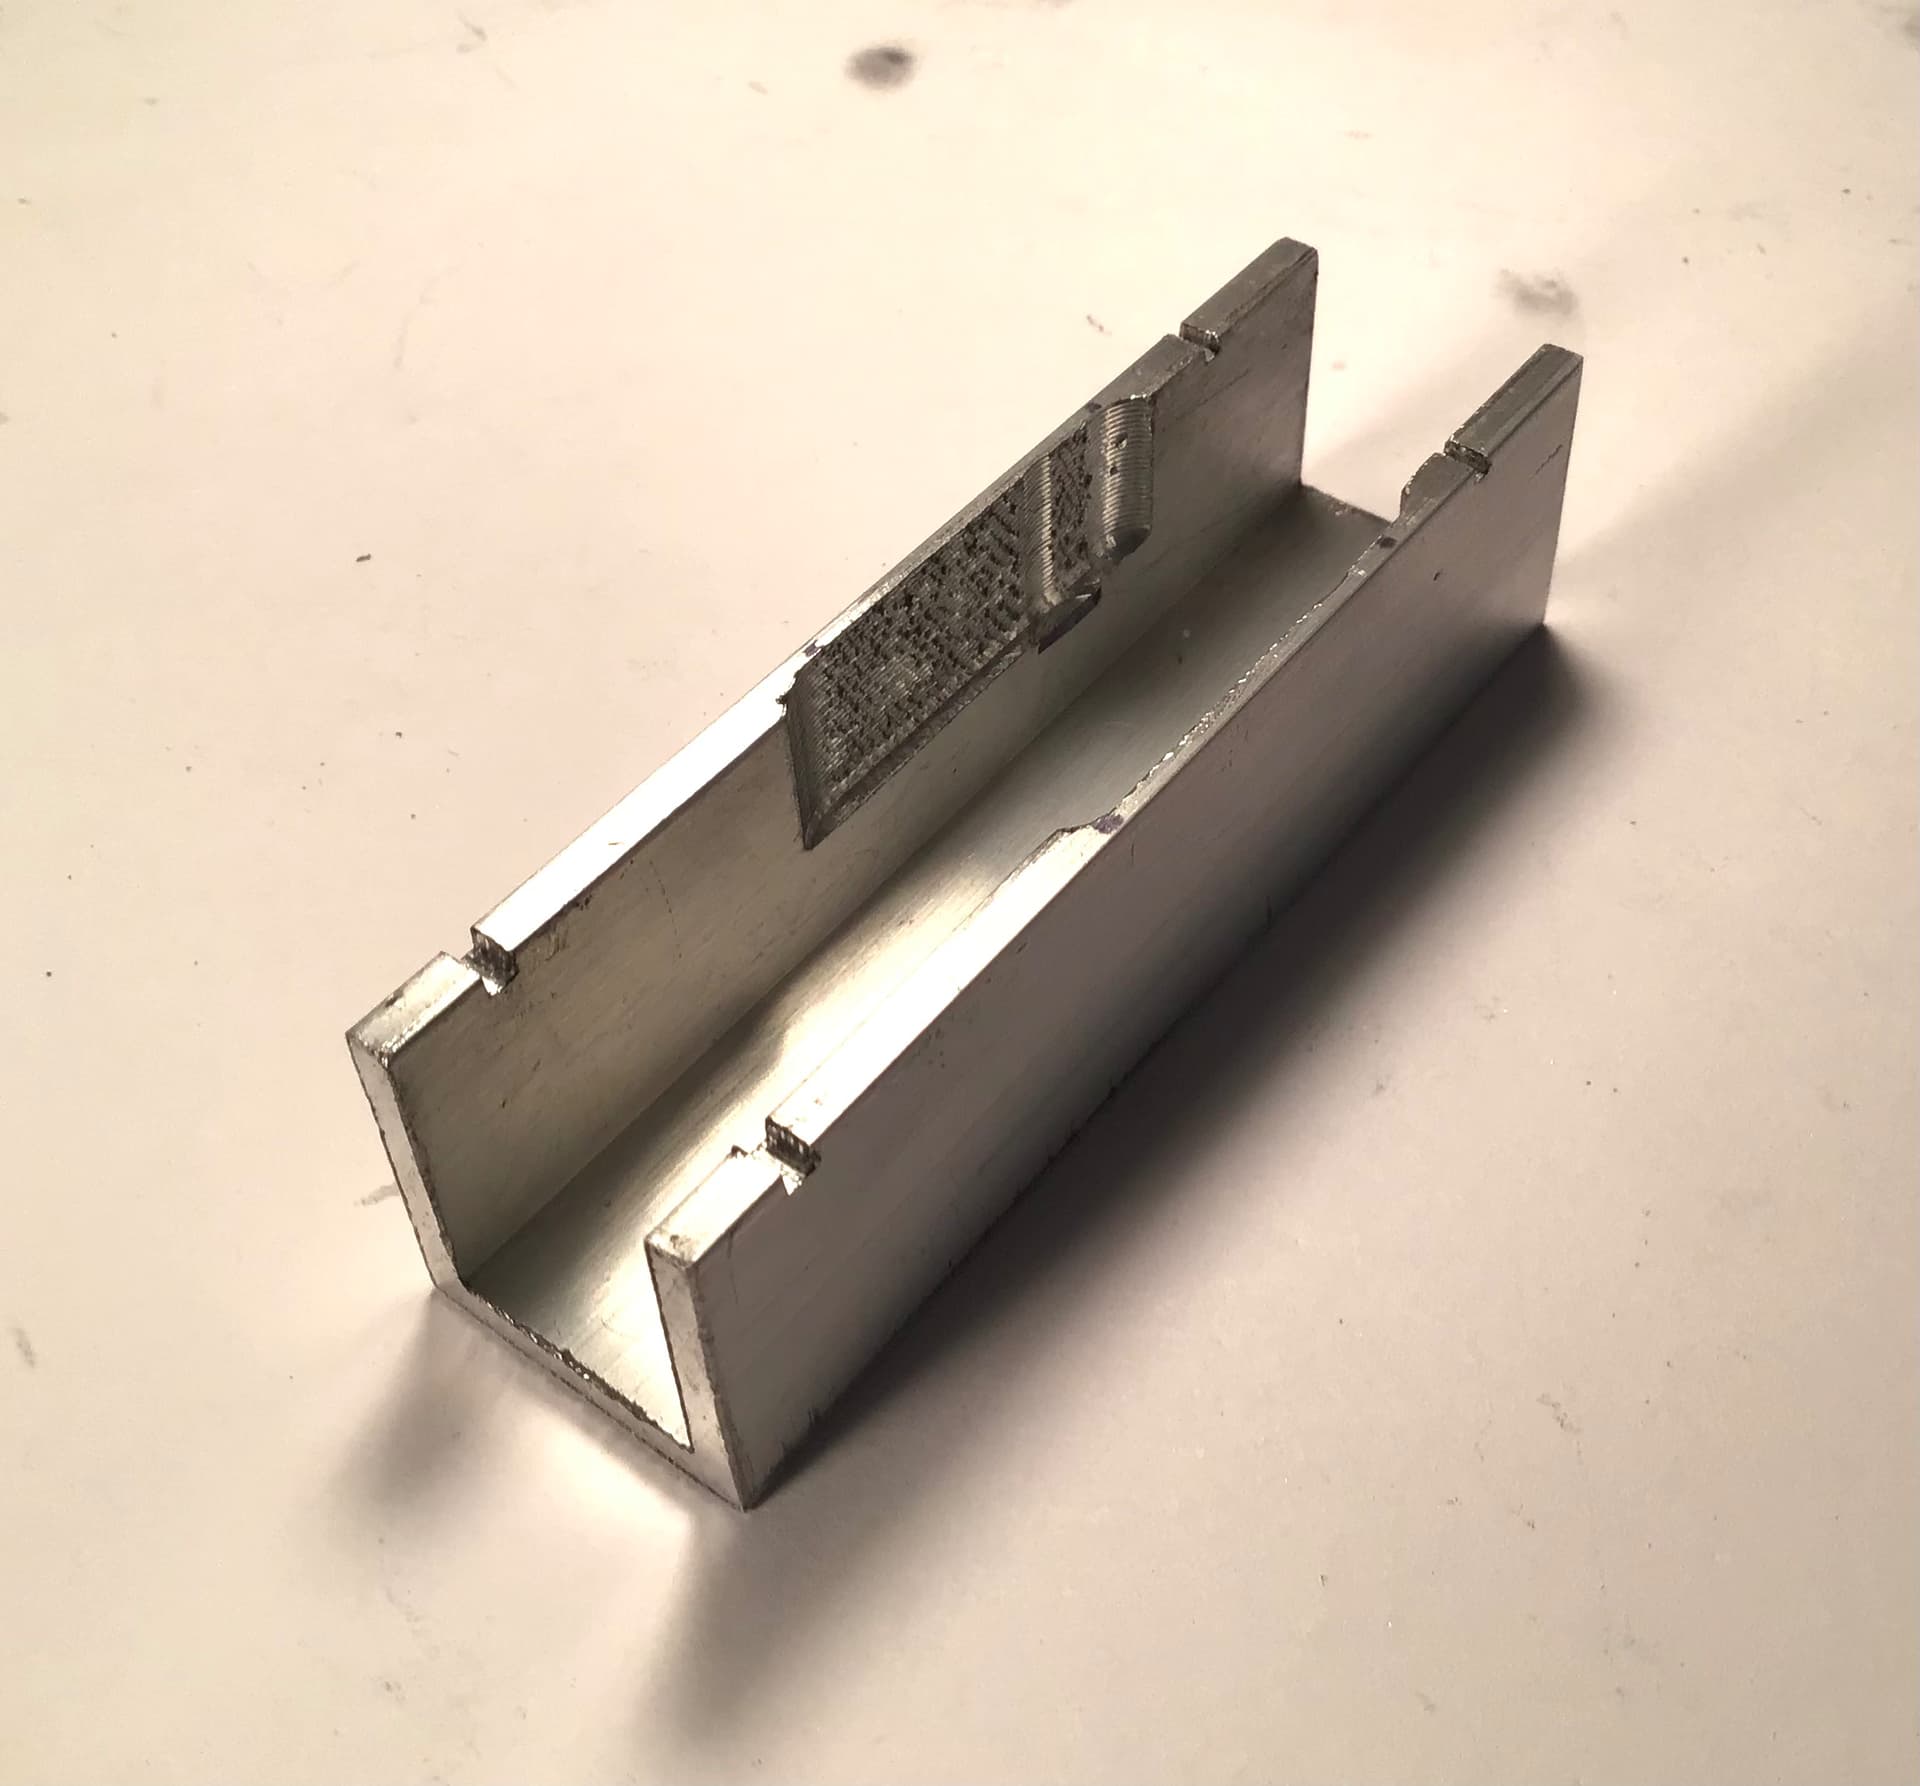
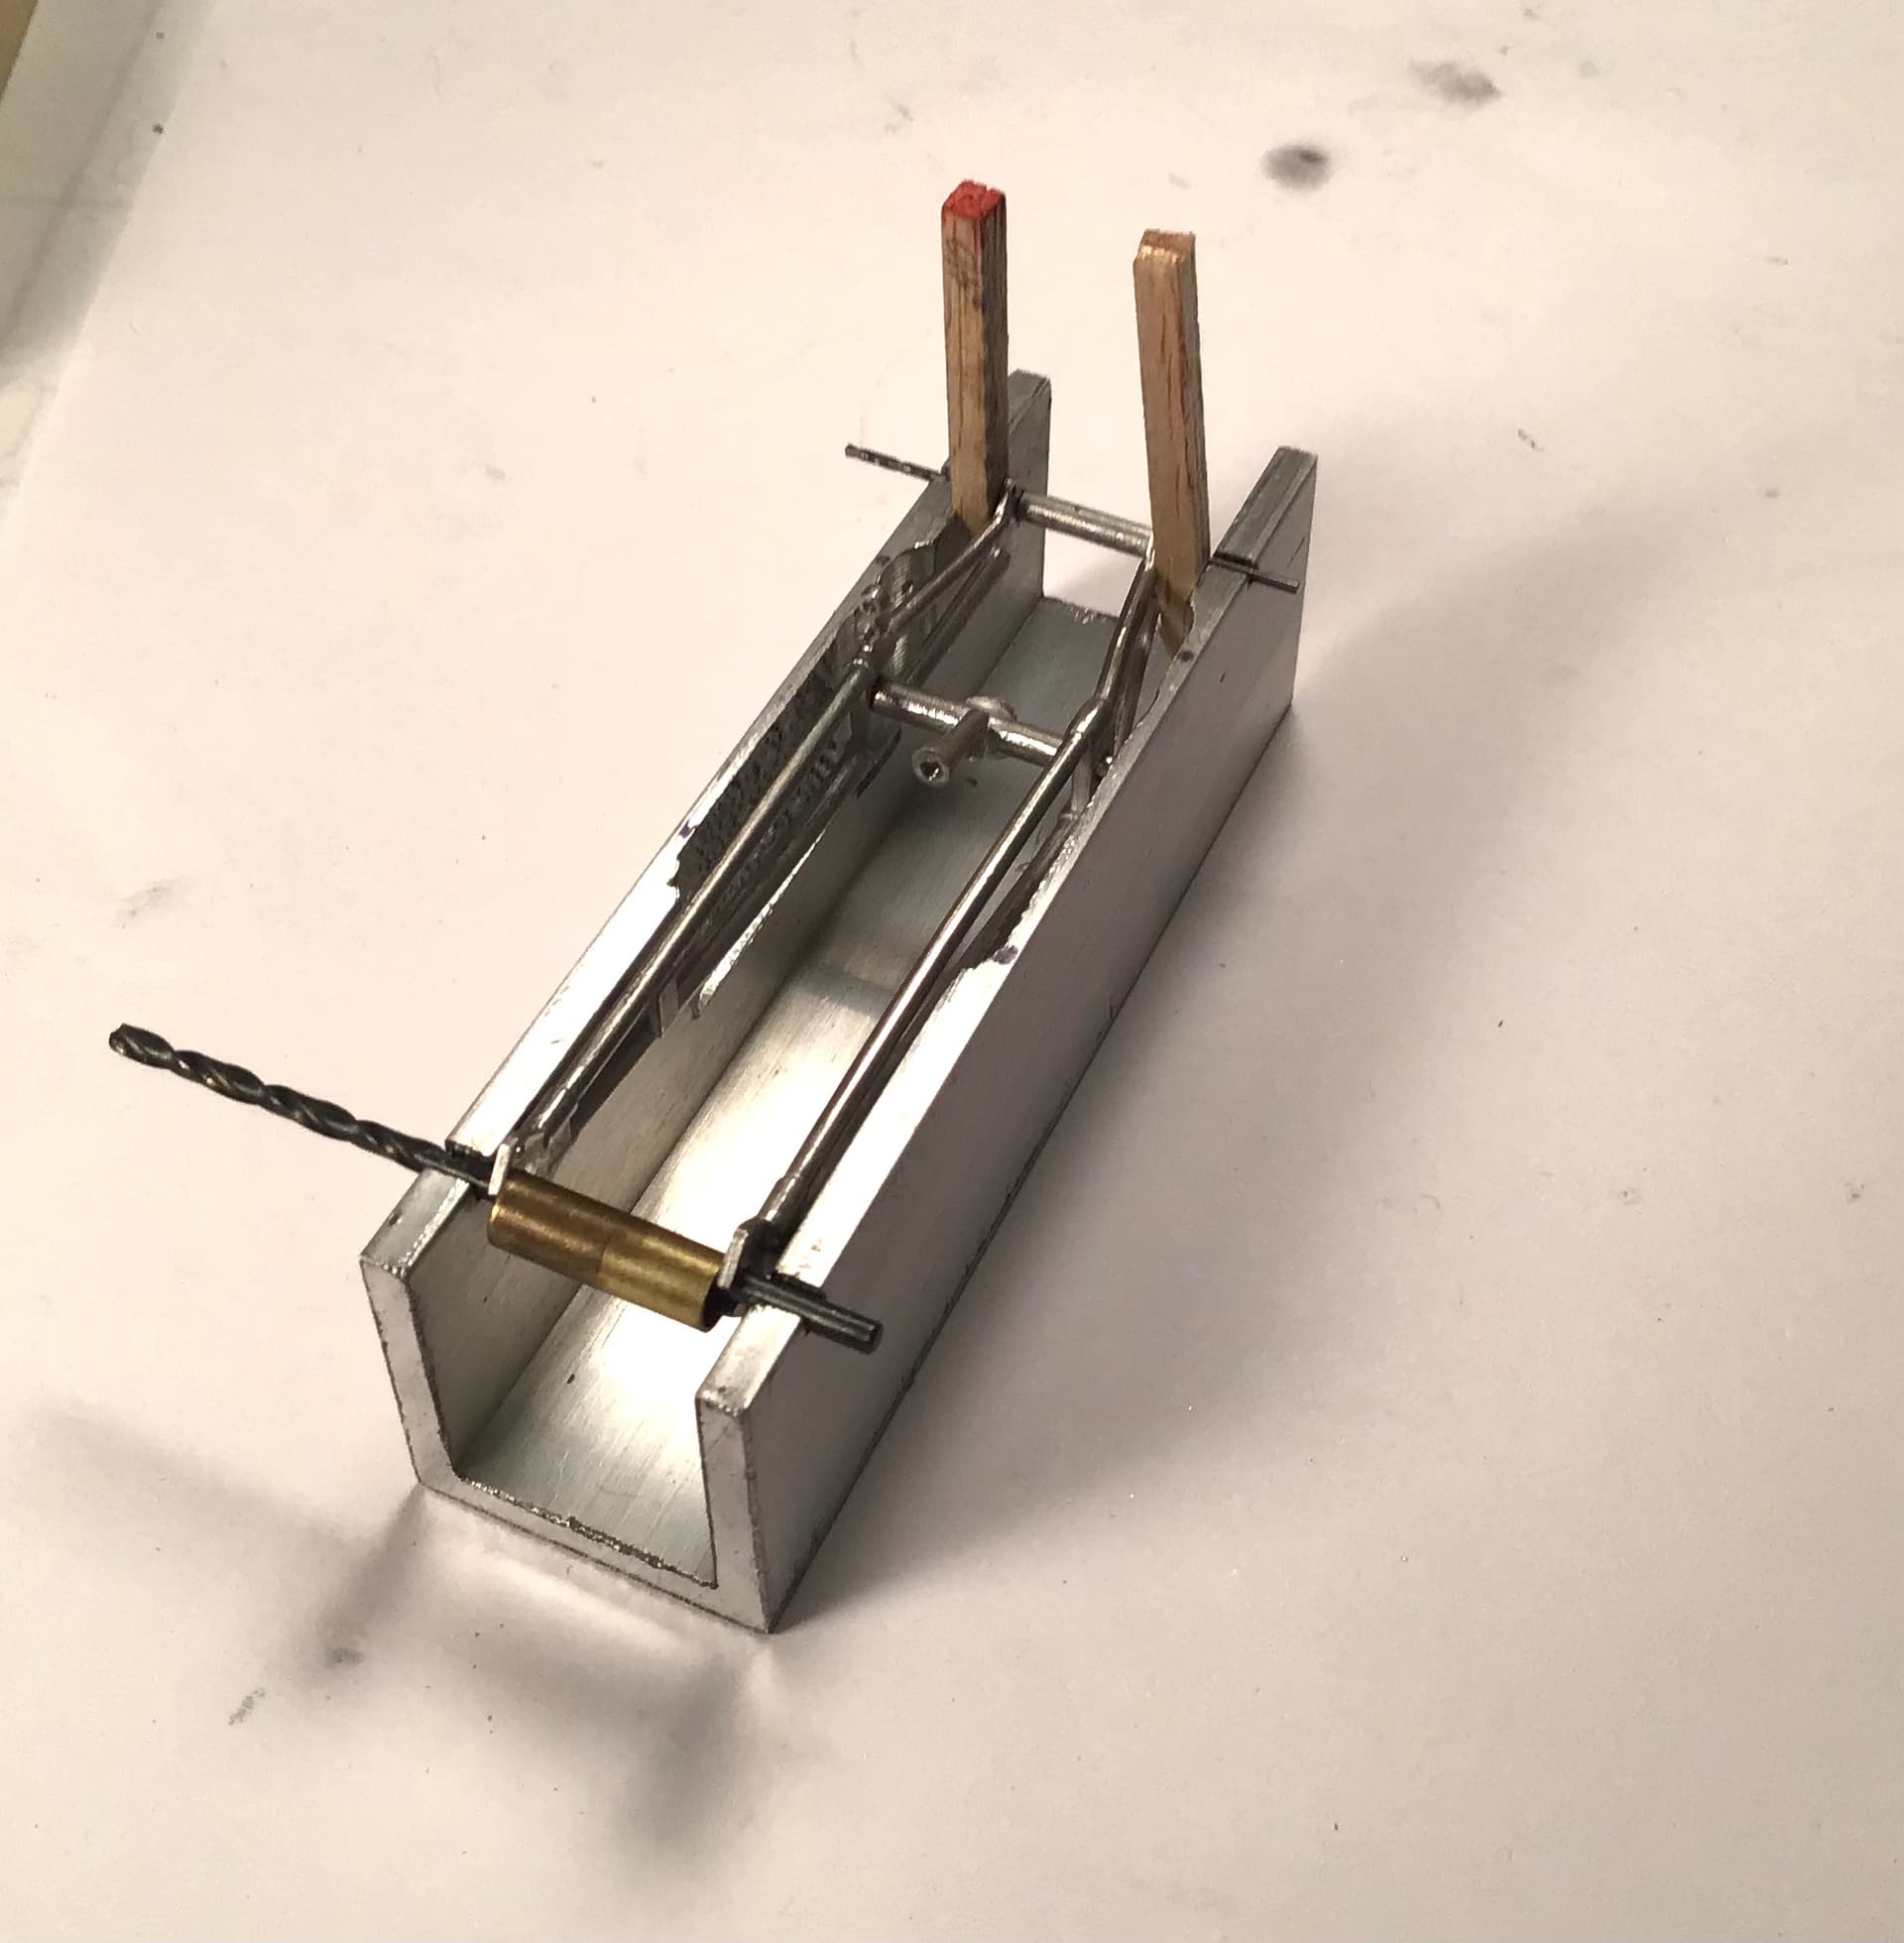
The two sides are cast straight but in reality the upper and lower sections are convergent. I had to dry fit the front wheel hub assembly and get a width measurement then cut a spacer tube for the bottom. The center crossmember and upper crossmember are of differing lengths so lots of fiddling and the fit of the crossmembers to the fork sides is a bit loose so keeping all aligned was impossible without an assembly fixture. I made one out of a piece of aluminum channel. Two parallel slots were milled across the fixture to the same depth to insure that the axle and the axis of the top crossmember were parallel and lie square across the center line and in the same plane . The insides of the fixture were milled out a bit to accommodate the greater width of center crossmember.
The rear frame stays were also installed along with the float bowl for the carb and the battery and it’s bracket.
Thanks for looking!
RT
2 Likes
Richard, your ability to make jigs for this stuff is exceptional!. Also, forgive my ignorance about pre-war bikes, but does this bike not have a swingarm or rear suspension?
cheers
Michael
The level of detailing is amazing. Great stuff.
1 Like
Thanks Michael and Jesper-
In answer to Michael’s question , Rigid chassis ( no rear suspension - often referred to as hard tail on this side of the pond) were still available from many manufacturers well into the 1950’s . Triumph briefly offered a “ sprung hub “ model that used a rigid chassis but had the rear axle carried on springs within the hub giving a minimal amount of compliance. Interesting that Michael uses the predominantly American term “ swingarm” - in the UK and it’s far flung outposts it is usually called a “ swinging arm .”
Richard,
As usual, your ability to create a jig for every needed procedure is simply amazing. How in the world would the average MFH modeler make one even if they realize that they need one?
joel
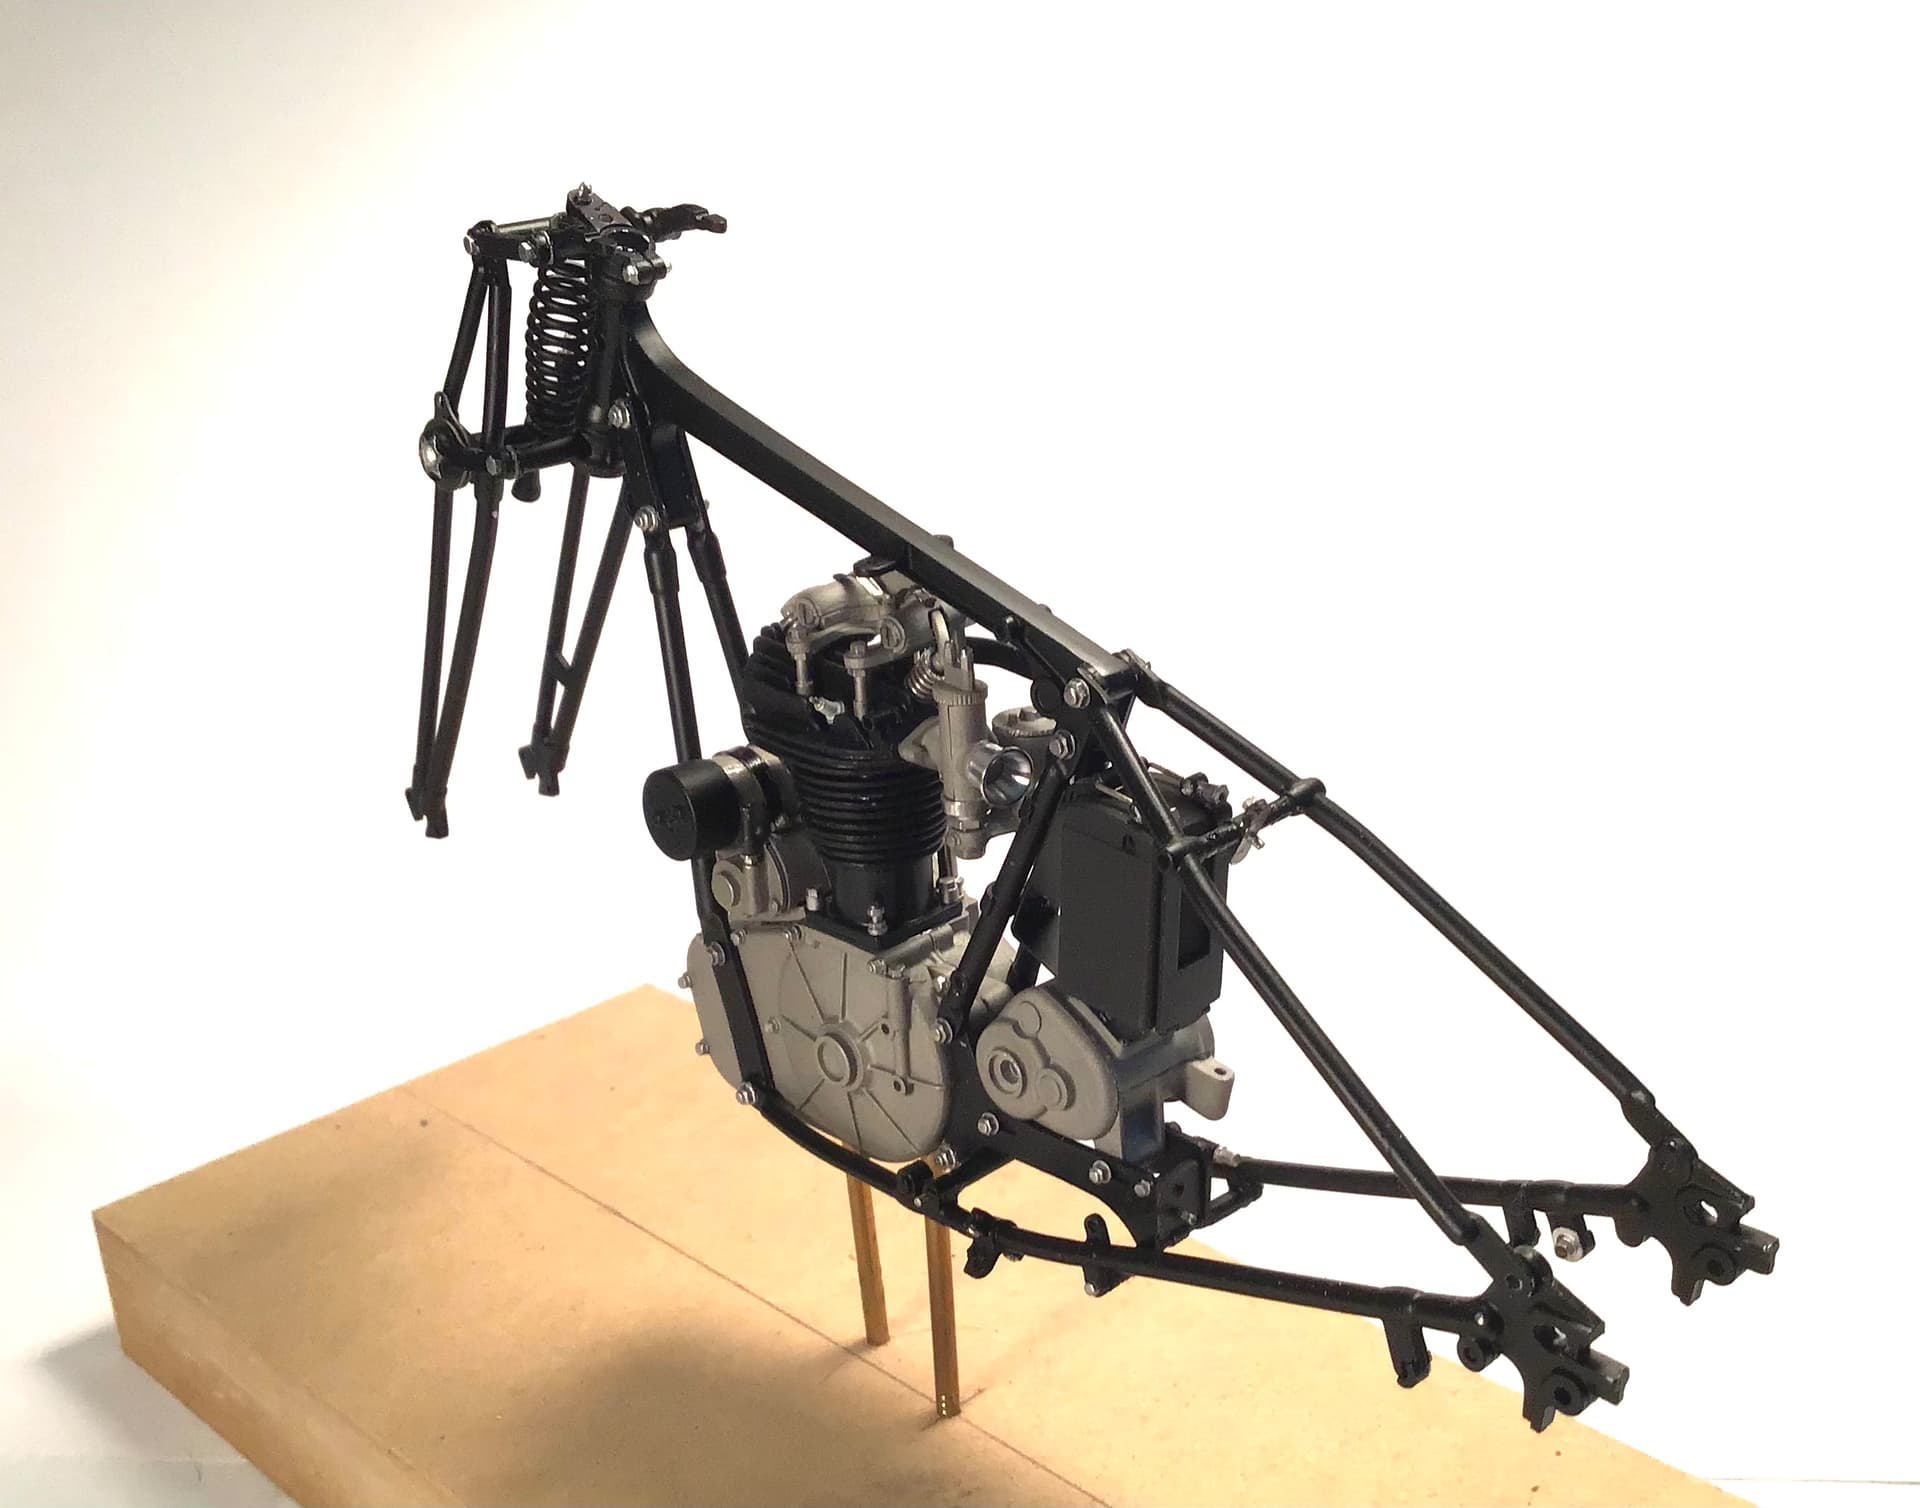
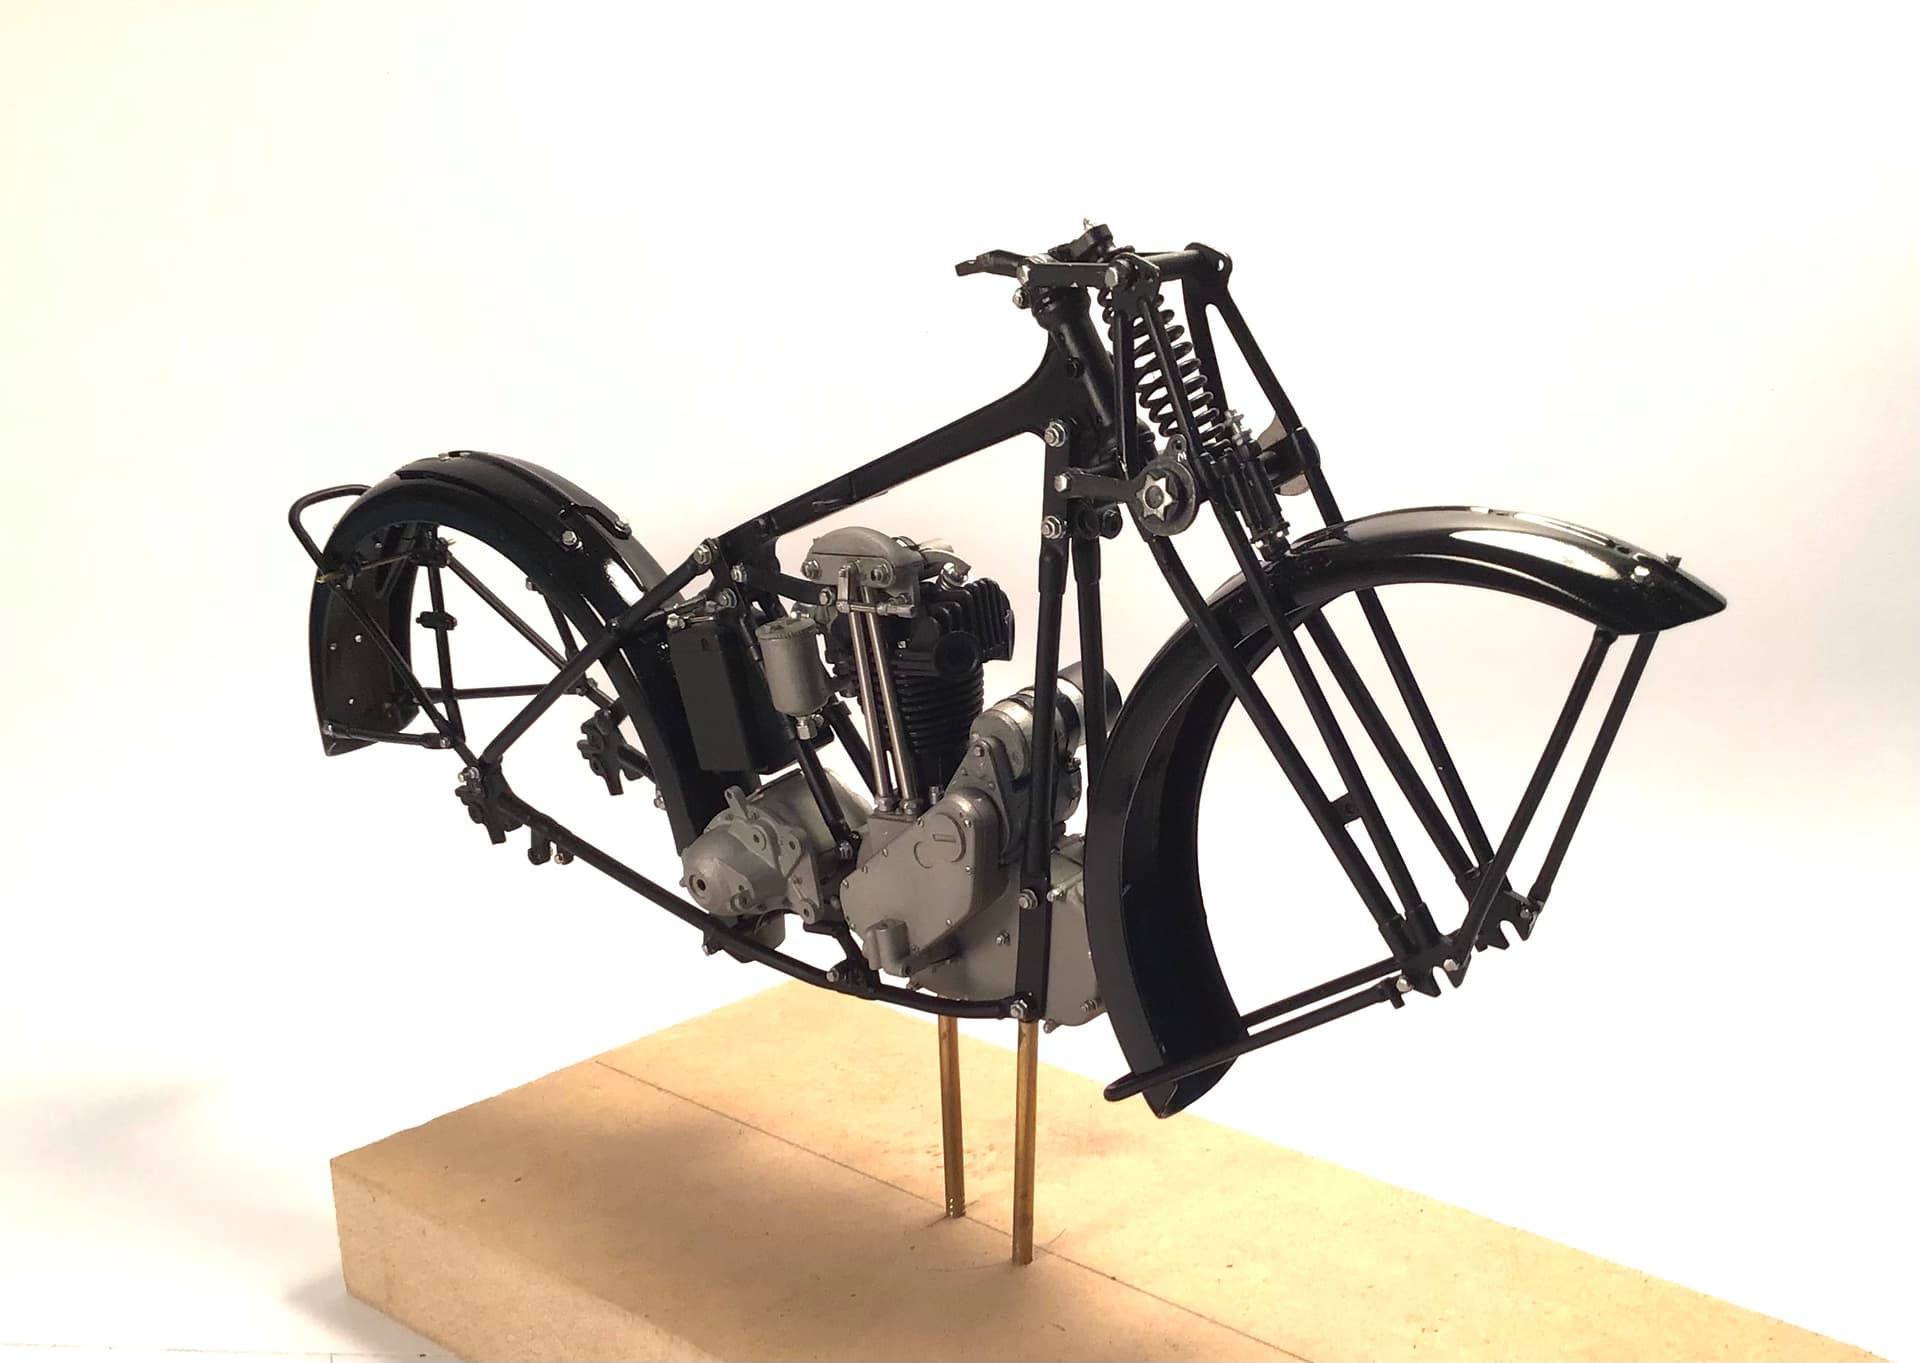
Forks assembled and fender and stays dry fitted.
All in all another nice piece of work from MFH.
3 Likes
Richard,
Certainly great engineering on MFH’s part, and equally impressive is your skills in building the front assembly. If I didn’t know better, I’d swear that it’s a picture of a rear restoration. The weather worn wood really lends credence to that thought process.
joel
1 Like
Super work Richard, really smart looking jig there and the result well worth taking the time.
As Joel said, that last image looks like a 1:1 resto pic, love it!!
Cheers, D
1 Like
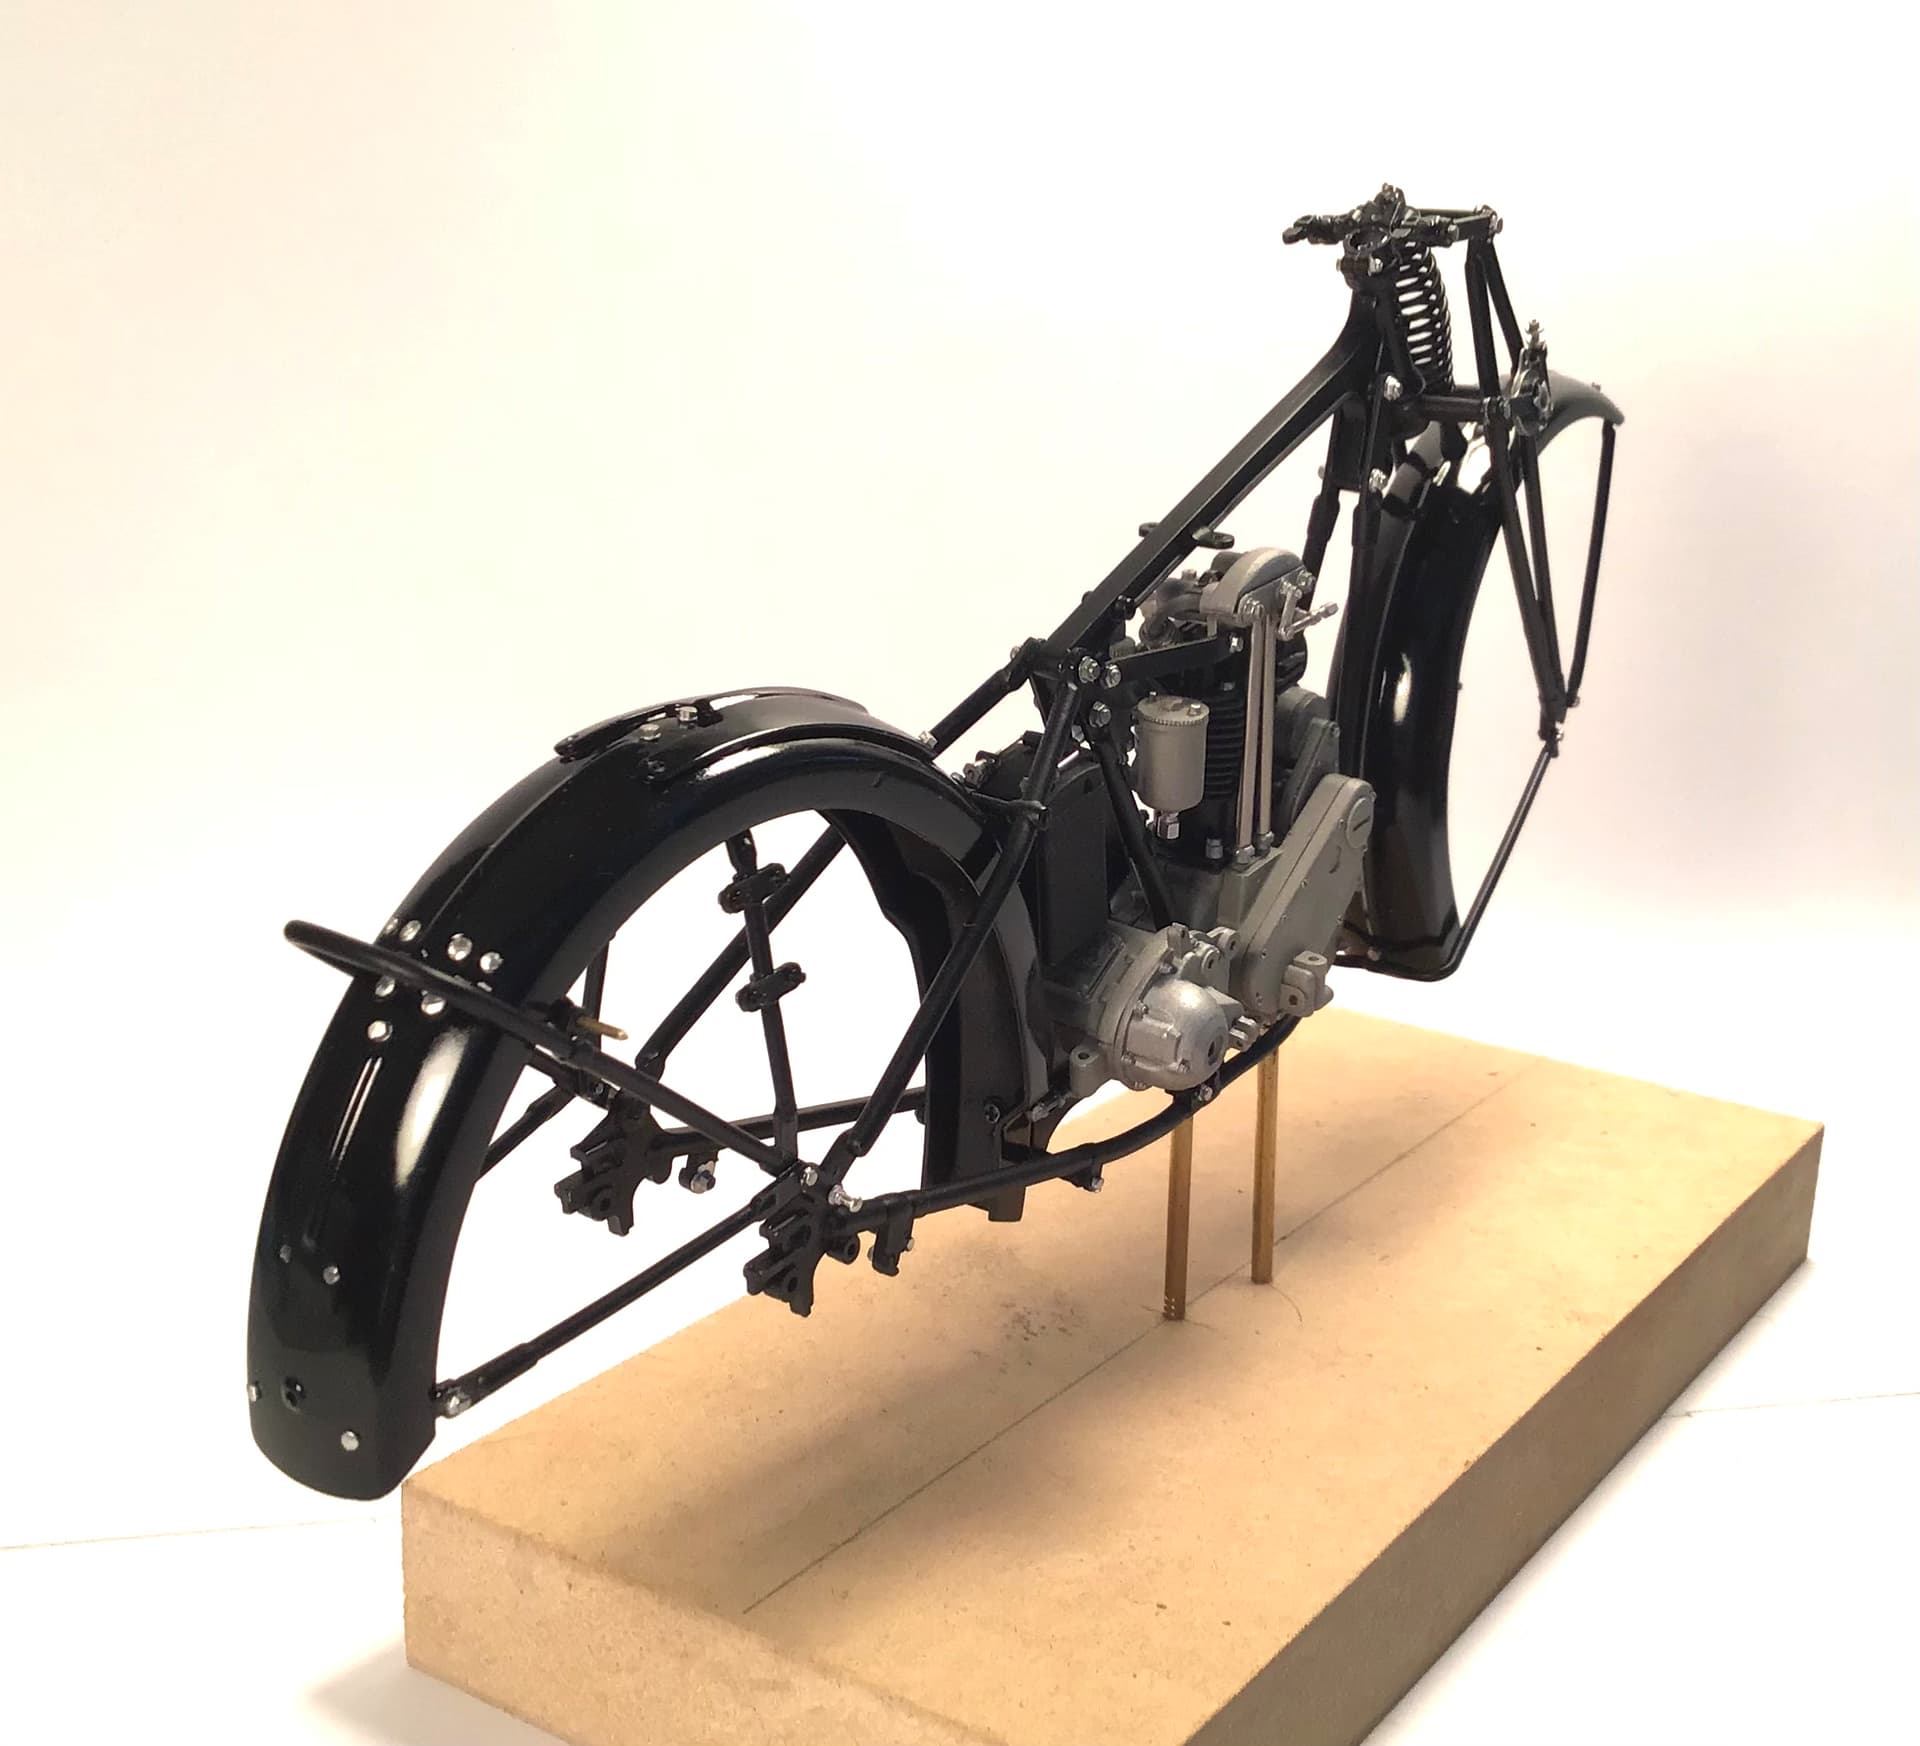
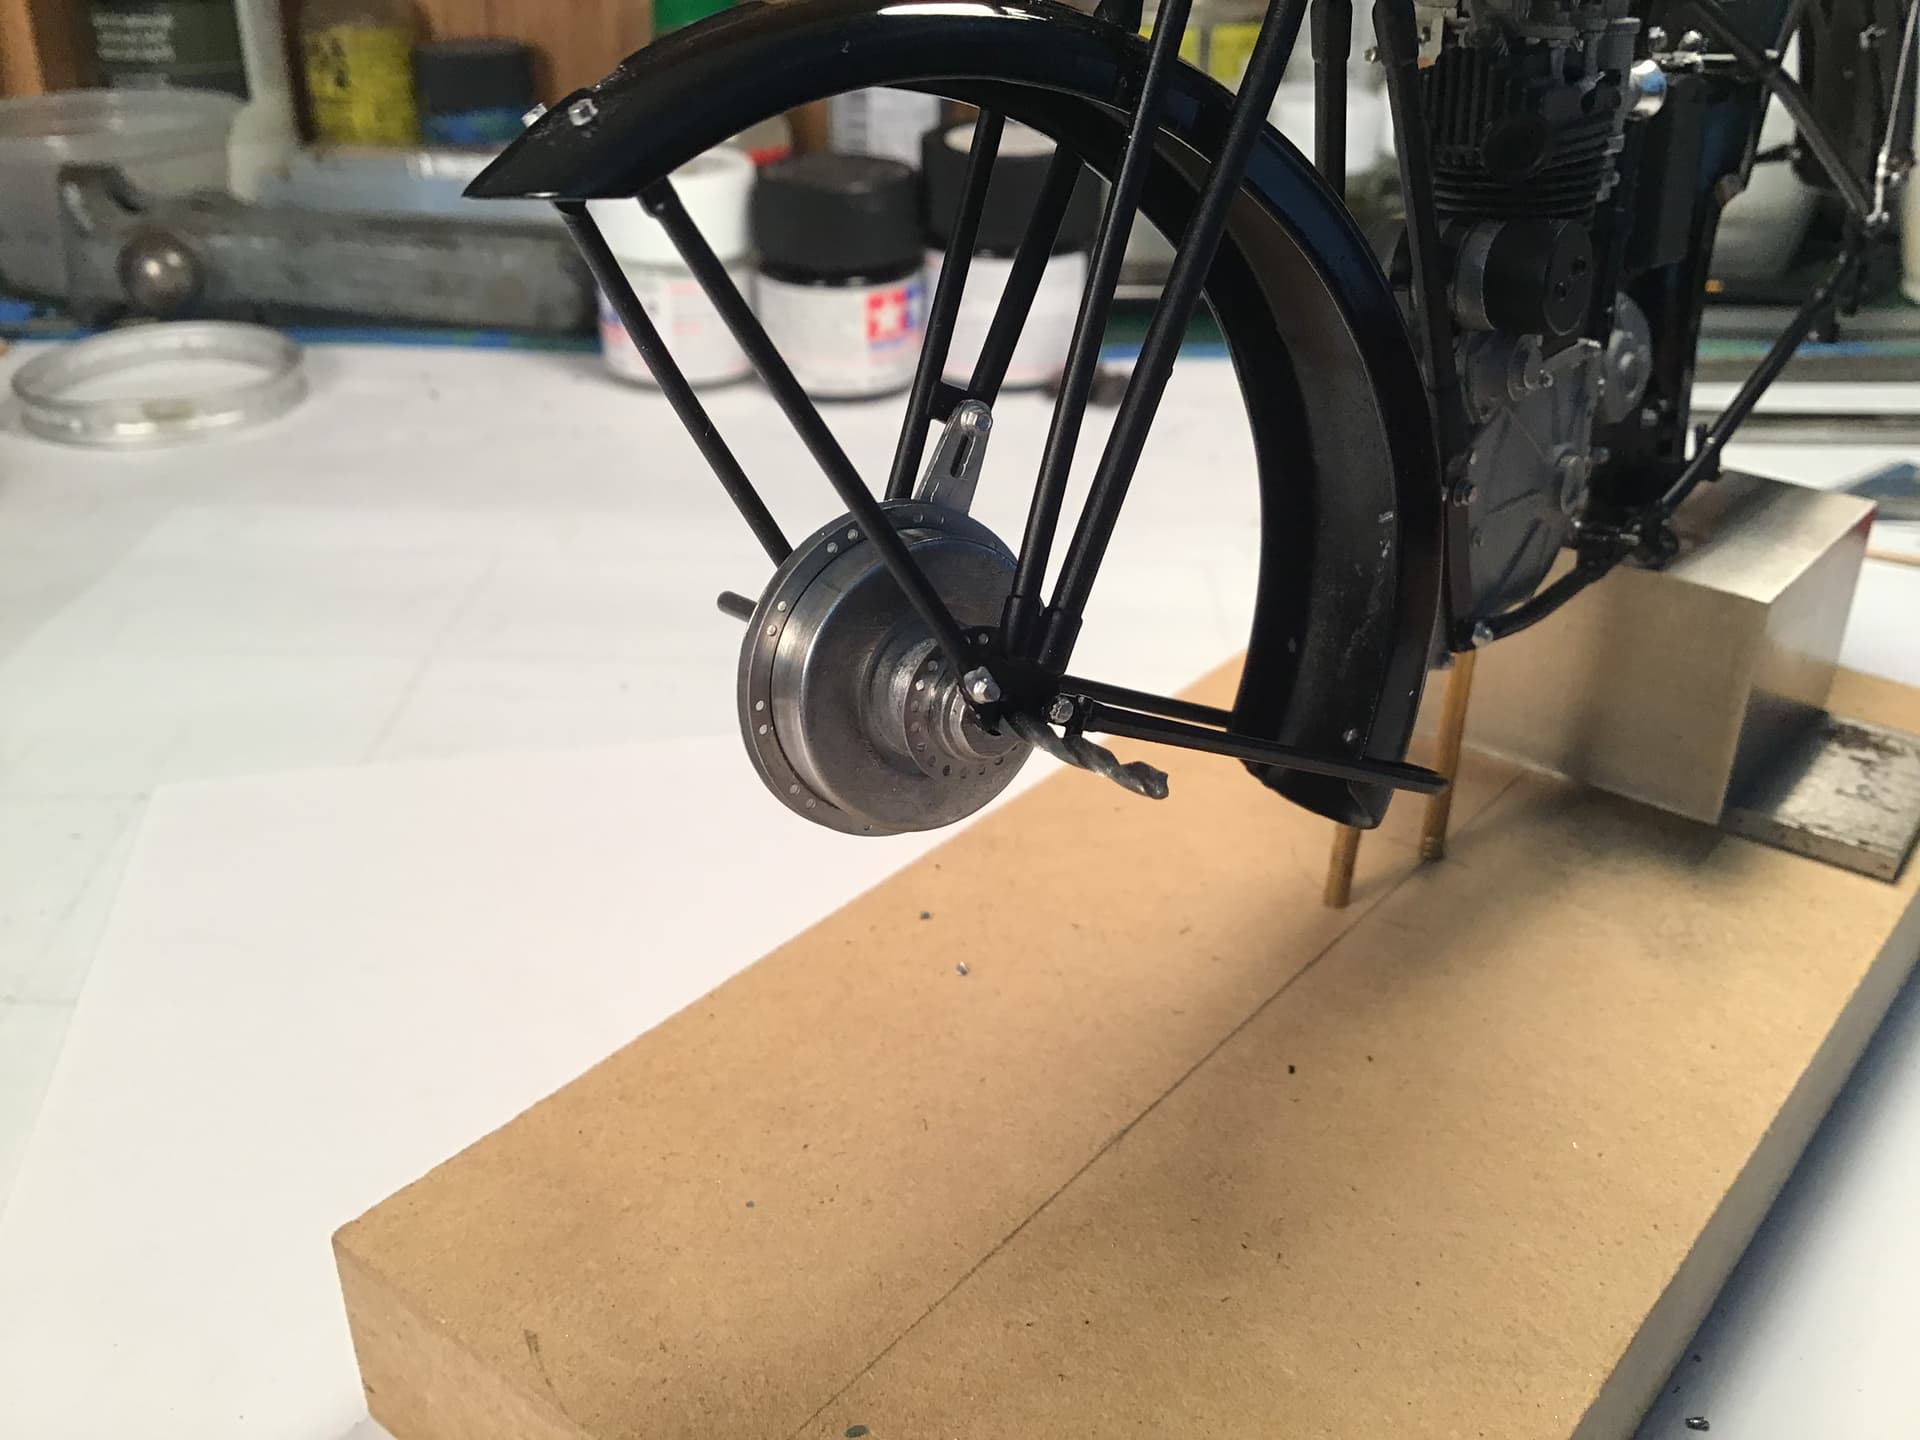
Forks built up and in paint . Hung temporarily to check fit and to get an idea of base size . I will cut two paper circles of the tire diameter to determine OA length and begin the base so that the model can be installed once wheels are built .
Thanks for looking ! RT
2 Likes
Richard,
Holly smokes, I’m just plain speechless. I honestly can’t tell if it’s your build or the real deal you found pictures of on the Net. It’s just that good.
joel
1 Like
Thanks Joel !
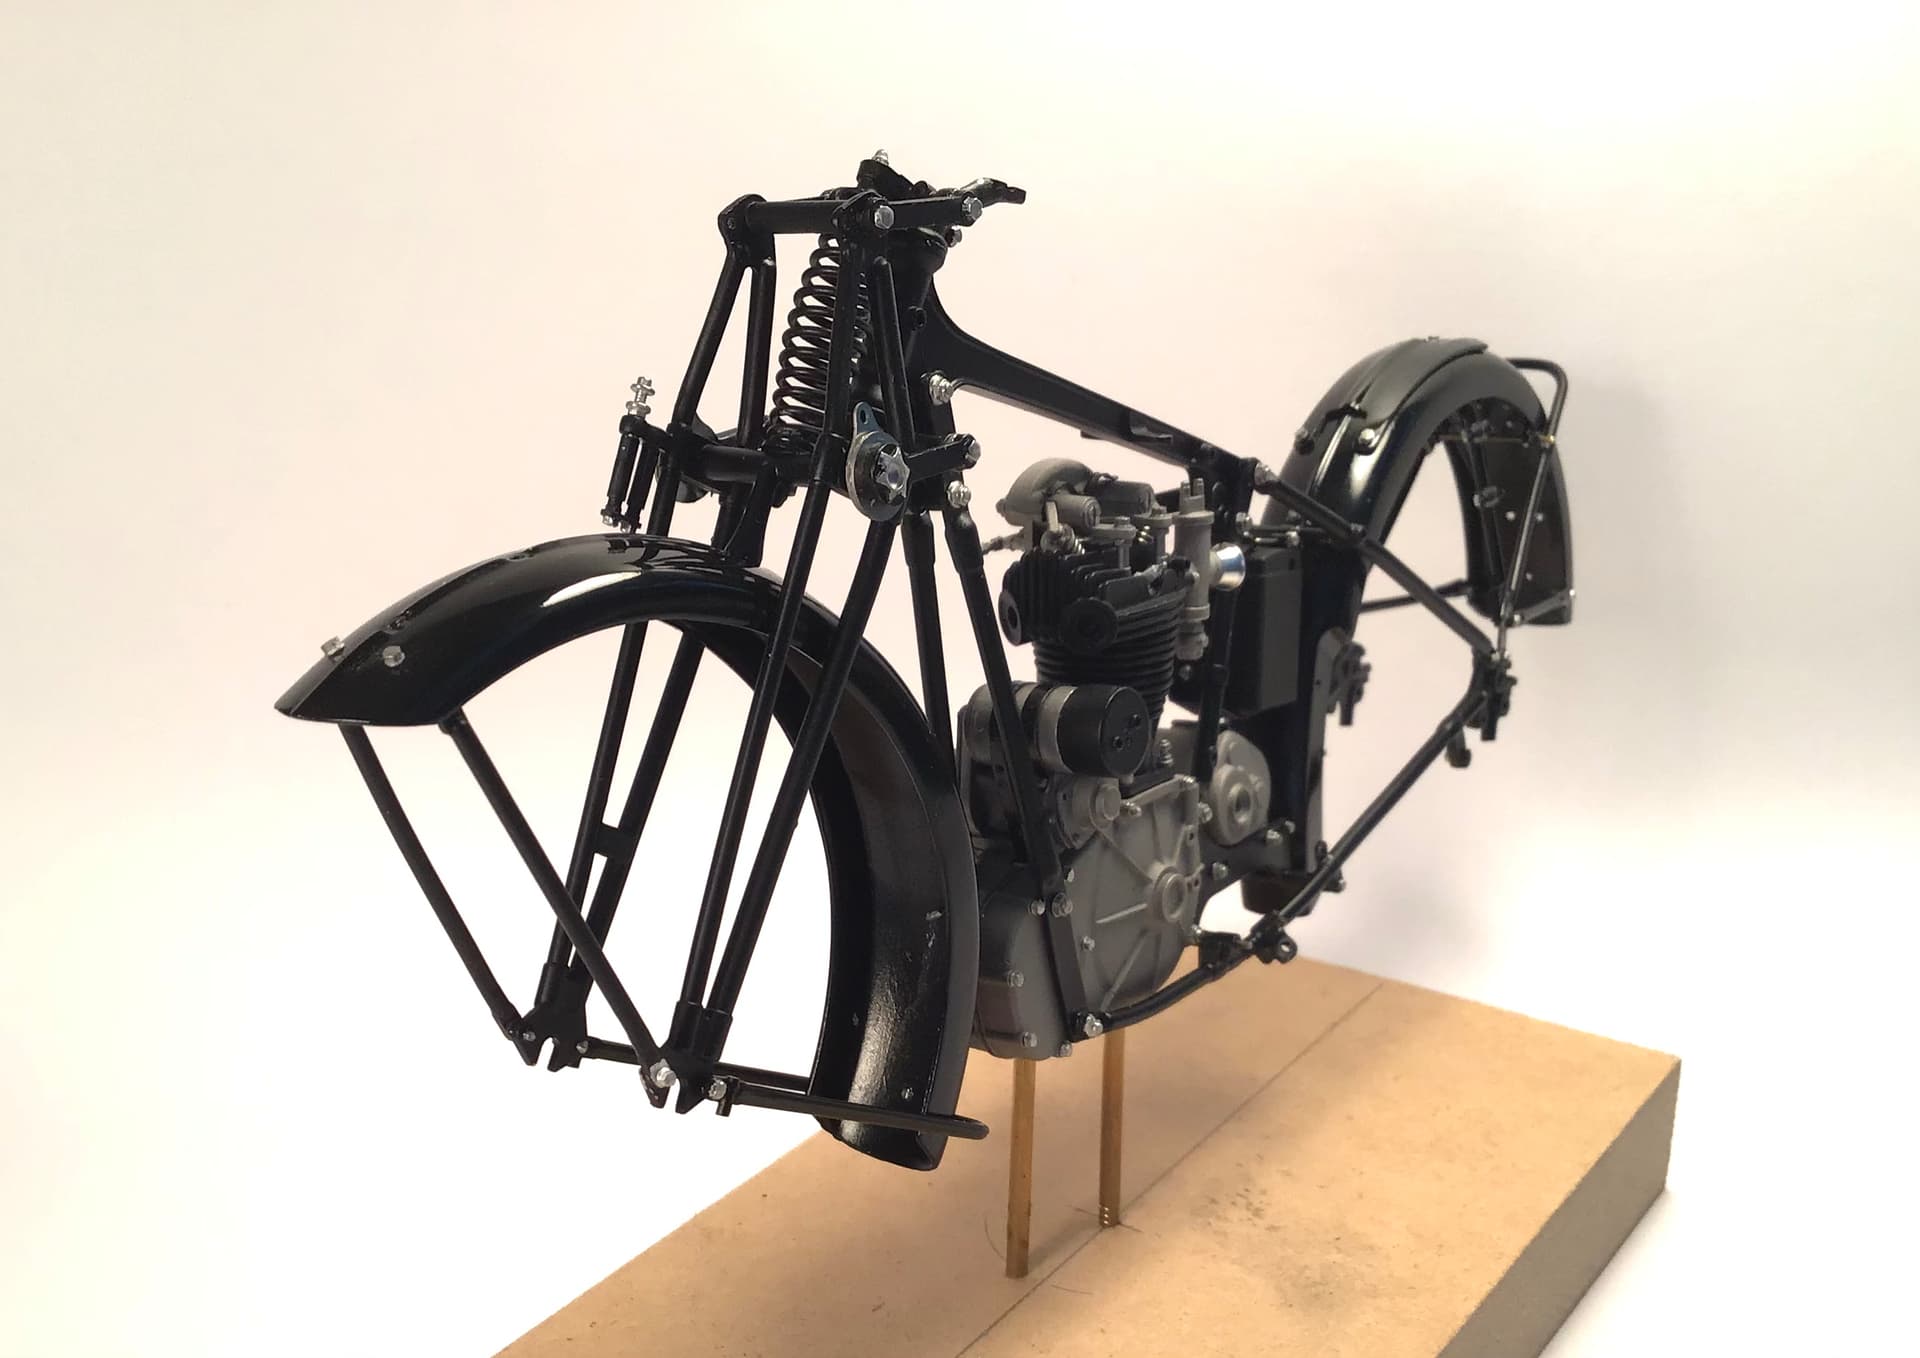
Haven’t had a lot of bench time but moving forward a bit … mudguards ( fenders to we former colonists) and their stays fitted . All done with 2 coats Tamiya Fine Grey primer ( rattle can) then Tamiya acrylic Gloss Black thinned 50/50 with Mr Color Leveling Thinner . All sanded between coats with 3000 sanding sponge.
I need to experiment with drying times for these acrylic paints - I left all untouched for 36 hours but handling still leaves fingerprints. Fortunately they buff right out with Blue Magic.
I am now at a crossroads regarding the bright work .
I would like to try to electroplate the parts with bright nickel. I have a home plating setup from Caswell that I used on my Norton ES2 years ago - works beautifully but I need to replenish the electrolyte baths and the components are costly . If I knew I would be doing further
plating I wouldn’t hesitate to purchase the components but for a few small parts on the model it may be more than I want to spend . I will polish all up as that needs doing before plating anyway then make up my mind .
Thanks for looking!
Cheers- Richard
I love the work on the frame and fenders so far. Finish looks very glossy. If you nickel plate the plates that’s going to add a whole new dimension to the finish. Sounds like you need another 1:1 project so you can it as a side job 
cheers
Michael
1 Like
Richard,
The bike type fenders looks outstanding in their gloss Black paint.
As for the drying times of Tamiya Acrylic Lacquer and Gunze Mr. Color Lacquers, what I’ve worked out through plenty of paint jobs is that Matt or Satin finishes only need 24 hrs before polishing out as they’re dry and cured. But semi gloss and Gloss needs 3 to 4 times that, with the same air temps and humidity. I go a min of 4 days which is the same for their gloss clear coats. Semi Gloss is usually 3 days.
I would assume that straight acrylics take less time, and enamels take way, way longer, and here I’m talking weeks or even longer.
Electroplating sounds like a huge step towards absolute realism, but at a equally large increase in model expenditure. If you can reproduce the desired effect with lets say Alcad 2’s, I’d go that way, especially if the parts are small and few in number.
joel
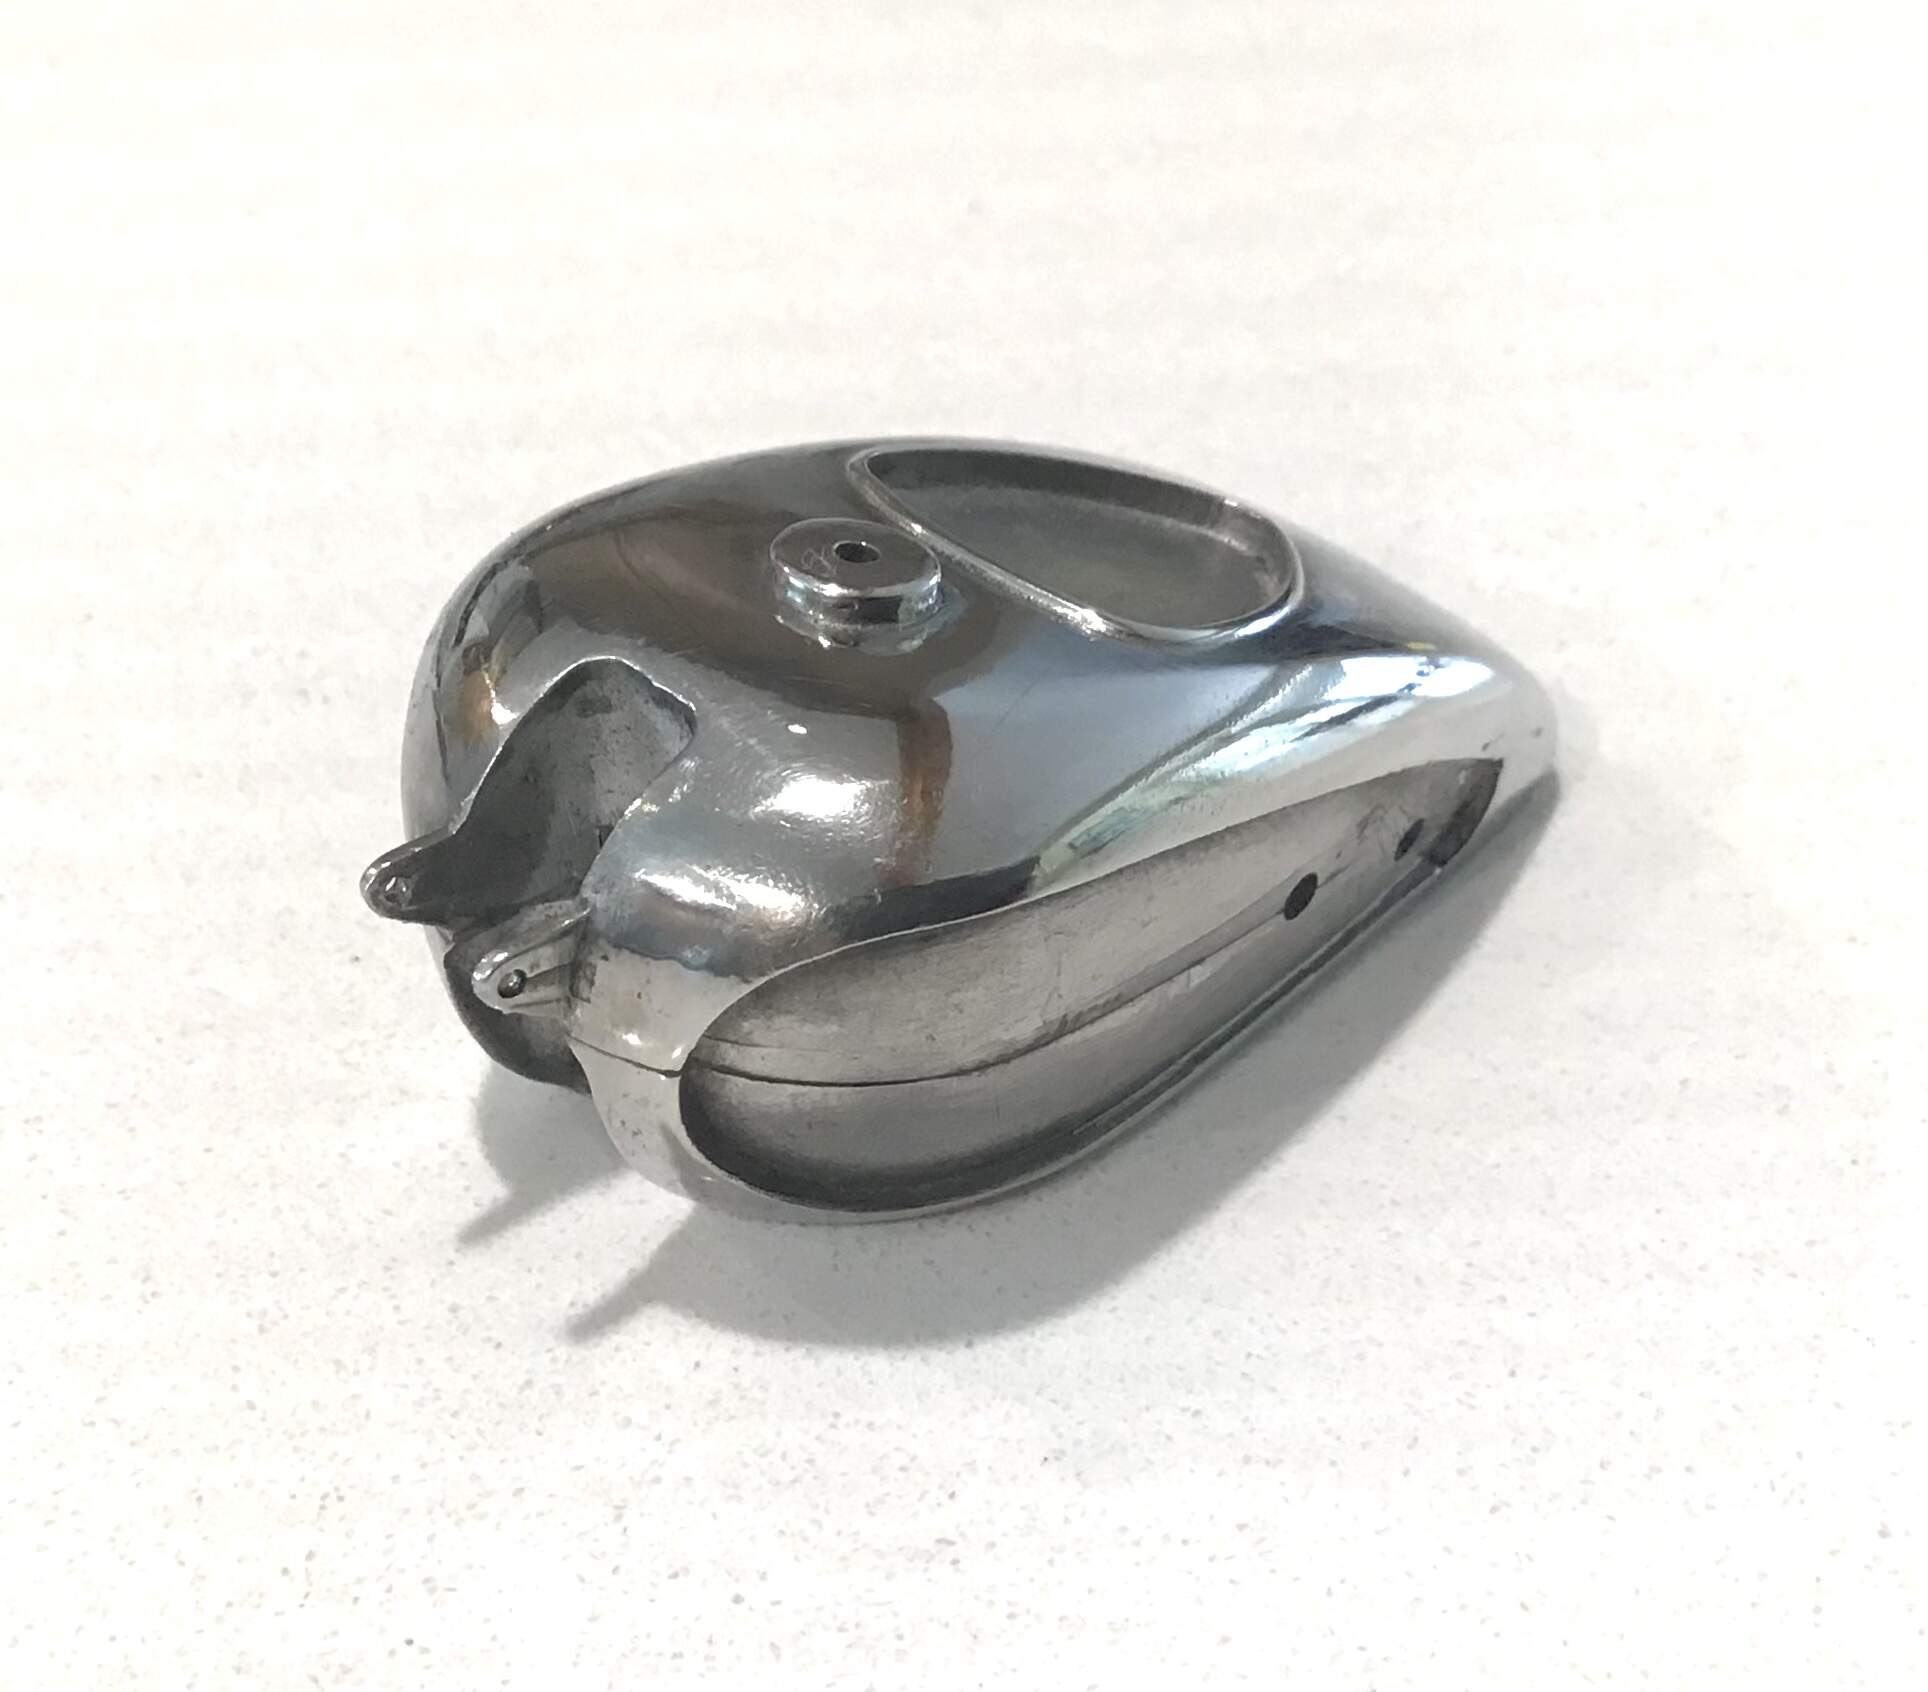
Thanks Joel & Michael - I’ve decided to axe the nickel plating idea . The cost of the chemicals before shipping is in the $ 250. range - more than I’m willing to spend and that doesn’t include any replacement of the tank heaters or agitation pumps if it becomes necessary. I haven’t used any of my plating stuff in 10 years or so - I could test all first but even at a minimum of $ 250. it’s half the cost of the kit . I have assembled the main part of the fuel tank and done some preliminary polishing and I think it will be fine without resorting to plating .
2 Likes
Richard,
Now that’s one impressive finish on the tank. Is that all done by hand, or do you use a tumbler as well?
joel
Hand sanding 600 , 1000 , 1500 , 3000 then polish with Dremel & Blue Magic .
Richard,
Your finishes are way better then mine, and I go all the way through 12,000. I suspect that it’s both the Blue Magic being a better overall polish then Gravities 4 part system, and the use of a Dremel vs my hands where there’s zero consistency in polishing technique.
joel
1 Like
Thanks Joel - I doubt my paint finishes are better than yours . I think that the white metal being harder than paint better lends itself to polishing .
Richard,
That’s for sure.
joel
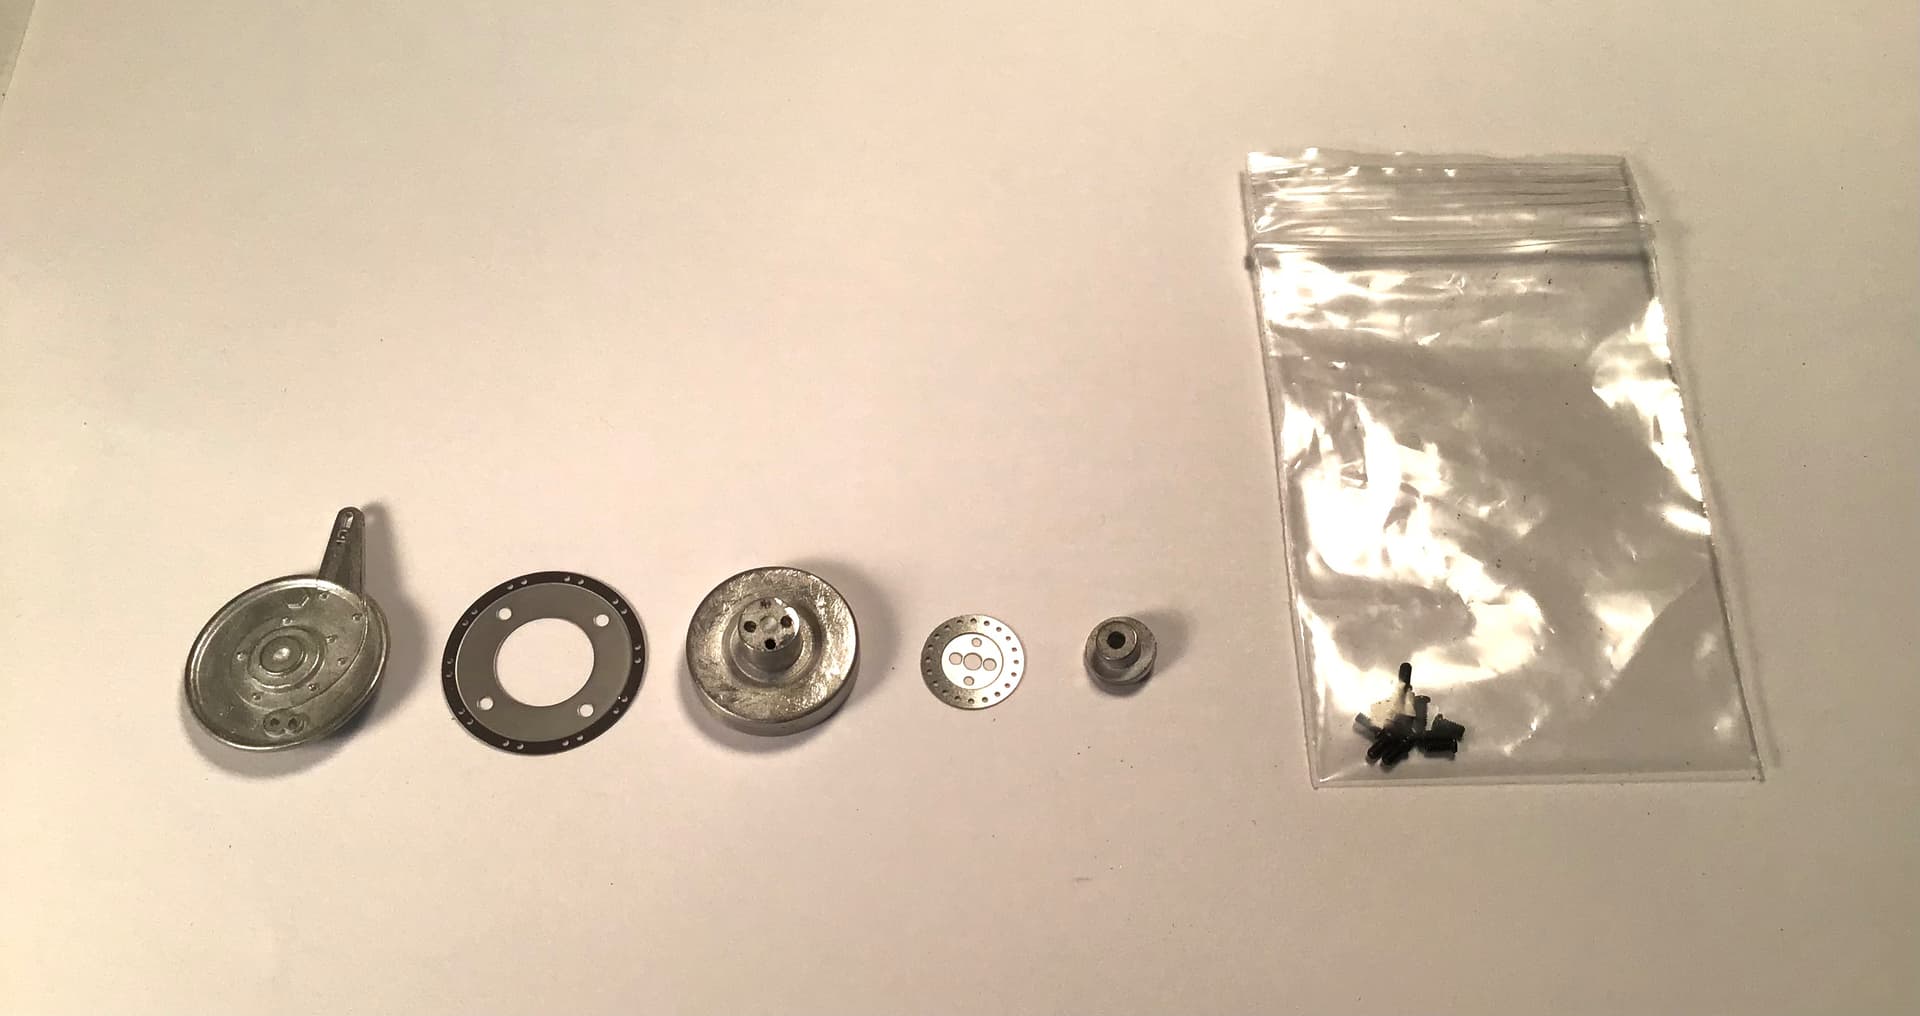
I’ve begun work on the wheels starting with the hubs/brake drums . Clever use of photo etch plates for the spoke flanges .
Next up will be drilling the rims , polishing the rims and painting the rim centers . MFH makes no mention of the rim centers but most British bikes of this era including this one had the rim centers painted and coach lined
( striping ) between the paint and chrome . They indeed know of it because their Vincent kits have it and include decals for the coach lining. I need to source some high quality solid color gold decal paper ( or paint some decal paper ) to cut the stripes from. Can anyone recommend a source ? Thanks- RT
2 Likes