Mil Mi-24 Hind build

Hello everyone!

As I talked about in another post I plan to finish another model before the show on September 9th.

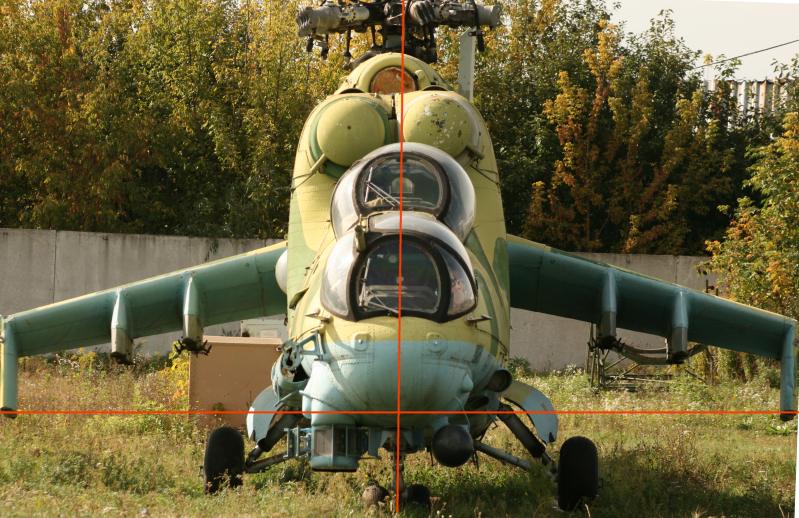
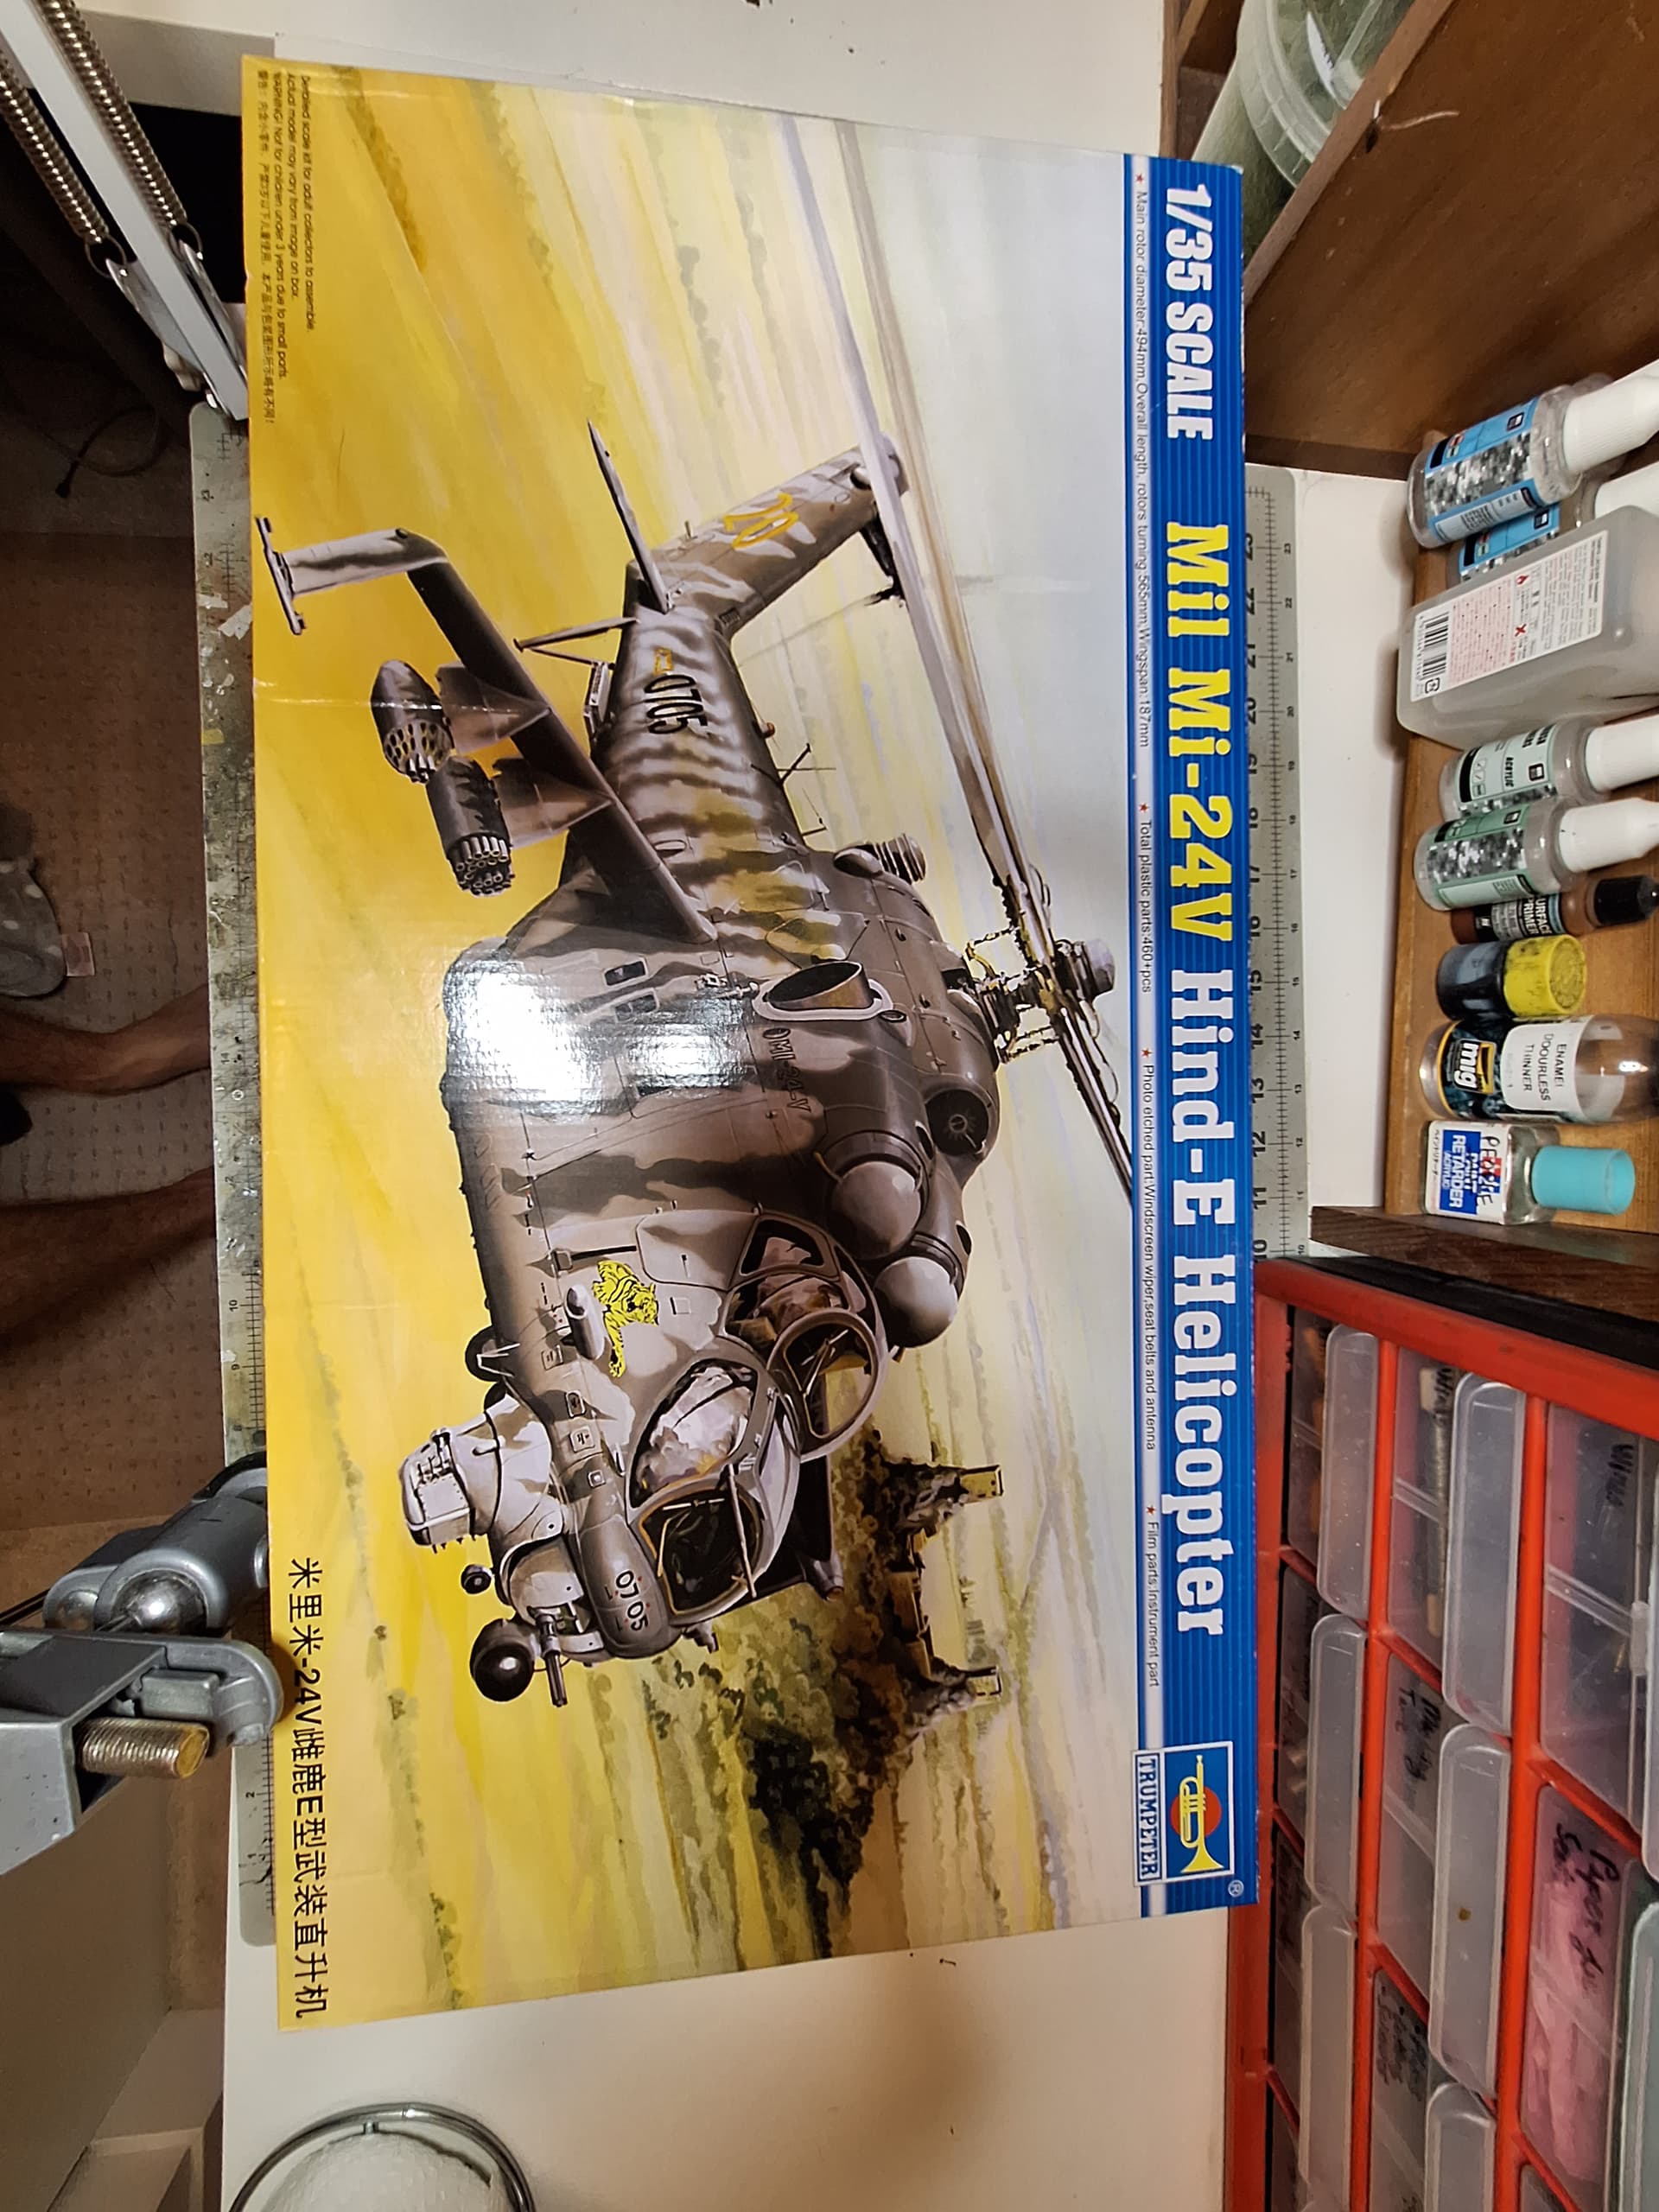
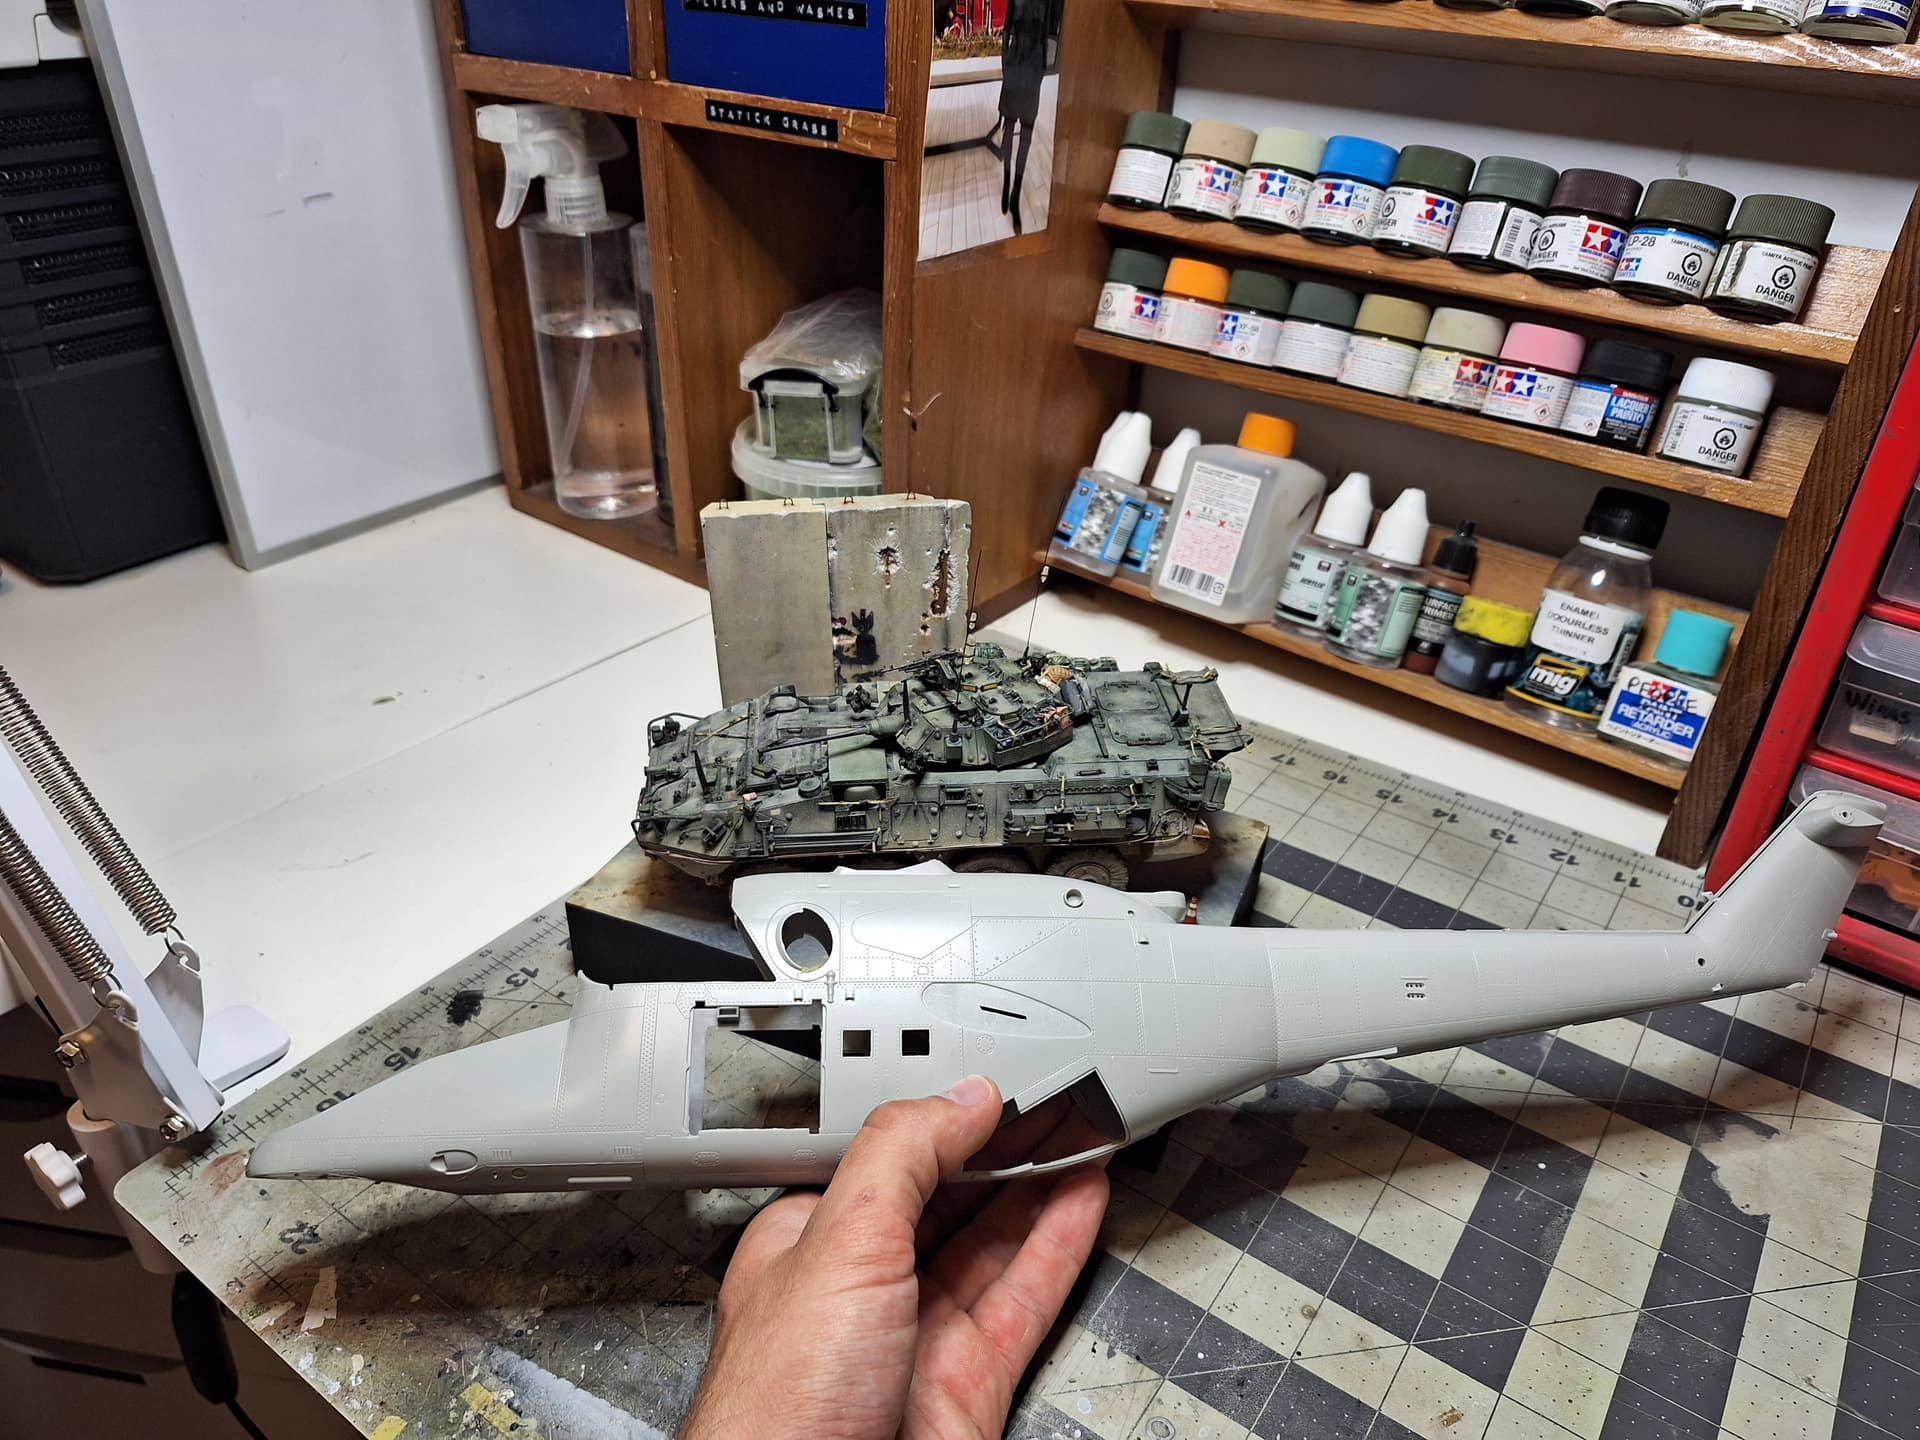
And here it is, 1/35 trumpeter hind.

This thing is MASSIVE, here it is compared to a 1/35 LAV 3 which in itself is huge.

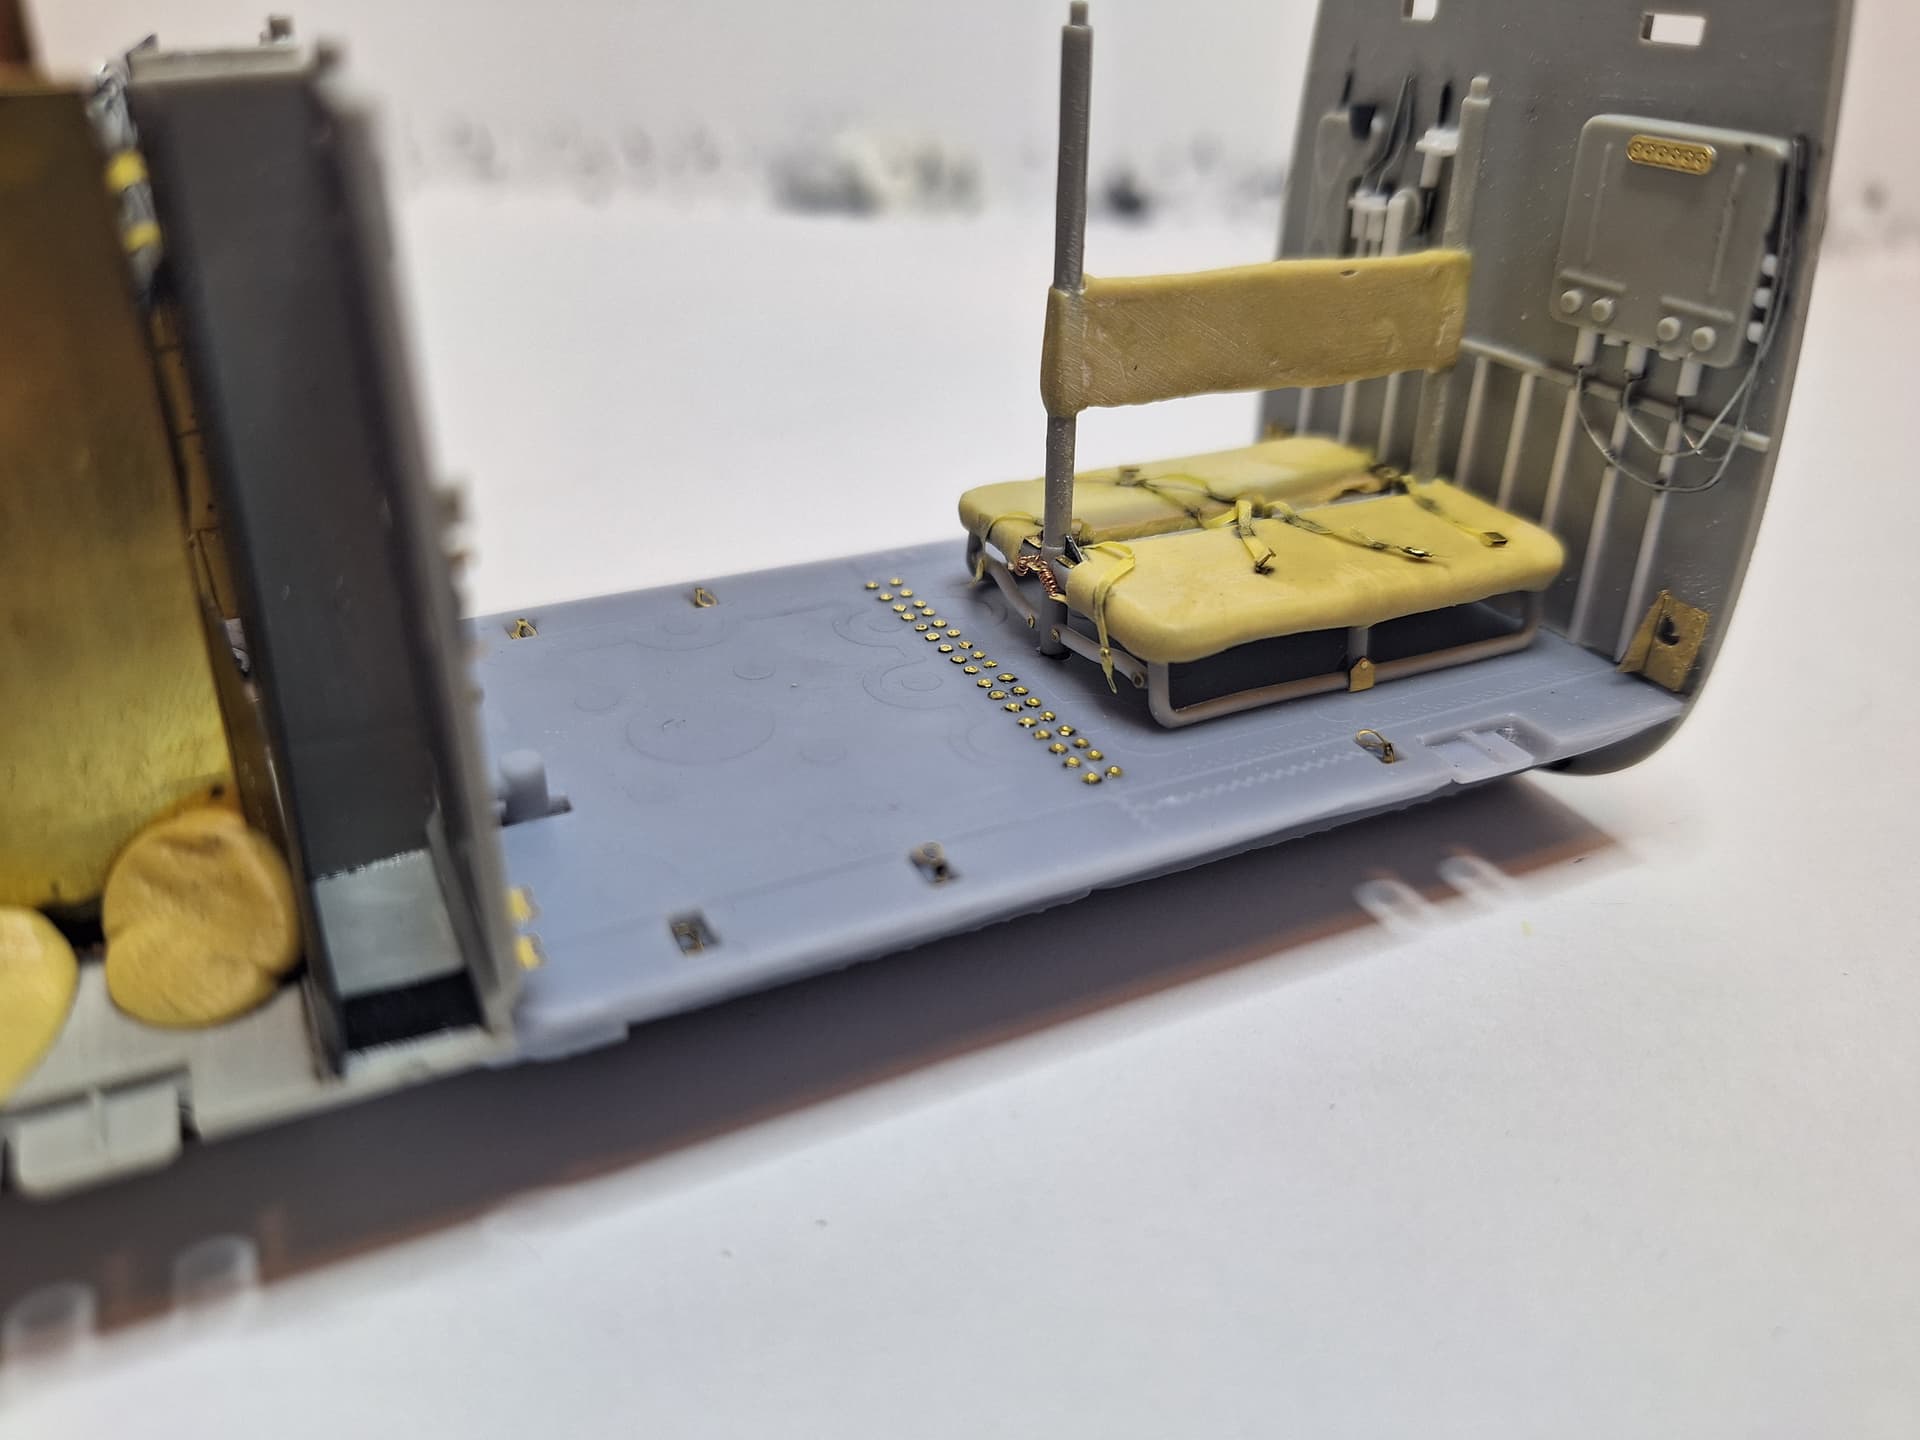
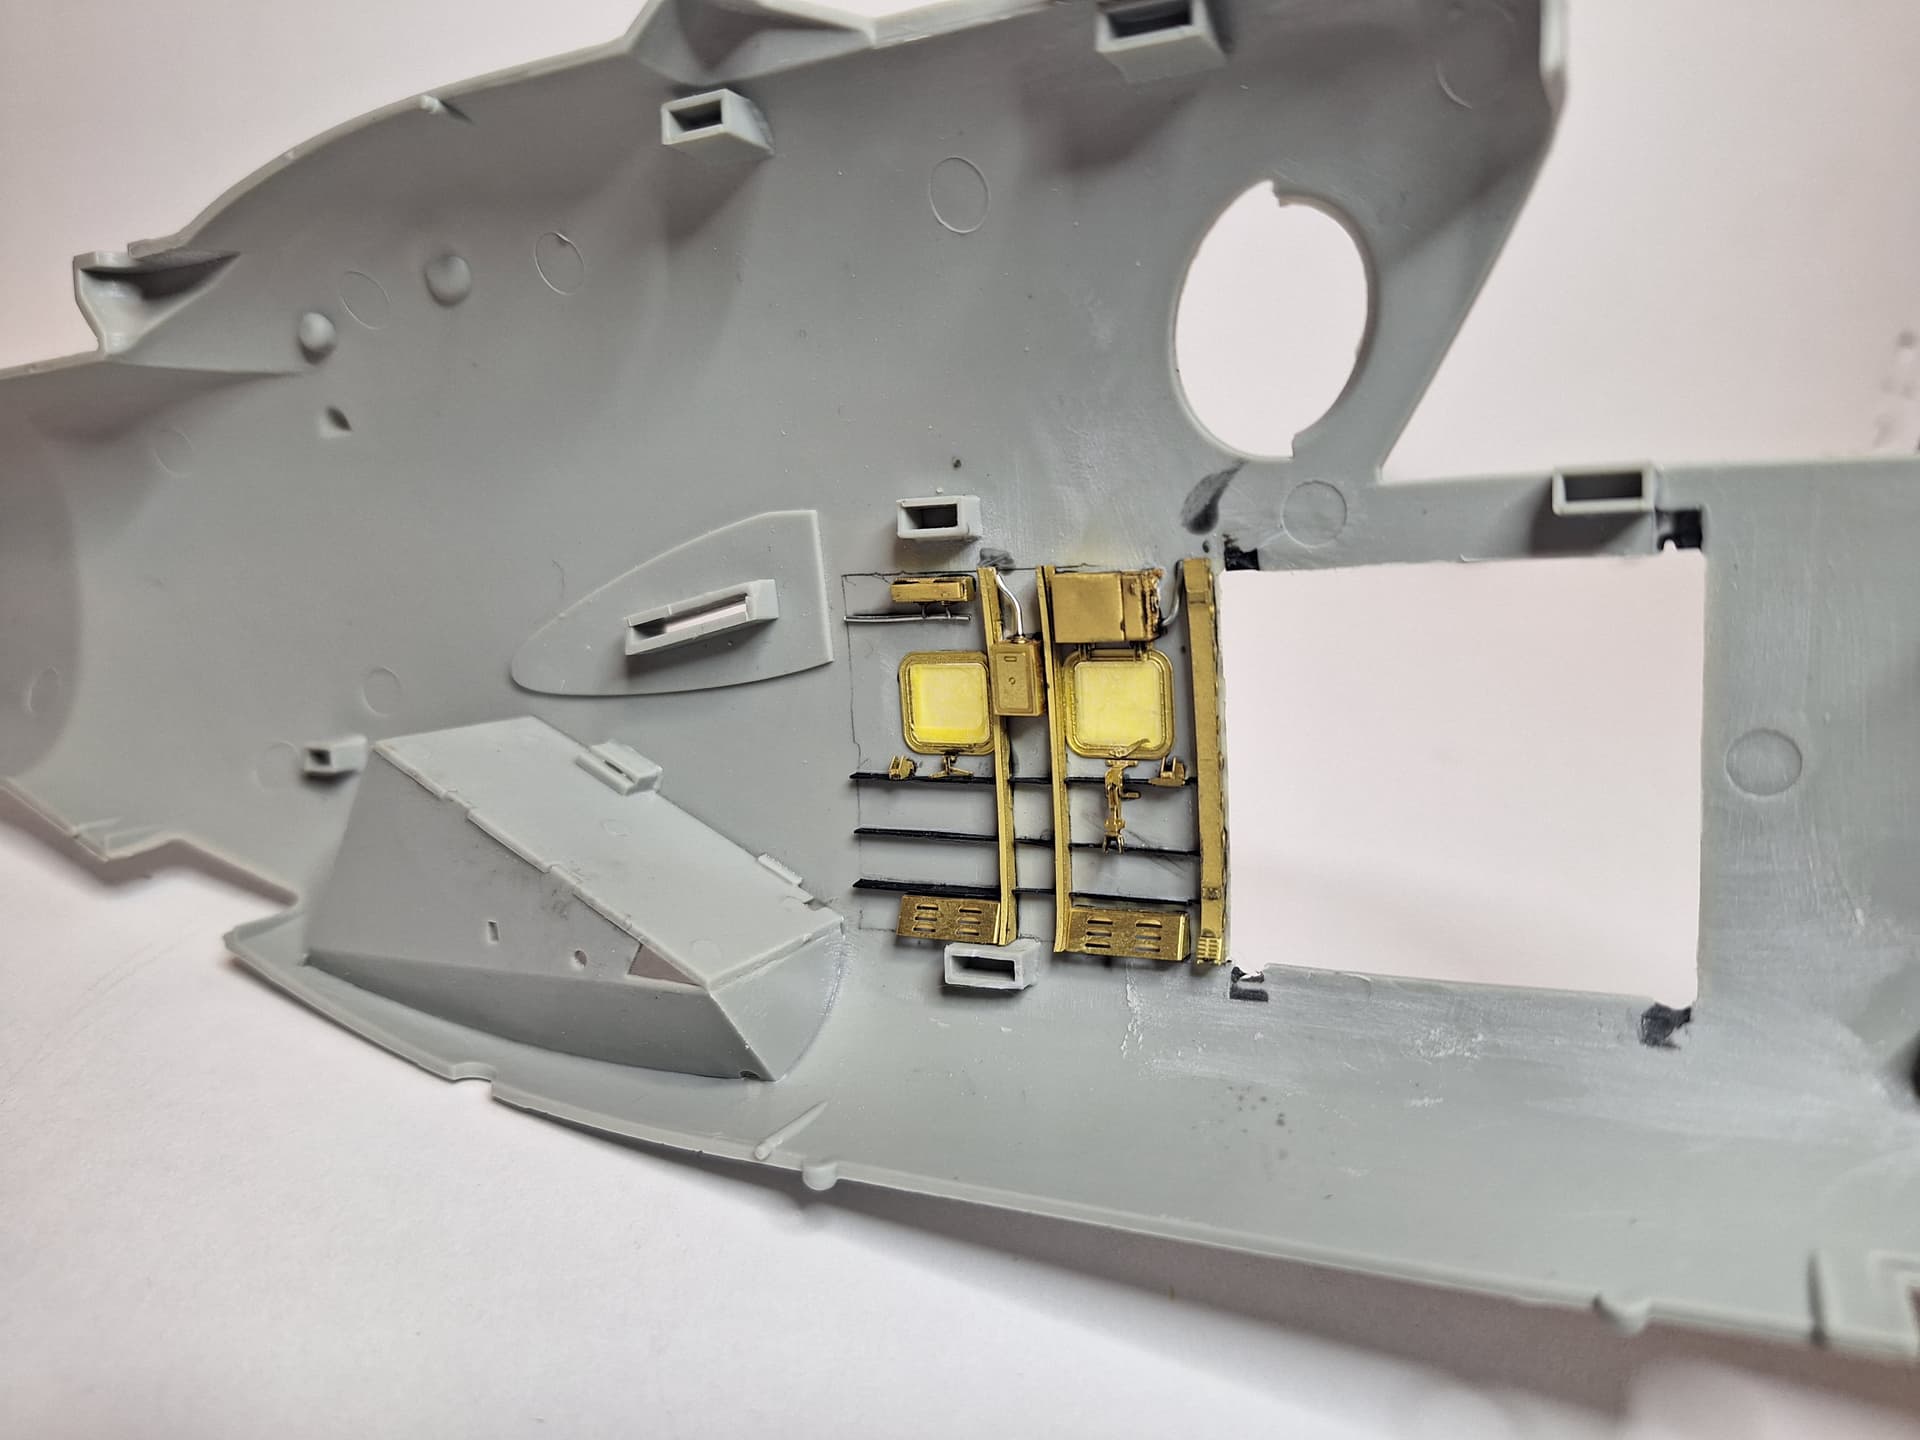
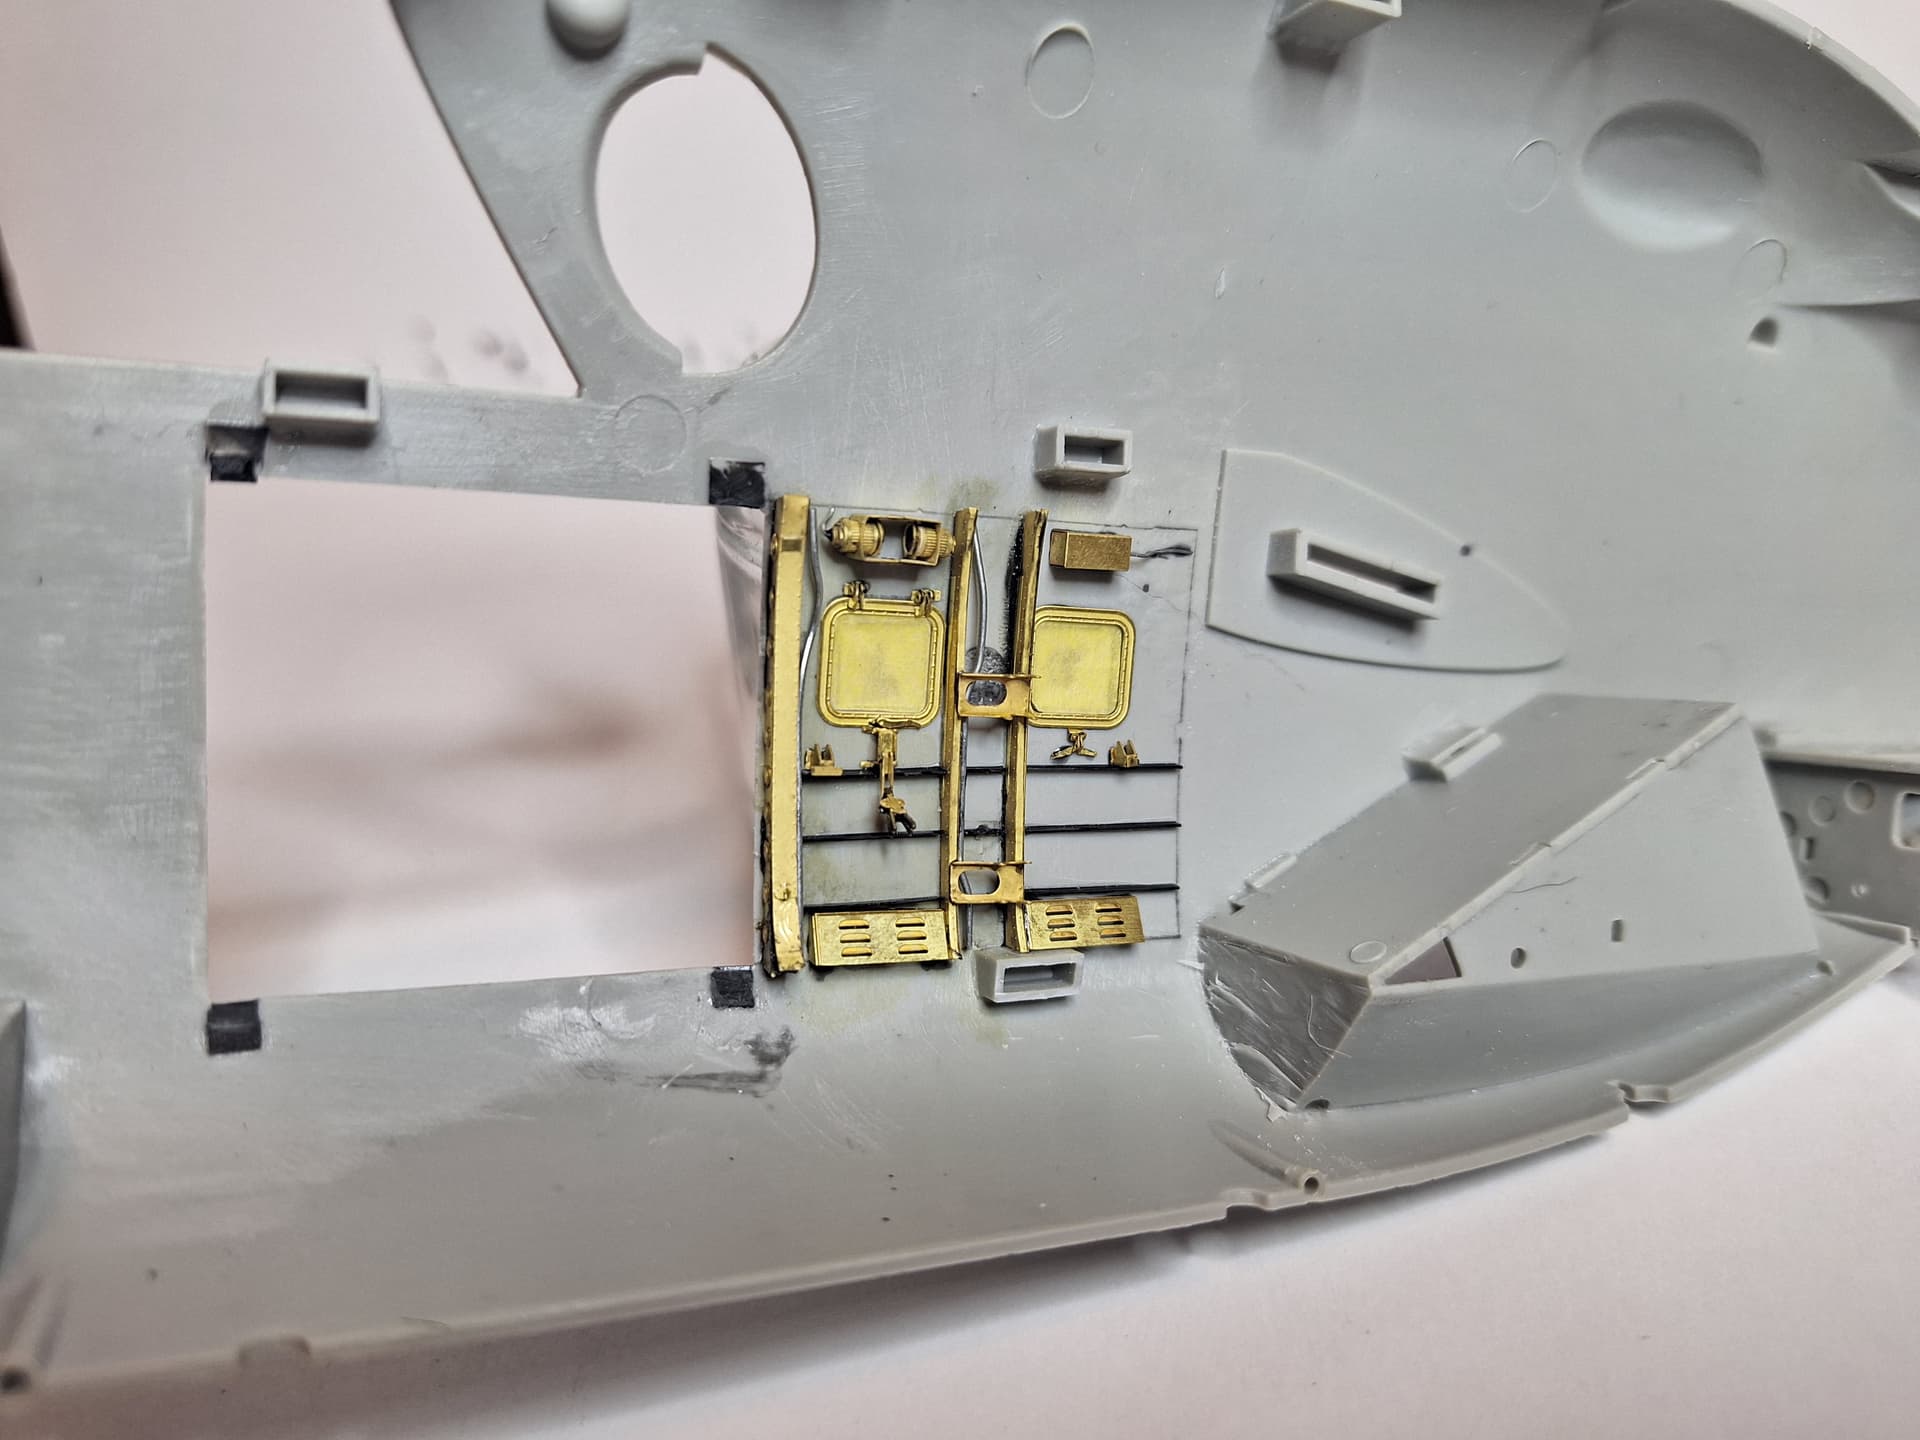
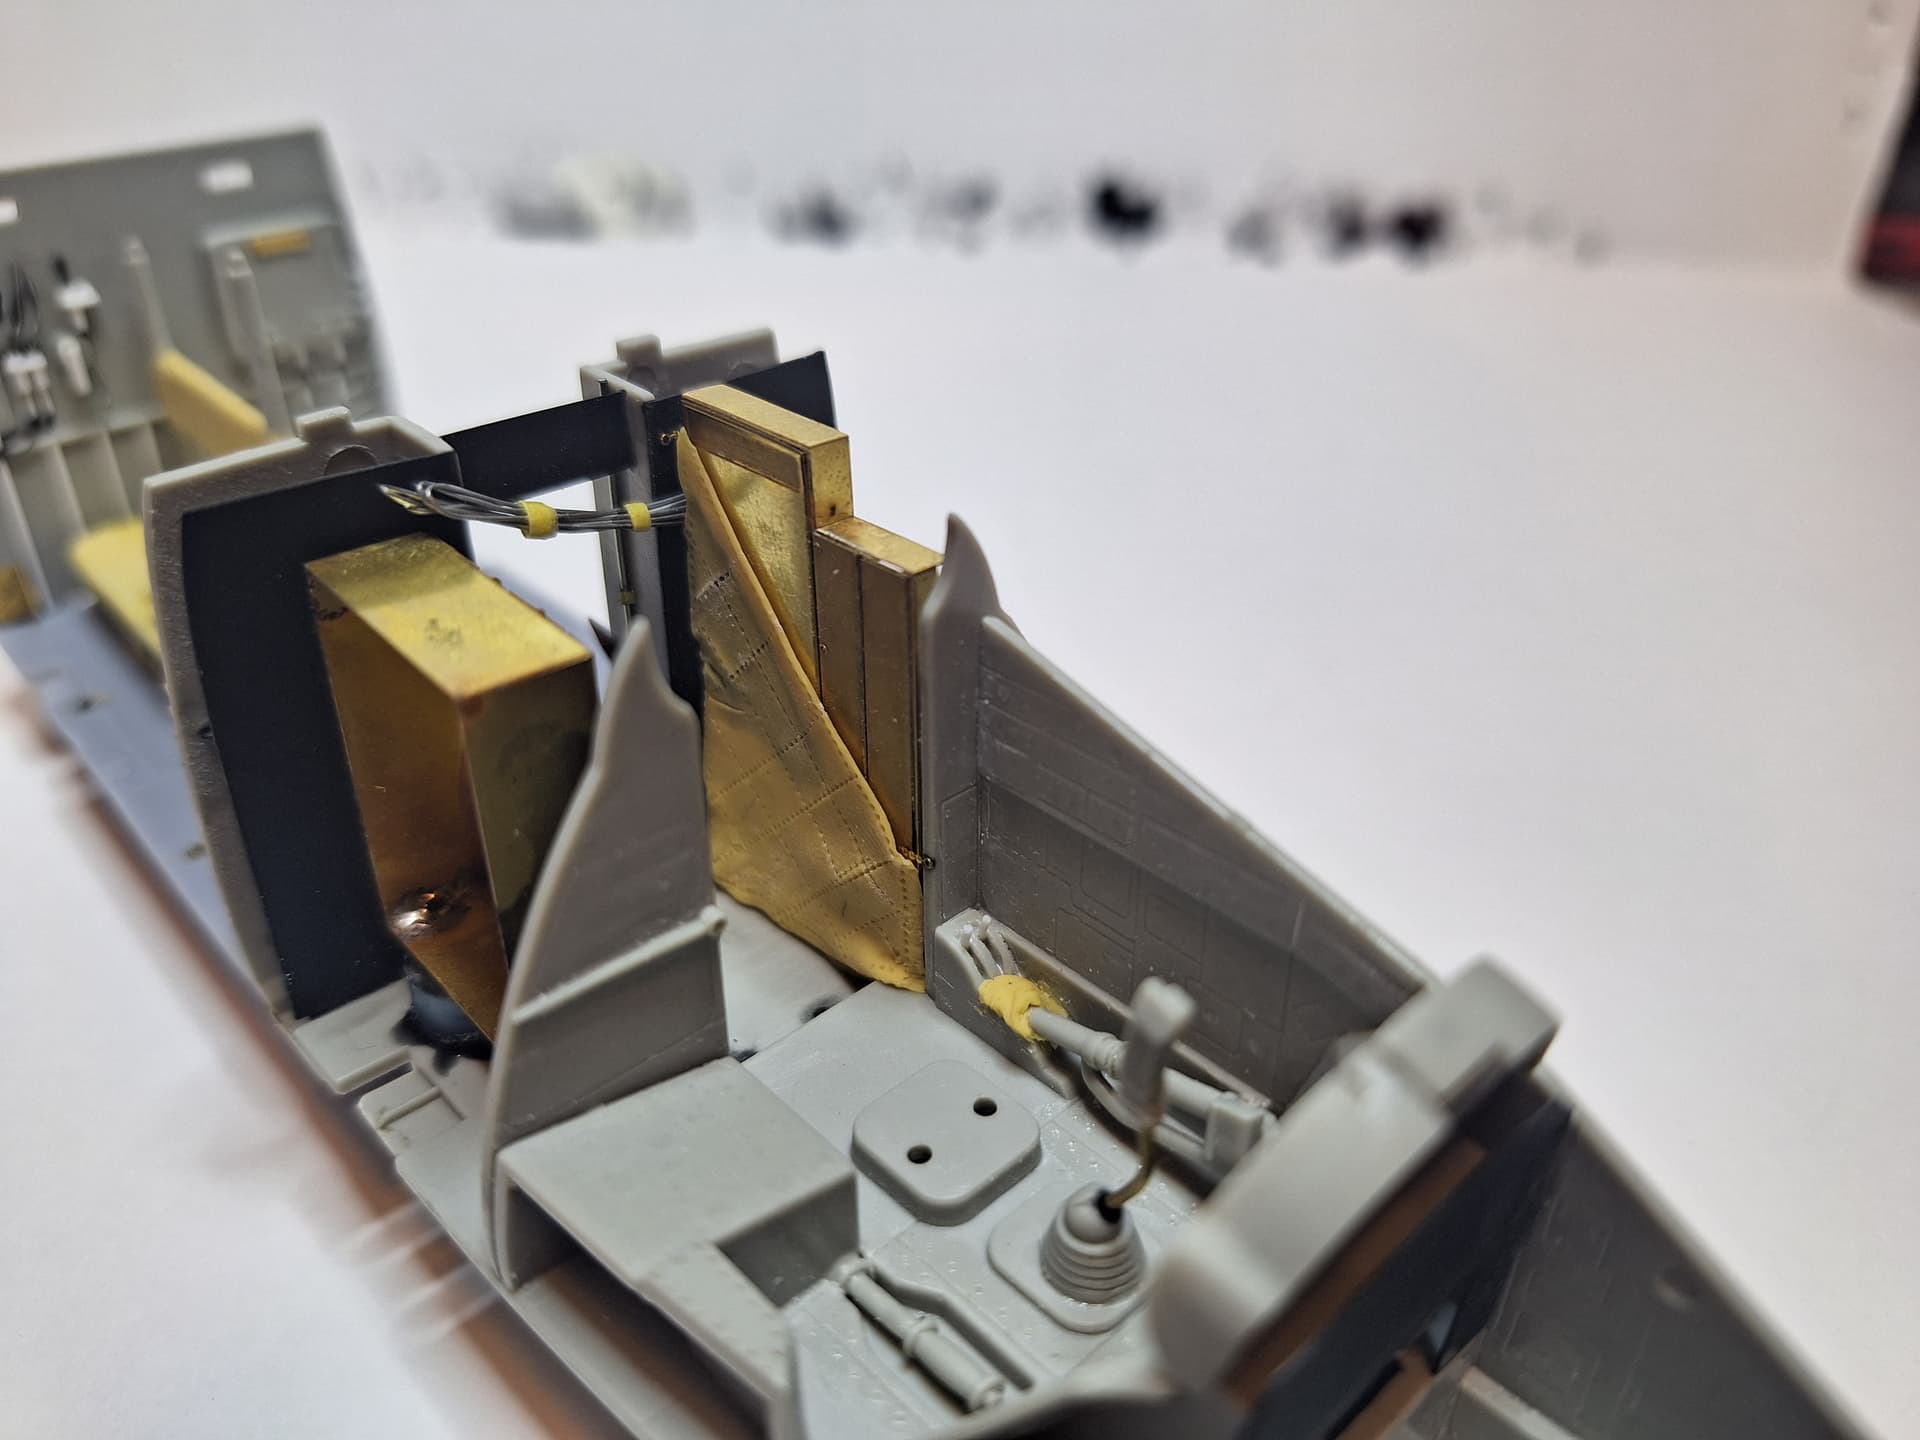
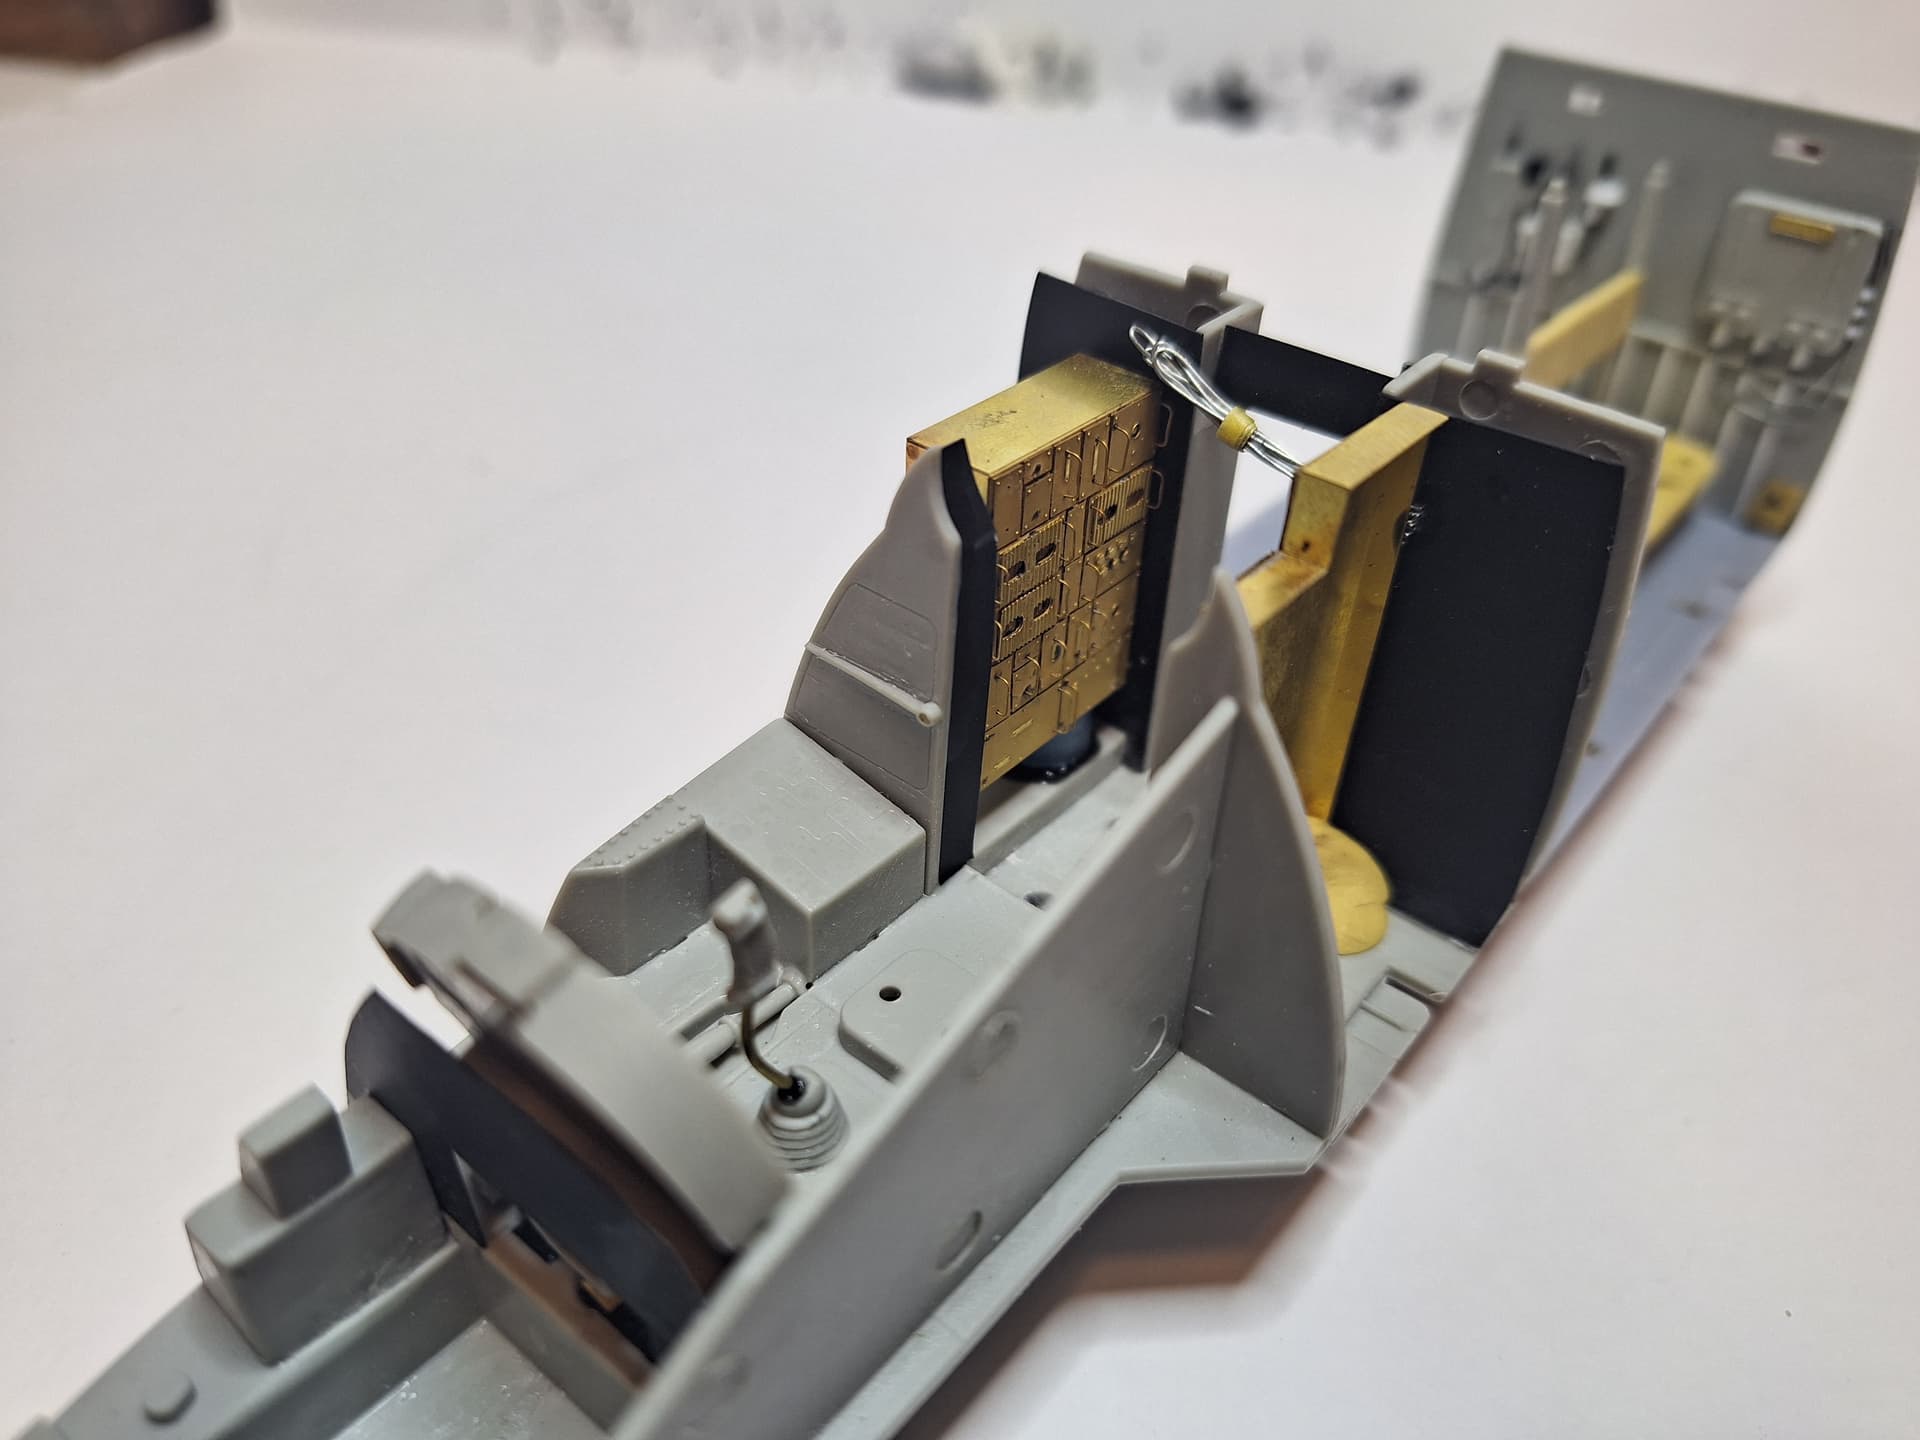
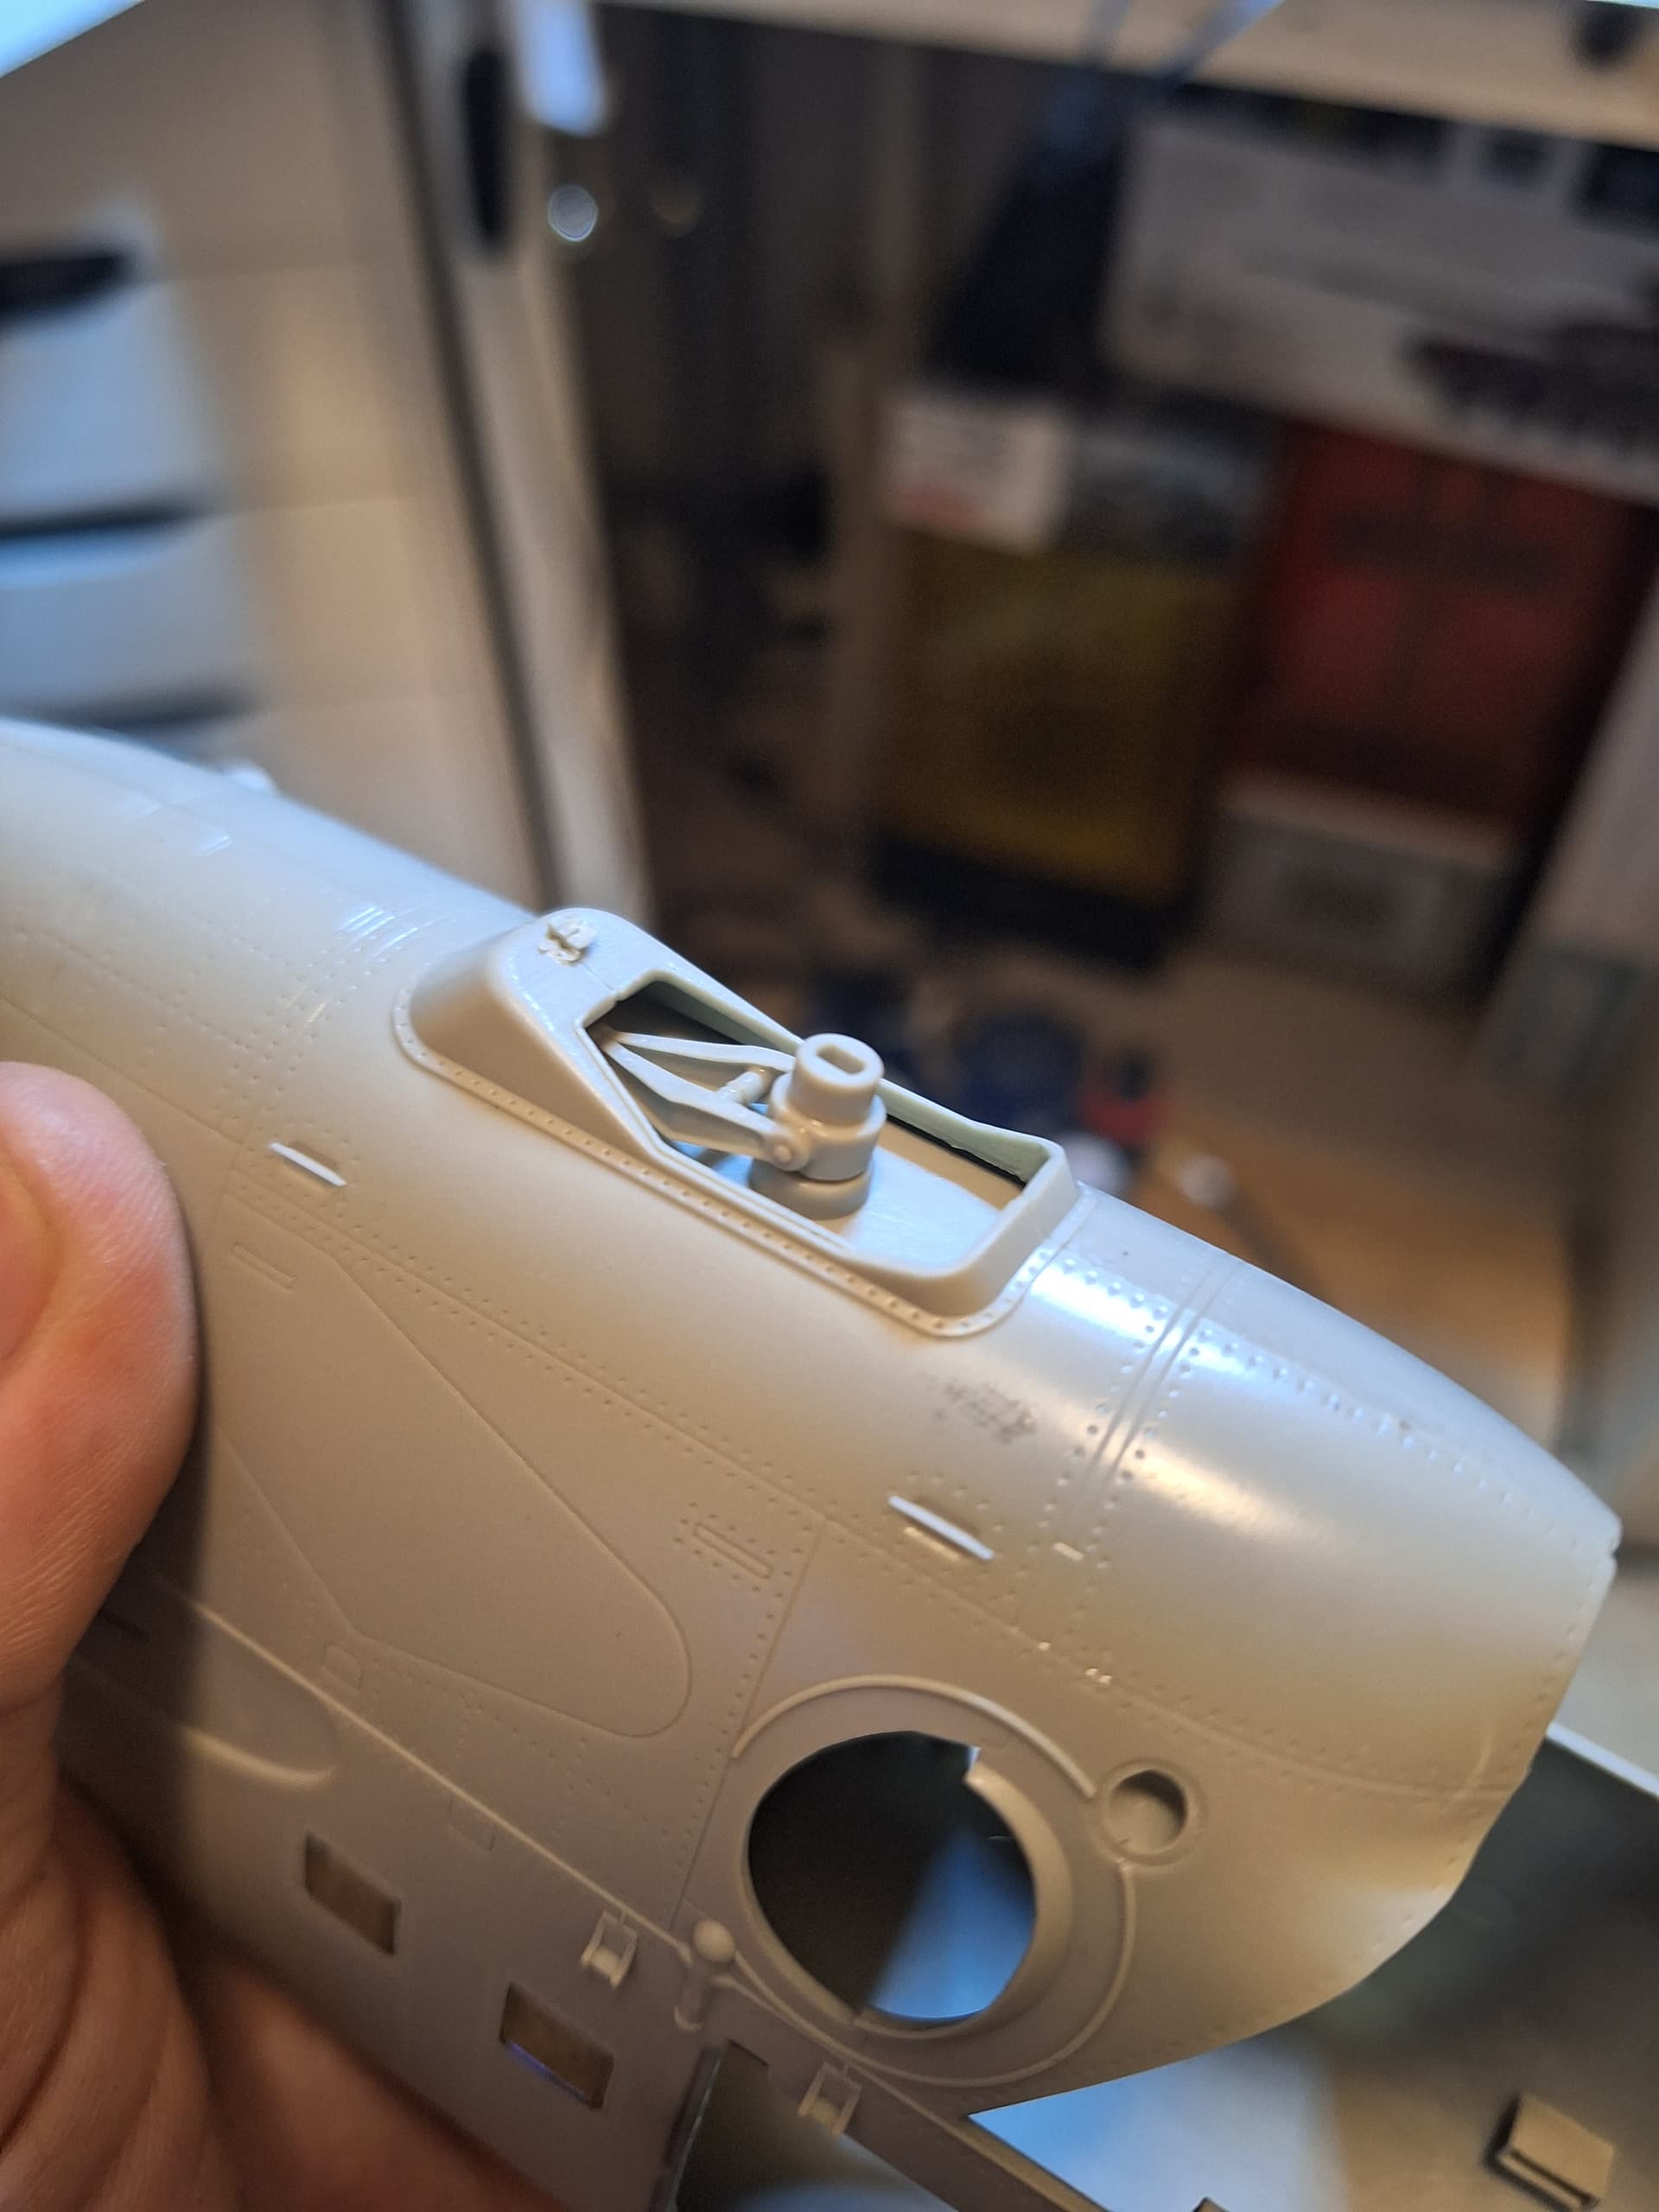
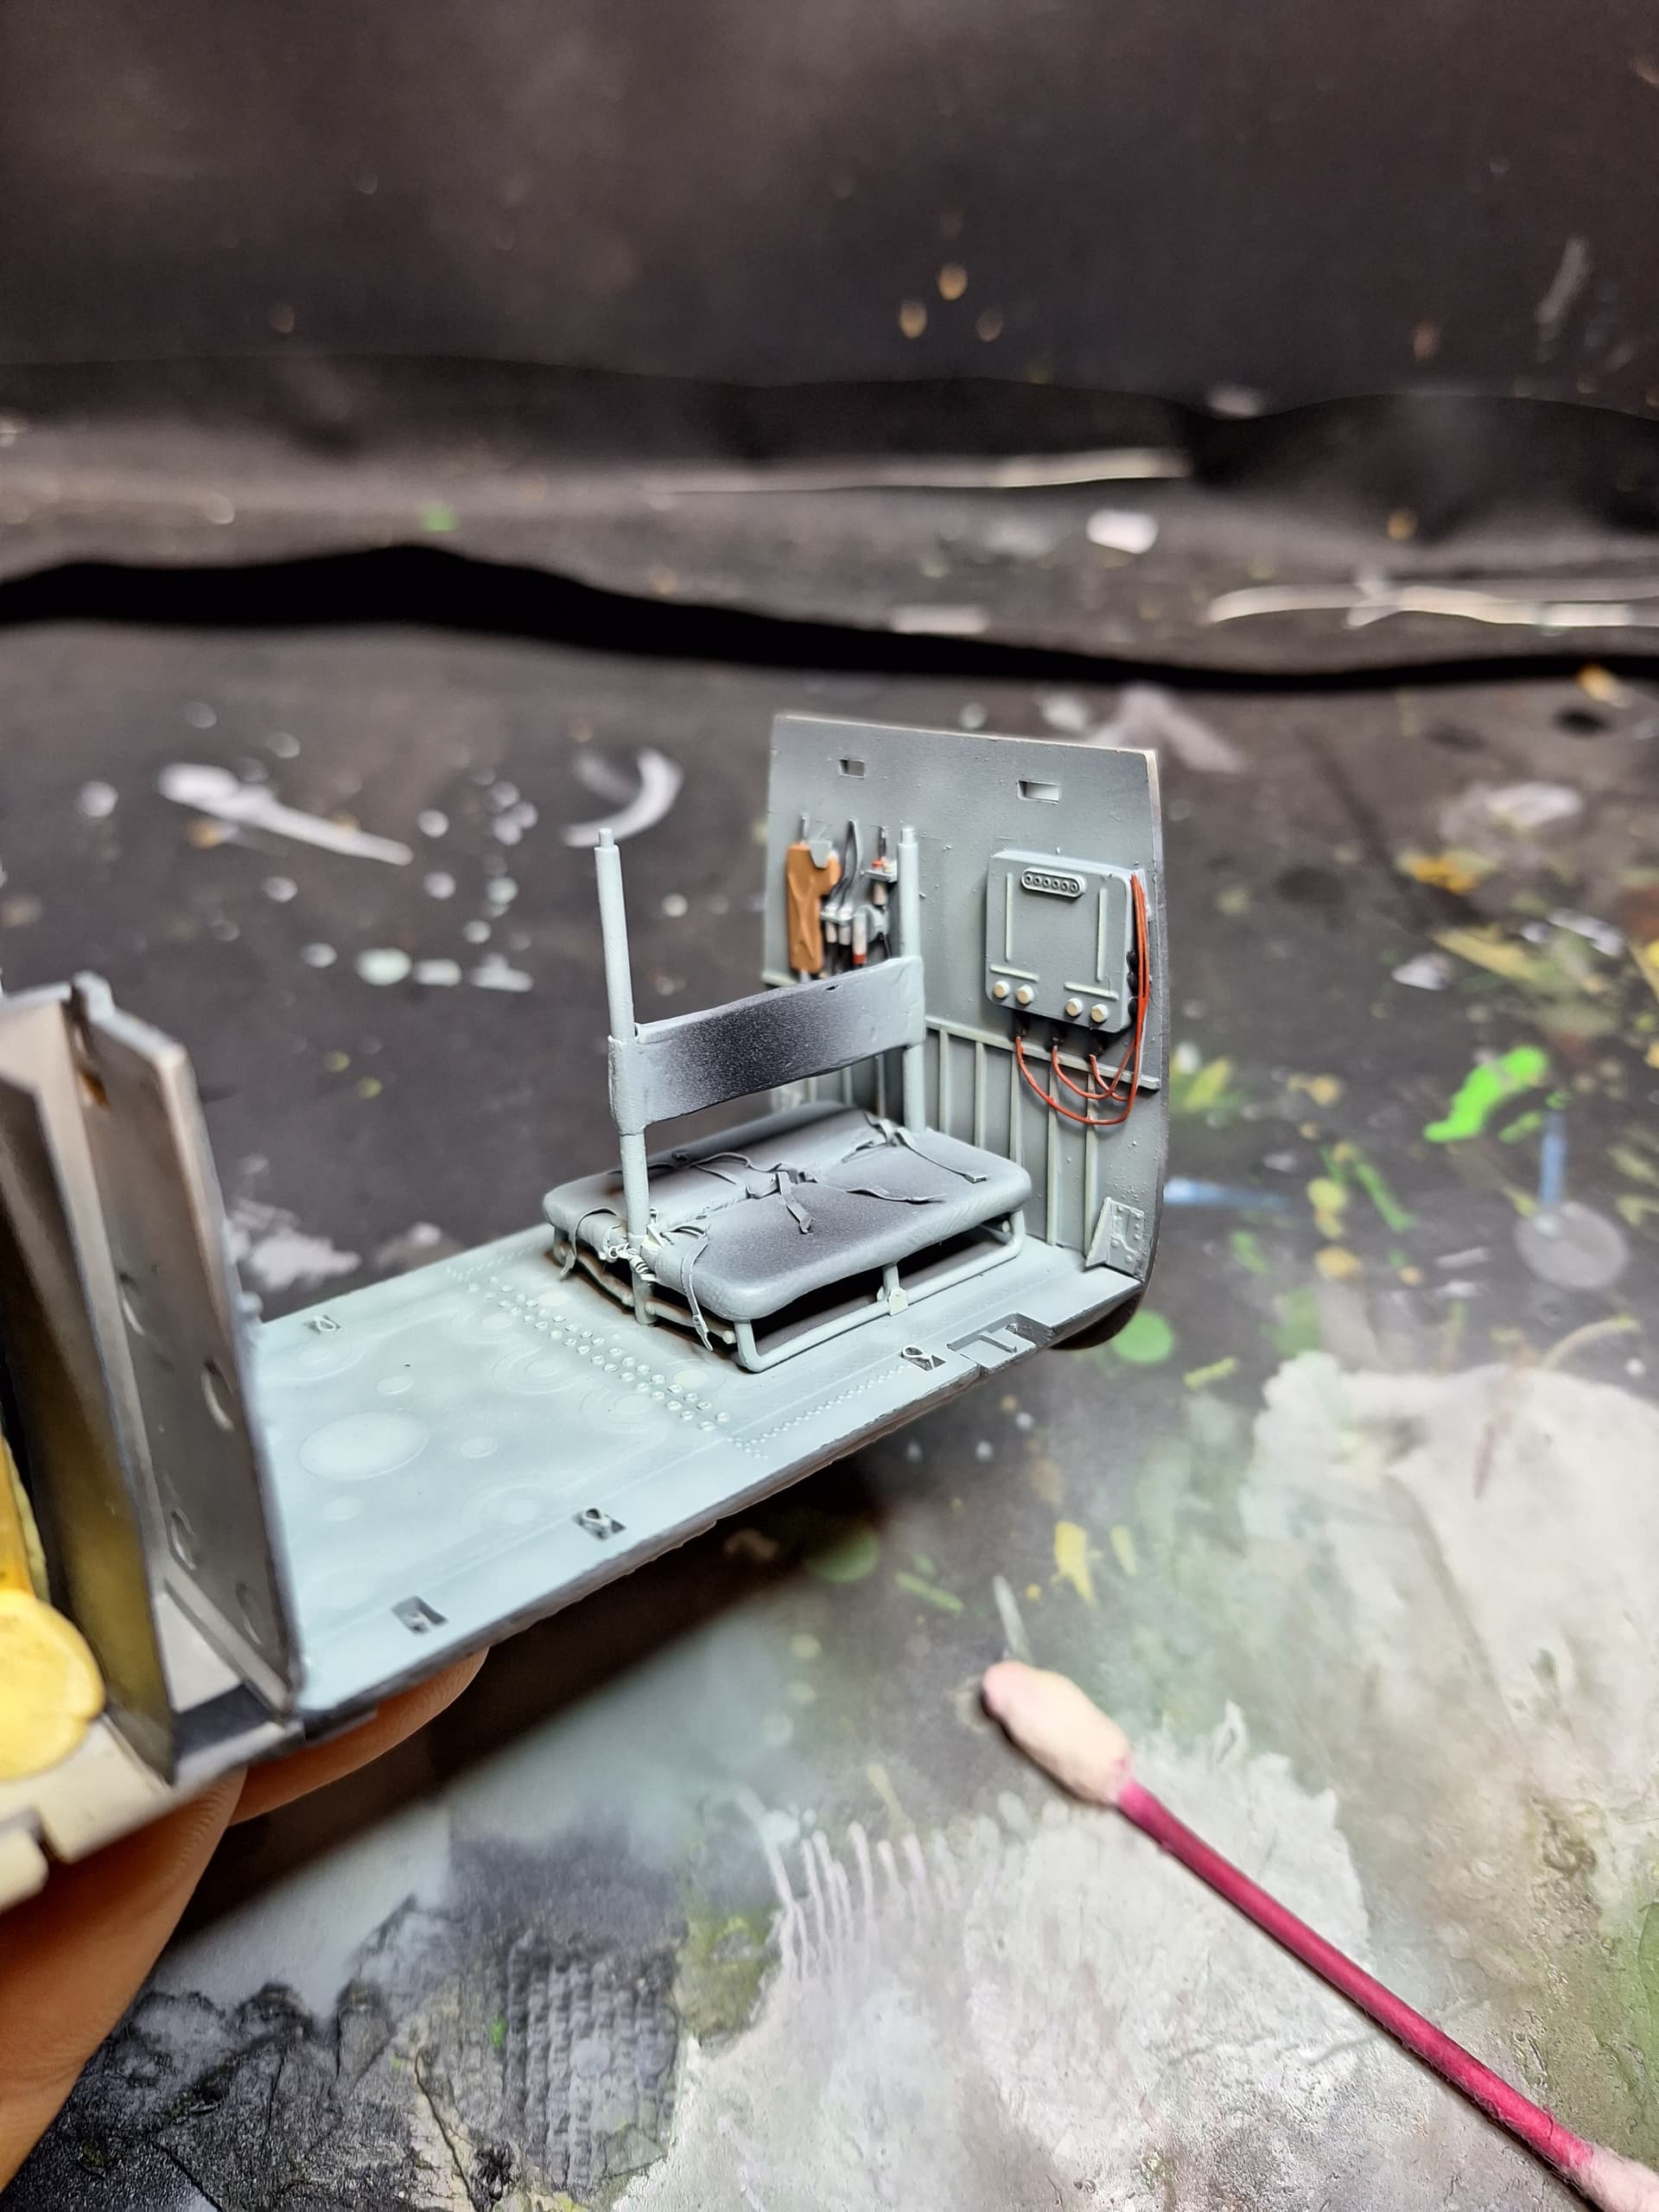
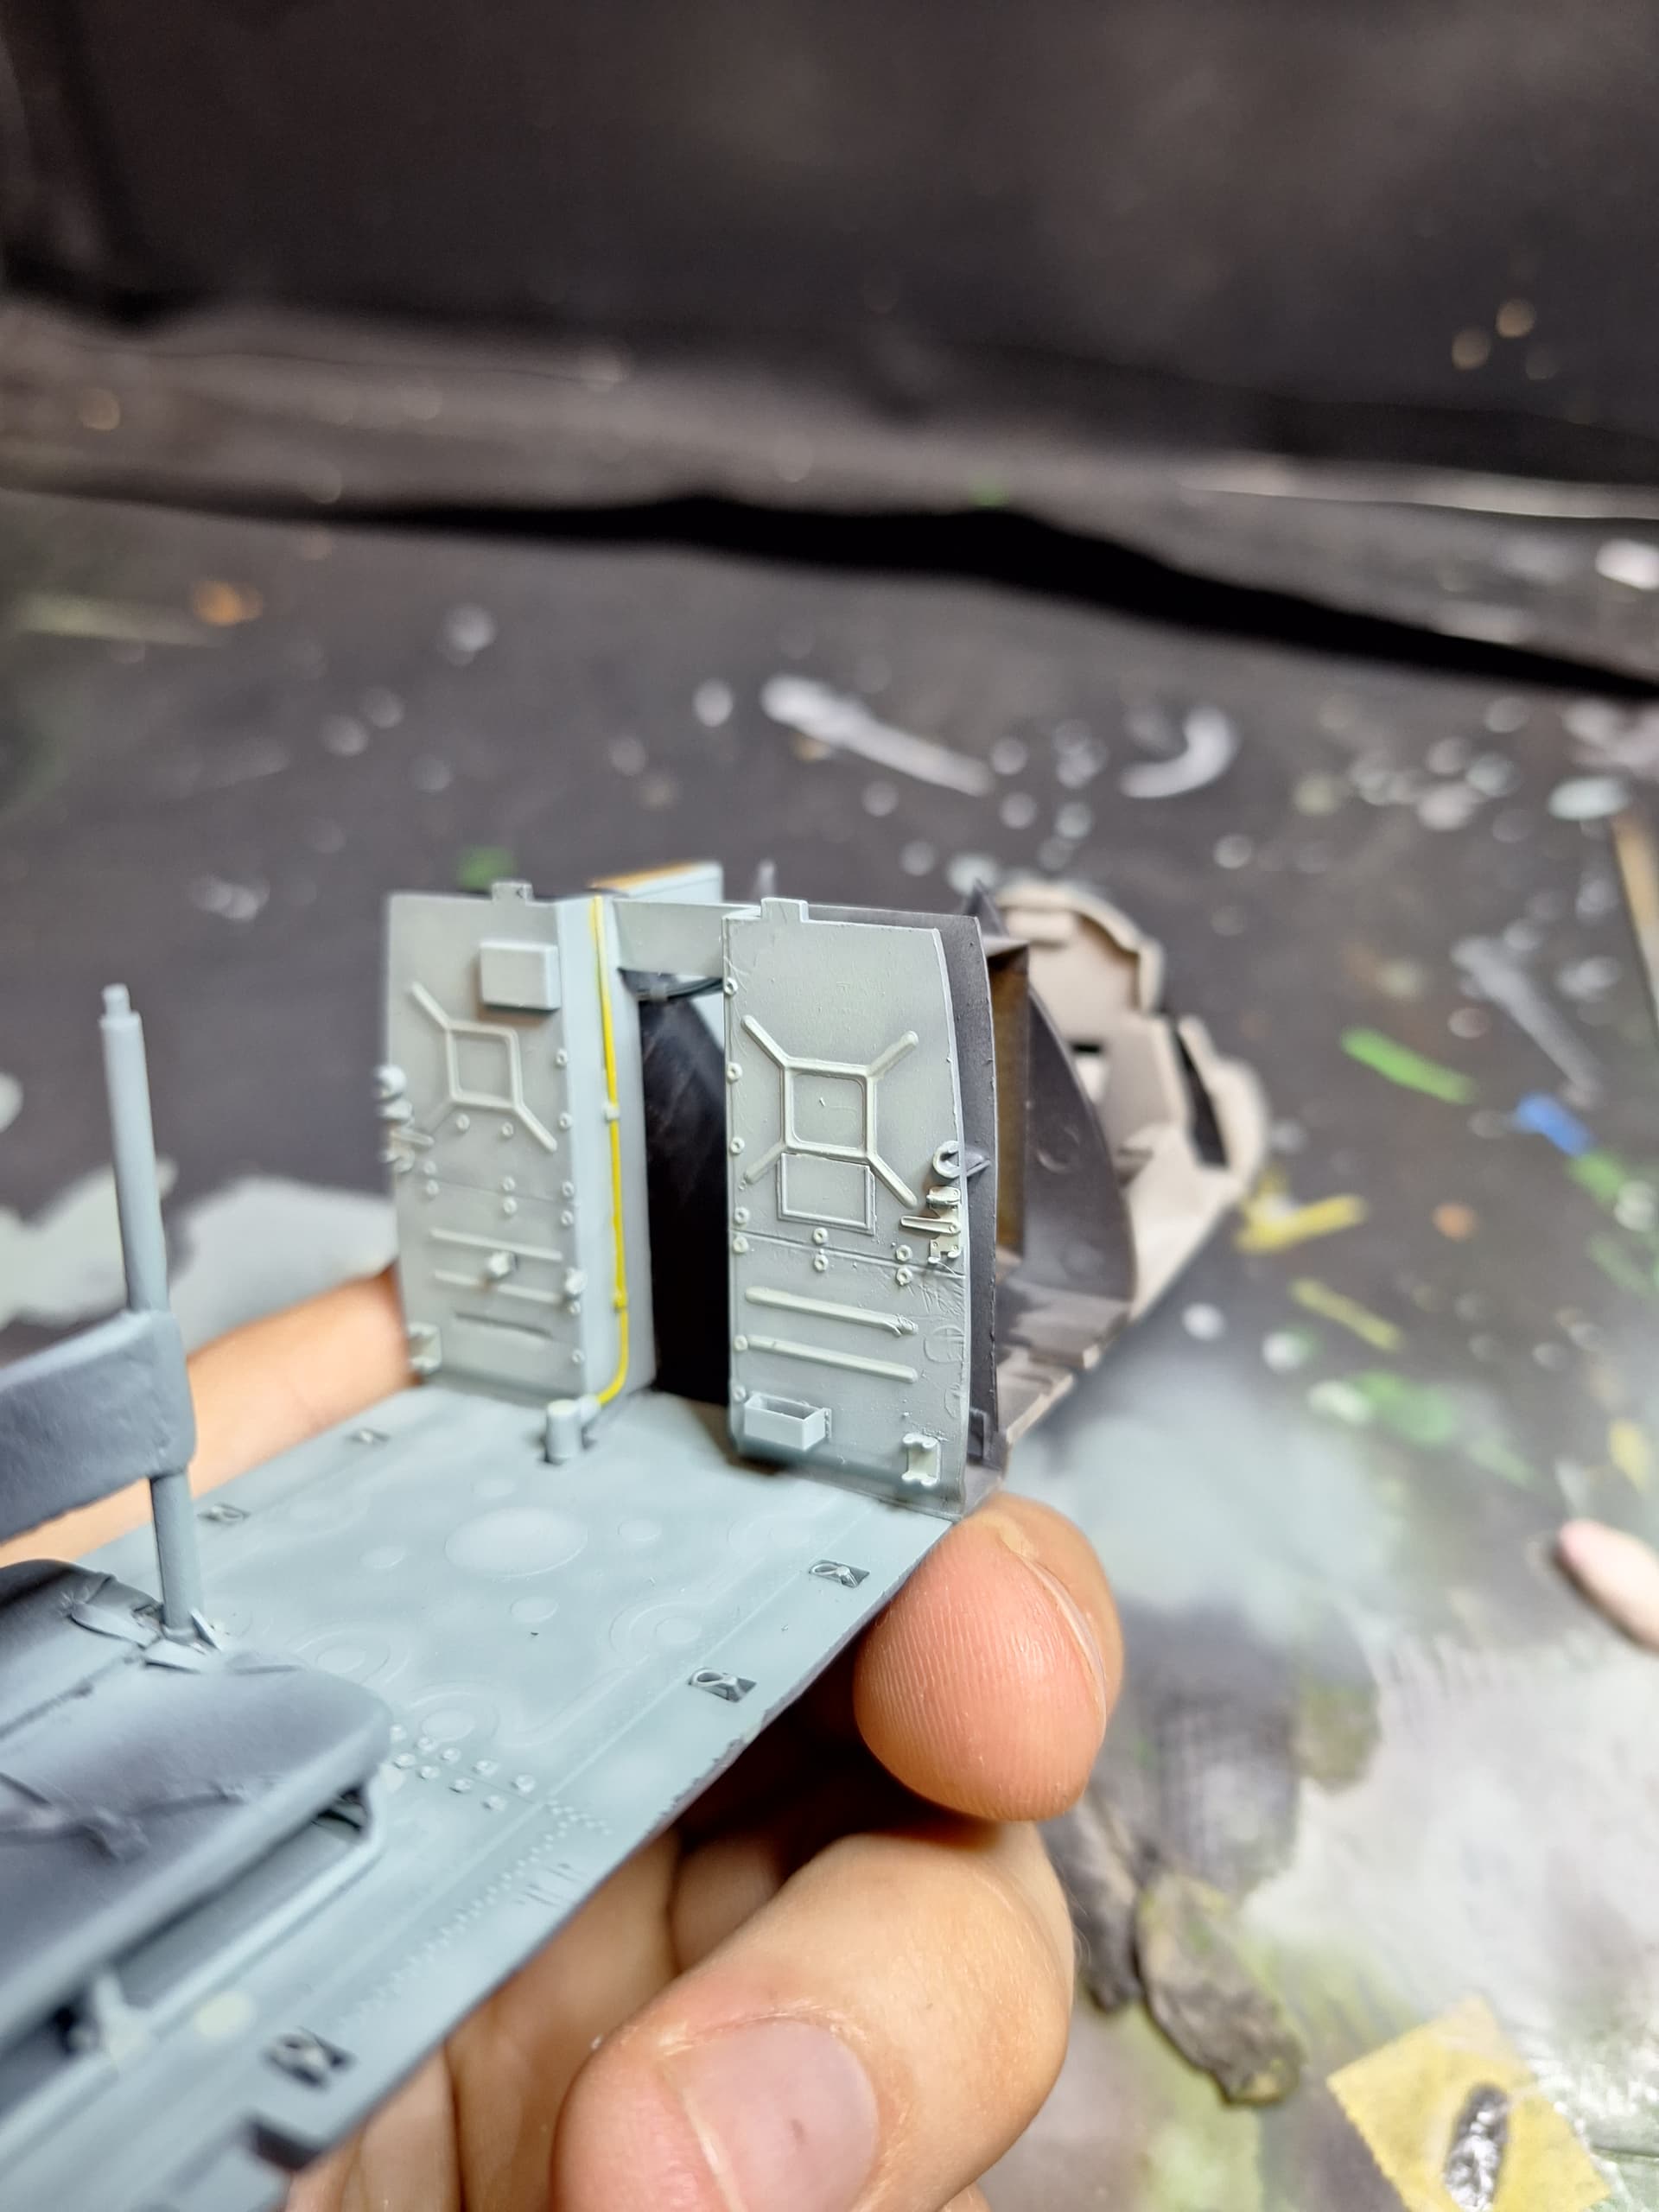
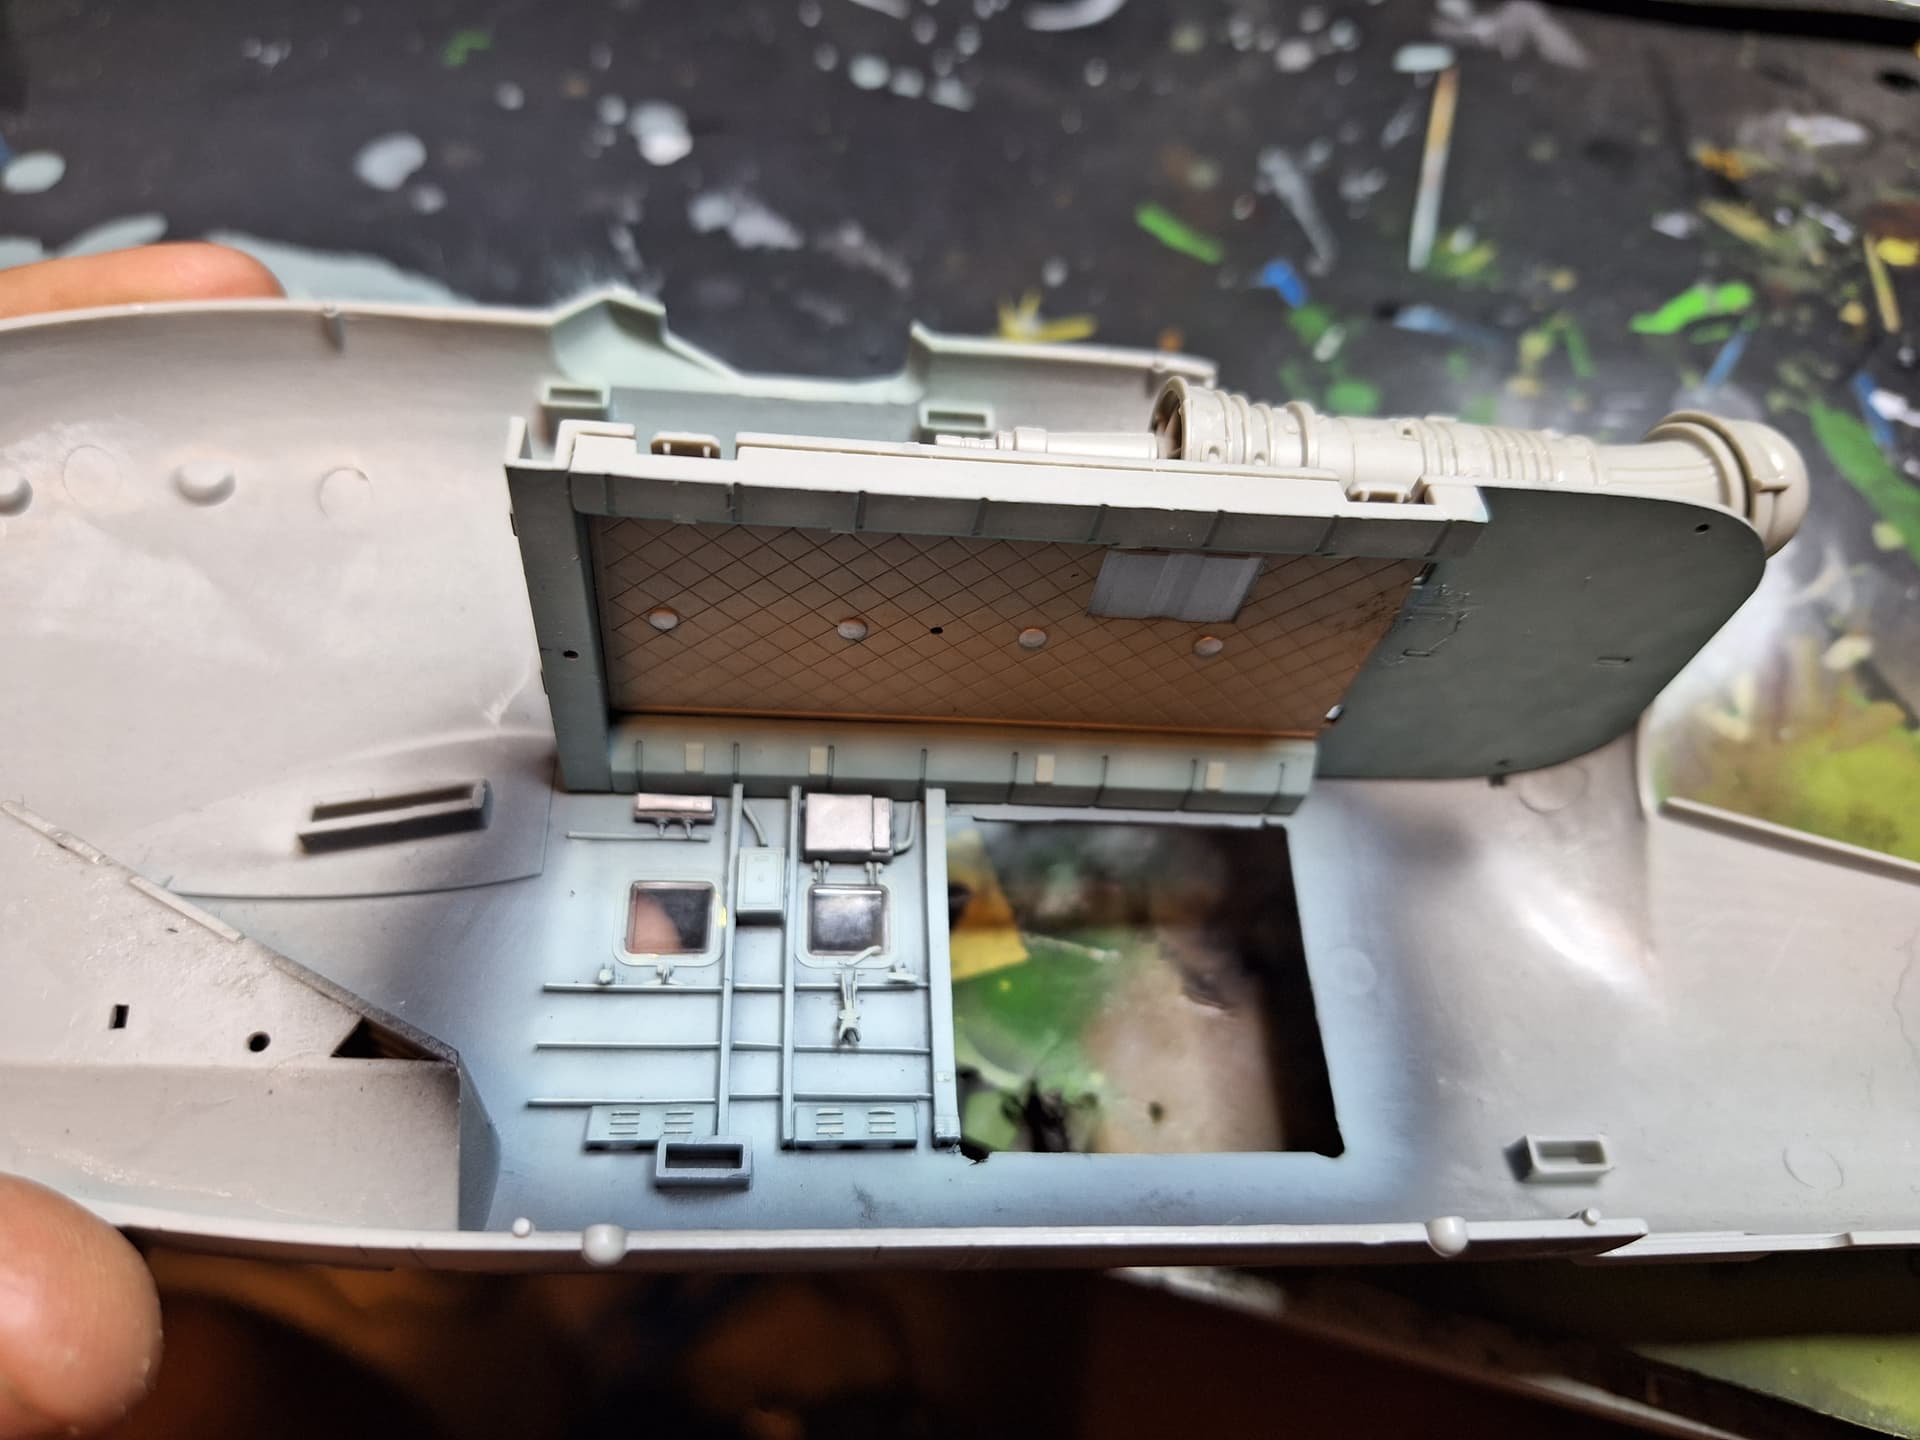
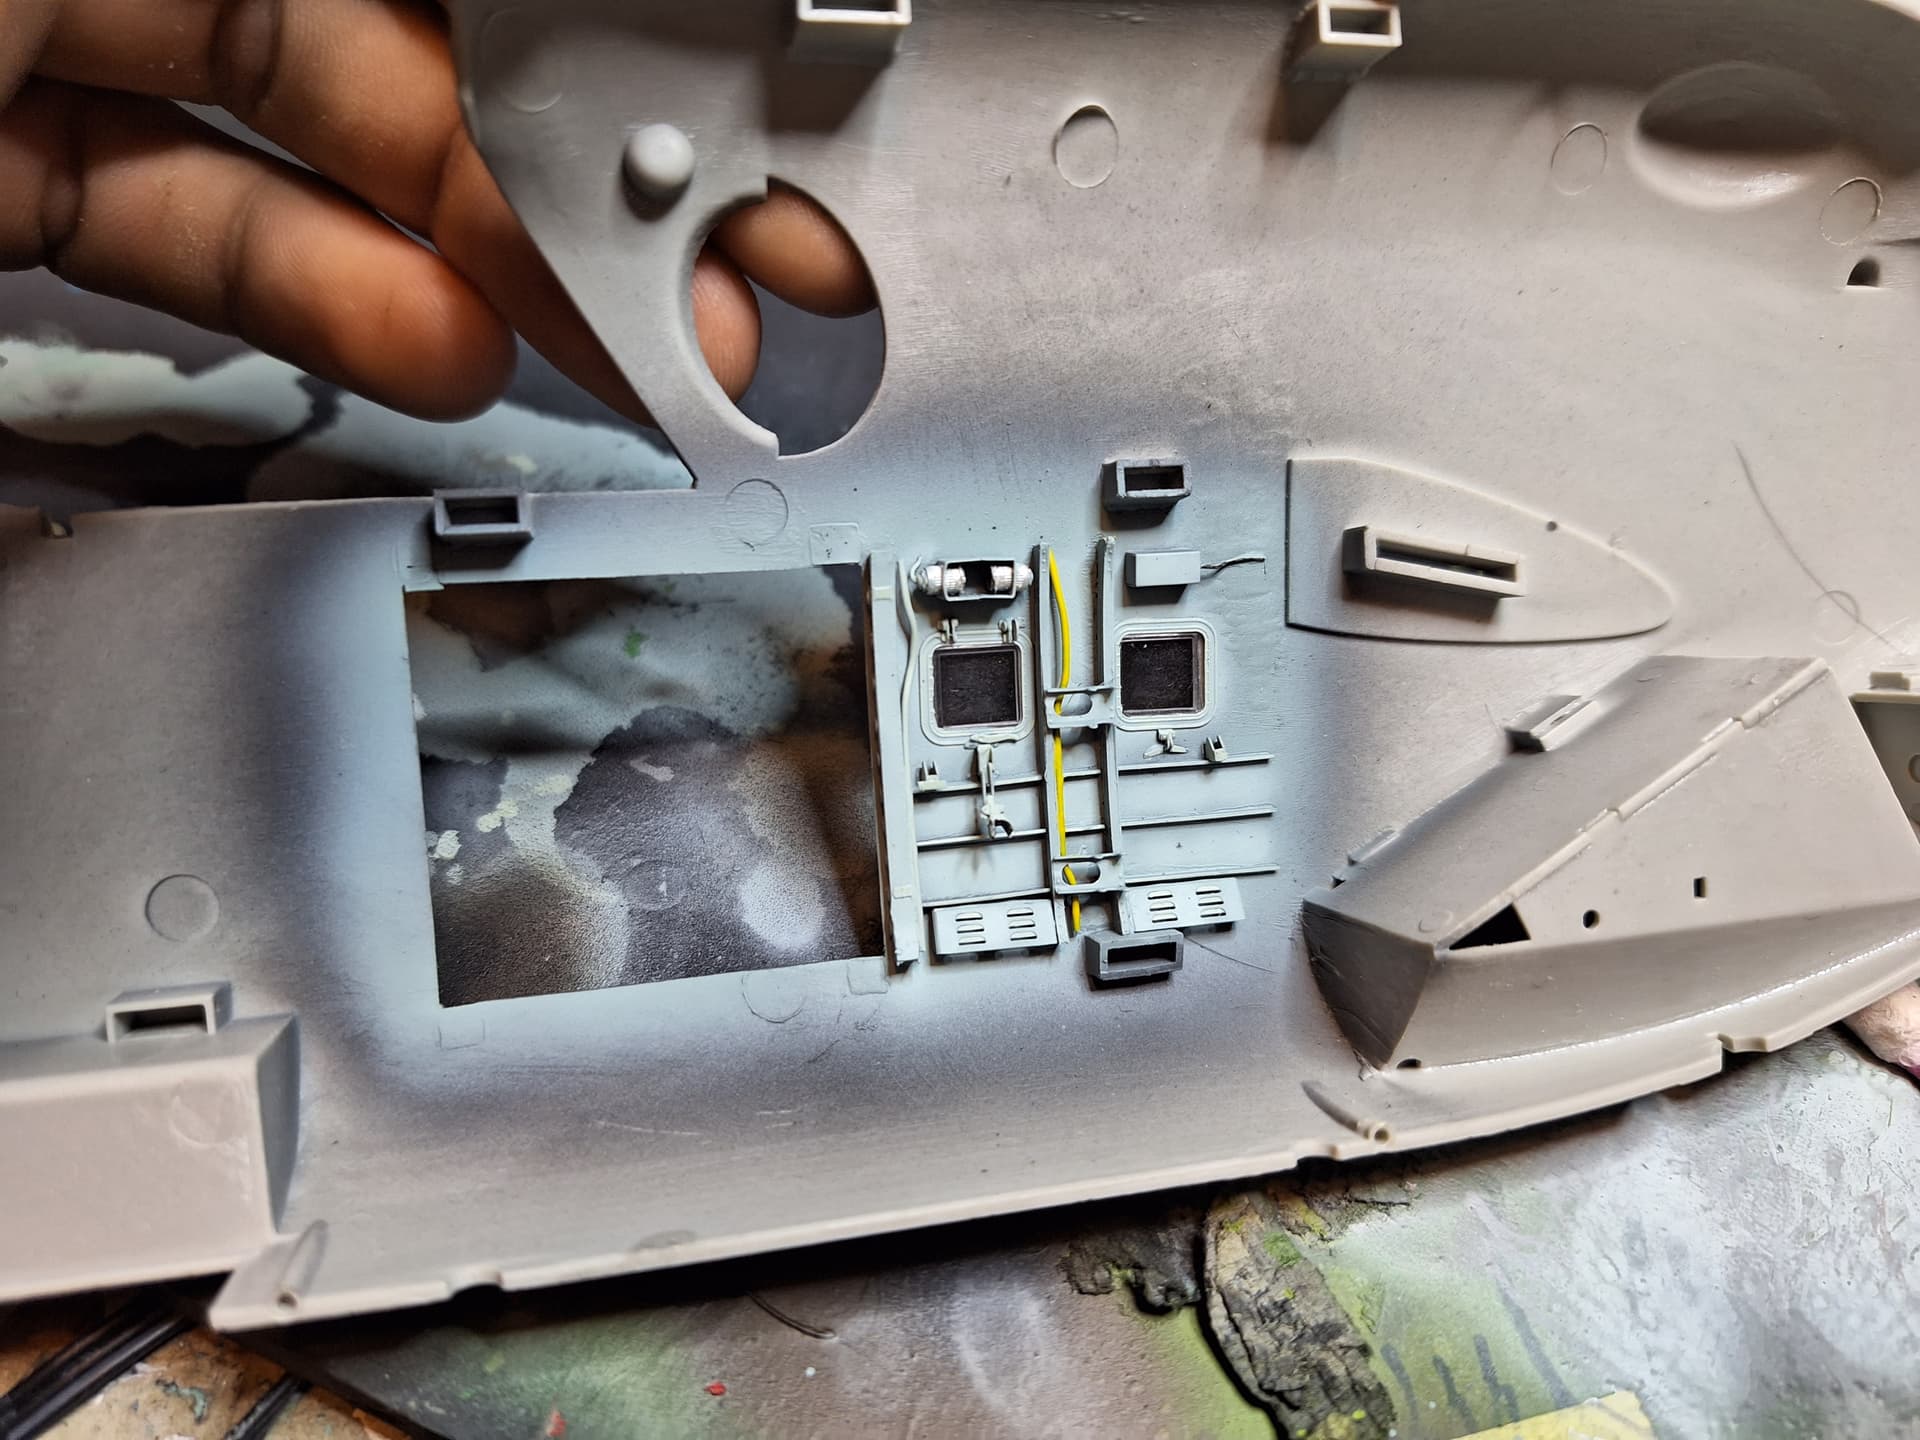
I bought it a while ago when I did not realize how intense something like this can be. I have to say though I am very disappointed in this kit. I find trumpeter to usually be pretty reliable quilty-wise but this thing surprised me. Usually, when you purchase a larger model it is because it is easier for the manufacturer to include better detail. Nah uh, not here. I was very disappointed in the complete lack of detail. As an example, the pilot does not even have his pedals and the cargo cabin literally has nothing on the walls or floor other than the bench. So I got a decent amount of aftermarket for it.

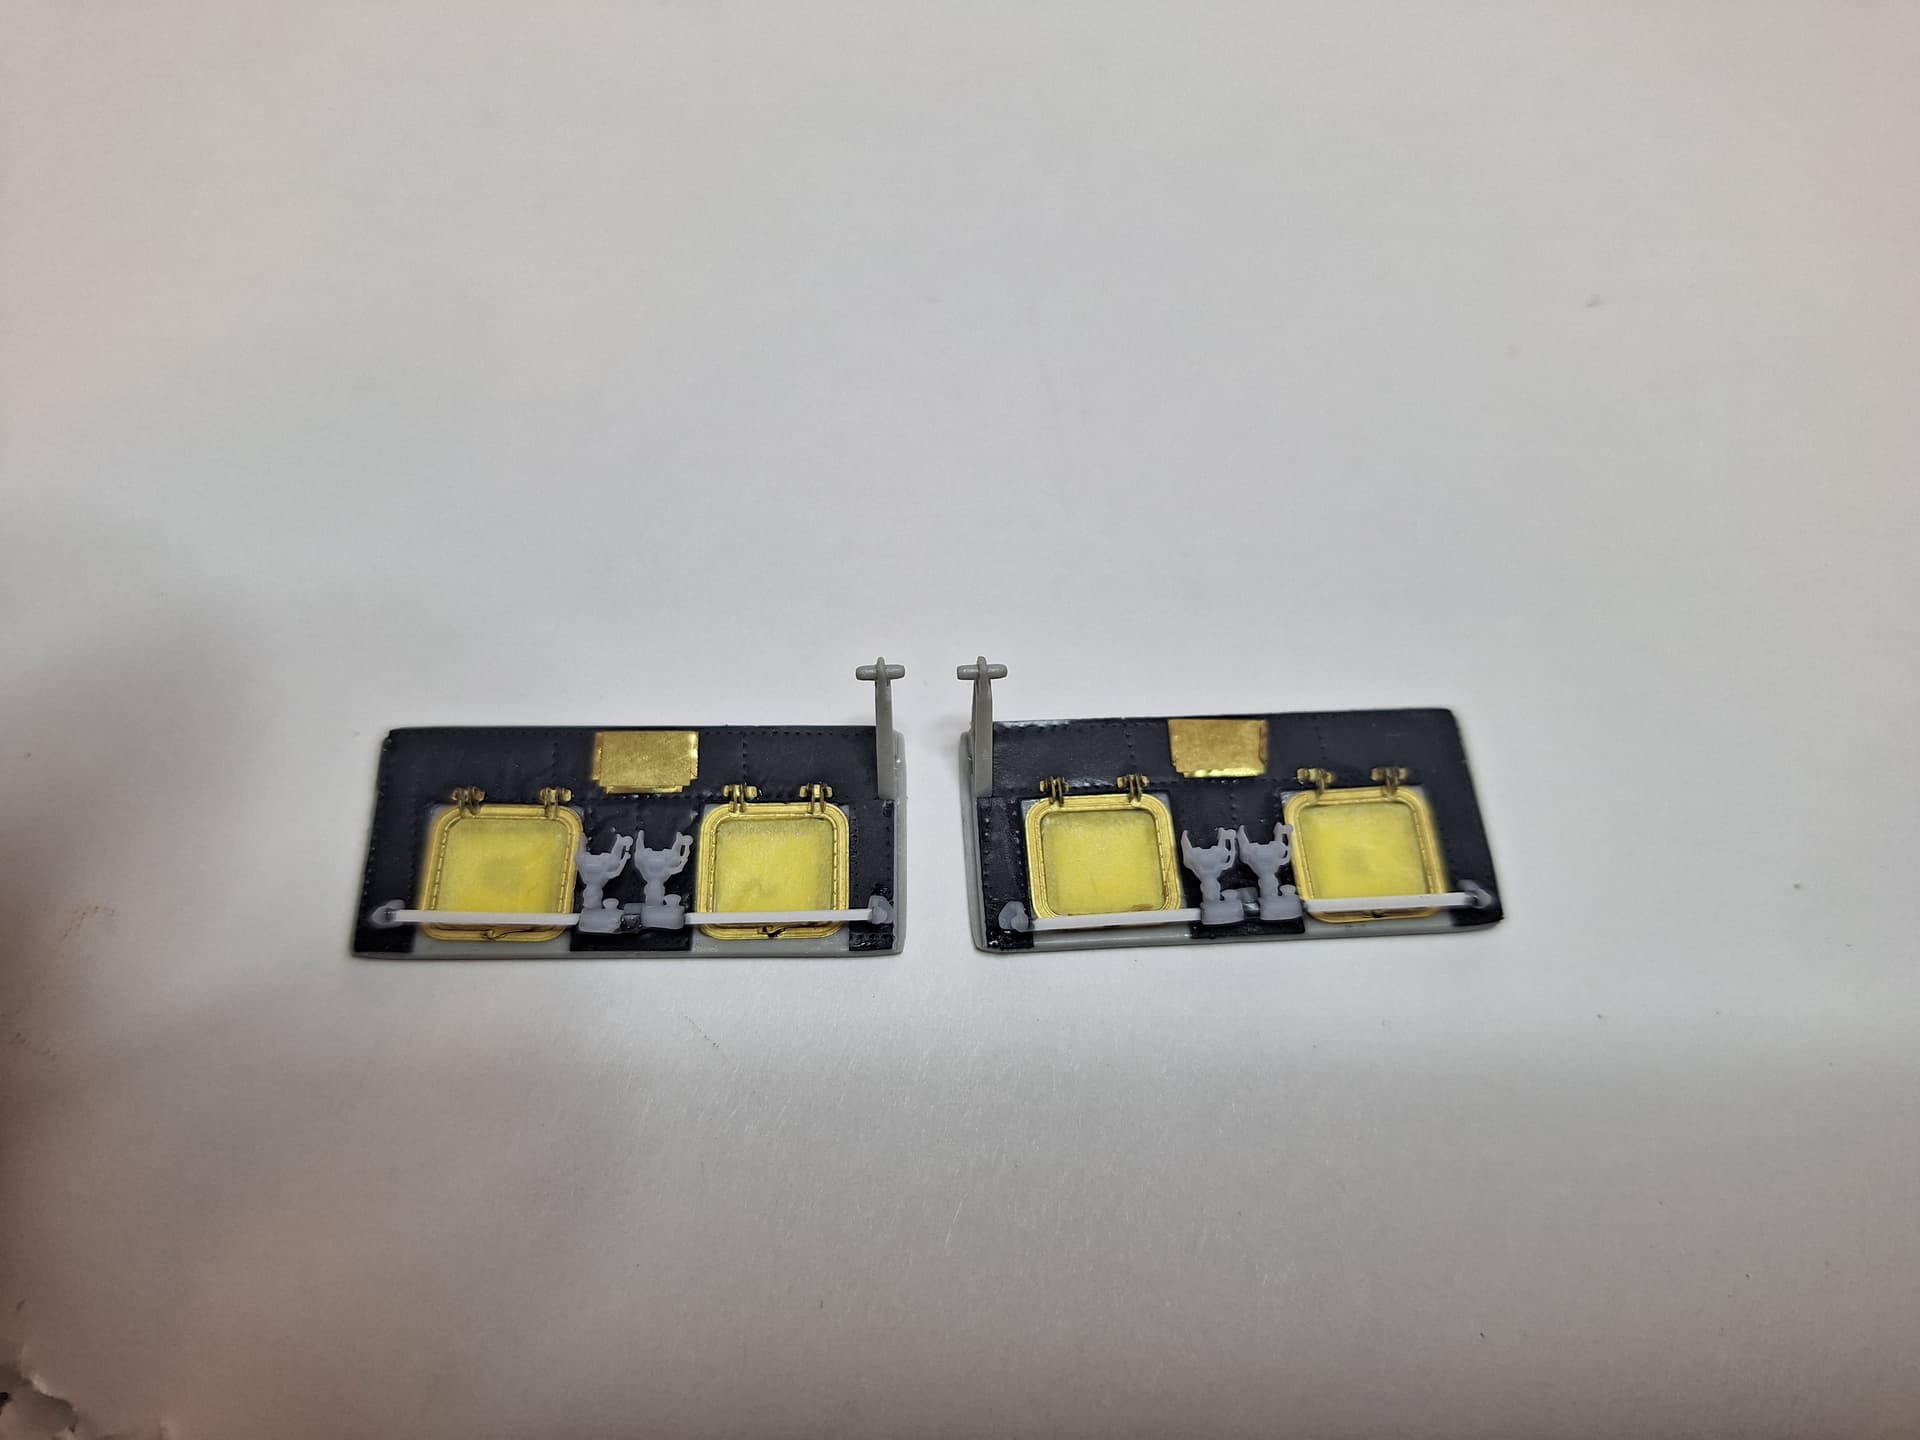
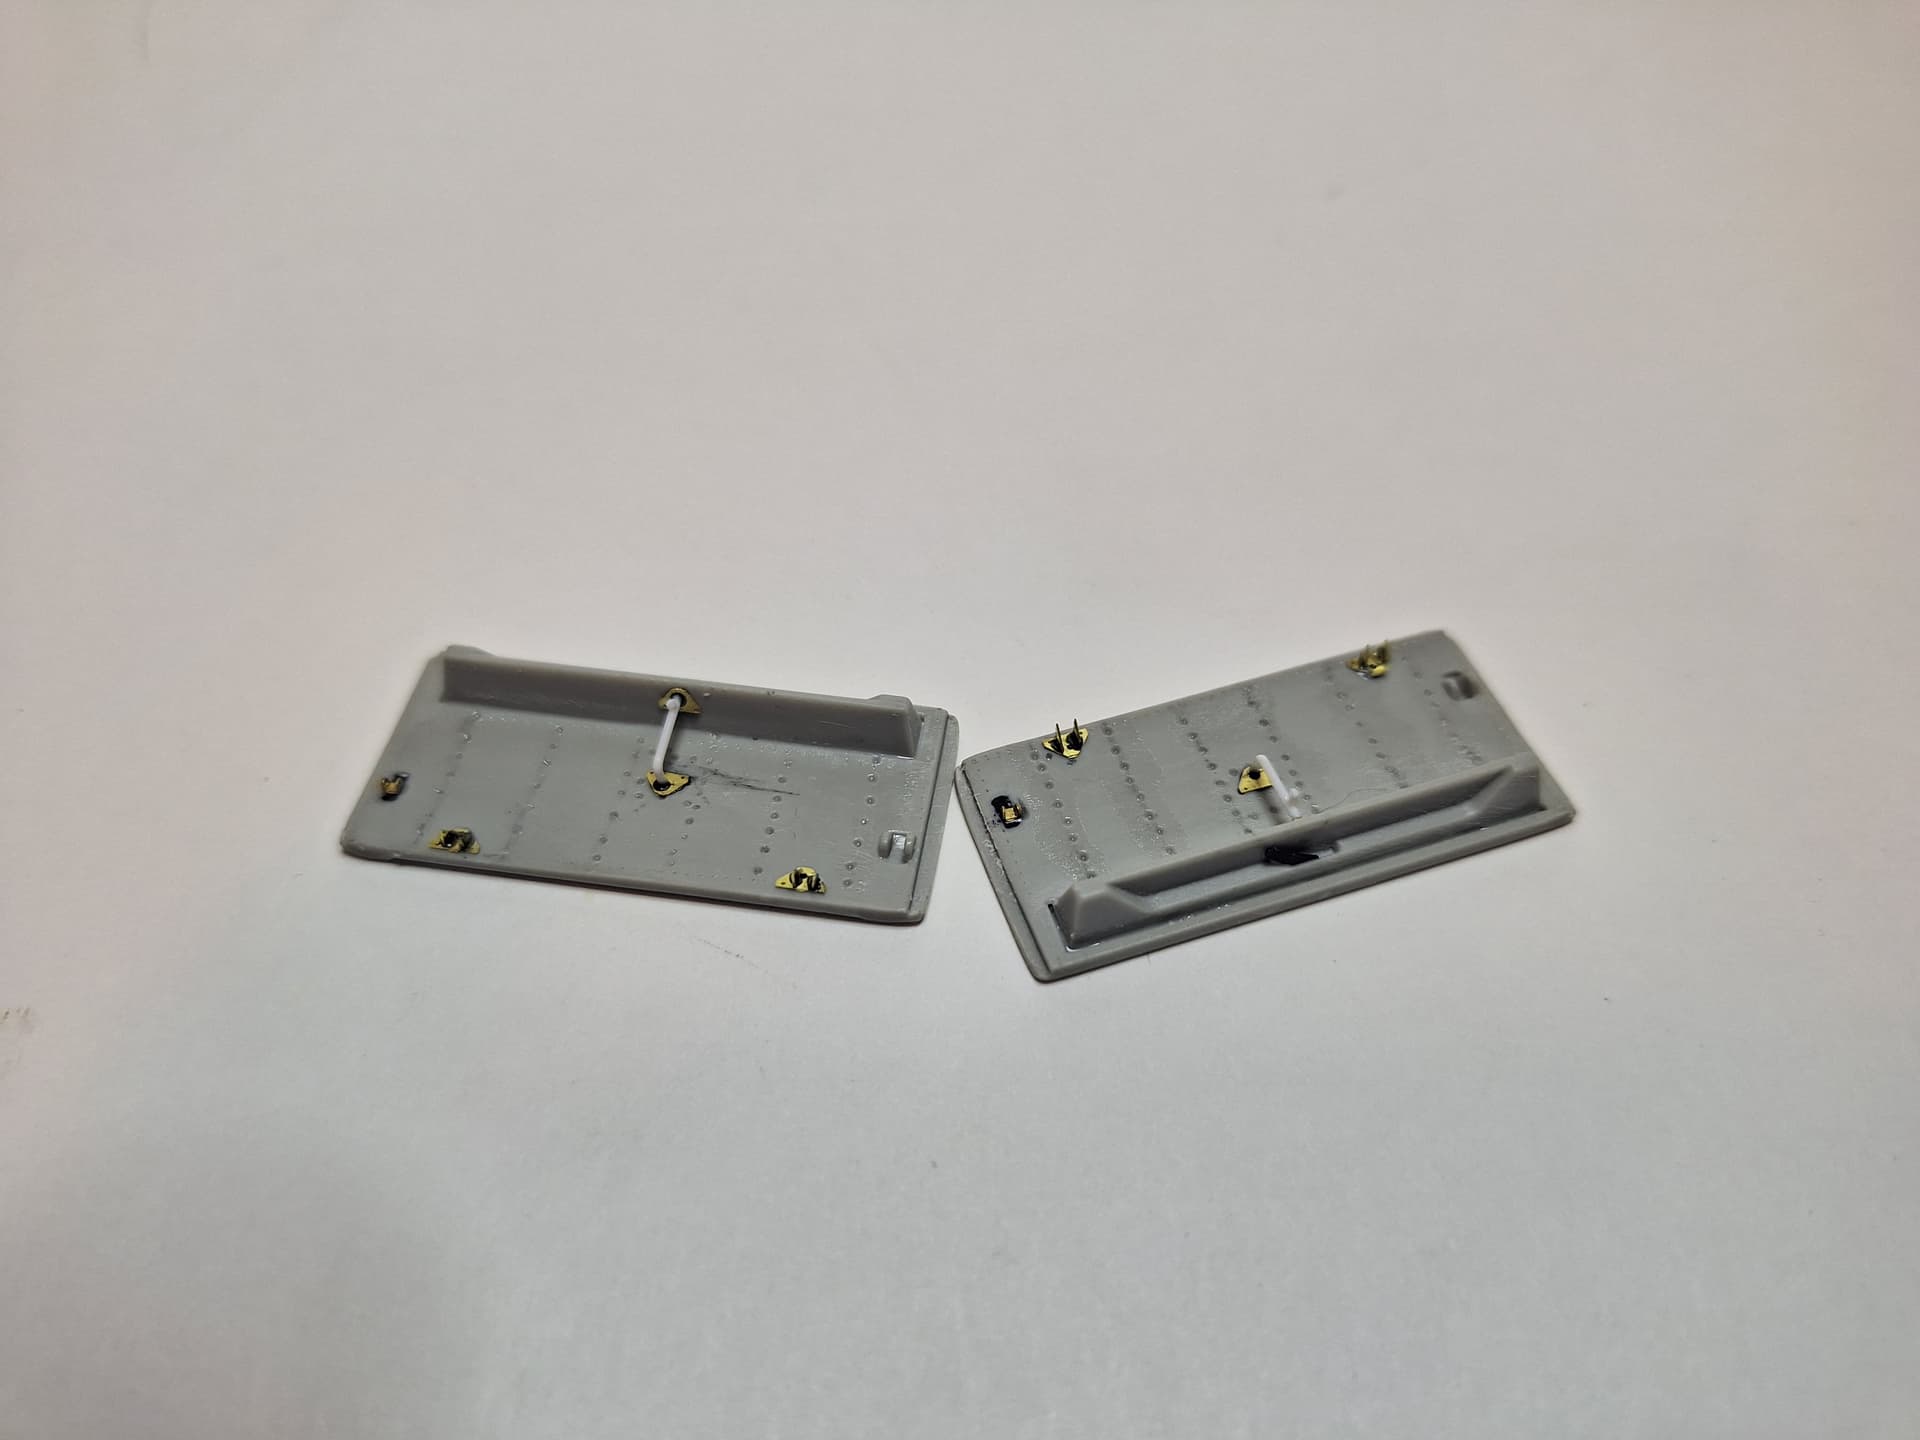
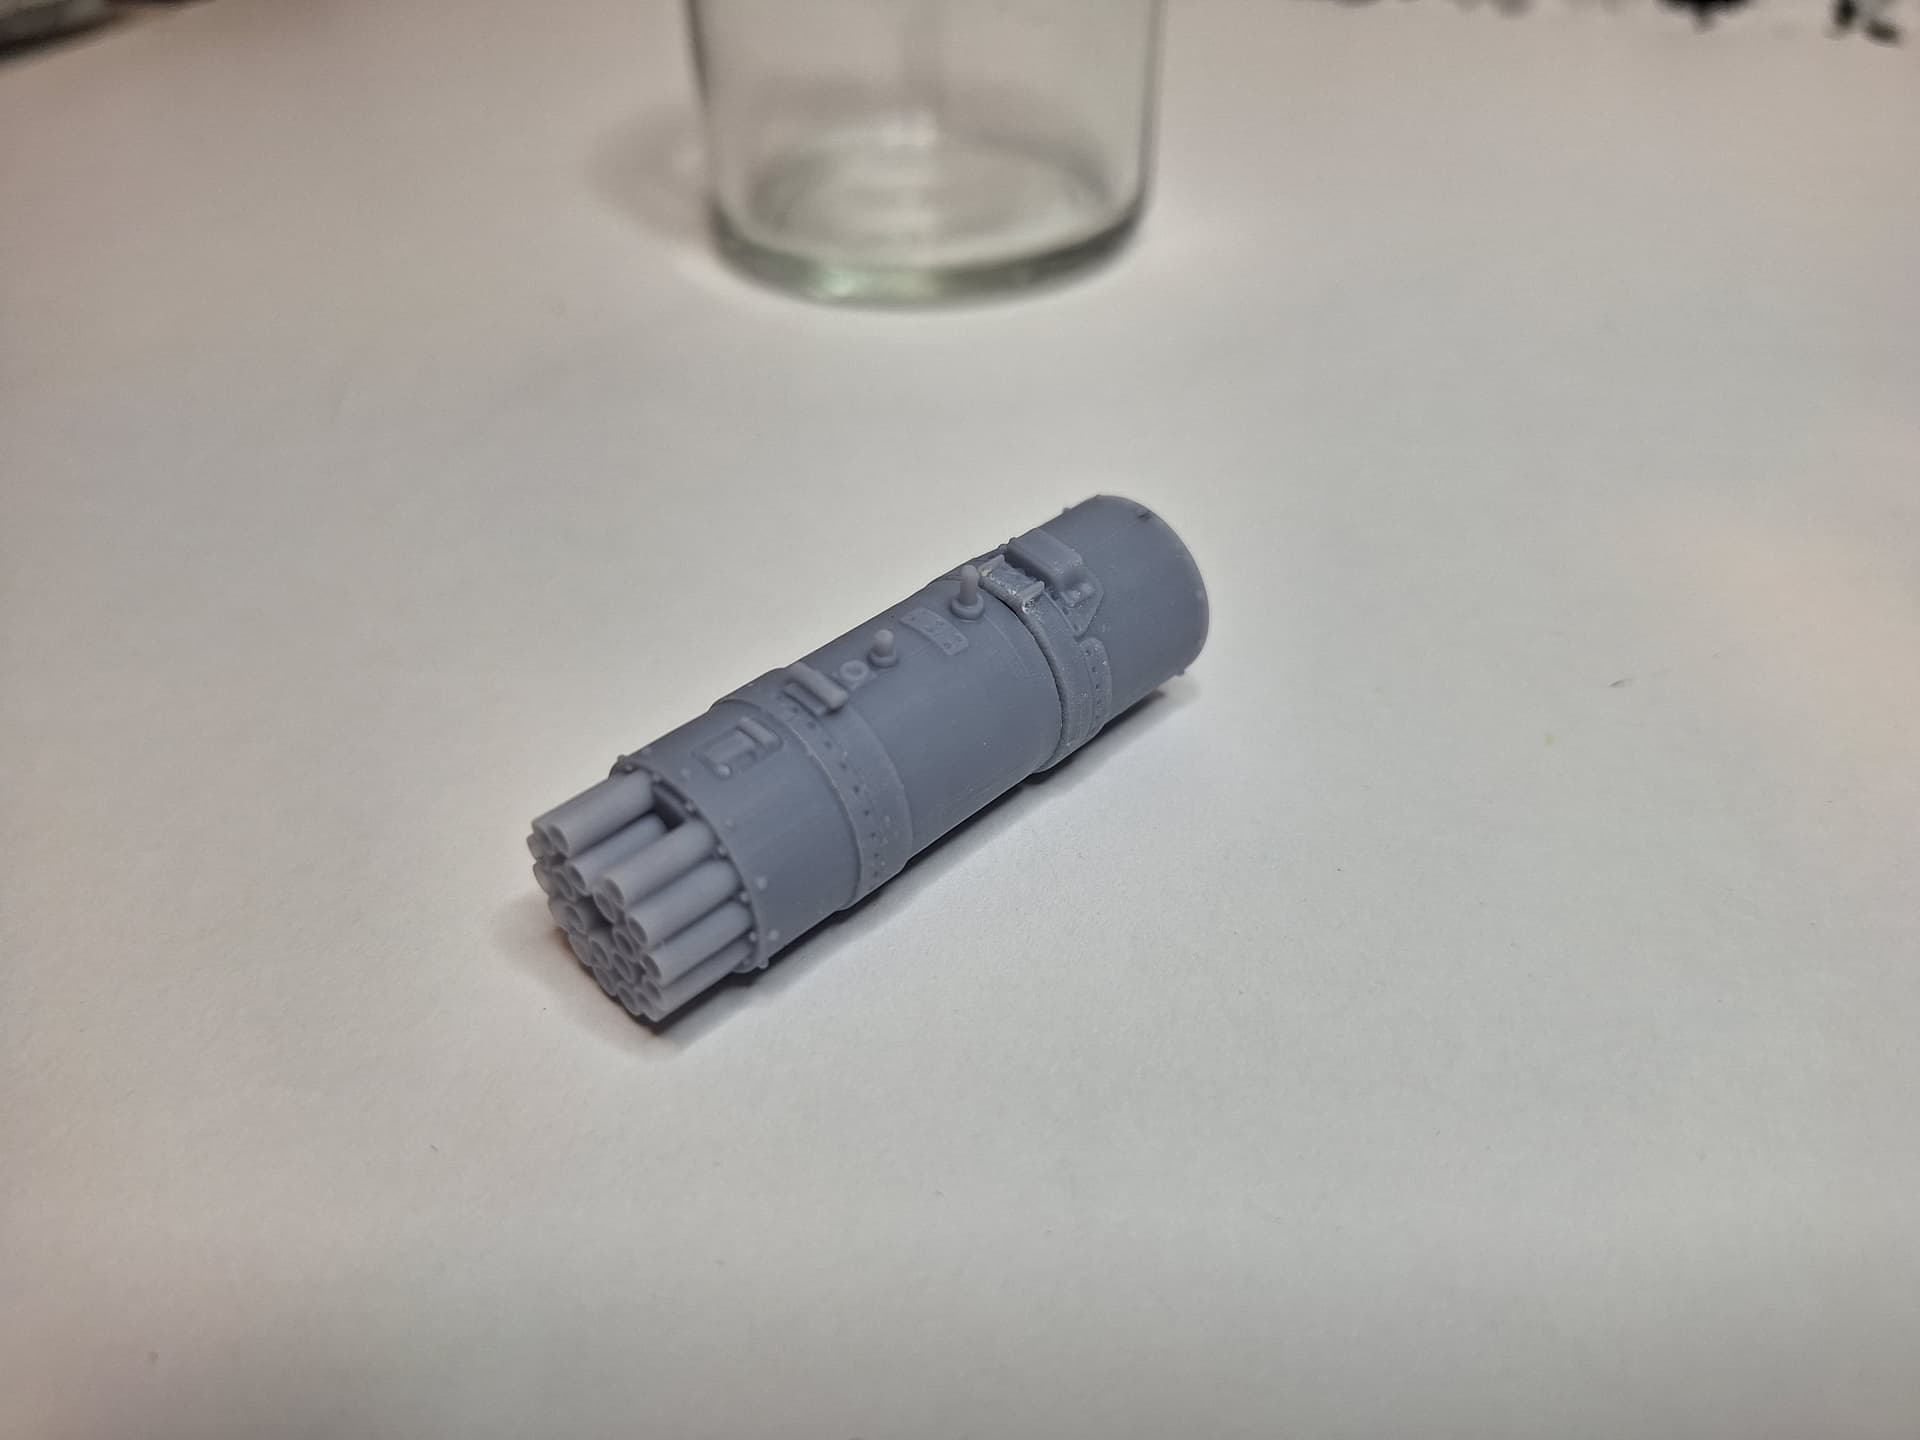
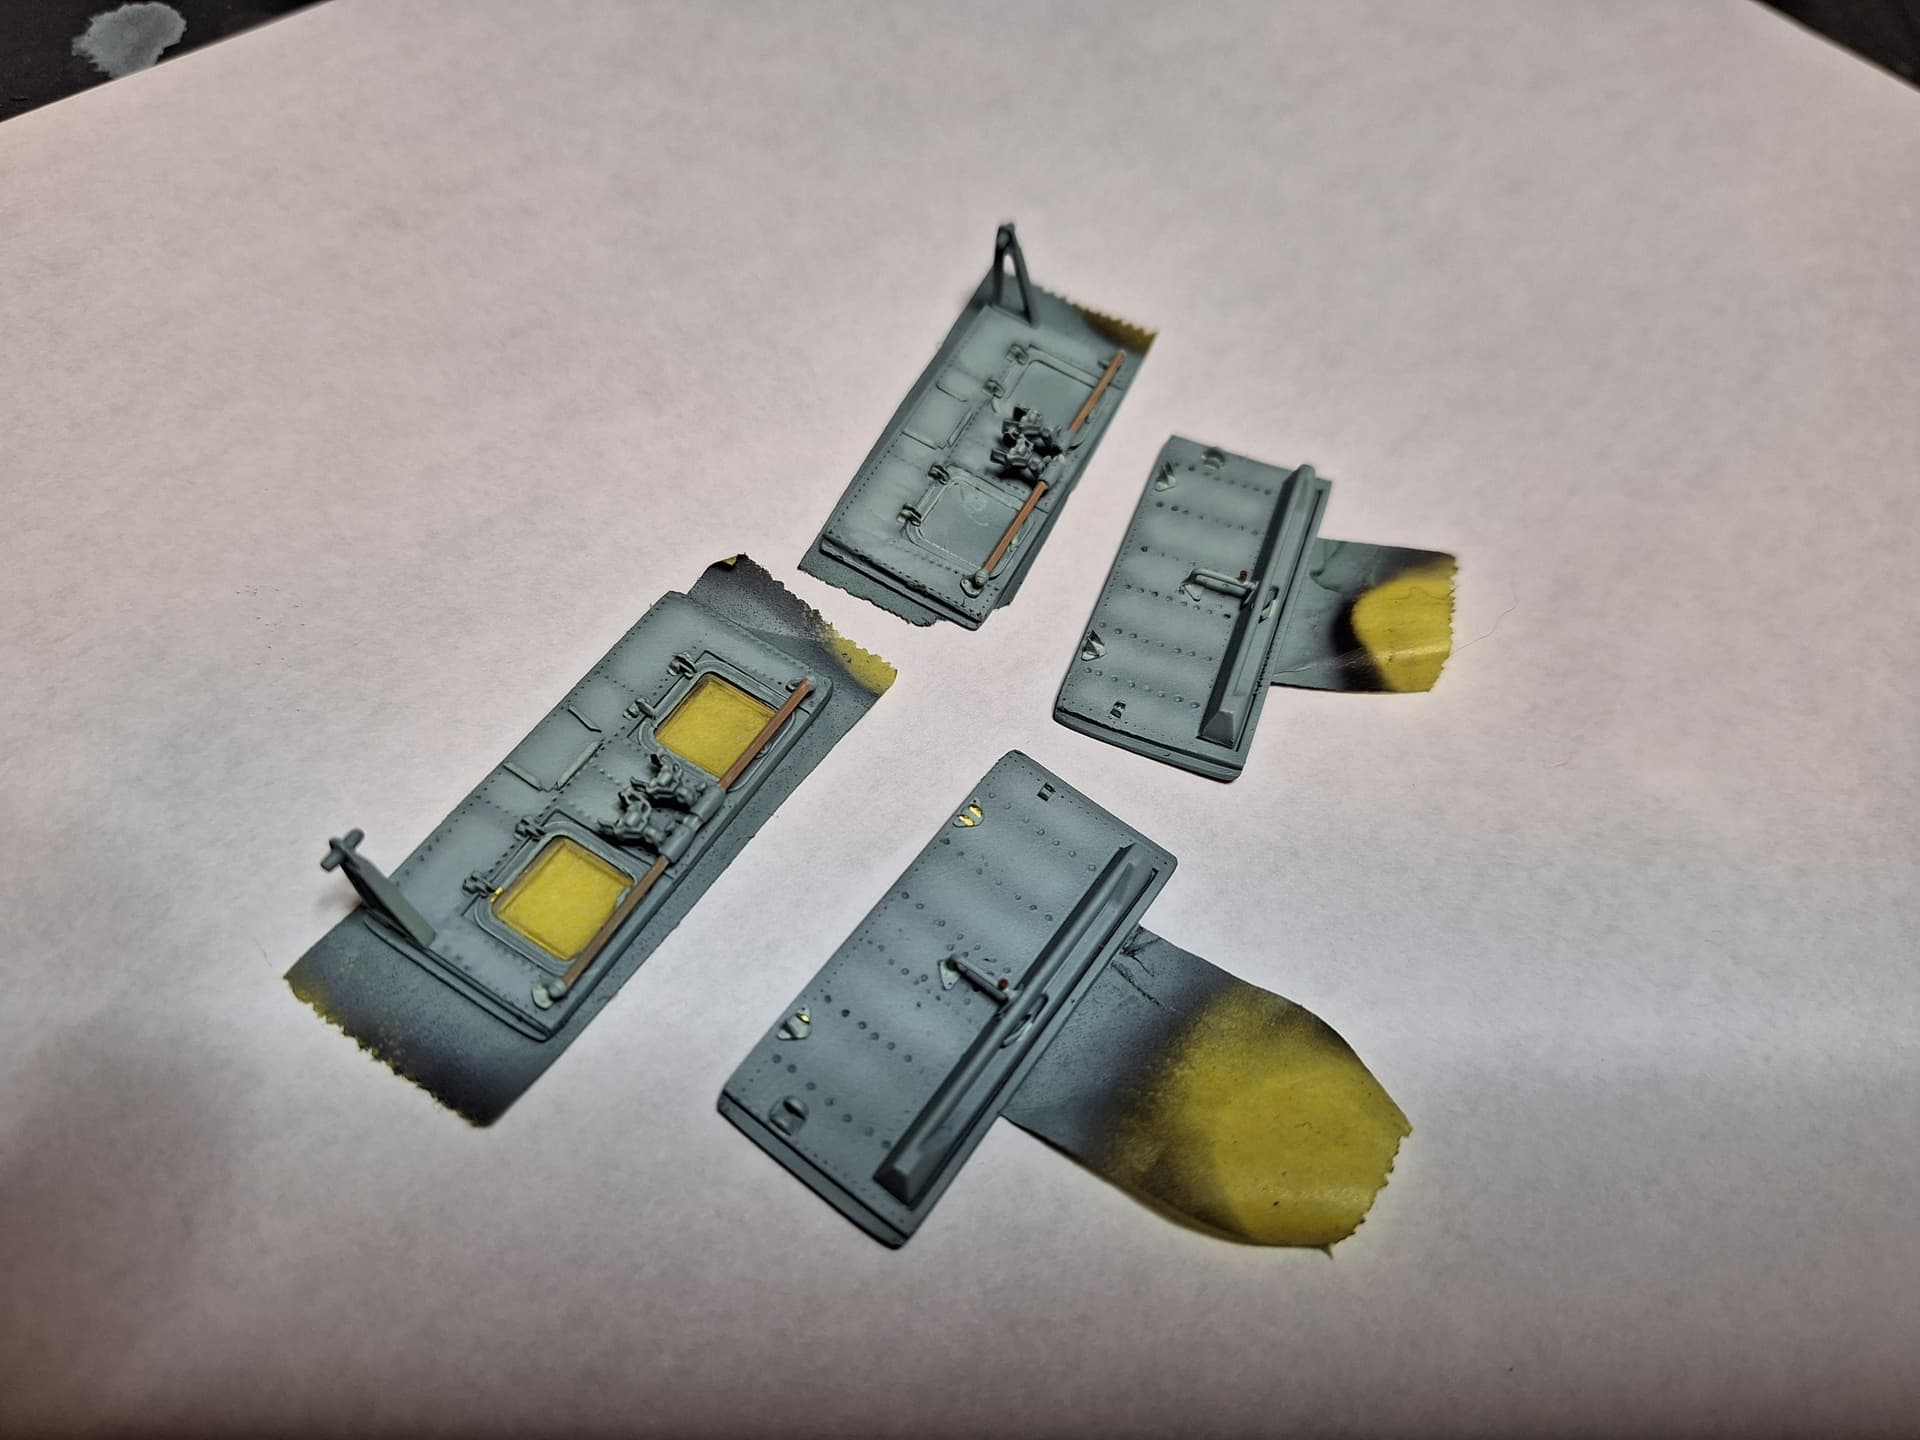
3D decals for the instruments which are absolutely beautiful, photo-etch for the cargo cabin that adds decent details. A resin and metal Gatling gun. Engine exhaust suppressor and masks. Discard the Eduard kit, it was an unexpected gift that I will probably not use.

I plan to add a lot of detail in the cockpit, mostly scratch build.

I have never built an aircraft before but I like the challenge.

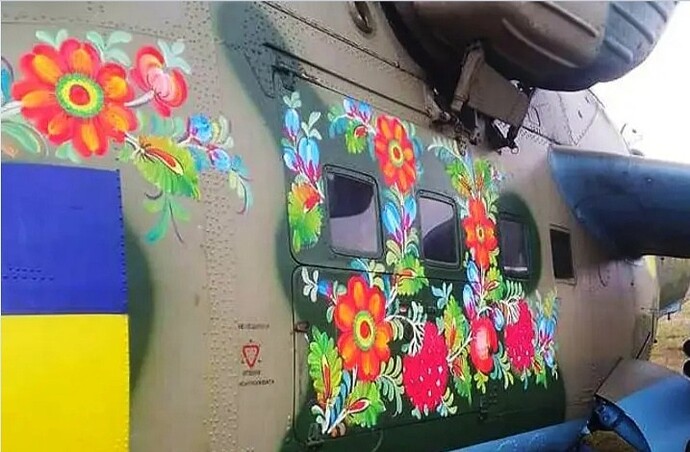
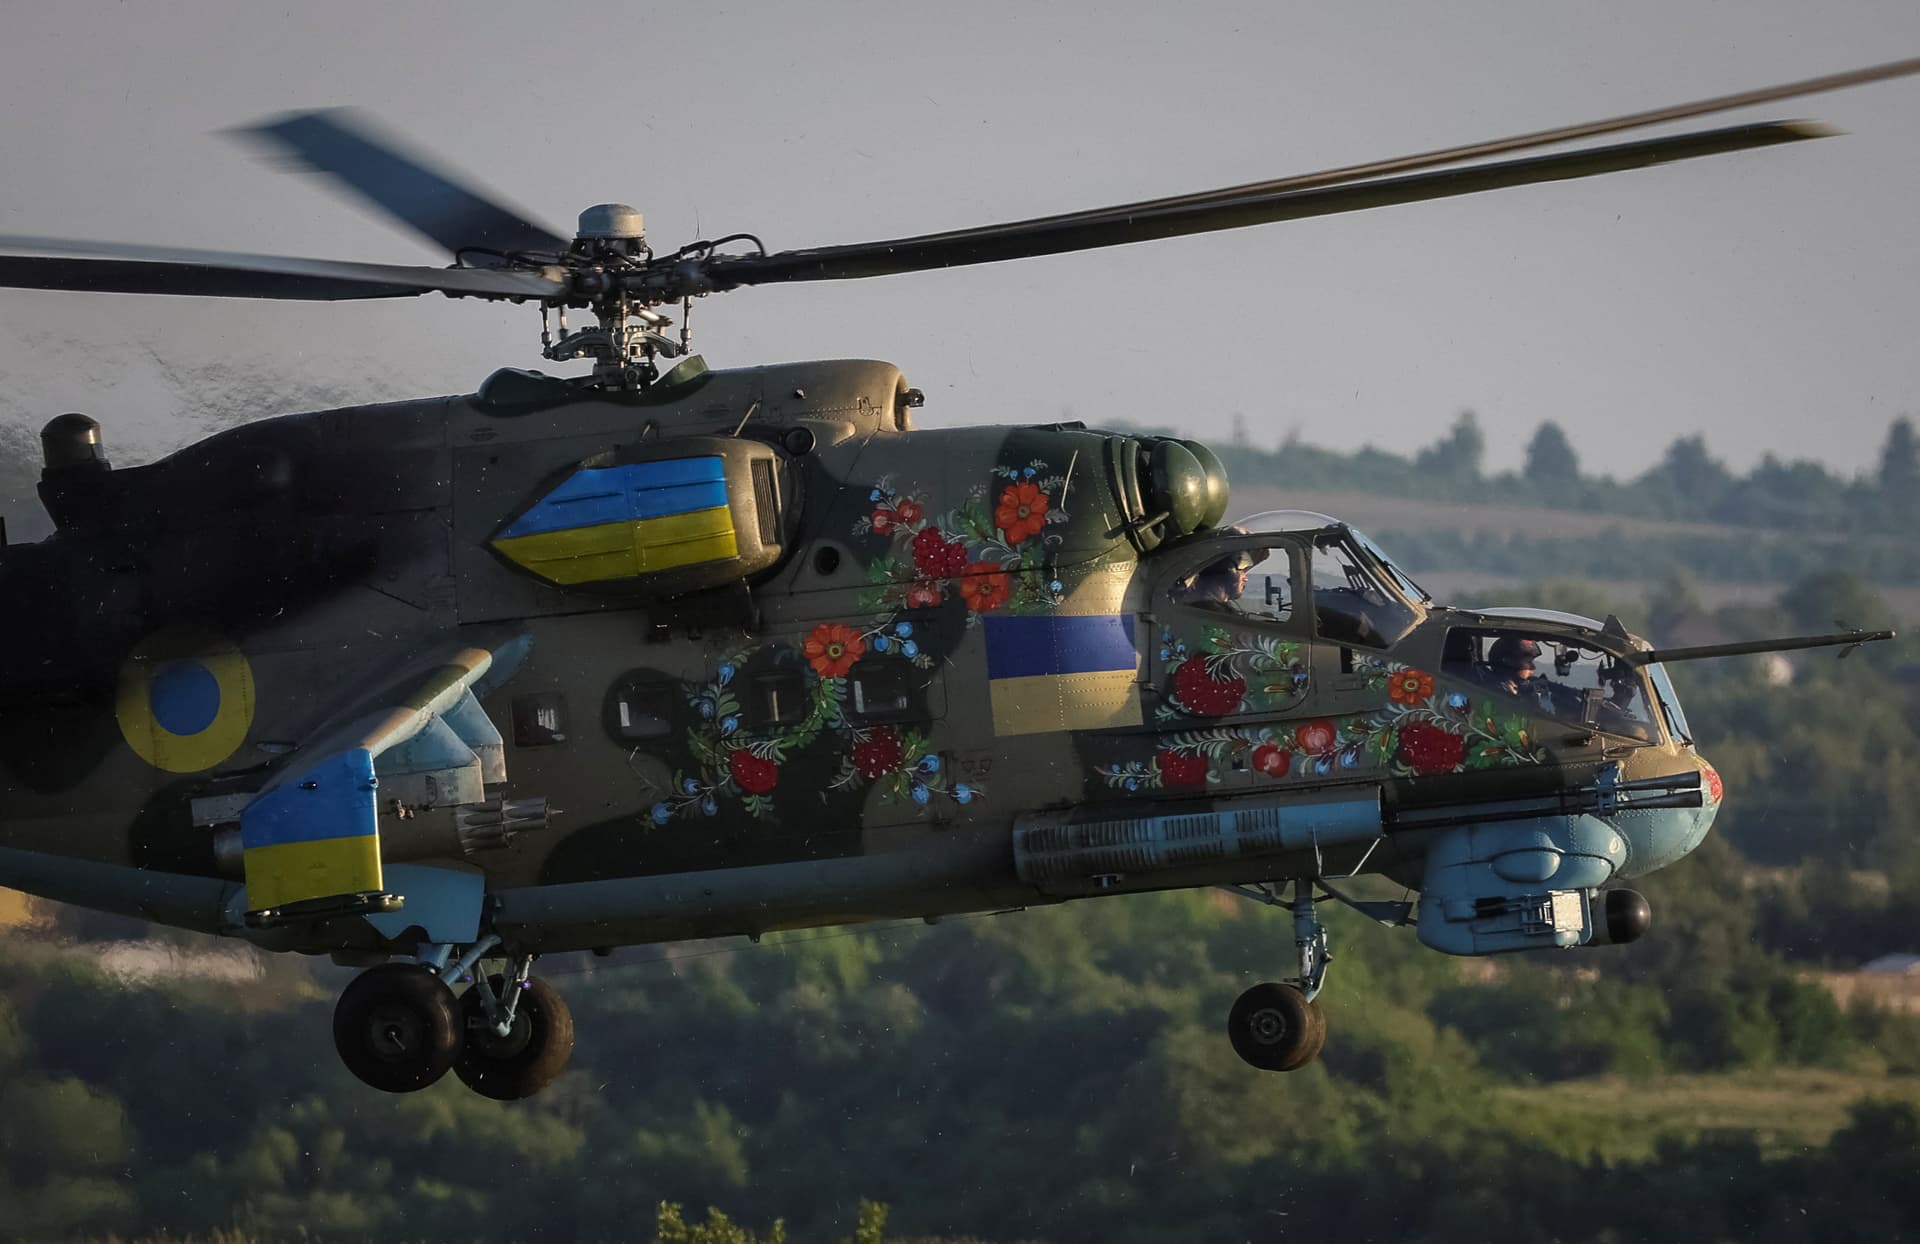
This is my example for the paint job I am planning for it:
09f1ea57df3c01960702227450afe80473871eb2_2_690x452
107e65ce221509233b147521df7a654c2b2e520f_2_690x494

Now the biggest challenge. Getting it done by Sept 8 for it to be ready for the 9th.

The good news, fiance leaving for a week so all my spare time goes to the models.
Bad news. Basically, no time to get this thing done.

Wish me luck!

9 Likes

That which does not kill us makes us stronger?

Good luck! :+1:

1 Like

Nice subject choice and it is huge. Yes, trumpeter does make many 1/32 kits that leave much to desire. If they only take little more time or better research many of their LSP would be great. It seems every kit they make needs added detail or a correction.

Anyway, I wish you luck because you are going to need it in order to complete by 8th next month. It will be a fast build.

1 Like

So that’s not the only bad news. Don’t shoot the messenger and I have debated mentioning it but if you do all that work and for a contest. The kit doesn’t have the Hind twist.

Not a lot of ways to fix. He tries to fake it.

I did appear Alex fixed it but scrolling through quickly I didn’t see (page 8, he doesn’t talk about it). Might have used the panel line under the engine cowl to trim on one side.

Anyway I don’t have an issue if you don’t address but I didn’t want you to do all the work in and find out later. The new 1/72 and pretty sure the 1/48 Zvezda (Eduard) kit have this. Almost all other brands do not.

4 Likes

This is an interesting dilemma, how do know which fuselage half to shave, and how do you ensure that action will cause the tail boom to rotate or twist in the correct direction?
If you shave the starboard half topside with a graduating cut from slight at the cockpit bulkhead increasing the gap to the tail, how do you know it will pull the port side fuselage to starboard rather than reverse that? Or . . . would you off-set the fuselage halves with one half glued higher than the other half creating the twist?
Good luck @Vstobinskii, you’ve got your work cut out for you.

Cajun :crocodile:

3 Likes

I personally would leave the absent twist as is, and plan to on mine. I don’t see an easy way to fix it and most attempts will probably end up with a bigger mess. It isn’t that noticeable and most people don’t even know it is missing.

3 Likes

Either way, Ga-tor-Done. :rofl:

2 Likes

Never even knew this was a thing…

I bought the kit before I did research on the models and would have bought a 1/48 kit if I knew how this kit would be.

2 Likes

Like Gino said you can build as is. Also the photo version is of a Mil-24 P (Hind F)/ Mi-25P. Has the twin 30 mm auto cannon on the side of the fuselage vs the turret under the nose. Again you build anyway you want.

2 Likes

Brother, just build it as is. I have seen finished models without the twist and they look awesome!

I’m learning one thing in our hobby…if you start to not nit pick one kit, then it’s another, another, another and it will never end and you will not able to finish anything cause it will kill your mojo.

Just have fun.

6 Likes

Definitely not putting in the twist.

Already had a moment where I considered if I was having fun and if it was worth it. Last night I just tried to push through for a bit and it started to click for me and became quite fun. I kind of like the challenge of doing it on a limited time frame and honestly most of my disappointment comes from how inaccurate the kit is. The more reference pics I look at and as I progress with this model the more I realize just how inaccurate but most importantly lazy this kit is. There are so many details that would be trivial to represent and mold that they did not include.

I will still modify it a decent amount because I like scratch building and adding details but I will not go overboard and I am happy to say that the fuselage itself is actually quite well molded from what I can see so far.

4 Likes

Looking forward to it. :+1::+1:

1 Like

Hello, I have been working hard and the deadline is coming. I gave a lot of thought to slowing down and not making it to the show with this model or cutting down on detail and quality but ultimately I could not do either ( except dropping quality a bit).

So here is the progress I made:

Most of the work went into the cargo cabin. This was a lot of work but it also was the part that needed the most work. I wish I had taken a before photo because it is basically a completely another kit.

Firstly the floor, which I decided to simply model a completely new one in CAD because the original had 0 detail and I mean zero, just a flat piece of plastic.

Hard to see in the photos but there is a lot of detail here!

As you can also see I added a lot to the bench. Extra bars on the bottom that were missing, springs, seatbelts, and fabric. The fabric that I sculpted needs some sanding but that is fast and easy.

As you can see I had to add some simplified wires and details to the back portion, which will be not very visible so this should do:

The Entrance to the cockpit was mostly some simple PE, scribing and cutting off awkward plastic details.

The walls were just PE, and I usually have no issues with PE but this one proved difficult due to the delicate parts. Anyways waaaay better than just the blank plastic it was before.


The doors had a lot of scratch modifications but I like how they turned out with some more 3D-printed parts for the gun vice and mounting bars. Also, this was my first time making rivets so do not judge me too much :slight_smile: :slightly_smiling_face:


The hallway was simple and easy enough, only showing what will be seen


Due to the details I plan to put in the cockpit I will have to close the model first before I can finish building it, So I will paint the rest of the cabin today and get all the parts prepped to go in the cockpit while I wait for things to dry. I am barely making it but I think I can still do it.

Also as a small add-on, I have been working on all the other parts that I can while things dry or print so I decided to redesign and 3d print the rocket launchers as the kit was just meh ( the tubes for the launchers are hollow all the way through):


Thanks for reading and wish me luck!

11 Likes

I love the work. The Trumpeter kit gives you a blank canvas and it takes an artist to make it shine like you have. :+1:

4 Likes

I never looked at it that way. Thank you!

2 Likes

I ran into another snag, the gearbox/reducer.


I findit a little too simplistick compared to the detail I have put everywhere else, so I will try and replicate at least some detail onstead lf just a flat piece.

Also, what is the best way to deal with these seamlines? I can see that aircraft need a diffiremt approach compared to armour.

4 Likes

In this case the divots for rivets helps. You can use a seam scraper (back of a blade), sanding stick, tape over the divots and putty/plastic sheet for any wide gaps.

3 Likes

Quick update, All I want to say is that it’s amazing how much a little work with the 3D printer can change things. Even highly simplified parts can improve a model tenfold. Here is the gearbox before and after.

Also, the cabin has been airbrushed and varnished, except for the benches and some other smaller details. Washes and dirt are to be completed today. I plan to close up the cabin today and finish building and priming the cockpit.


Cheers!

8 Likes

Looking really nice. Any chance you would sell your 3D printed update parts?

1 Like

I second Gino’s question.