Mini-Art Campaign 2021

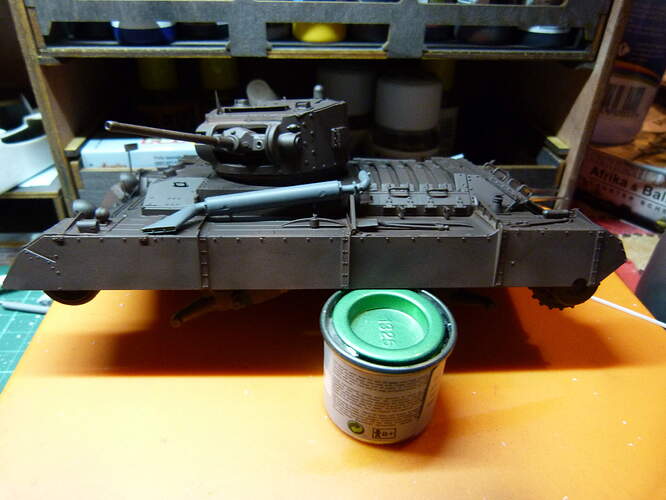
Wow, everything is starting to look so good! With the possible exception of a certain Valentine anyway, I have discovered several problems, most of them are self inflicted too, this kit itself is not half bad, I’m just a chump! :stuck_out_tongue:

anyway, here is the progress so far -

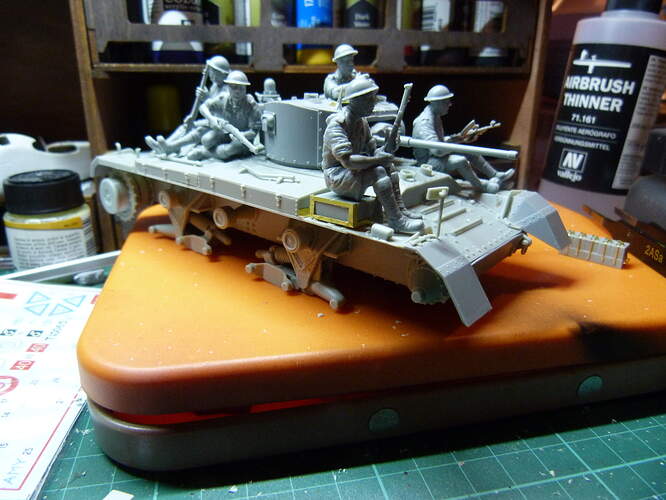
So, I finished off the assembly, including some slightly ham-fisted photo-etch work, which led to the discovery of a couple of fit issues, the worst of which is a step in the join between the turret halves which I have tried to remedy, but I think I need to have another go at it because it is far from solved! Additionally, I applied a layer of dark brown primer which showed up some nasty finger/thumb prints, one on top of the turret and one on the back corner of the hull, neither of them are going to be at all easy to sand down because I can’t really get at them. Oh well, I will have to come up with a solution of some kind. I also put down a layer of dark grey as a base coat for the exhaust, which kind of highlighted the mess I managed to make of trimming off the sprue gates, Still, there is a cover plate for the exhaust, so those will not be visible once I have that fitted. I hope.

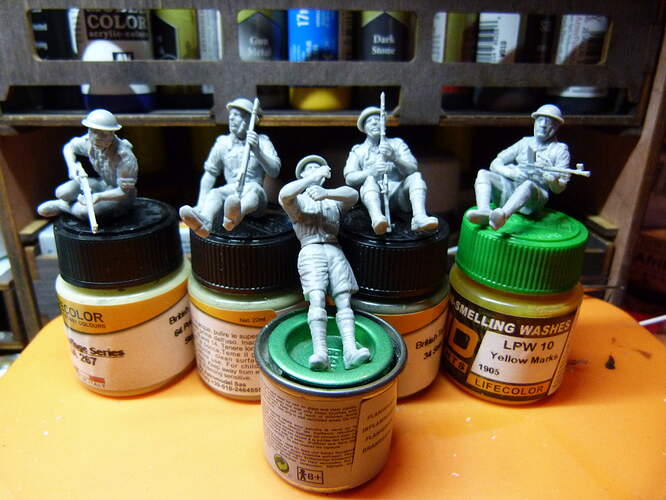
I have mostly assembled the figures included with the kit as well, they are fairly good, but there are some nasty gaps that are going to need filling! Also, at the time of writing this, I have fitted all their additional web gear and equipment, I just need to make some rifle slings from tin foil and masking tape, then I can have a crack at painting them but I think I’m going to get the tank itself done and dusted before I start working on them in earnest.

Anyway, if anyone read all that, nice one! (I ramble a bit, sorry) keep up all the good work, and I am going to set about sorting out my mistakes!
9 Likes

that valentine & figures has caught my eye by never seen it for sale… The LAP-7 camo done… not a huge variation green/brown BUT mt first freehand that has been semi-successful… you never know I may get this airburshing lark in to some semblance of good (brown was thinned with Galeria gloss which worked quite well)

7 Likes

That looks good. Someone said (Petbat perhaps?) that the Bronco Valentine I am building is from a mini-art kit. I can see that. I had a devil of a time with the suspension…

It’s looking good. I like the figs a lot.

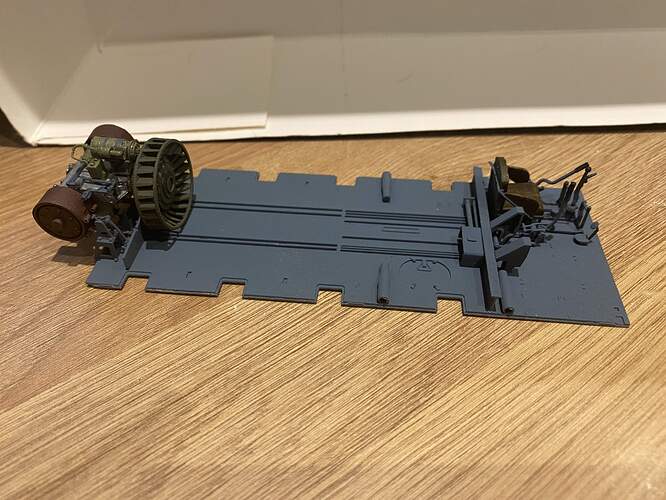
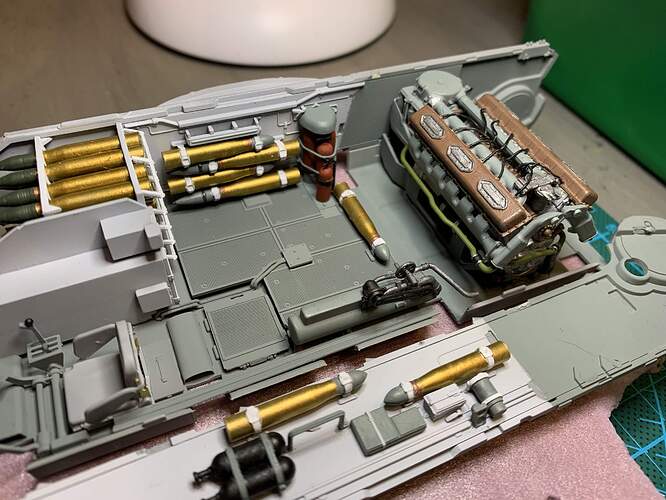
Interior has been painted, I am planning to give a pin wash.
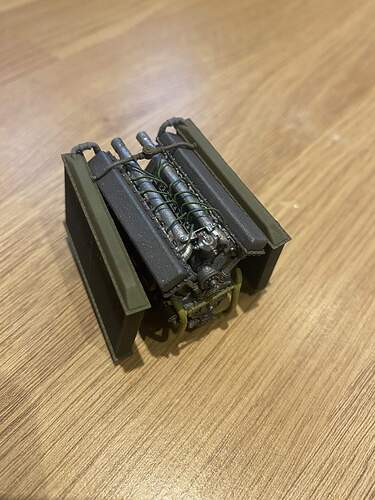
Engine will be used for Trumpeter MAZ 537 regardless it’s V54 instead of V55 which is used on MAZ.

best online image hosting

4 Likes

This T-34 kit is going to be a huge problem - I can already tell.

Who knew that interior kits were so cool? I’m trying to figure out what everything does. And I’m shopping for other interior kits now…

2 Likes

It is cool, but so fiddly at the same time.
And then I wonder how much can be seen?

Definitely hard not to say f it, that won’t be seen, and buckle down and do a god job of all the fiddly bits inside

Oh yeah, it will be done. No doubt about it.

Hull glued in place.

7 Likes

Some great looking builds in progress. How’s everyone finding Miniart kits so far.

Plastic doesn’t seem too soft. I’ve found fit is good. Whilst a lot of fragile connections on some of the small parts, one the sub assemblies go together it seems to pull together.

Bit of progress so far. Spent some time weathering the engine, only for the radiators to obscure most of the detail!

Radiators are pulling out a little, but it closes up when dry fitted to the rest, so don’t anticipate that’ll be a problem.

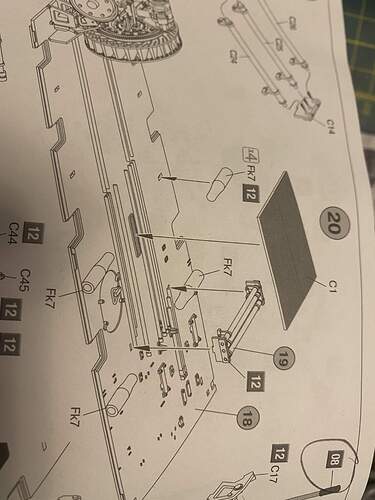
Anyone with better knowledge than me know what part C1 should be. It’s not called out for in the instructions. It’s represented as the same colour as the radiators throughout the following stages, so possibly a flat black?

4 Likes

I’ve found the same. Good plastic, great fit of parts, but lots of fiddly bits you have to be careful not to break.

Its coming along great @D1GG3r321 … engine looks really nice, you’ve done a nice job with that. I feel like I cheated abit by only doing the 3 ton crane but it will be going on a MA building Dio as well, … so the project isnt totally finished just yet … The plastic on mine was pretty soft, but I think that is just down to the nature of the kit and its dimensions and looks etc. I imagine if it was harder, it may well be more brittle as there a lot of fiddly fragile parts in it. but the build was very good and the detail is really good on it.

I found latest Miniart kits to be excelent quality in comparison with first kits from them.
My first Miniart kit was German Village house which I built in 2007 and I was not happy with it.
I shall buy more Miniart kits in the future.

Very nice @D1GG3r321, I like the color combinations

Regarding the plastic, I think it is also a matter of personal reference, I was building a new Zvezda kit before my Miniart T-70 and found the Miniart very soft compared to the Zvezda plastic. The T-70 is the first Miniart kit I have.
Now that I am used to the plastic, I like it and am looking for another Miniart project, probably for the T-34/85 campaign that is proposed.

1 Like

Thanks all.

@Johnnych01 the crane might’ve been small, but was nicely done. I haven’t found the plastic quite as soft as I thought it would. However it is on the softer side, but as you point out I thin this benefits the smaller parts and it’s easier to clean them up too.

@panzernl thank you, I procrastinated a bit over the colours as the call outs are in mig etc. I prefer the ease of Tamiya paints for airbrushing, but use Vallejo and others for brush painting details. I don’t mind playing around with paint mixes. Pretty happy with what ended up with . Not certain if 100% accurate, but hopefully will at least look realistic once finished.

Getting moving on my T-34 interior kit. I have almost all of the turret subassemblies done and ready for paint. The only thing that would make me think the plastic is a little softer than others is that when sanding the attachment points off the 85mm ammo rounds it was pretty easy to take a little too much plastic off.

RTM* parts lost to the carpet monster so far: 1
RTM parts recovered from the carpet monster so far: 1

*RTM = really tiny miniscule

3 Likes

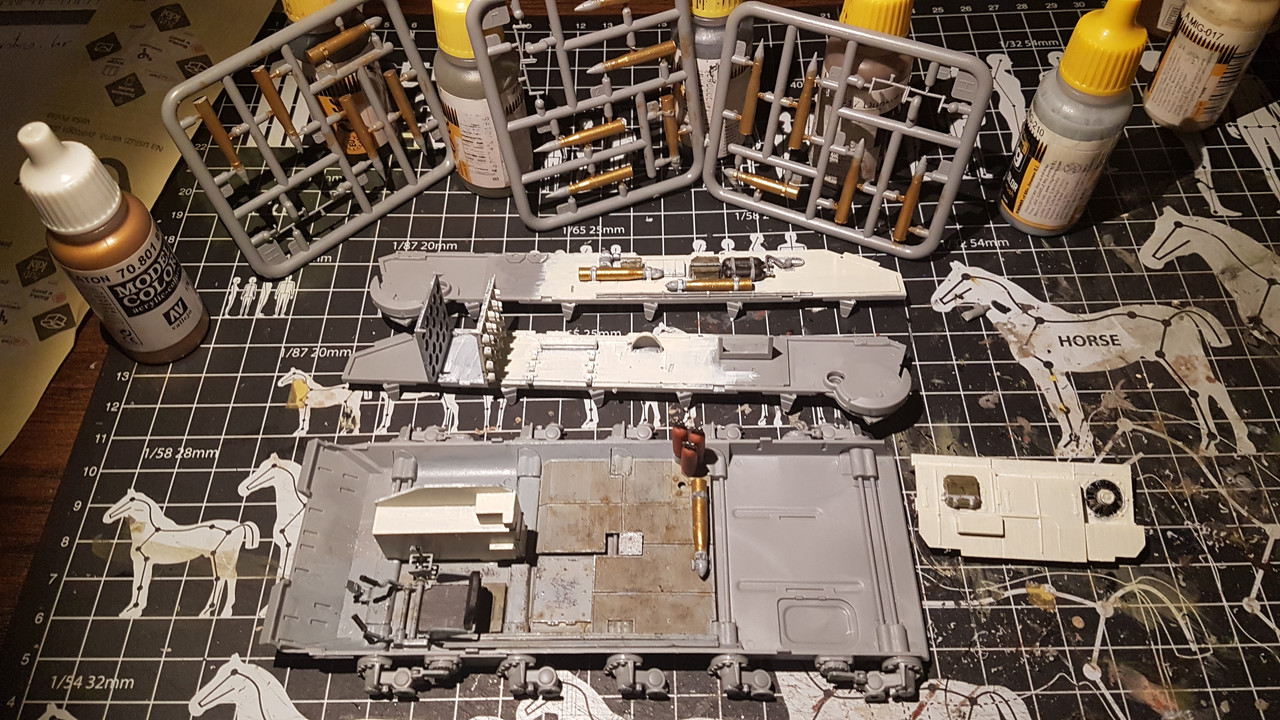
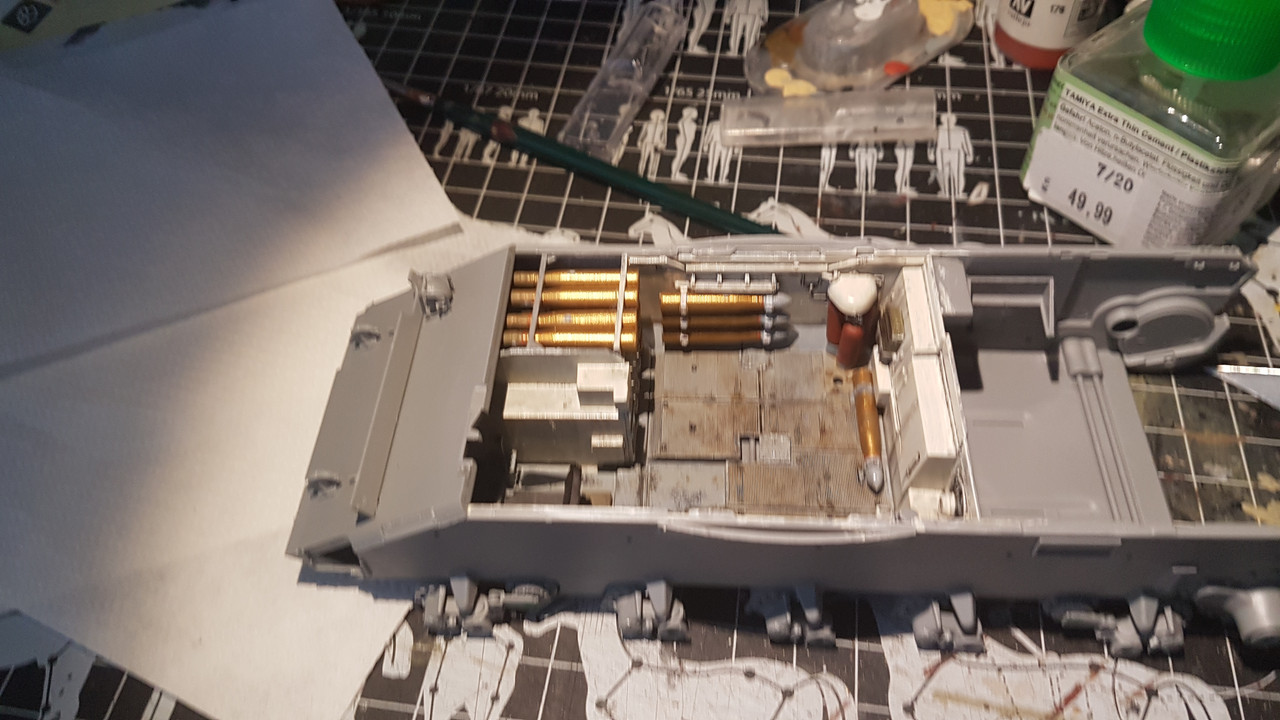
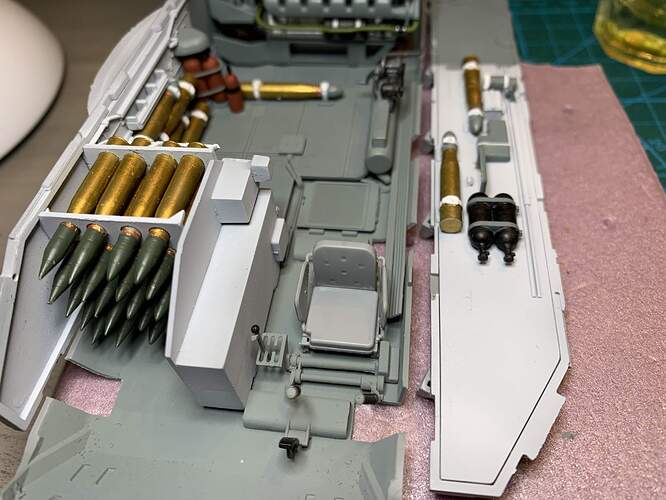
All 20 shells for the ready rack plus an additional 7 for the hull sides and floor done. That was a tedious weekend lol. Interior is mostly done now. Need to paint the chair, noticed the arms were upside down, took a while to fix preventing me from painting it but it’s good now. Also need to add the hoses to the pump and paint the ammo green portions of the interior (ammo cans and such). Then weathering of the interior and time to glue the hull tub together. One thing I’ve already noticed is the amazing fit of the hull tub. The left wall isn’t glued in yet (just supported by the fire extinguishers, and it already fits very well without me adding any tape to hold it together prior to gluing. Hope to have the hull tub together by next weekend.

5 Likes

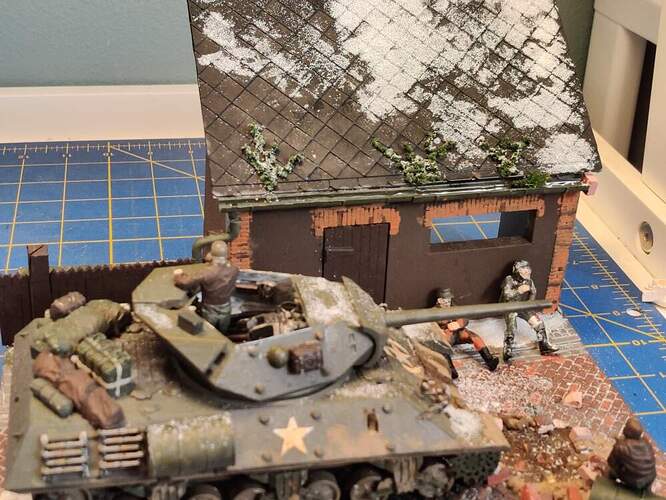
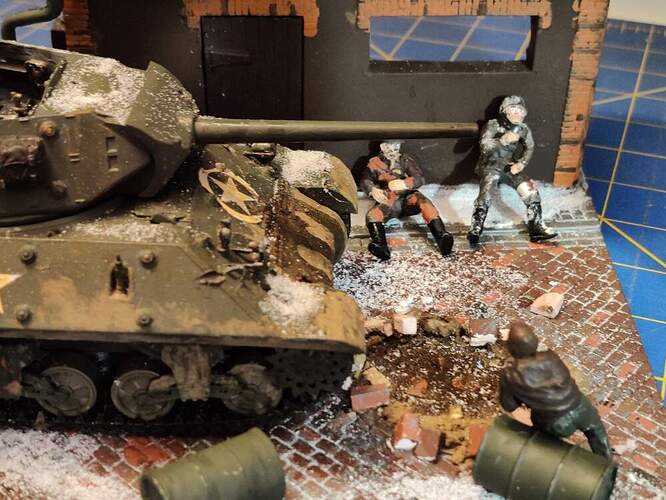
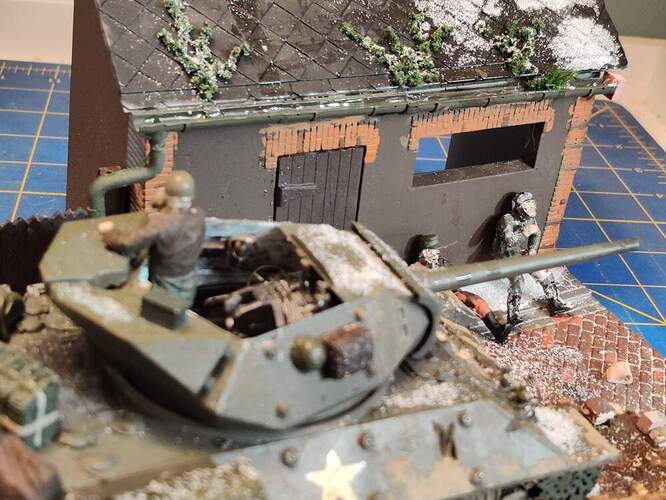
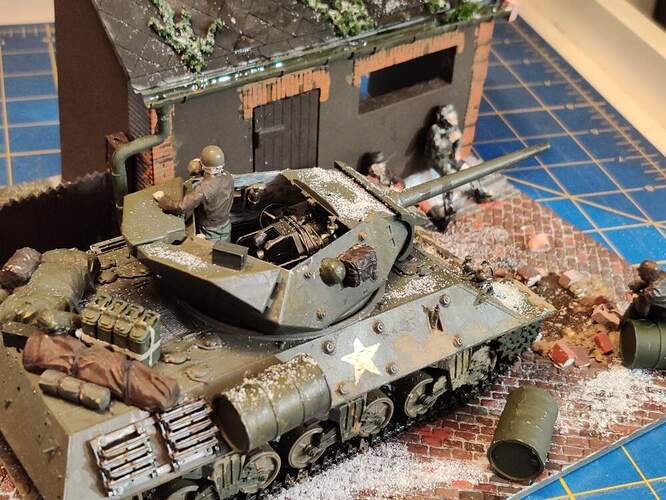
Hello again! I have finished my build, finally. Added snow, faces, mud, and a wounded POW.


Even after finishing,
I think I’ll follow this thread a bit longer to see what everyone else builds.
Cheers!
L

7 Likes

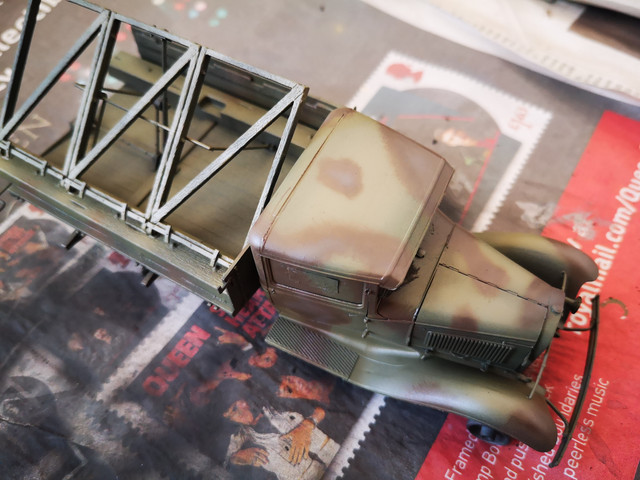
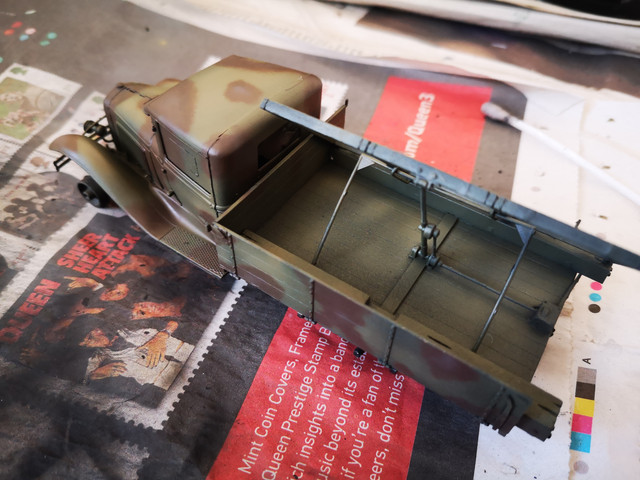
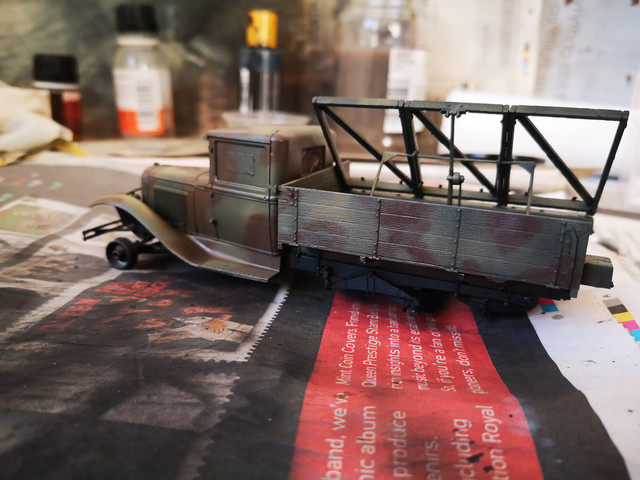
My T-80 has stalled because of little bench time and Zis-5 idea well I really don’t know now. It’s either validation or kick in nether regions by Miniart.