Hmmmm, I don’t recall this in the assembly steps of my T-55.
I will look again.
You may be right. It may only be a T-54 thing, the original length being for the T56
Looking good. Now I can get an idea of what mine should look like when I start building mine.
Cheers!
chuck
Excellent pics of exceptional work.
Cheers!
chuck
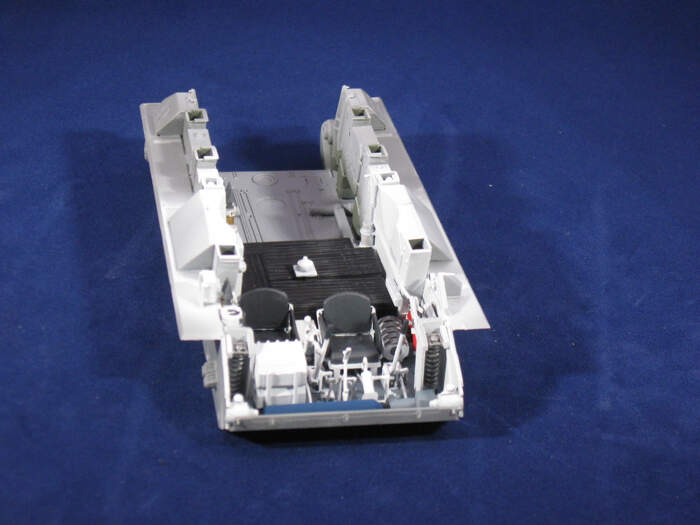
Man that brake unit assembly is breaking my balls bad. I had the controls rods off in one piece, but they broke trying to clean off the nubs.
Then when adding the brakes to the final drive(?) they don’t seem to really lock in good. Using tweezers to actually mount the rods, i break the bond on the final drive at the floor mounts. It really shouldn’t be that difficult. 
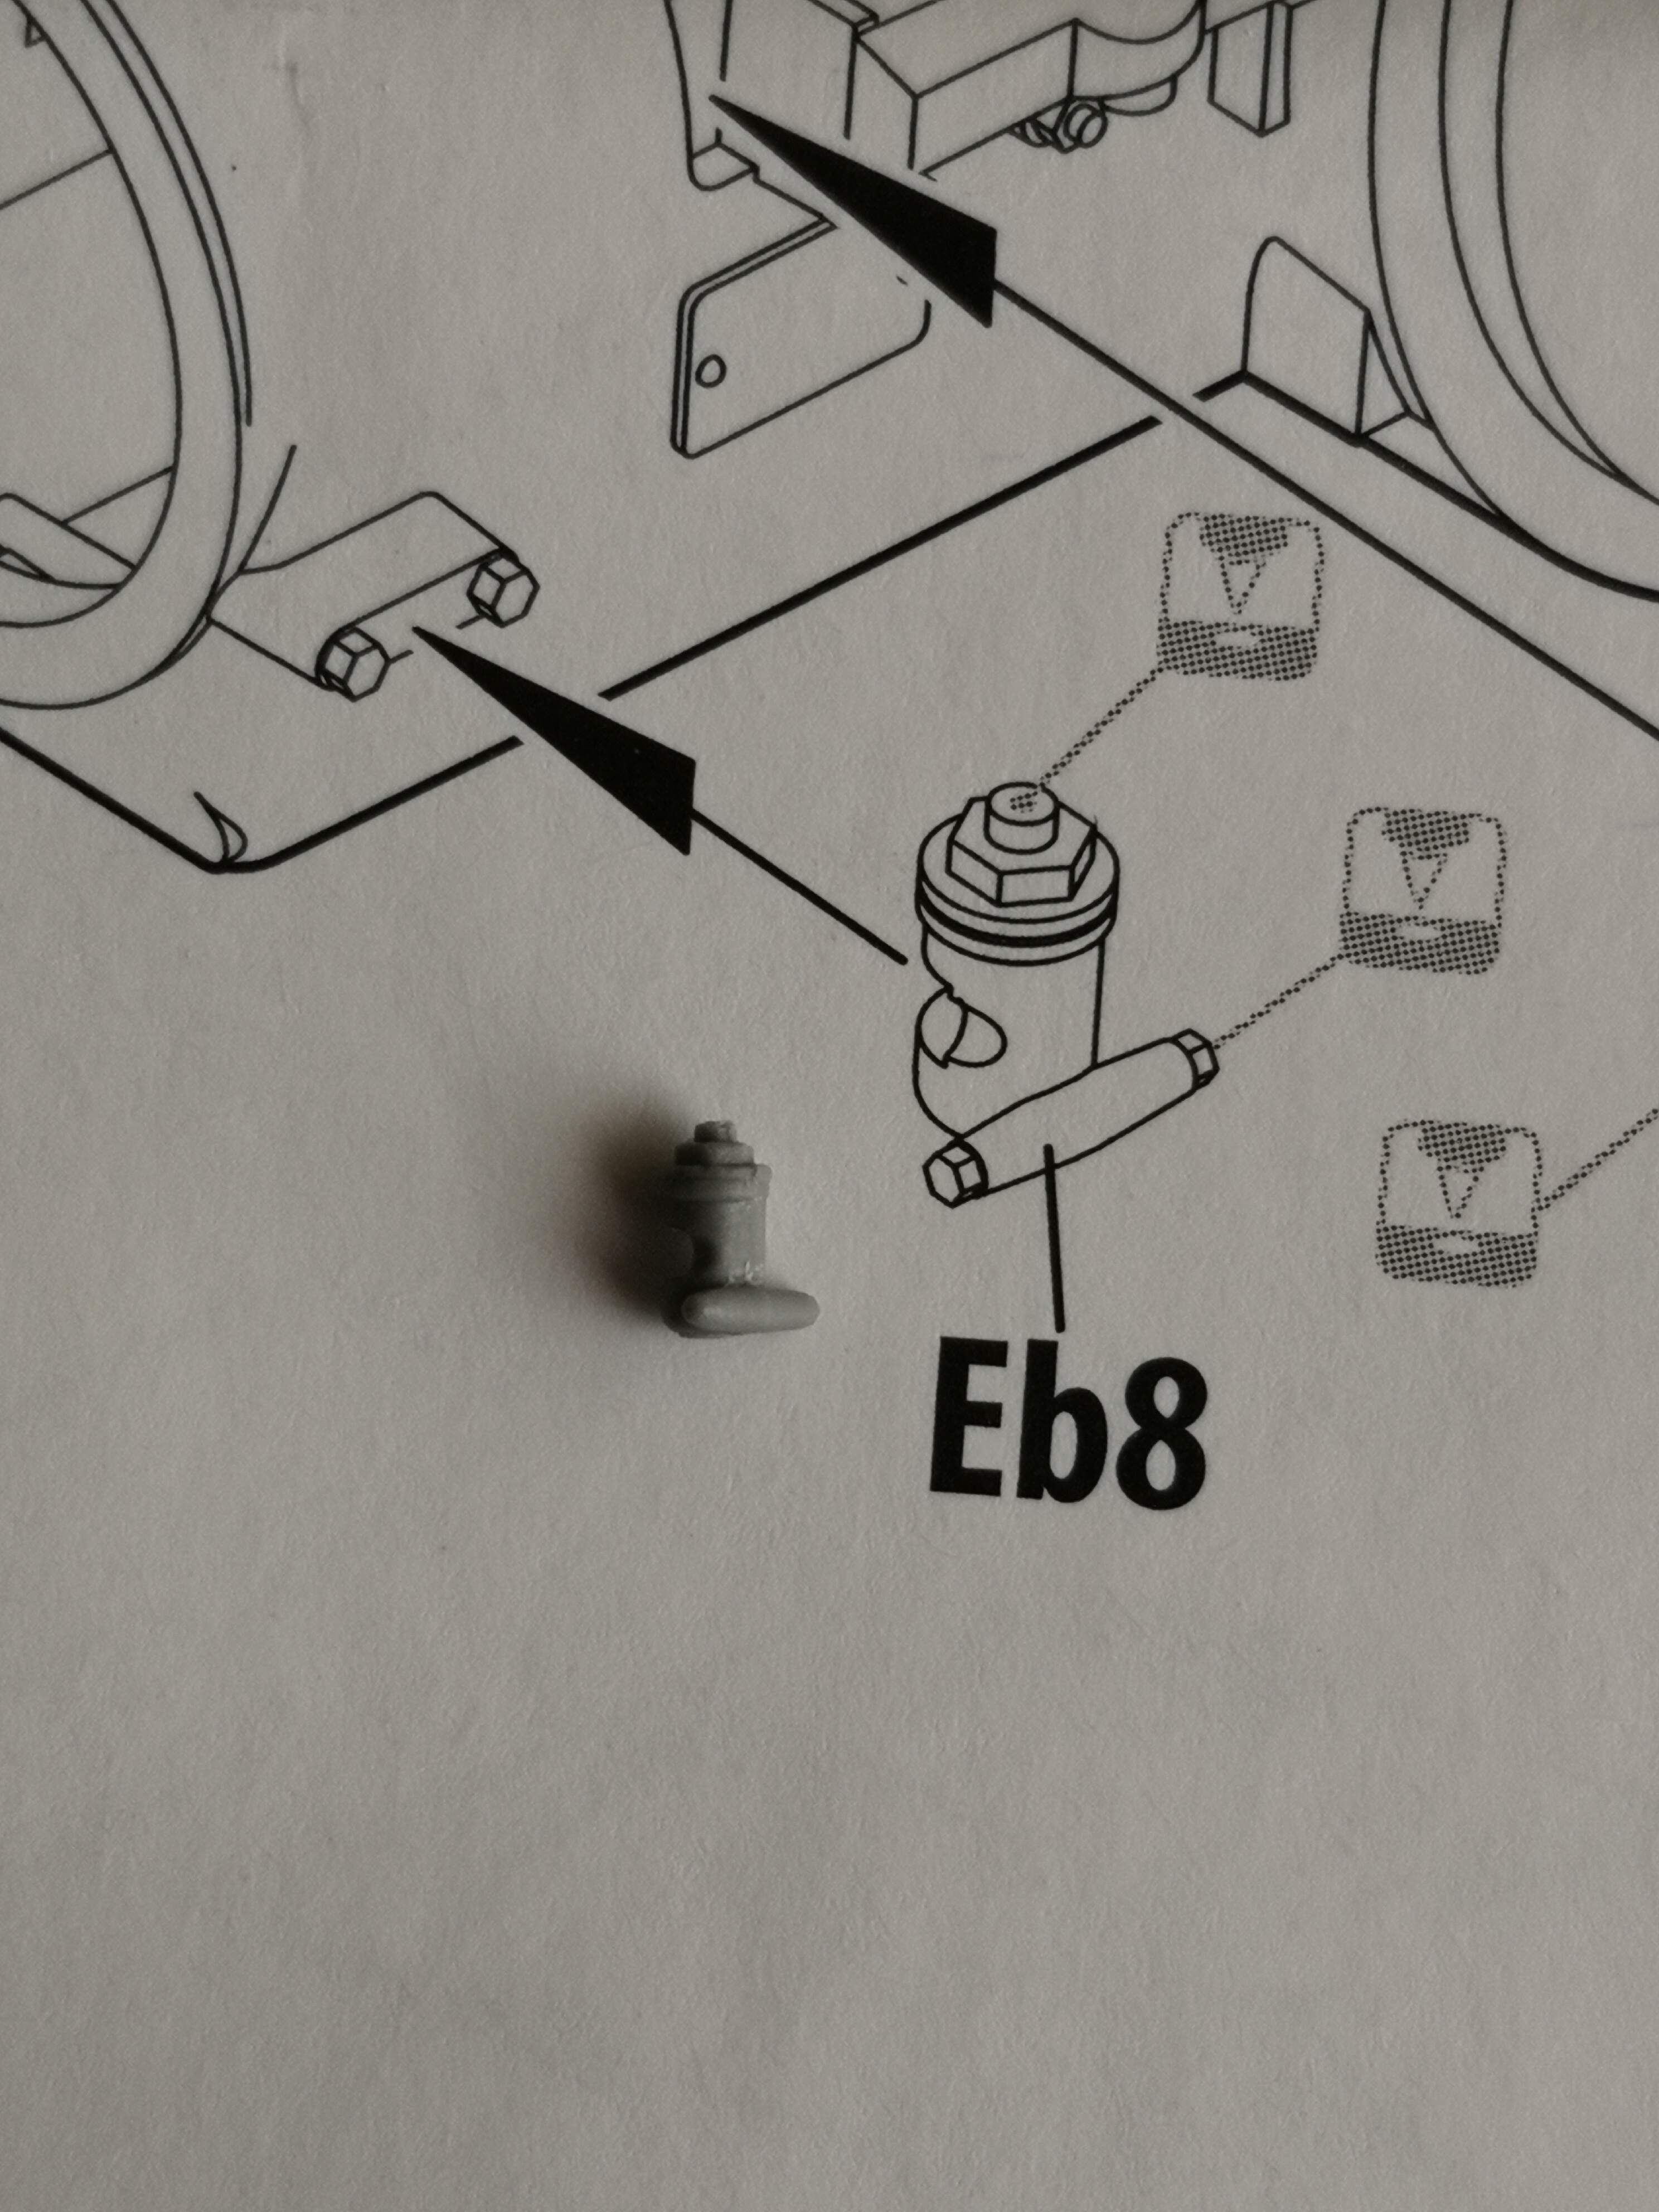
I feel your pain. The problem I think is a combination of several factors. In their effort to make everything to scale parts become overly small and hence fragile. Also the type of plastic they use is not very forgiving and in my opinion very much prone to breaking, especially the more fragile pieces. Then there is the problem of getting the pieces off the sprues with large attachment points on small and fragile pieces. Very frustrating indeed. Good luck.
2 Likes
So the lower hull fighting compartment is done. These are just of it held together by friction. I was about to glue it and realized I should do a little bit of light weathering on the inside. The fit on the side walls to the hull bottom is awesome. The fit on the right one is so good I’m not sure it needs glue! Well, I pulled the left wall off to do the weathering no prob, but the right wall is on there pretty good. I hate to remove it.
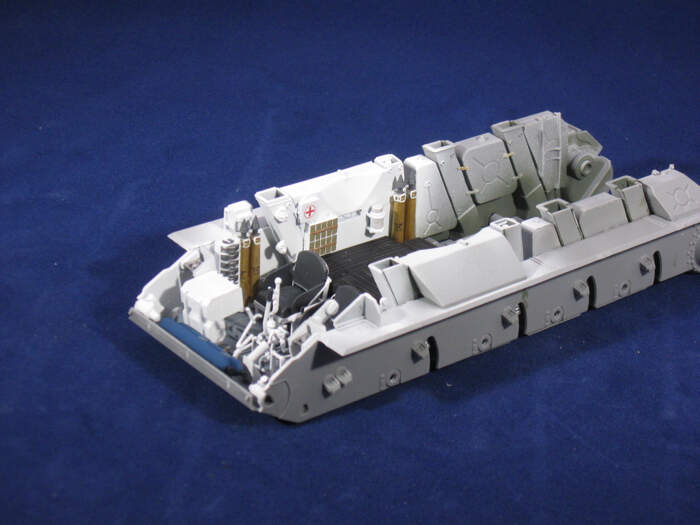
8 Likes
For the fiddly small and thin breakable parts I too have had trouble, in some cases I’ve found it helpful to glue them in place especially if it is to something solid and then clean up the attachment points. But I too agree some of the thin parts are way too fragile with tons of thick attachment points
Welcome aboard! Hang in there. It’s a lot of fun watching other modelers as they progress through their projects. Take your time and enjoy the campaign.
Cheers!
chuck

This is my first time posting since the campaign started in December as I was in the middle of a house move. Well, I was finally able to unpack enough tools and supplies to get started on the Miniart Campaign. So far, it’s going well. The engine for this kit is about 7 steps with a few sub-steps thrown in. The individual engine parts are well-molded with excellent detail and the fit is very good. Miniart has supplied photo-etched spark plugs (I believe) to be added and, while I added them per the instructions, being one dimensional, it doesn’t look all that impressive. Because of their very small size, I would rather Miniart molded them in place or made plastic ones as an option.
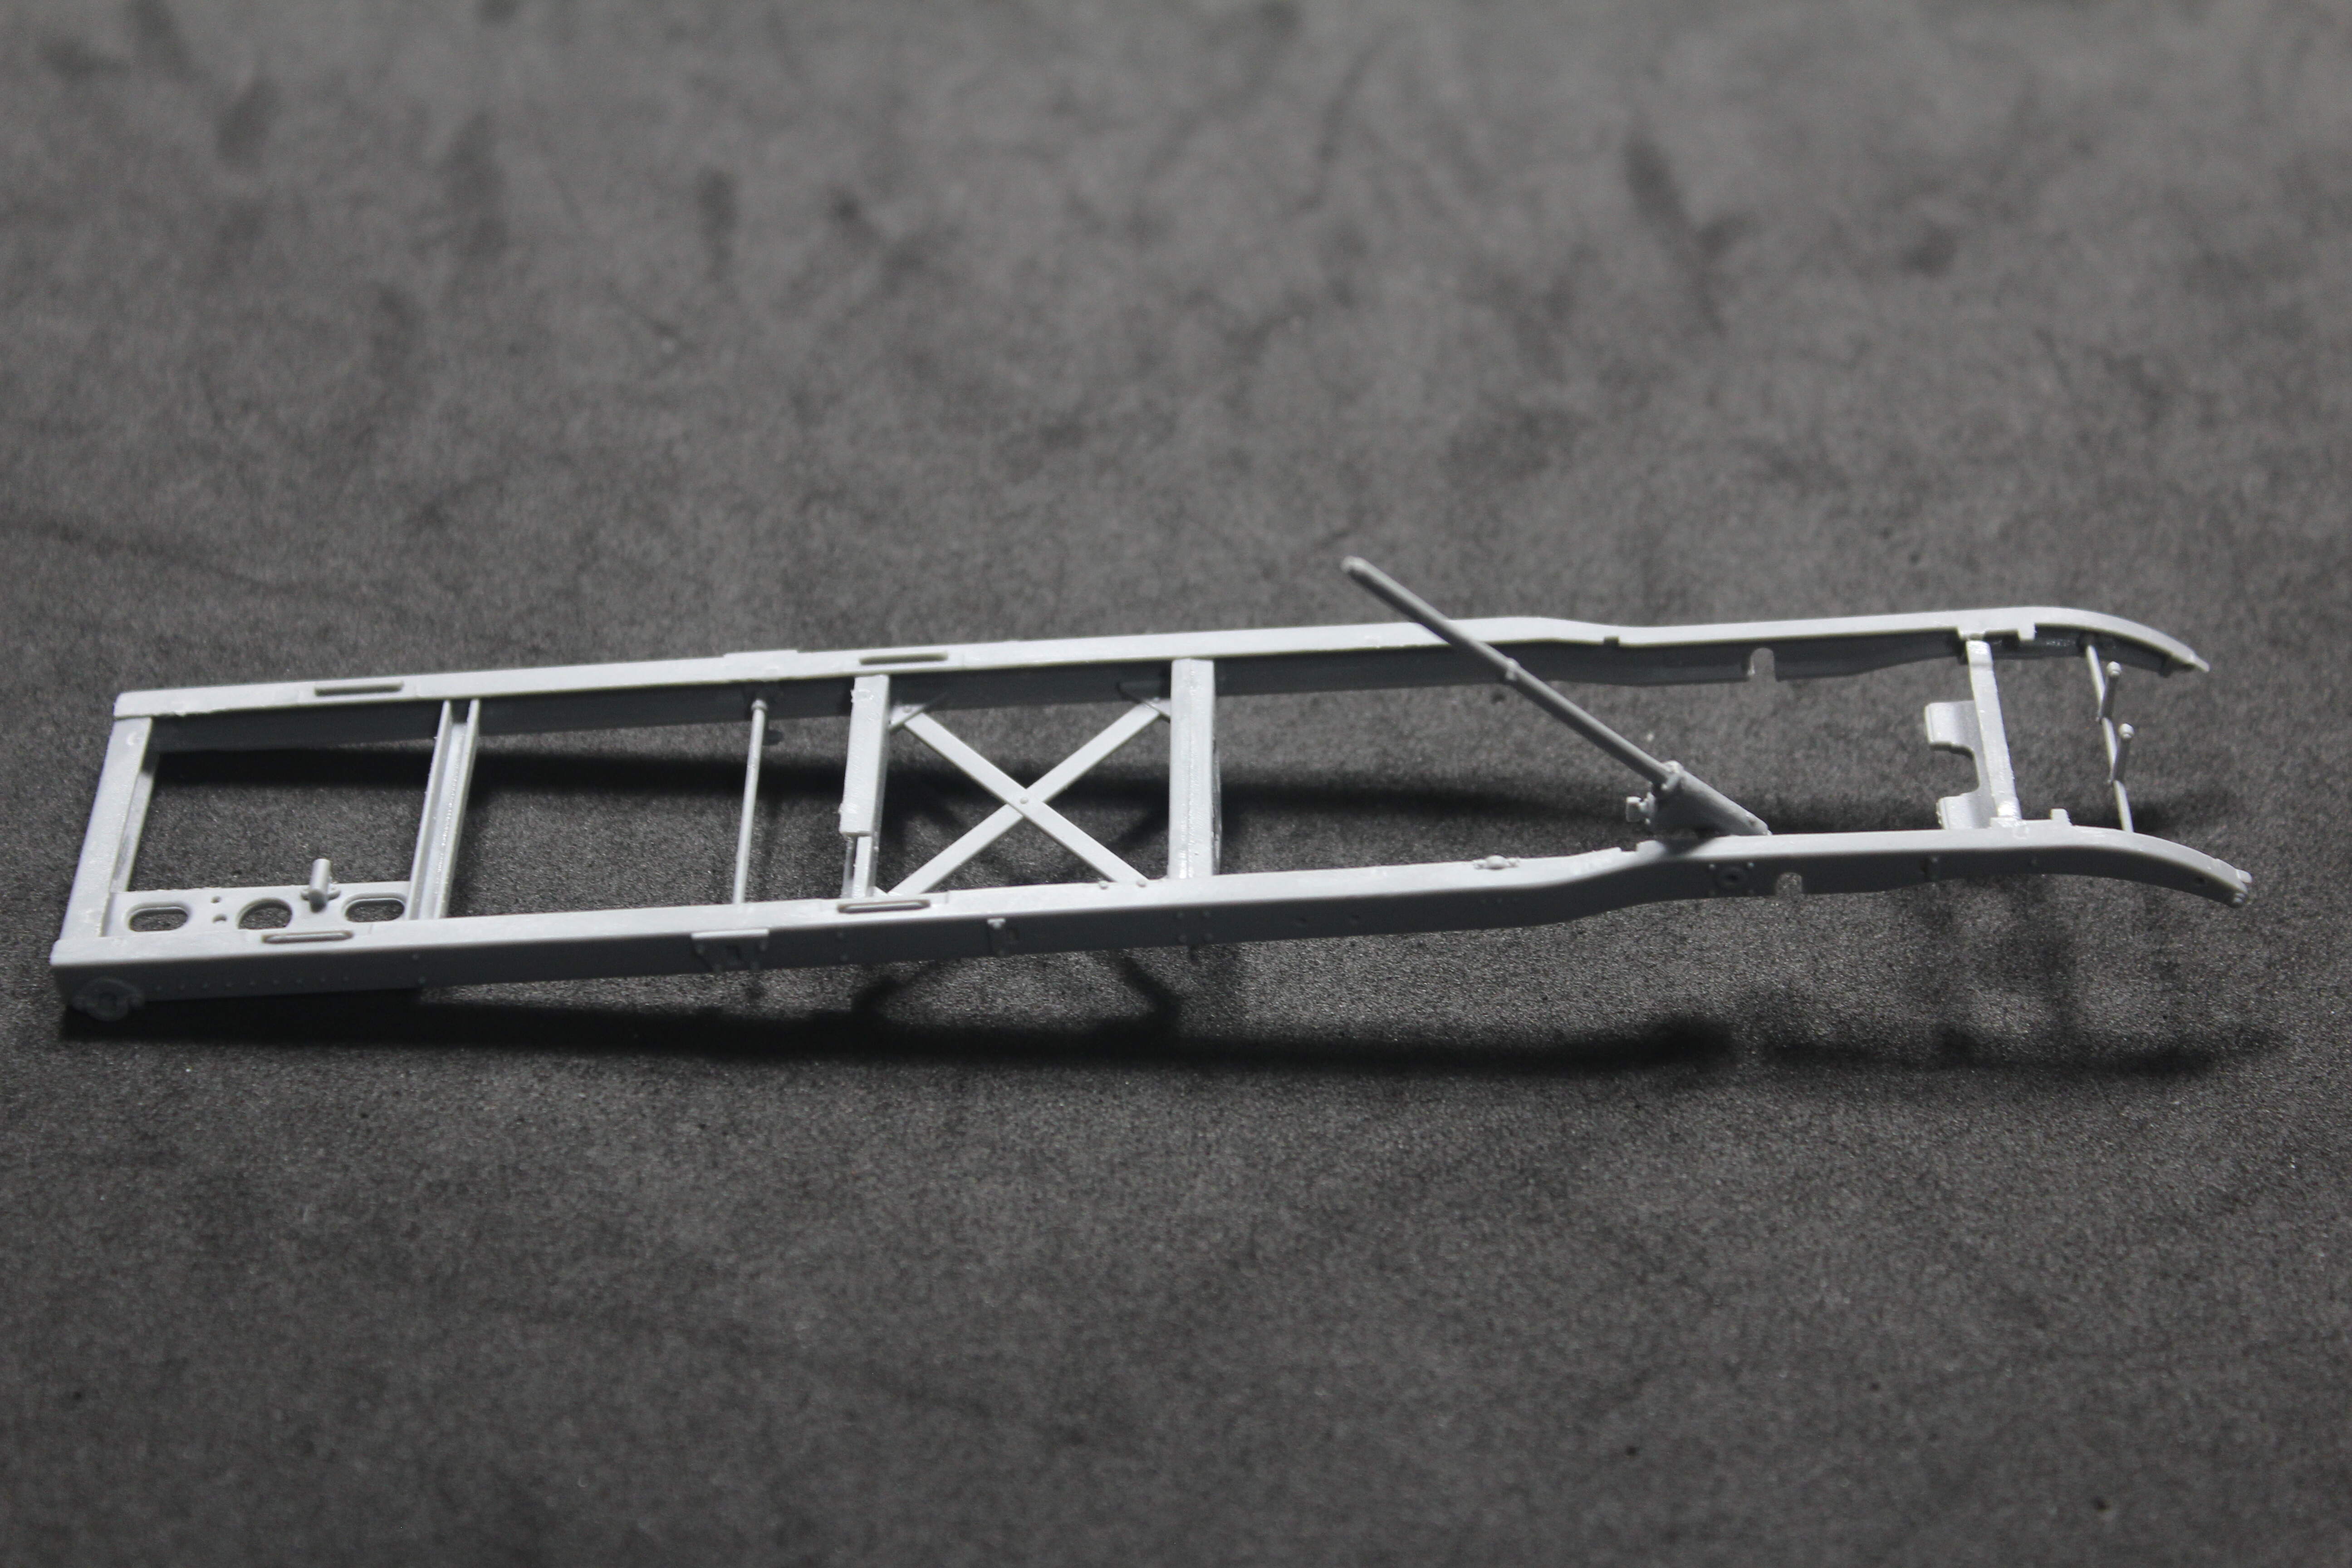
The chassis frame is quite good as well and with plenty of molded on detail. Hopefully, my next pics will include a sucessful mounting of the engine and radiator to the chassis.
I love seeing all the Miniart subjects and the various modelers making them come to life. Excellent work everyone.
Cheers!
chuck
5 Likes
Today, though my current project is not finished yet I cautiously started my MiniArt Lanz Bulldog tractor. Only a few parts have been glued together but a start has been made…

6 Likes
I know I will get one of these tractor kits, so I am curious how it goes together for you. 
I love the look of those tractor kits!
Alright, today I bought the second part to the build for this campaign! Hope to try starting on this within the next two weeks.

6 Likes
The first 11 parts went together ok. 
2 Likes
don’t you have a microdrill in your lab? ducks
1 Like
@hetzer44 So Chuck, how far did you have to move the house?
0,3mm but even then…
Twirl the tip of a new No.11 X-Acto blade.