A .3mm drill bit is even smaller than a number 80 bit. That is an extremely small bit! I do a lot of scratch building, especially of hinges and I seldom use anything much smaller than a number 74 size (the bigger the number, the smaller the bit), because quite frankly anything smaller than that (that’s about 0.0225" or just under 0.6mm) isn’t going to carry any load, and if you’re inserting some sort of piece into the hole, it’s so small that a small touch of glue is more that sufficient to keep the pieces together. There’s no need to insert one piece into the other to help keep them together.
1 Like
Is that metal wire being glued to plastic or plastic to plastic?
If it is metal to plastic I would drill a tiny pilot hole. Similar to the suggestion above place the tip of a number 11 blade in the Center and twist it a couple times to make a pilot for the drill bit. Then use a small drill bit a tiny bit bigger than the metal wire. I found it useful to start with one half the size of the wire and then the correct size.
When doing my engine wiring I tried to just glue without a hole but the connection was very weak and any bump of the wire and it came loose. After drilling the connection was strong.

5 Likes
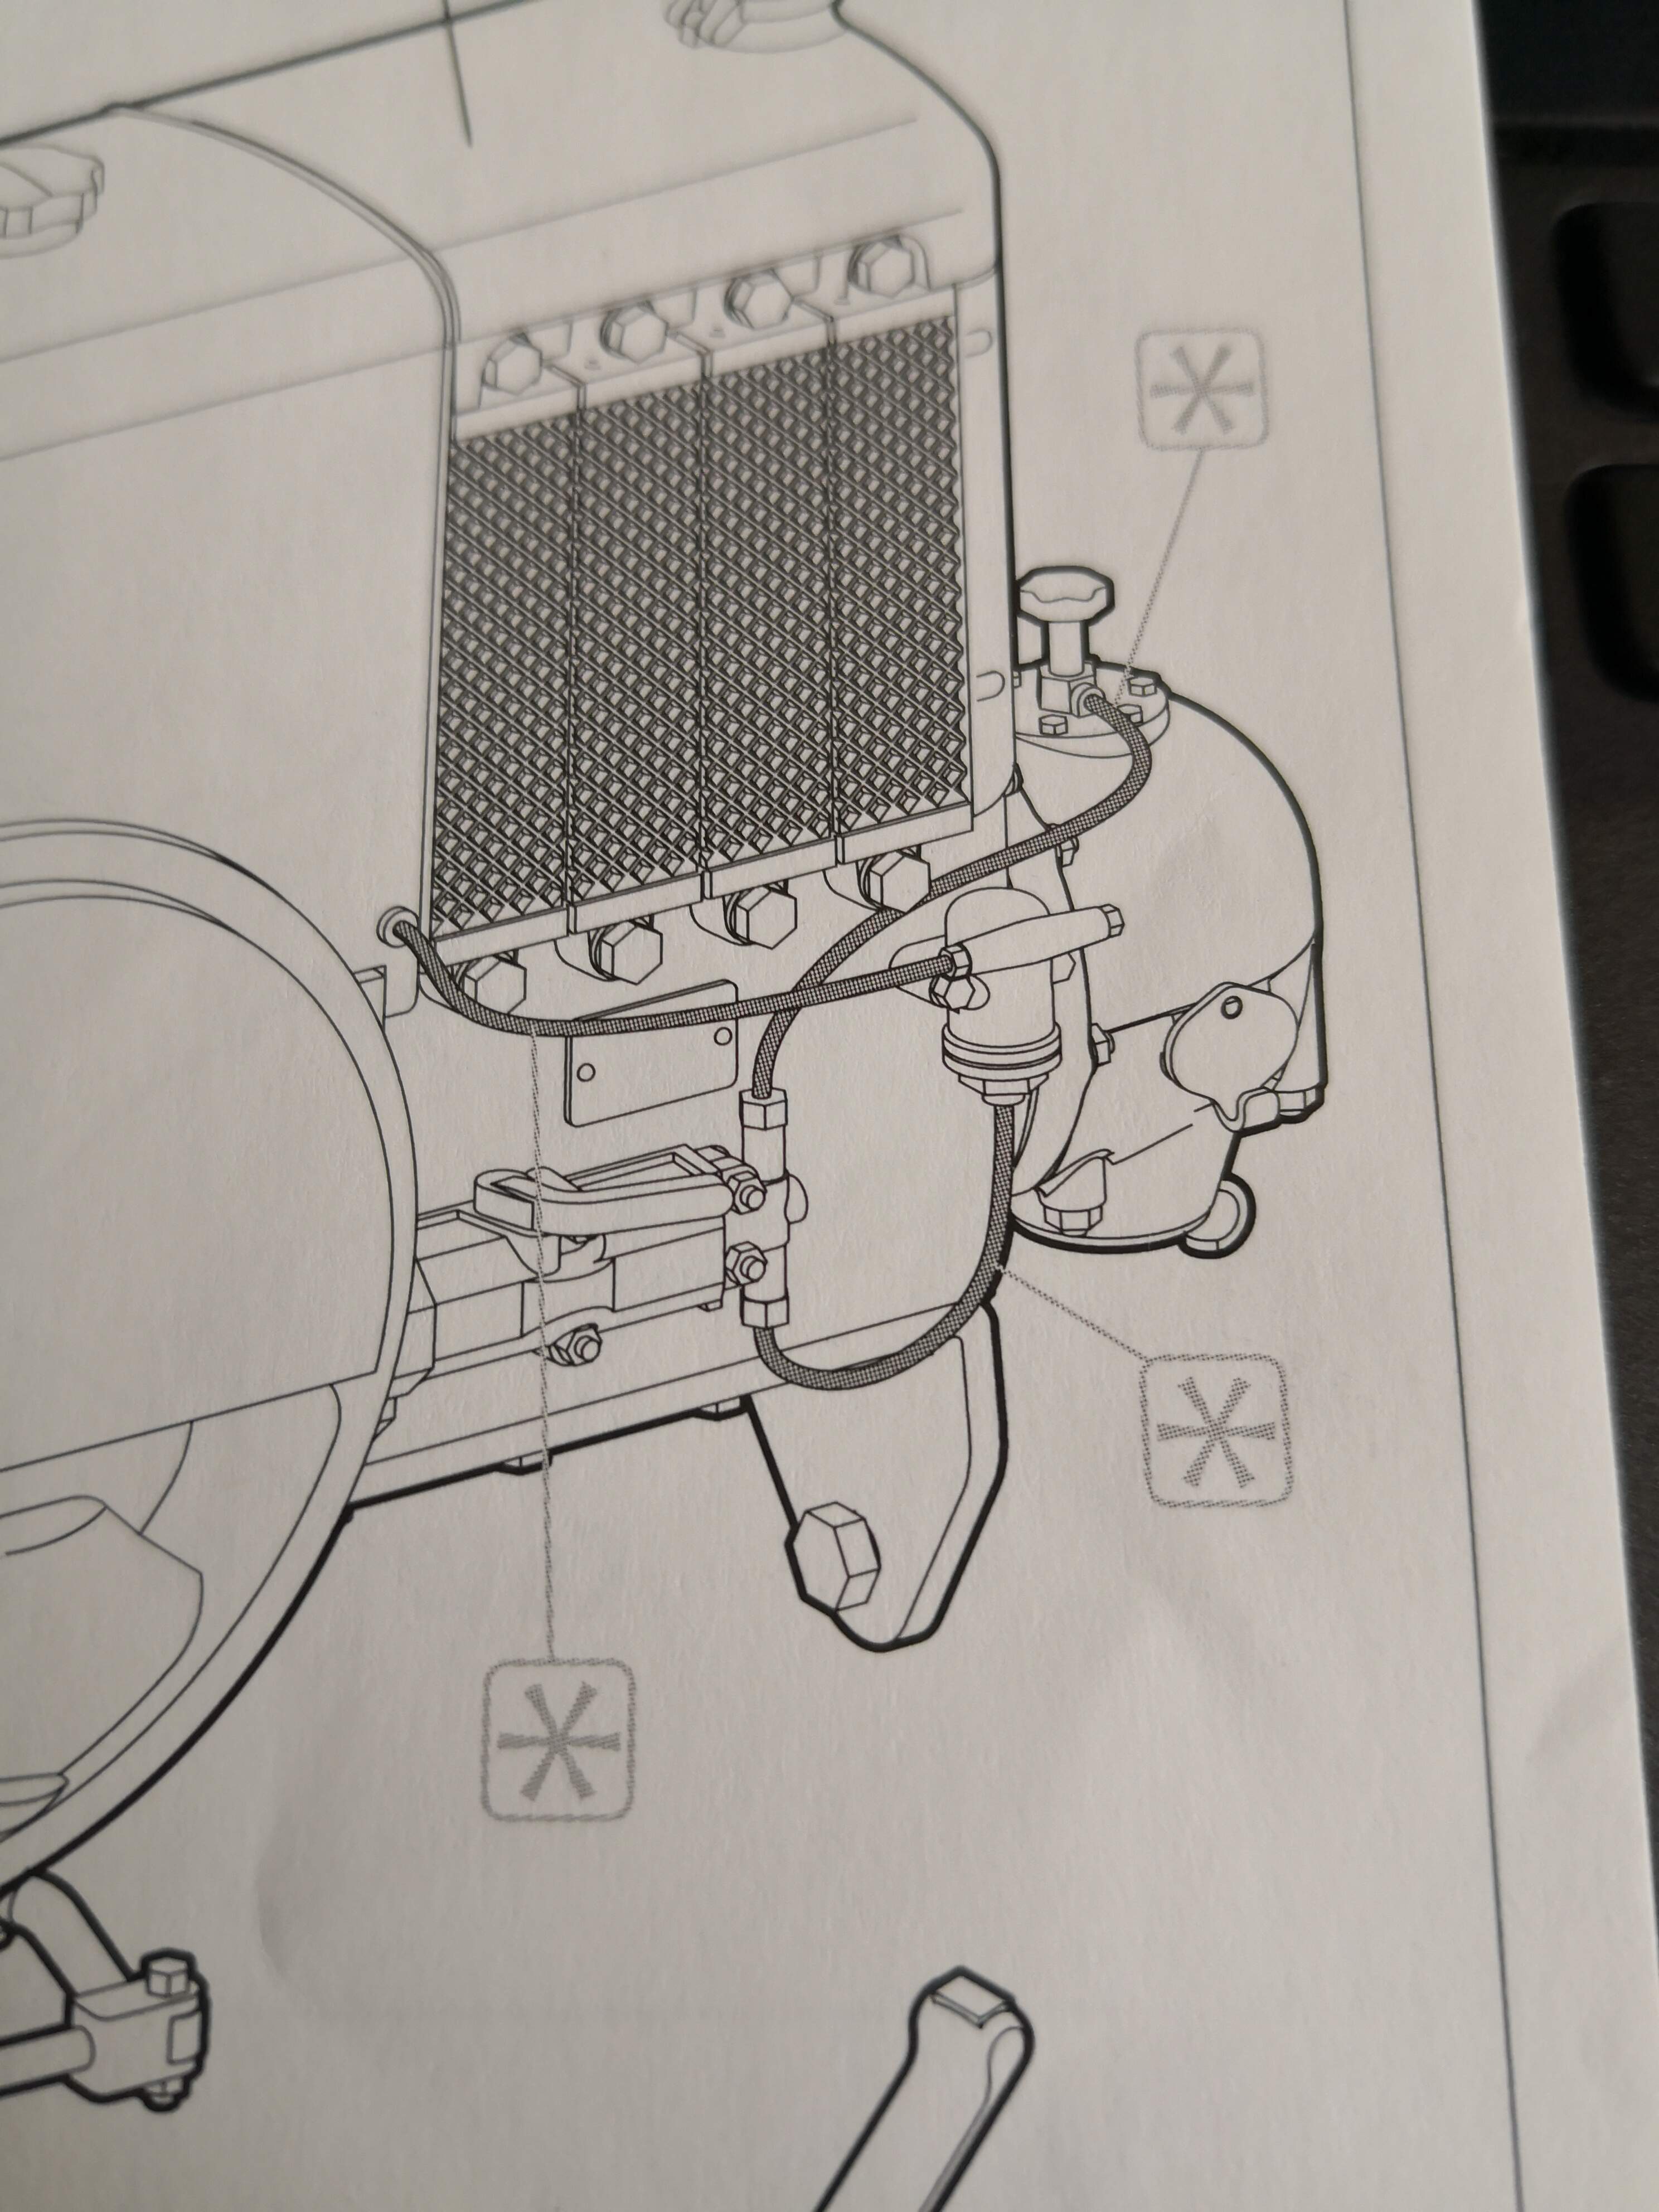
These wires/hoses are not included (hence the asterikses). So it probably will come down to metal wire…
I’d say that’s probably a good idea. If those lines are smaller than about 0.020" or about 0.5 mm it may work just as well to simply attach them with a small drop of super glue.
I went to a craft store and bought a roll of 26 gauge wire which is 0.4mm and I use it for simulating tube routing. For flexible hoses, I either use black thread which I’ve coated by running it through a block of beeswax, or you can buy various sizes of hoses for model cars which work as well.
With the 26 gauge wire, I find I can drill out a hole with a number 74 bit and slip the wire in just fine.
1 Like
The tips are very thin… I don’t know if drilling will be succes… Maybe with my optivisor…
Hi Tom!
From Maryland to Tennessee. About 550 miles south.
c
Assuming you have a “pin vise” to install the drill bit in you should be OK. And I always use a lighted magnifying lens for my work, but at 70, that’s pretty much par for the course!!! An optivisor or a lighted magnifying lens is pretty much a must for this sort of work.
2 Likes
With an electric drill it would be impossible to do ! Yes, I have one of those Dspiae vises. An optivisor is also indispensable for me. Specially when painting figures…
1 Like
Absolutely agree on the electric drill. I would never advise using an electric drill with bits that small. The RPM on an electric is way too fast and the friction of the bit winds up melting the plastic, so using a hand held is the only way I have found that works.
1 Like
For those who do not have a pin vice small enough, use the Exacto handle. Roll some cellophane tape around the base of the bit to increase its diameter if you need to.
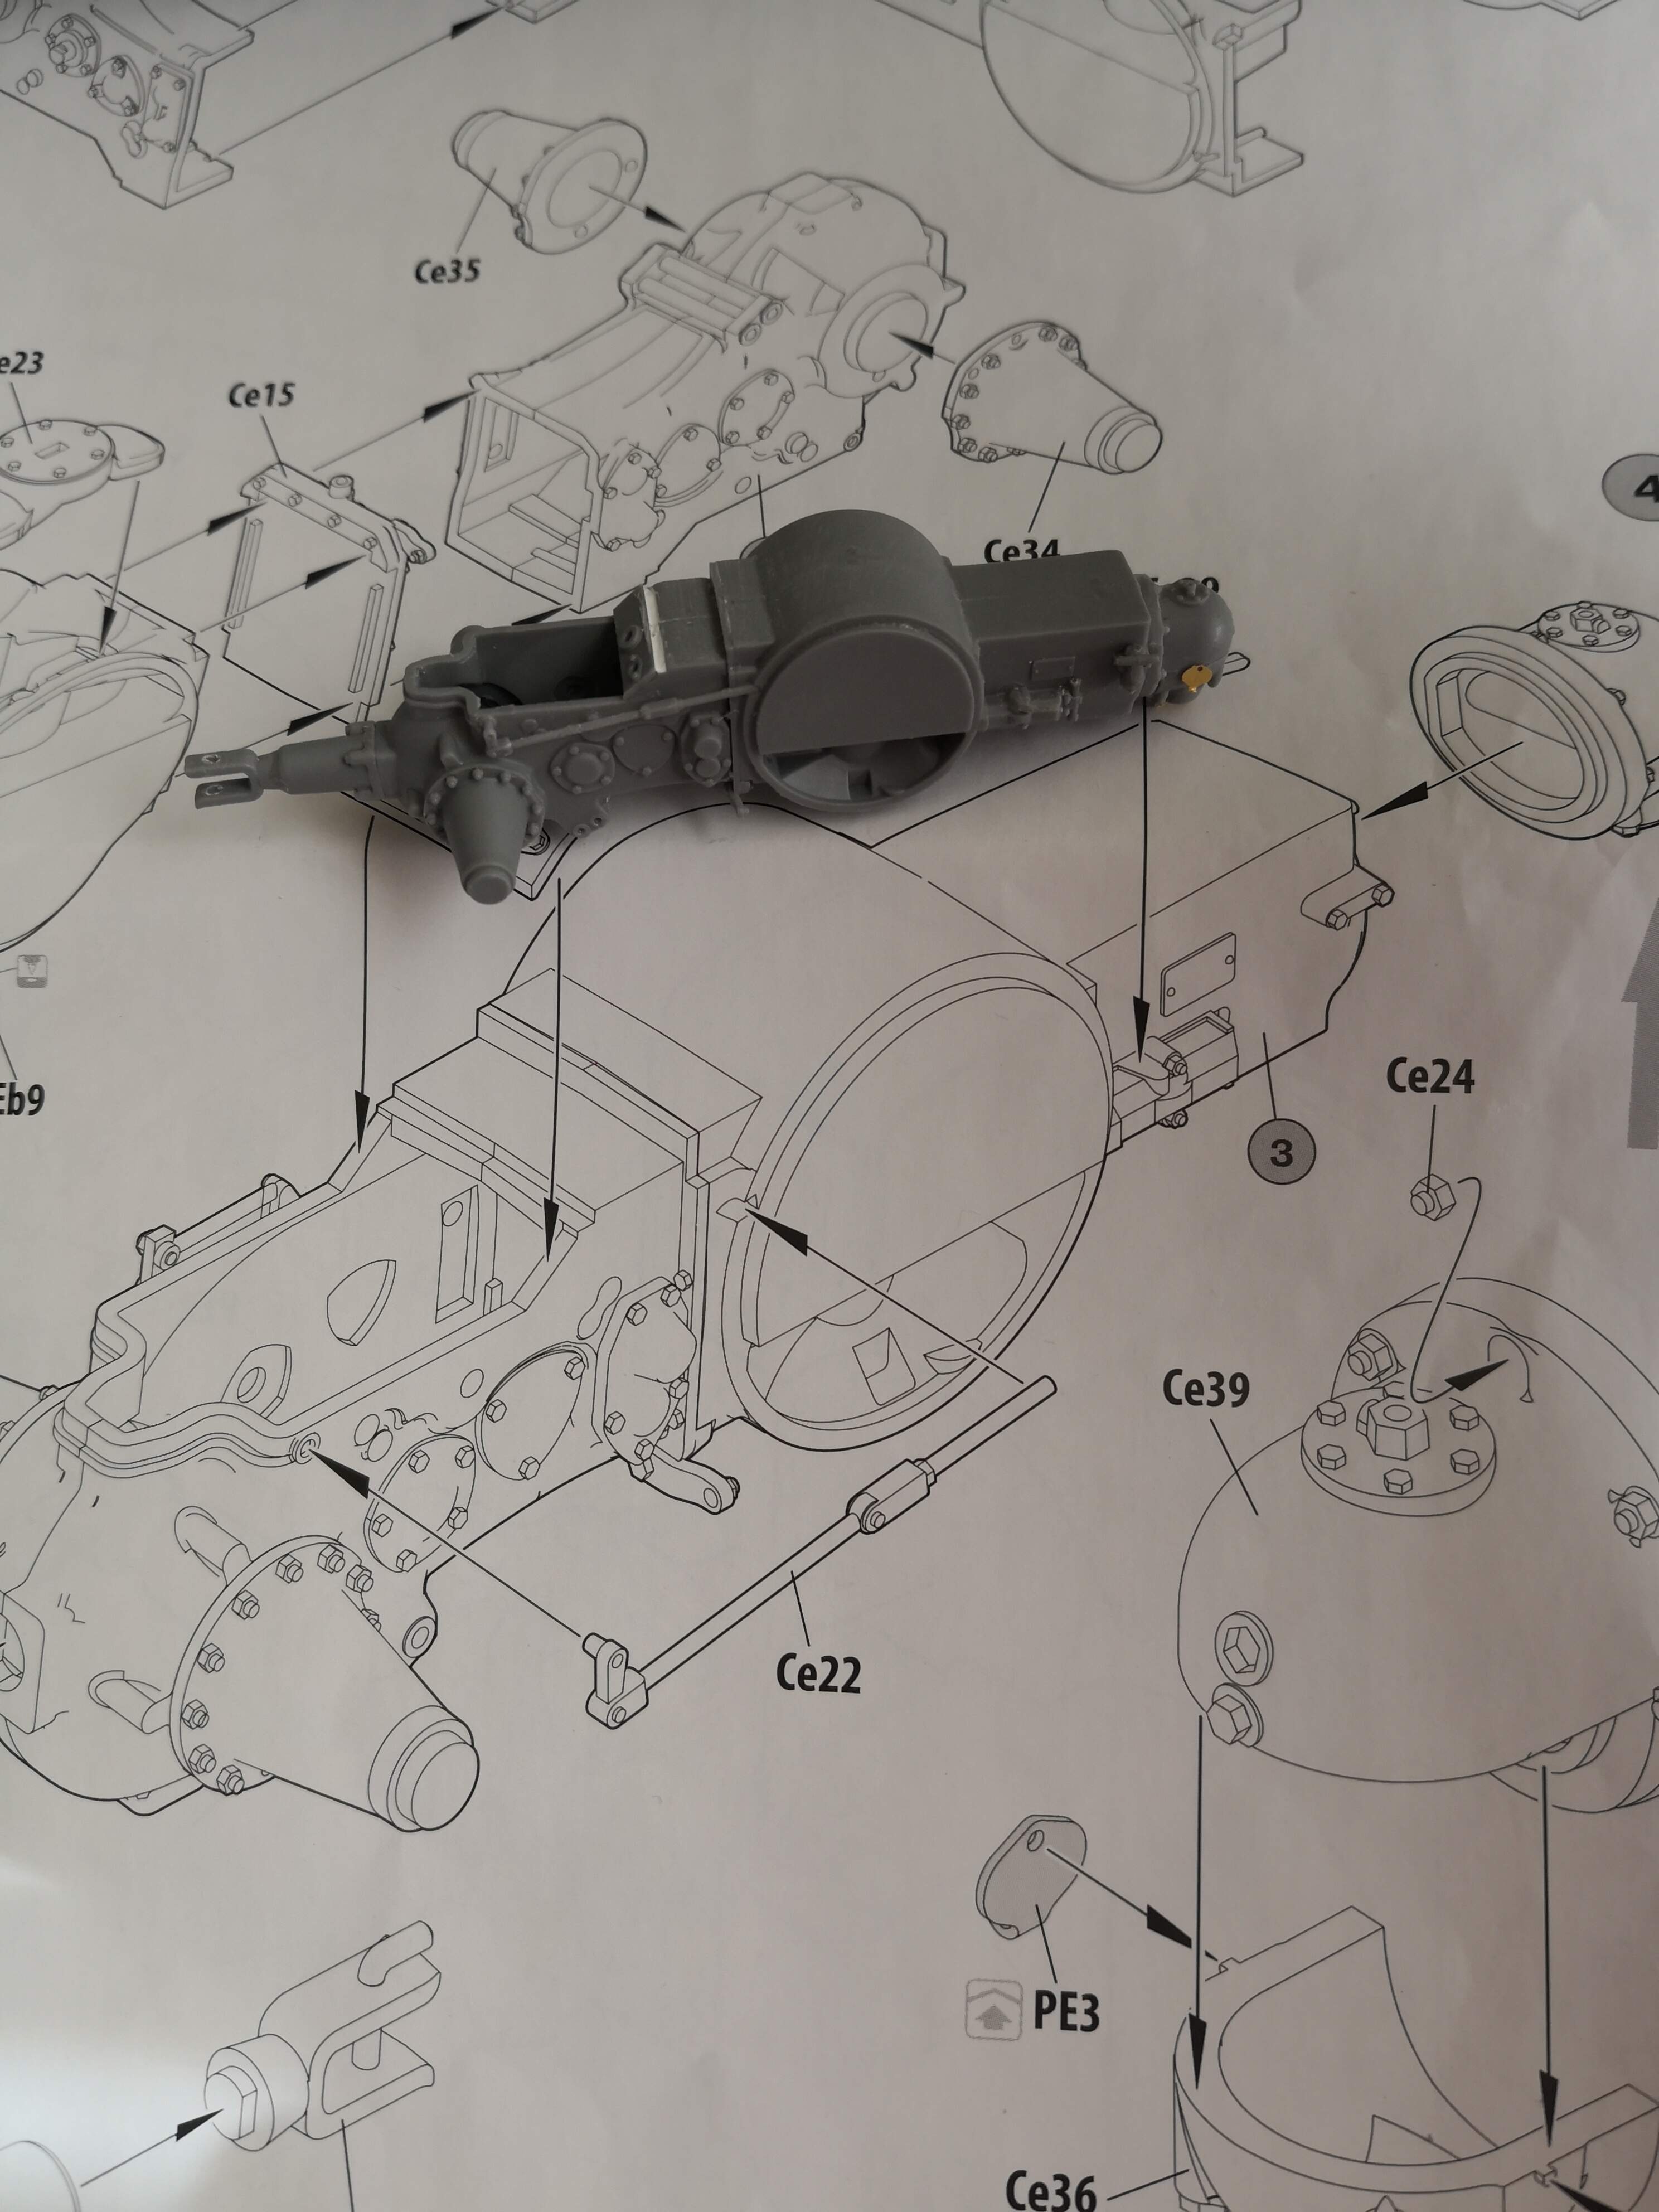
Drilling parts like this is best done on the sprue. Even if you cut off the sprue between parts.
Another option for making a shallow pilot hole or depression is cut off the point of a thin pin and heat the rest of the pin shaft in a candle flame - not too hot that you totally melt the part!. Push the end into to the part and remove. Trim the displaced plastic and you have your hole. I actually use a section of the thin metal ‘E’ guitar string. The string is great for aerials too. TGFGPK (Thank God for guitar playing kids)
4 Likes
@golikell - I really don’t envy you having to drill out something that tiny! I’m a clumsy oaf at the best of times so I would be practically guaranteed to break something or lose drop something for the carpet monster to eat!
Everyone is doing some awesome looking work right now, the Valentine however has stalled for the moment, despite the warnings early on in this very thread, I didn’t check the contents of my kit box, so it was not until now that I noticed I am missing an entire sprue of track links. Yes I am a complete twit, and yes, I have contacted Mini-Art about it and to be honest, they’ve been very helpful, and will shortly be sending out a replacement sprue, when that arrives, work will continue!
2 Likes
A lot of folks are complaining about really tiny pieces and cleaning them up. I have a tip that might help. I have a Swann Morton scalpel with a #15 blade attached. I’ve used it on some of the sprue attachments on tiny parts with quite a bit of success. It has two advantages over my x-acto - it’s a lot sharper than any x-acto blade i’ve ever used, and it’s quite small so I find it easier to see what I’m doing. I bought it for cutting canopy masks on airplace models - where the extra sharpness often comes in quite handy.
The downside, it is really quite sharp, so you need to be extra careful with it.
1 Like
Just what I need another tool, and given my experience with an X-acto knife, one that will probably send me to the emergency room for stitches. 
5 Likes
You should have super glue on the bench, same thing.
1 Like
Your right of course and it wouldn’t be the first time I had to resort to that either.
1 Like
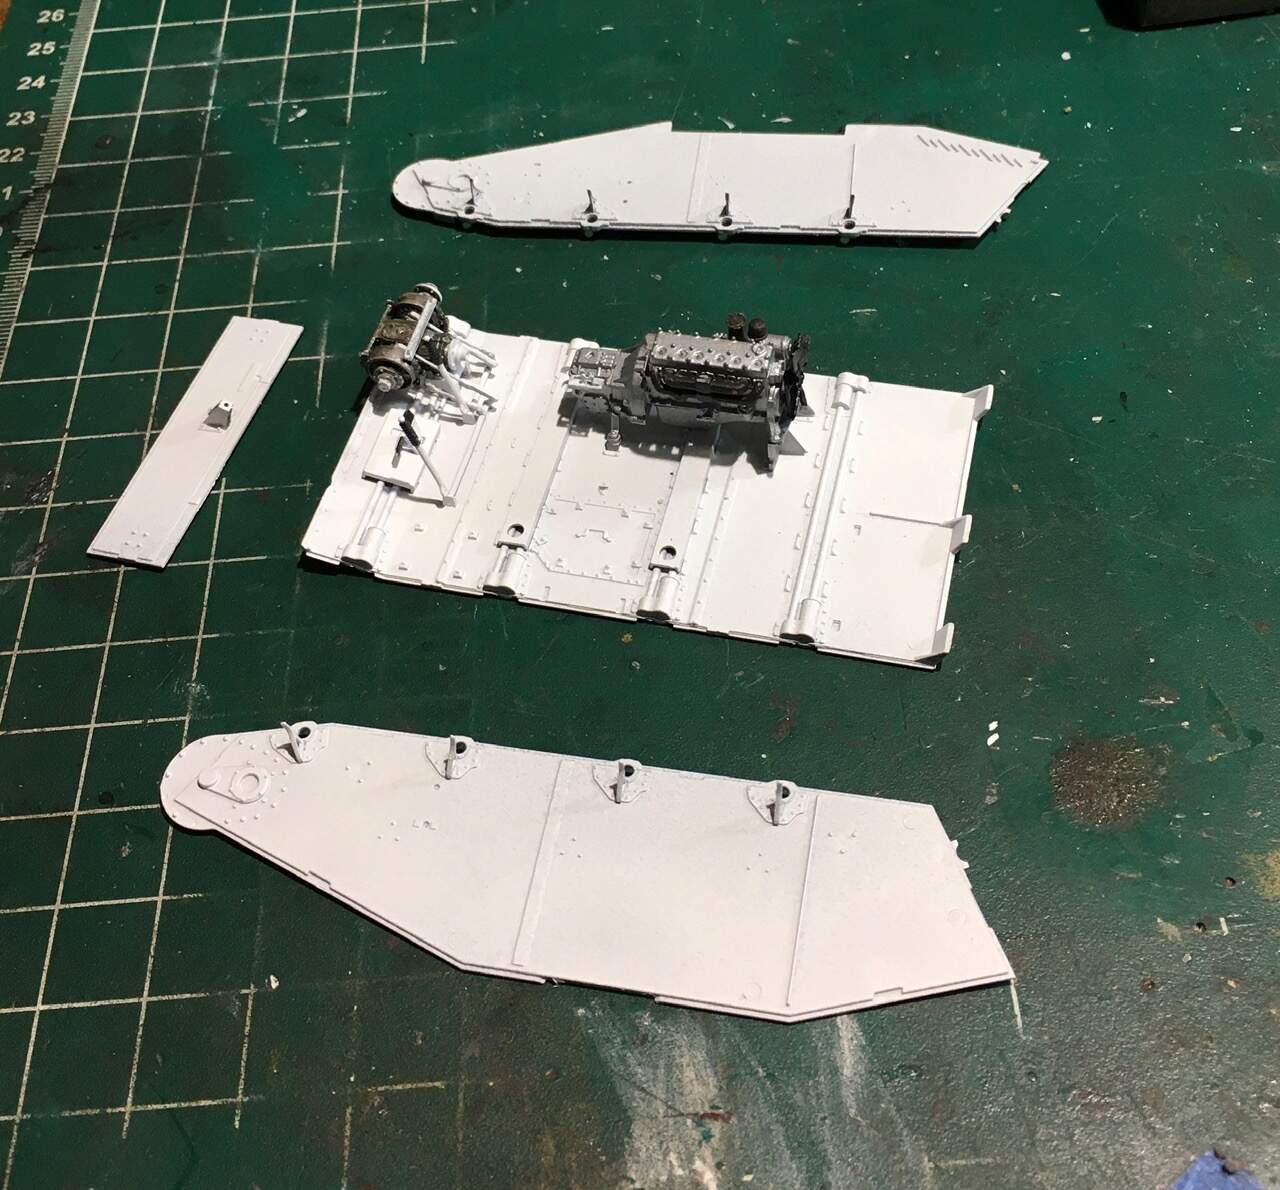
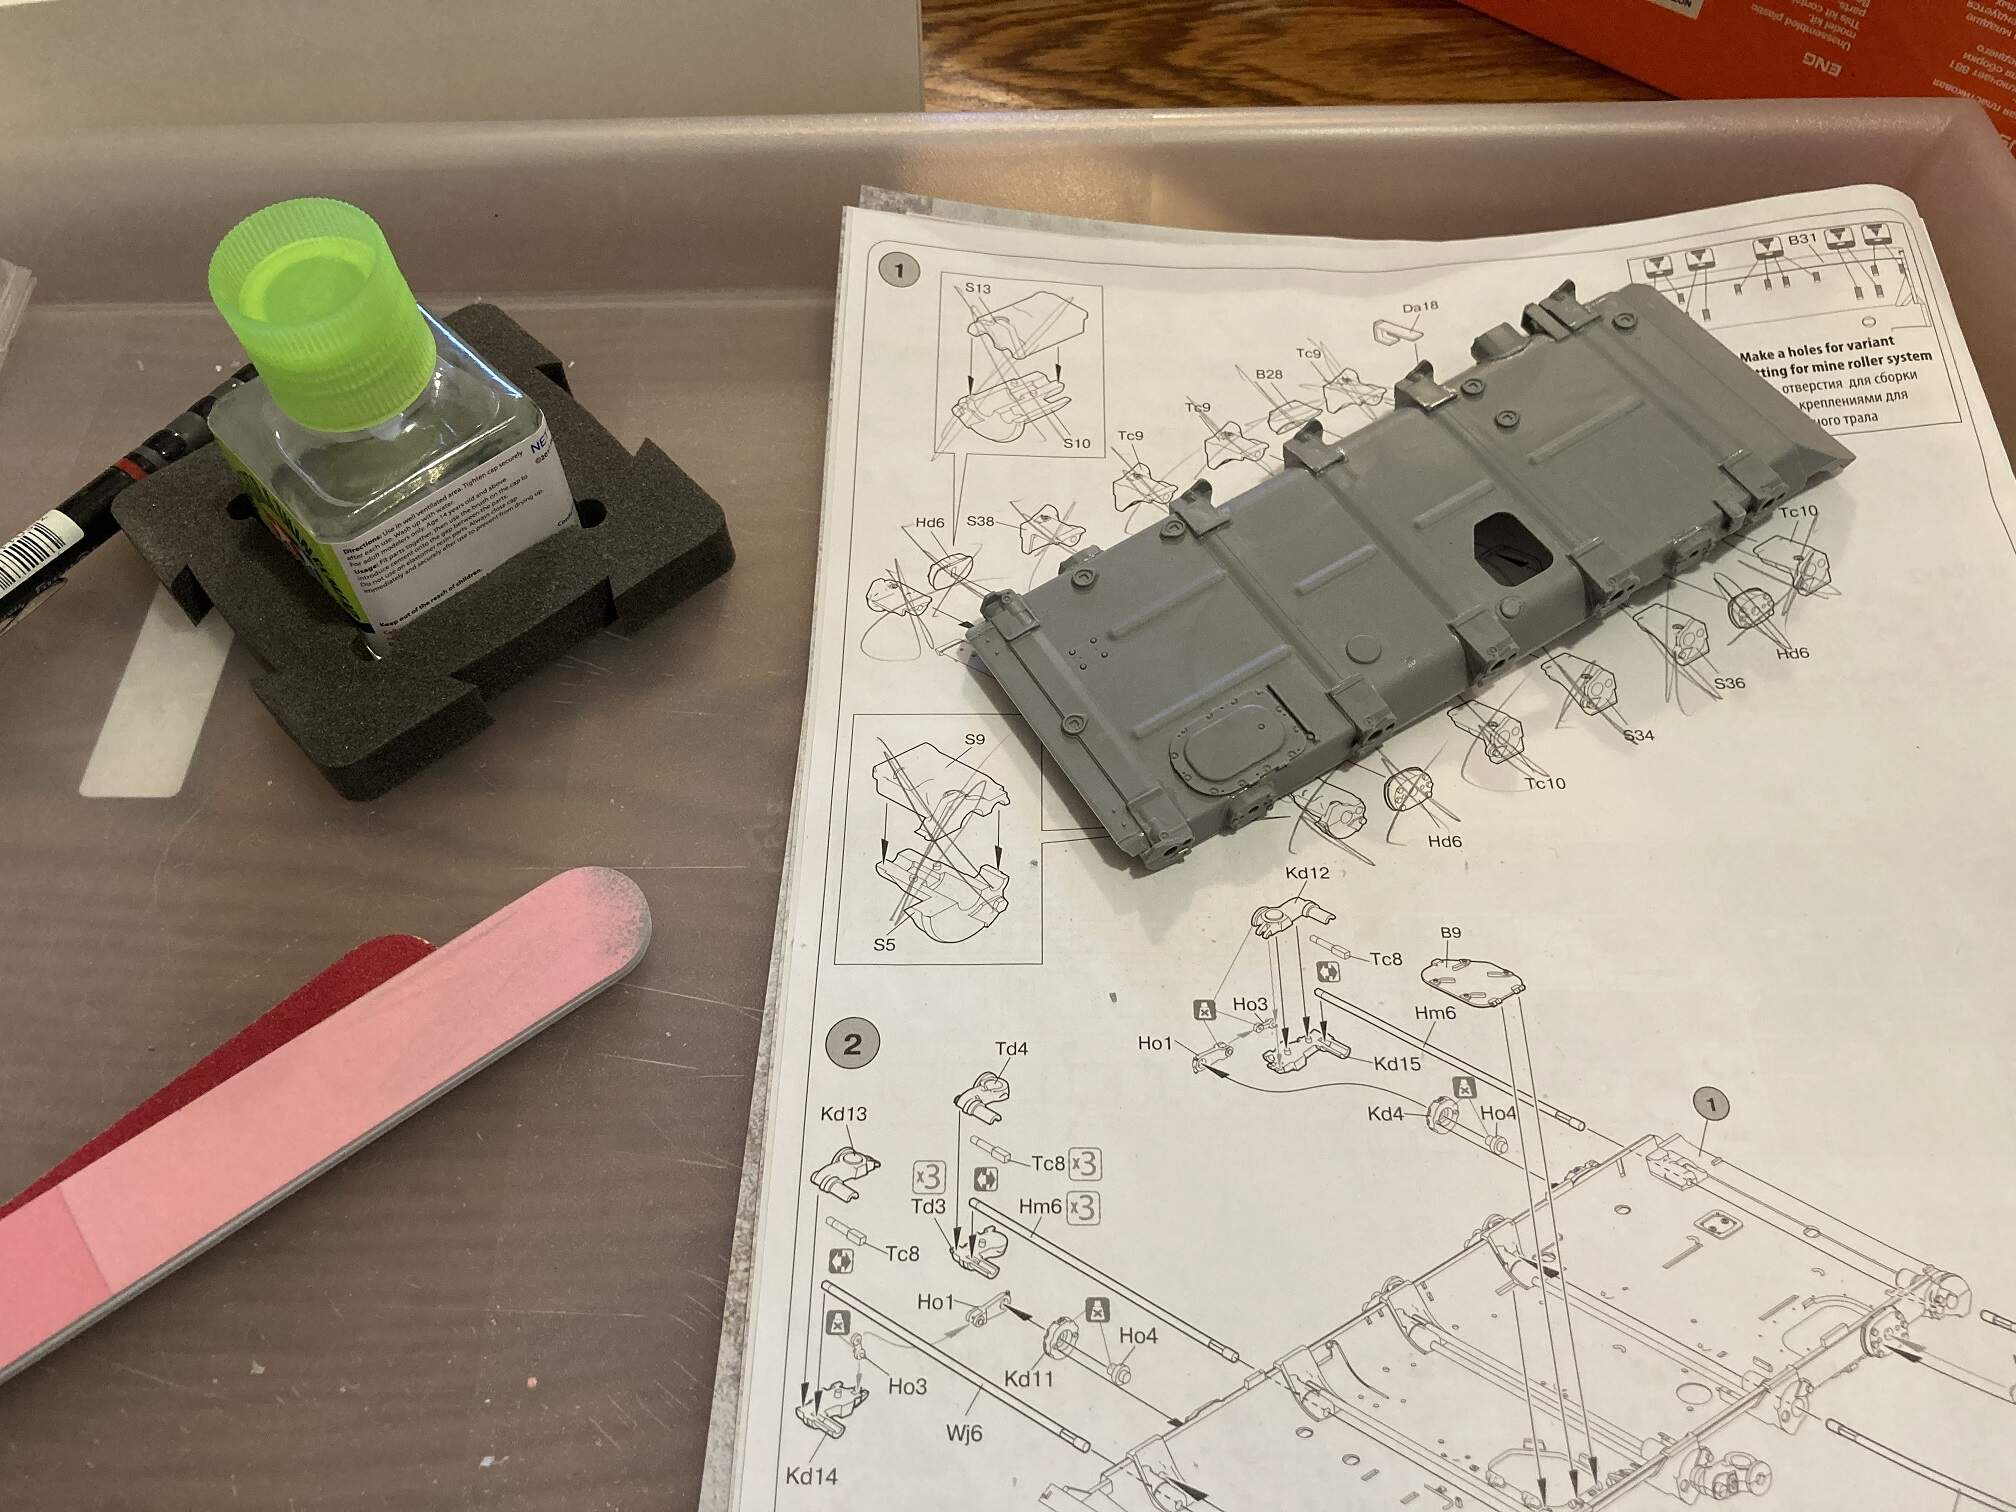
My quick update.
Engine painted. Not mounted yet. Brakes mounted with control rods.
Primed the interior sides of hull.
5 Likes
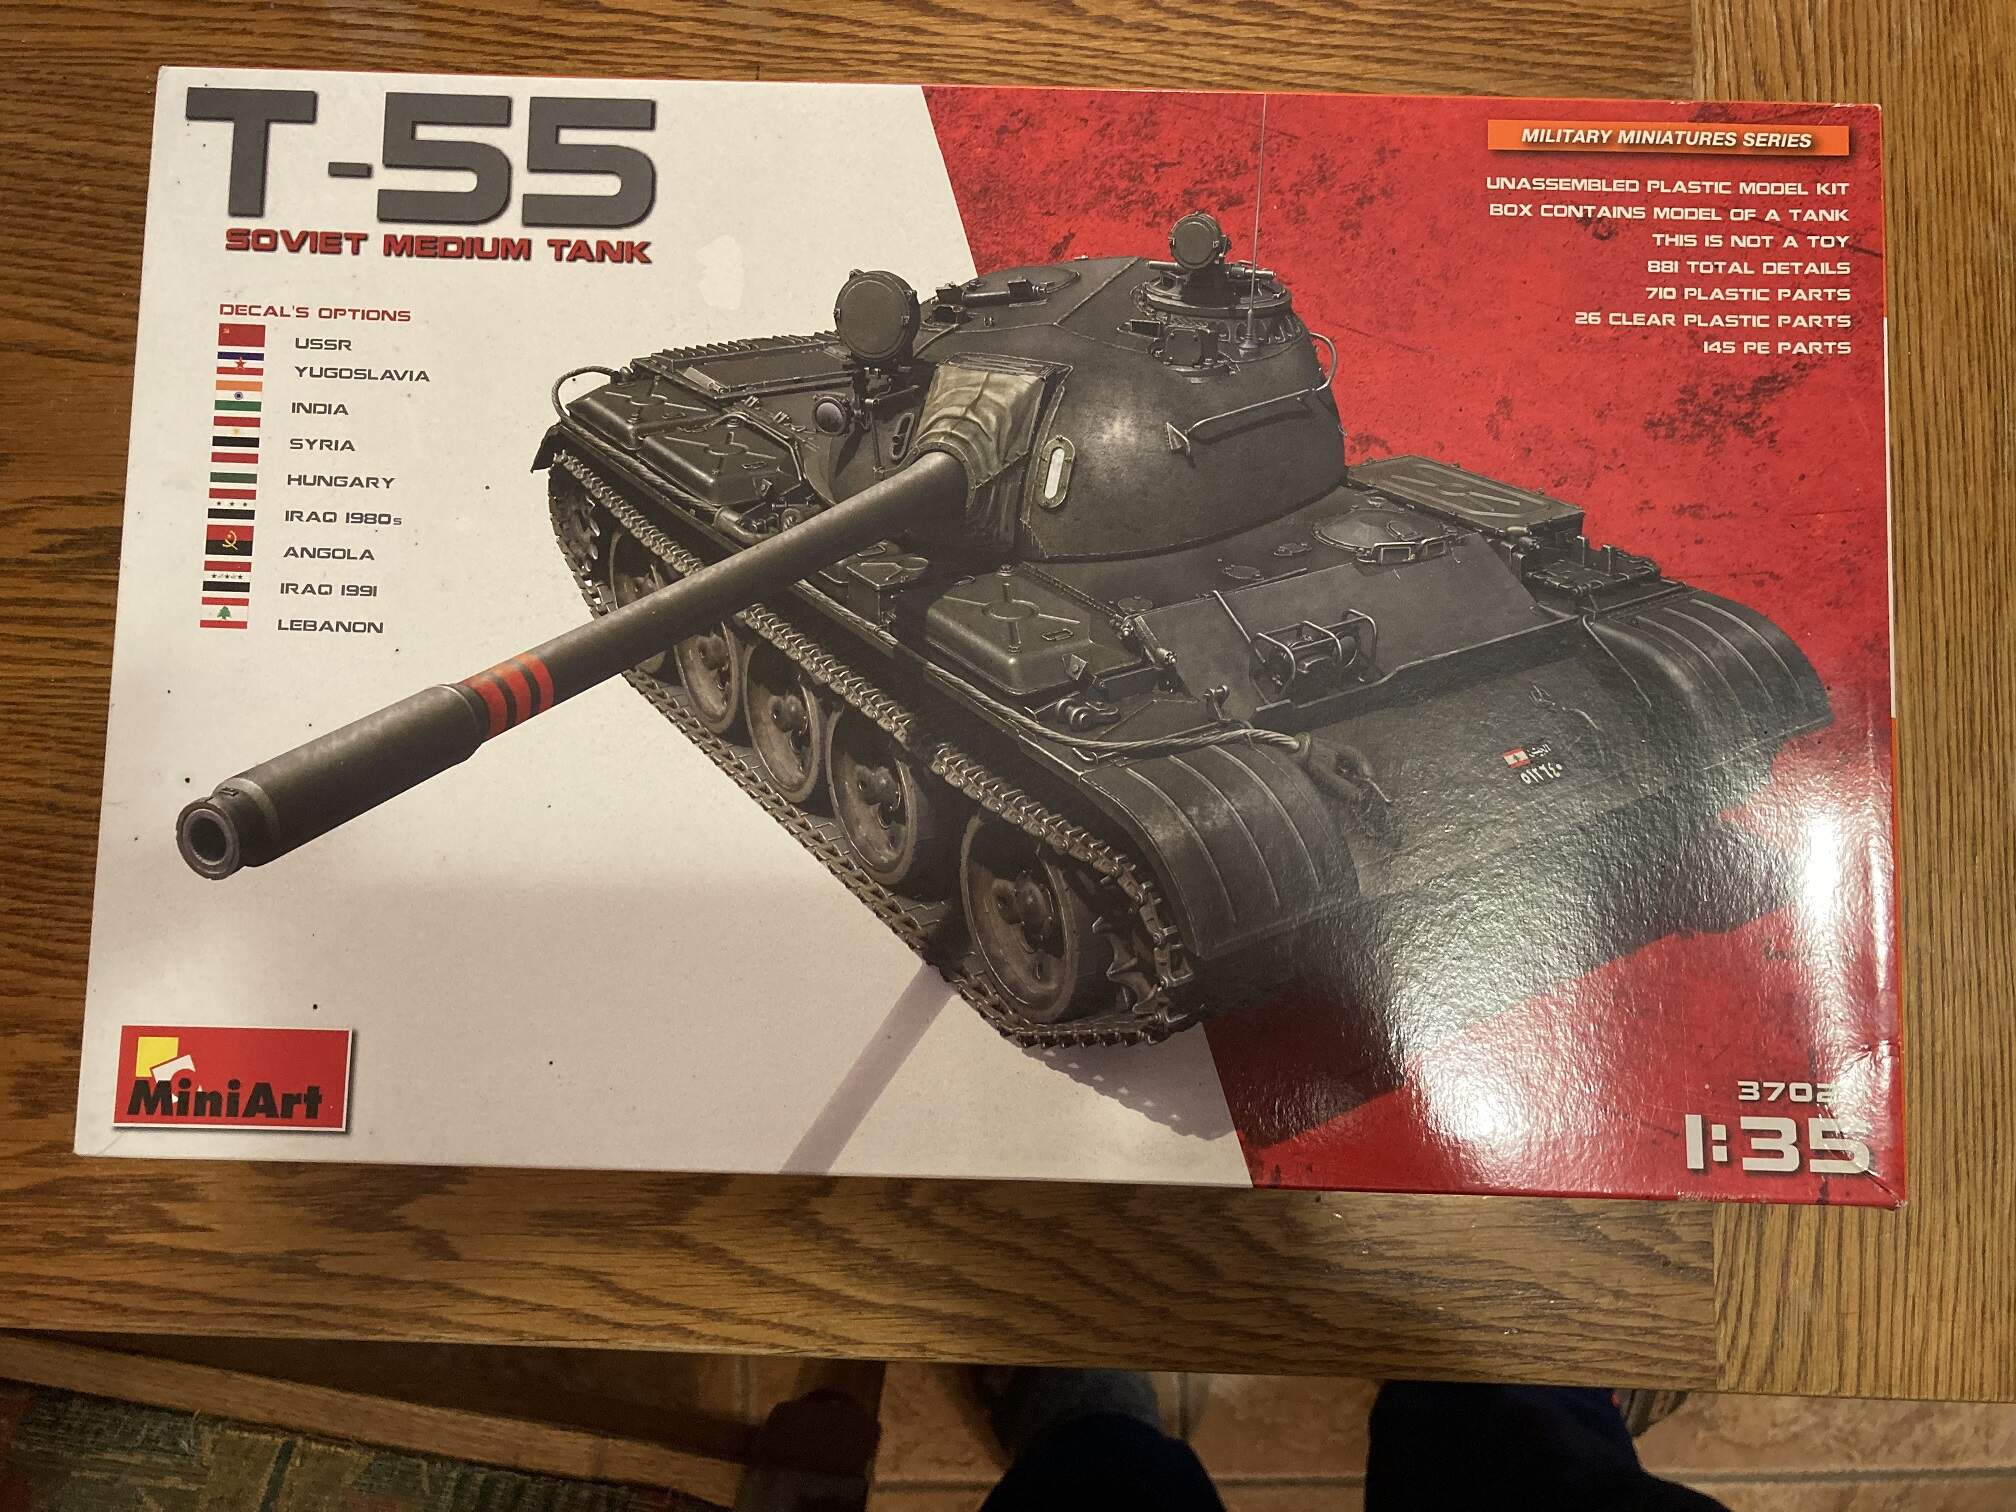
Let me join this campaign with a T-55 no interior kit which I plan to build as a Hungarian tank.
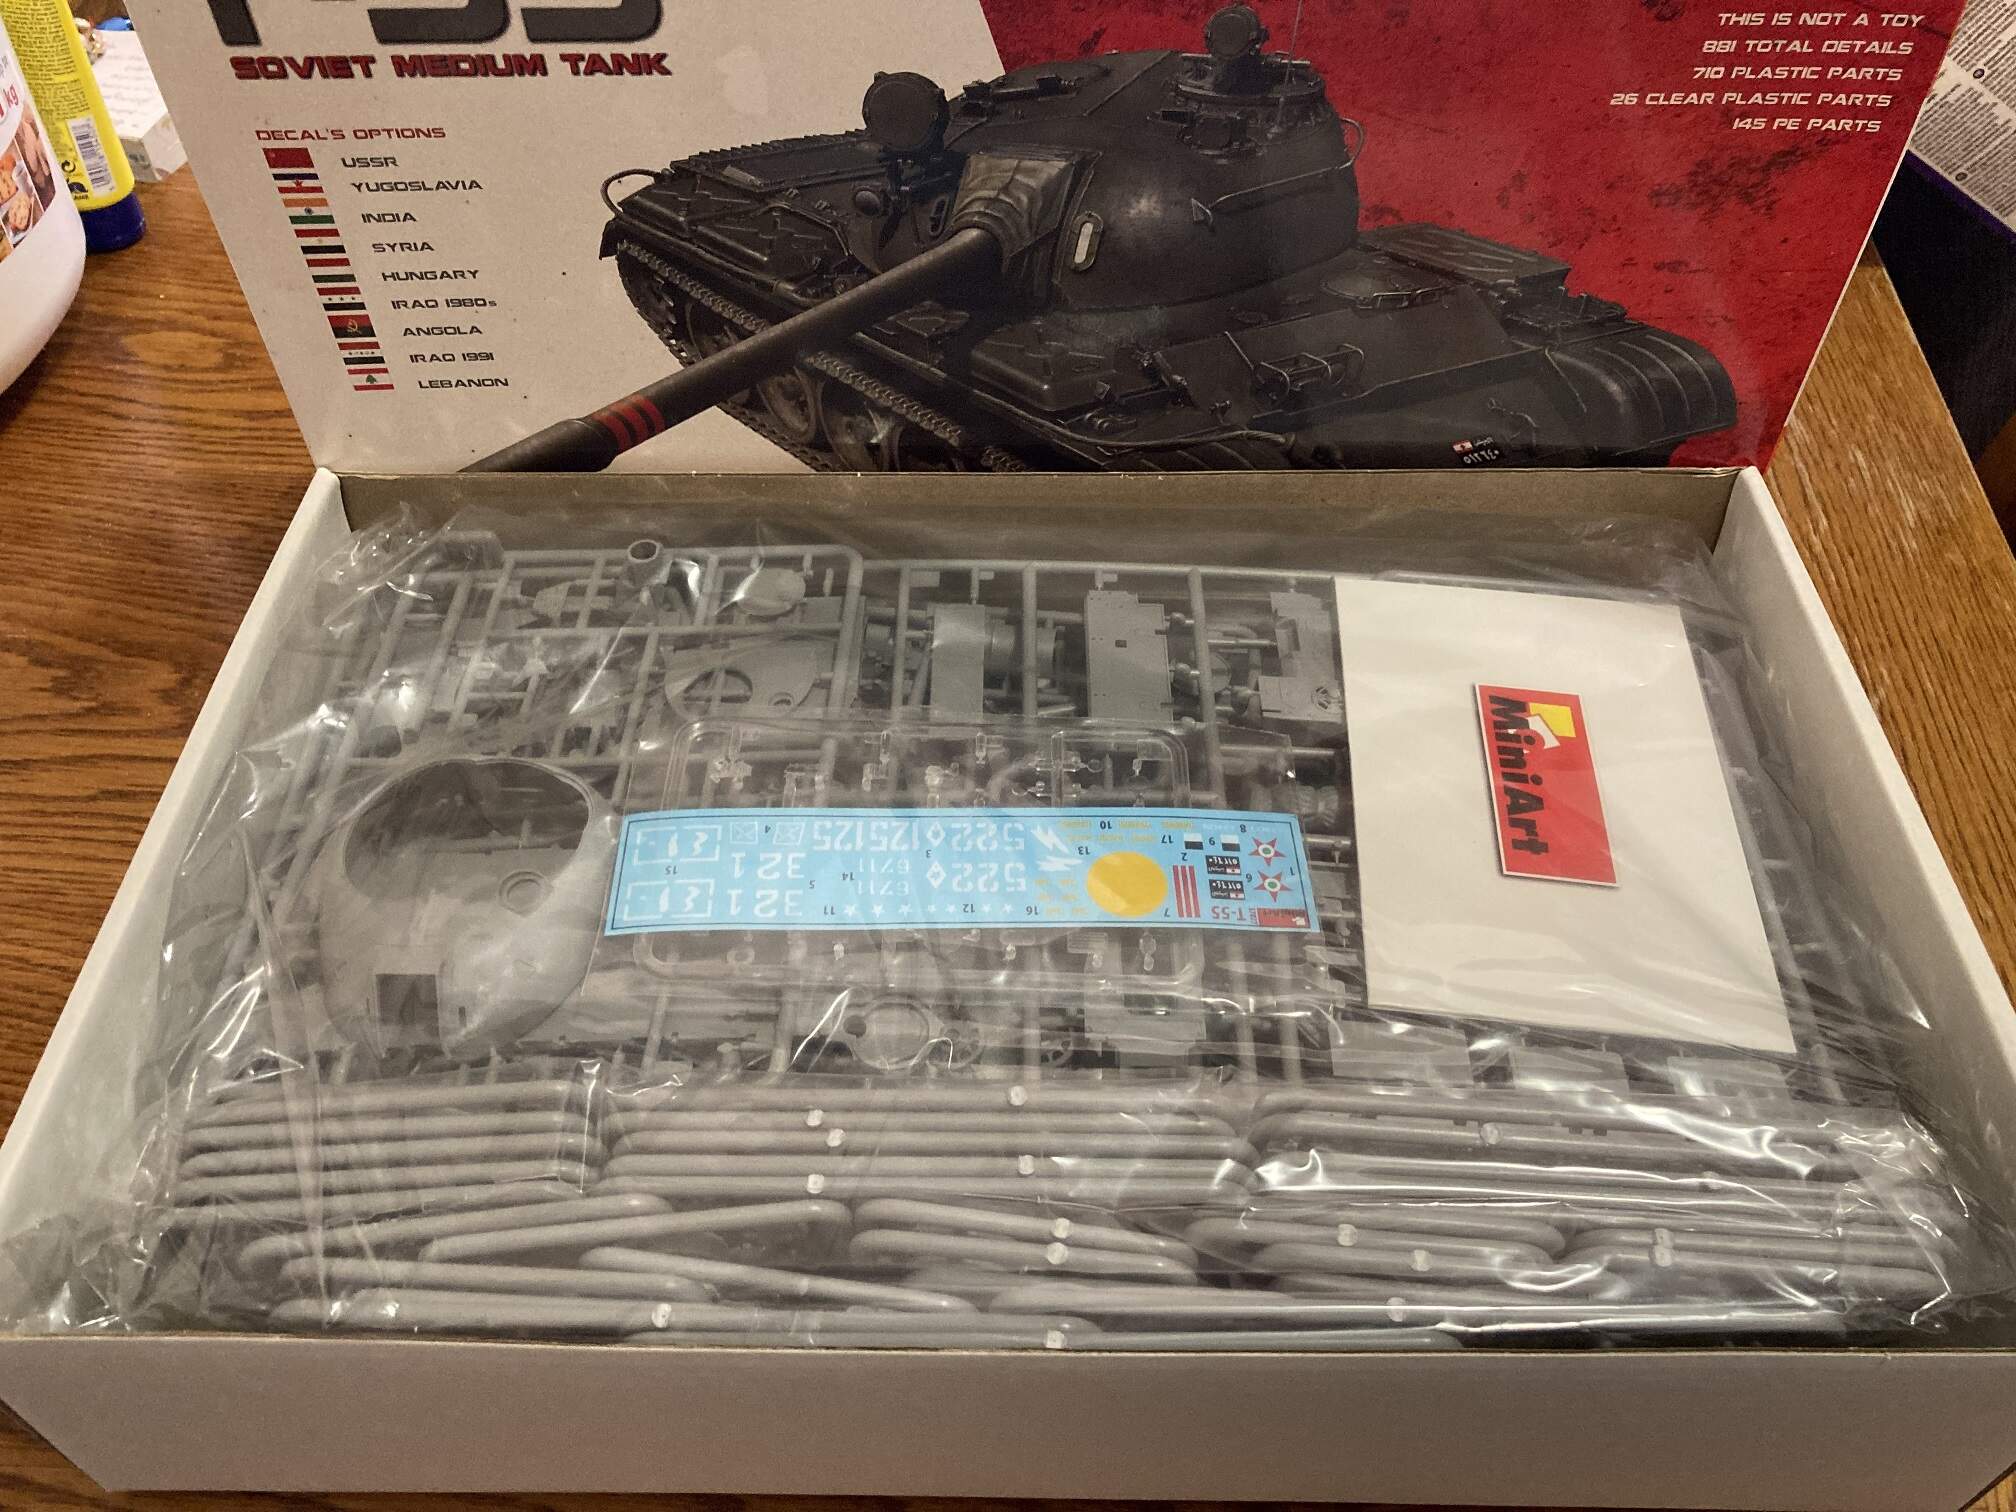
4 of the 62 steps was done yesterday and I think I used up to 2% of the parts list. Not expecting a fast build to be honest.
Cheers,
Tamás
6 Likes
Looks like you’re off to a great start!