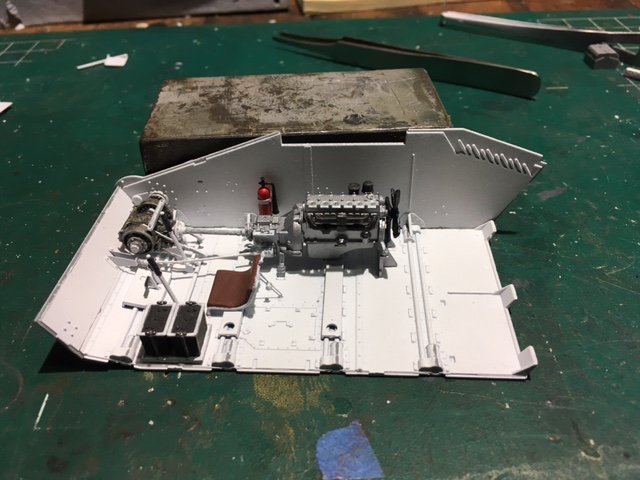
Engine installed, front piece and one hull side installed.
I actually got the long rod off the sprue in once piece, somewhat cleaned and installed on the transmission. When installing the engine, i had put the wrong drive shaft in ( too long) and proceeded to break the big shaft off the tranny and knocked off the head rest of the seat.
6 Likes
Bummer Petro. But it is looking very nice indeed.
1 Like
A lot of love for T54/T55 and other Ruskie stuff here. I feel the odd one out!
I have started my build on the AEC Mk 111 Armoured car kit and like your others, this also has oh so delicate parts. I swear if you breathe on them they break. In fact, many were broken on the sprue before I even touched them.
Where I am after a weekend of build … and repairs…
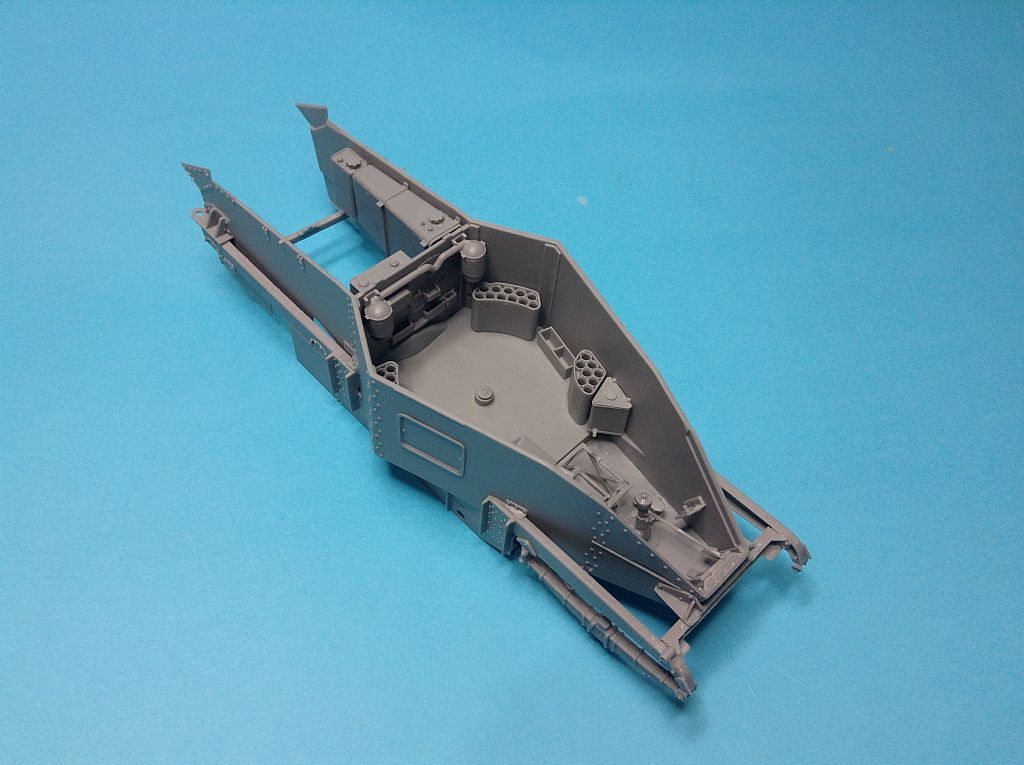

Most of this painted white, so not a problem being assembled. The odd bits like flare racks, etc will be kept separate until painted.
The break down of some parts leaves a lot to be desired, especially the spring mounts which are halves… and people complain about Bronco over engineering.
5 Likes
Looking good. I’ve defintley noticed a lot of over engineering. I love my kit, but there are definitely almost microscopic pieces where I think to myself, really this couldn’t have been molded on
1 Like
Another thing I have noted on this kit is a distinct lack of locating aids. None of the side armour panels or the chassis frame are straight, they all curve. As a result, that front section where the driver position nose fits to the chassis was way out of true. There were no pins and holes or even raised line guides to help position it correctly, so it was out with the ruler and pencil to get them even.
I was planning on having the engine bay open, but again the walls are not true and the whole assembly pulls to one side with nothing to hold it in the right place. Taping the rear panel on did not help. I may have to use the closed engine bay doors to pull it back to square. A pity as there is a lot of nice detail in there.
1 Like
Maybe you could glue the engine bay doors closed with white glue and take them back out once everything else is set? (I don’t know, just tossing an idea out, which you’ve probably already thought of).
I’m going to love this vehicle, Peter. It’s looking good already.
Getting close to the end of my build, trying to fight off the temptation to crack open my newly arrived F-16.

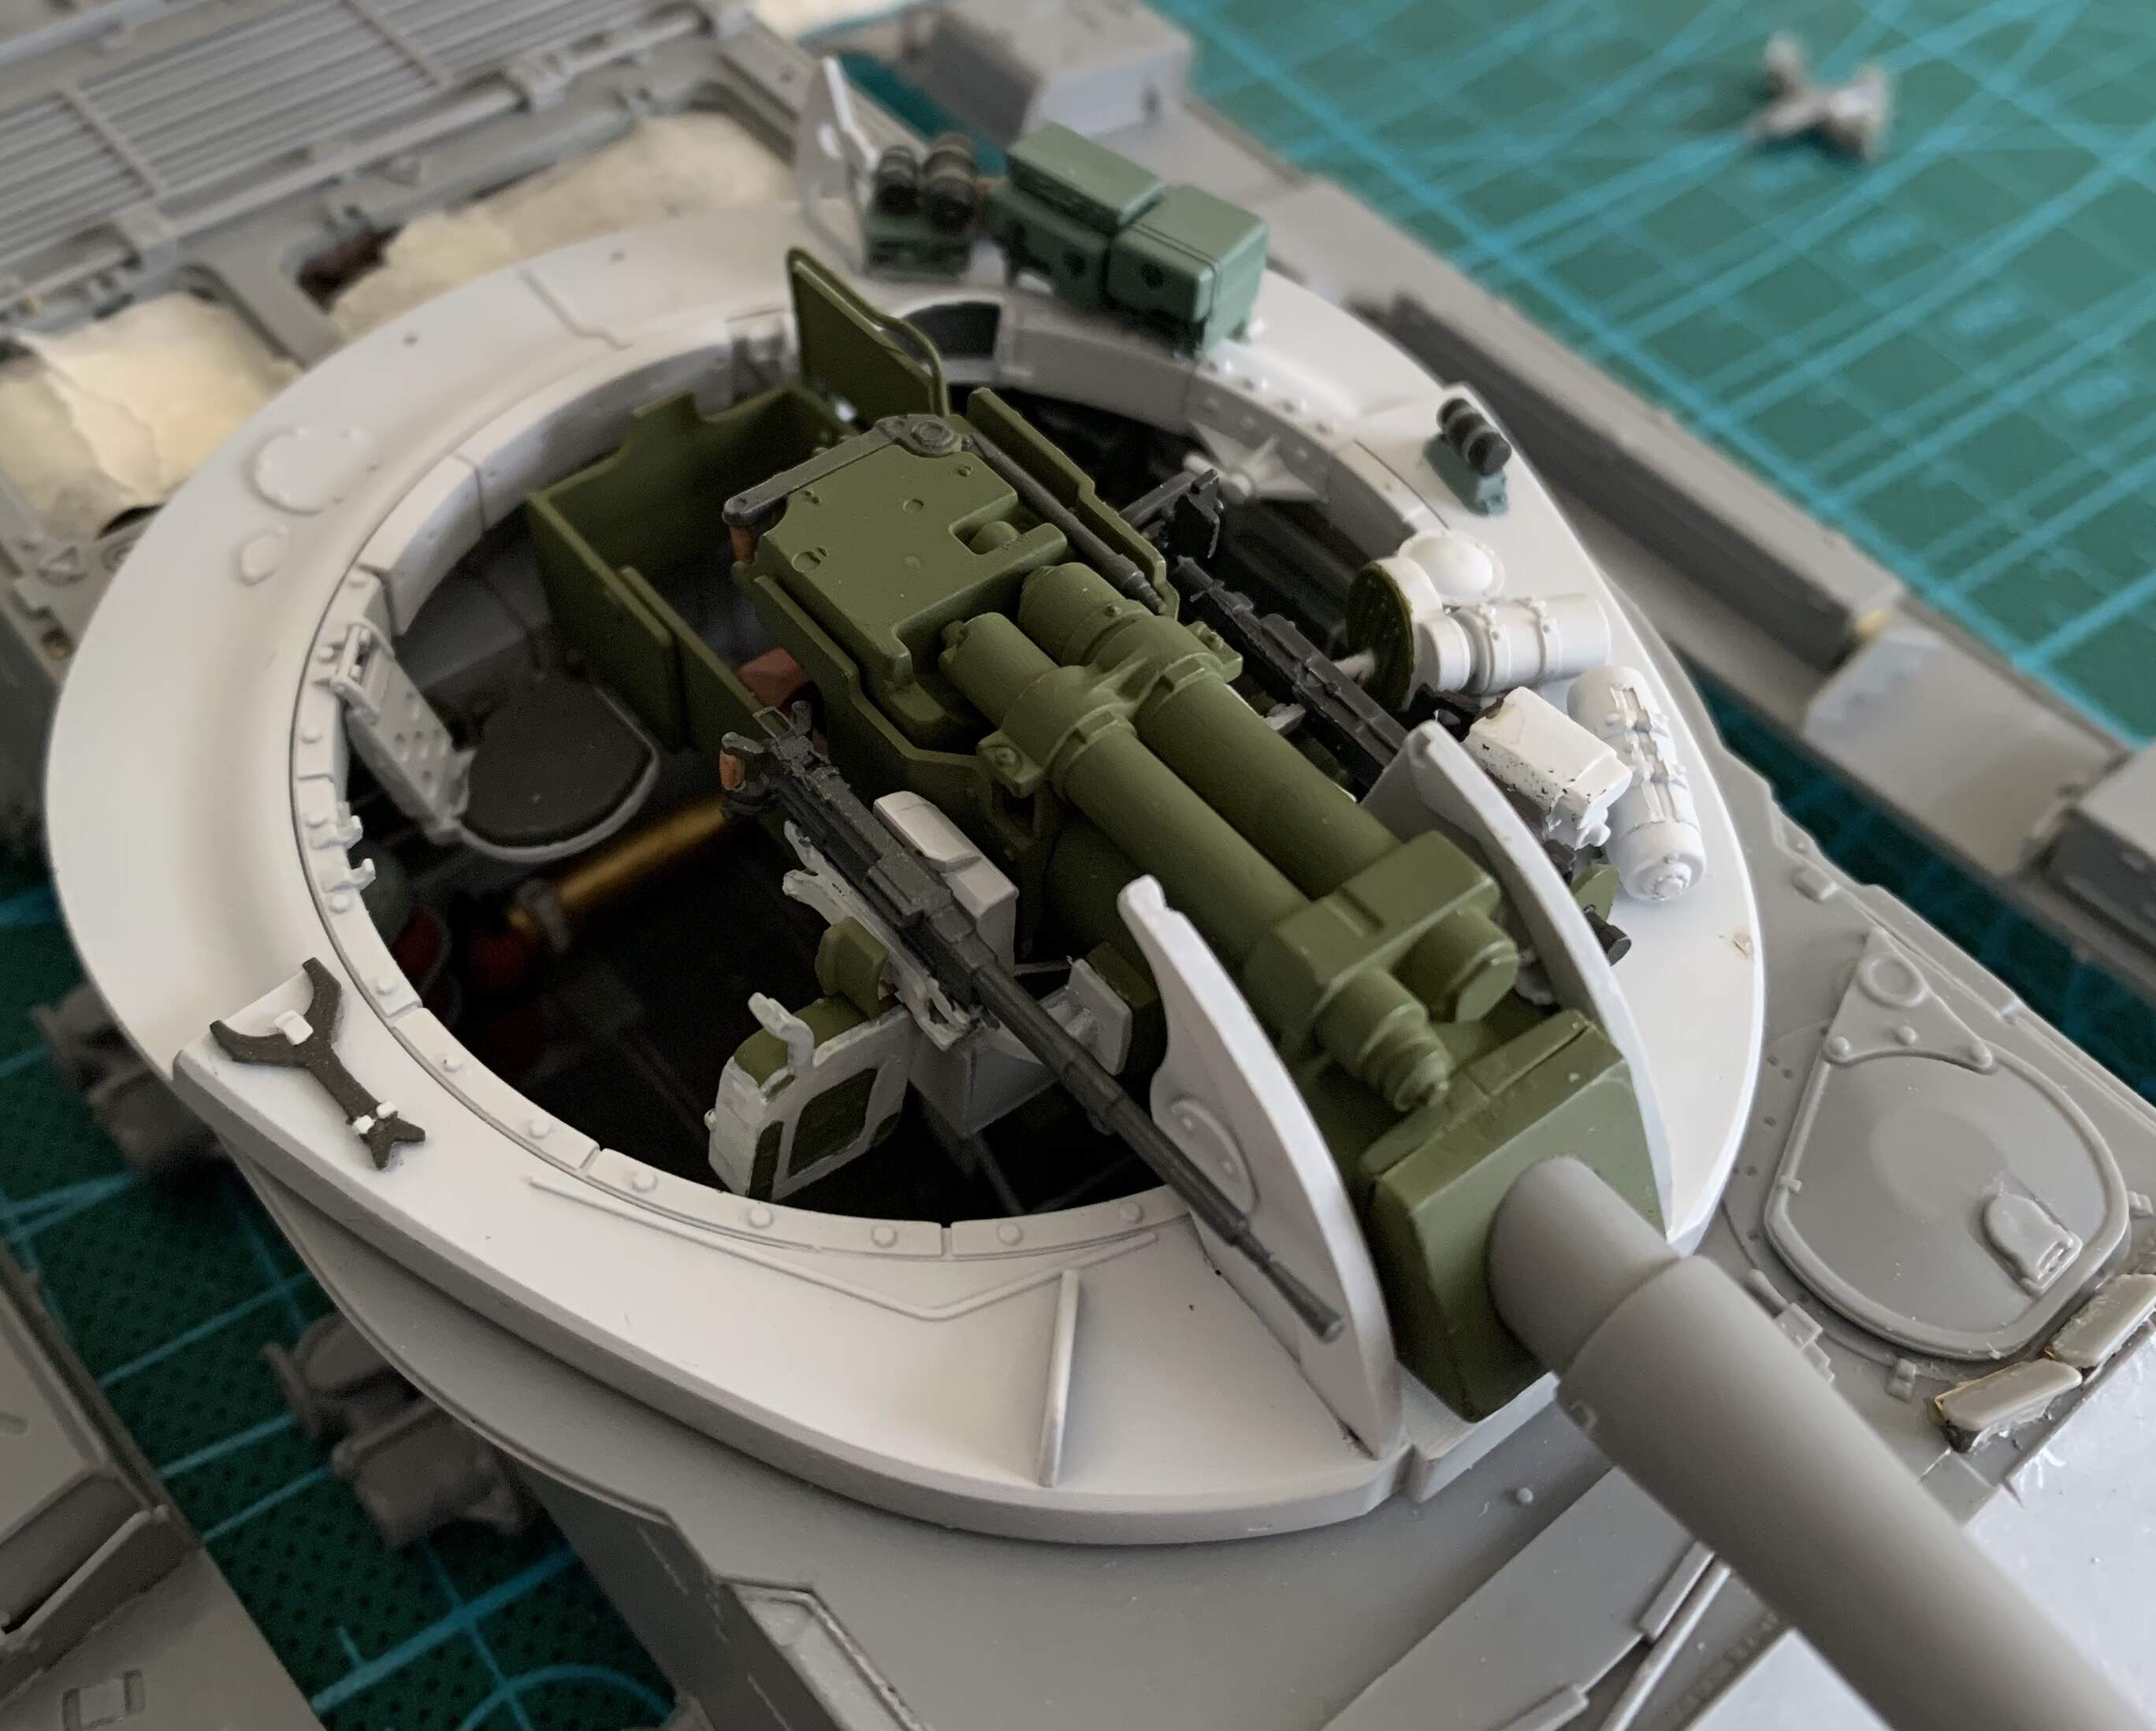
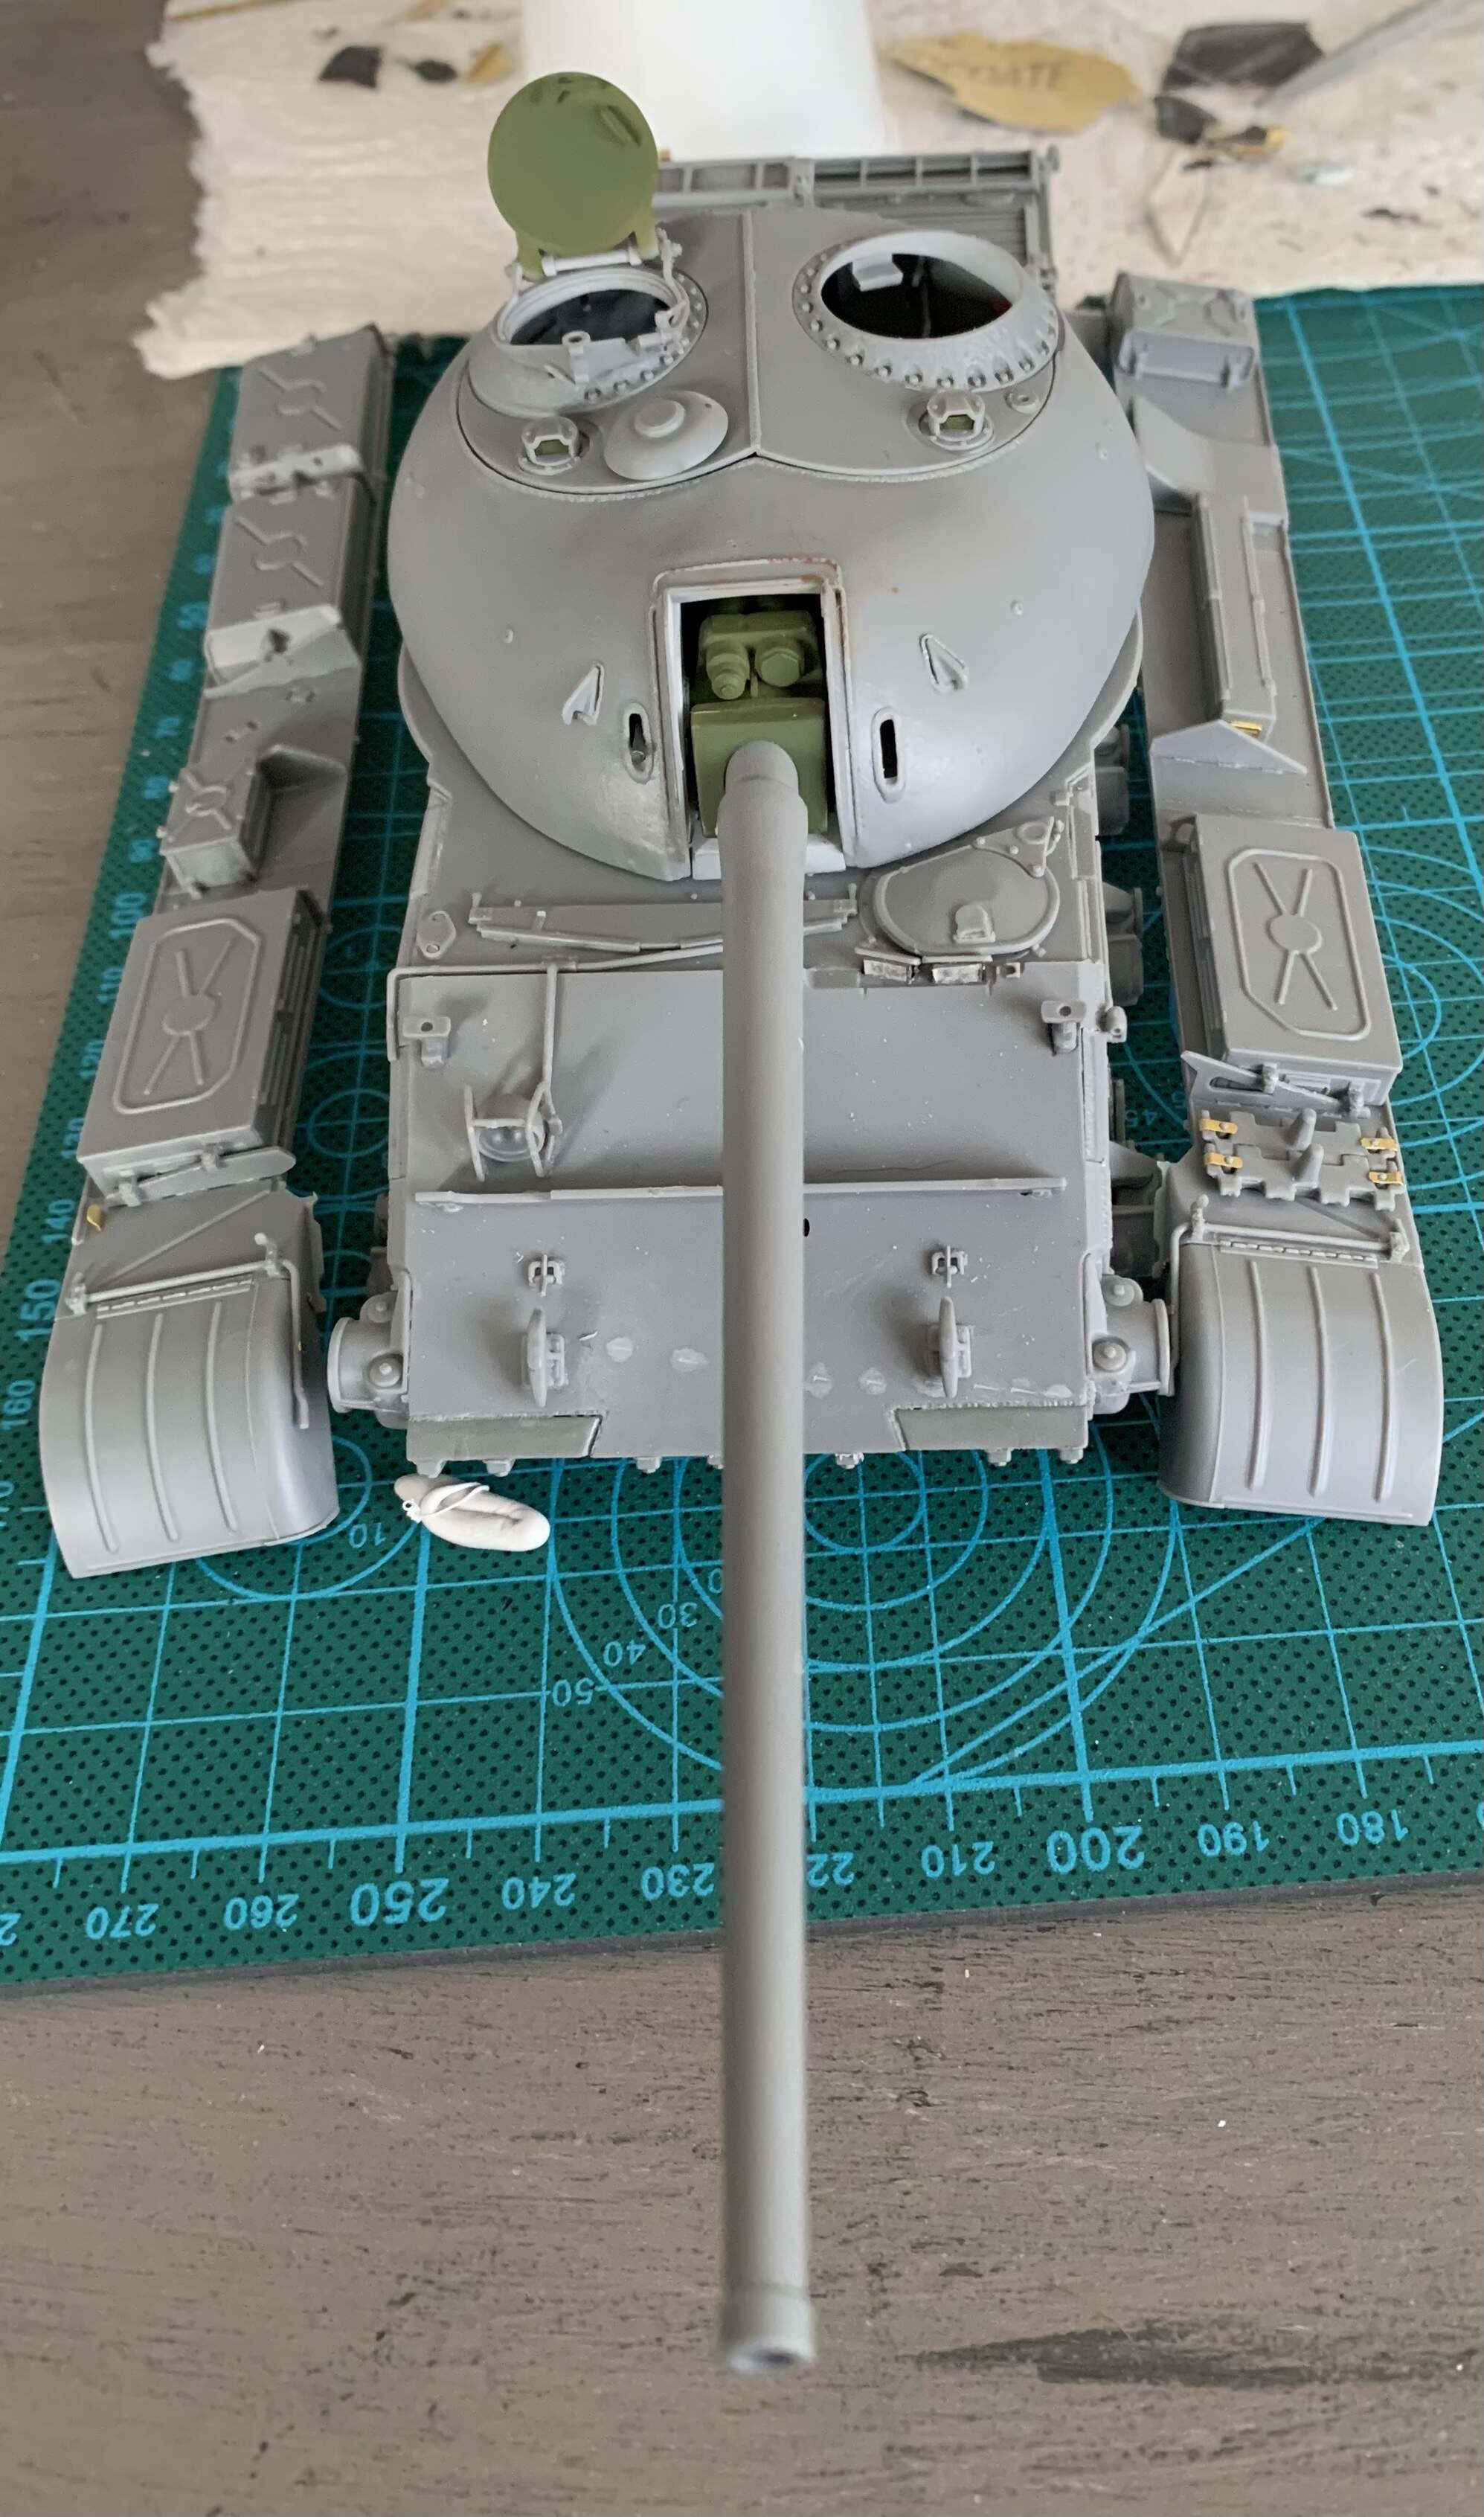


All that’s left are a few fiddly hull bits I’ve left off until now so they didn’t break, the fuel drums and attachments, DSHK MG, wheels and tracks. I hope to be in a position to start painting by the weekend.
Ps: ignore the attachment points and mold line on the barrel, it still needs to be cleaned up
8 Likes
Interior of the turret looks sharp. 
1 Like
Thanks! I really liked this part of the build
Thank God I was never a turret crew on a T54/55 … Thats cramped in there !!!
1 Like

John,
When I went to University in 1990, 90% of my fellow students were freshly decomissioned from the Army.
Just looking at them one could tell whether they served in the Tank Force(height under 165 cm), or in the Border Guard Troops(unfriendly and always grim chaps).Air Force guys were also easily recognizable-always smiling and easy going, just like the service they had.
While GI’s always shined during PT practice(their motto was “Stop running- the armoured vehicles need some engine cooling”).
Splendid job on the T-55, Mead93!
Cheers,
Angel
7 Likes
I imagine the loader was an unpopular crew member, he gets nearly half the turret while the driver and commander are basically sitting on top of each other. Plus his seat can fold up out of the way so he can stand

8 Likes
I am sure the other ergonomics factors cancel out the extra space debate. Plus he is the gopher when the tank stops.
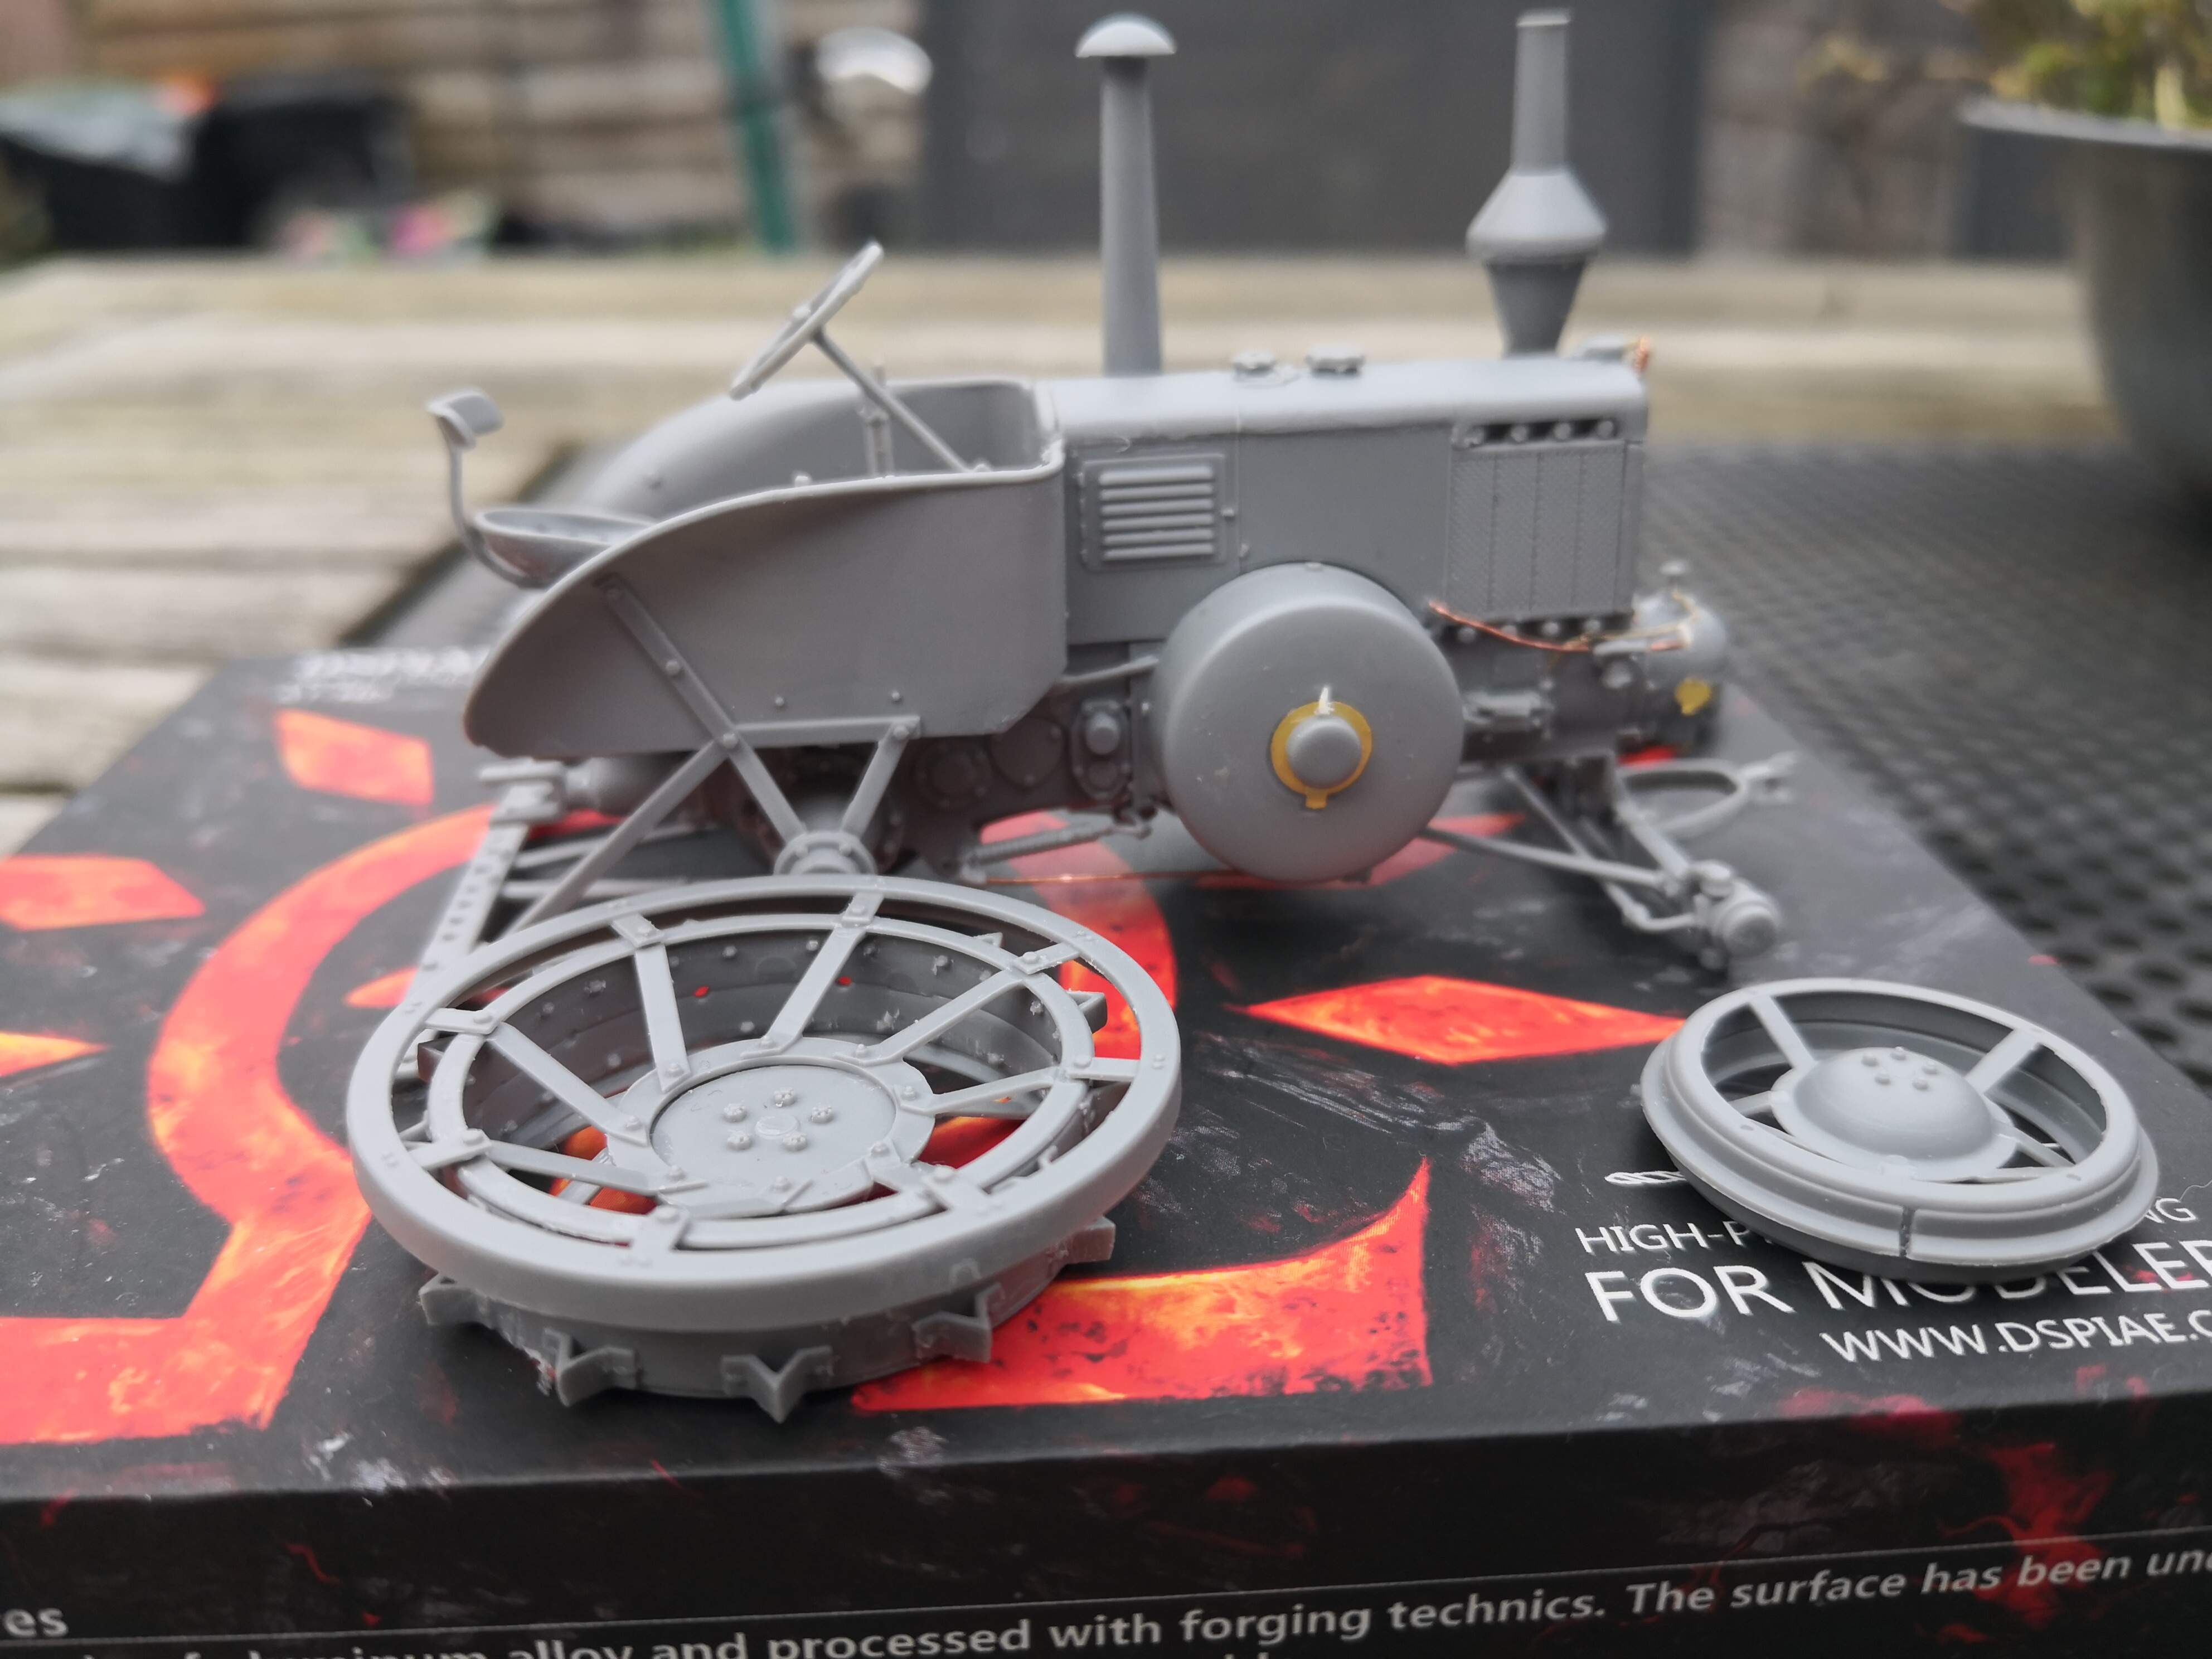
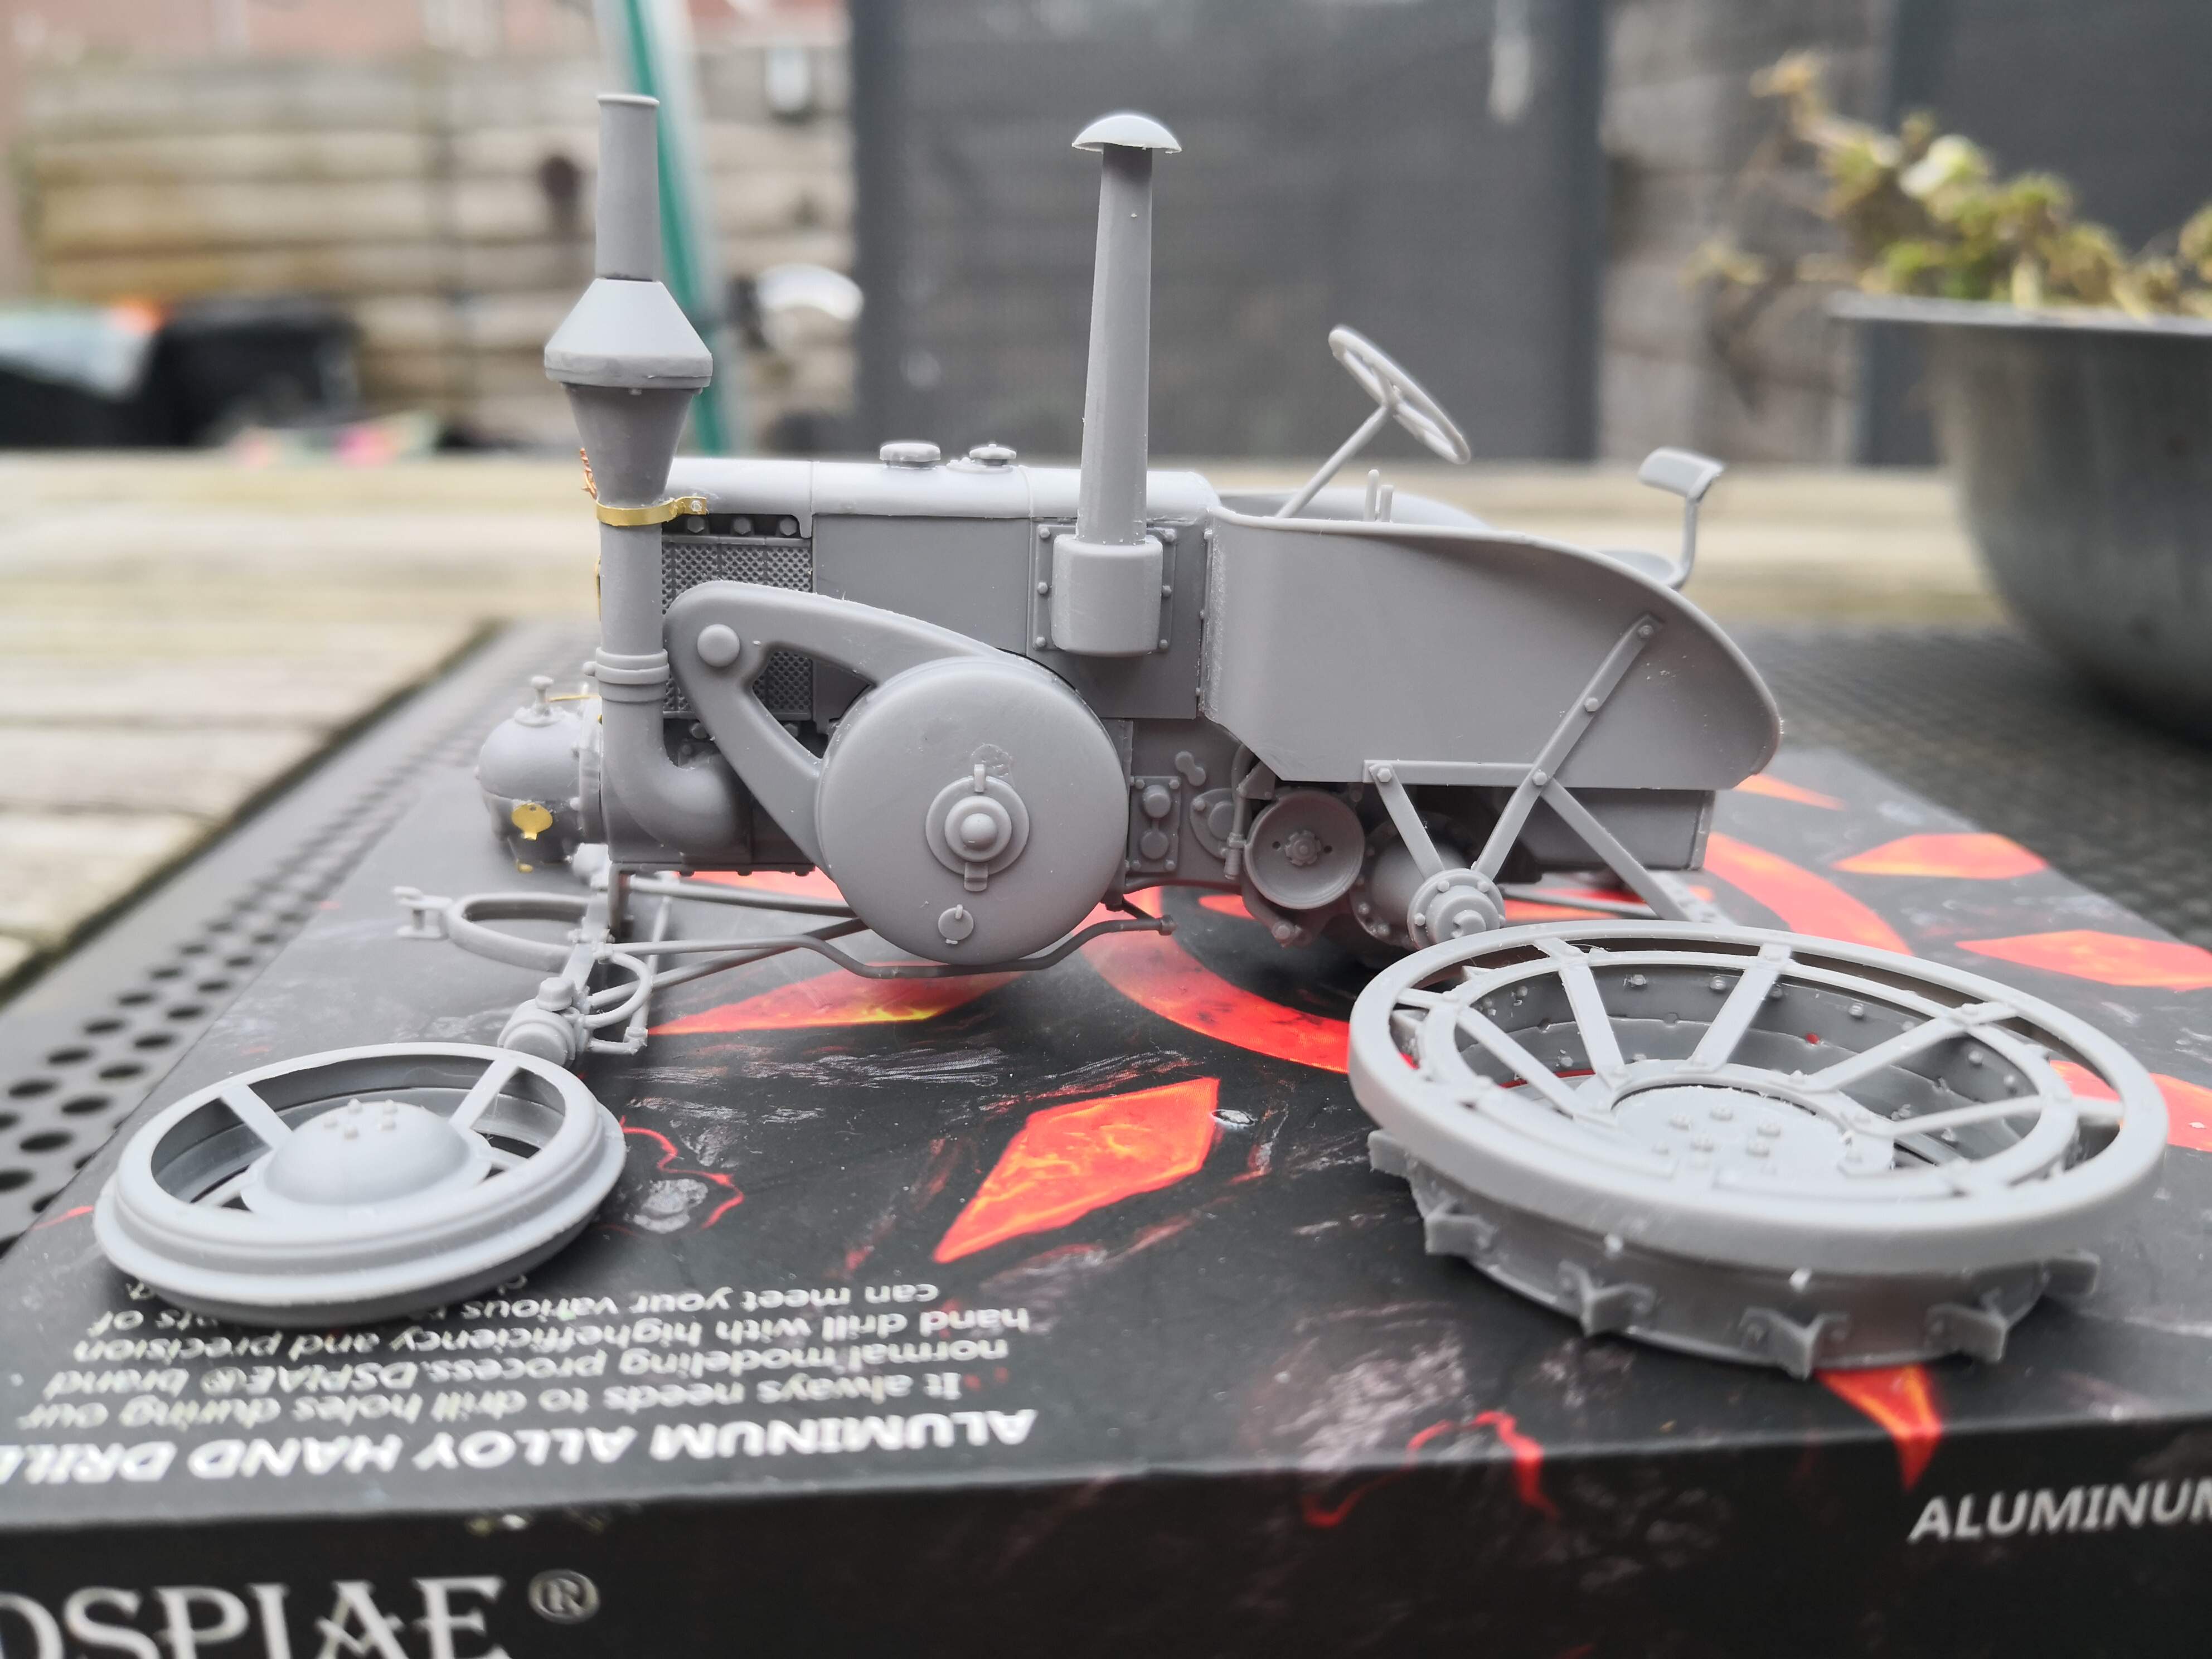
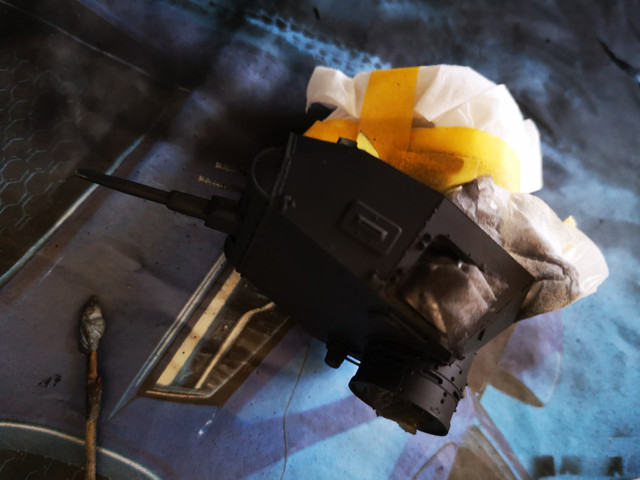
Building is ready. This one is all ready to be smothered in paint…
I broke 2 parts: a thin rod, which was attached at 4 points. I managed to get it out in one piece, but while cleaning it up, it broke in 3 parts :\ Luckily it is easy replaced by a piece of copper wire.
The other one is the brackets for the exhaust. The instructions make it seem like it should be symmetrical, but once the exhaust has been attached, you’ll notice it isn’t. So while correcting this, the bracket also broke in to 3 parts.
Rather annoying were the seams running around the whole circumference, both on the inside and outside.
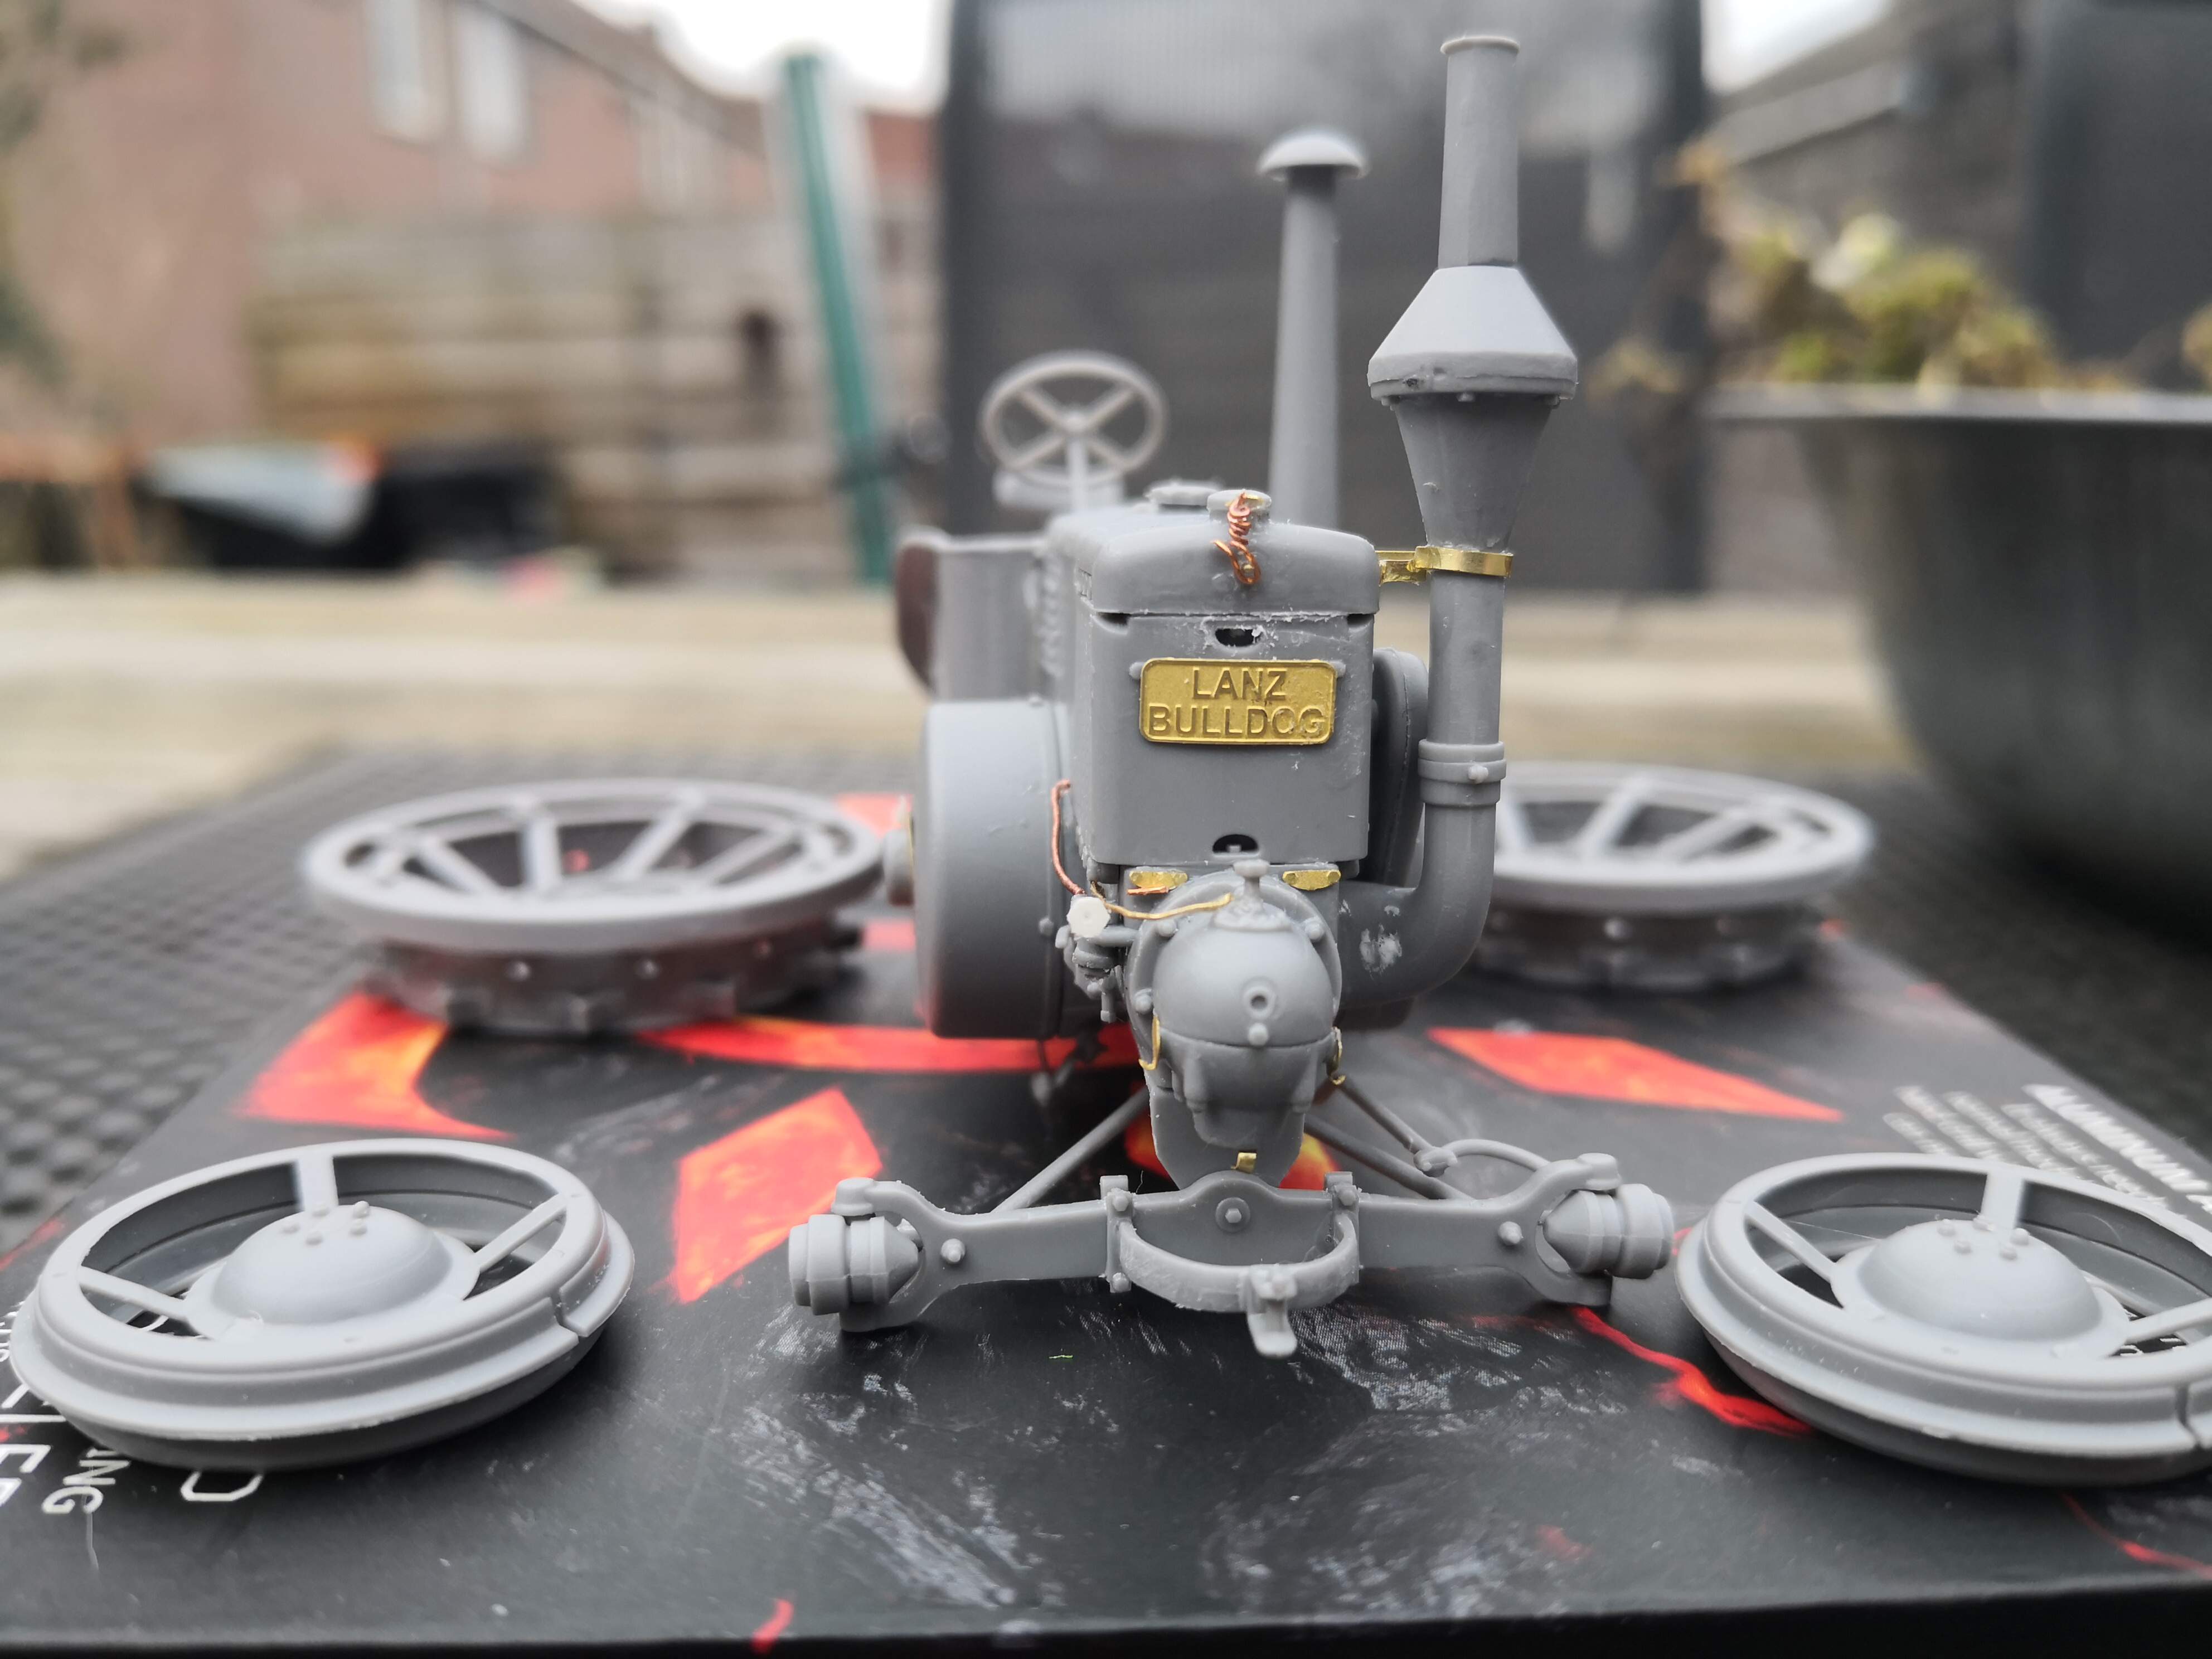
I added a few minor details: an adjustment valve at the end of one of the conduits, a latch on the side where the tractor can be started and a spring that keeps the cap on the front in place…


9 Likes
Oh, and I removed the towing pintle, to be replaced by a piece of wire.
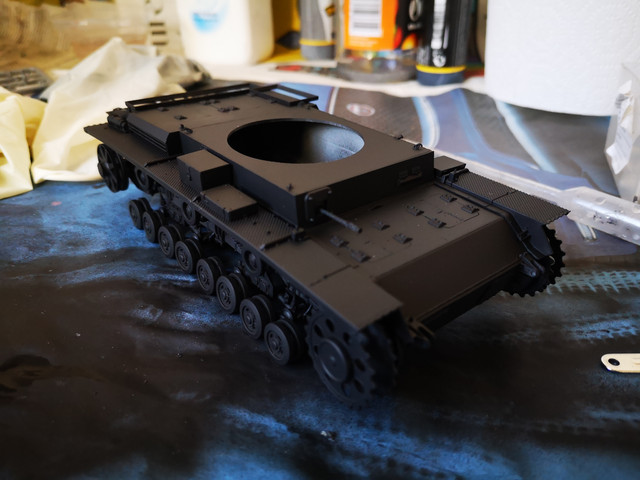
finally got around to priming the exterior of the PzIII Ausf D… might get to start the dunkelgrau tomorrow (going to try following a NightShift process he posted a few weeks ago)
7 Likes
Finally finished the trailer into which the MiniArt Garage workshop items will go. This trailer will be towed by the M35 Maintenance Truck which I’m detailing in a separate thread. This was a fun set to build but like others I did find separating items from the sprues some what challenging.
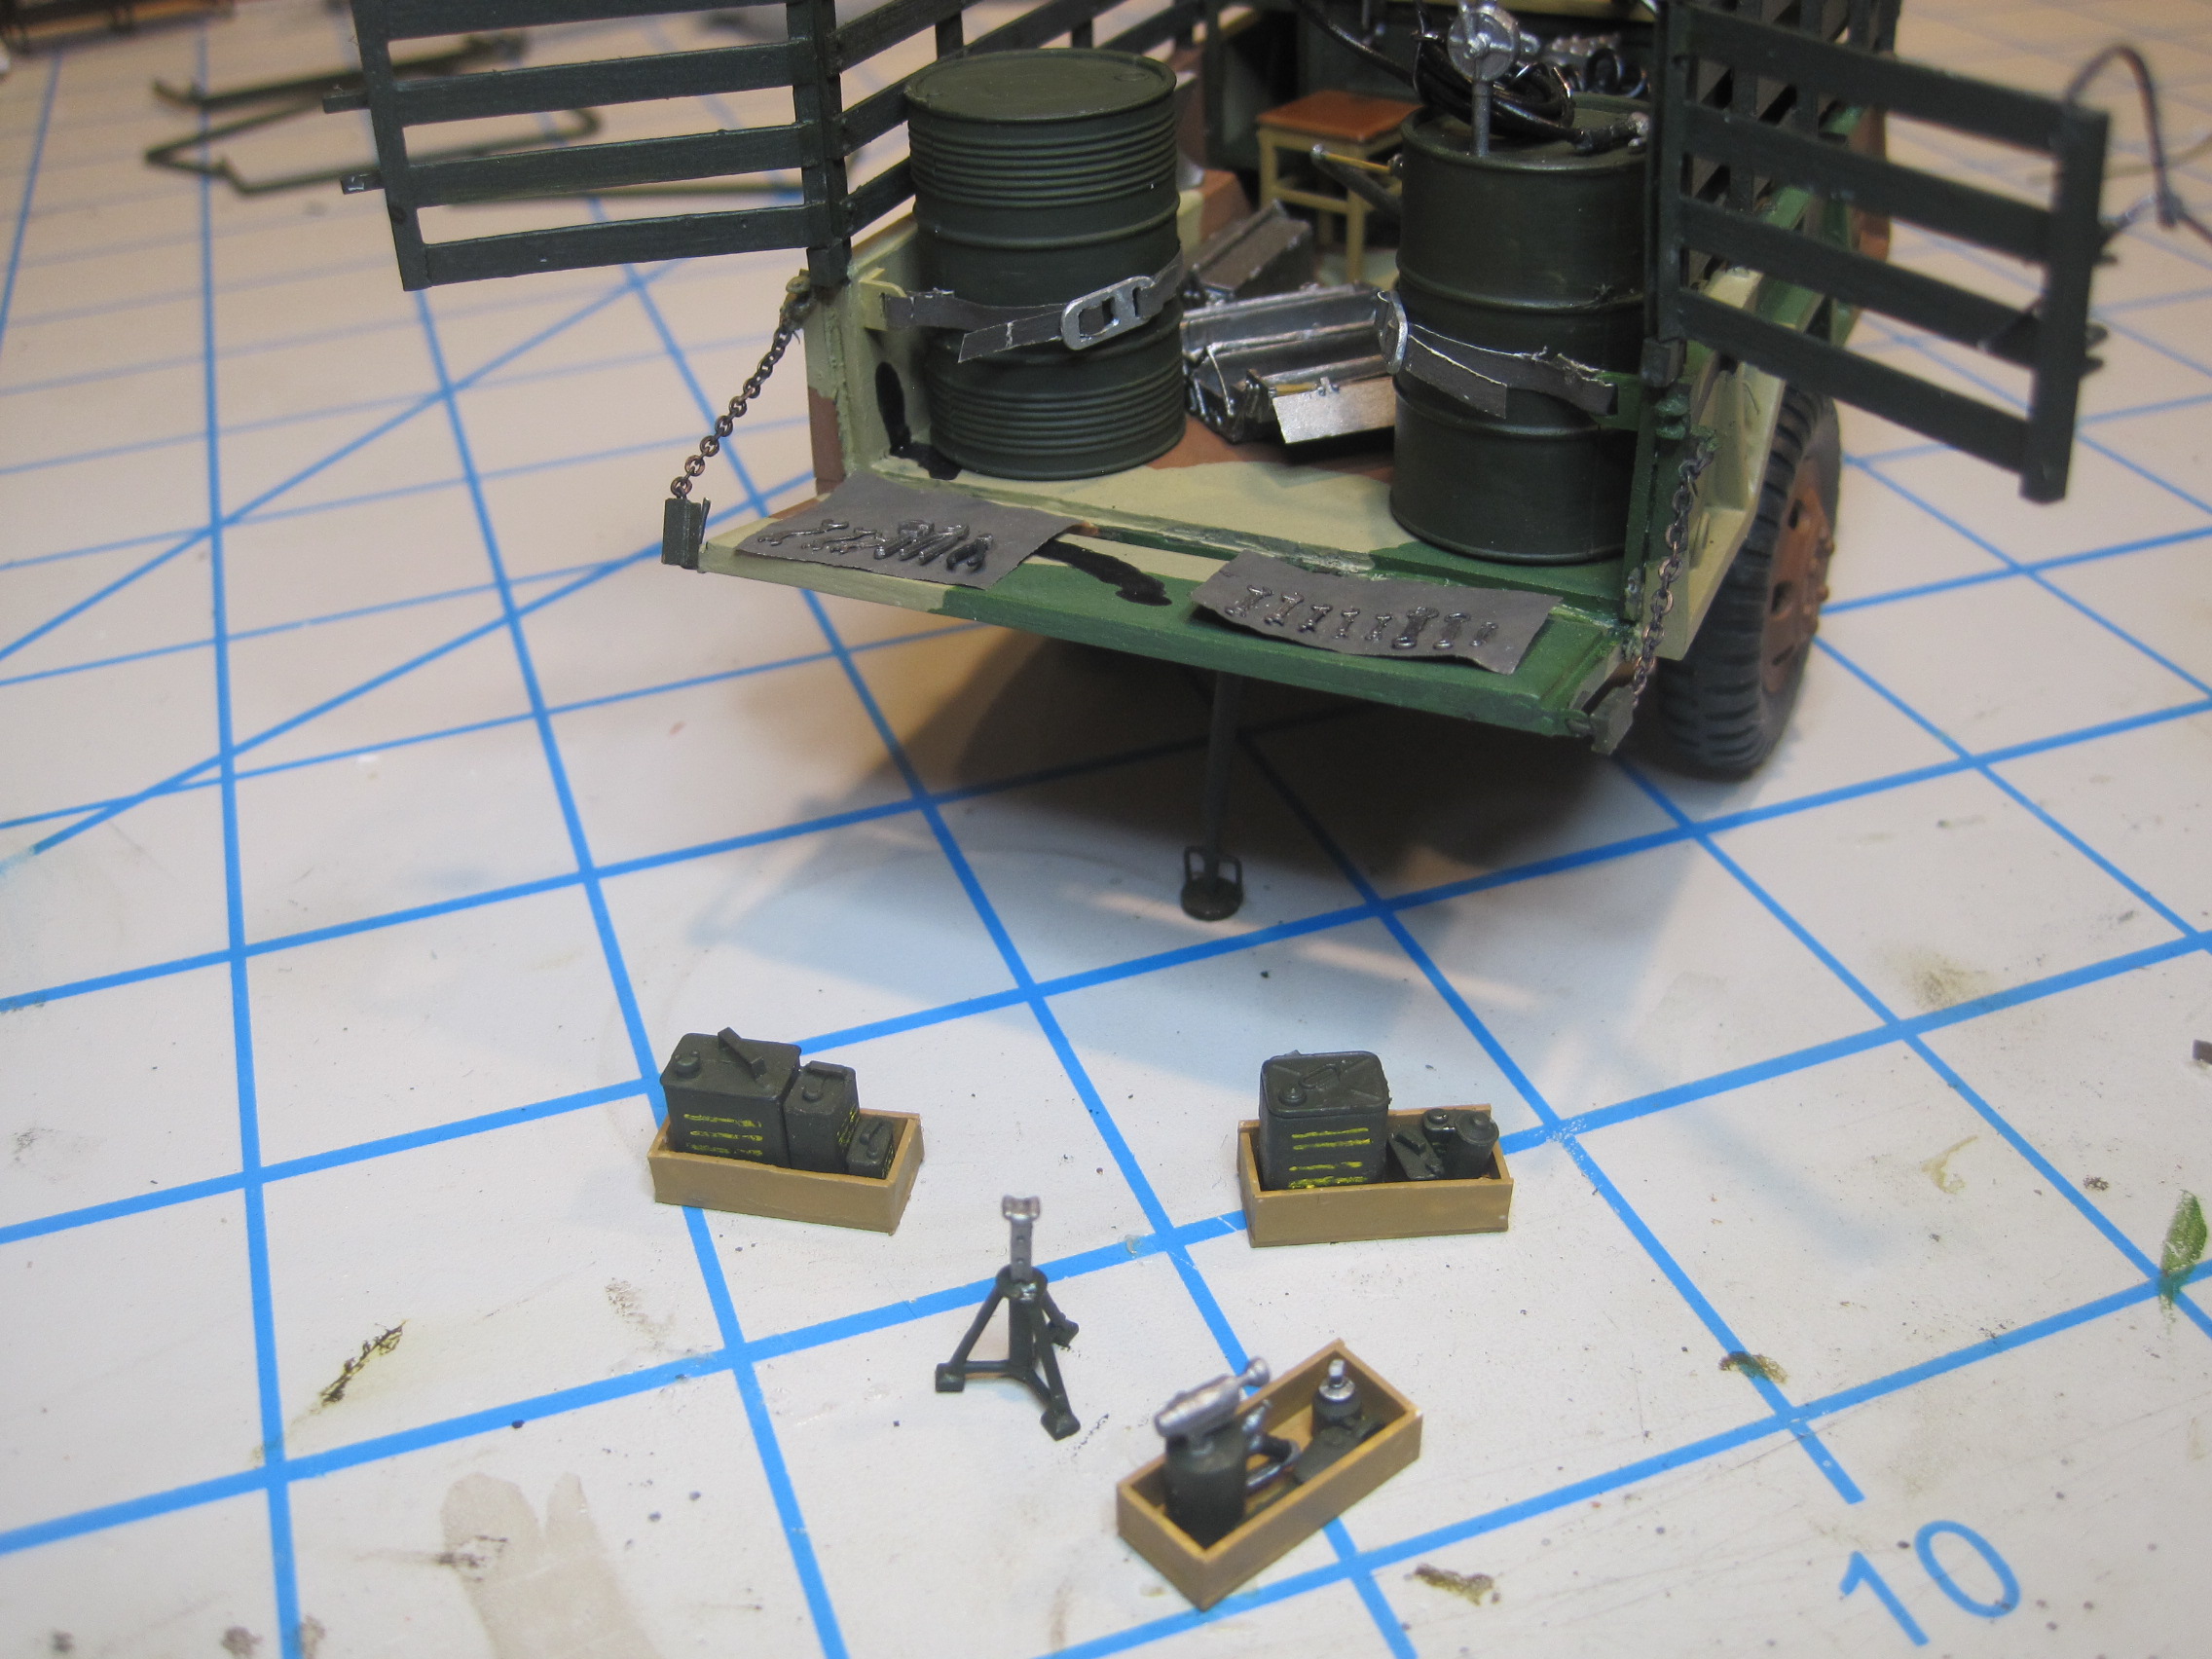
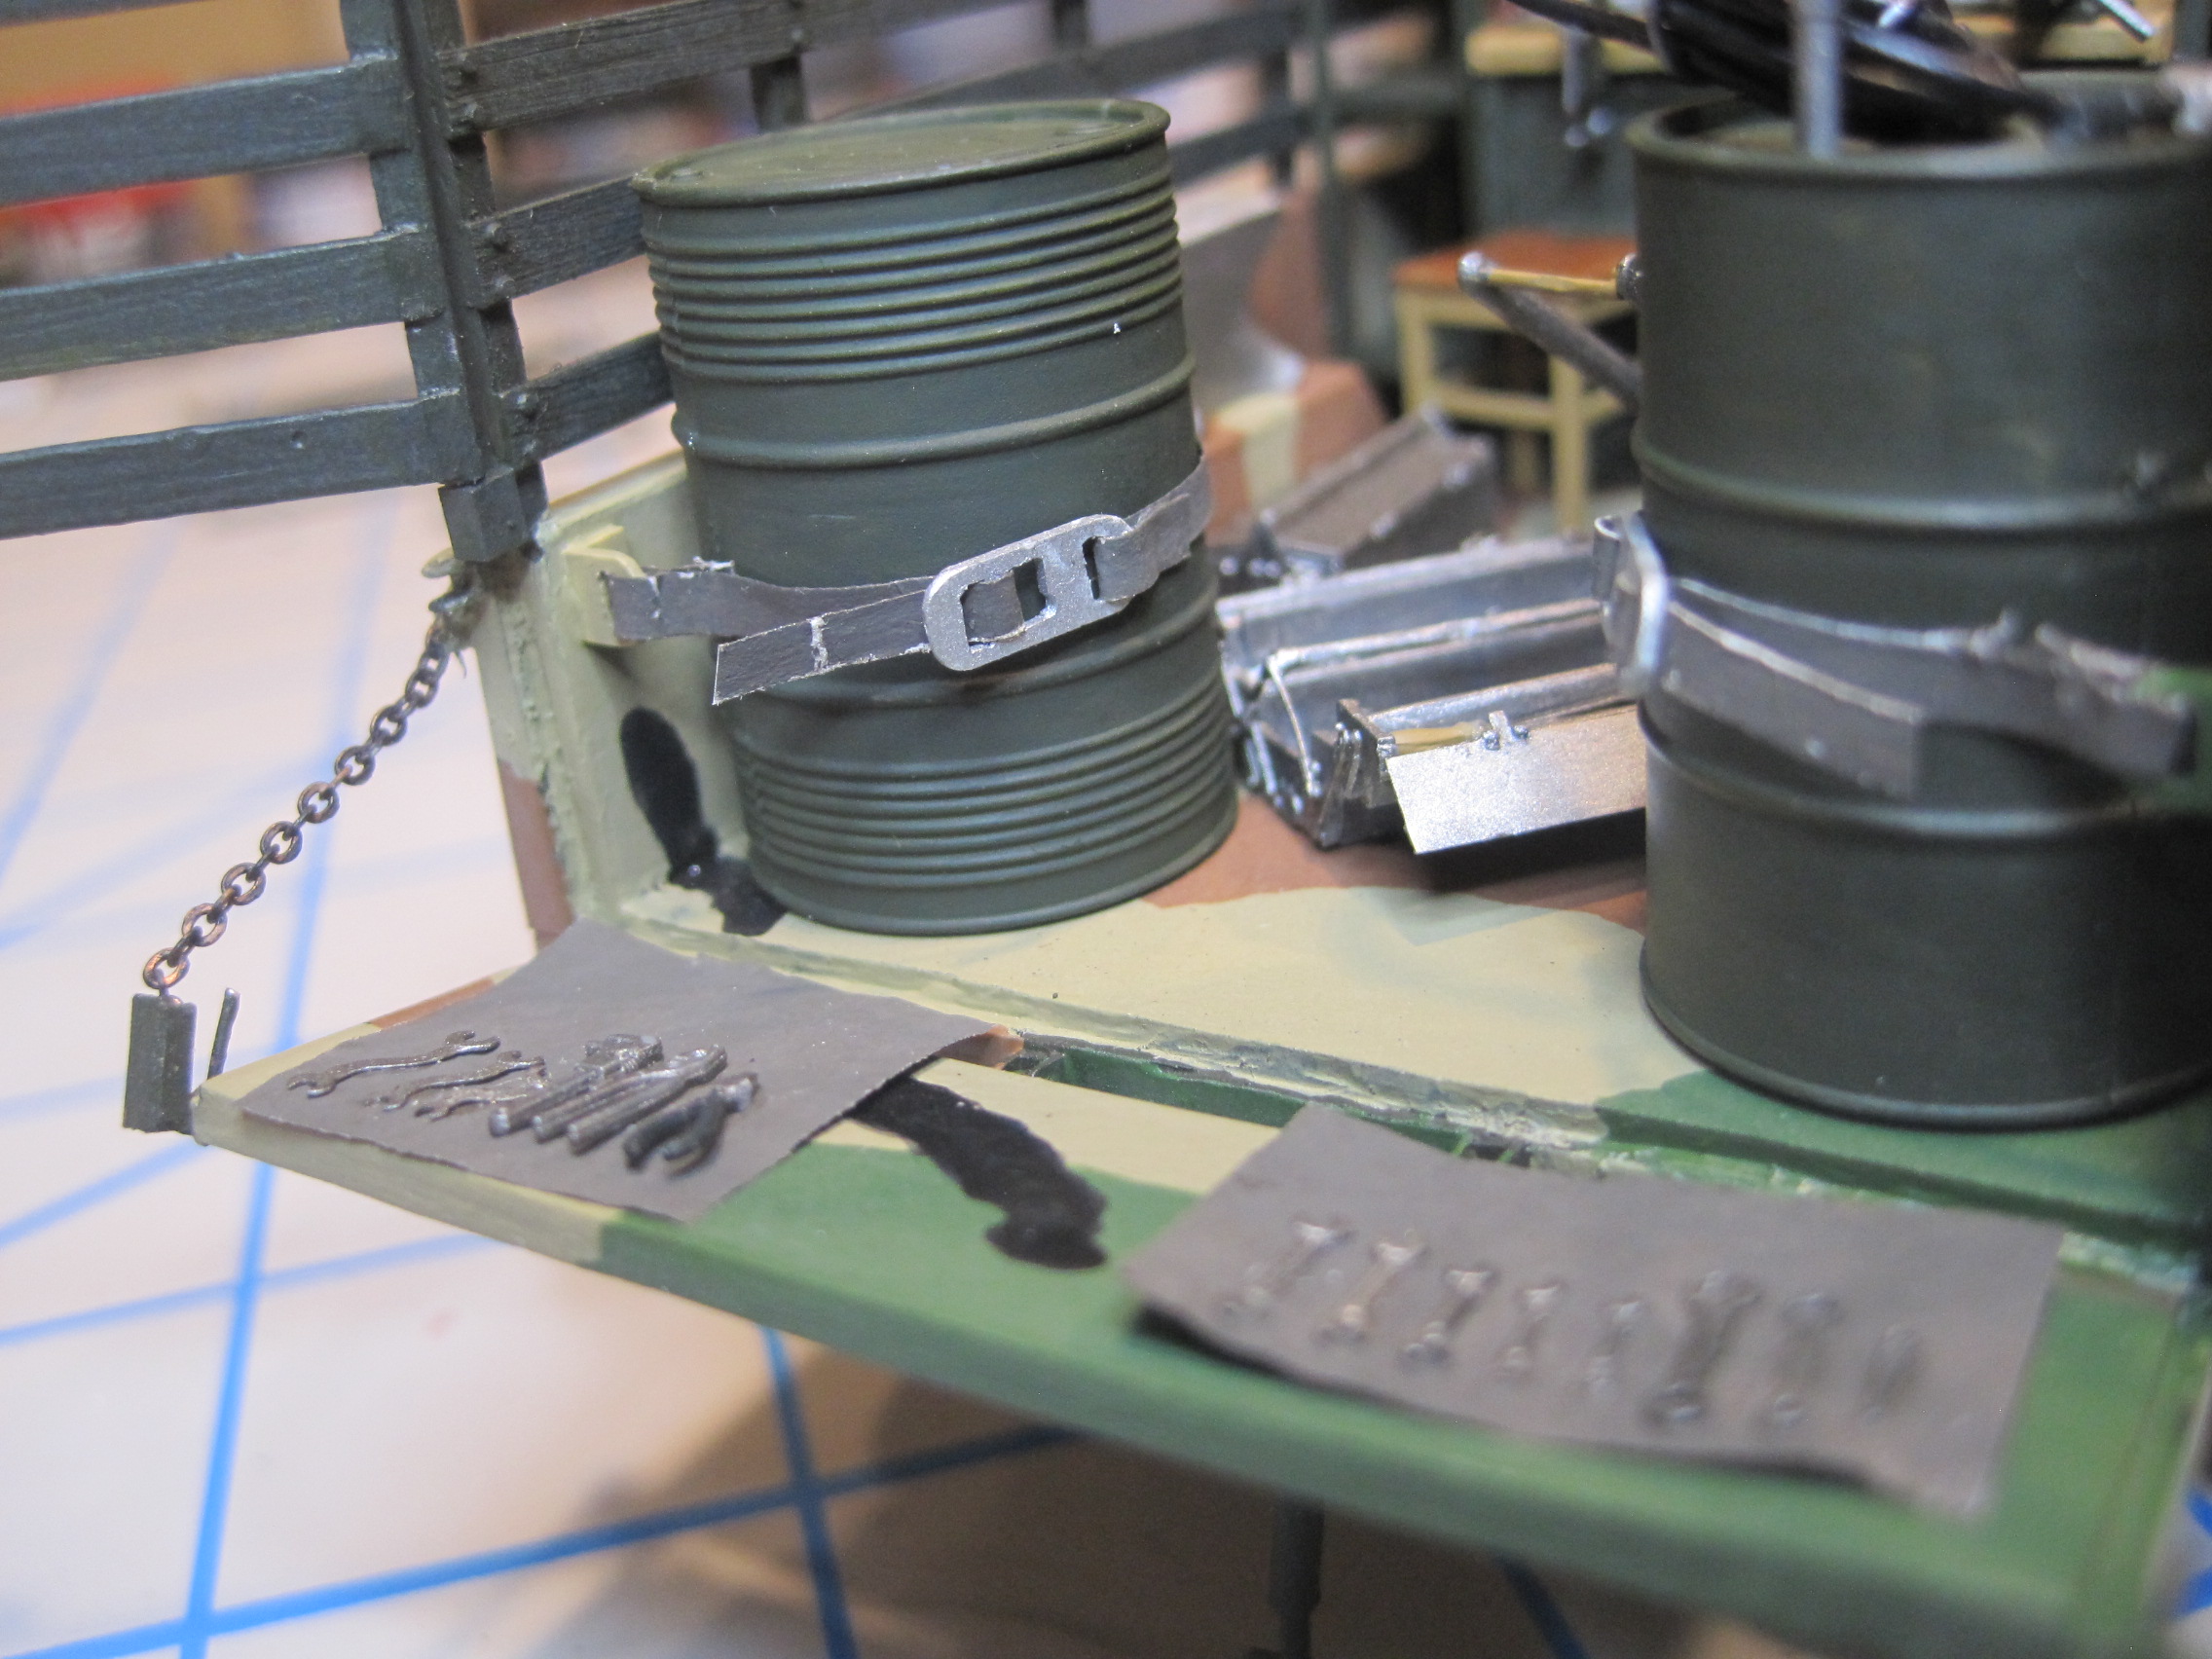
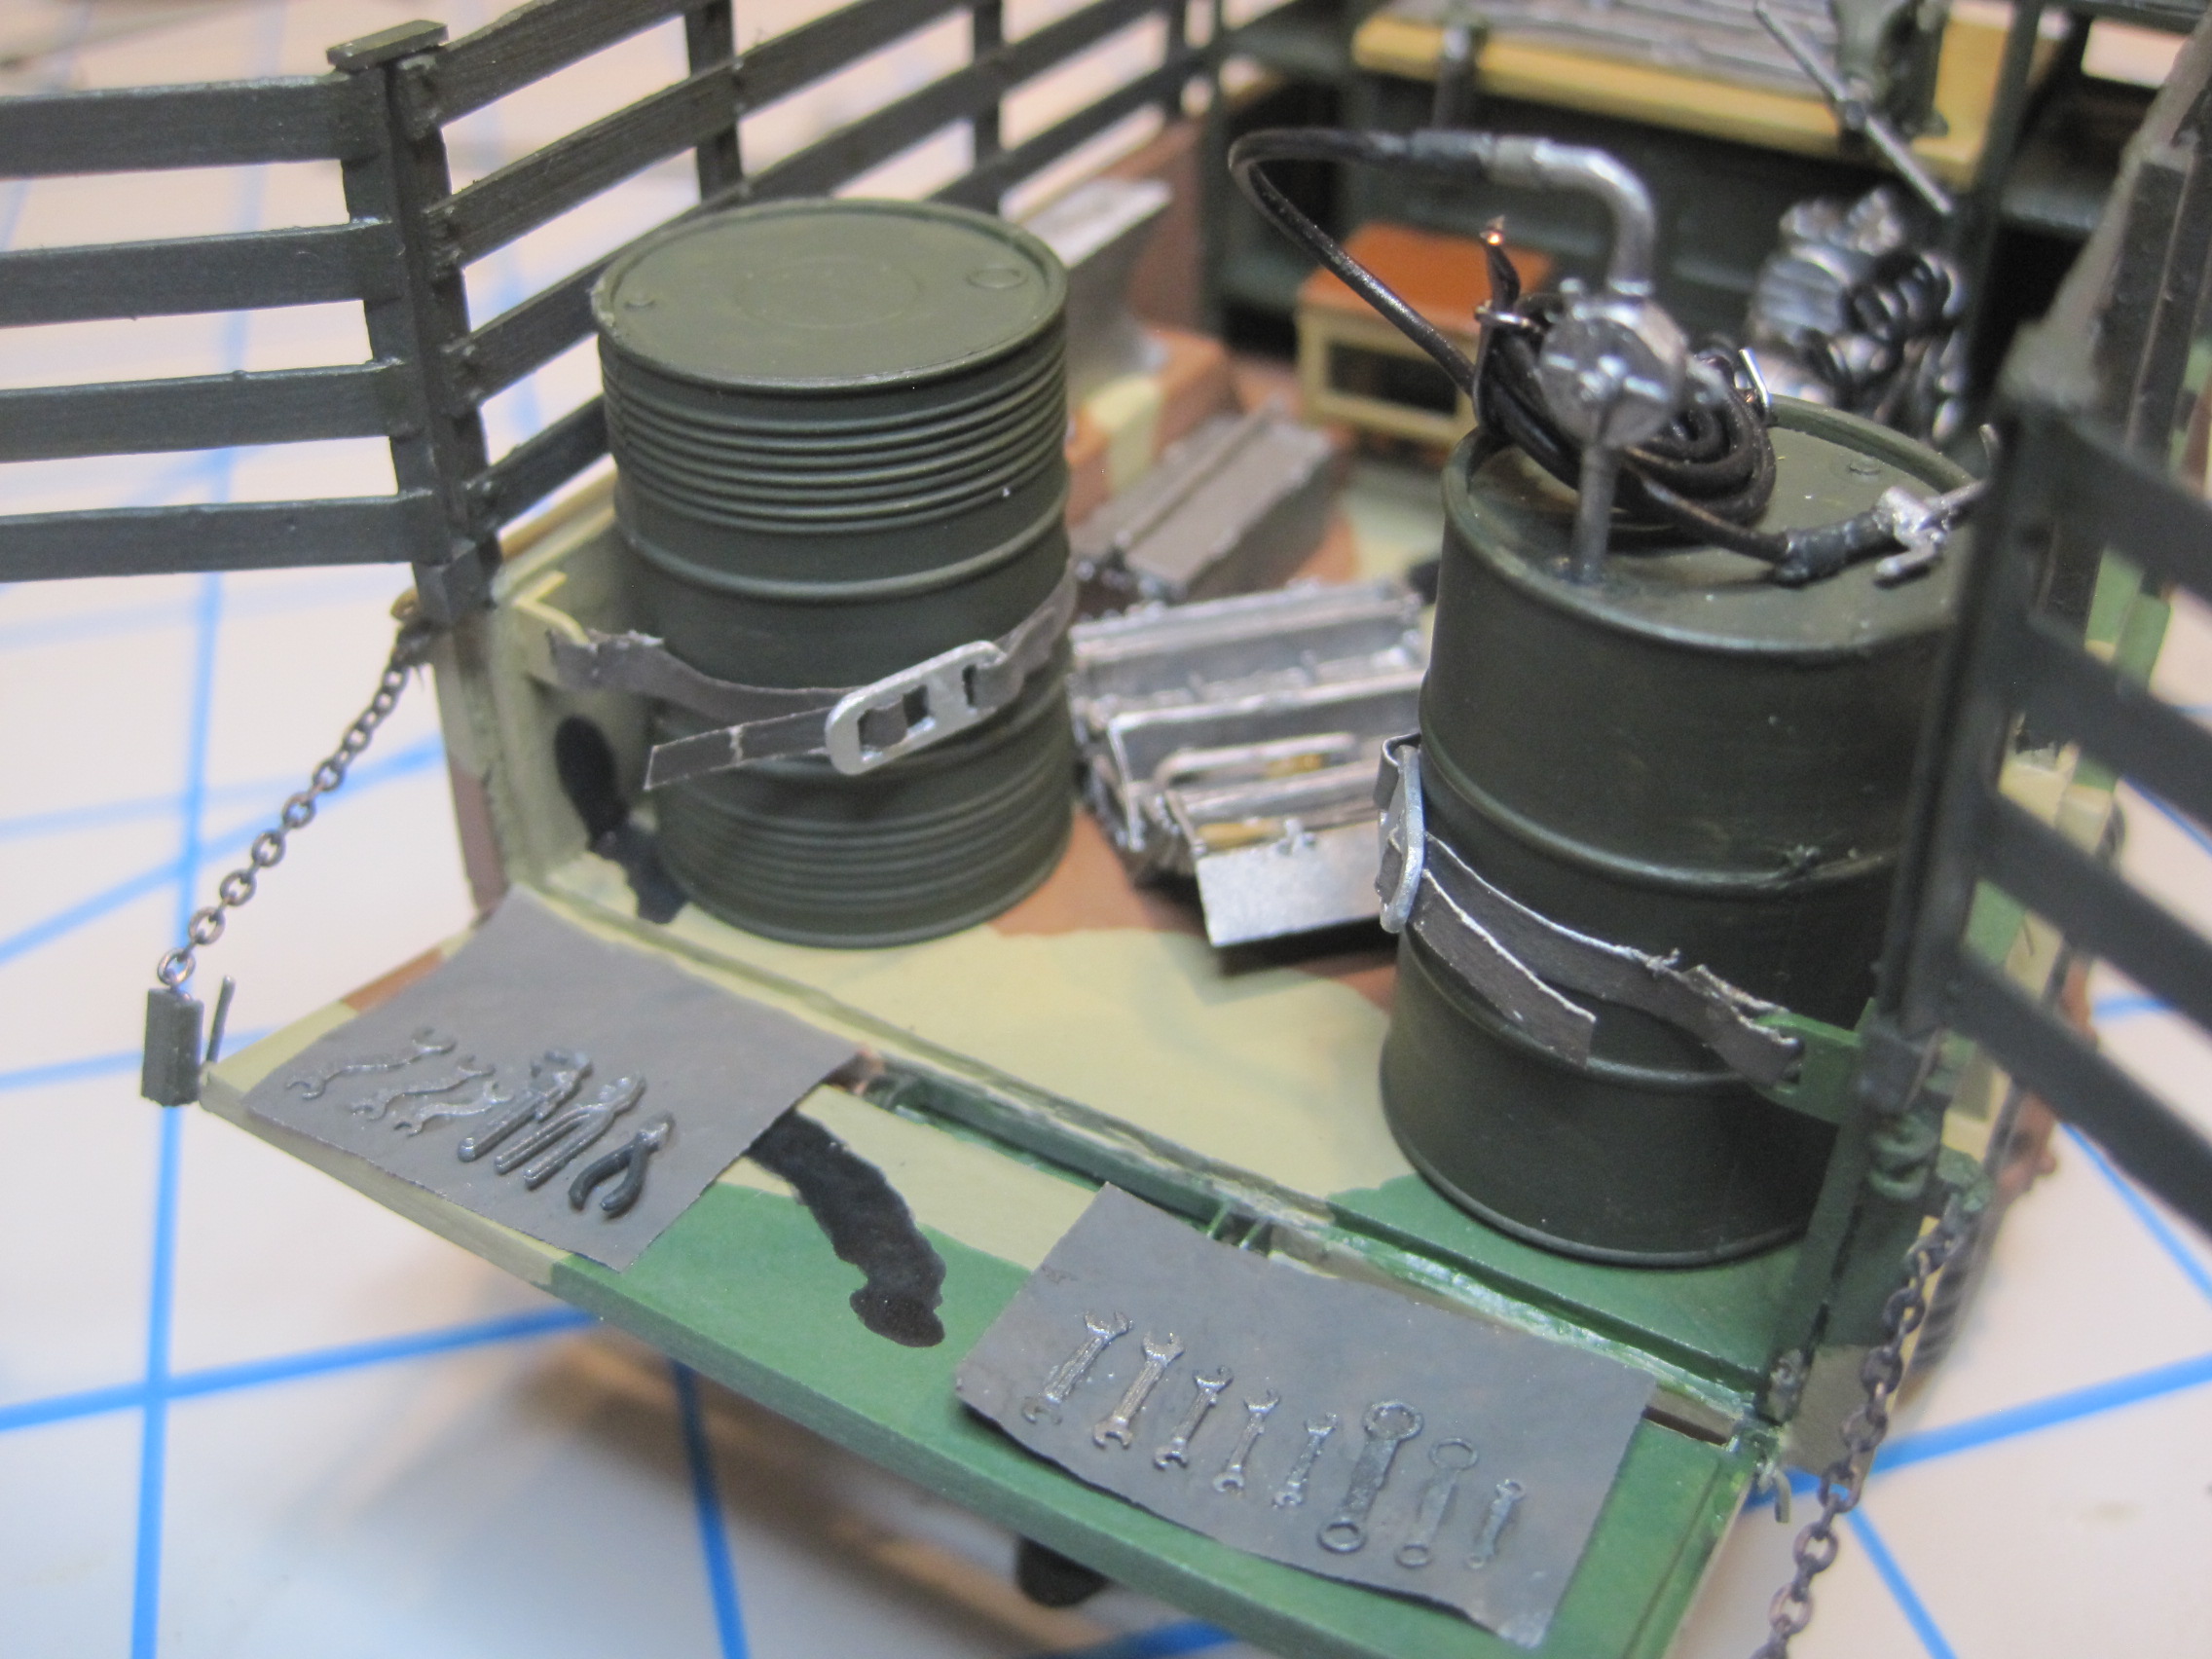
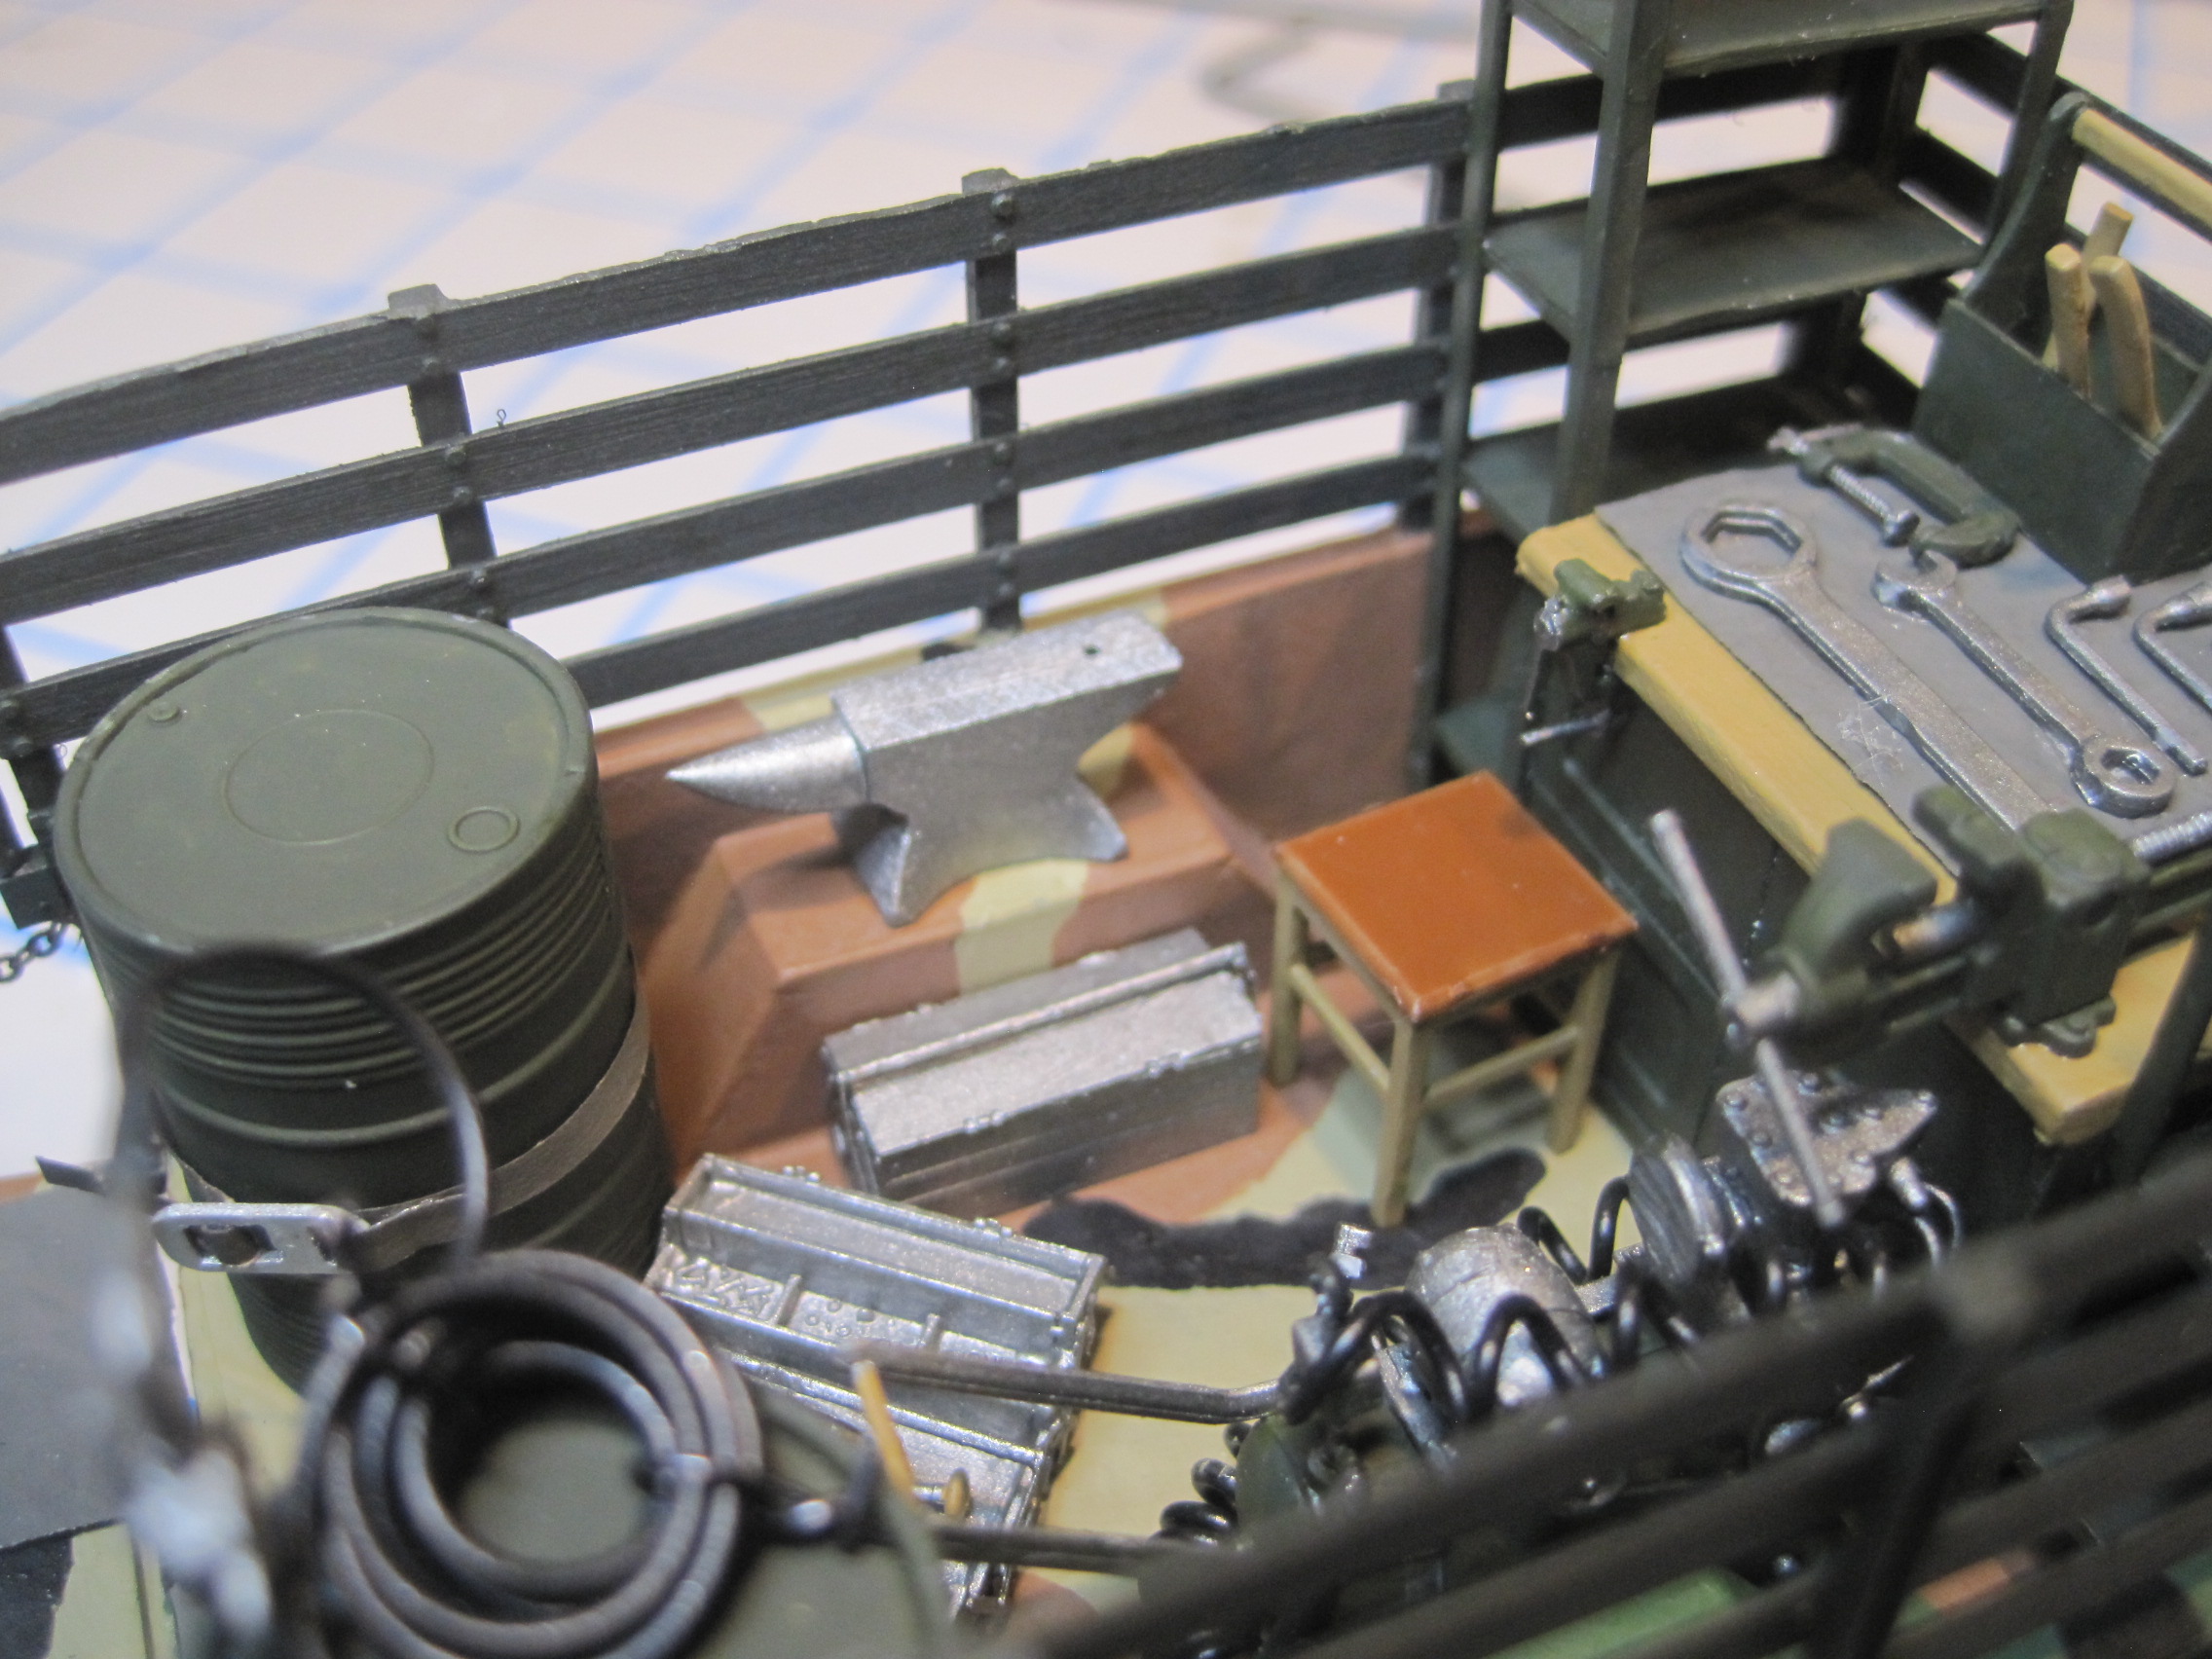
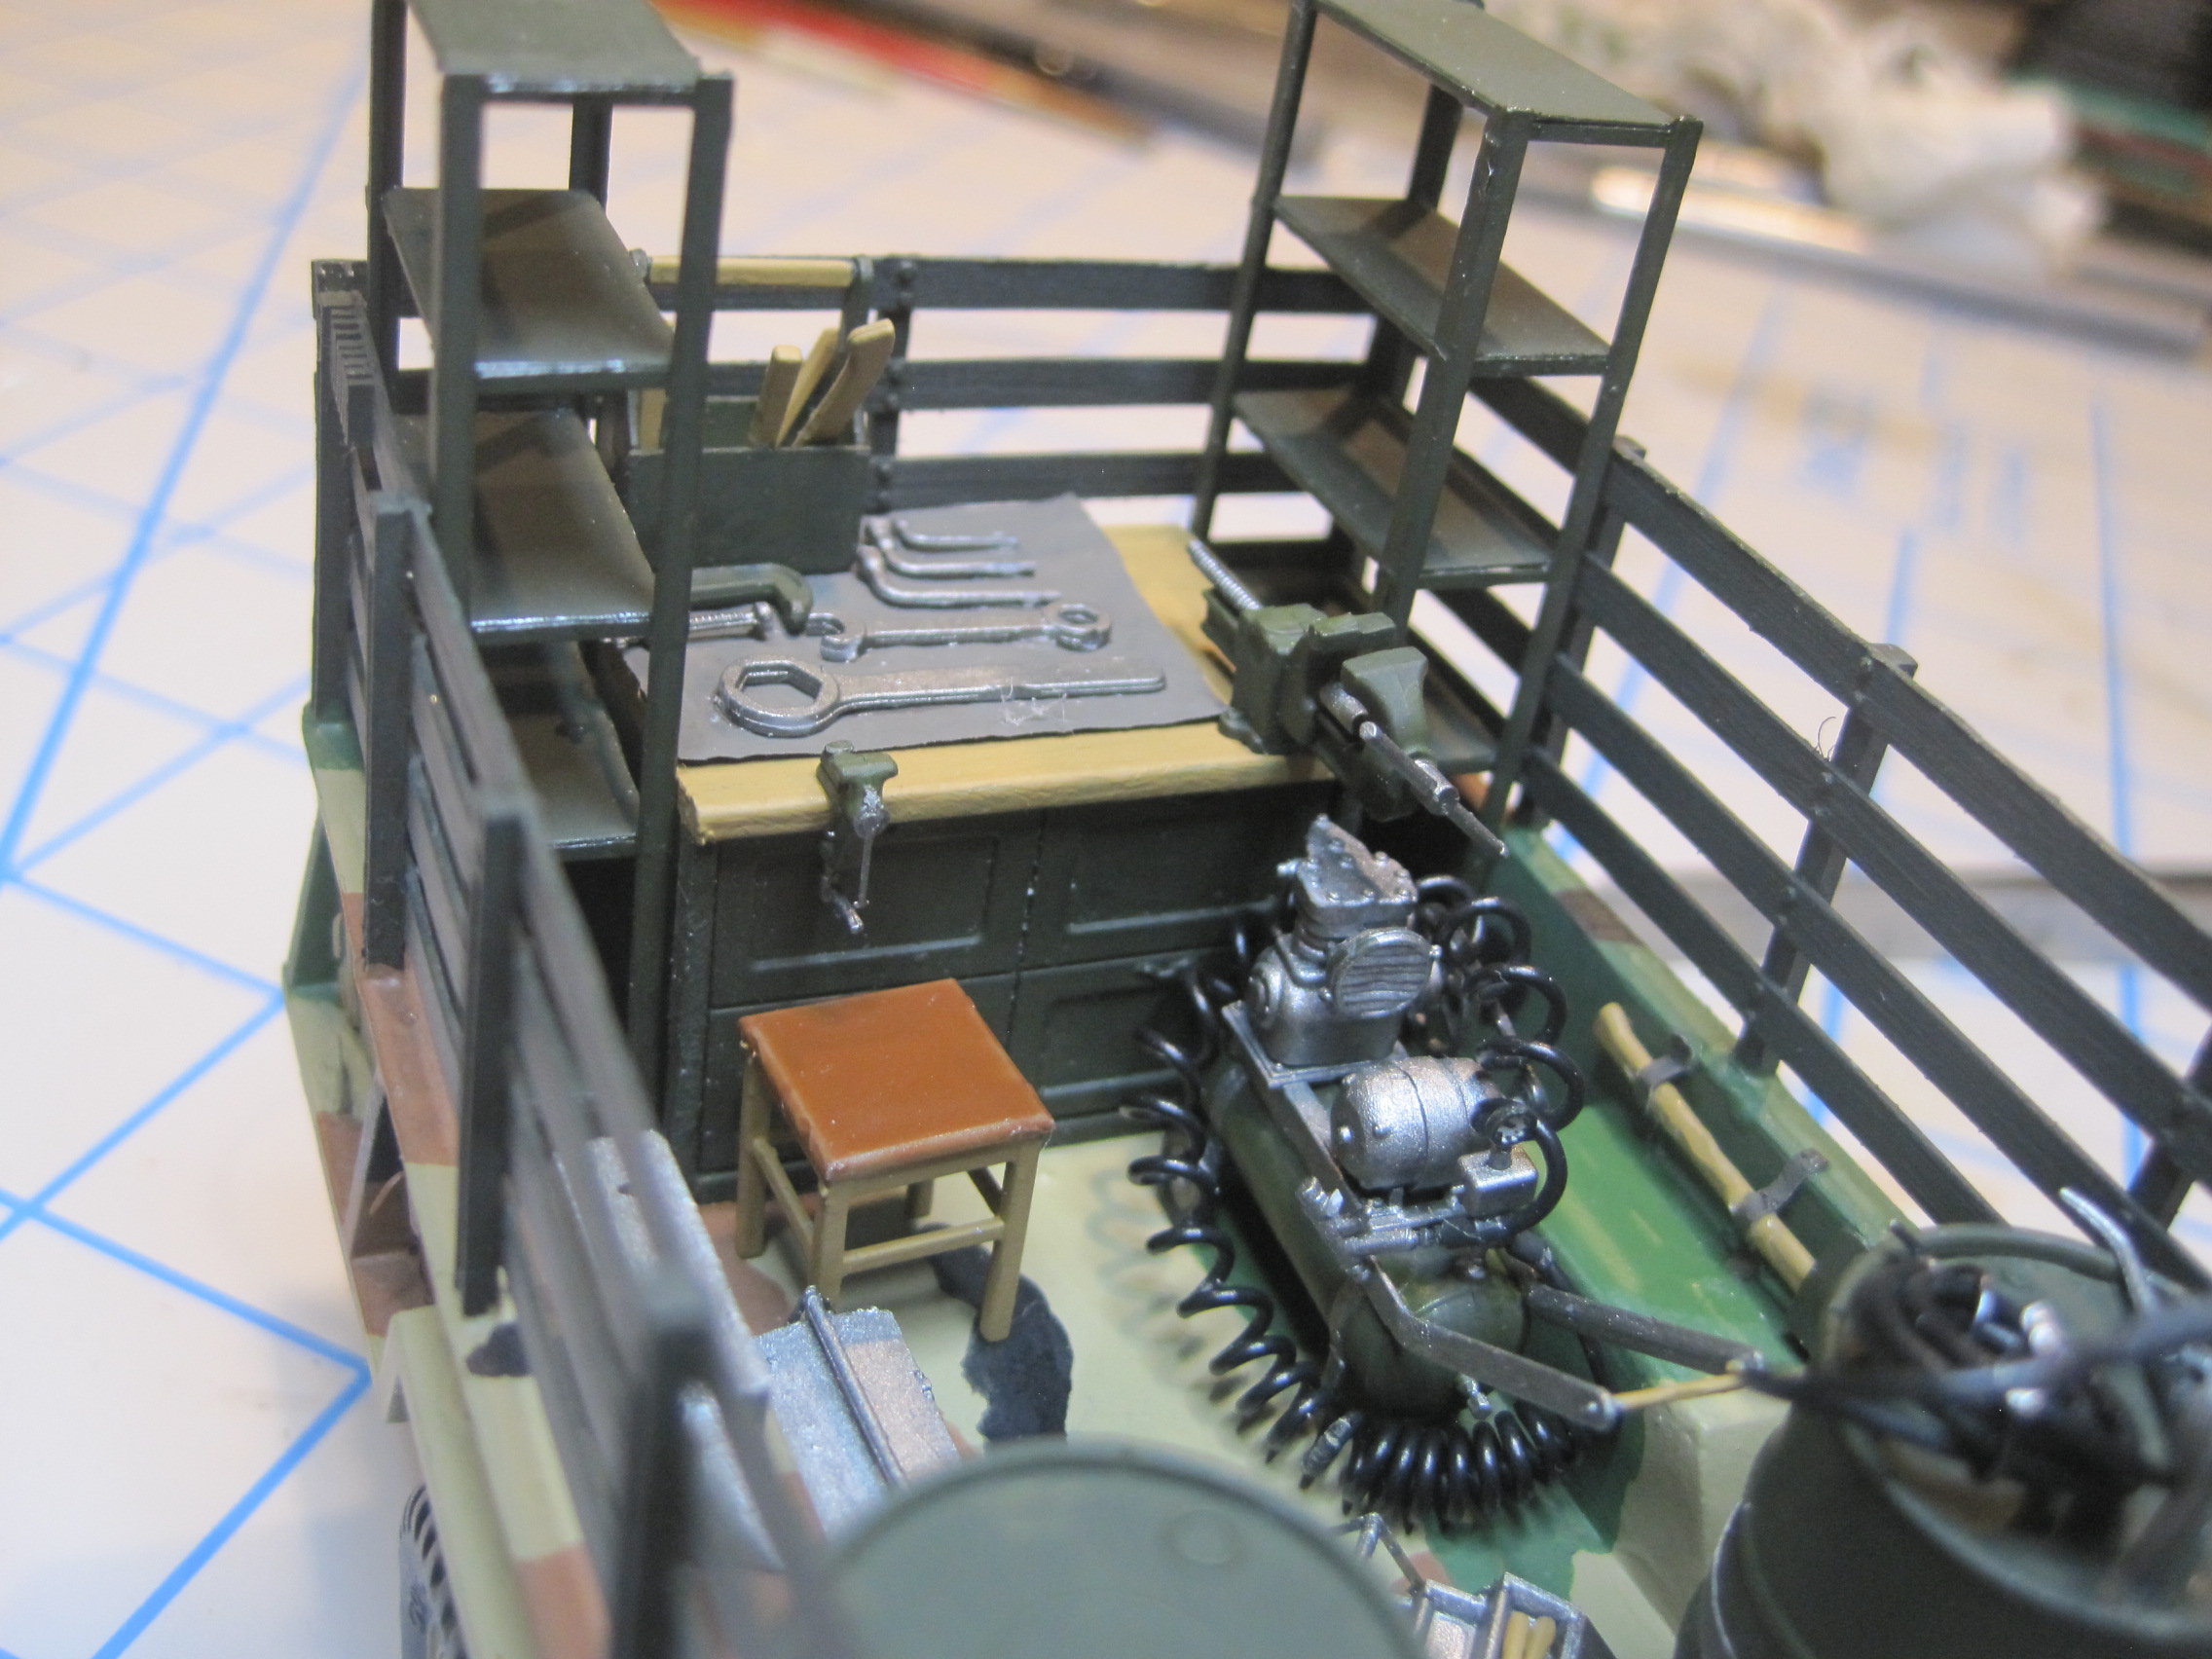

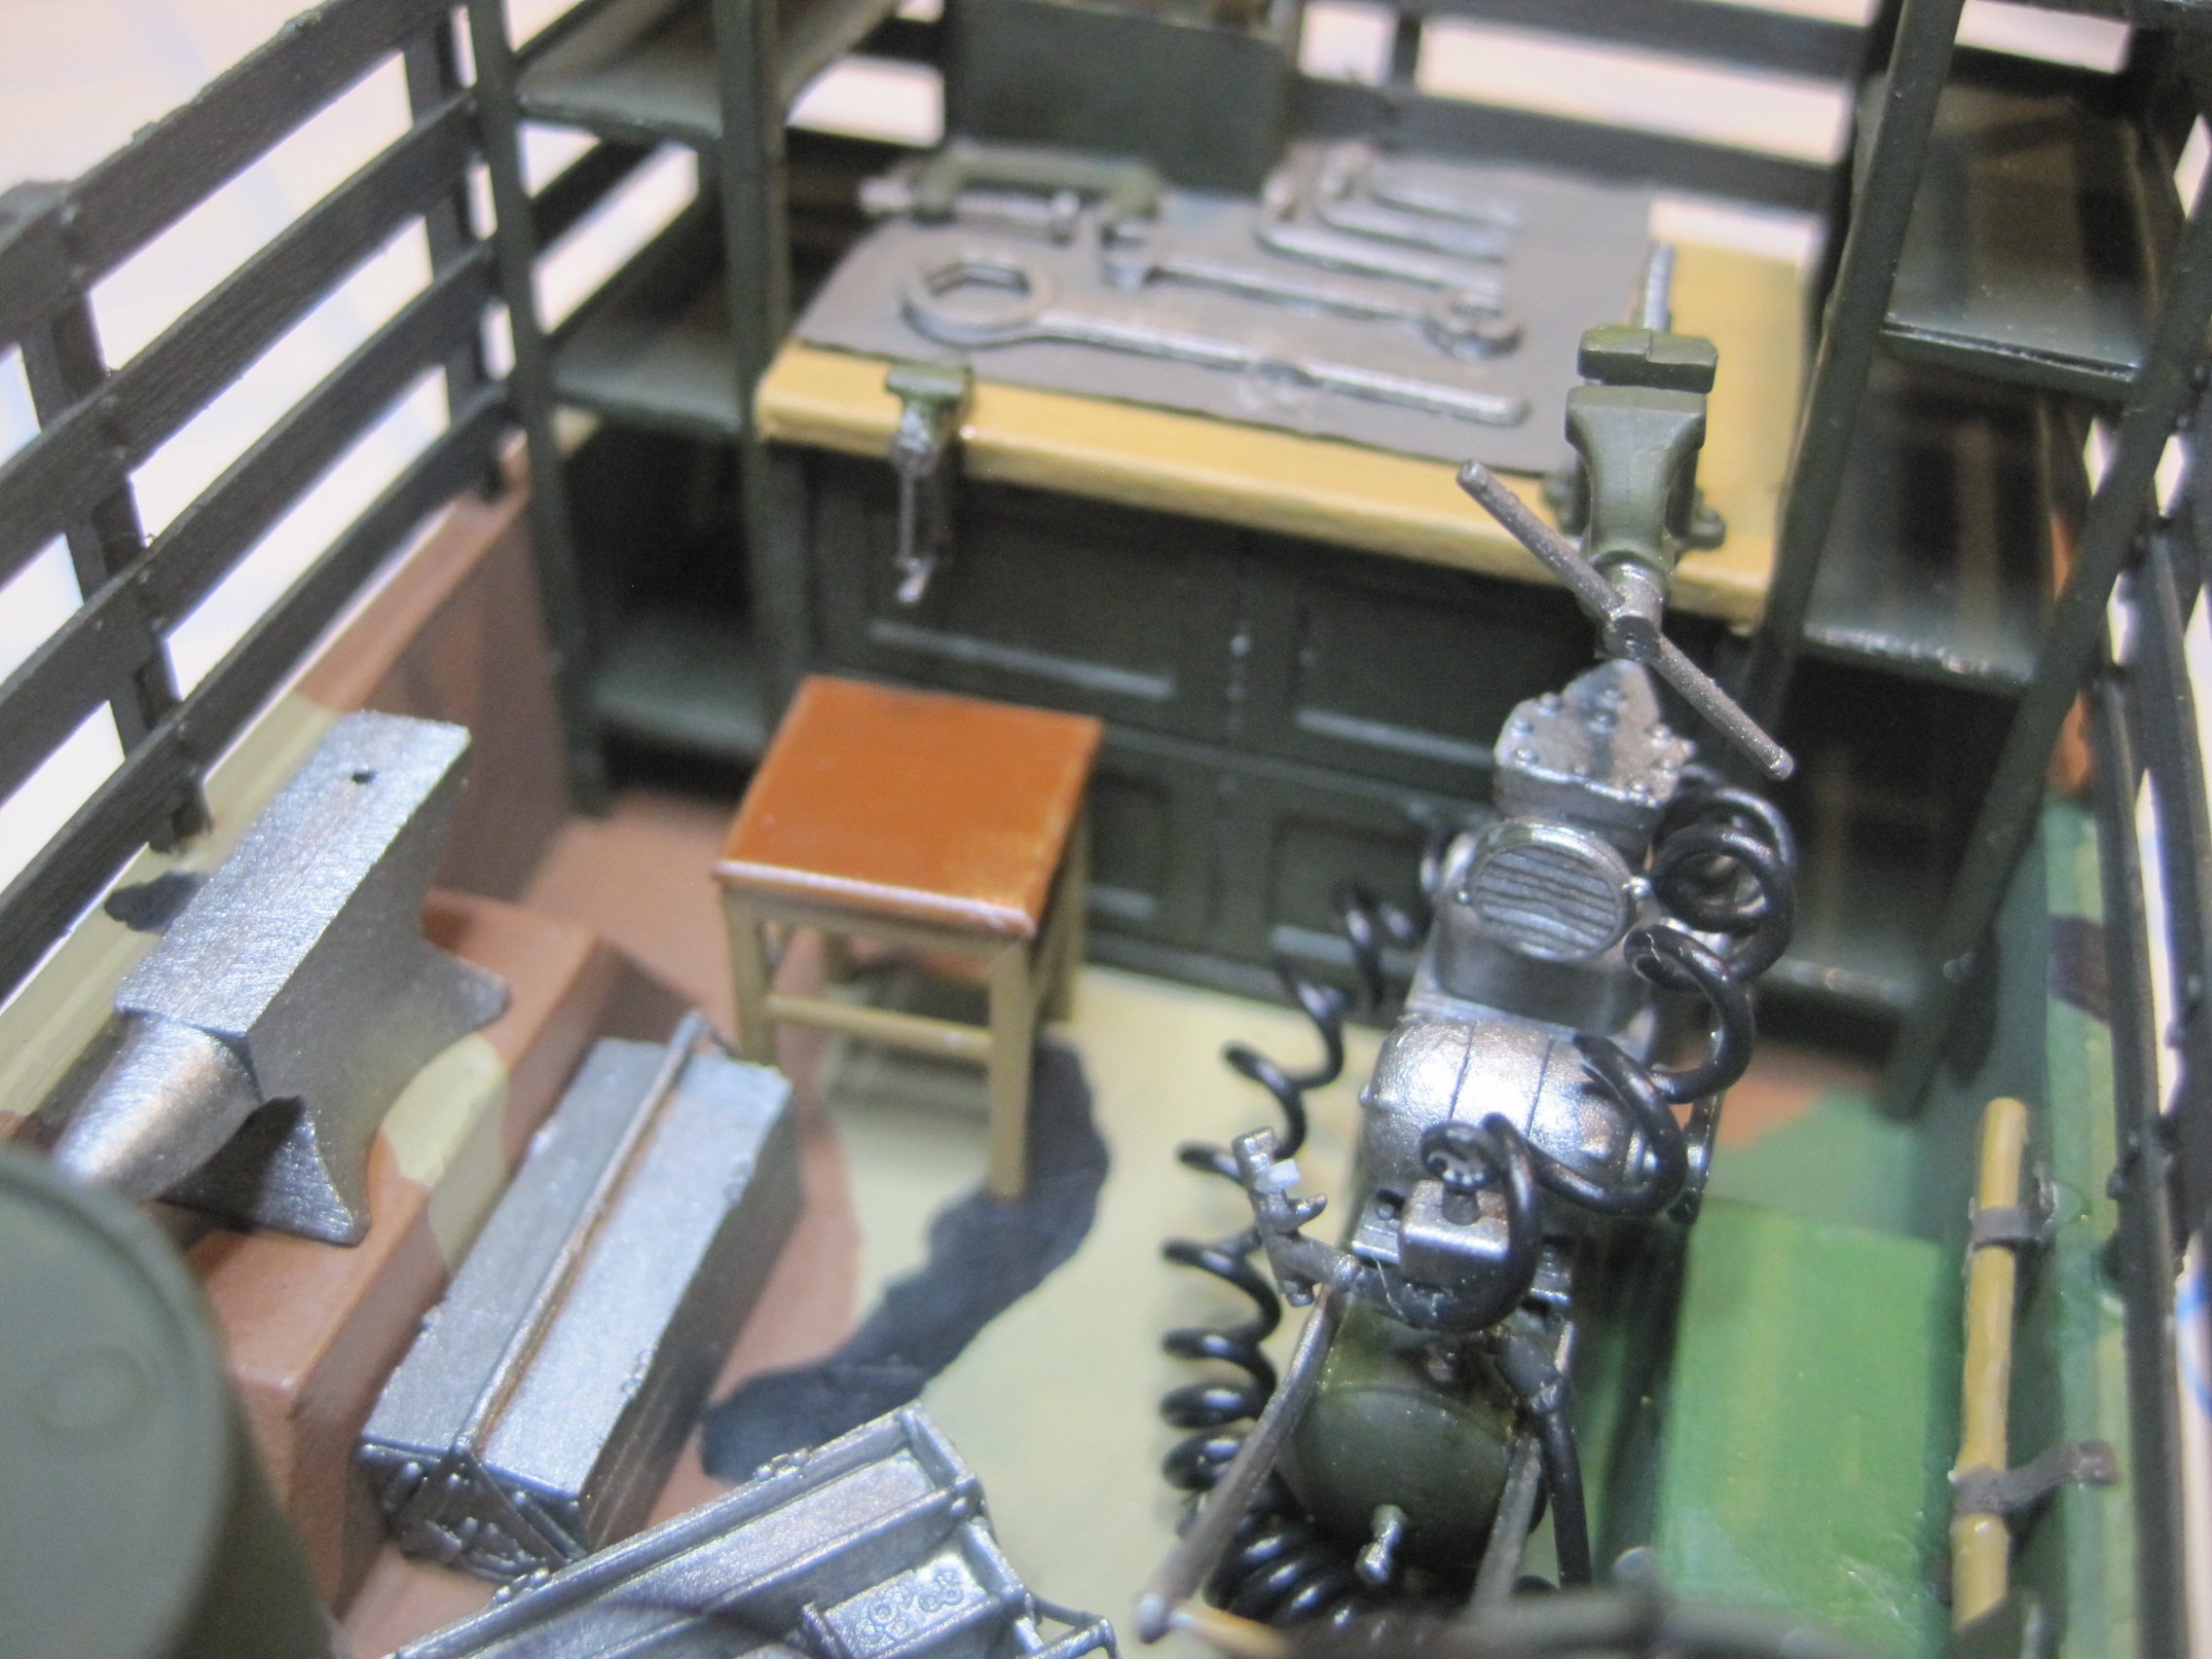
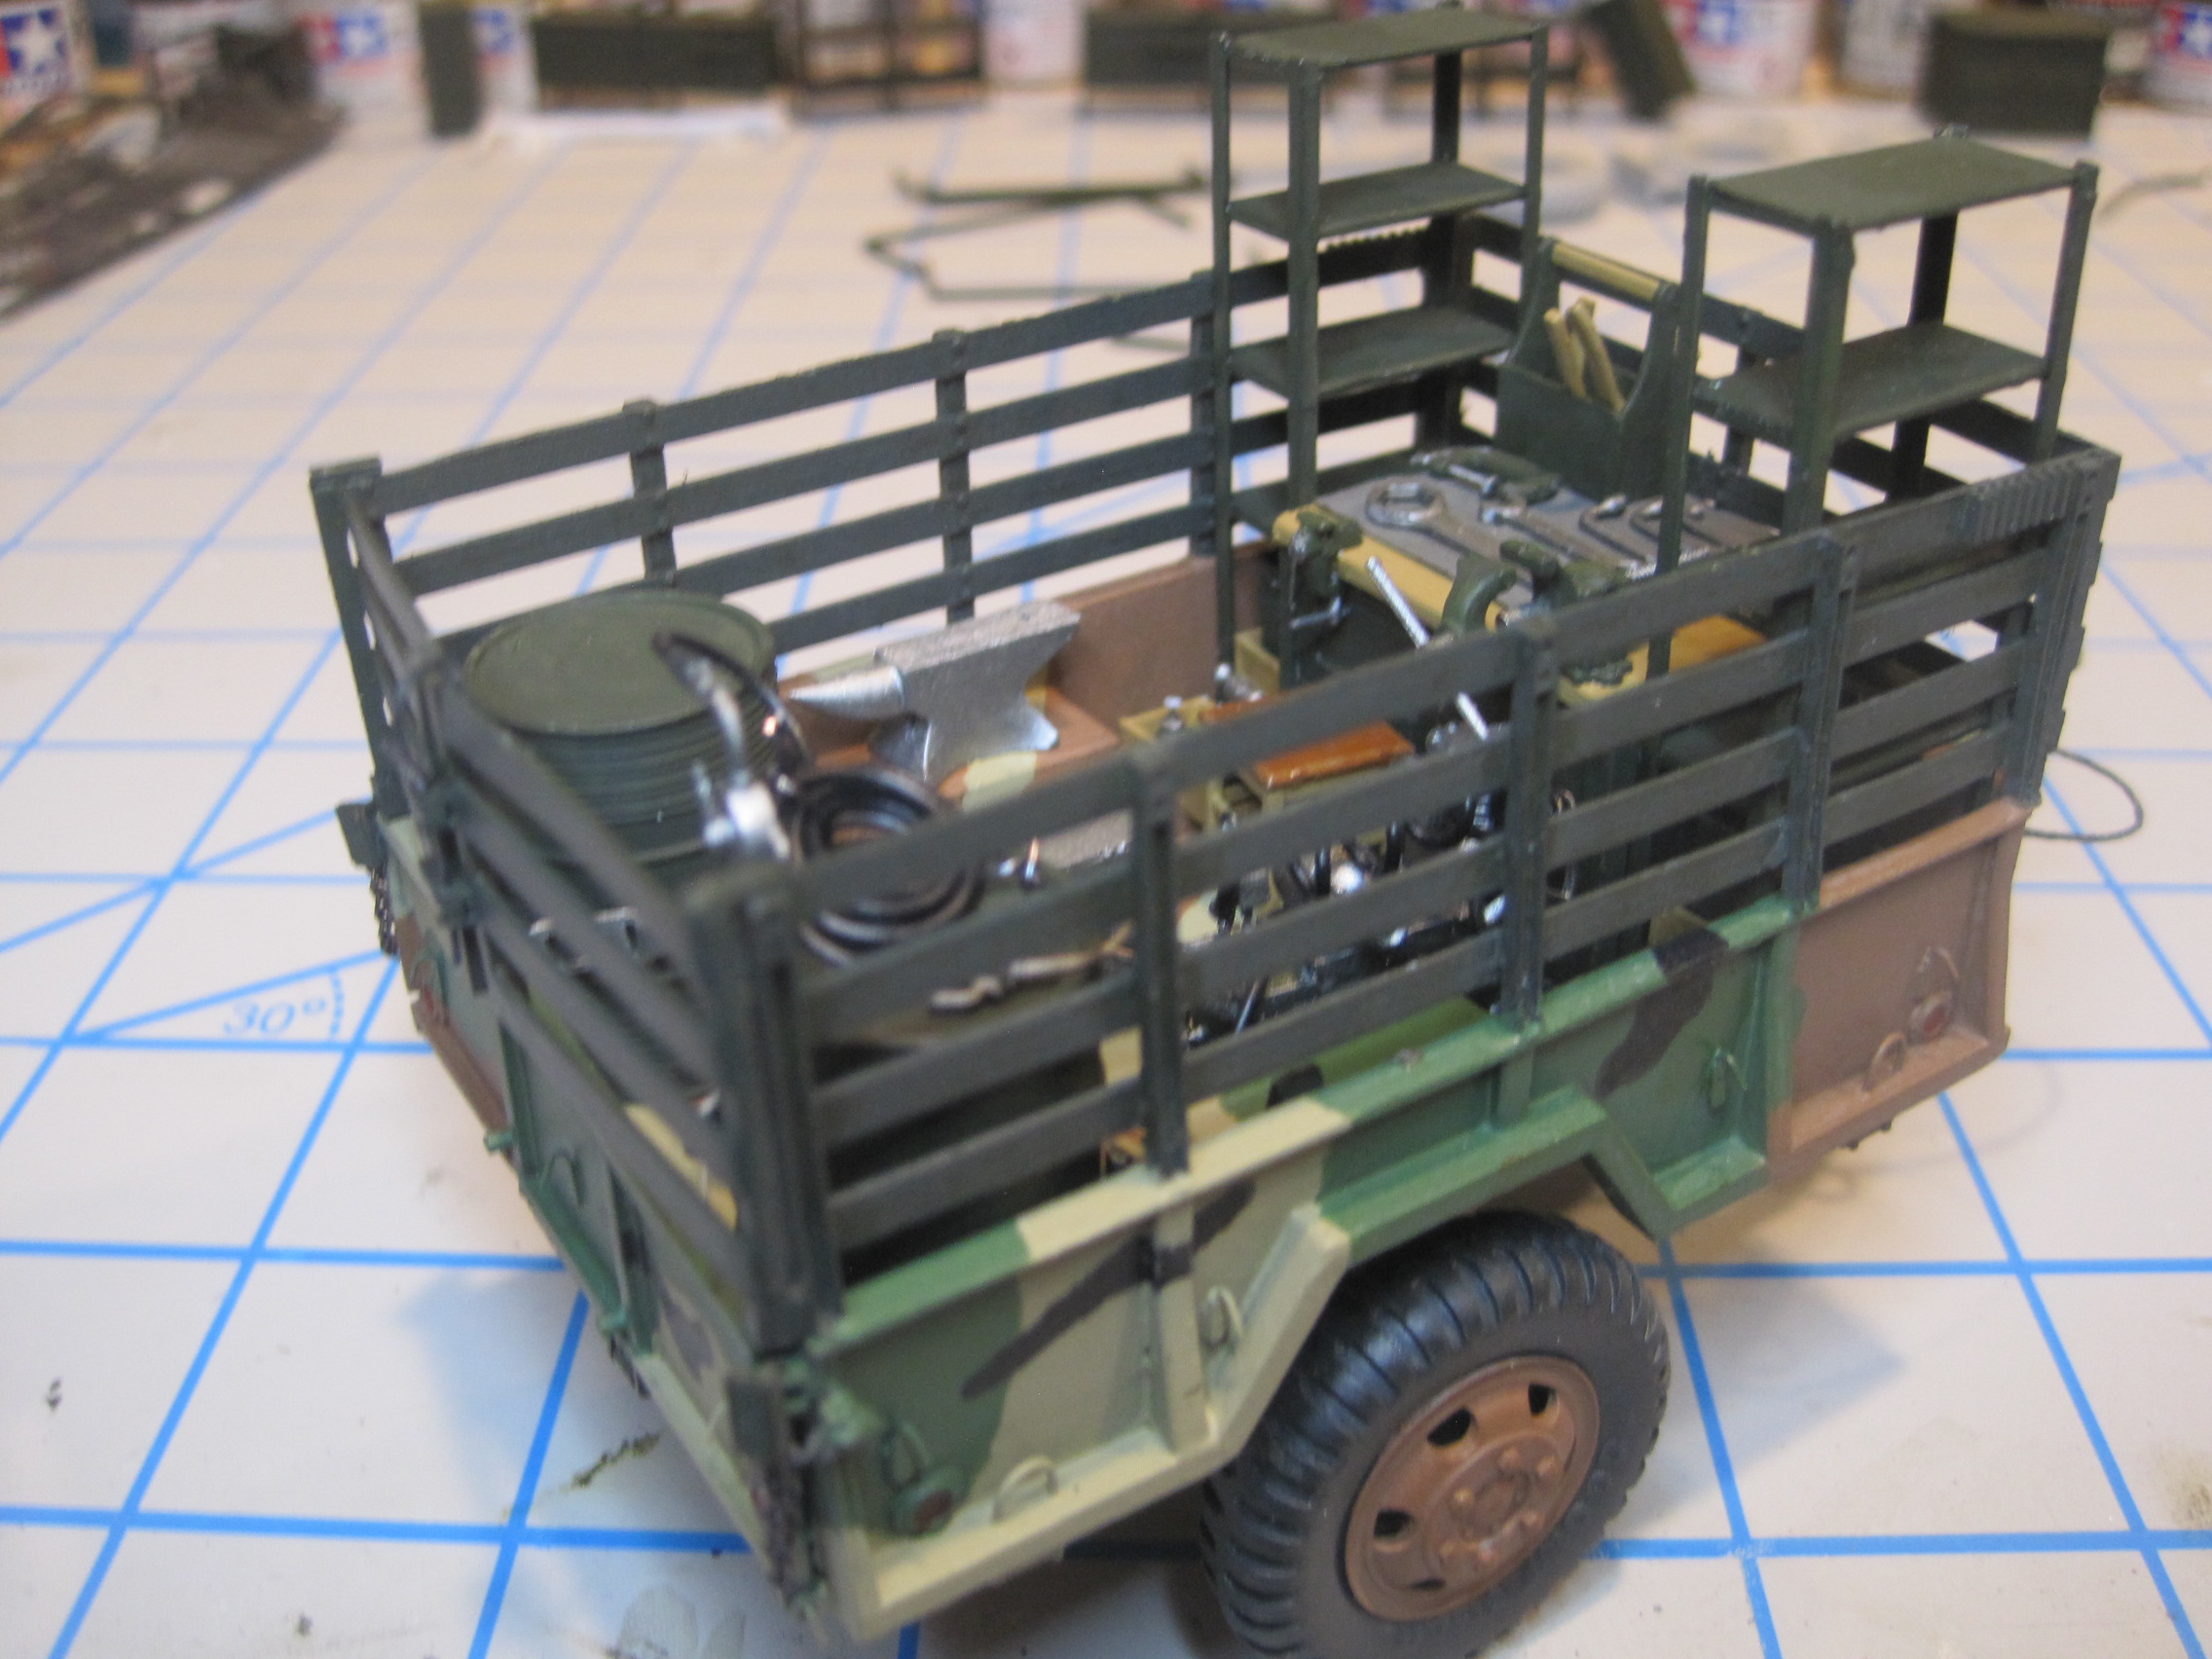
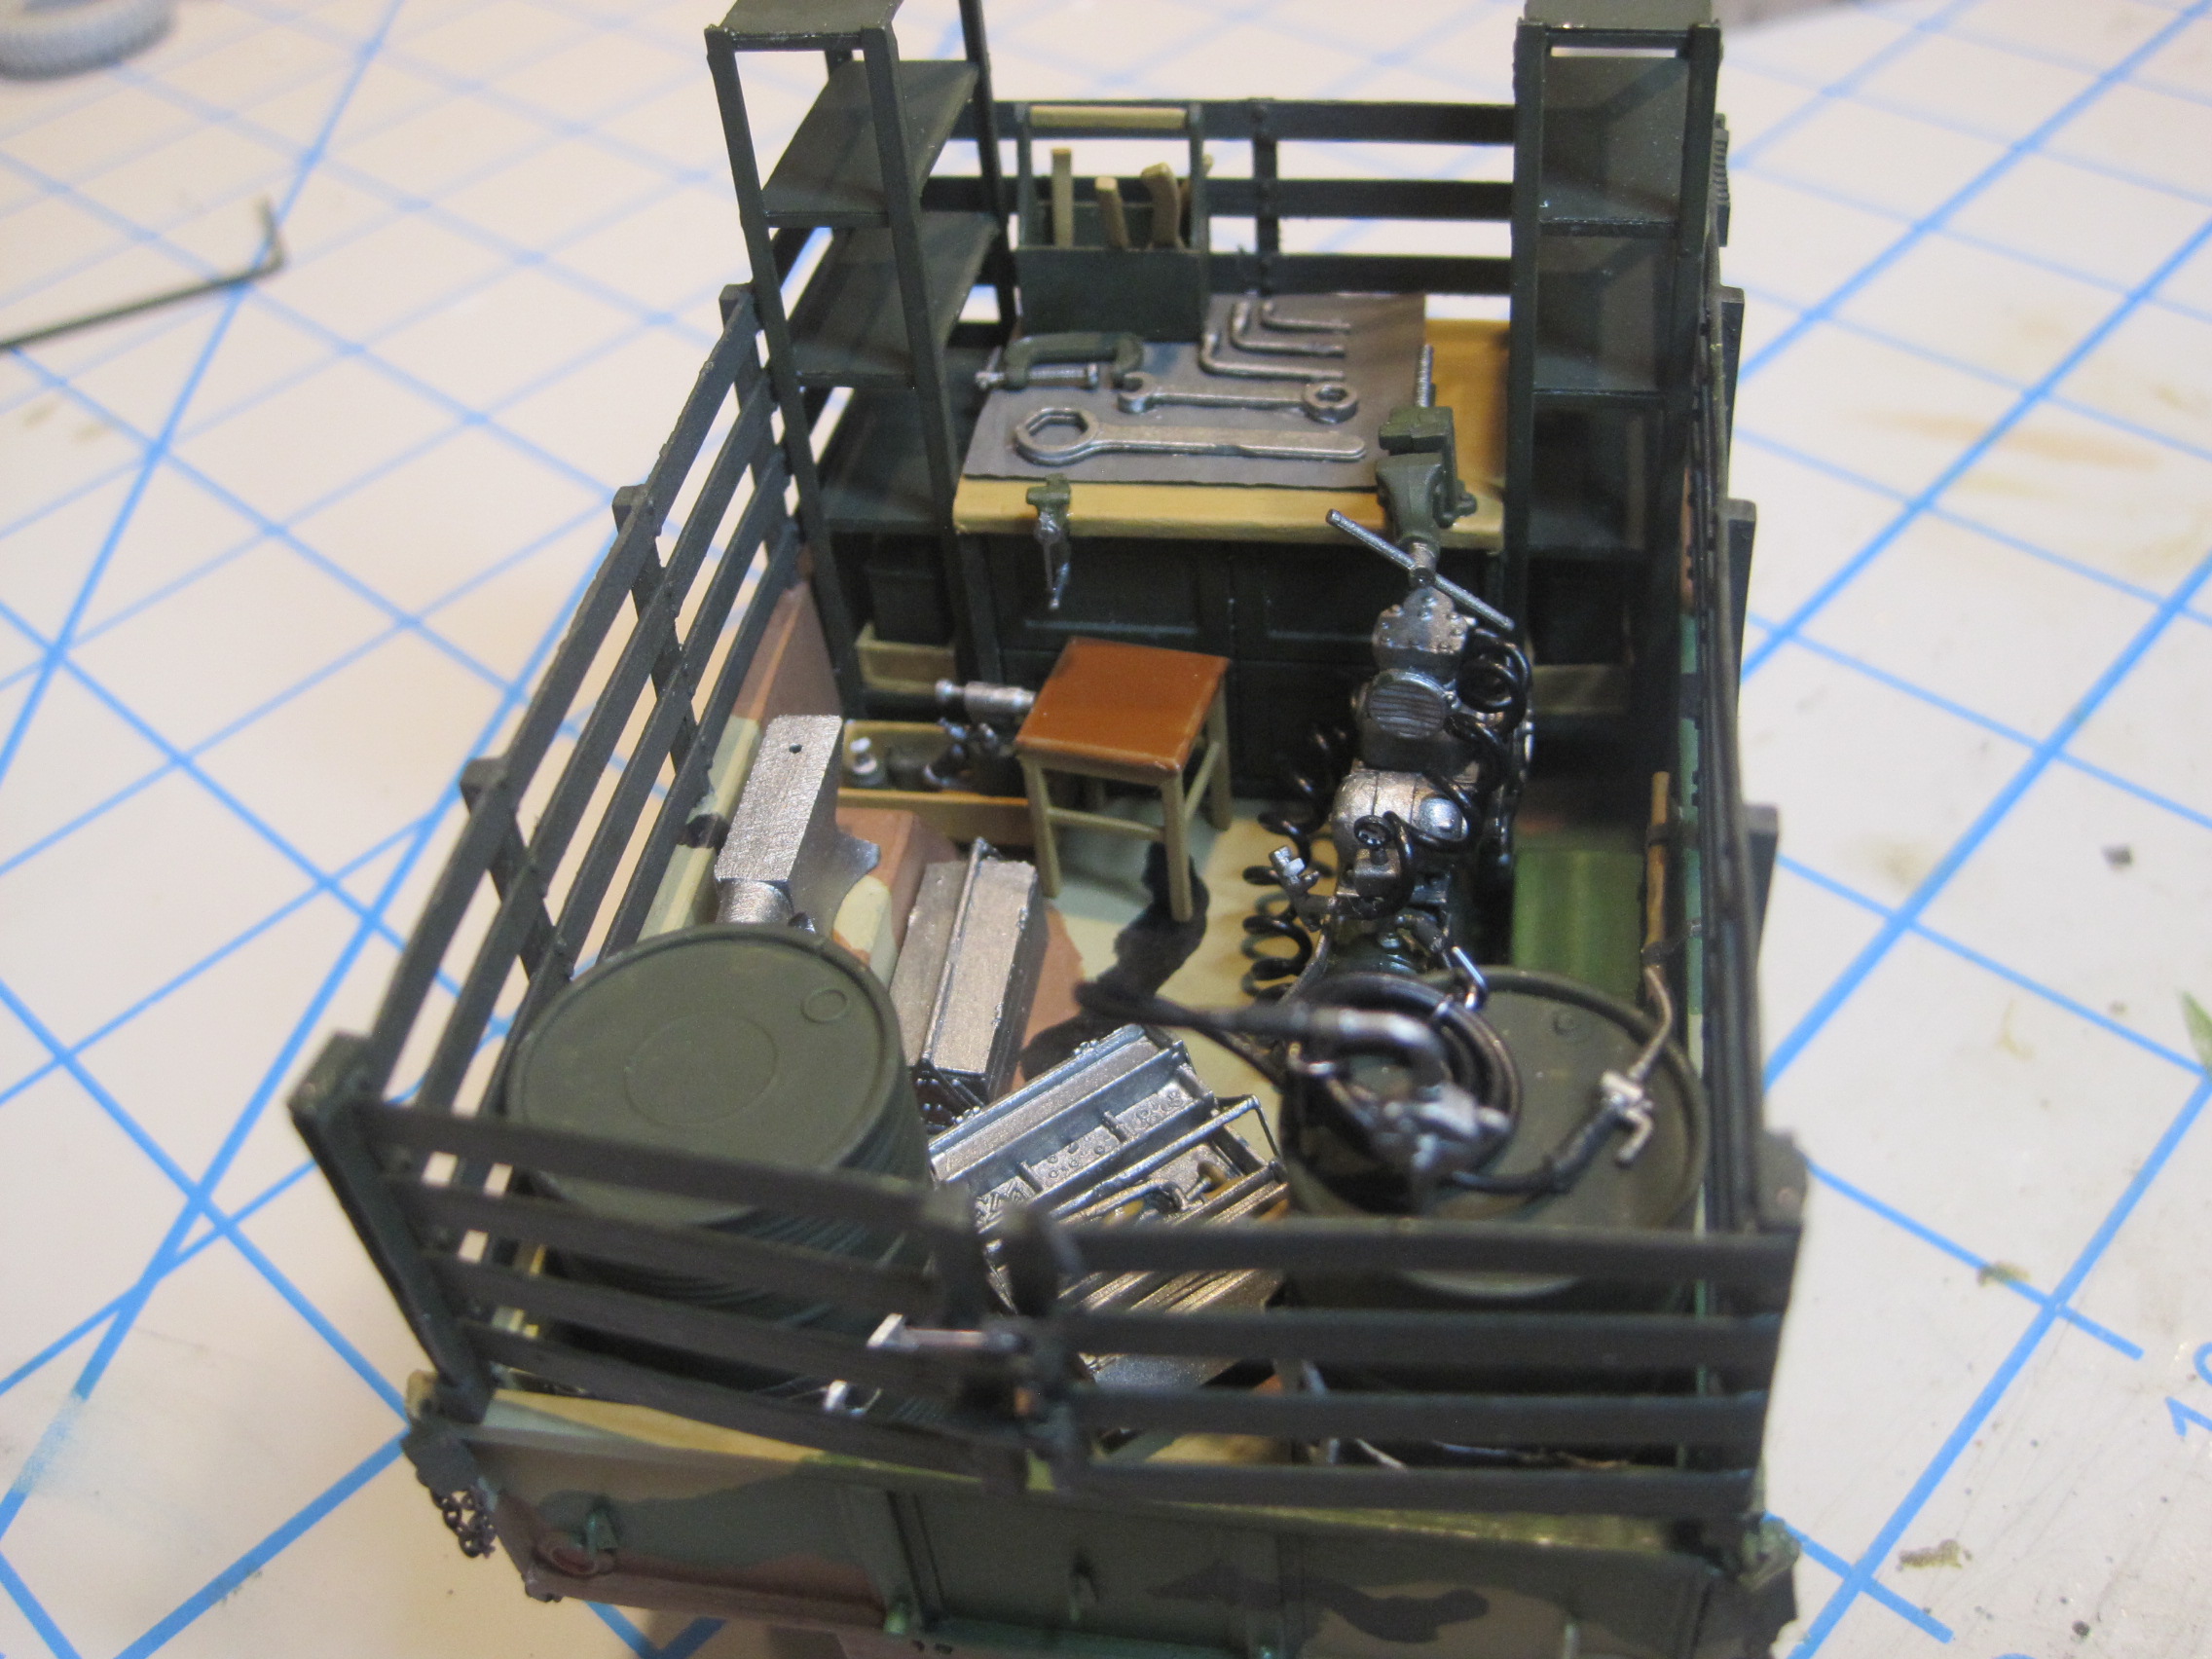
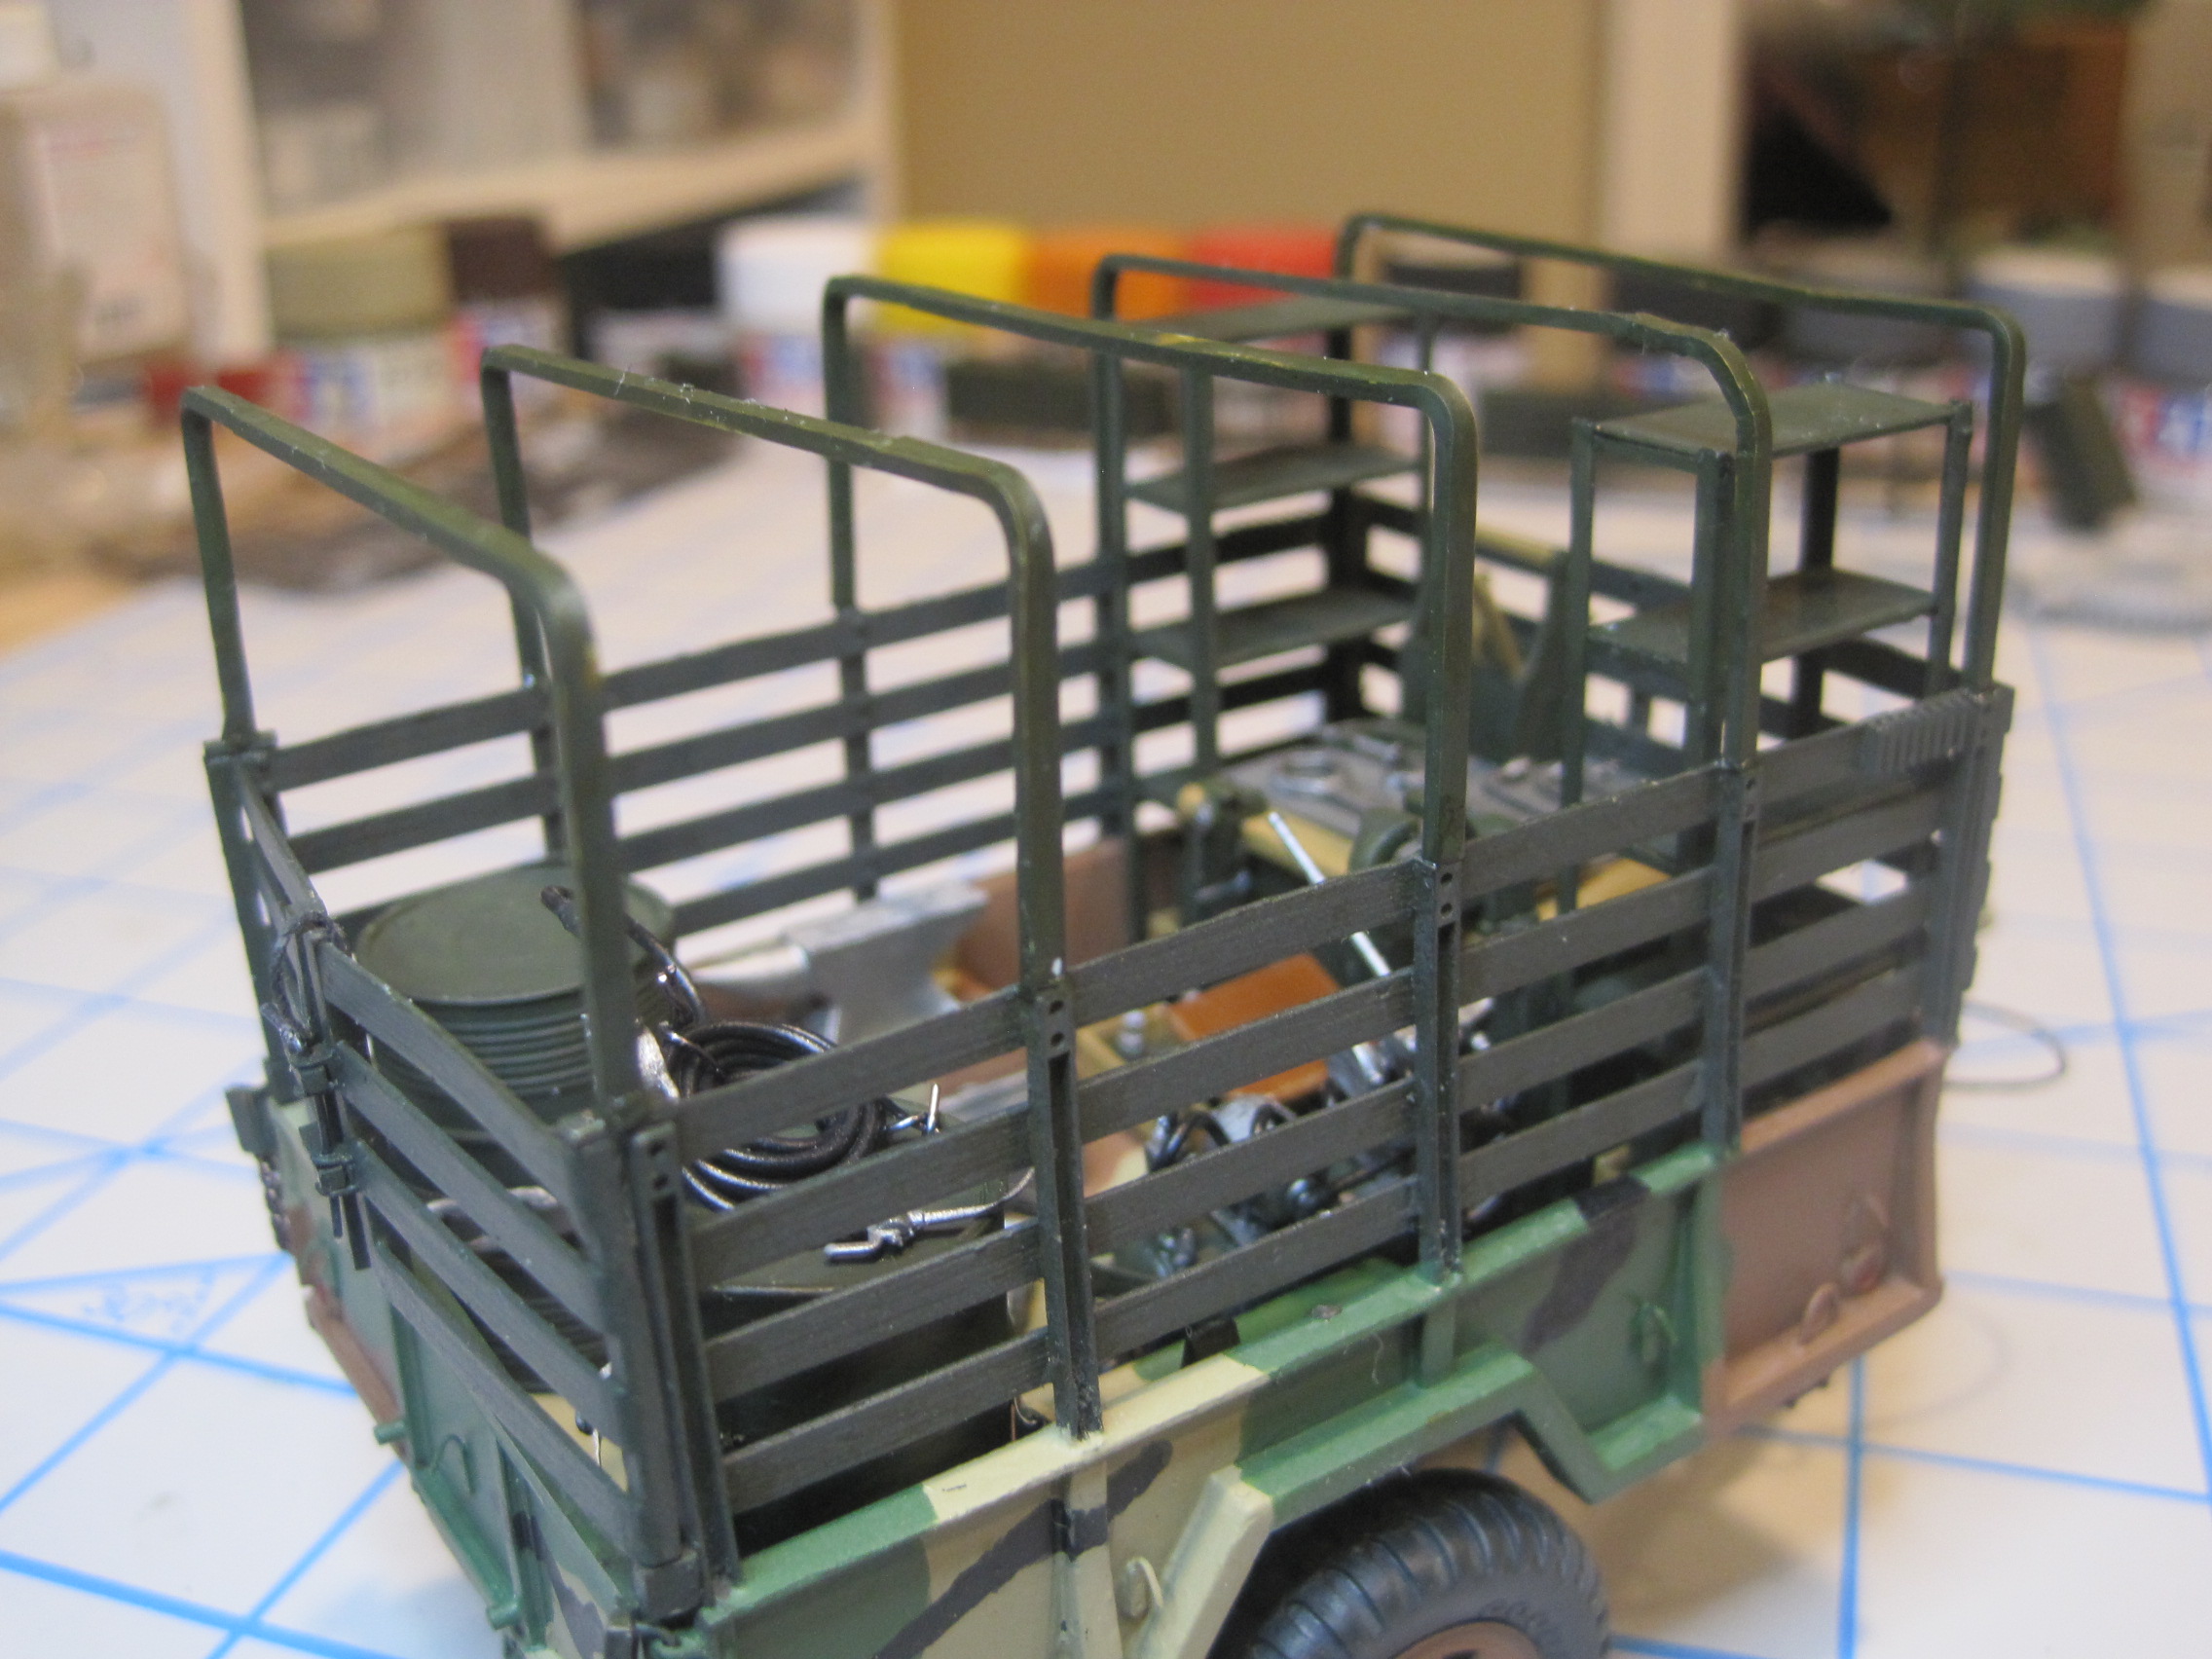
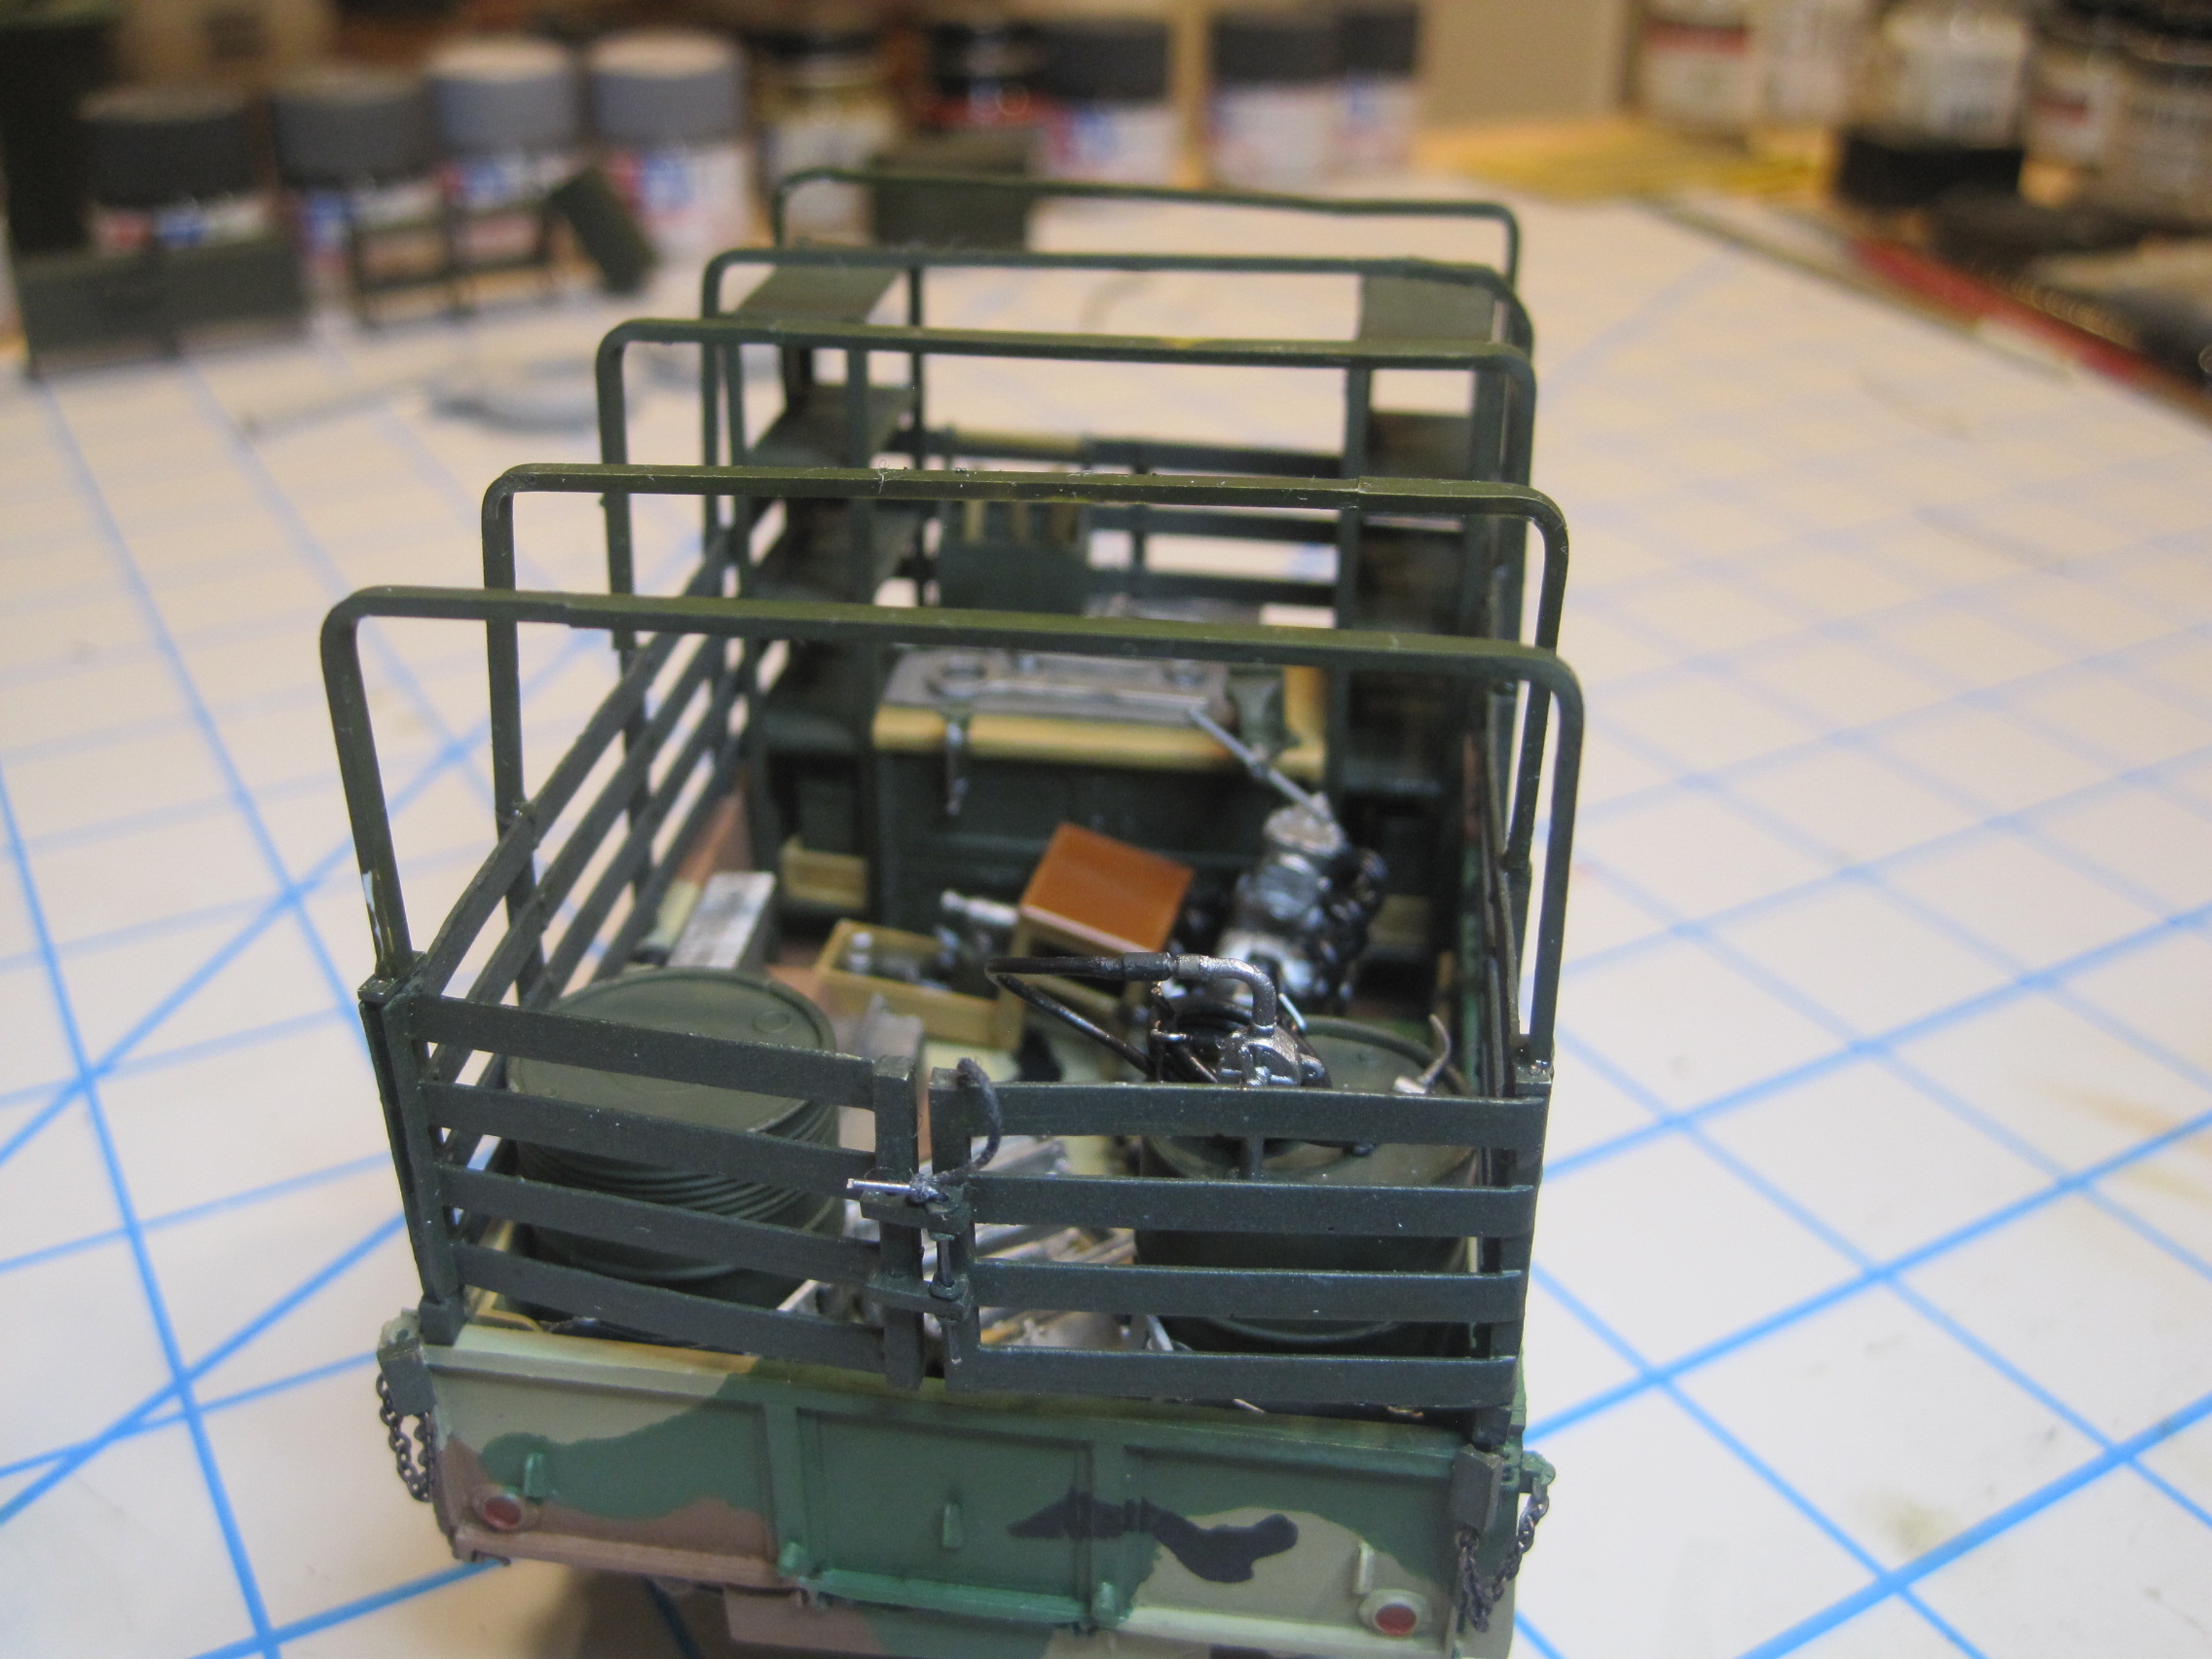
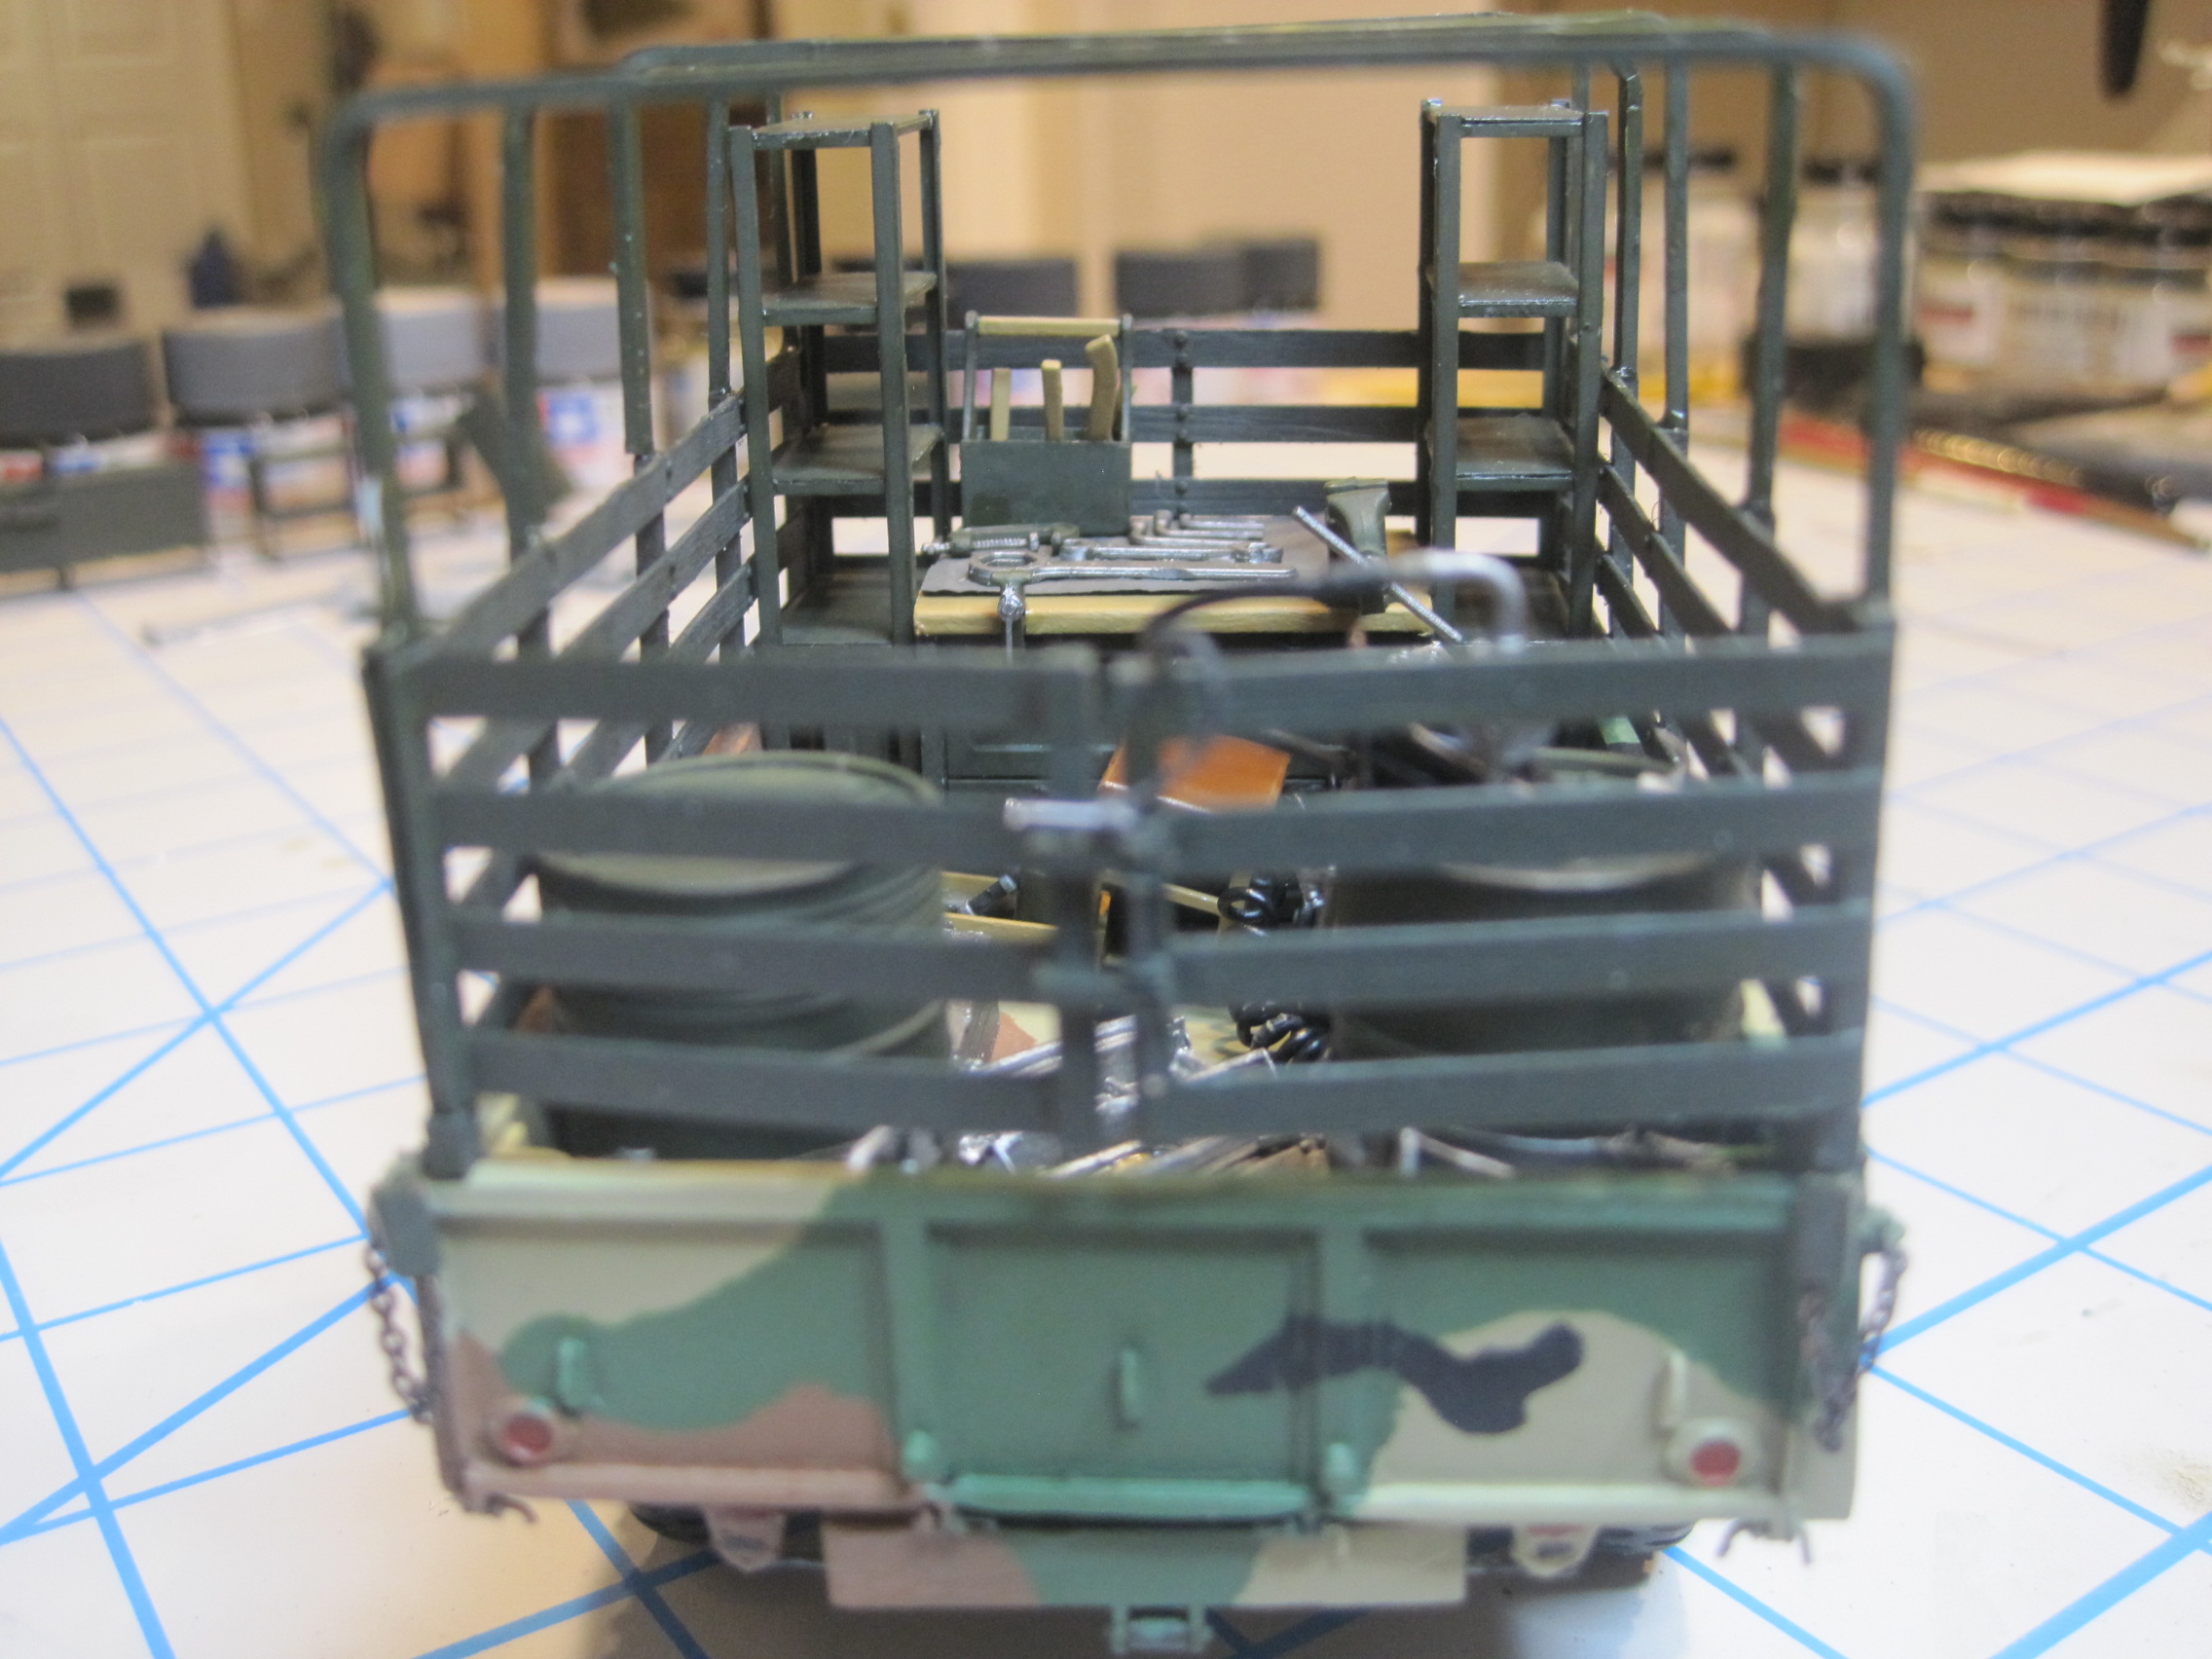
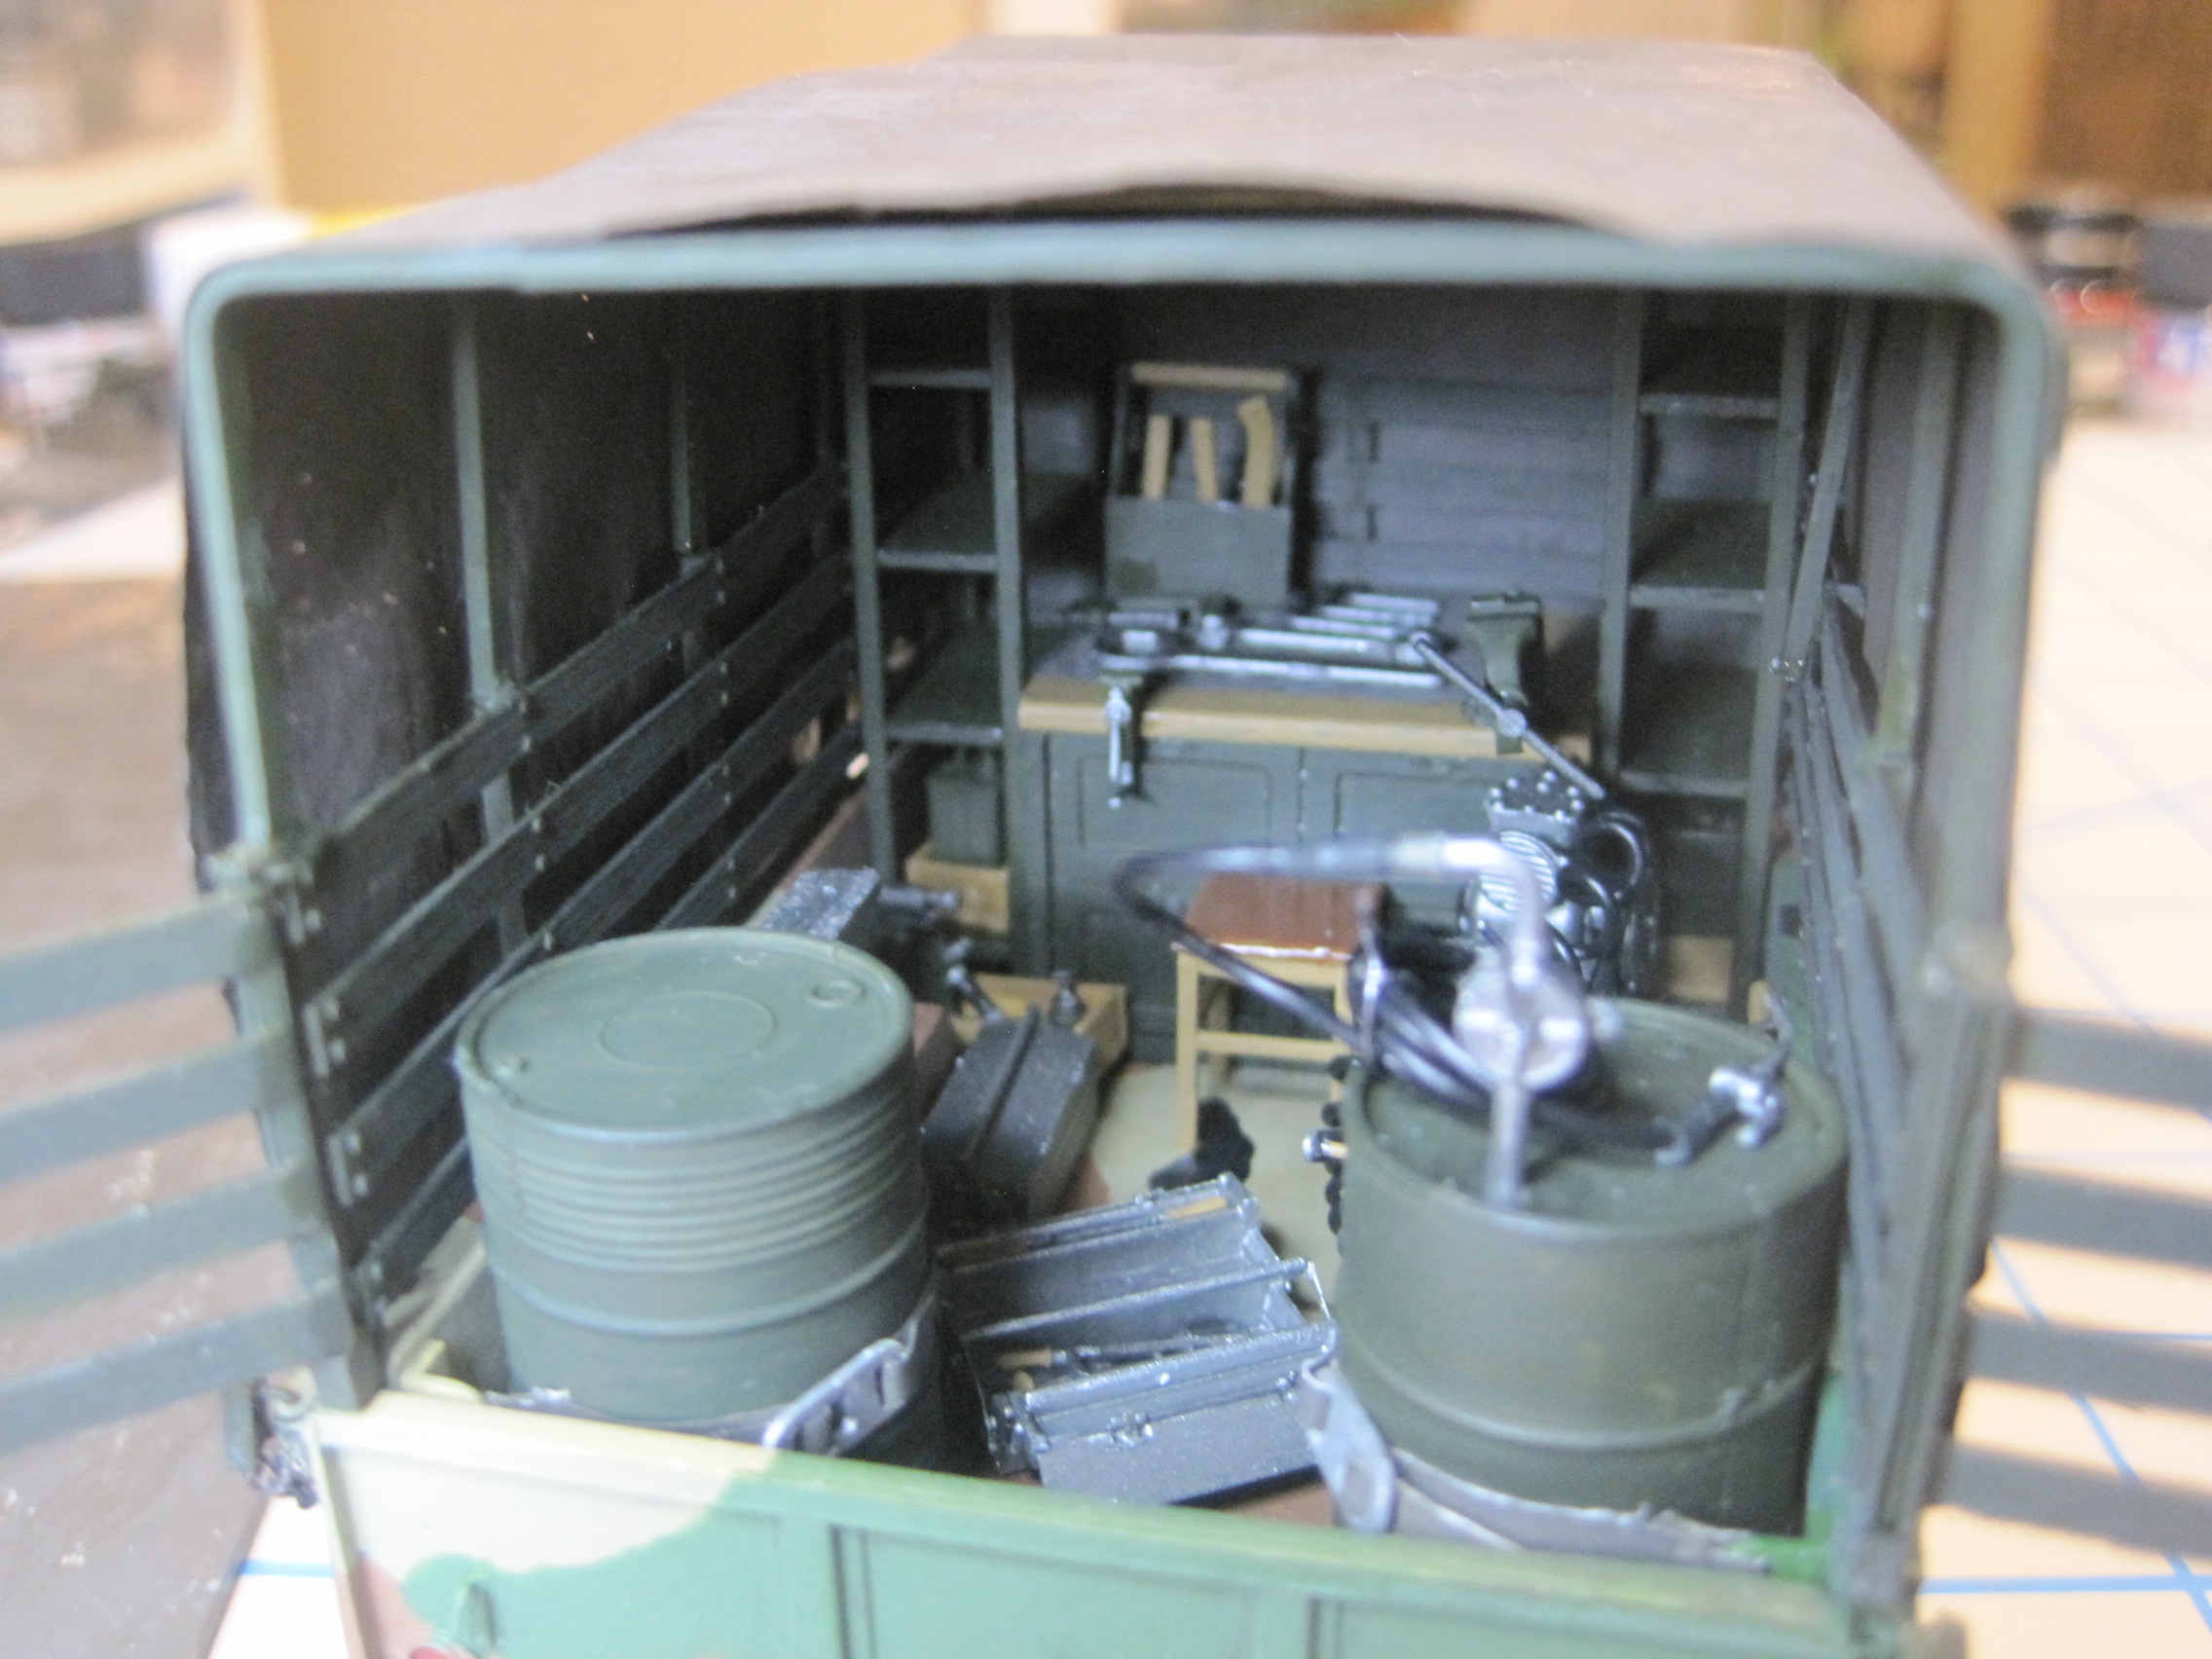
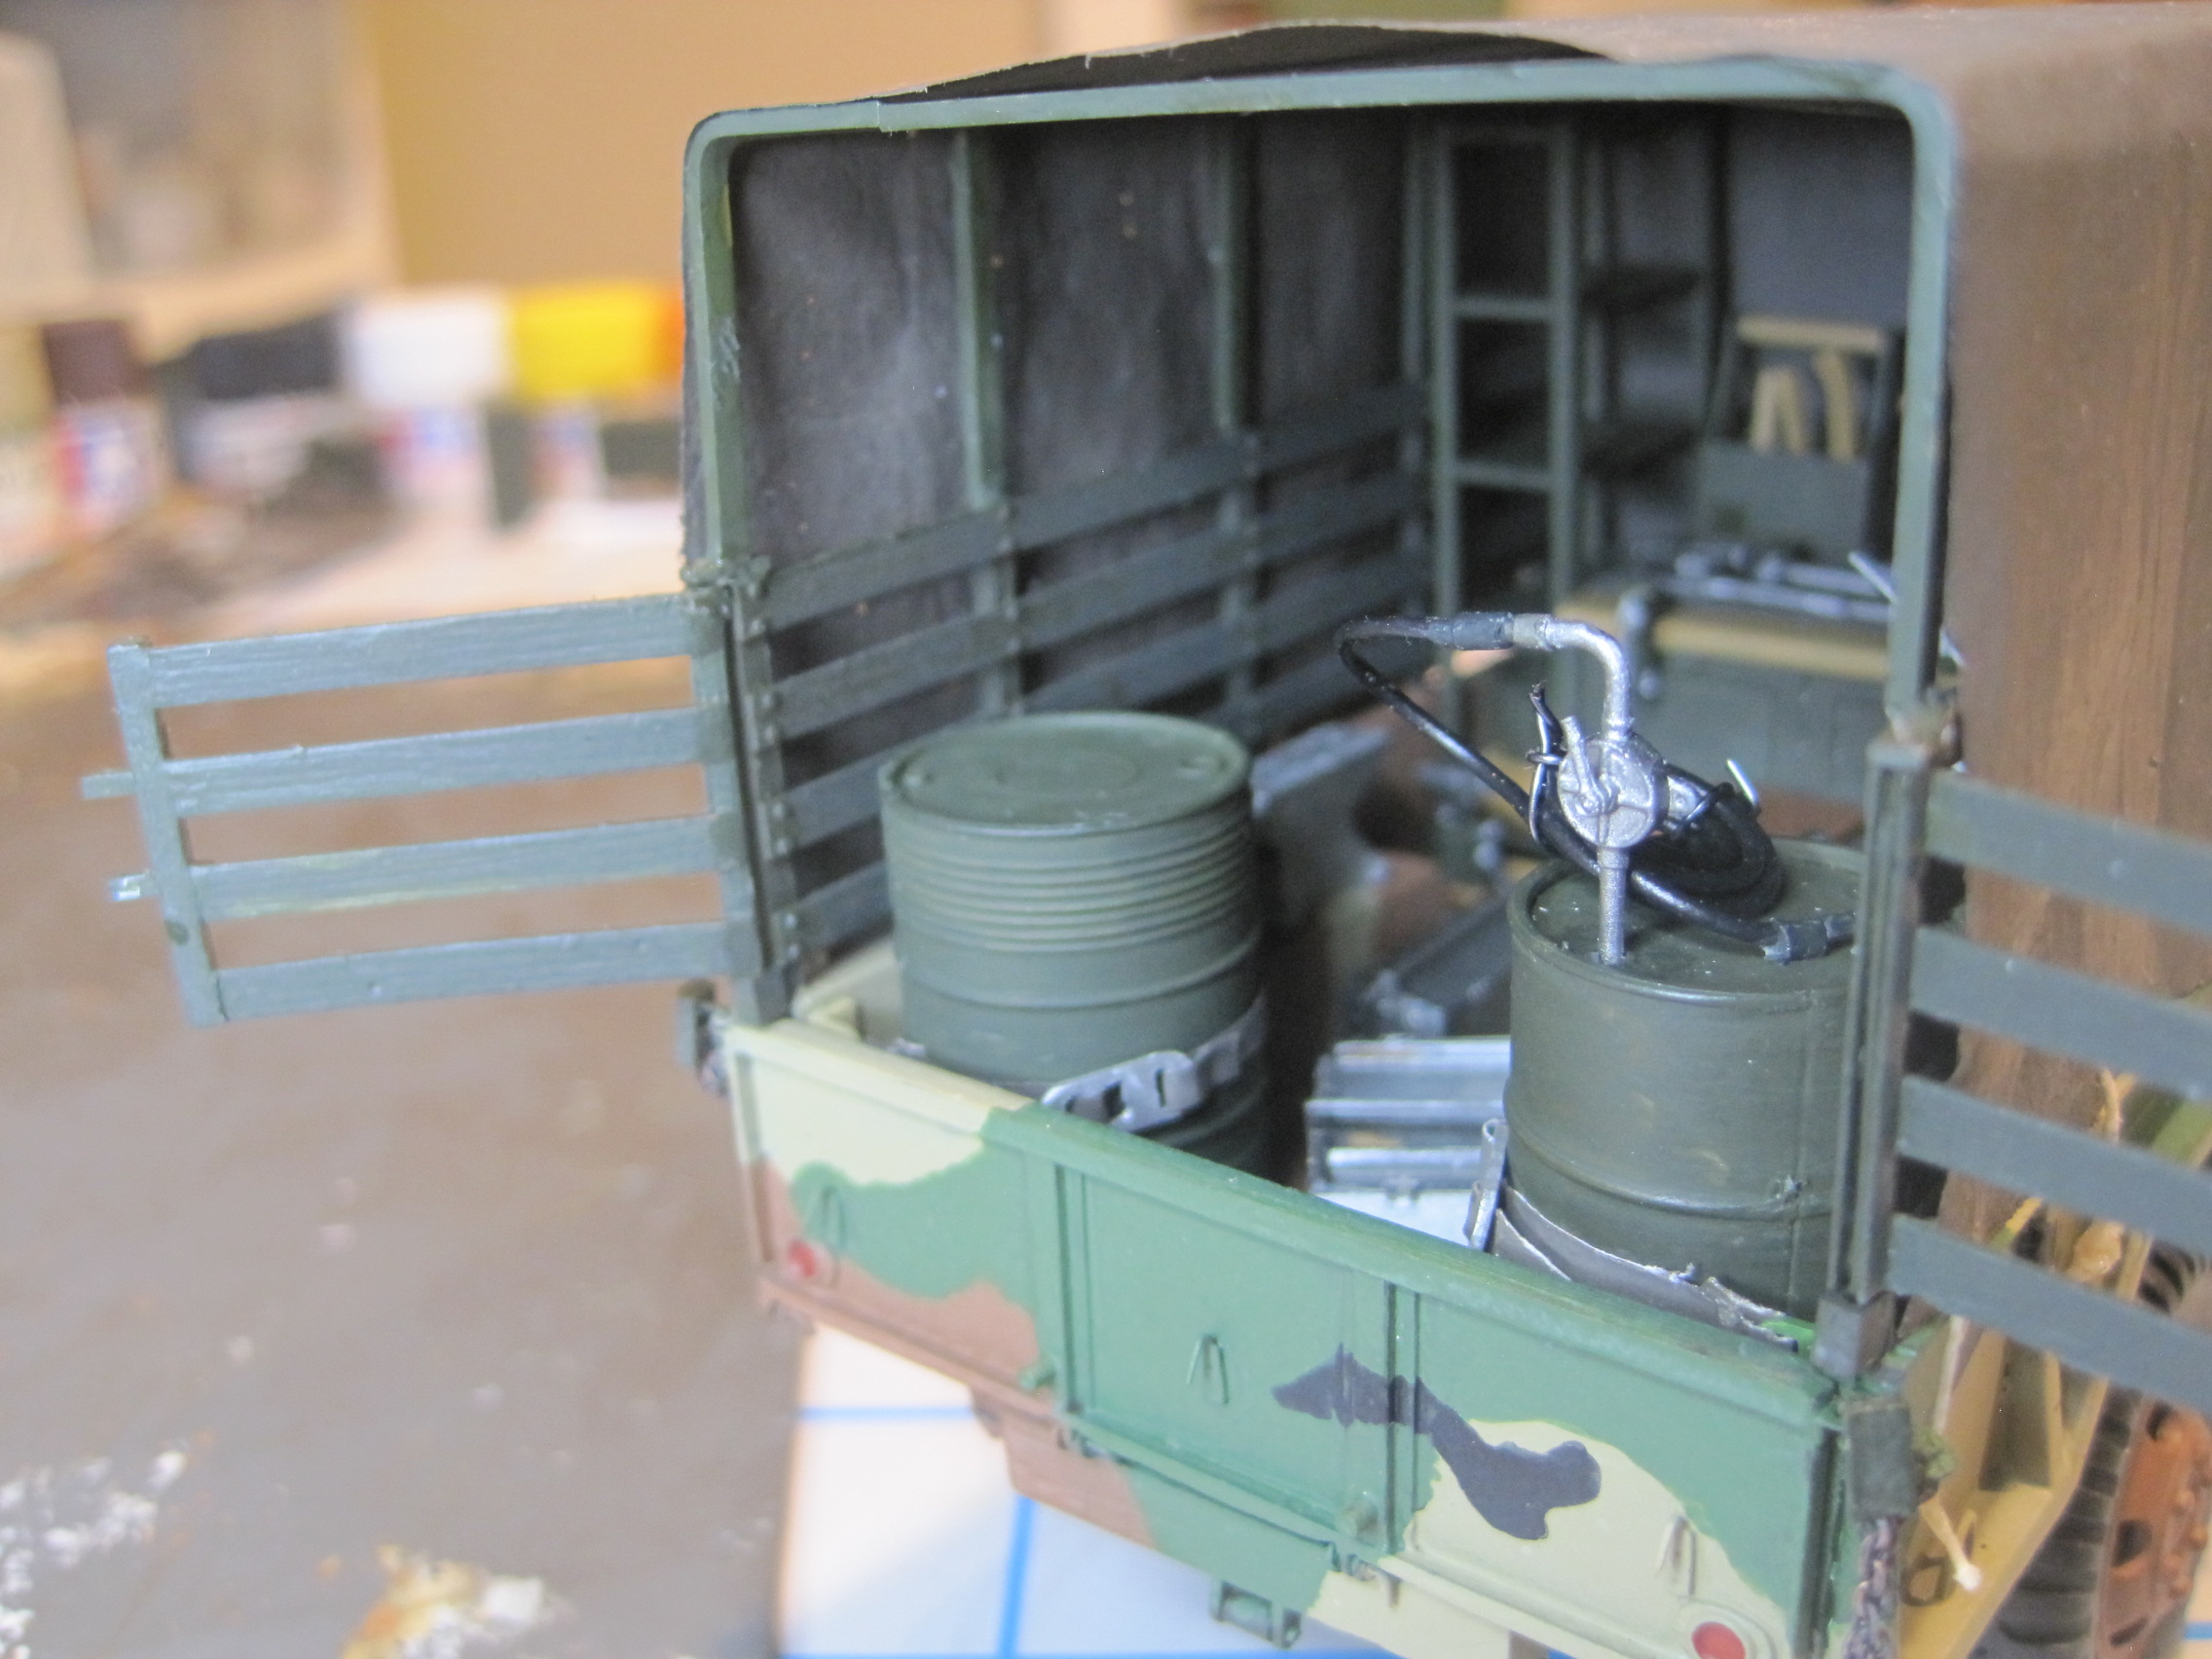
8 Likes
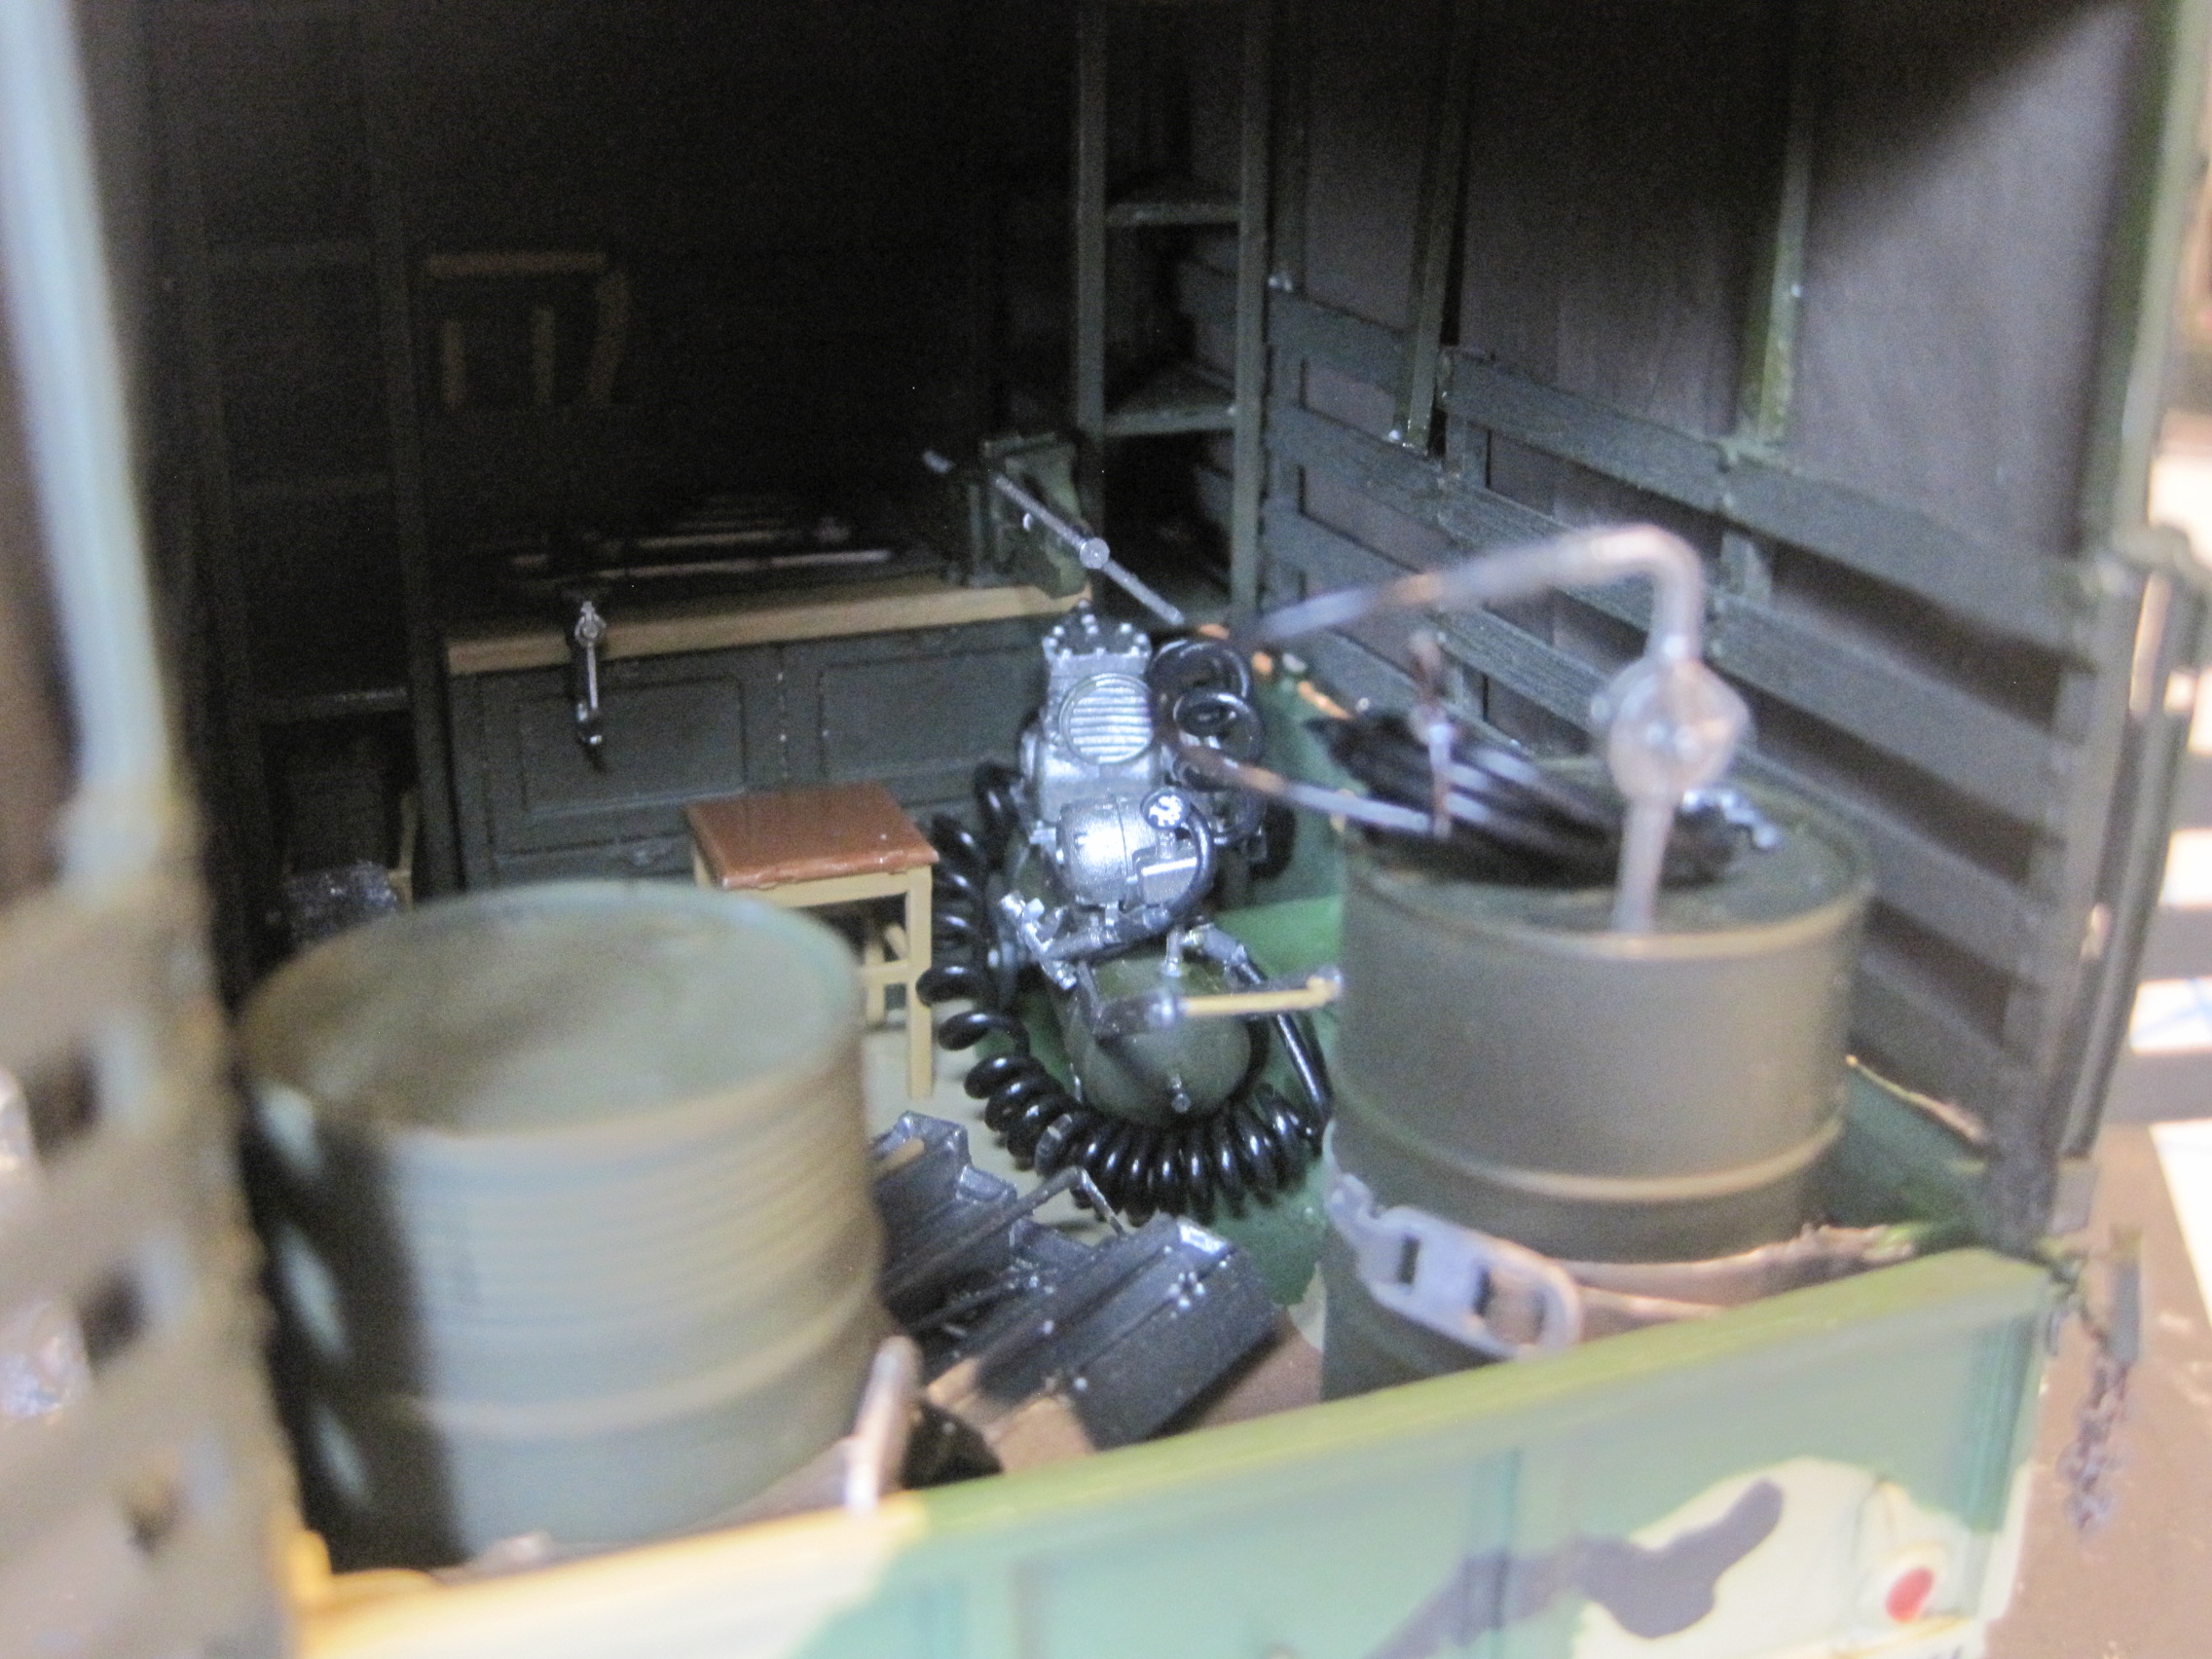
Very nice! What kind of paint did you use for the white metal?
Most of the items were painted with Tamiya Flat Aluminum. A couple of the other things, like the hand tools I used the Tamiya Chrome Silver.
Cool stuff.