My guess is you are supposed to take them from the track link sprue. That’s how it is in the T-54 kit (sprue HG). HF is probably the track sprue on another kit and they forgot to change the number
My update.
I painted up the ammo boxes and magazines, doing what believe would be somewhat correct. I’ve tried for a week to keep it neat, but i am just not steady enough, and a lot of my small pointed brushes are old and beat.
I’m hoping all is square.
6 Likes
Looks pretty good from my view Petro. Pin wash around the details usually fixes small paint bleeds.
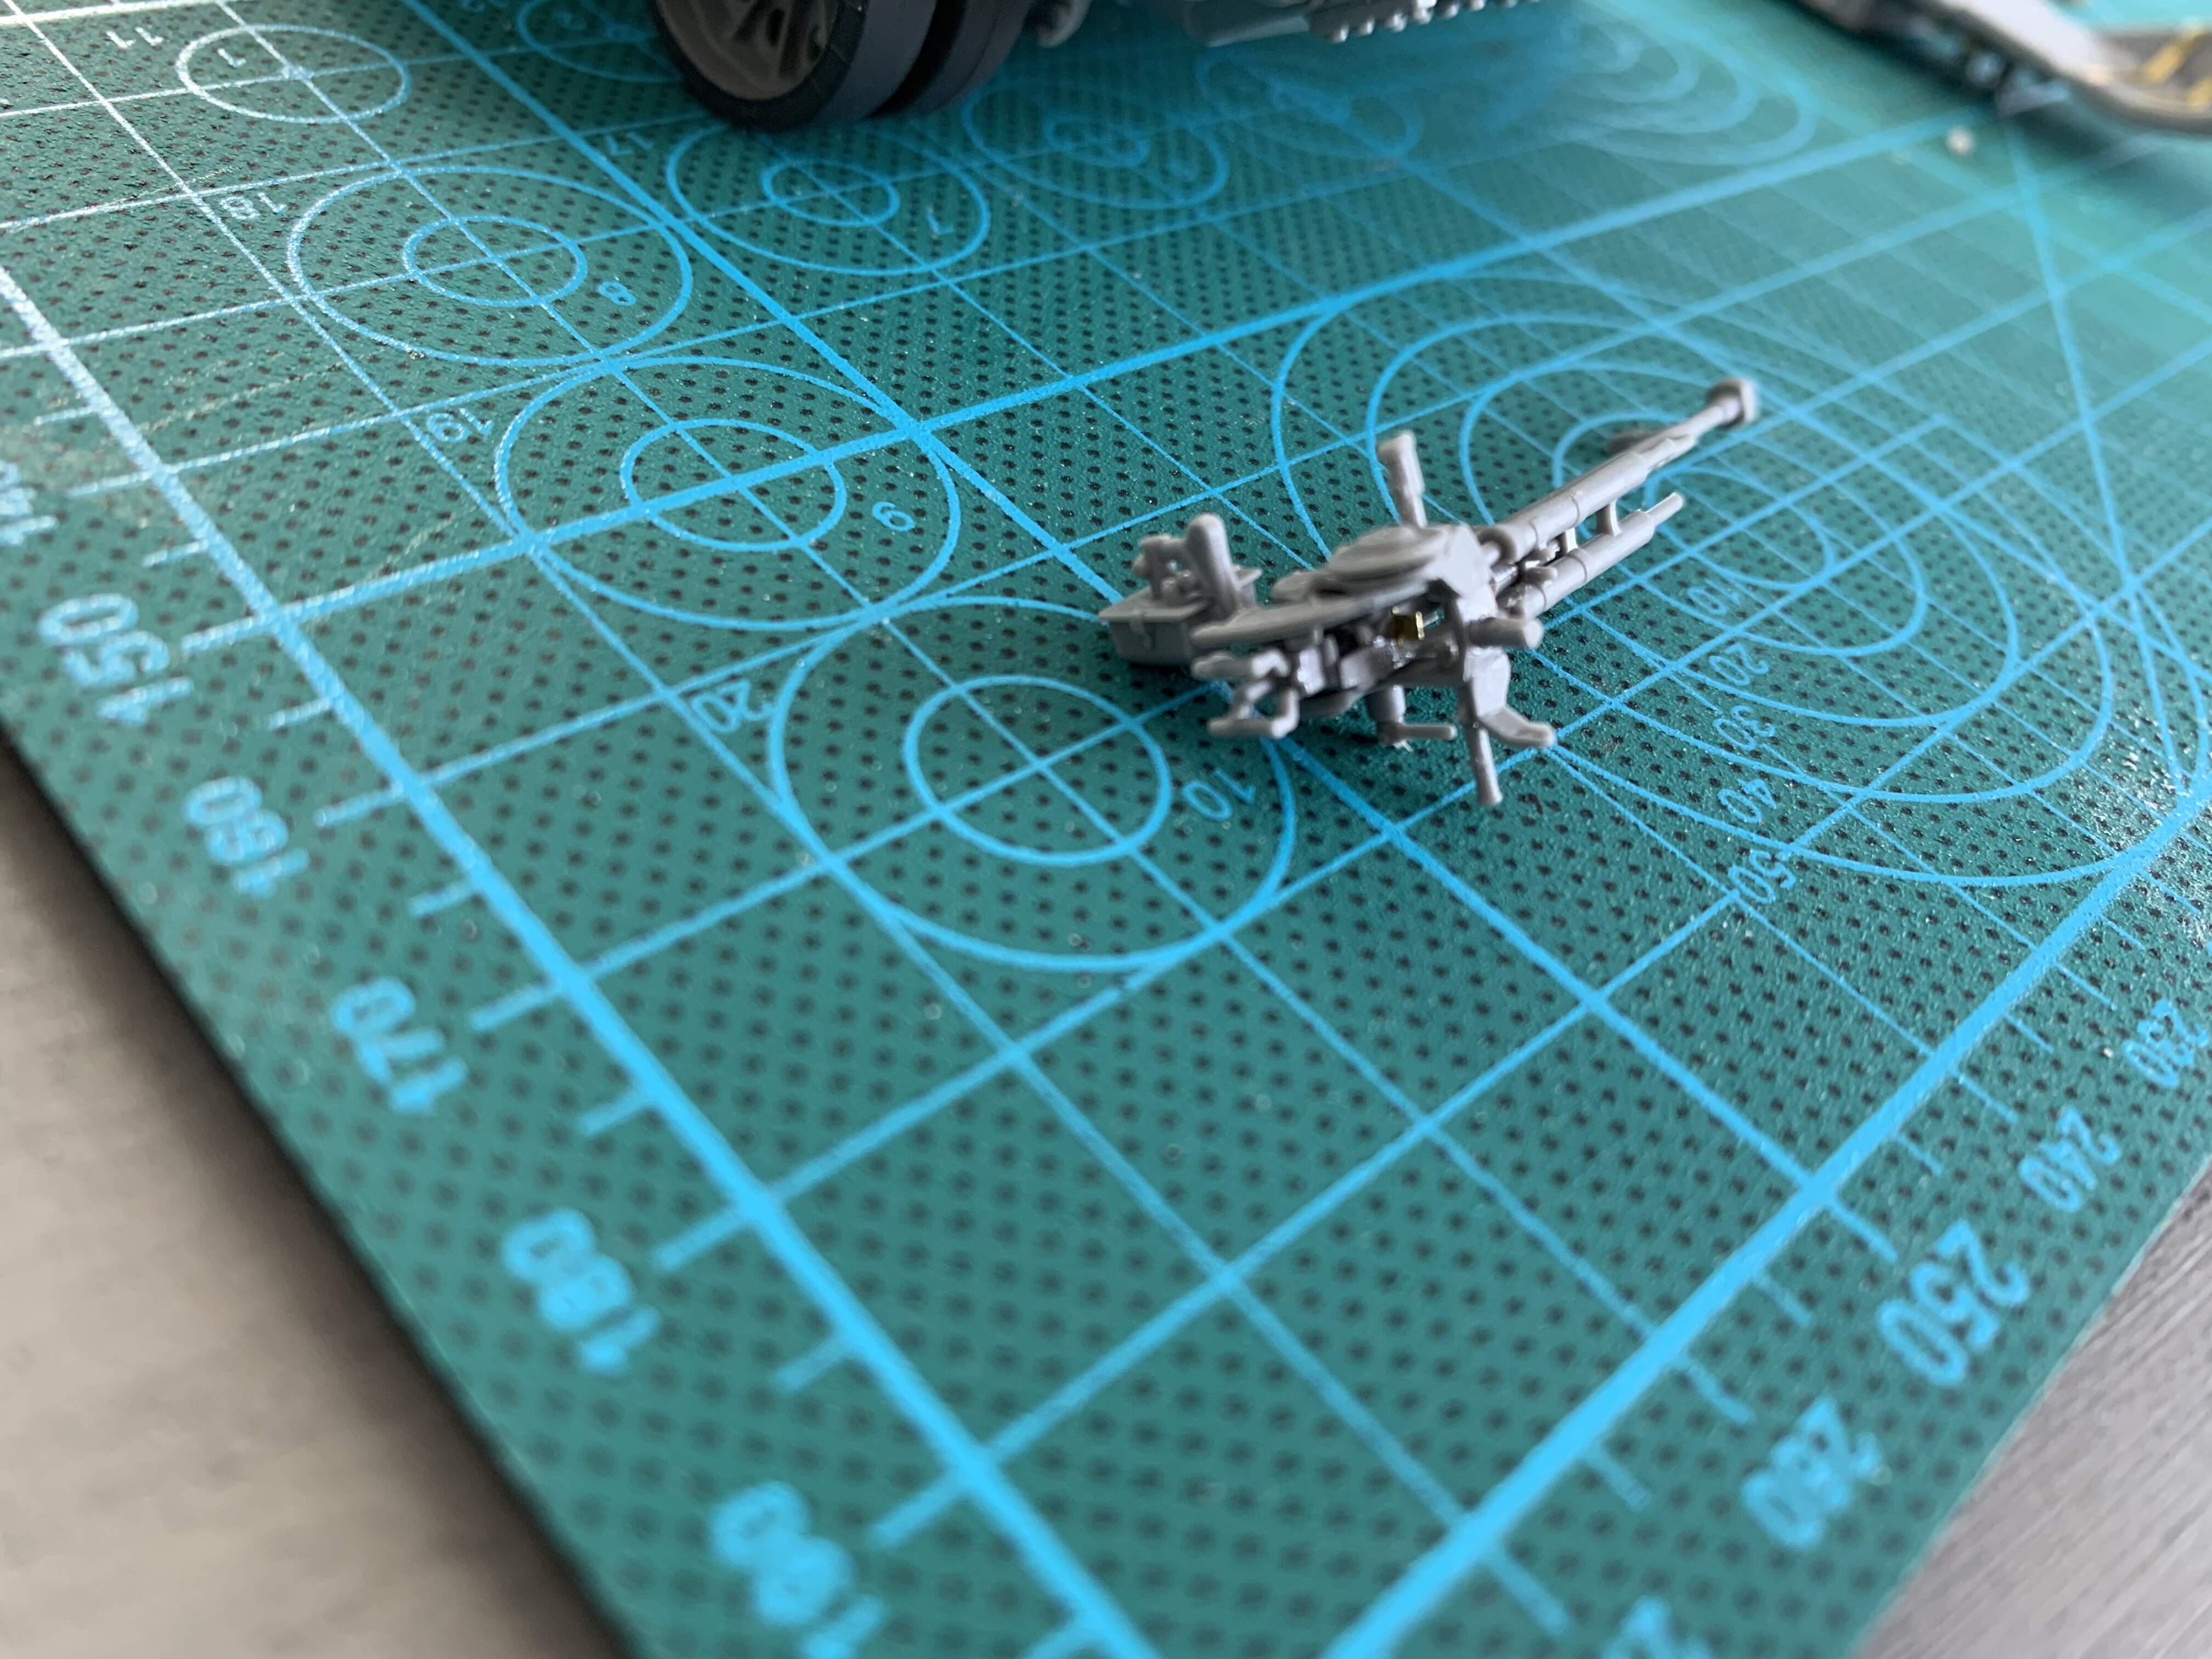
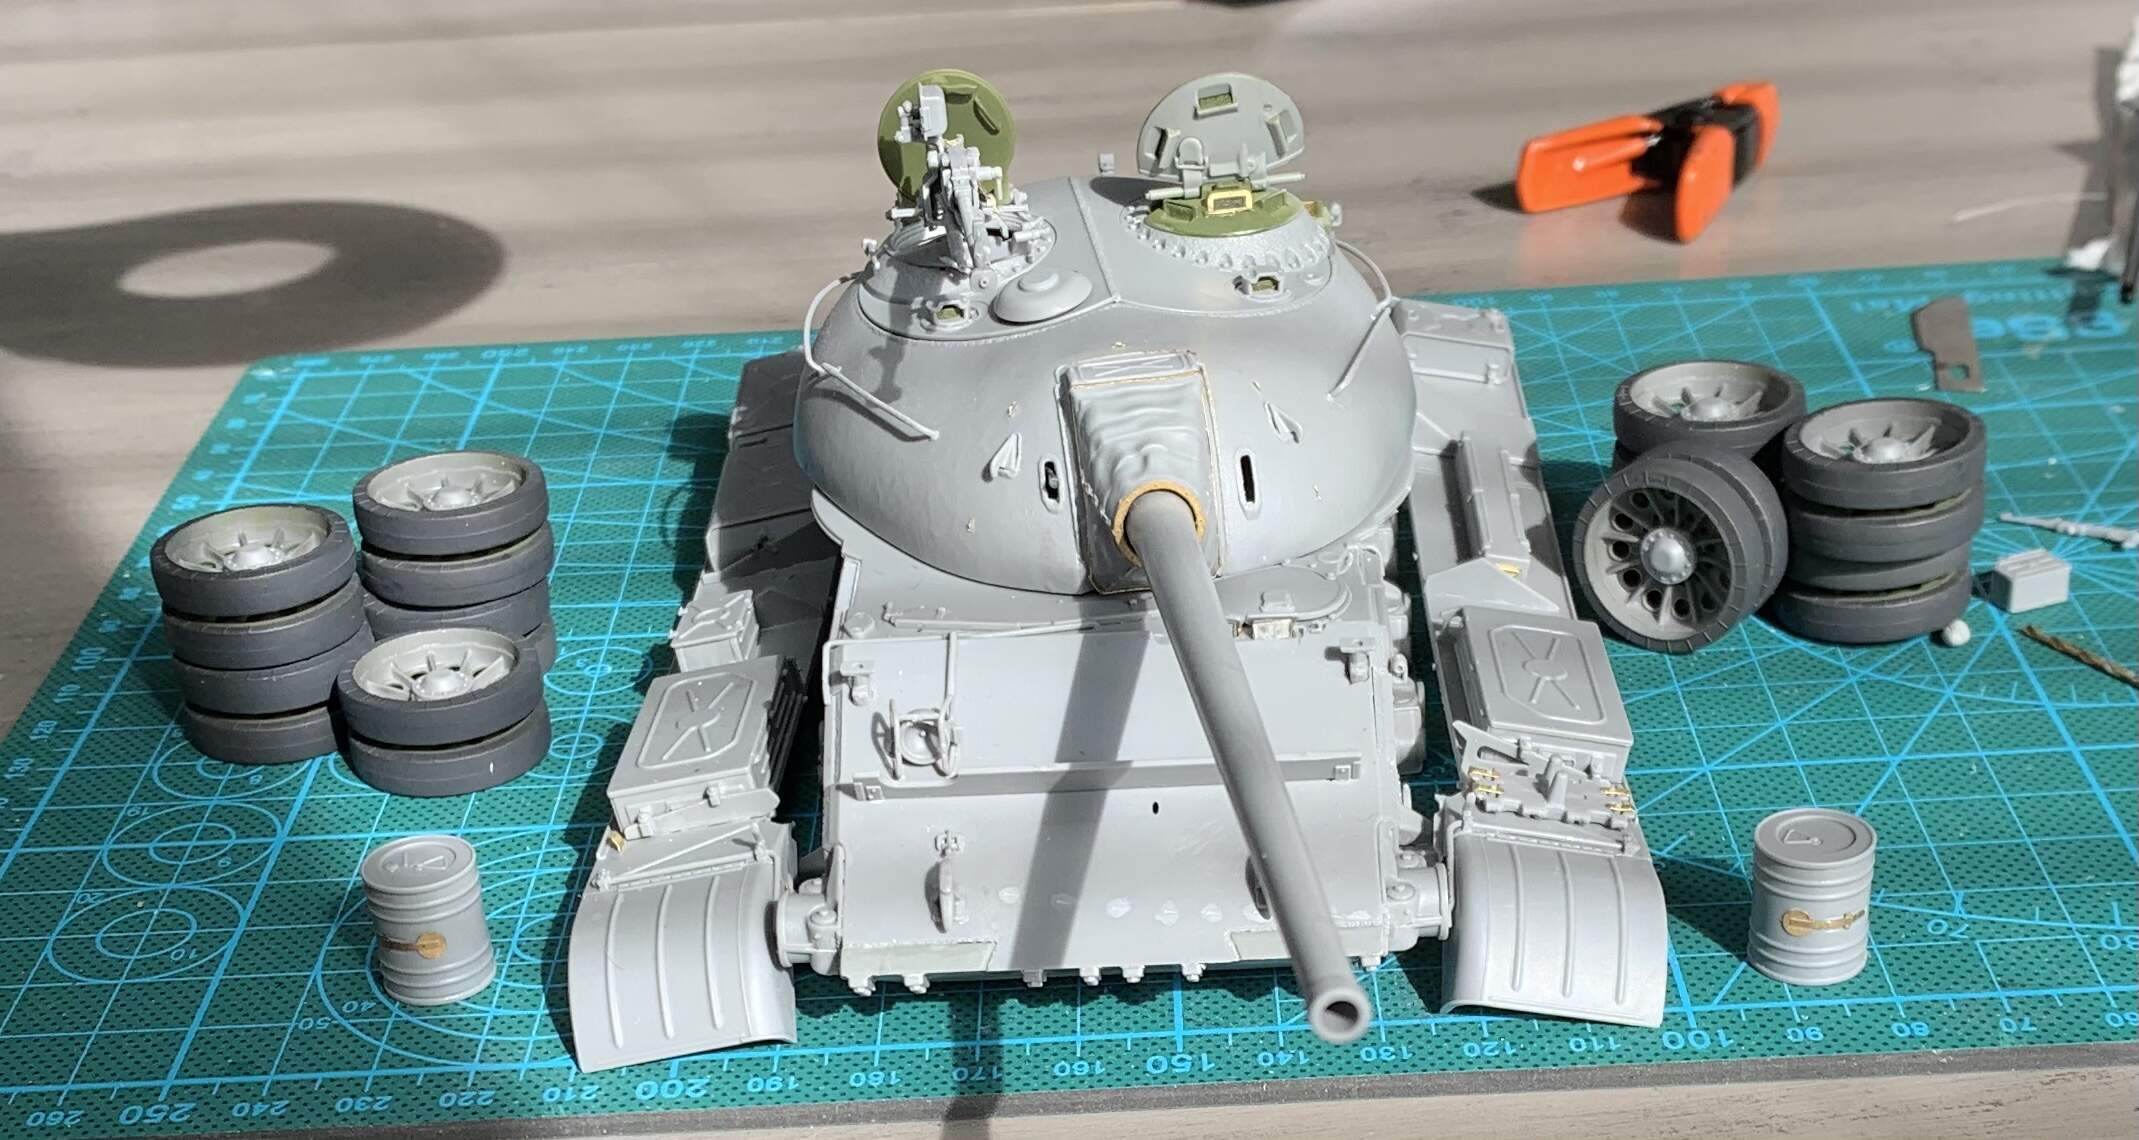
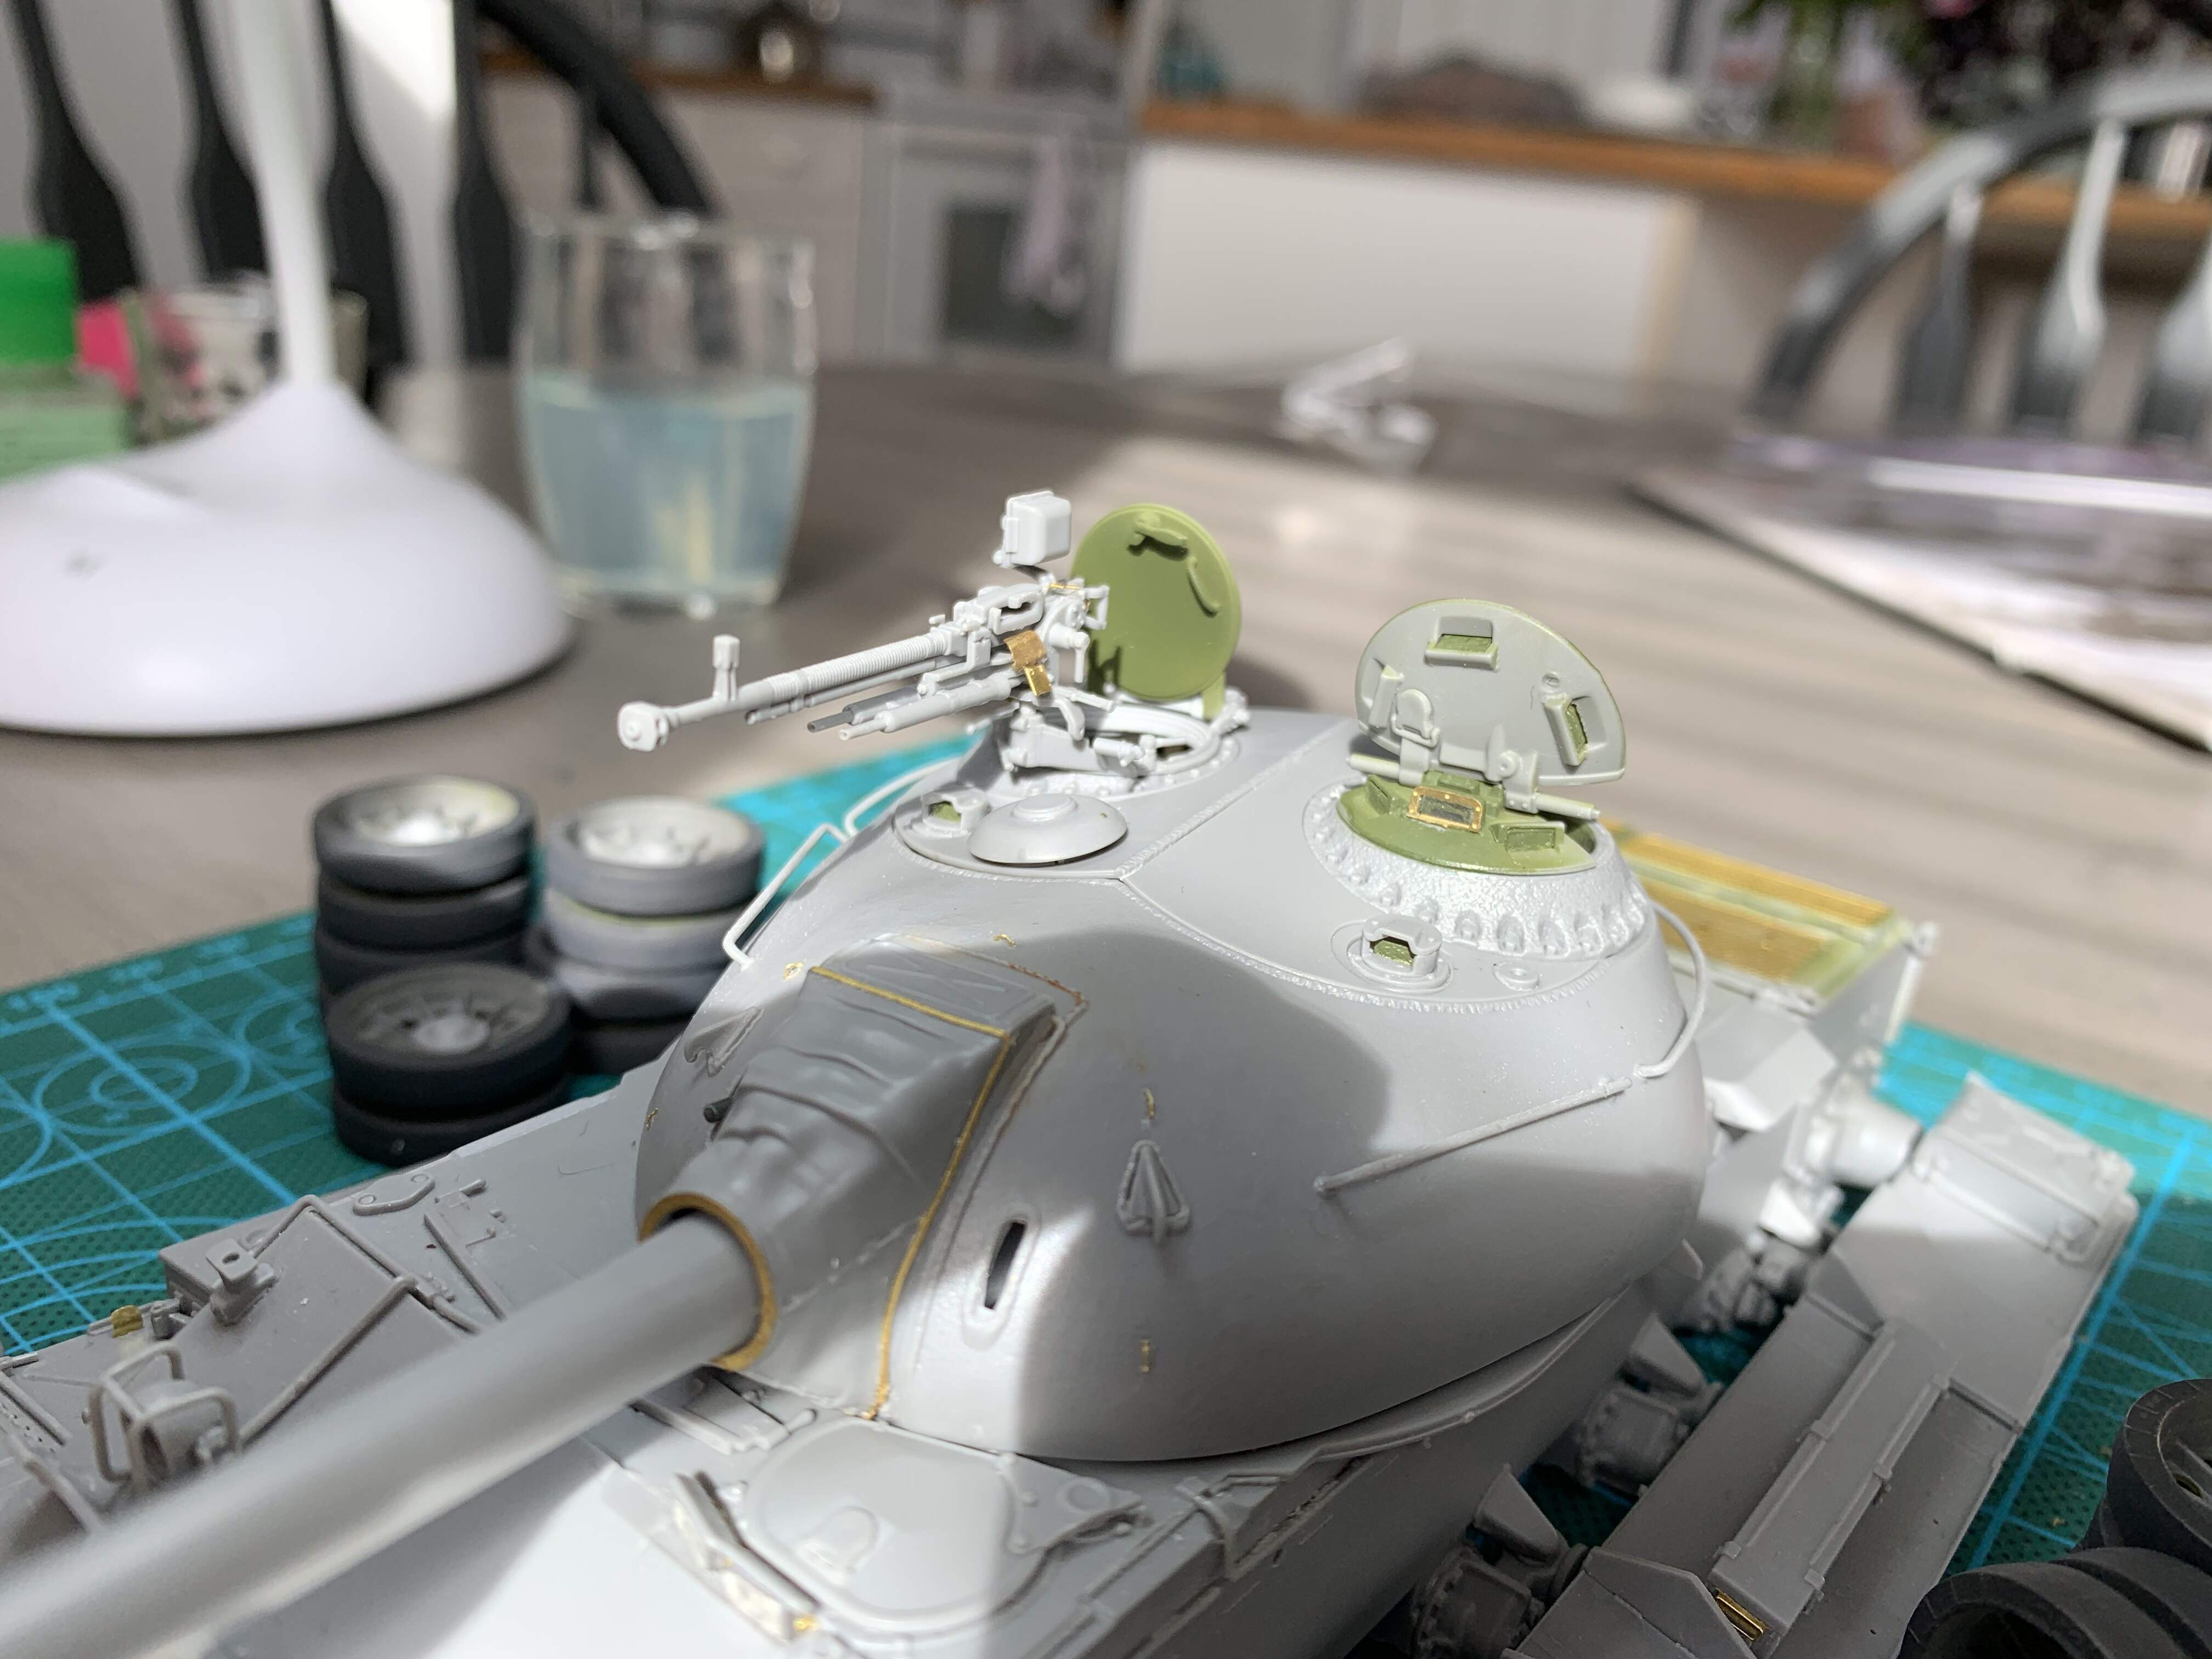
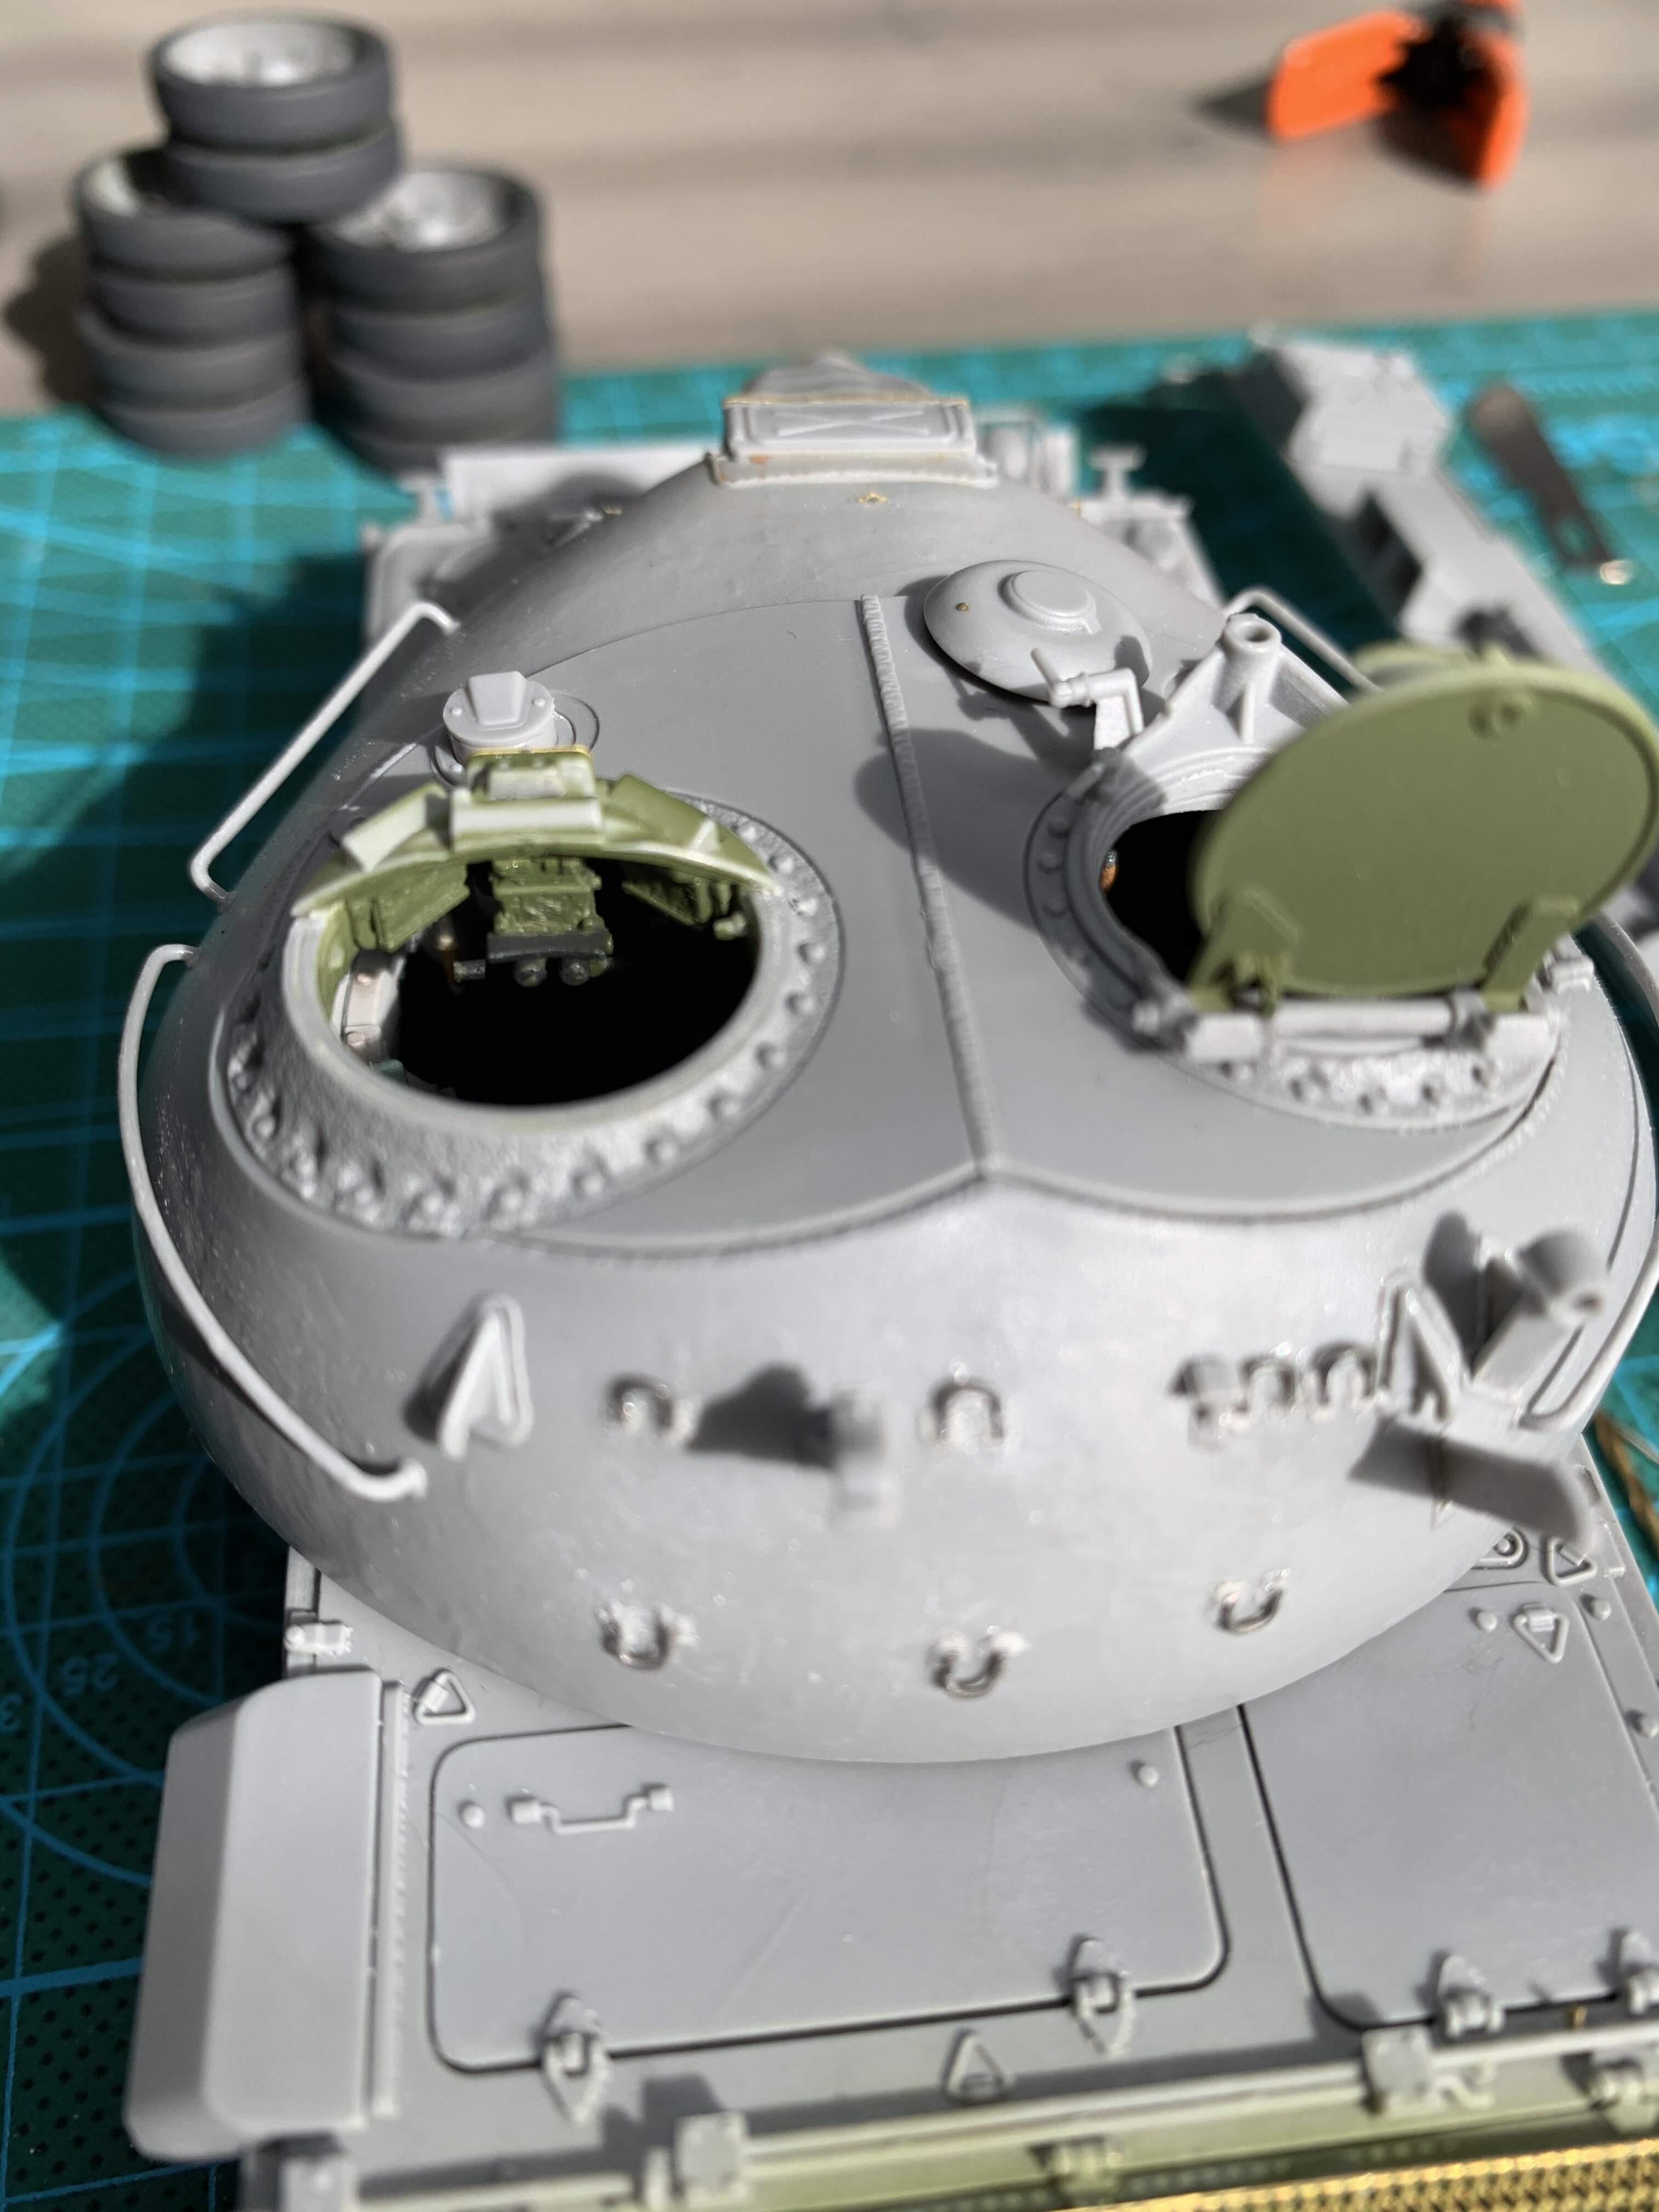
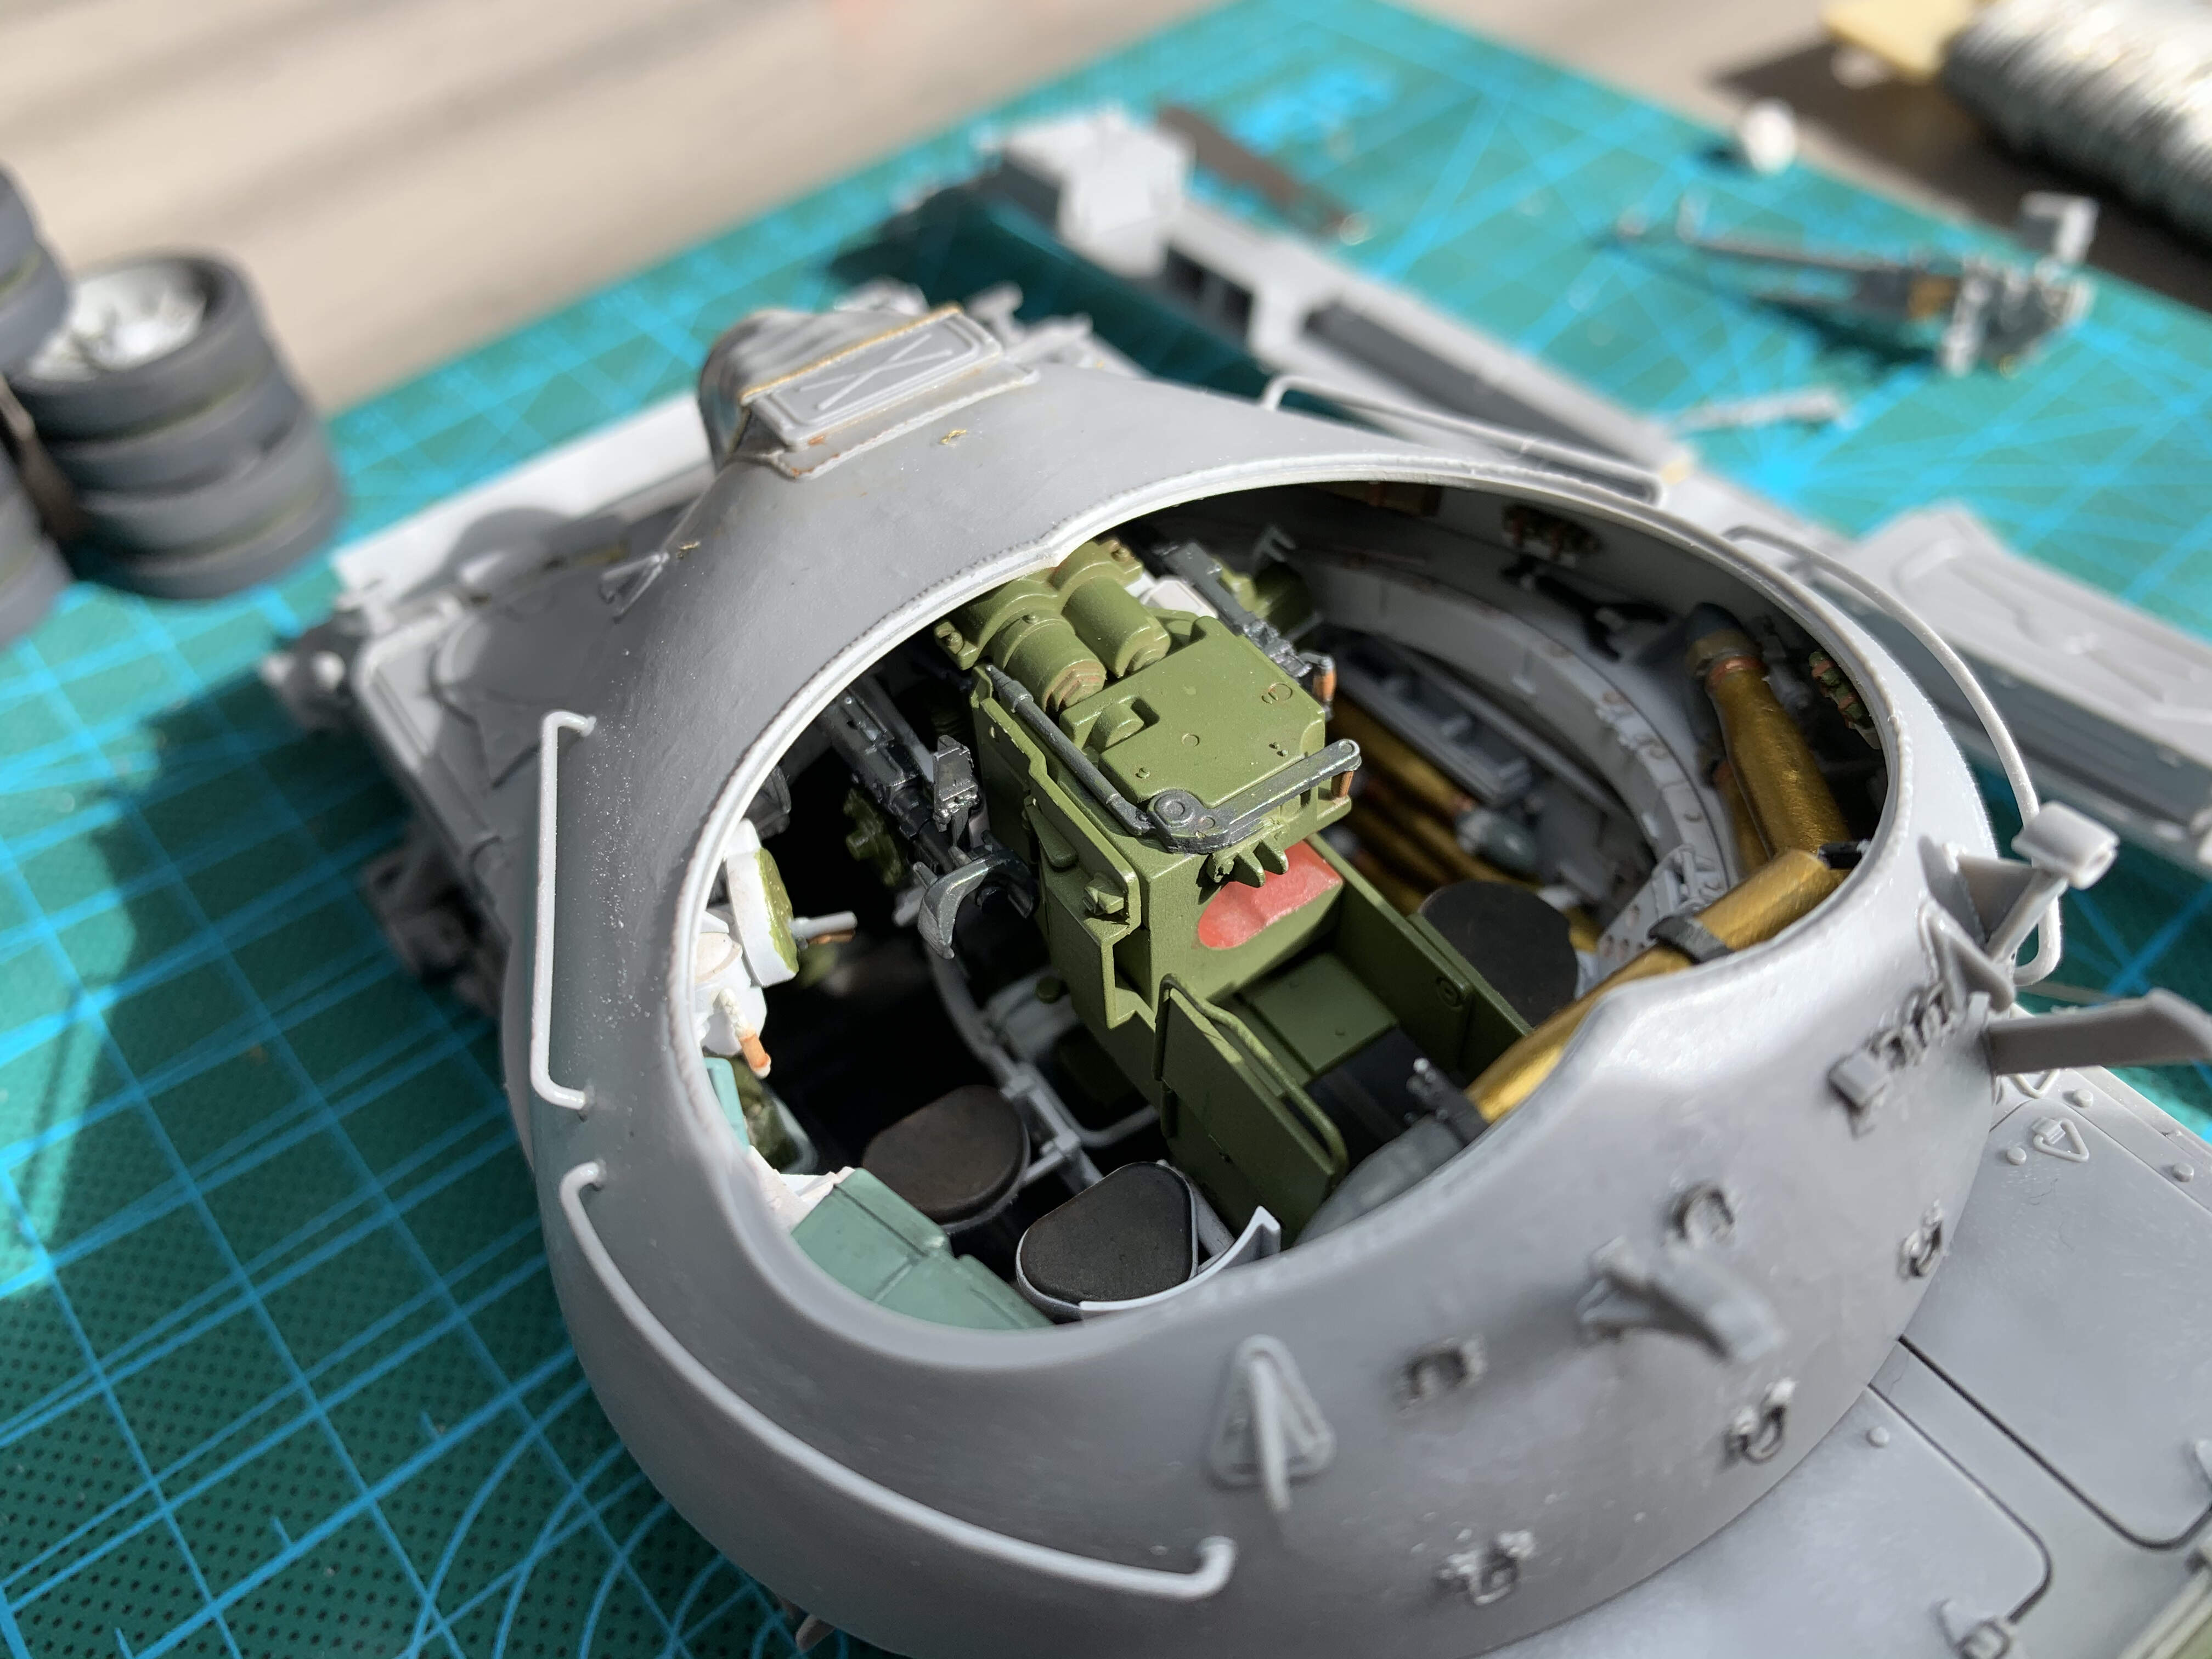
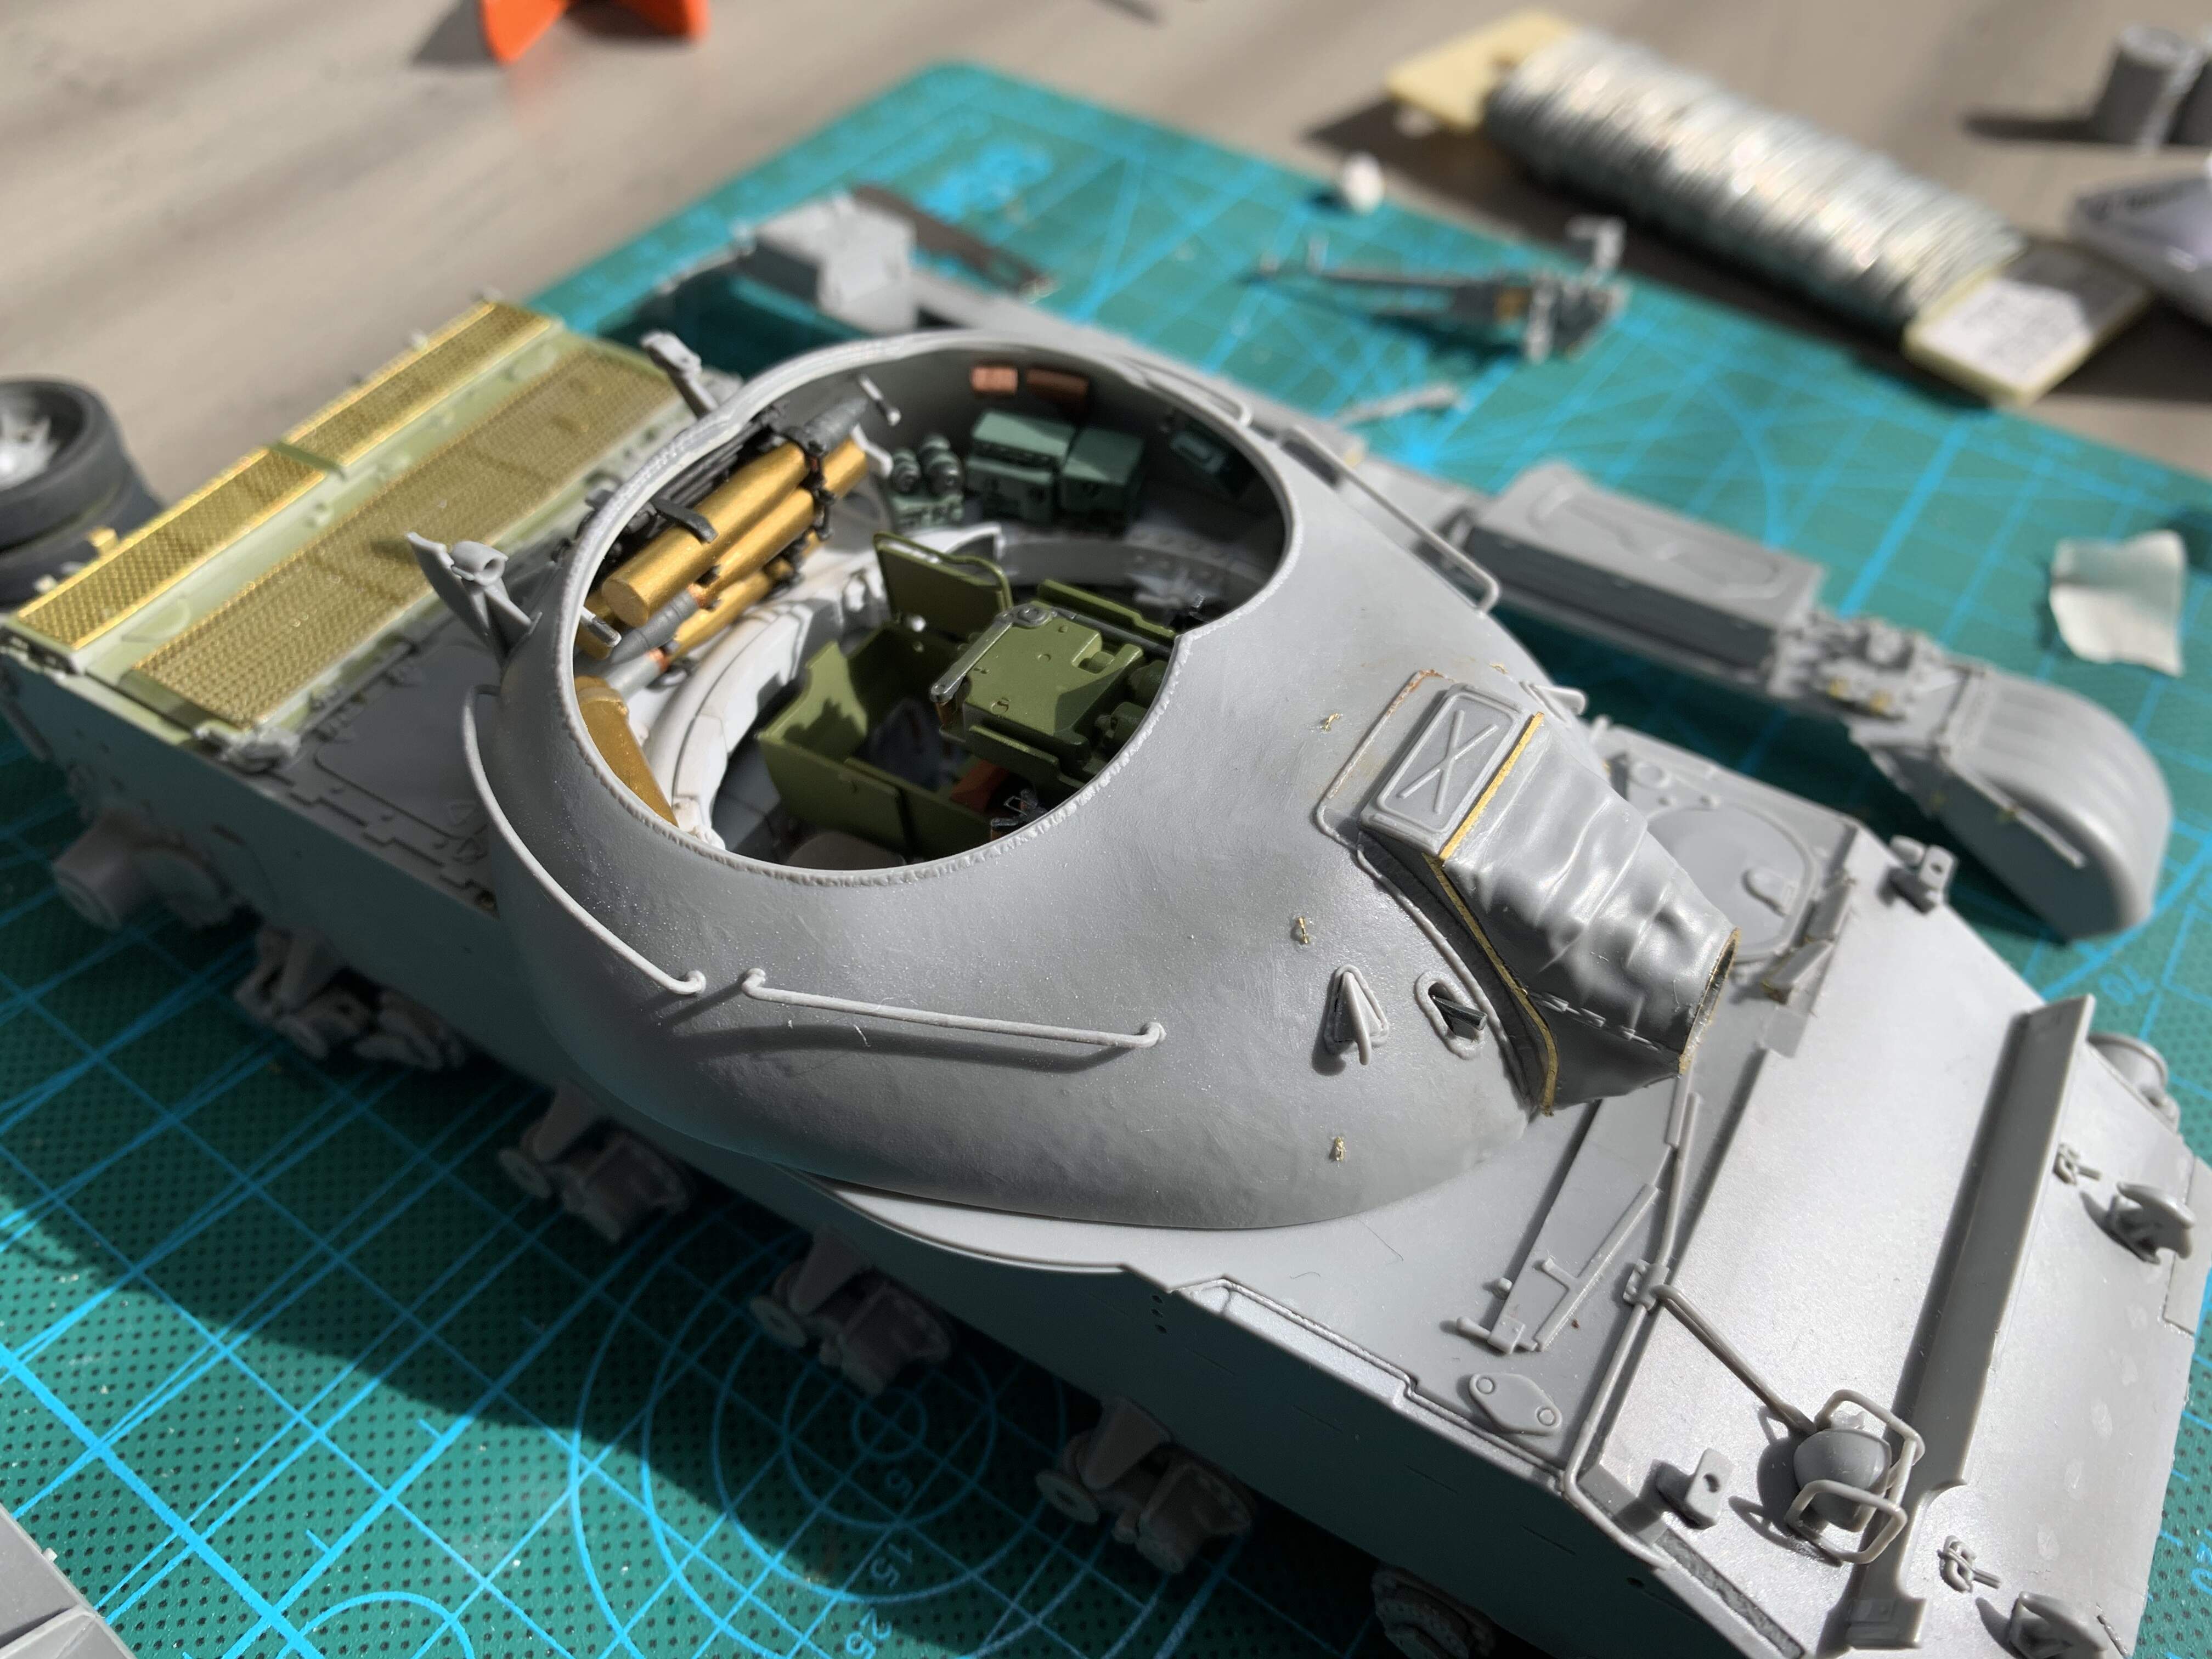
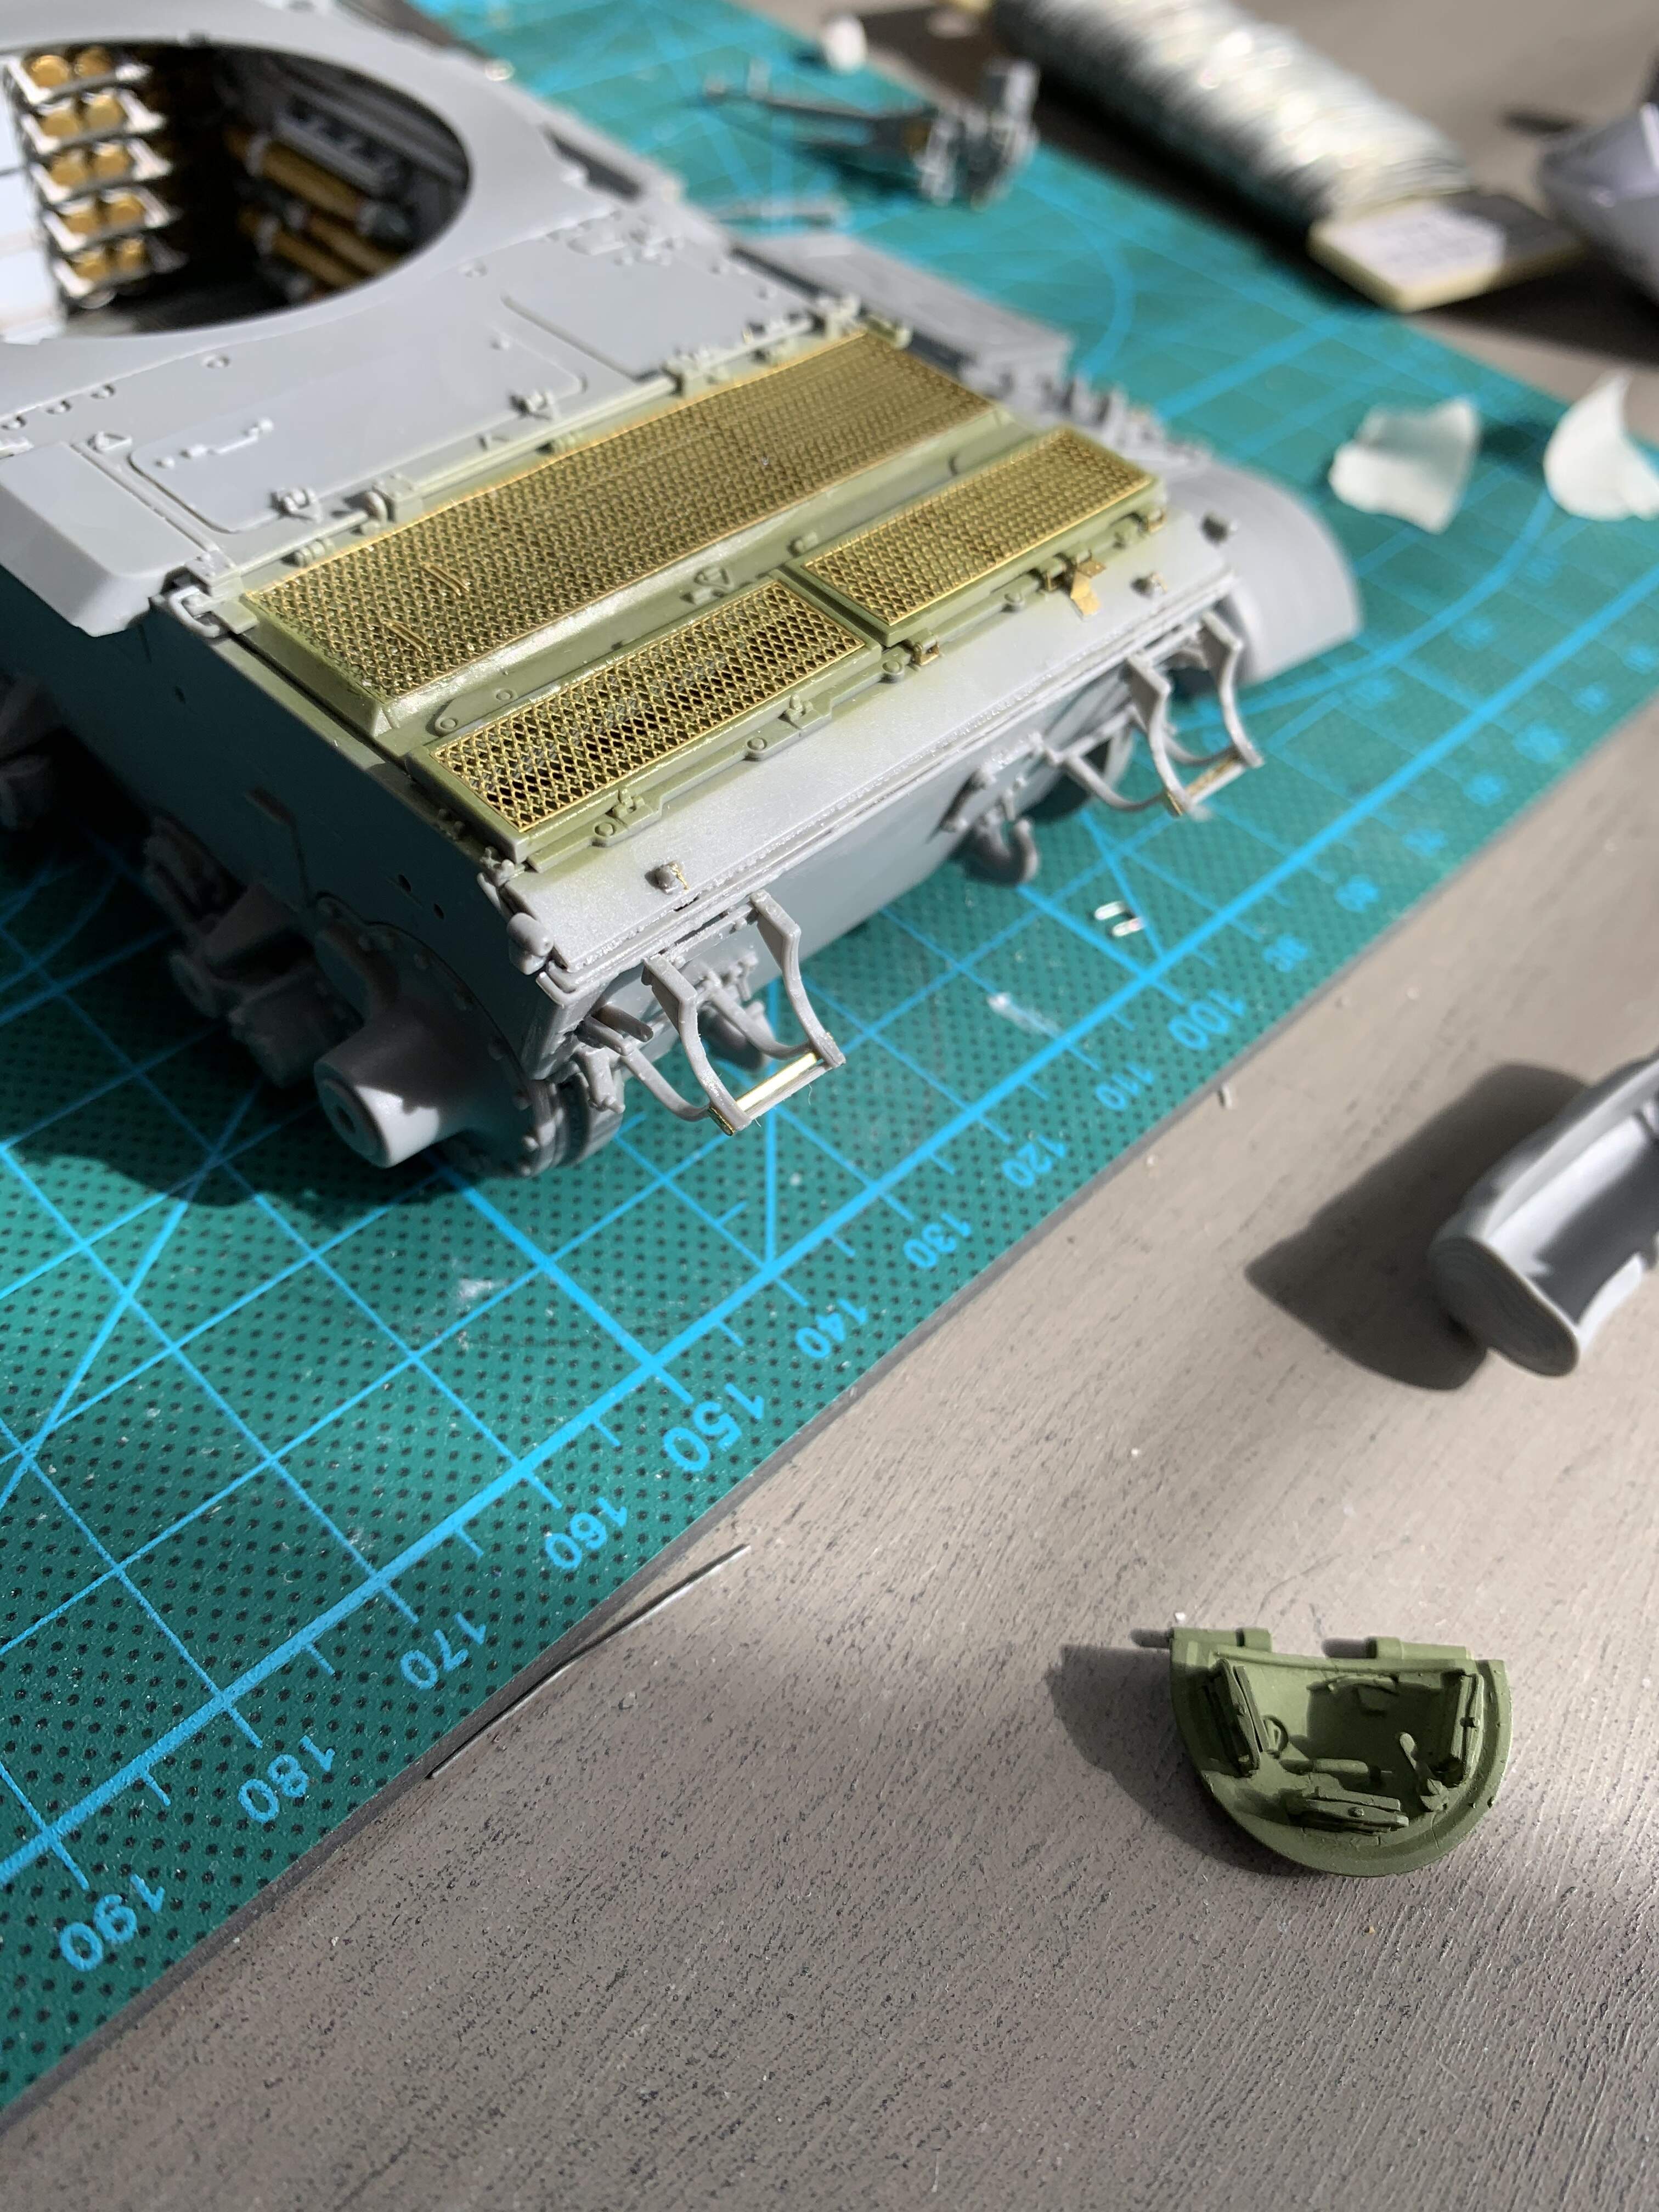
Just about done construction. Got the DSHK mostly built up. Just a few PE parts and some clean up of attachment points
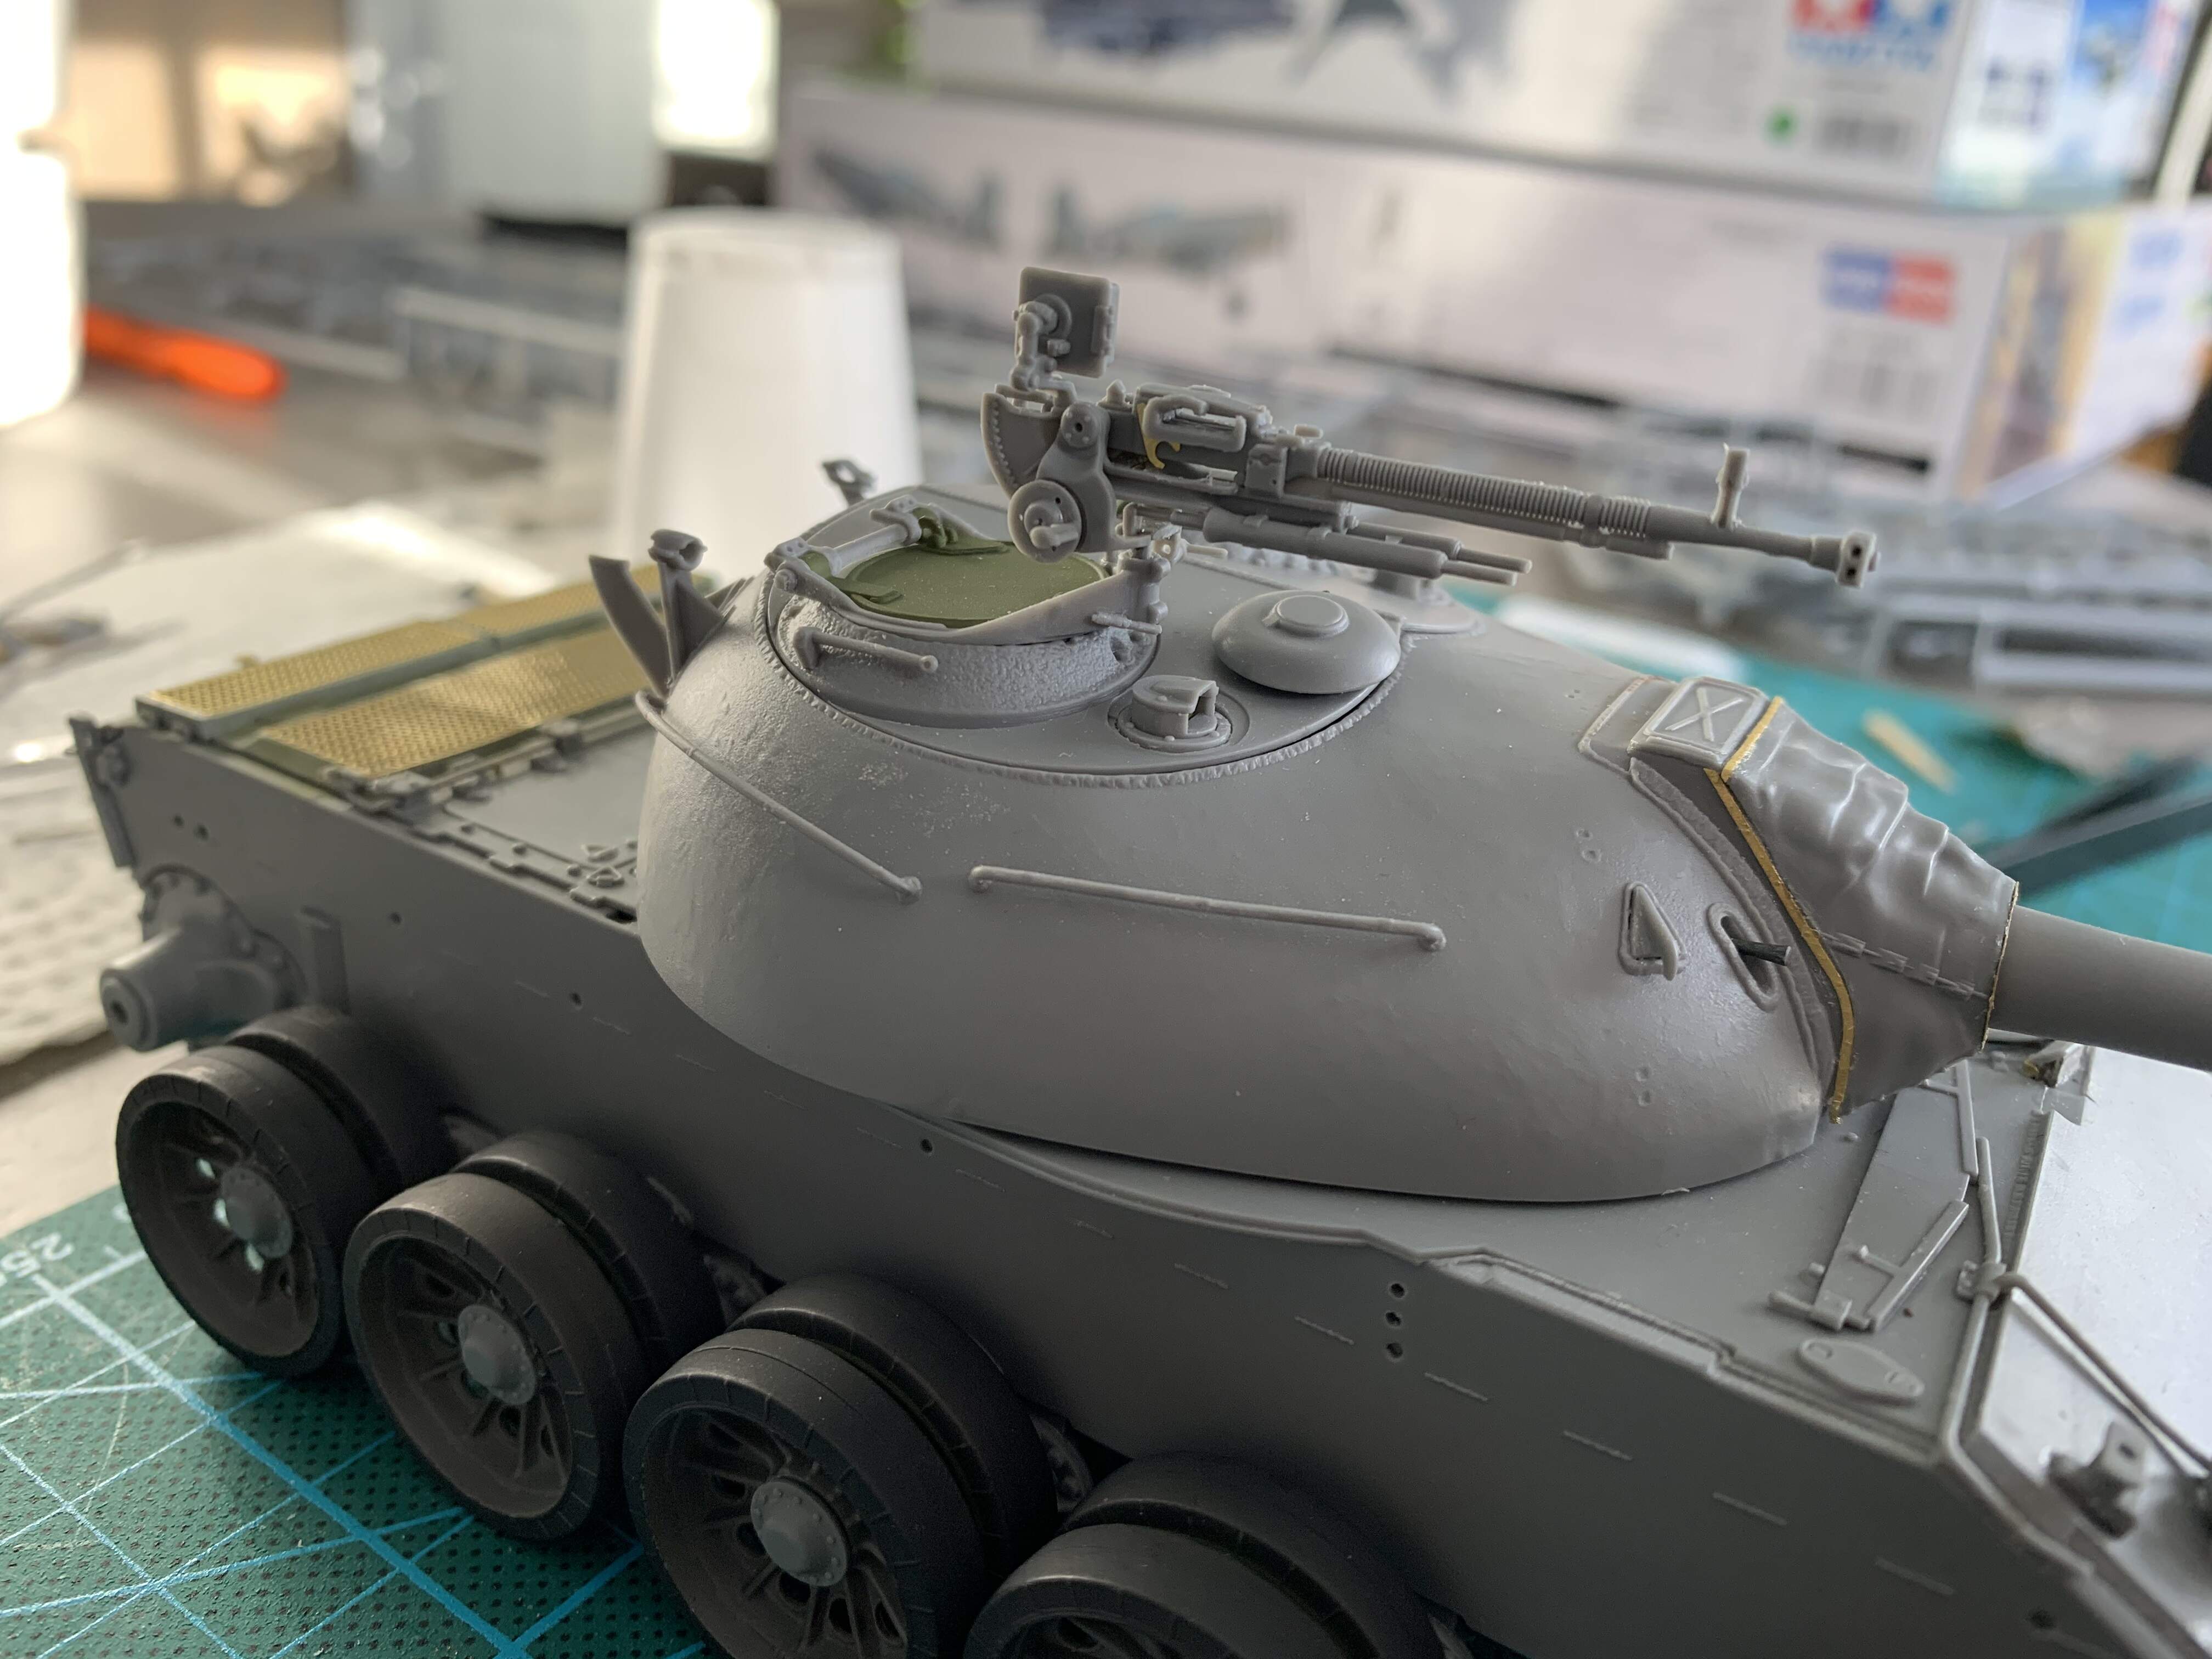
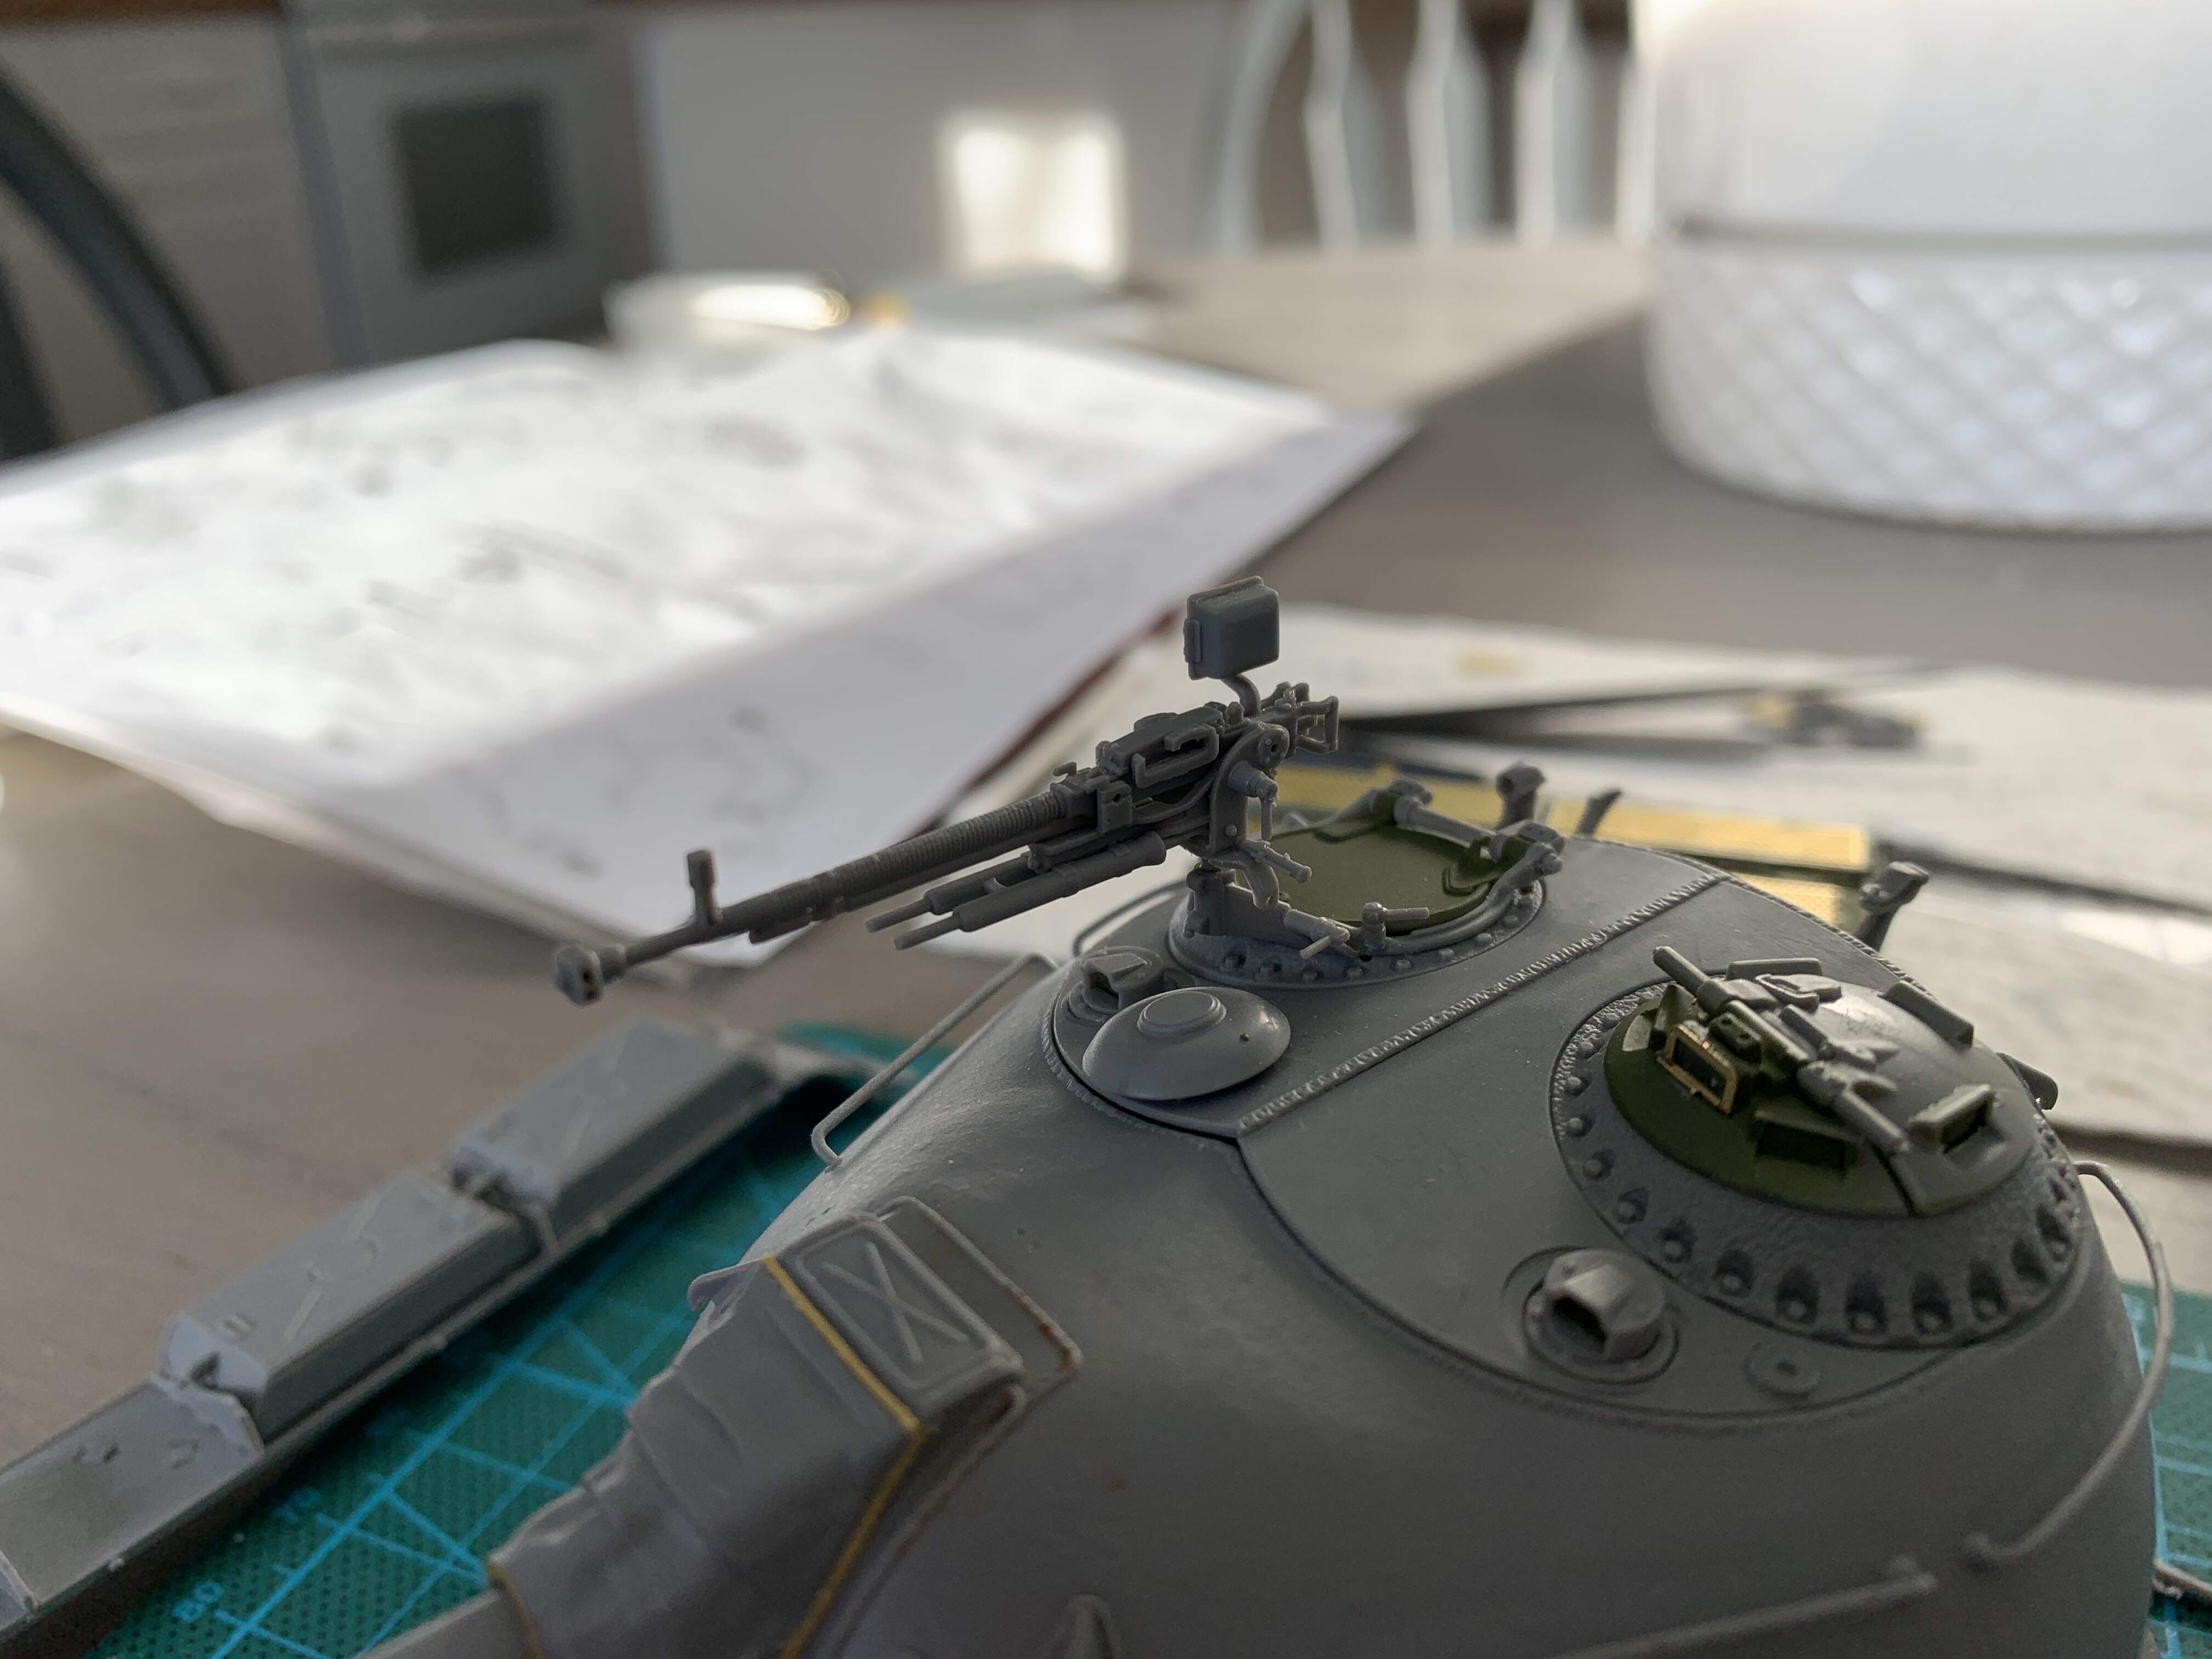
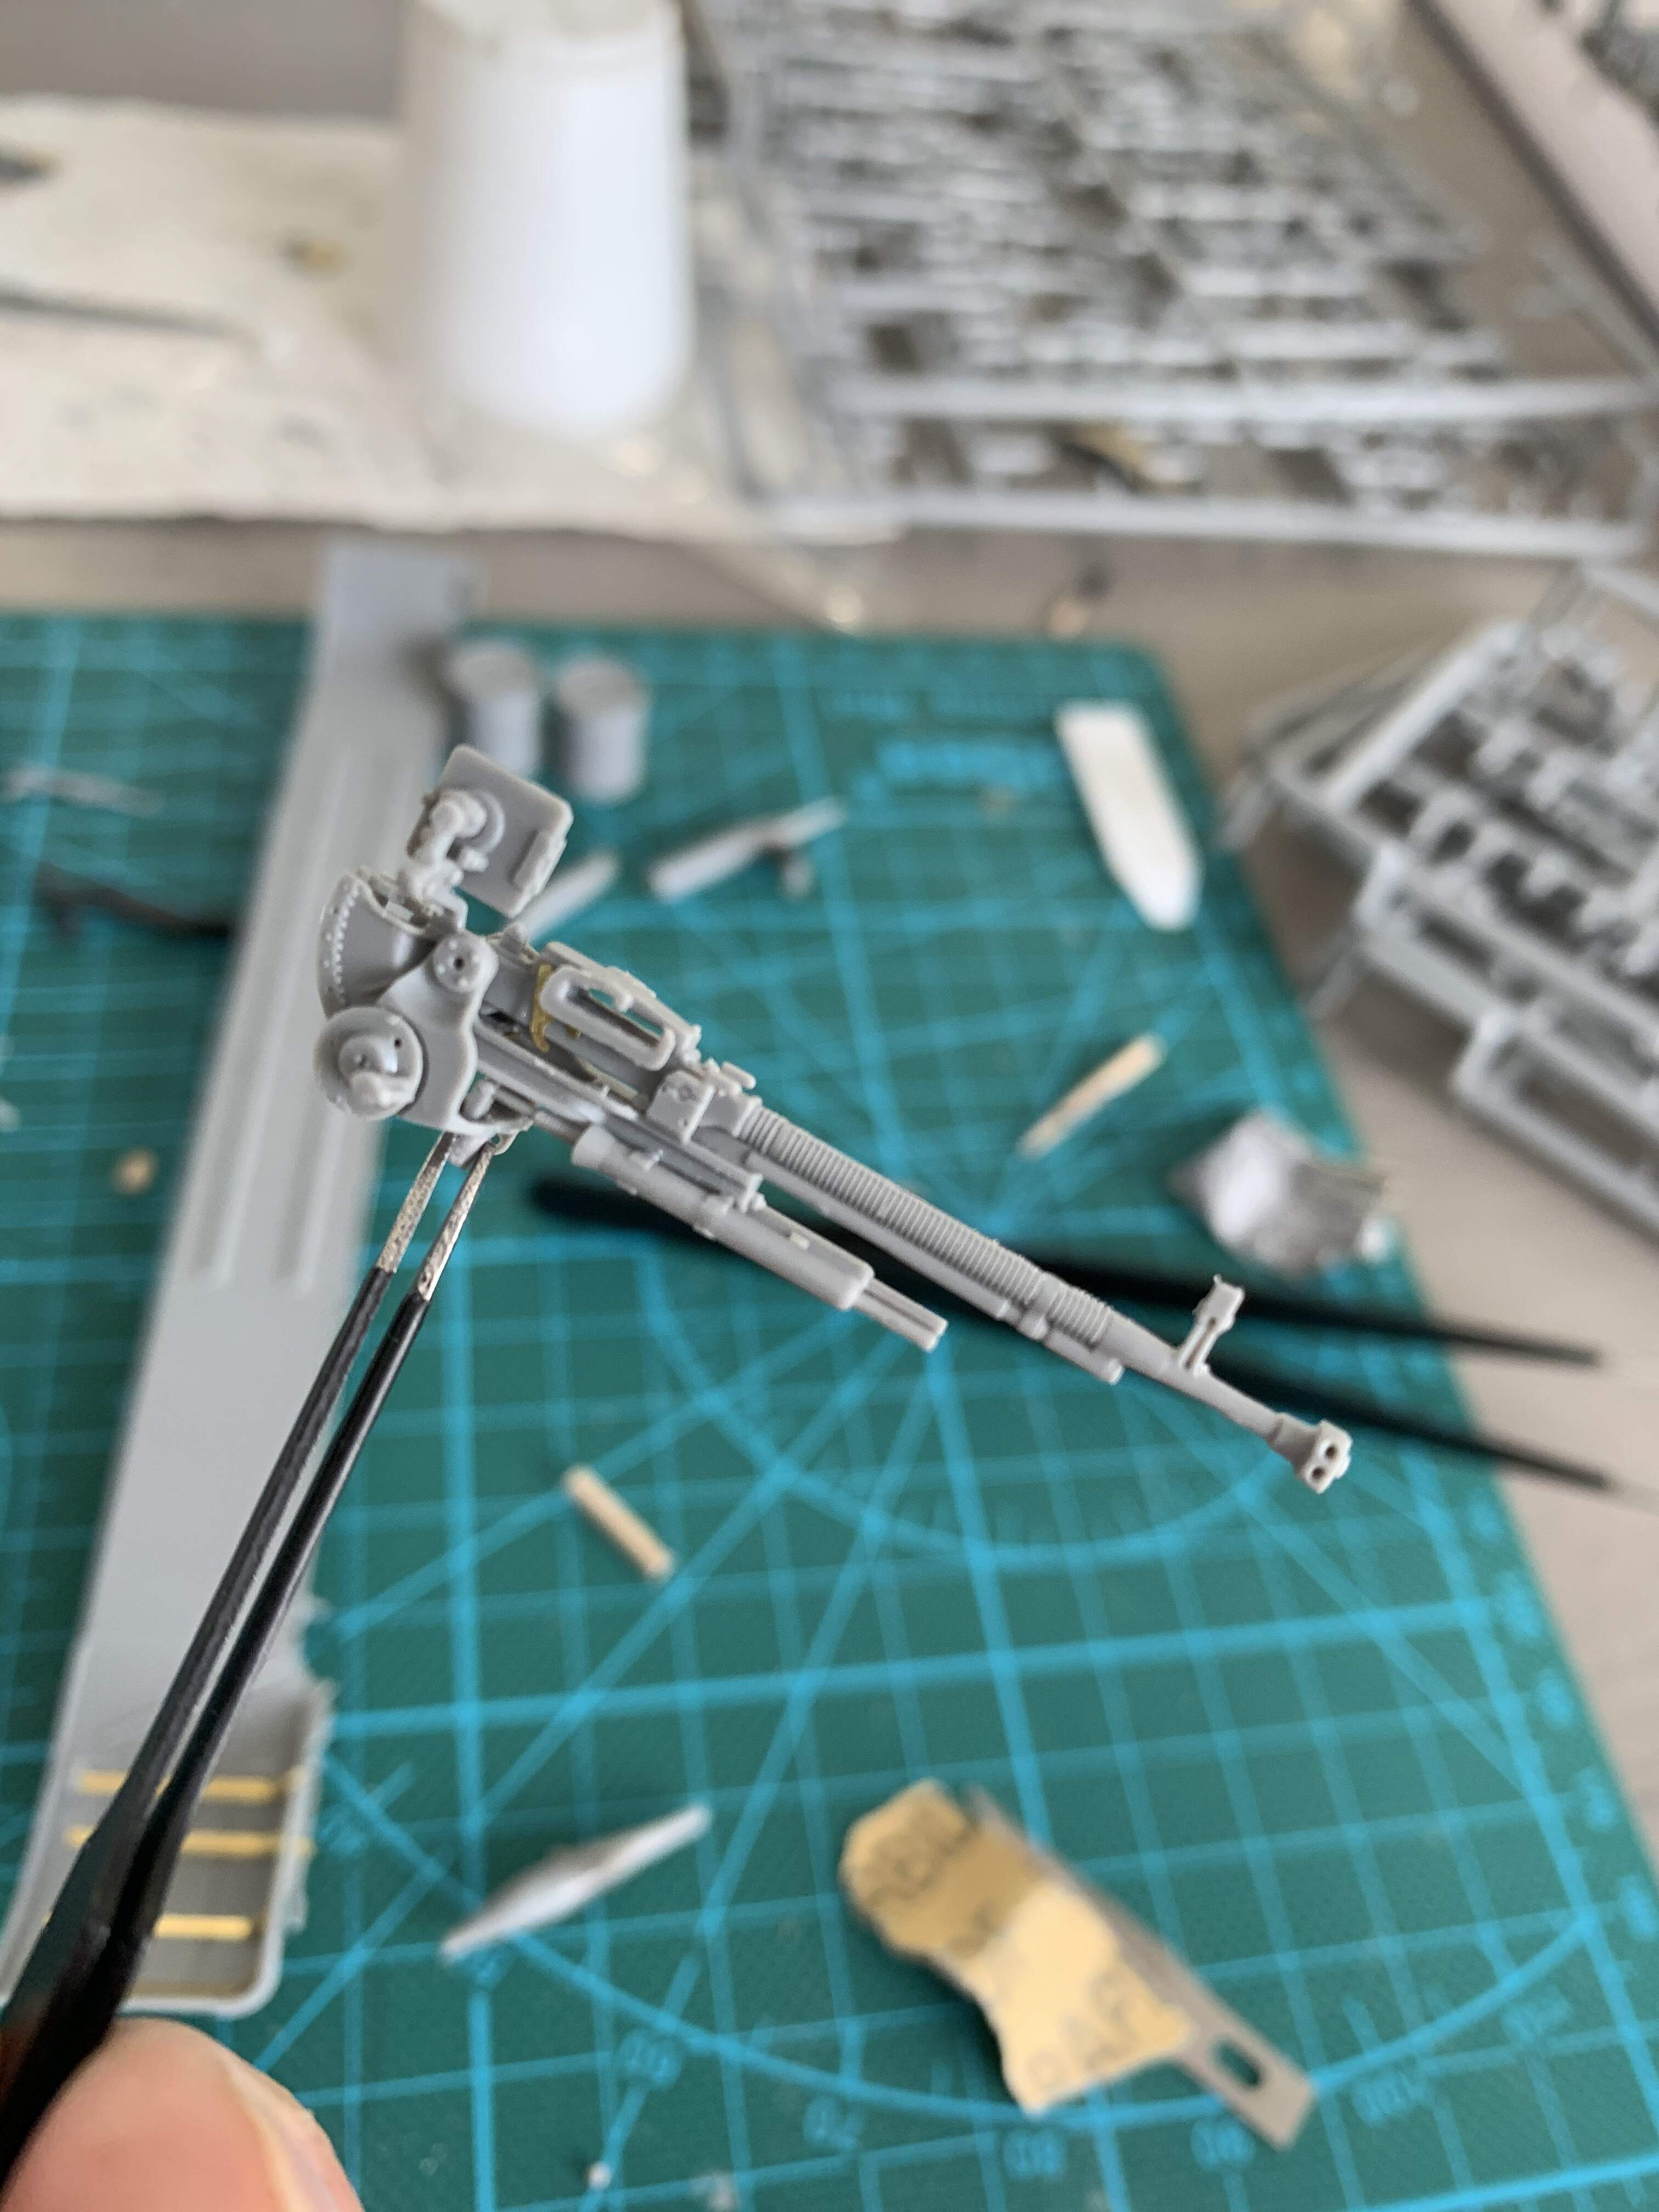
Tomorrow’s goal is add the last few PE parts and full gaps so I can paint on the weekend
6 Likes

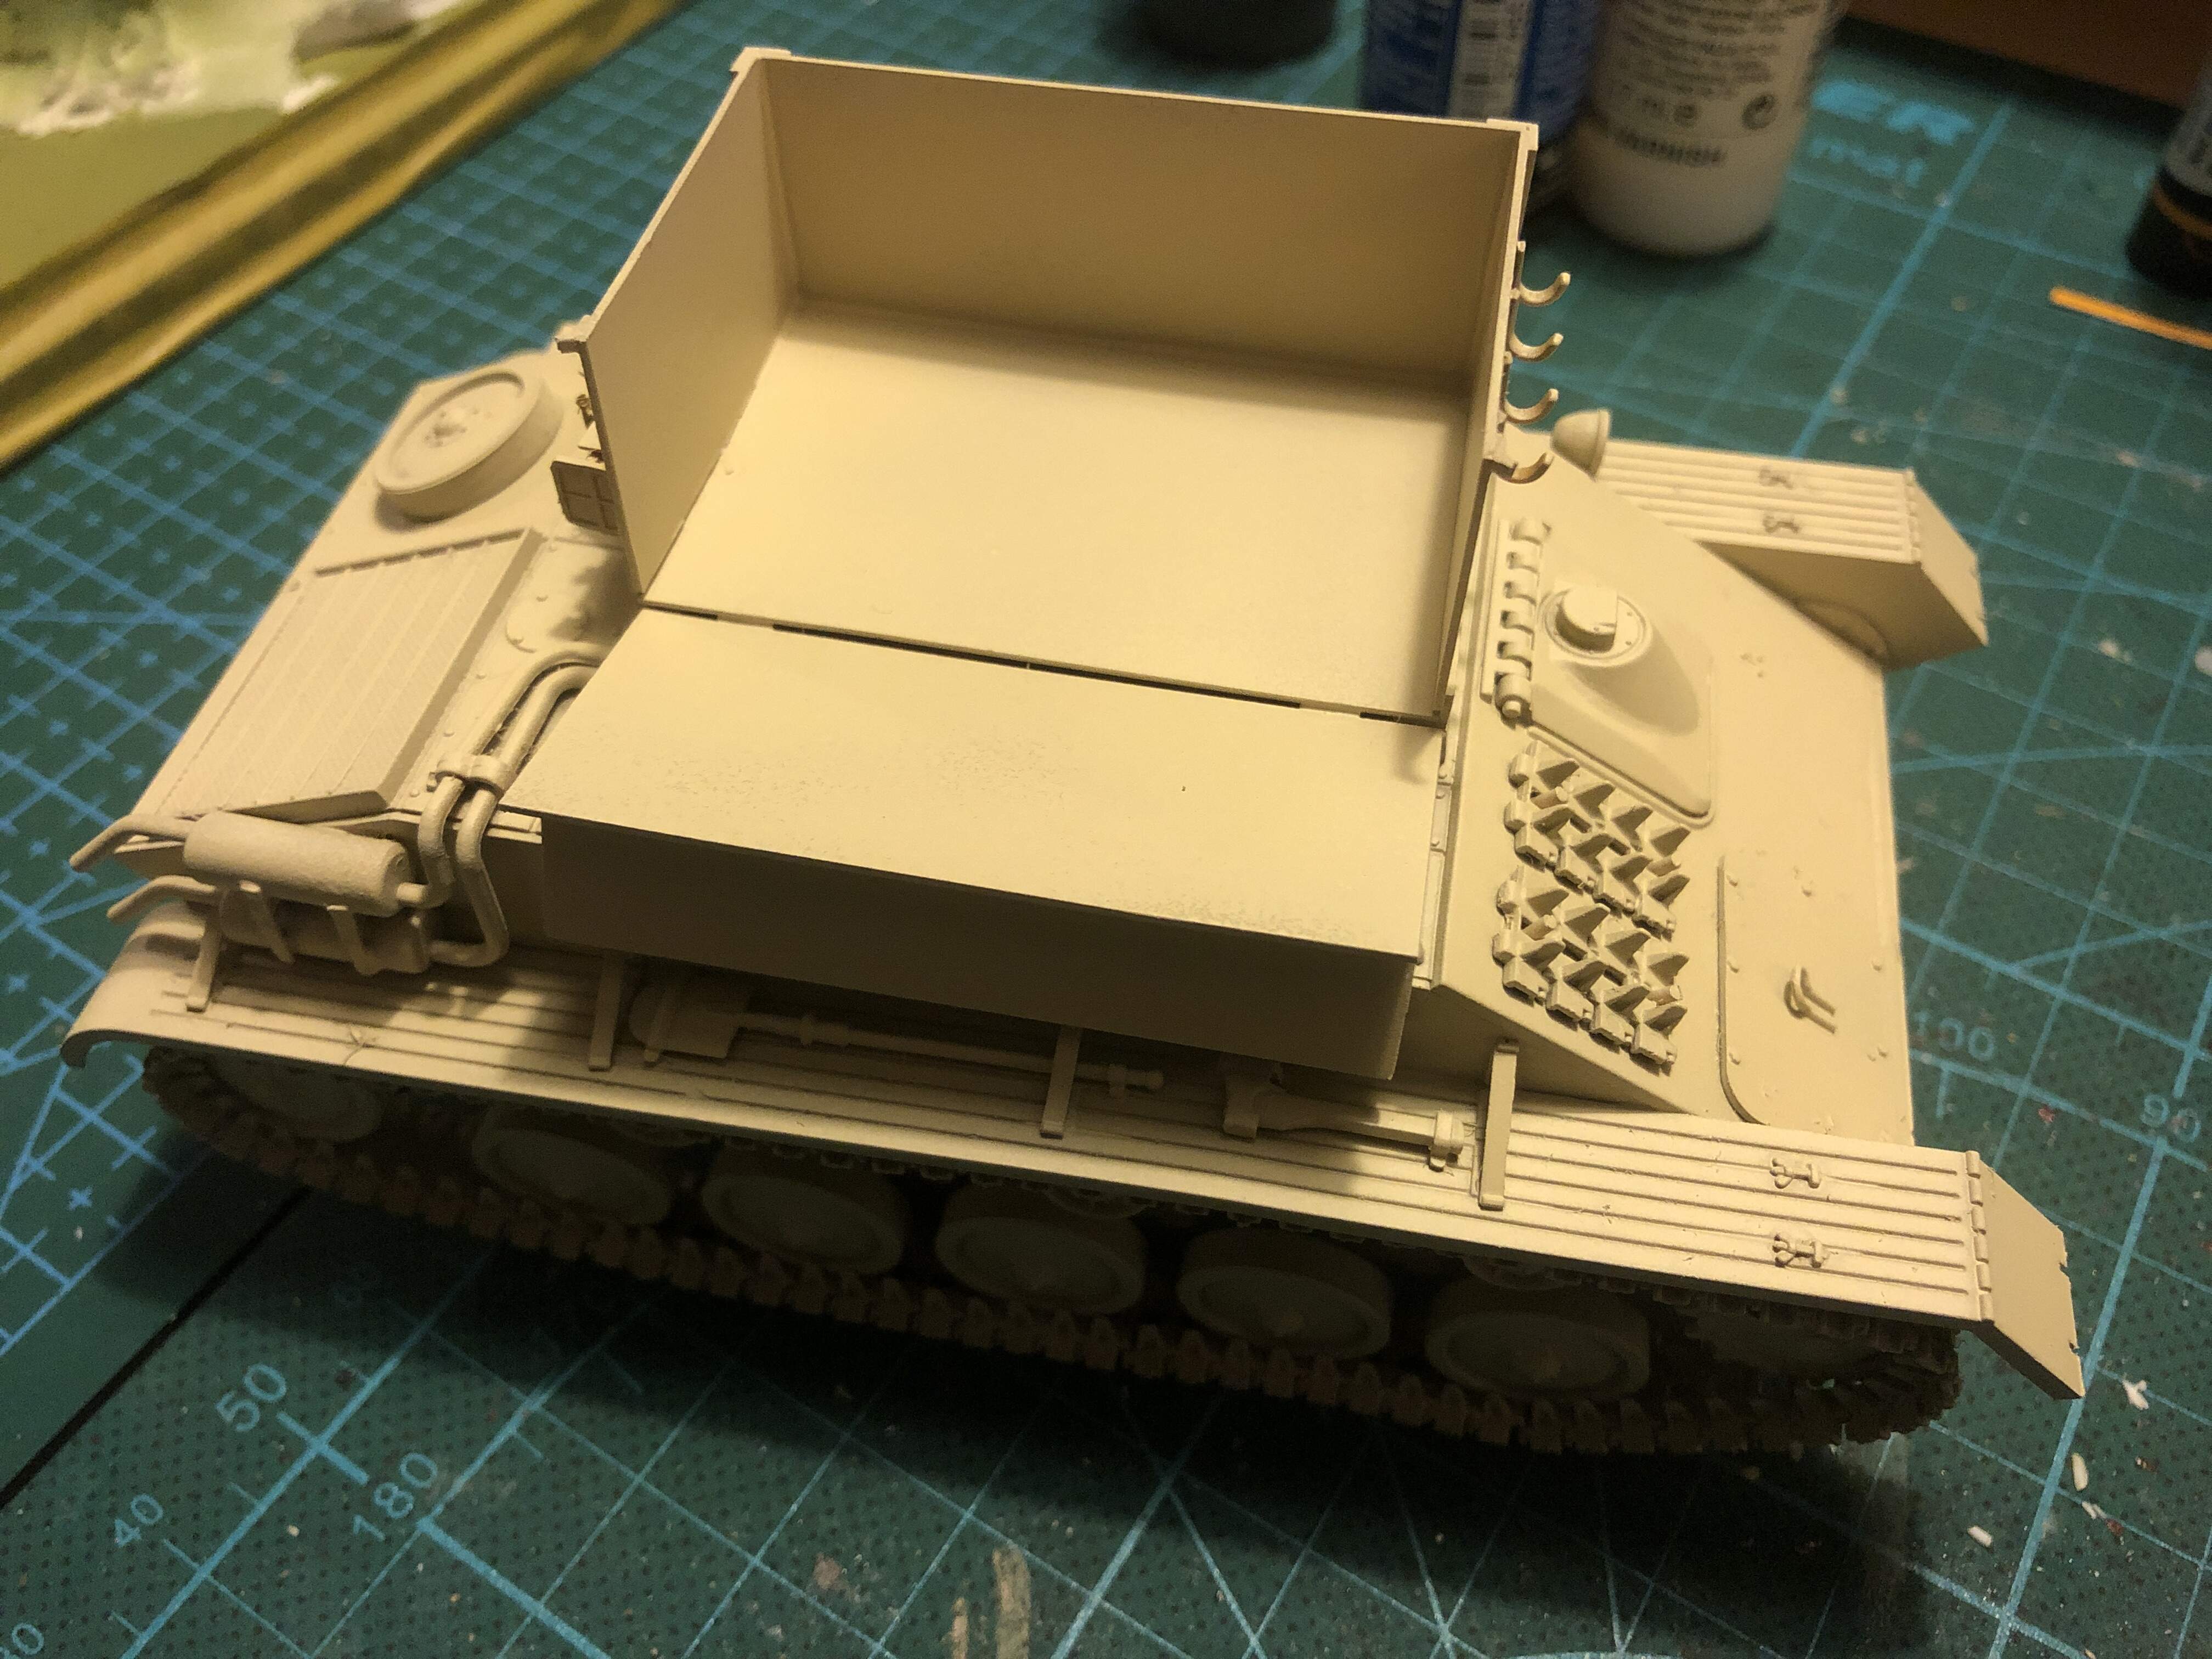
grey on the Pz III Ausf D… not quite as neat as I wanted but I think a good base. Should be able to gloss and decal this week

7 Likes
Dear Friends,
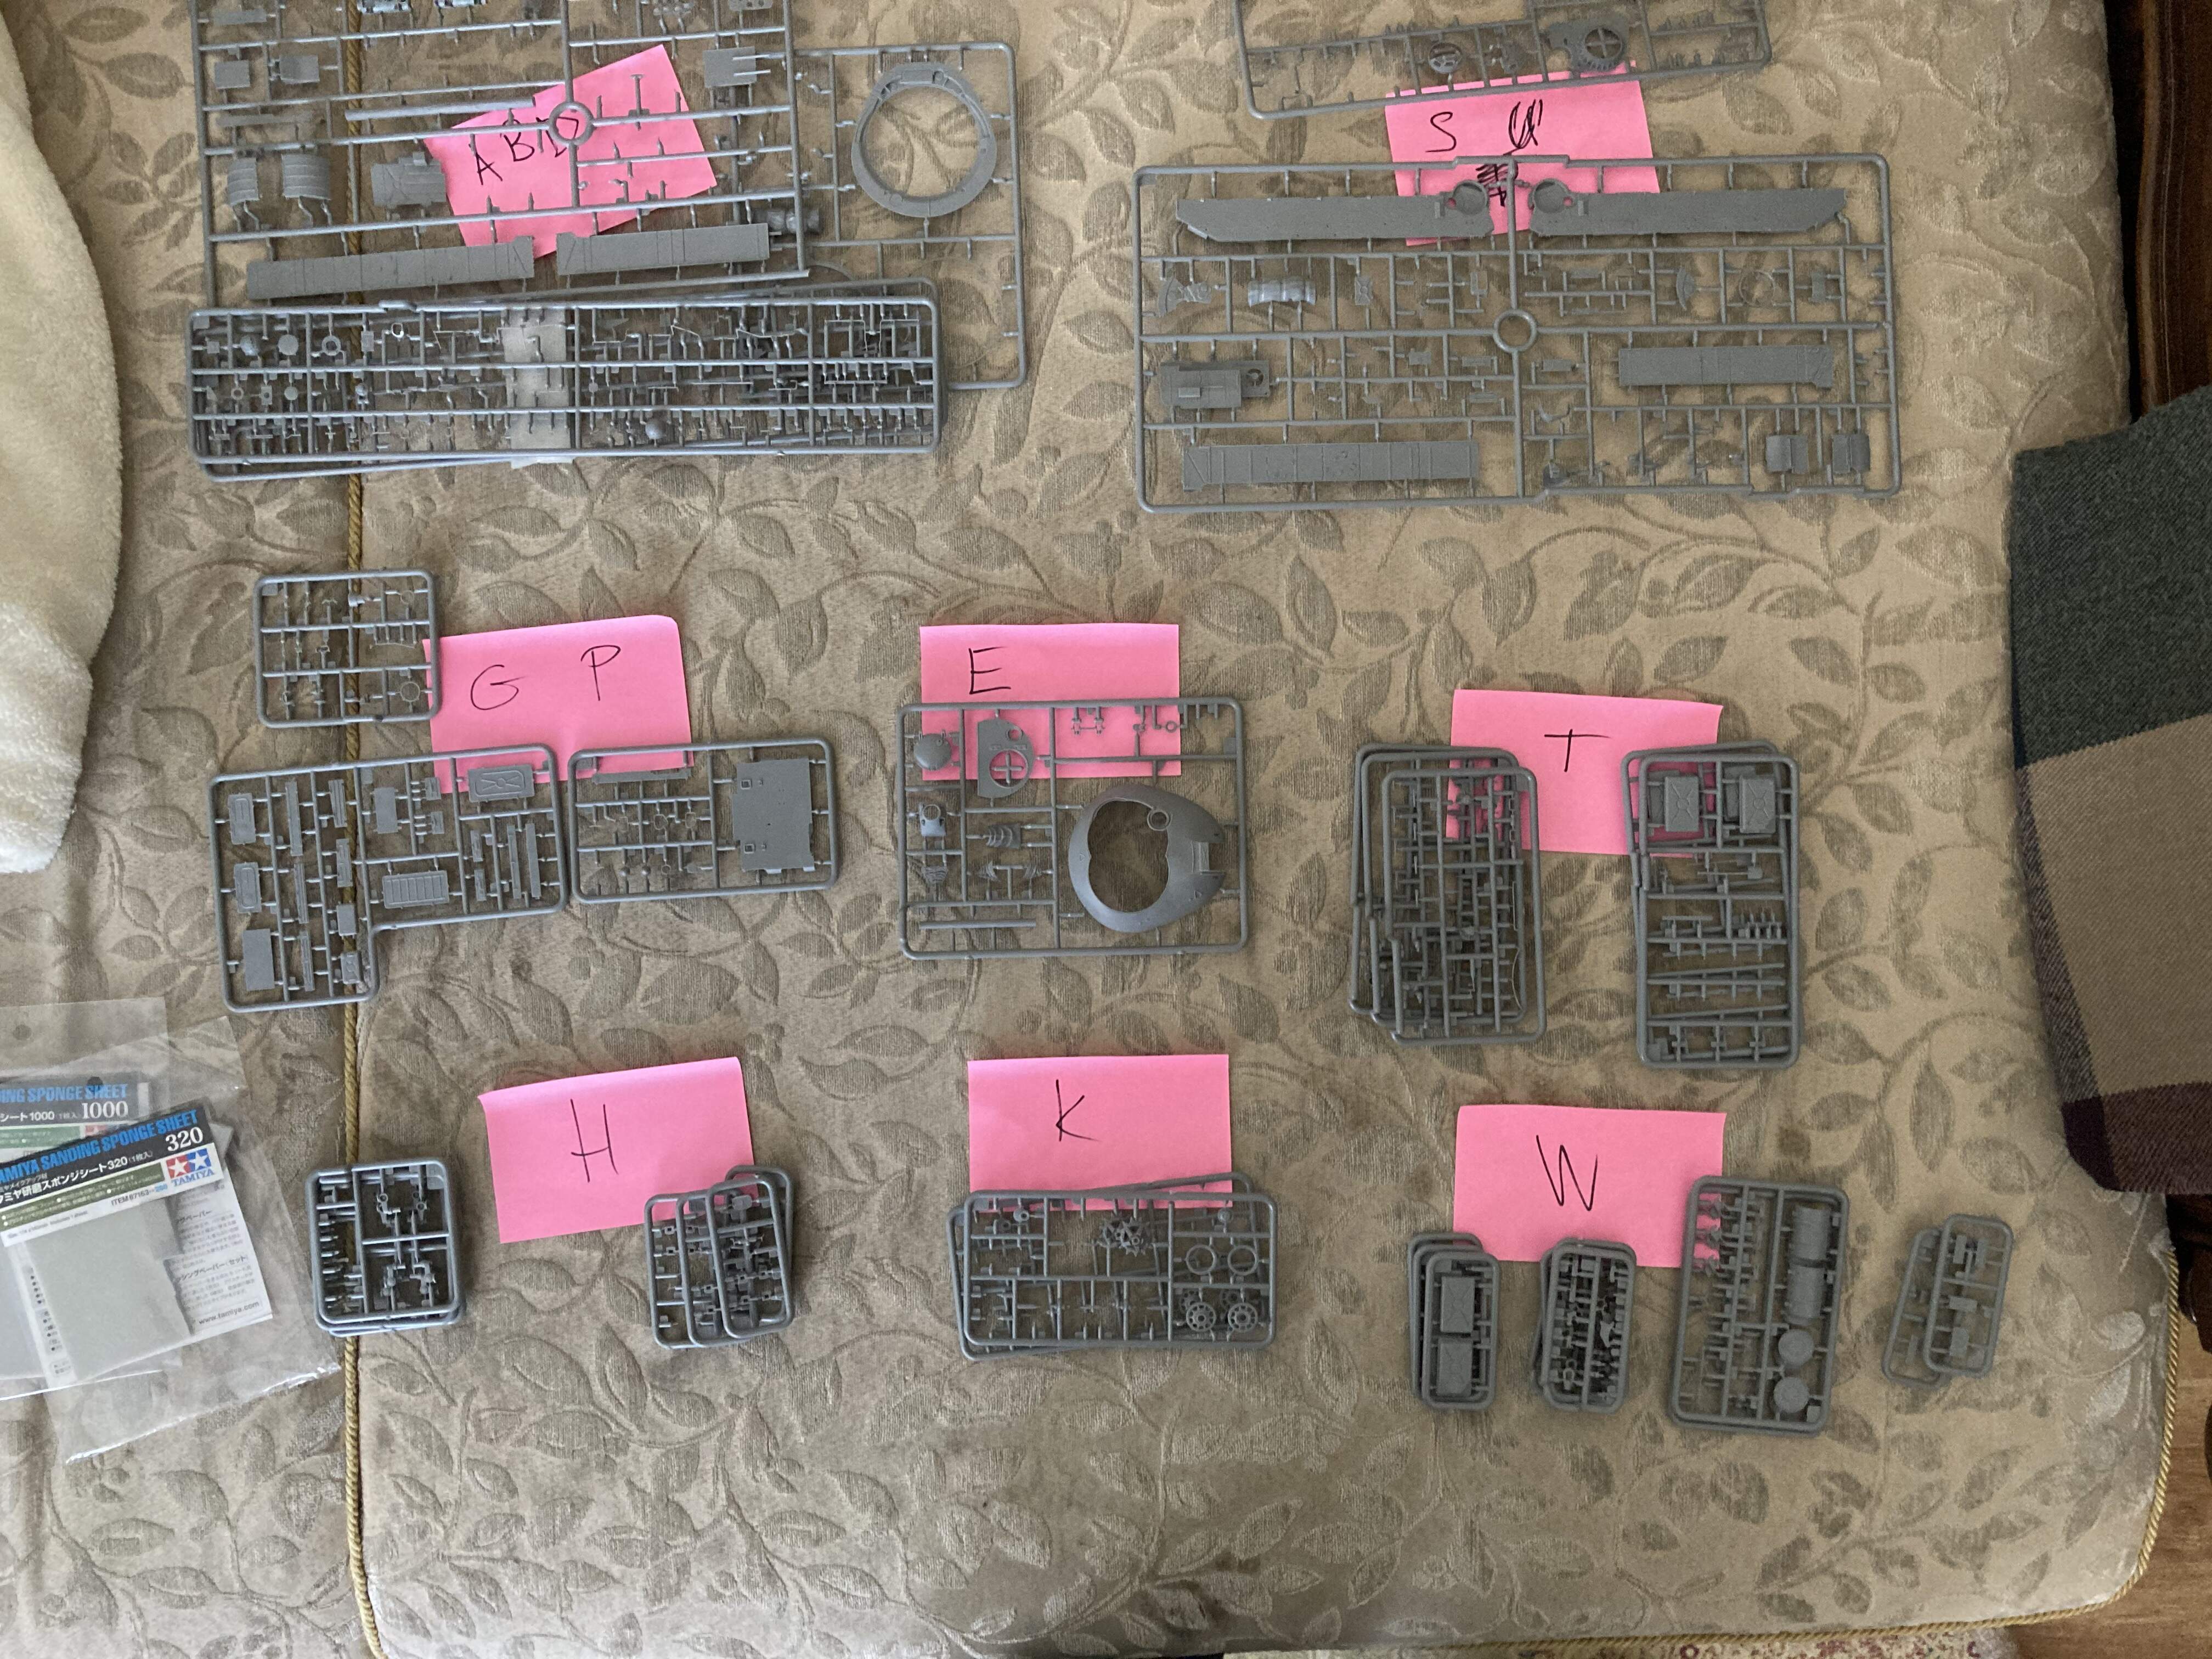
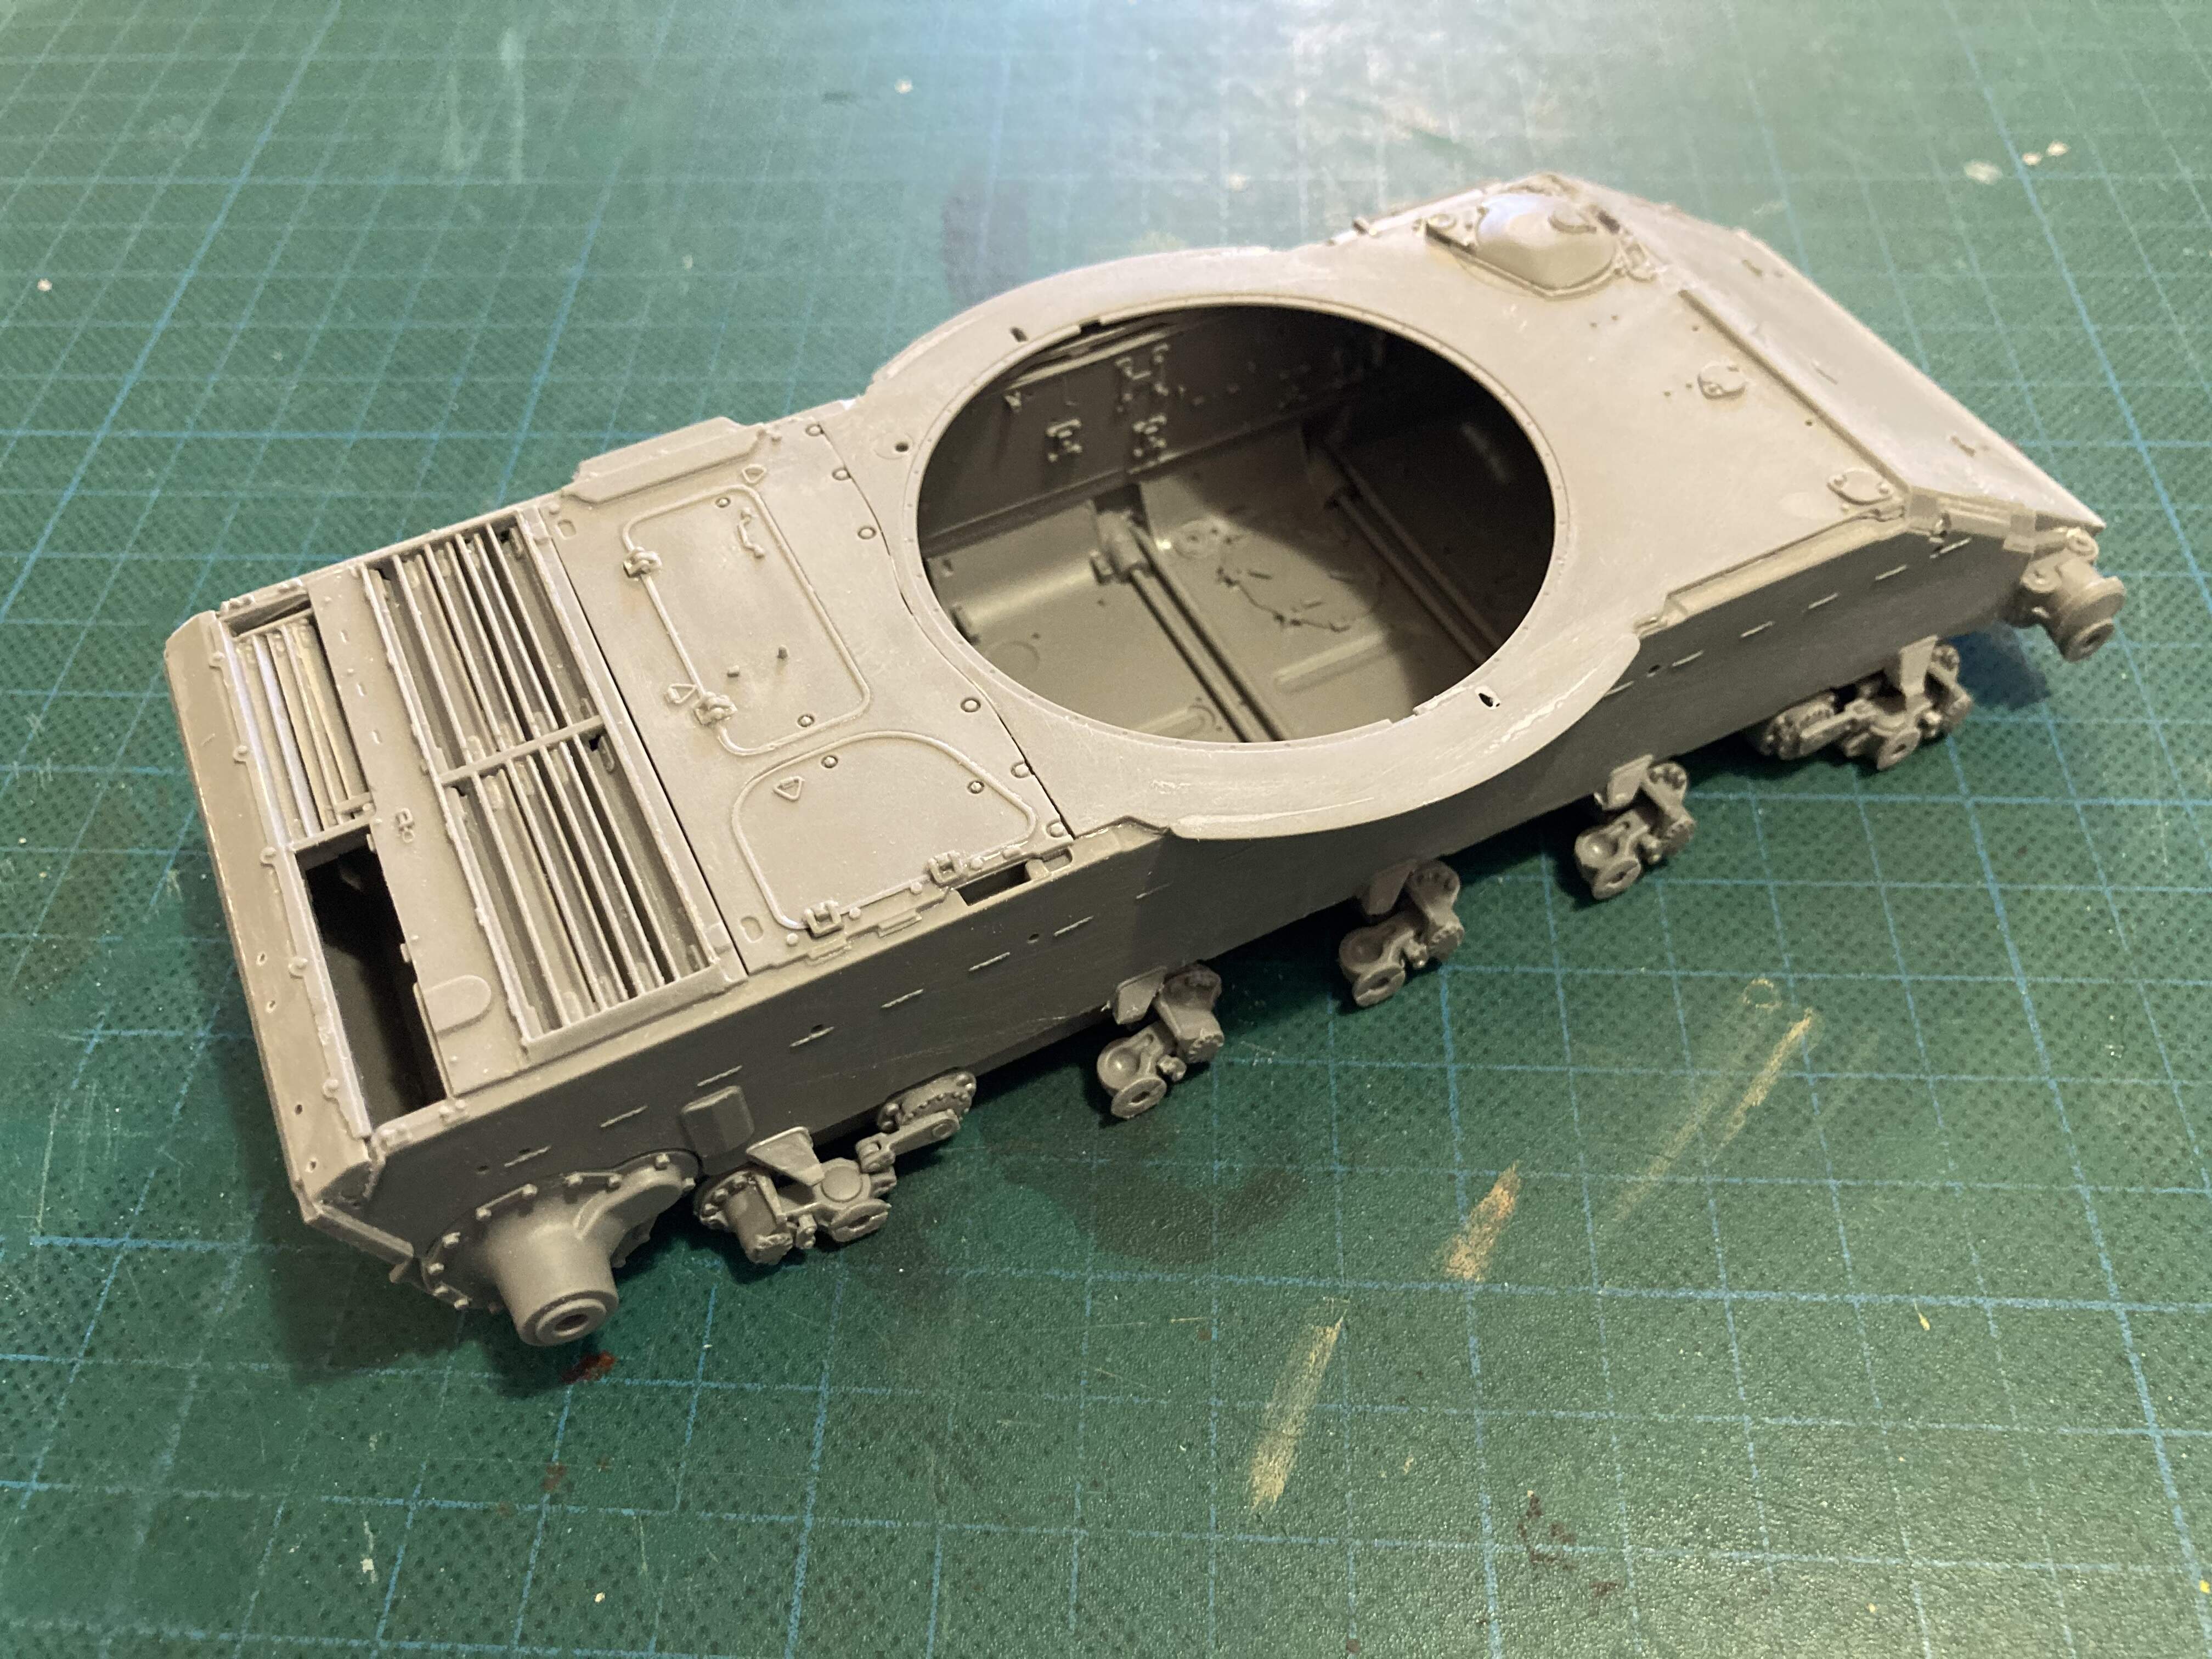
I was lucky to find time during the holidays now and continued the model building. There is no big progress seen on the photo as the Miniart kit (even non-interior version) provides so much details and parts to cut, file, test and glue, that I spent hours working hard but the sprues are still full. I don’t complain, simply this is true that the Ukrainian guys took it extremely seriously.
The huge number of parts resulted a big pile of sprues and I became really upset checking and finding the necessary sprues in every building step. I do understand the reason why there are so many different small sprues (Miniart do issue all versions of the T-54/55 family with care to the very last authentic detail) but this seeking process stole valuable time. Finally I placed all sprues in groups on the couch and used pink marking papers to easy finding the sprues. Well, the build speed went up significantly.
I had some challenges because letting a tiny error here, resulted an enormous gap there in later phases of the build. This occurred when the suspension parts were glued to the bottom part of the hull and because it let them too high, the sidewalls did not match up perfectly. A bit of filing and filling was needed, so job done. This is modeling! - shouted Leonidas ![]()
The aim was to get to the point when the main structure of the hull is full and I can assemble the tracks. This also means that I skipped adding many-many sub-assemblies, tiny and fragile parts onto the hull to stay on the safe side and not breaking (and likely loosing) any of them. This is my regular method but this time Miniart does not let it go because the wheels do not stay on their location points. I will need to glue them irreversible, then add the tracks, but in this case I would not be able to paint them properly (neither the wheels, nor the tracks). So I am blocked now. Finally I came to the idea that I will base paint the hull with Mr Gunze black finishing surfacer, later with the green color up to the level where the fenders will be glued. Also the wheels. So the top half of the hull remains pure, uncovered plastic. This will let me glue the following details with the Tamiya extra thin cement. Then I will glue the painted wheels in place, partly add the tracks, wait a bit and then remove for painting. After all these dried, I will assemble the tracks and continue with the fenders and all part on the top of the hull.
Never did so before, so I keep praying for success. Still a lo-o-o-ong way to go with the model.
Tamás
7 Likes
I did similar, labeling the sprues with tape.
Looks like you are making excellent progress .
Mead, Jesper, Rob and Tamas. All coming along very nicely guys.
Yes, the sheer number of different numbered sprues can be a night mare to find what you want. In the AEC Kit:
A, Ab, Ac, Ad, Ae & Af
B, Ba
E, F & Ff
G, Gc, Gd & Ge
H
And there are 2 x some sprues as well.
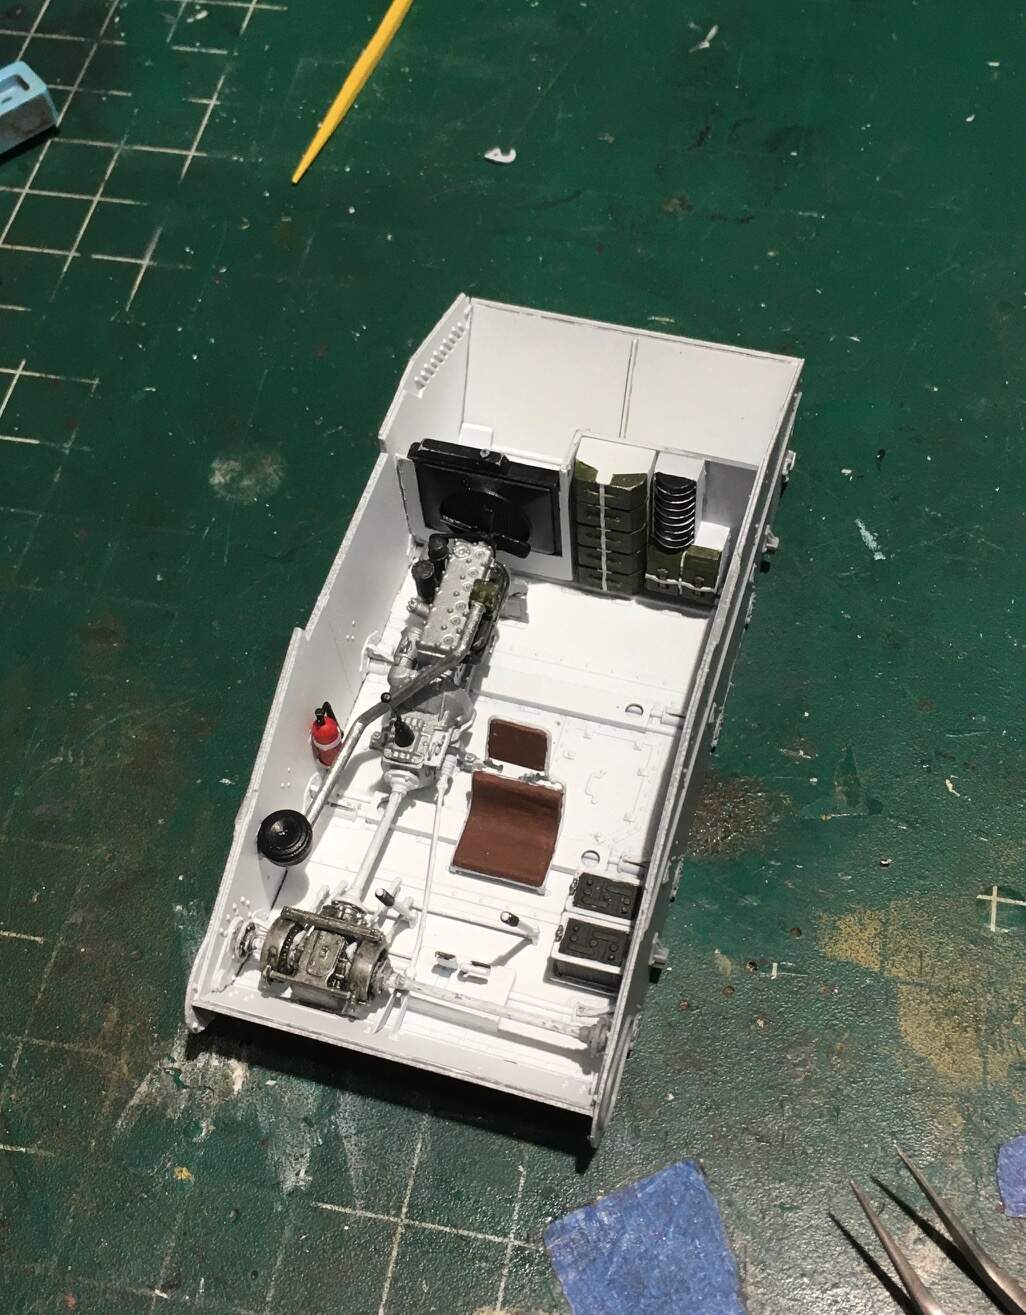
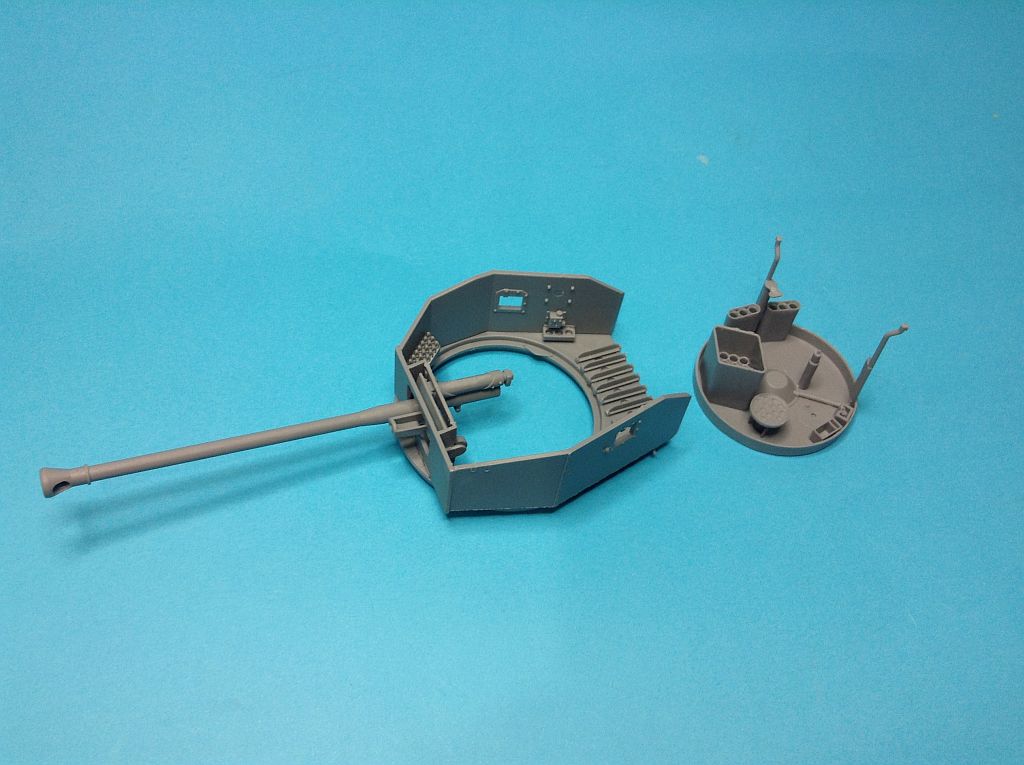
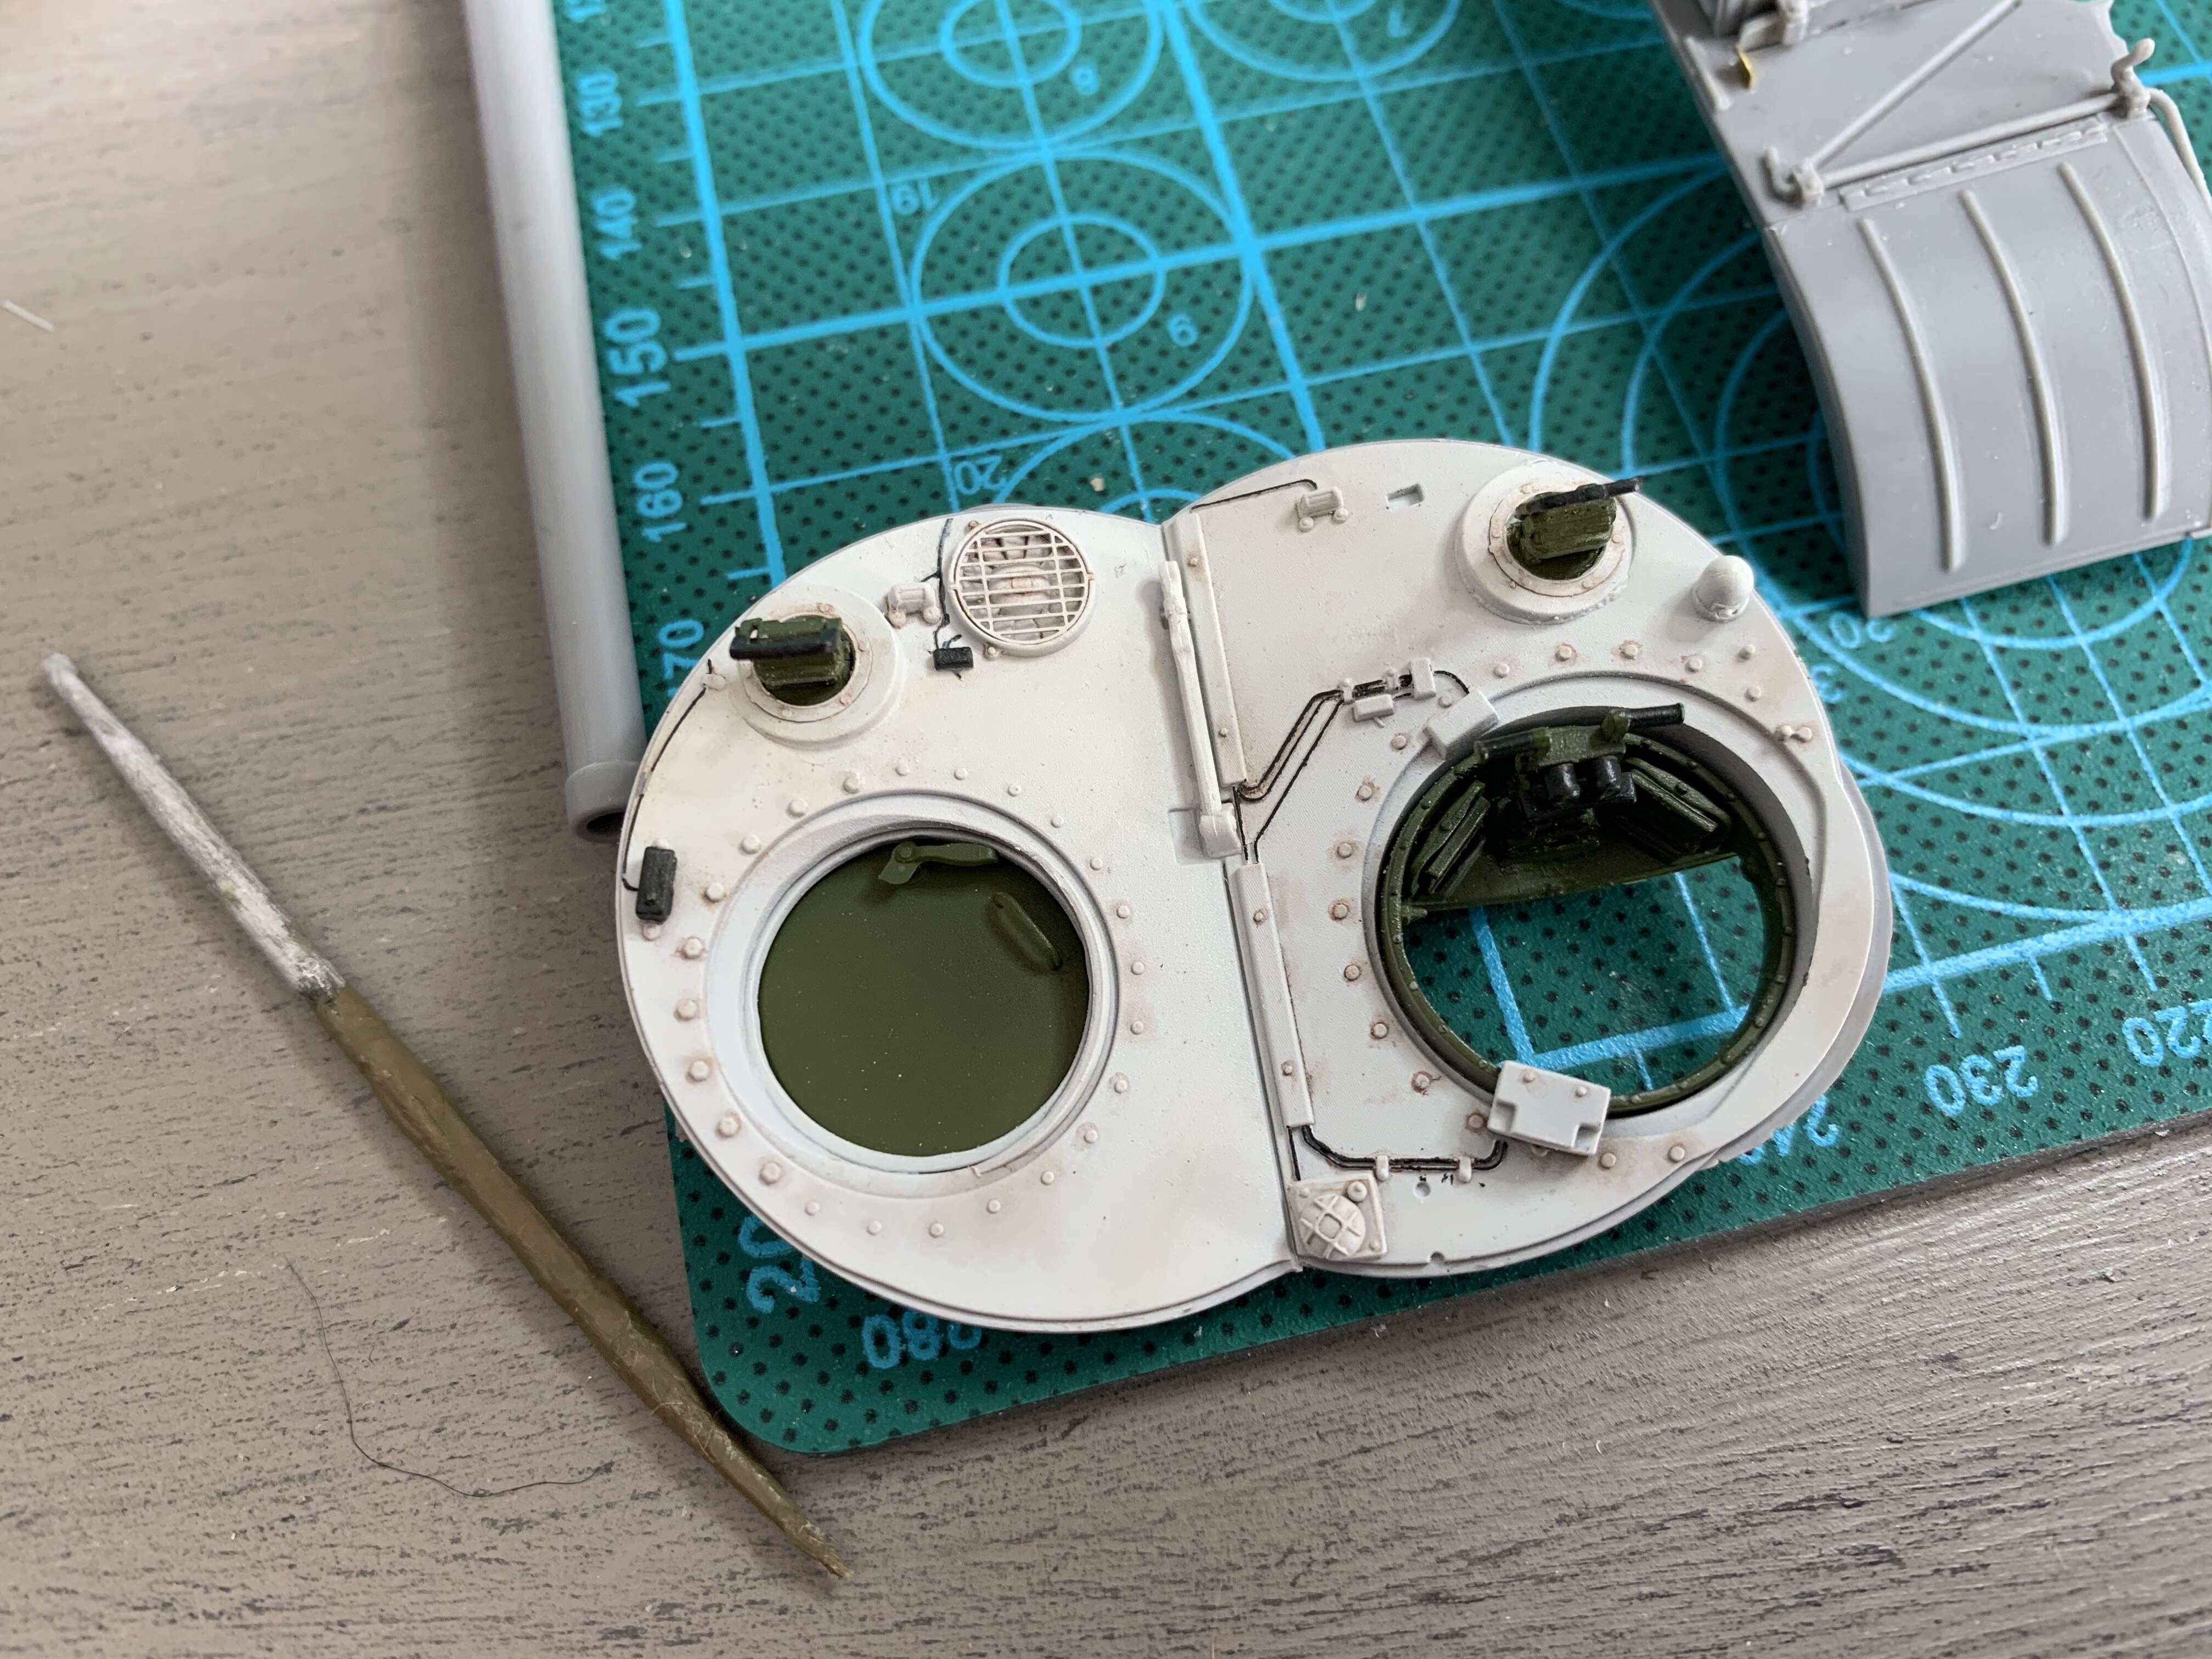
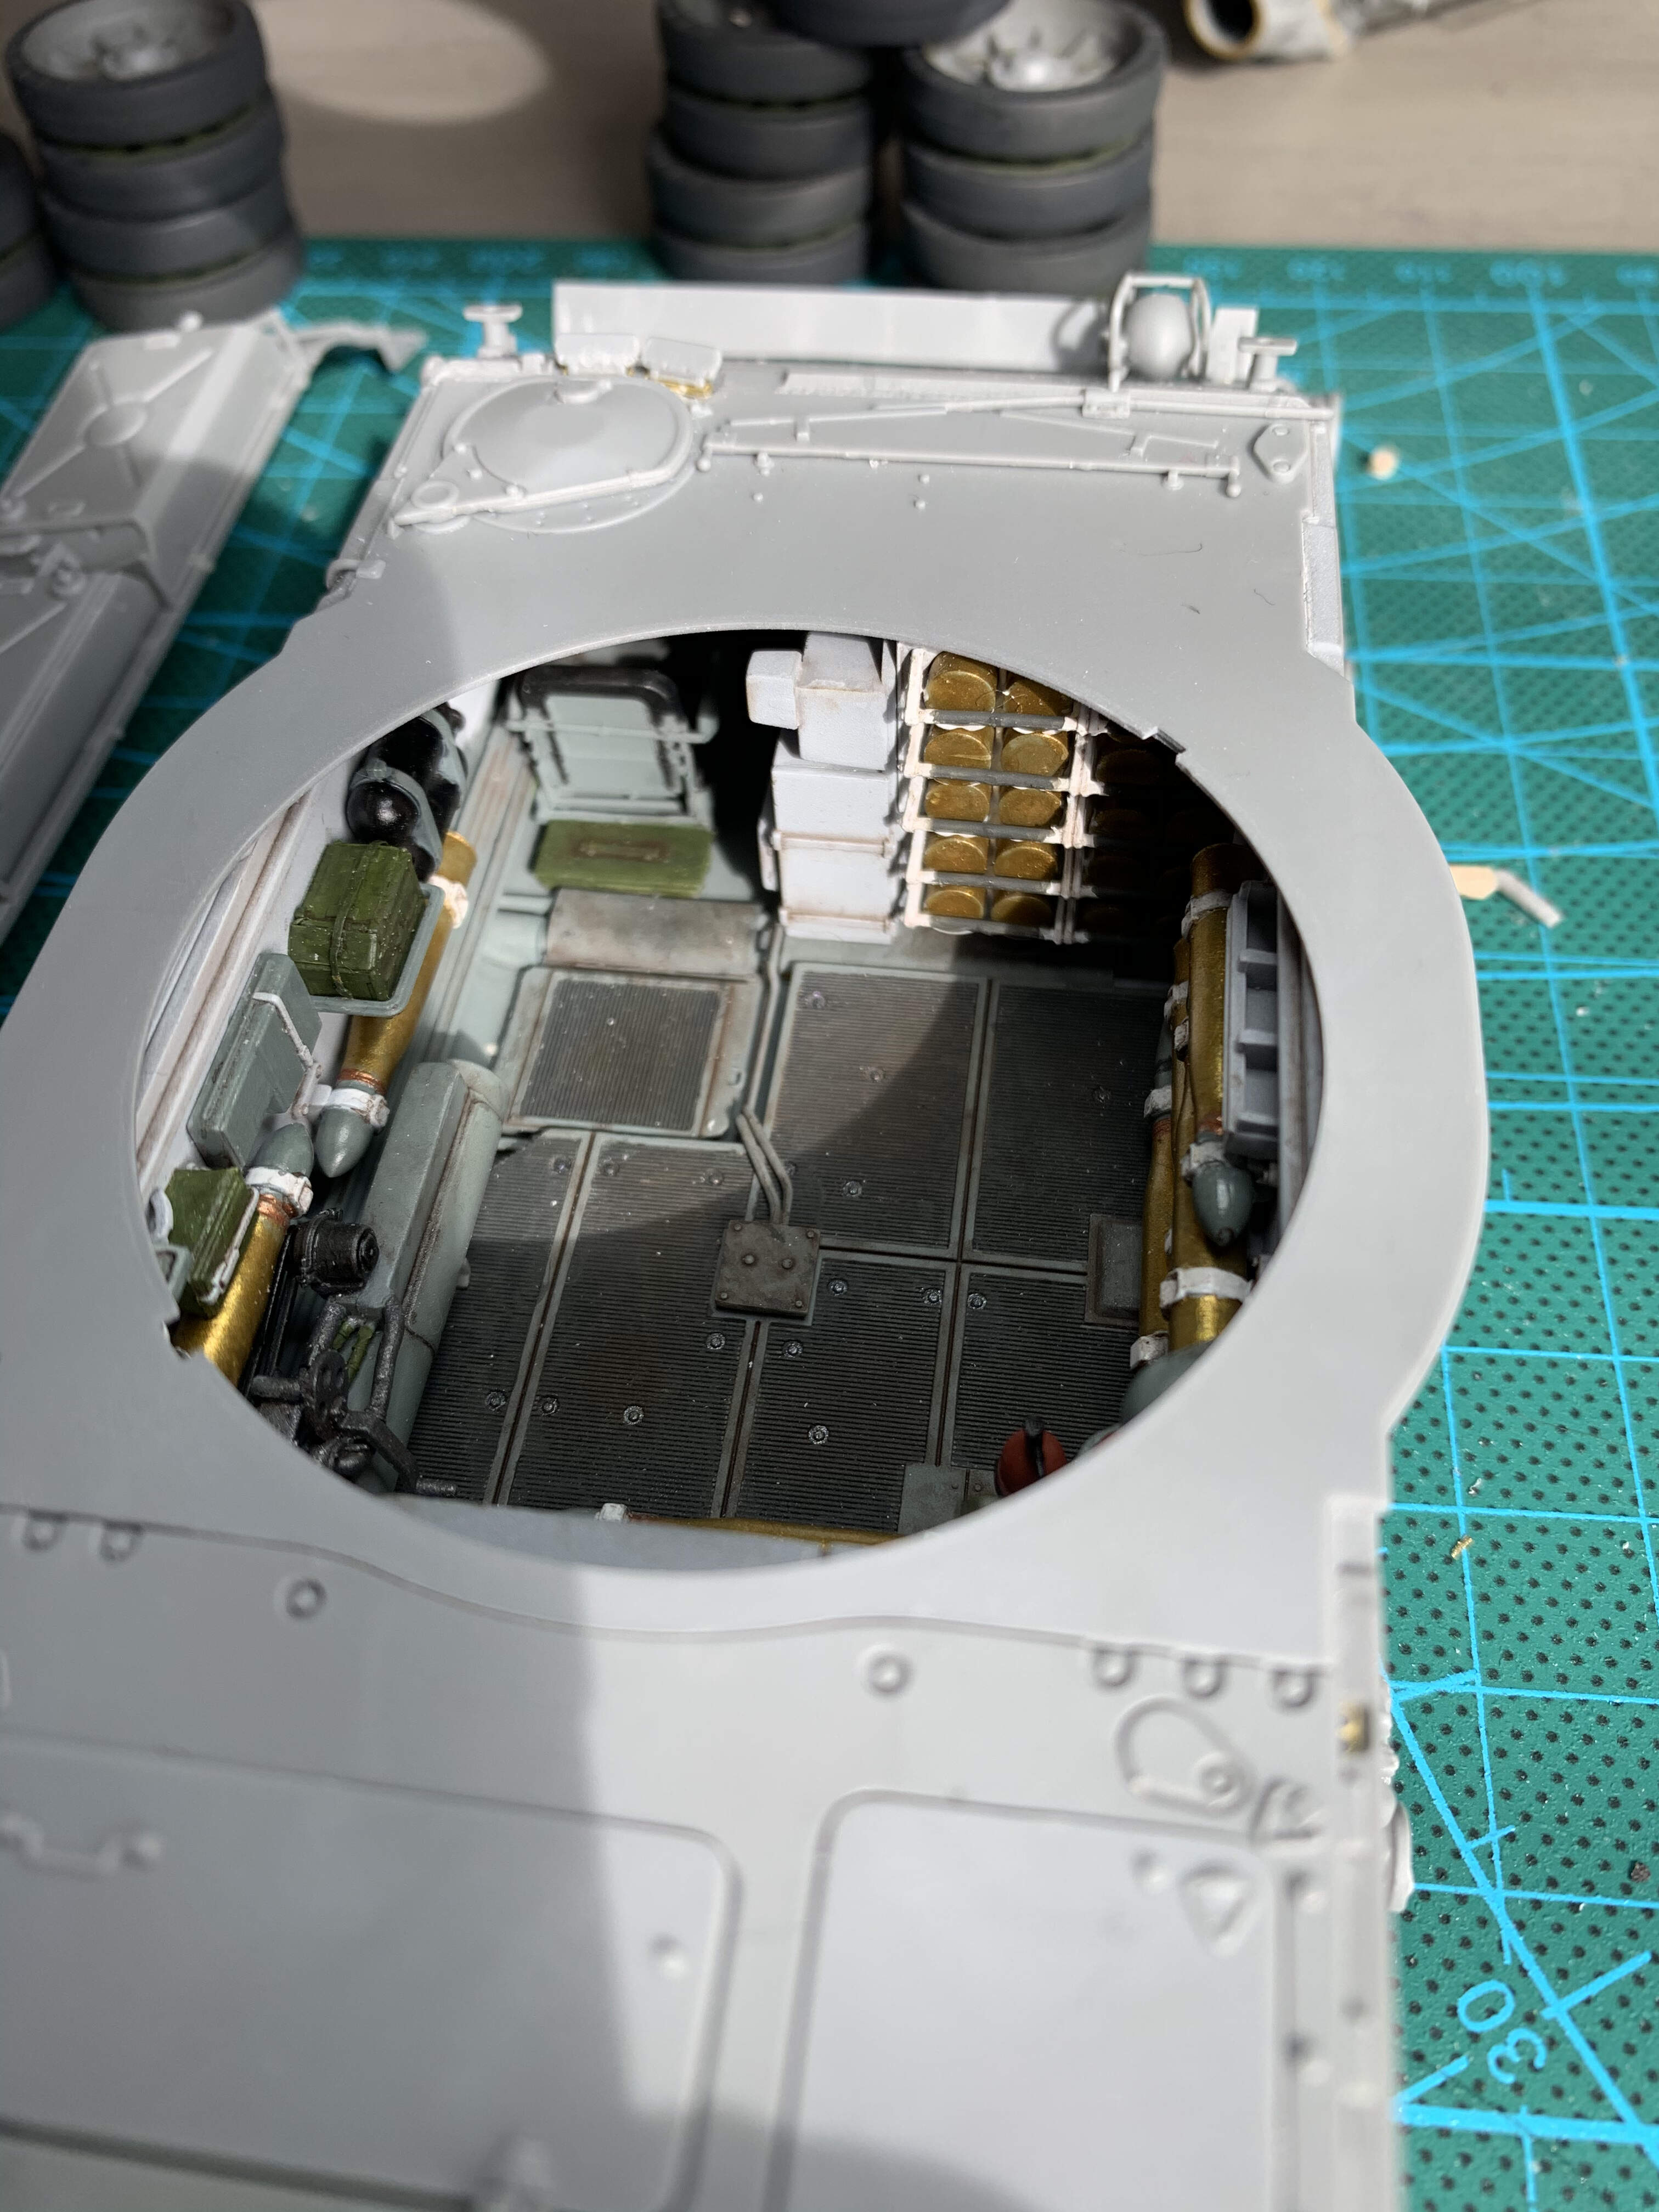
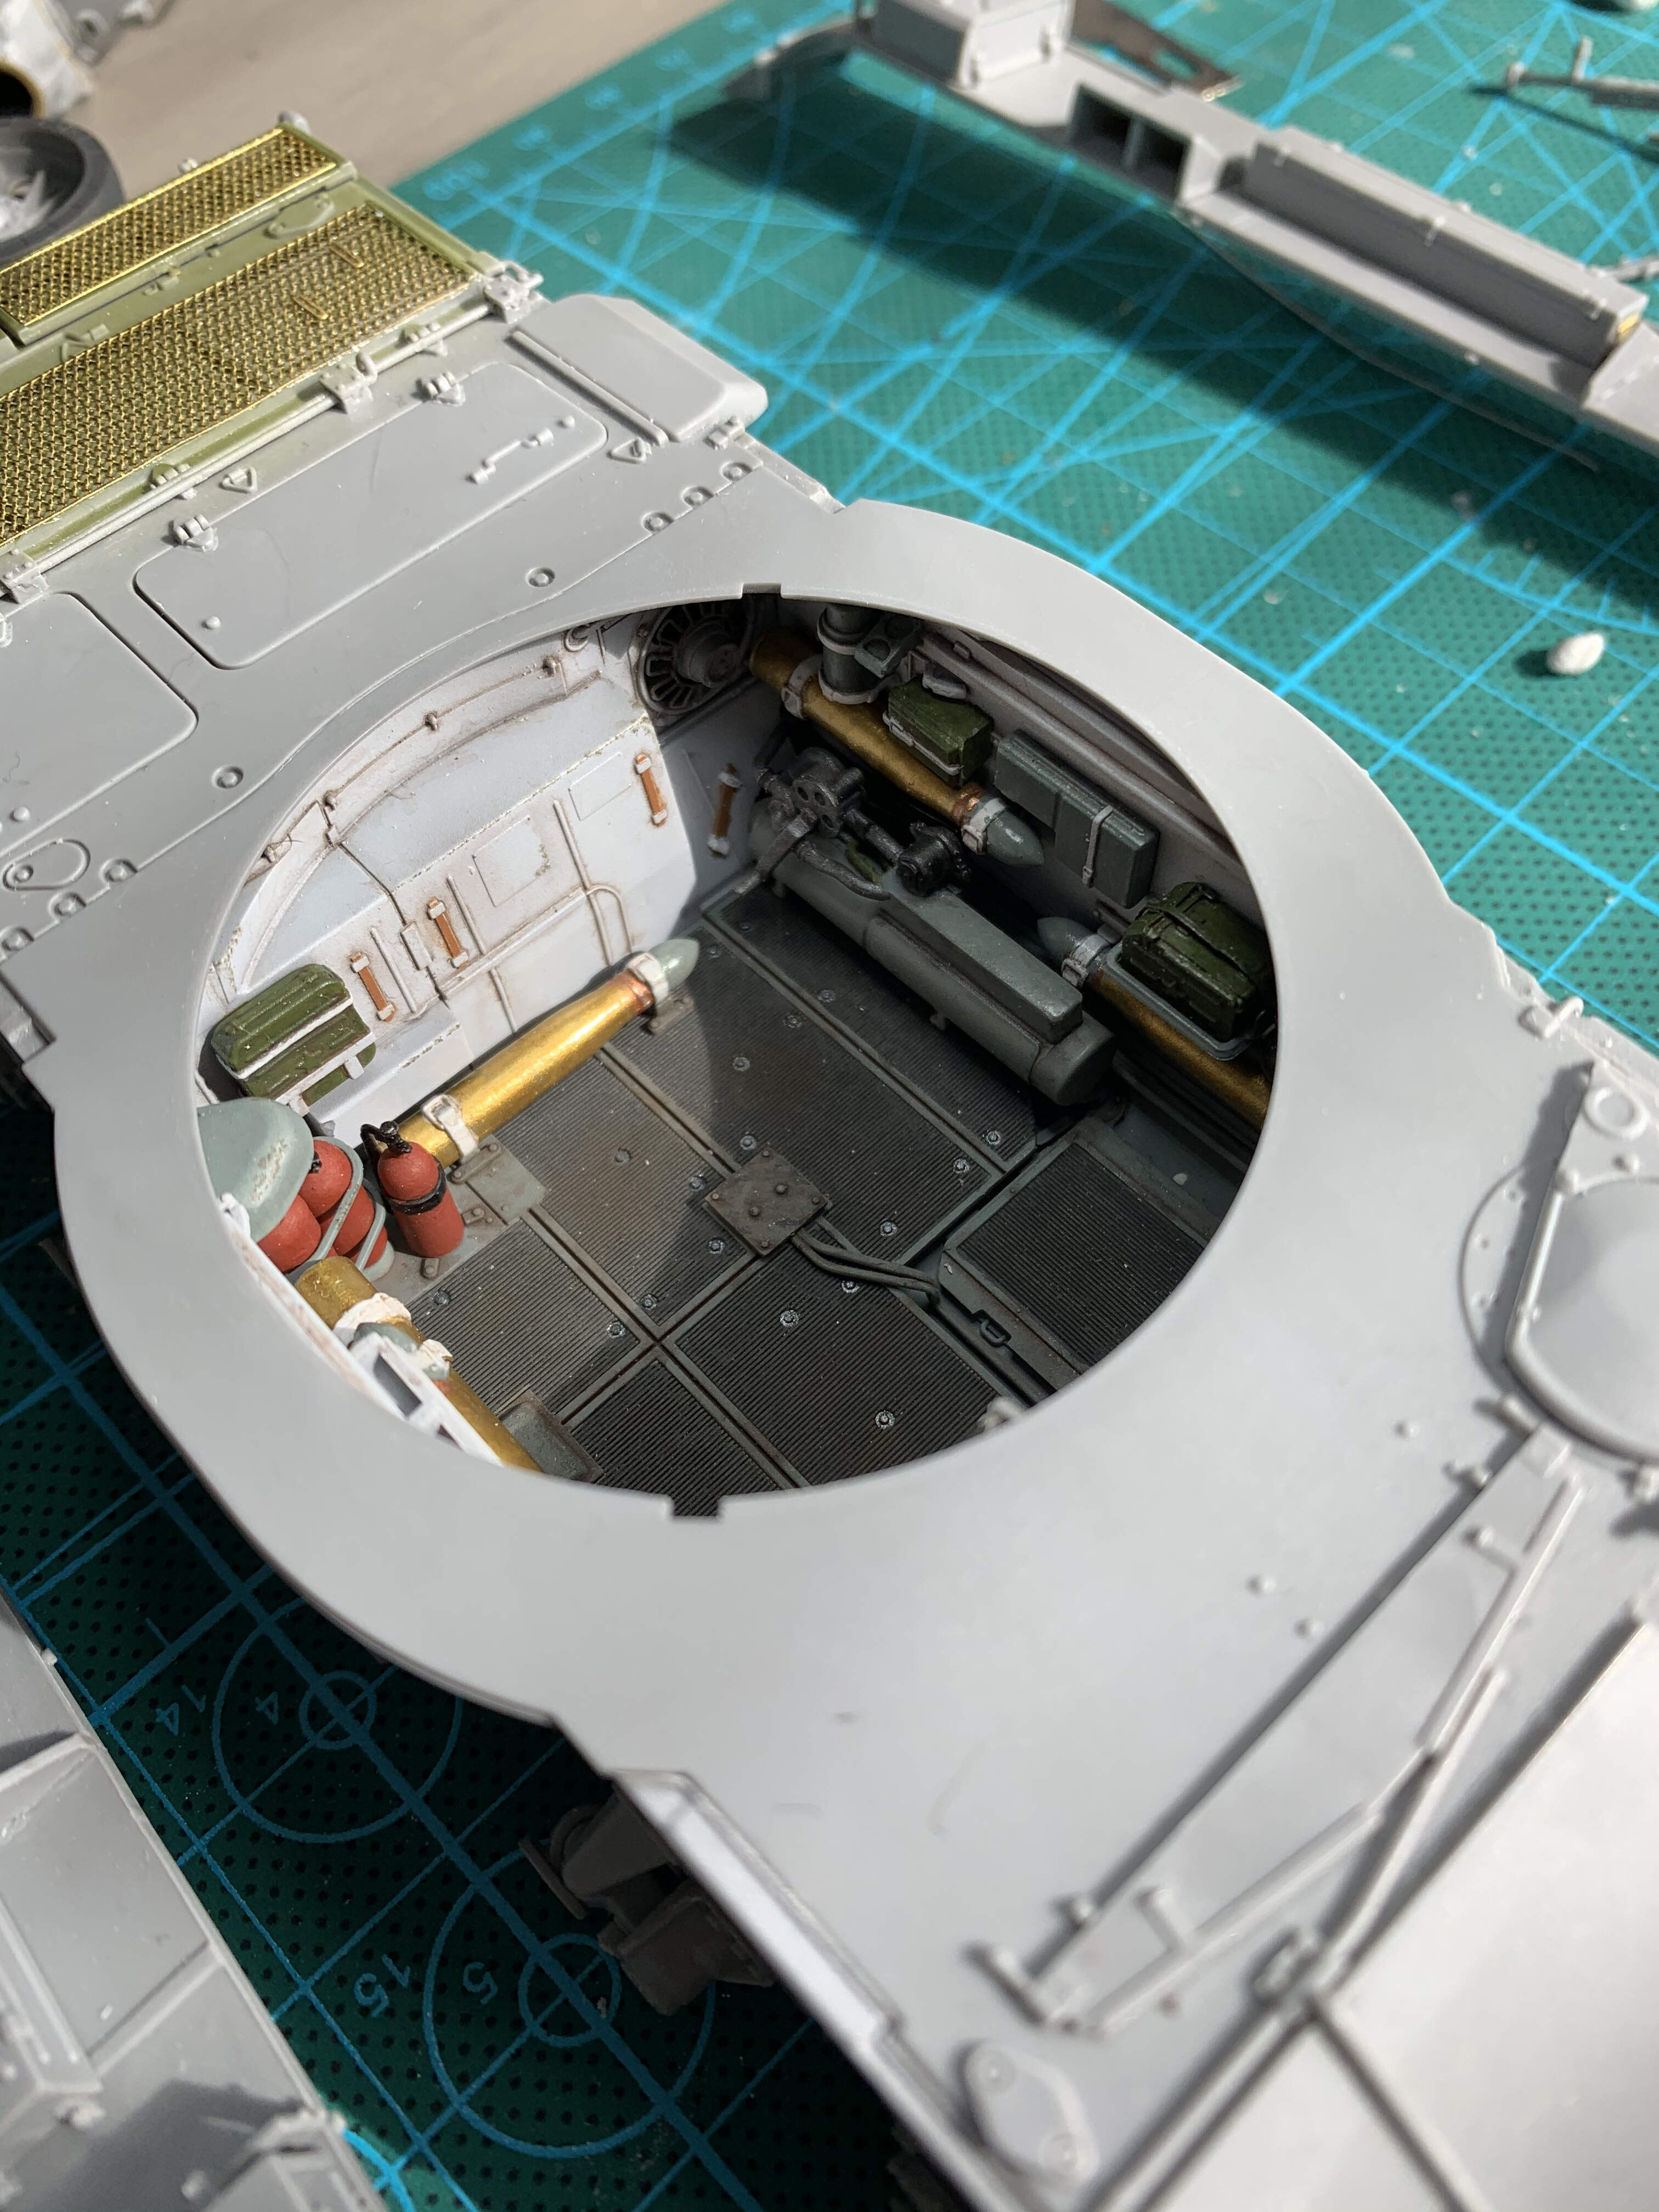
Some small progress - turret interior assembled. Ready for the white to be sprayed on the insides now.
2 Likes
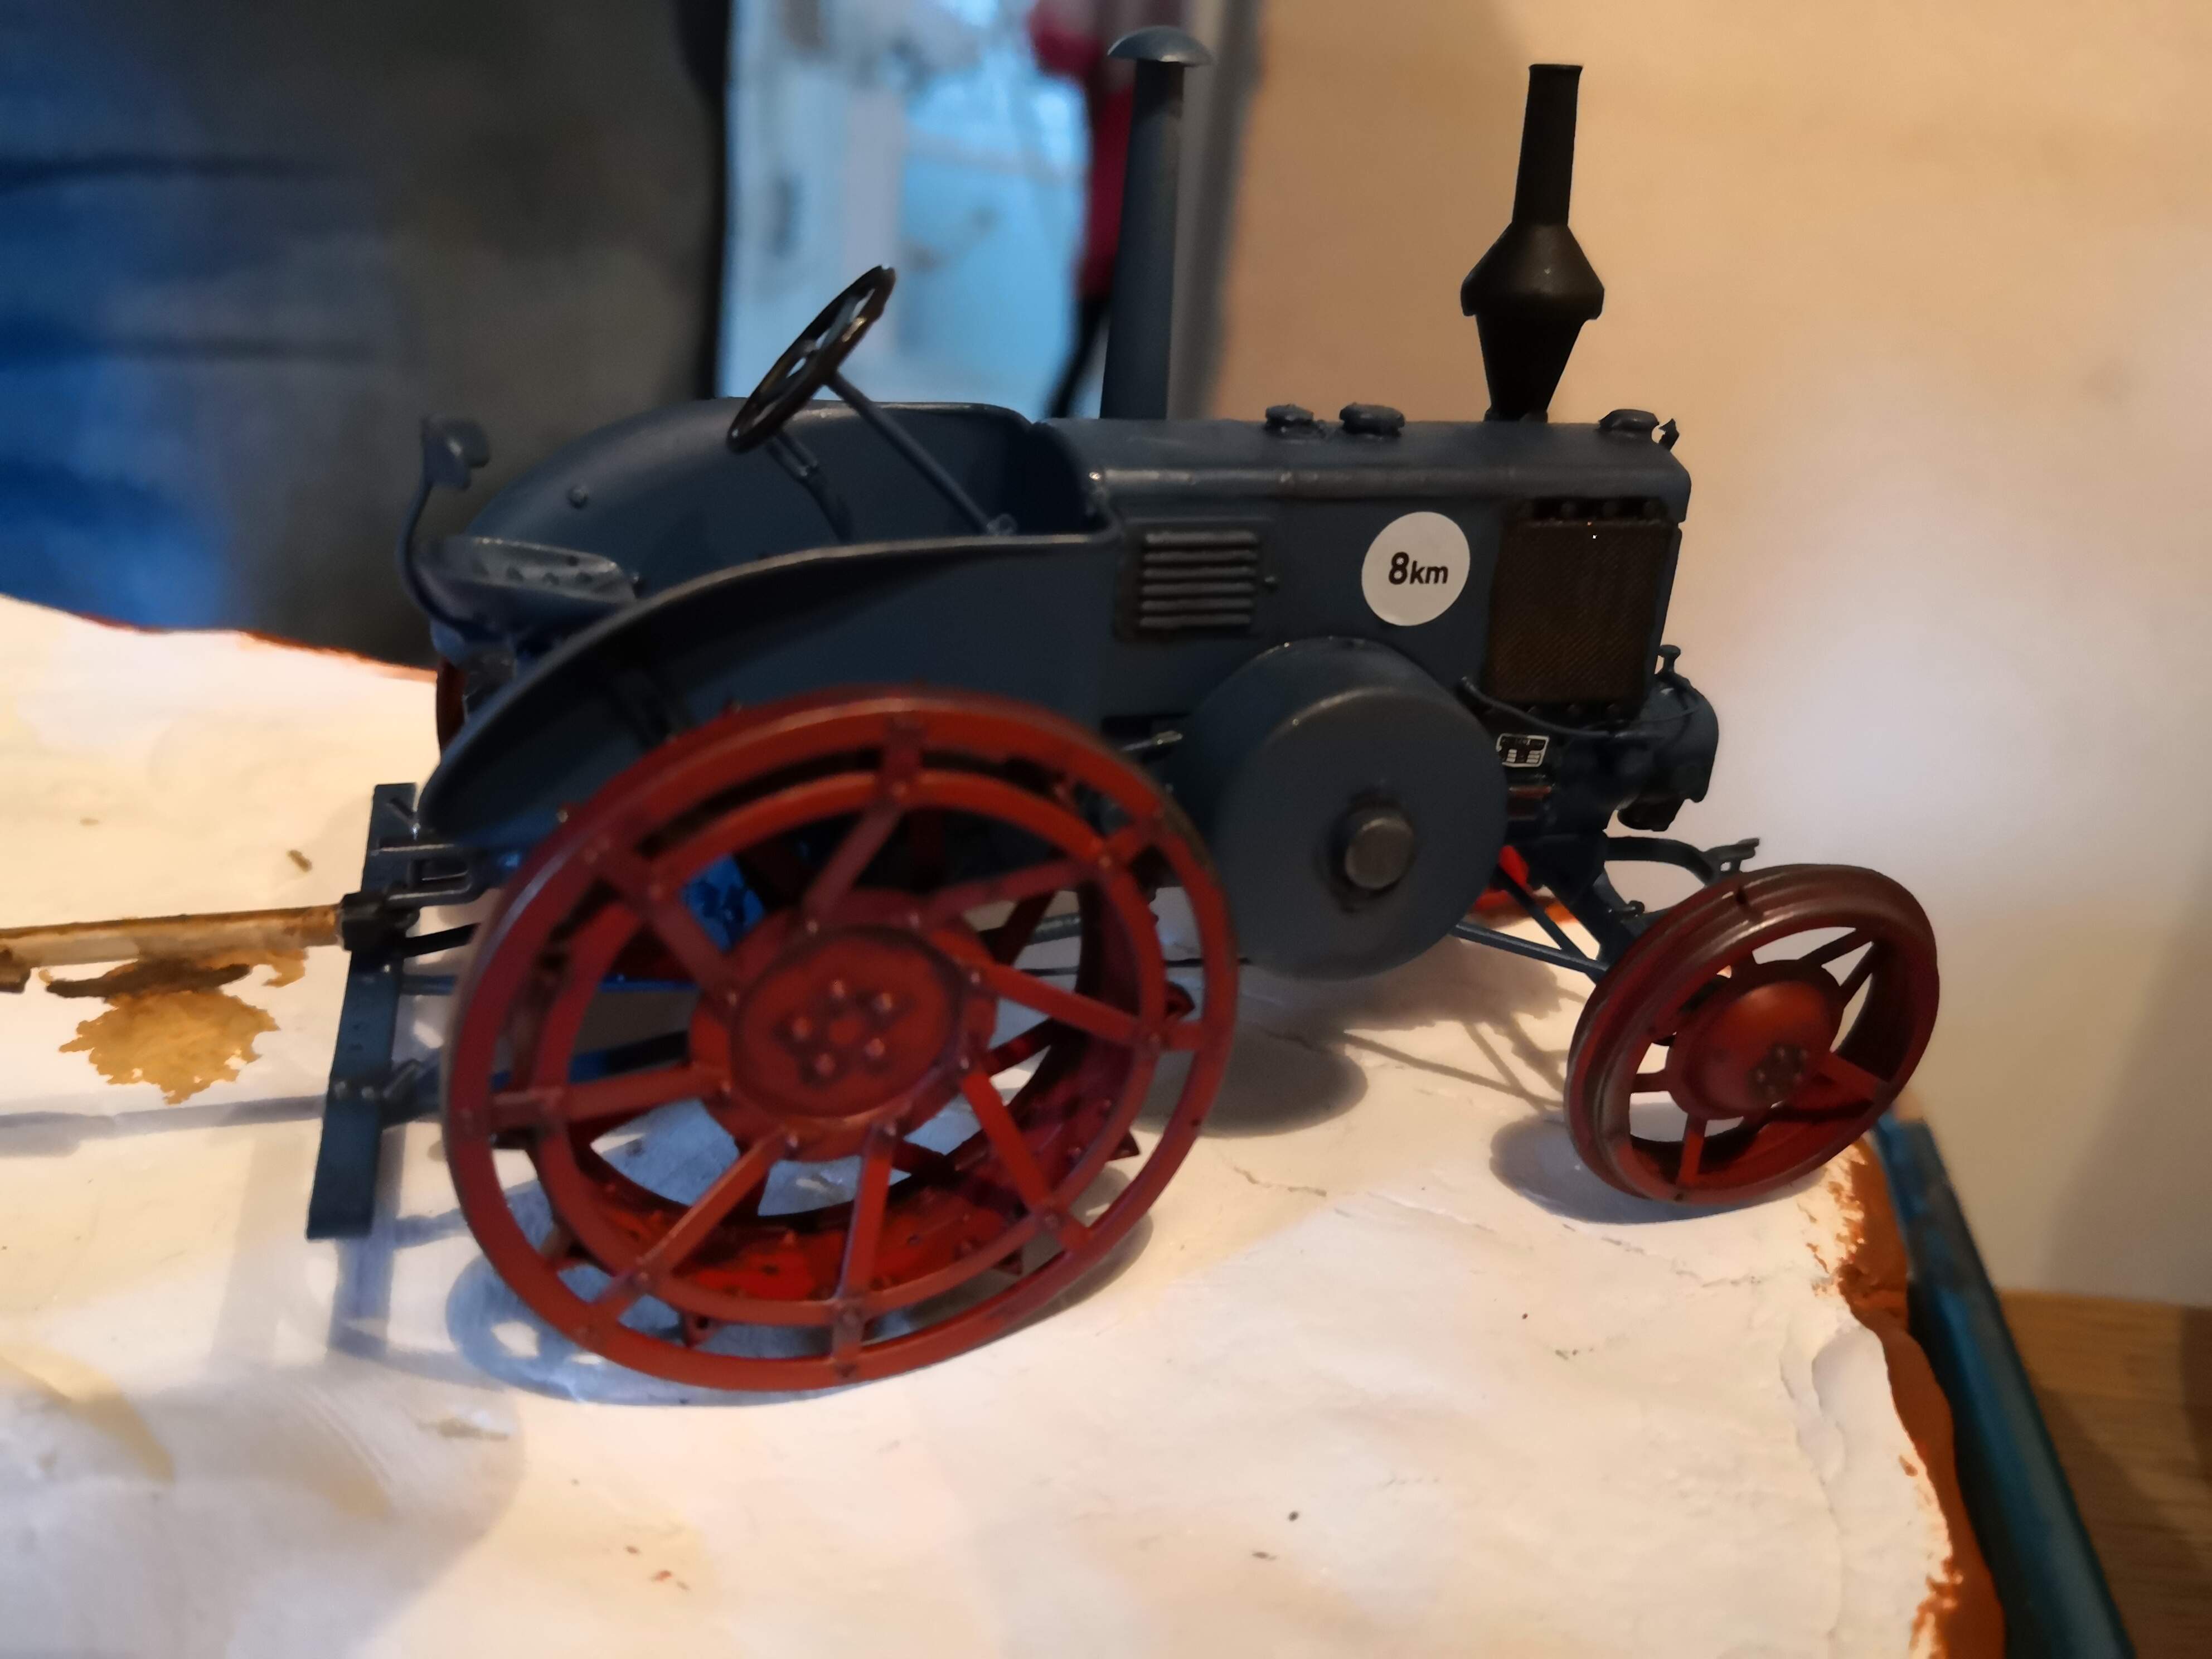
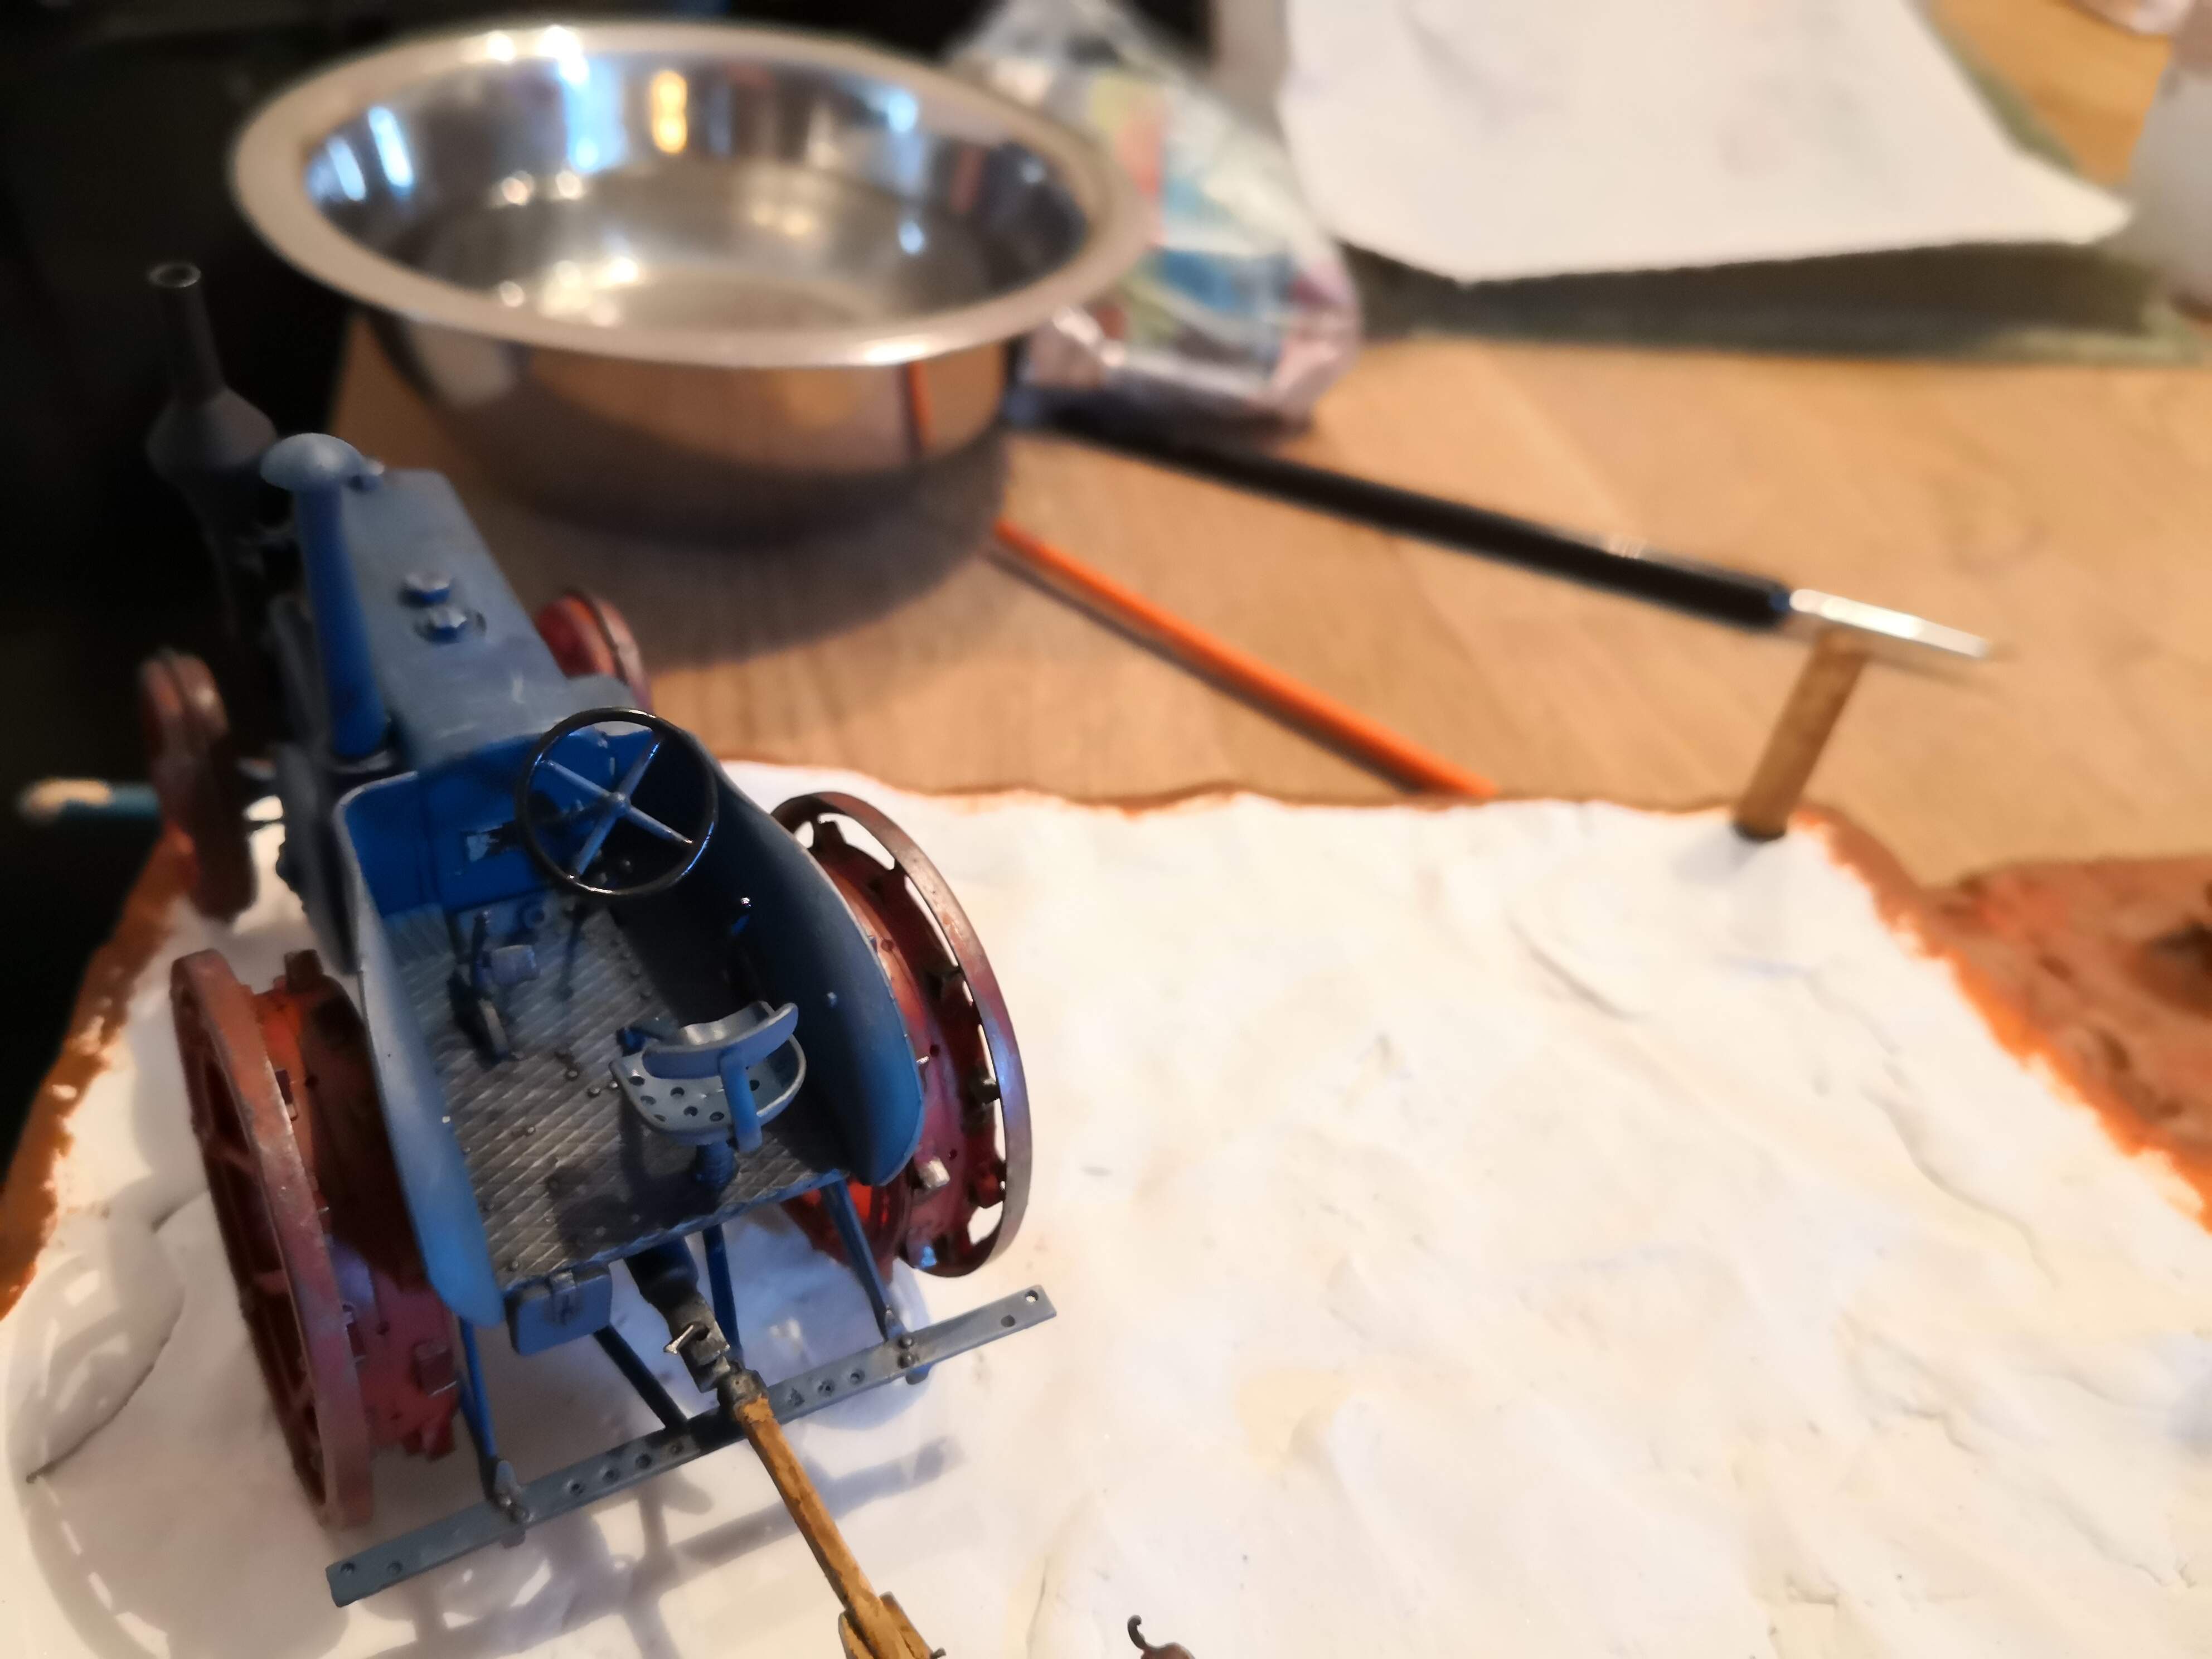
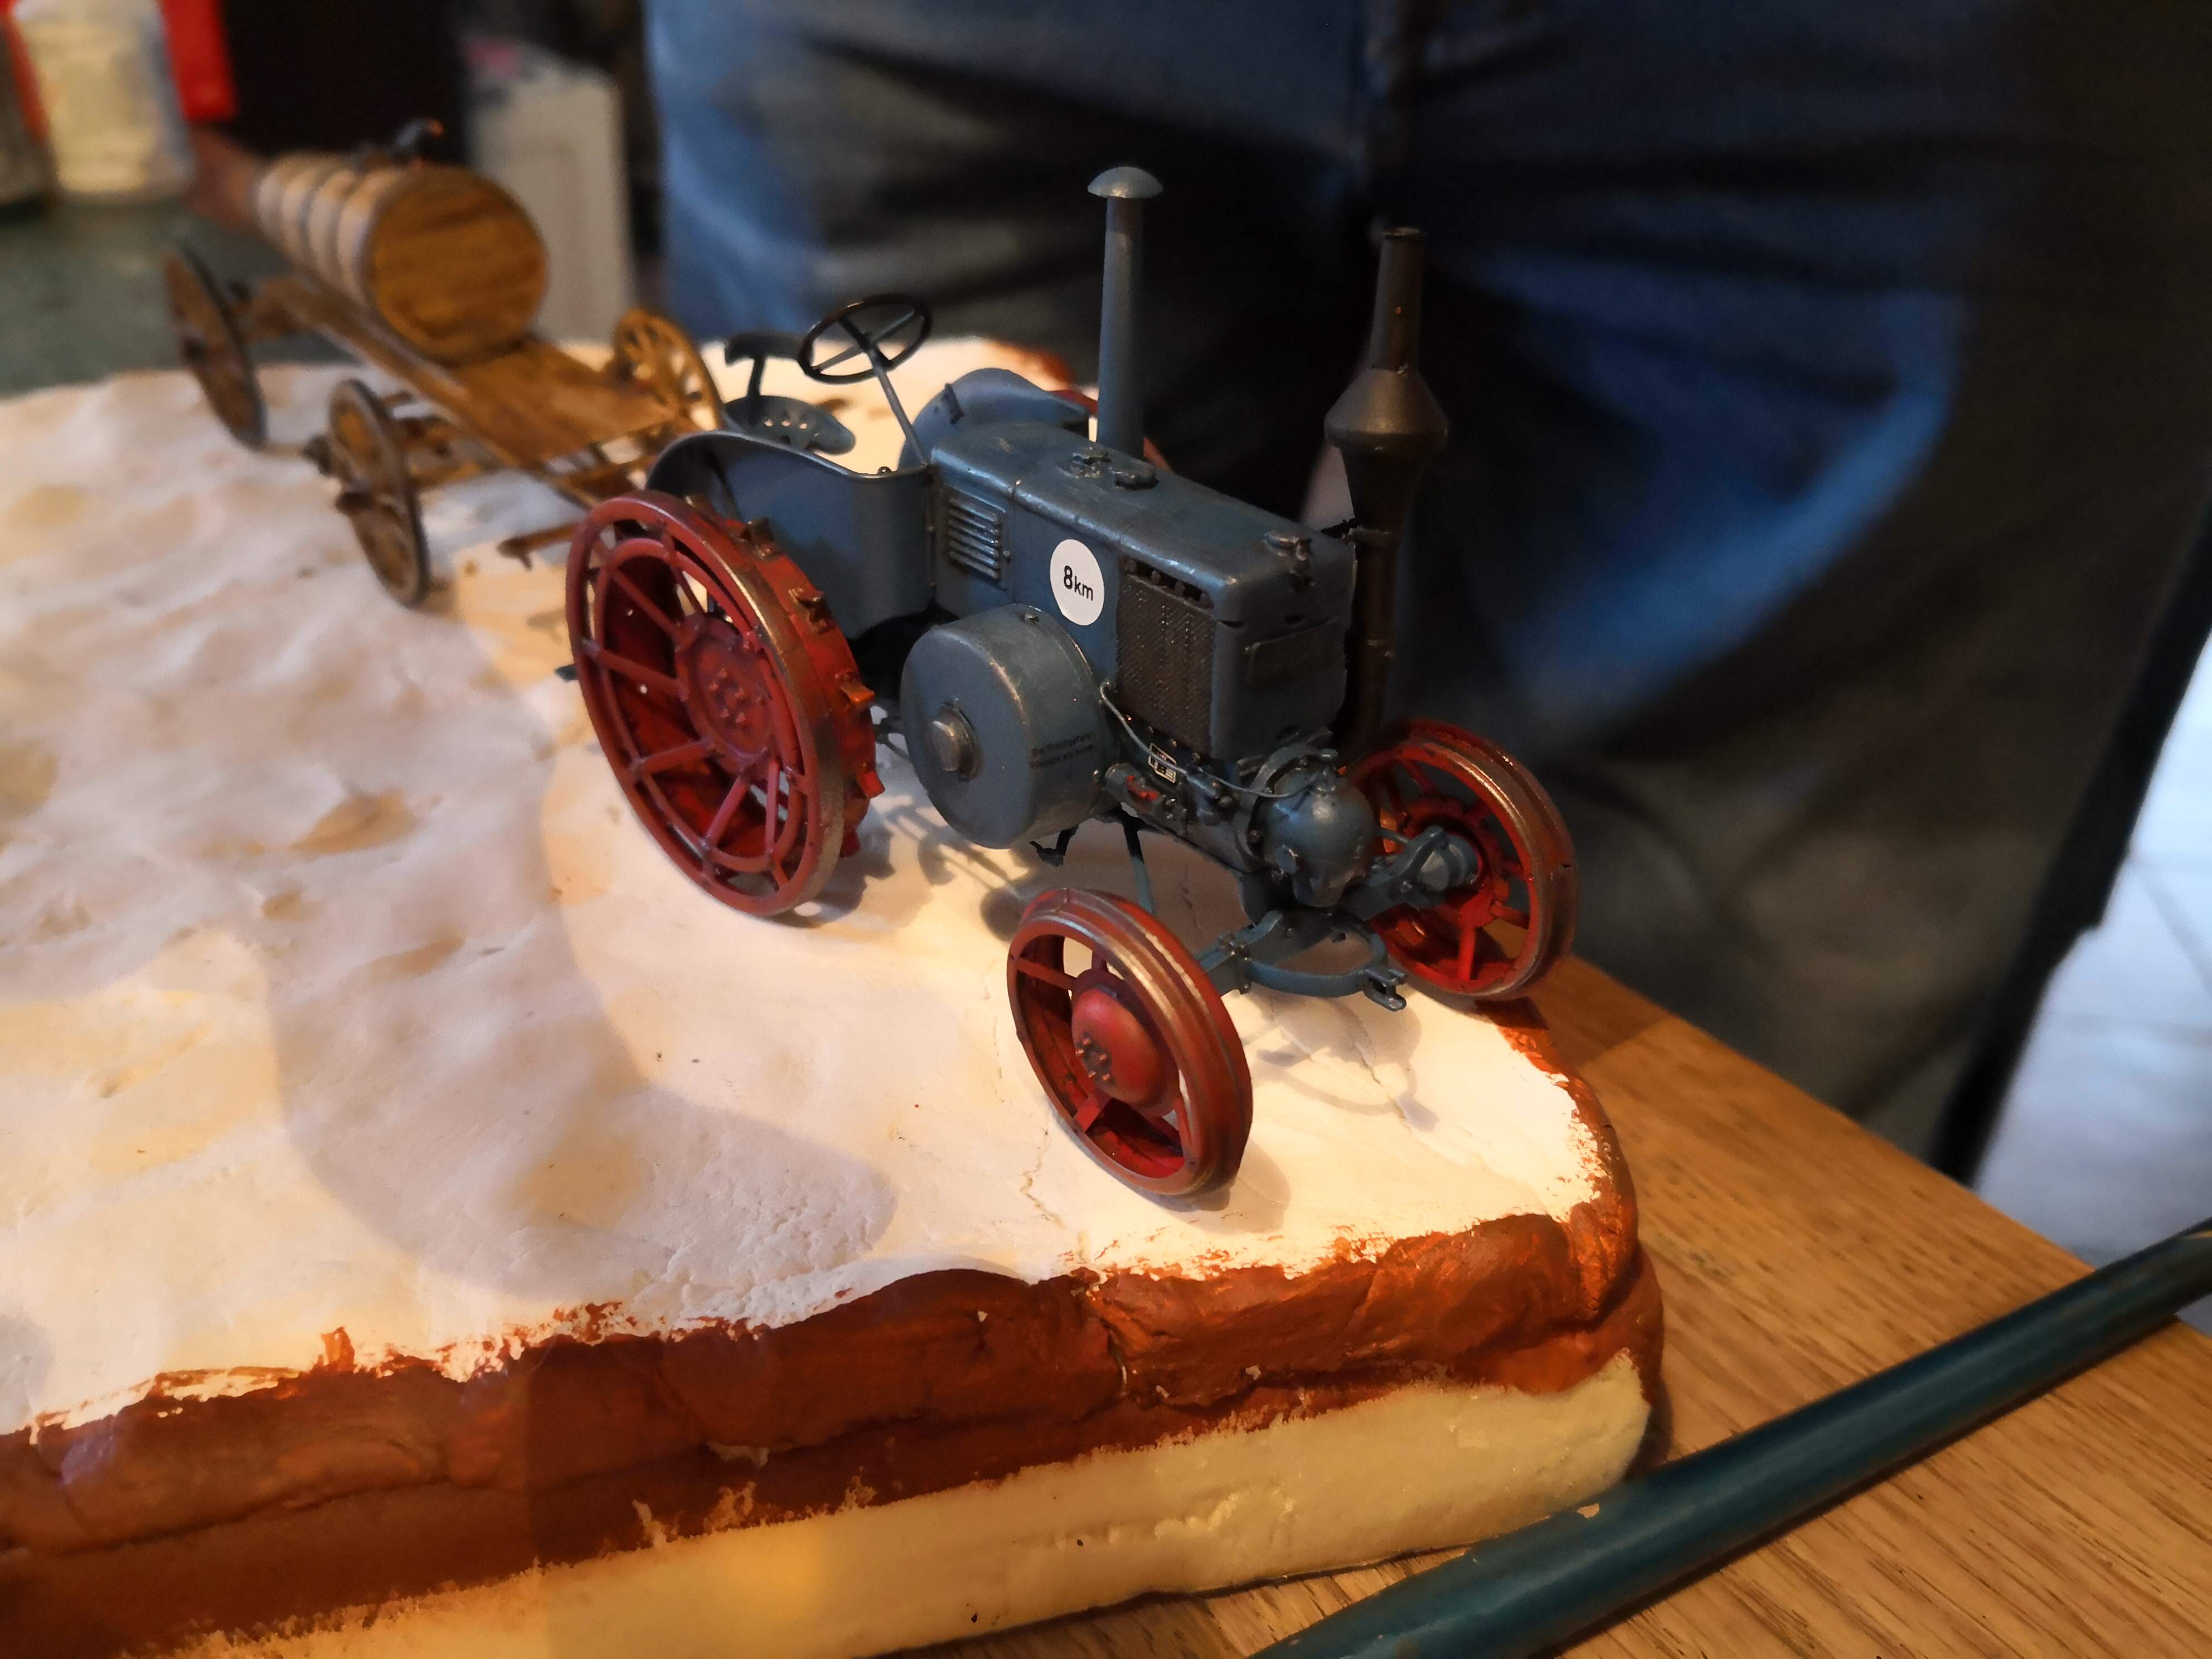
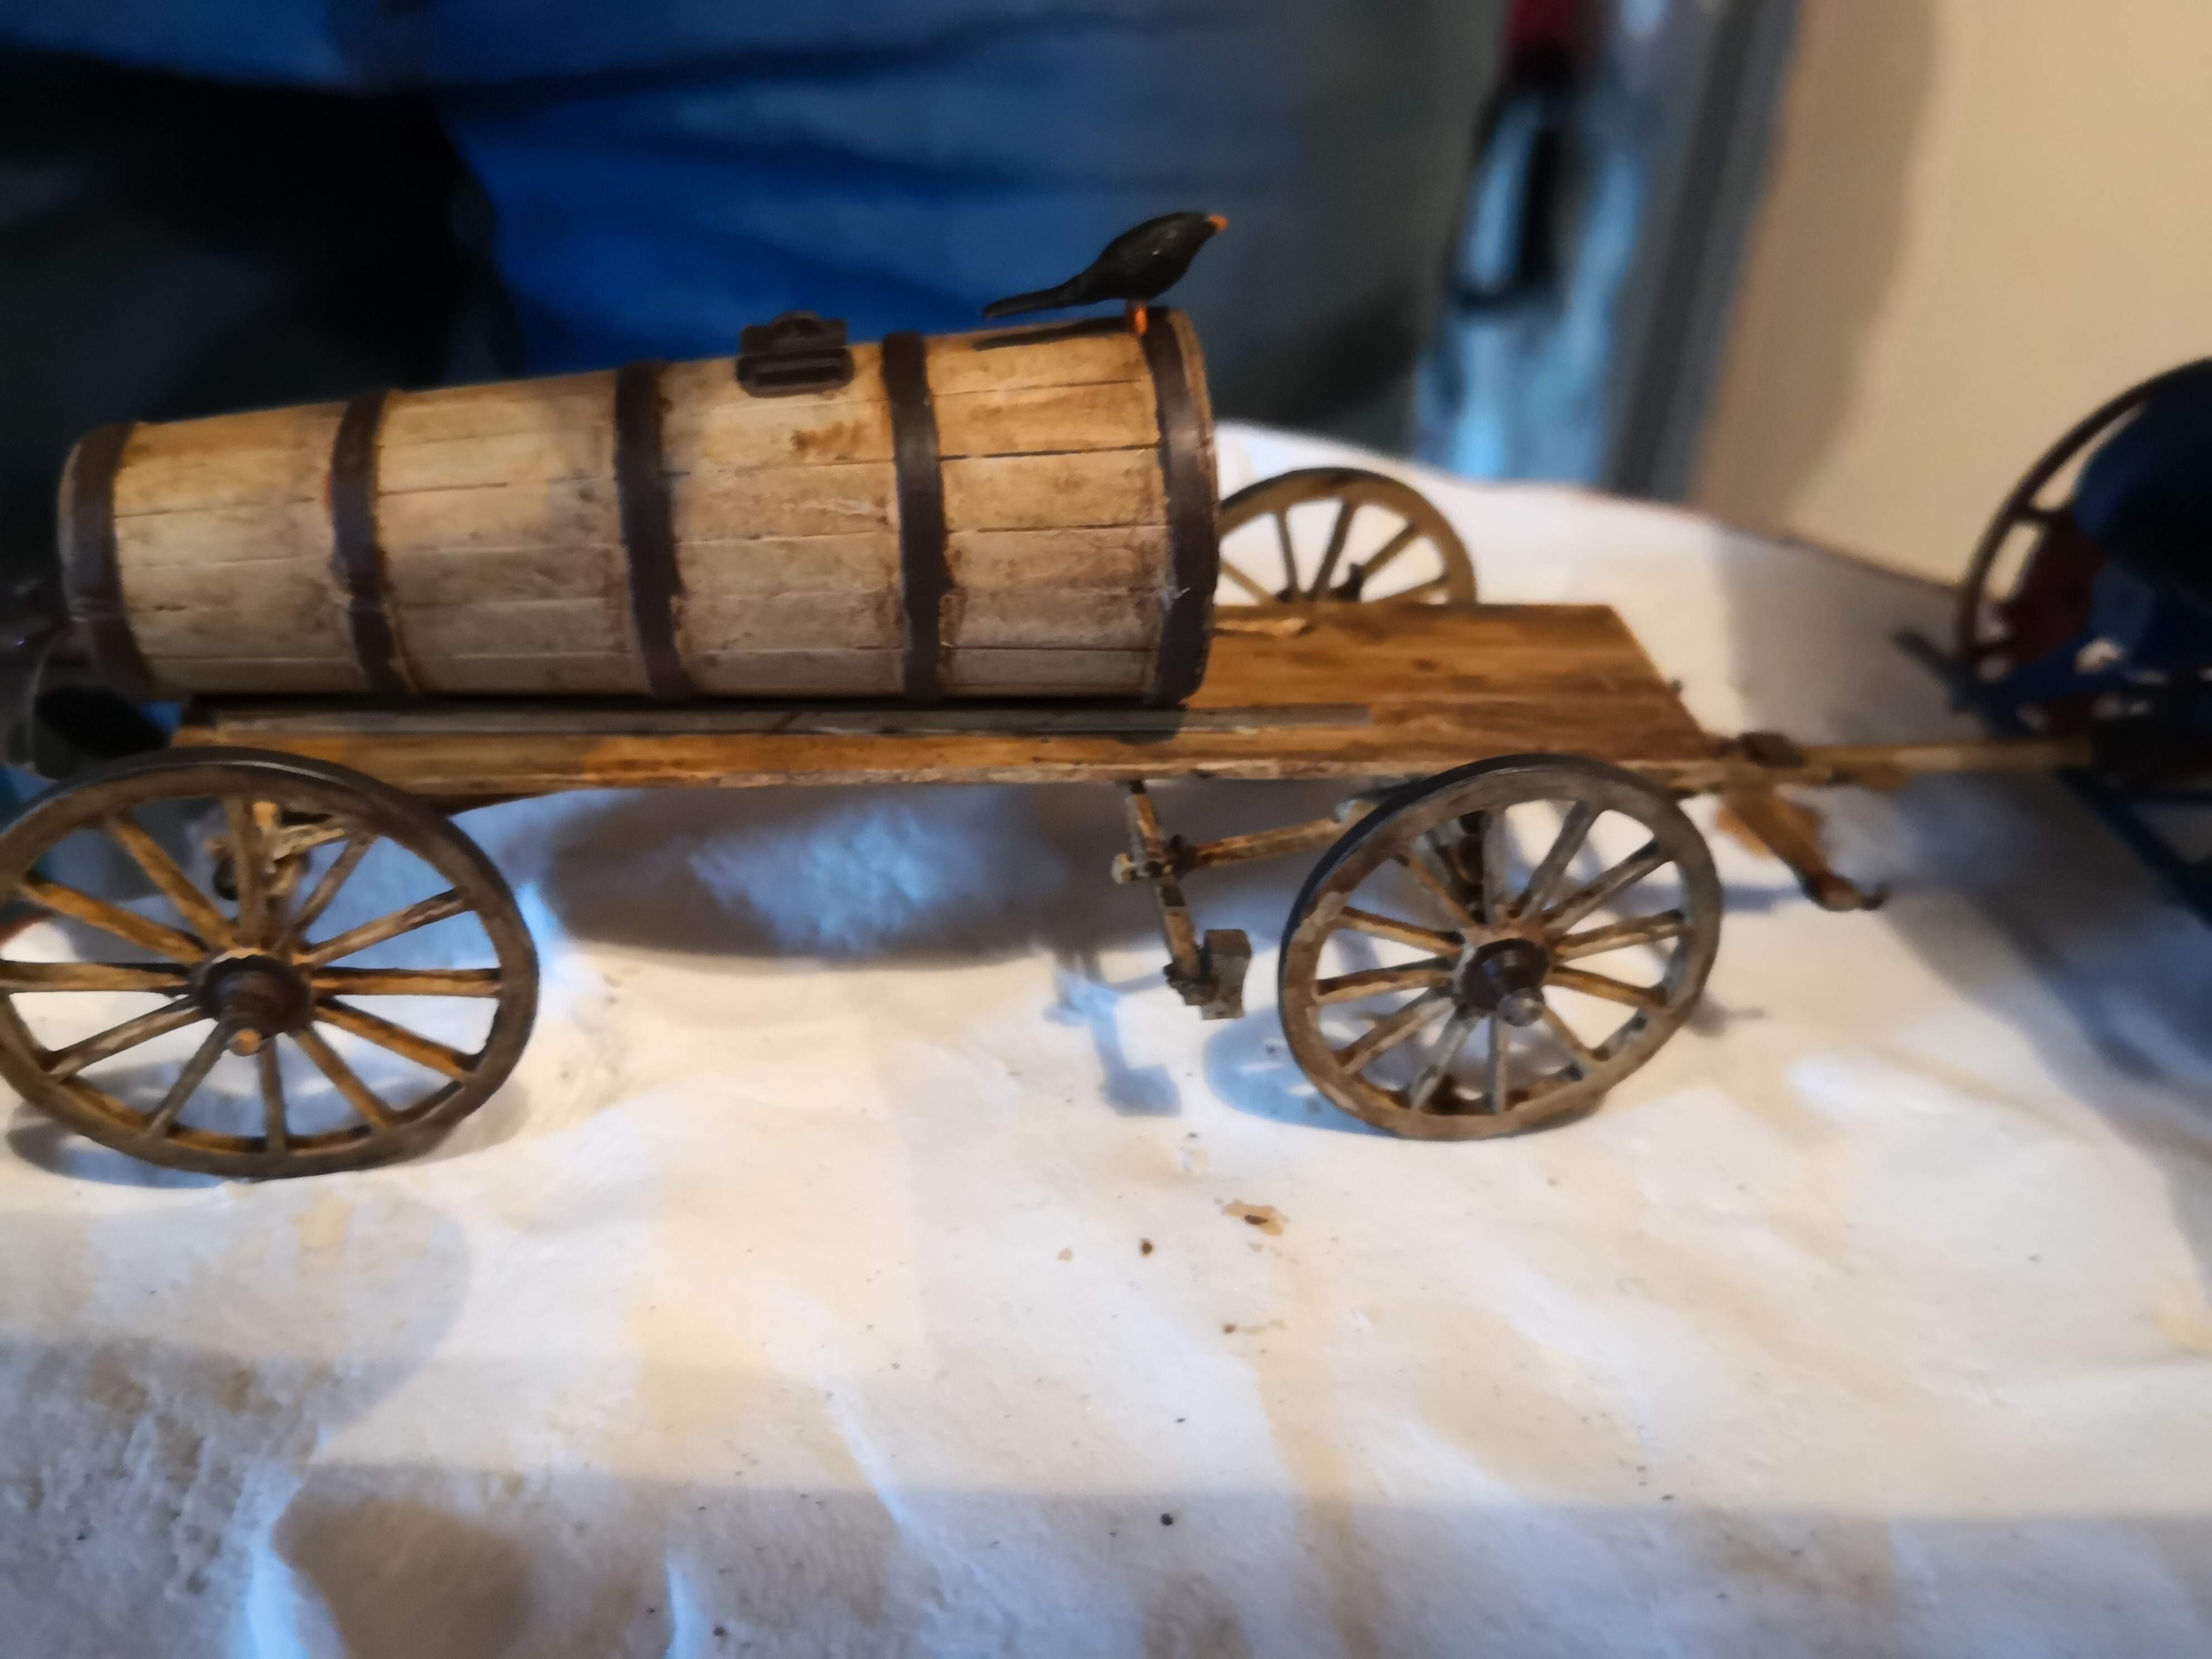
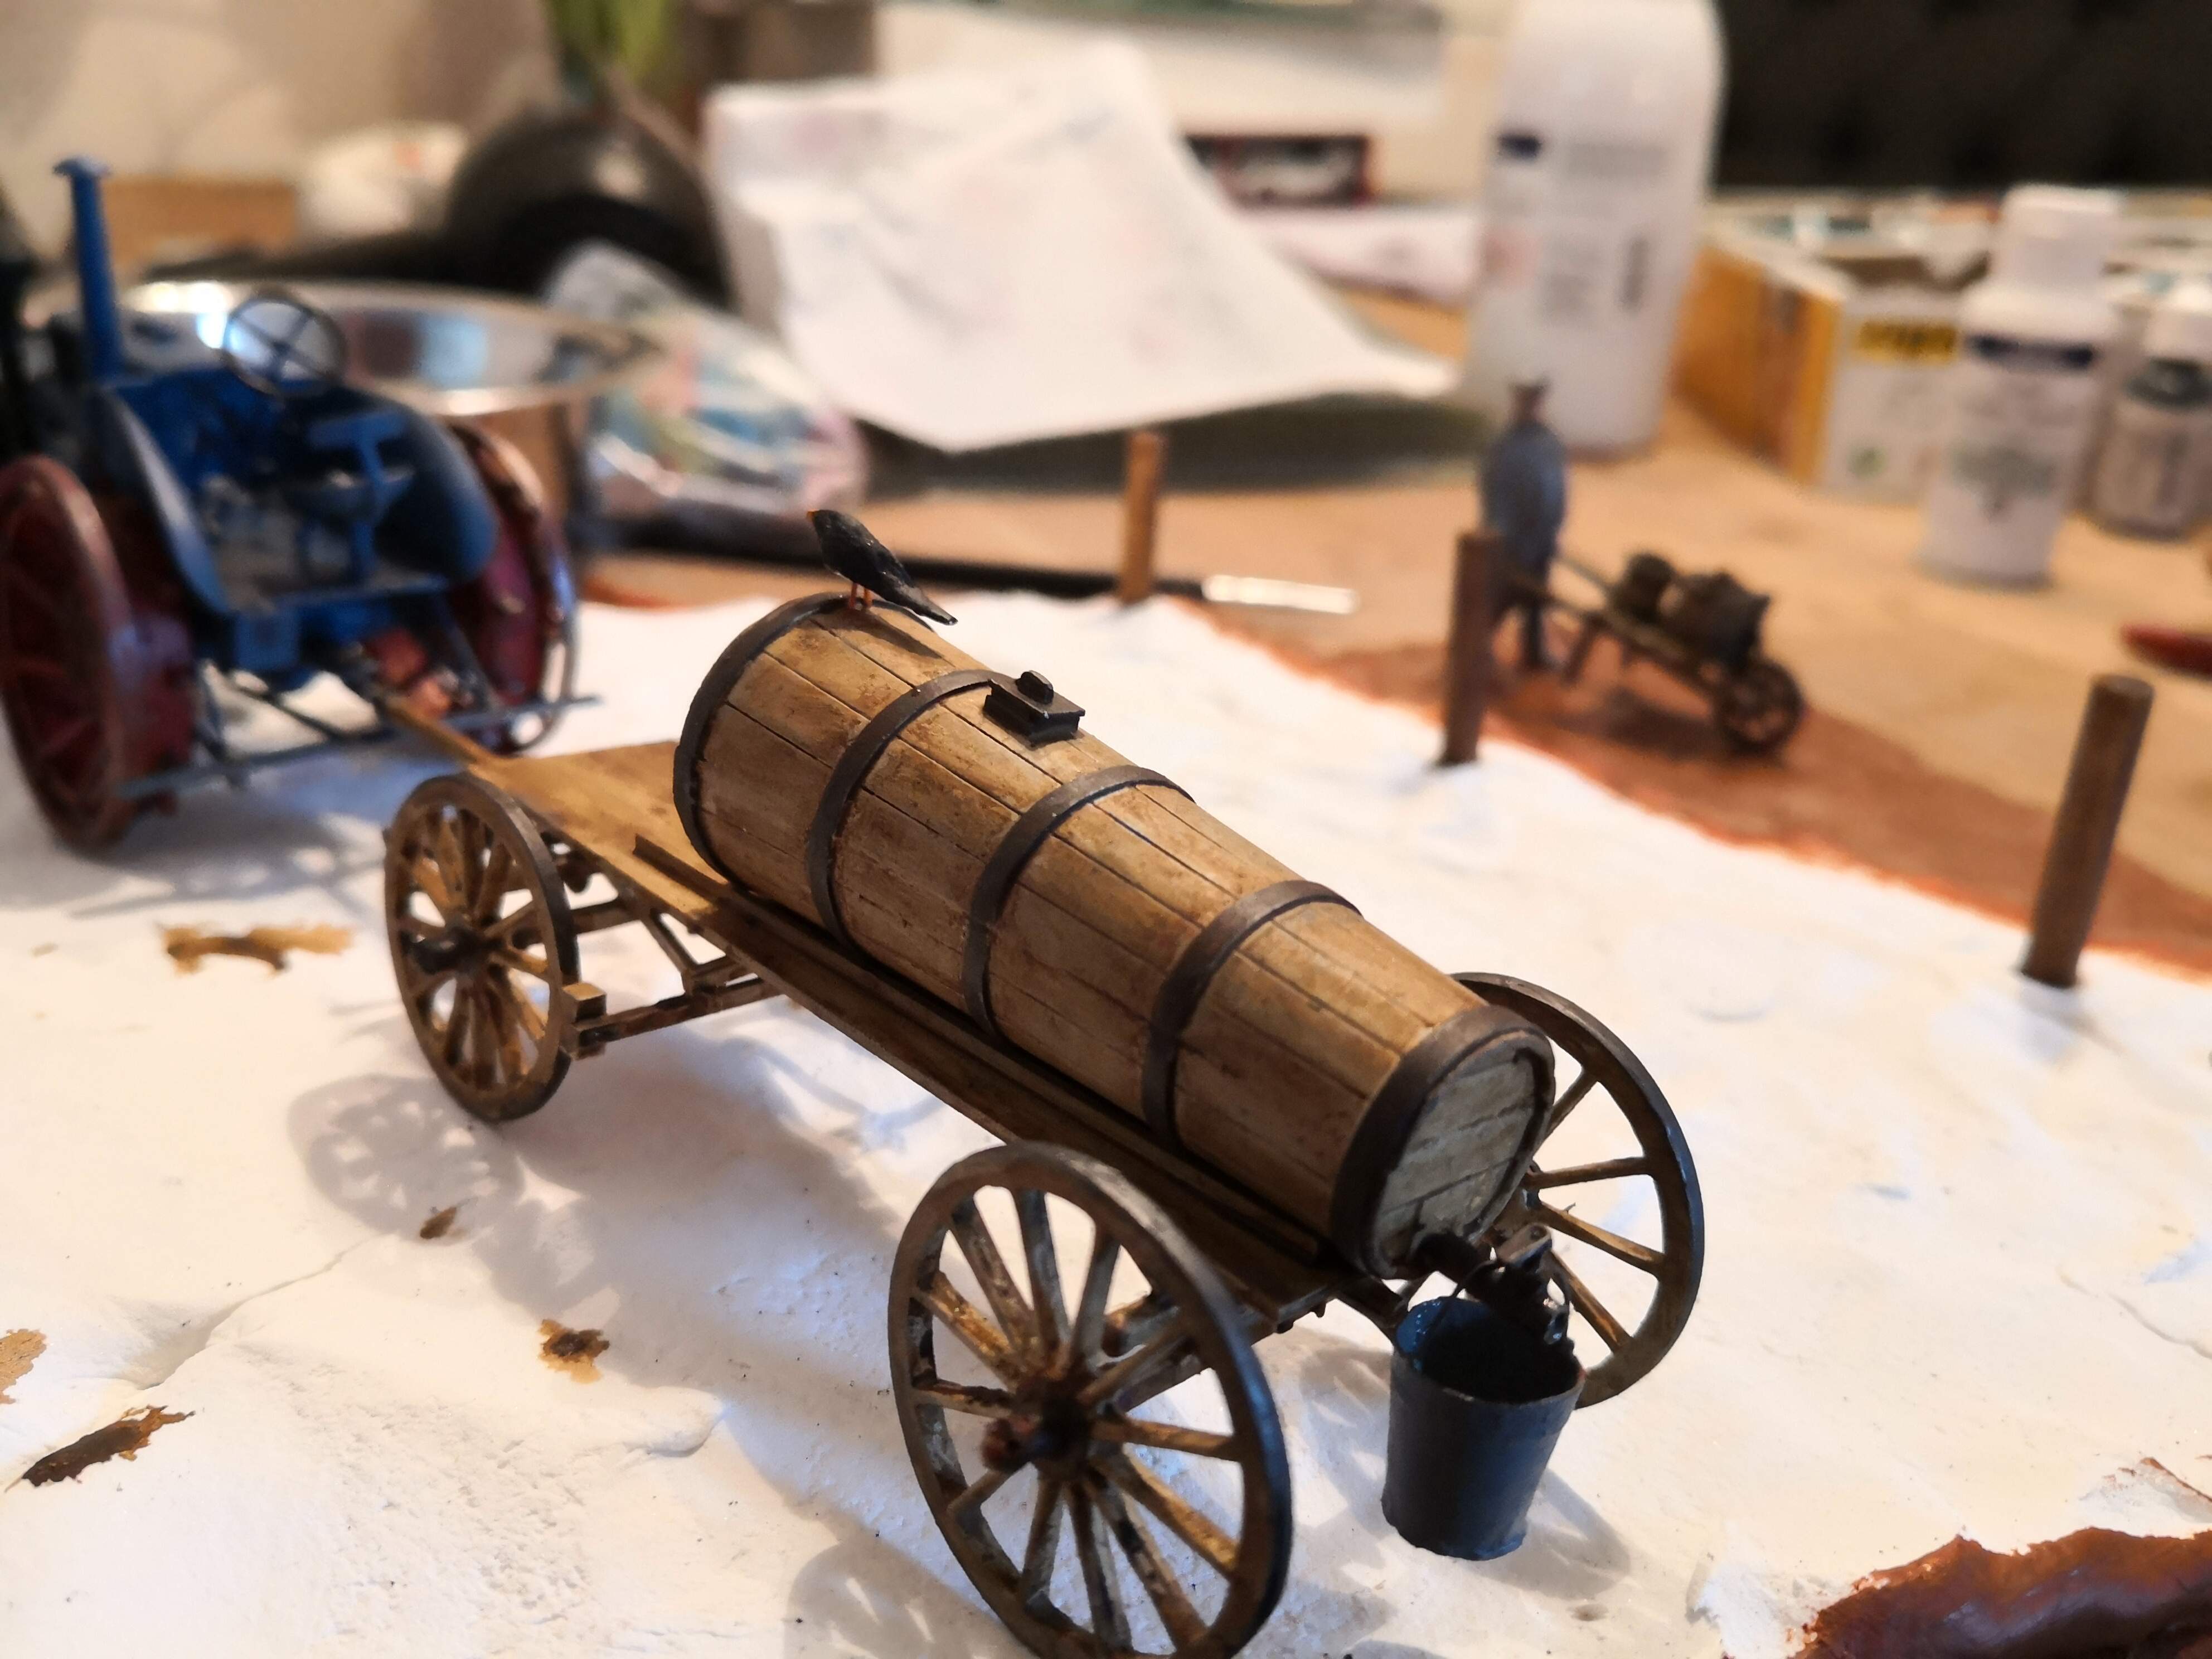
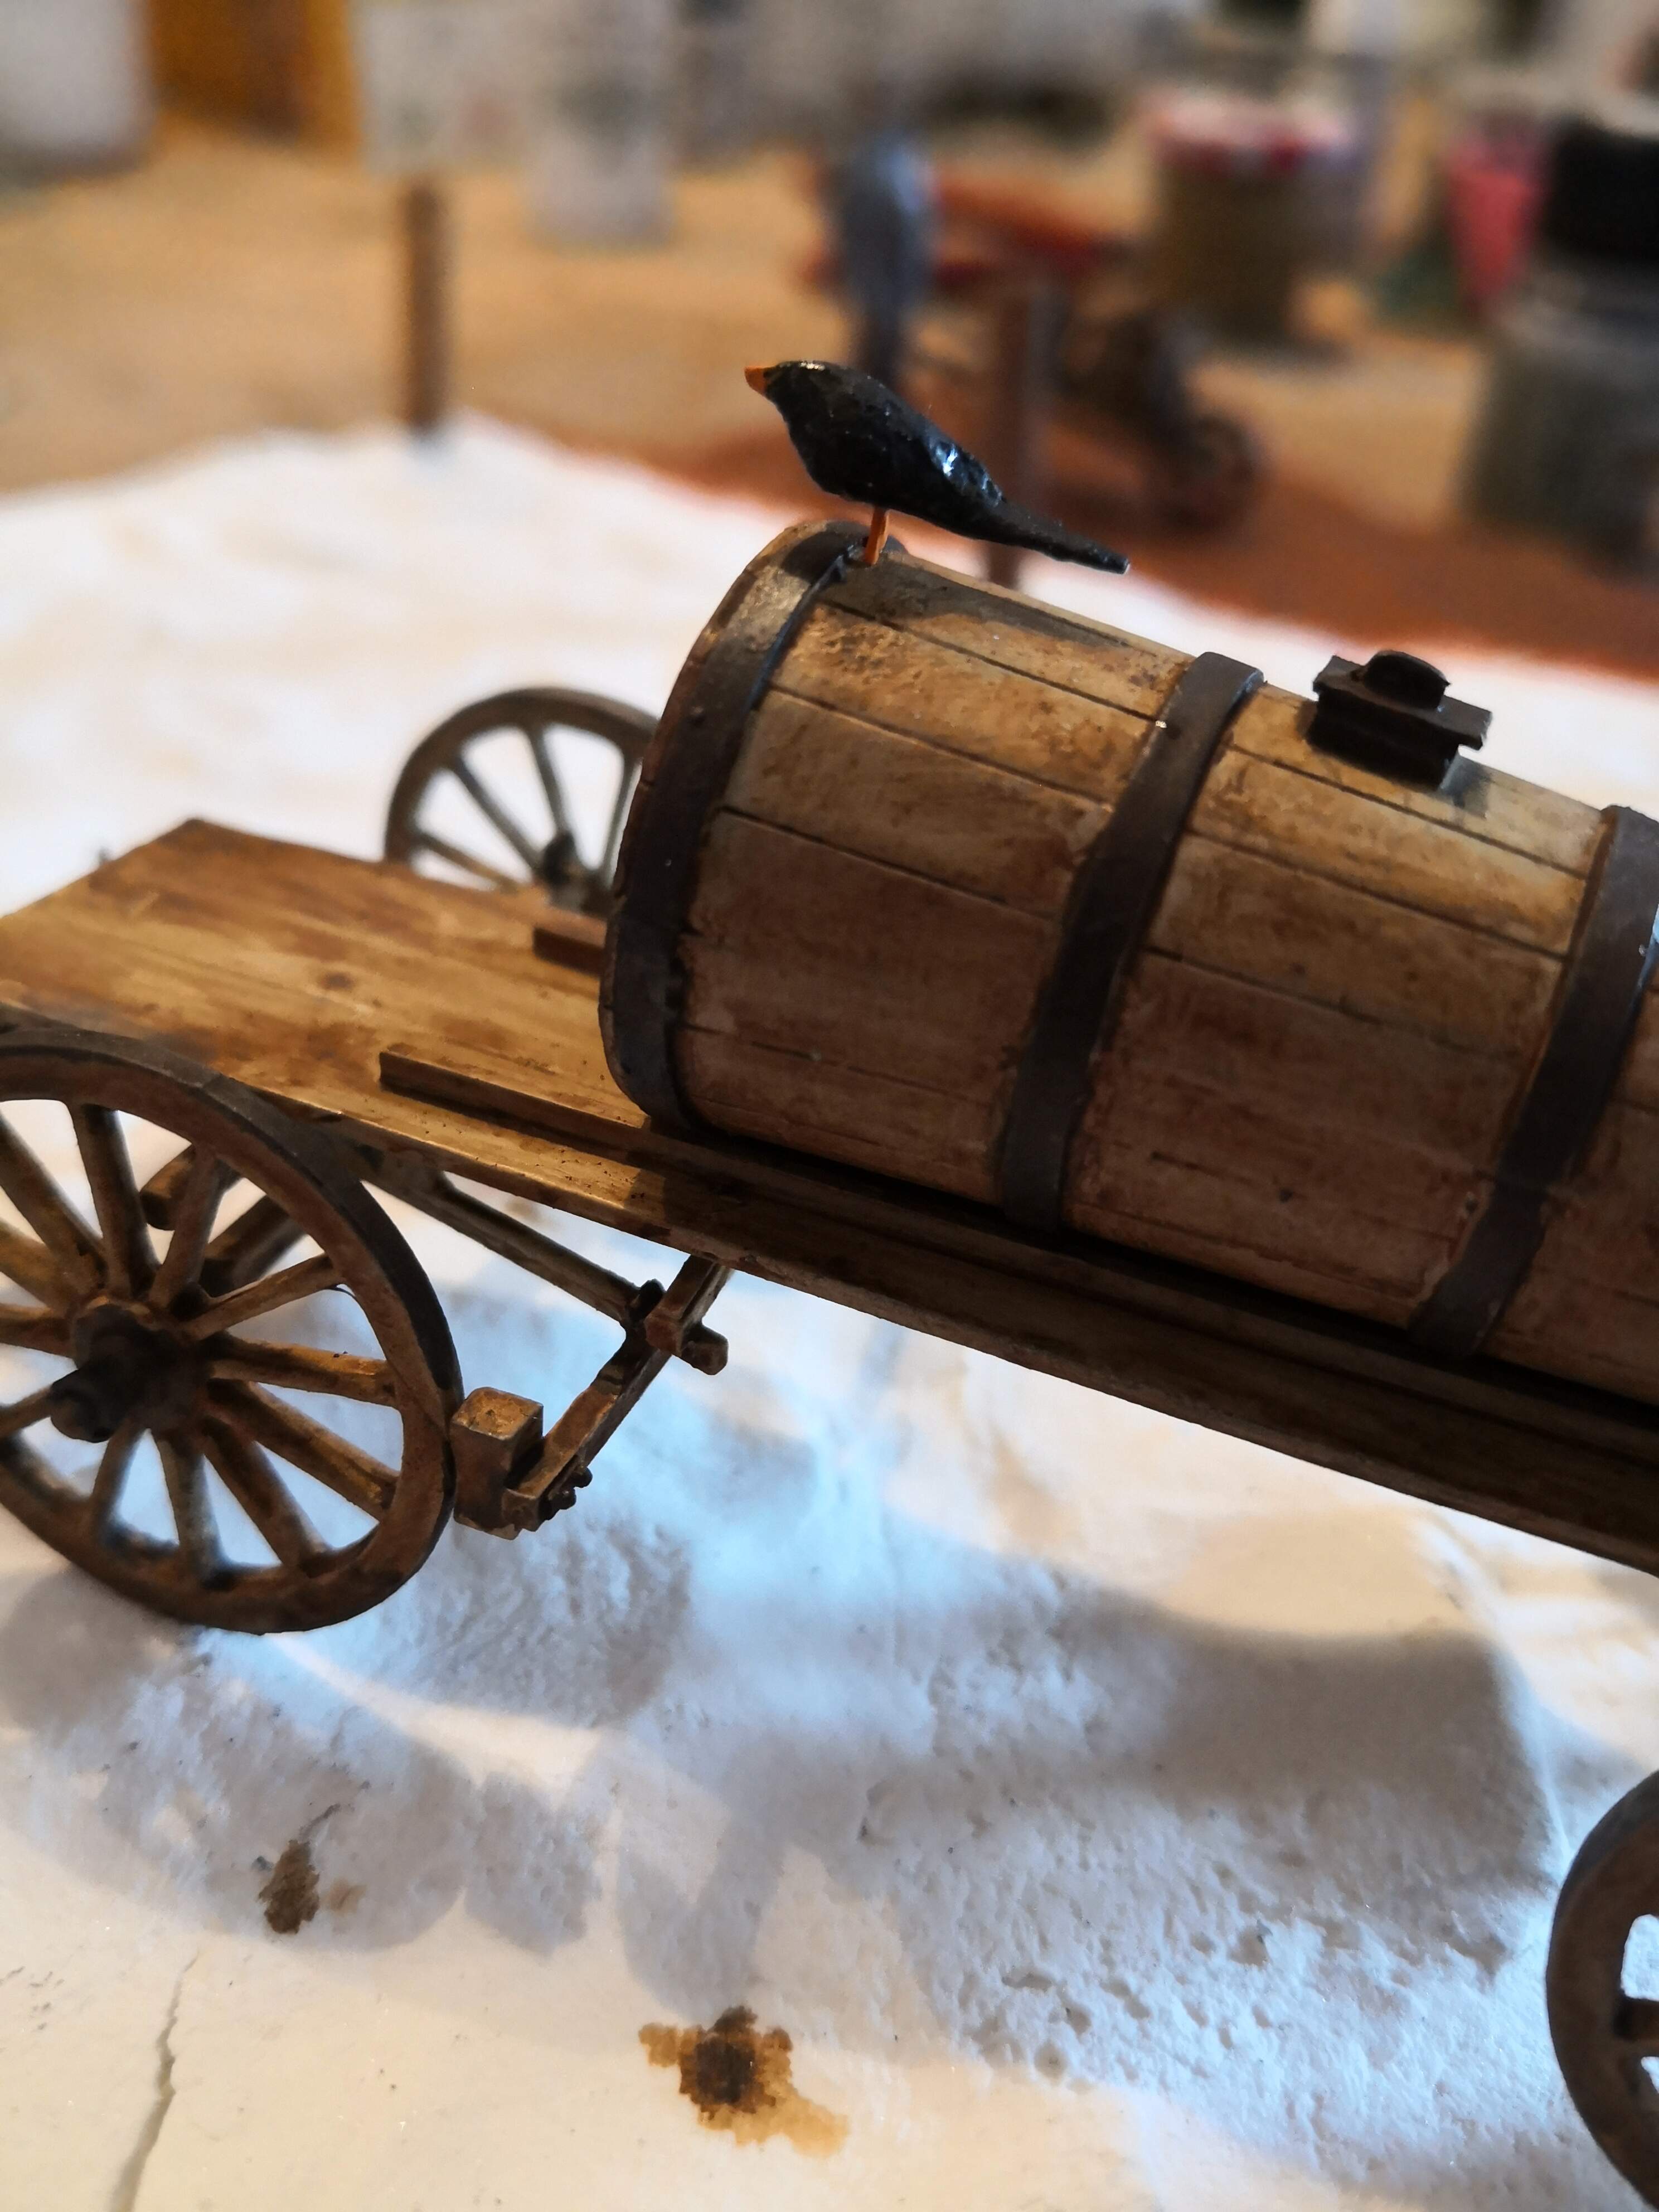
The tractor and water cart are both ready, only in want for some dusting. I wanted to depict a fairly new tractor, which did not receive the battering yet, so I held back on the washes and pigments. The cart, however has seen better days and was treated with oils and dark rust paint. Except for the towing eye;that is brand new, being made from forged iron. Oh, and the blackbird is on its perch.
7 Likes
That looks great Erwin. 
Indeed! What kind of blackbird is that?
Cheers Ryan! I will have to wait with the base, since the grass has been ordered…
1 Like
A very special home grown one  I made it from putty…
Excellent Erwin. You have done a fine job. I like the old and new approach to each part. Great idea.
Thanks mate… I appreciate the compliments!
Really great result Erwin!
Thanks Tamas! Glad you liked it!
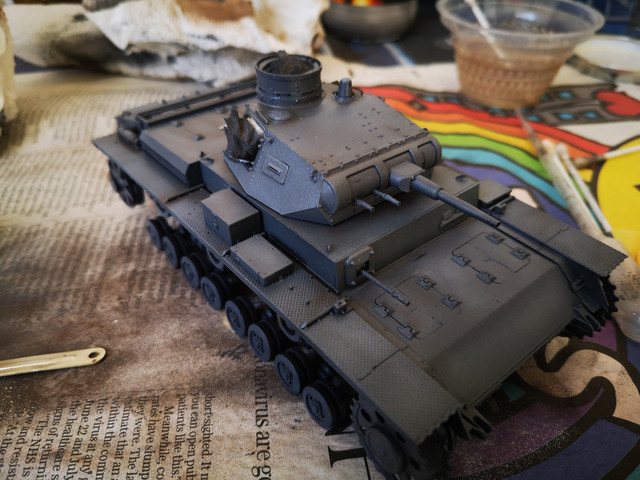
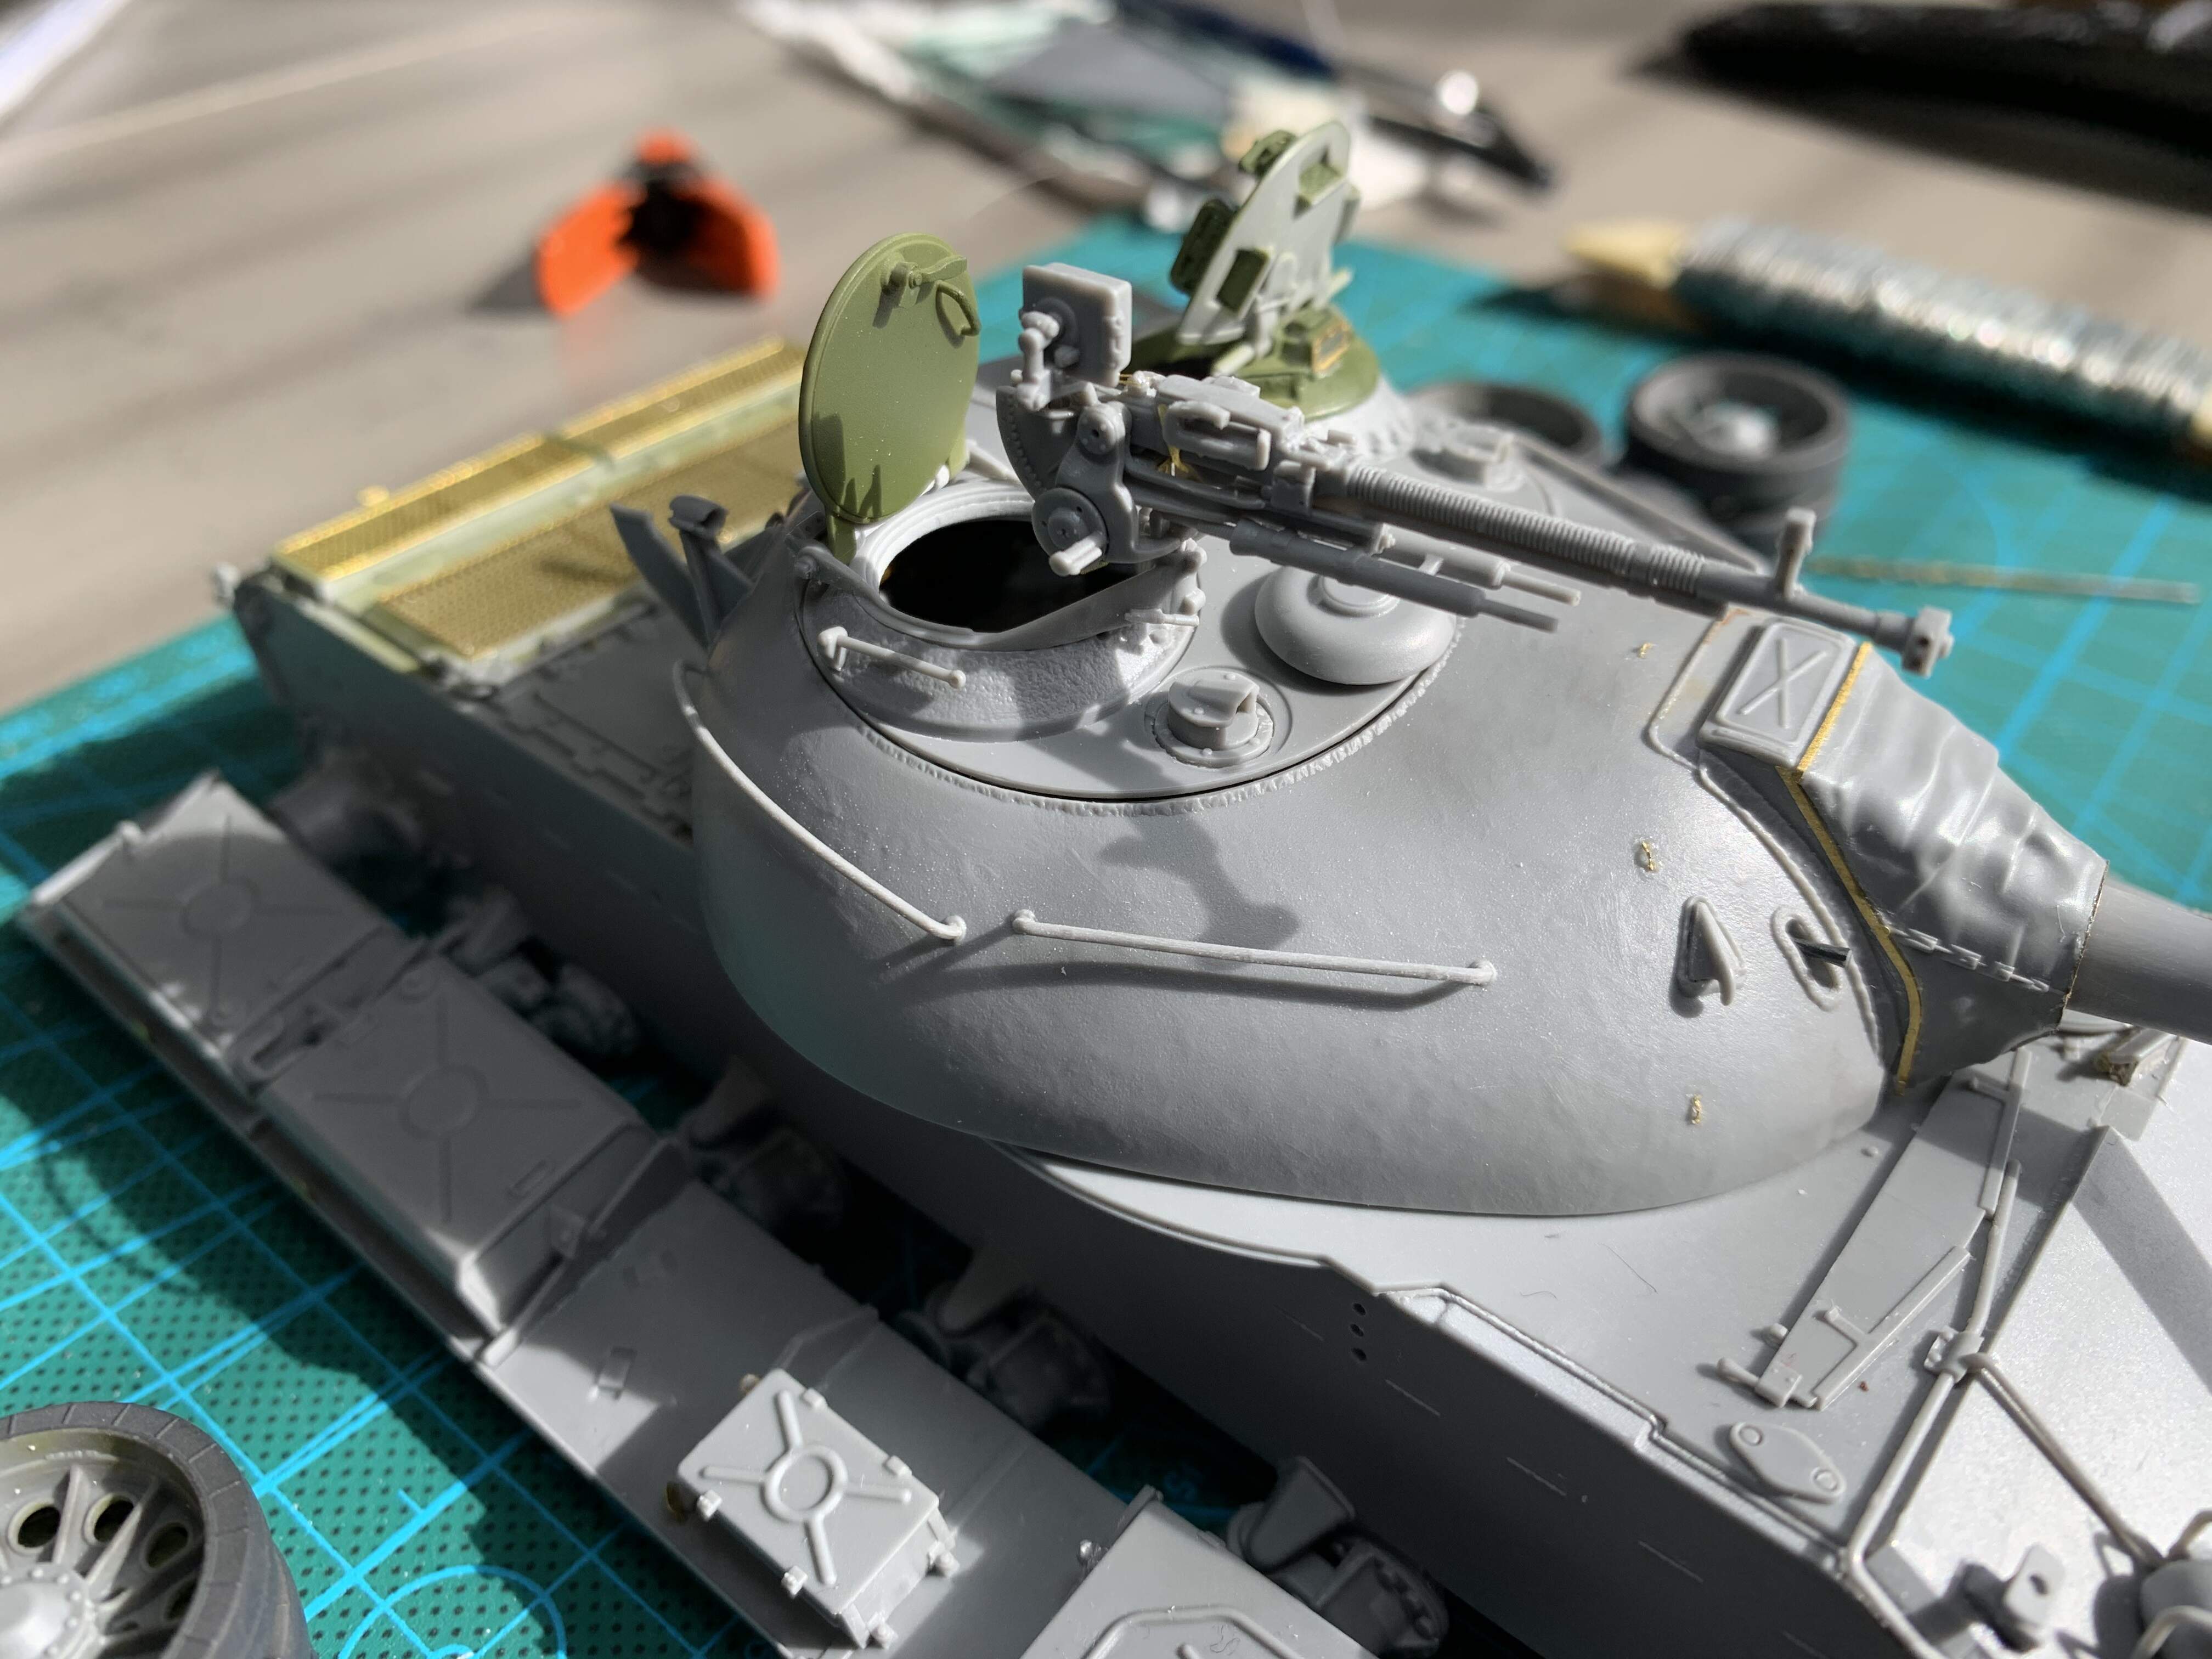
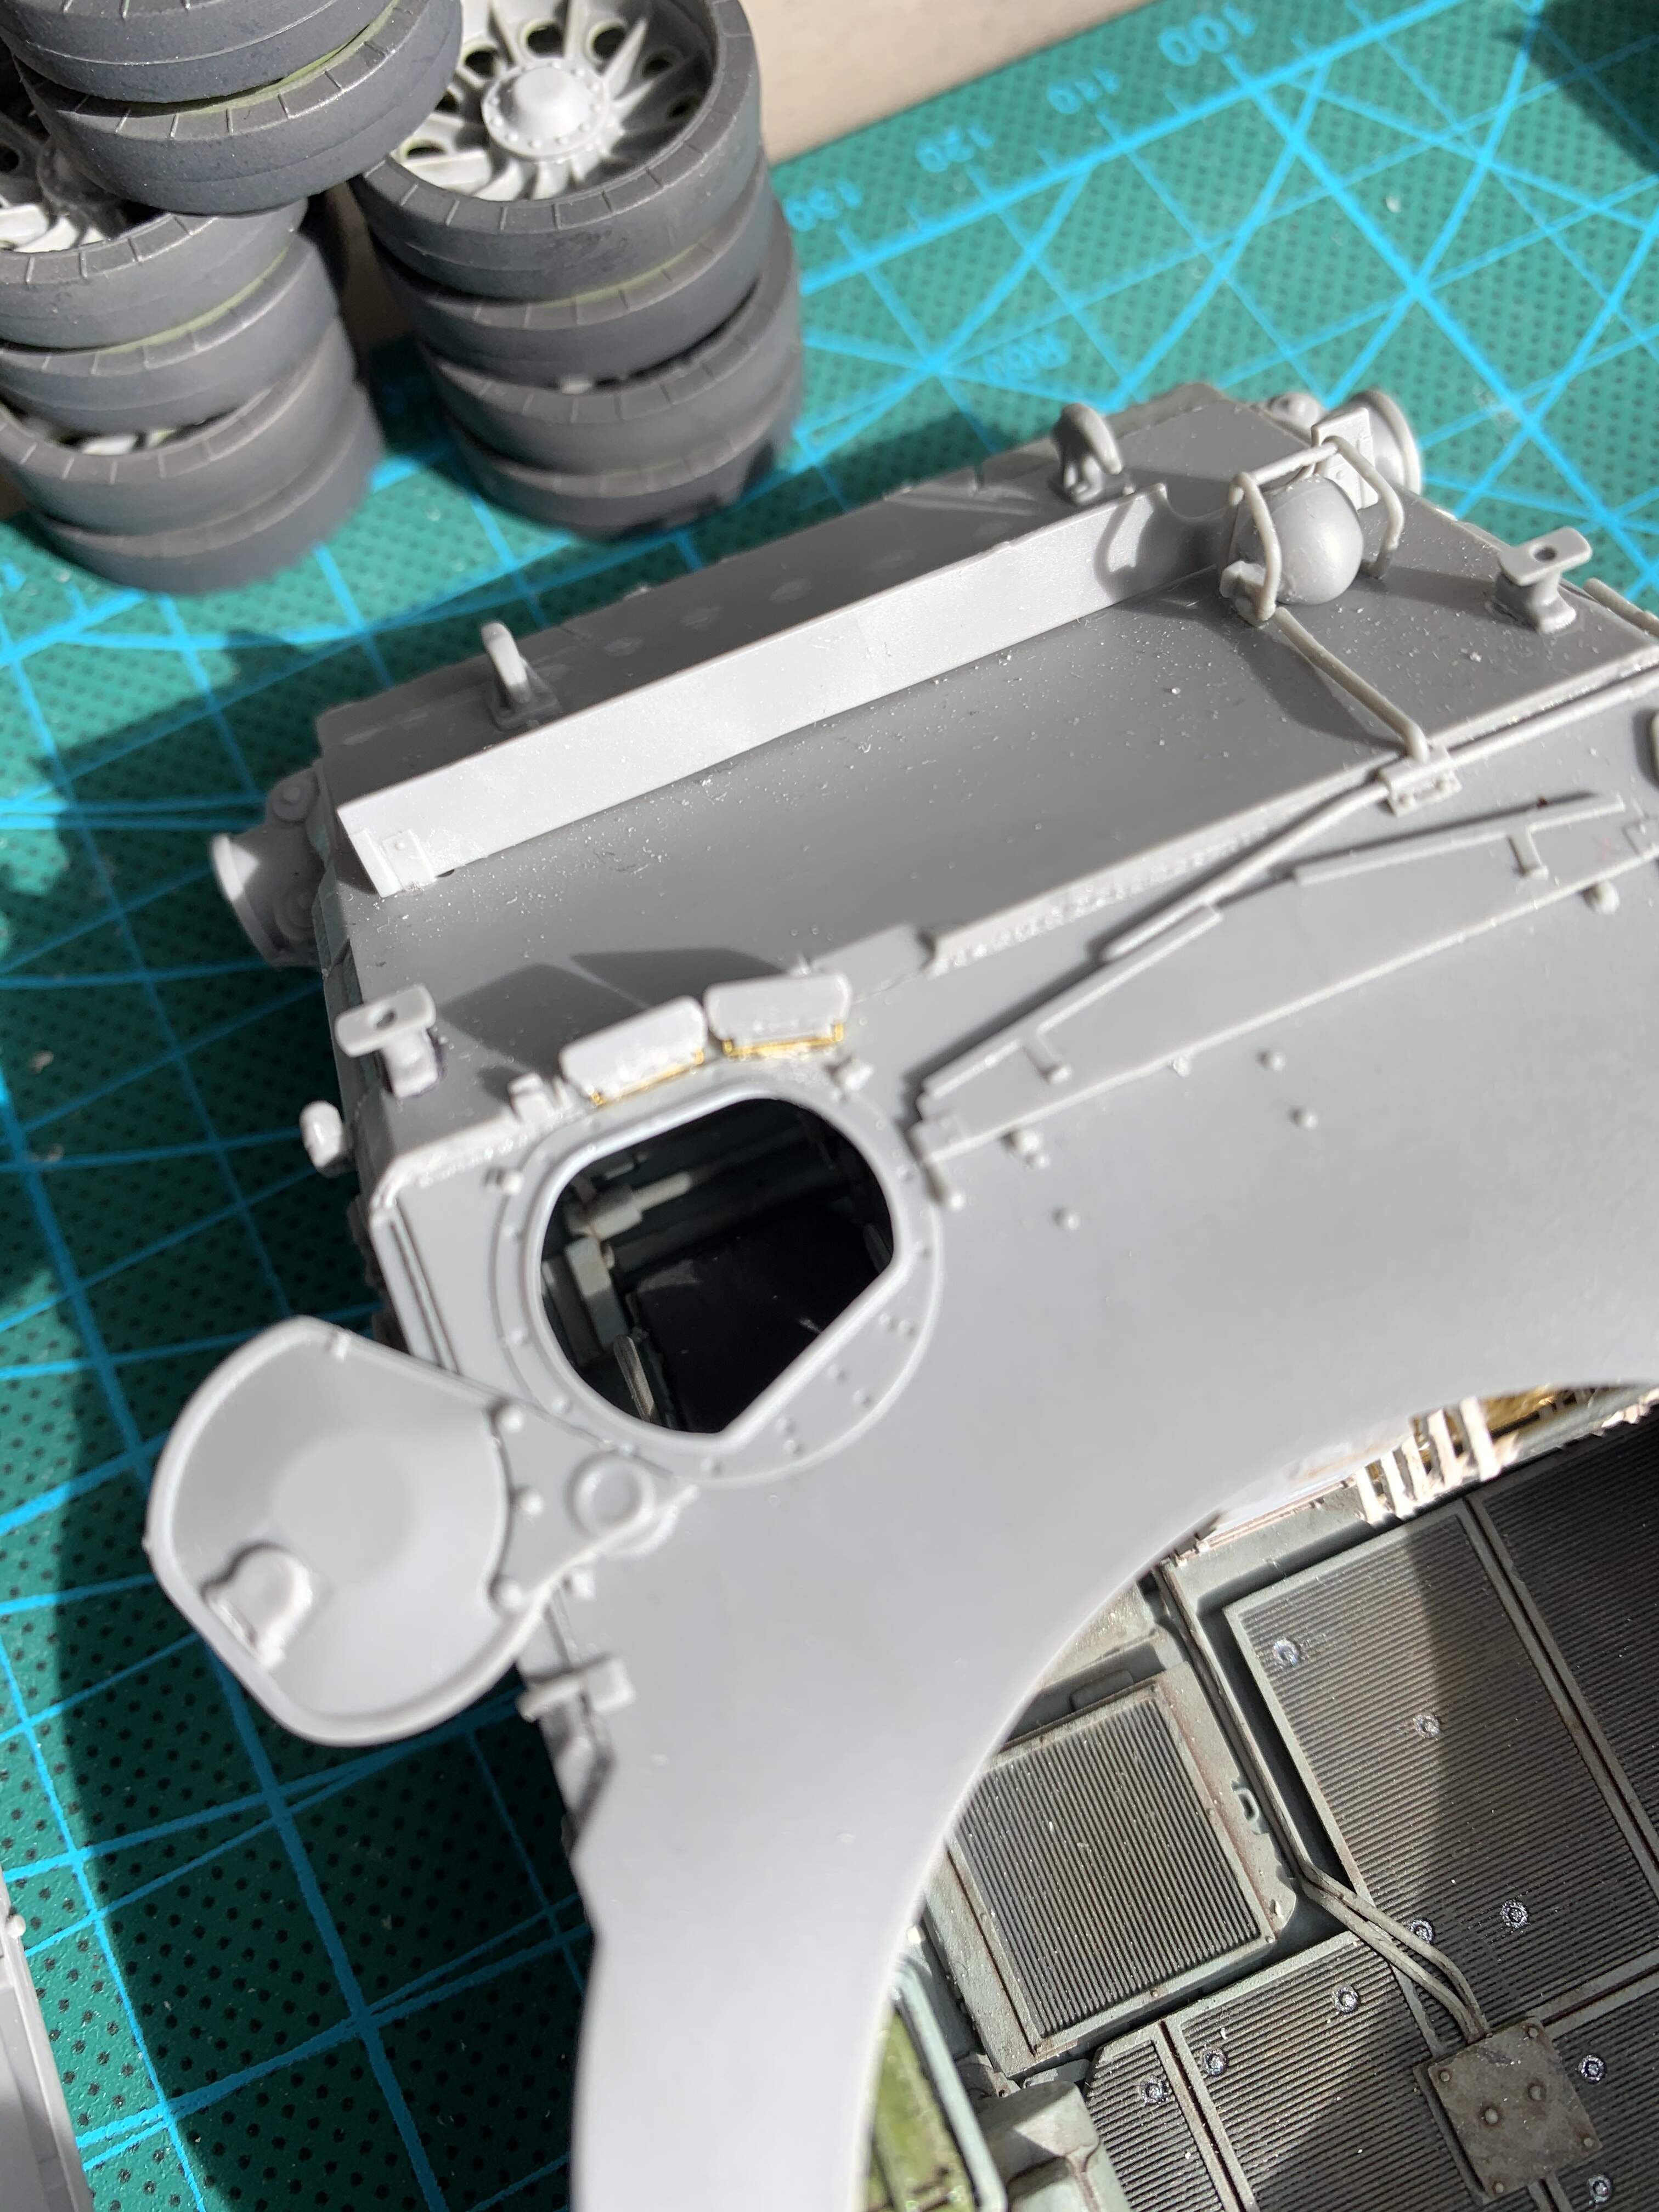
Build mostly done, all that’s really left is to fill in some of the gaps between weld seems and glued in parts and then some very minor gaps are the front hull. Had a lot of fun with this one hope to paint this weekend

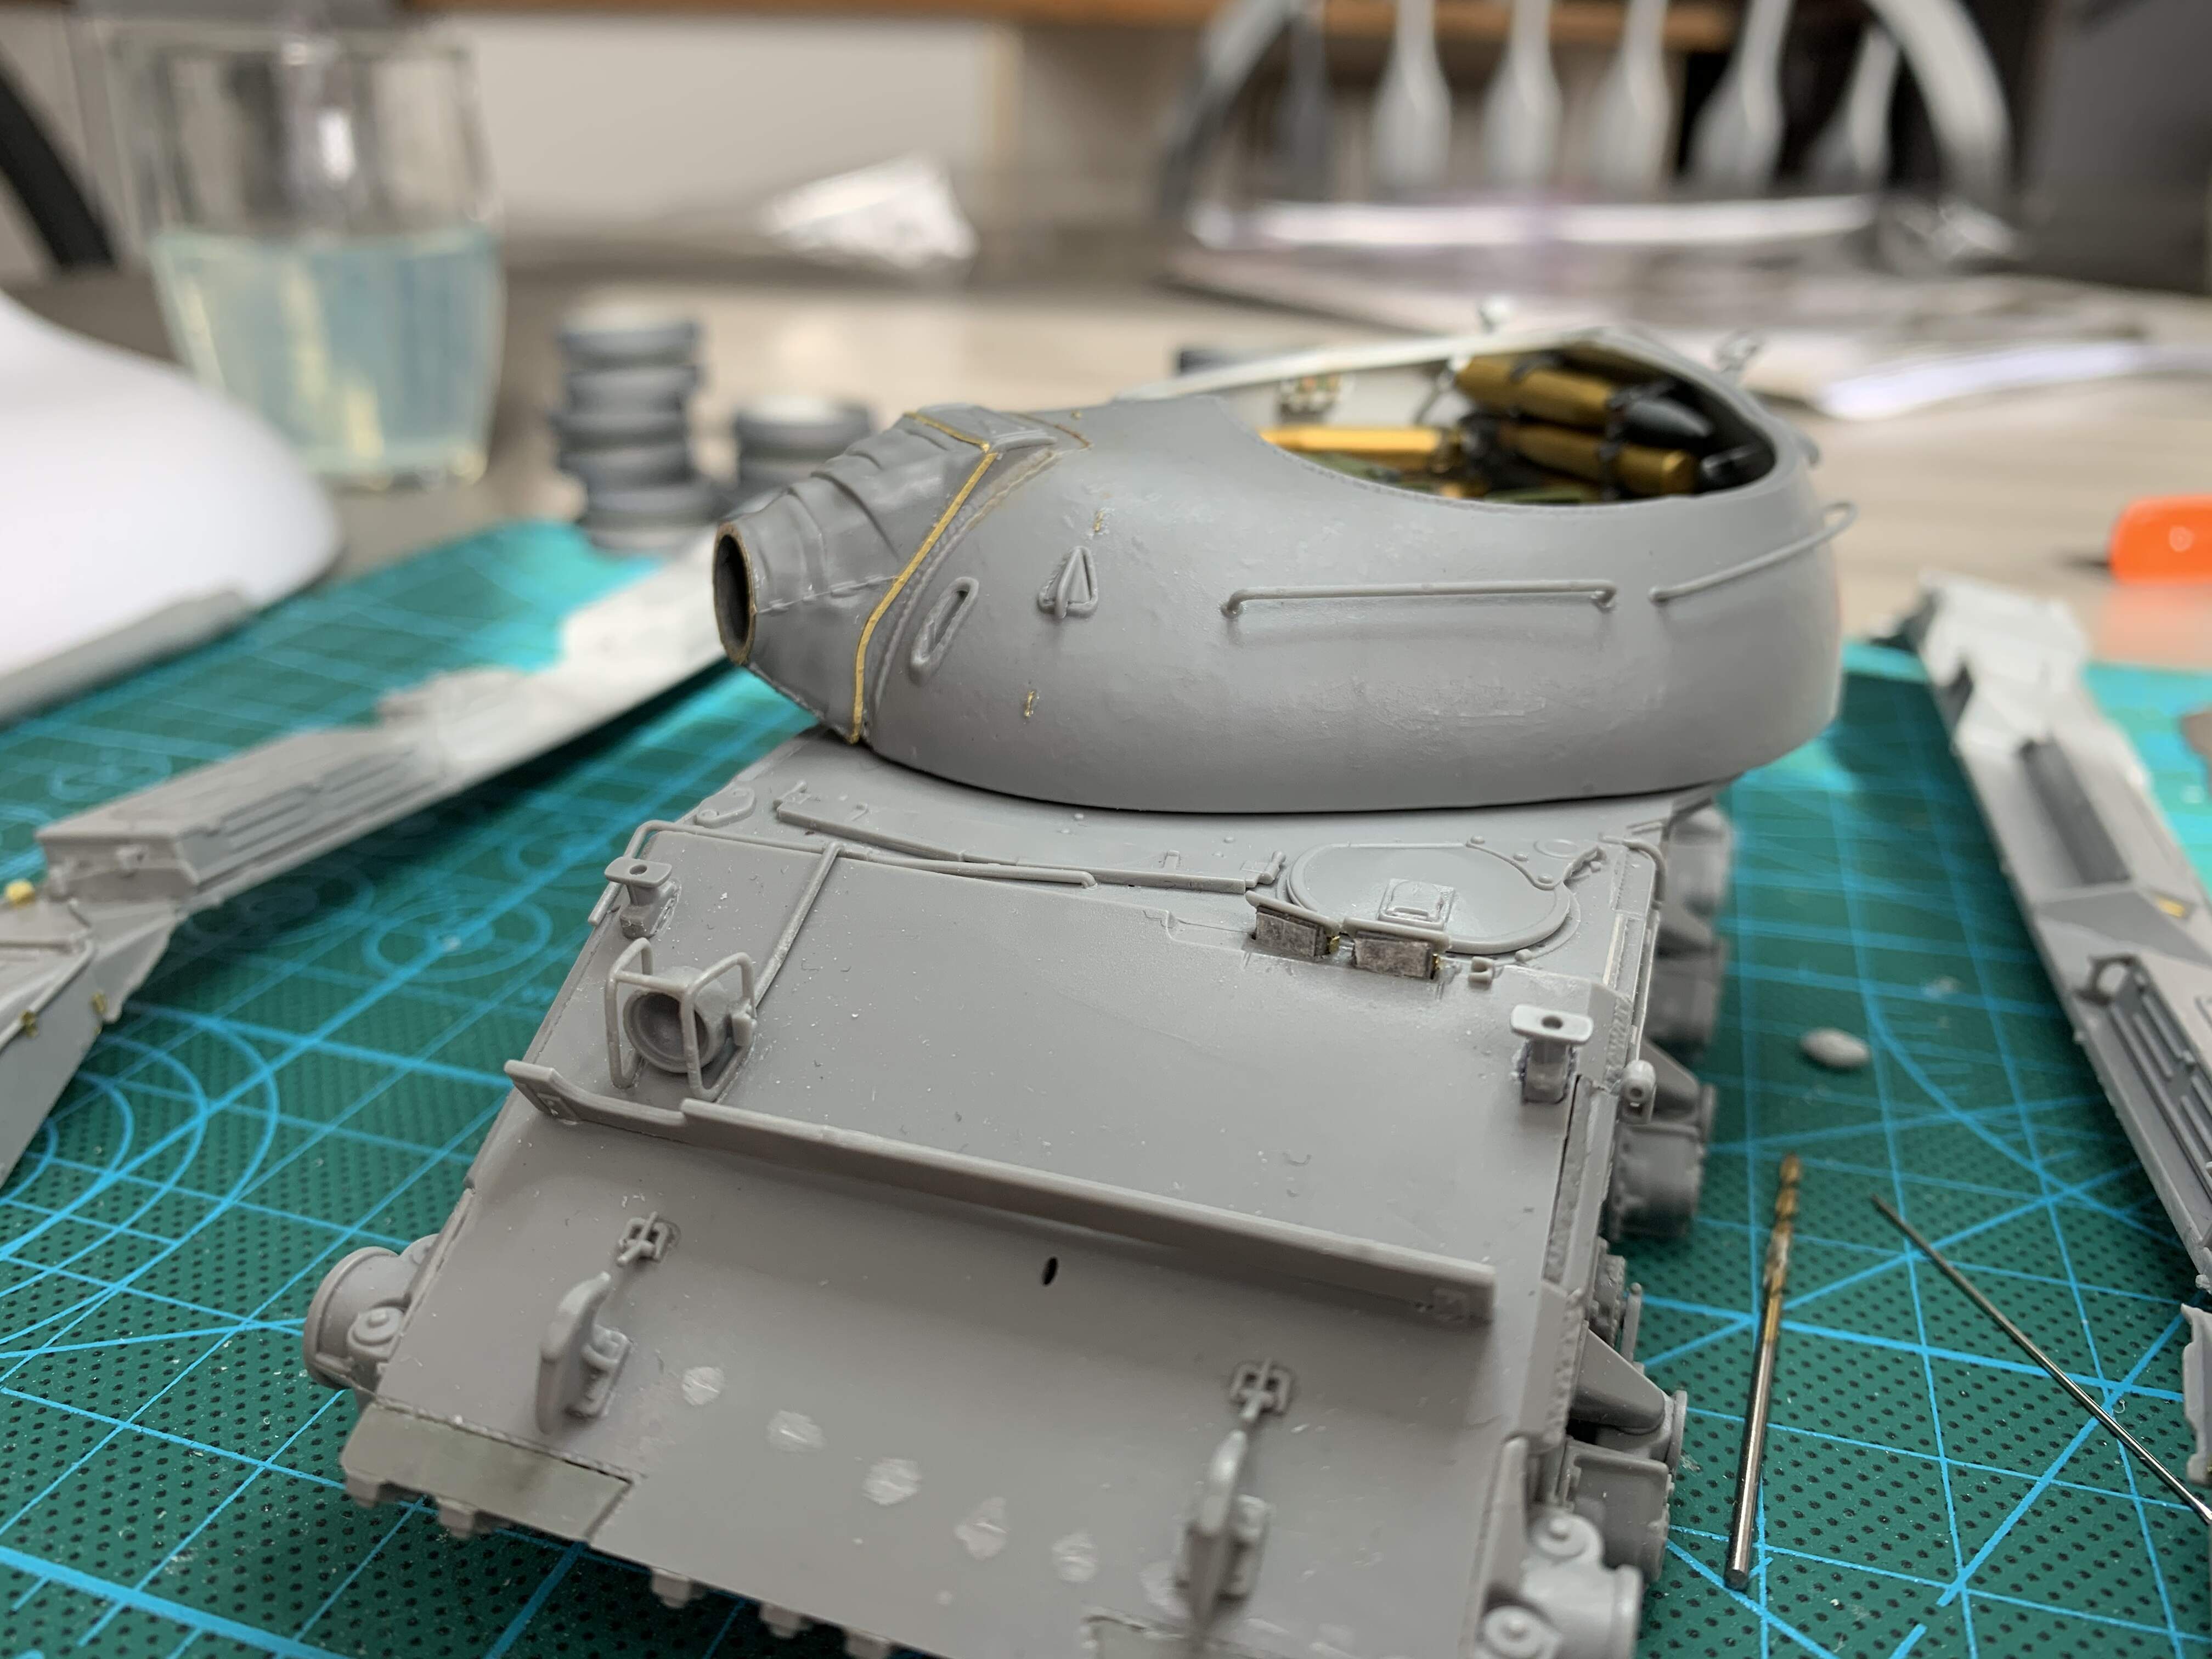


8 Likes
Wow, that looks terrific!
1 Like