Little bit more progress. Base coast down. Might have a play around with this one as Russian 4BO seems to have been very variable in real life, so might be more forgiving of me mucking about a bit.

6 Likes
Dear Friends,
I had a major progress in the last weeks as I could assemble and paint the tracks. It was a big challenge during this build because the tracks were painted after installation so I could not follow my usual method (black basing, basic dark rust coor, light rust color, black wash, steel drybrushing and sand & dust pigments) off-the-vehicle.
And this caused me hours of head scratching. I dunno how others could do those wonderful results here but I had to find a way to step-up.
Finally I rejected the black basing, airbrushed the outer top and the outer bottom of the tracks and hand painted all other areas. I spent about 5-7 hours on the basic dark rusty track color only and even so I found unpainted areas under or close to the wheels.
I could not paint many areas behind the wheels because the paint brush was too long and straight so I invented the “corner-brush” tool (fully copyrighted under the law of The Royal Kingdom of Antarctican People’s Republic ![]() ) to reach those areas. It was extremely easy at the end so I encourage anyone to invent his version.
) to reach those areas. It was extremely easy at the end so I encourage anyone to invent his version.
The drive sprocket does disabled me to paint some particular places so there are likely some other places to complete but right now it looks OK to the naked eye. I will make a series of photos from all angles and investigate them for unpainted areas later - now I am too much worn-off from this process.

To ease the installation of the fenders, I completed the tracks as seen on the photo so I will not need to get the light rust, steel and sand pigments to hardly reachable areas after the fenders will be installed.
I will also touch up the wheels where the dark brown was unintentionally painted onto the wheels.
But that is for the next session.
Tamás
4 Likes
Nice progress everyone. I stalled at the track assembly stage of my T-34. Looking at what you have done gives me some impetus to get past that stall point!
Ready for washes, I had done gloss on this added decals, then another gloss to seal. I was worried the gloss had ruined the paint making it very dark and monotone. Since then I’ve applied a home brew flat finish using future and Tamiya flat base as suggested by @SSGToms. Much happier now, as the flat brought the paint back to life. Nearing the end of this build. Next up is a dark brown and black mixed wash, then dry brushing, detail painting of the MG, tools, log, and tarp. Then maybe some light pigments for dirt and oil dot streaking on turret and hull front.
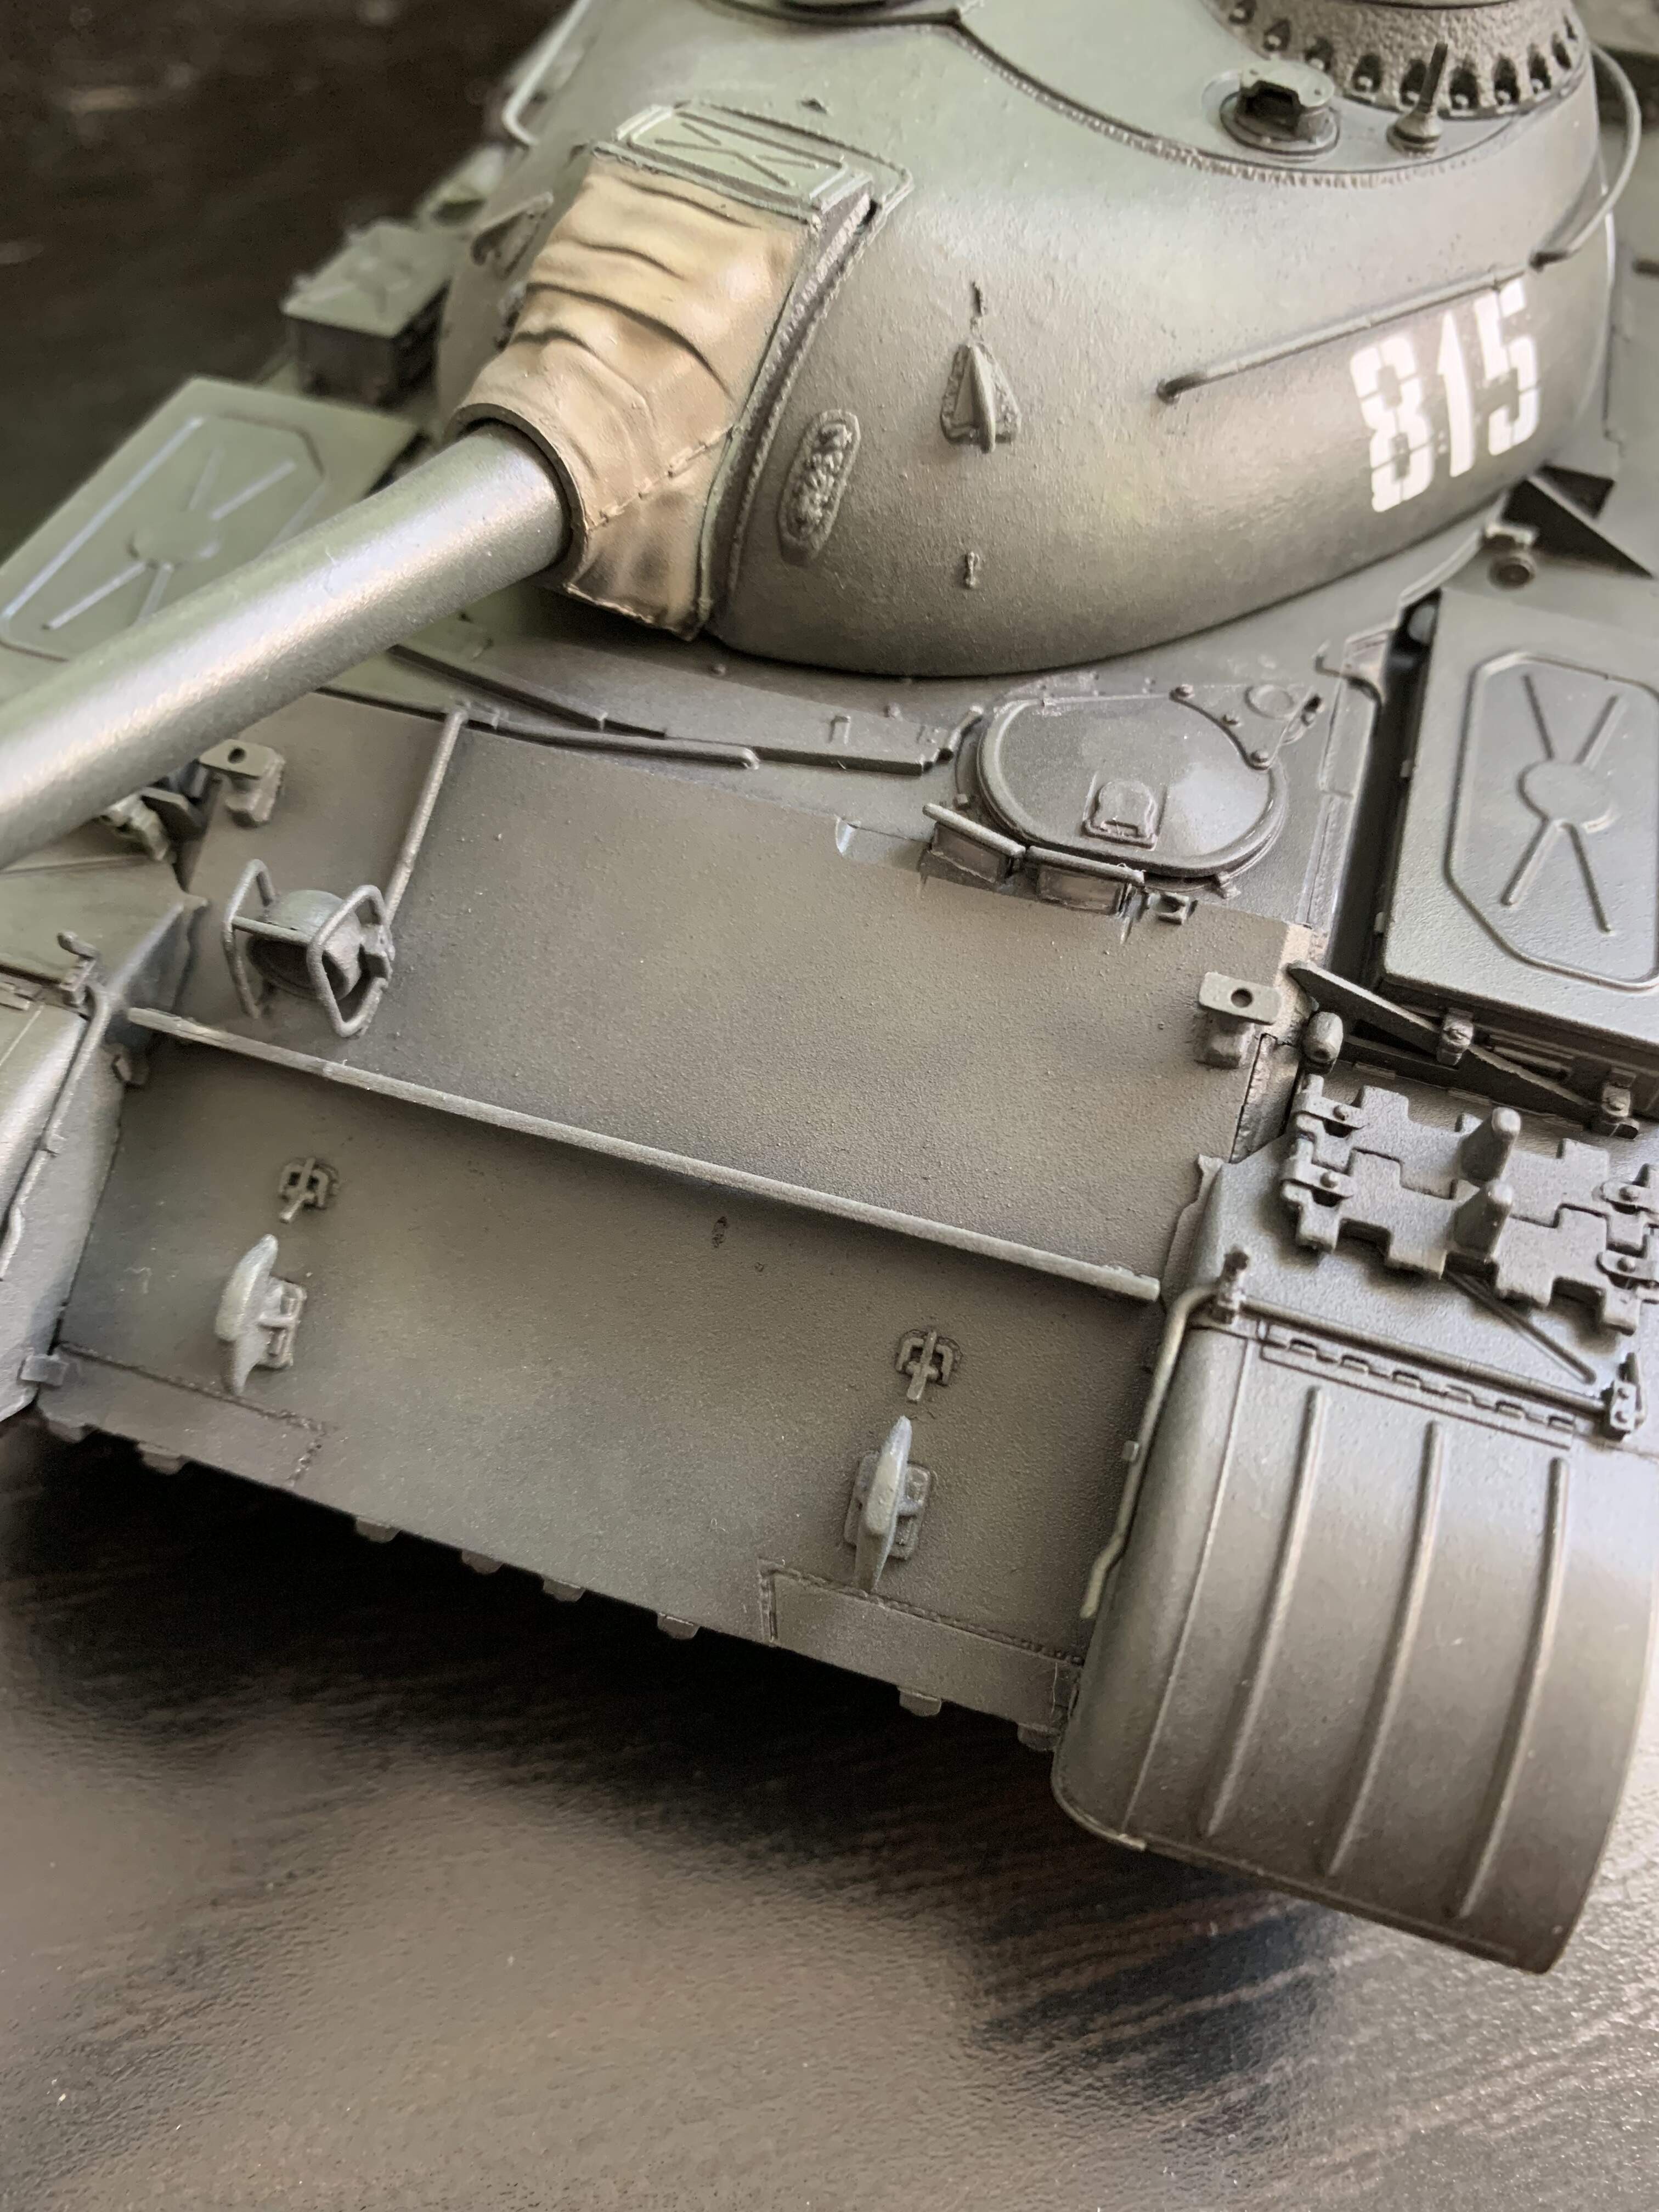
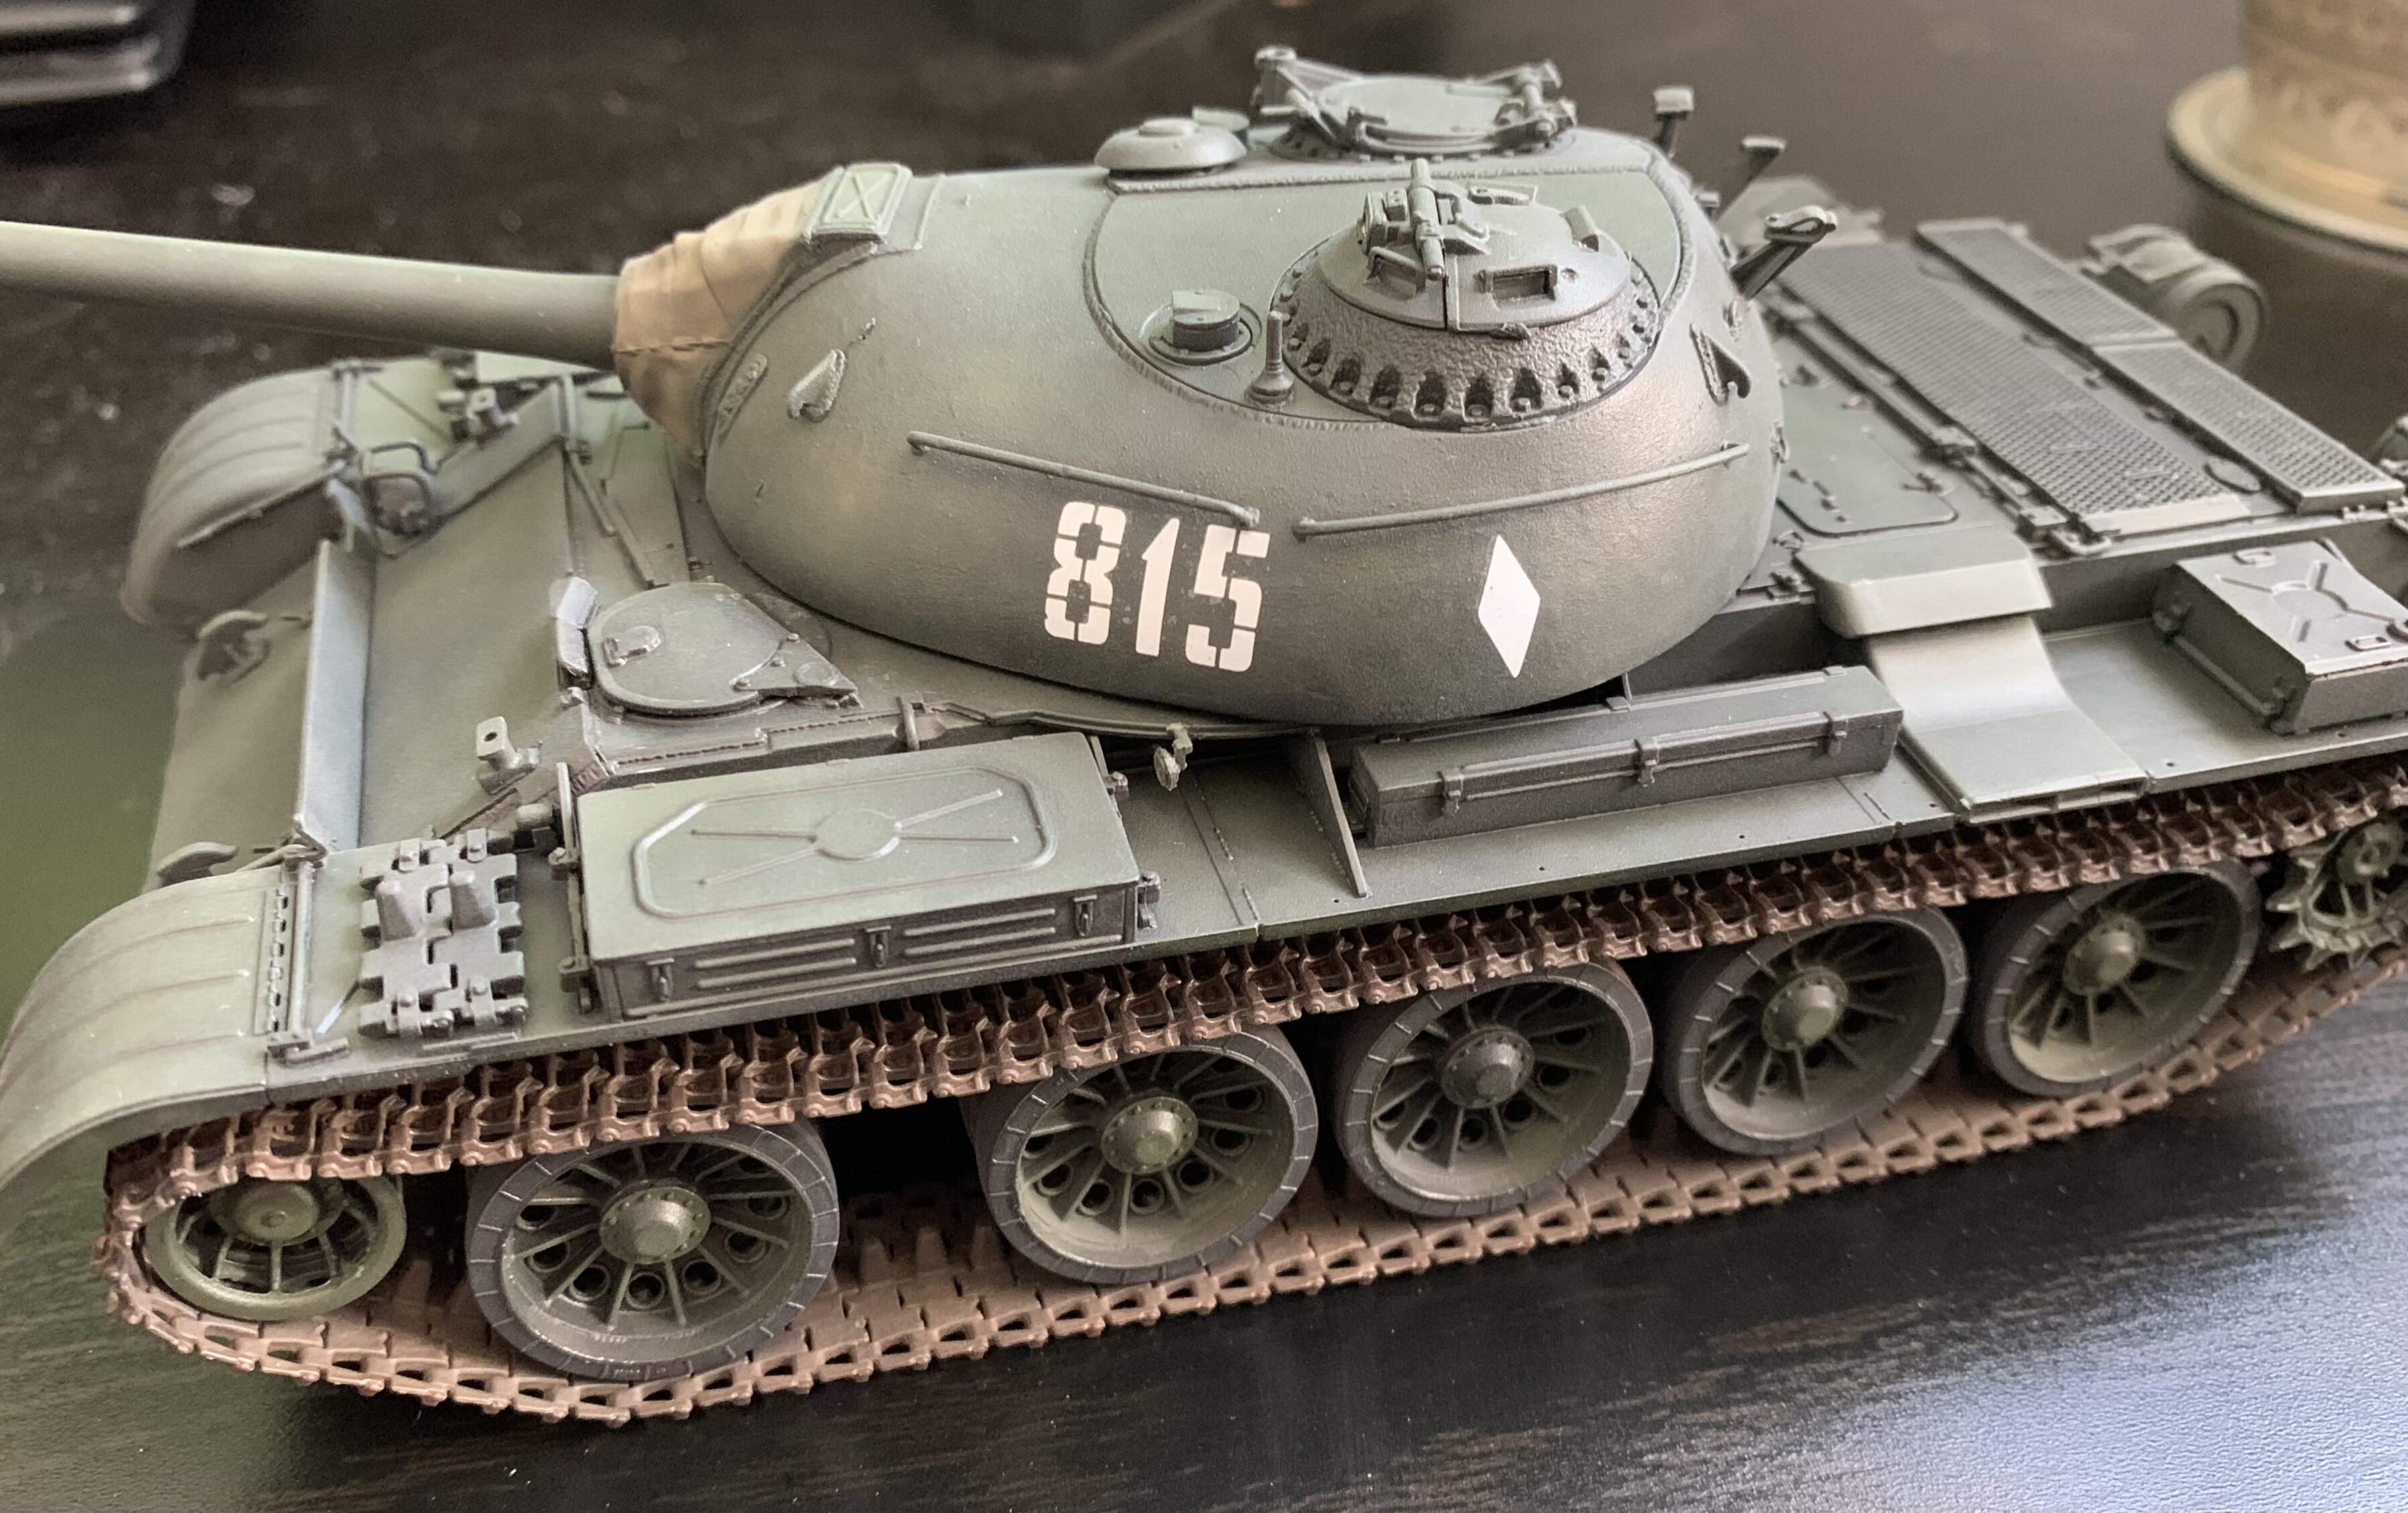
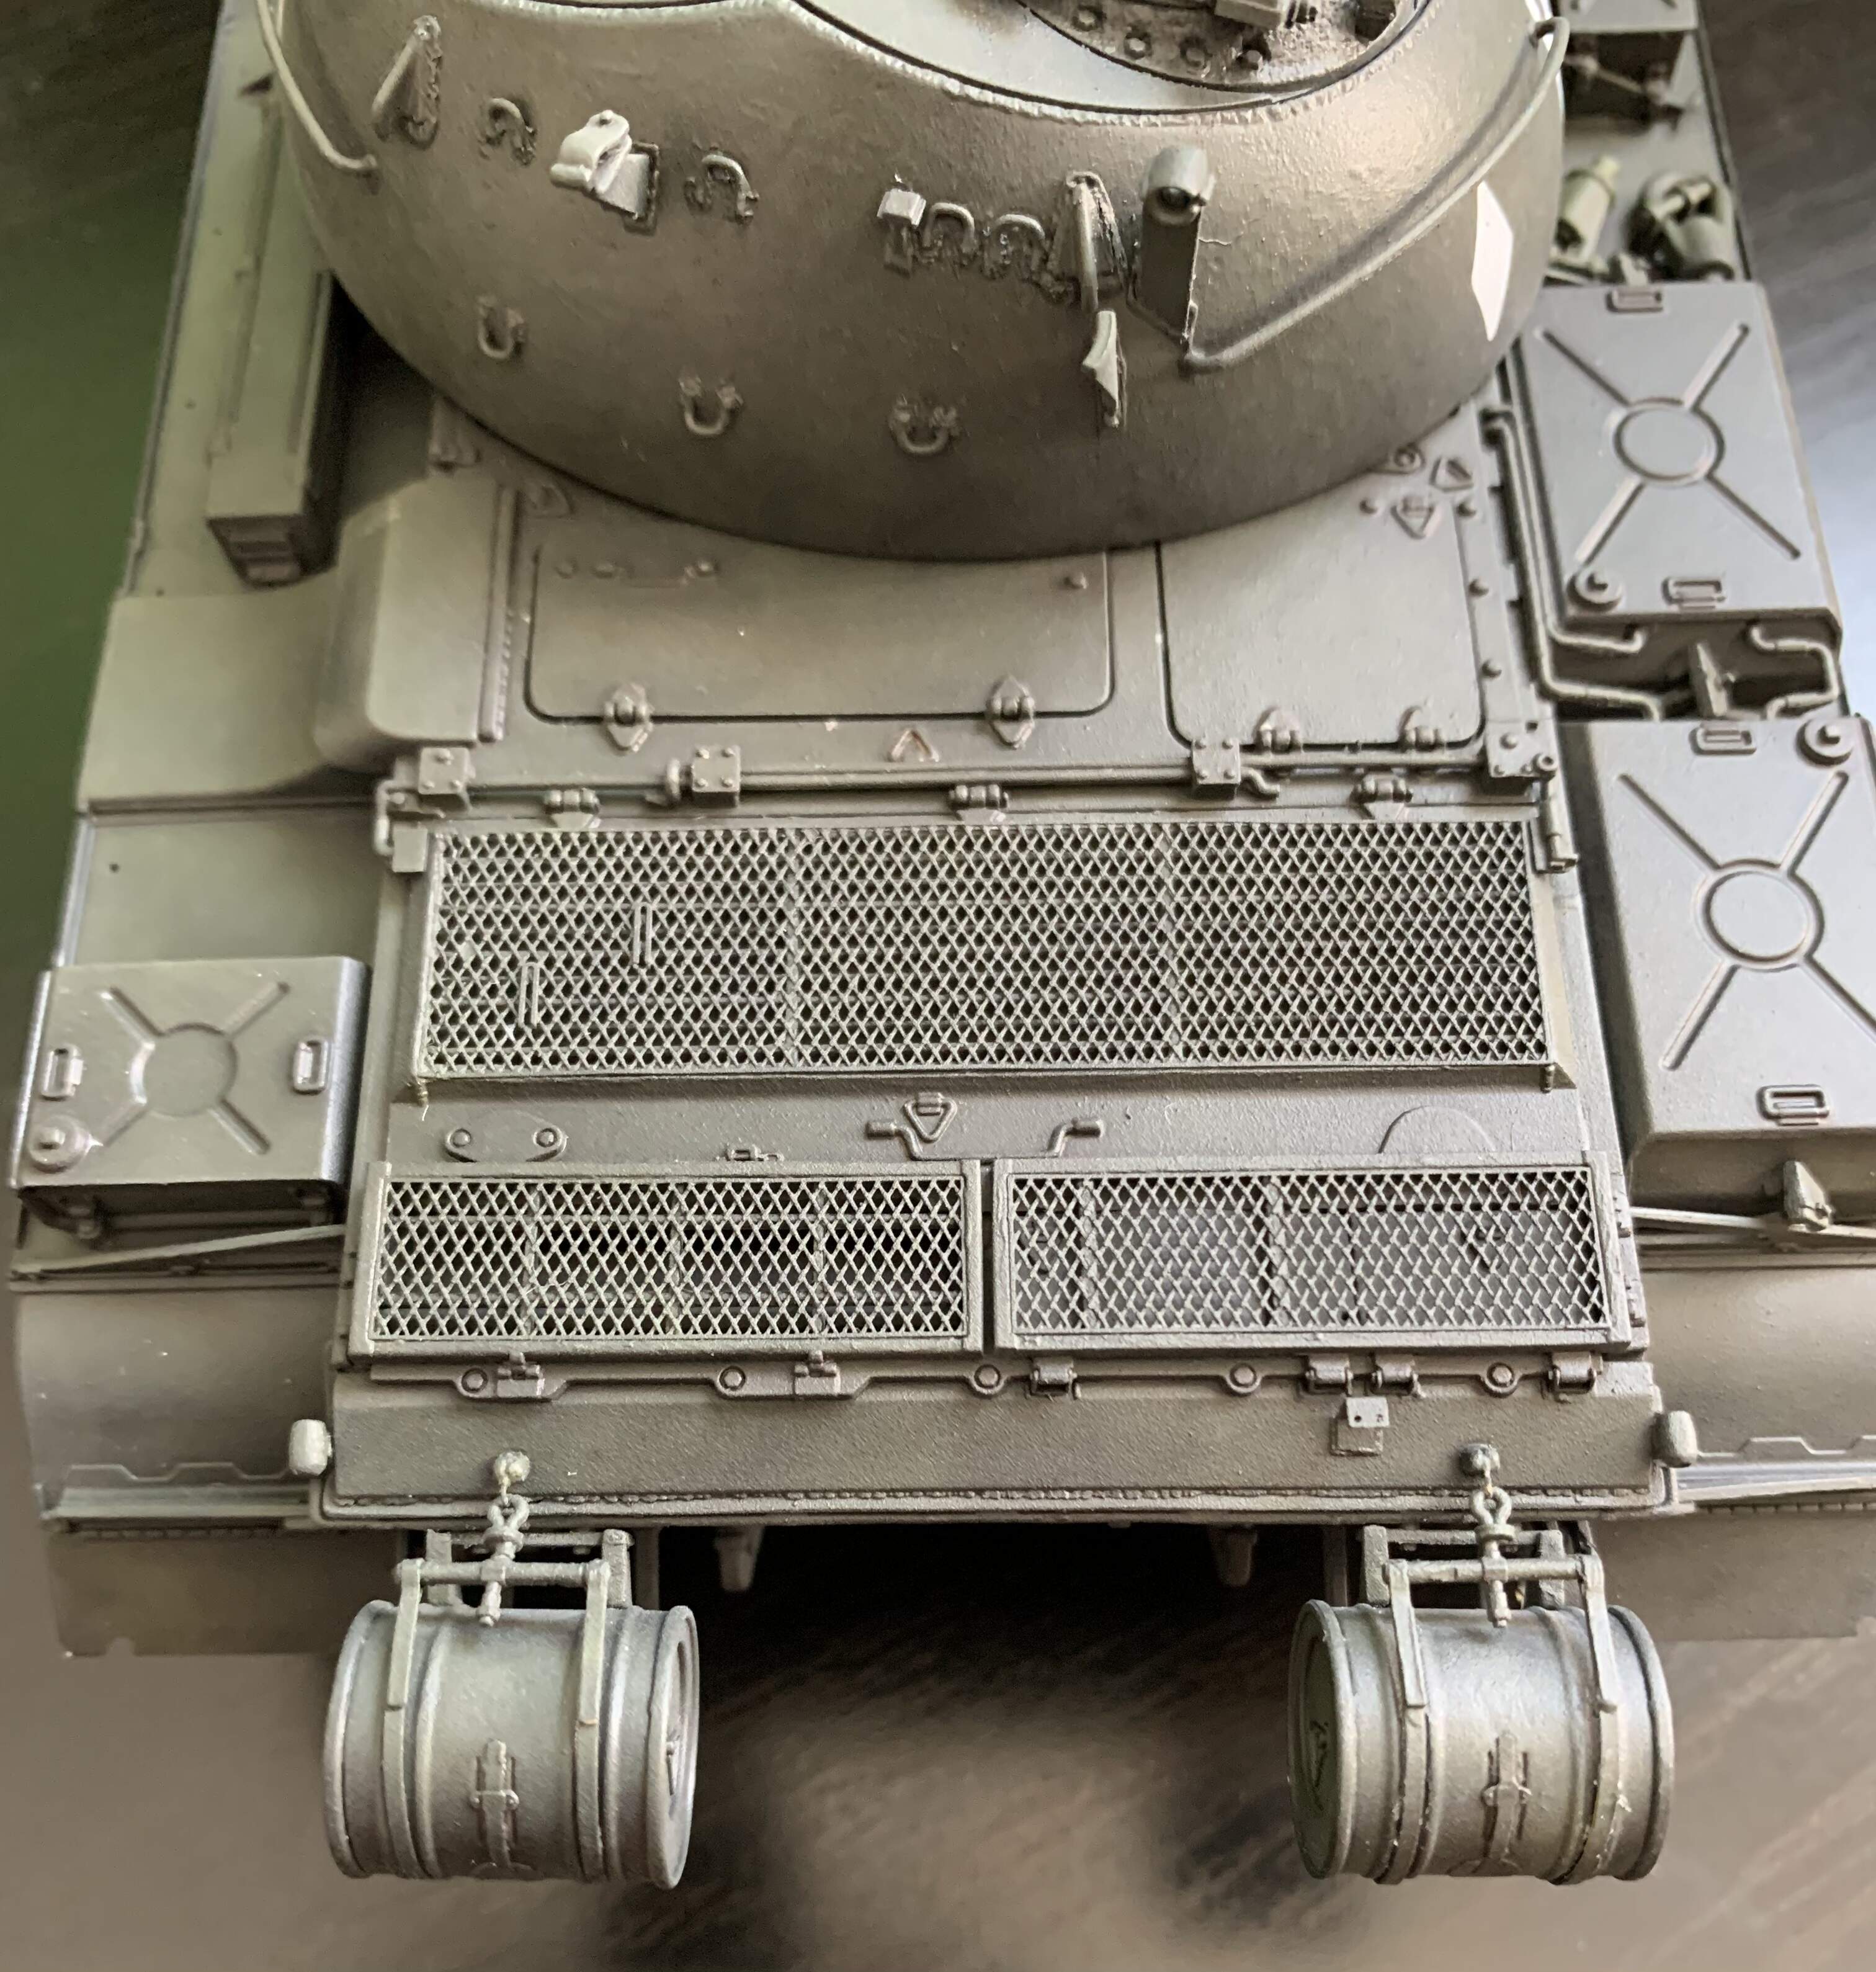
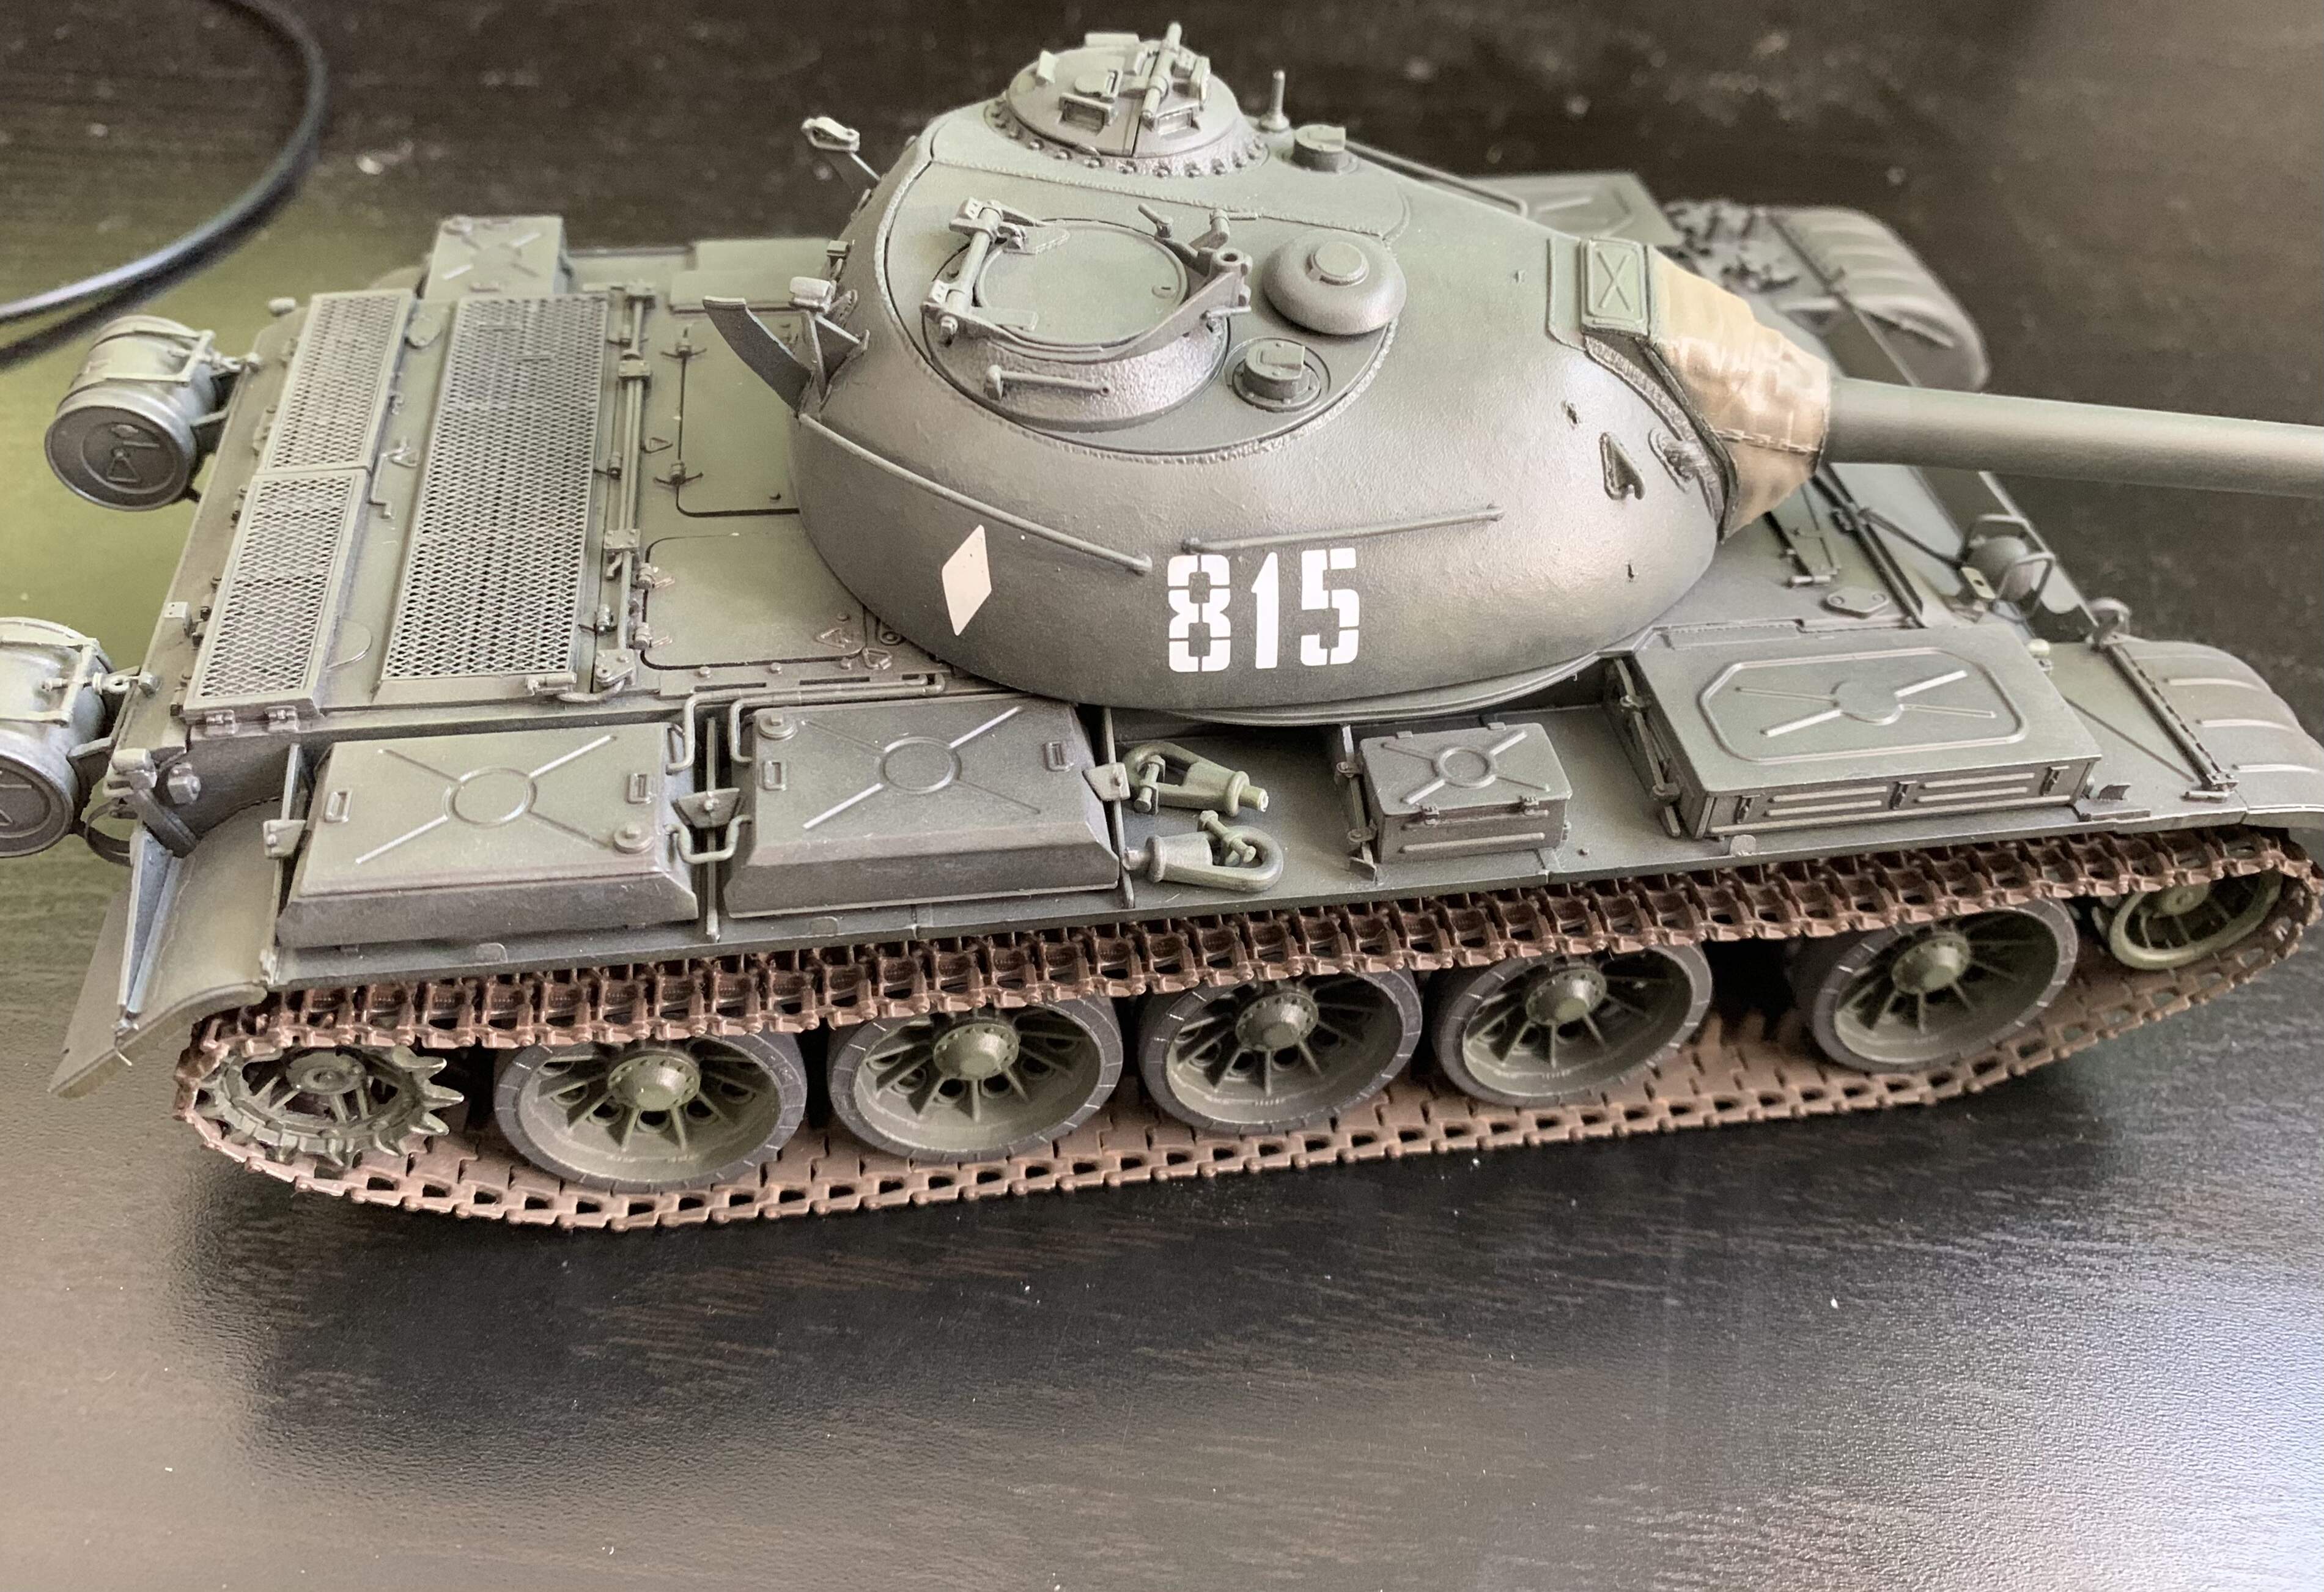
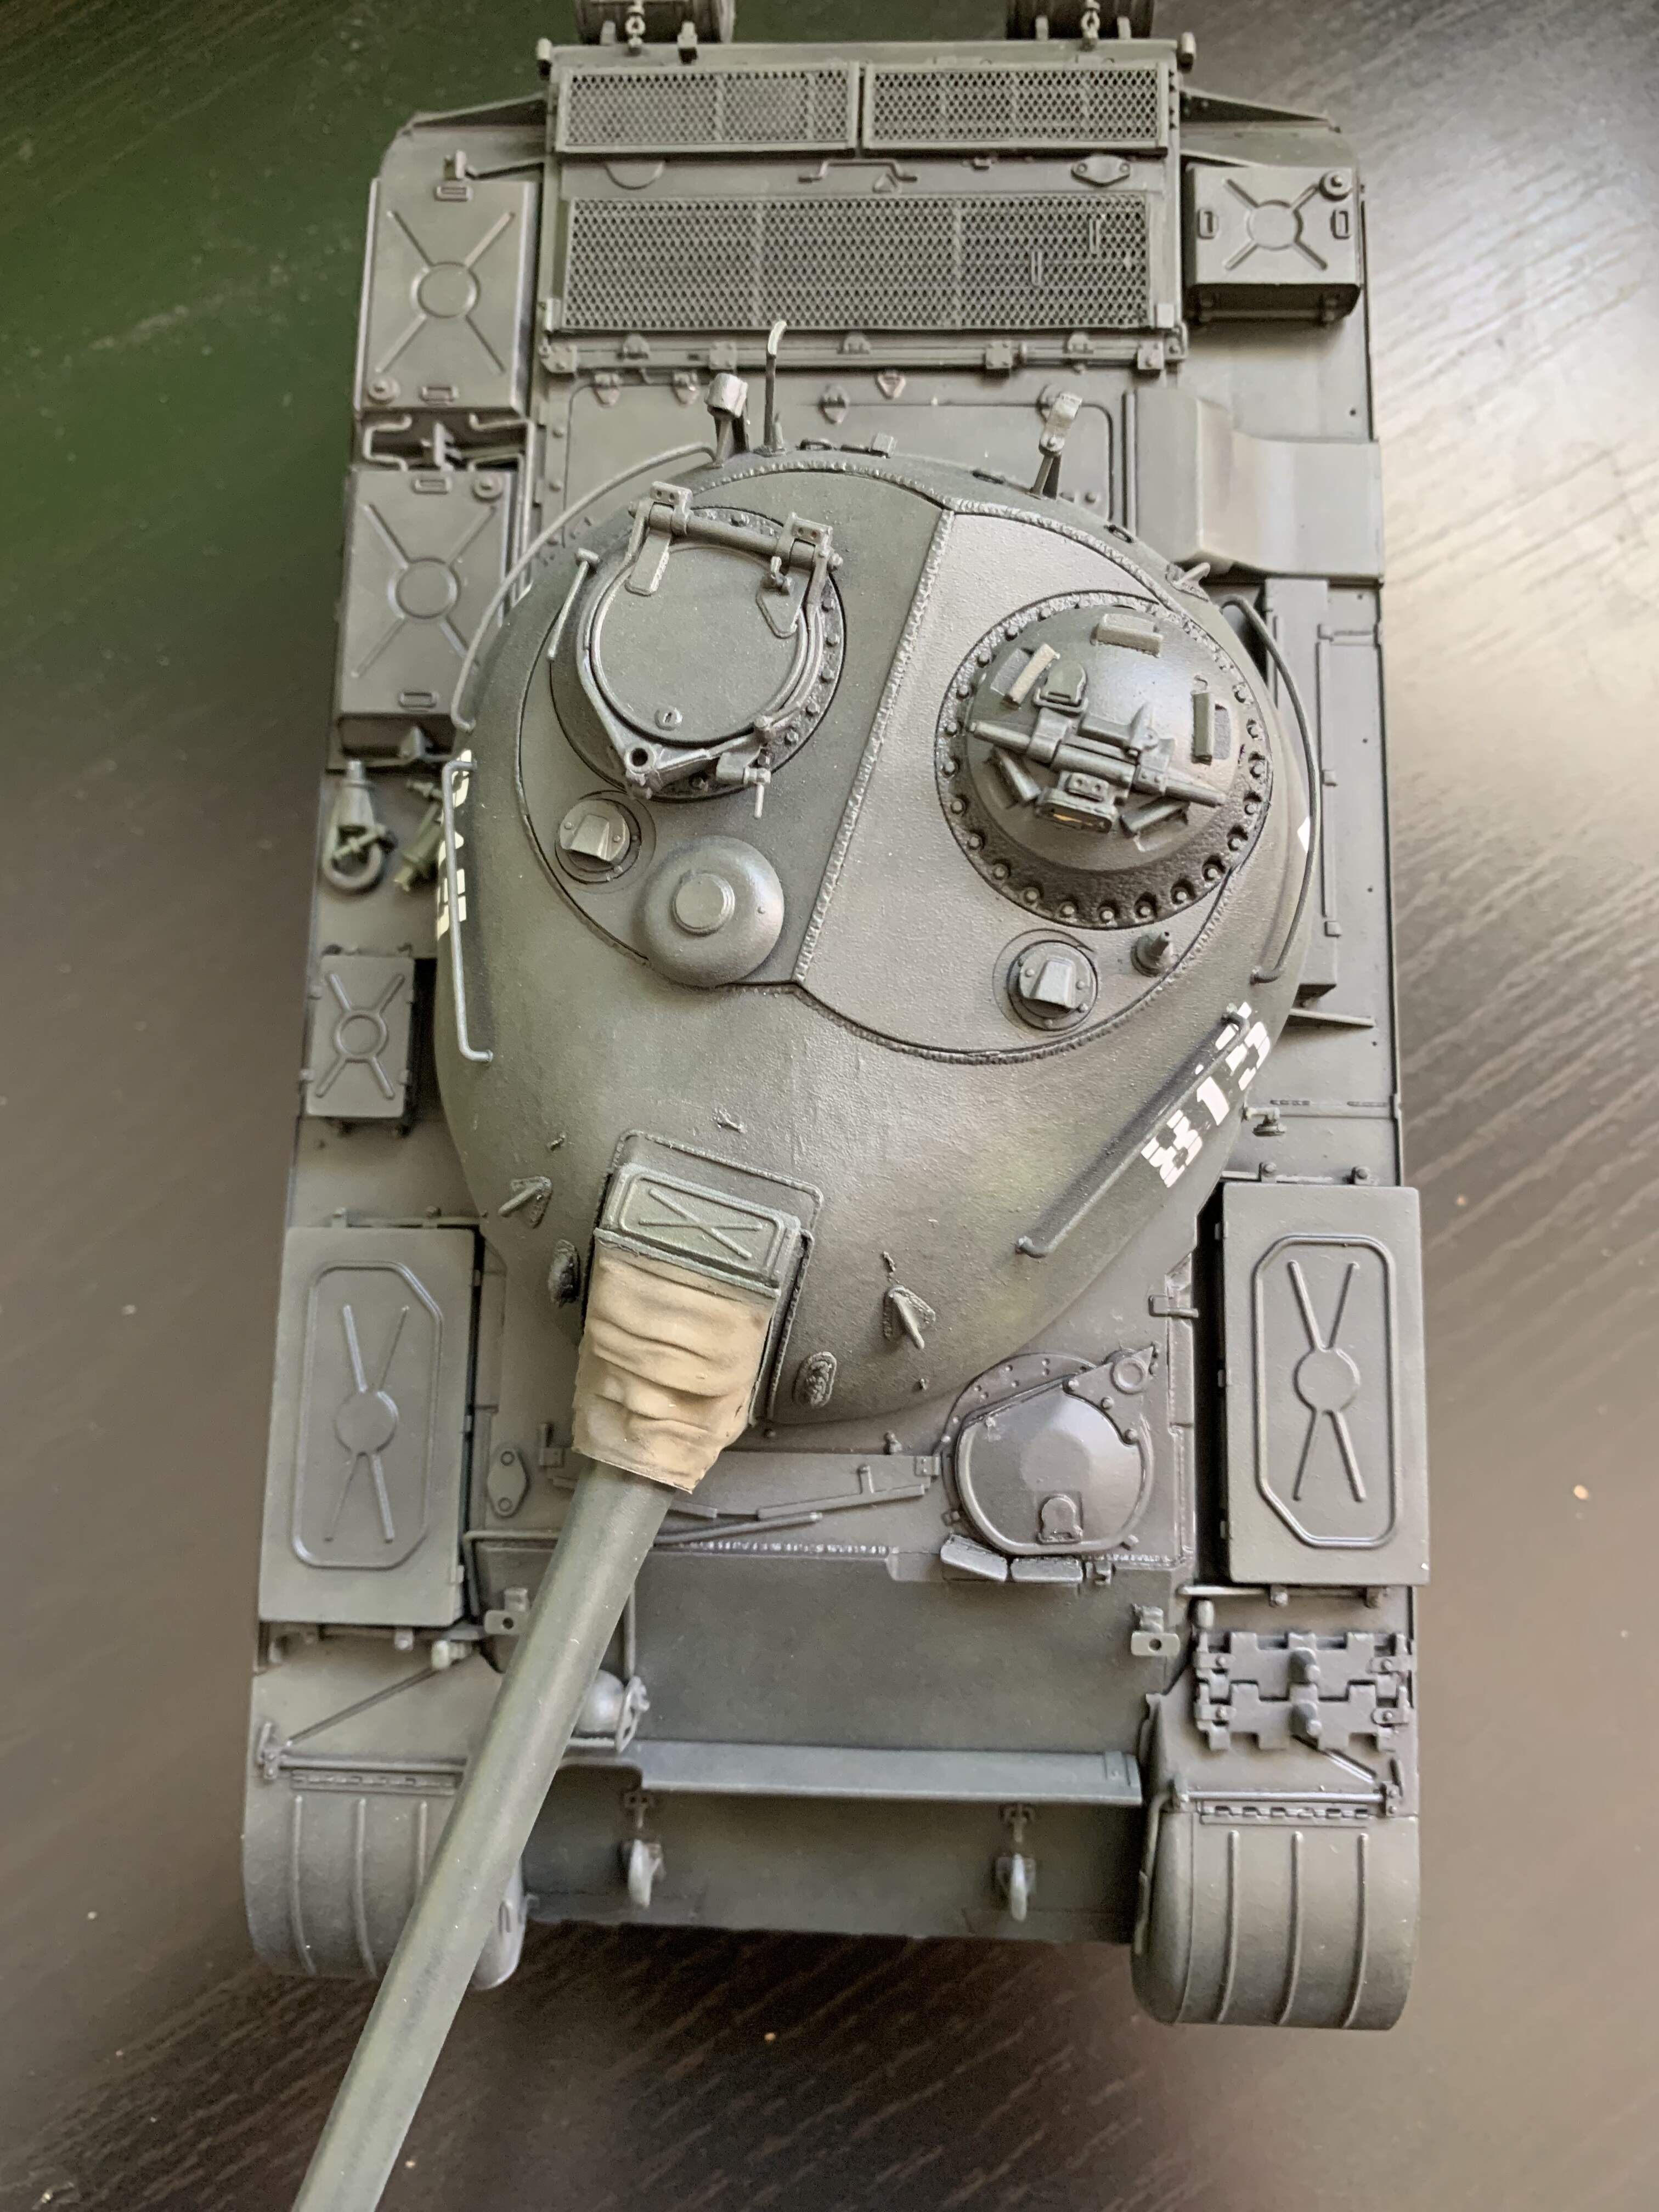
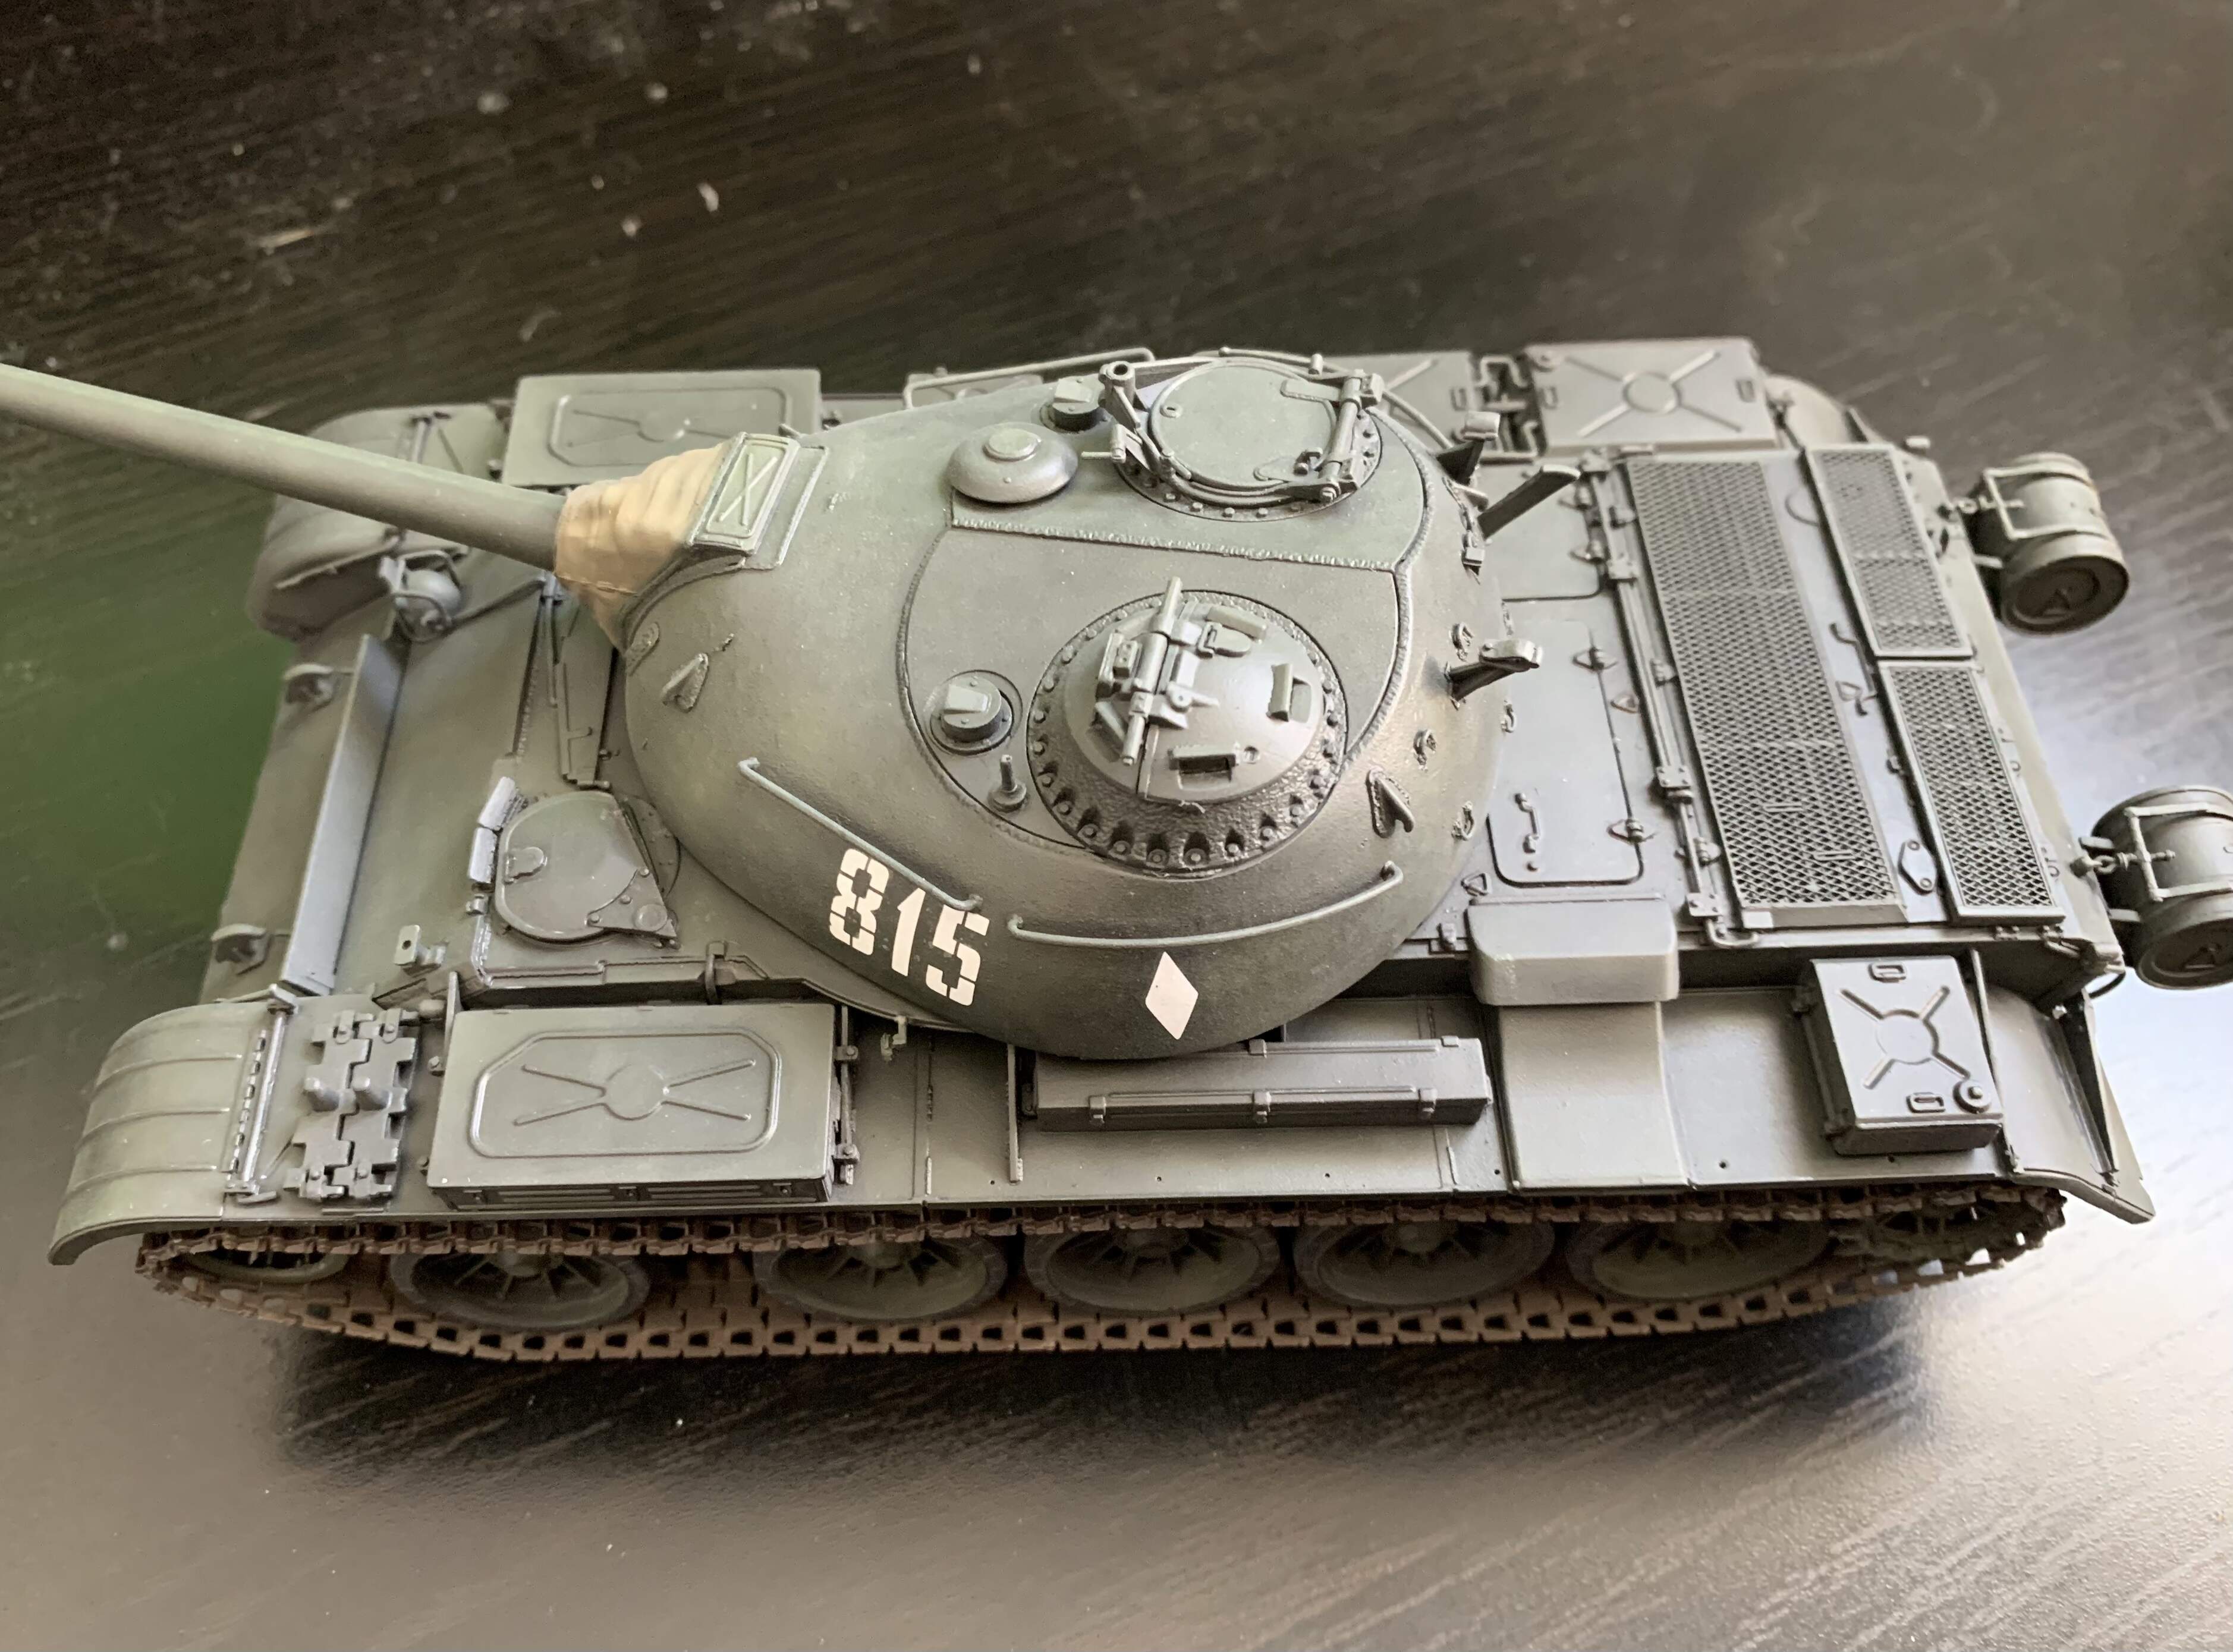
I think the tracks came out a bit too brown, I’ll try to tone them down later. I’m currently working on practicing my wash technique on a spare models I’m really happy with where this one is so I don’t want to ruin the finish
10 Likes
Wow, that really looks great! You could leave it as it as a beautiful “just off the line at the factory” example.
1 Like
That is gorgeous. Yes, some washes will tone down the tracks for sure.
1 Like
Thanks guys! This is only my second armor kit in the last 5 years, so I’m pretty pleased with the results
Your T-54 looks great to my eyes! I agree that just a tiny bit of weathering would keep the details and overall impression so nice like now. Amazing result so far!
Tamás
2 Likes
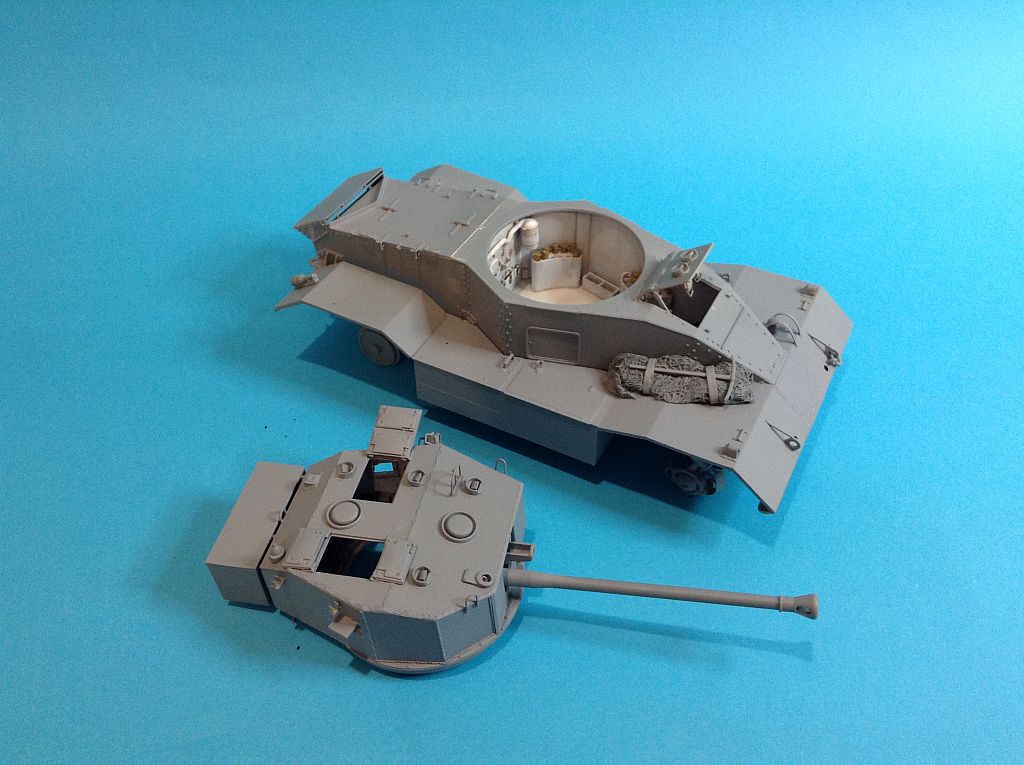
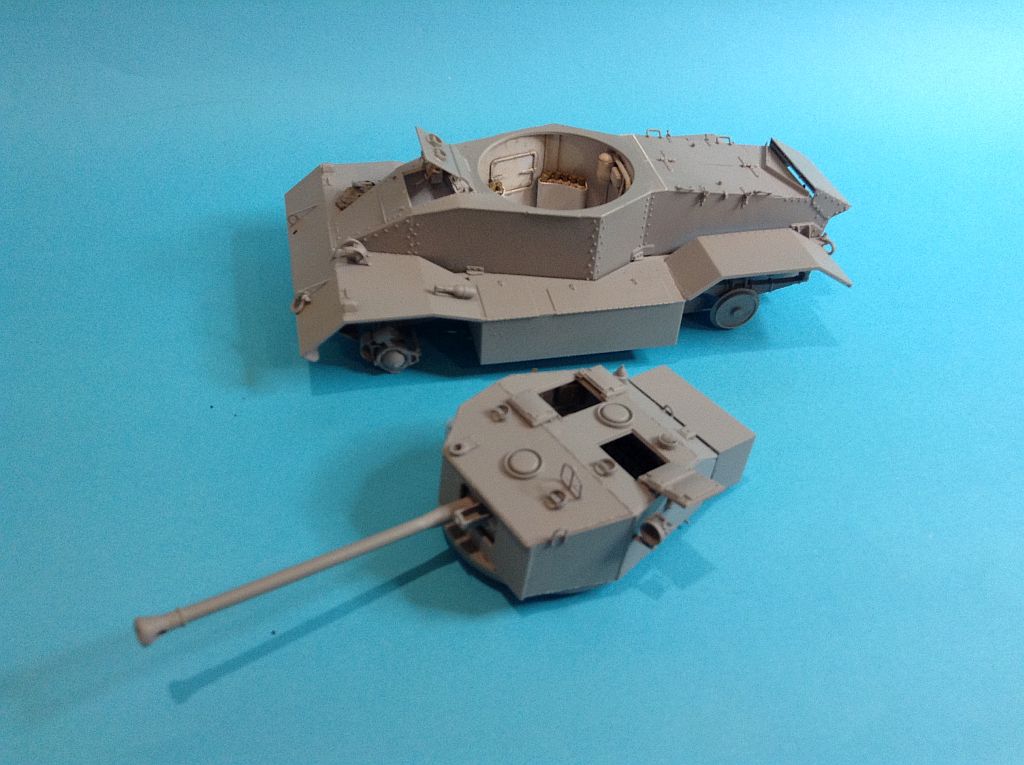
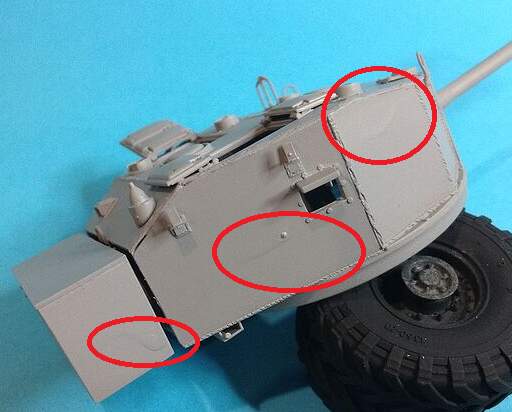
Okay, primer down on the AEC. Bad run mark on both sides of the turret, and the poor fit of the roof panel need filling (The roof and rear panel is all in one). Fix that, fit the antennae mount when the postman delivers my FC Model trend ones, then off to paint.
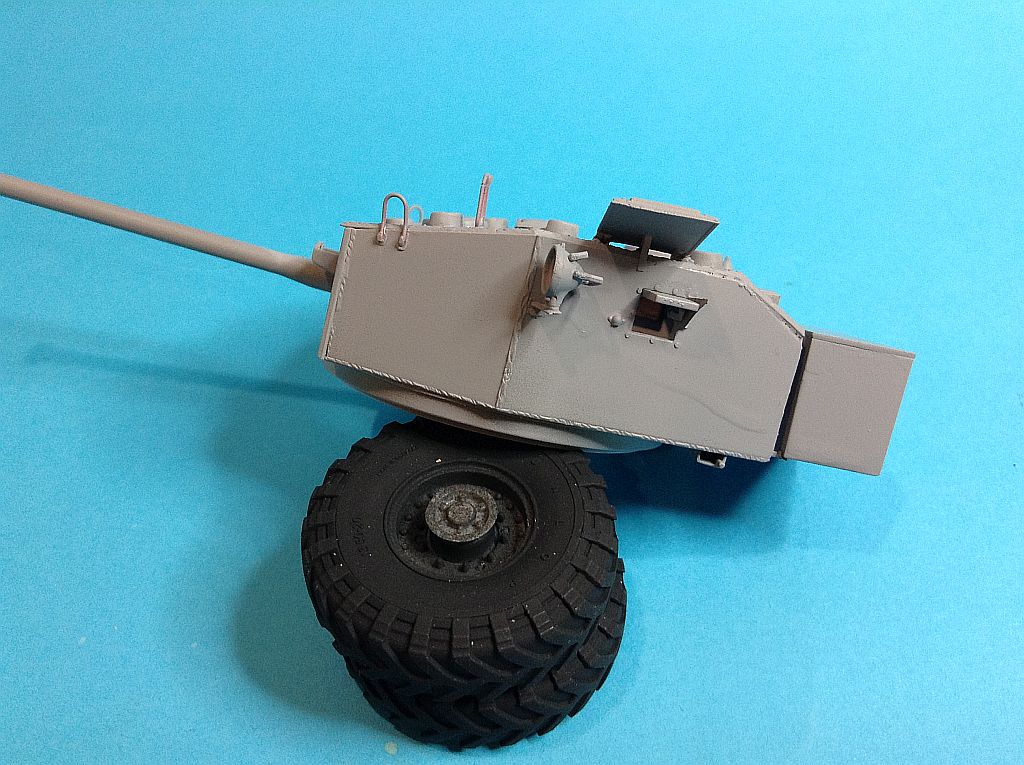

9 Likes
OK, I see some stuff that I think could be a run mark, but I don’t know what a run mark is?
Where the paint layer is a little too thick and it runs downward pooling in a stepped layer.
1 Like
Oh right. I misread where you mentioned you had primer on it…
Seems to be missing tracks Kelly, and a few road wheels… 
1 Like
To whom God did not give wheels, He gave wings 
1 Like
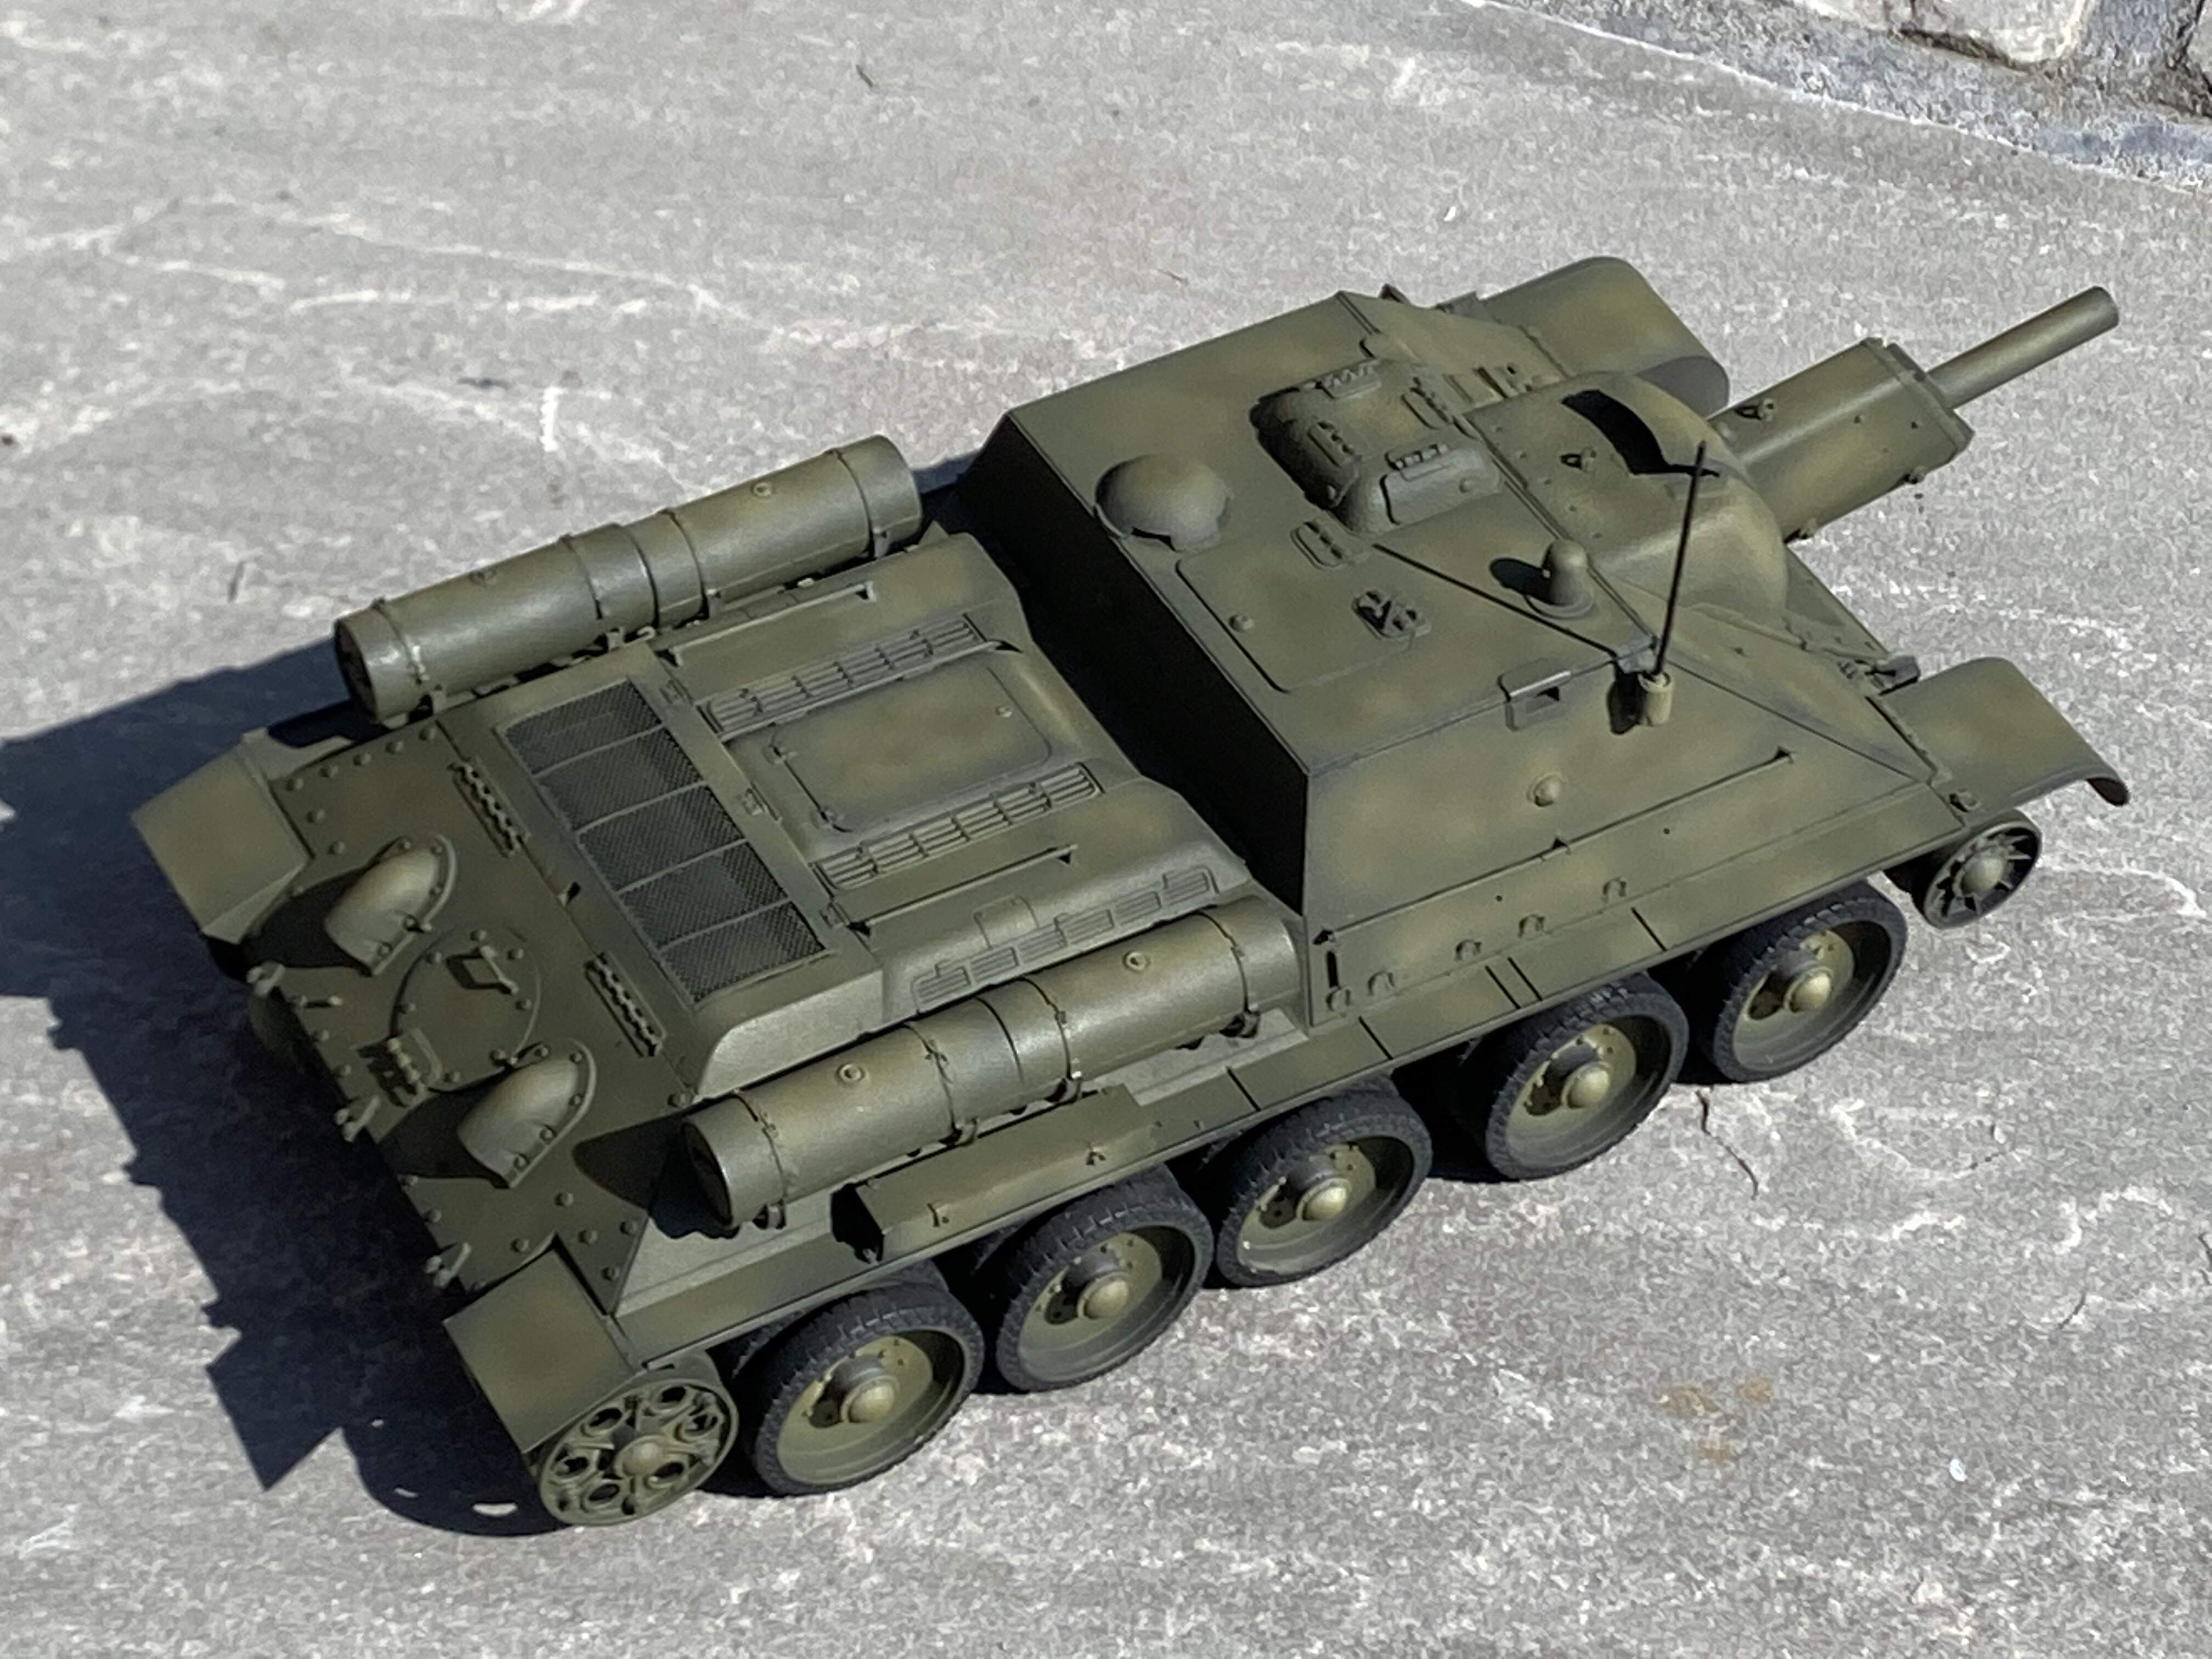
Dear Friends,
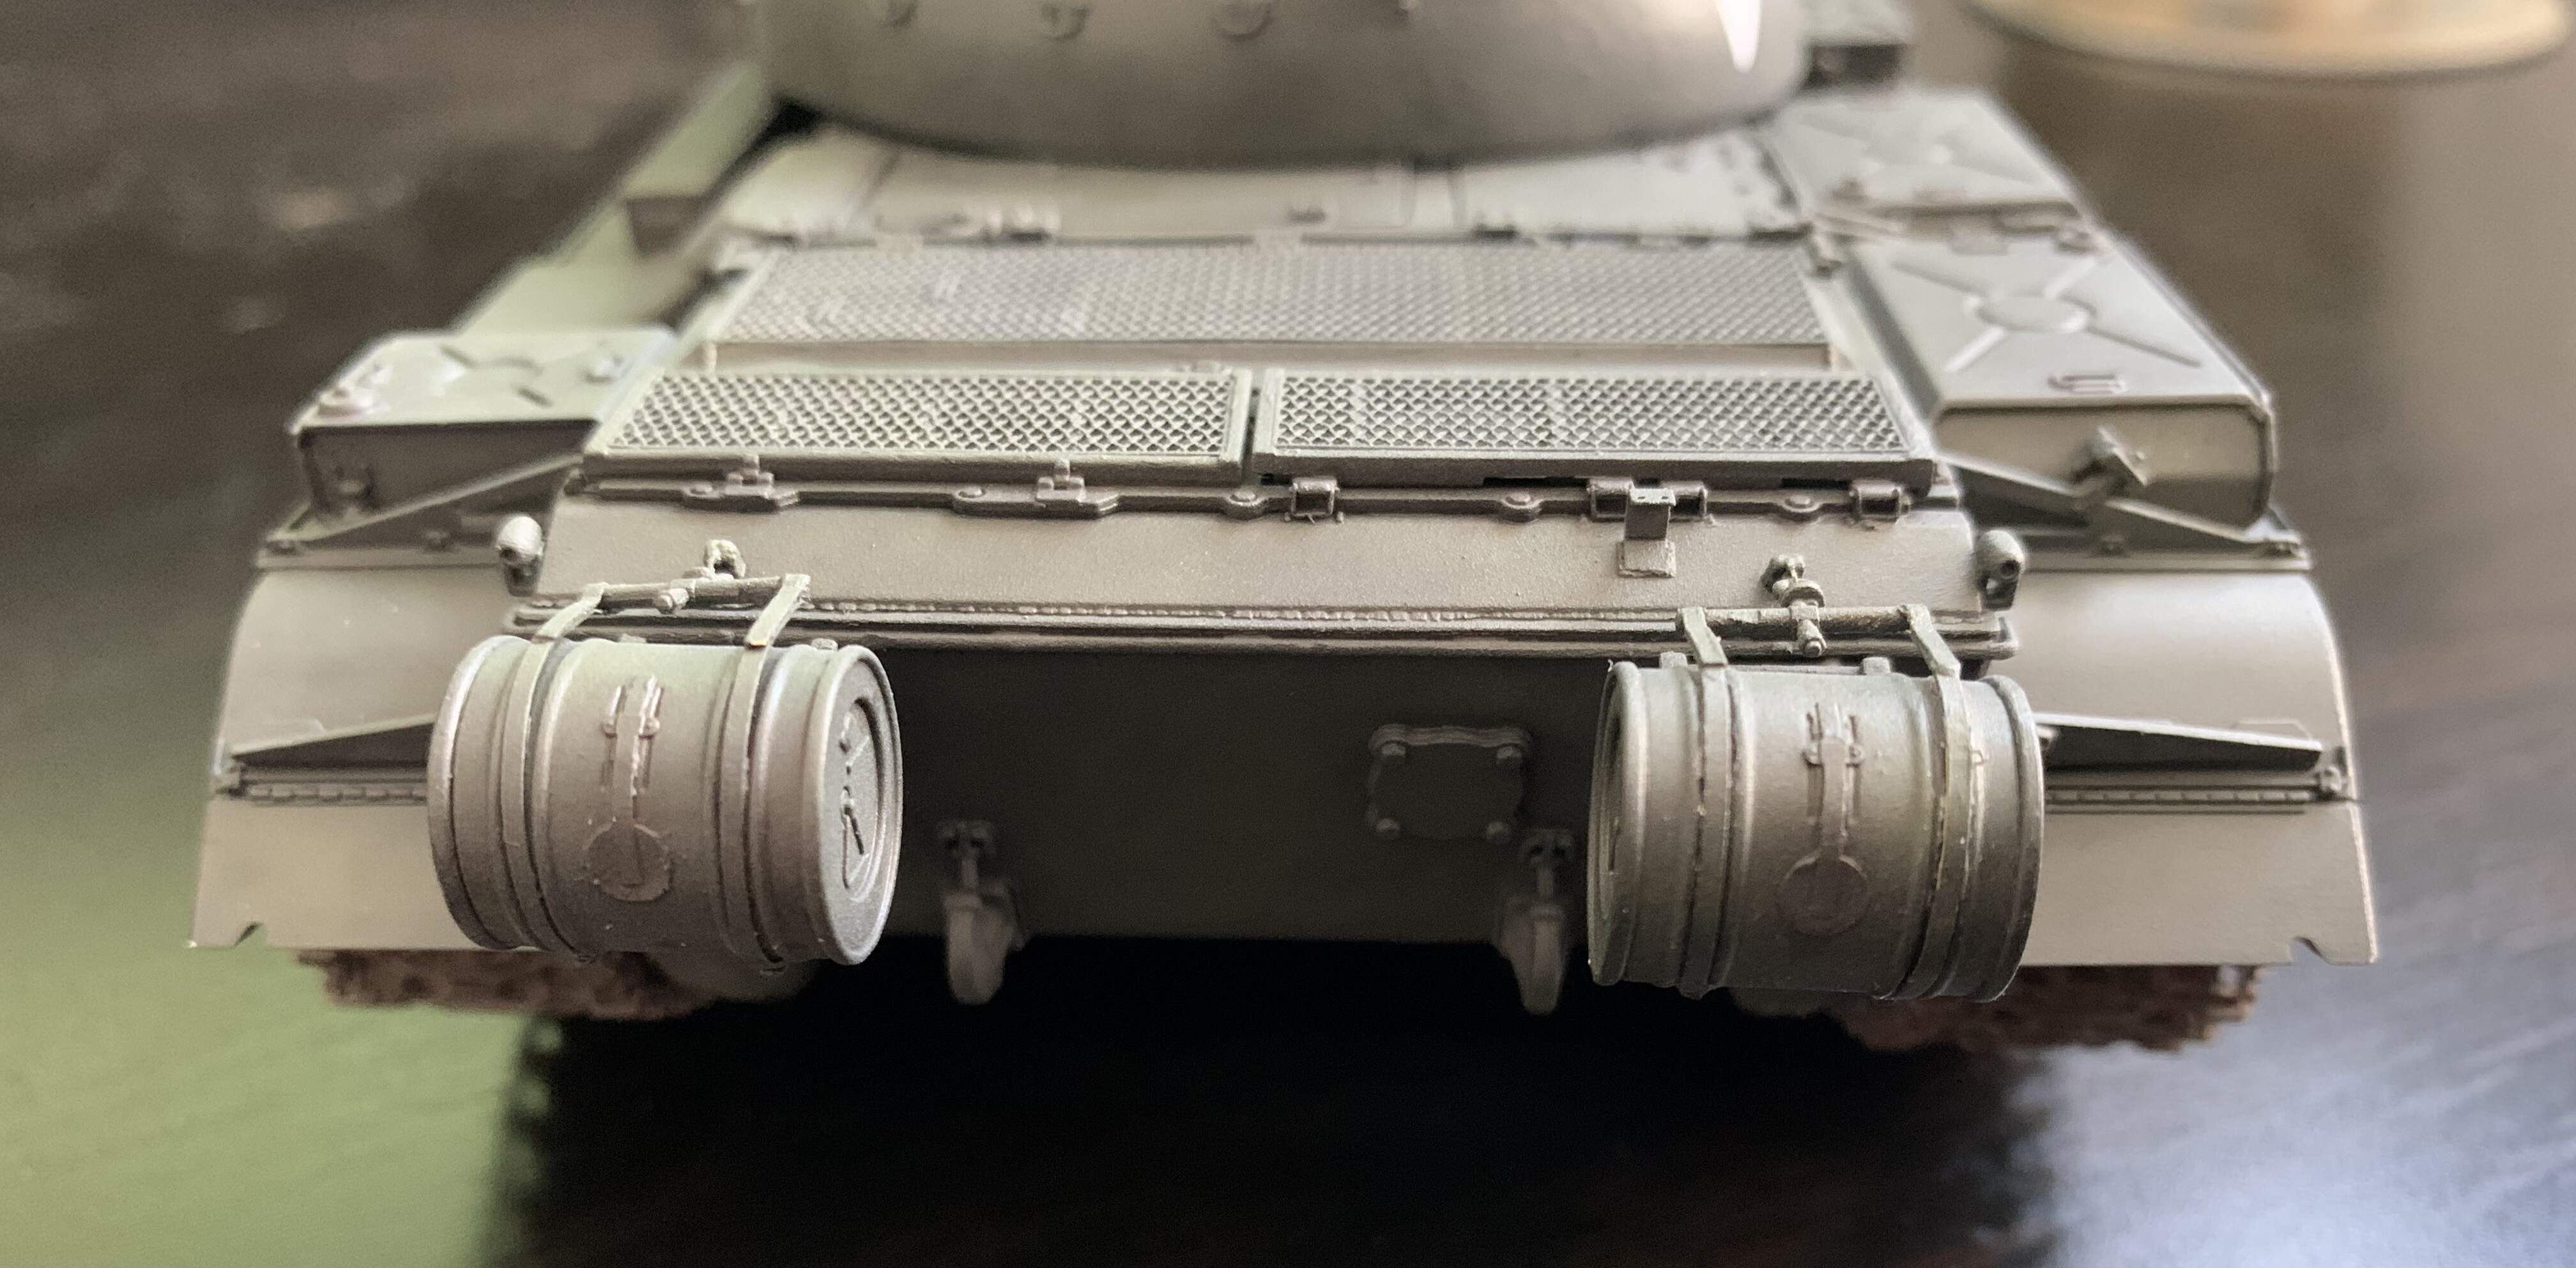
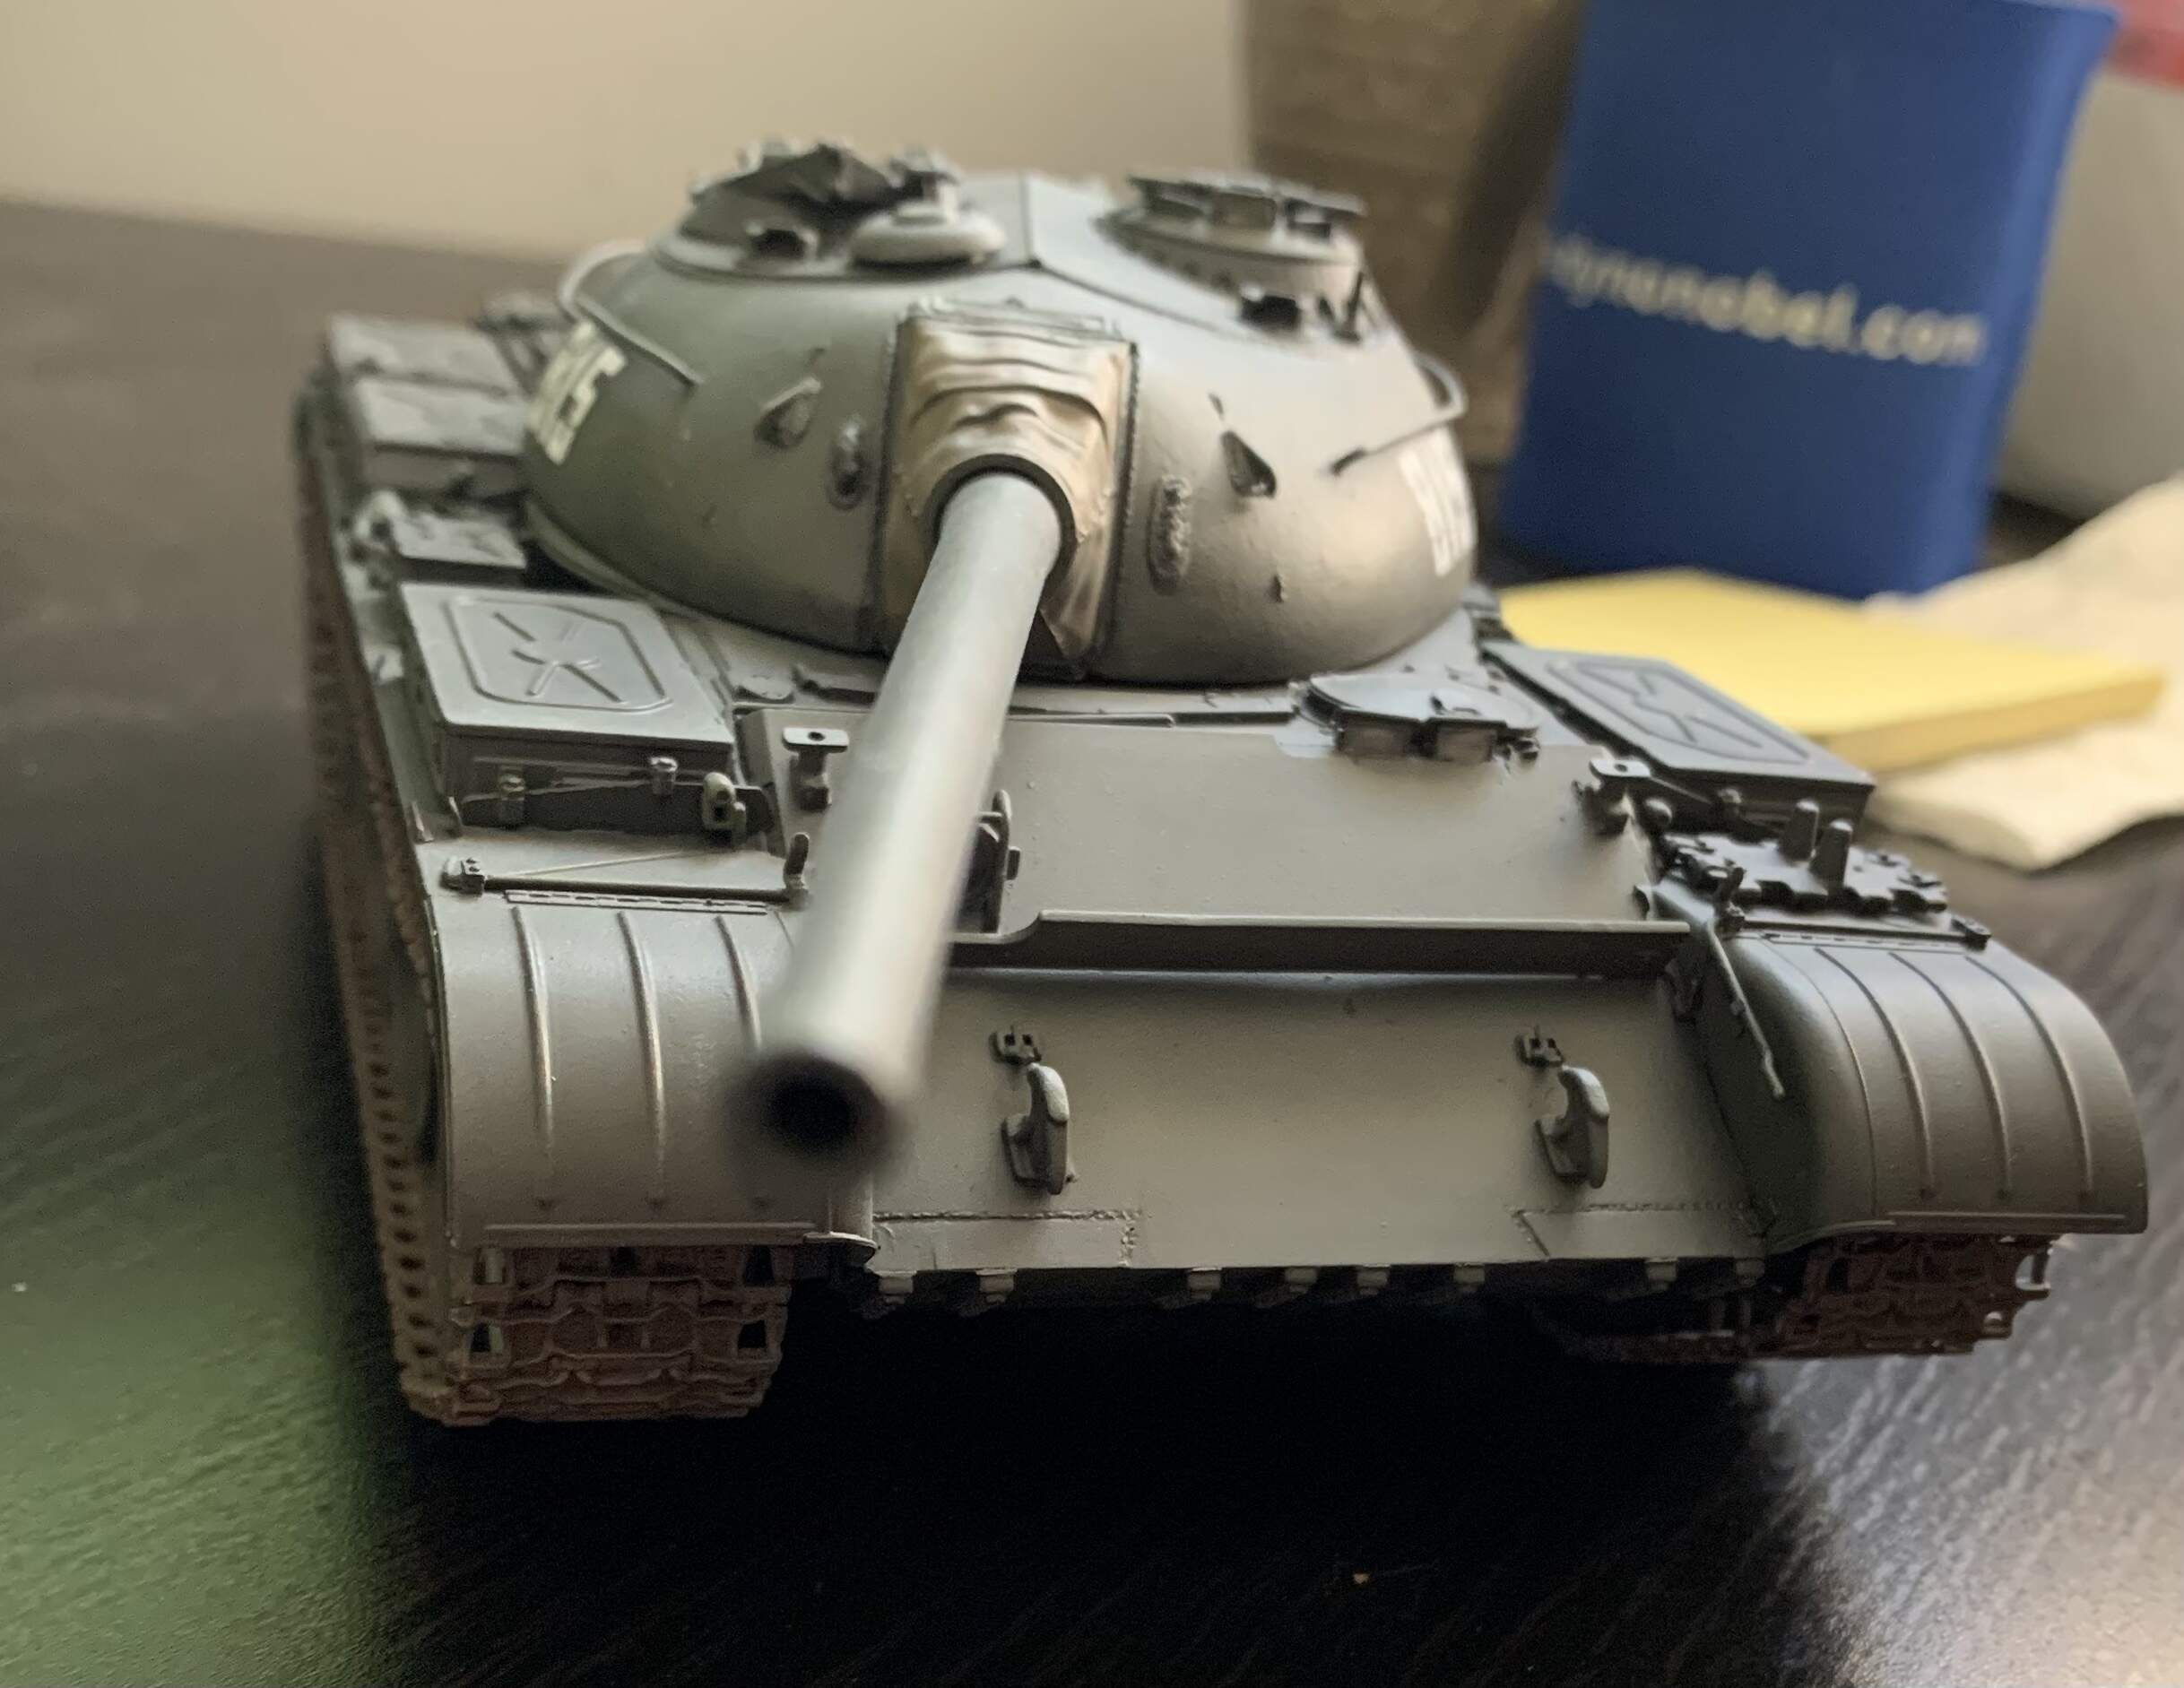
I am quite proud to show the progress of recent days on my T-55 kit. I could build up lots of tiny details onto the hull. Almost all plastic parts are in place and only a handful of PE additions left to superglue.


Once I will complete the building stage of the hull, a base-coat will be applied with the (for me) usual Gunze Black Finishing Surfacer 1500 and take a small break before airbrushing the first 4BO green layer.
The turret is already base-coated apart from a tie-down hook which I lost during some manual handling but the kit has some extras as the Hungarian version needed less.
Take care and happy modelling! The hot summer shortens paint drying time, no excuse to go to the beach…
Tamás
5 Likes
Lol, i had to go back thru this thread just to make sure it wasnt just a tank build.
PE additions left to superglue… @Agriamodeling this model started off doing that. I thought of skipping it, but hell I actually got it done. Your tow cables PE look about the same size as these. So glad I got it over with.
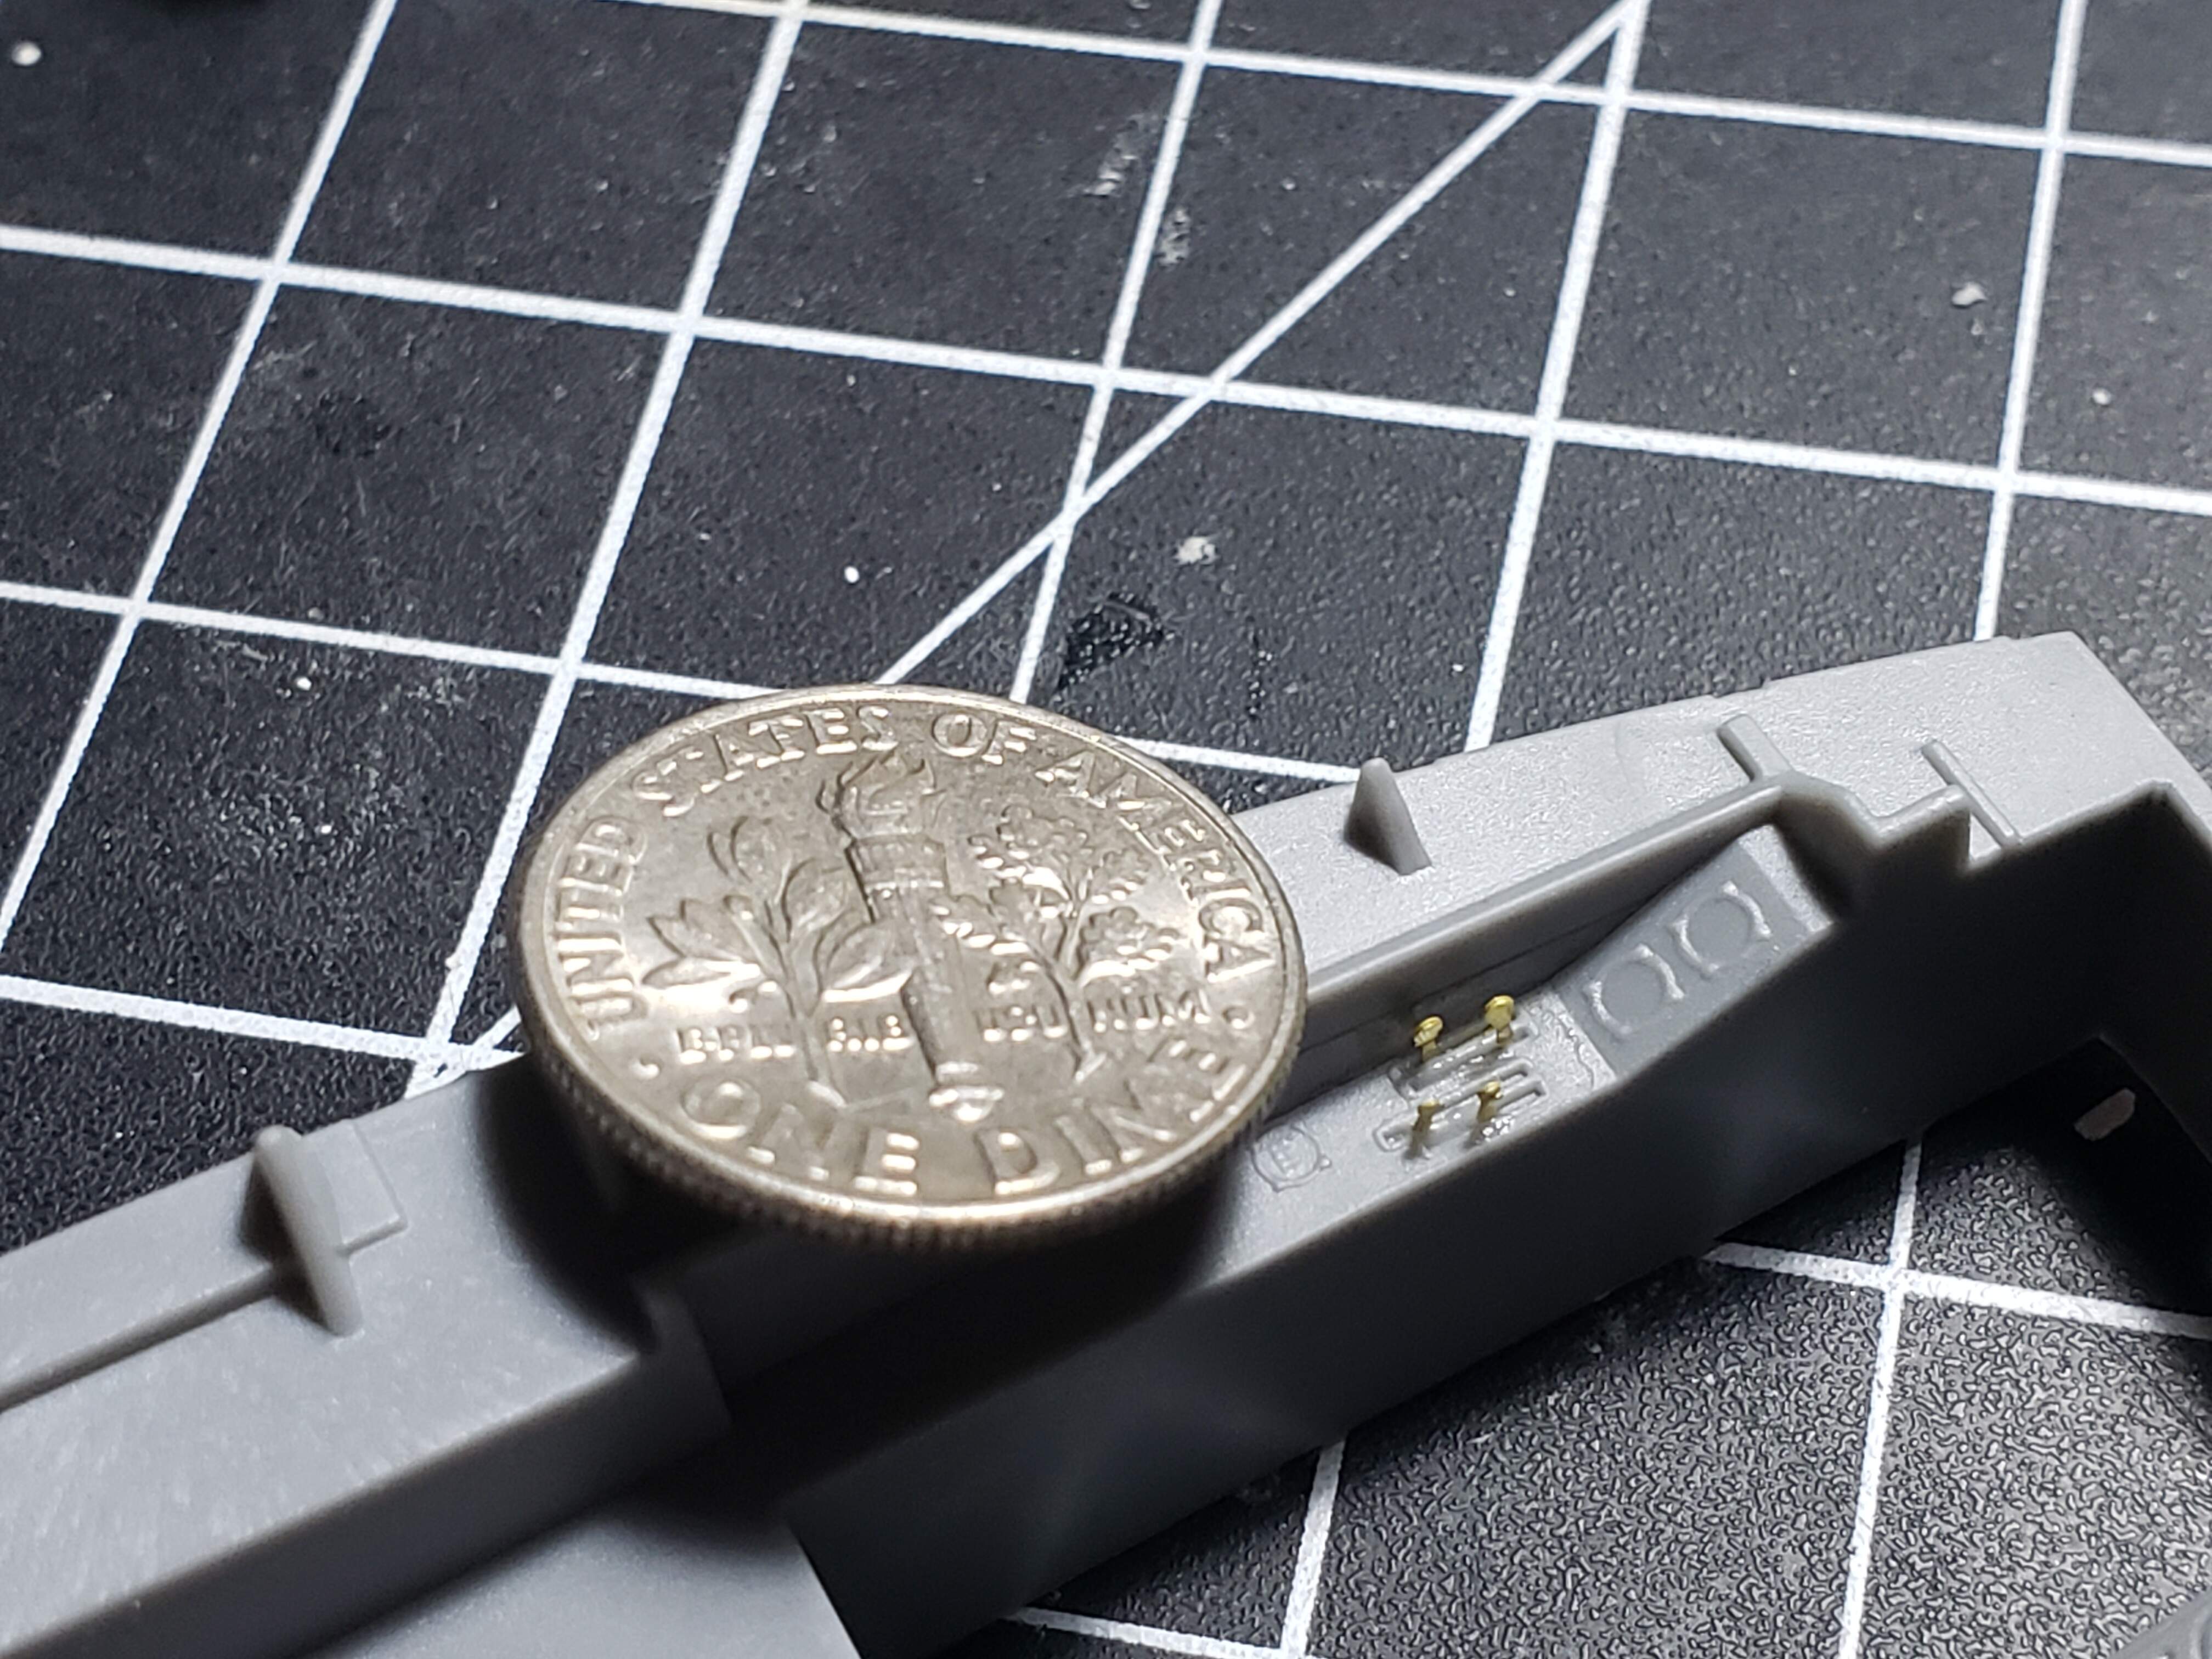
3 Likes
Not quite as bad as PE rivets, but not by much… look great though.
1 Like
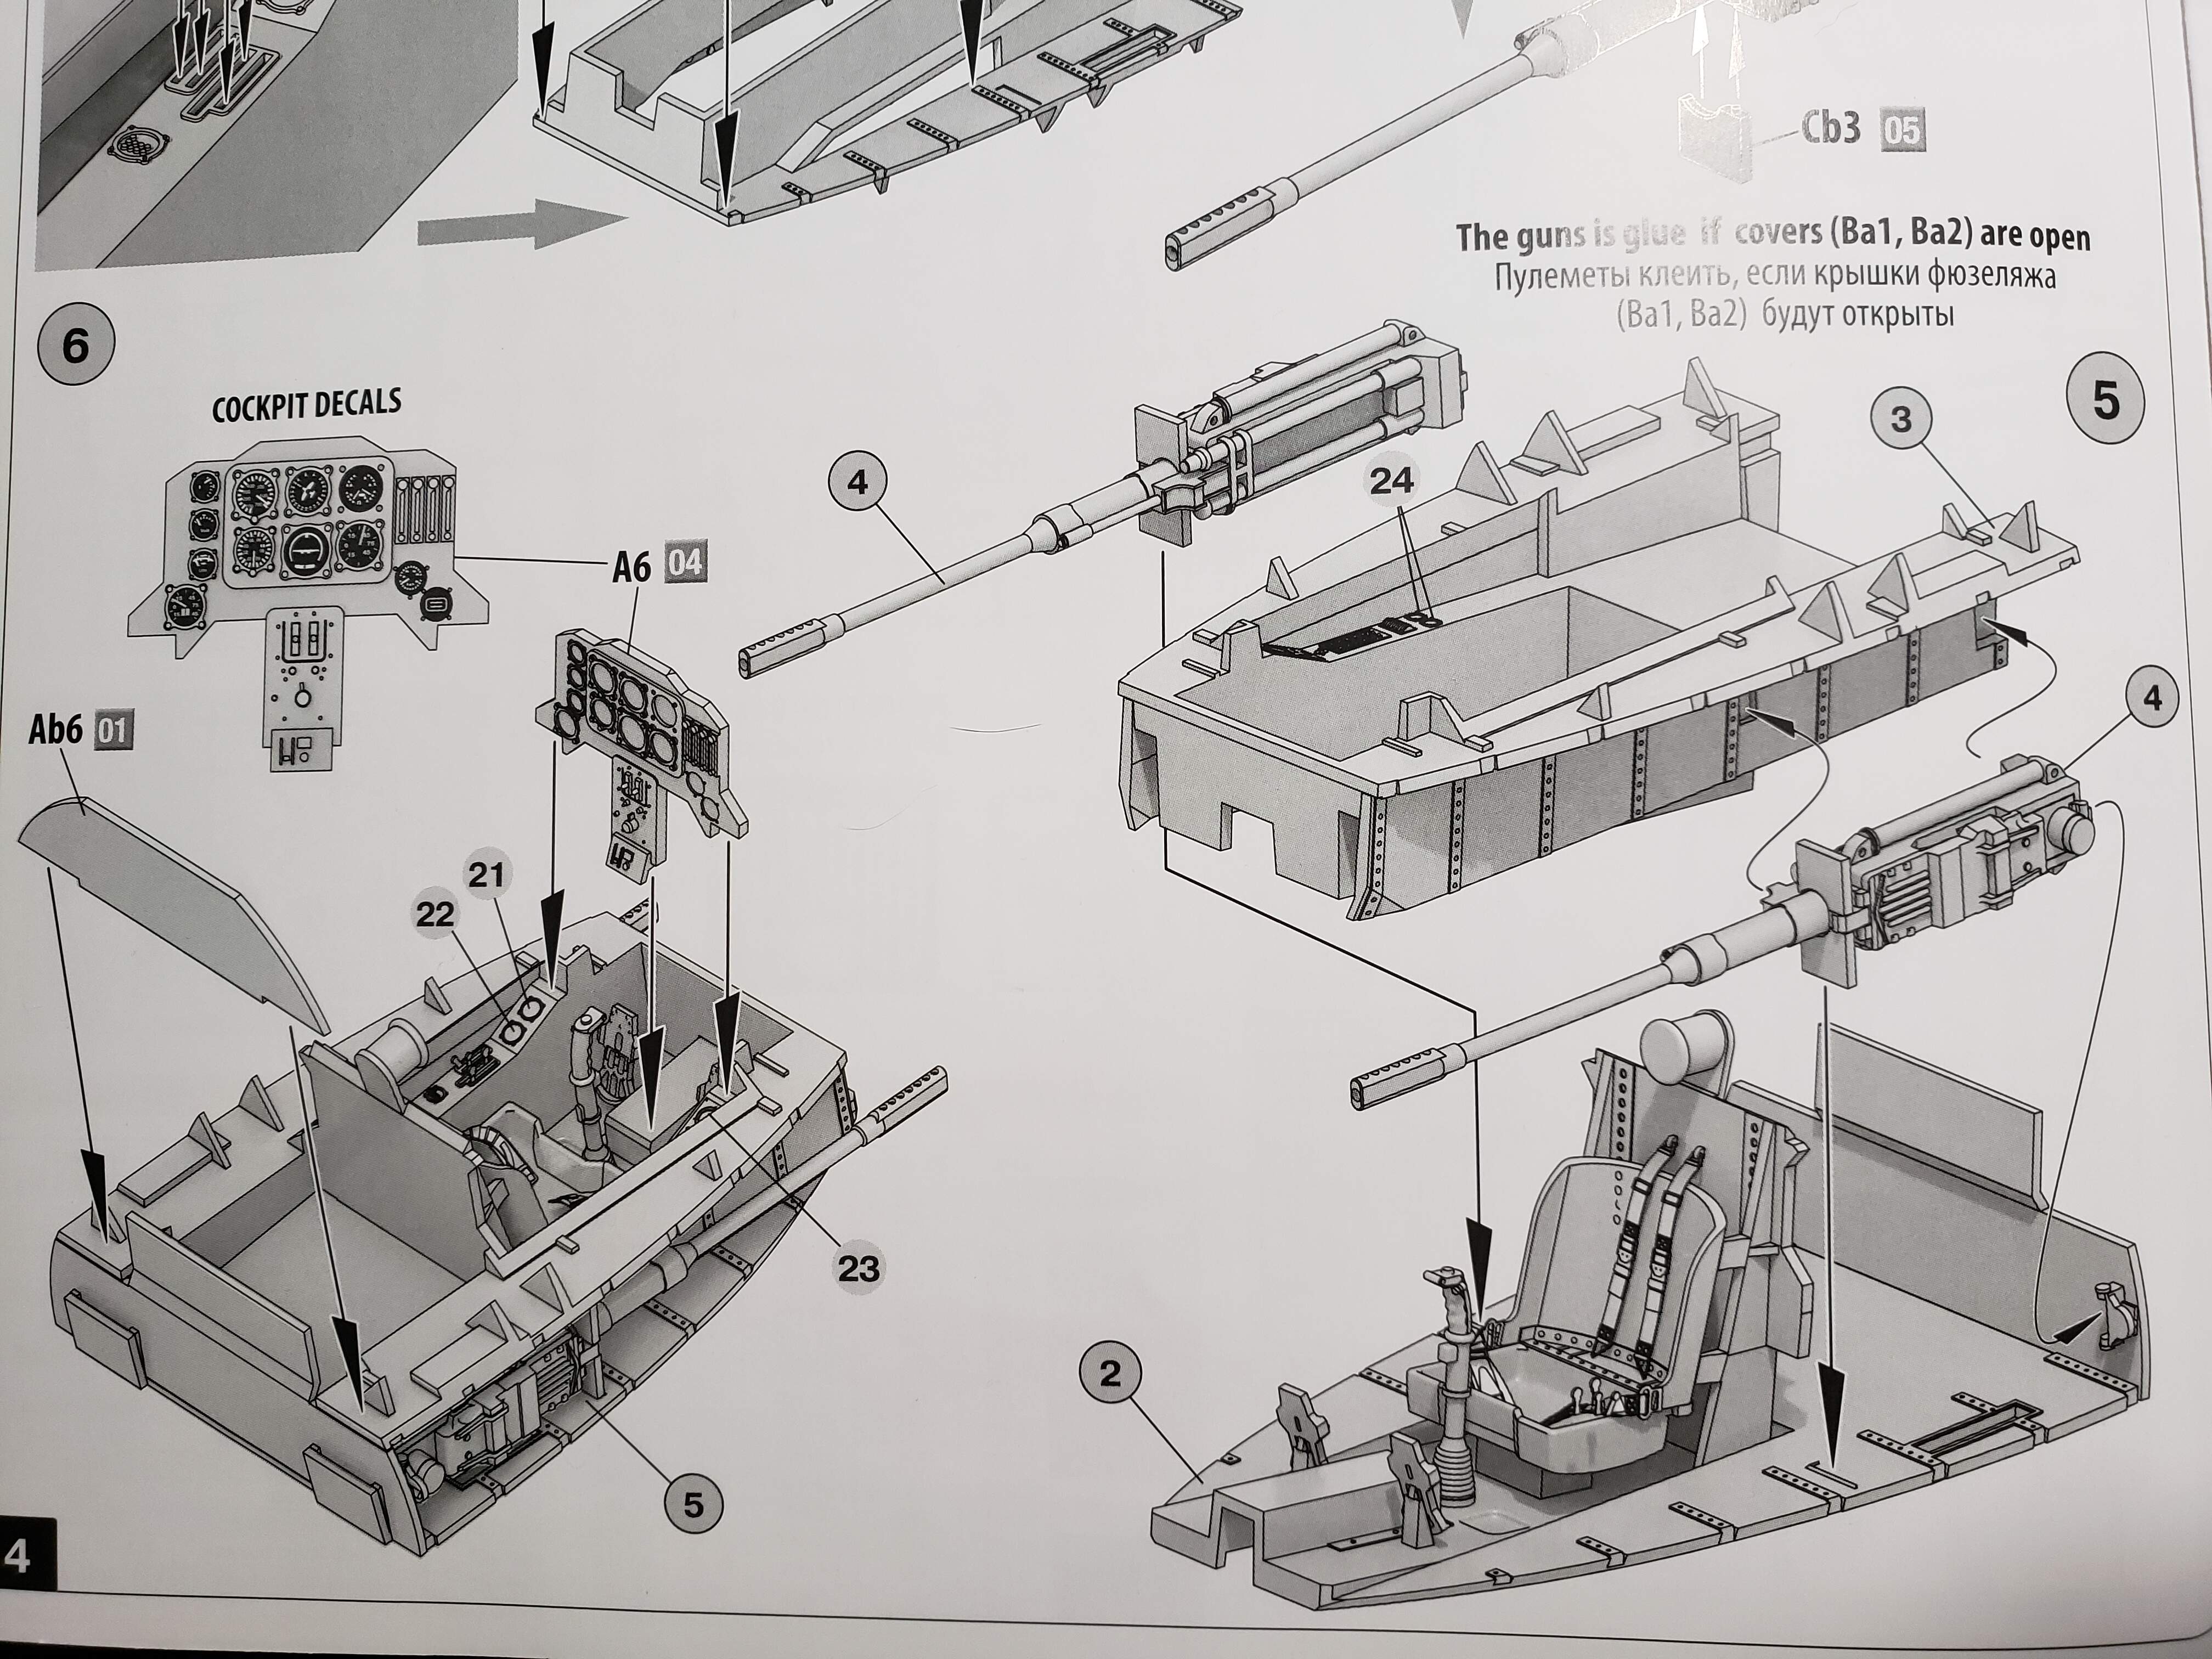
only six steps in to 22 on the kit and almost ruined the model. The instructions show you to glue the back to the seat in step 2. If you do or did, you will not be able to get the outer tub on to the base because the back of the seat is to wide.
I was able to unglue the seat before it set.
also step 5 shows the controls I glued to the tub actually on the seat in the pic !
Are other miniarts know for wanky instructions?

2 Likes
Like all other manufacturers, errors creep in. The Valentine I am doing had part numbers duplicated, and actually told you to glue some parts in the wrong place.