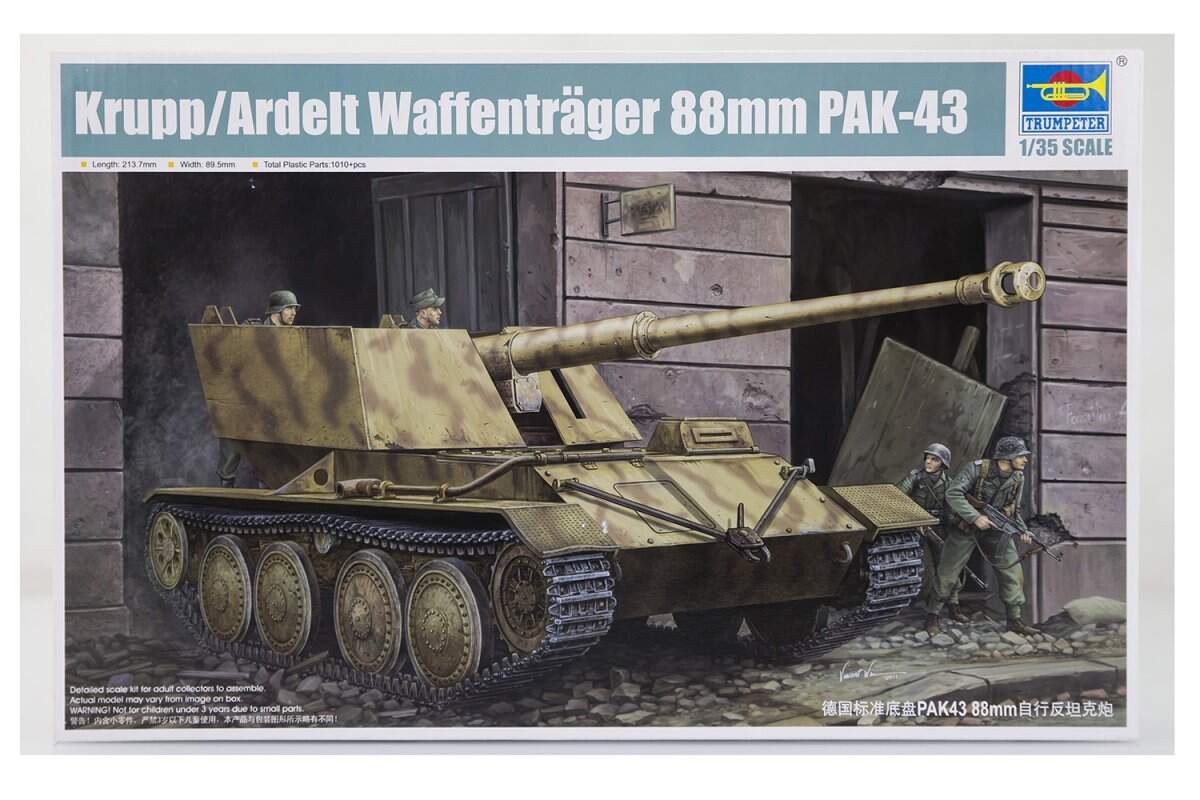
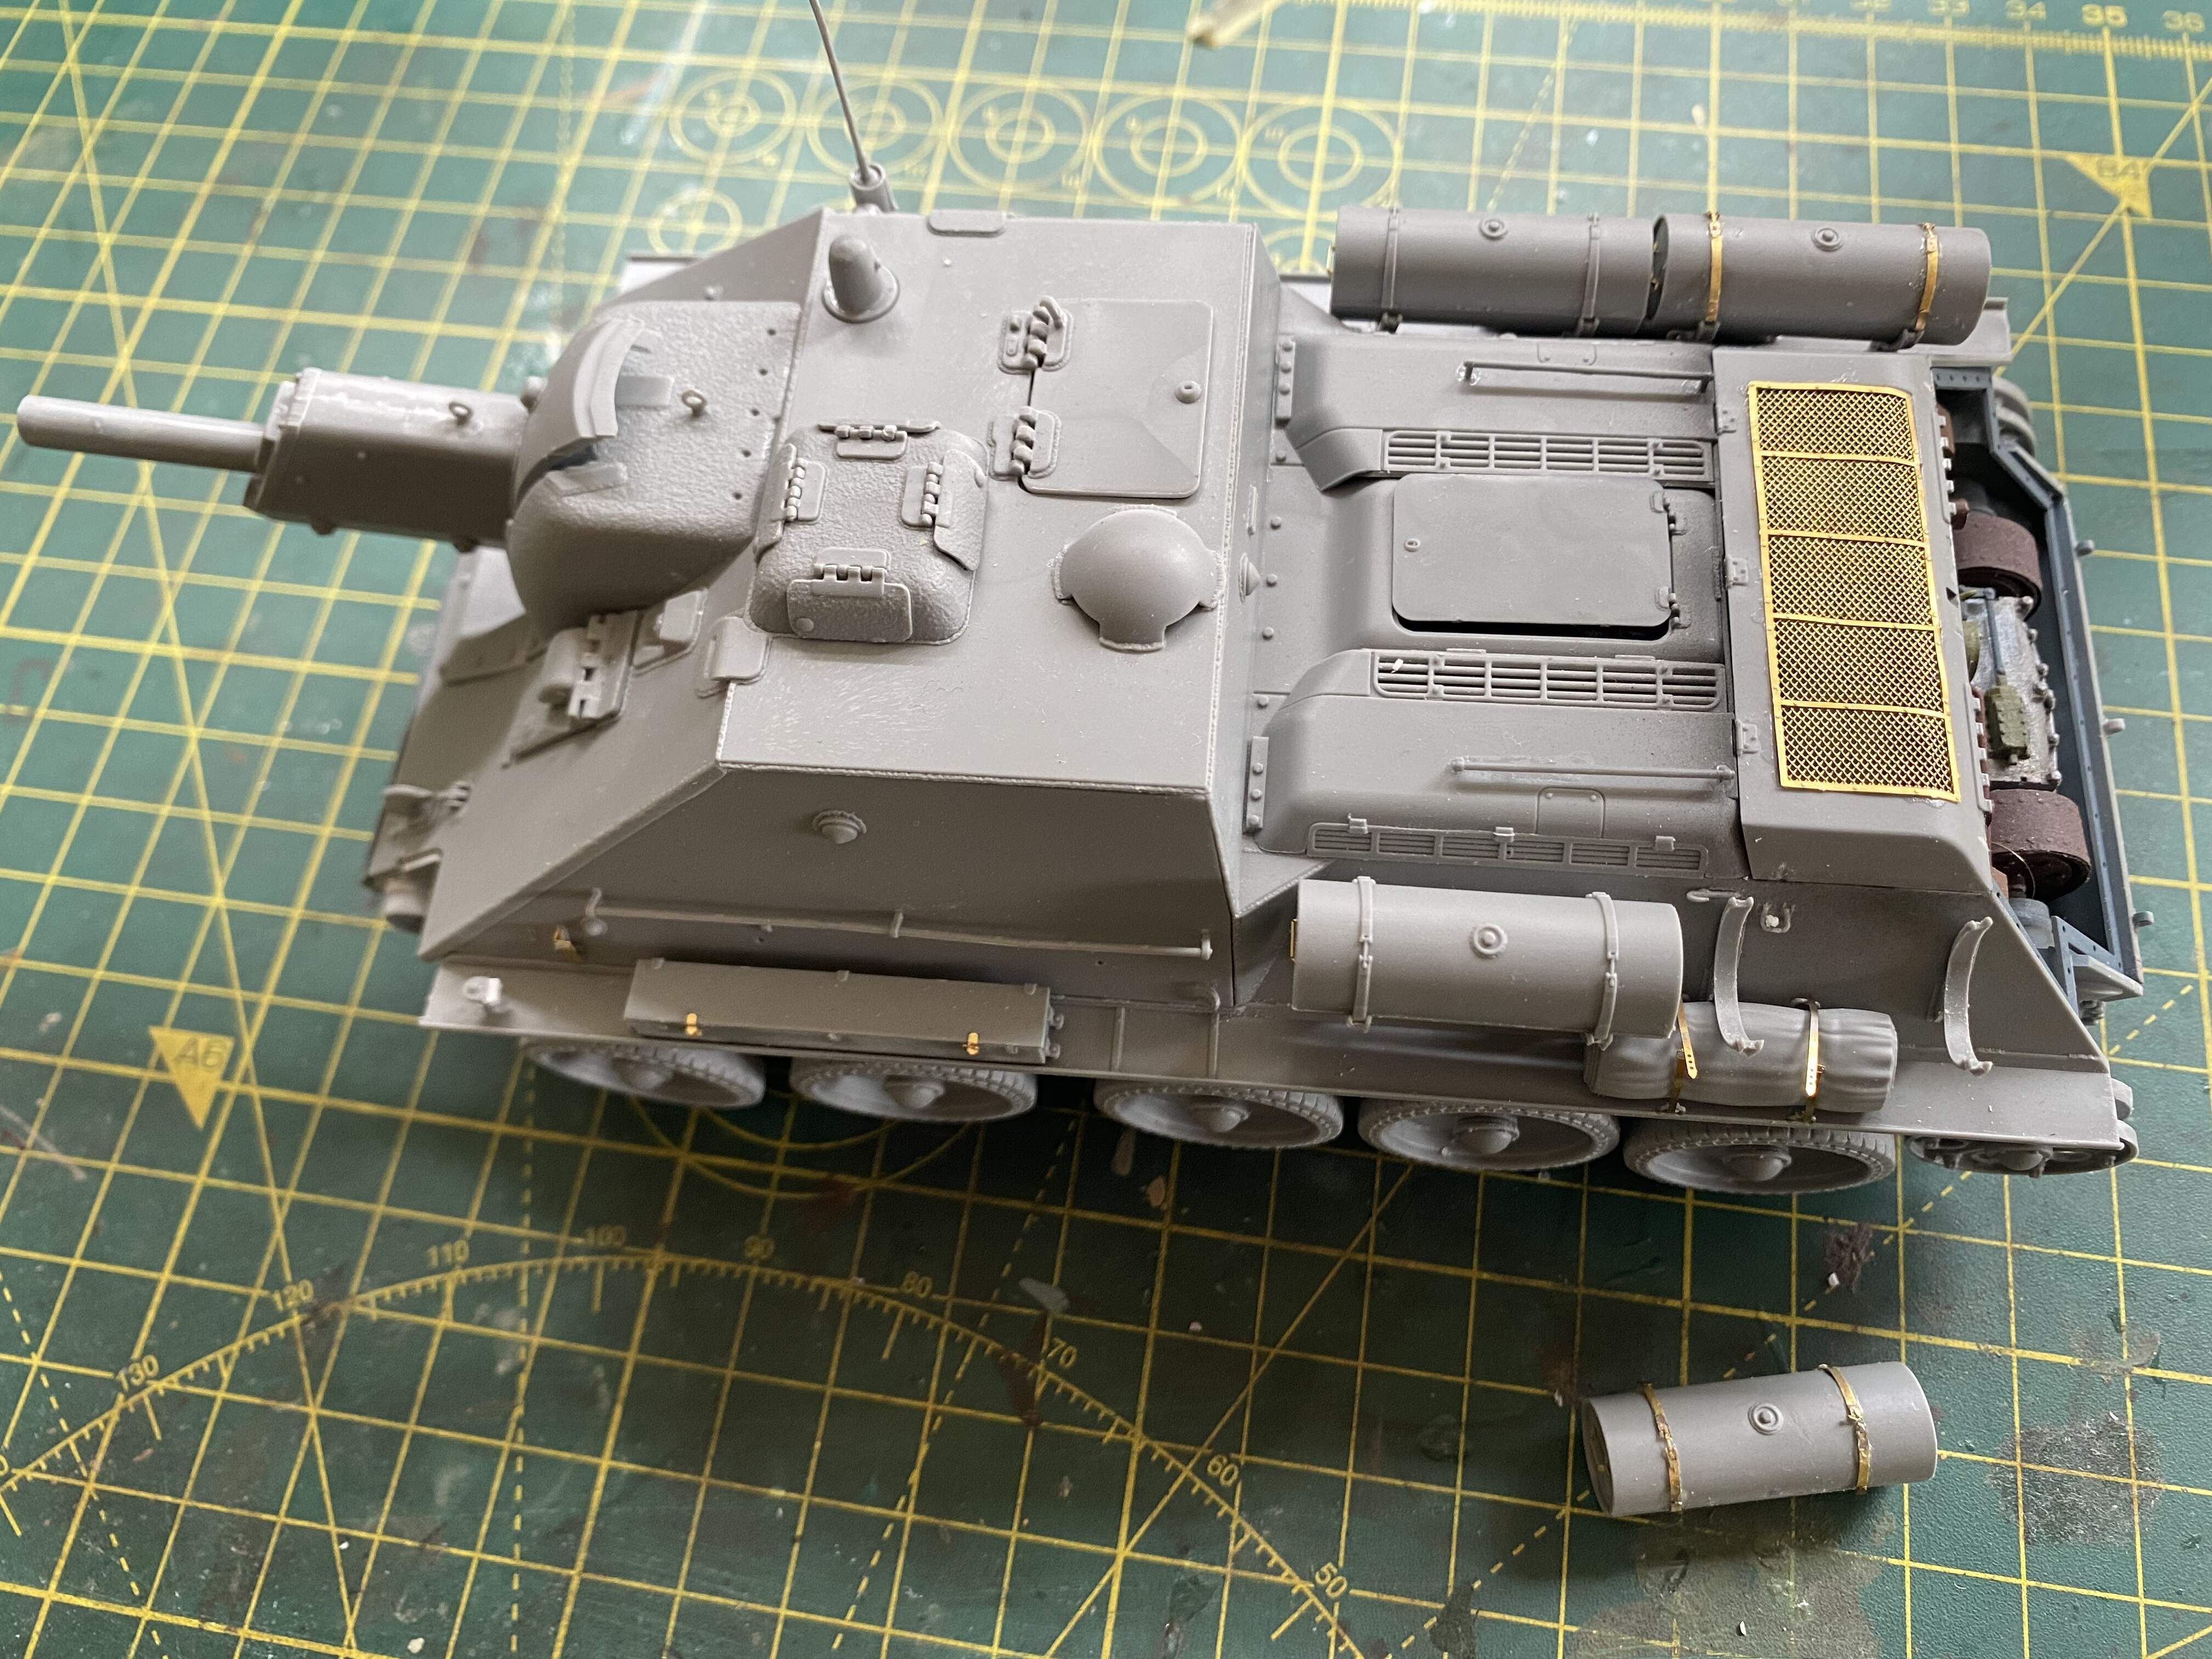
So after a bit of surgery, I confirmed my suspicions and I got the engine to sit correctly, allowing the engine deck to fit. Bit more exterior detail to do, then just the tracks before painting and weathering. At the moment I’ve left the hatches and casement roof loose, so the interior detail can still be viewed. May well pose the hatches open if I decide to incorporate into a dio, but not certain yet.
The transmission needs some more weathering I think and if I leave the rear hatch open will reattach the exhausts as the kit calls out for them to be cut and fixed to the rear hatch, but this only makes more sense if left closed

Gentlemen,
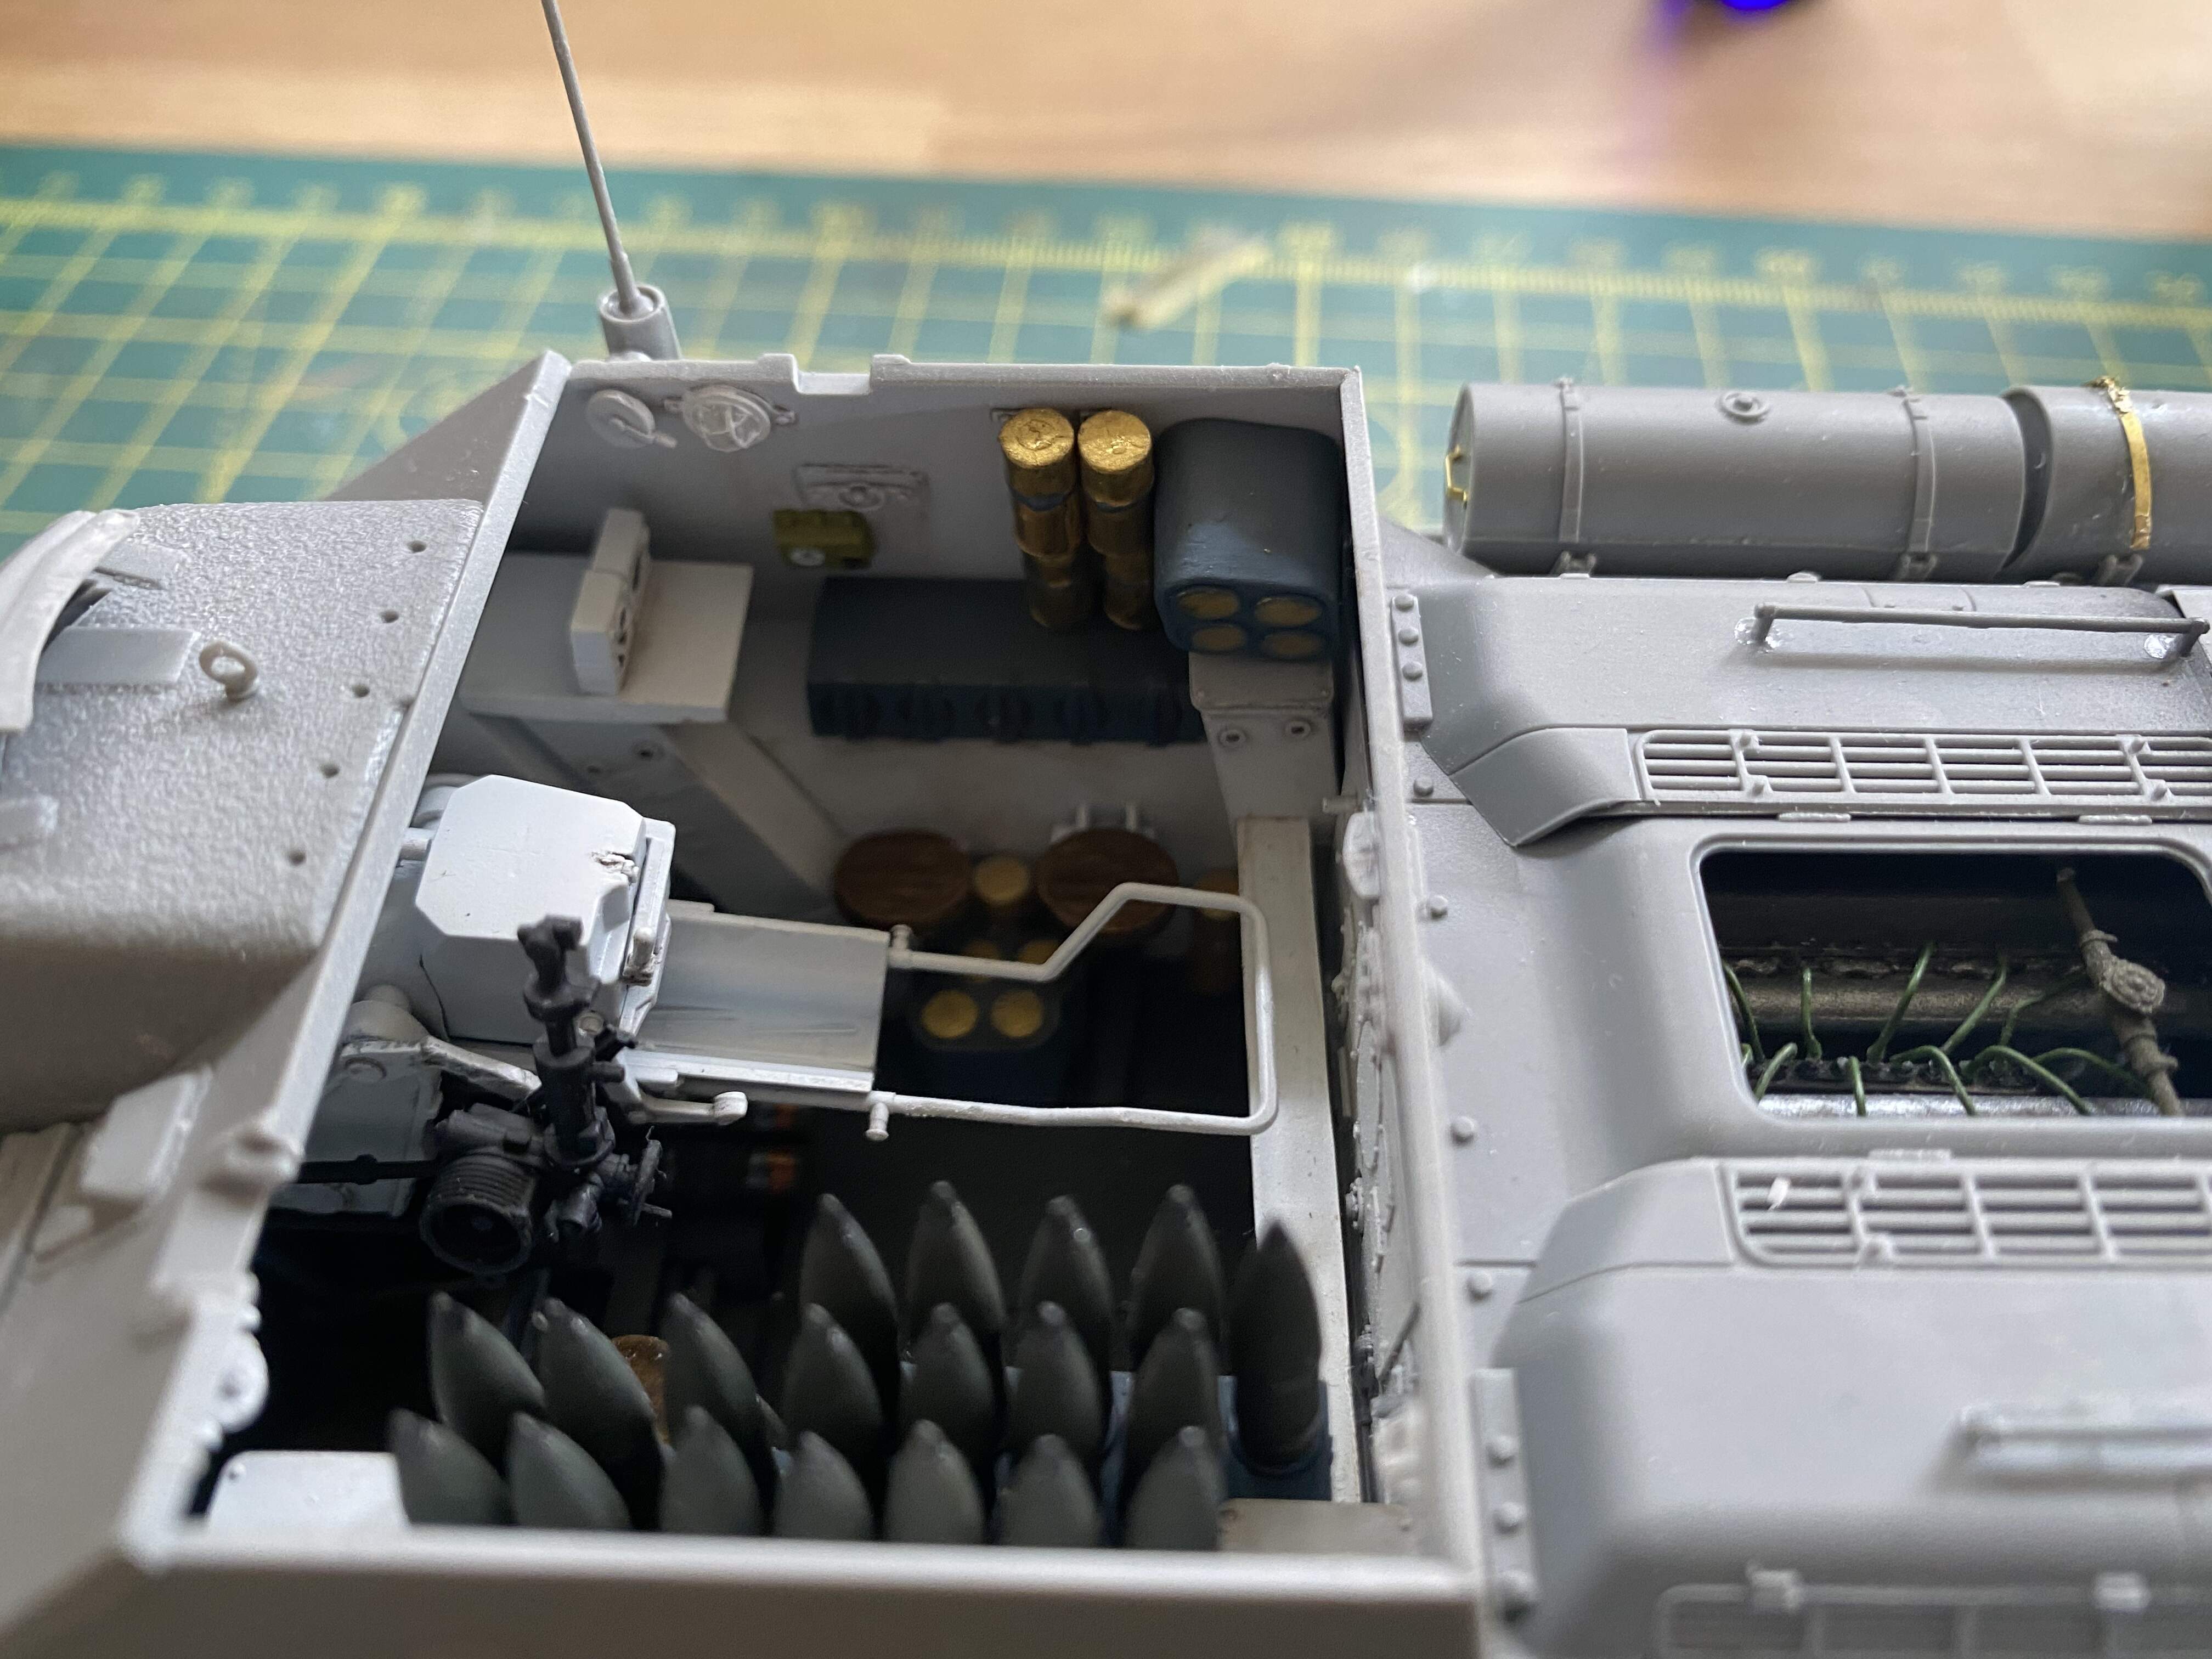
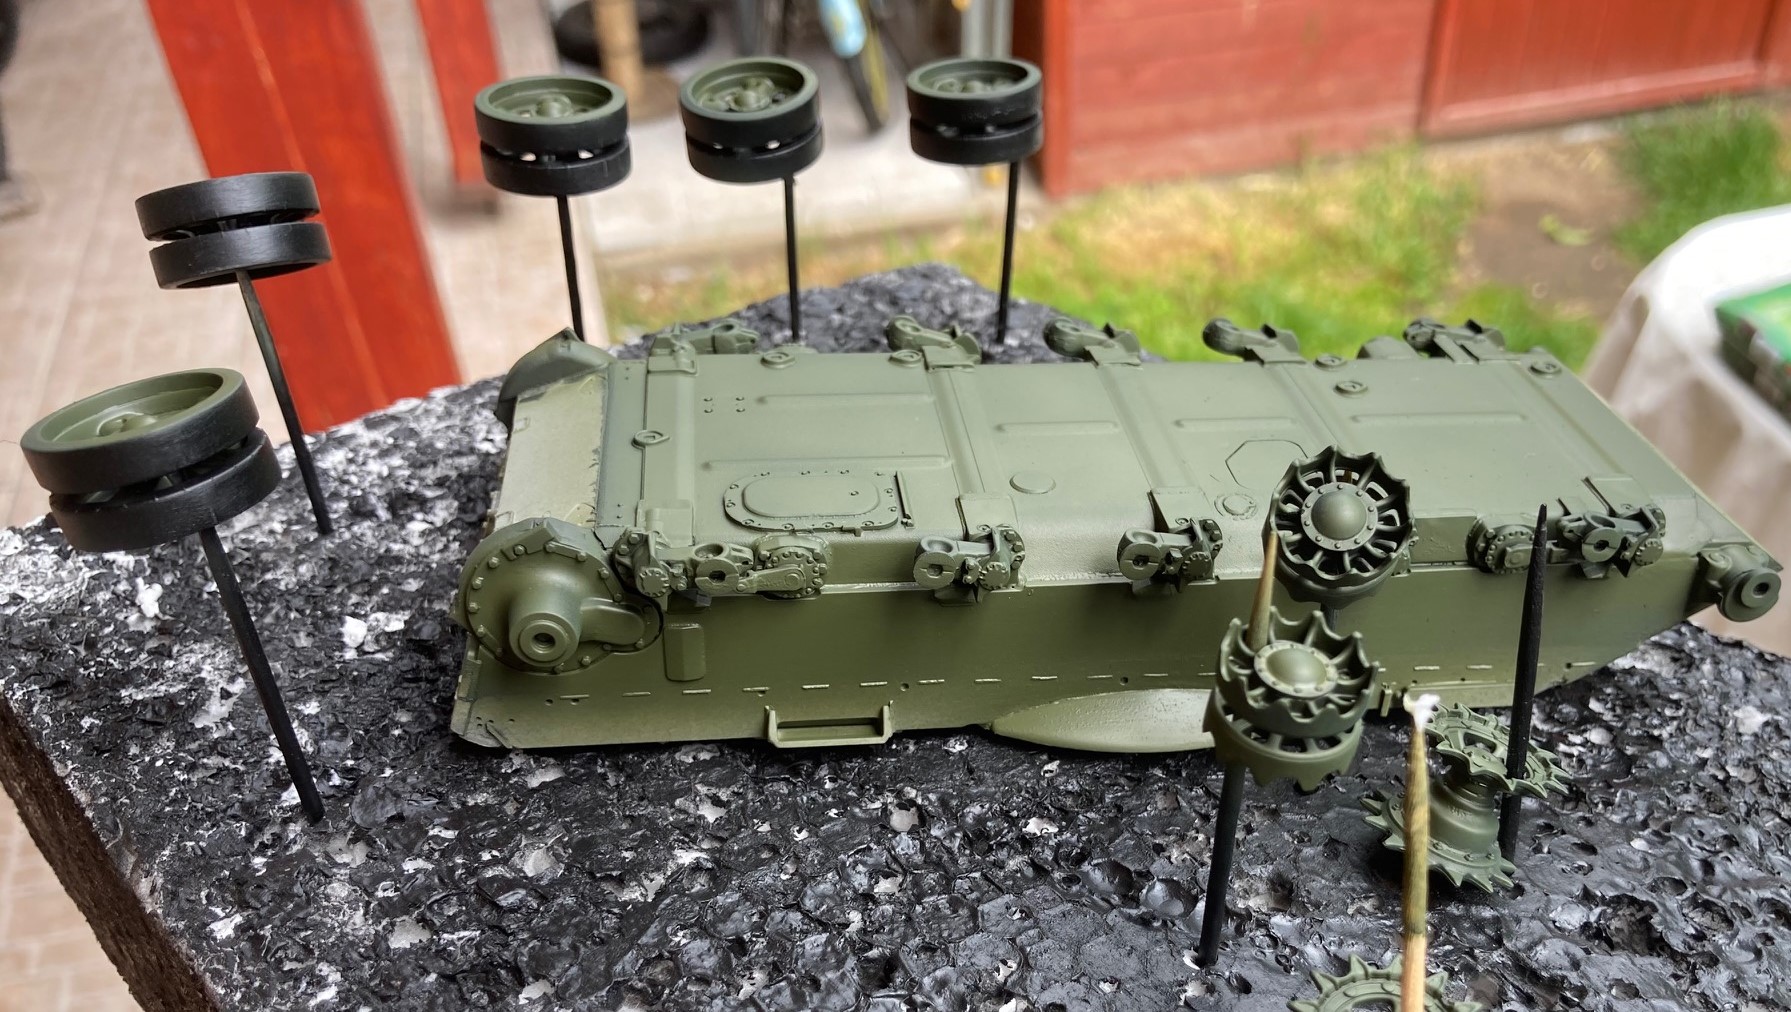
I am proud to report some progress this weekend because the last 3-4 weeks all my time was spent with my family so all builds were suspended. In the meantime I ordered an Aber a/m barrel for the model and some 4BO paints from Vallejo, Gunze and AK Real color sets to base paint the wheels and the hull sides.
The barrel was a good one hour assembly because the Aber guys provided photo etch parts for the welding lines on the barrel as well as some bolts (?). It took a while to measure and cut to size the welding imitation but I am pretty satisfied with the result. Once the barrel was ready, I glued it into the turret and applied the main reflector moving mechanism, too. Now the turret is ready and waiting for the hull to complete.
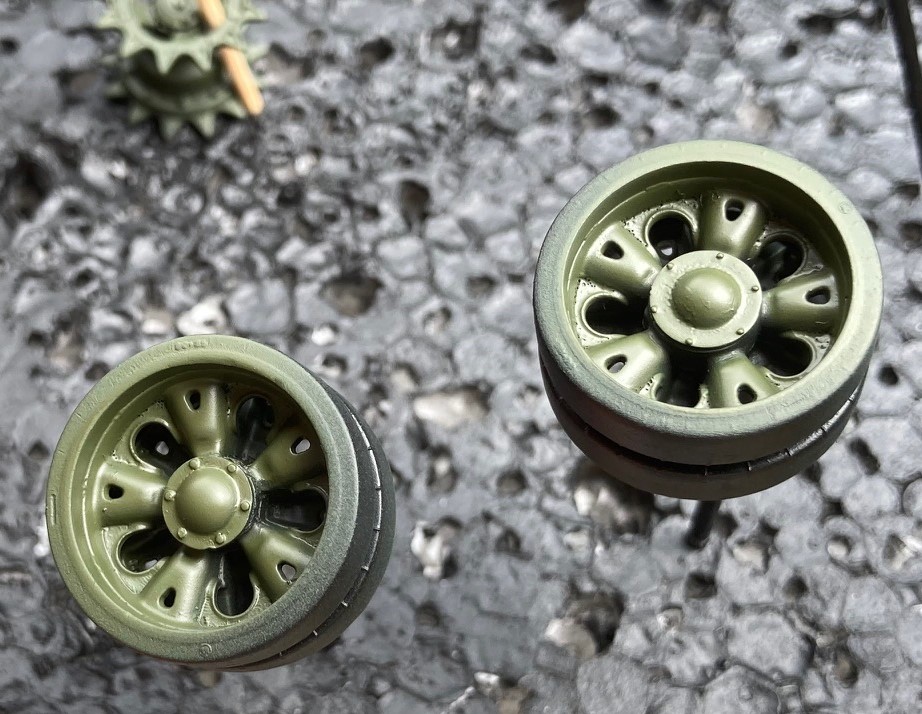
Right after the turret I painted the wheels and the hull with the Vallejo Model Air 4BO paint as I found this the best match. I may repaint the wheels in a later stage if this paint would look too light, but the goal was to get the hull sides painted so I can glue the wheels onto the hull and assemble the tracks. This is yet to be done but at least I gained back some mojo…
So far I like what I see. The kit is really nicely detailed.
Cheers,
Tamás
Looking good Digger and Tamás .
All that work needs to be shown off Digger.
Thanks for all your comments, guys! Much appreciated. 
Peter, imagine one of the panzer guys put the jack block upside down when converting the T-70 to munitionspanzer. What a rookie mistake 

Digger, you should show of the interior and engine in a maintenance scene or similar. It would be a pity to hide all that beautiful work.
Tamas, good to see your progress! Looking forward to see more
Eh, I’m at a stand still at the moment.
I’ve done a few things , but not picture worthy.
I’ll be lucky if I can get anything done in the next few weeks.
I too have some interruptions.
I feel you, haven’t touched the T-55 in weeks. Other projects in the way.
I haven’t been to this campaign site in a while as I’m still settling in from a move to the South, though I did get some modeling time in and was able to make some progress on several ongoing projects to include the Austin Armoured Car by Miniart. Here are a few progress pics, though these were completed weeks ago:

Not surprising from Miniart, the engine is quite detailed and a mini kit in itself. There are a few bits of photo-etched parts with the spark plugs being the most painful to add on. I lost one and had to replace it with a plastic replacement, however since it will be covered up when the construction is complete, it really didn’t matter. All the parts went together quite well with very minimal cleanup.
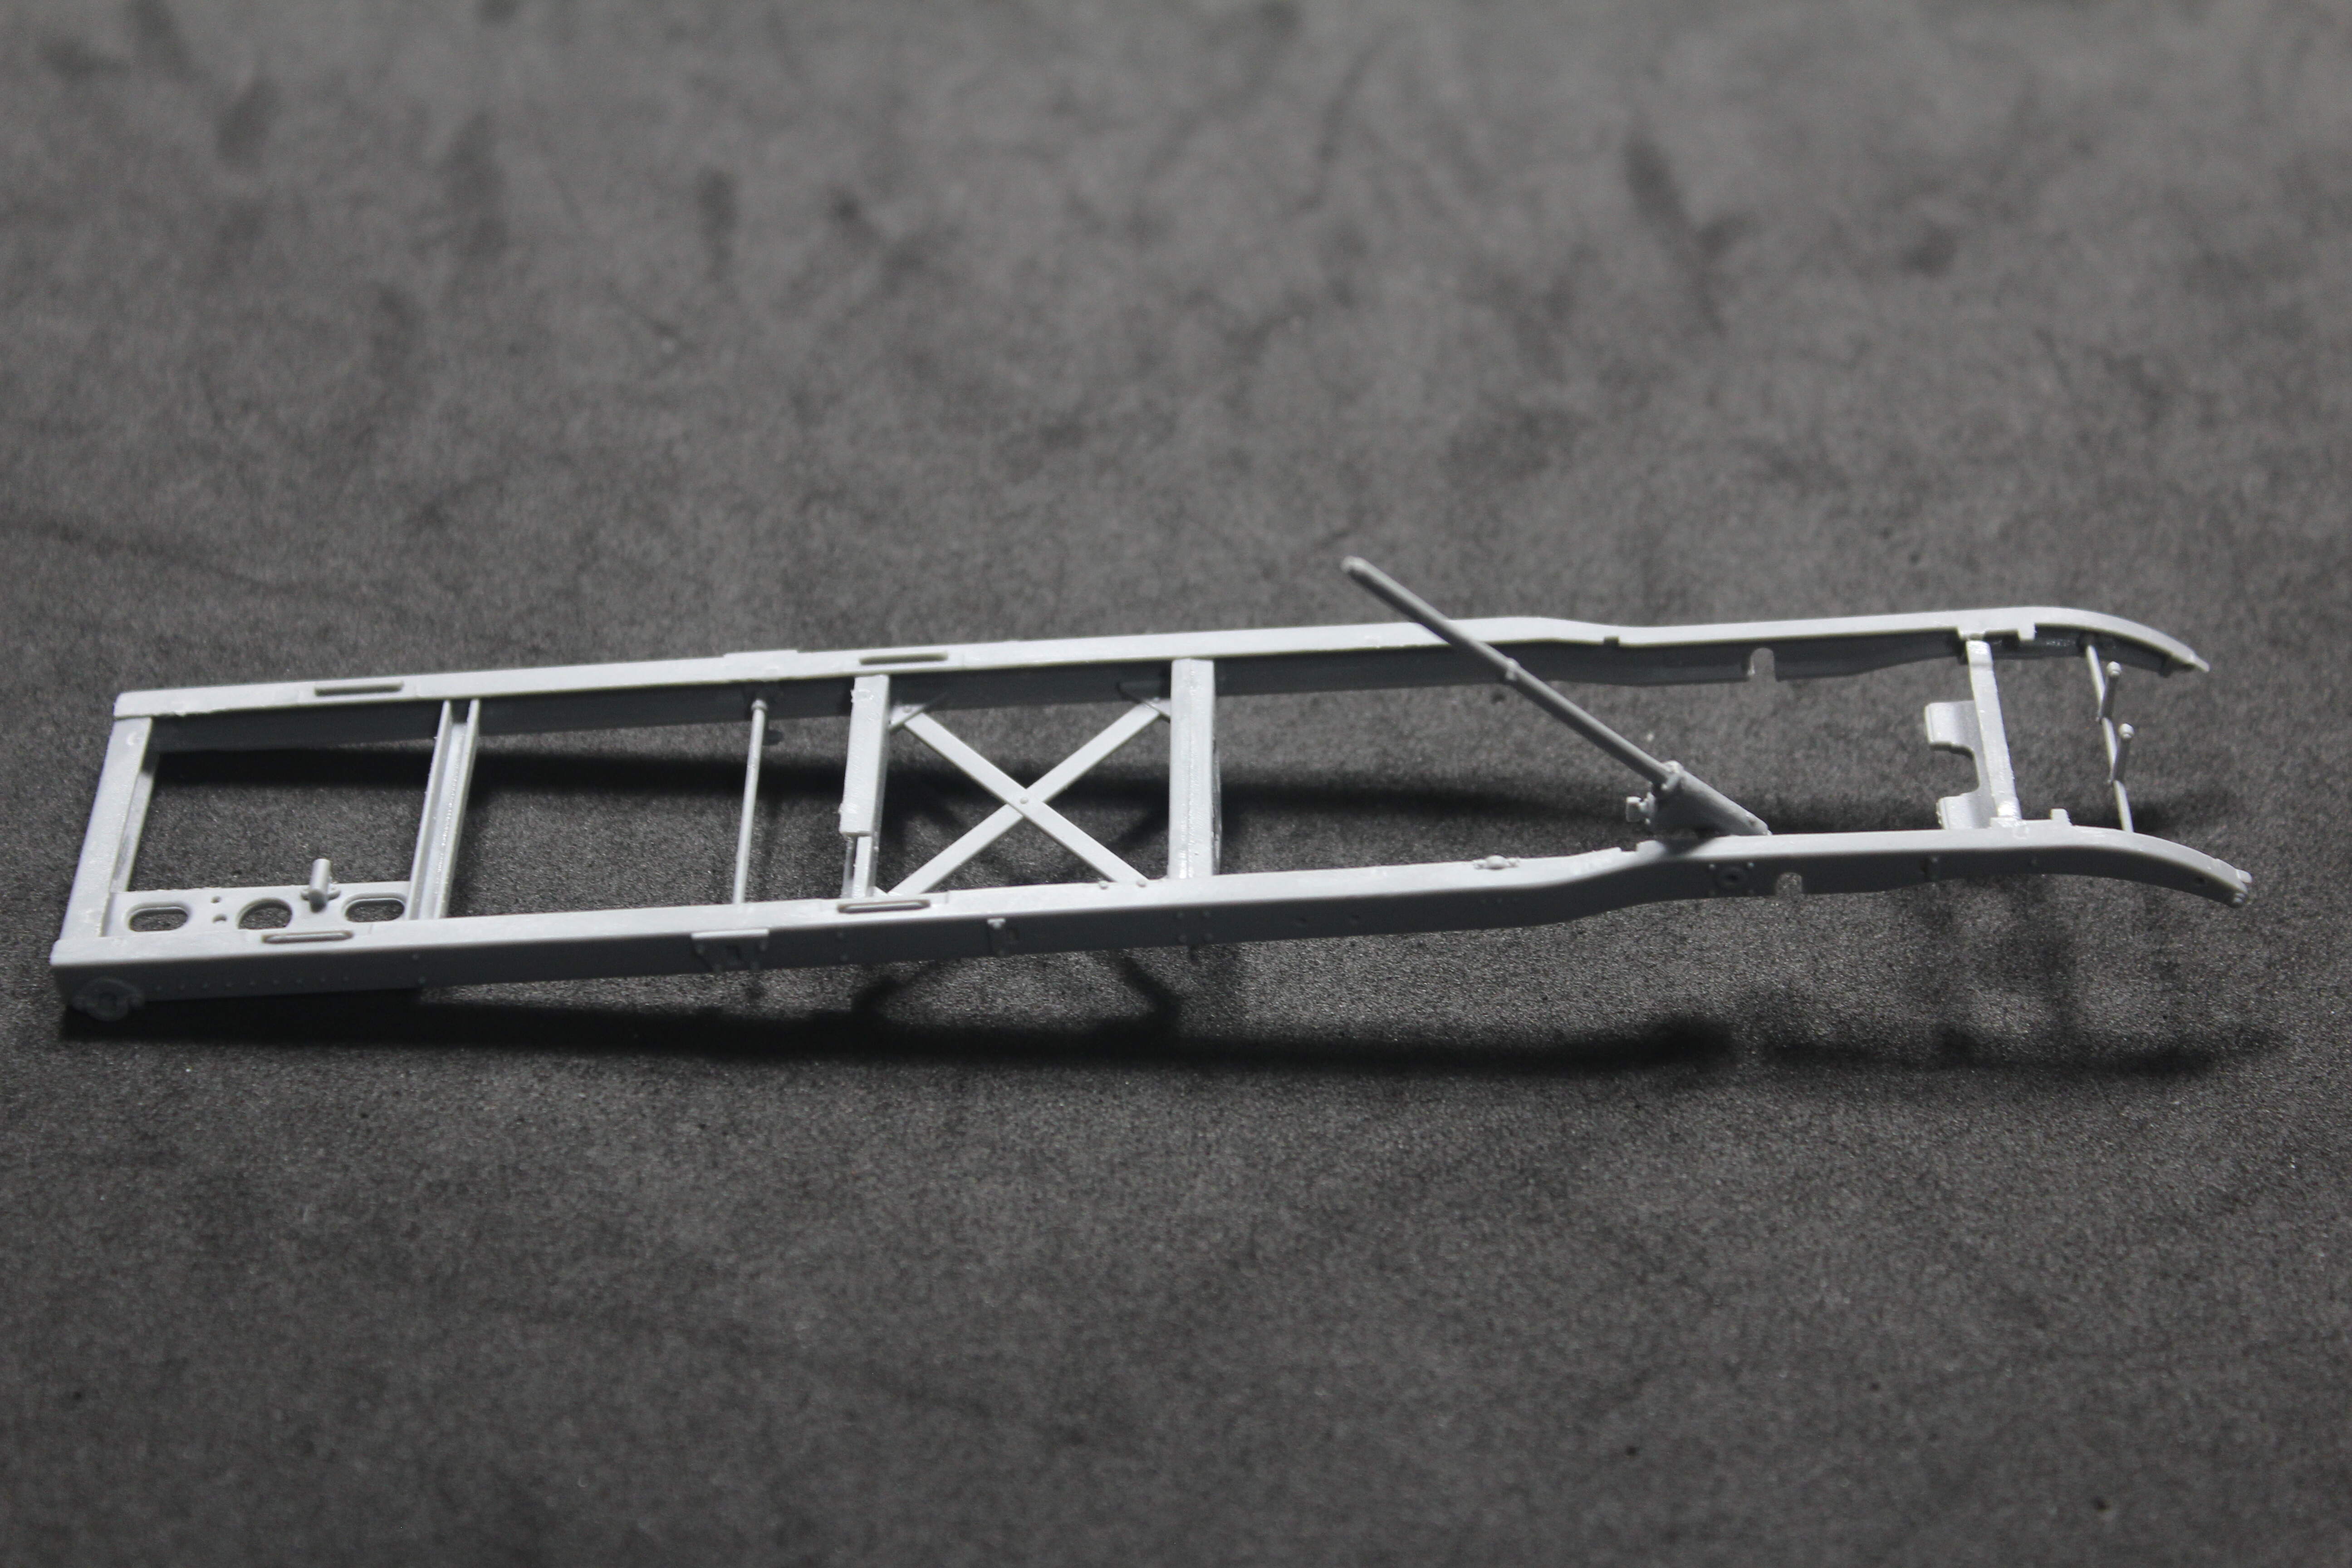
The frame went together well with no issues and, in future pics, you can see the engine fits well with no need to conduct any outpatient surgery. It is shaping up to be quite a kit and I’m looking forward to completing this and place it on the display shelf.
Paging through this campaign, there are so many fantastic builds, even during the in-progress stage. I’ll be revising my kit purchase list by the end of this campaign.
Cheers everyone!
chuck
Fantastic work. Hope this travels to a model show this year now that things are opening up.
Cheers!
chuck
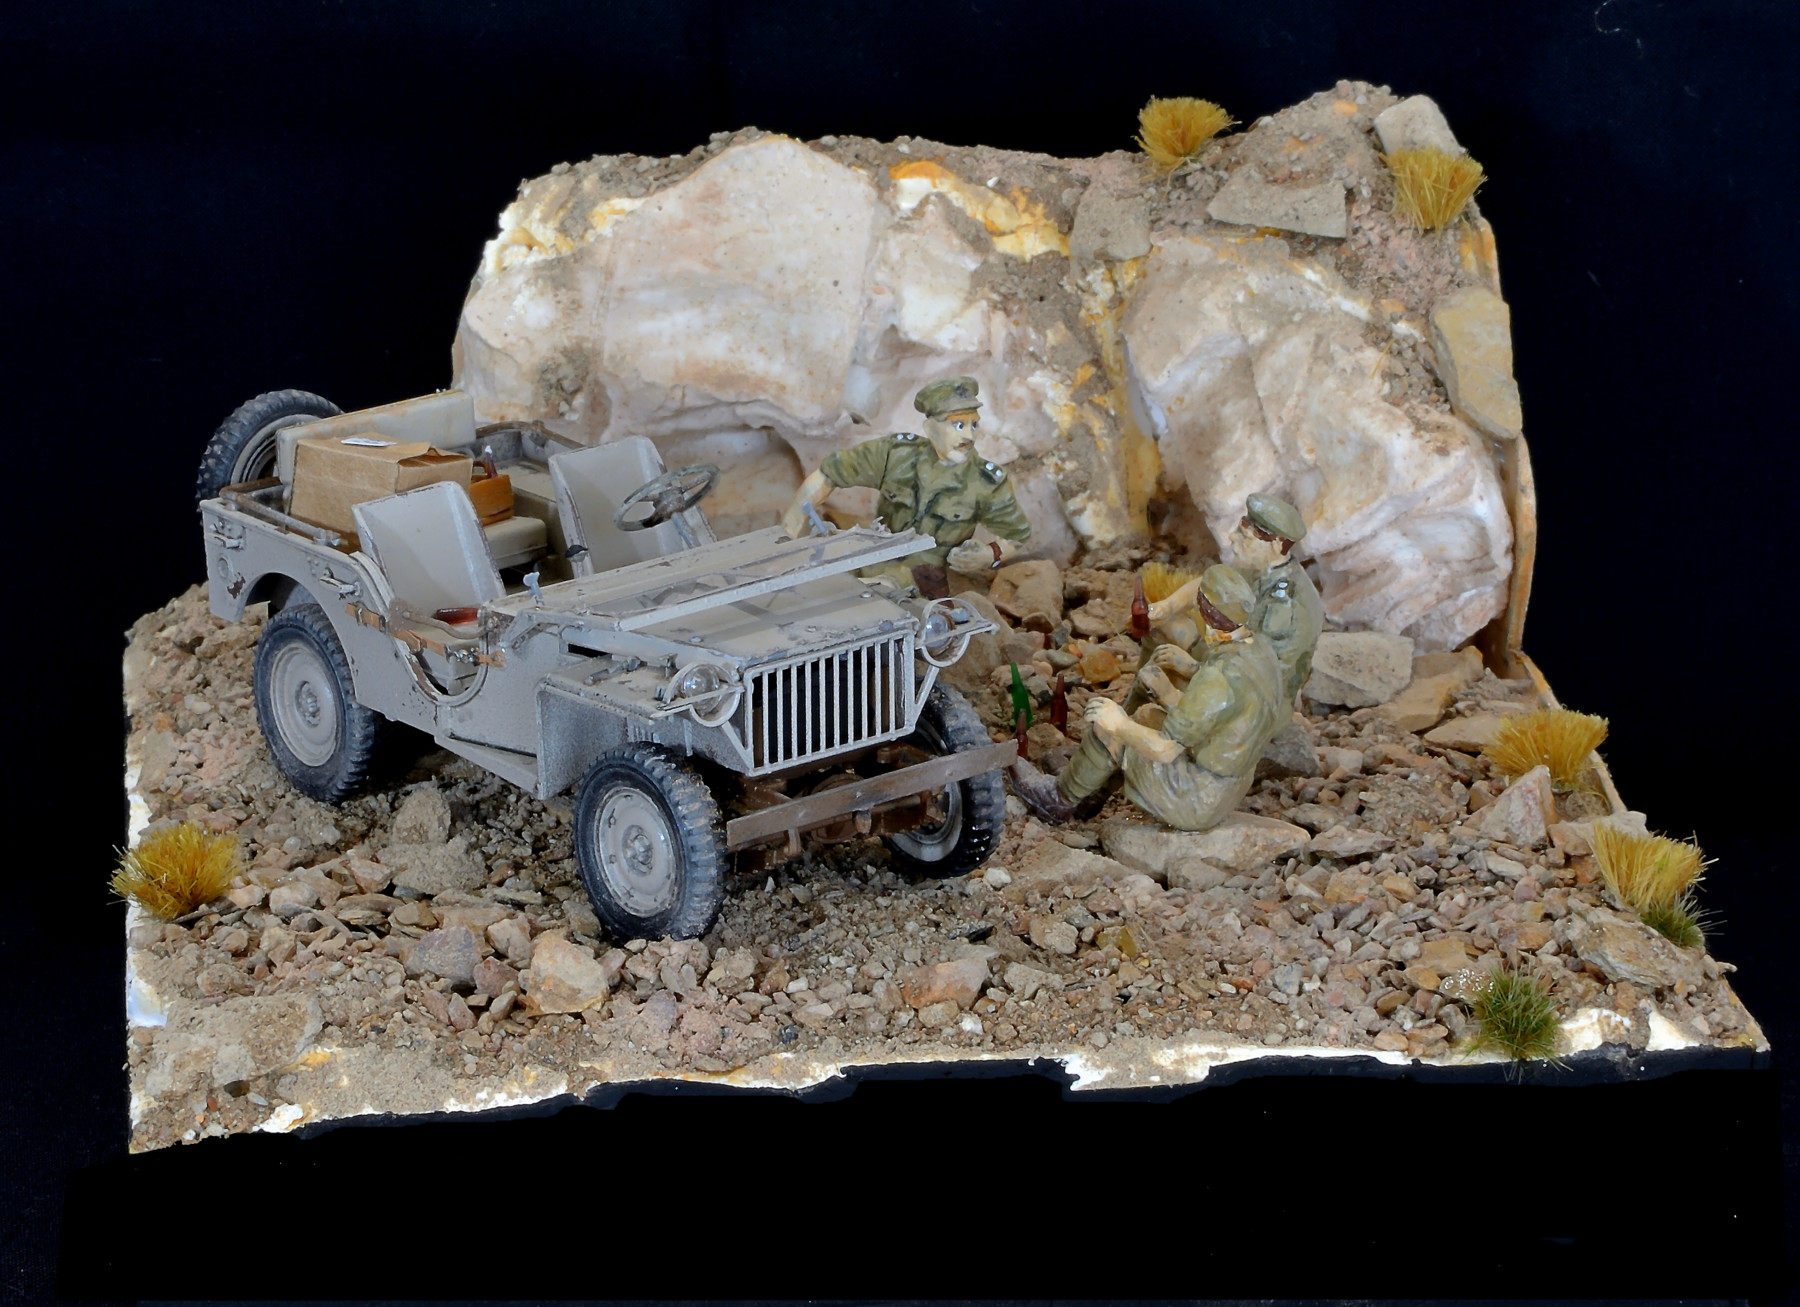
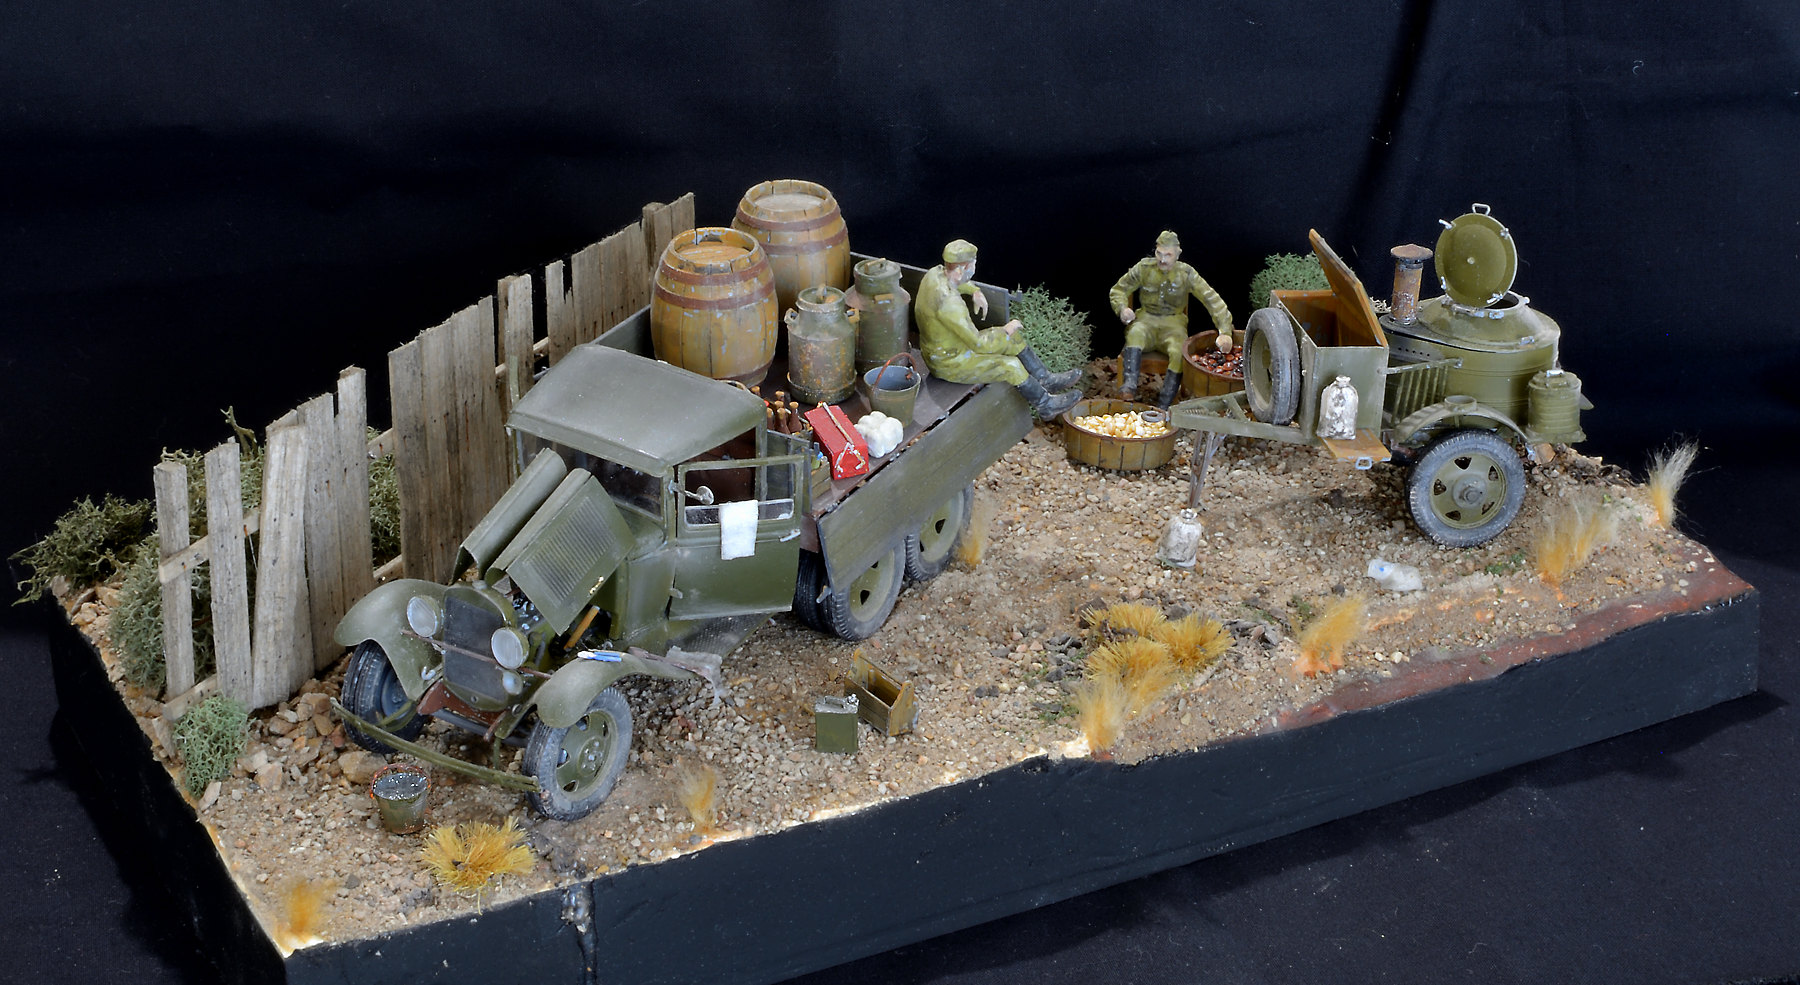
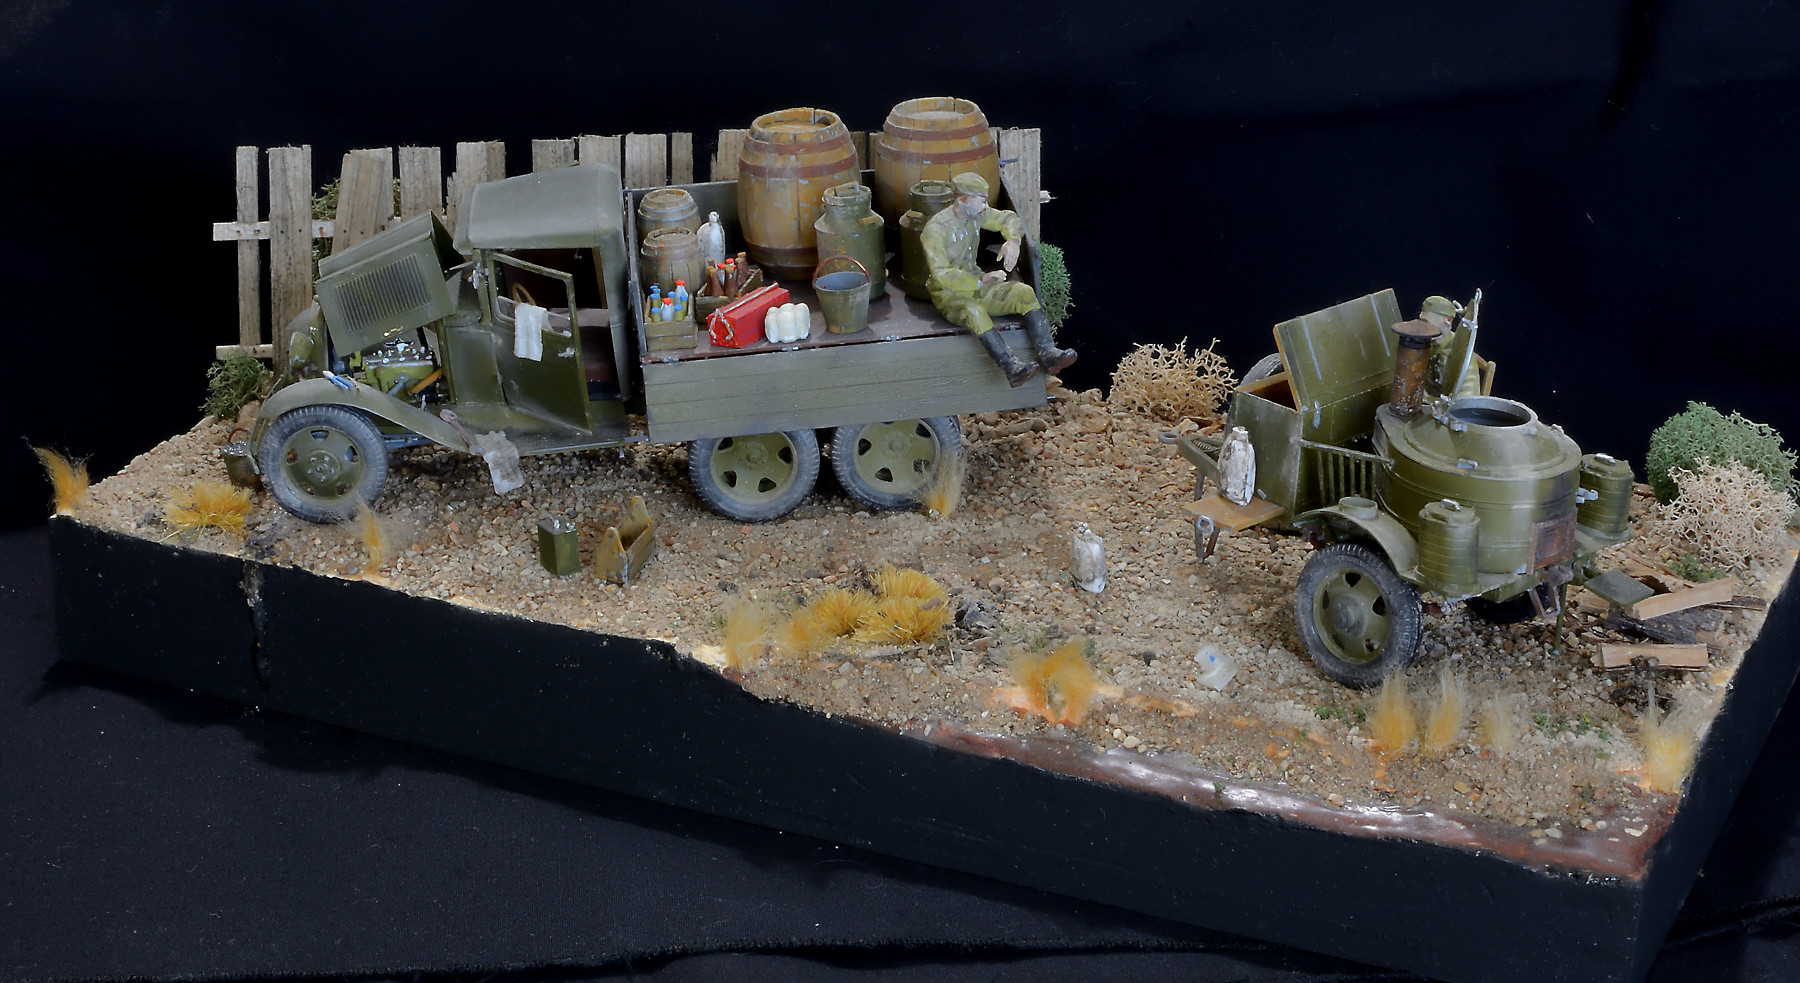
A couple of Miniart jobs finished off. Not big kits but fun. The Bantom was a hoot. The Russian truck gave me some grief.
I’m very happy how the belts on the doors, no doors, worked out. PE often gets the better of me.
Looks good. 
Wow, those are great! Could you say something about how you did the ground.? I have so much trouble getting believable ground colors.
Hmmm, ground colours? I have spent 50+ year as a model railroaded. So a bit of practise!
I used high density foam as a base. Then cover it with plaster of Paris. When dry give it a very watered down wash of acrylic paint. Almost dirty water. You can always make it darker with more coats. But you can’t make it lighter. So very light coats. Then I cover it with real dirt. Colour of the dirt will depend on what you are trying to depict. (I have a large road repair dump nearby. I go and “borrow” a few buckets full at times. Then sift it into various grades. So with a few hours of work I can get a year or twos worth of ground cover). I use hemp or string teased out for clumps of grass. Throw a few stones around. The rocks behind the Bantam are cast plaster.
Glue it all down with the usual thinned wood glue.
When everything is glued and set in place I give it all a light dusting of make-up. Just brush it onto every thing. Ground, vehicles and figures.
Remember lighter and make it darker with more coats.
Bruce
BGT,
Looks good. I almost completed the Bantam jeep for a personal project, but found the supplied driver doesn’t fit. Currently, altering a seated figure to place behind the wheel. Your builds look great.
Cheers!
chuck
herzer44 I couldn’t find a way to get the driver in either. Thus my diorama with all 3 figures sitting around having a beer!
I have a Bantam in the stash but haven’t tackled it yet - is it possible the driver needs to be built into the seat during construction of the jeep? Getting a stiff figure into the seat once it’s all built can be a nightmare. (I’ve often had to leave the steering wheel loose, or glue it to the driver’s hand, so it isn’t in the way of his legs…)
Next time I would install the driver before the steering wheel.
Bruce
not much progress on the Pz III AusF D recently, spare track armour on… just the wood to paint up and add then look at final weathering

