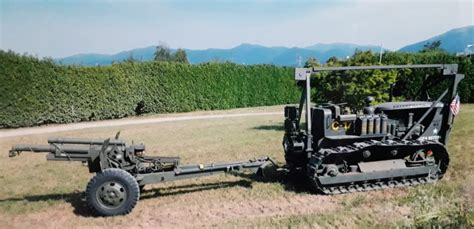
Hi folks. I’ve started to build the Miniart D7 bulldozer. I’m happy to give a running commentary on the build but would like to know which forum it should be in?
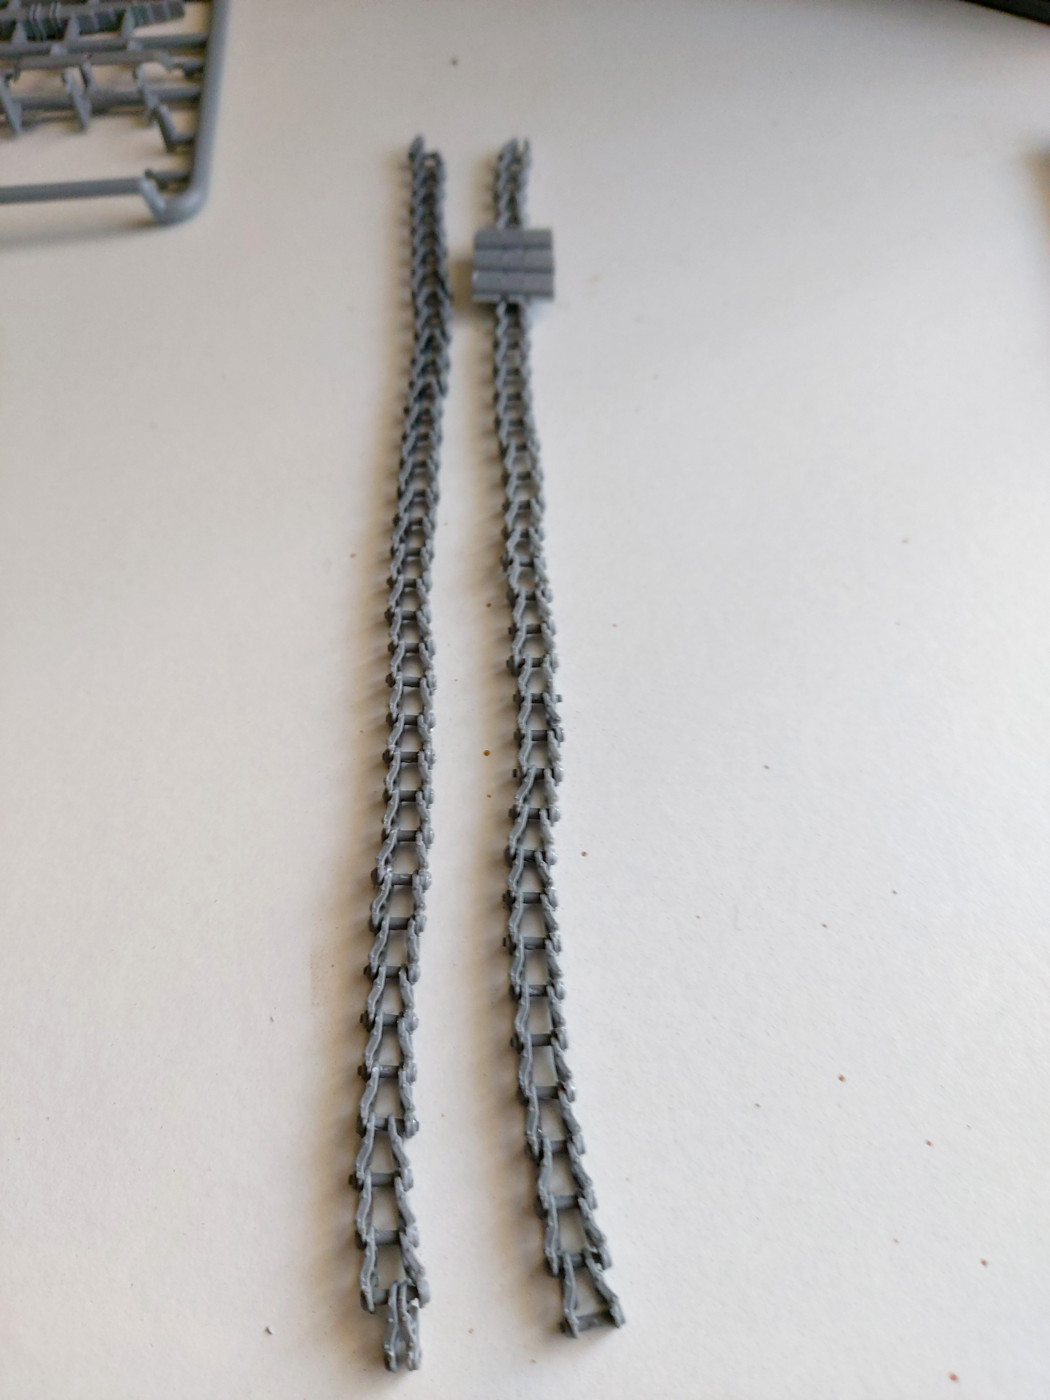
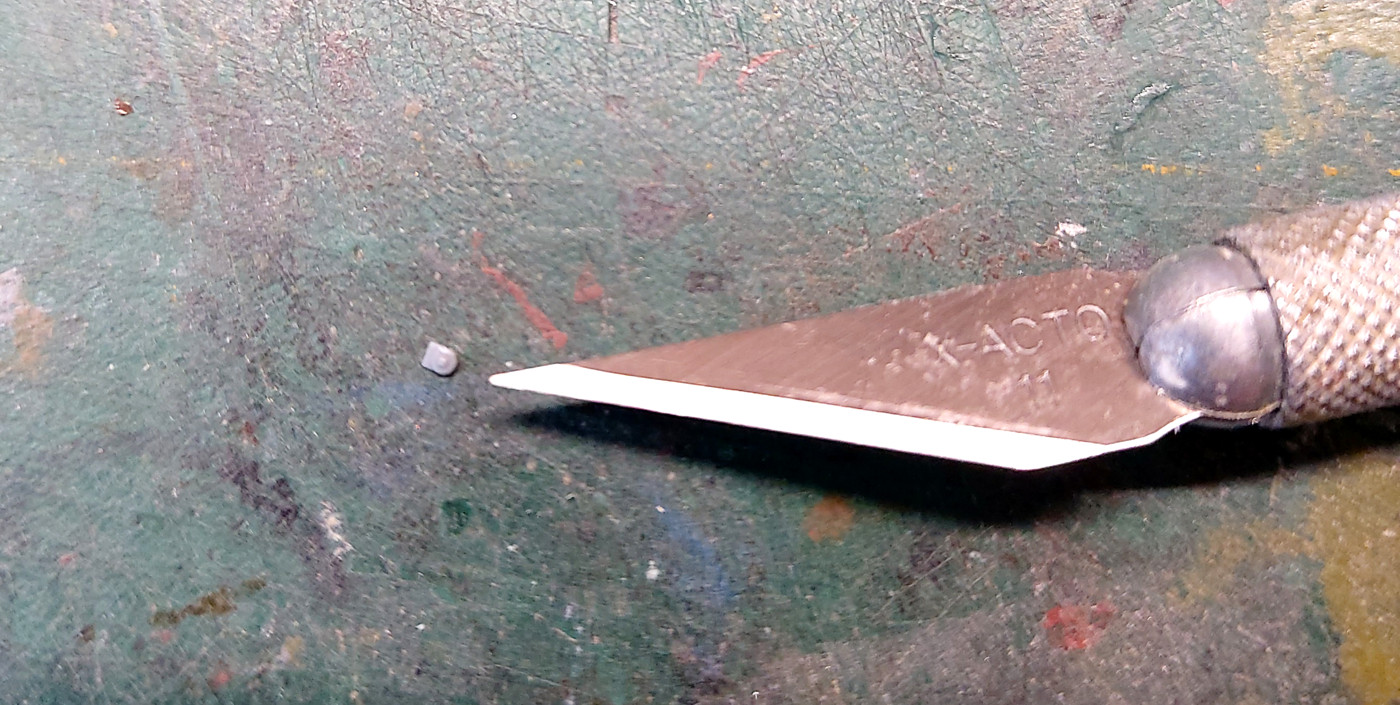
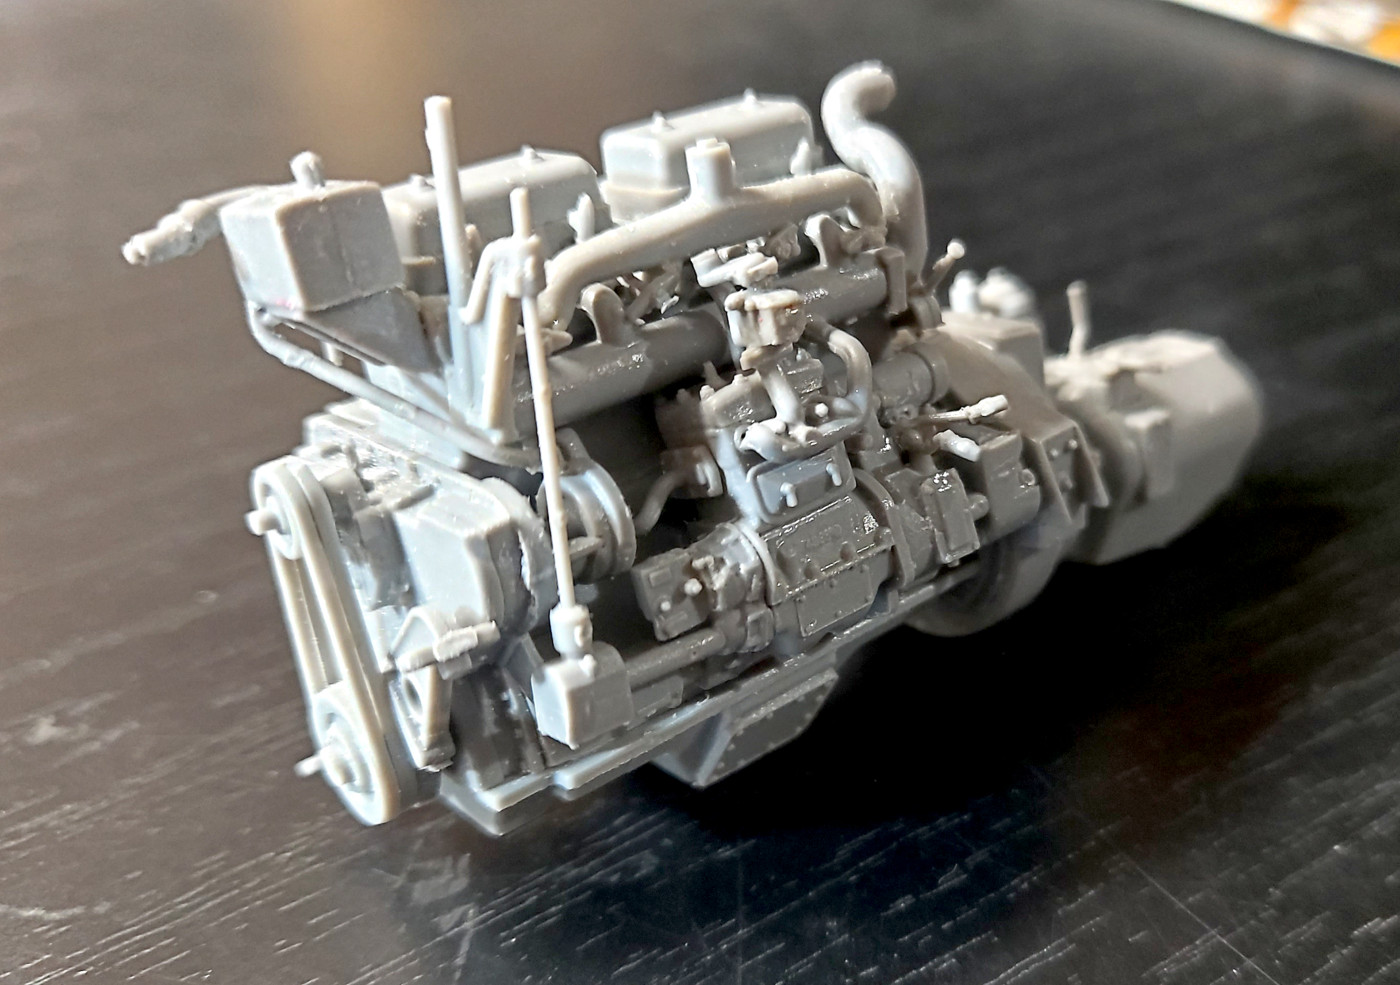
I’ve assembled the tracks without the plates. I’m now working on the engine. Early impressions are that who ever designed this kit is a sadist. Parts have been made that are so small it beggars belief. One casting could have been made with some parts included.
But hey who’s complaining. I like a challenge. 750+ parts.
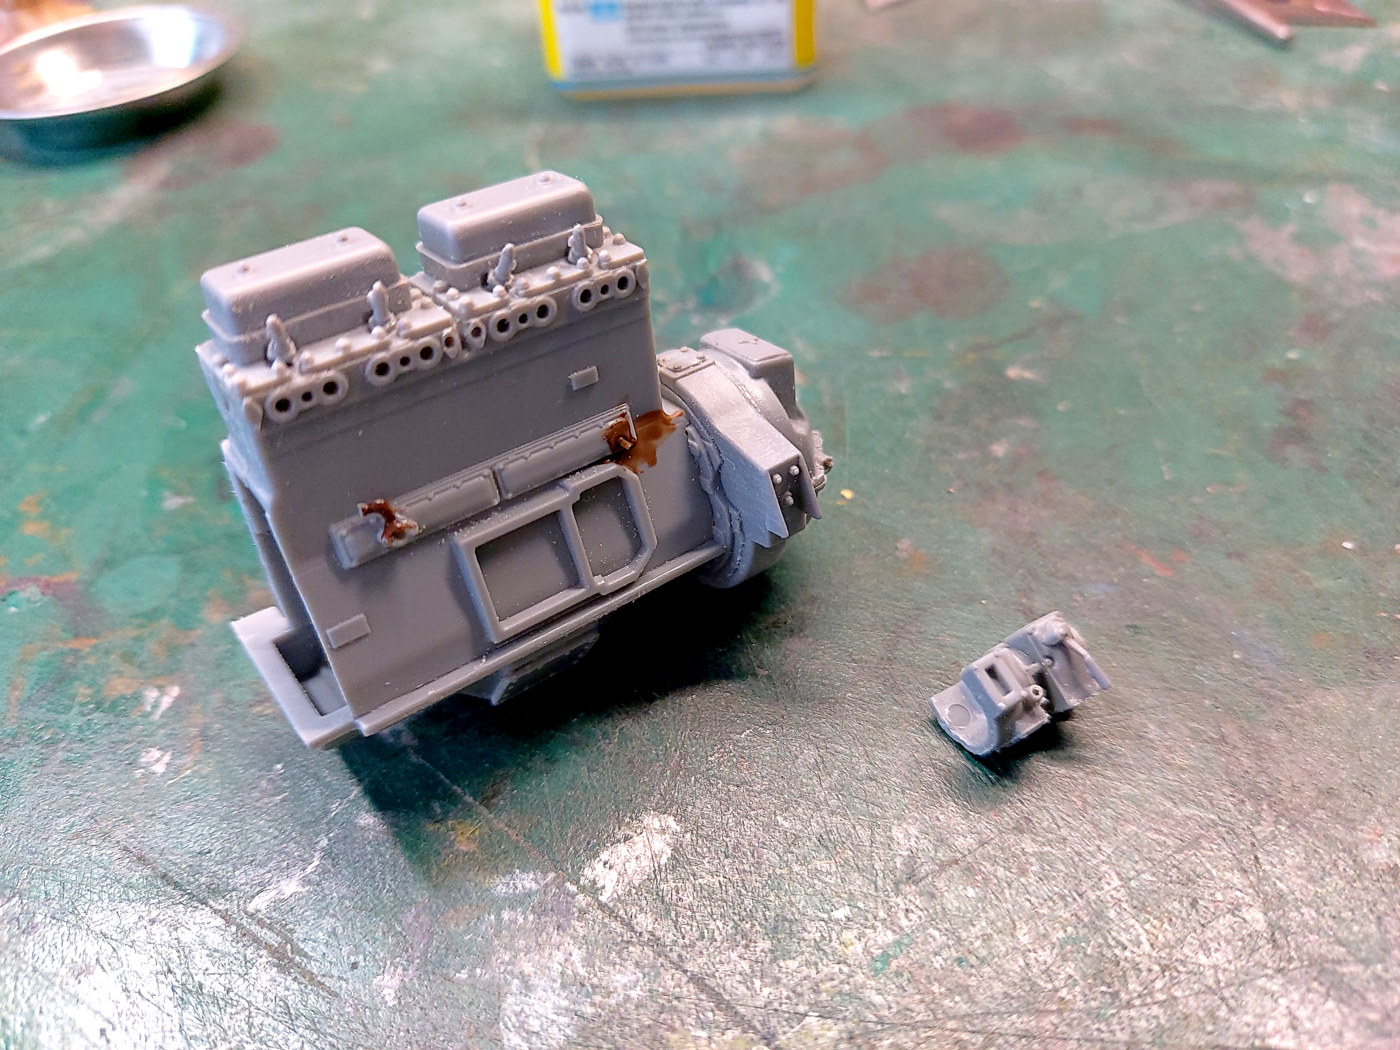
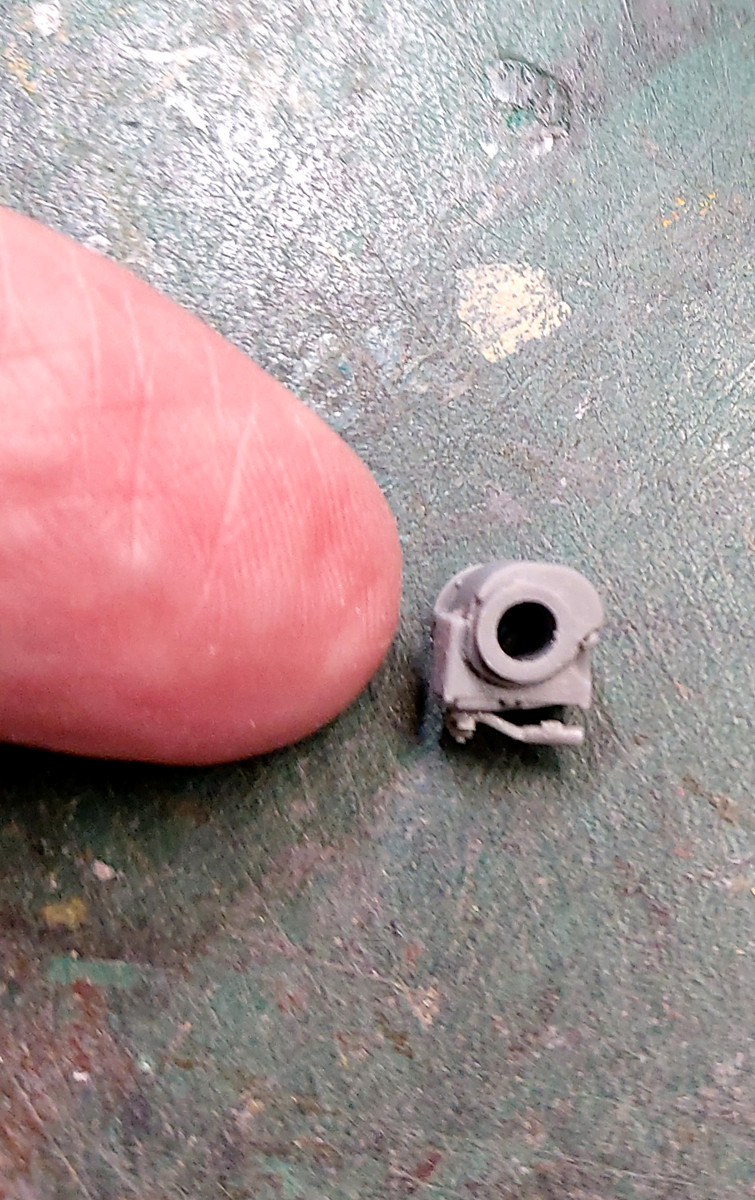
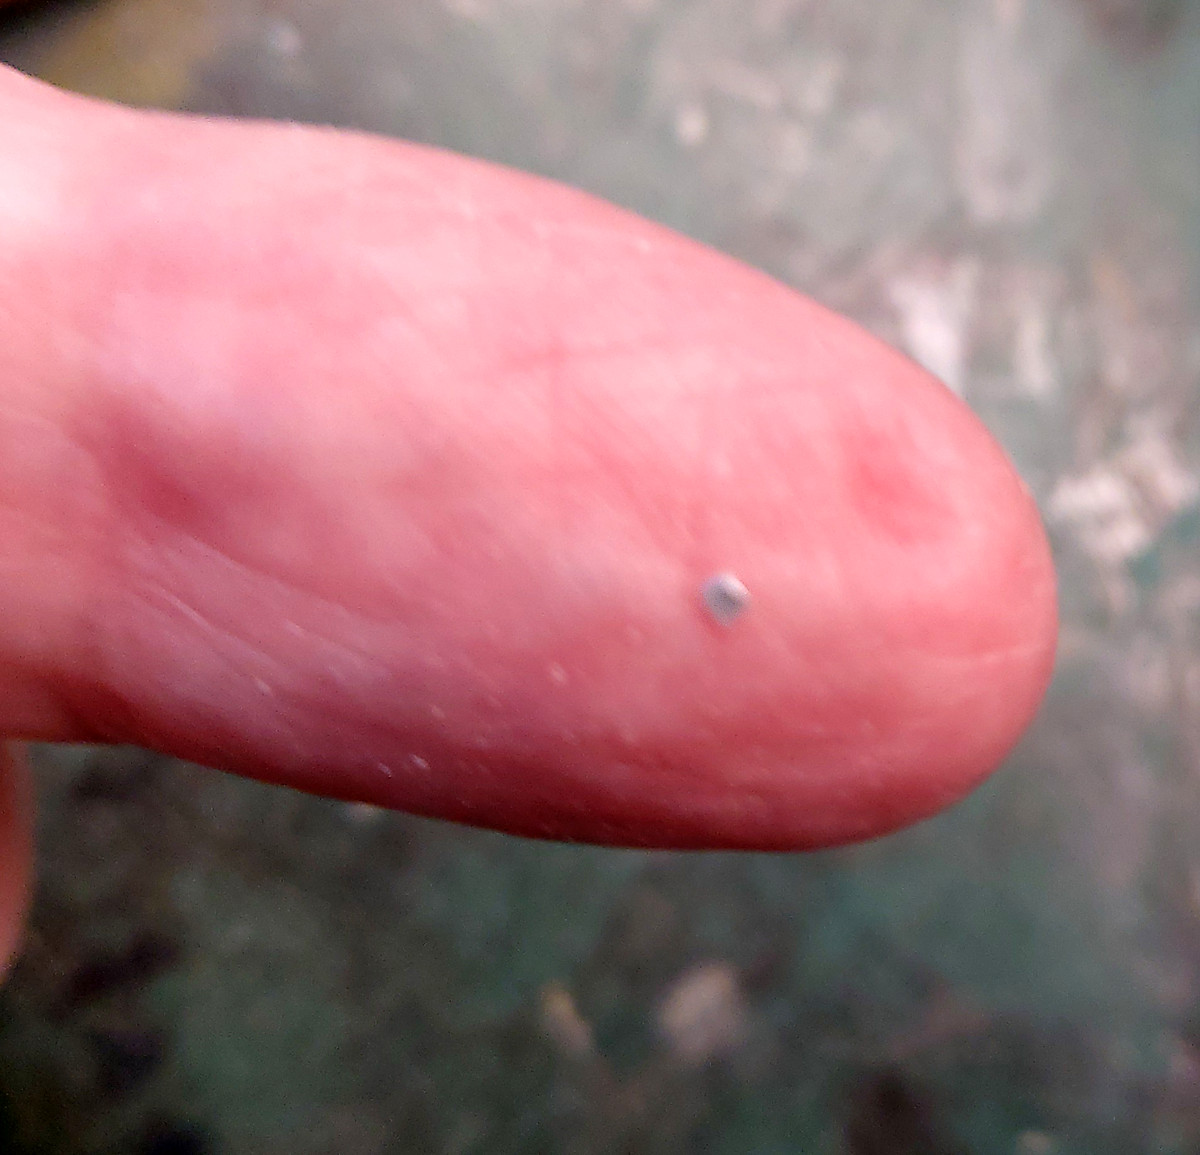
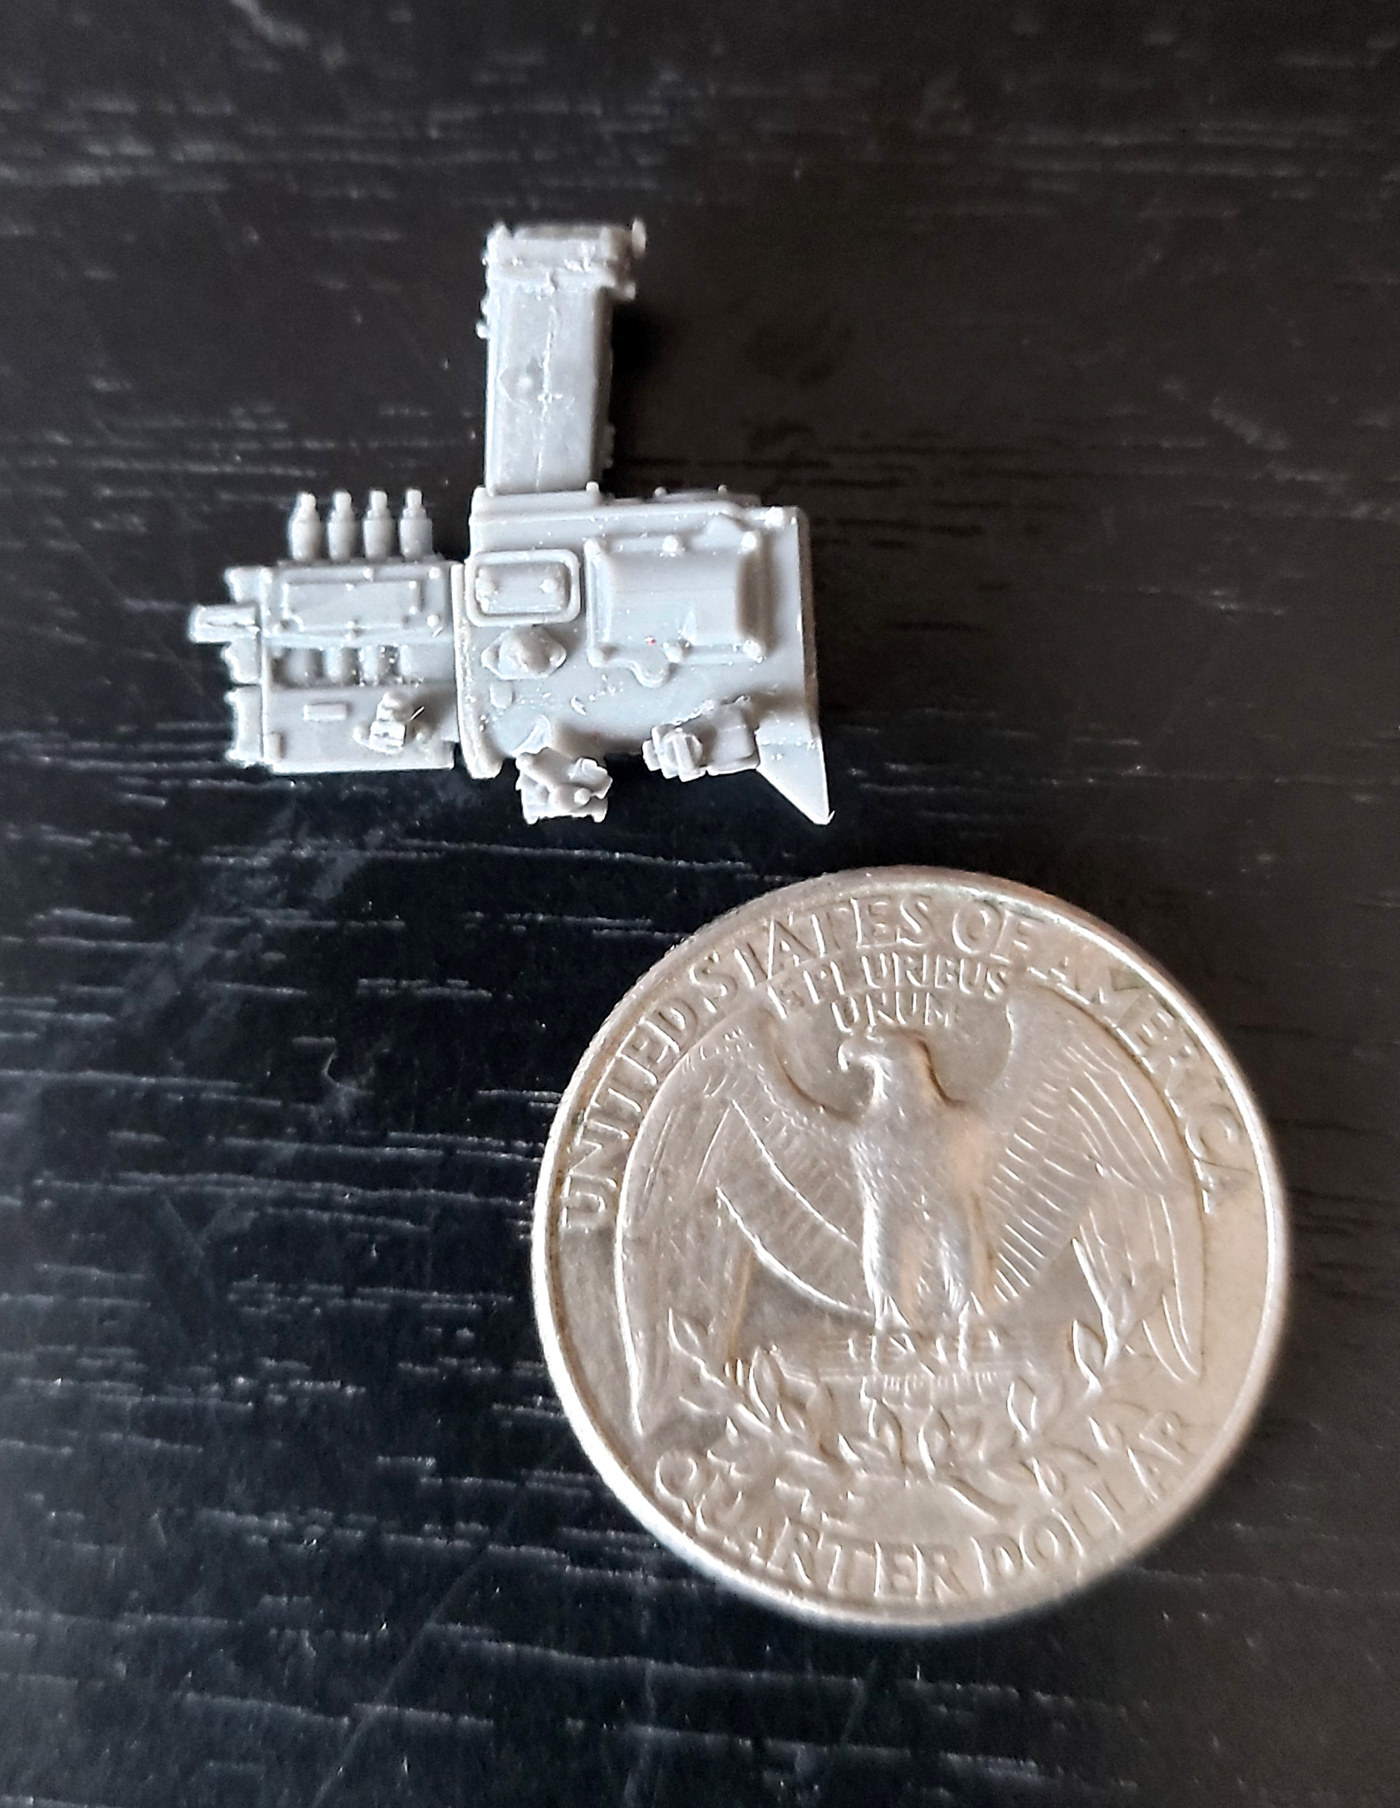
Here’s a couple of images of where I’m up to. Sorry for the quality, they are phone camera snaps. The third image contains 7 parts.
No photo up dates at the moment. Just a note to those considering this build. I’m building Miniart #38022. A civilian version of Miniart bulldozers. If you look on the net you will find many comments re brittle plastic. Kit #38022 has no issues that I have encountered. The plastic is fine. But this isn’t a kit for the faint of heart. You will need good eyes. Good magnifier. Good tweezers. And lots of coffee.
Miniart have made many small parts rather than one big part. As I said before, Miniart have some sadists among them.
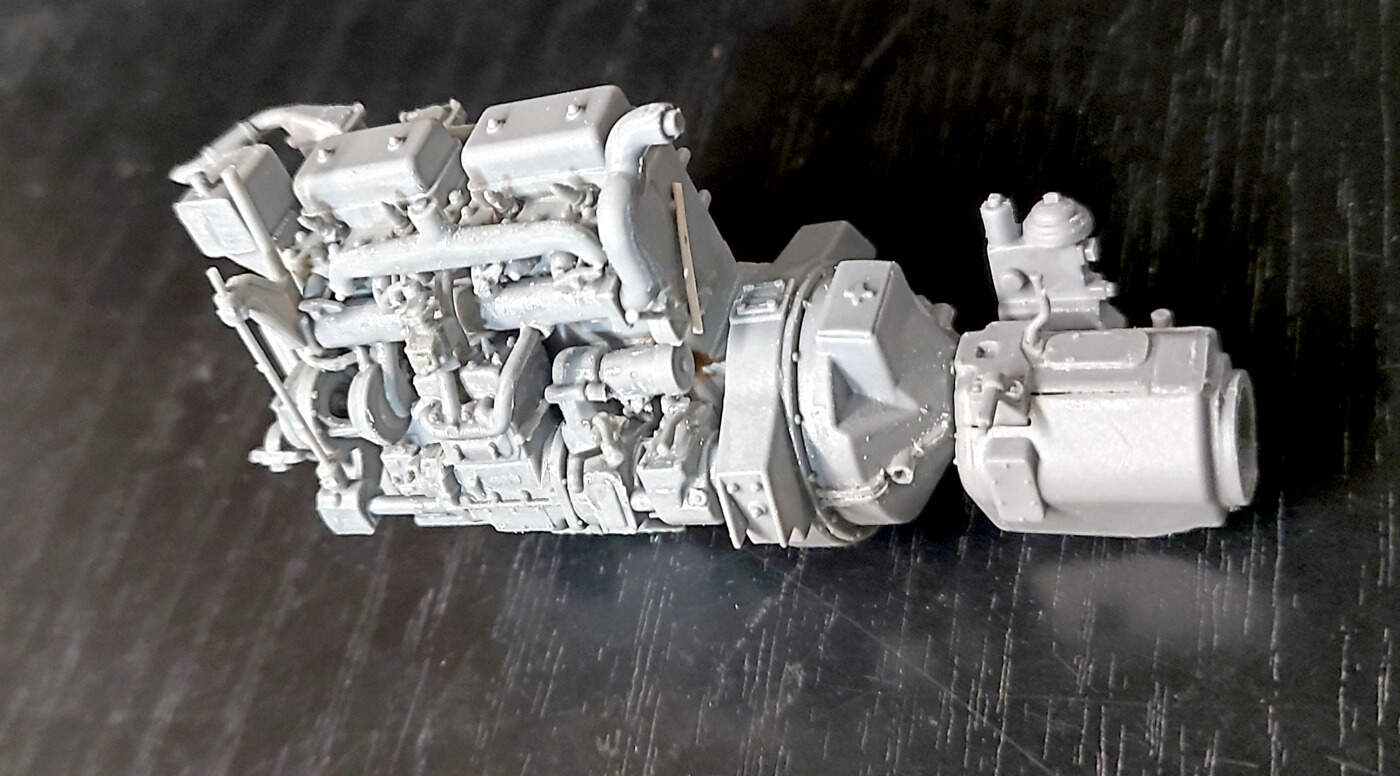
Here’s what 7 hours and 98 parts look like. A cleanup and a primer next. Sprue gates are an issue. So many small parts that removing sprue gates is an issue. I’ve broken just one part. Yeah like in 3 places. I’ll scratch build a replacement. I’m debating i=with my self about the sanity of putting fuel lines to the injectors.
I built two of them and both were bears! Small parts unclear instructions when it came to the engine and the placement of the different levers for the pony motor.
I have built several of their T55 series and the best I can say is that they are tedious to build. Definitely a challenge to ones modeling skills. While they build into a nice model I’m still not sure all the work and stress of the tiny and fragile plastic parts is worth it, not to mention the sometimes almost microscopic PE. All in the name of trying to achieve scale fidelity. You are doing a great job. Good luck.
Be careful! I built one of those kits and found the plastic to be very brittle. Many of the long, thin parts, like the steering tillers were broken, or broke when they were cut off the sprues. Some I had to replace with Evergreen plastics. It was maddening!
This kit is a later version and made after Miniart changed their material to a much better quality of plastic.
Paint? Er no idea. But I can’t imagine painting first then cleaning off part to take the glue. I’m relying on the air brush to push paint into all the nooks and crannies.
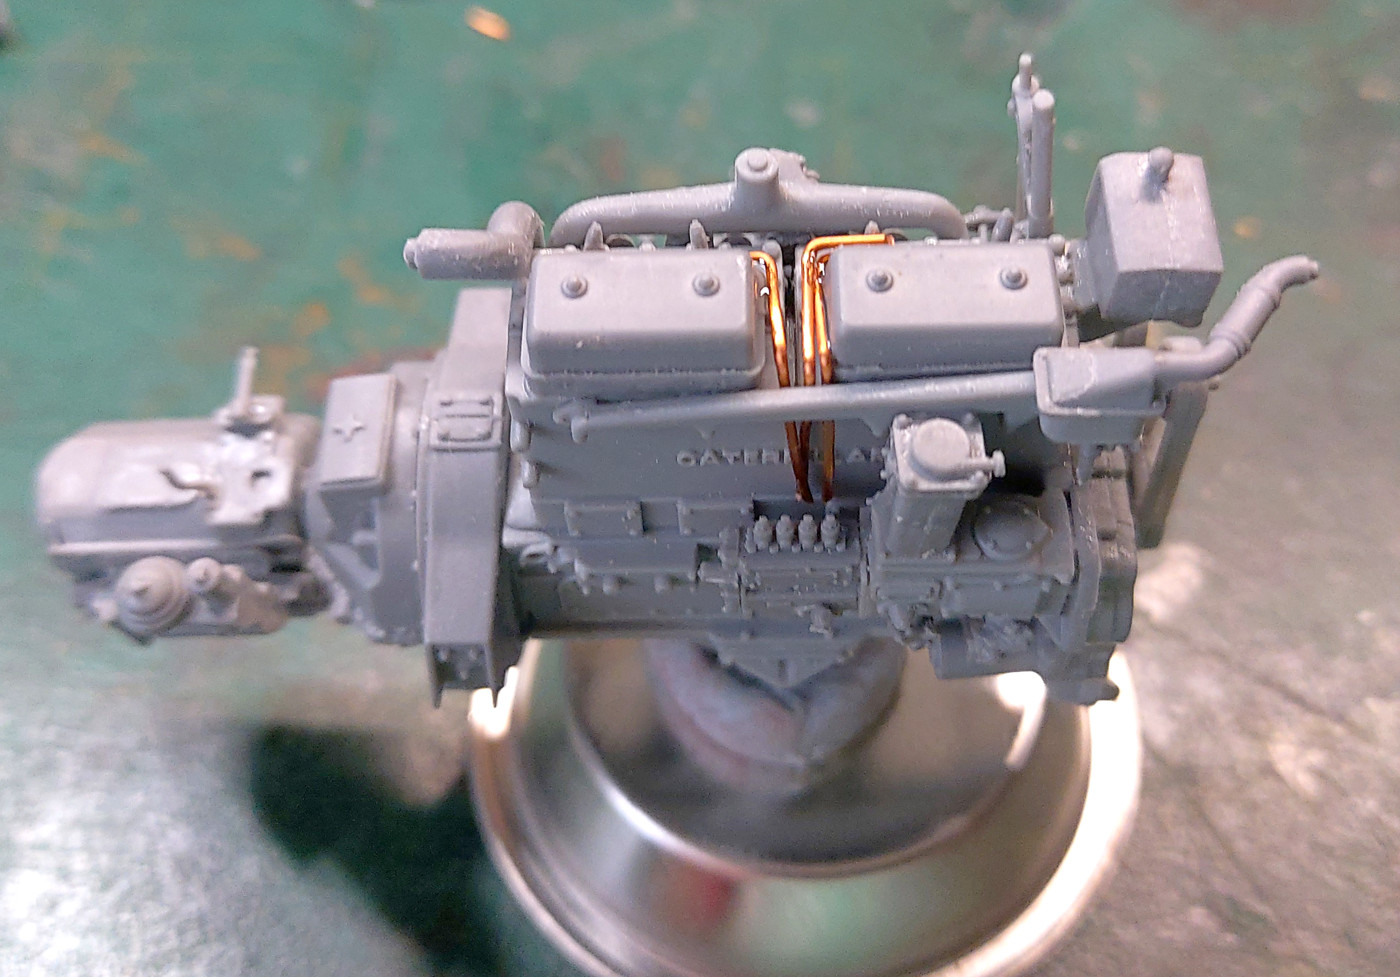
I had a few minutes this morning so I decided to include the injector lines. Yes my copper wire is a bit heavy. My next size down was too thin. Never happy!!
Only 3 installed. When the fourth is done and super glue setup onn the injectors I will straighten them out and glue the other ends. Time is against me a bit at the moment.
It has been ‘fun’ so far. But boy you need good eyes and a steady hand for the small bits.