She’s a beauty Bruce and congratulations for sticking it out and working through all the rough spots. An example of really excellent model making there. Outstanding painting and weathering to top it off, too.
Heavy equipment not really my thing but this is top shelf. Painting and weathering really gives it the feel of a workhorse that is well used but not abused.
First off thanks to everyone for their feedback. It helps a lot as I’m new to this 1/35 scale stuff and never knew if I was on the right track or not.
I mentioned above the issues with the tracks. Too short by 2mm or there abouts and the vague placement of the pads. (That I put down to my sloppy work). I contacted MiniArt and they said they would sent replacement parts. Yesterday I got an email from them saying the parts are on the way. Tracking number and all. AAA+ service from MiniArt. Now I’m ordering another bulldozer to use up the parts they are sending!!
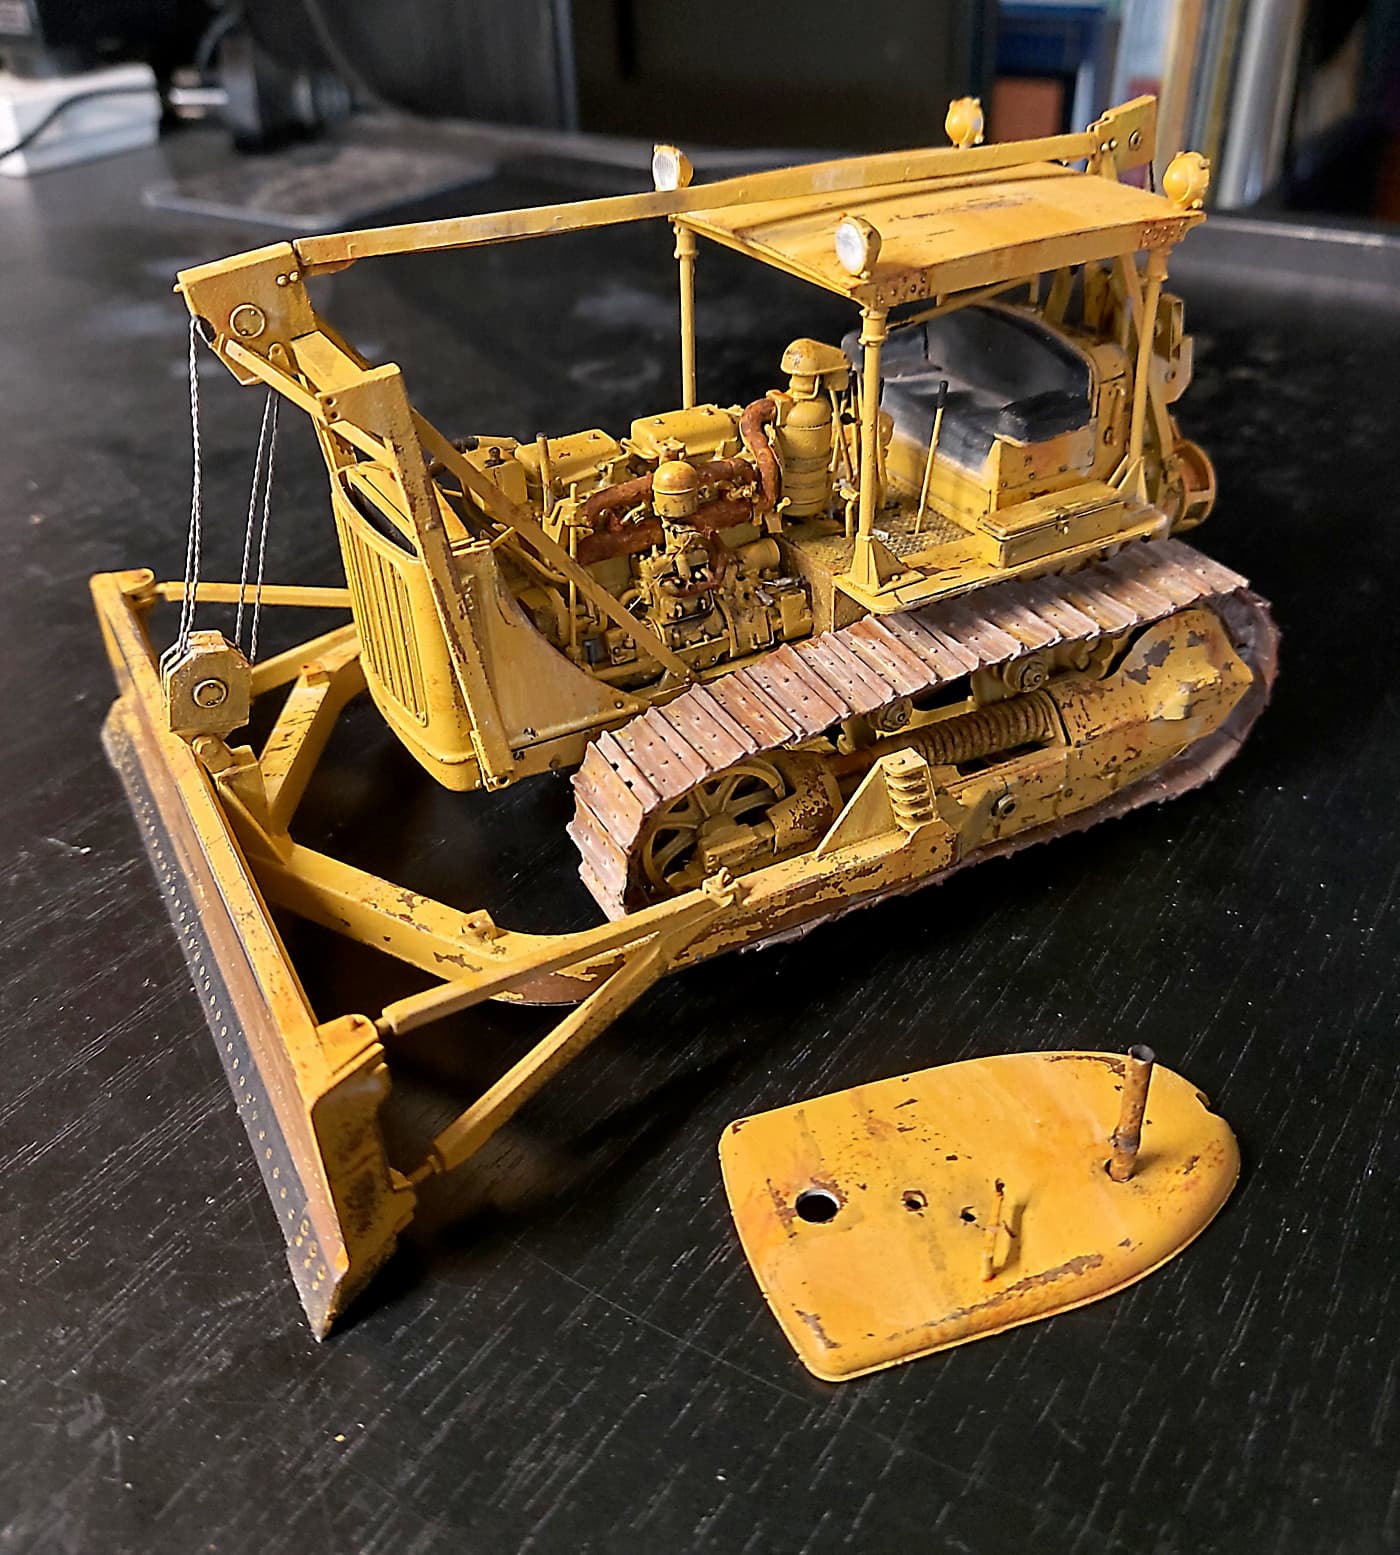
Now to come up with a diorama. Hood on or hood off?
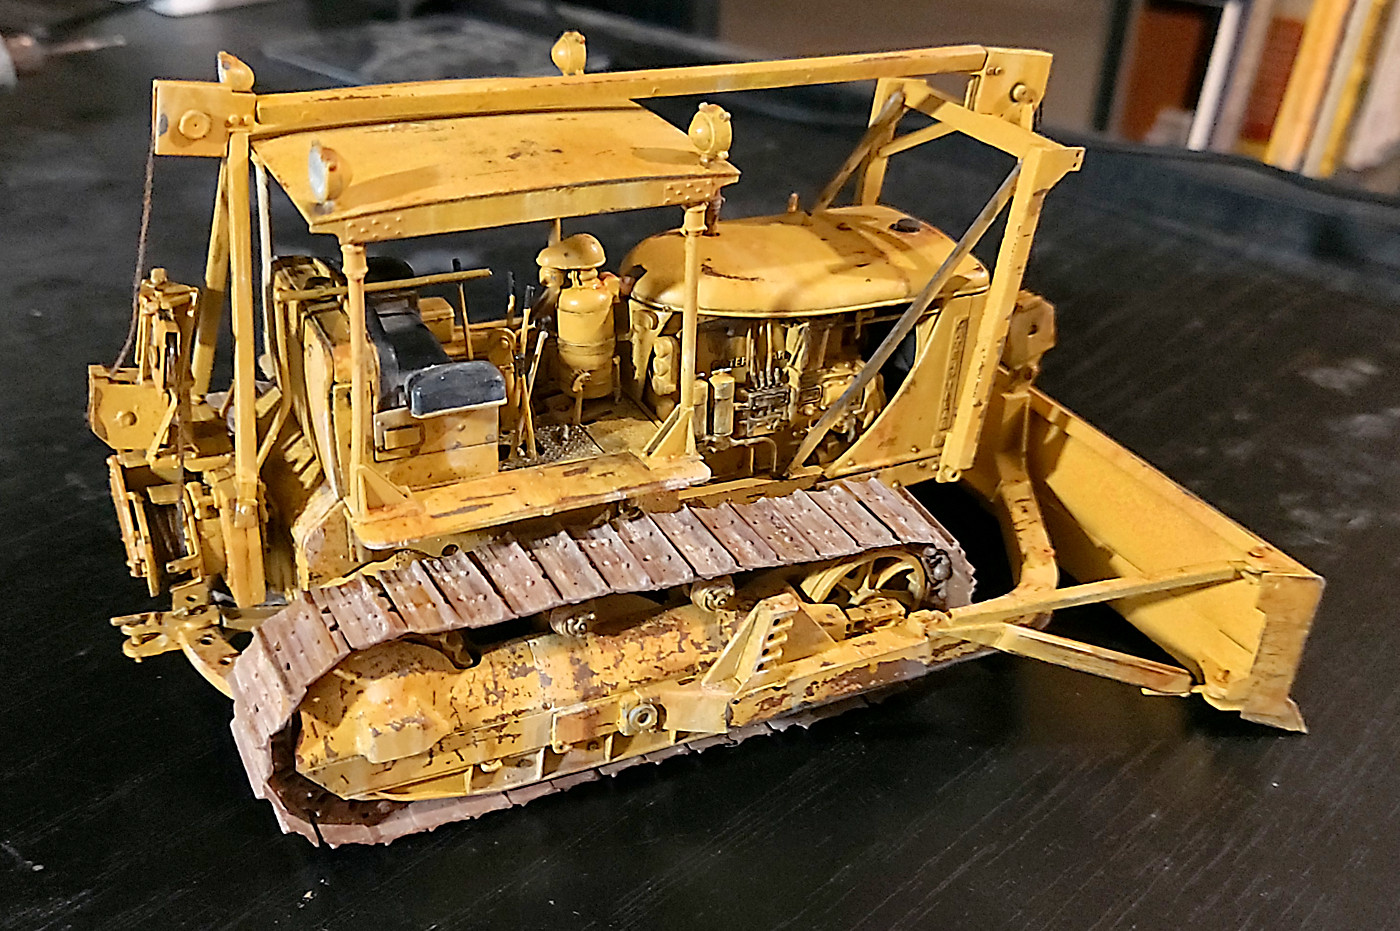
note - the forward lean on the overhead cable gear. I followed the images of the made up model on the rear of the instructions. Wrong. Follow the colour diagrams. Then again maybe the driver backed into something!!
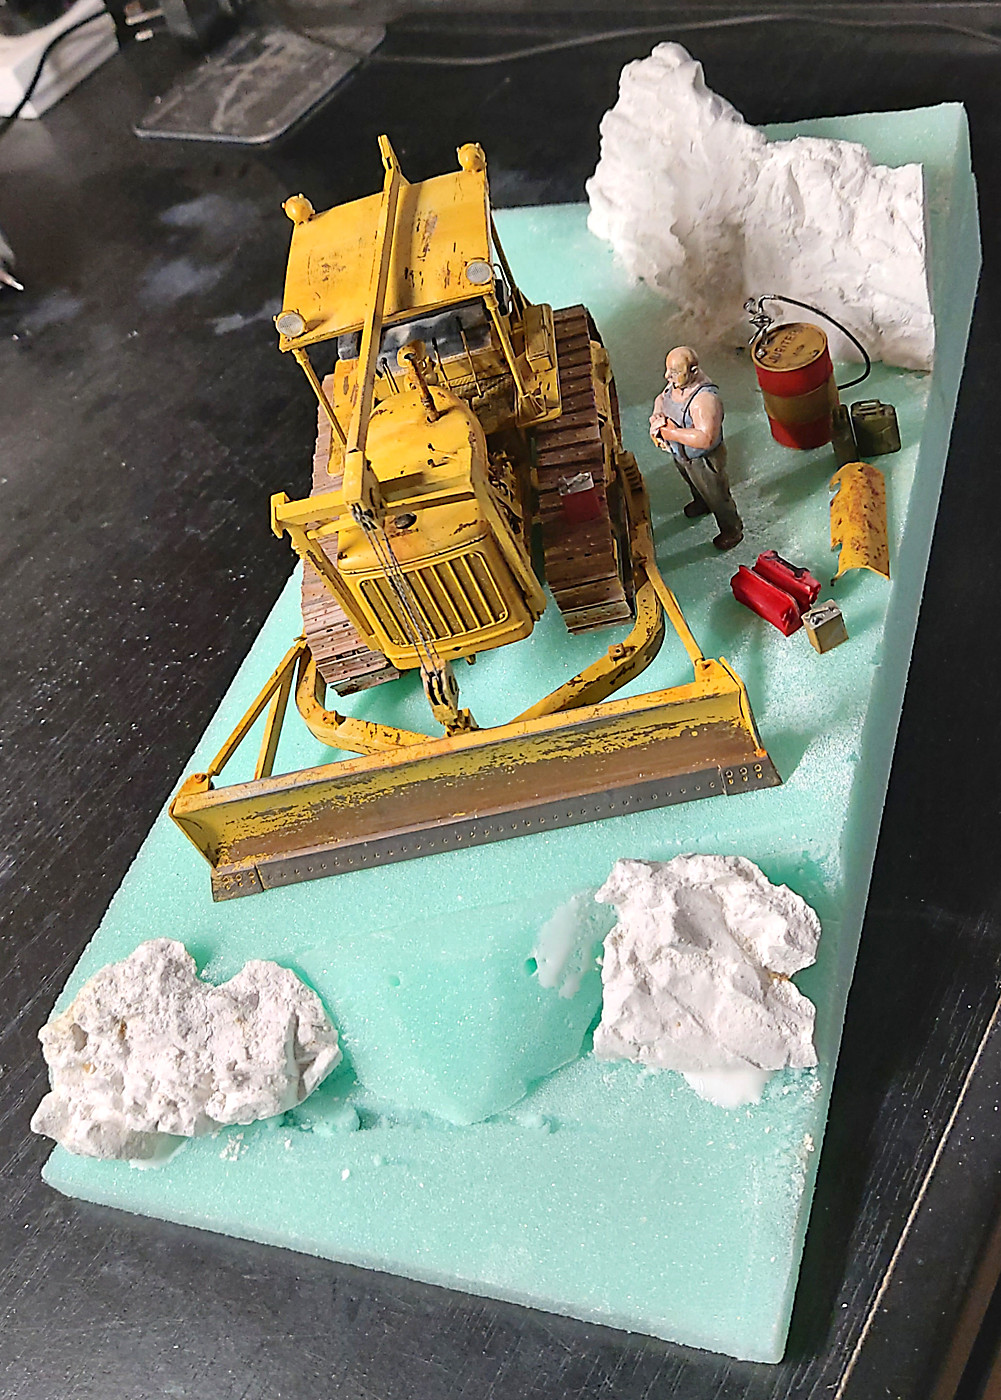
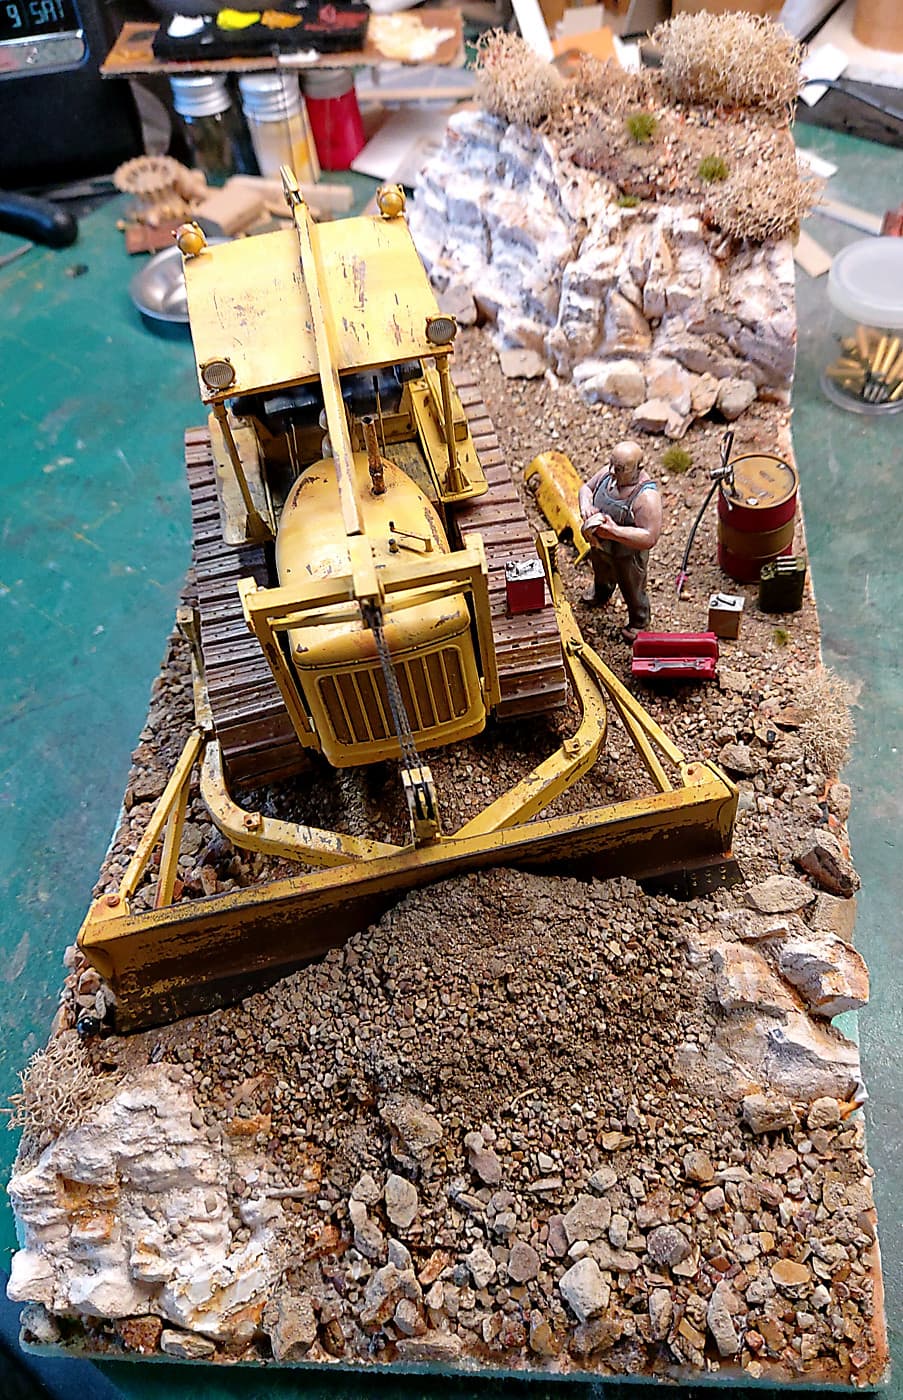
Now the next step. The diorama. I’ve been procrastinating over what story to tell. I decided on a repair/service scene either in a shed or on the work site. I think the work site will work better because the bulldozer will be viewable from all around. Besides the work site will allow me to throw some mud around.
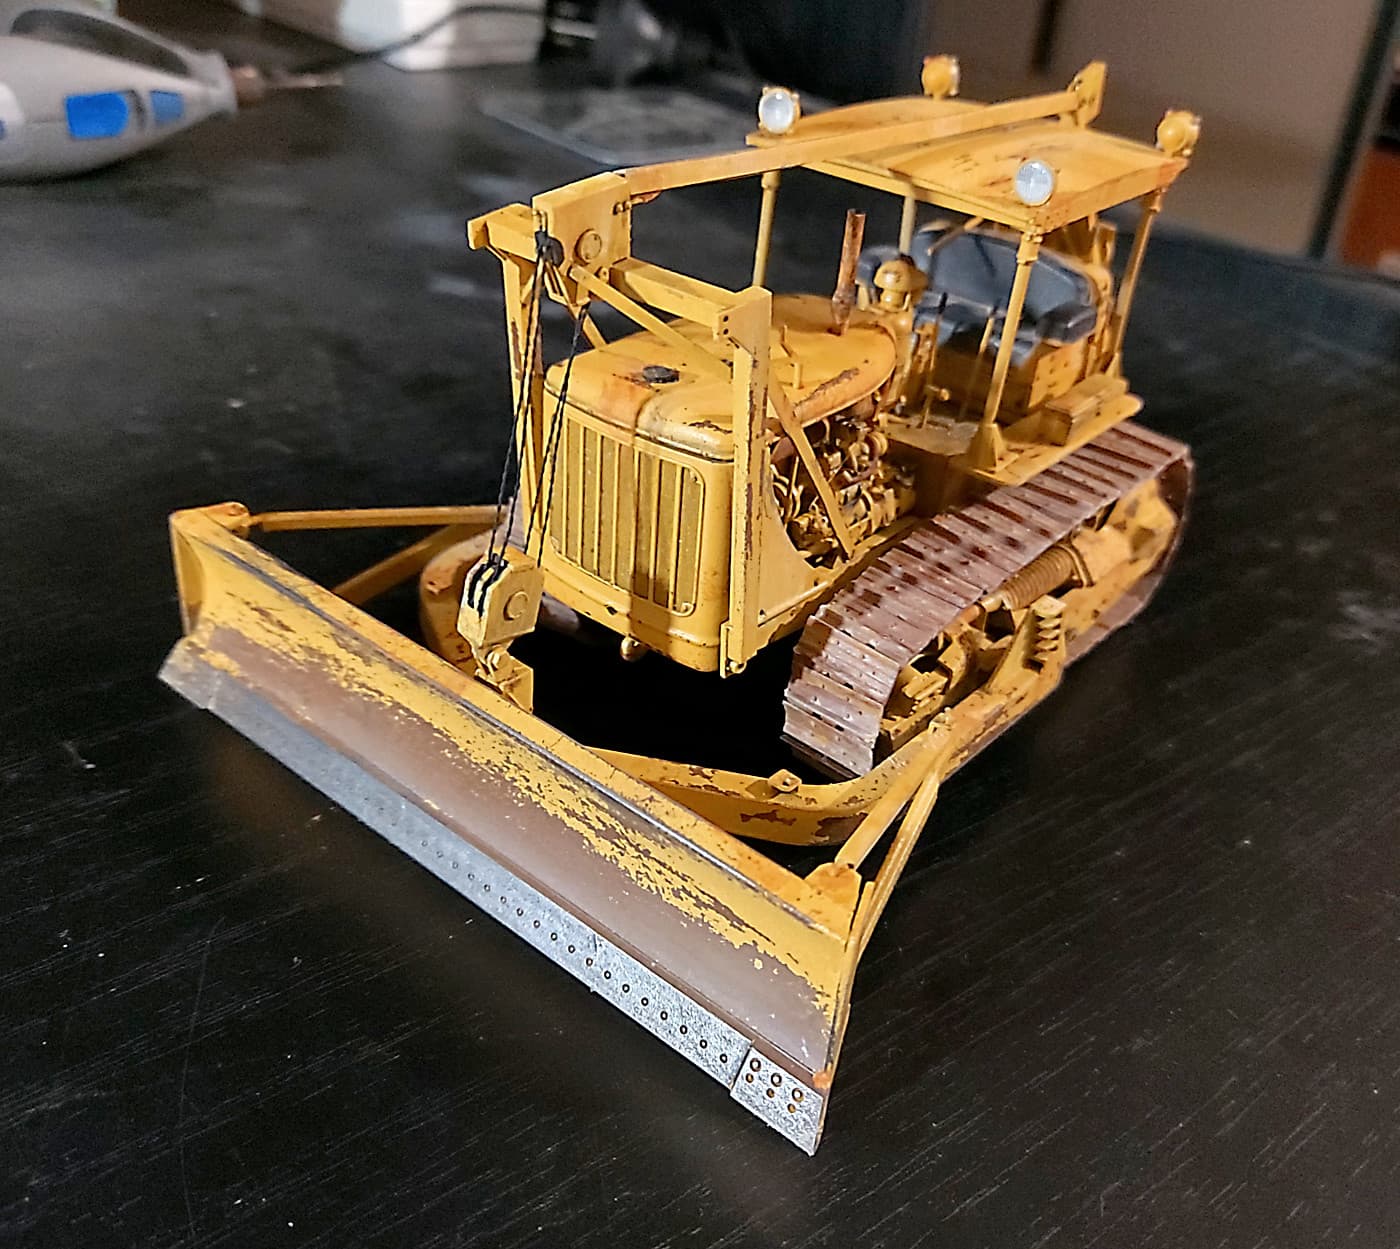
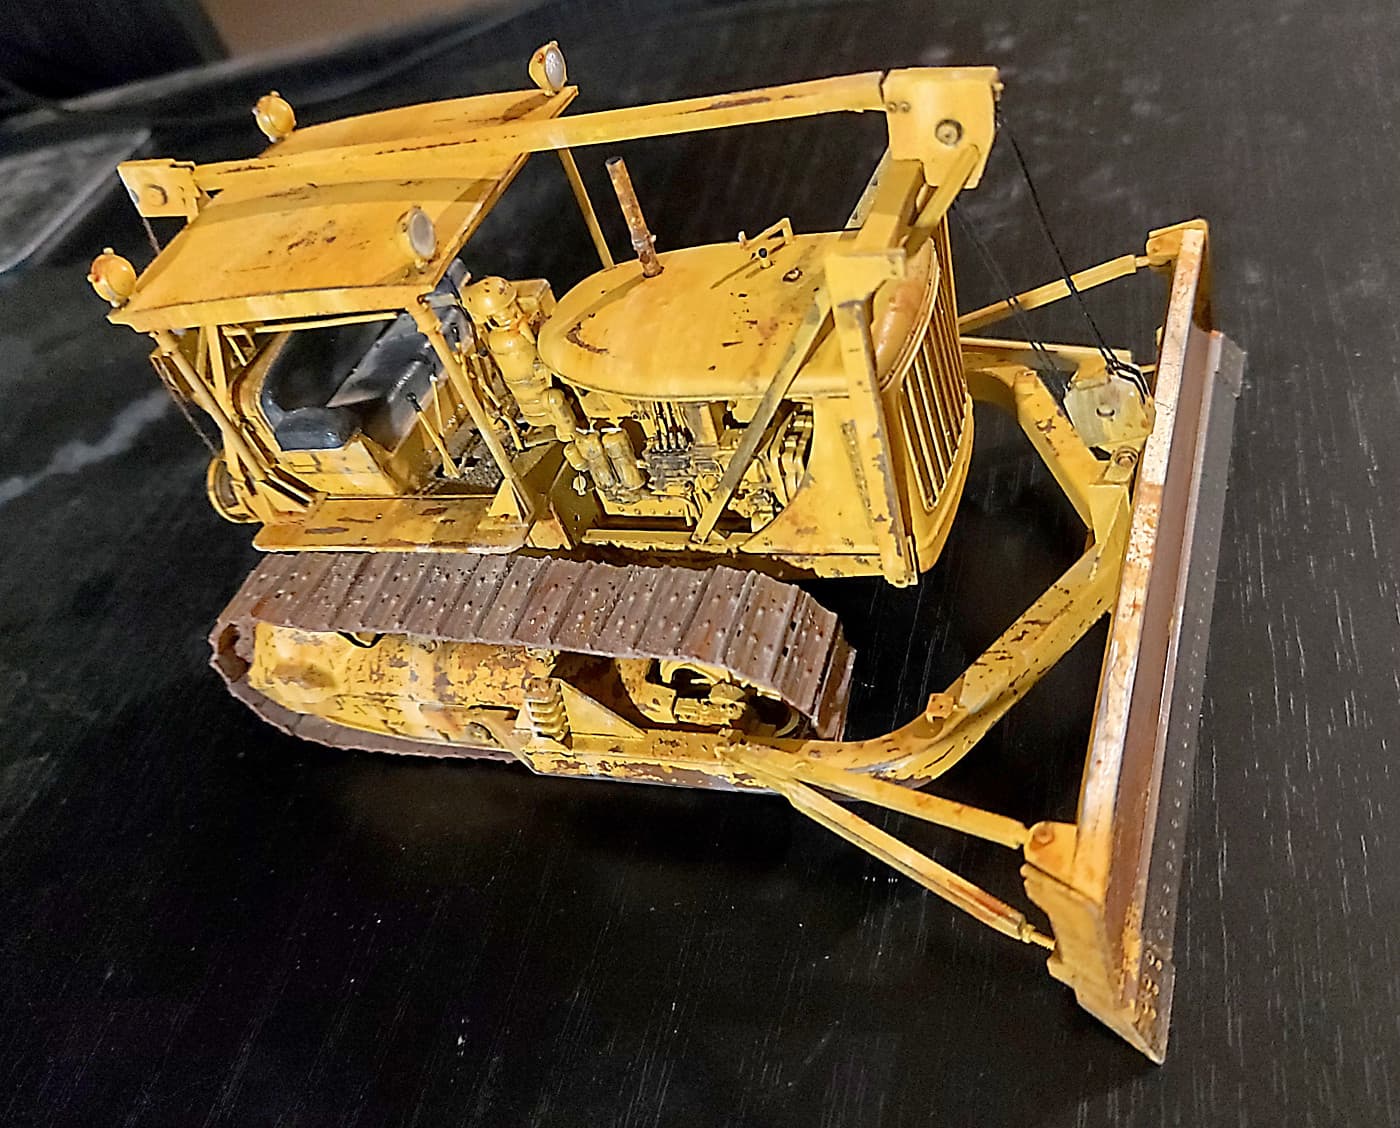
Interesting that so few modelers choose to build the angled dozer blade in an angled position. - Not a criticism, just an observation.
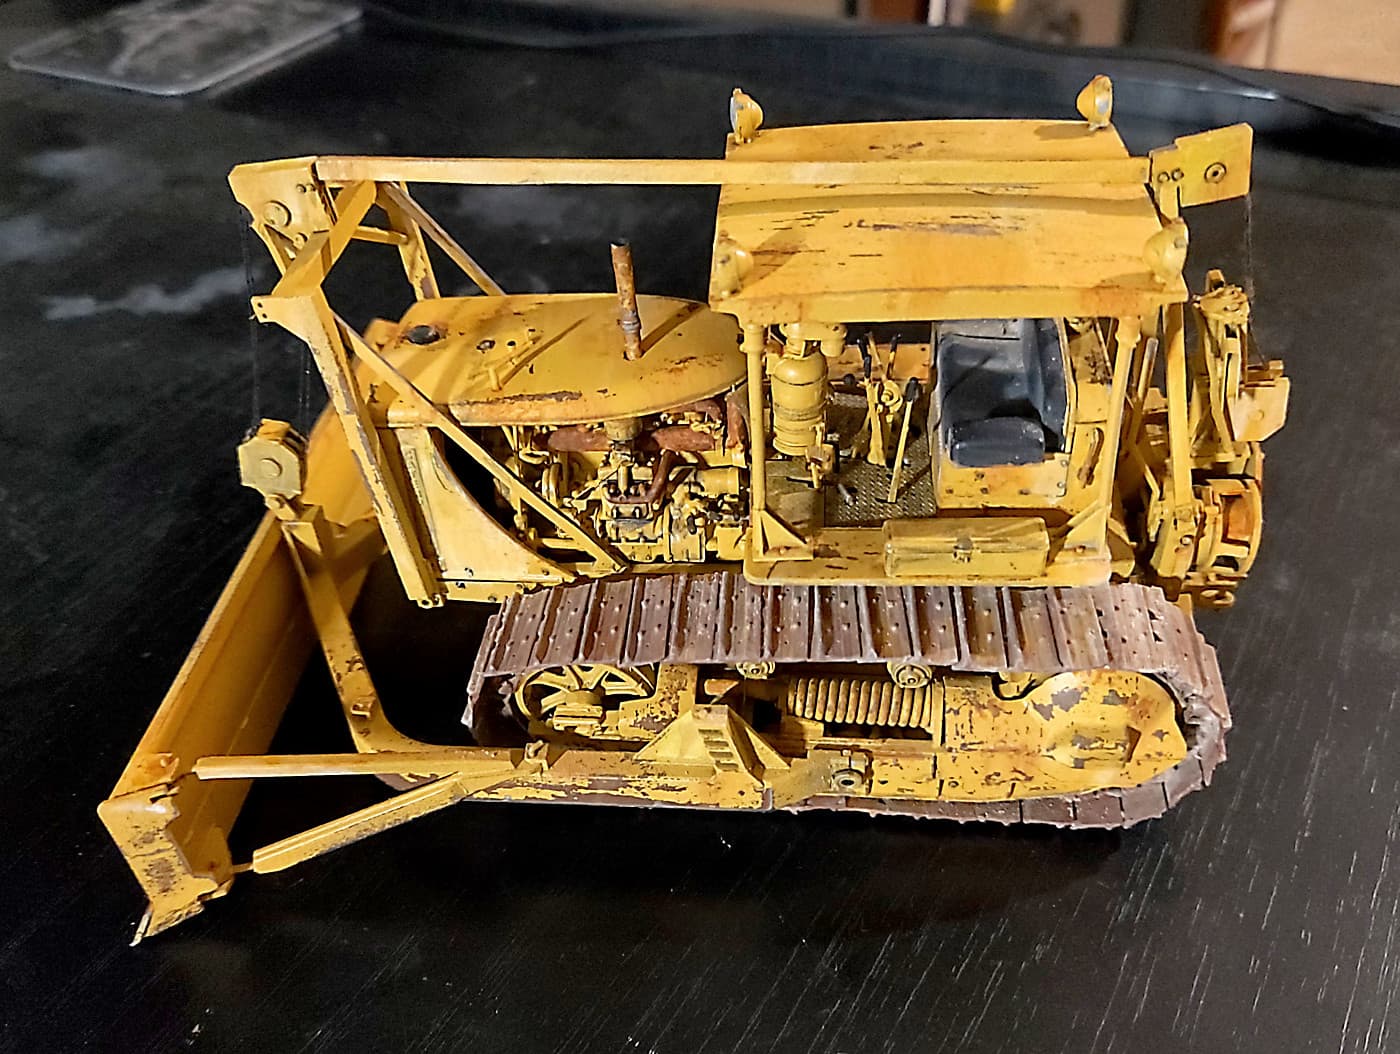
I love all your very realistic underbody scrapes and your paint chipping. That is something I never achieved with my Mirror Models version of this same dozer.
165thspc I considered putting the blade on an angle. A few things went against the idea. 1 you have to build it spot on for the pins to connect in the angled position. Mine was a tight fit. 2 I didn’t see many examples during internet searches so I got nervous about doing it. And 3 it limits the options for a diorama.
But it certainly would be an interesting build with the angled blade.
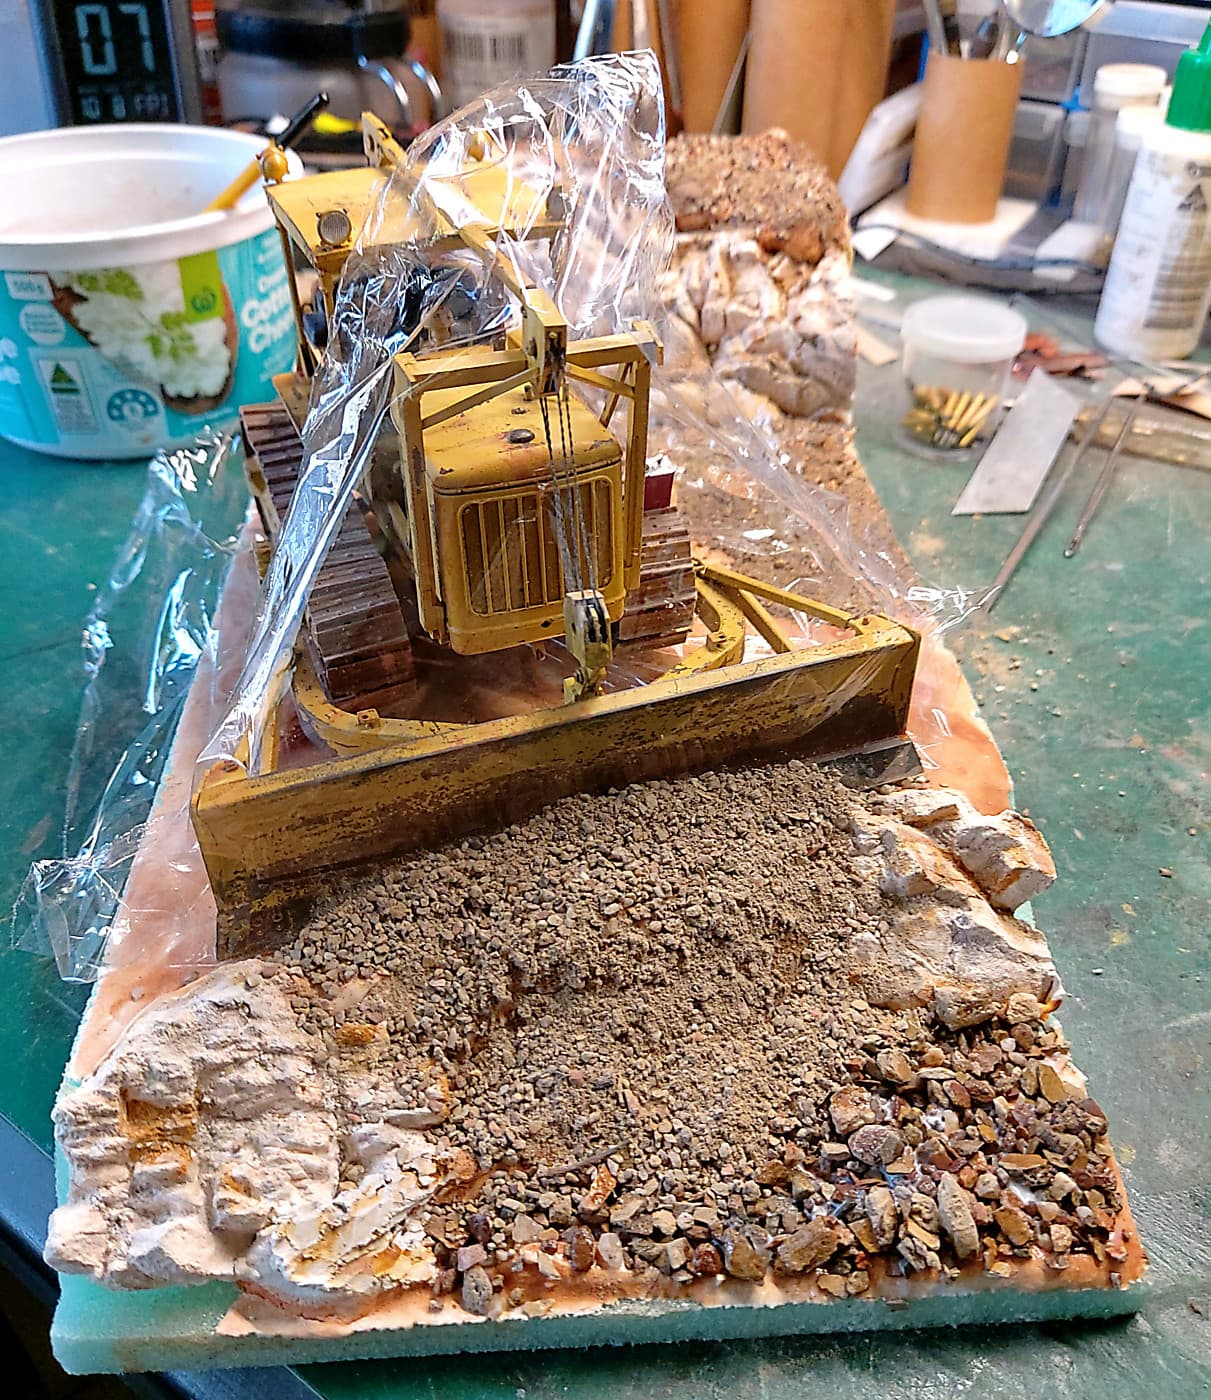
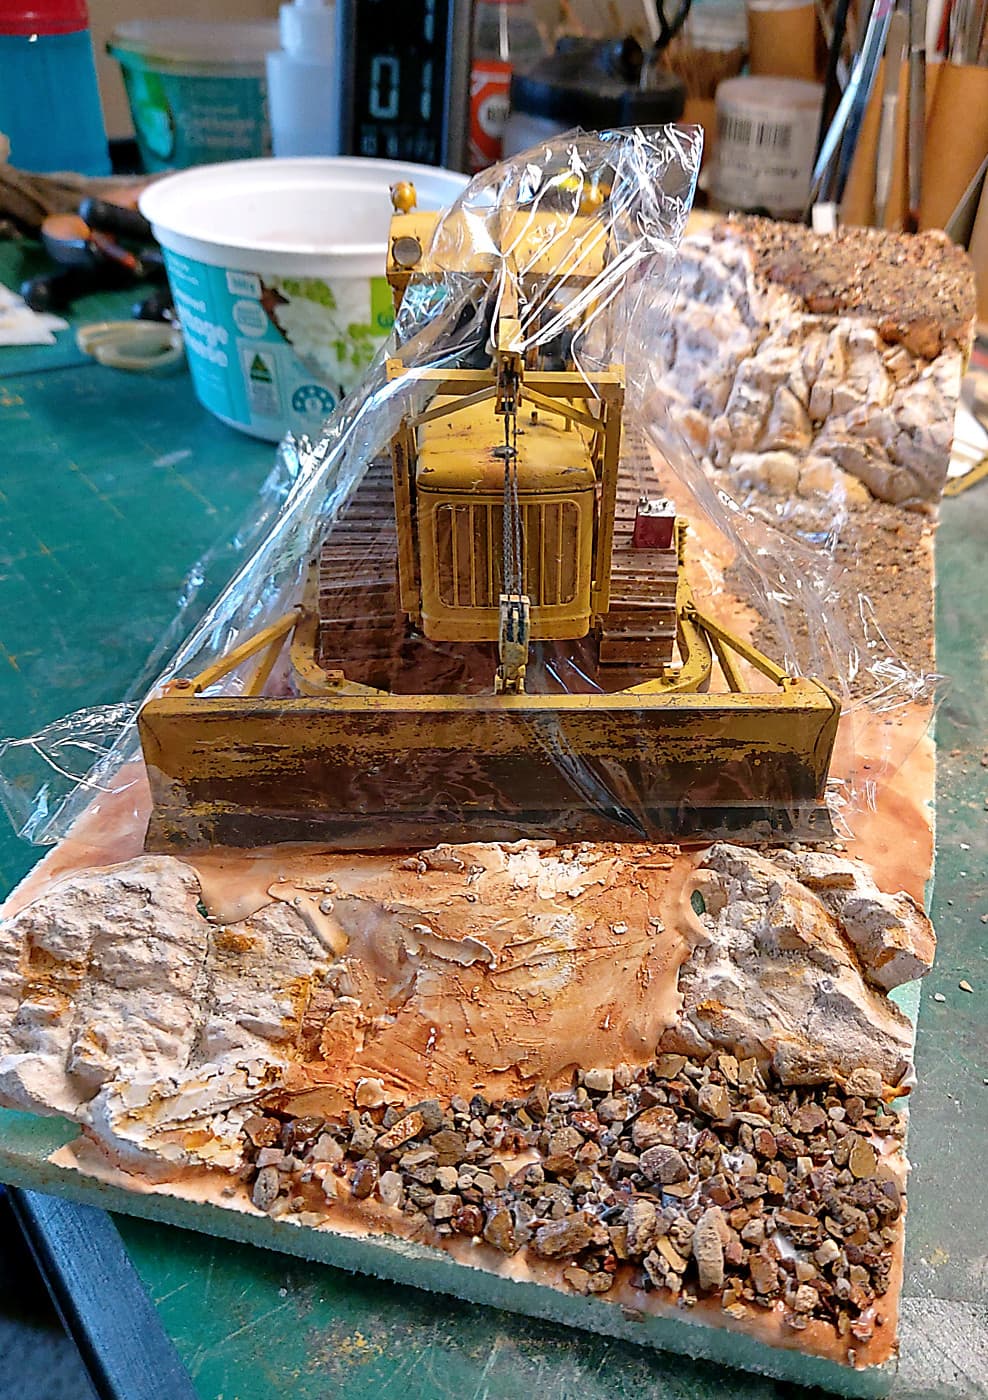
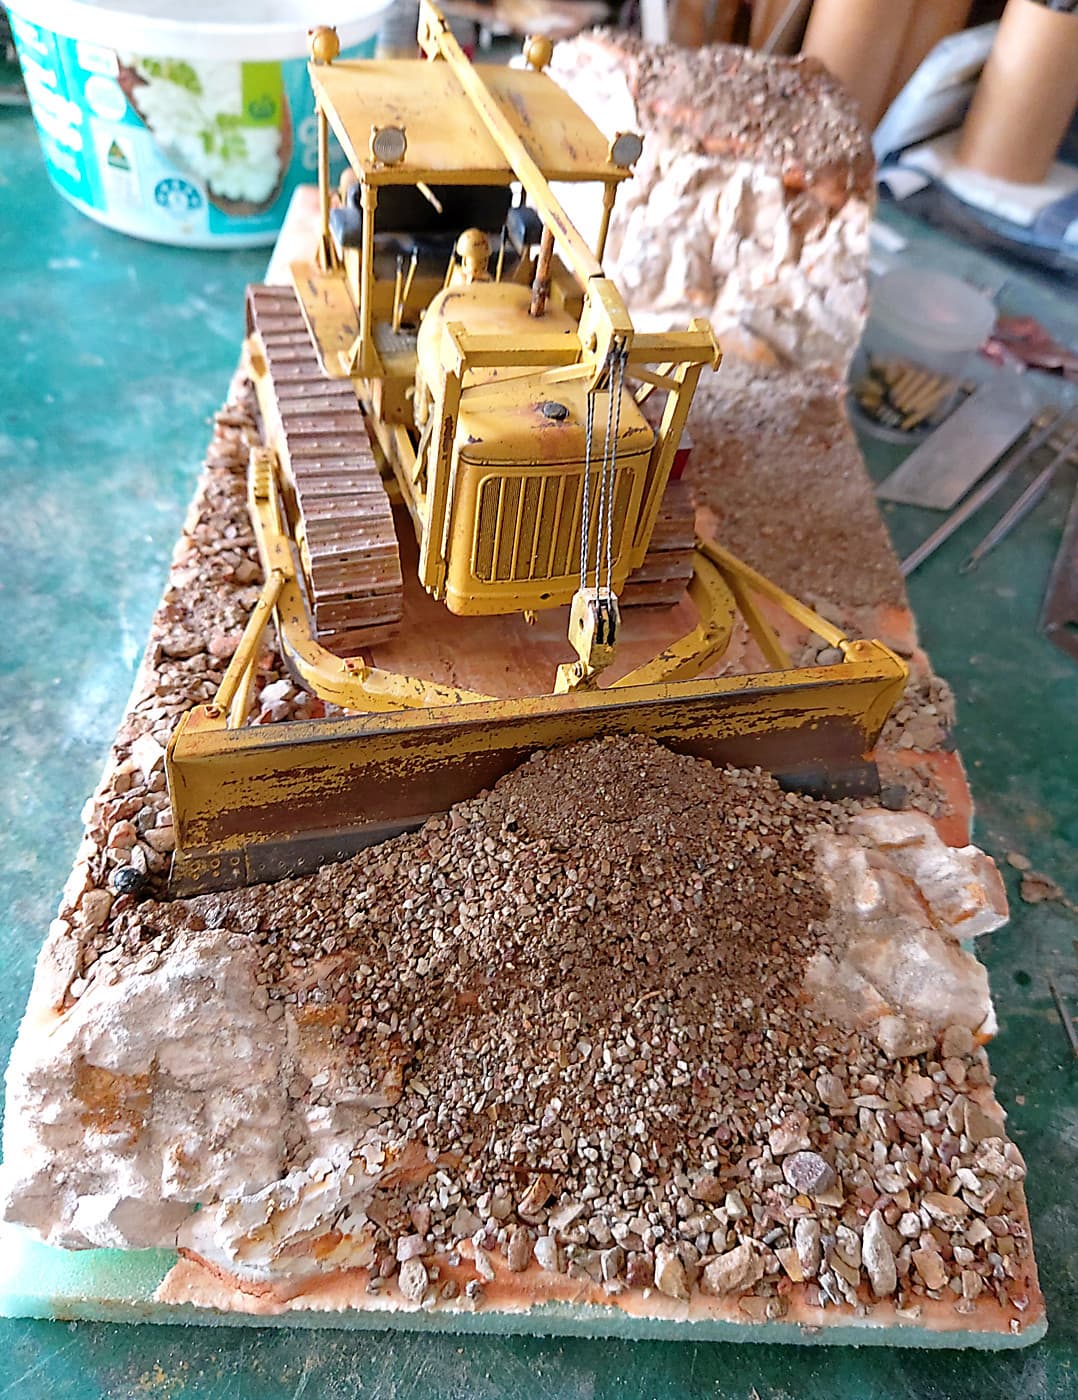
Some up to date images. I wanted to make it look like the dozer is pushing dirt. So I wrapped it in clear wrap. Especially the blade. Stacked the dirt on and then soaked with the usual pva/water mix. Next trick will be removing the wrap. I fully expect the gravel to stick to the wrap along the blade. But not the blade. So some wrap trimming will be all that is required. MAYBE
If my theory is right then more ground work. Once I establish the ground work/colours I can then weather the dozer, especially the tracks, with the same ground colours.
Time to call it finished. Not quite but almost! Just some tidying up. Dirt on the racks. There’s a gap between the blade and the dirt yet to be addressed. The guy had a cigarette in his mouth. I made it from some fibre optics. I was going to install a red LED but I couldn’t come up with a satisfactory way of running the fiber down through him. So now he has an E cigarette!
When I get the big camera out I’ll post some final shots.
Thanks everyone for following along.
I have the army version in the stash. Maybe I’ll tackle it next.
It has been a fun build. Thoroughly recommend it as a kit.