Definitely Impressed!
1 Like
Thanks all for the interest and compliments.
I am finally back to work on the arch. Real life jobs and a promised Aircraft commission took place of priority over the Dozer/ Arch build but all of that is out of the way now .
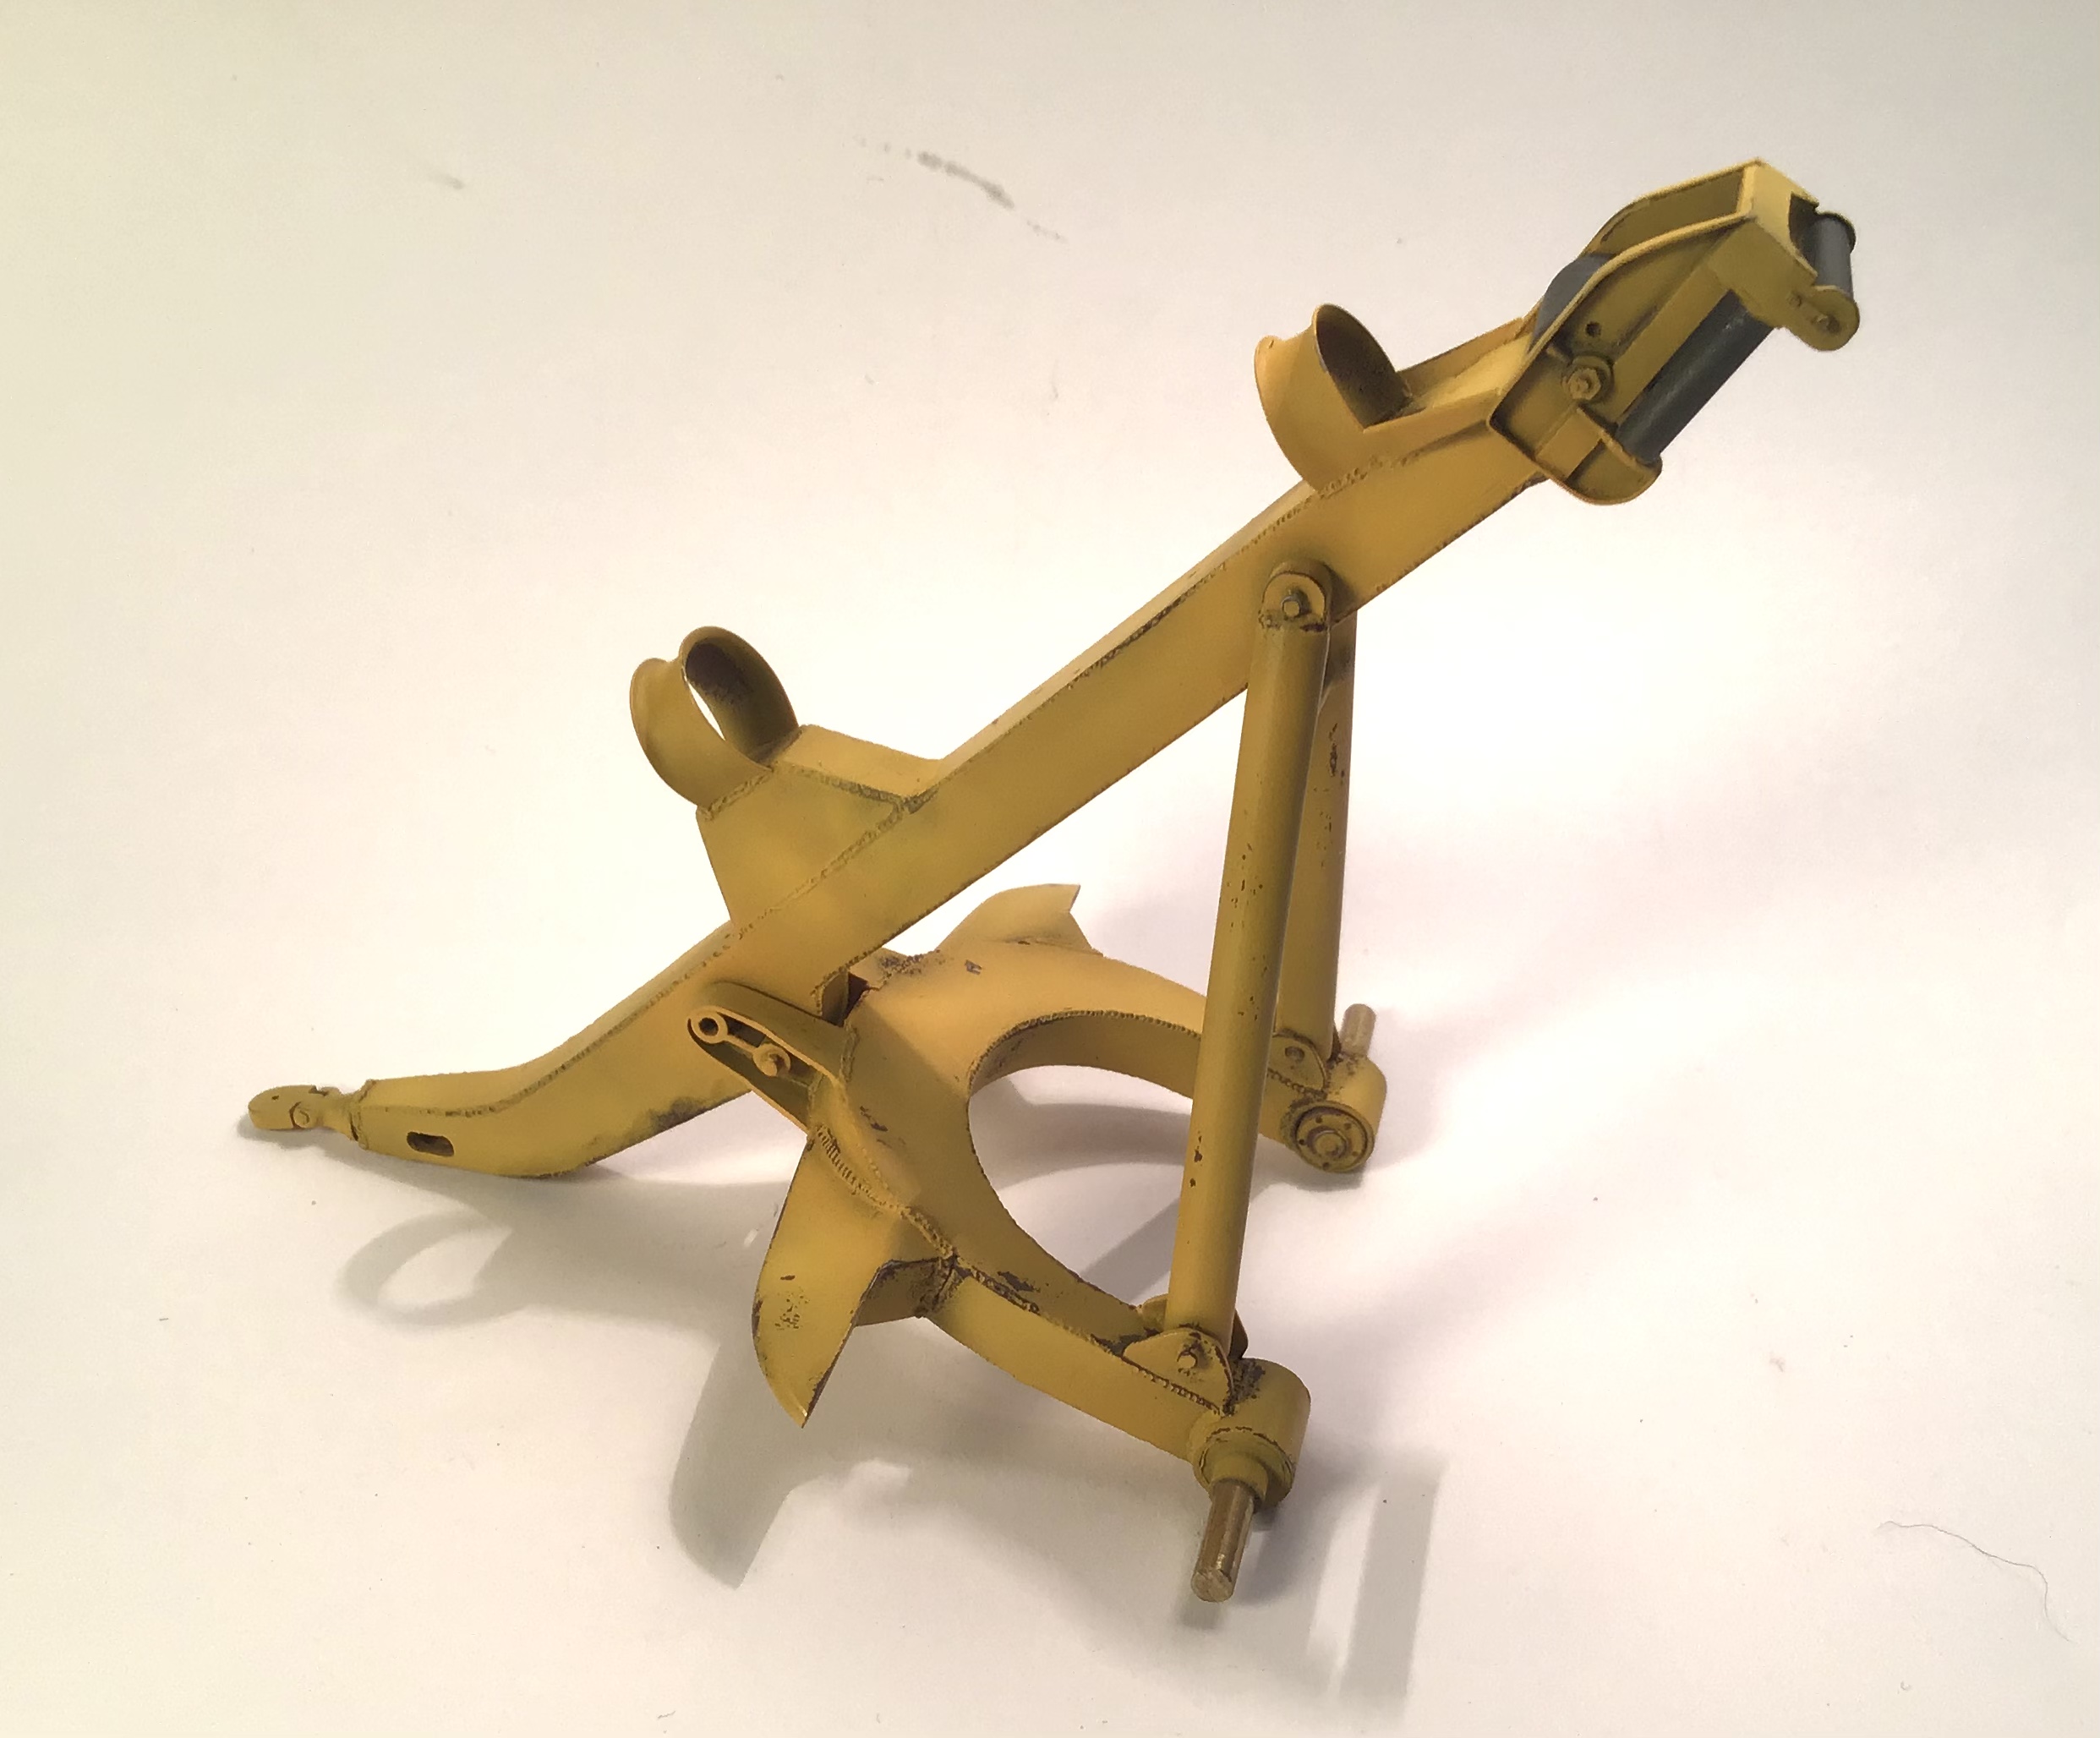
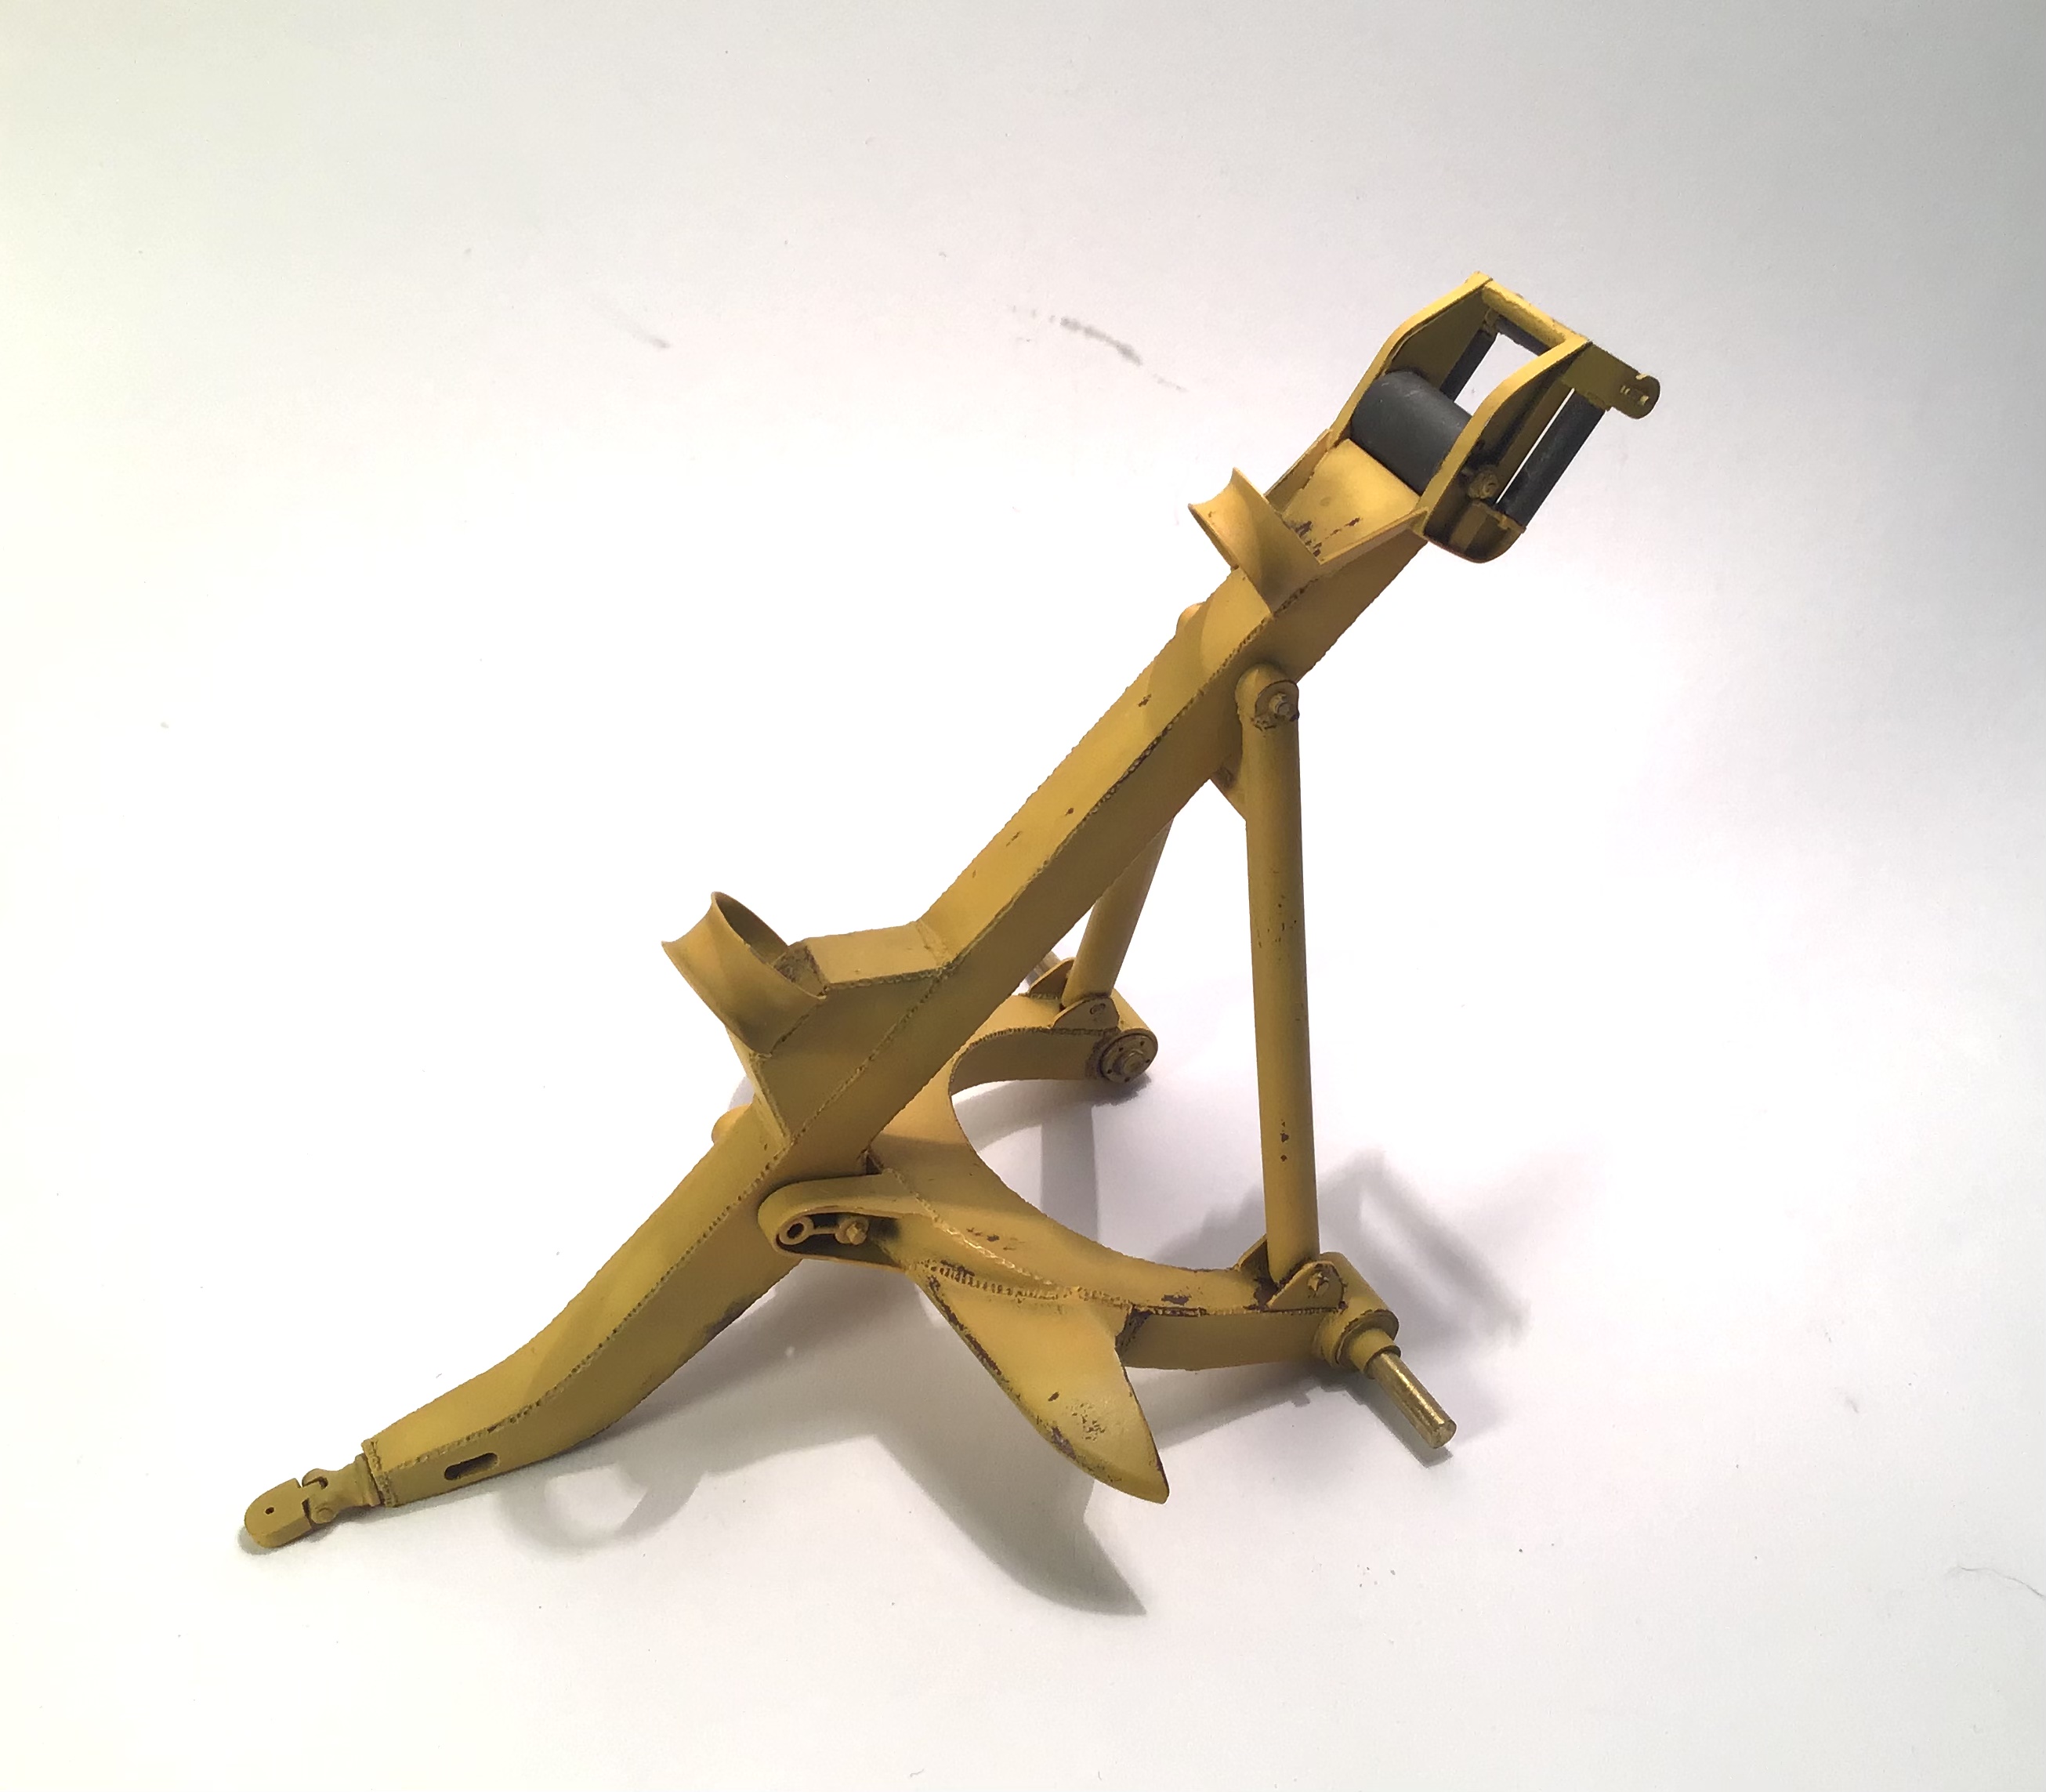
I’ve made a start on the last component of the
arch - the hitch . See # 16 below .

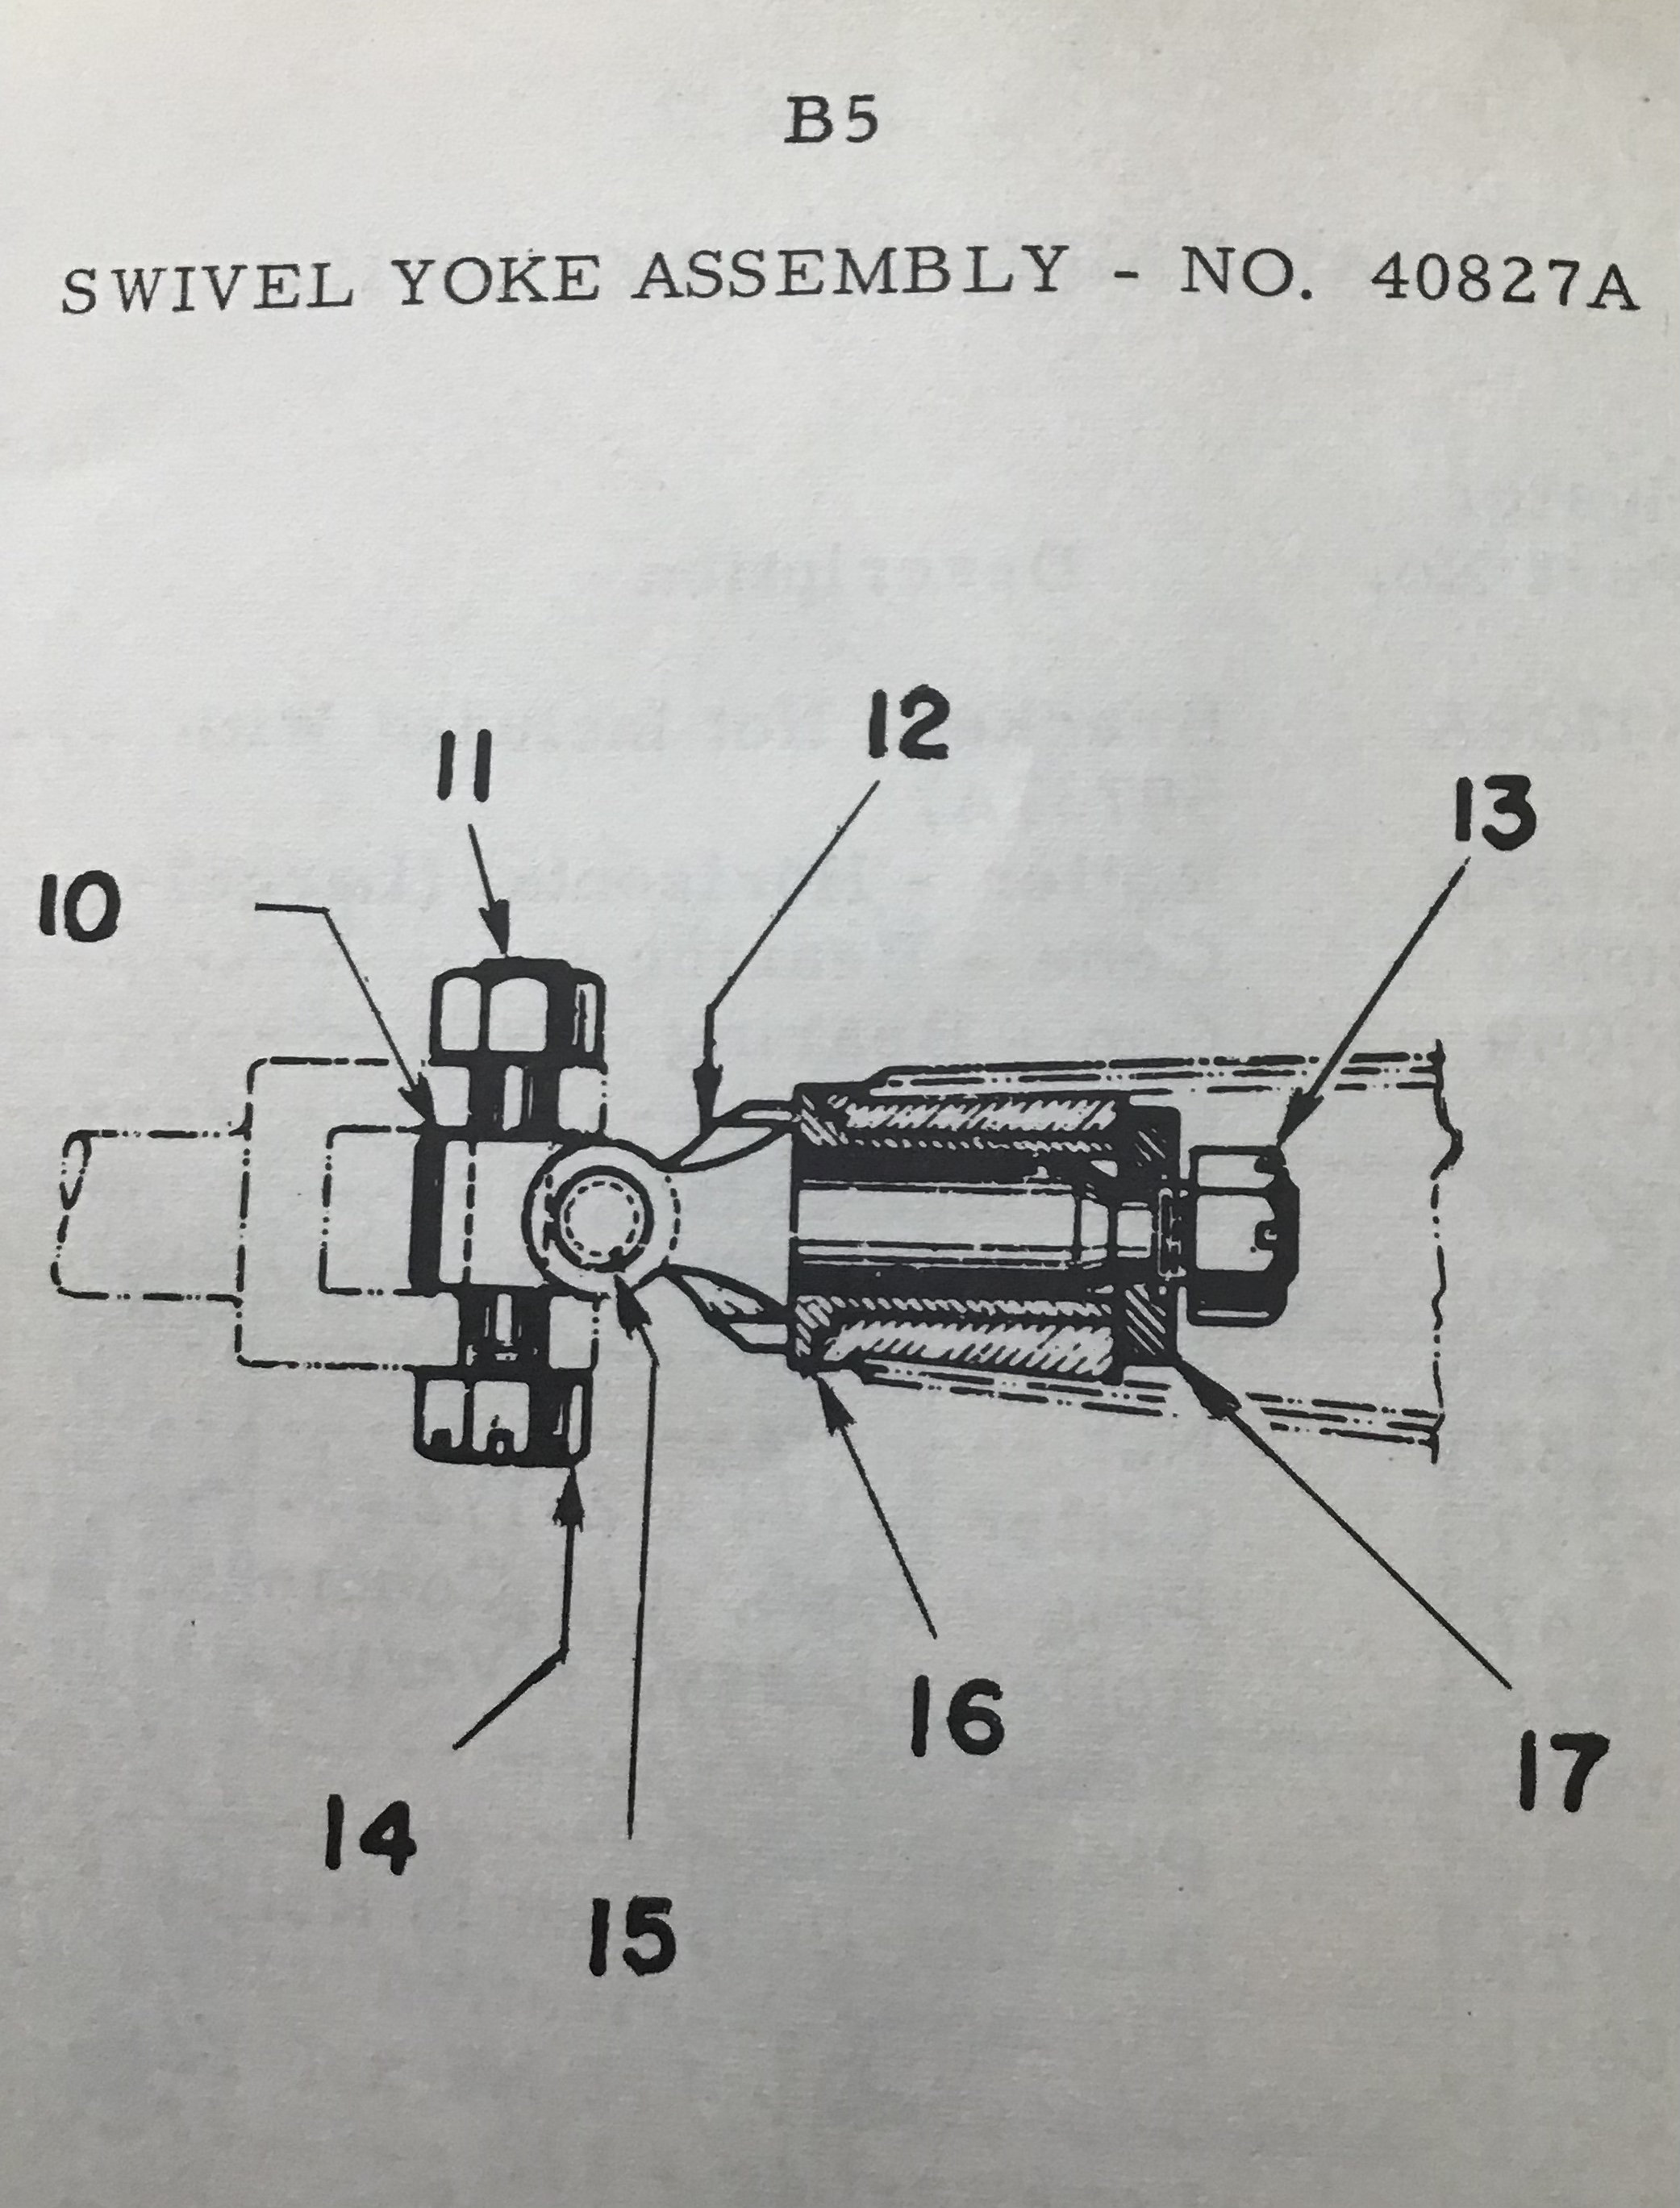
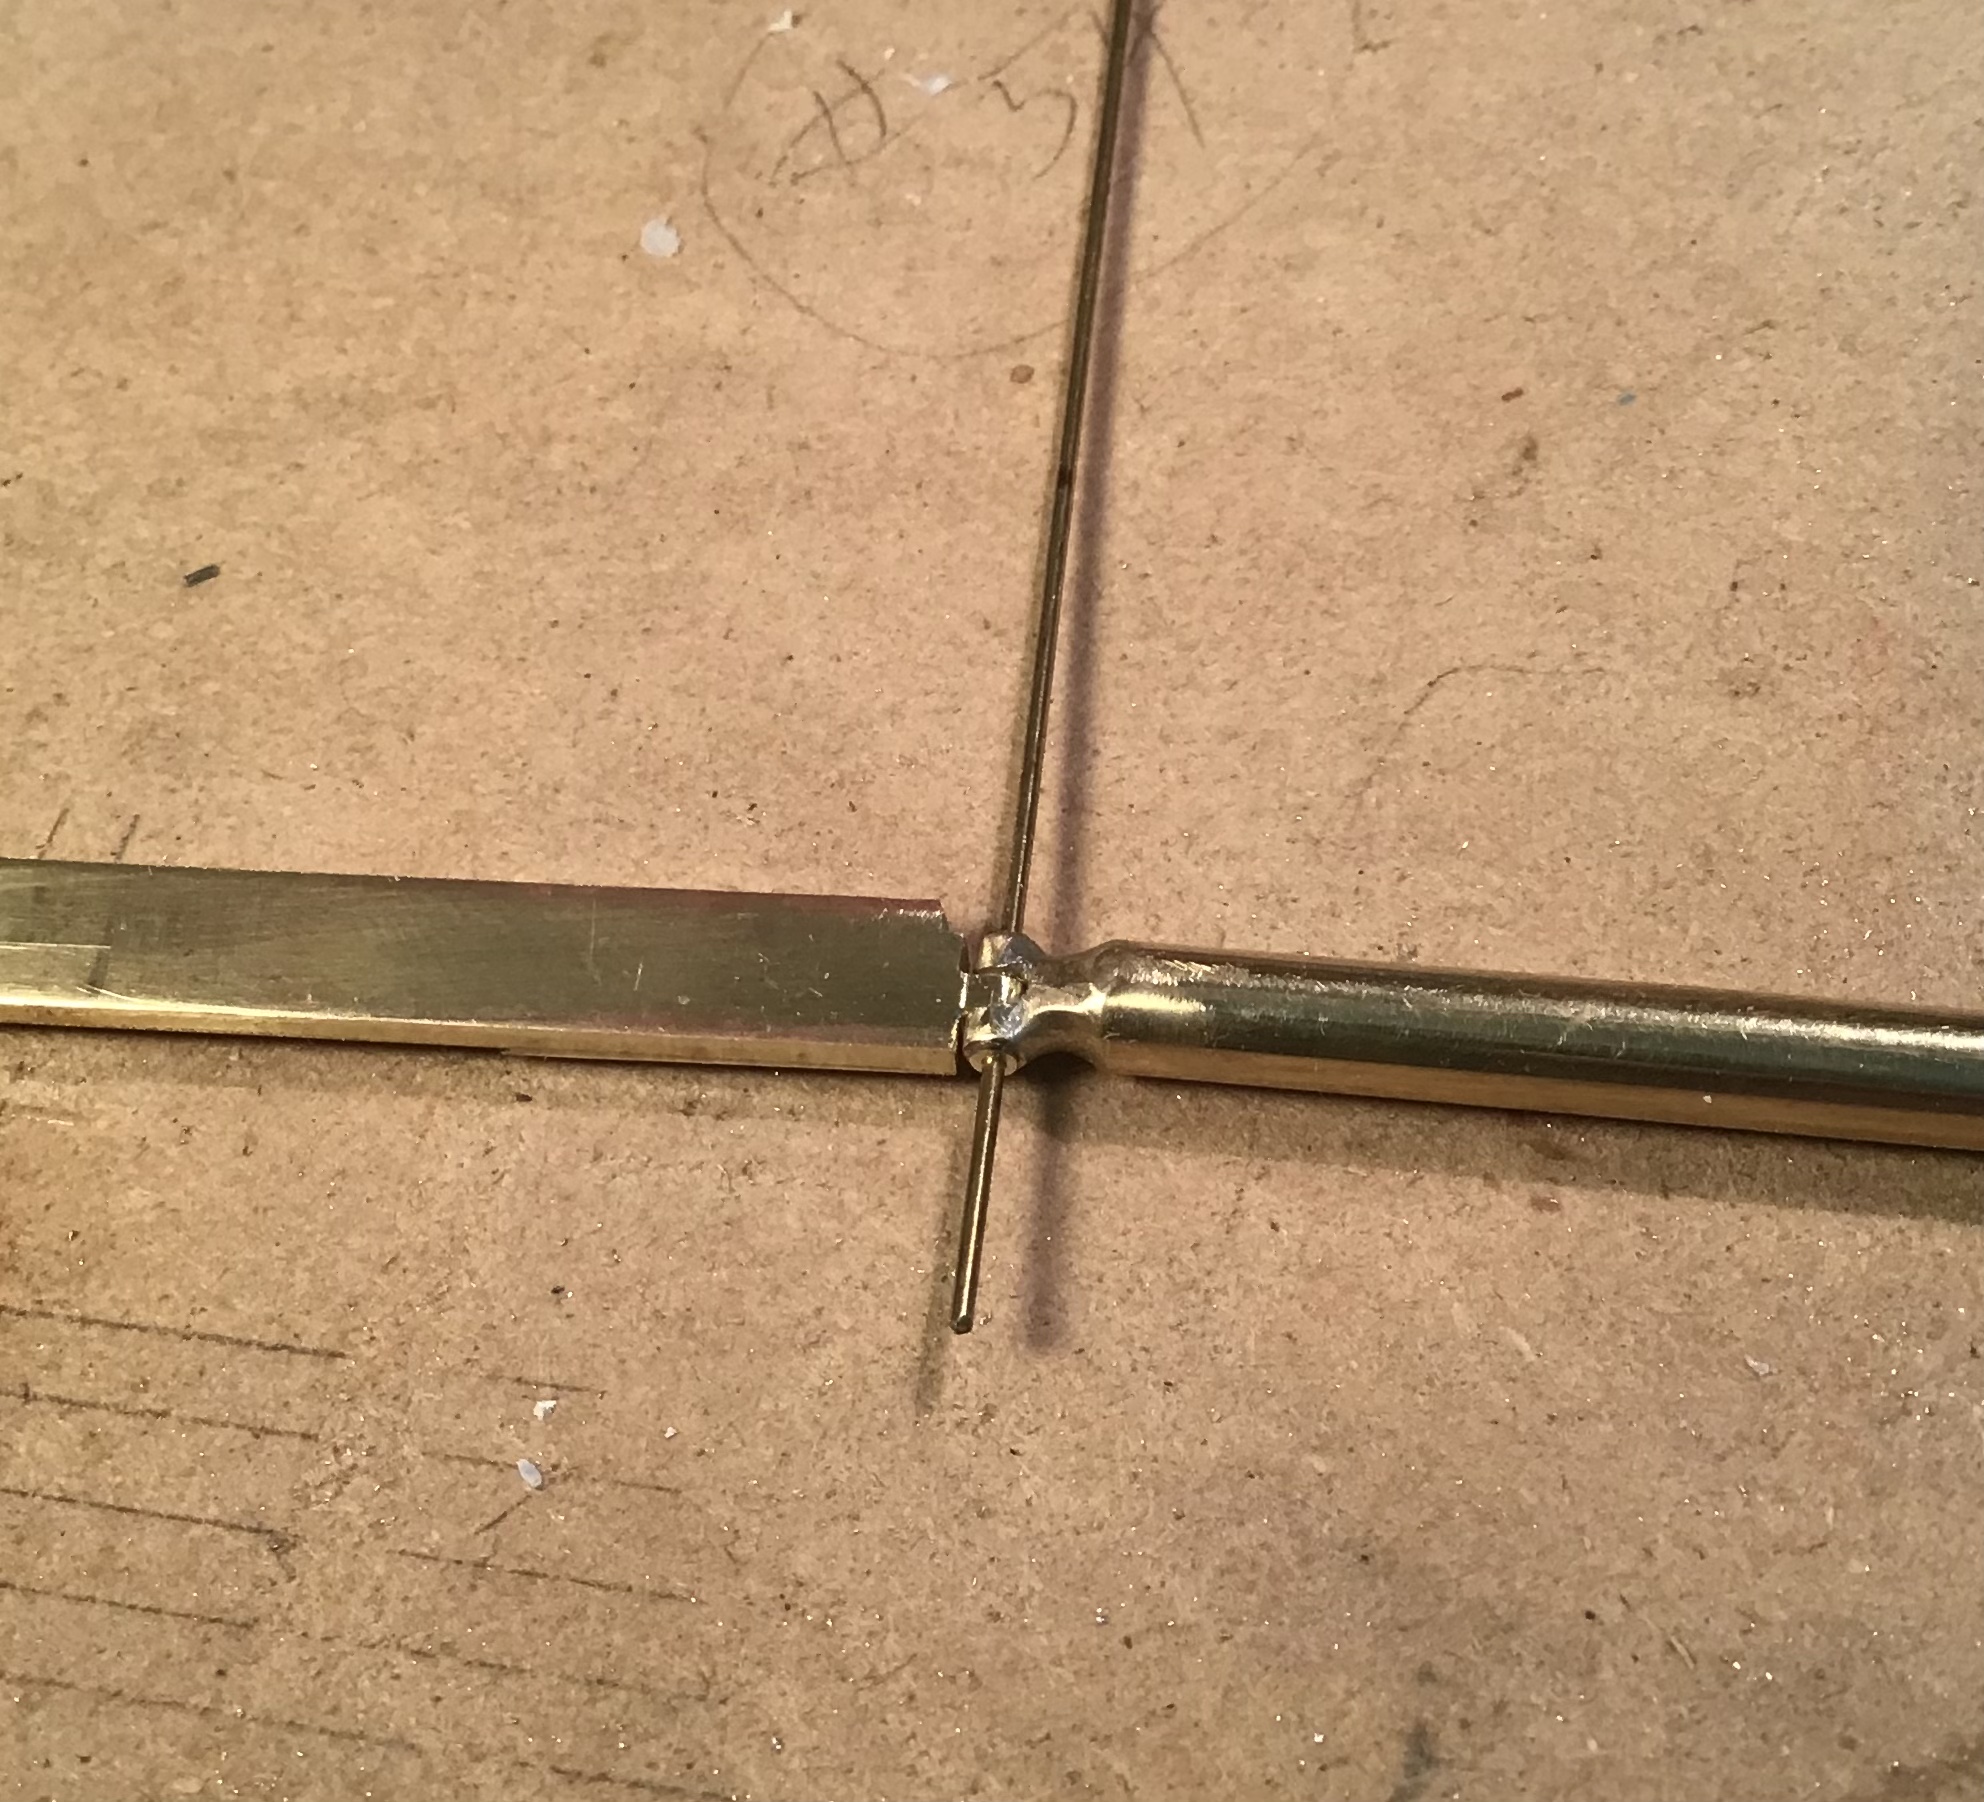
I began by filing a notch across the end of a piece of 7/32 “ brass rod and soldering a piece of 3/32 “ brass tube to the rod…
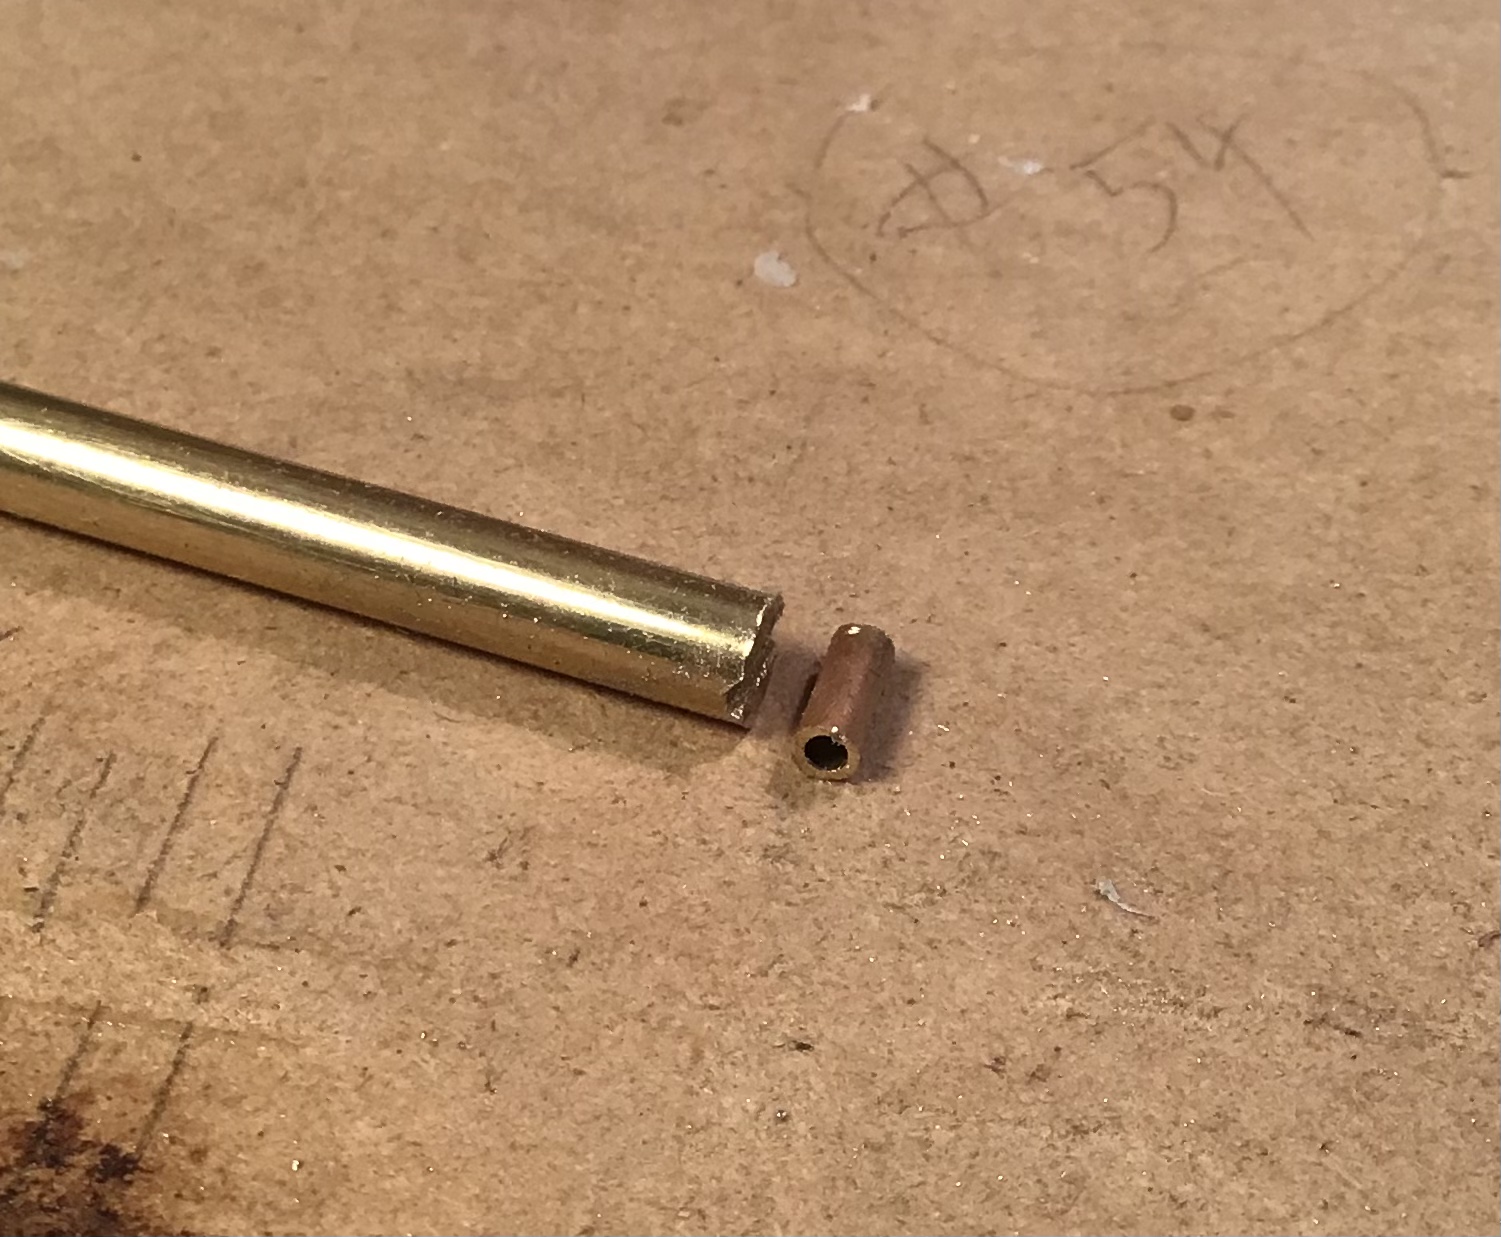
Rod was then chucked in the lathe and tapered behind the tube and bored axially to create the start of a notch and provide for the bolt that fastens hitch to arch . The joint of tube and rod shaped by hand with various files .
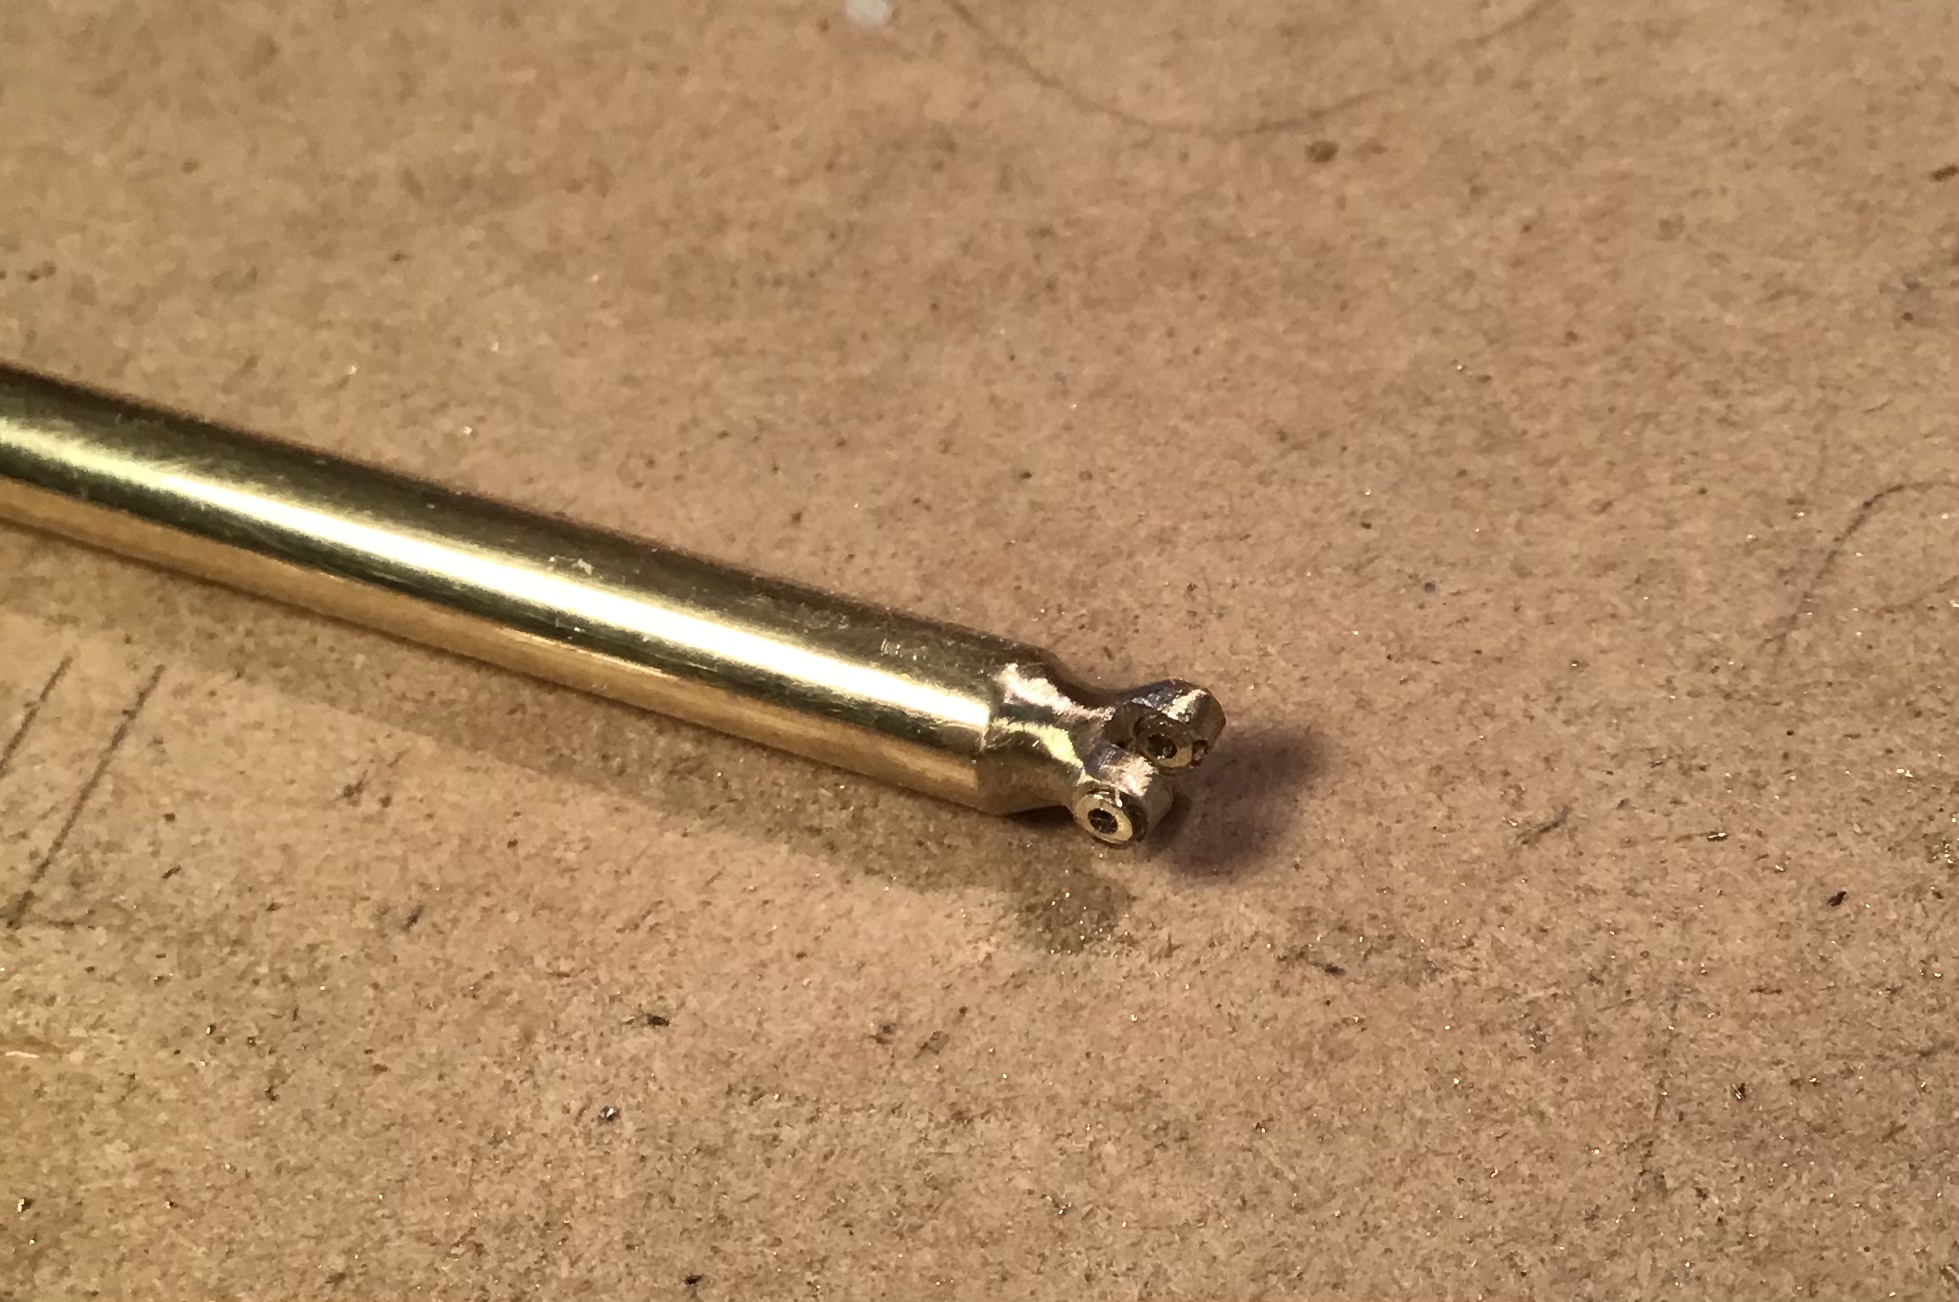
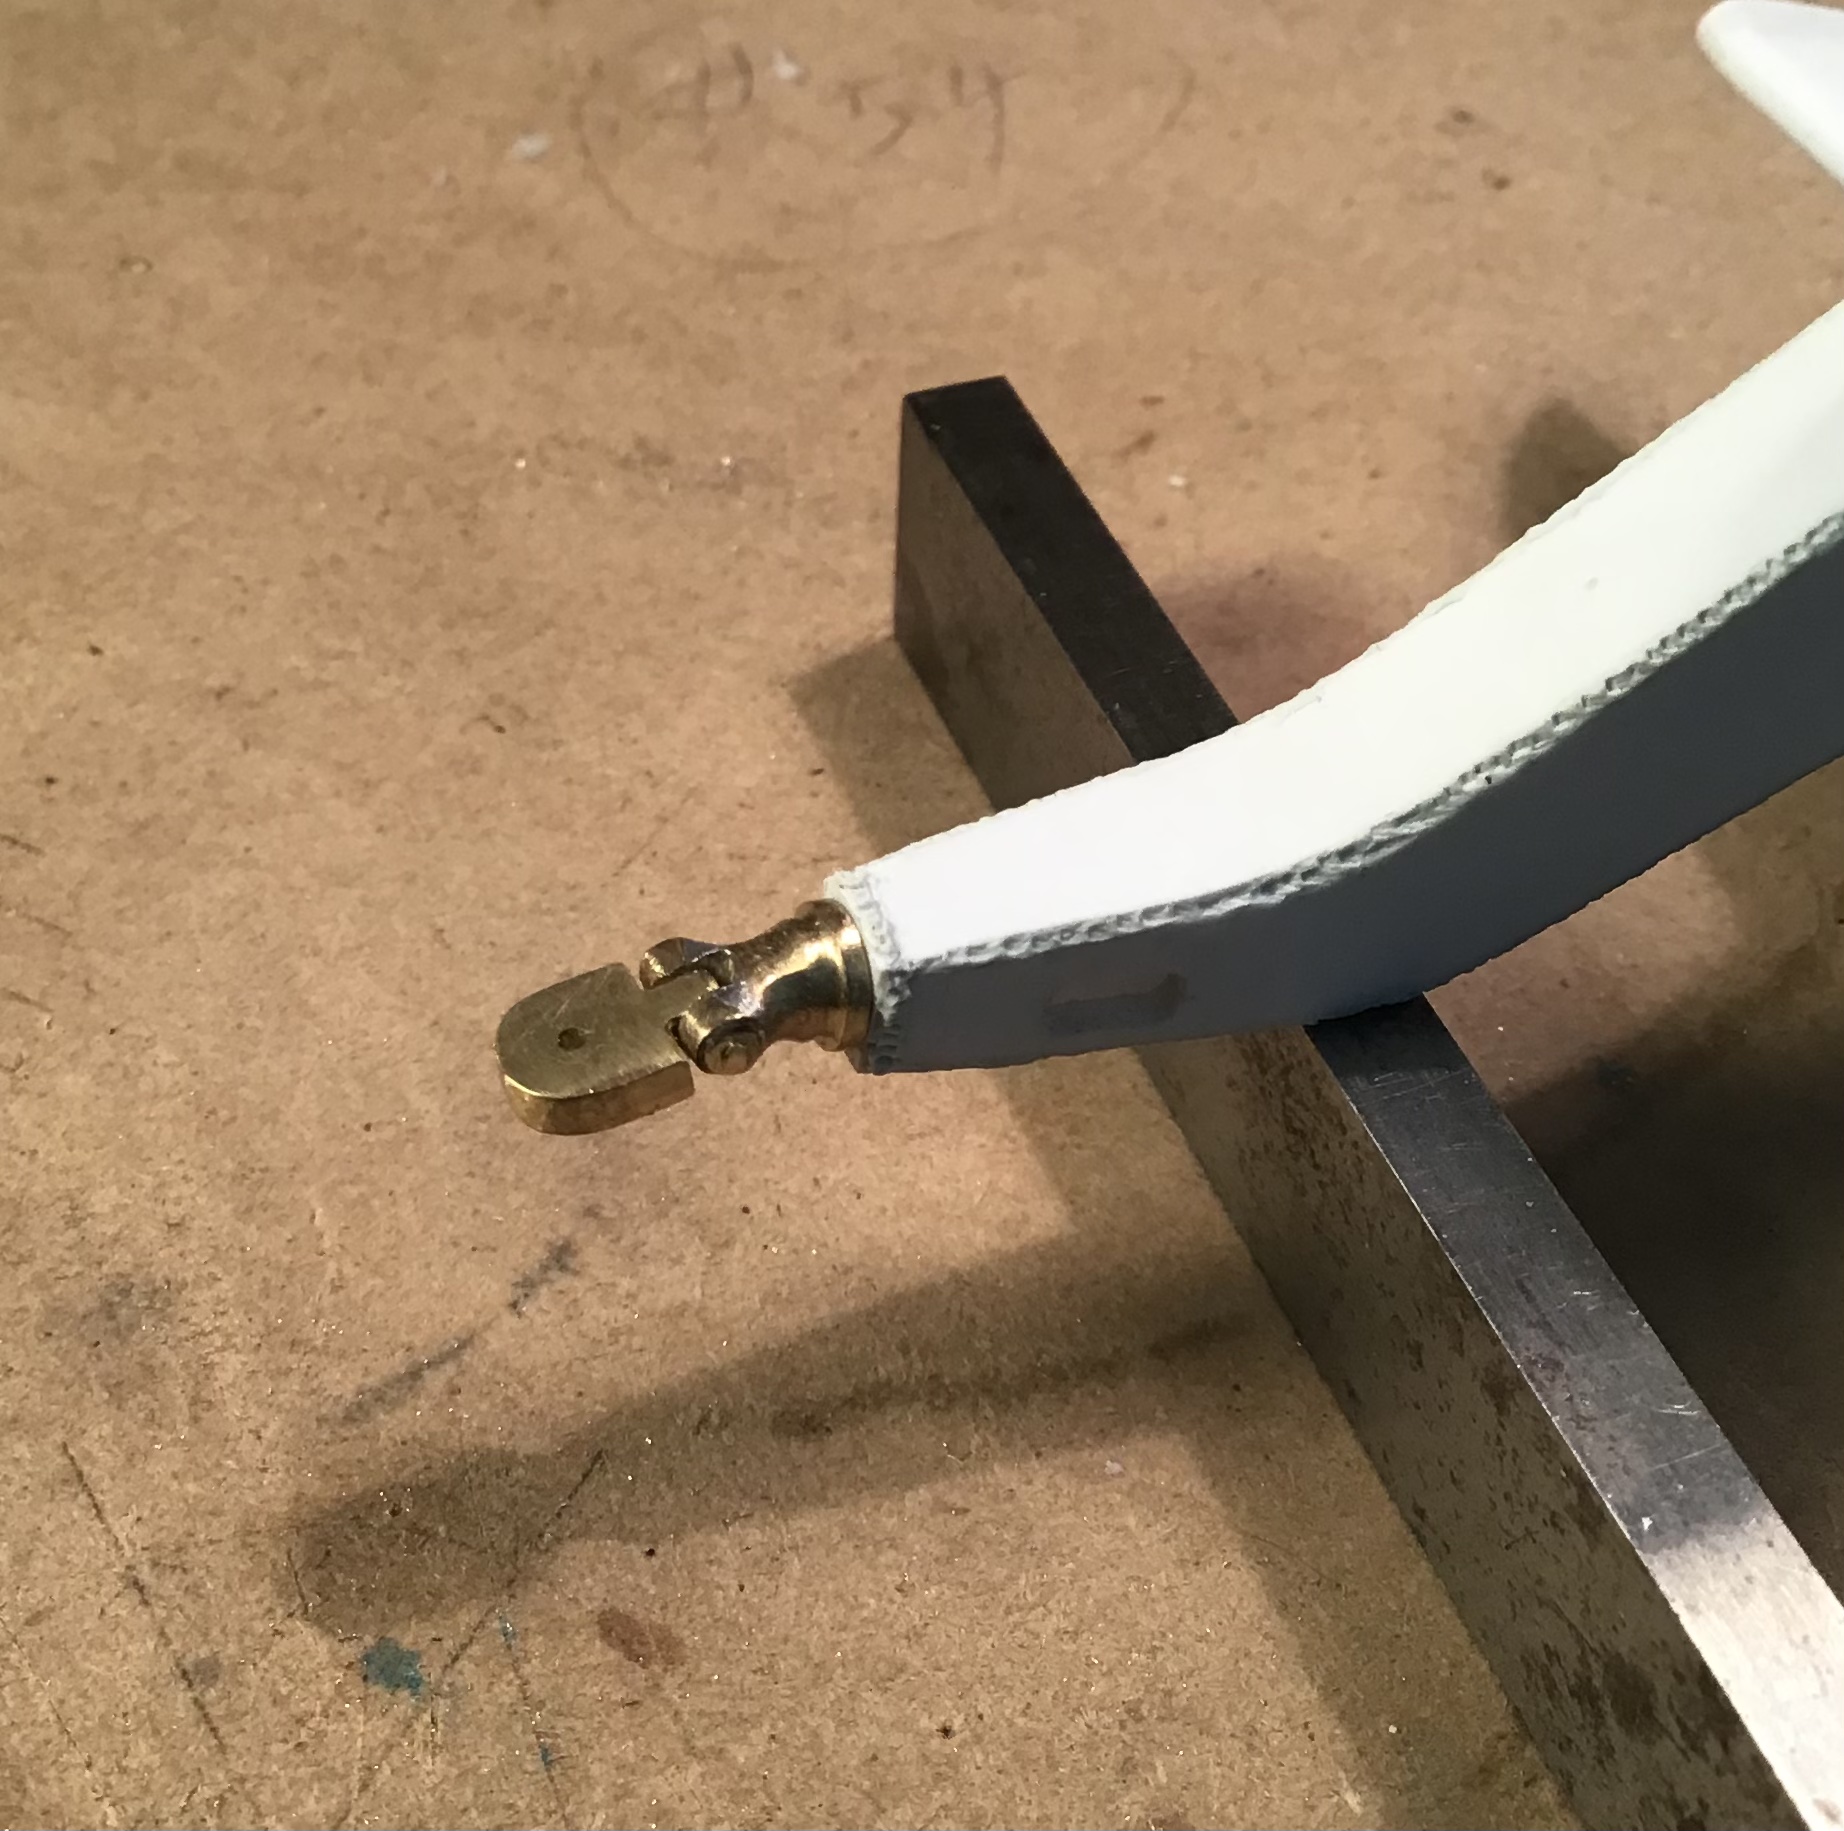
A piece of rectangular brass bar stock had a piece of brass shim soldered on to build up thickness to fit the drawbar on the tractor and notches filed to create a tongue. Tongue inserted in notch of rod and cross drilled for pin .
Hitch assembly so far …
More to come …
8 Likes
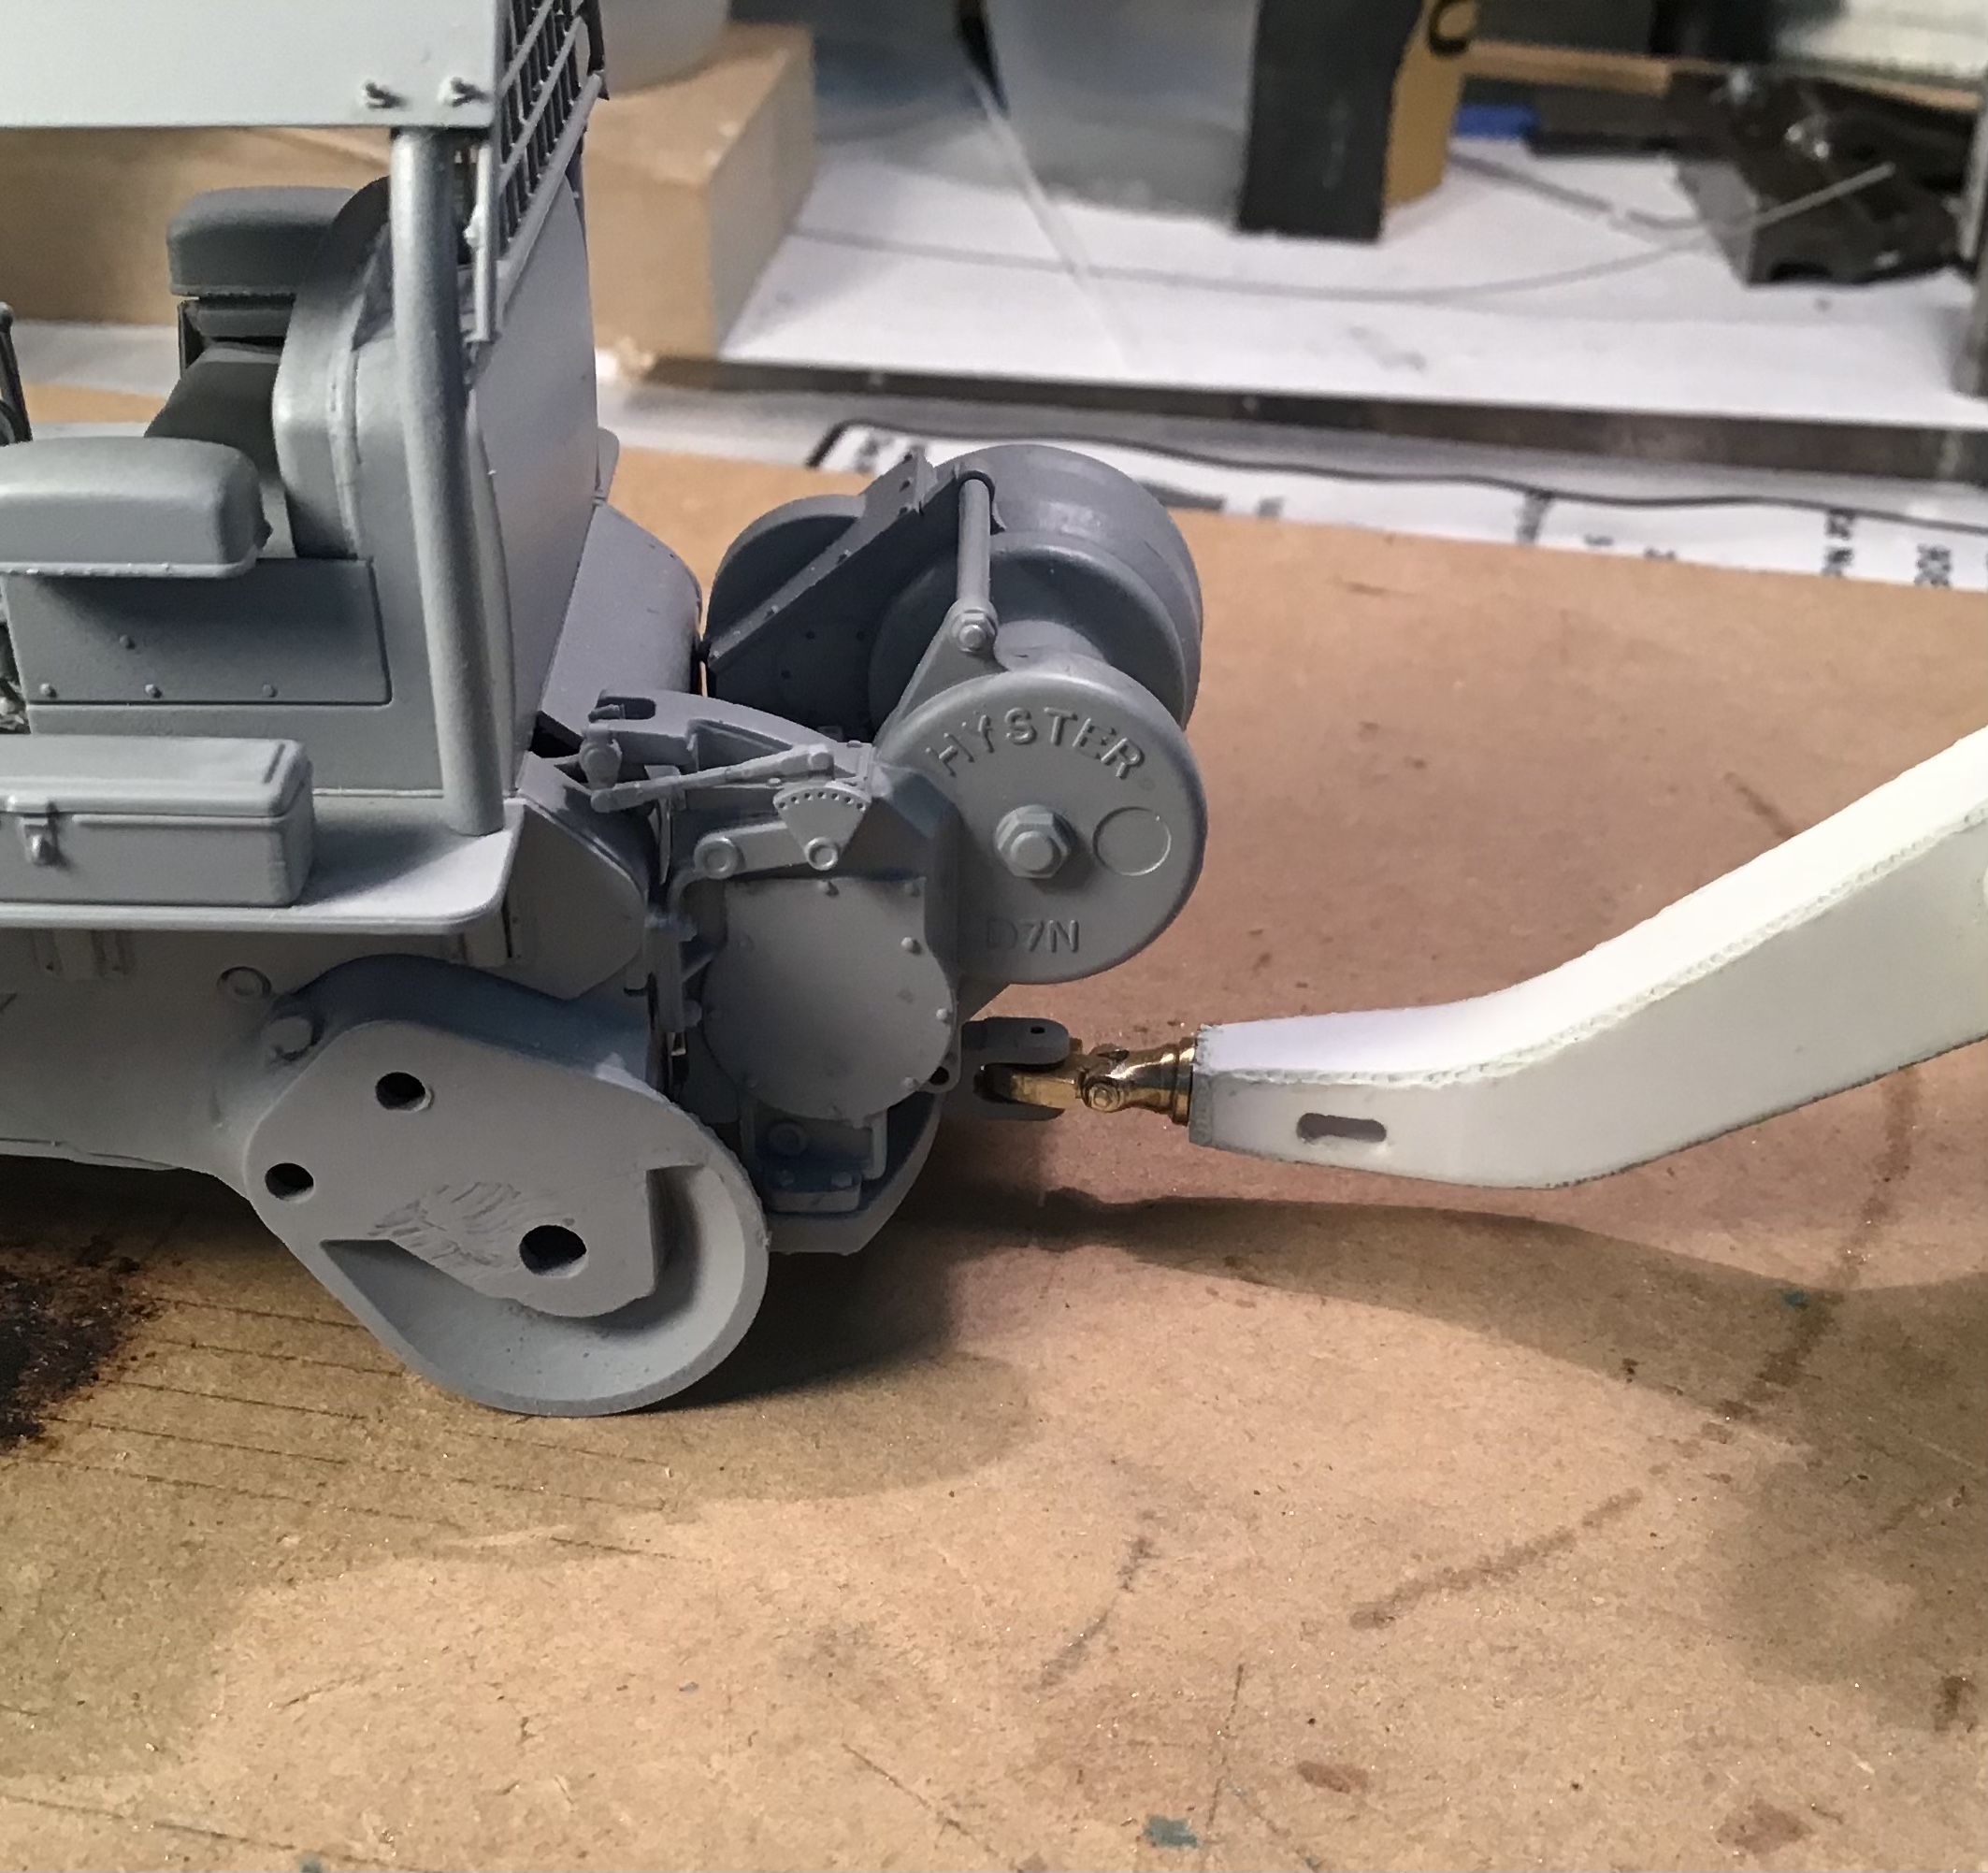
Last piece of arch done - fully articulated hitch .
Epoxy weld beads curing then priming and painting can begin.
11 Likes
A site to behold. ![]()
![]()
3 Likes
Magnificent!
4 Likes
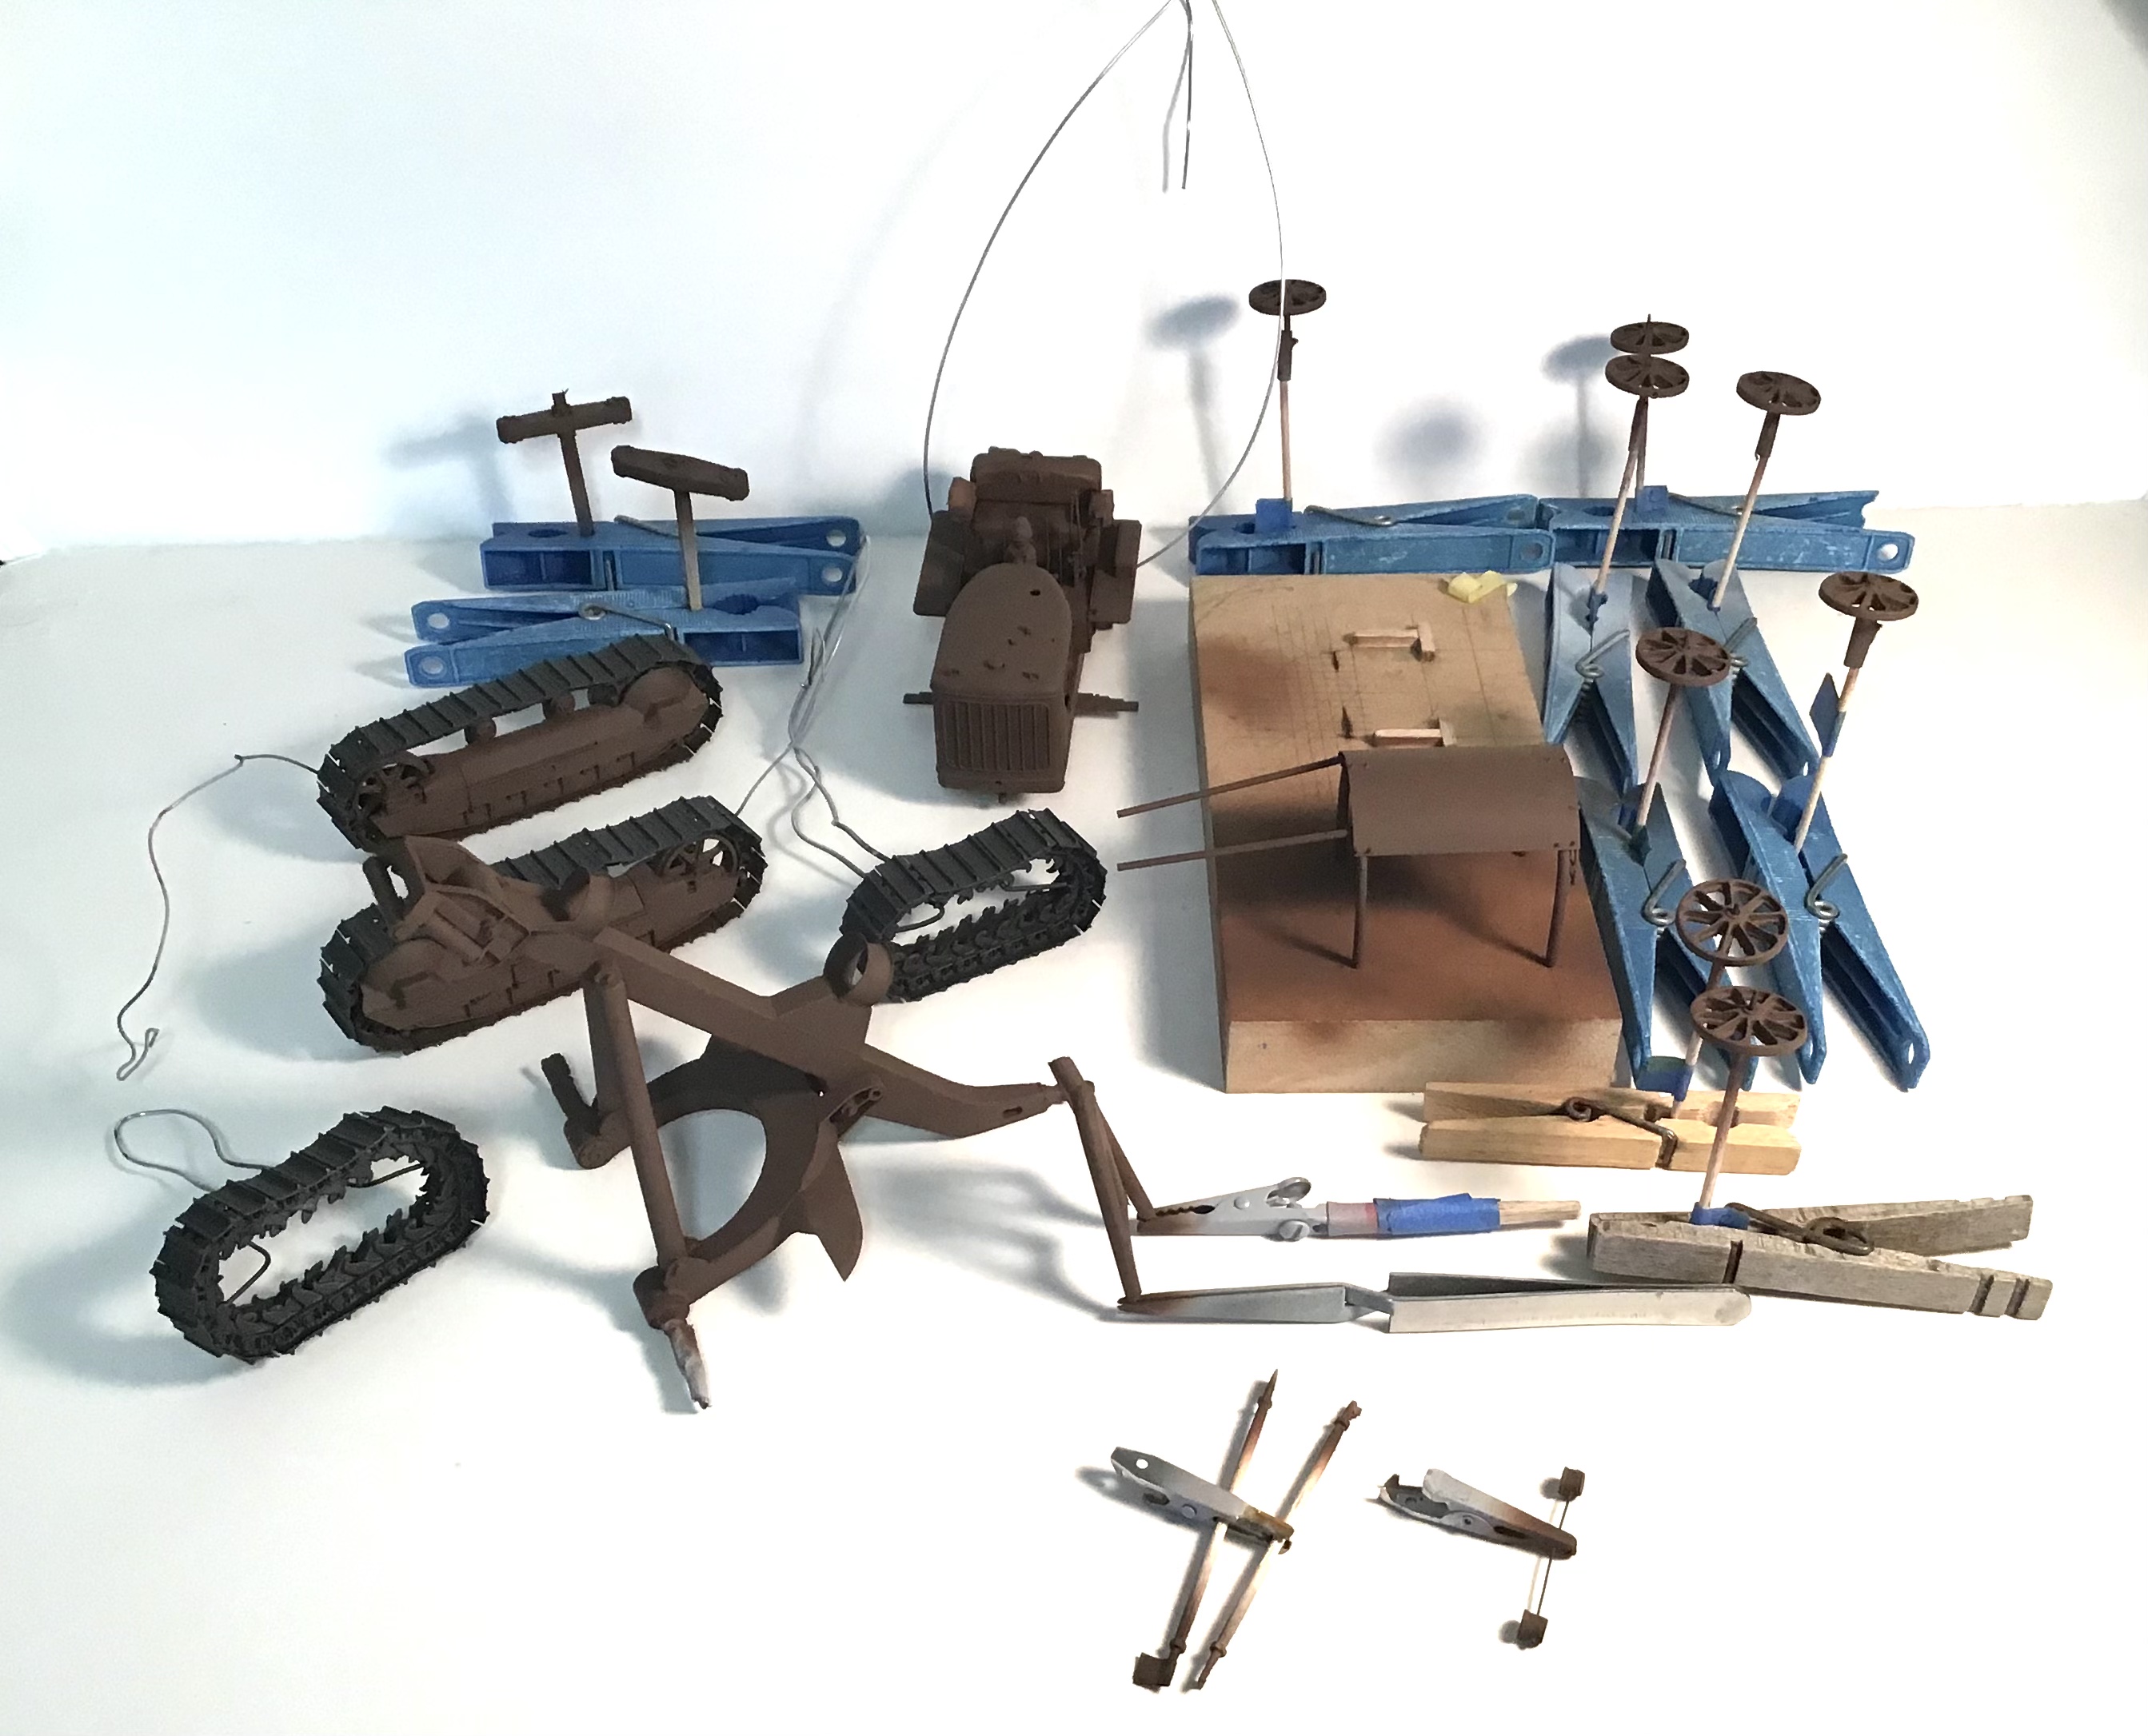
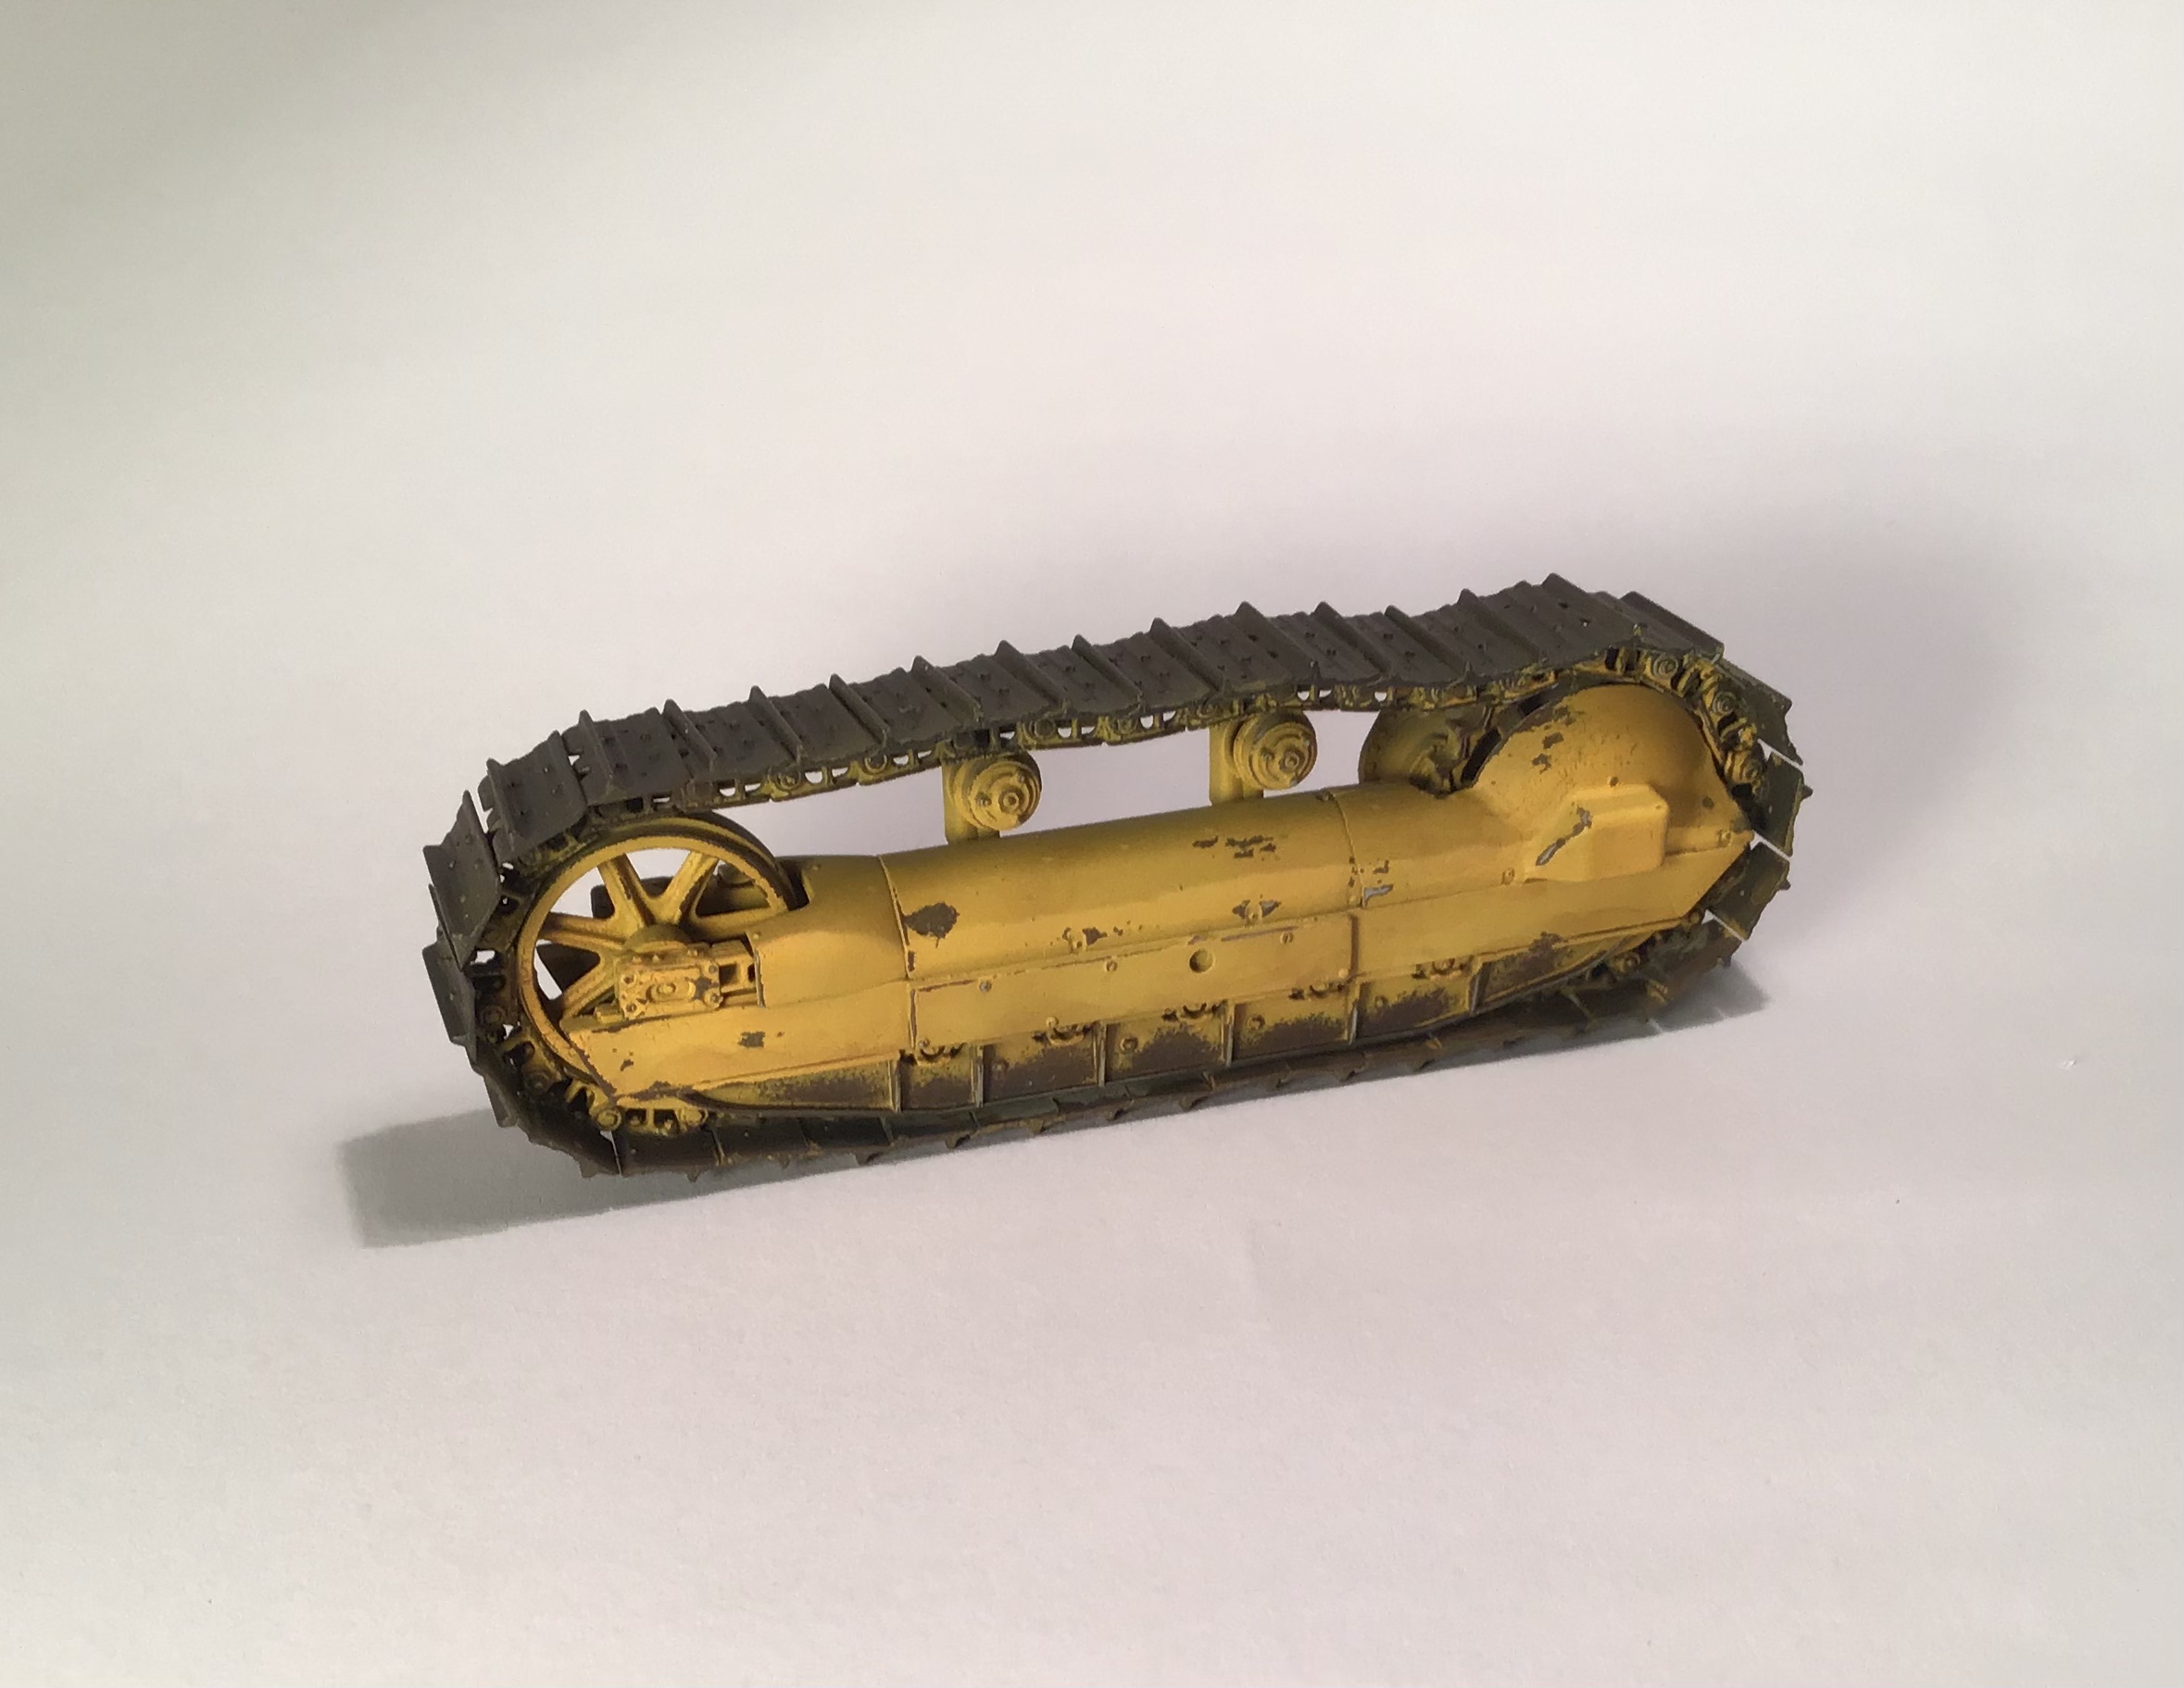
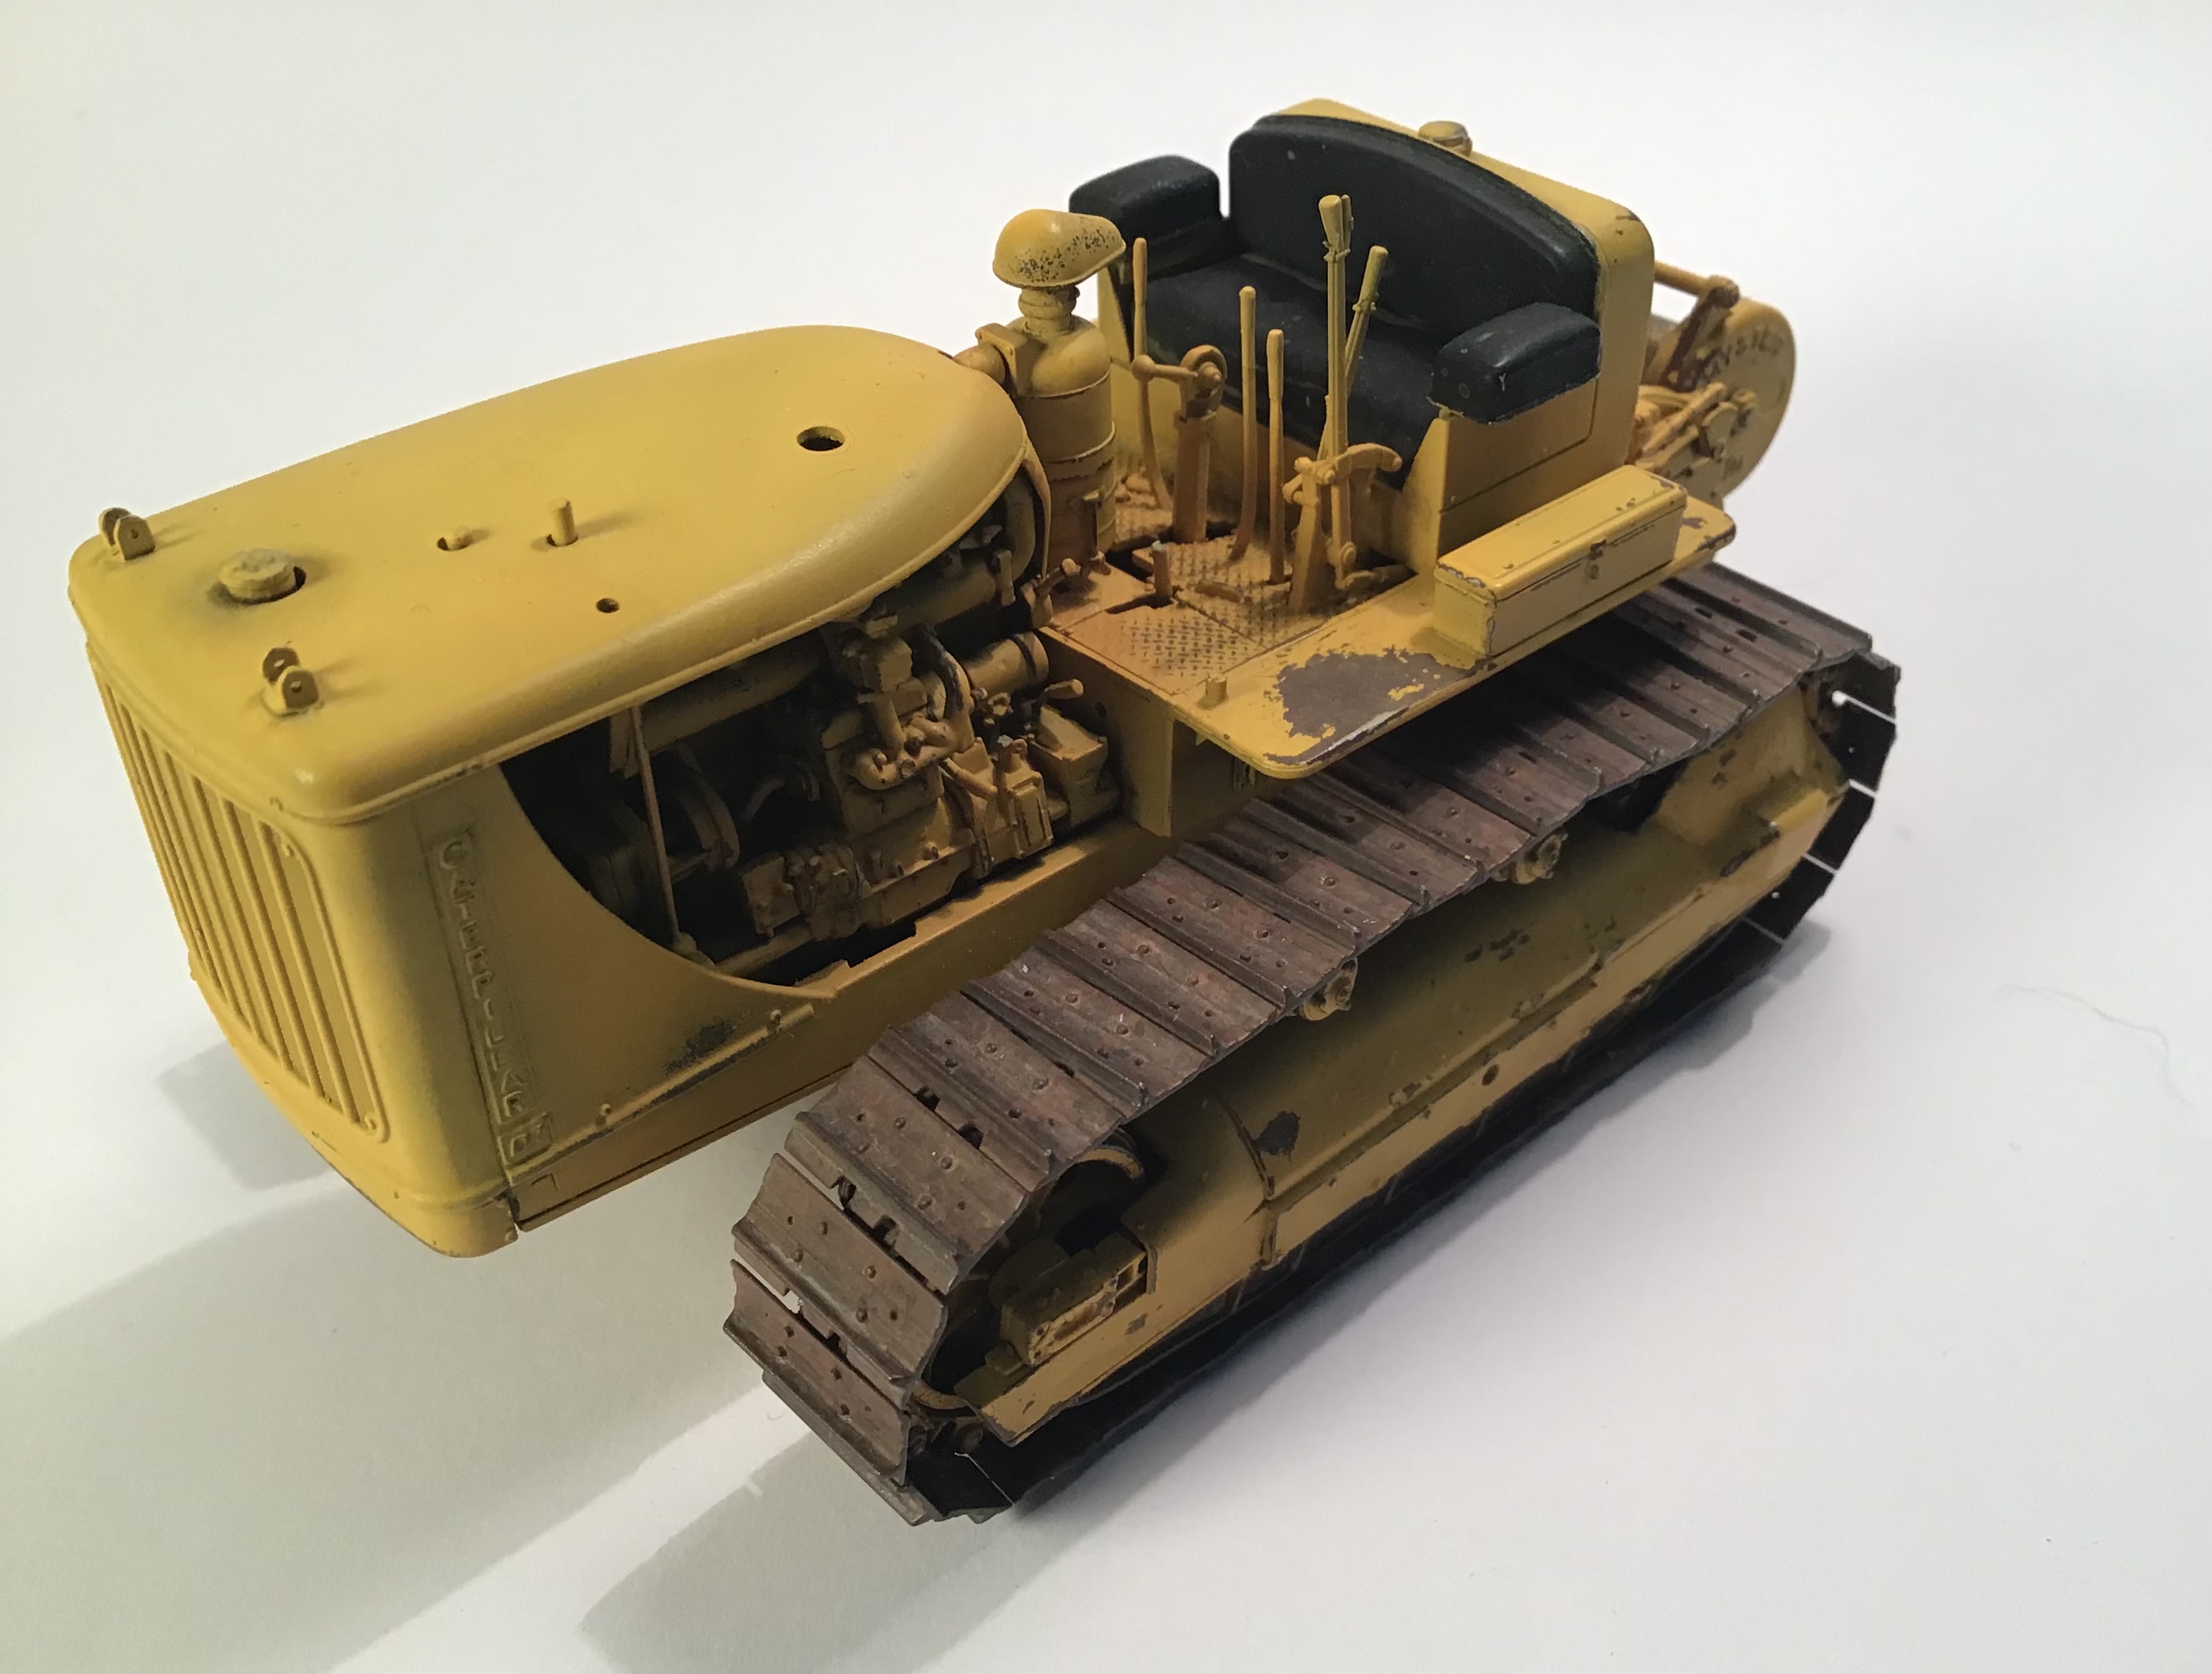
All of the components have been primed with Tamiya Extra Fine Grey surface primer from a rattle can.
Tractor seat shot in a few tones of black / grey and masked .
Tracks and fairlead rollers on arch shot with Tamiya Dark Iron and masked .
All then given two coats of Tamiya Red Brown as an underpaint base for the hairspray method .
Next all will be given a coat of Dullcoat after which the hairspray resist will be applied, then three tones of yellow for the actual finish color.
Progress!
7 Likes
Wow Richard, some fantastic craftsmanship in this build. You are a Master scratchbuilder. It’s been a real pleasure to watch you fabricate all of these parts to perfection. As has been said before, it’s almost a shame to put paint on it.
2 Likes
Thanks Matt .
Just a little tease of the paint work . First time around with the hairspray method for me and I am pretty happy with it.
More to do of course but I couldn’t wait to share
this !
Cheers- RT
9 Likes
Paintwork progressing on the D7 -
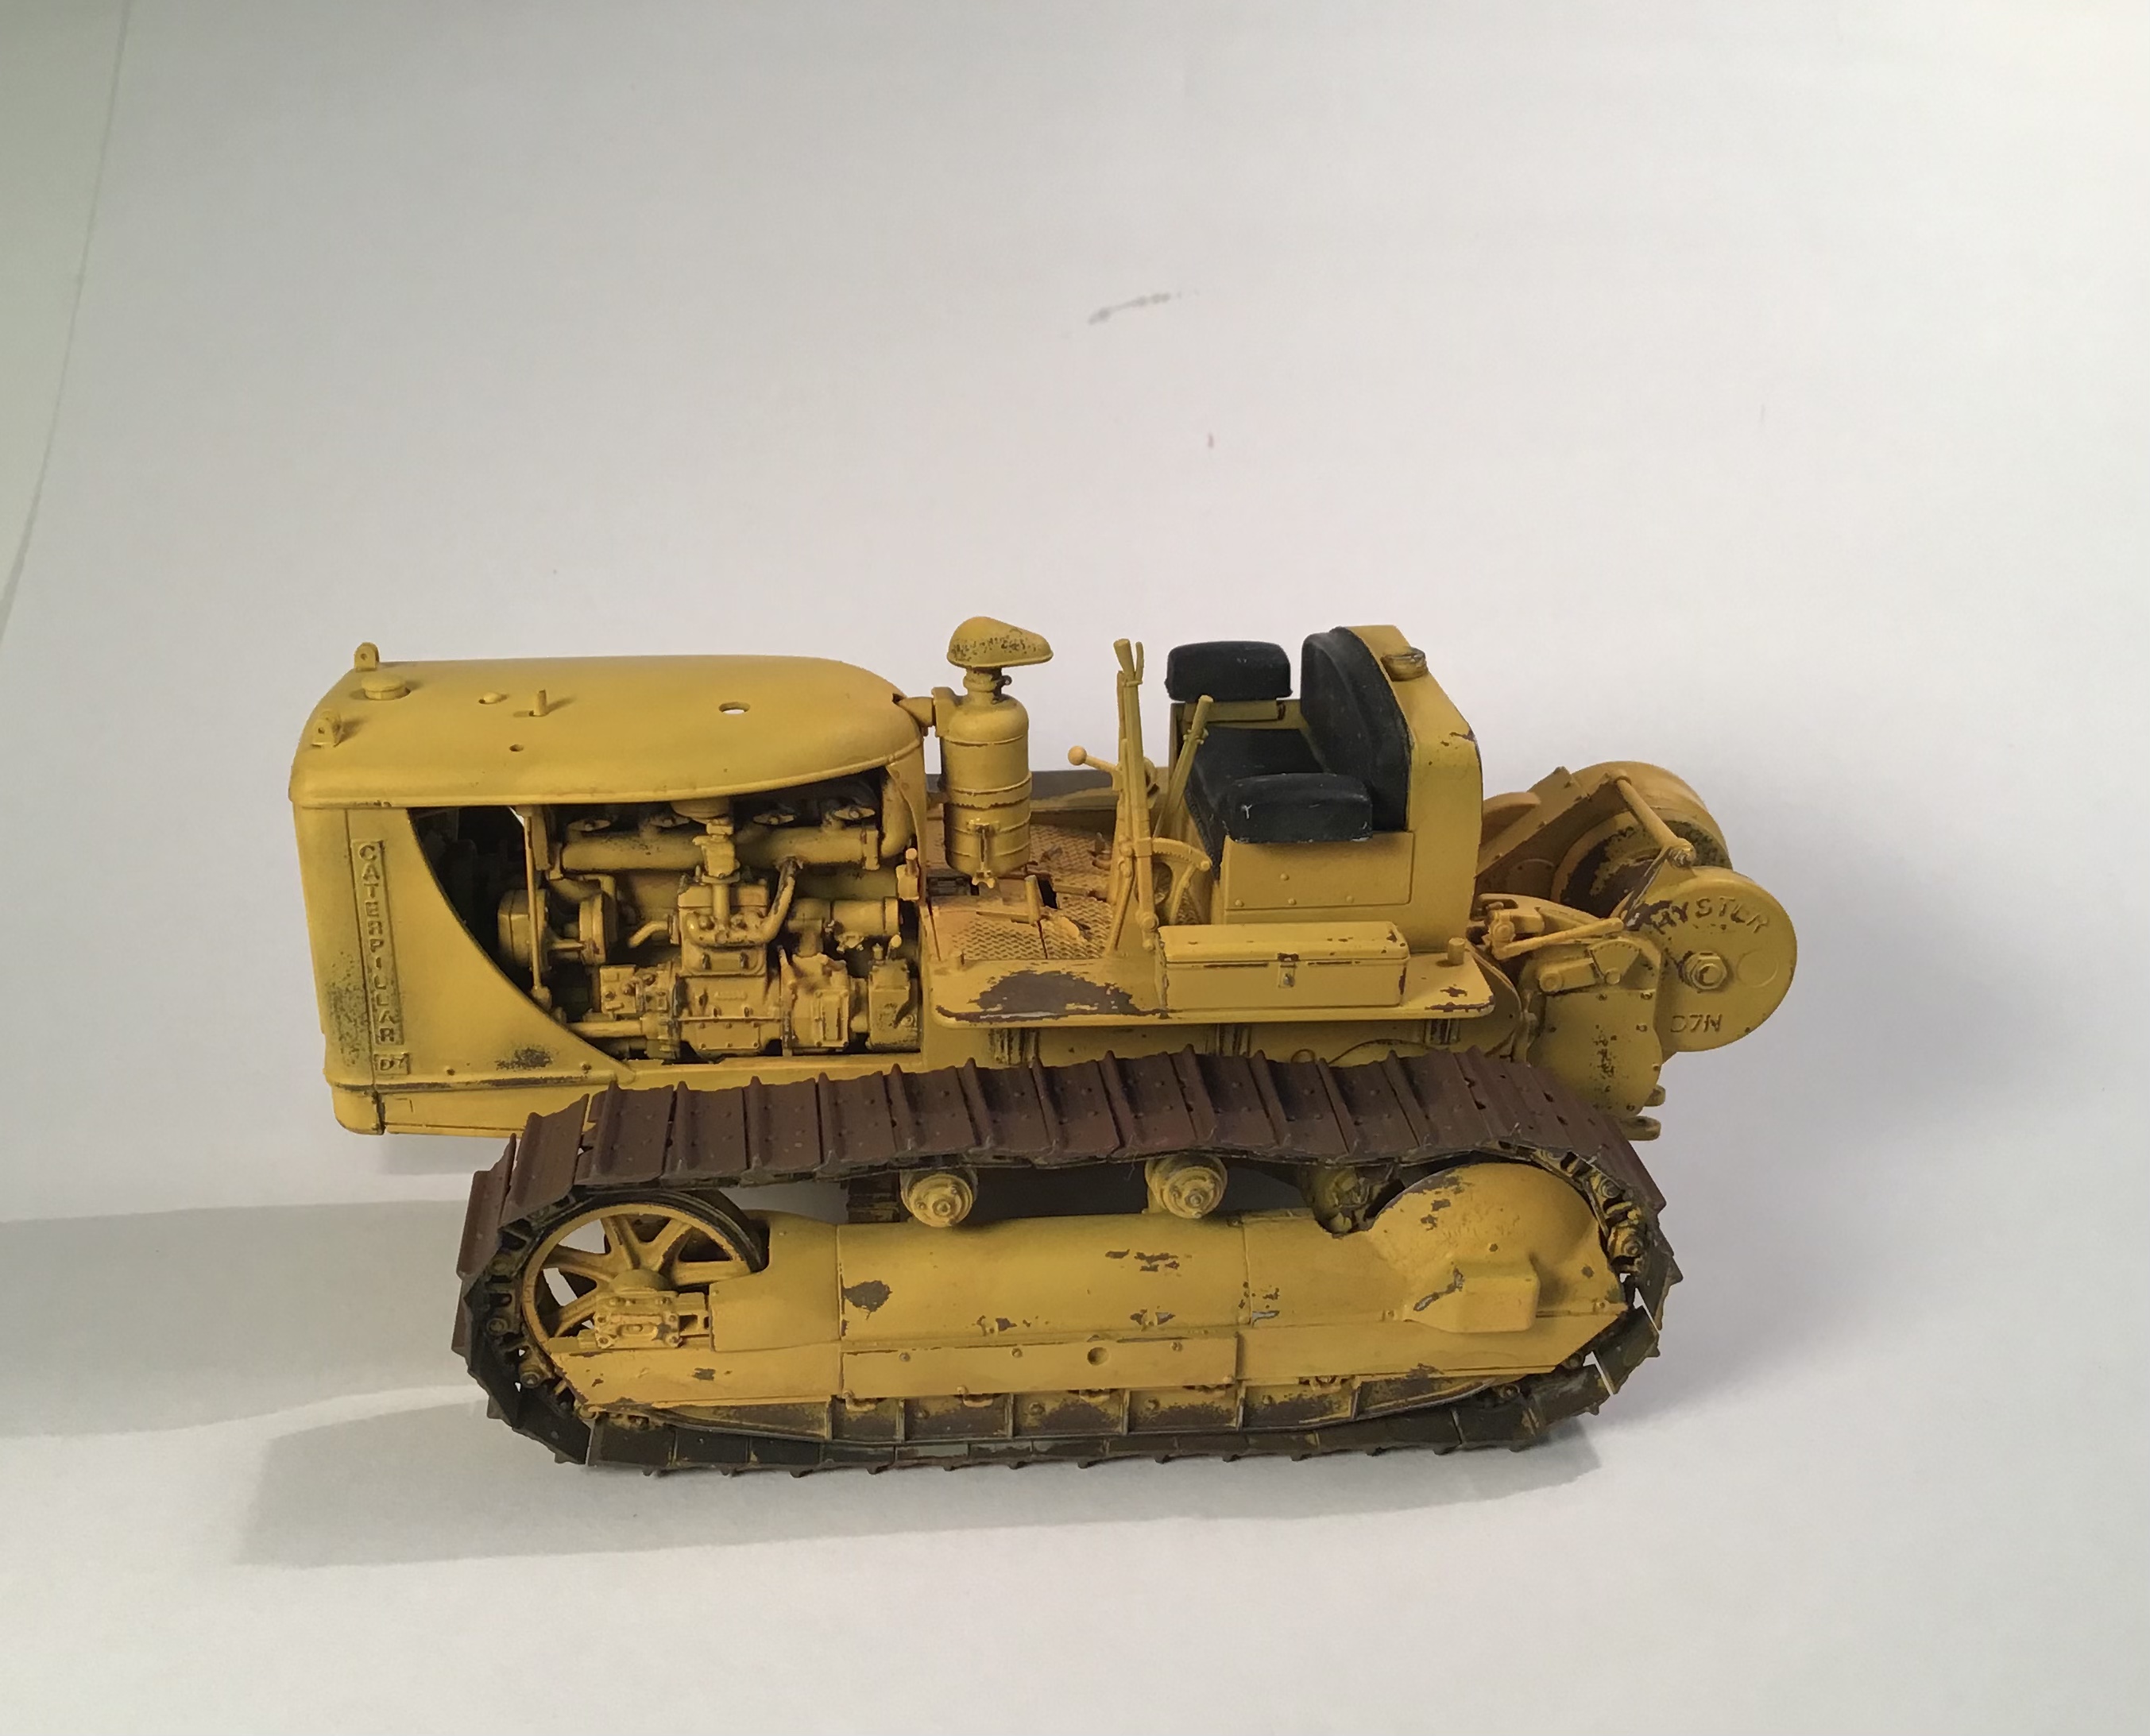
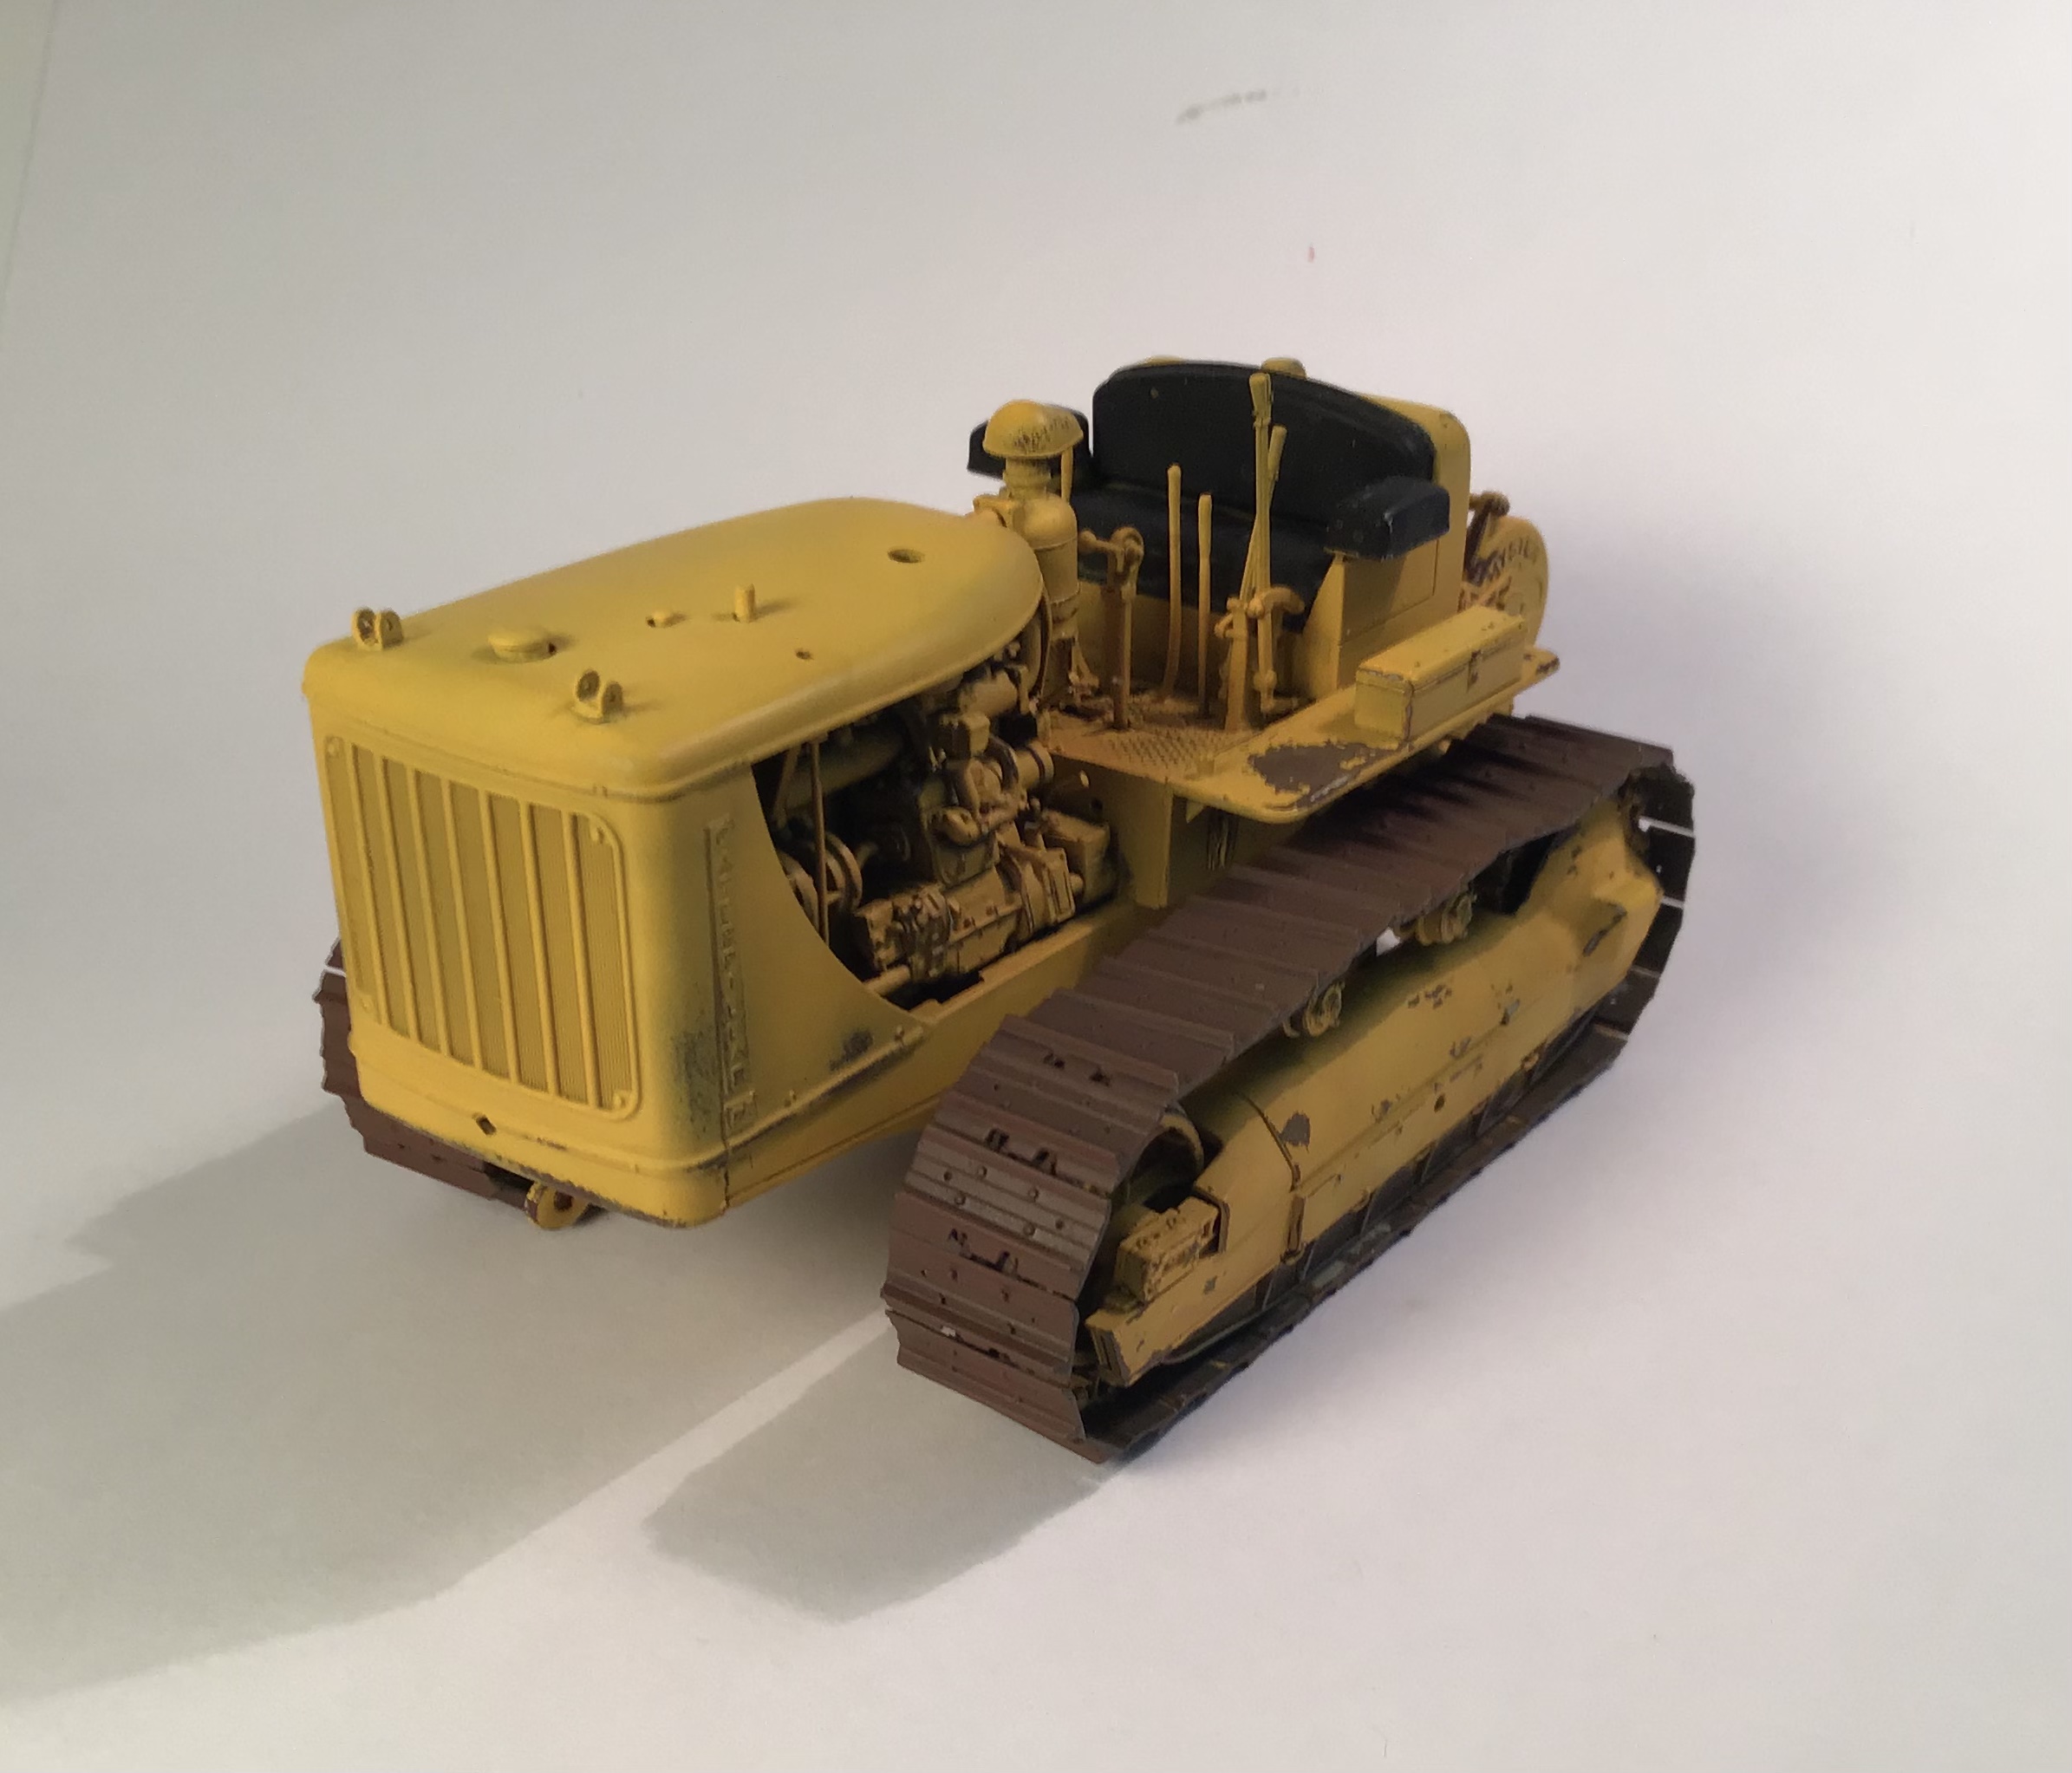
The very fragile levers/pedals are breaking off time and again - they will never stand up to the scrubbing needed for the hairspray method and so once repaired the chipping will have to be done with paint.
The top of the hood has yet to receive much attention.
I certainly welcome any and all comments regarding this painting/weathering process as it is all new to me and still feeling my way around it .
Cheers- Richard
10 Likes
Hi Richard,
First thought - are you going for working vehicle or abandoned? For the former - this should be operating in a forestry environment (in the title I guess), so high moisture content and therefore muddy and some rust but not overly so. It is a soft environment comparatively so less dings and scrapes. I would say the tracks are too rusty but not muddy enough. The track edges should be bright metal as should say the step by the drivers seat. There a few colour photos in this blog that show operating tractors with that finish for both body and tracks. If you’re going for abandoned vehicle look - then you probably got a fair way to go - plenty of pics on those too.
cheers
Michael
2 Likes
Since the levers/pedals are breaking, you should just leave them off until the main weathering is done, then put them back and weather them last.
Ken
3 Likes
Thanks gents for the input . I agree on all points made. This will be a working vehicle. I should have noted that the tracks are a work in progress but I am not certain where to go next . I think the last steps will be highlighting wear areas with graphite or dry brushing , followed by pigments for soil here and there. My brother in law will be arriving today for his annual visit. Jim is an award winning published armor modeler and has promised some coaching which I sorely need.
This MiniArt kit needed all the levers installed before the floor plates in the operator’s area. Were I to do this again I would try to come up with a way to install them at the end .Indeed I will leave the broken ones off until the last moment.
Thanks again for the help .
Cheers- RT
2 Likes
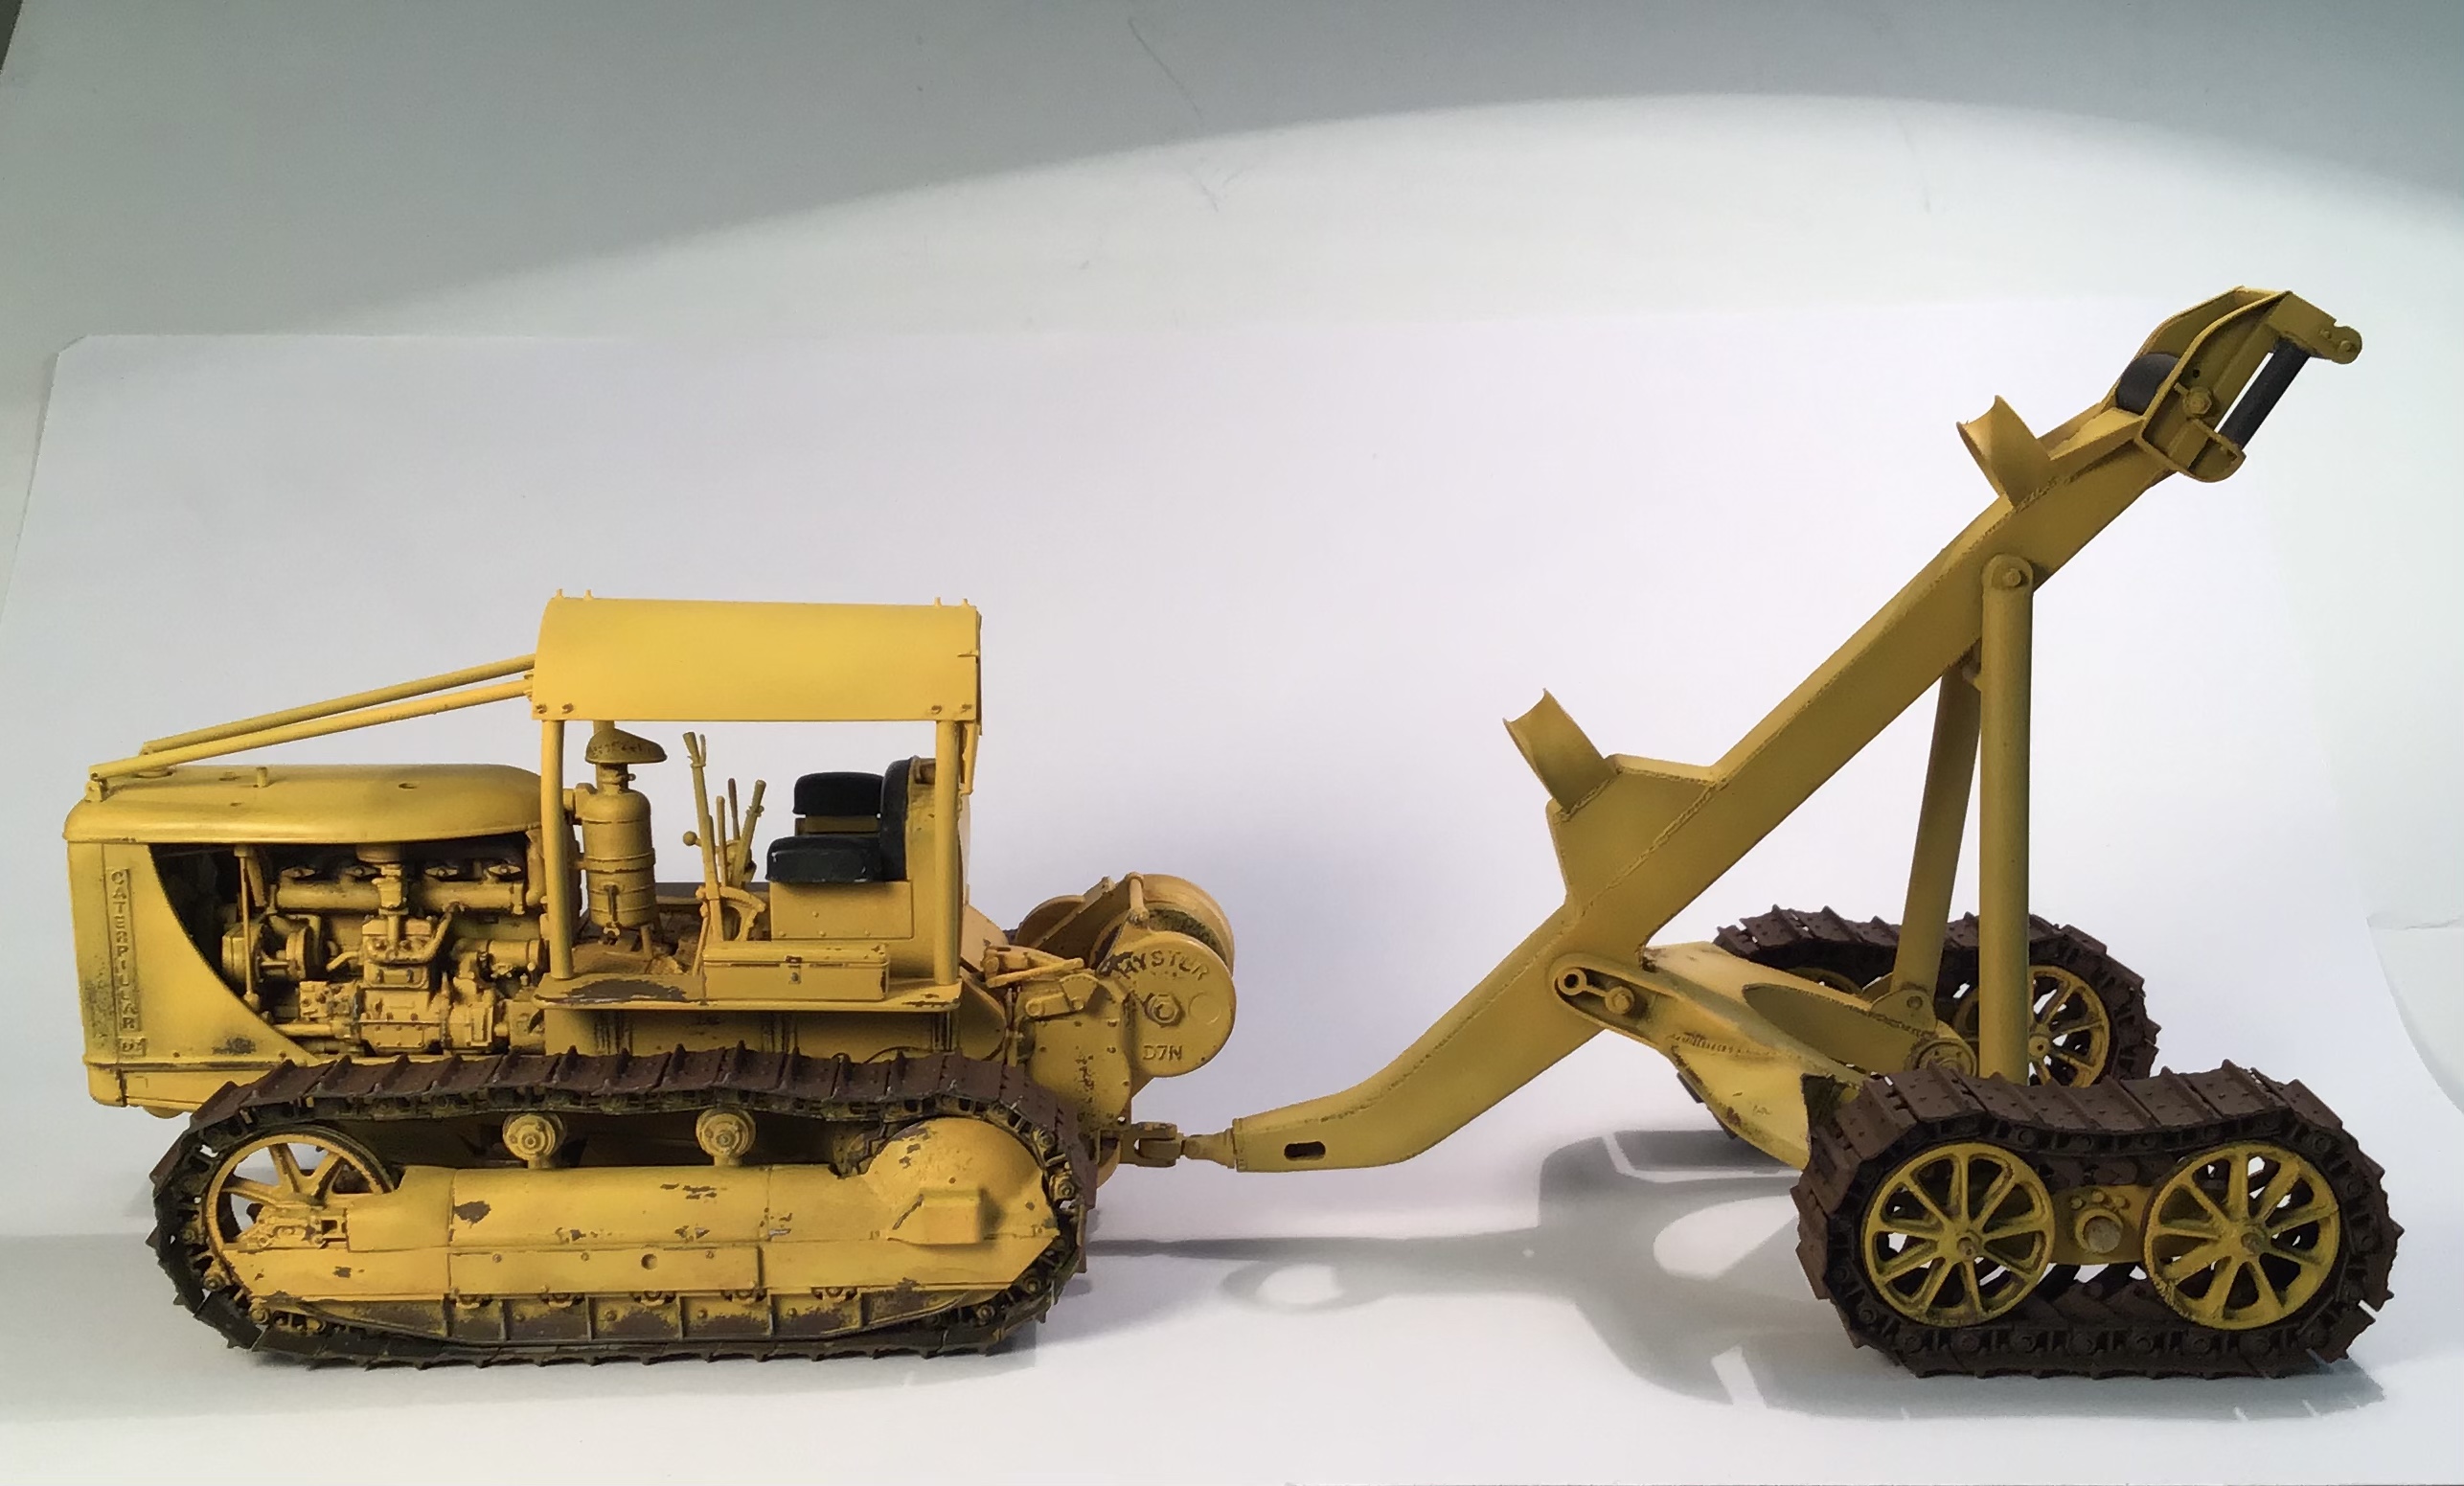
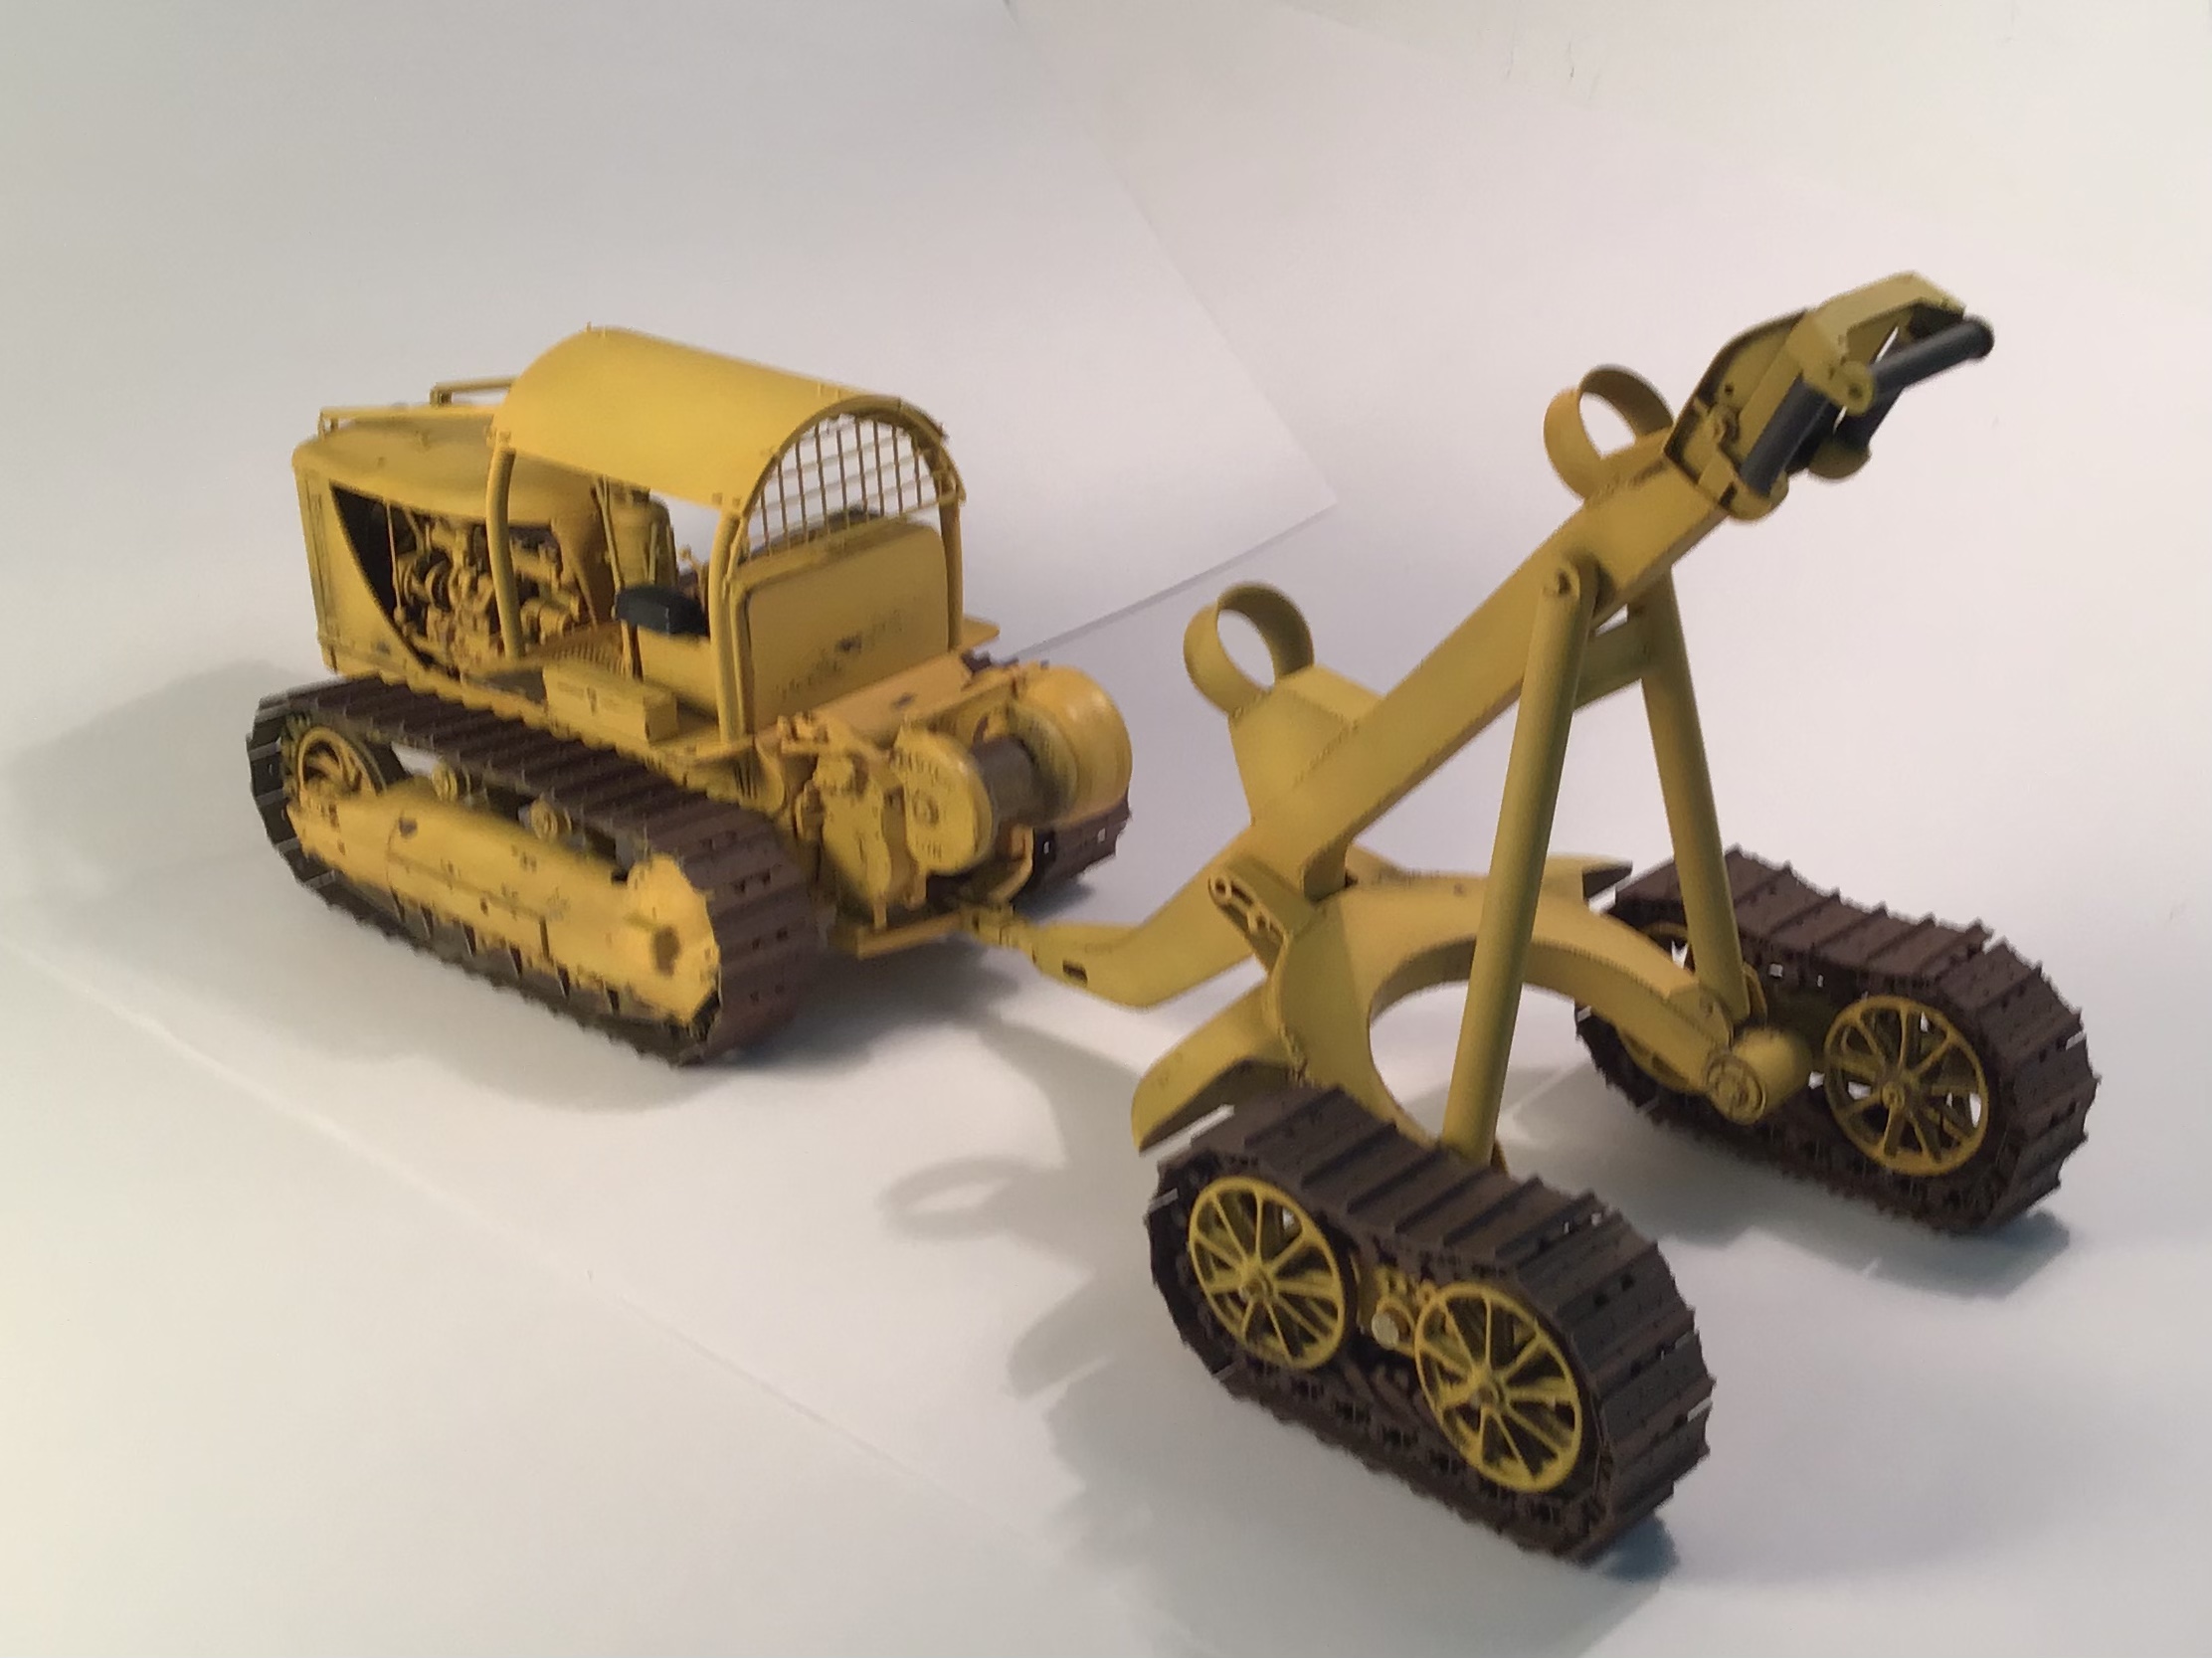
Paintwork progressing to the arch … still much to do . Scrubbing on the D7 Canopy and upper parts of arch . Tracks are only base coated and need next range of colors.
16 Likes
That is looking sweet indeed Richard.
2 Likes
Very, very nice. Top-notch work! ![]()
—mike
2 Likes
Thanks Peter and Mike for the interest and compliments.
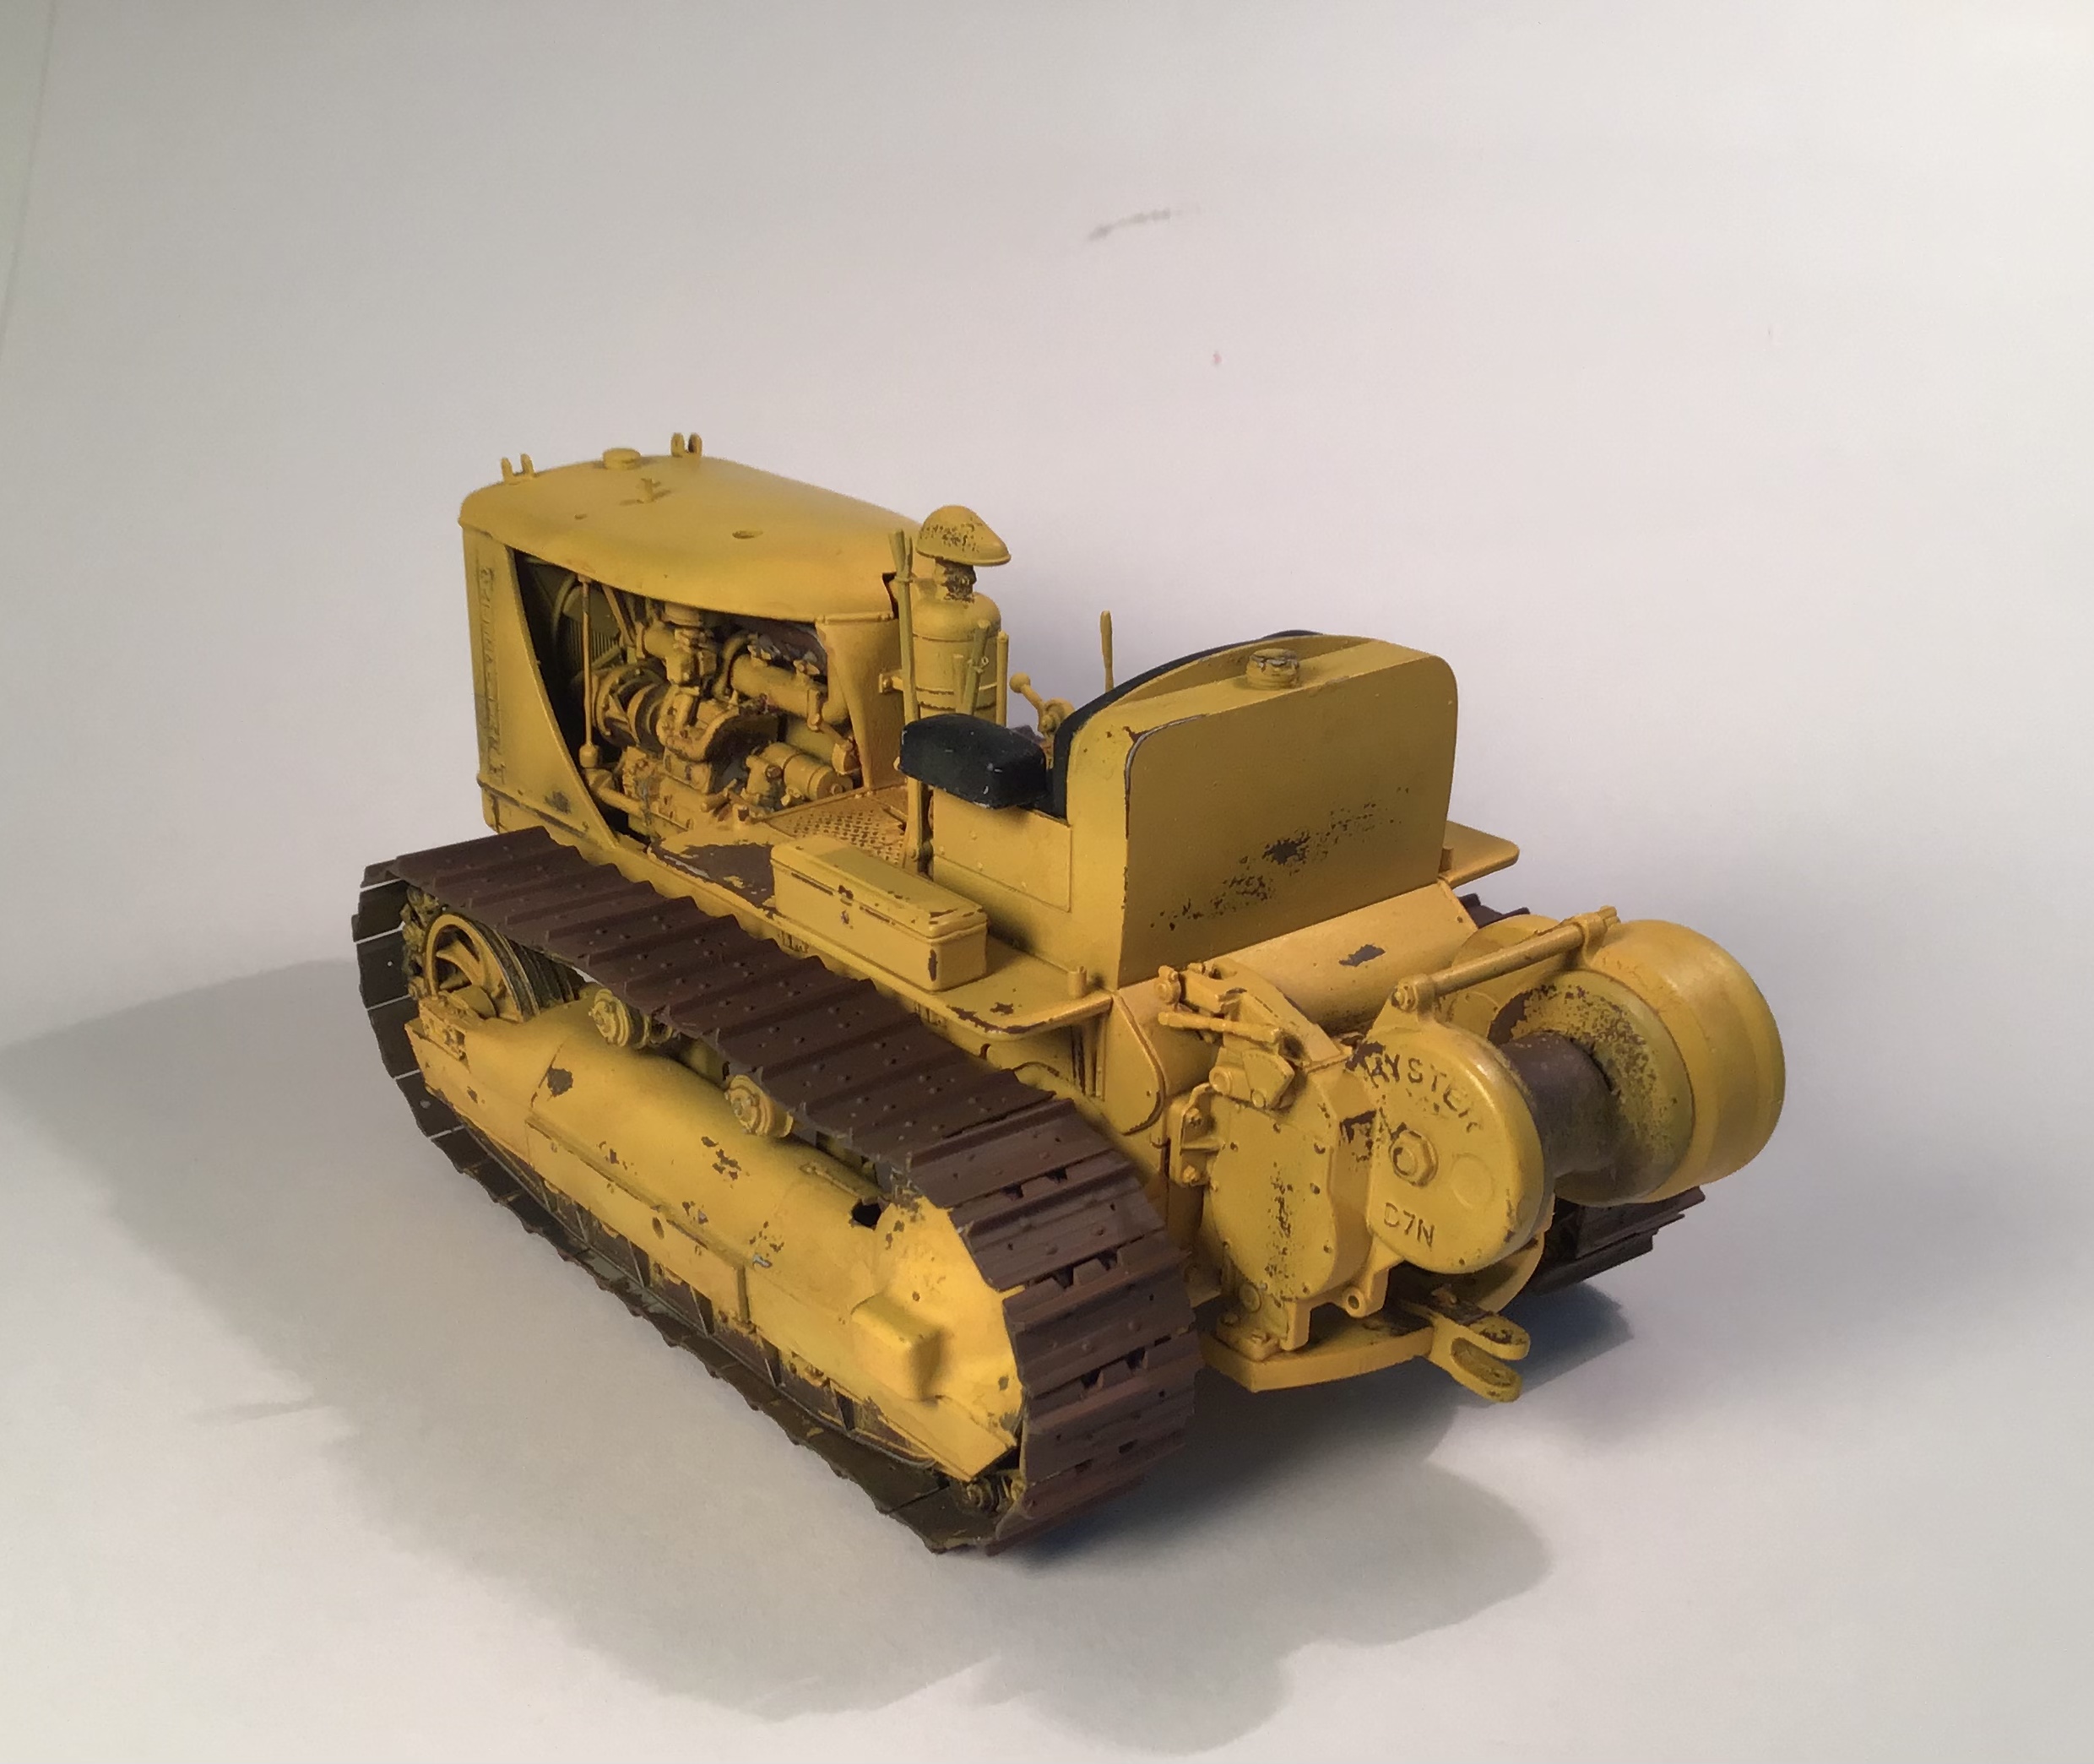
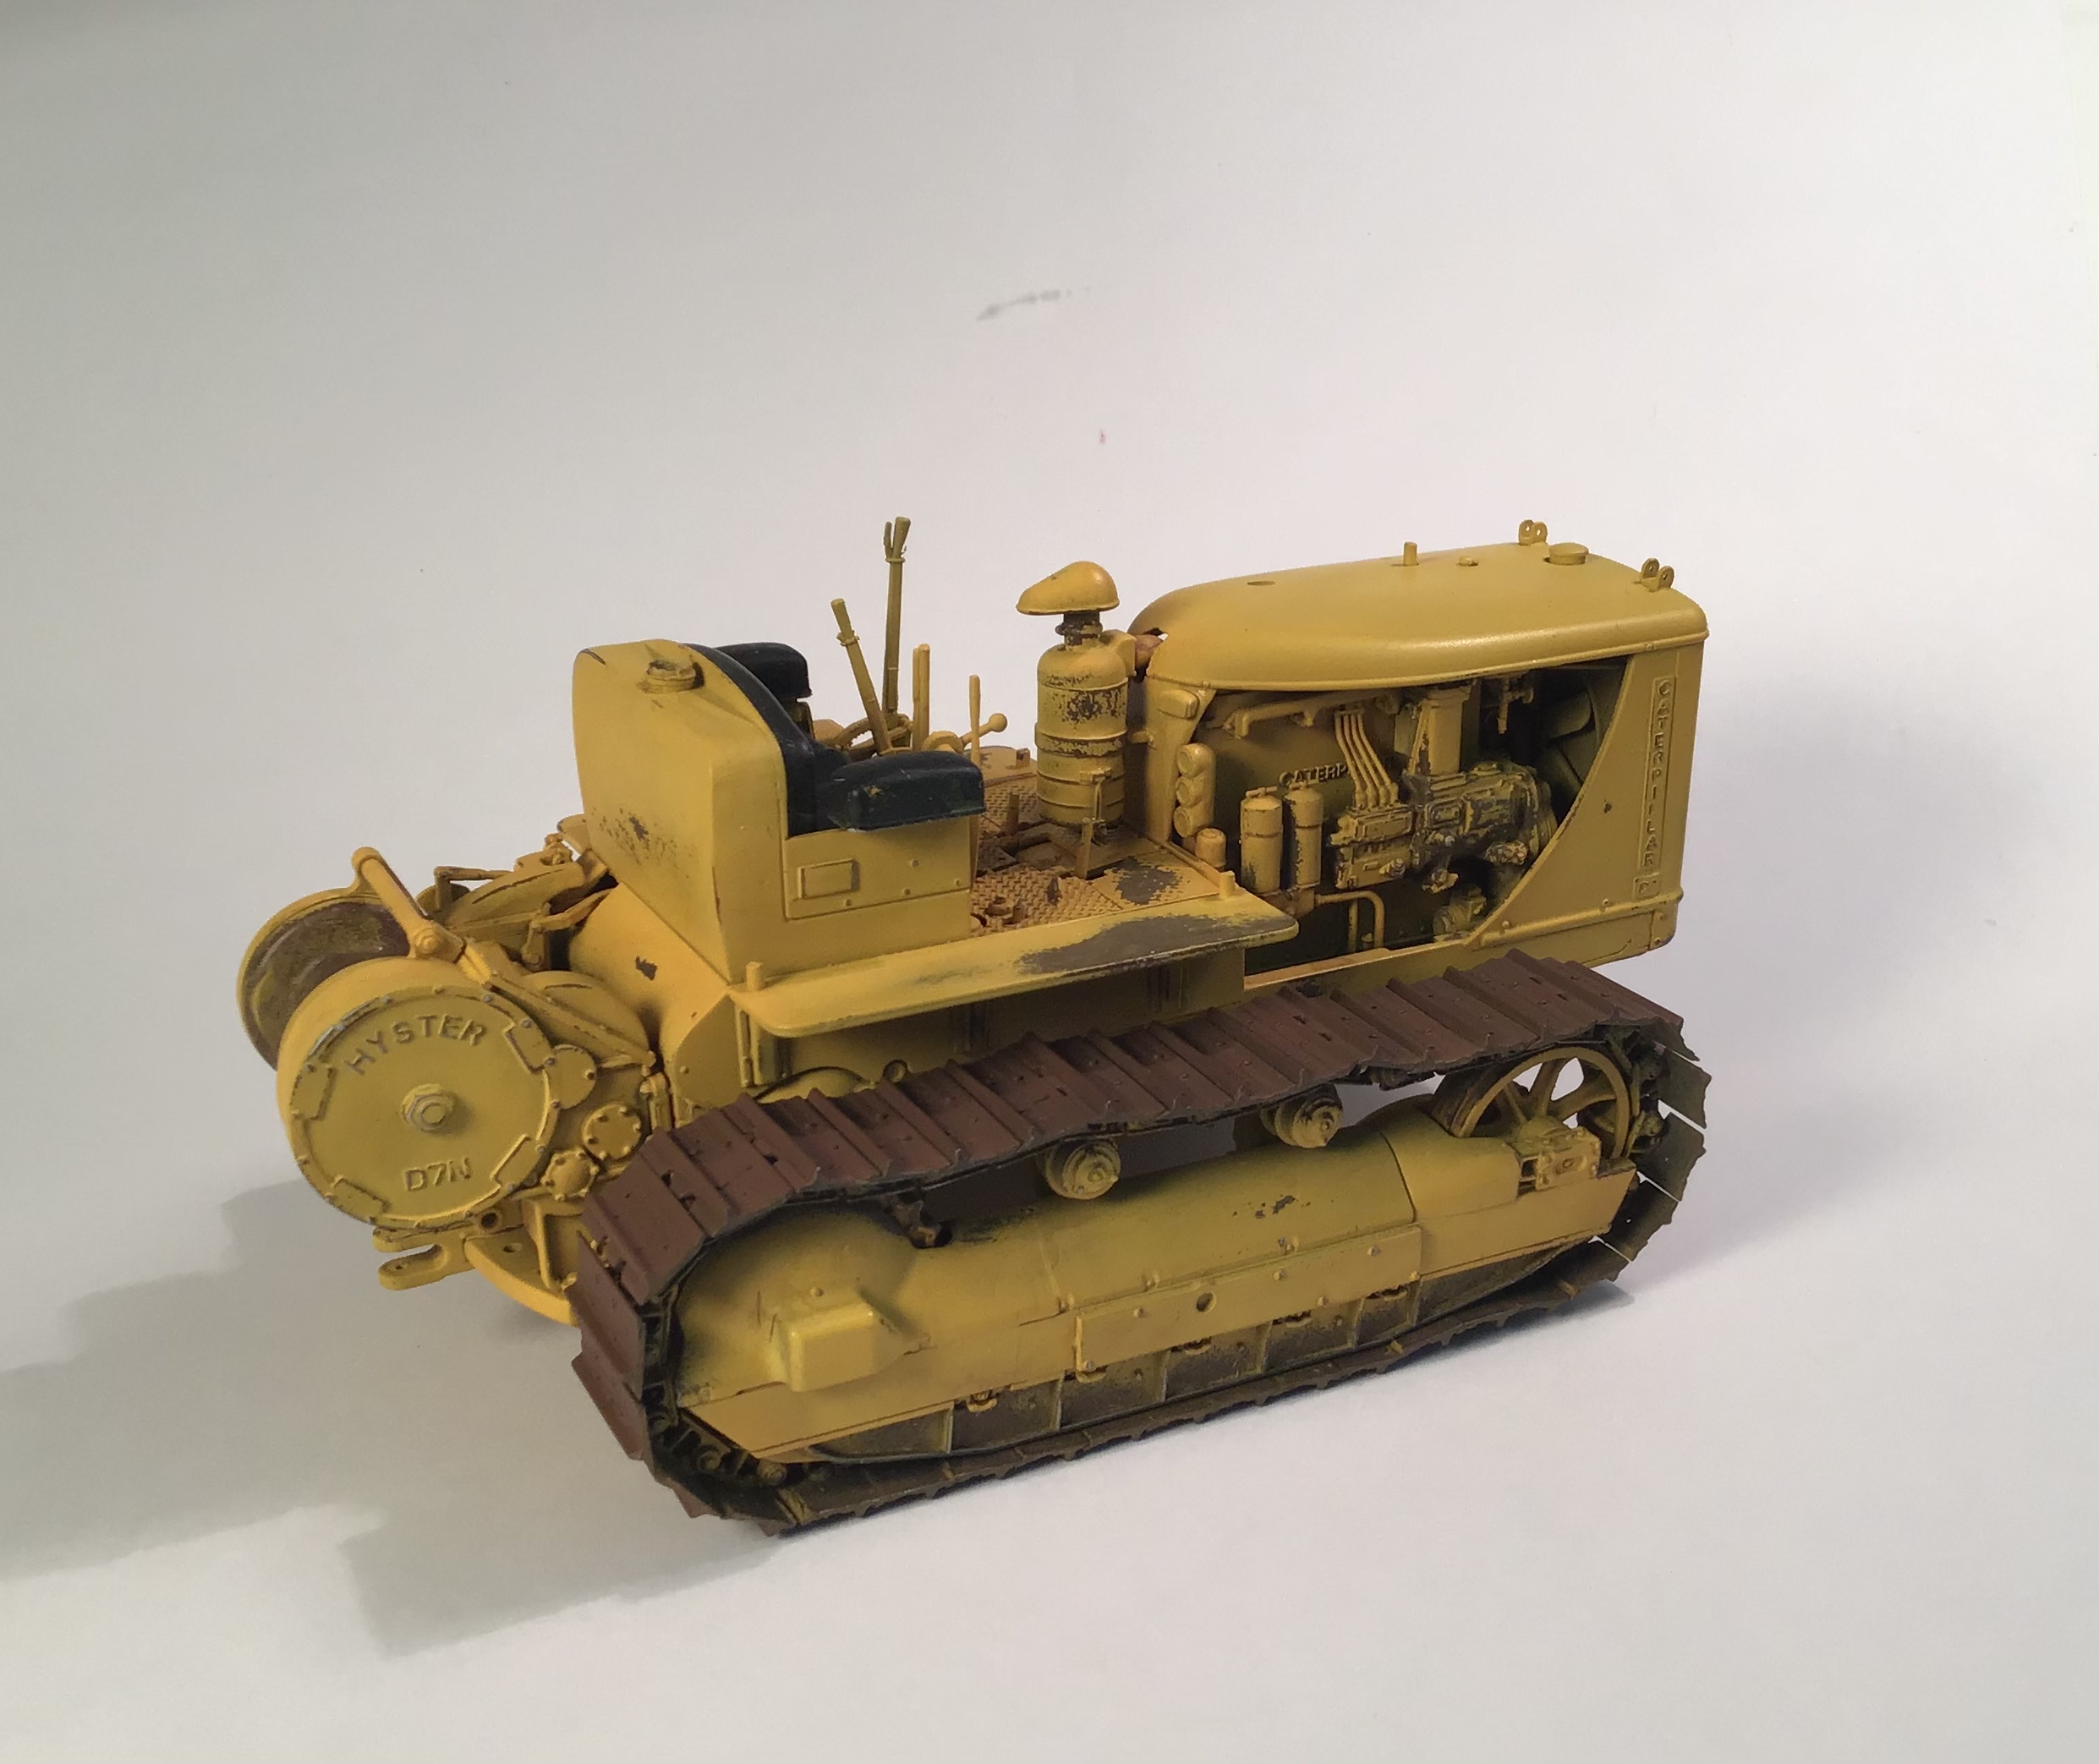
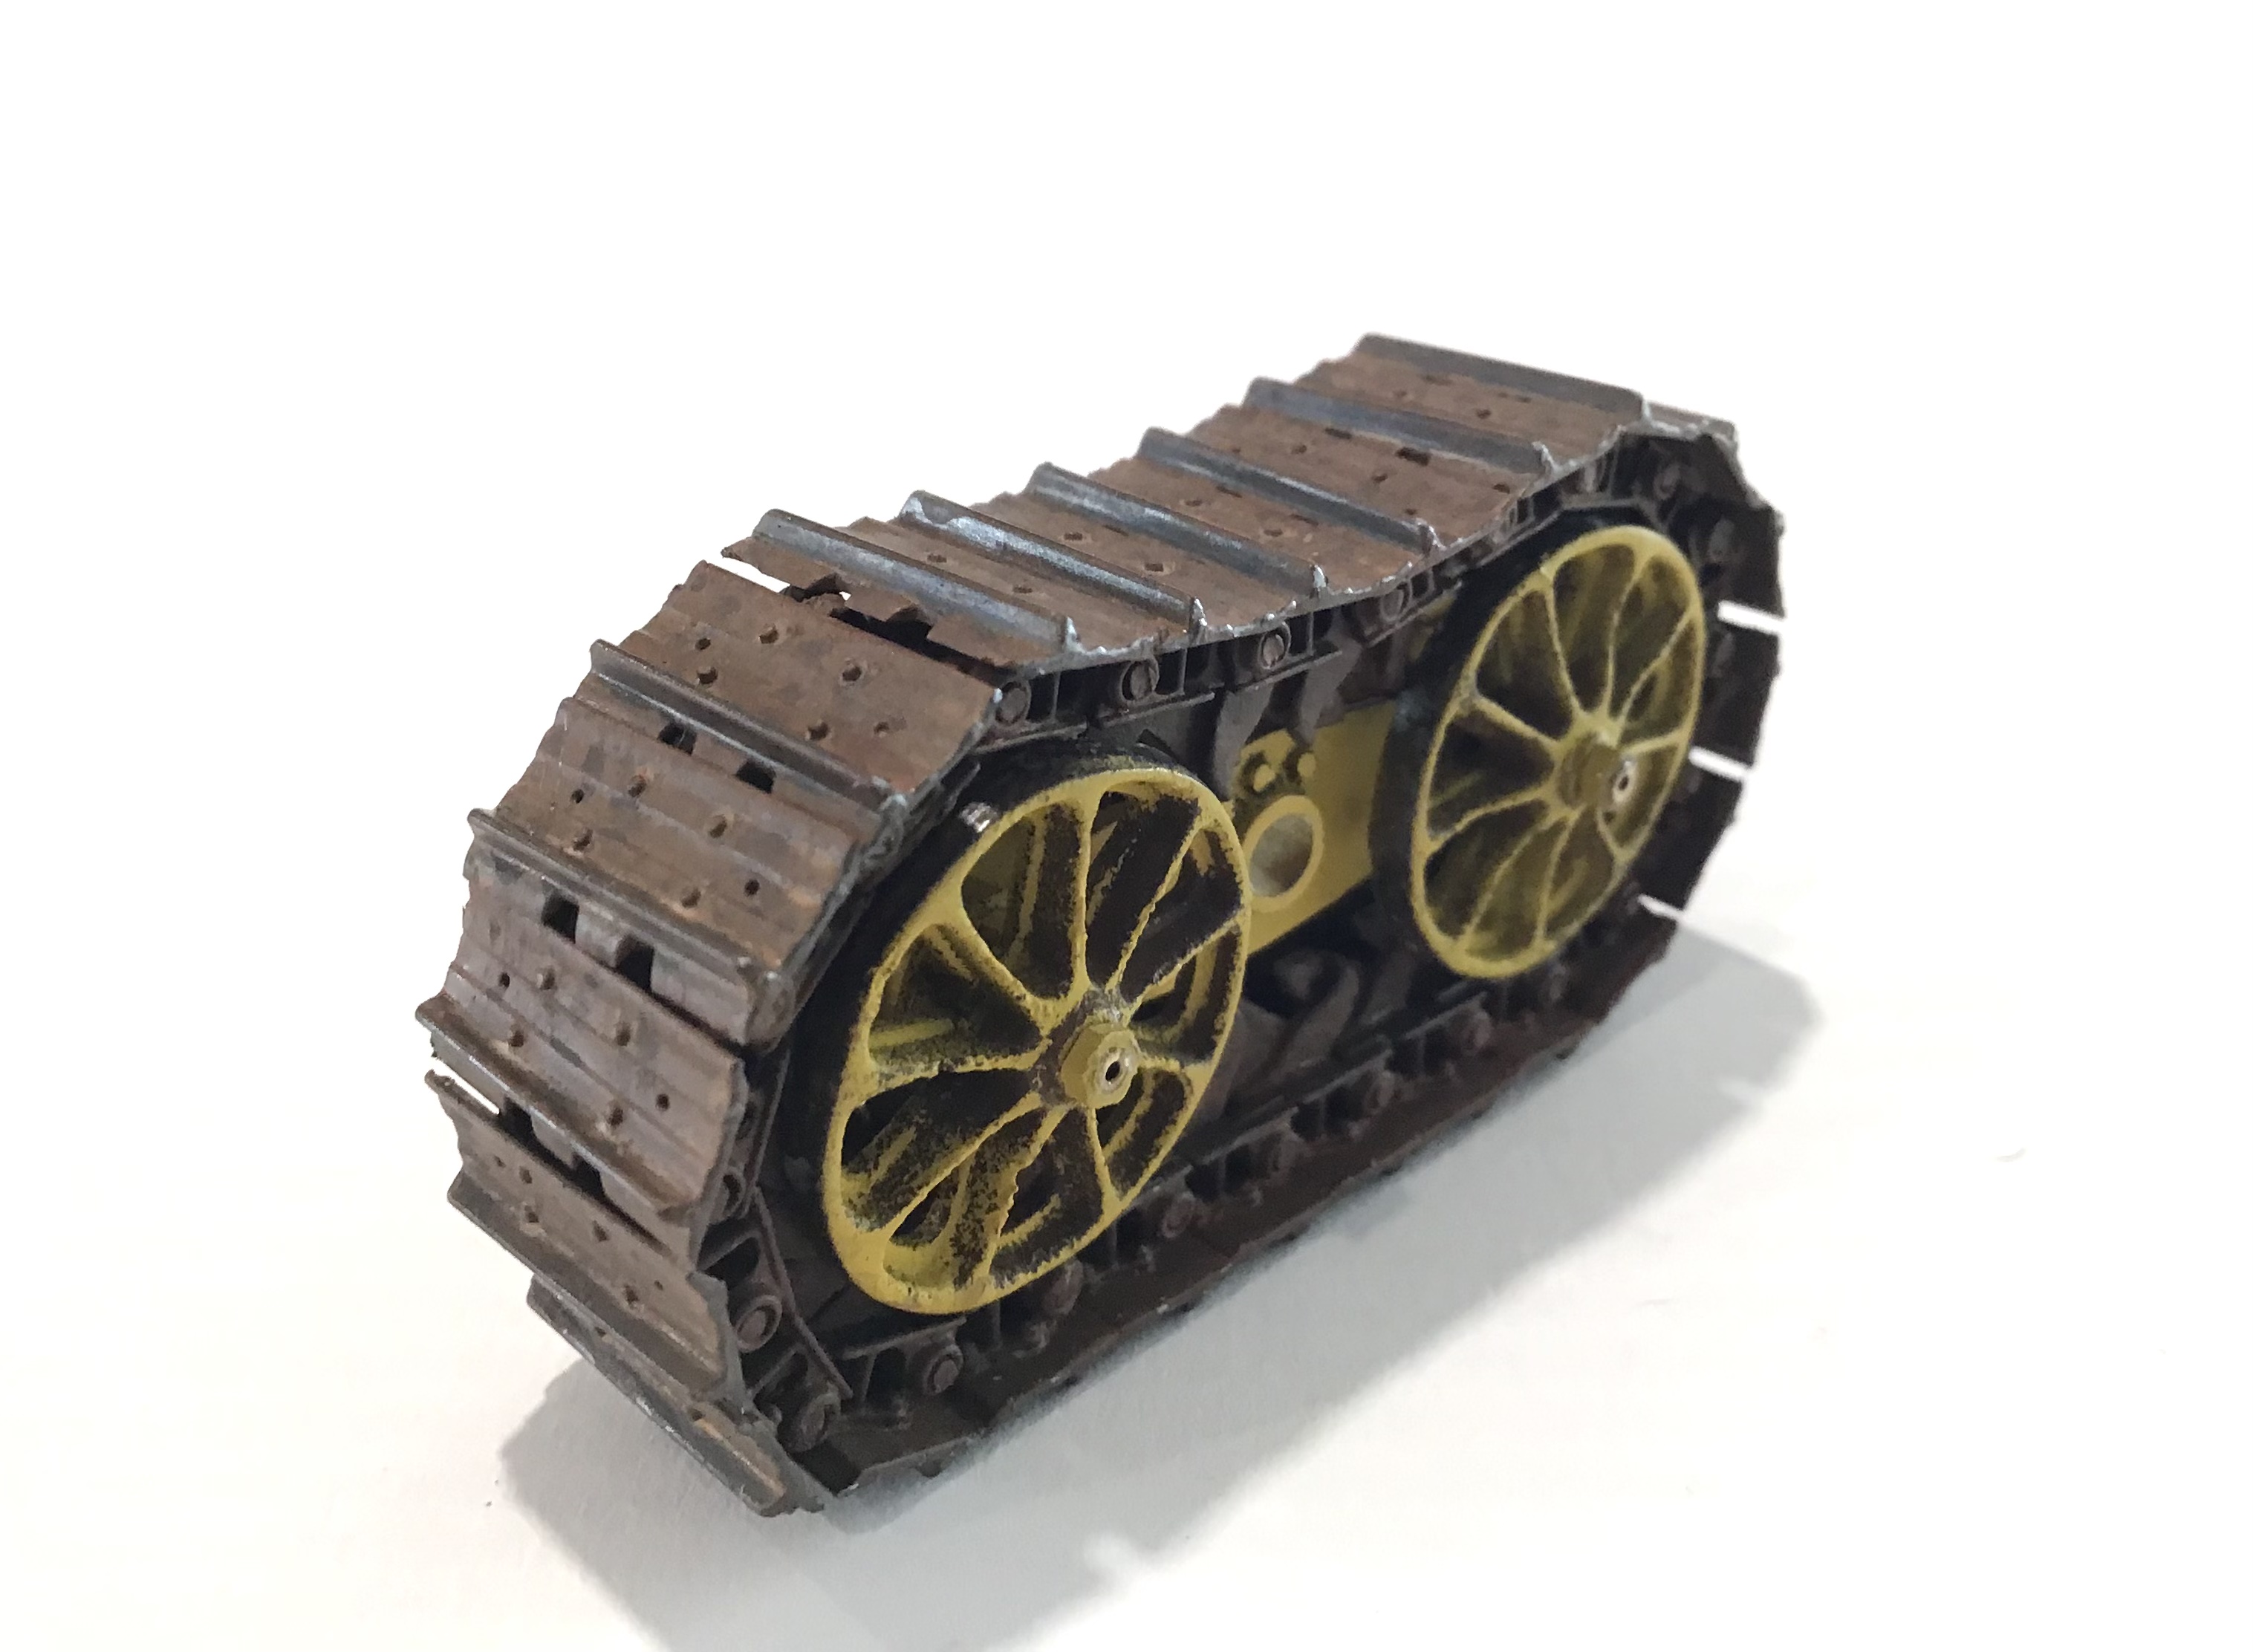
Here we have what I think will be the final iteration of the track color .
After watching a very helpful video by Night Watch ,
the base color tracks were given a wash then spatter starting with orange rust then light rust followed by spatter alone of dark rust . When dry cleats , track edges and other wear areas were rubbed with pencil . Lastly a thin light wash of a dust color mixed to Night Watch’s recipe - water and dish detergent, flat earth , buff and grey .
Pigments will be added at the end during base mounting.
12 Likes
Brief update to keep this blog alive.
All painting of tracks done …
Paint and scrubbing done on arch …
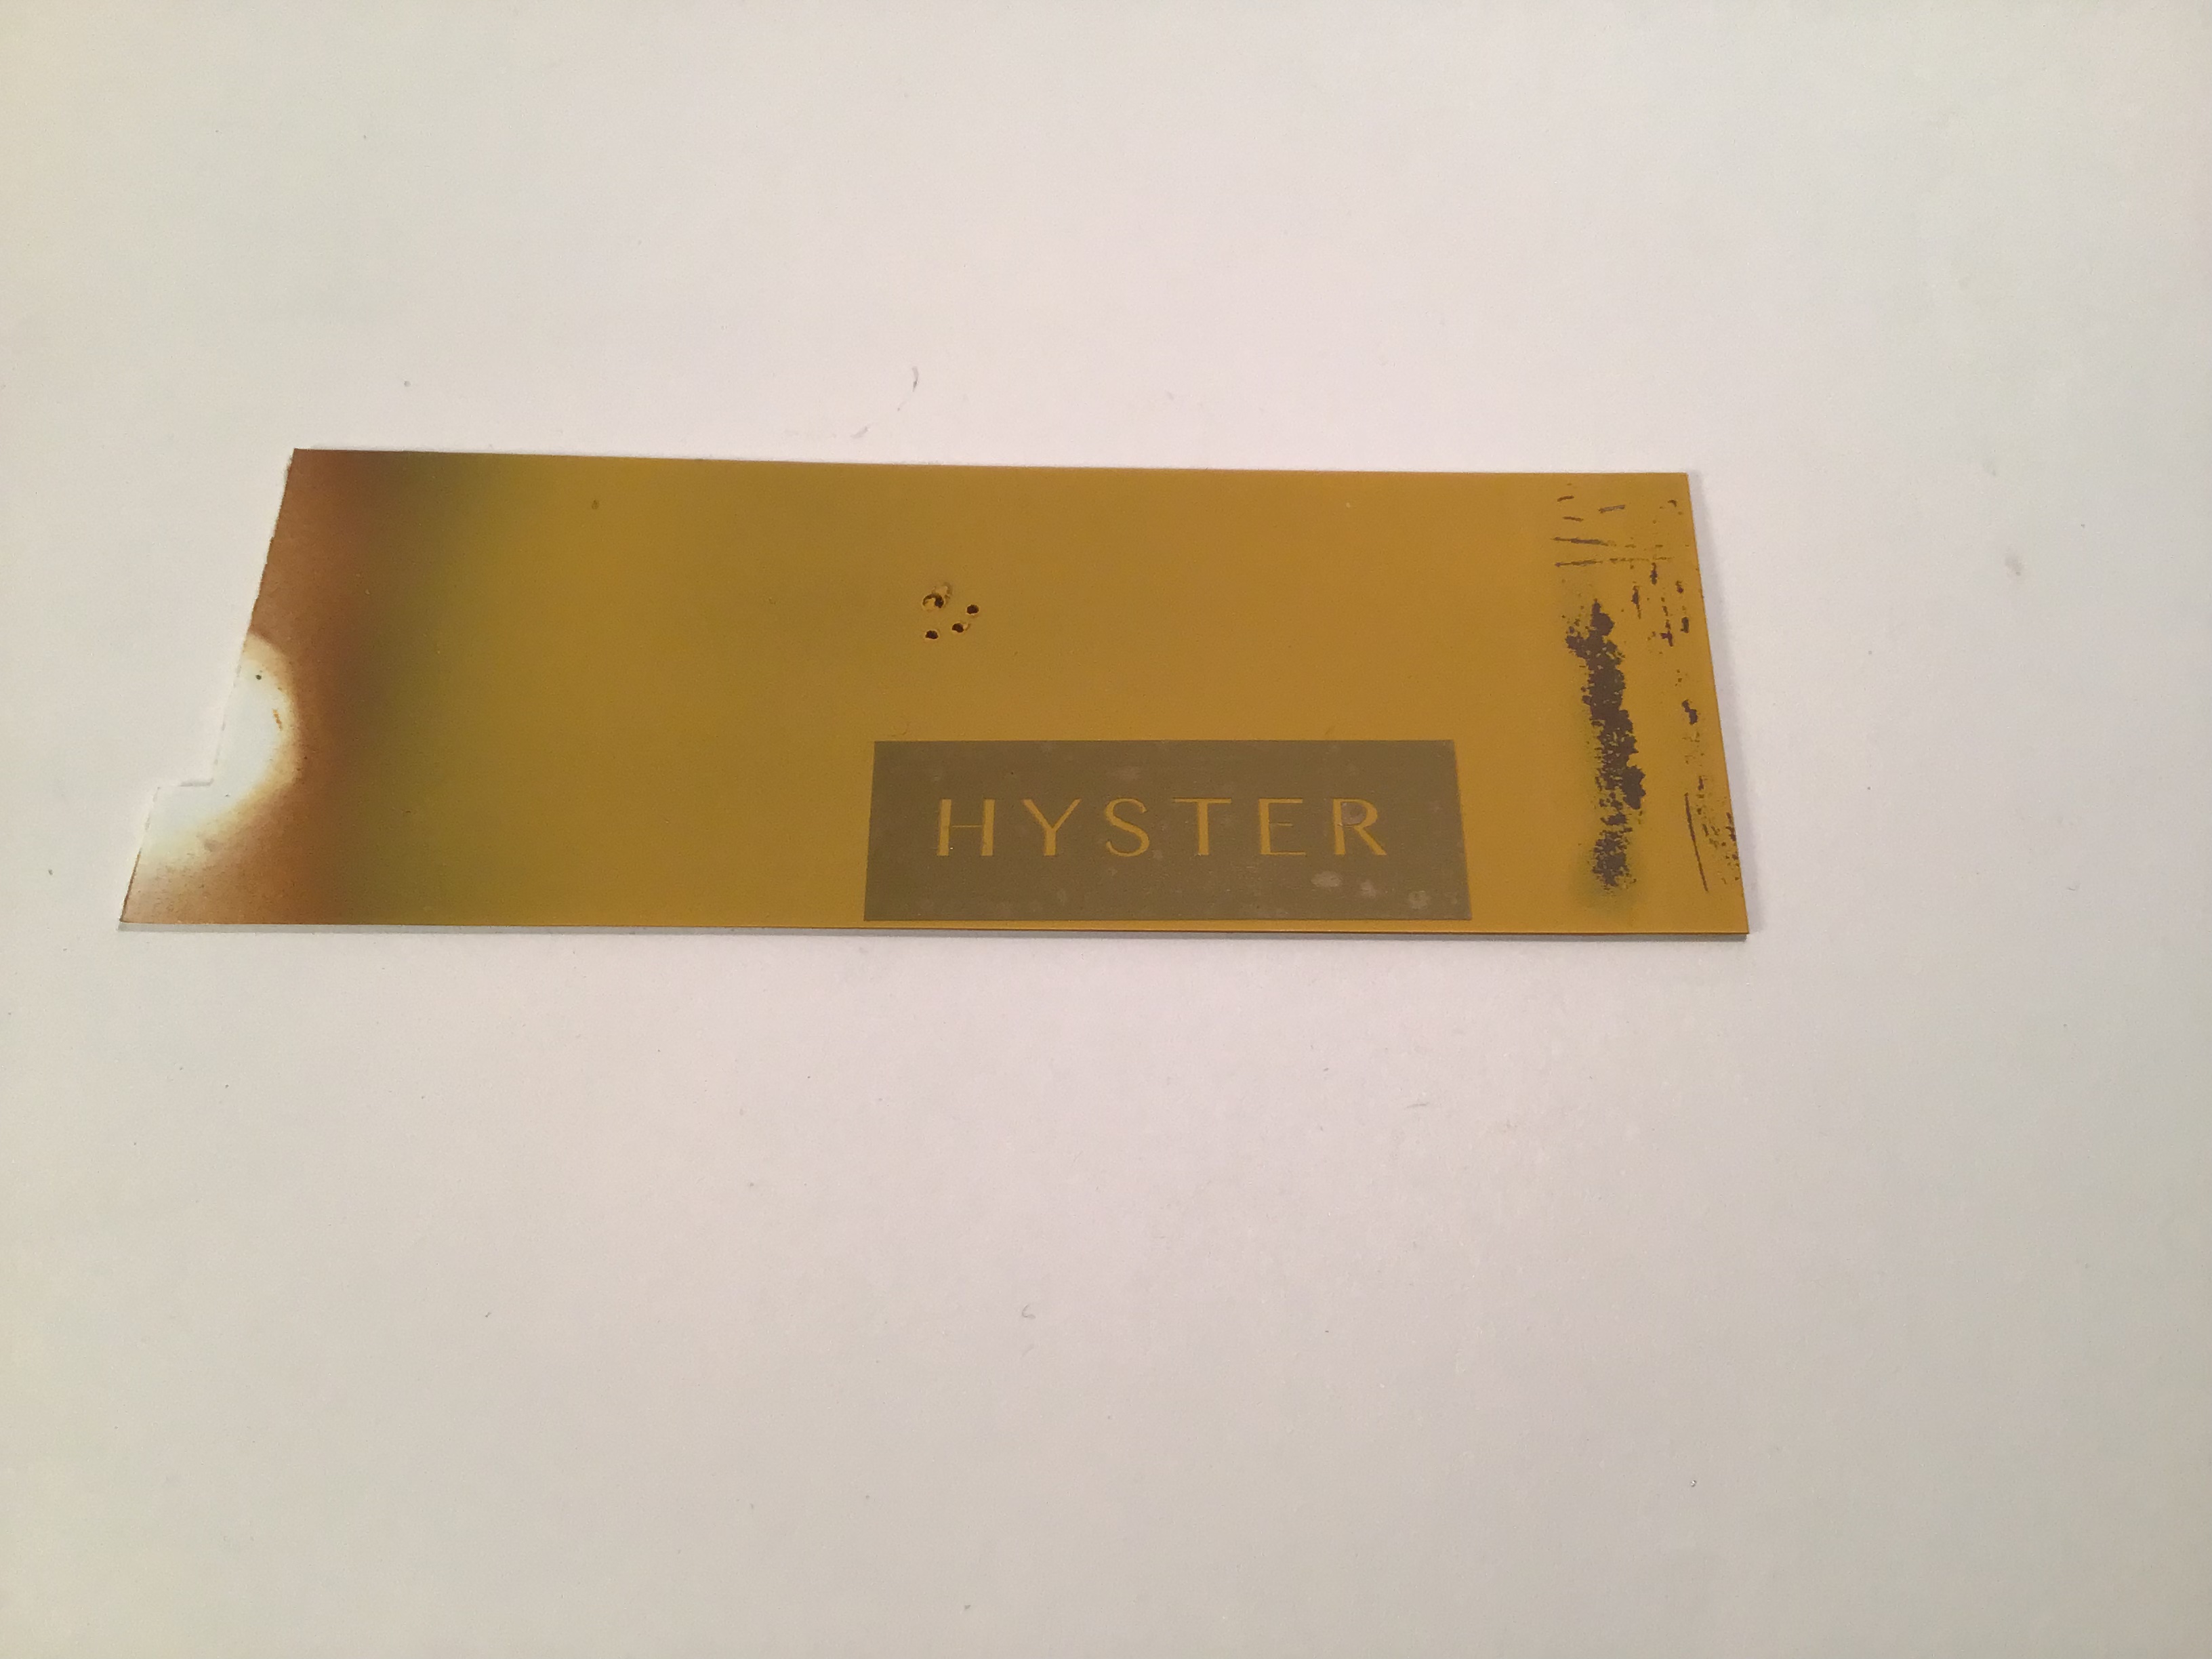
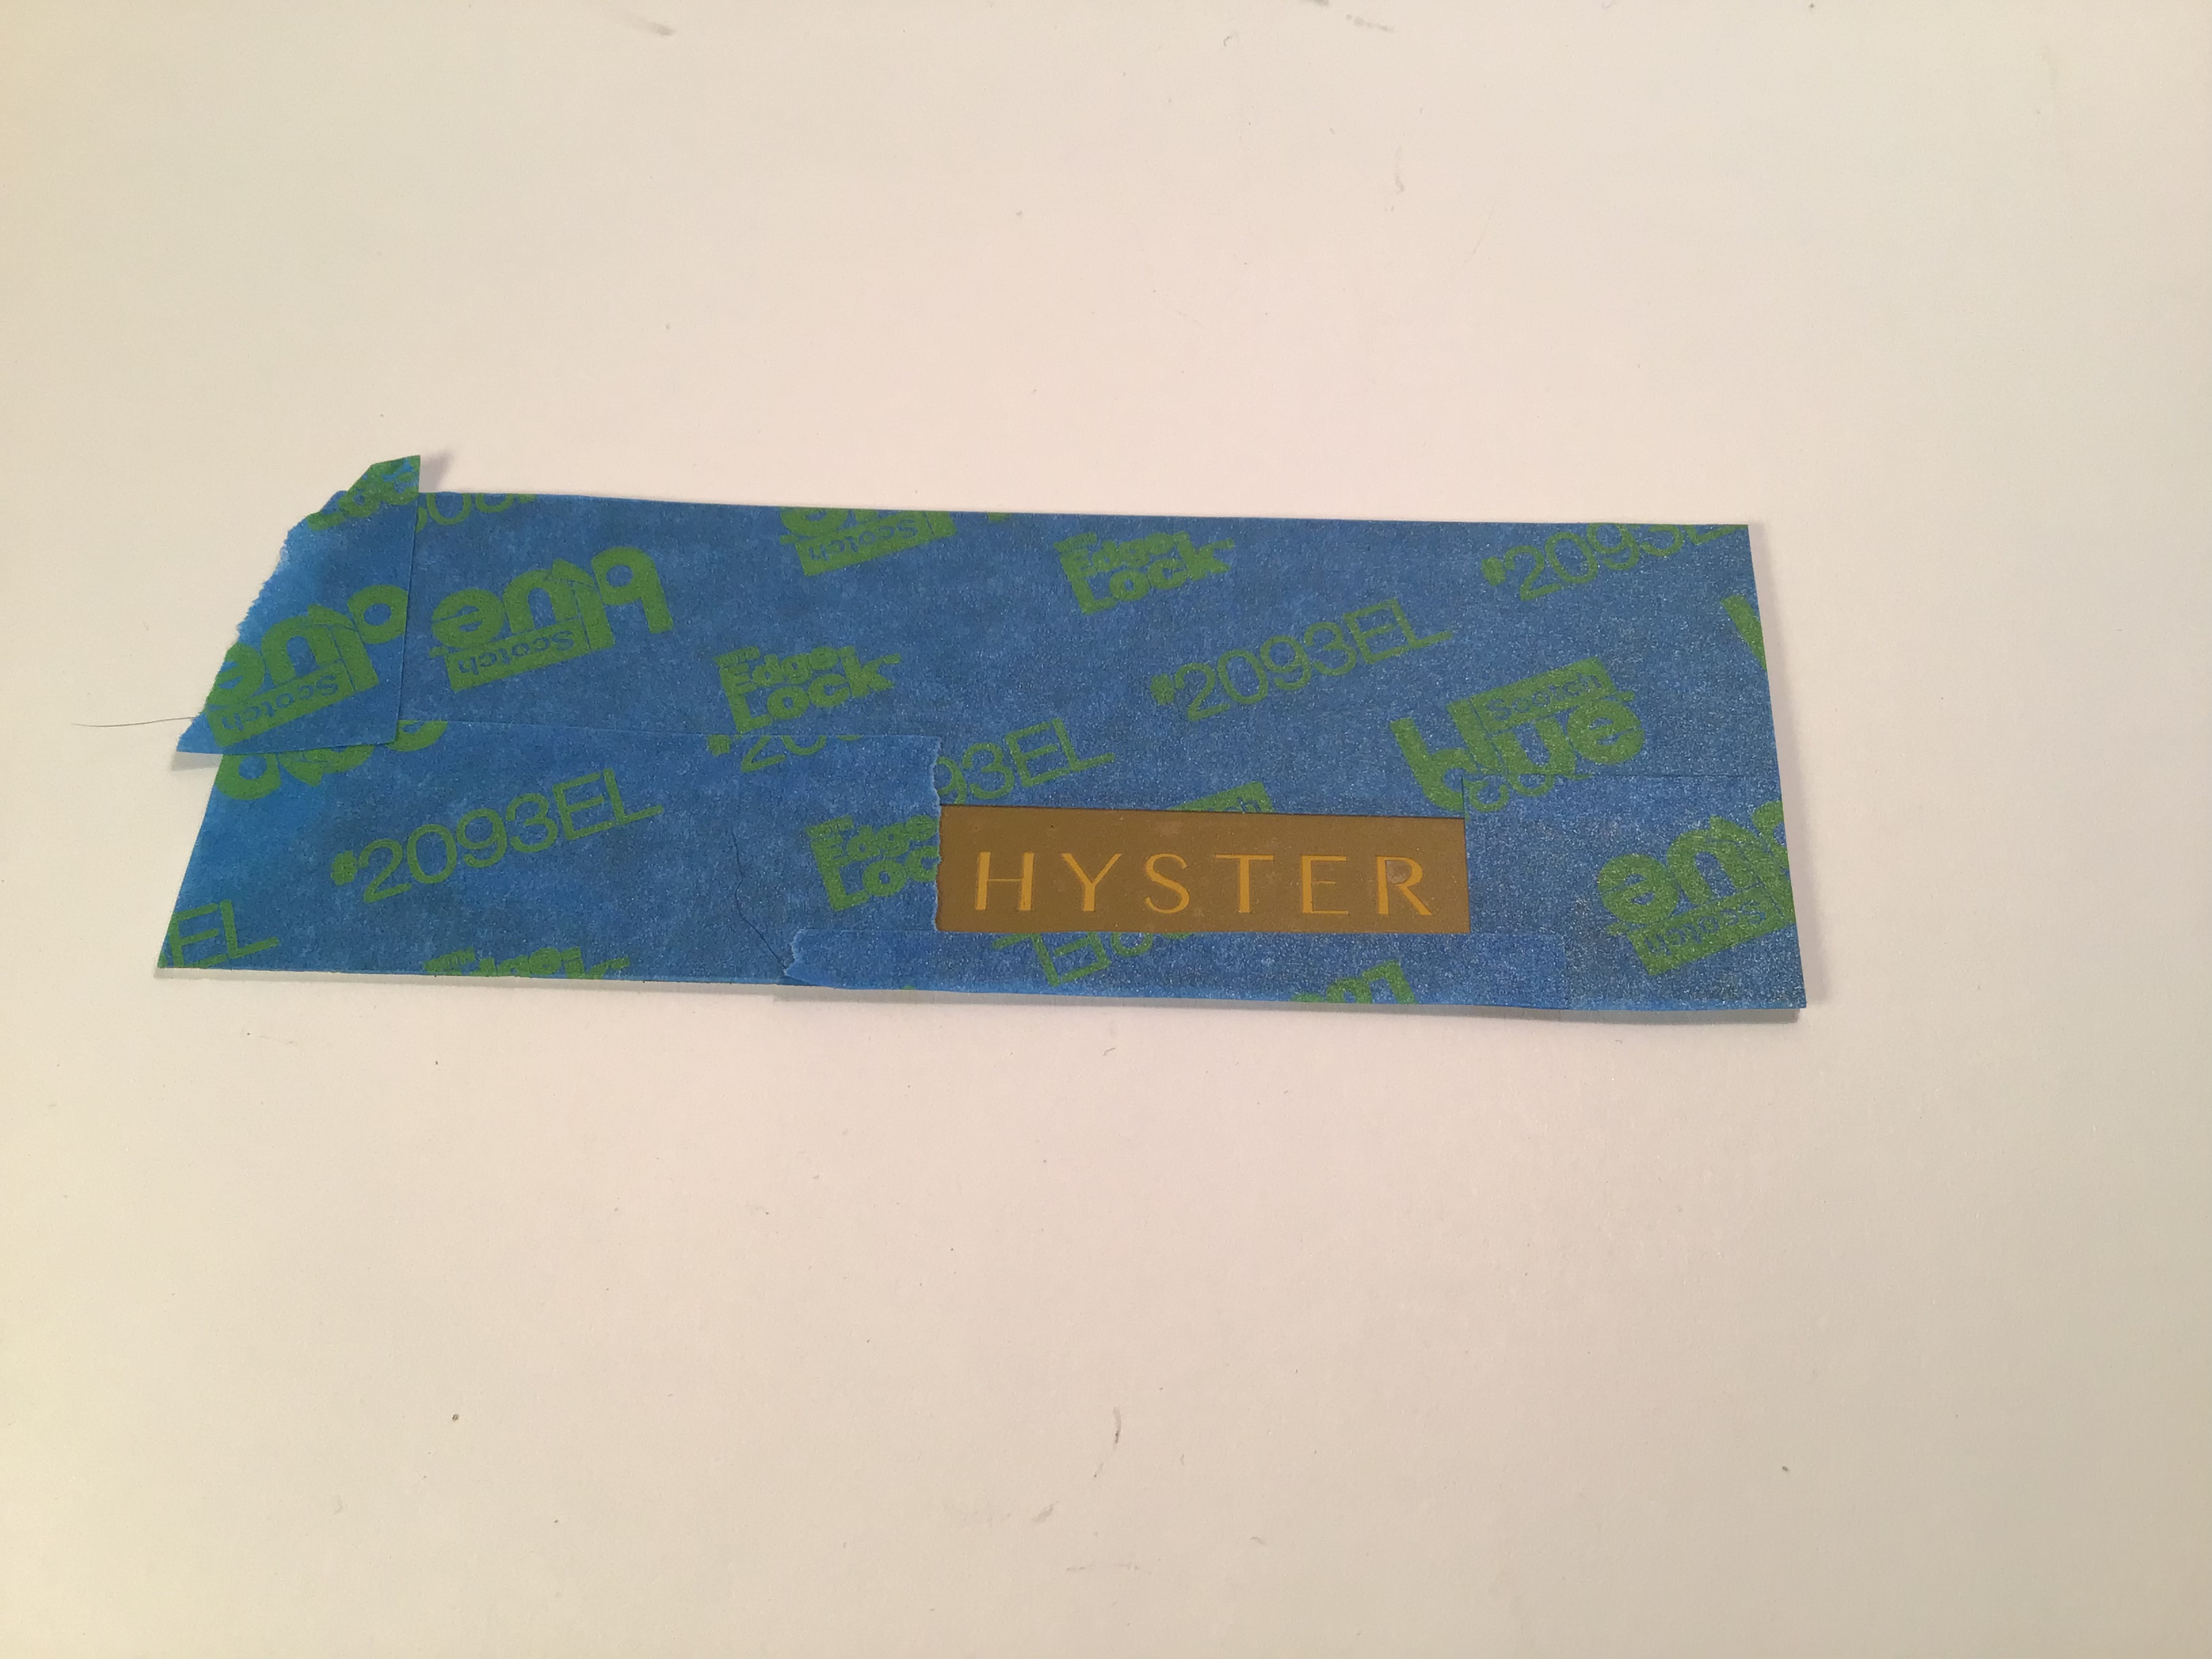
My brother in law made some masks for me for the Hyster lettering on the arch .
A practice session on a test piece painted yellow .
Mask applied and shot with hairspray then shot with NATO Black . Stencil removed and letters scrubbed.
I think when I do the letters on the arch I will do 50/50 mix Flat Black/NATO Black as the sample look too grey .

Thanks for looking
RT
14 Likes
Nice stencil mask!
2 Likes
Thanks all for the interest and compliments.
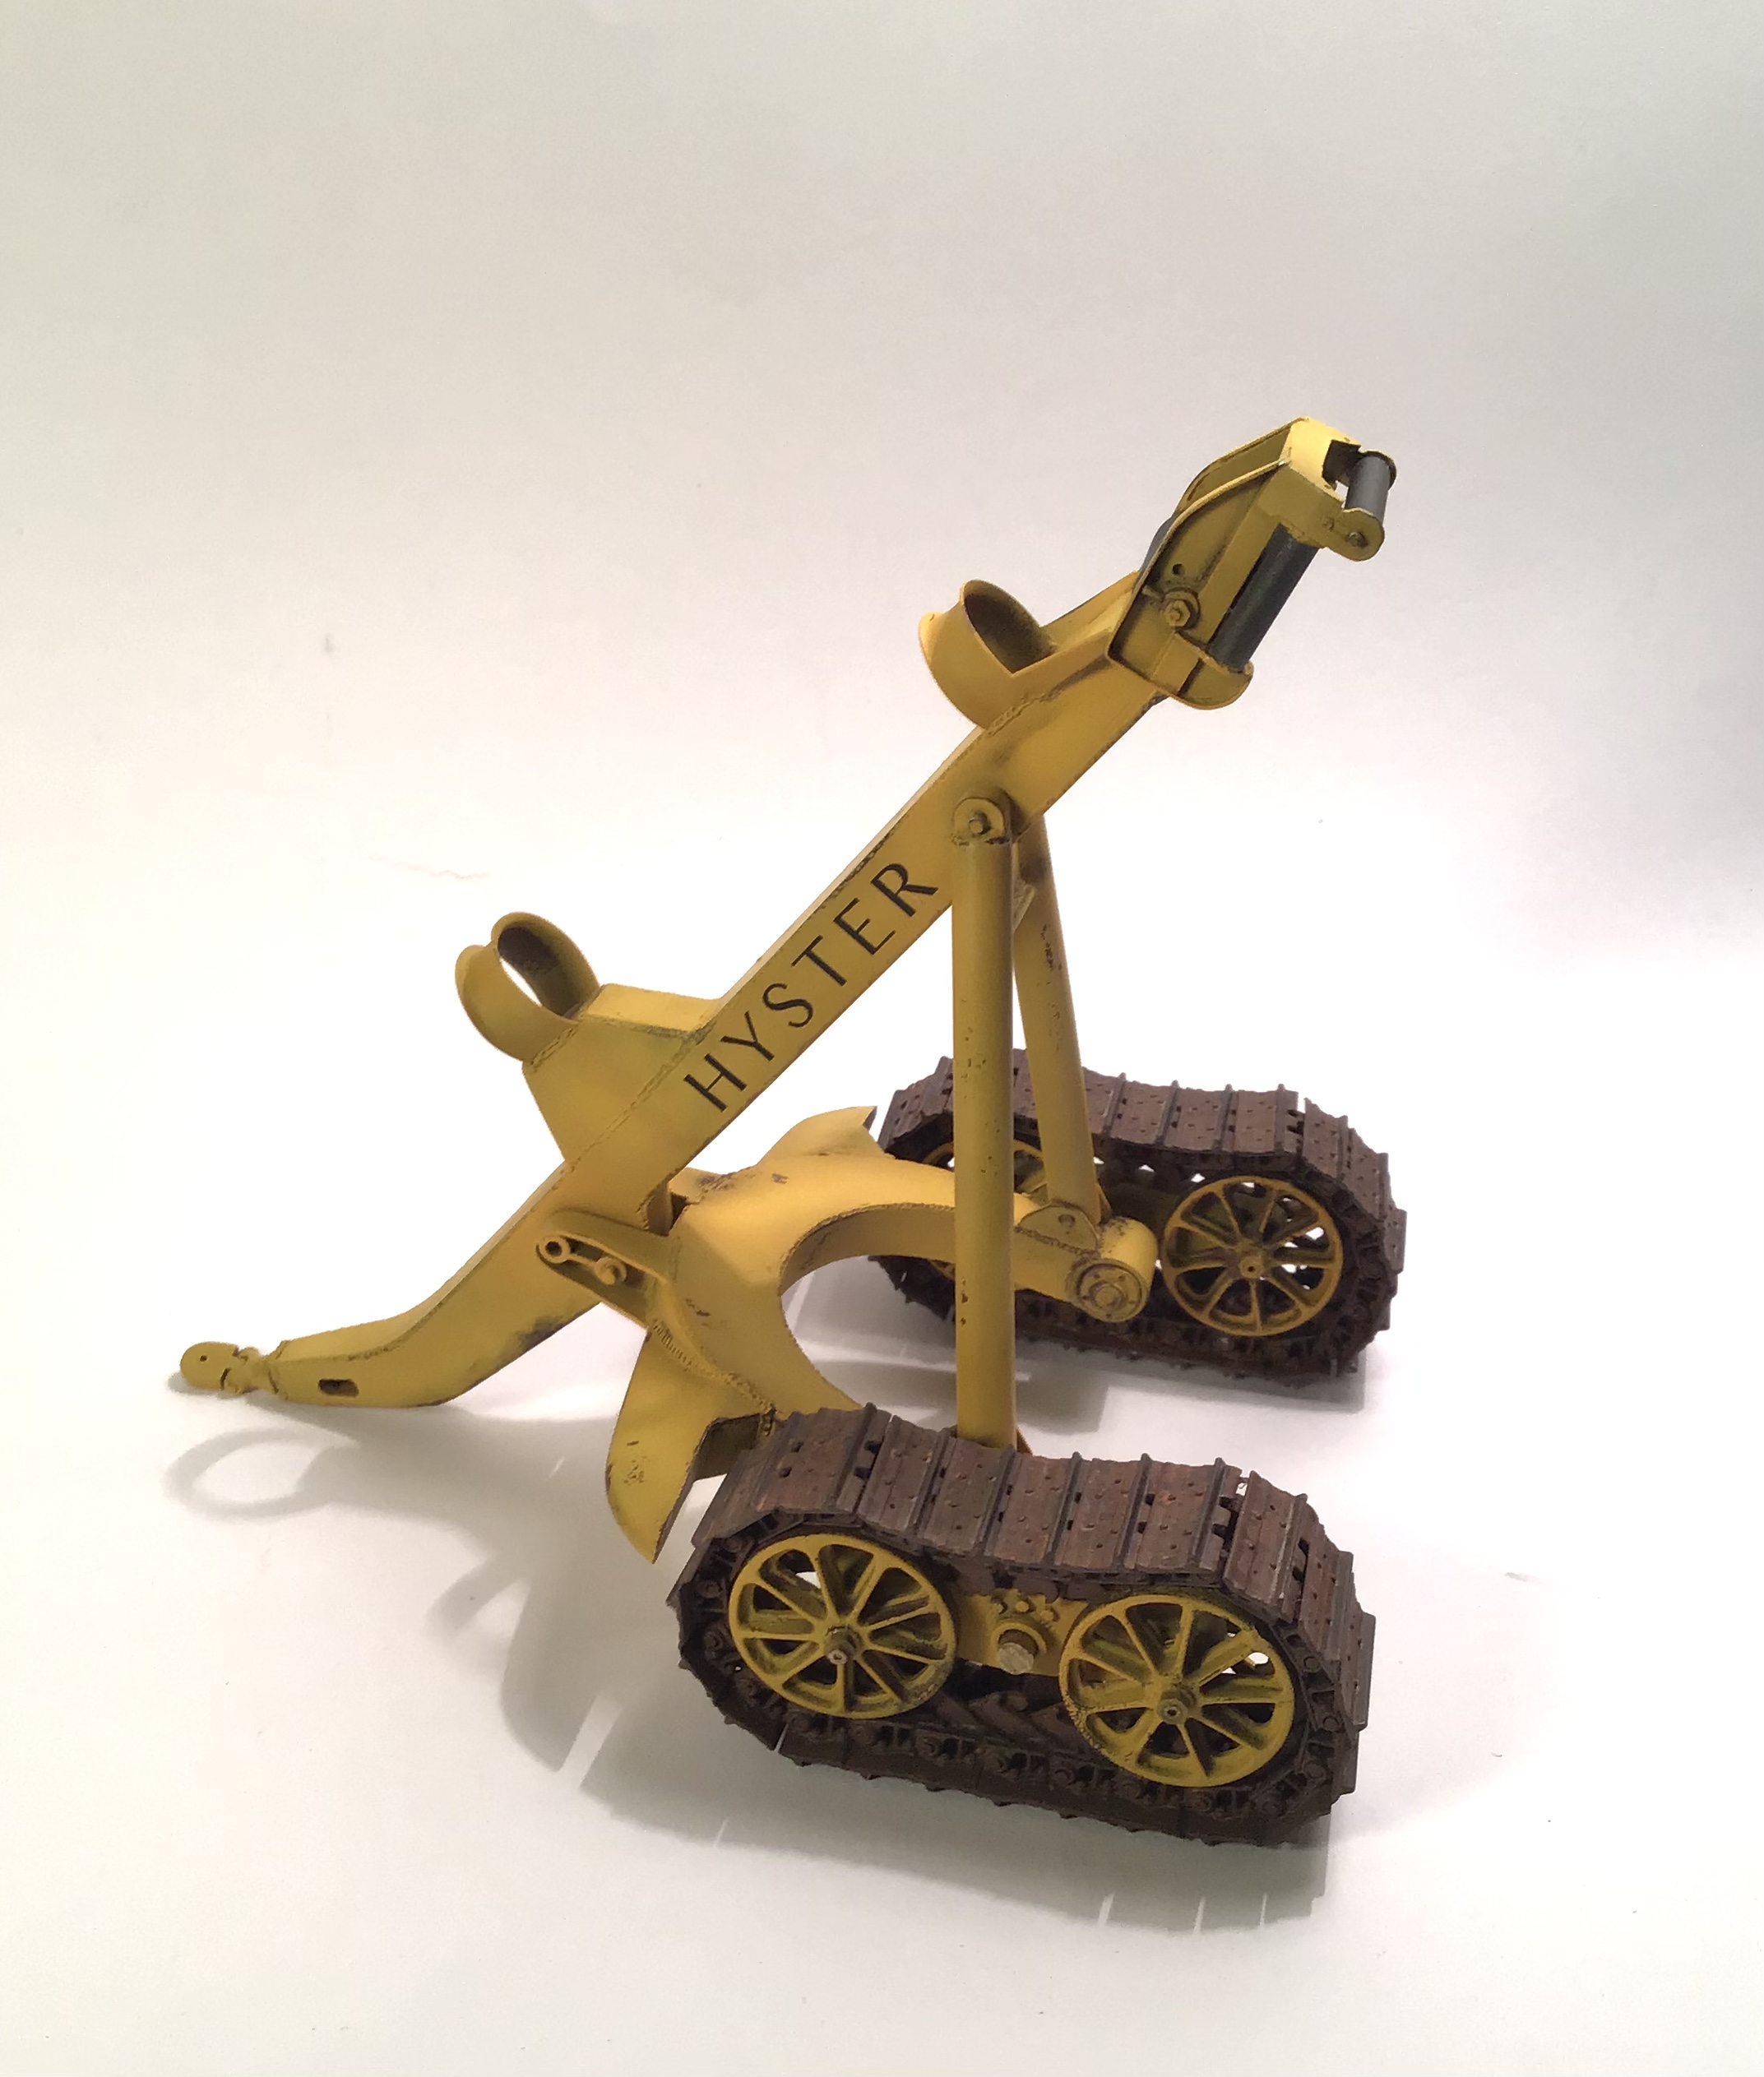
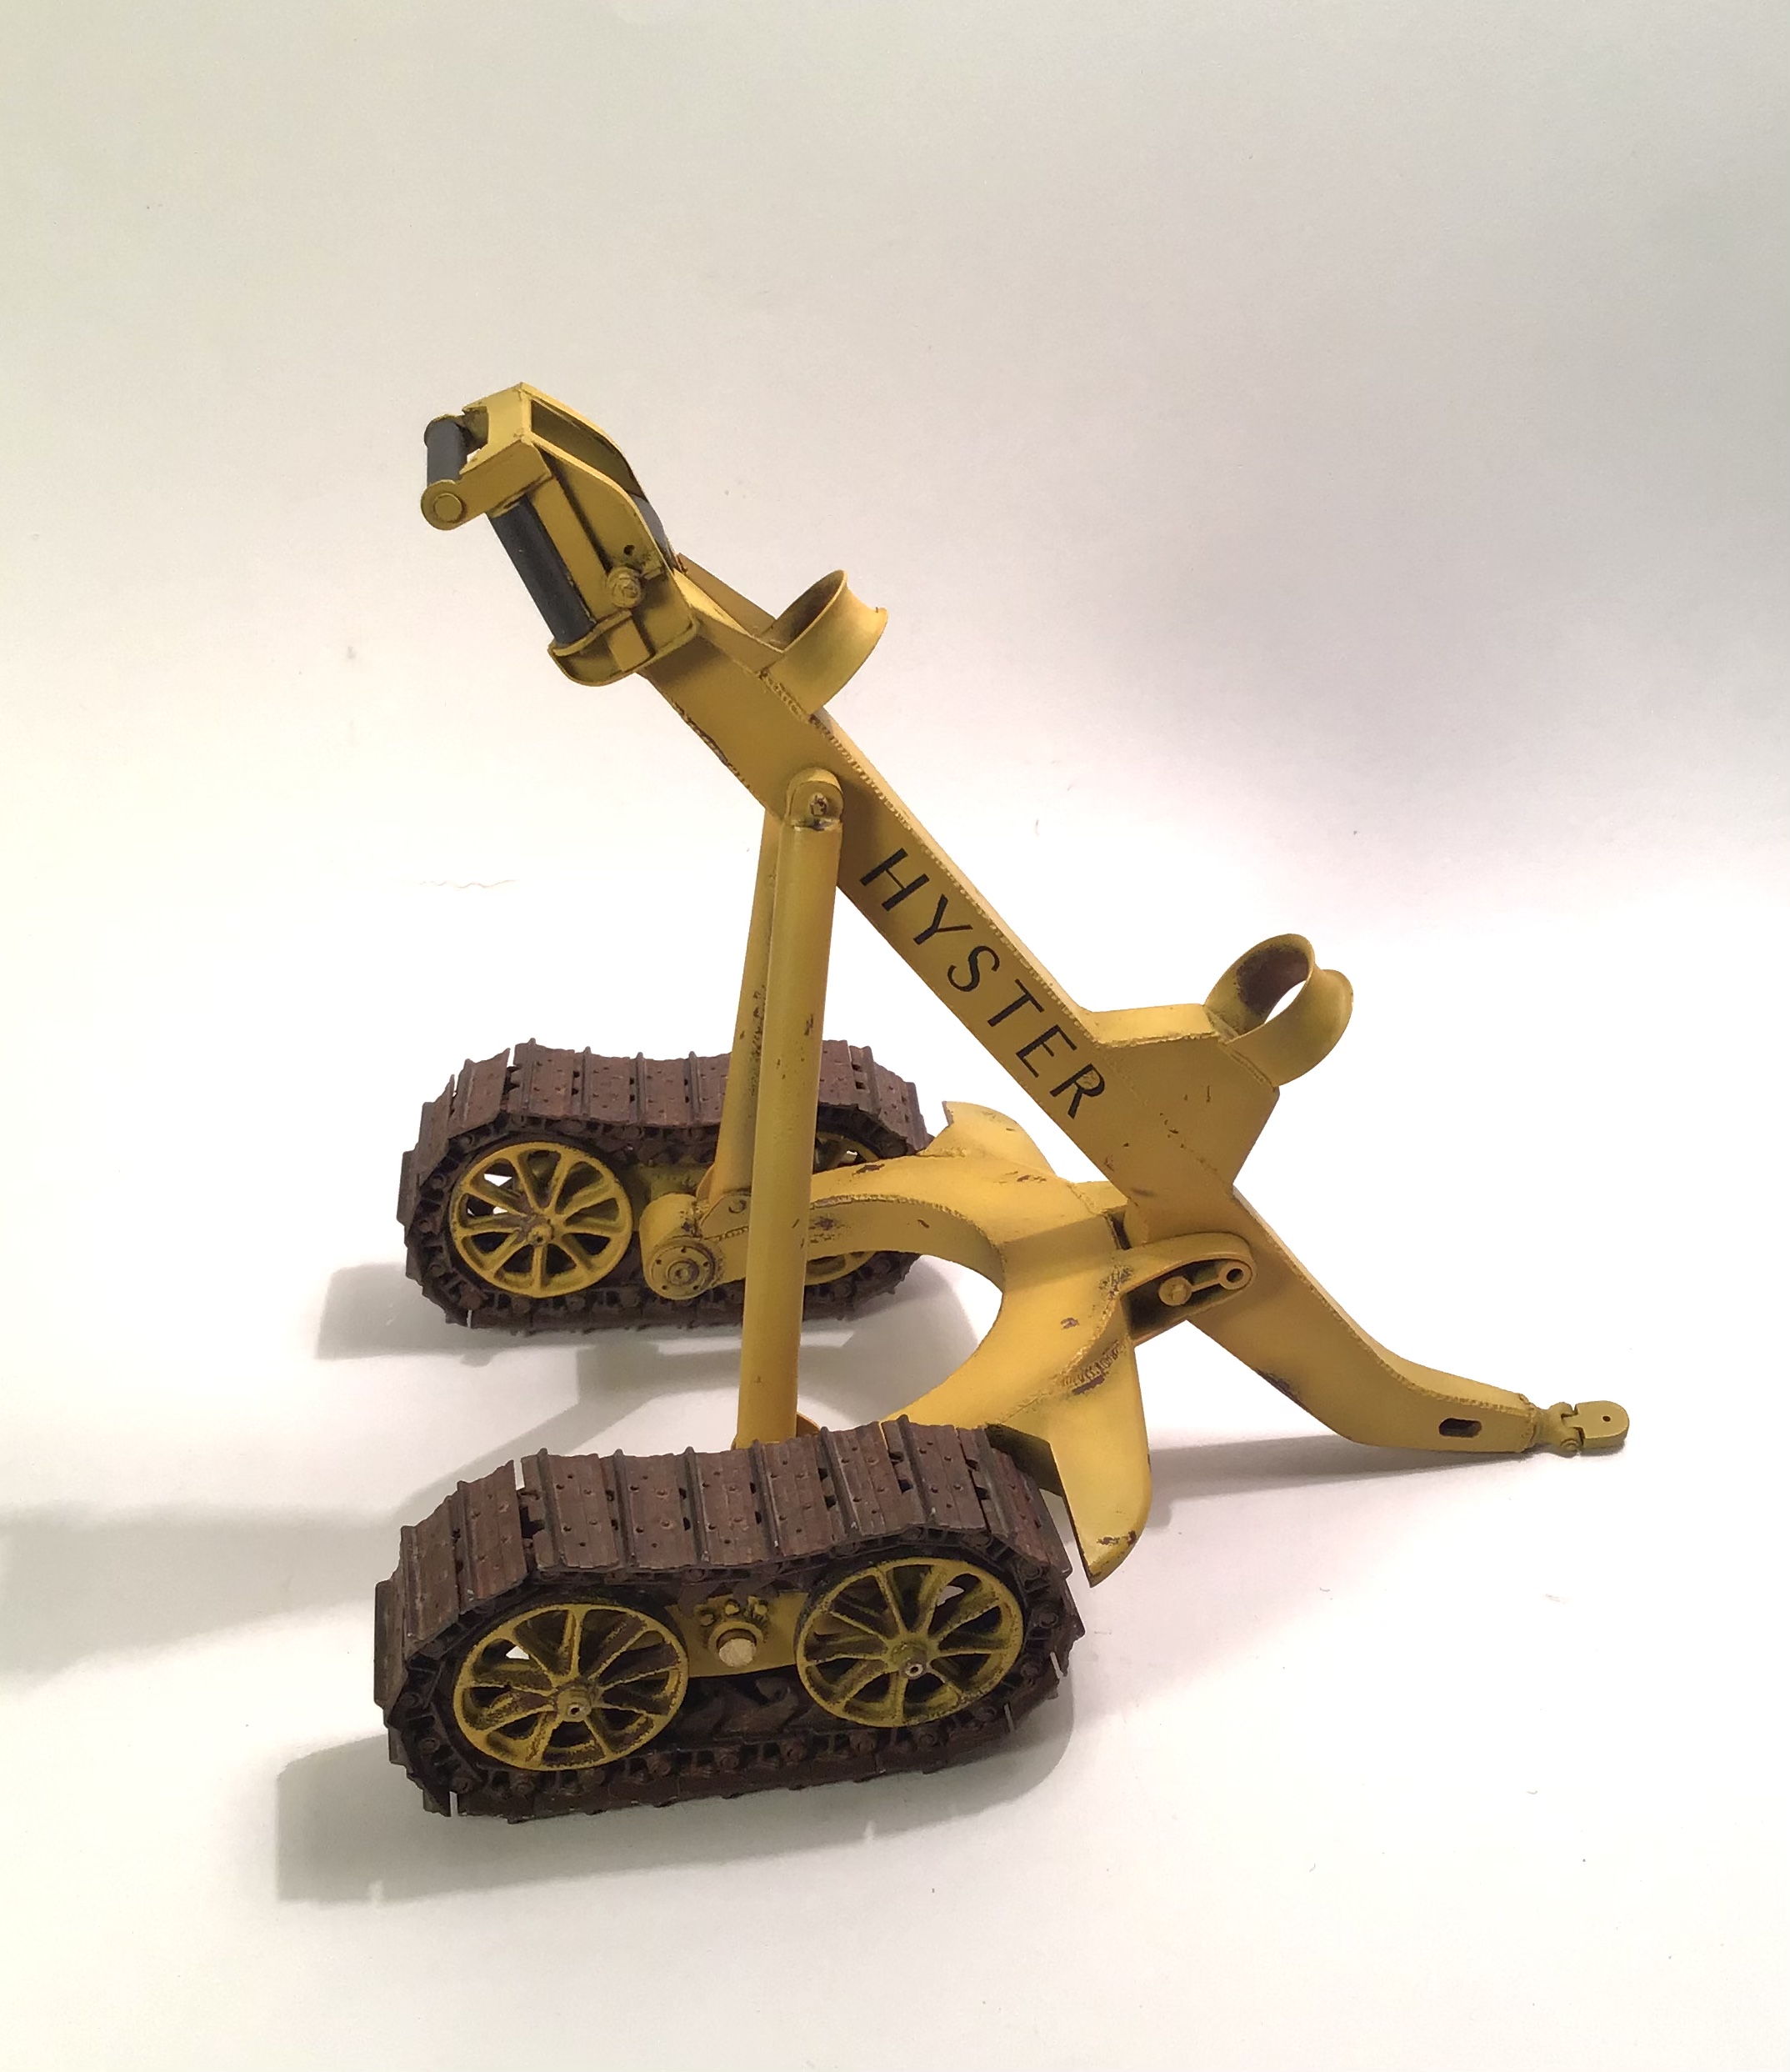
Hyster lettering done on boom - will scrub out a little tomorrow. Very happy with the stencils - thanks Jim.
I’ll give your sister a smooch tonight- if she’ll let me
LOL .
11 Likes
Wow! That is jaw-dropping, drop-dead gorgeous! ![]()
—mike
2 Likes