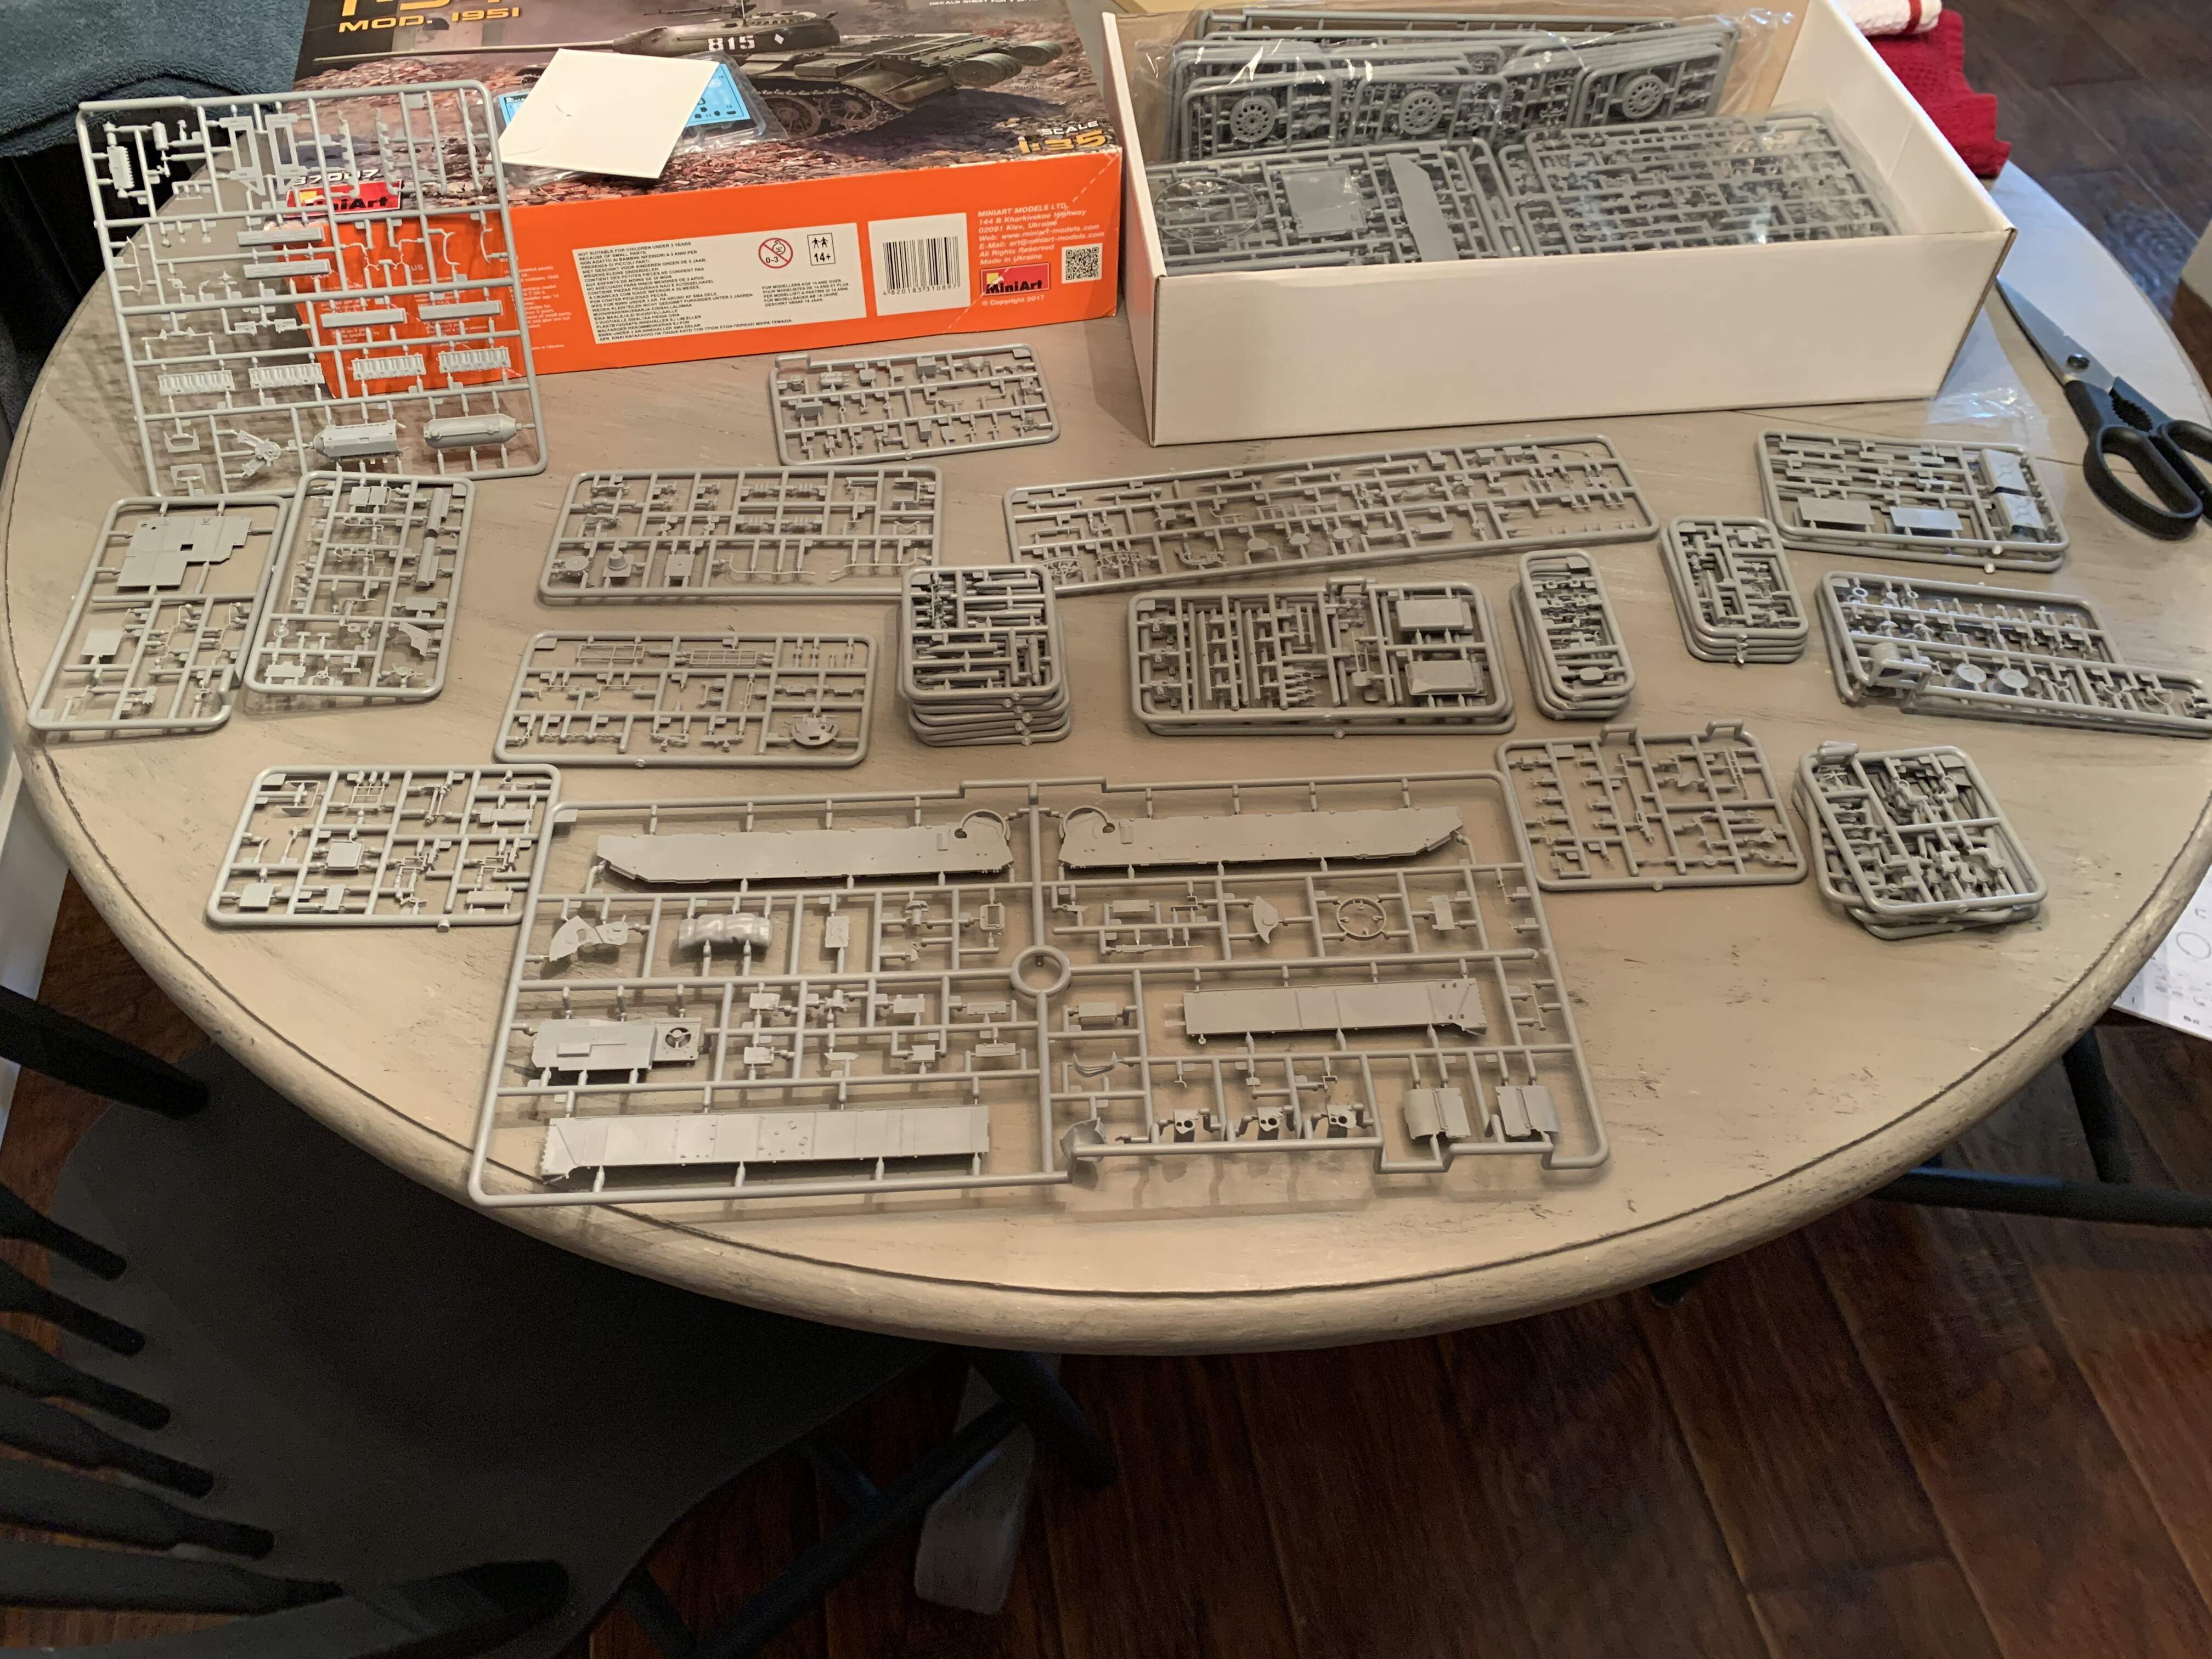
Hello all. I am building the Mini-art T-54-3 interior kit for the Miniart campaign. I am setting up a build log to detail the progress and pose questions as i am not as familiar with Soviet Cold War armor. A serious amount of plastic in this bad boy, 1045 parts in all.
First couple question I had. What was the interior color of the T-54-3, the instruction seems to call out white in some spots and a light blue grey in others.
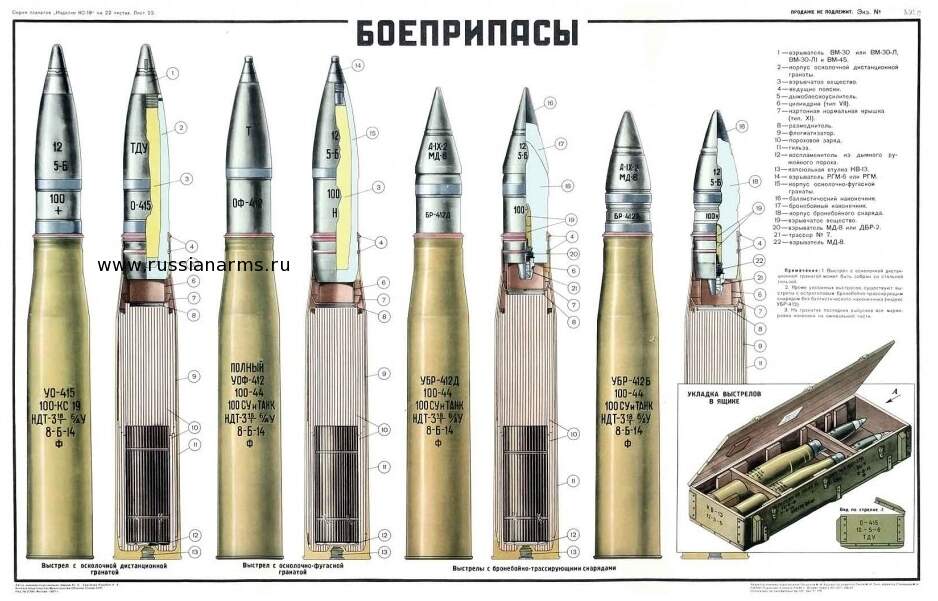
The kit also comes with tons for ammo, some long projectile and some stubby. I think I have identified them as UF-412 HE 100 mm projectile, and the UBR-412 AP 100mm projectile. I was wondering what color they should be?
You’re not kidding ! I just got the T-55A model 1965 and wondered why the box was so big and fat, not realizing I ordered the version with the interior which was not my intention. I wasn’t paying attention when i ordered ! Best of luck; I’ll be watching this. Best of luck on your build !
Cheers. The instructions did call out a light blue grey for the shells which seems to match your diagram. I wasn’t sure if the rings were a different color to indicate shell type. Looks like they were the same color as the shell. Thanks a bunch
Off to a good start. I did a build review of their T55 Mod 1963 kit w/full interior, which is very similar. The colors in the instructions are accurate. The lower hull/floor are blue-grey and the side walls and turret white. Follow the instructions and you will be fine.
Okay awesome thanks! The instructions did call out white for the walls but I couldn’t seem to find the call out for the floor, I must have missed it. Trying to pre-paint as much as I can on this one to avoid issues I ran into on my last build not being able to reach rich areas well with my airbrush
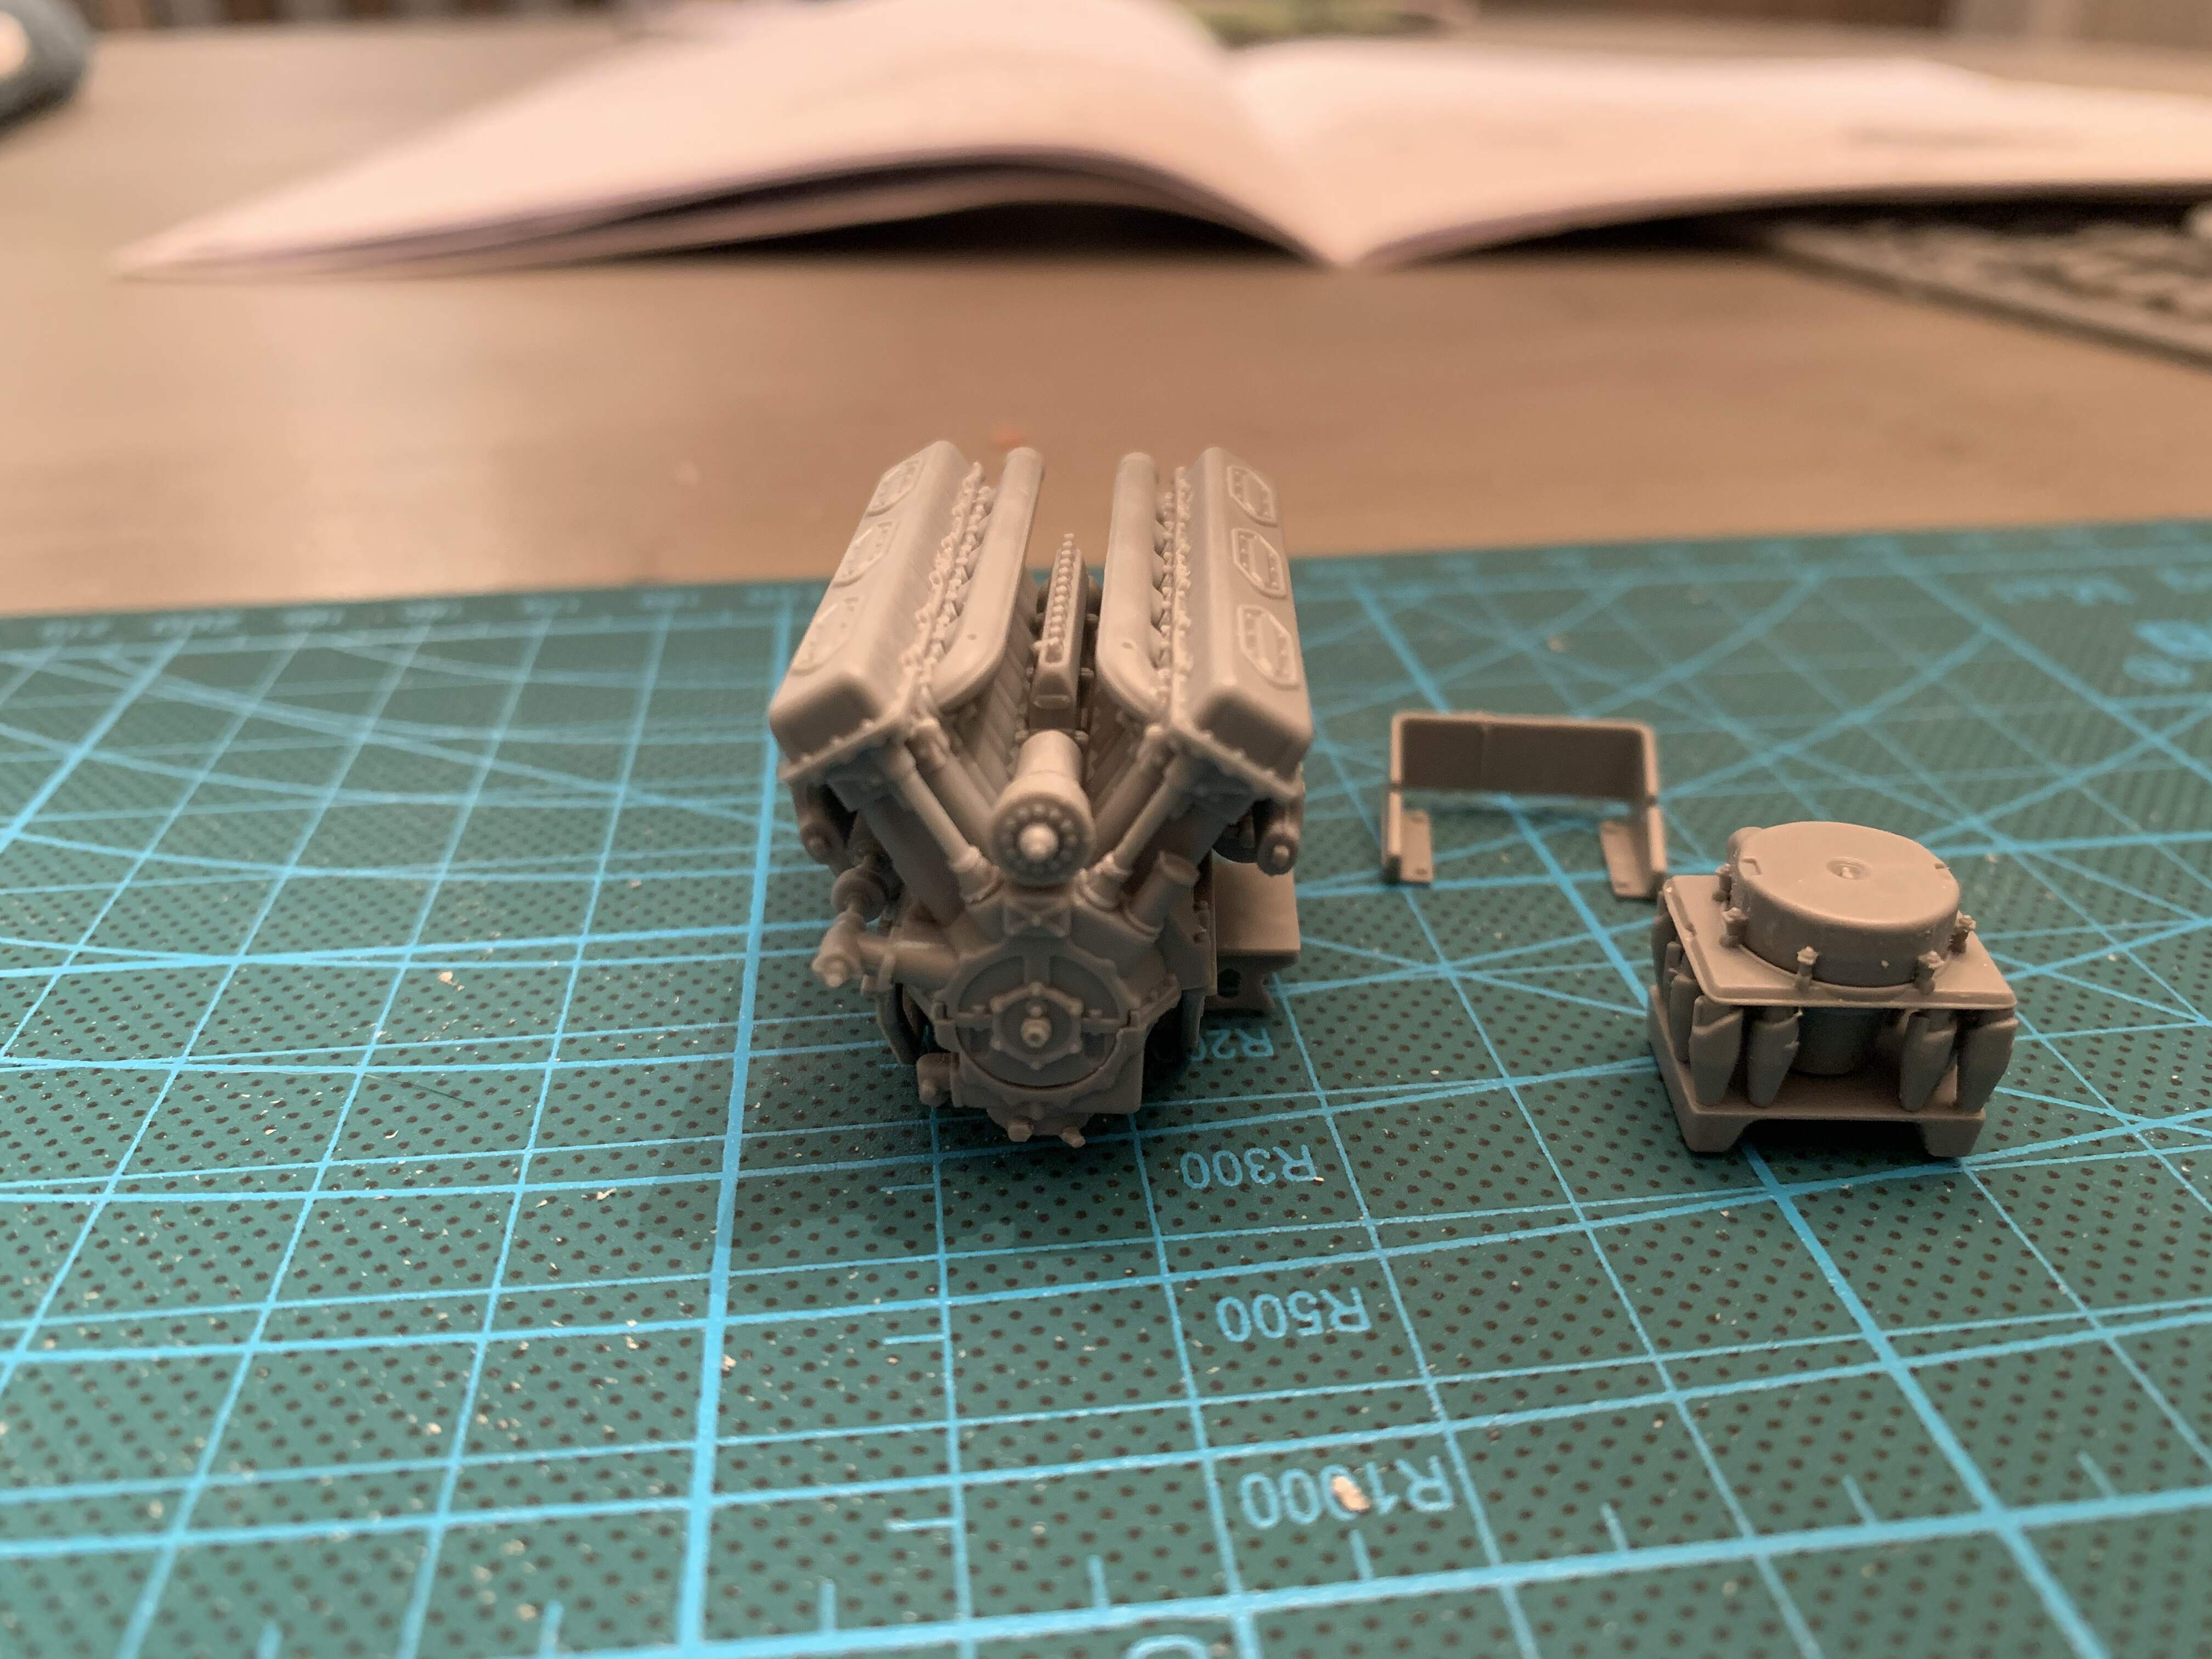
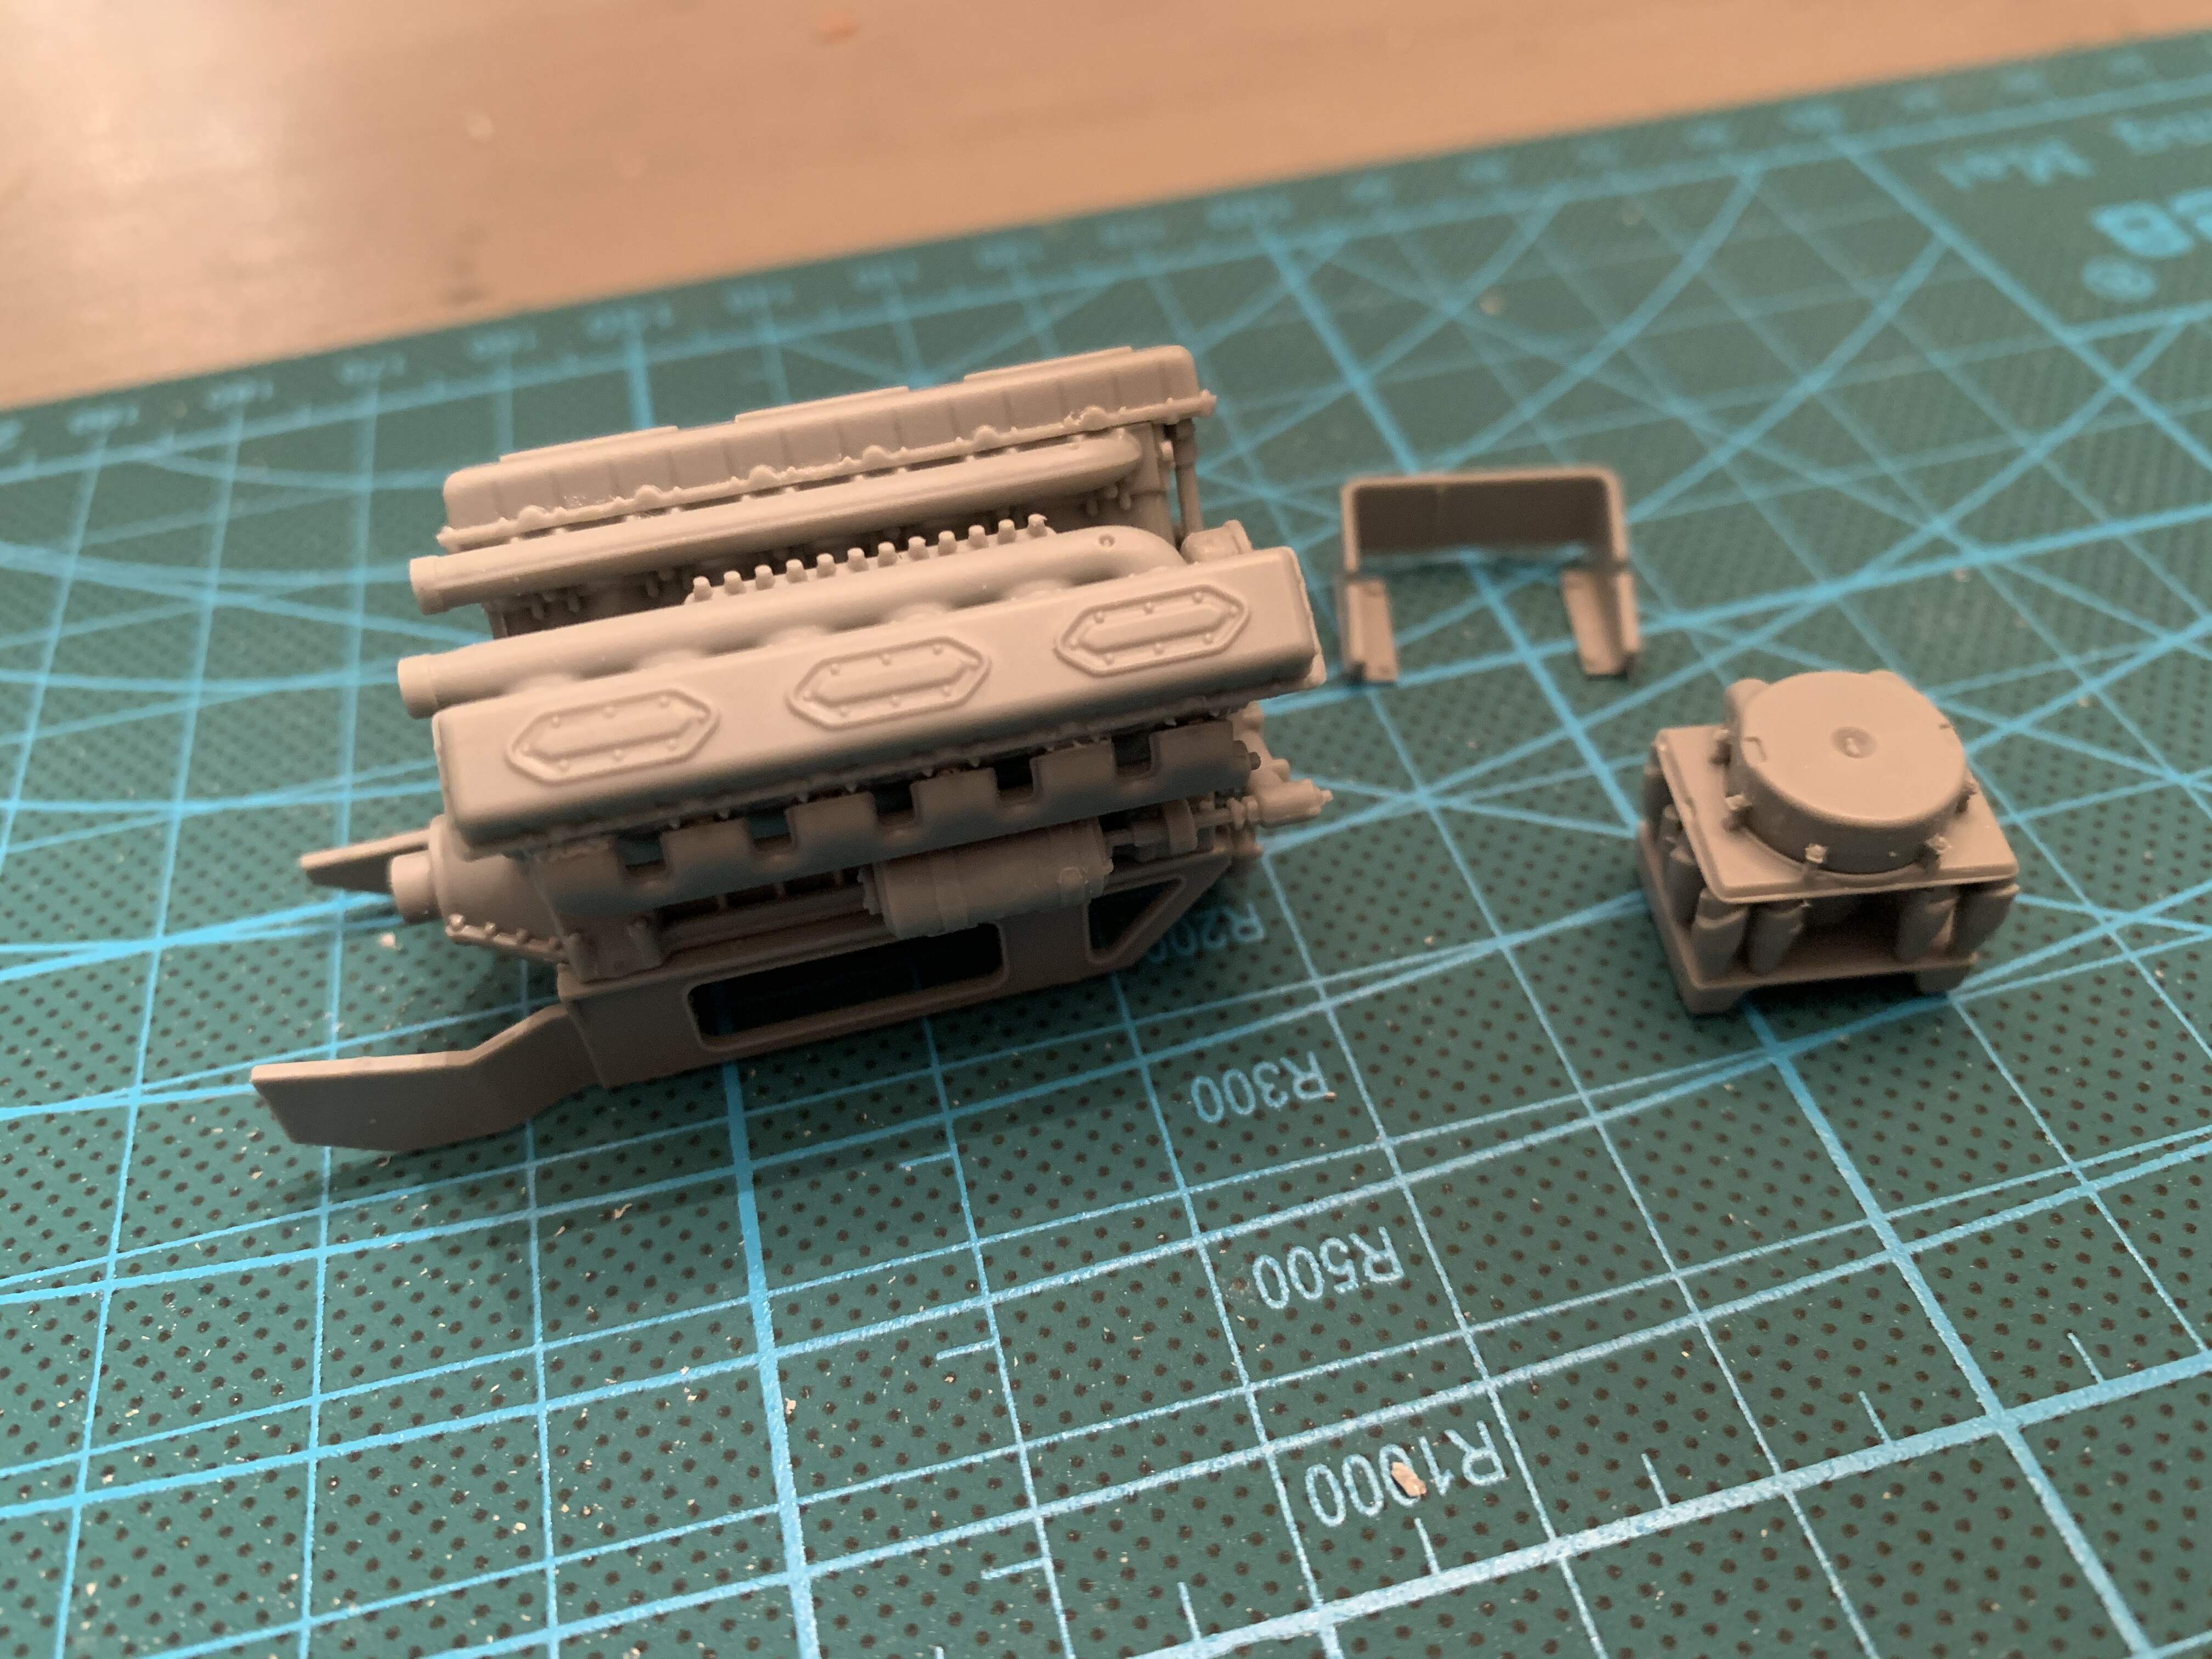
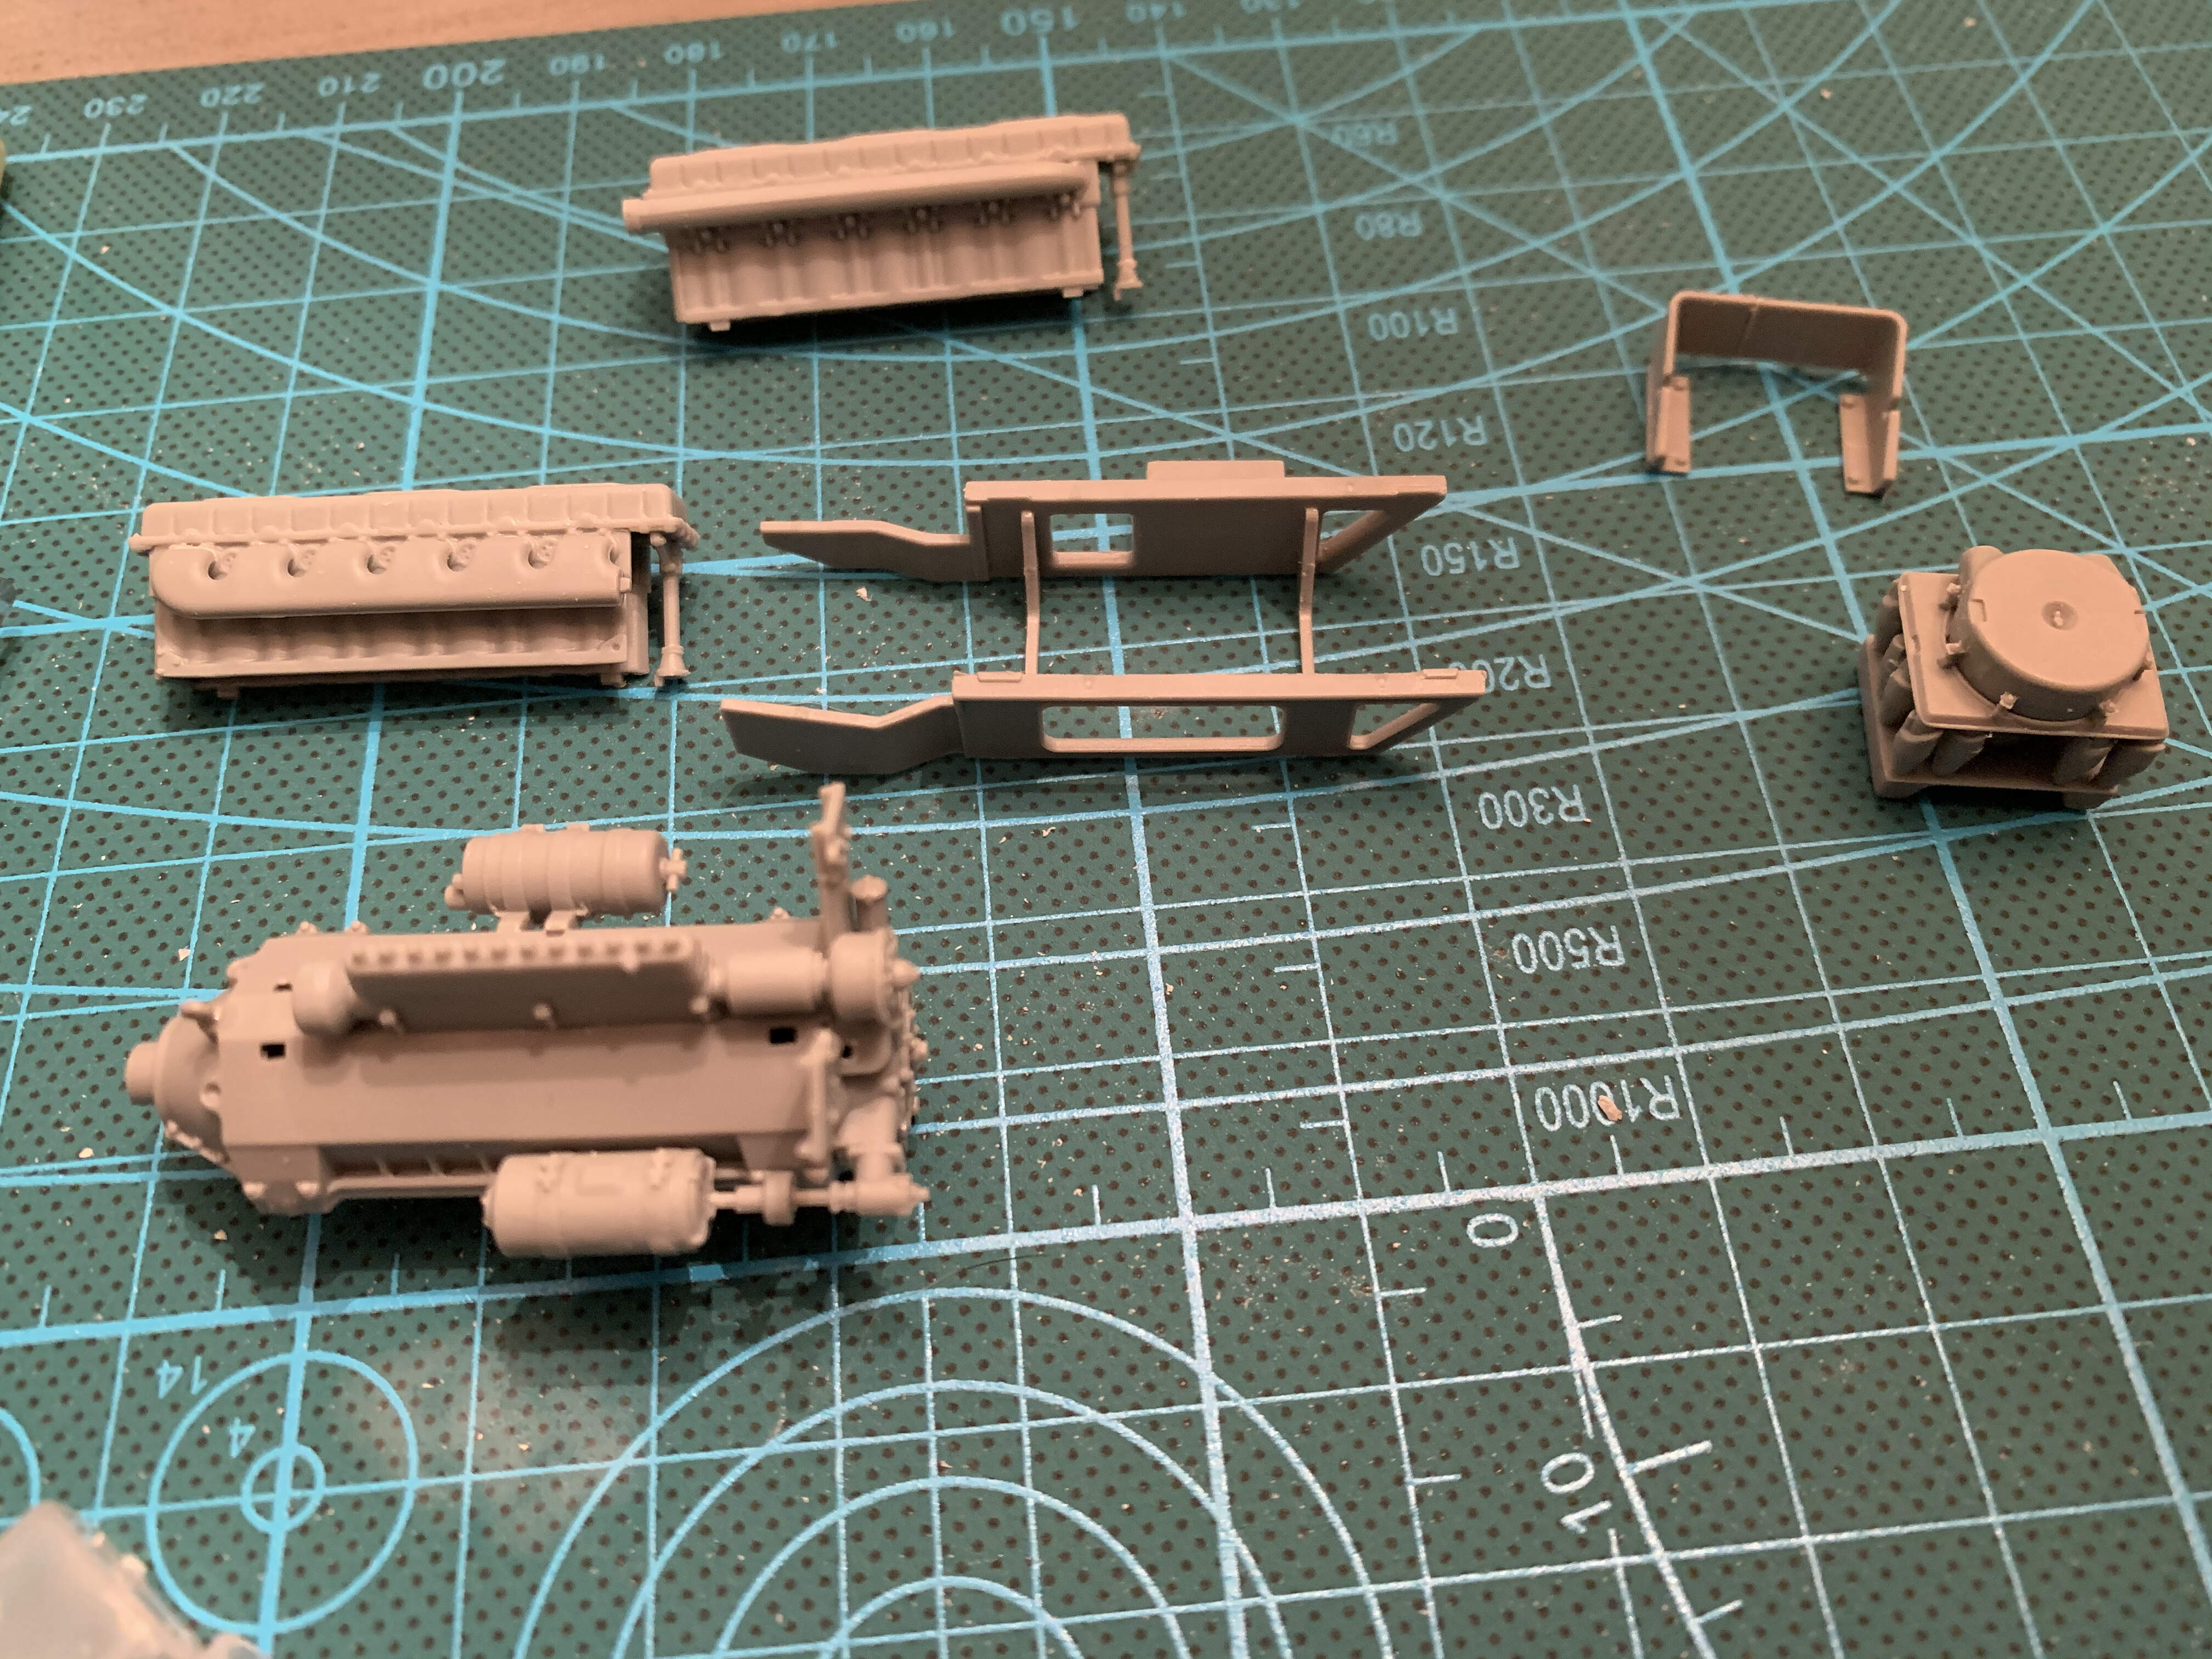
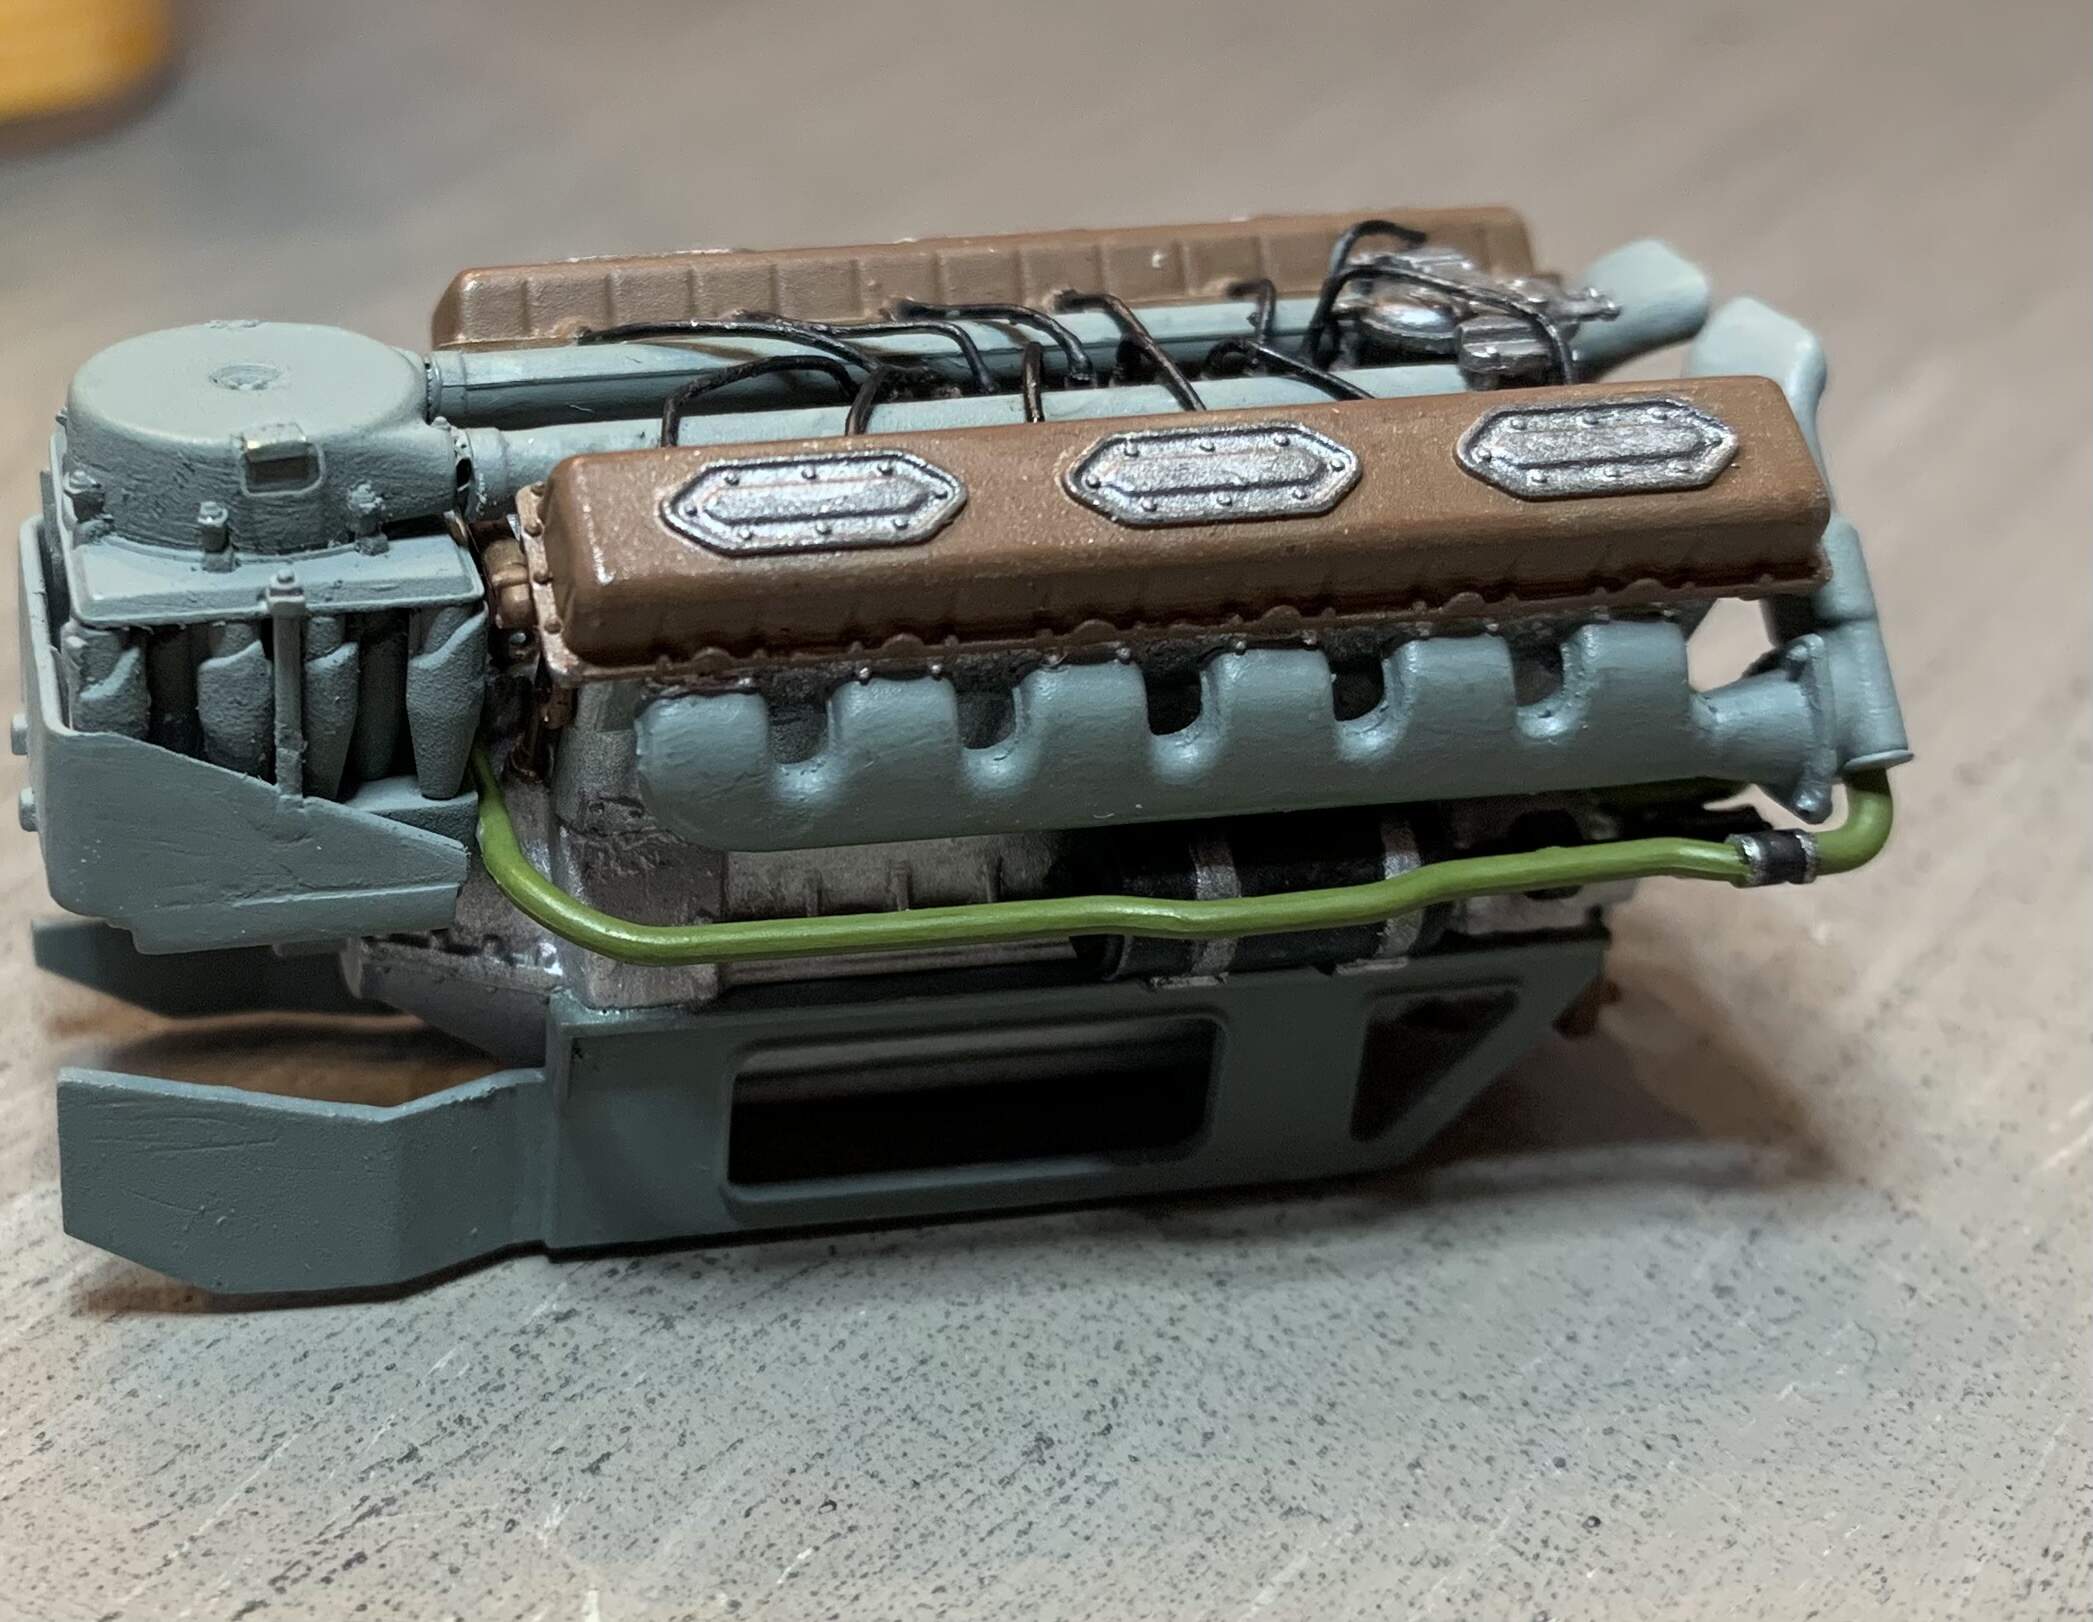
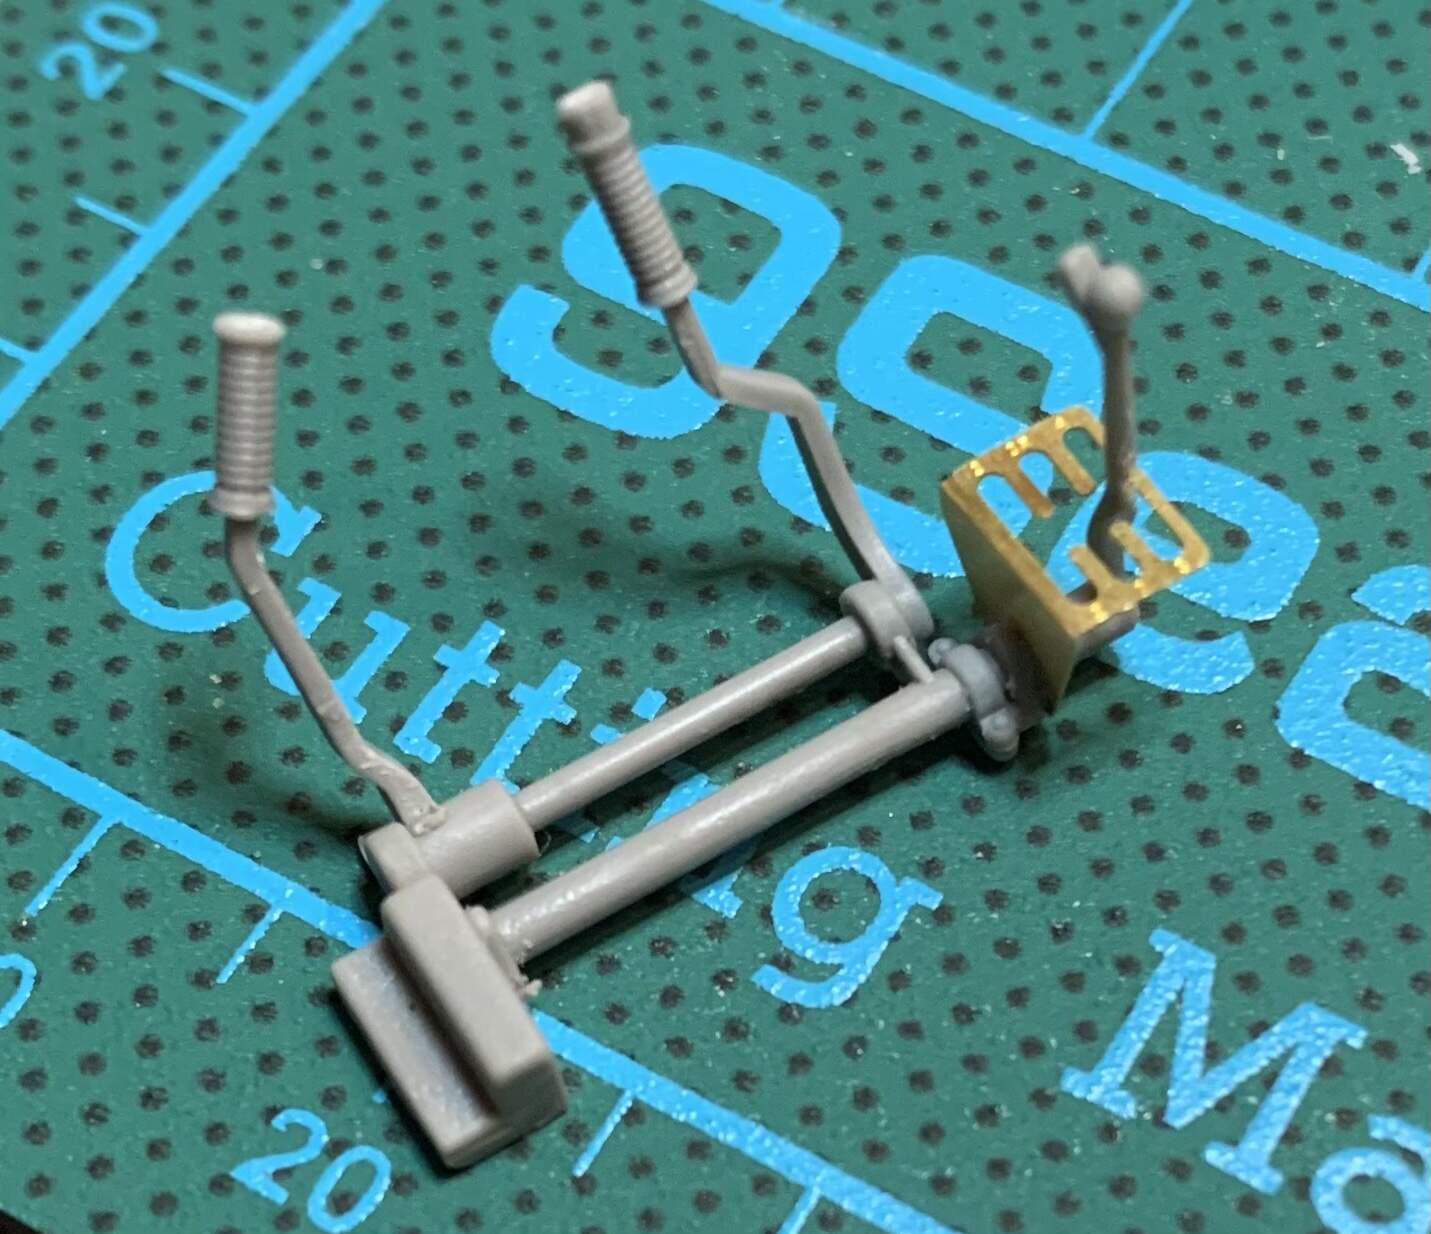
Engine has been mostly assembled (minus tubing as I don’t want to lose it) keeping sub-assemblies separate for painting. I hope to paint the engine this weekend. One small thing I found to be a bit challenging about the engine is that a lot of the sprue attachment points are near fine detail so I had to be careful cleaning them up not to remove detail. So far the kit has nice clean and tight fitting parts
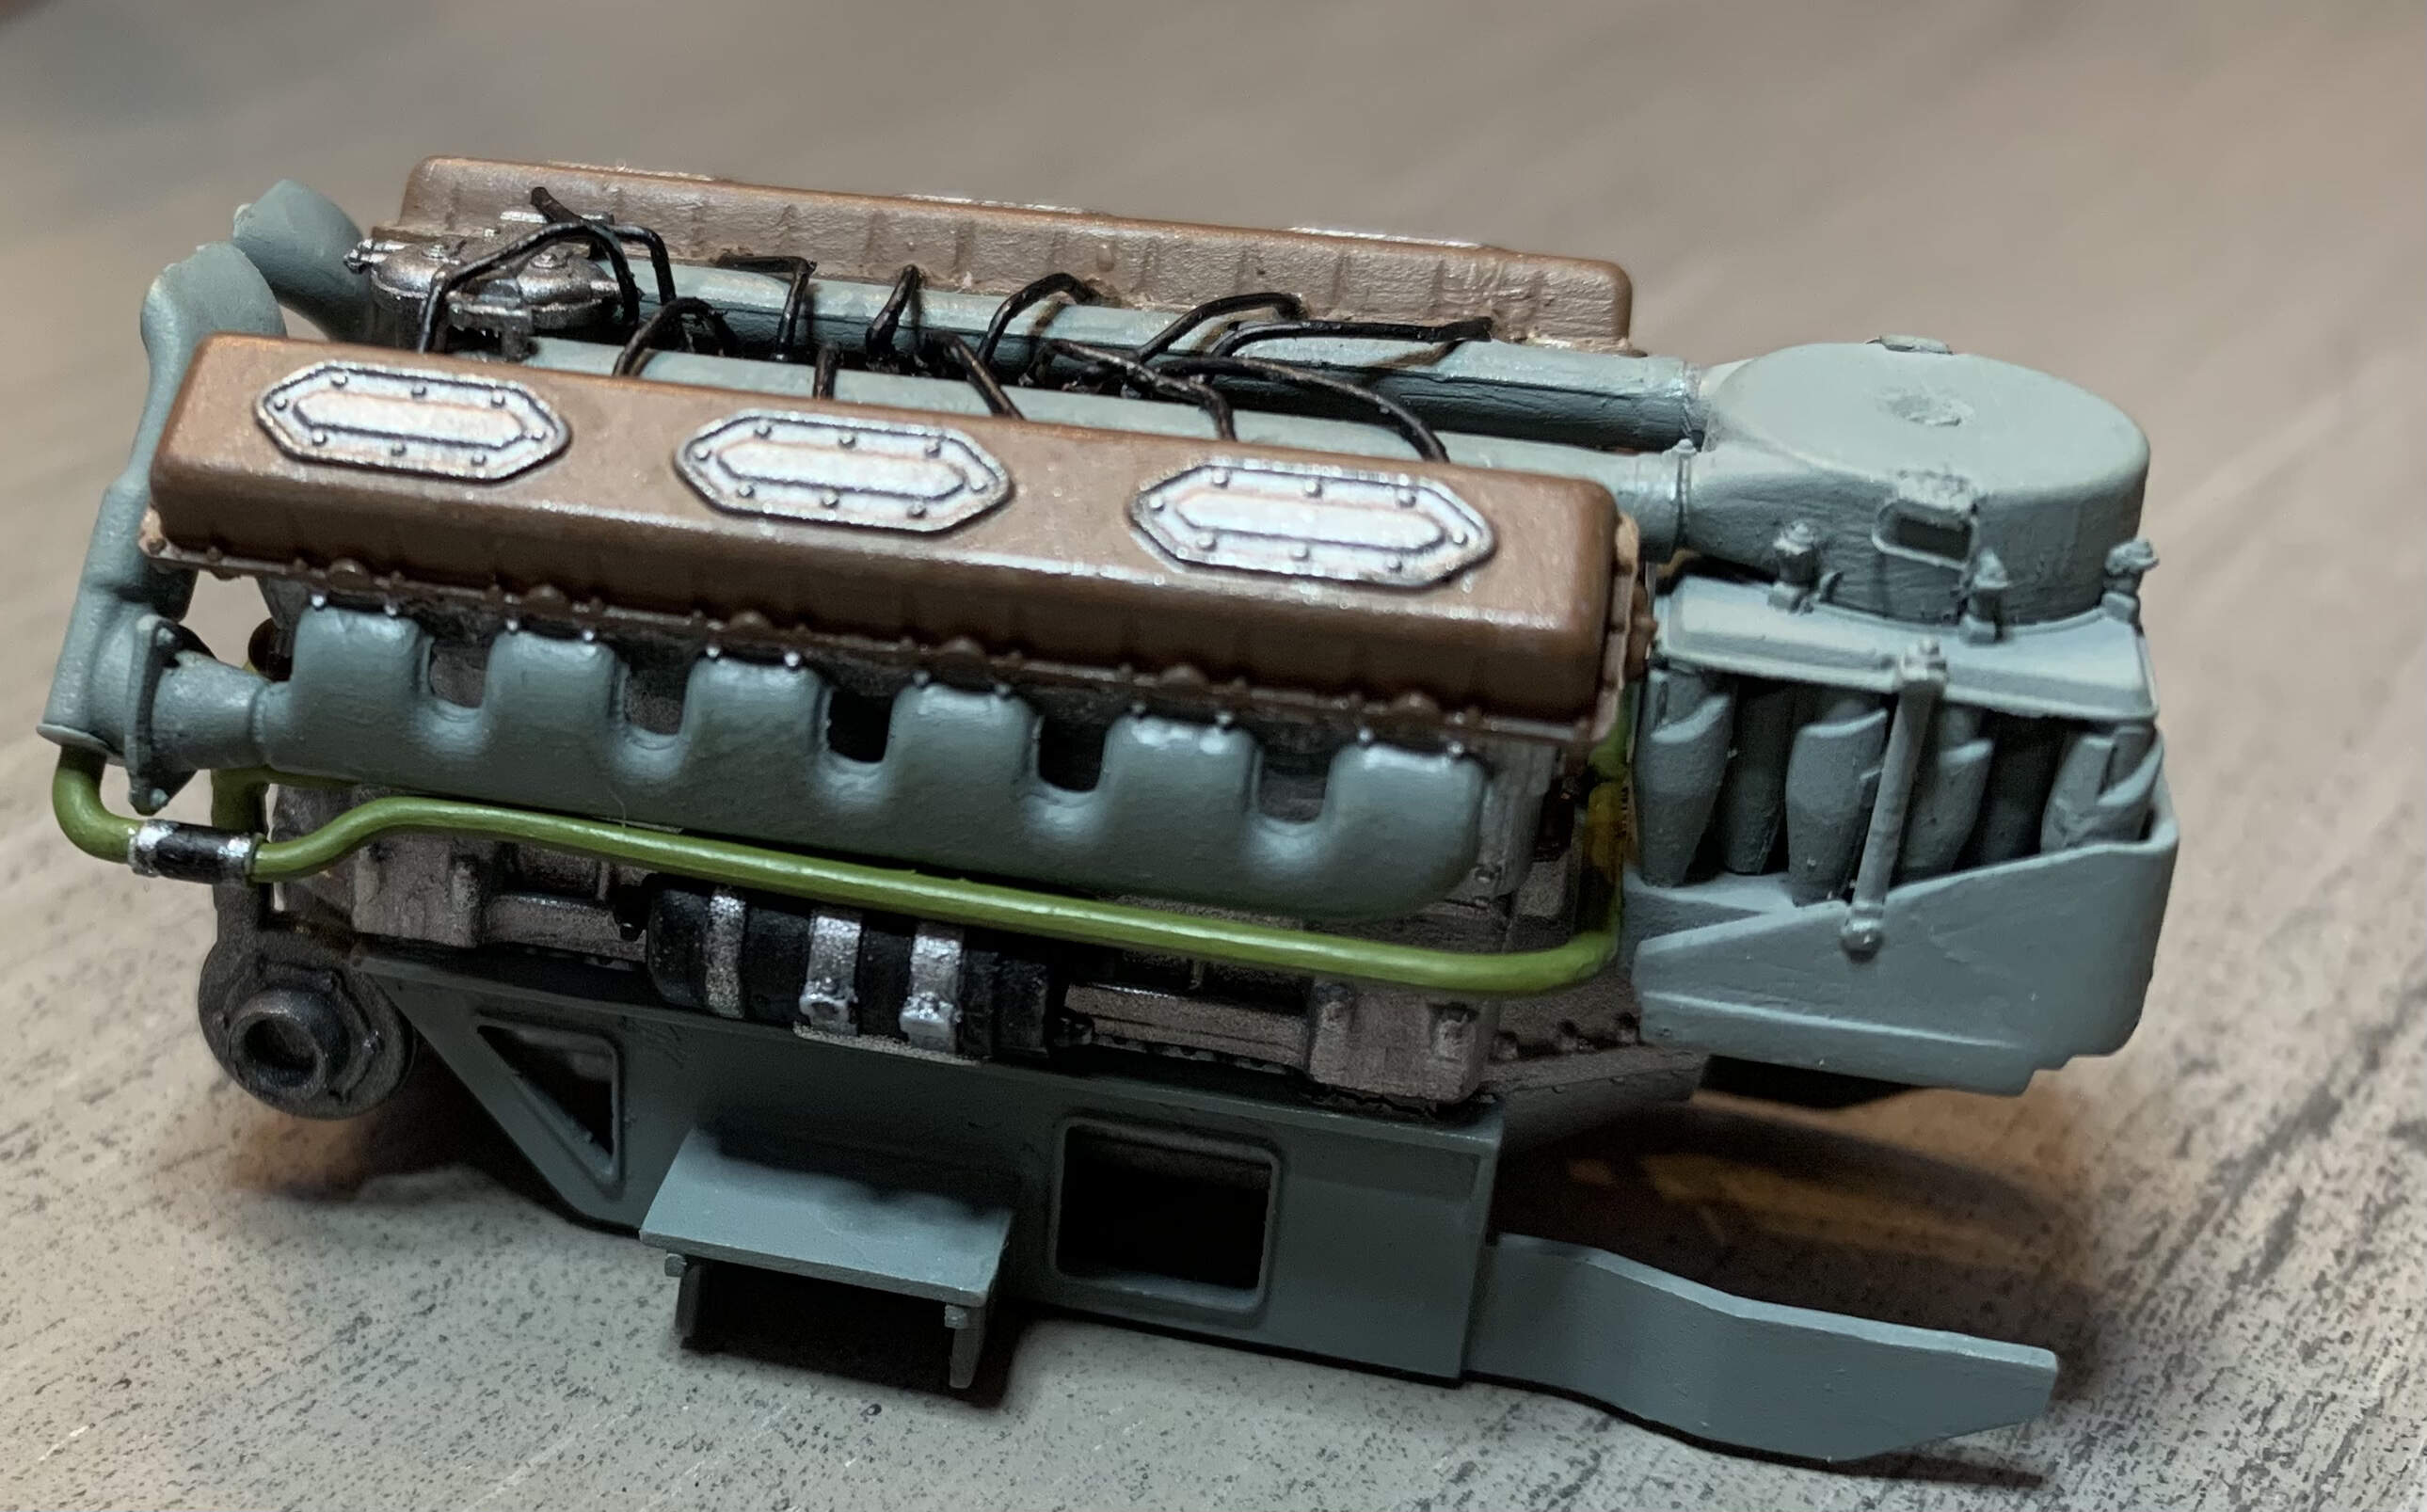
Engine is now fully complete and painted. I do plan to “weather” it a bit by adding grime, a tiny bit of rust, and making it look less brand new. It went together pretty smoothly. Only hiccup was a bad batch primer that peeled and cracked. Took a good amount of time to remove it and I scratched the plastic a tiny bit in places but most of it was hidden upon completion so a cheap lesson to learn.
Thank you! I have a bit of fixing to do I just noticed. A little putty where the air filter connects to the engine exhaust should do the trick. Yes I am planning to leave some things visible.
I have two main ideas. One is a russian crew doing maintenance on the tank allowing hatches and the engine compartment to be open. Two is during the Hungarian uprising a T-54 was captured and brought to the British embassy where they were examined it and took measurements and such. I was thinking of displaying this one with British soldiers/embassy staff and Hungarian civilians investigating bits of the tank again allowing hatches and engine deck to be open. Seems a shame to paint all these things then cover them up
That is the one I am leaning towards! Just having some issues finding suitable figures for it. The civilians should be easy enough but struggling finding British soldiers and officers from the period
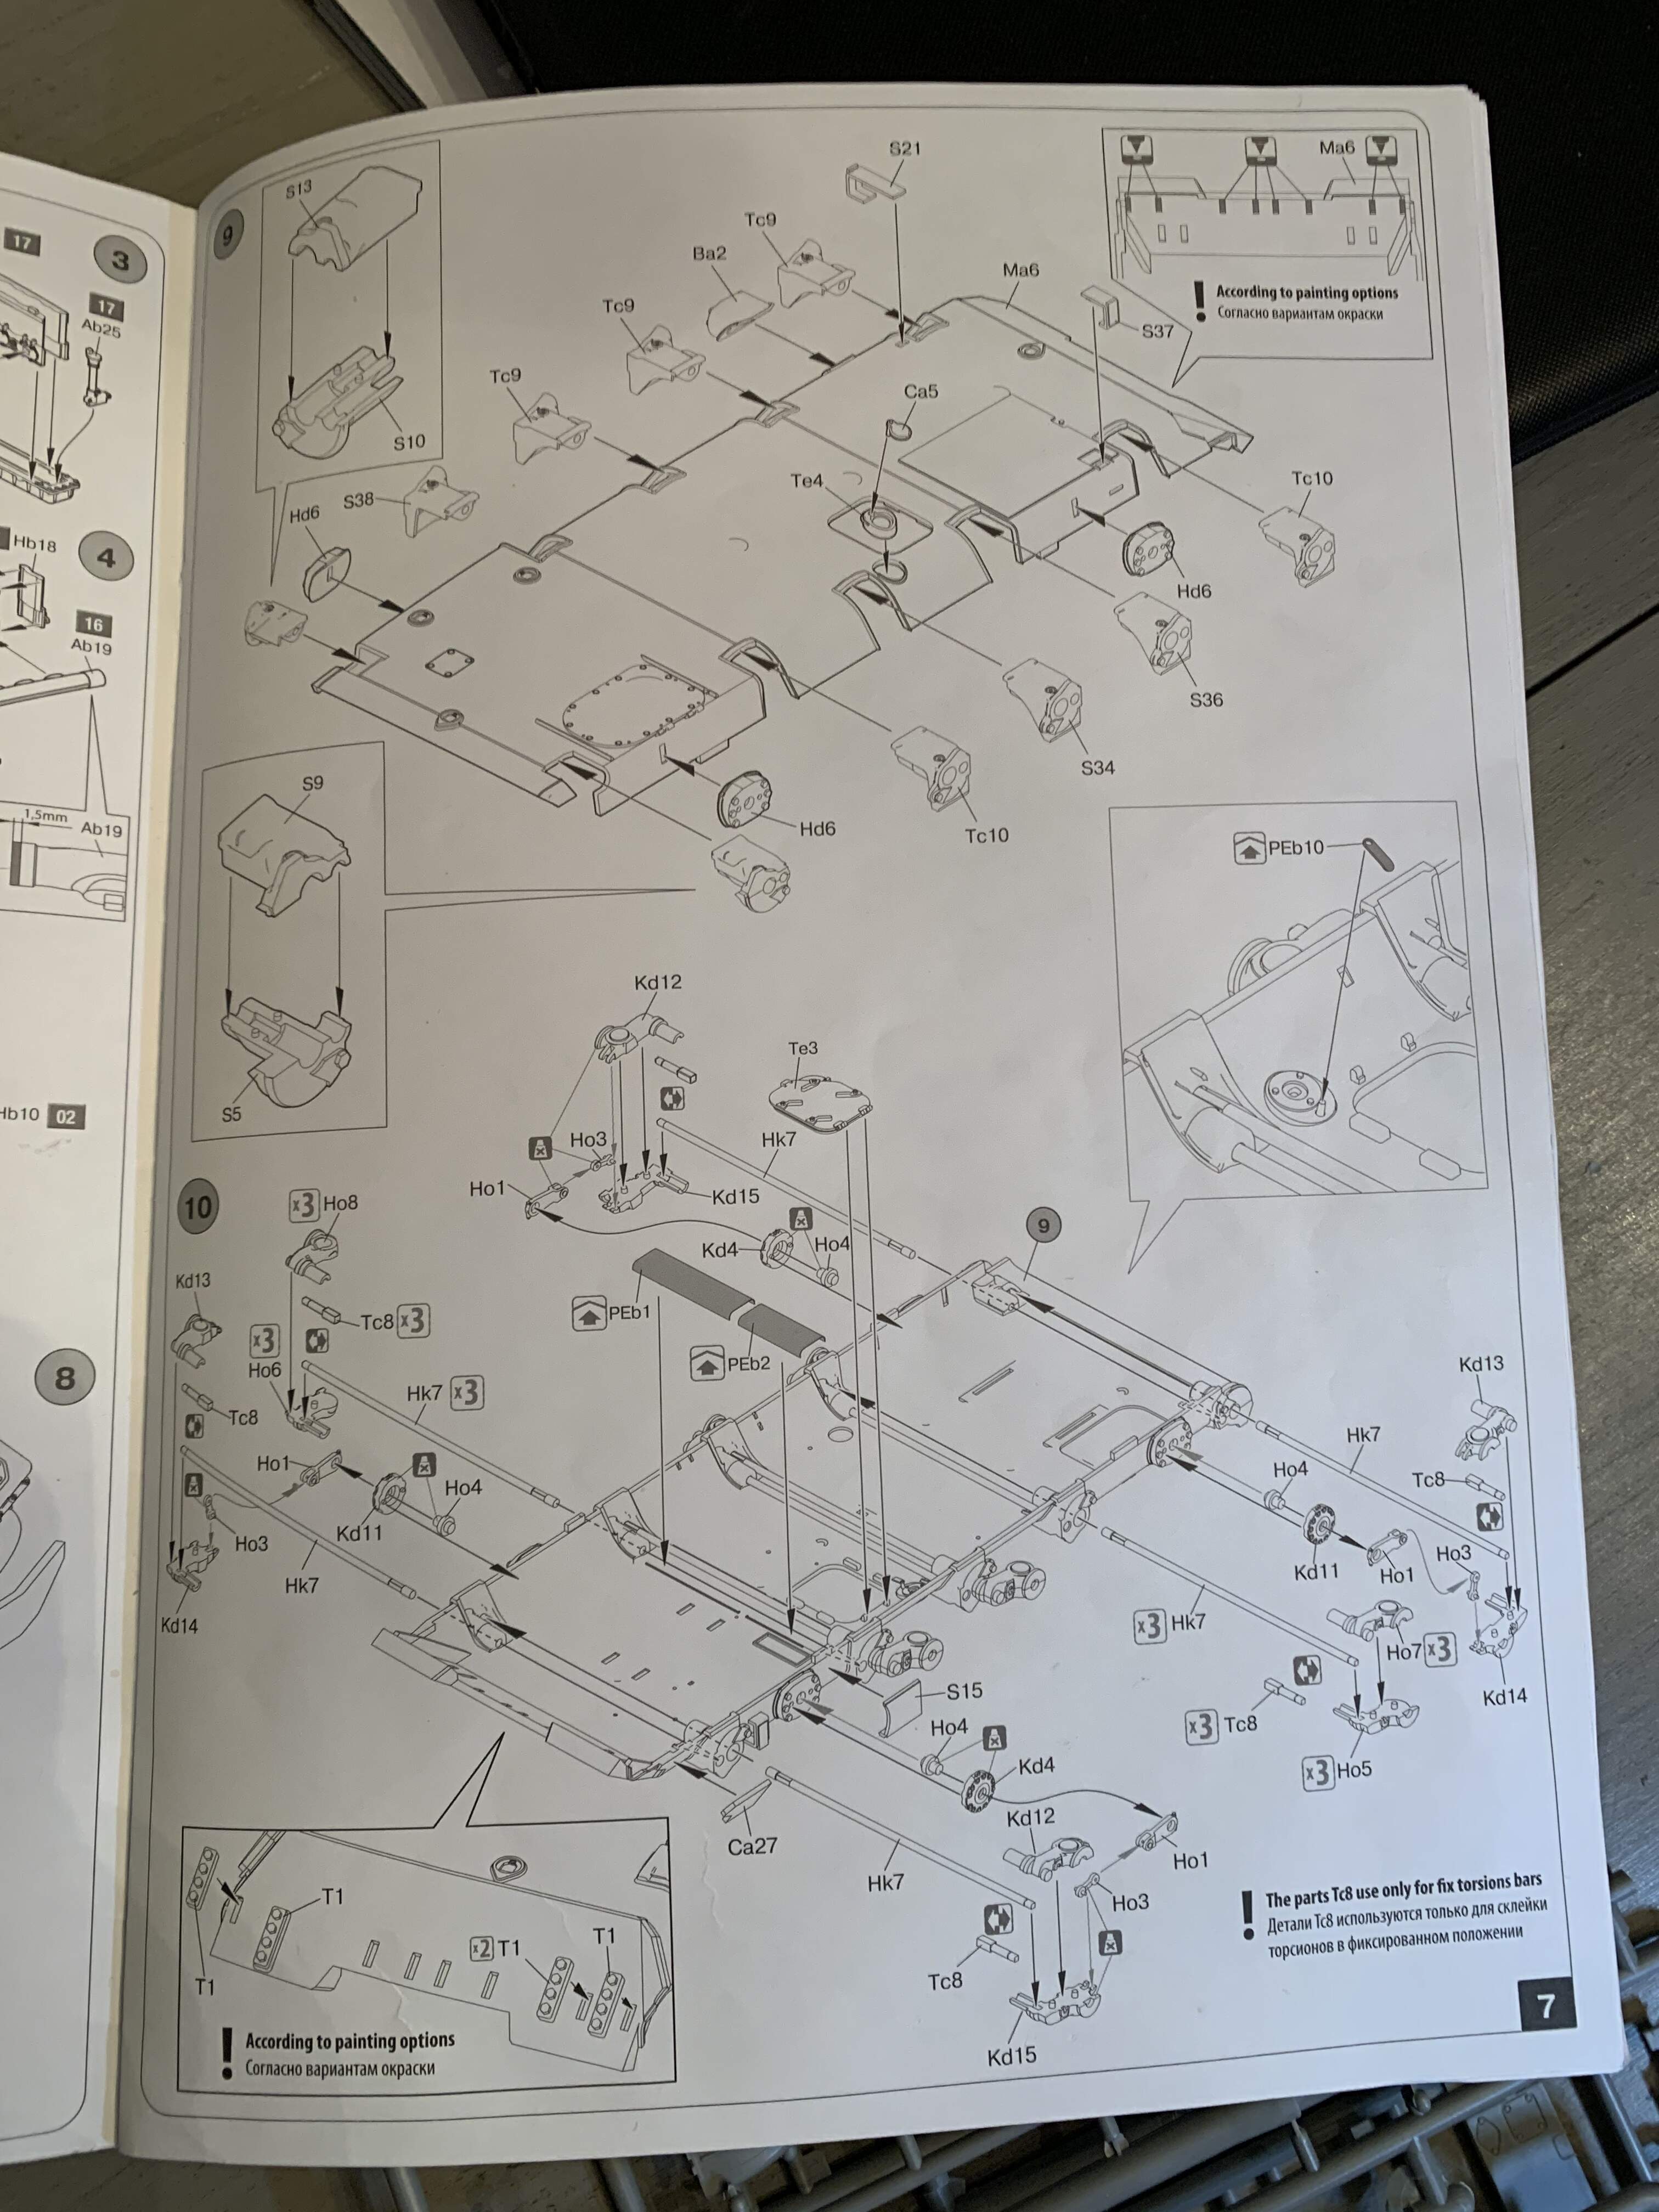
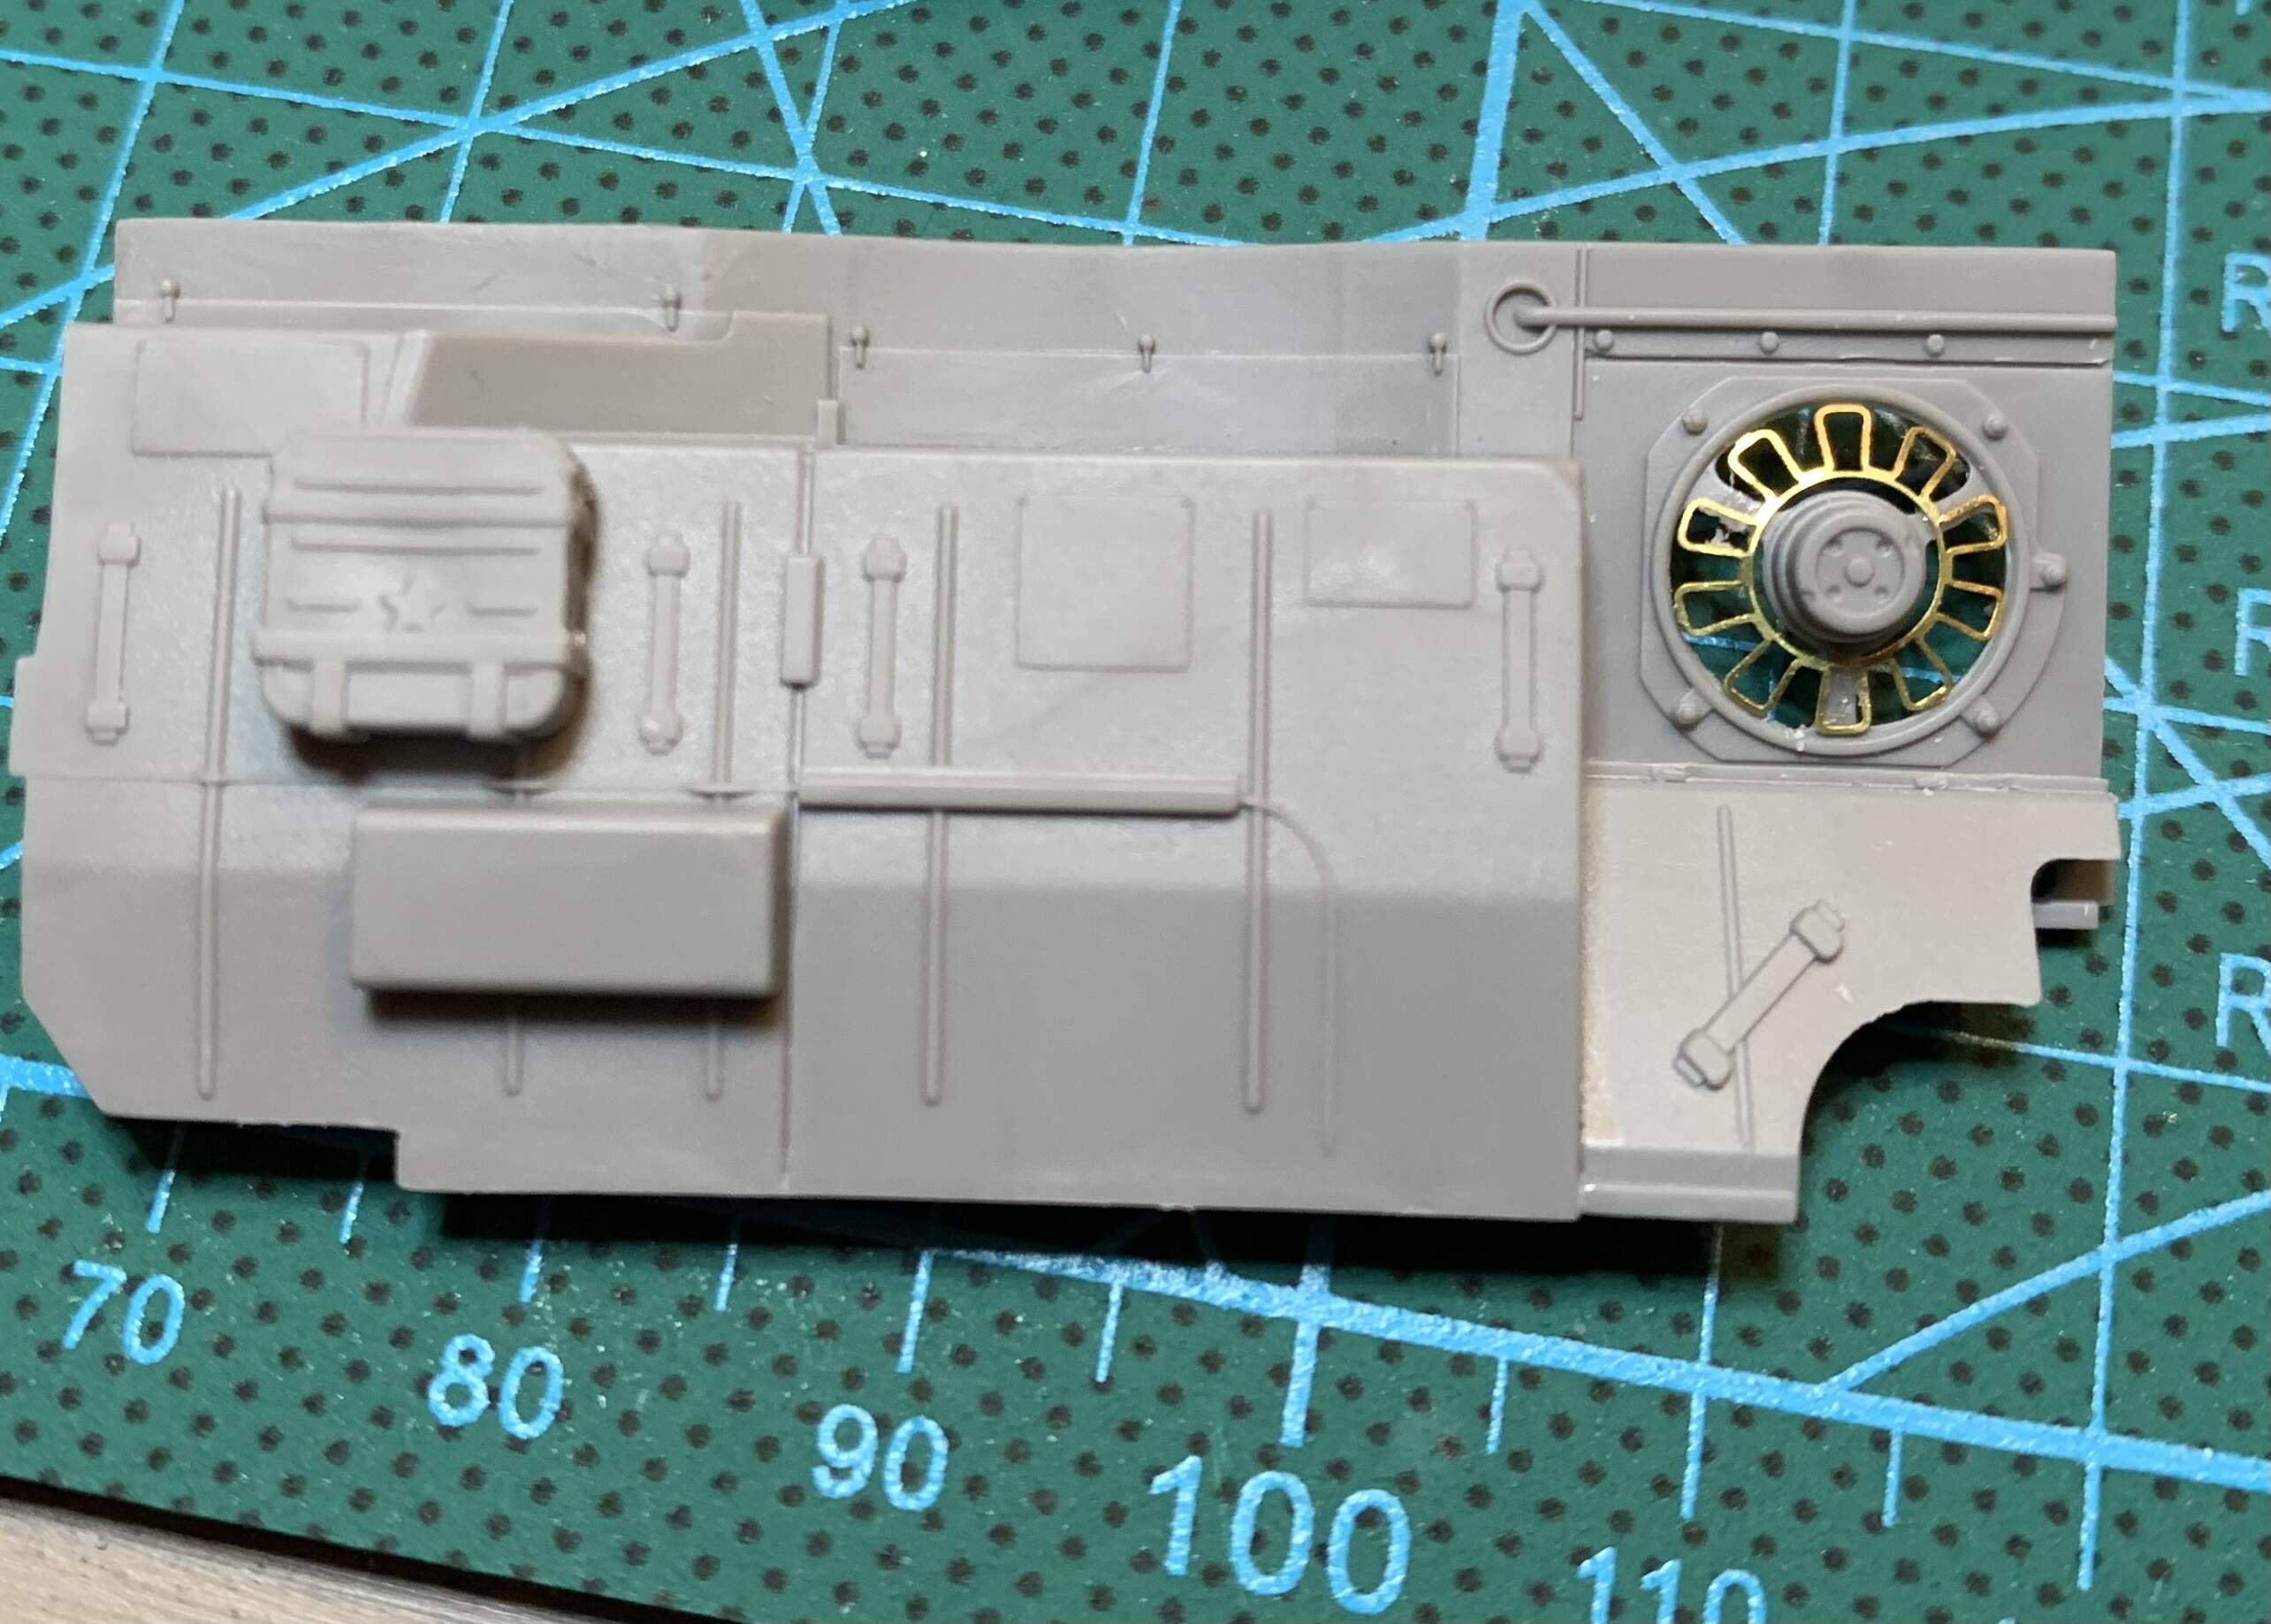
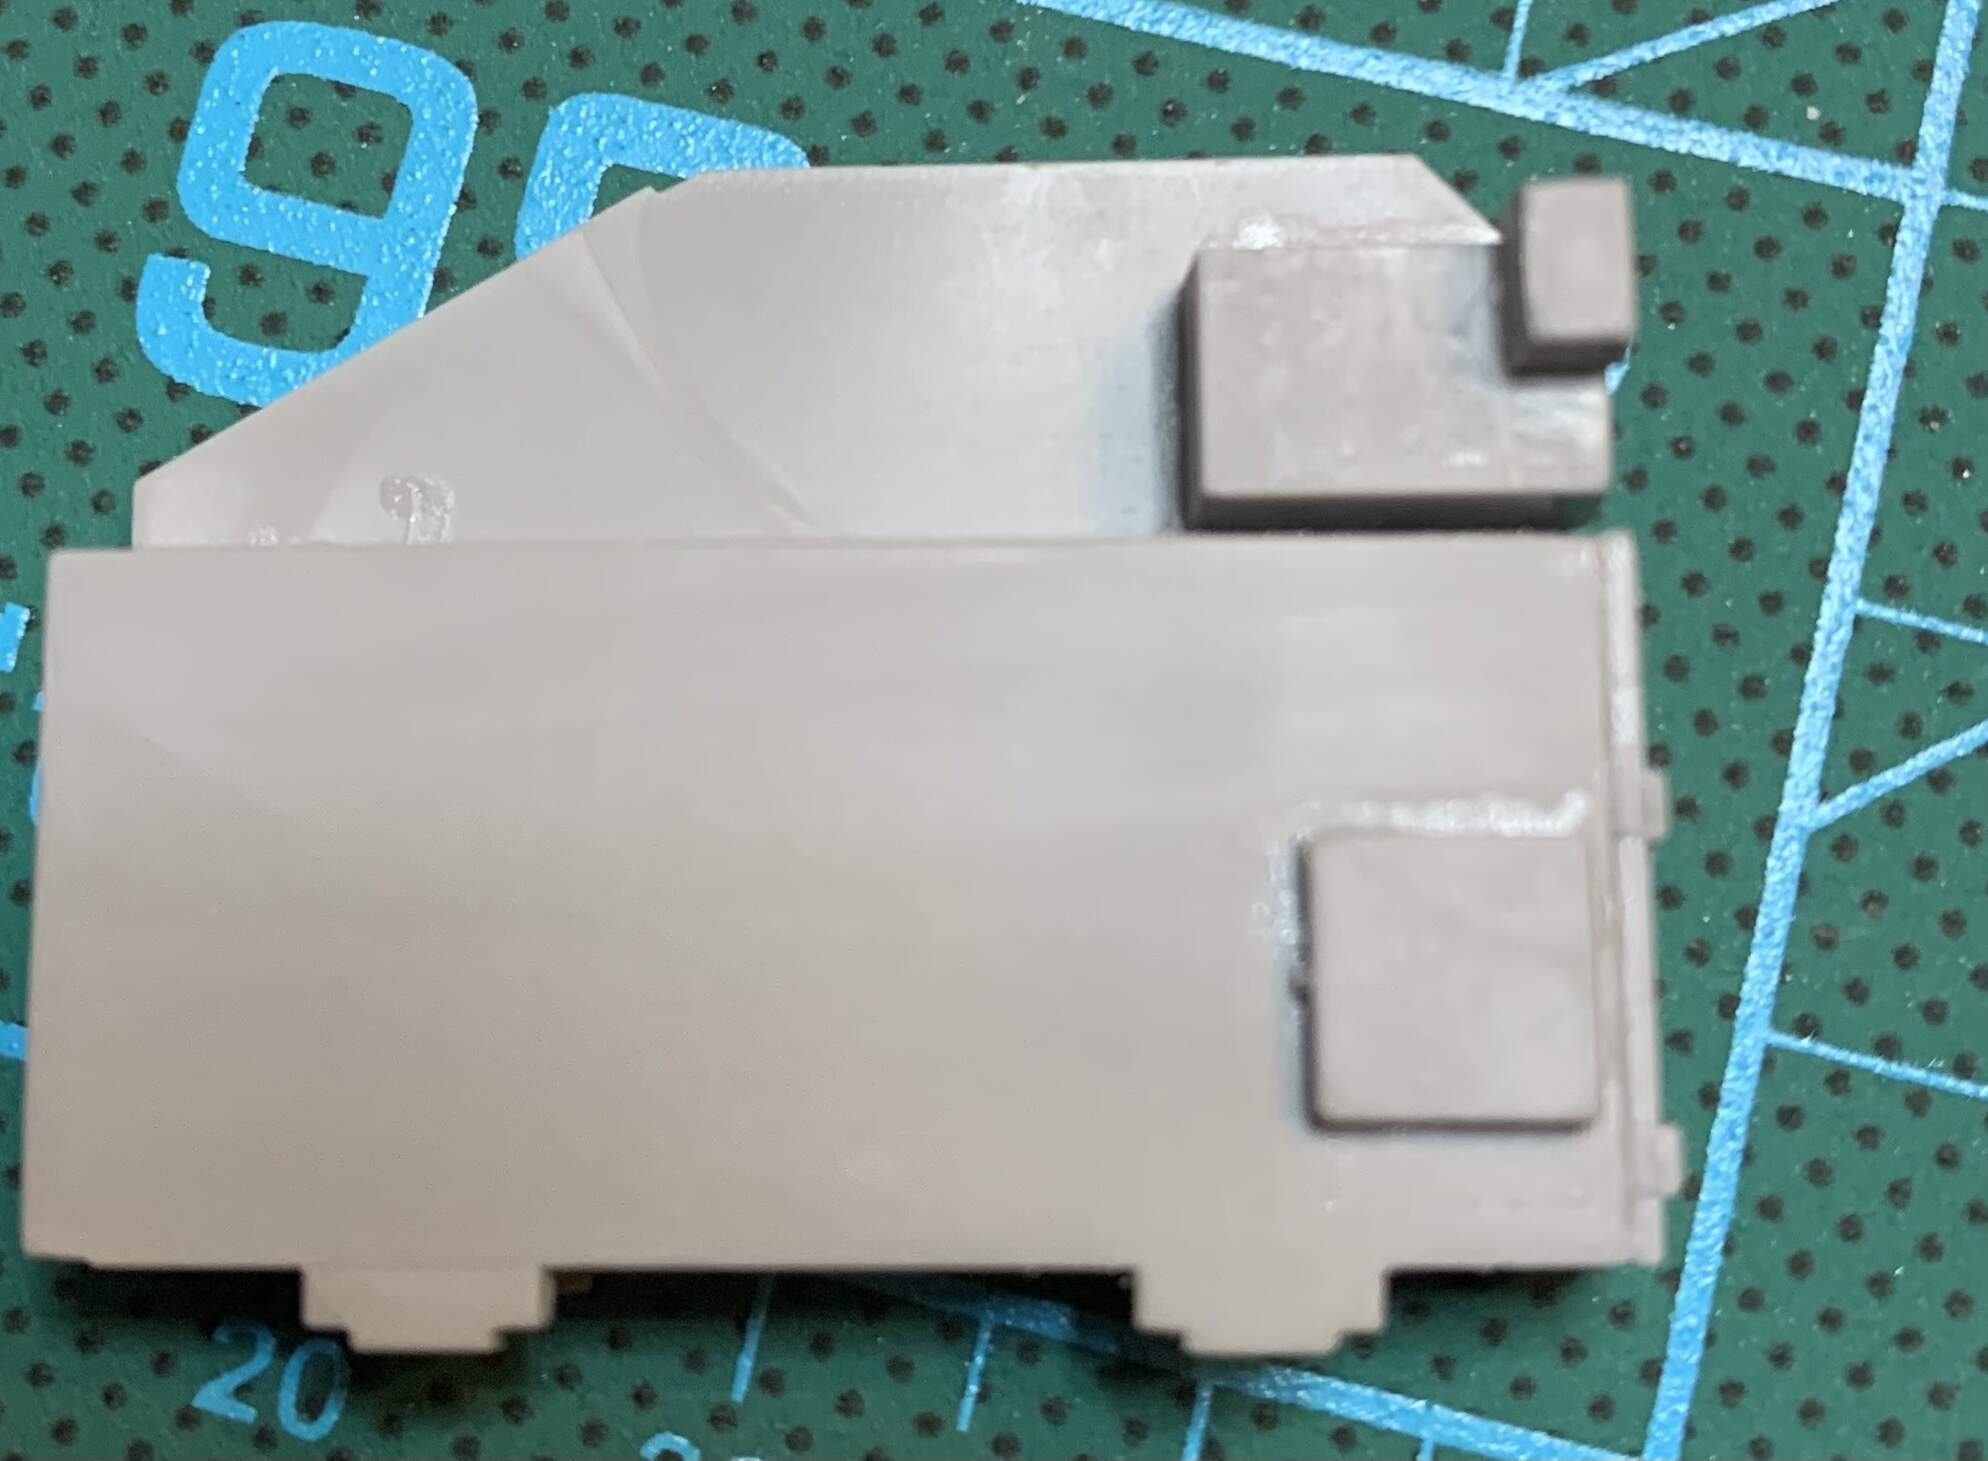
However, many people have discussed how challenging it is to align the mounts properly, which if done incorrectly will throw off the entire wheel and track alignment. The hypothesis is the flimsy hull base is to hard to keep square to the swing arms. At the suggestion to build the hull tub first and only attach the suspension system once the hull has been made more rigid, ive moved in to some of the interior sub assemblies. So far I have;
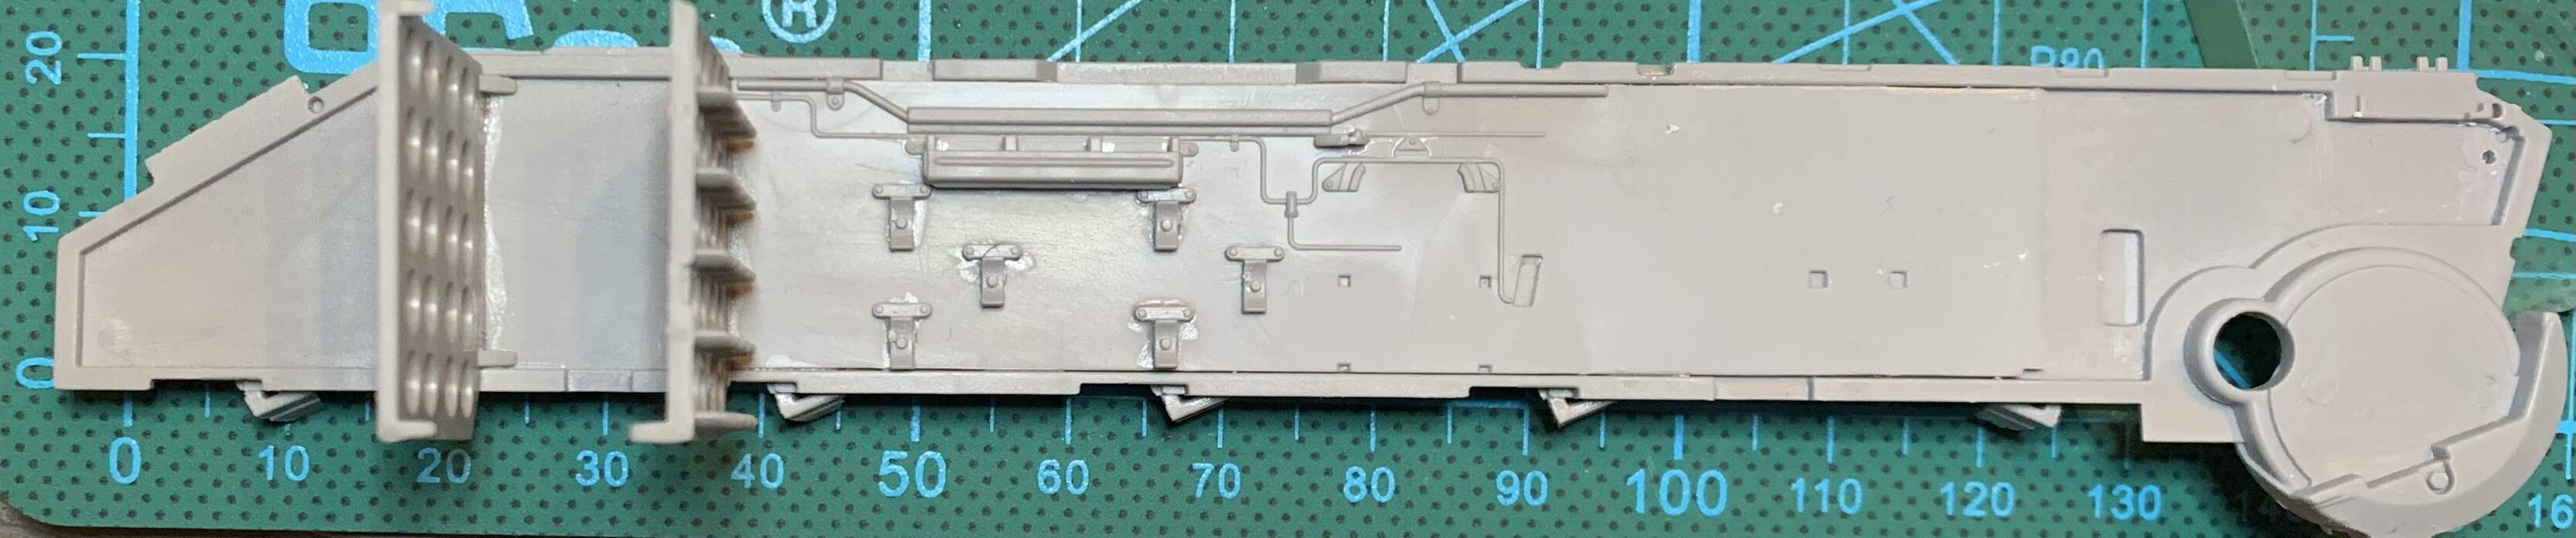
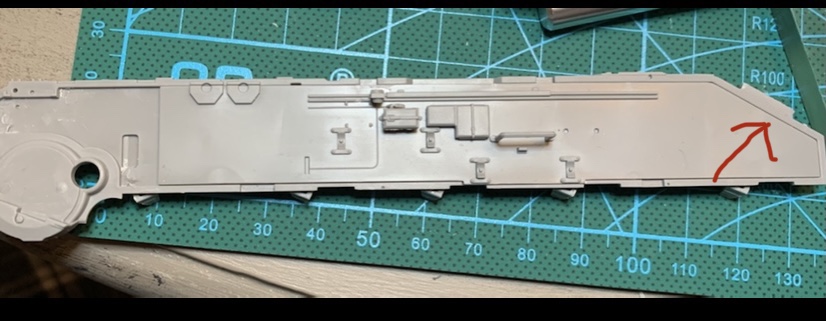
All of these will be primed and painted before being attached to anything else. One question I had before that is of these gaps need to be filled with putty or if they are supposed to be there? I’m leaning towards they need to be filled, but the fit was rather loose so maybe they are intentional.
Looking good. I built the sides, front, rear, and hull bottom all together, leaving the inner wall panels out until after painting. As to the gaps, they are not really there, but cannot be seen once inside the hull.