Hi everybody.
After my Tempest has been sheltered inside my display case, sitting next to my Mosquito (who knows if they might have been cheek to cheek on some airfield during WWII), I’d like to move on to the build of this aircraft, another great protagonist of the war. The kit I chose to represent it, in my favourite scale 1/32, is Tamiya’s 60318
This:

First of all, let me share a question that comes to mind every time I open a Tamiya box (Watch guys, you know, this isn’t a new externation of mine, but let me repeat myself one more time): WHY? Why is it that so many other manufacturers don’t even come close to Tamiya when it comes to engineering, precision, and ease of assembly?
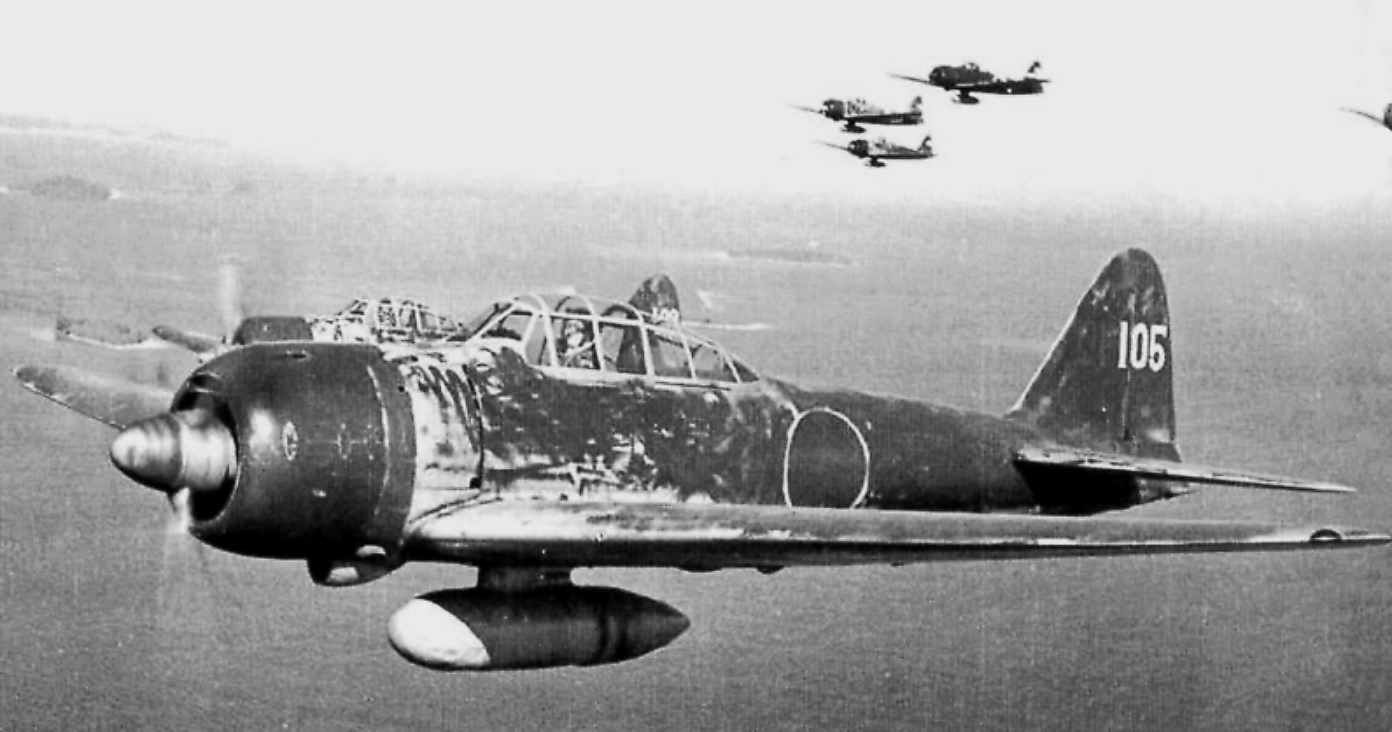
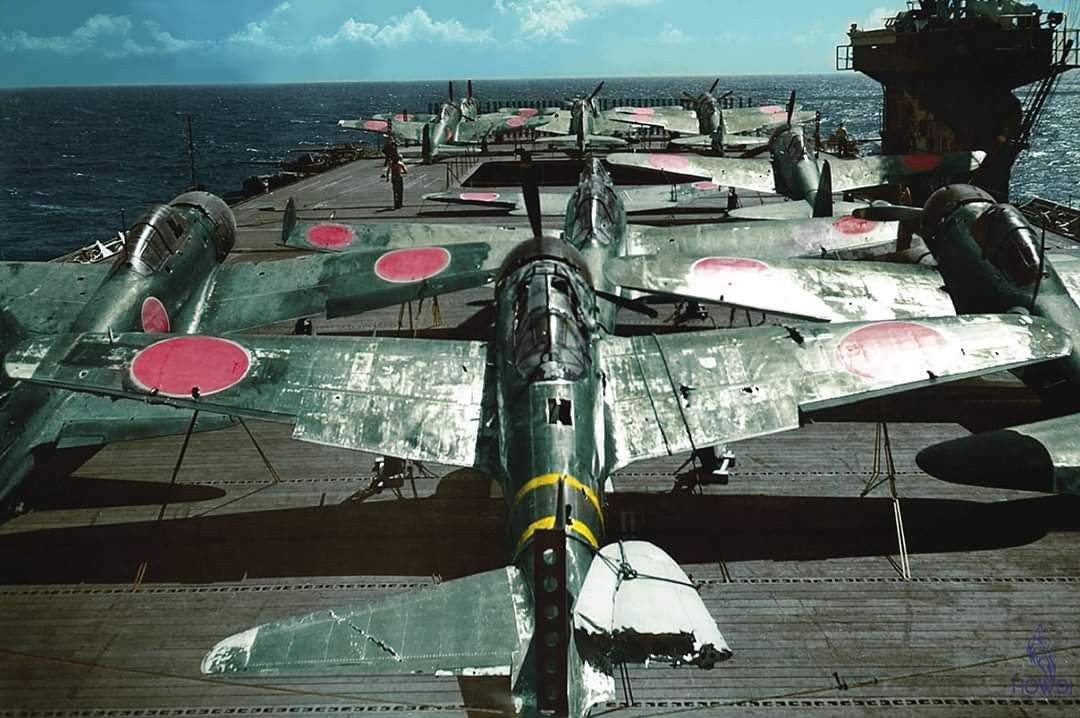
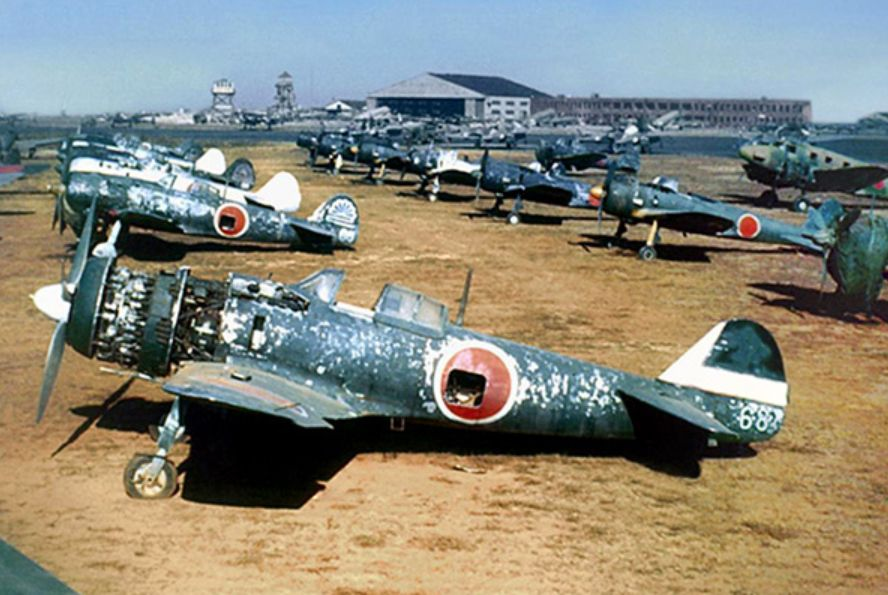
That said, let’s talk about the build. My first concern has been to choose the specimen I was most drawn to. This is important because, as you know, the painting will vary depending on the factory where the aircraft was produced. The Zero is obviously a Mitsubishi design, but due to the high demands of the Imperial Japanese Navy, Nakajima also built it under license. And, as mentioned, the paint schemes weren’t exactly the same.
Therefore, the Tamiya kit instructions are not valid for all aircraft in the sense explained above. Speaking of paints, Mr. Paint offers a very complete range of IJN colors, differentiated between Mitsubishi- and Nakajima-produced aircraft. This is the range I will use for my work.
My choice fell on a Mitsubishi-produced aircraft (the kit instructions don’t make this distinction, so the attribution comes from my own research), the 653-111. Unlike Nakajima, Mitsubishi painted all the internal surfaces—except for the cockpit—in the same color as the undersides, which moreover differed from the shade used by Nakajima.
In my case, therefore, the undersides, the inside of the gear doors, and the wheel wells will be in MRP 428,

with only the control surfaces in MRP 427.

However, I think that both the lower and upper control surfaces (which were fabric-covered) will more realistically receive a slightly desaturated version of their respective camouflage colors.
The cockpit will be MRP 413

the fuselage interior NM/Aluminium, and the upper surfaces MRP 424.

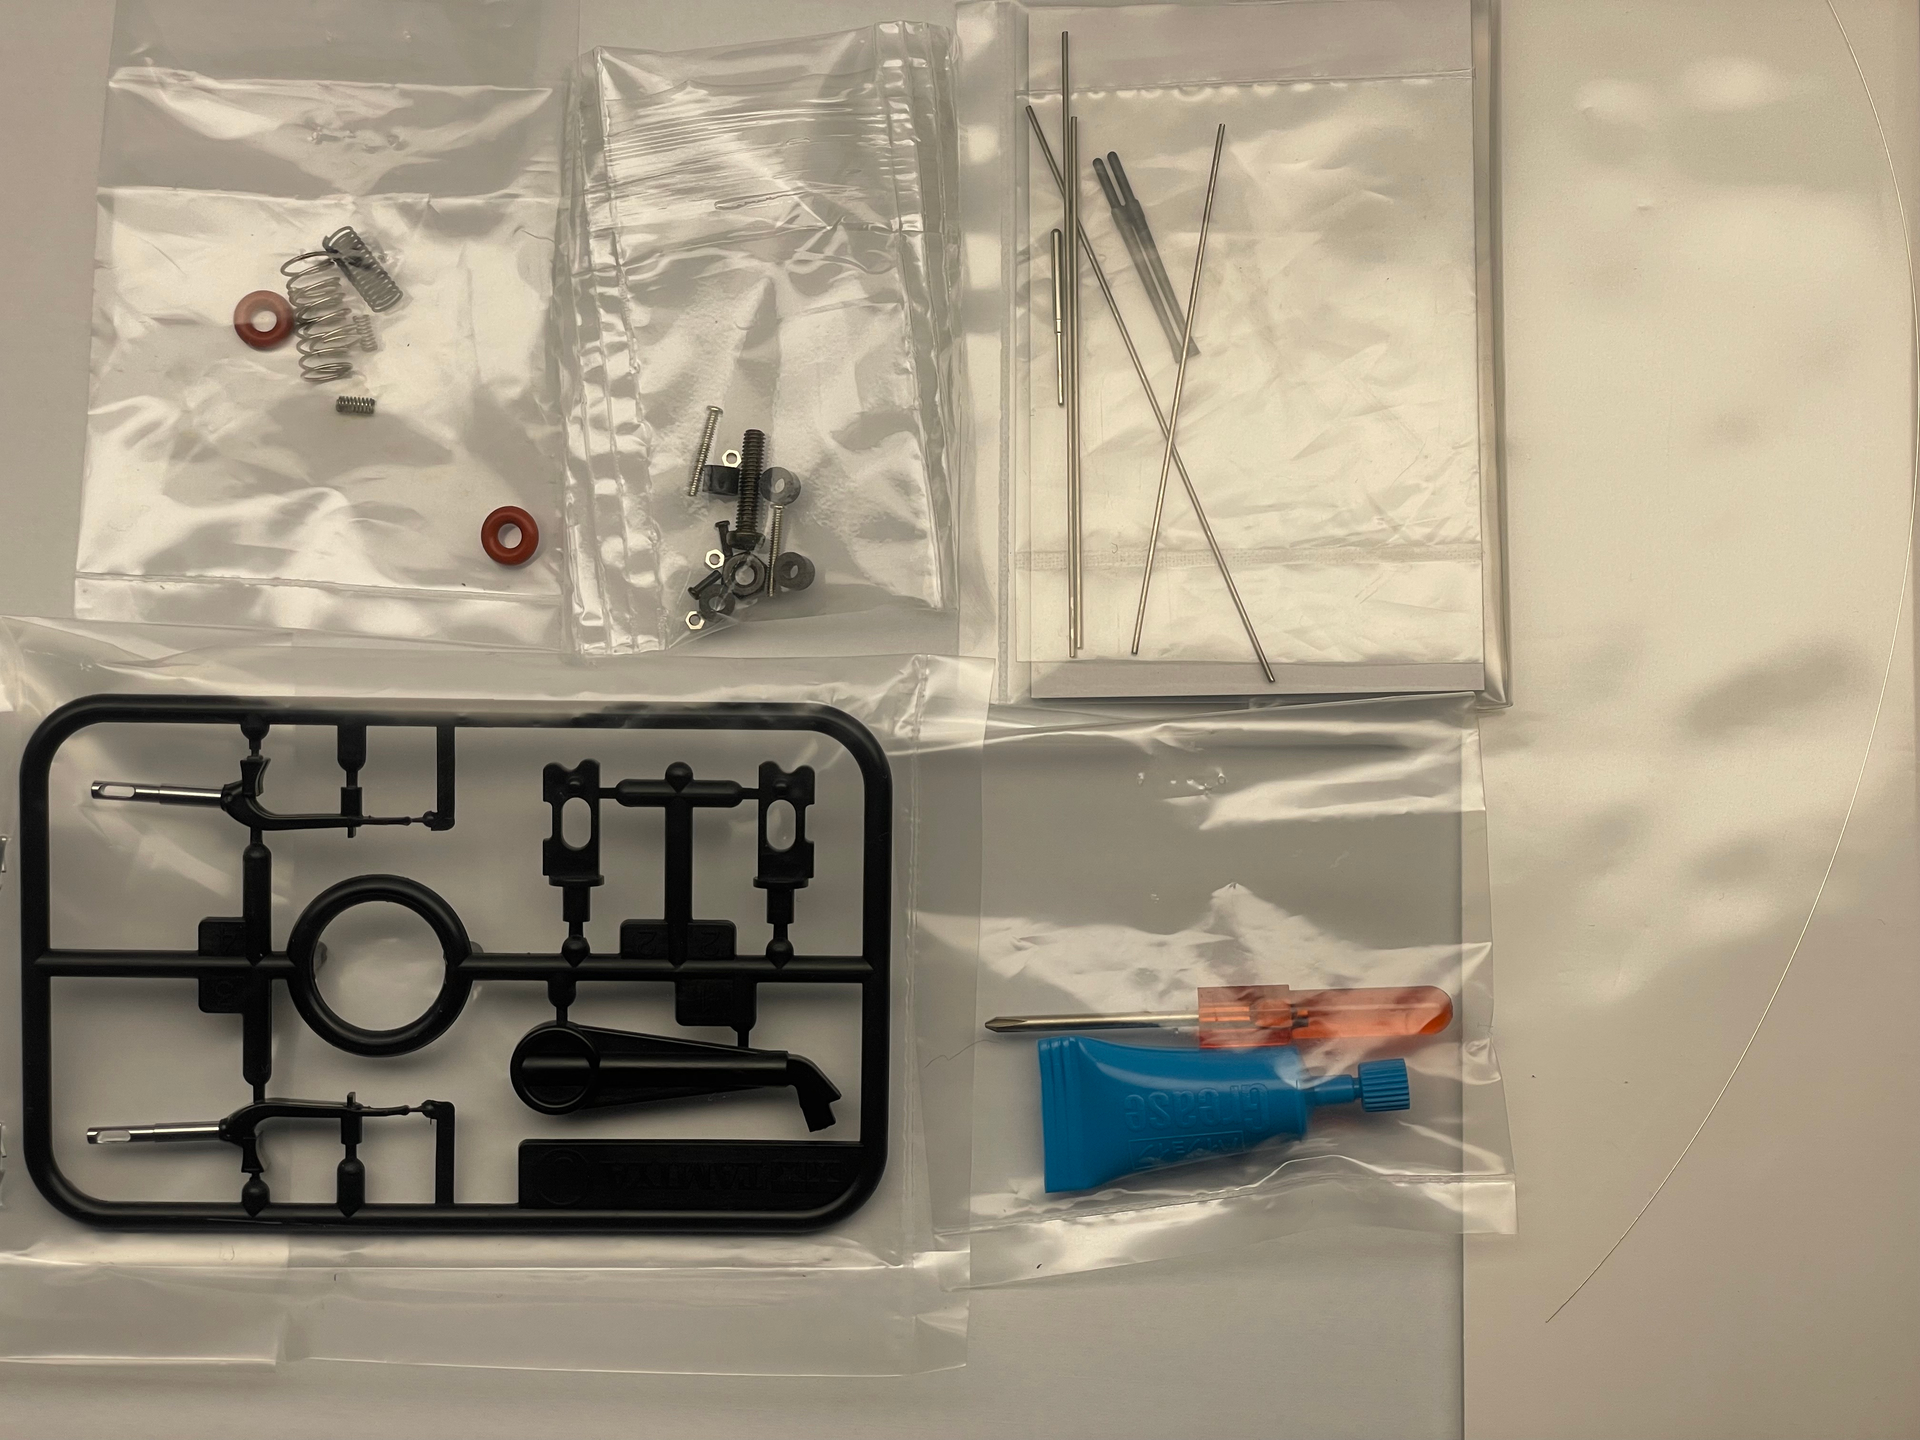
As aftermarket additions, I opted for a Quinta Studio set for the cockpit interiors, Montex masks for the national insignia, identification numbers and the canopy, and a Master set for the armaments and pitot tube — even though these are already included in metal within the box, together with an endless number of tubes, screws, and springs that will serve, among the many features of this wonderful kit, to make both landing gears retractable once the build is completed!!!

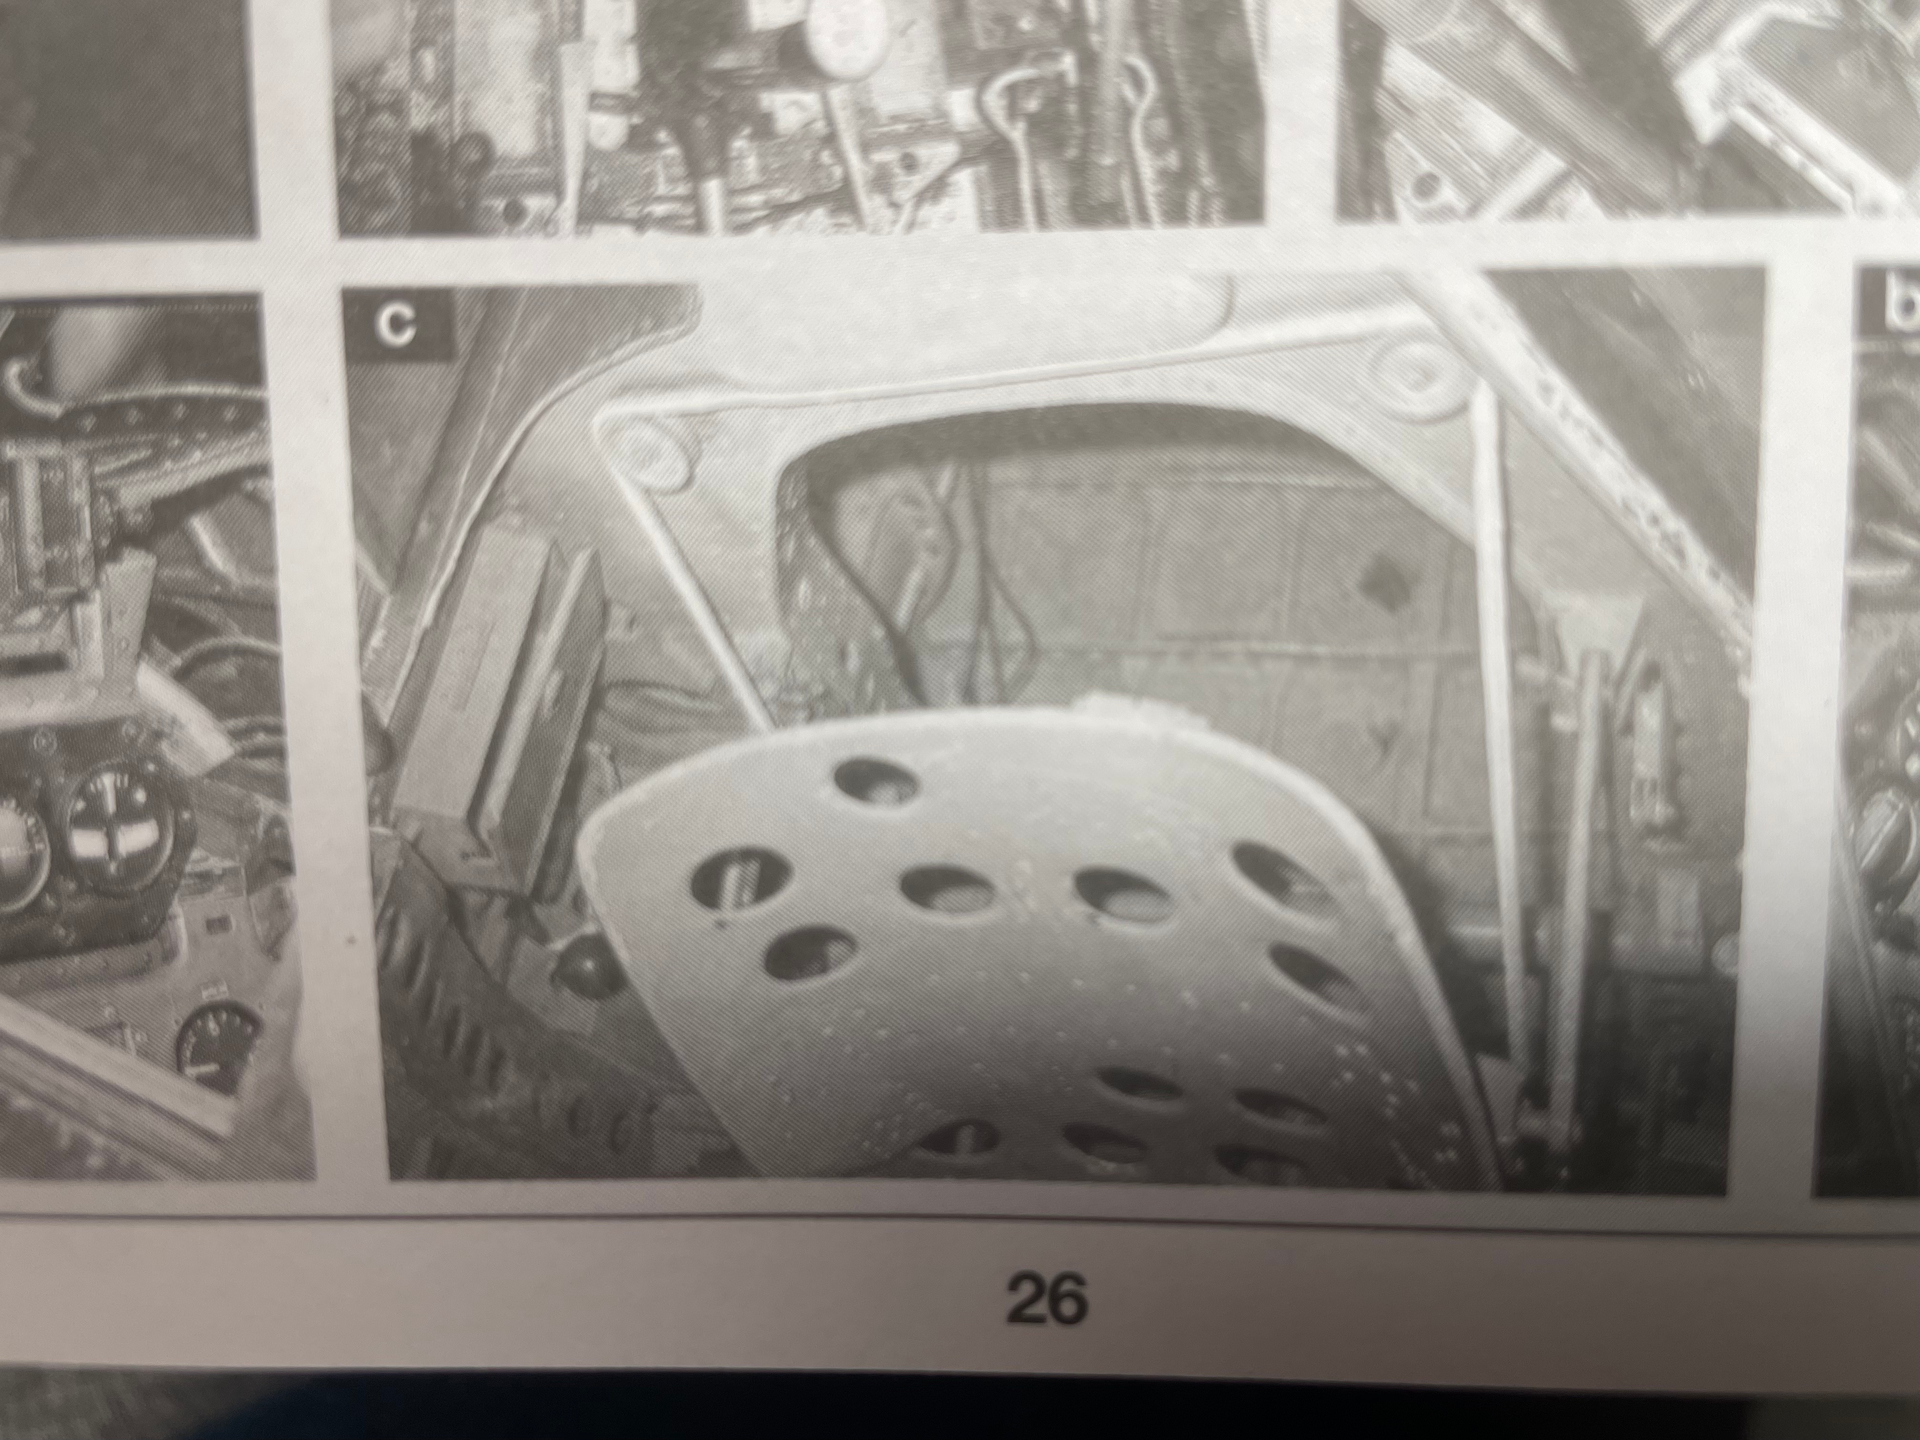
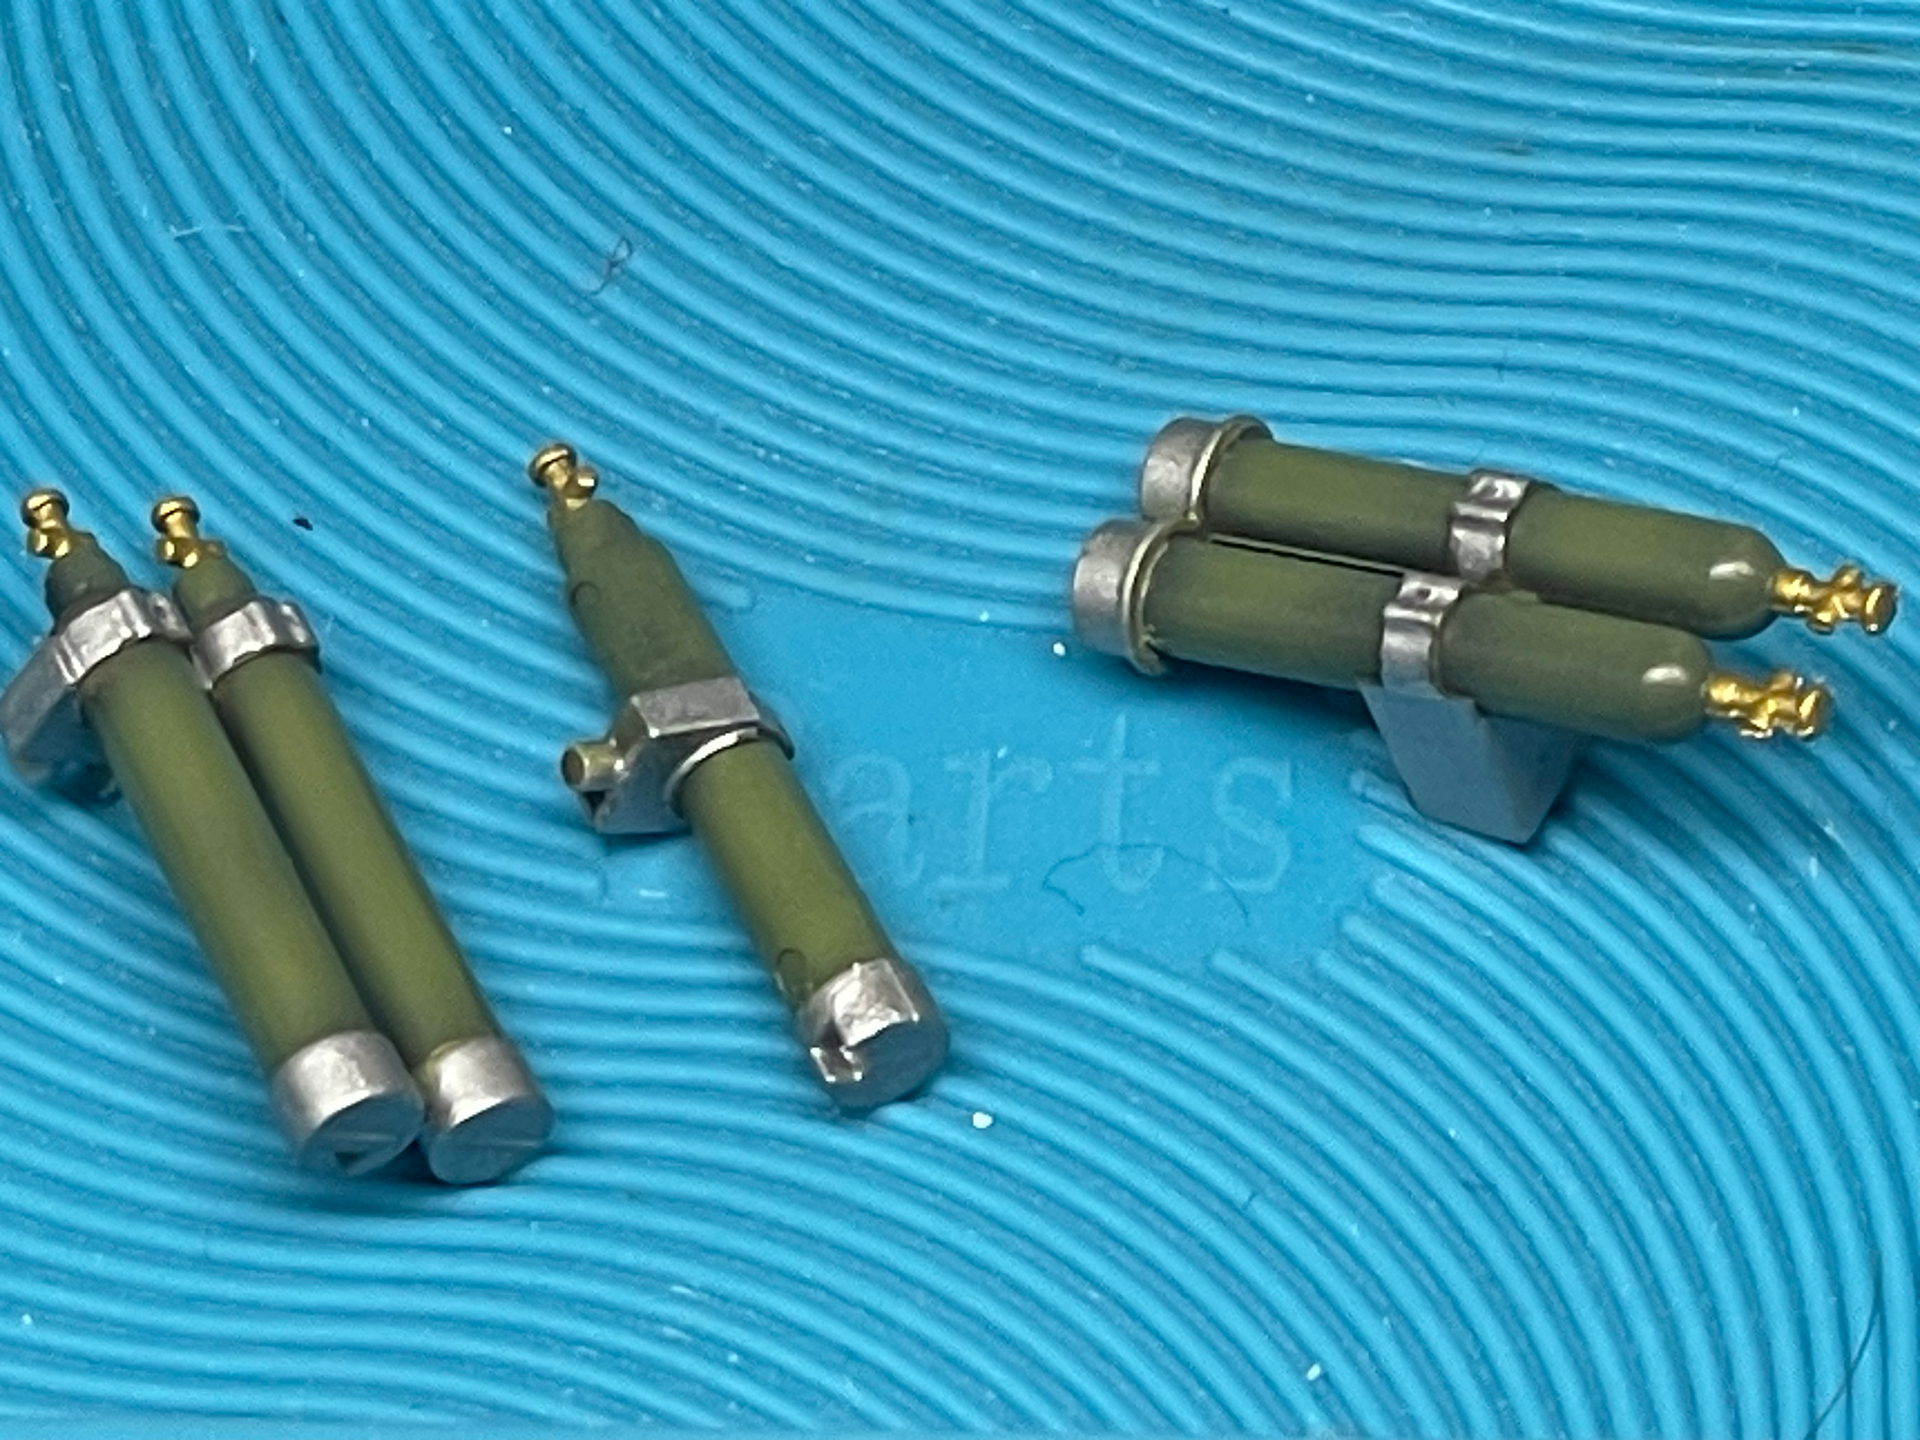
The first step proposed in the instructions is the internal assembly of the two fuselage halves and their closure, before fitting the entire cockpit. Inside are mounted two oxygen bottles (historically considered part of the cockpit and therefore painted in MRP 413, rather than following the Tamiya color mix which should tend toward the Aotake. In this case, however, that color is applied to the hydraulic system bottle. For completeness, as documented in various relics, the Aotake used by Mitsubishi tended to be more bluish

whereas the one used by Nakajima leaned more toward green.

Here are the different oxygen bottles that will be placed inside the aircraft in various areas
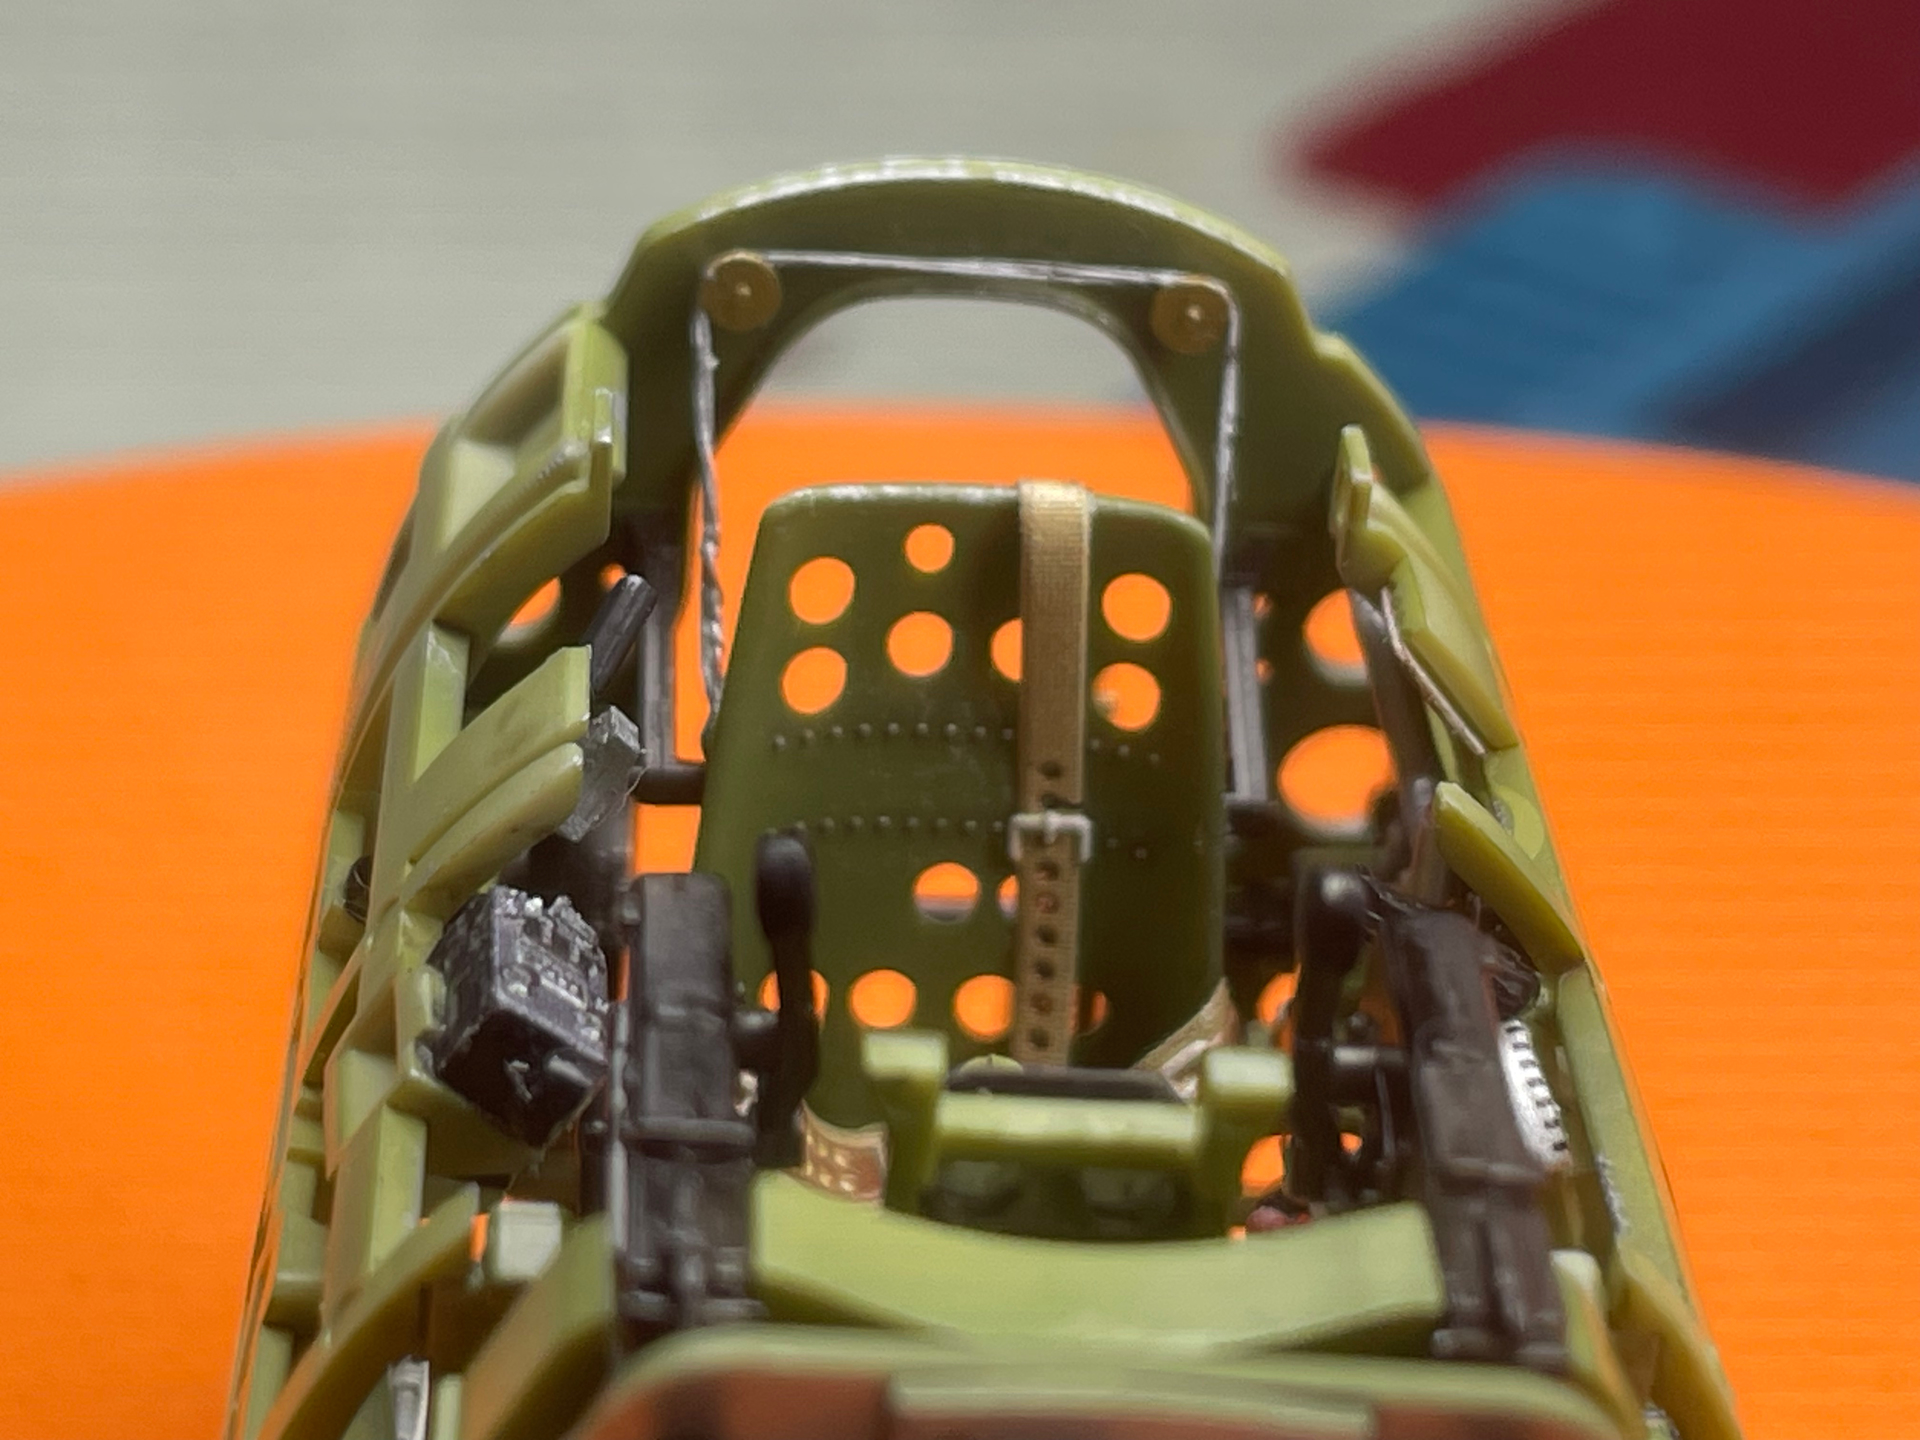
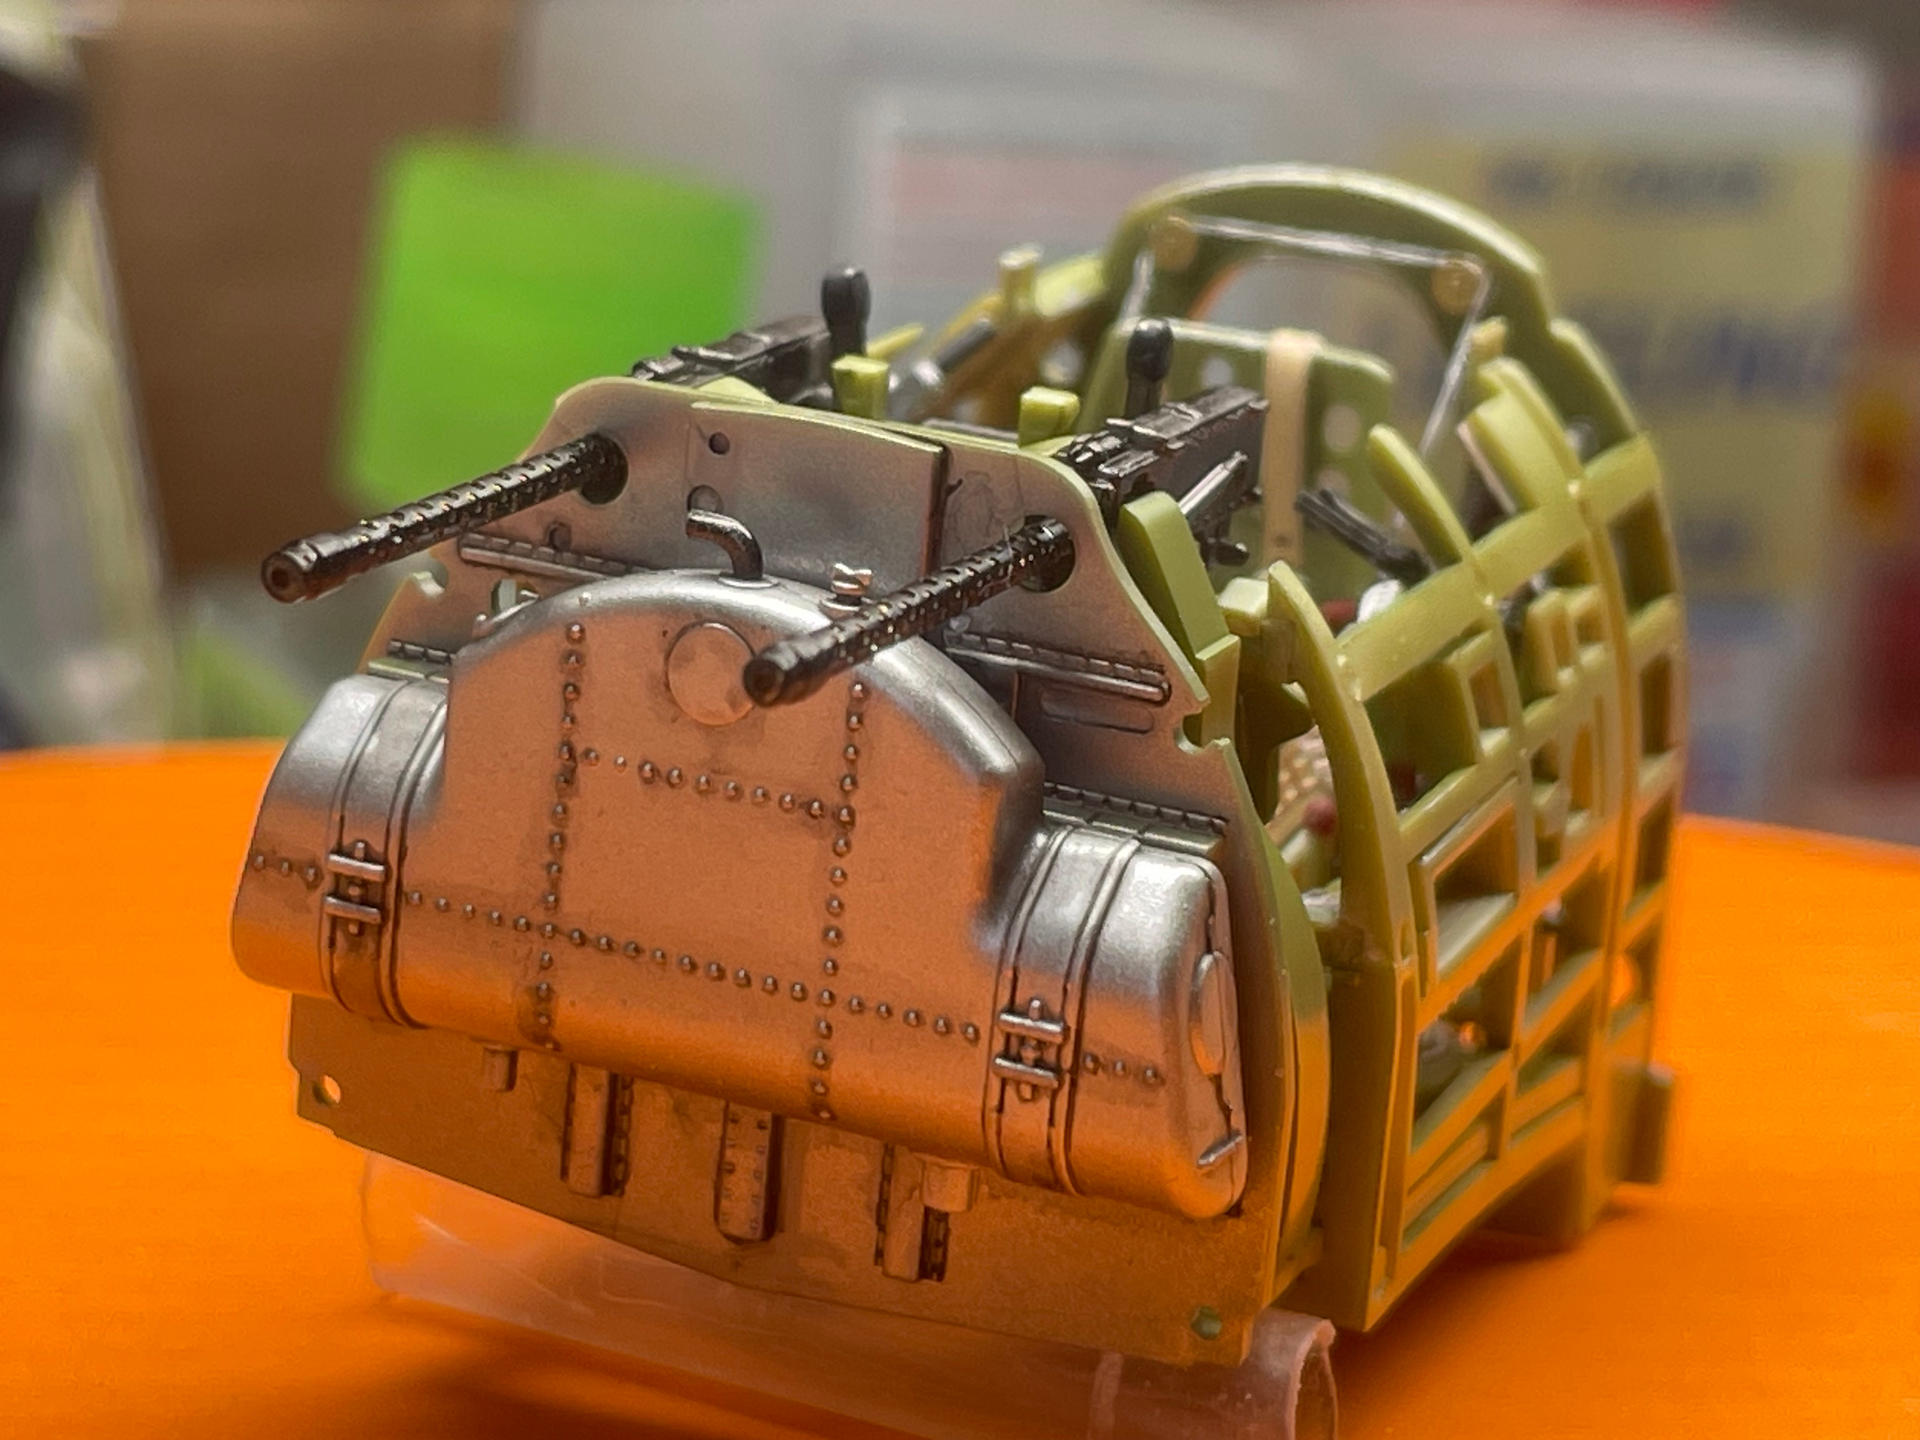
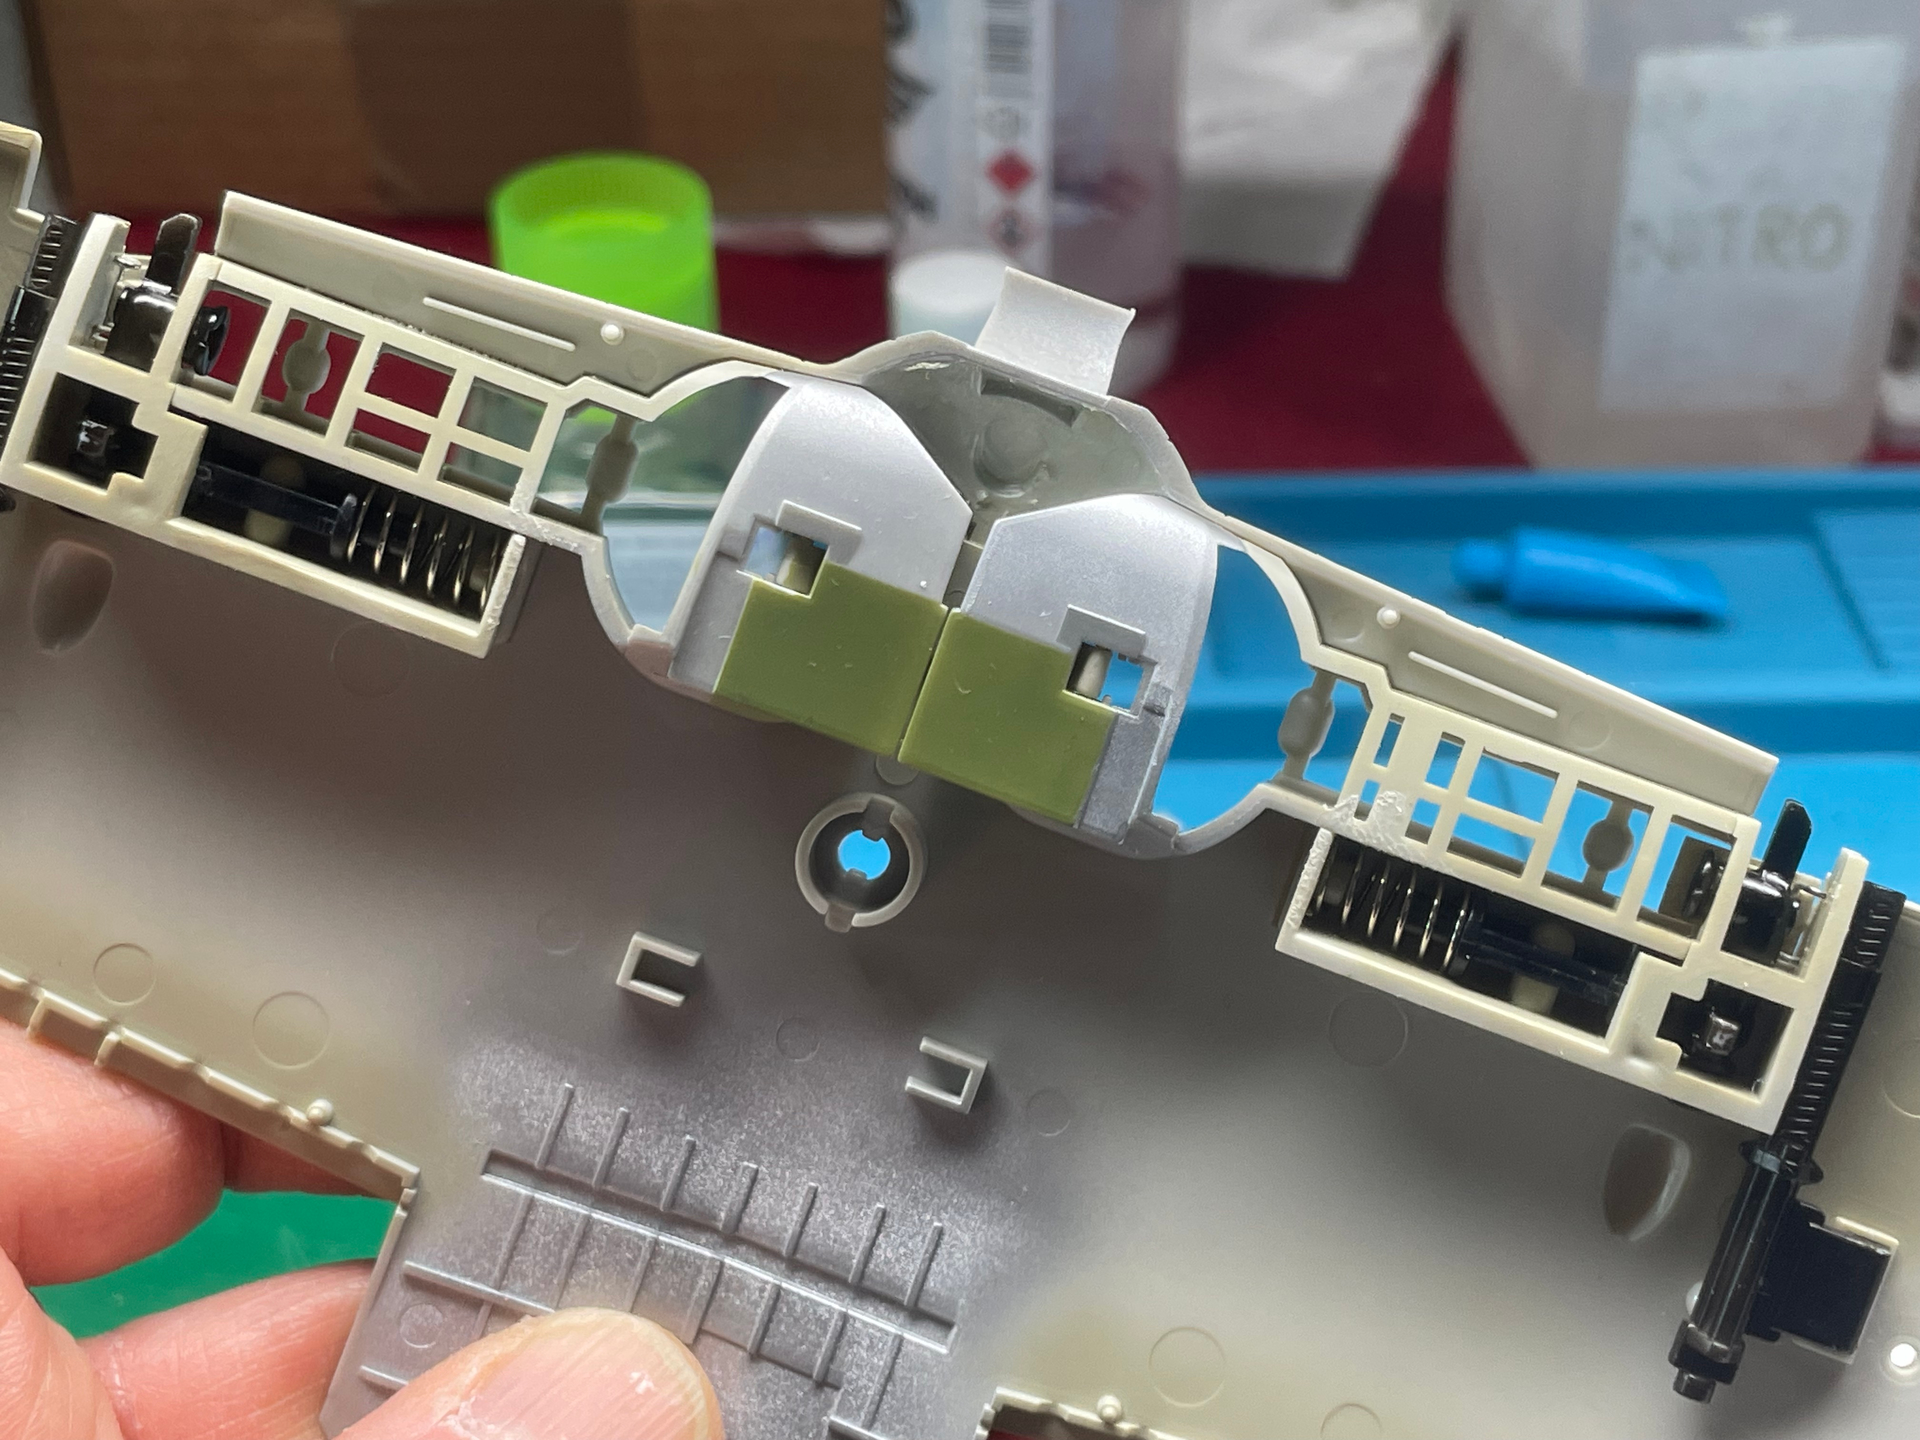
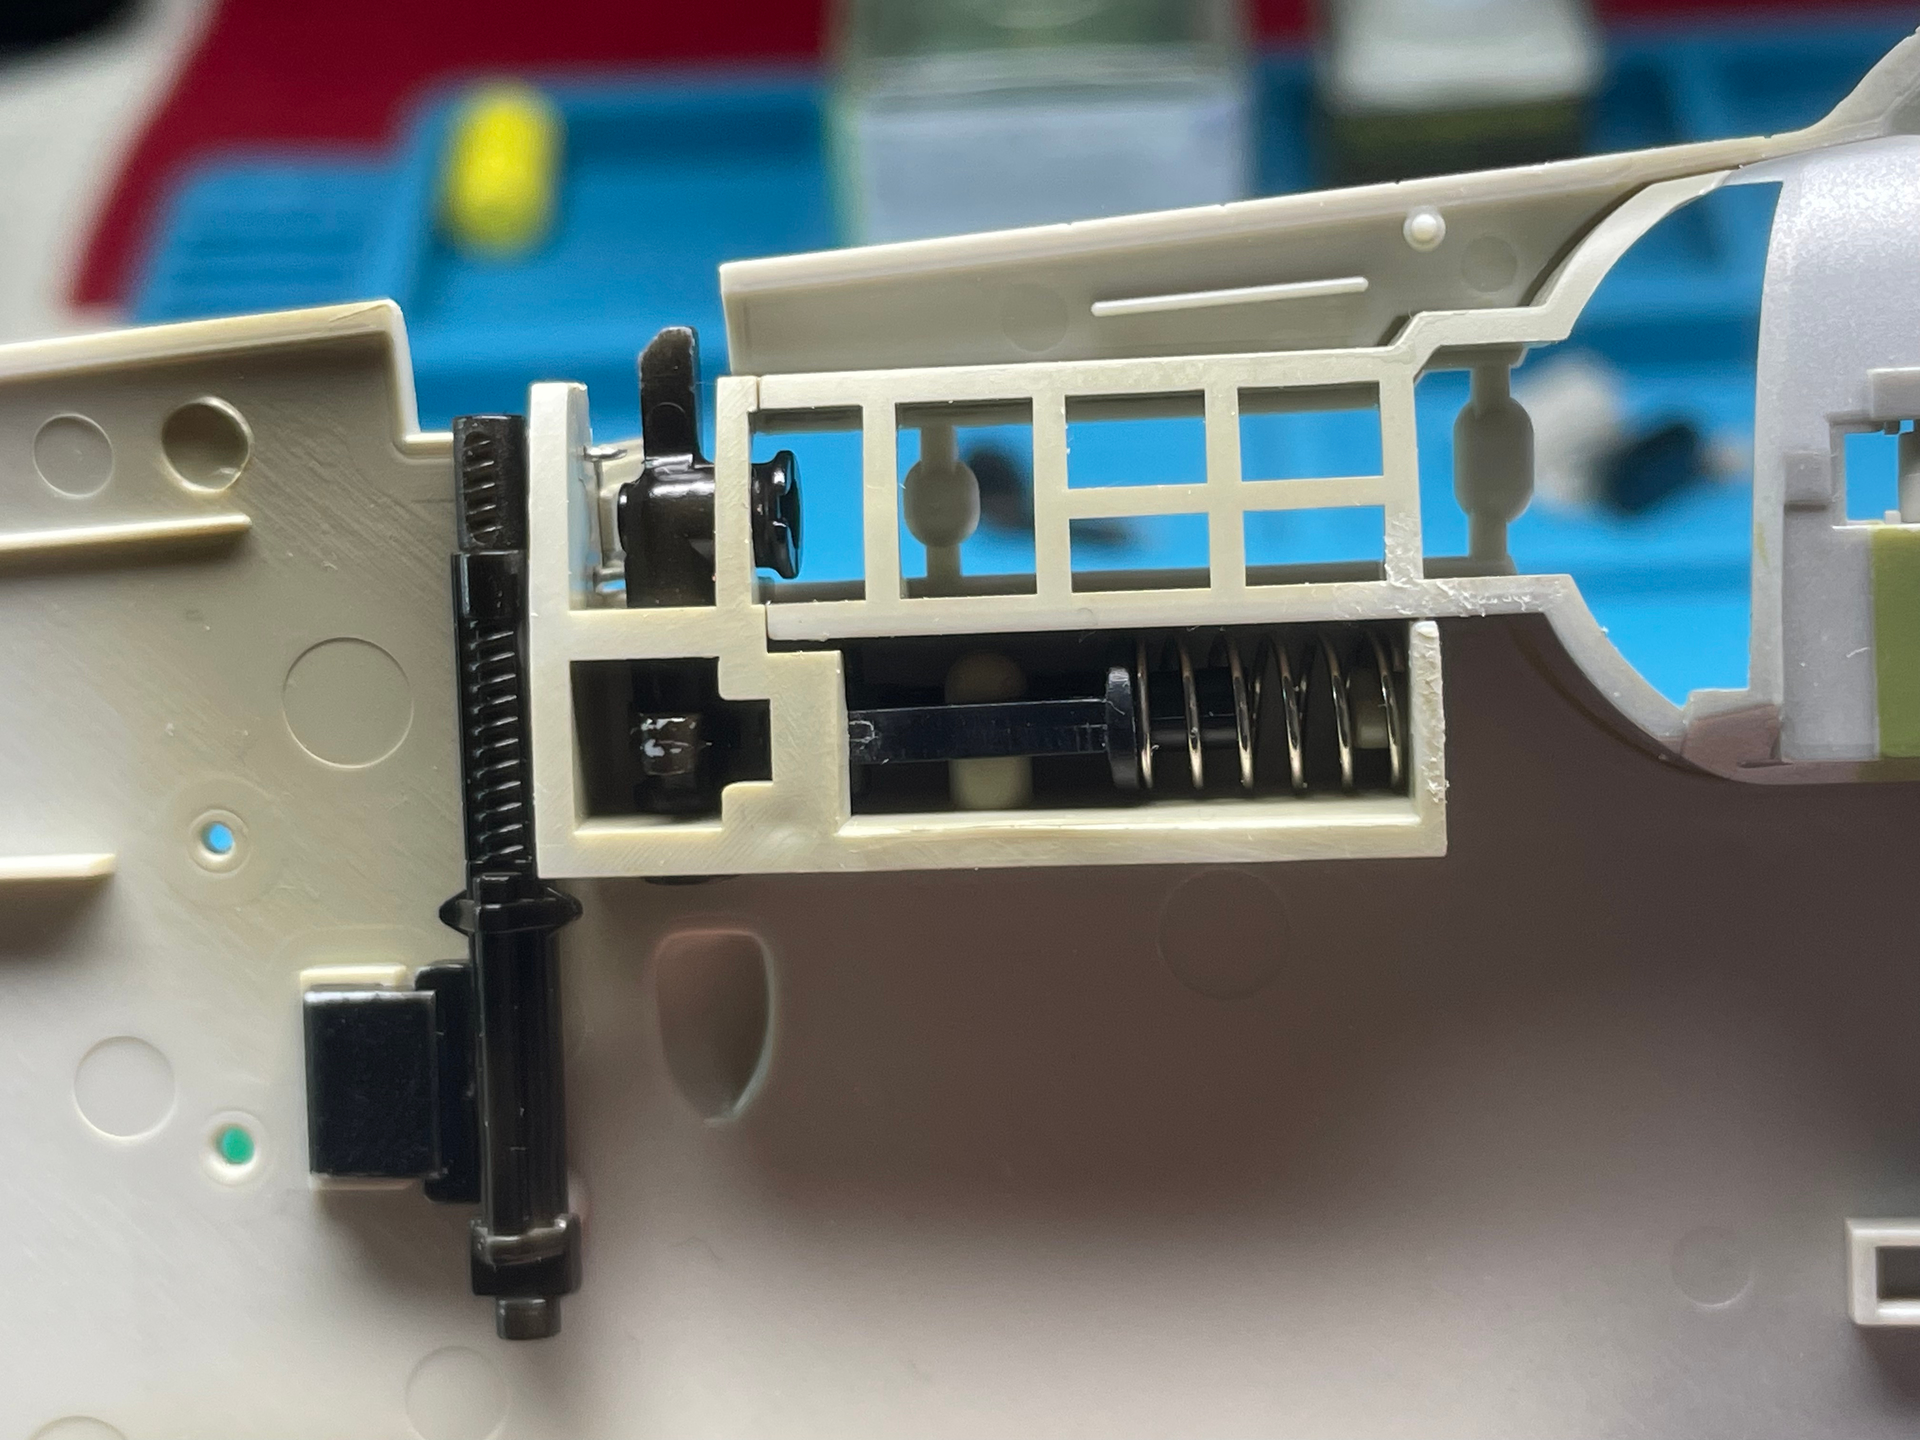
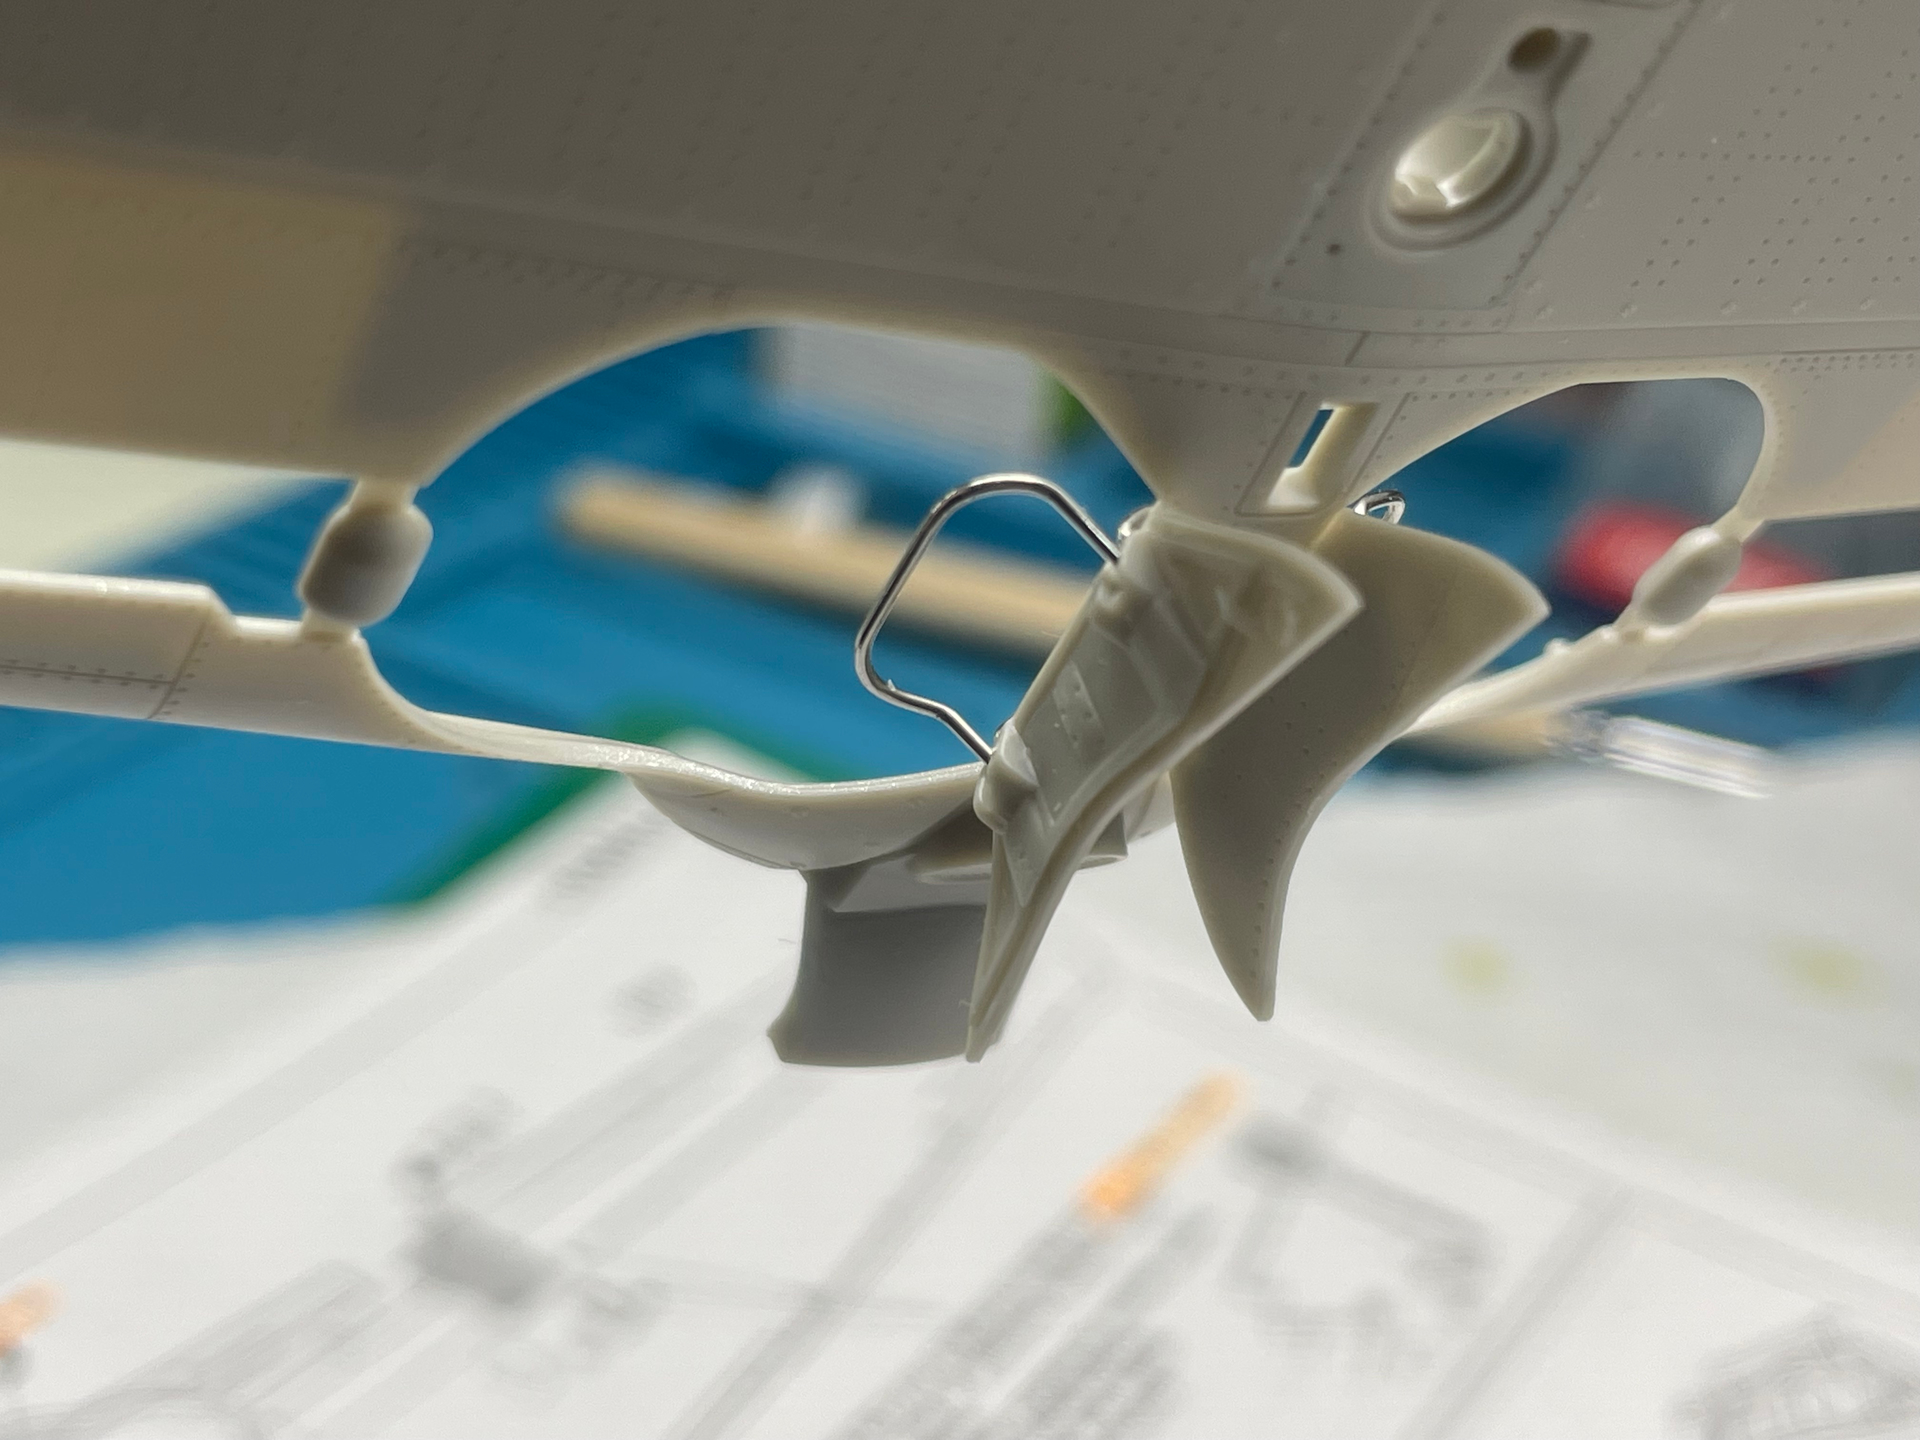
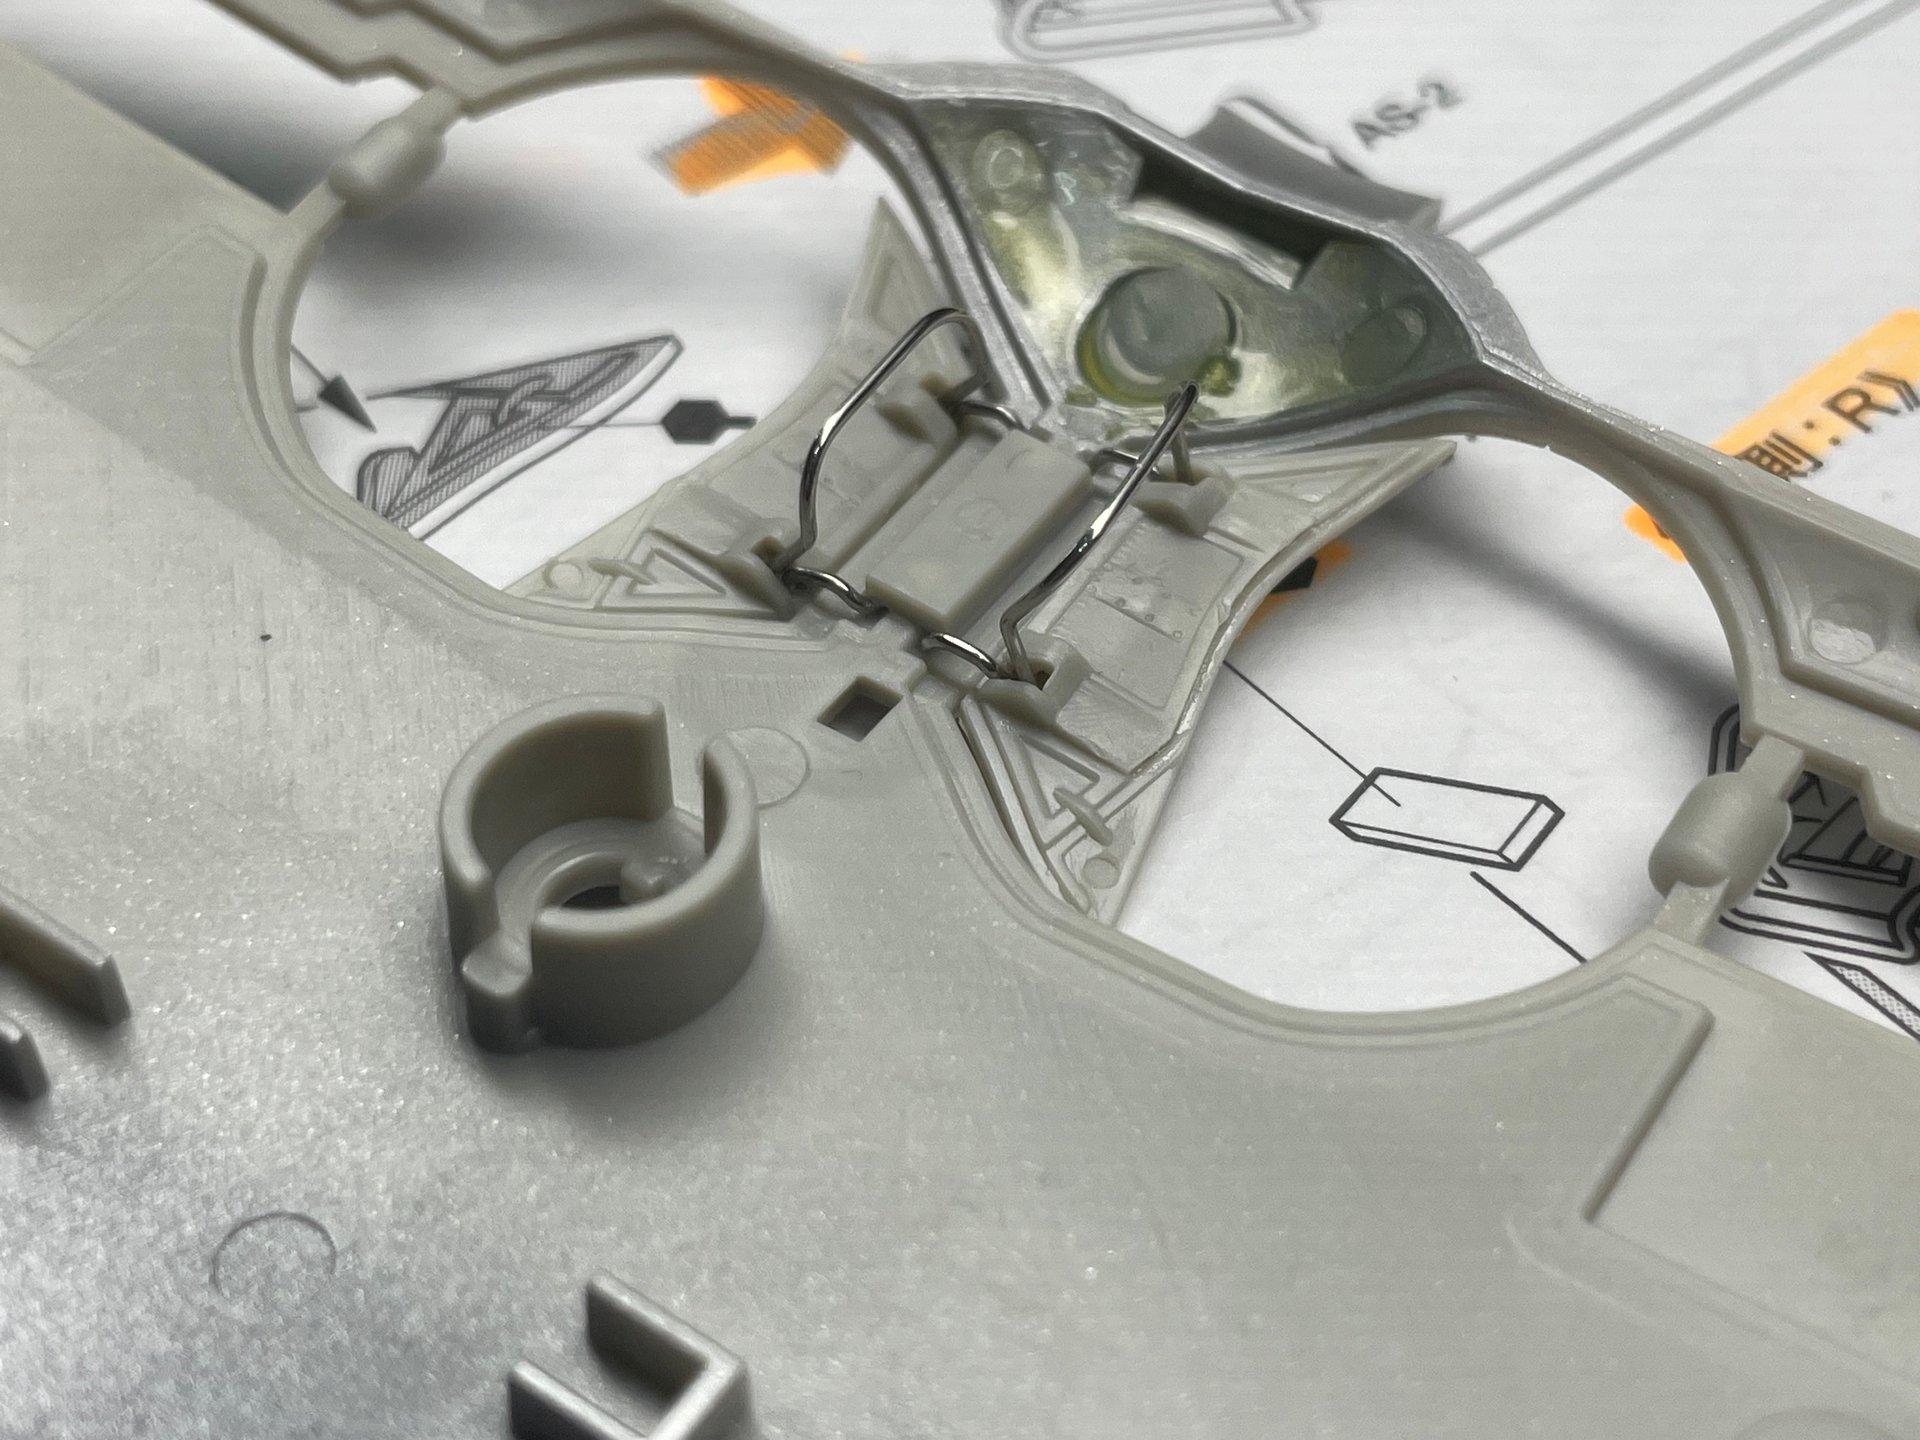
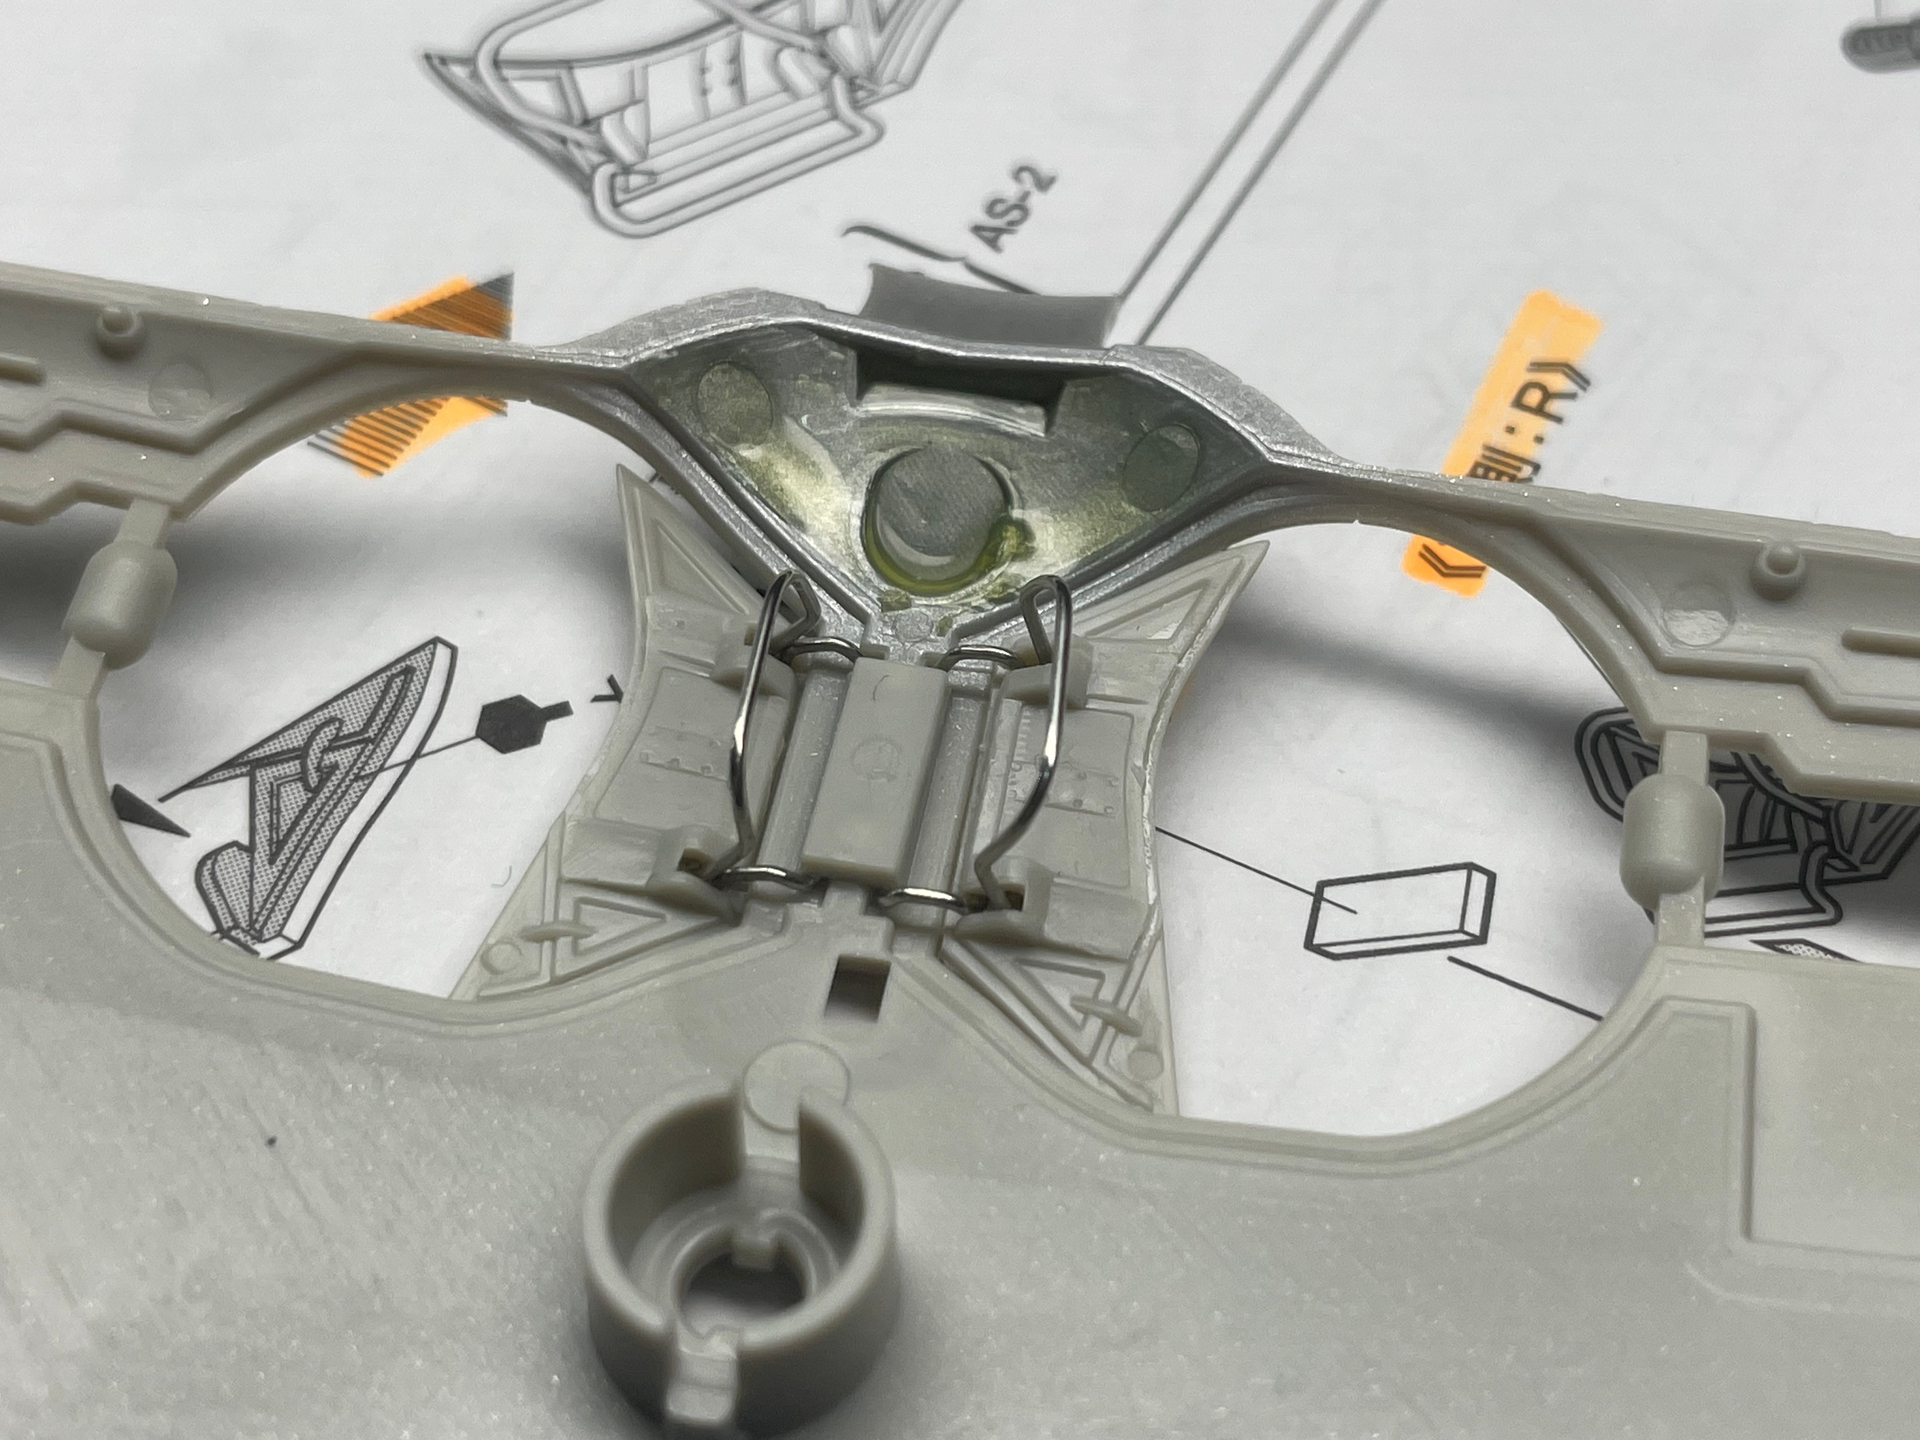
And here are the two fuselage halves, already painted (from front to back) with MRP 413 – NM – MRP 428, and weathered with a black oil wash. The spring mechanism that will make the tail landing gear retractable is already in place. Also present is the hydraulic system bottle in bluish Aotake.
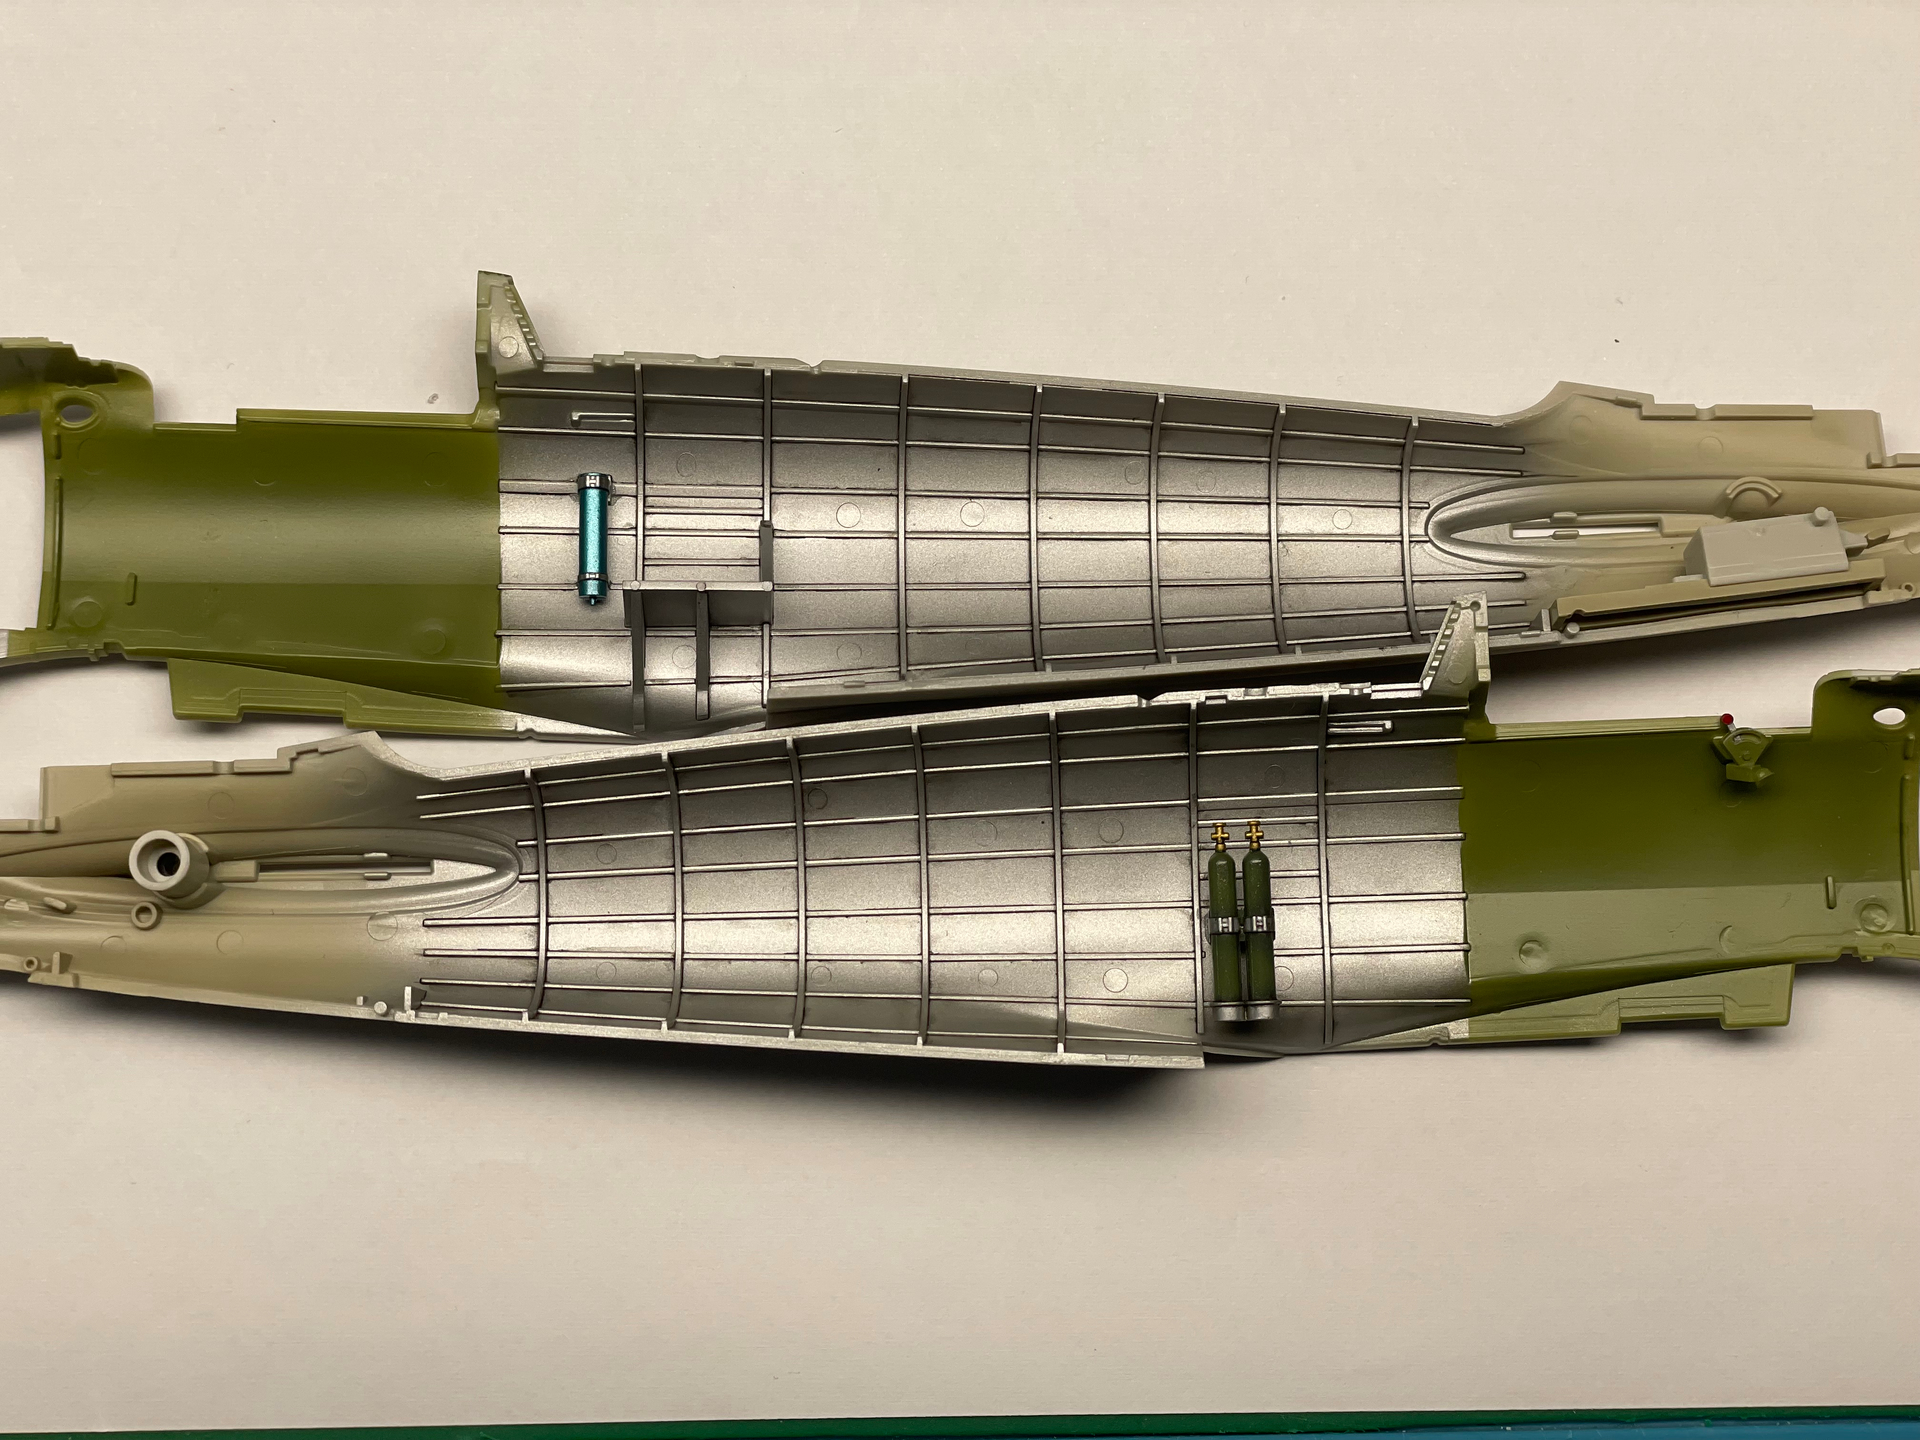
Only a couple of Quinta Studio 3D decals are missing on the instrumentation that is placed along the fuselage walls. And I would also like to understand how this bottle was connected to the hydraulic system in order to eventually reproduce the connecting tube.
For the moment, that’s all. I hope I haven’t gone on too long, and I also hope this build will catch your interest and invite your comments.
Cheers
Dan