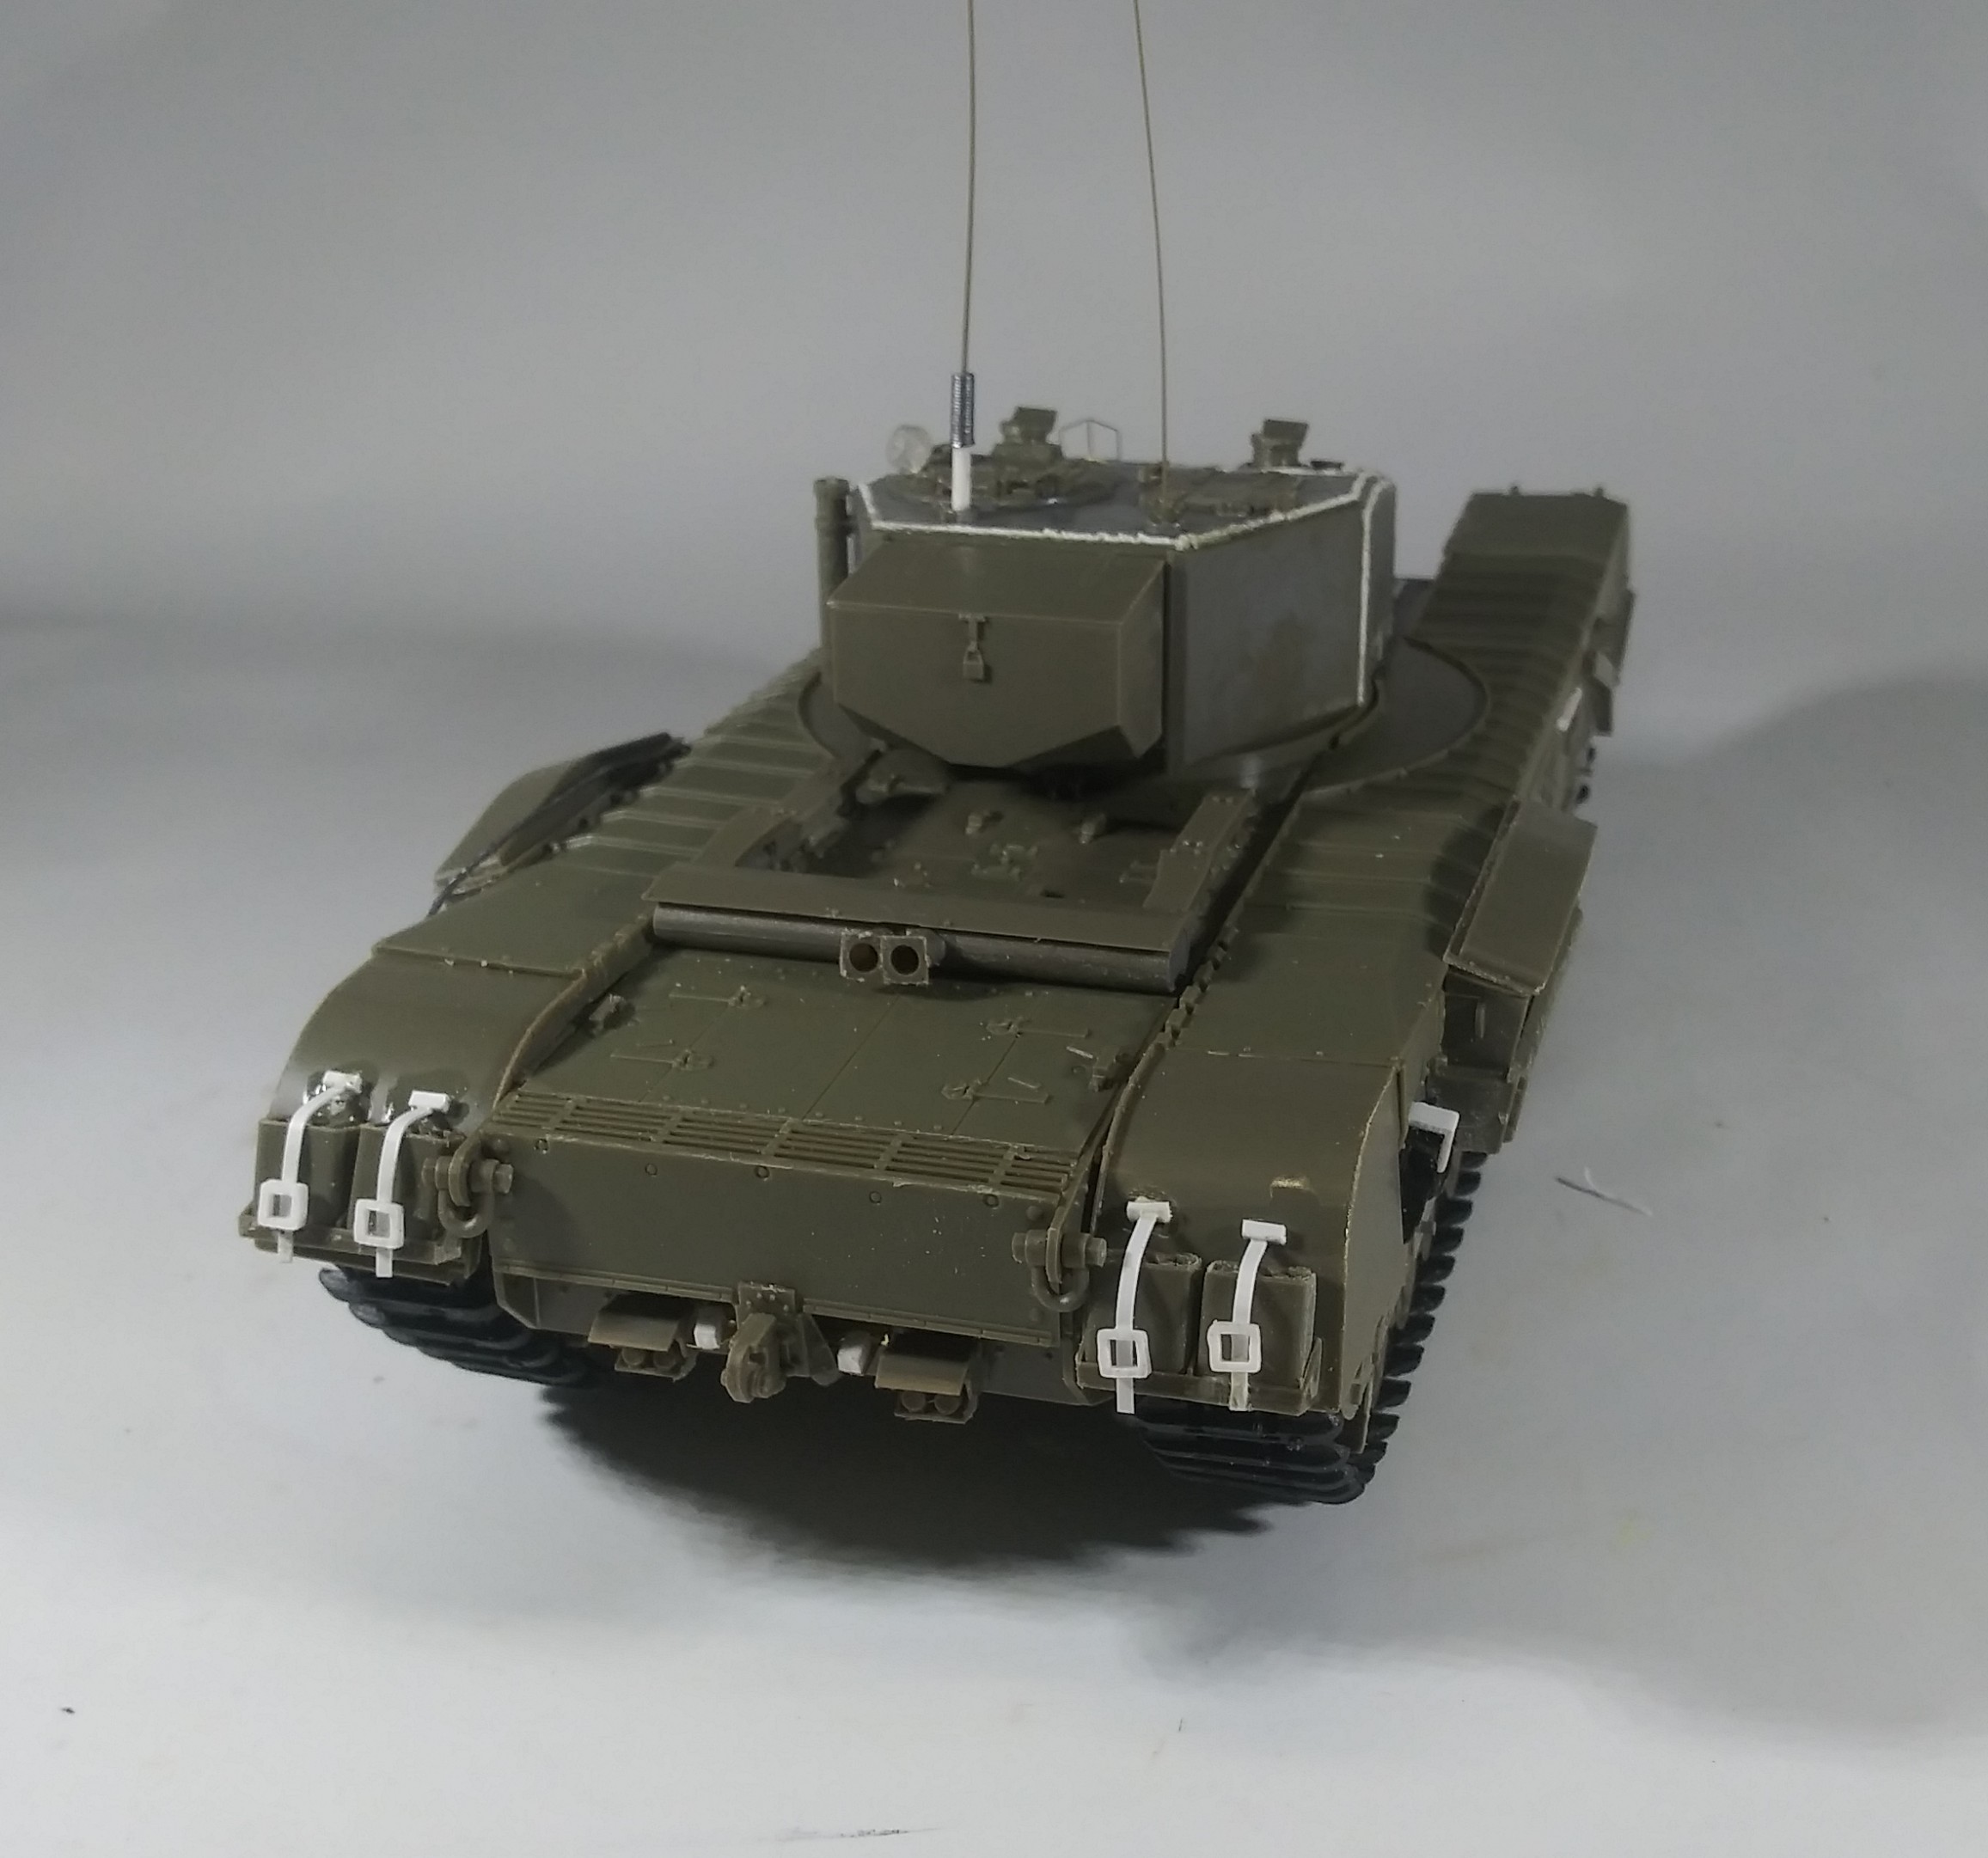
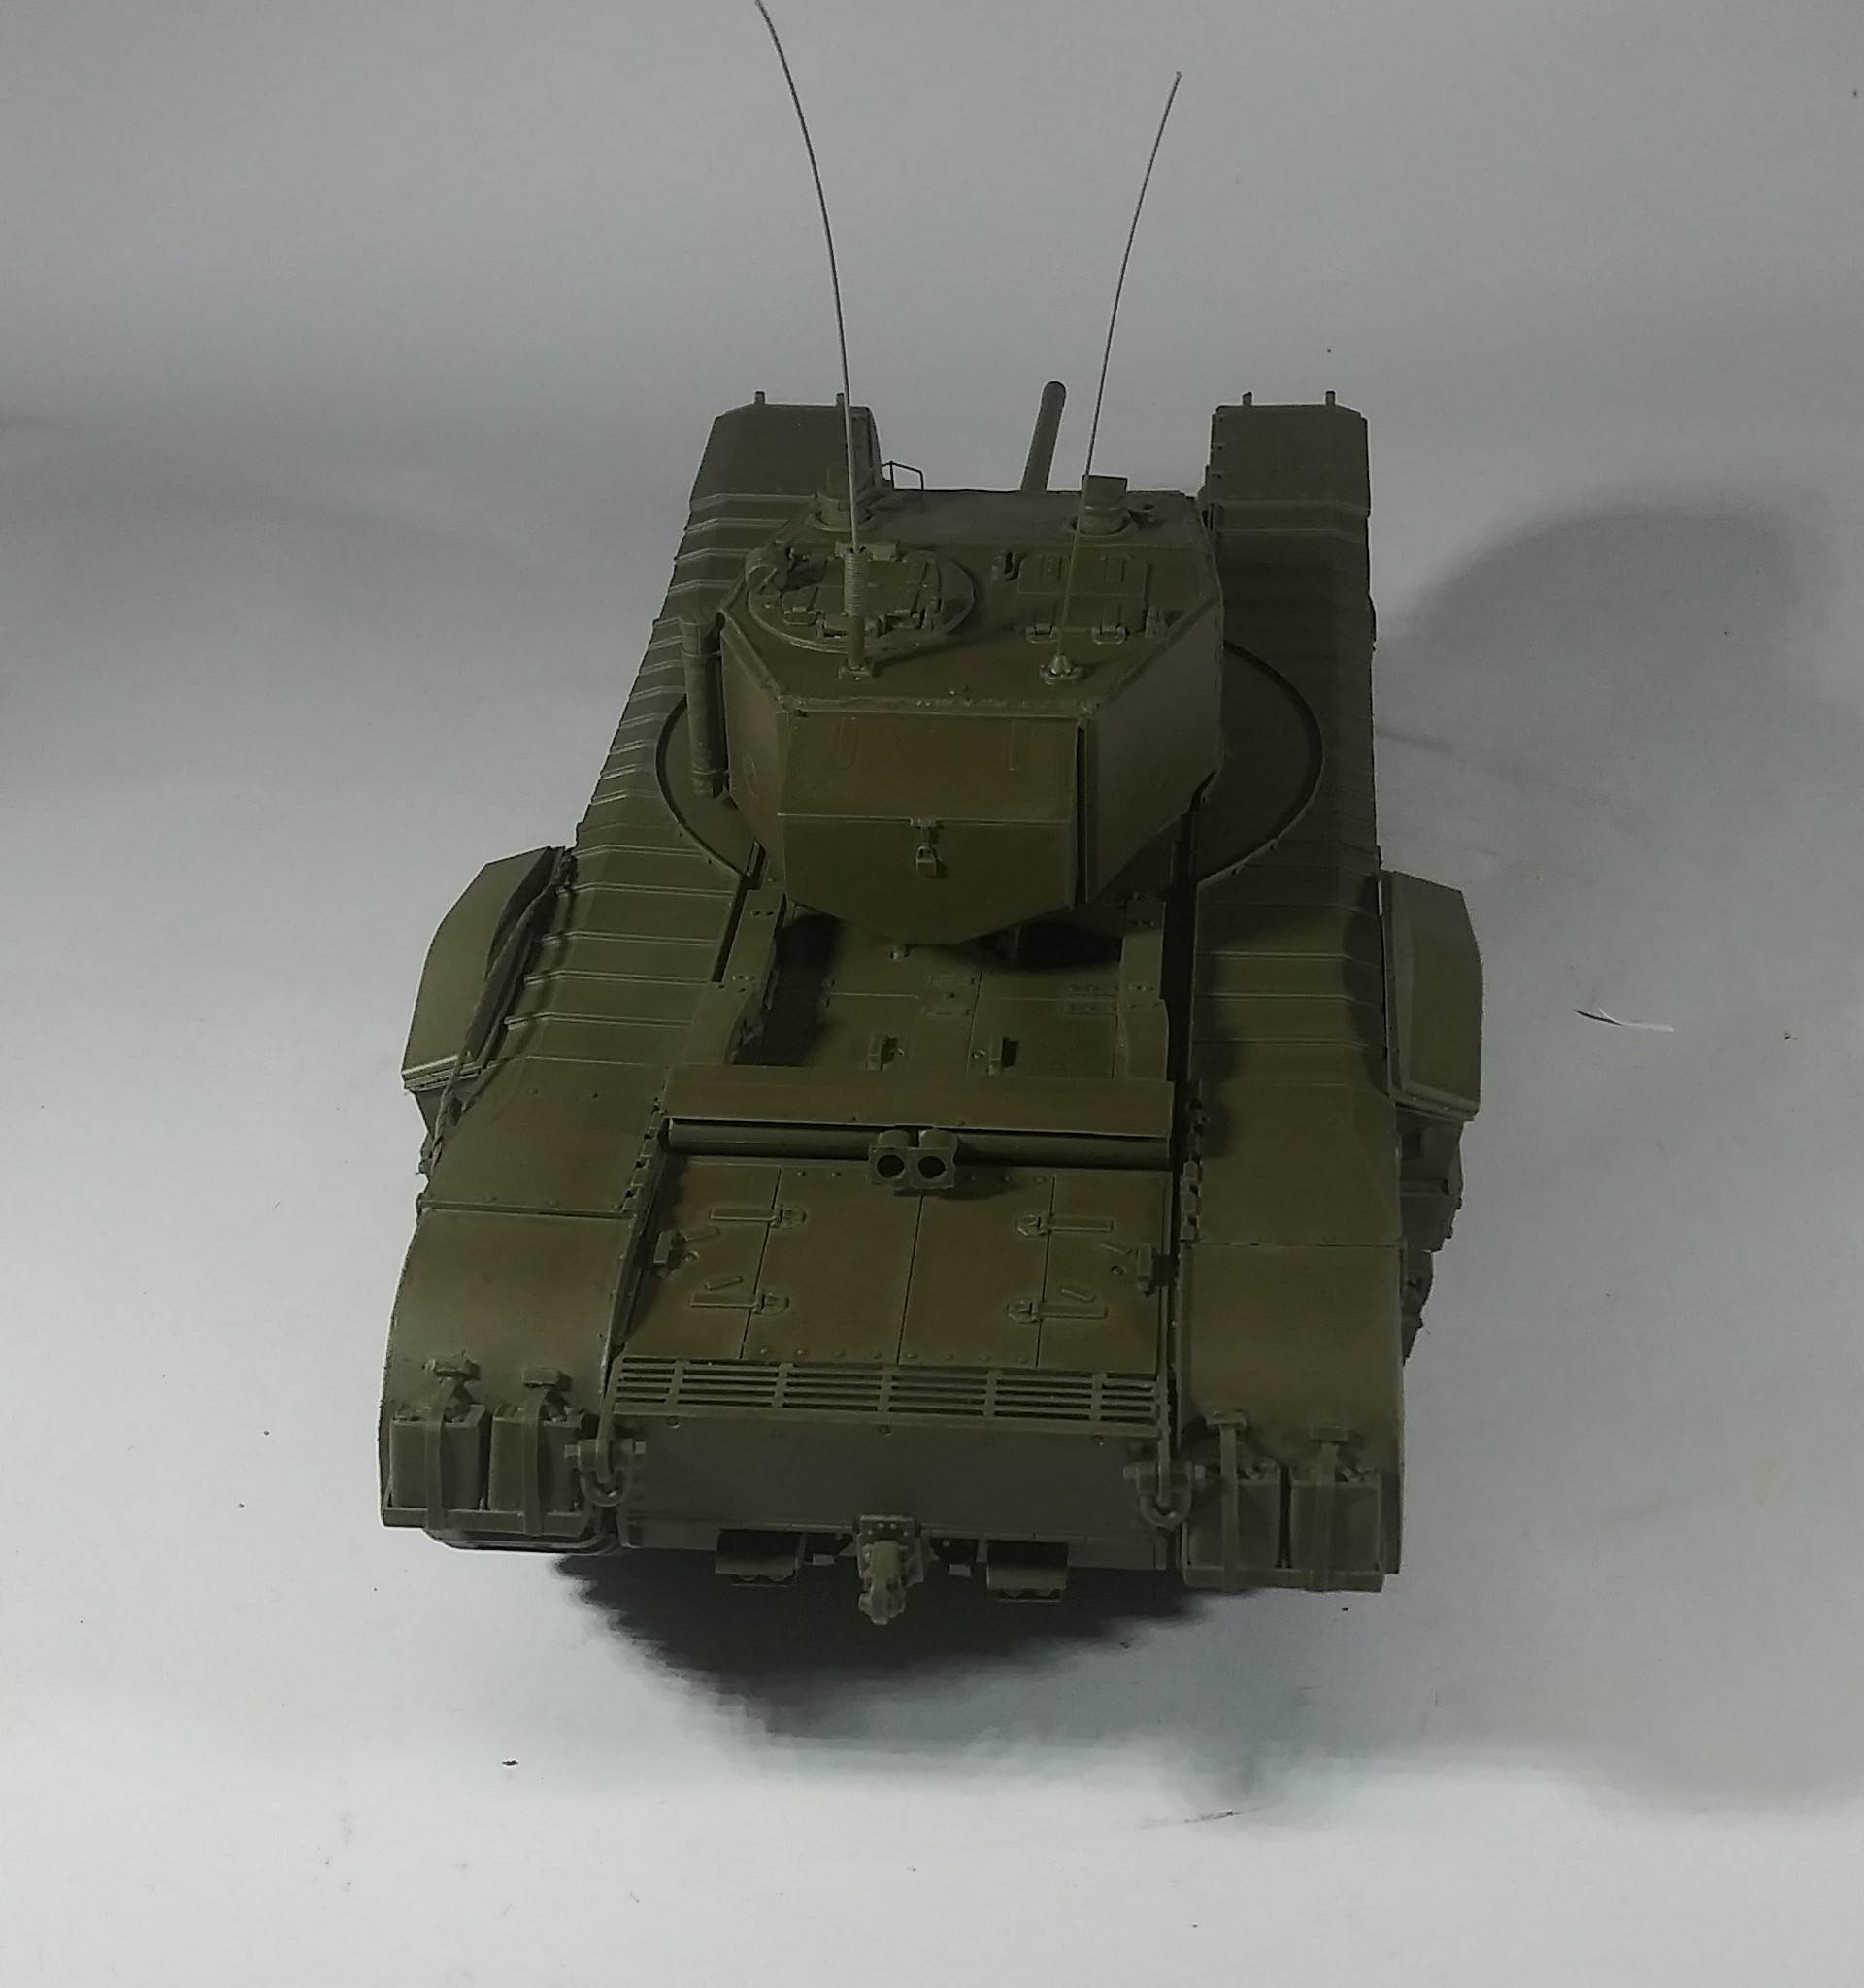
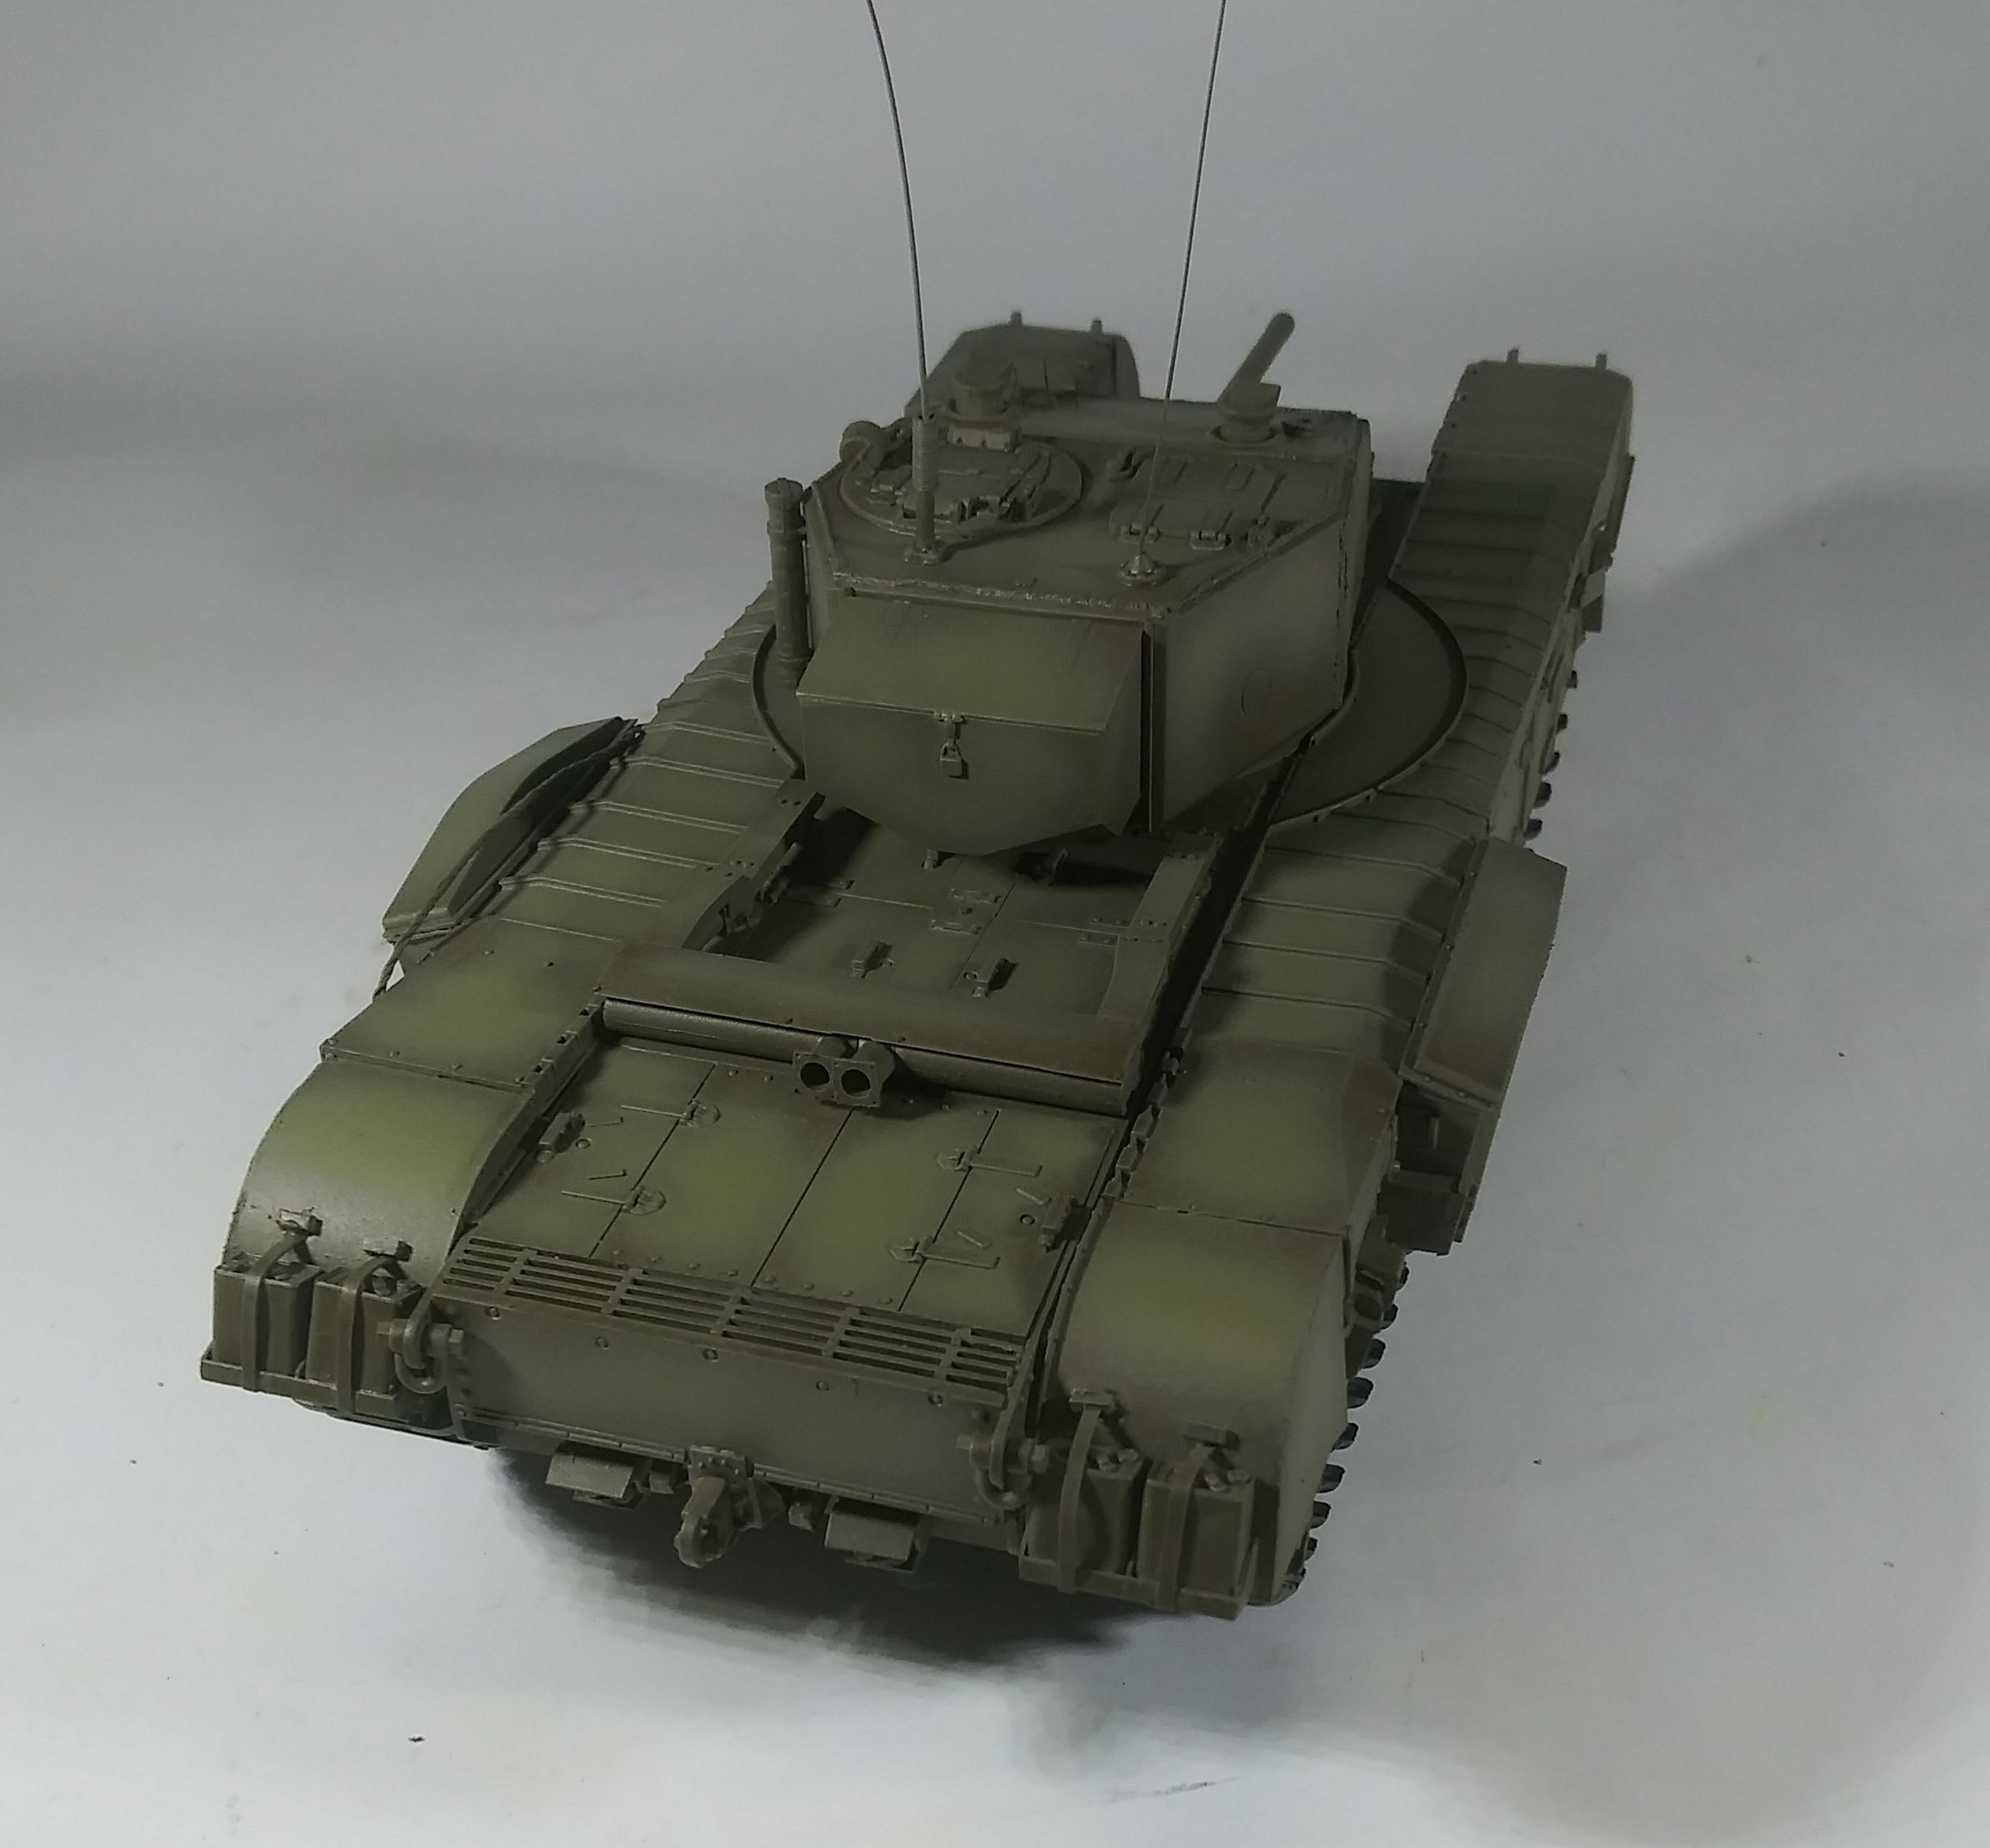
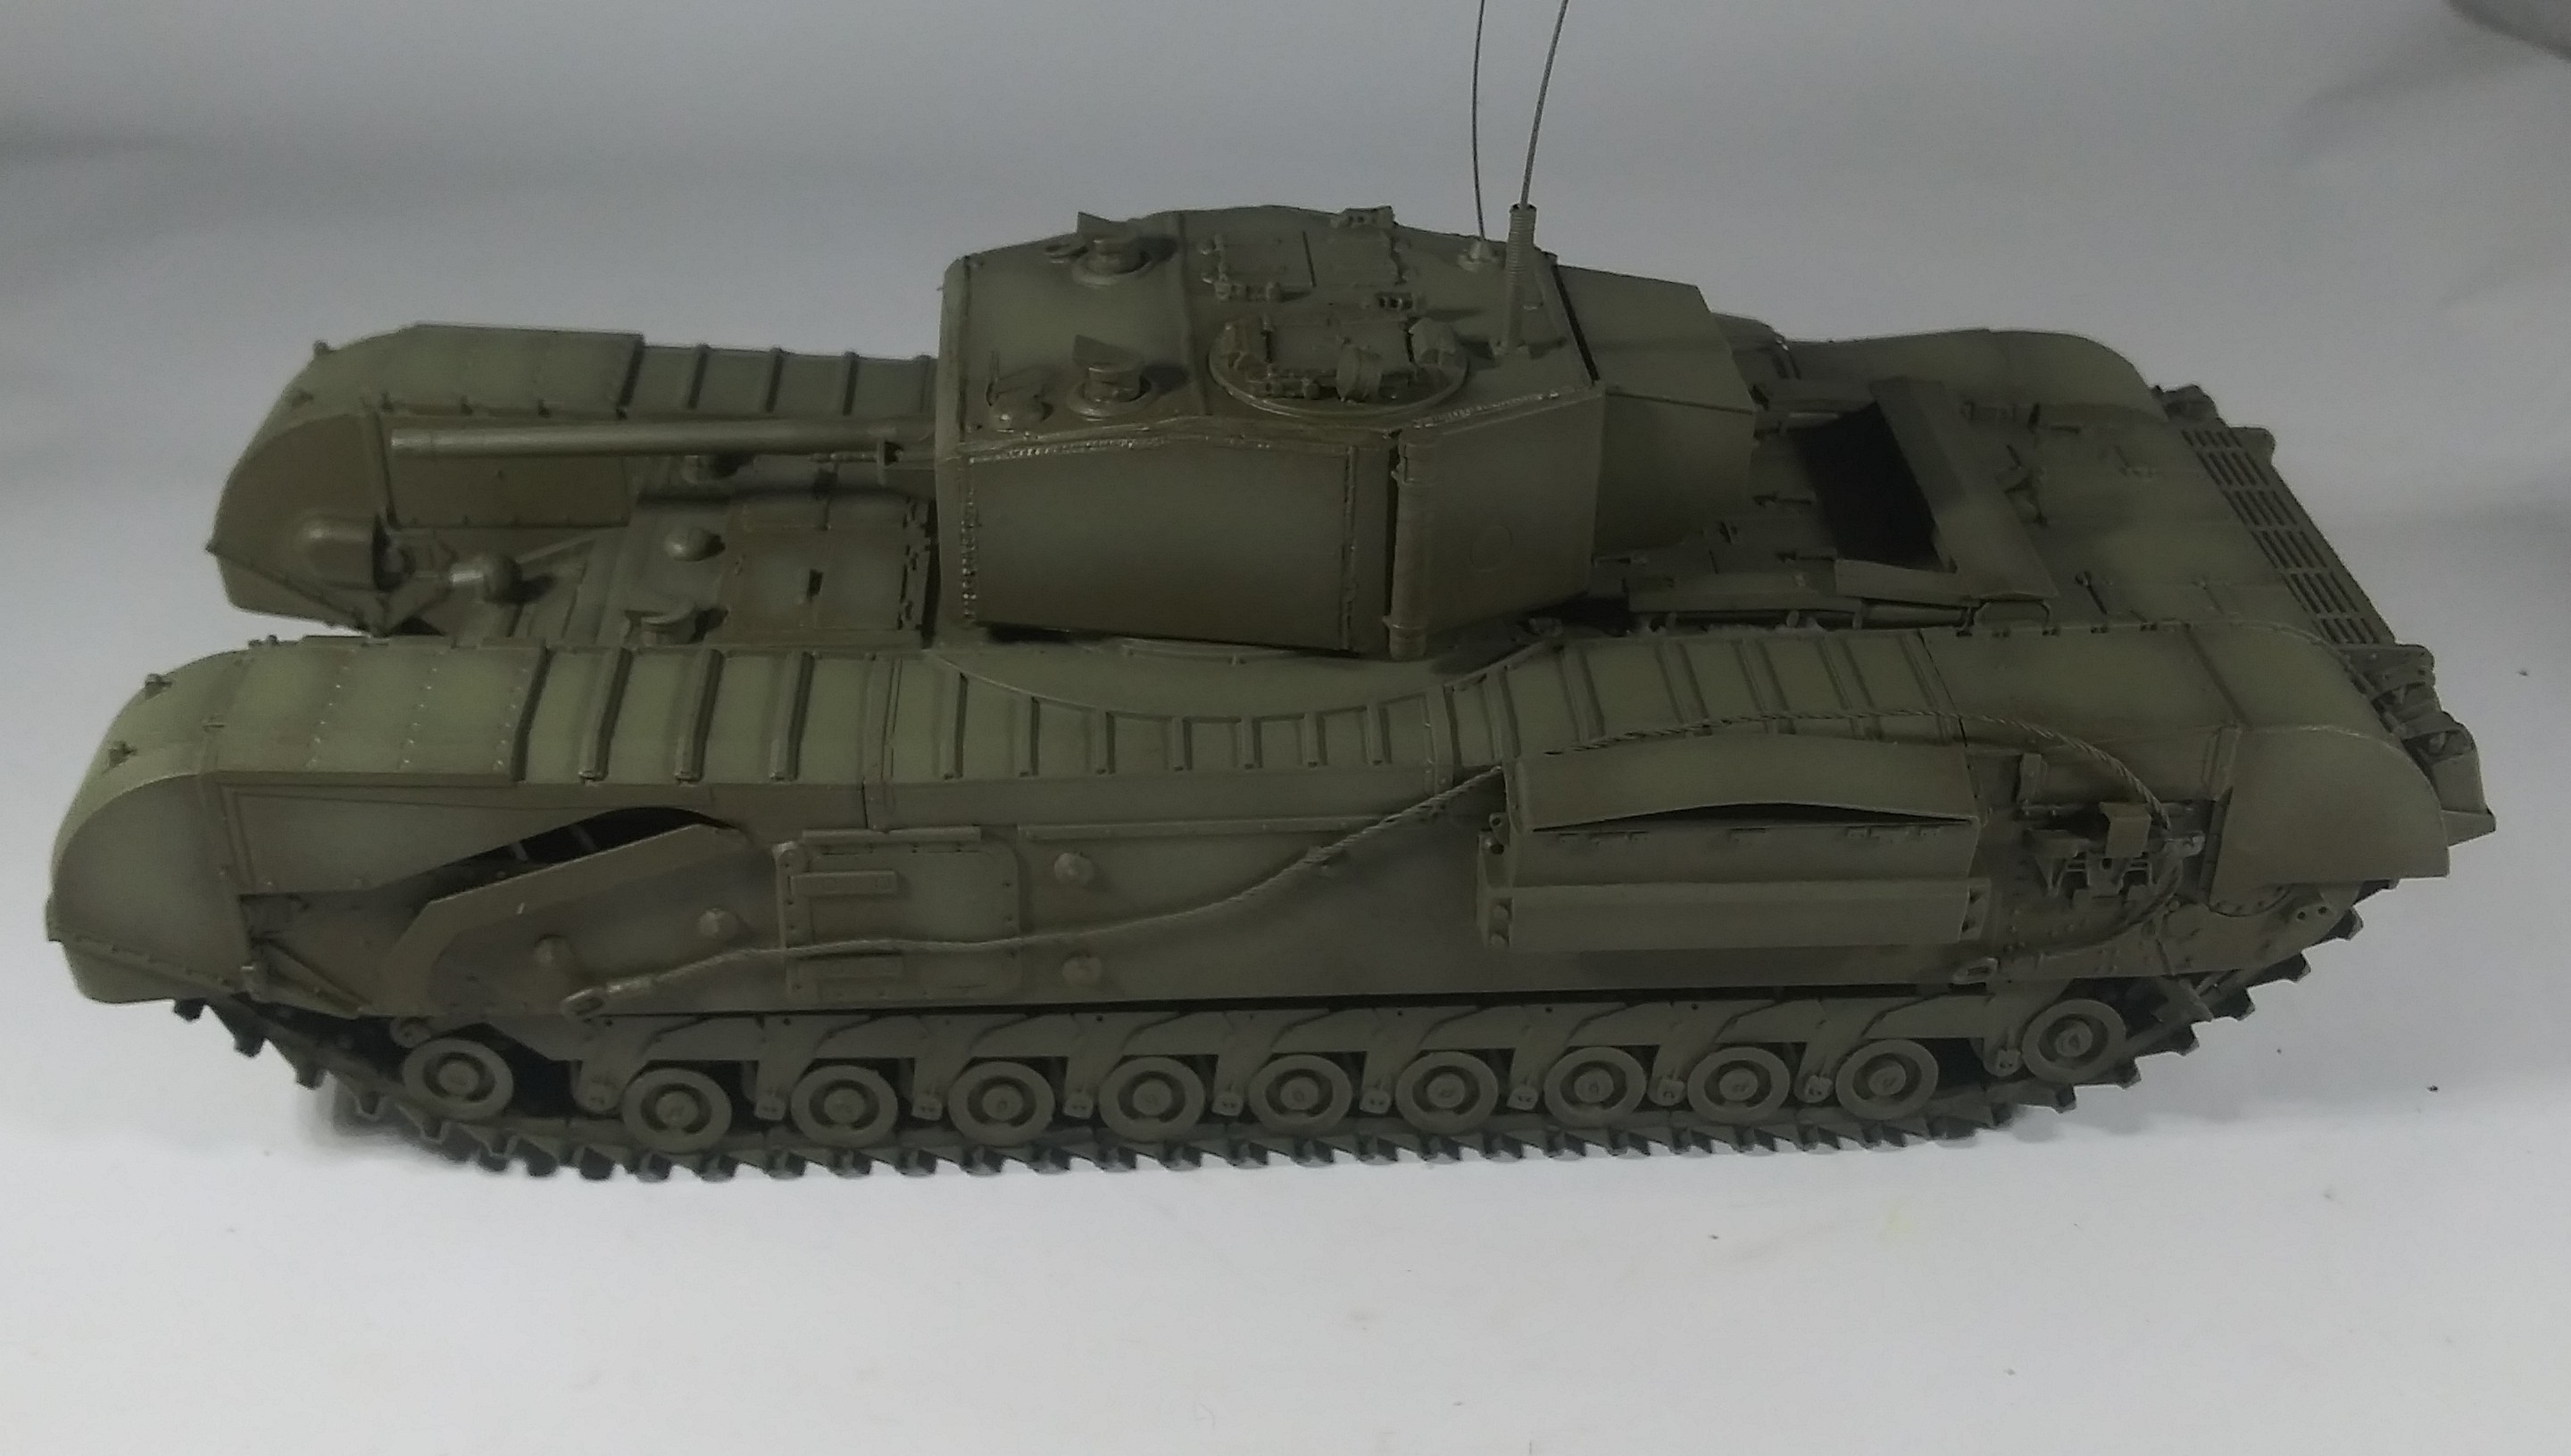
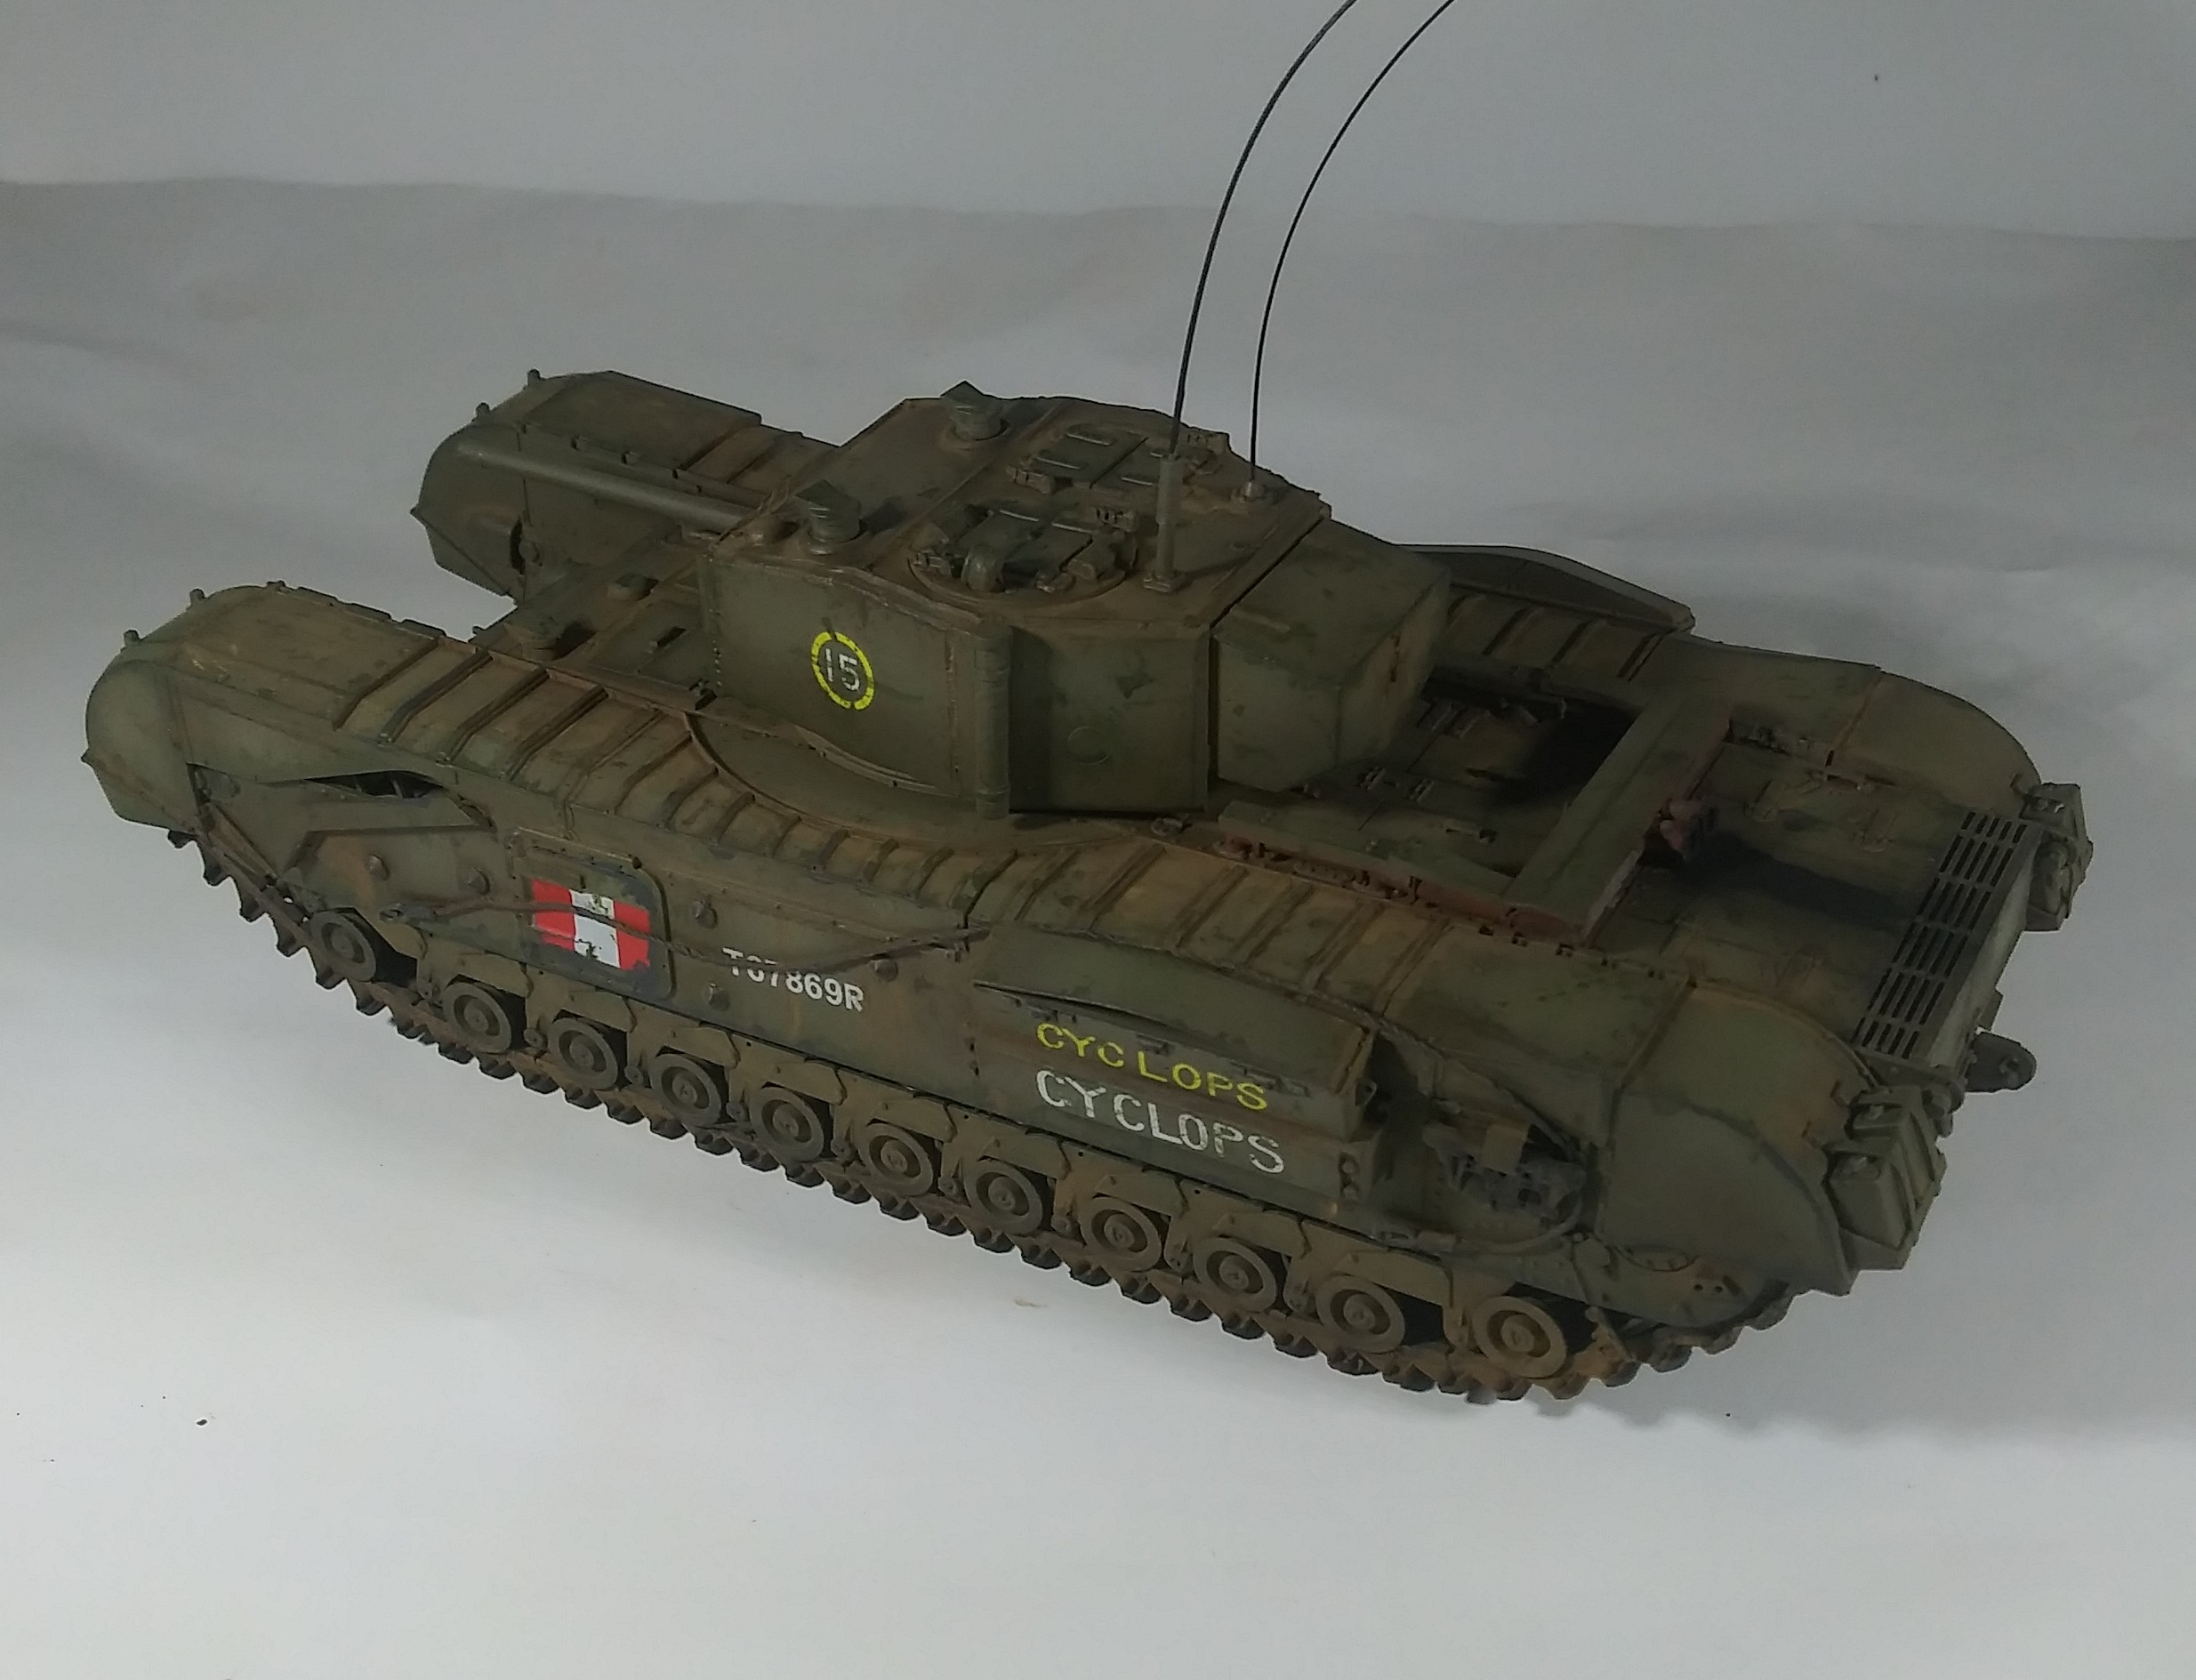
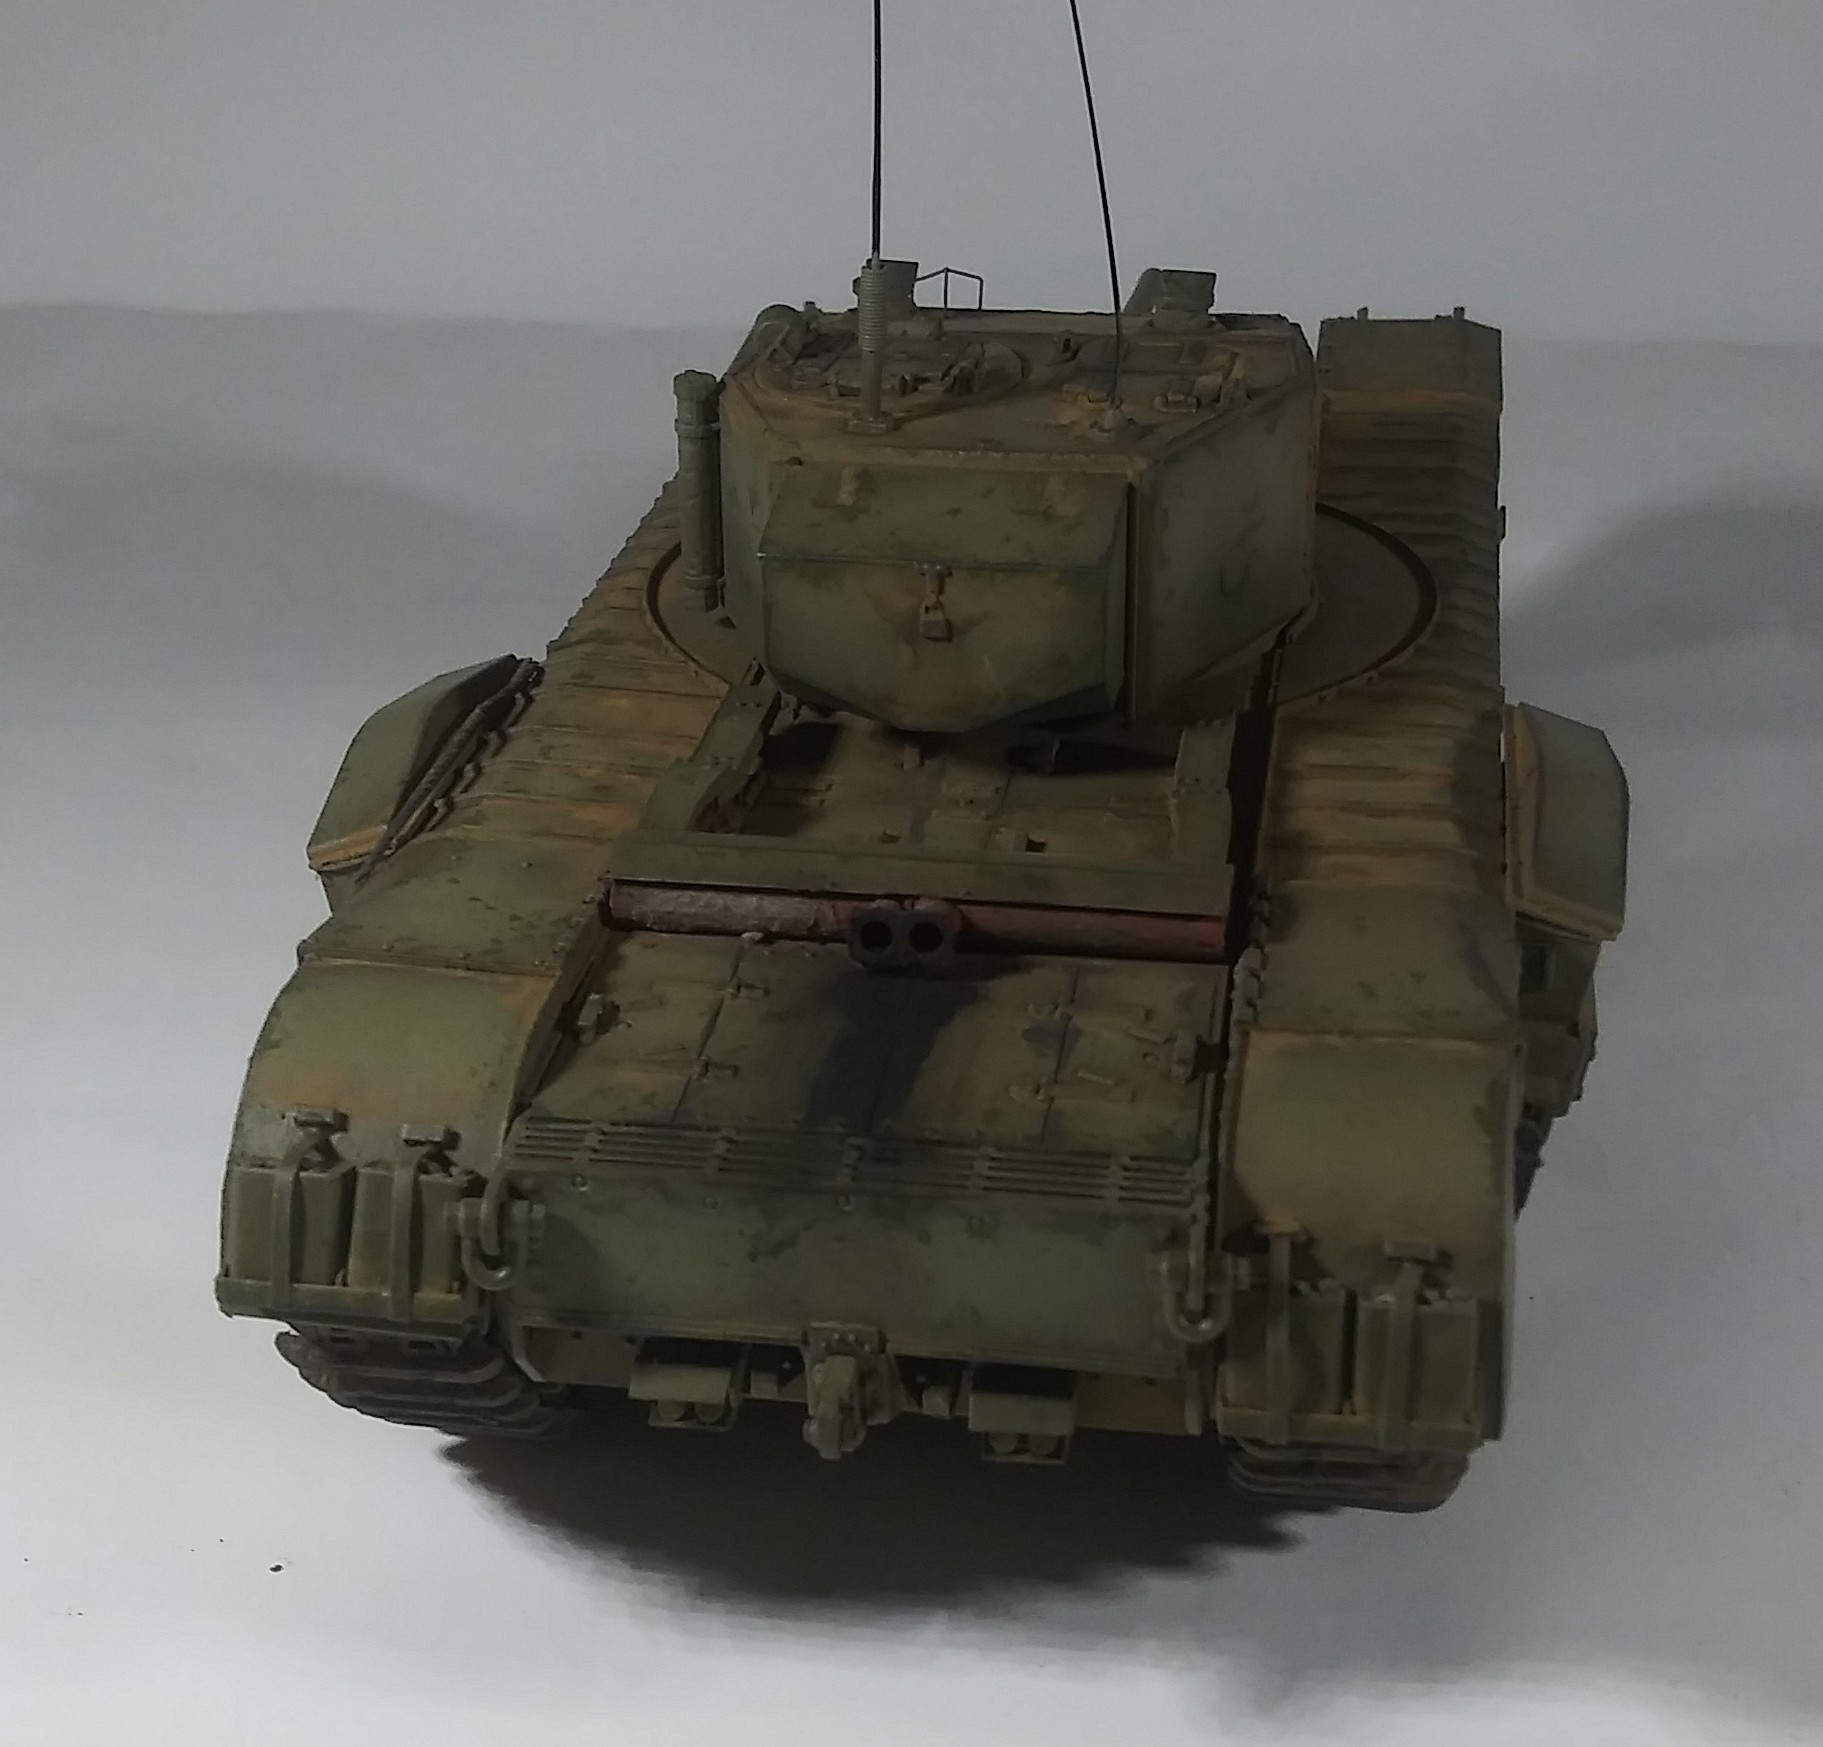
This is a little side project I have had going between other builds . Really wanted to keep this MK III pretty basic.
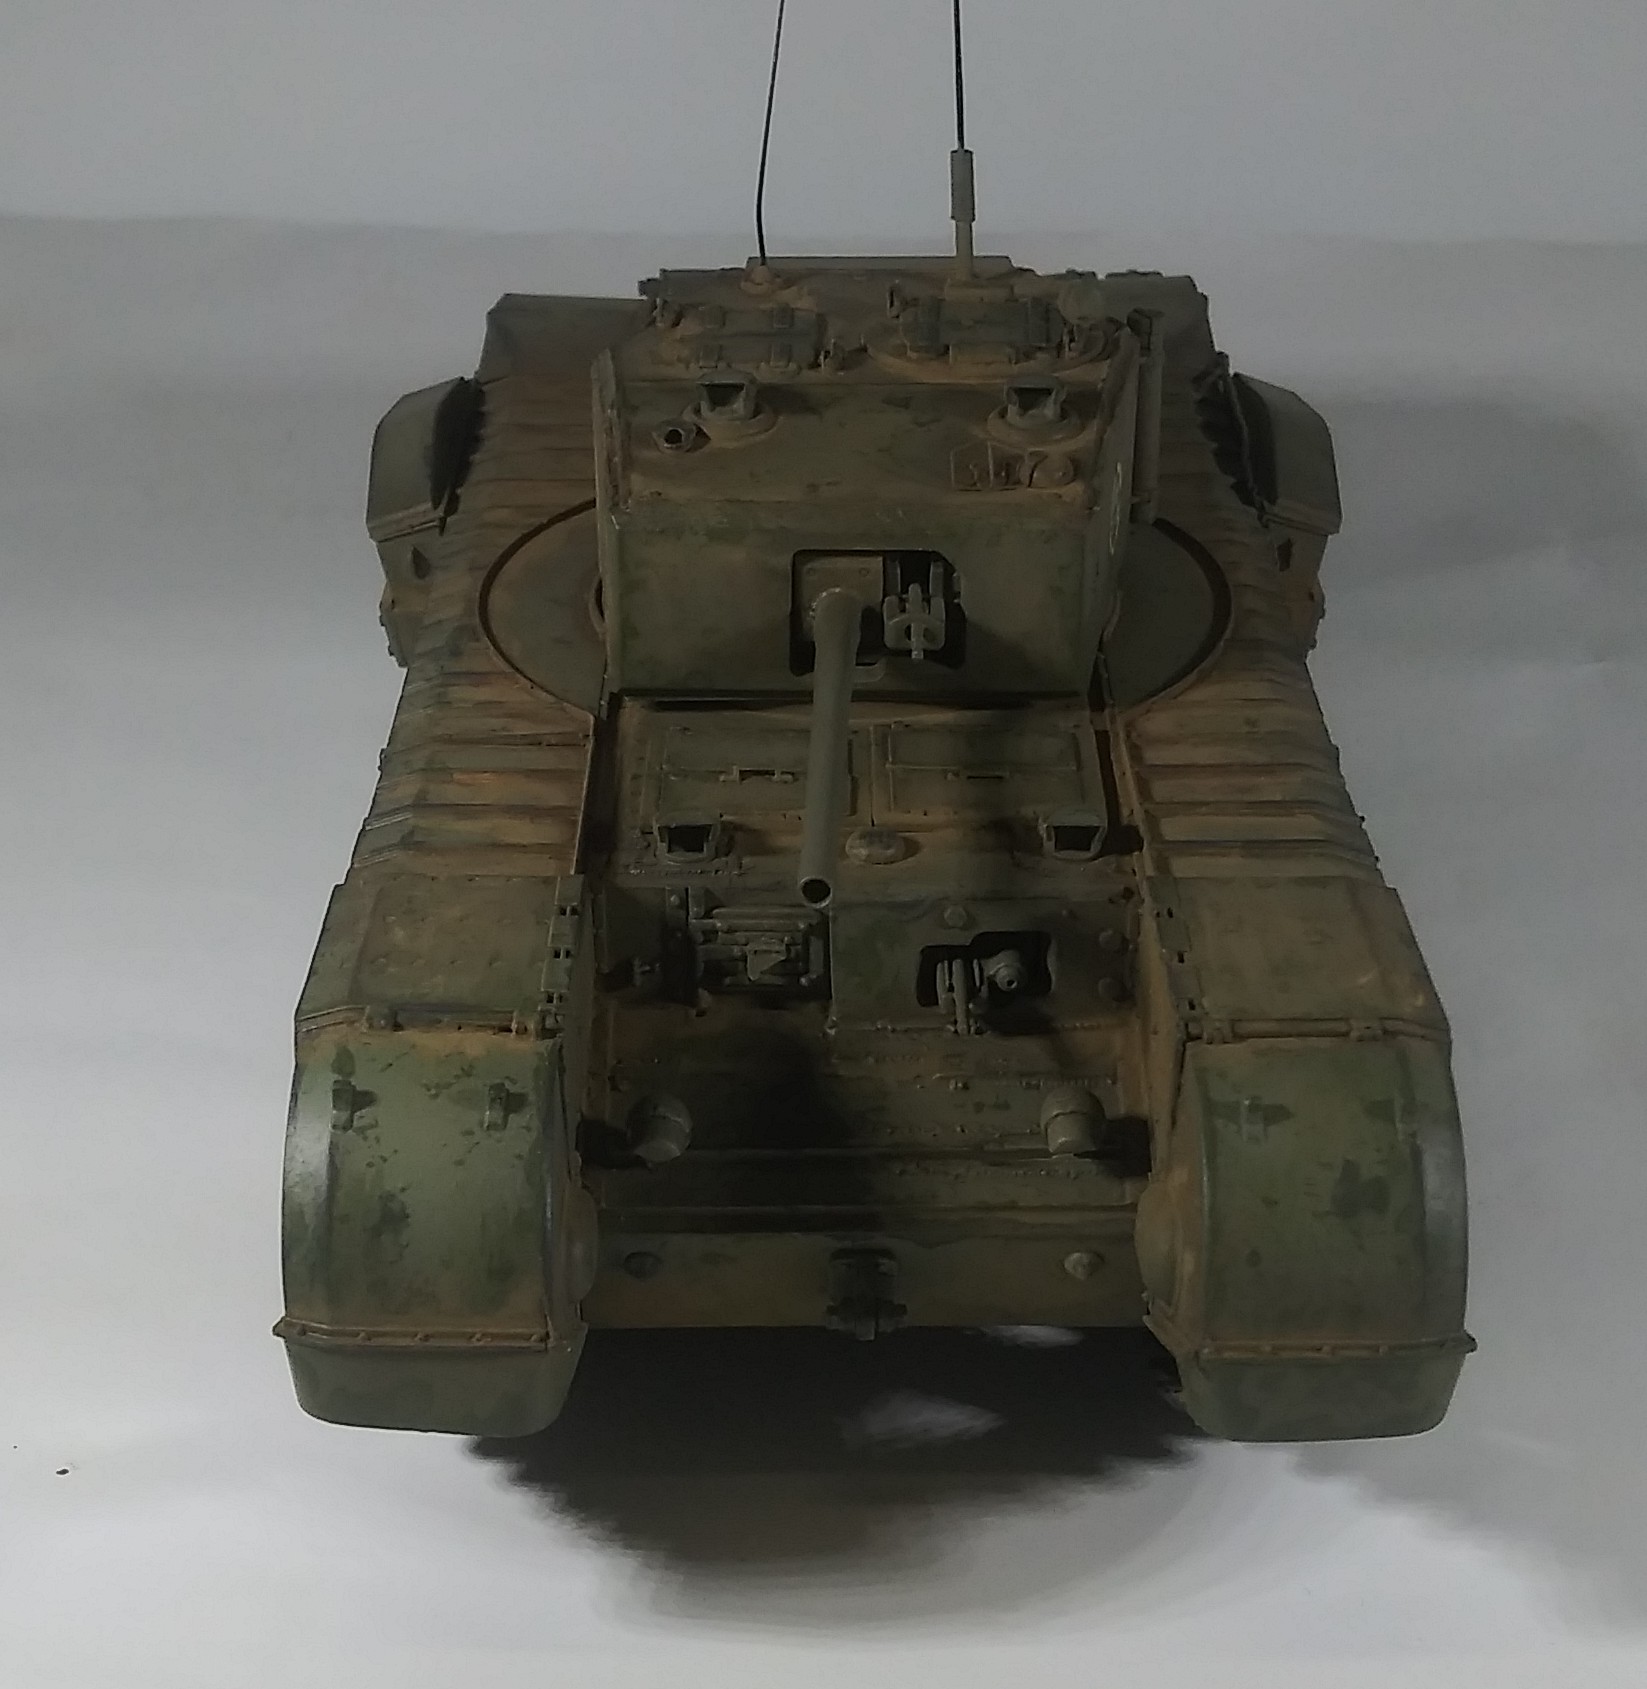
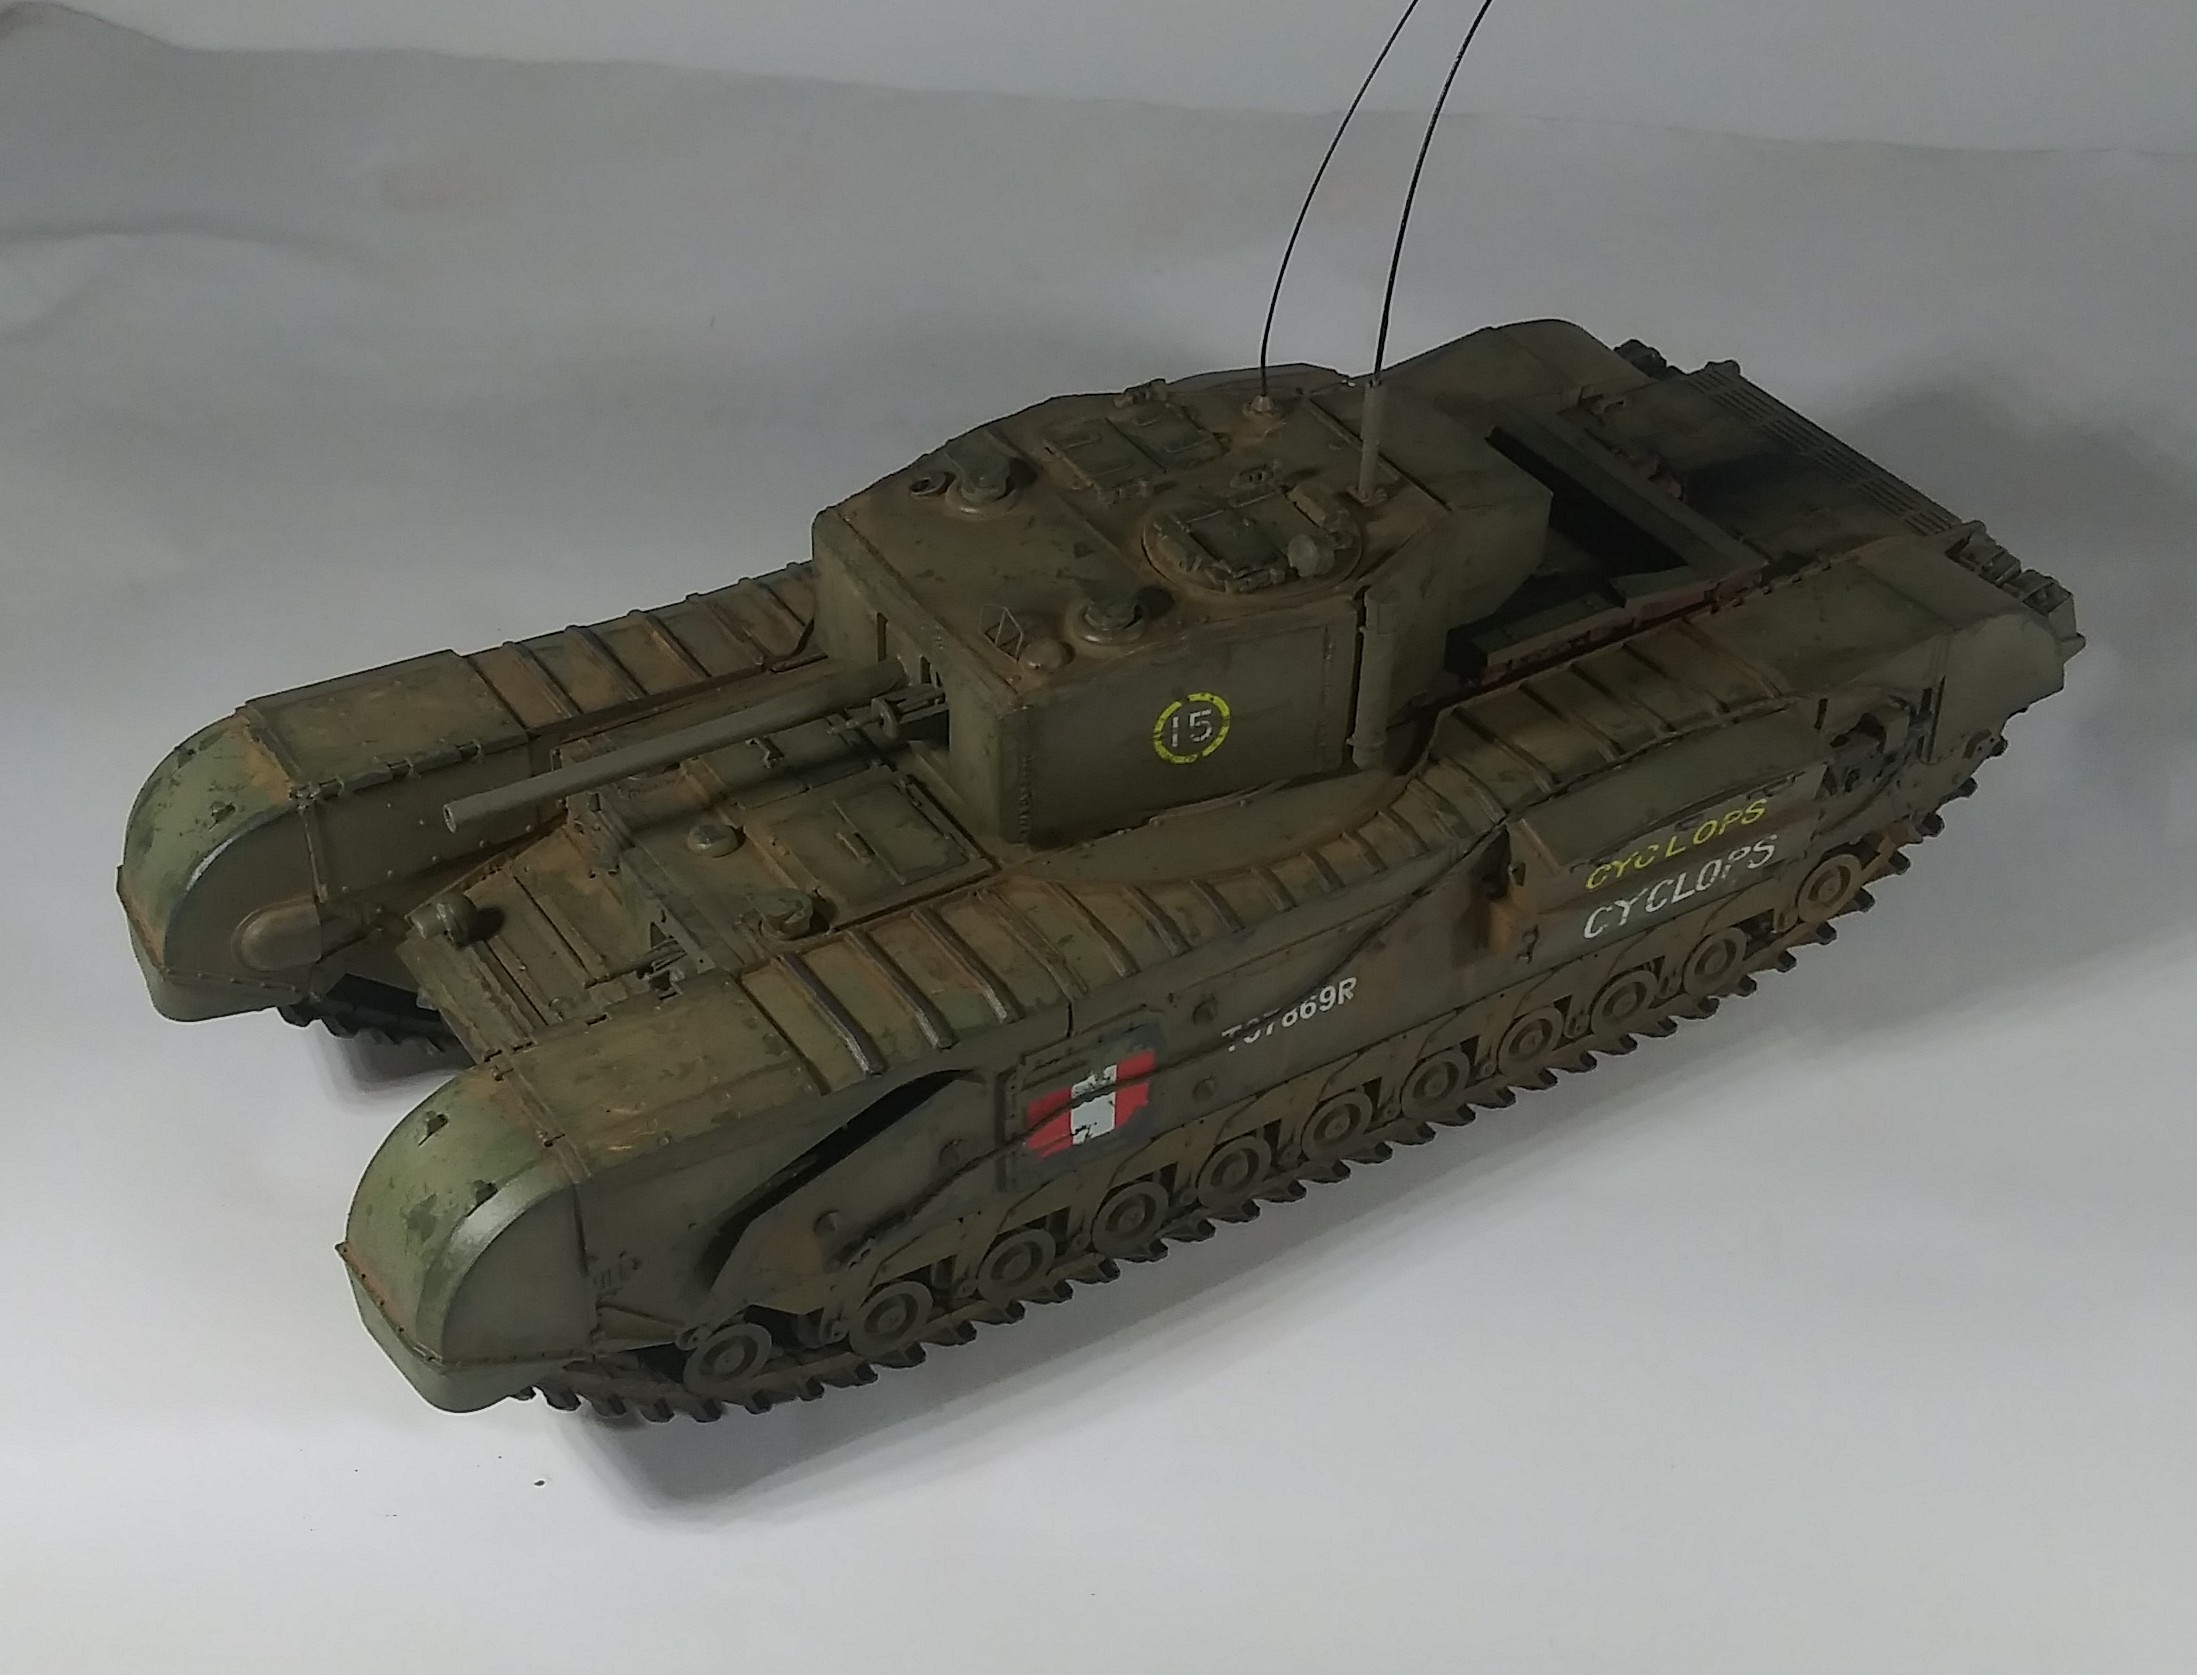
The only things I have done are add multiple weld beads that were missing , added the rolled steel texture to much of the vehicle. Fabricated a few parts here and there . Corrected a couple small issues and tied my own tow cable and finally added a field improvised hold down straps on the tanks on the rear, those still need some work . Im not sold on the big square buckles yet . That will more than likely get changed.


6 Likes
Looking great Chris, keep up the good work! How did you add the rolled steel texture?
Nick I keep a bottle of sprue goo that is somewhere around a medium viscosity or maybe a touch thinner. It also has stylenrez grey primer added to the goo so I can see the effect as it goes on .
All I do is get a small bit on a small flat brush and dab small areas at a time while keeping it thin on the surface of the model . If you get too much in one spot just spread it out and dab at it . I make my own extra thin glue … Very similar to tamiya extra thin and that’s what I use to make the goo.
I have 3 versions of the glue , one that is a good match for t e t , the second is about 10 to 15 % hotter for big areas or hard plastics and one that is about 15% softer than t e t.
To shorten a long story and more information than you asked for . If there was a way to add videos to the forum here I would do a video on it . Its actually really simple
1 Like
Thanks so much for the great info Chris. That will be handy for my upcoming build. If you did have a video of how you do the rolled armour effect I’d definitely be keen to see it!!
1 Like
Looking good Chris.
I’m gonna say ditch those buckles though. They look too far out of scale for what you’re shooting for. Maybe try replacing it with some brass or copper wire?
1 Like
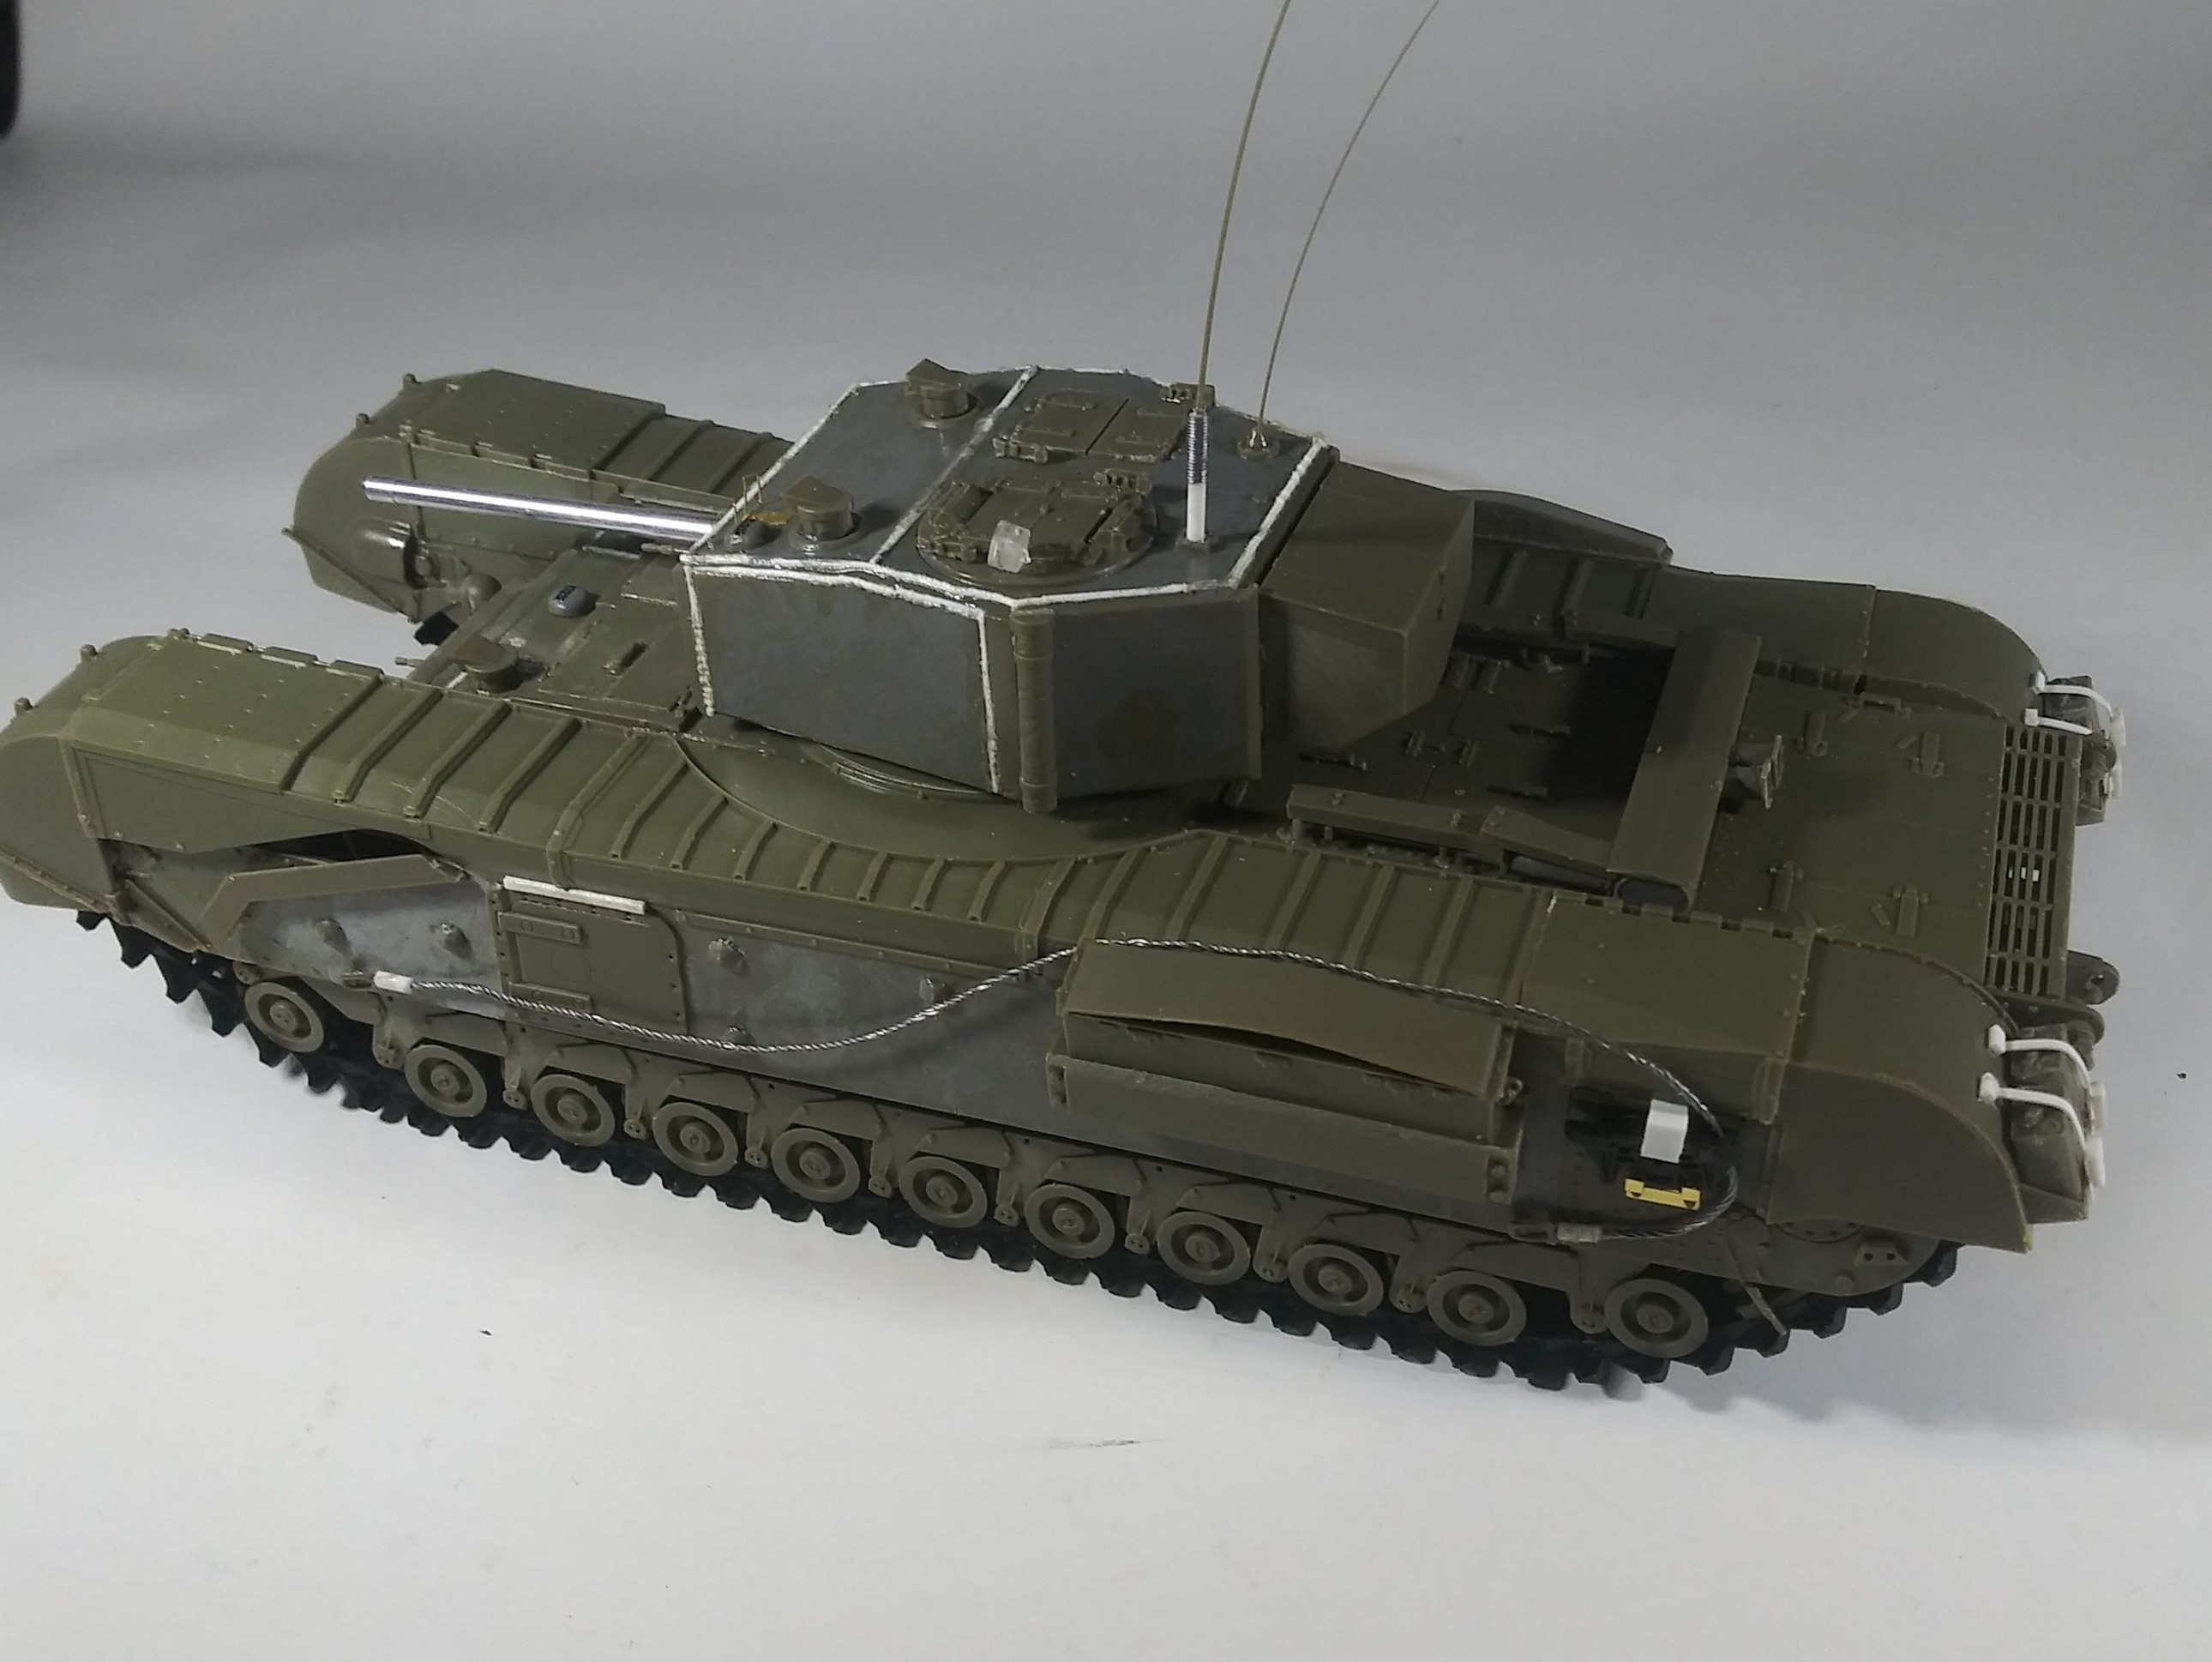
Don . I already got rid of them lol. This is one of those times when less is more
Looking good. What did you use for the weld beads, both method/medium and reference? I assume they’ll also be missing from my build
1 Like
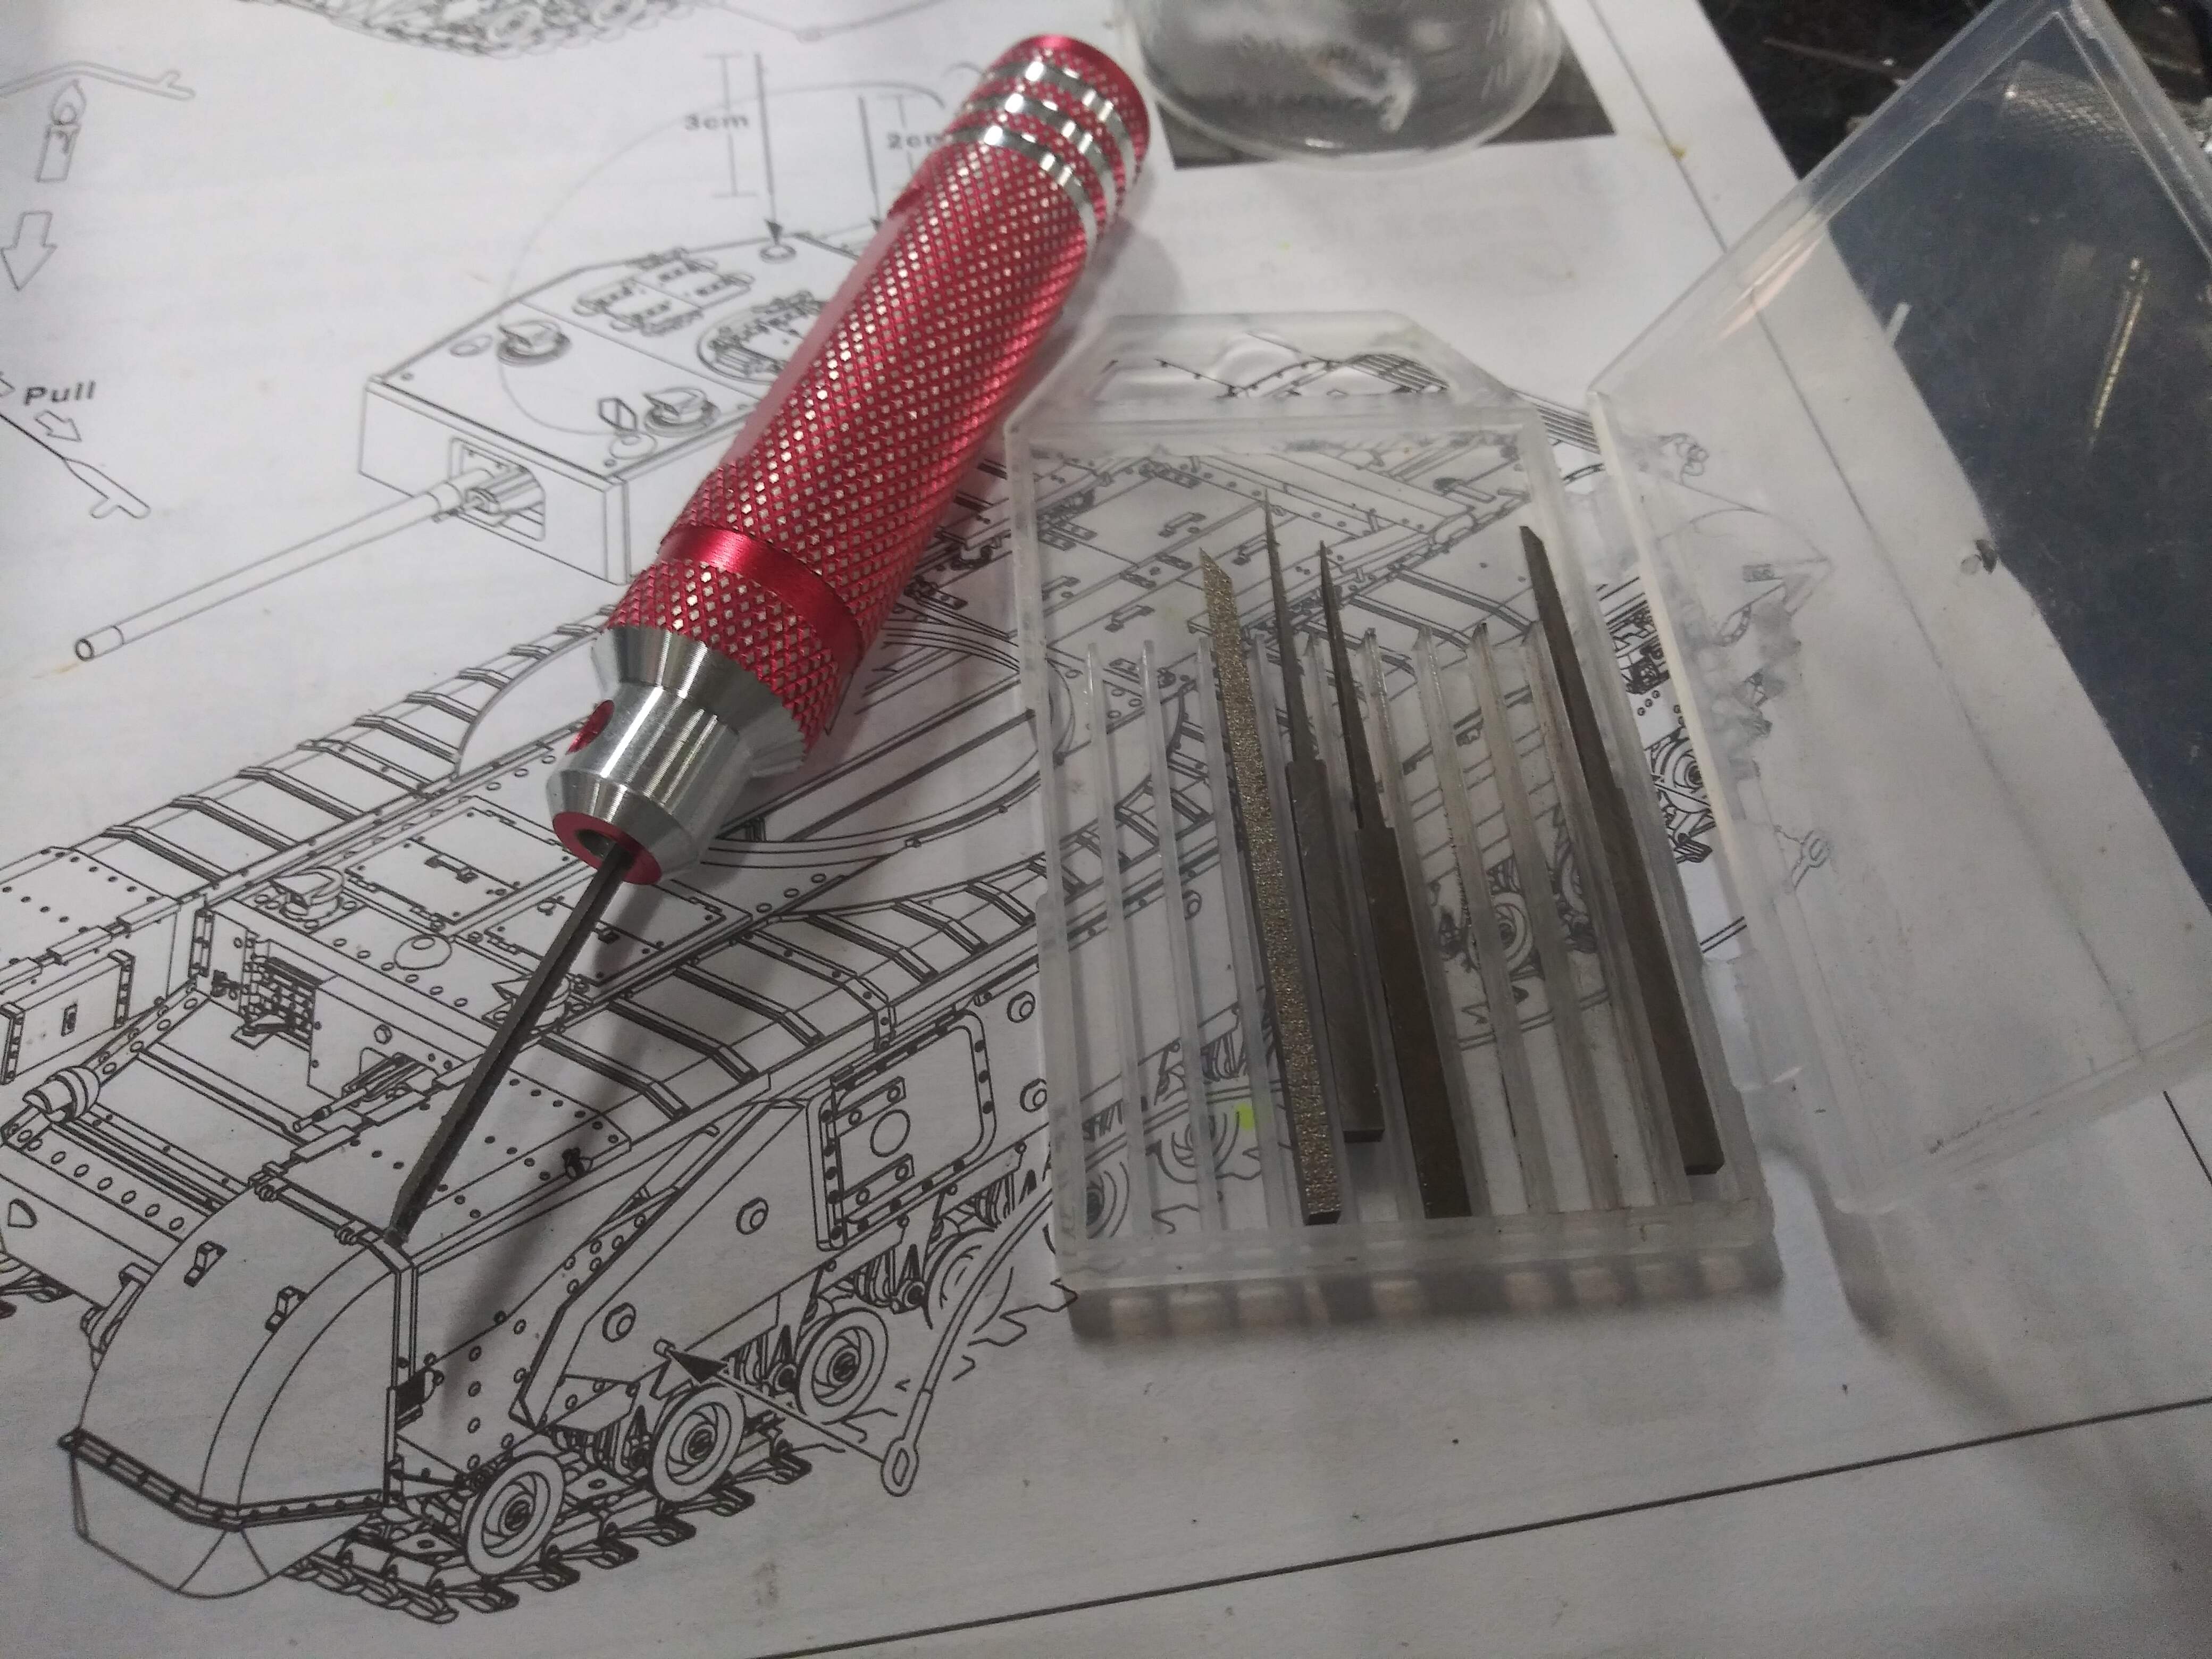
@Mead93 . To do the weld beads I scribed the model with a scribing tool and laid plastruct .020/.5 mm square rod in the groove . That was then brushed with extra thin ( see above post) let that sit for a few minutes and then used the back edge of a .5 mm scribe tool to form the weld . Then brushed over again with extra thin . Once dry lightly sanded as needed.
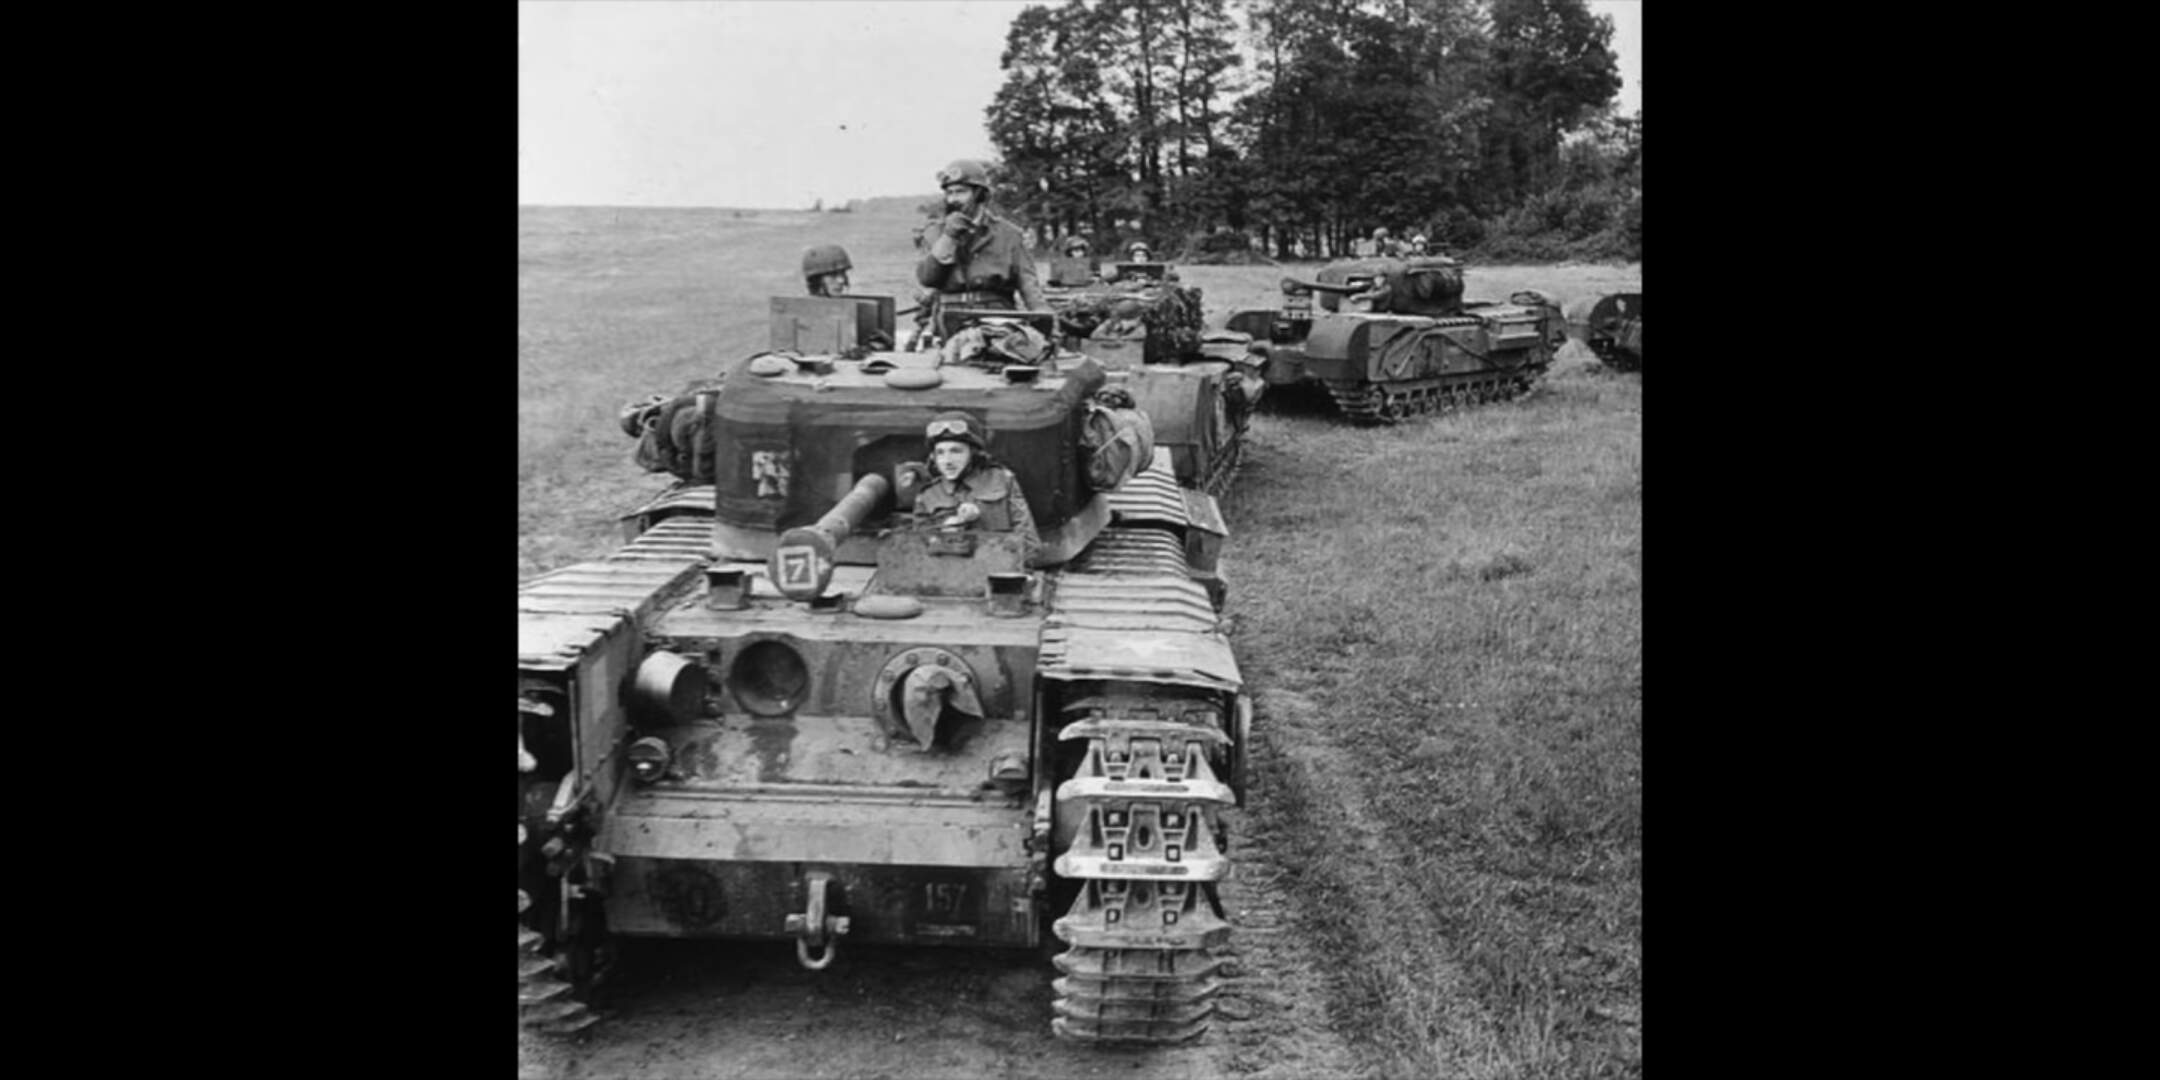
To determine what was missing I used the Haynes Churchill manual and multiple images from the web.
2 Likes

Perfect! Thanks a bunch!
If you’re looking for a video
Panzermeister36 demonstrates a similar technique here


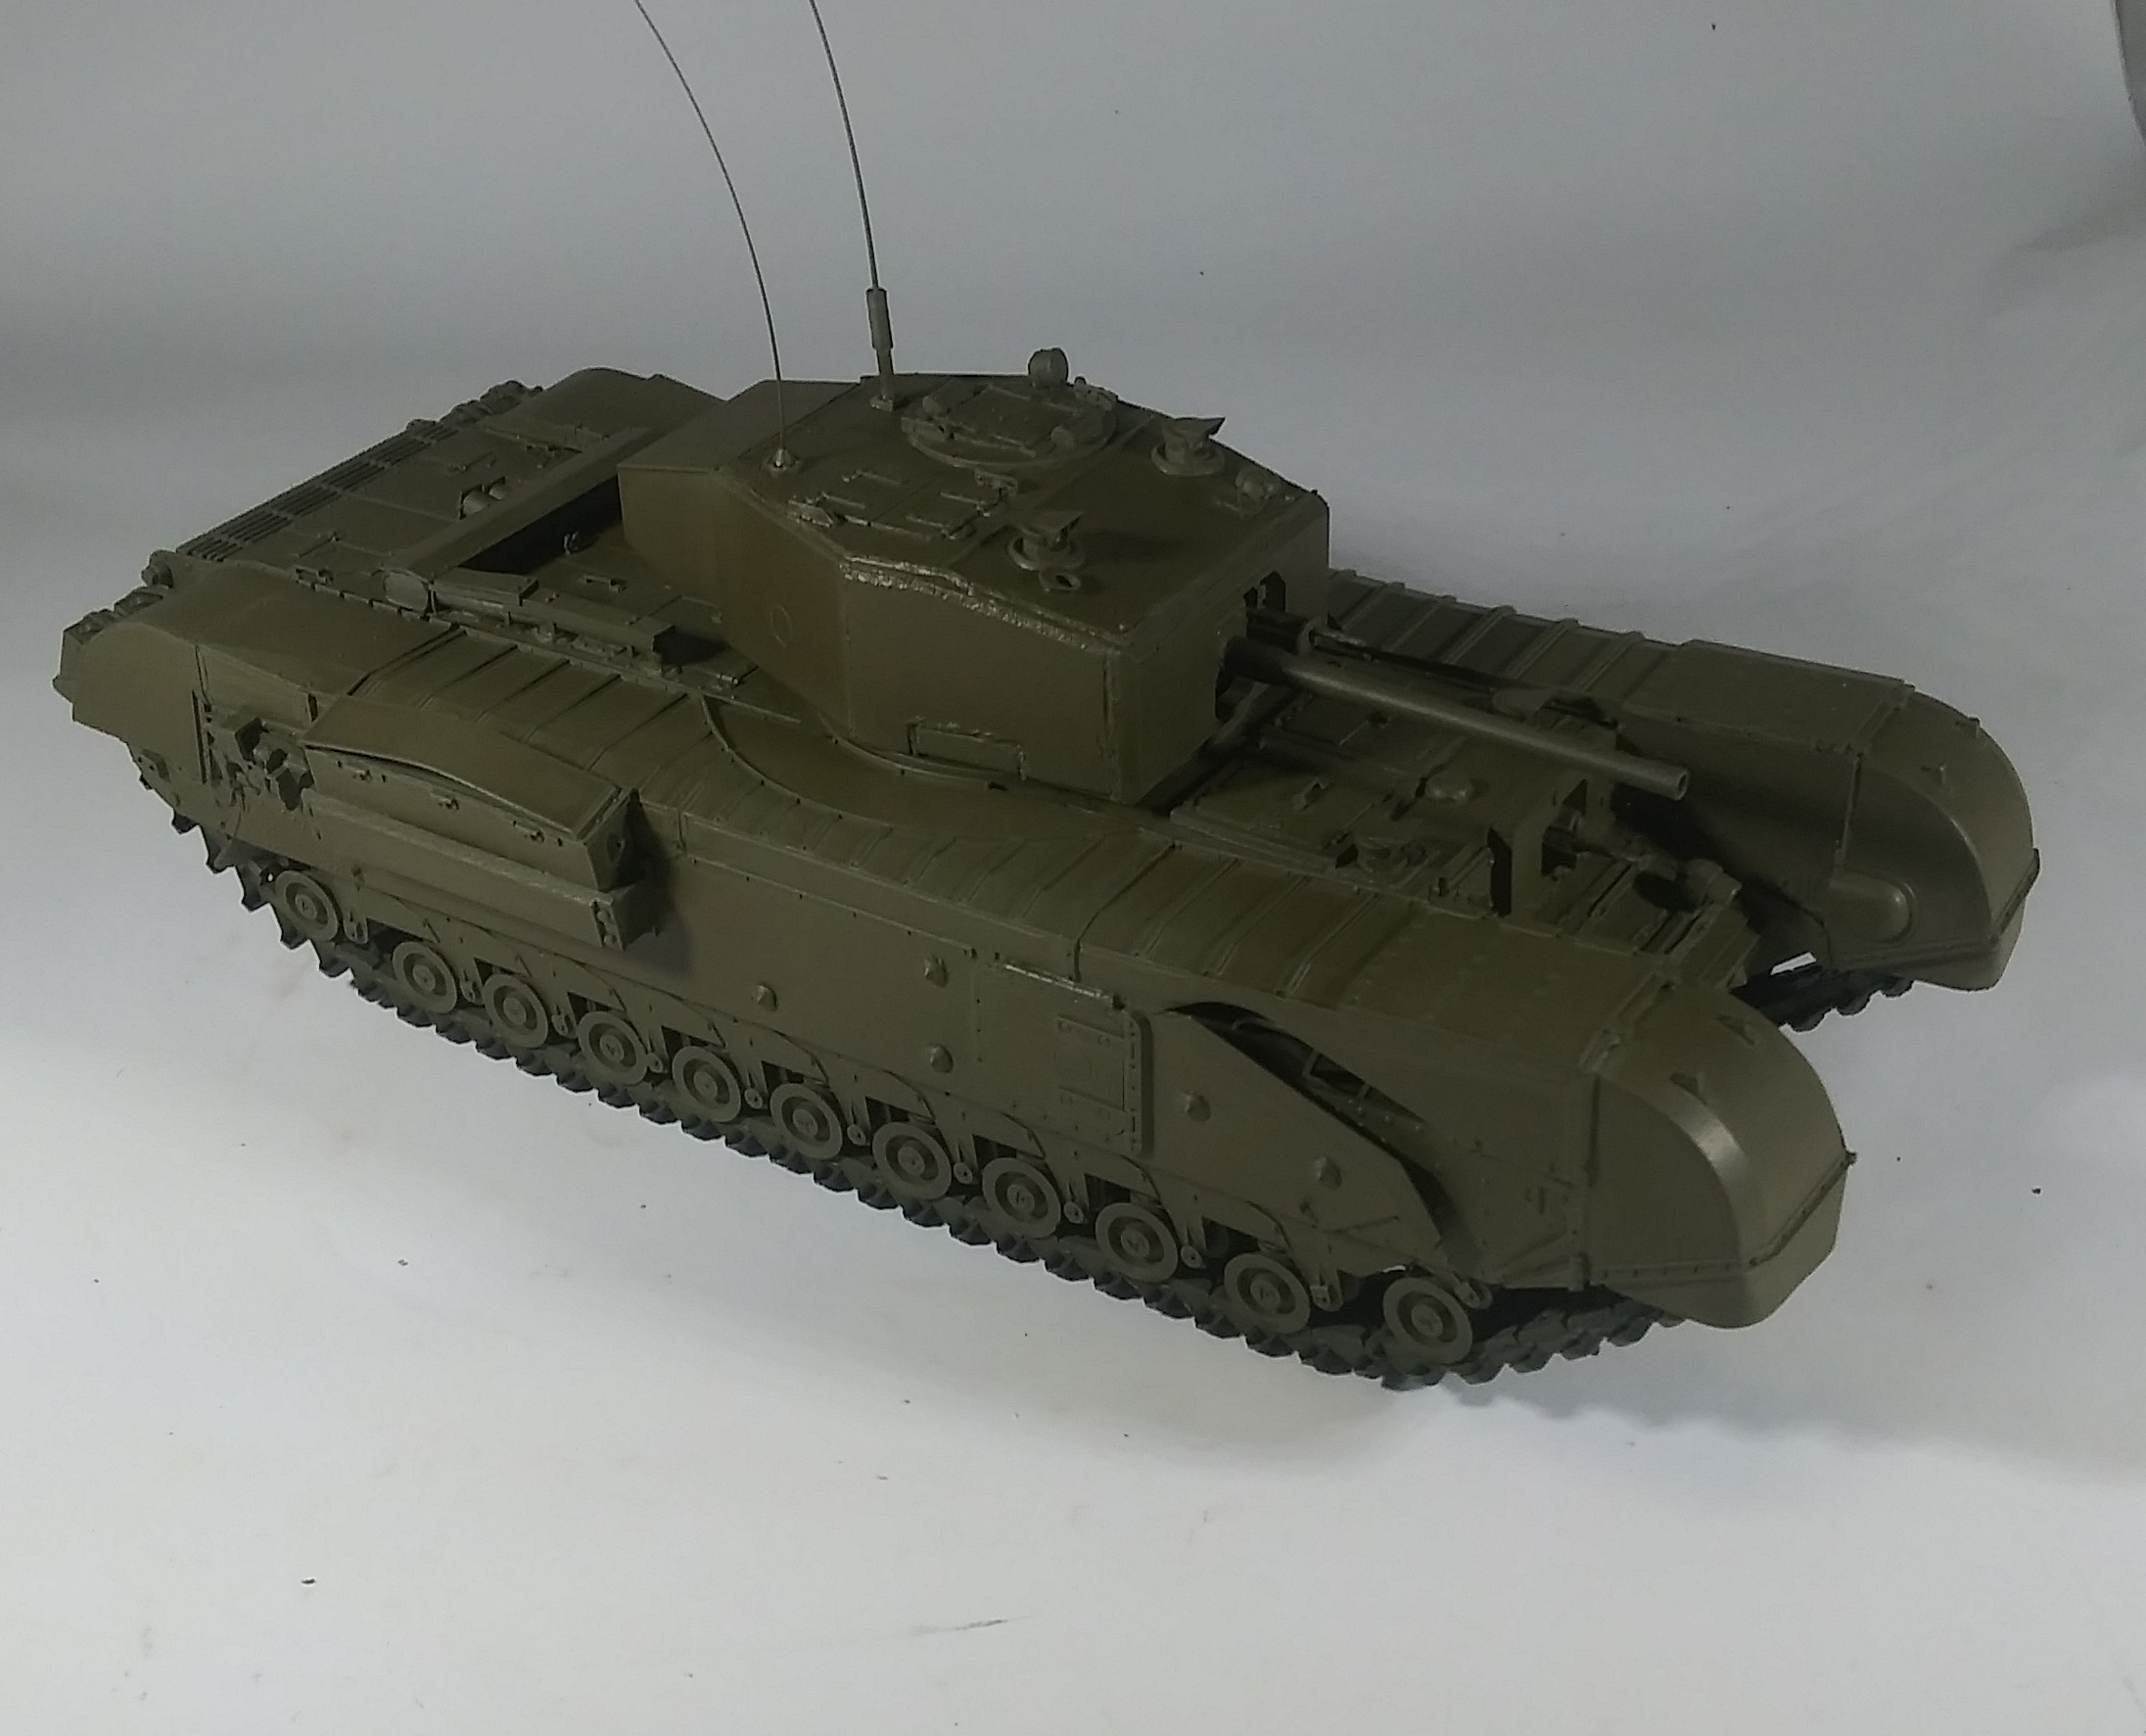
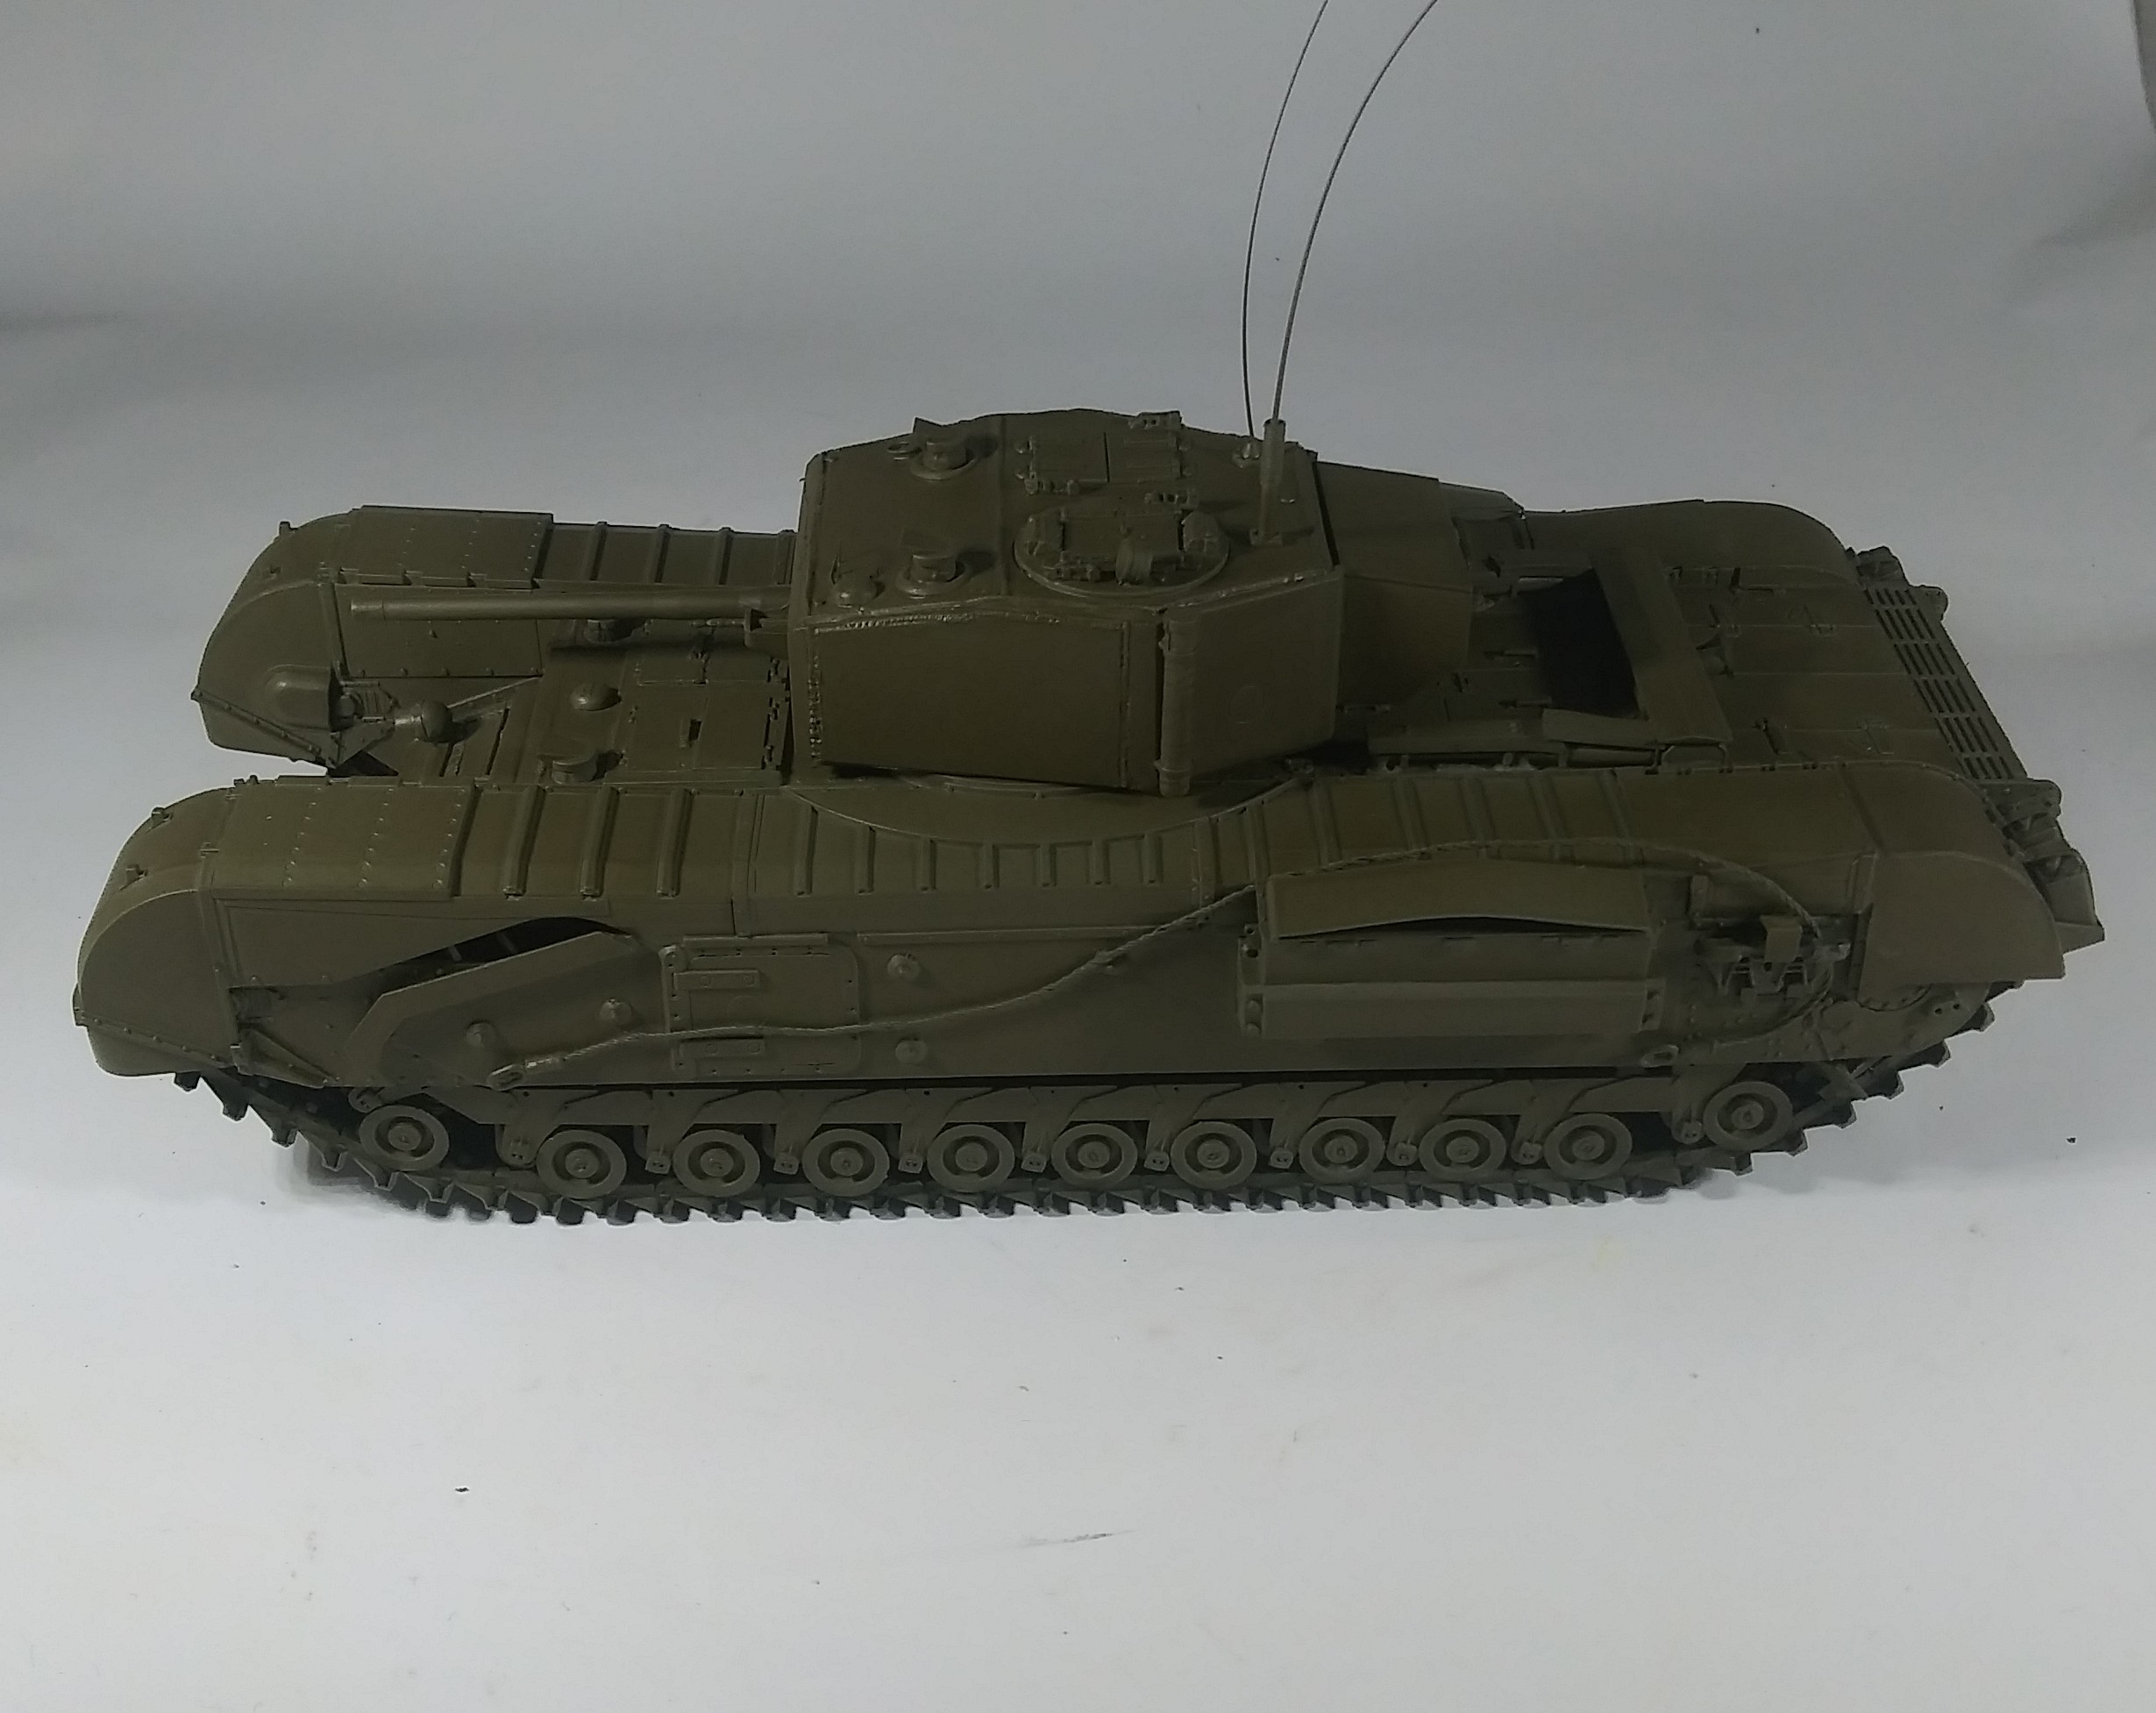
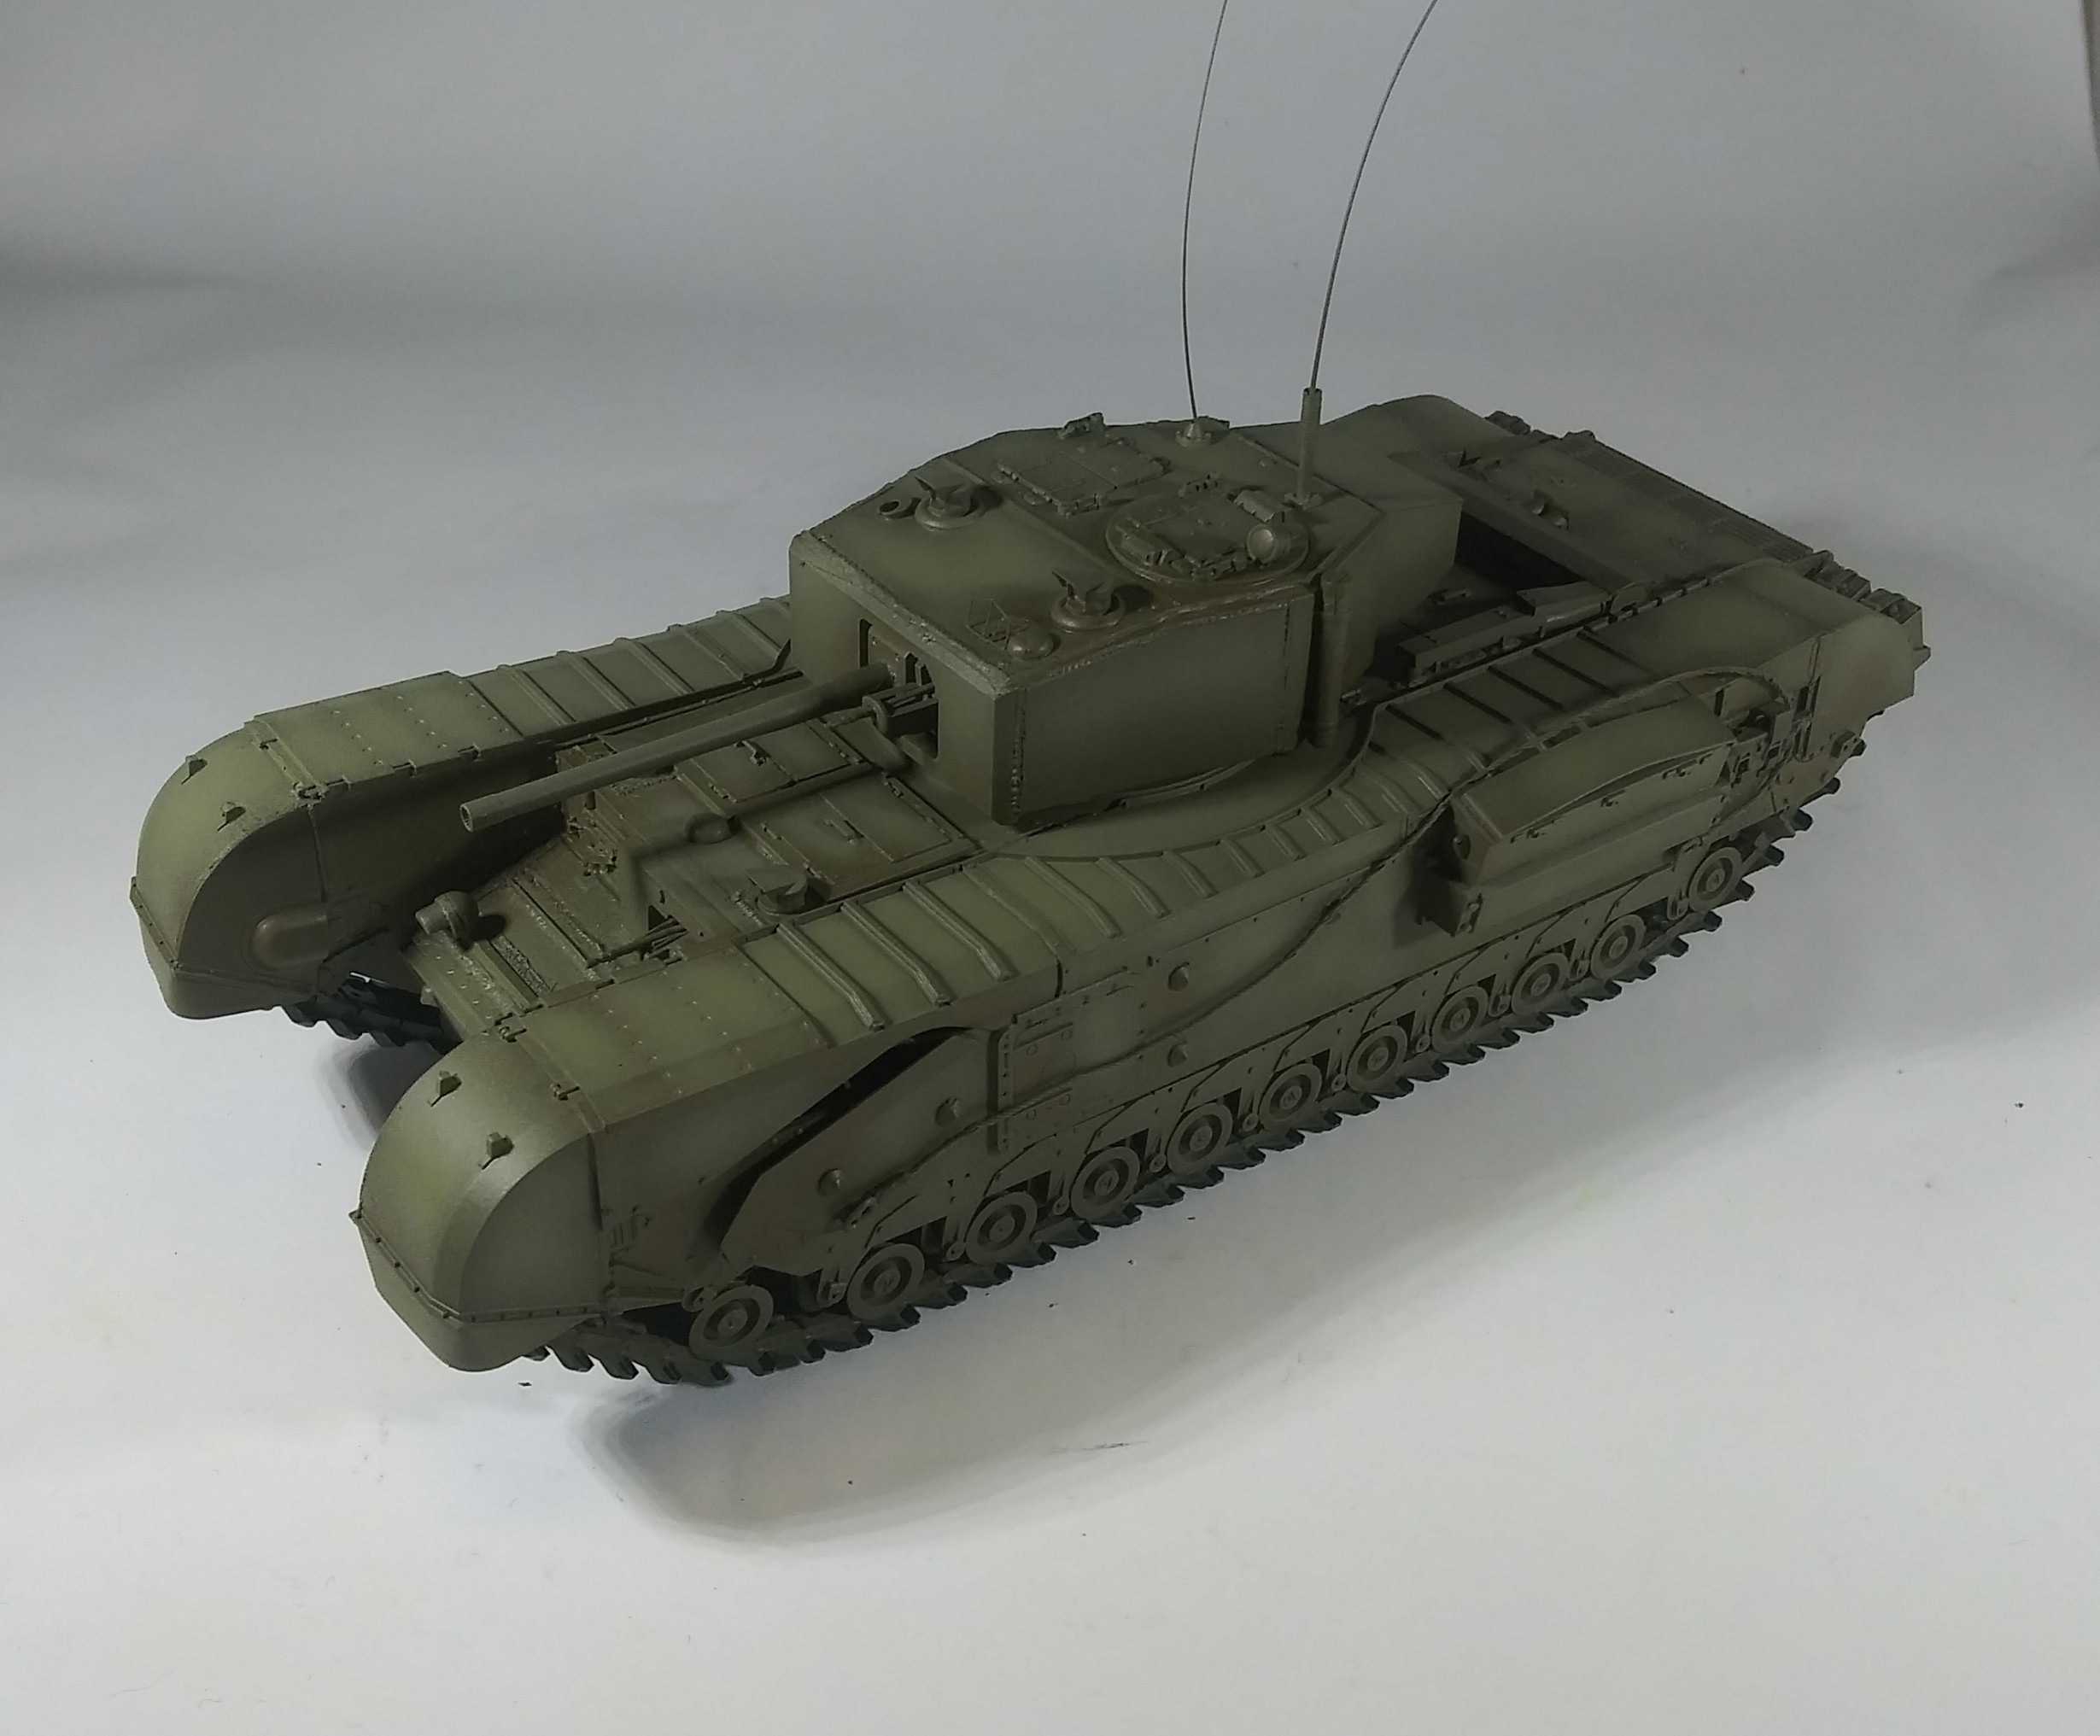
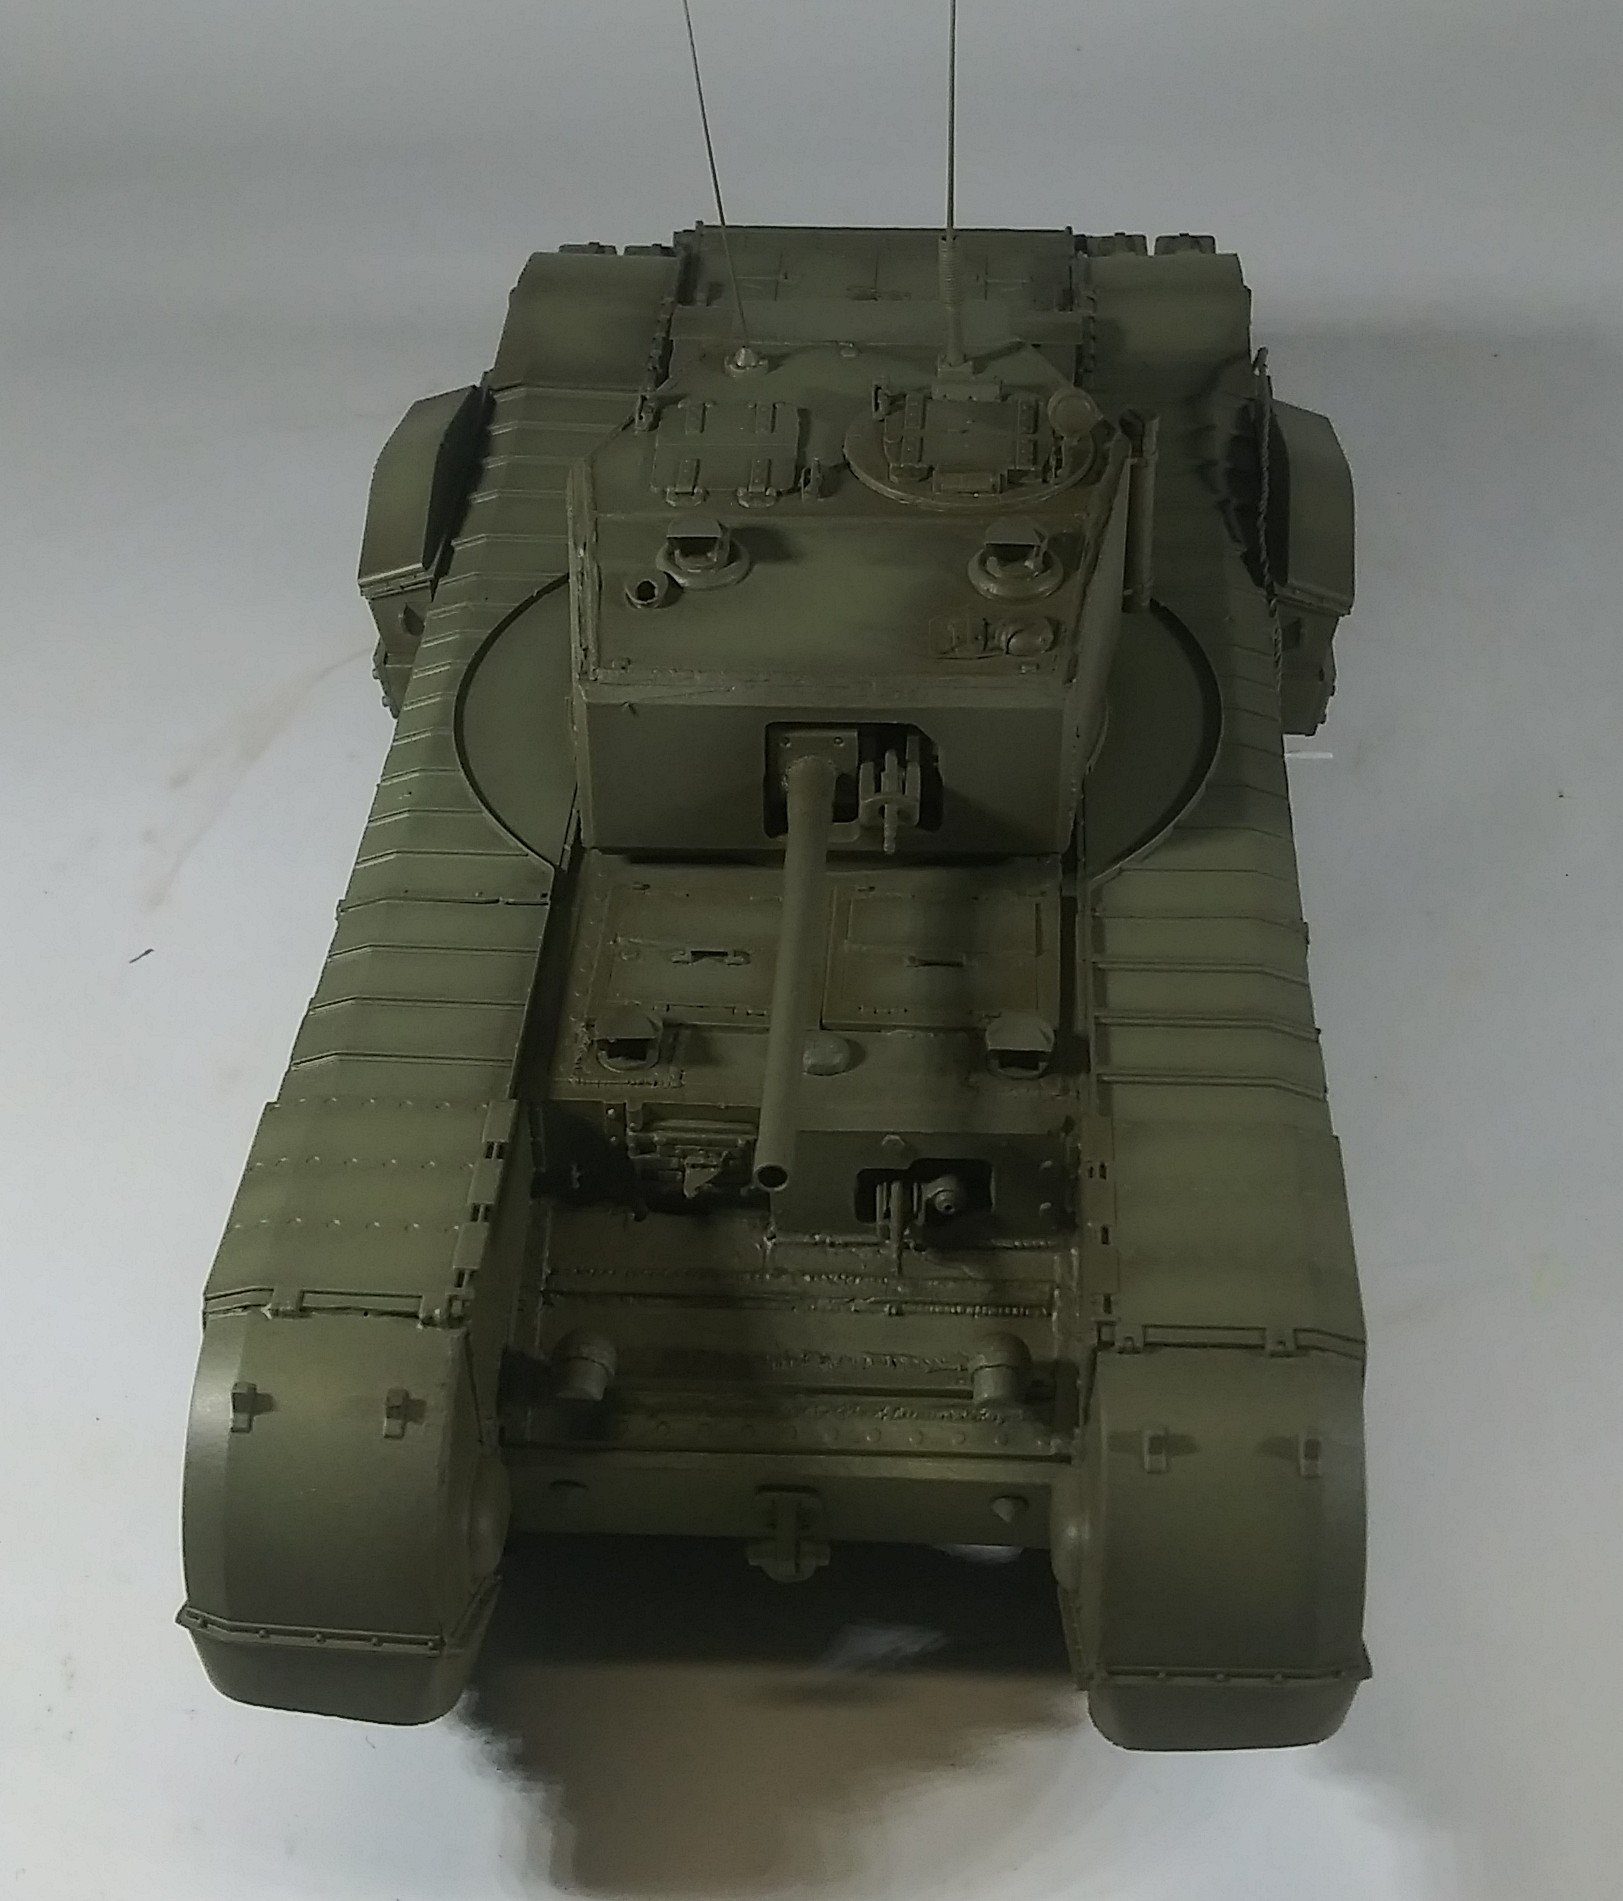

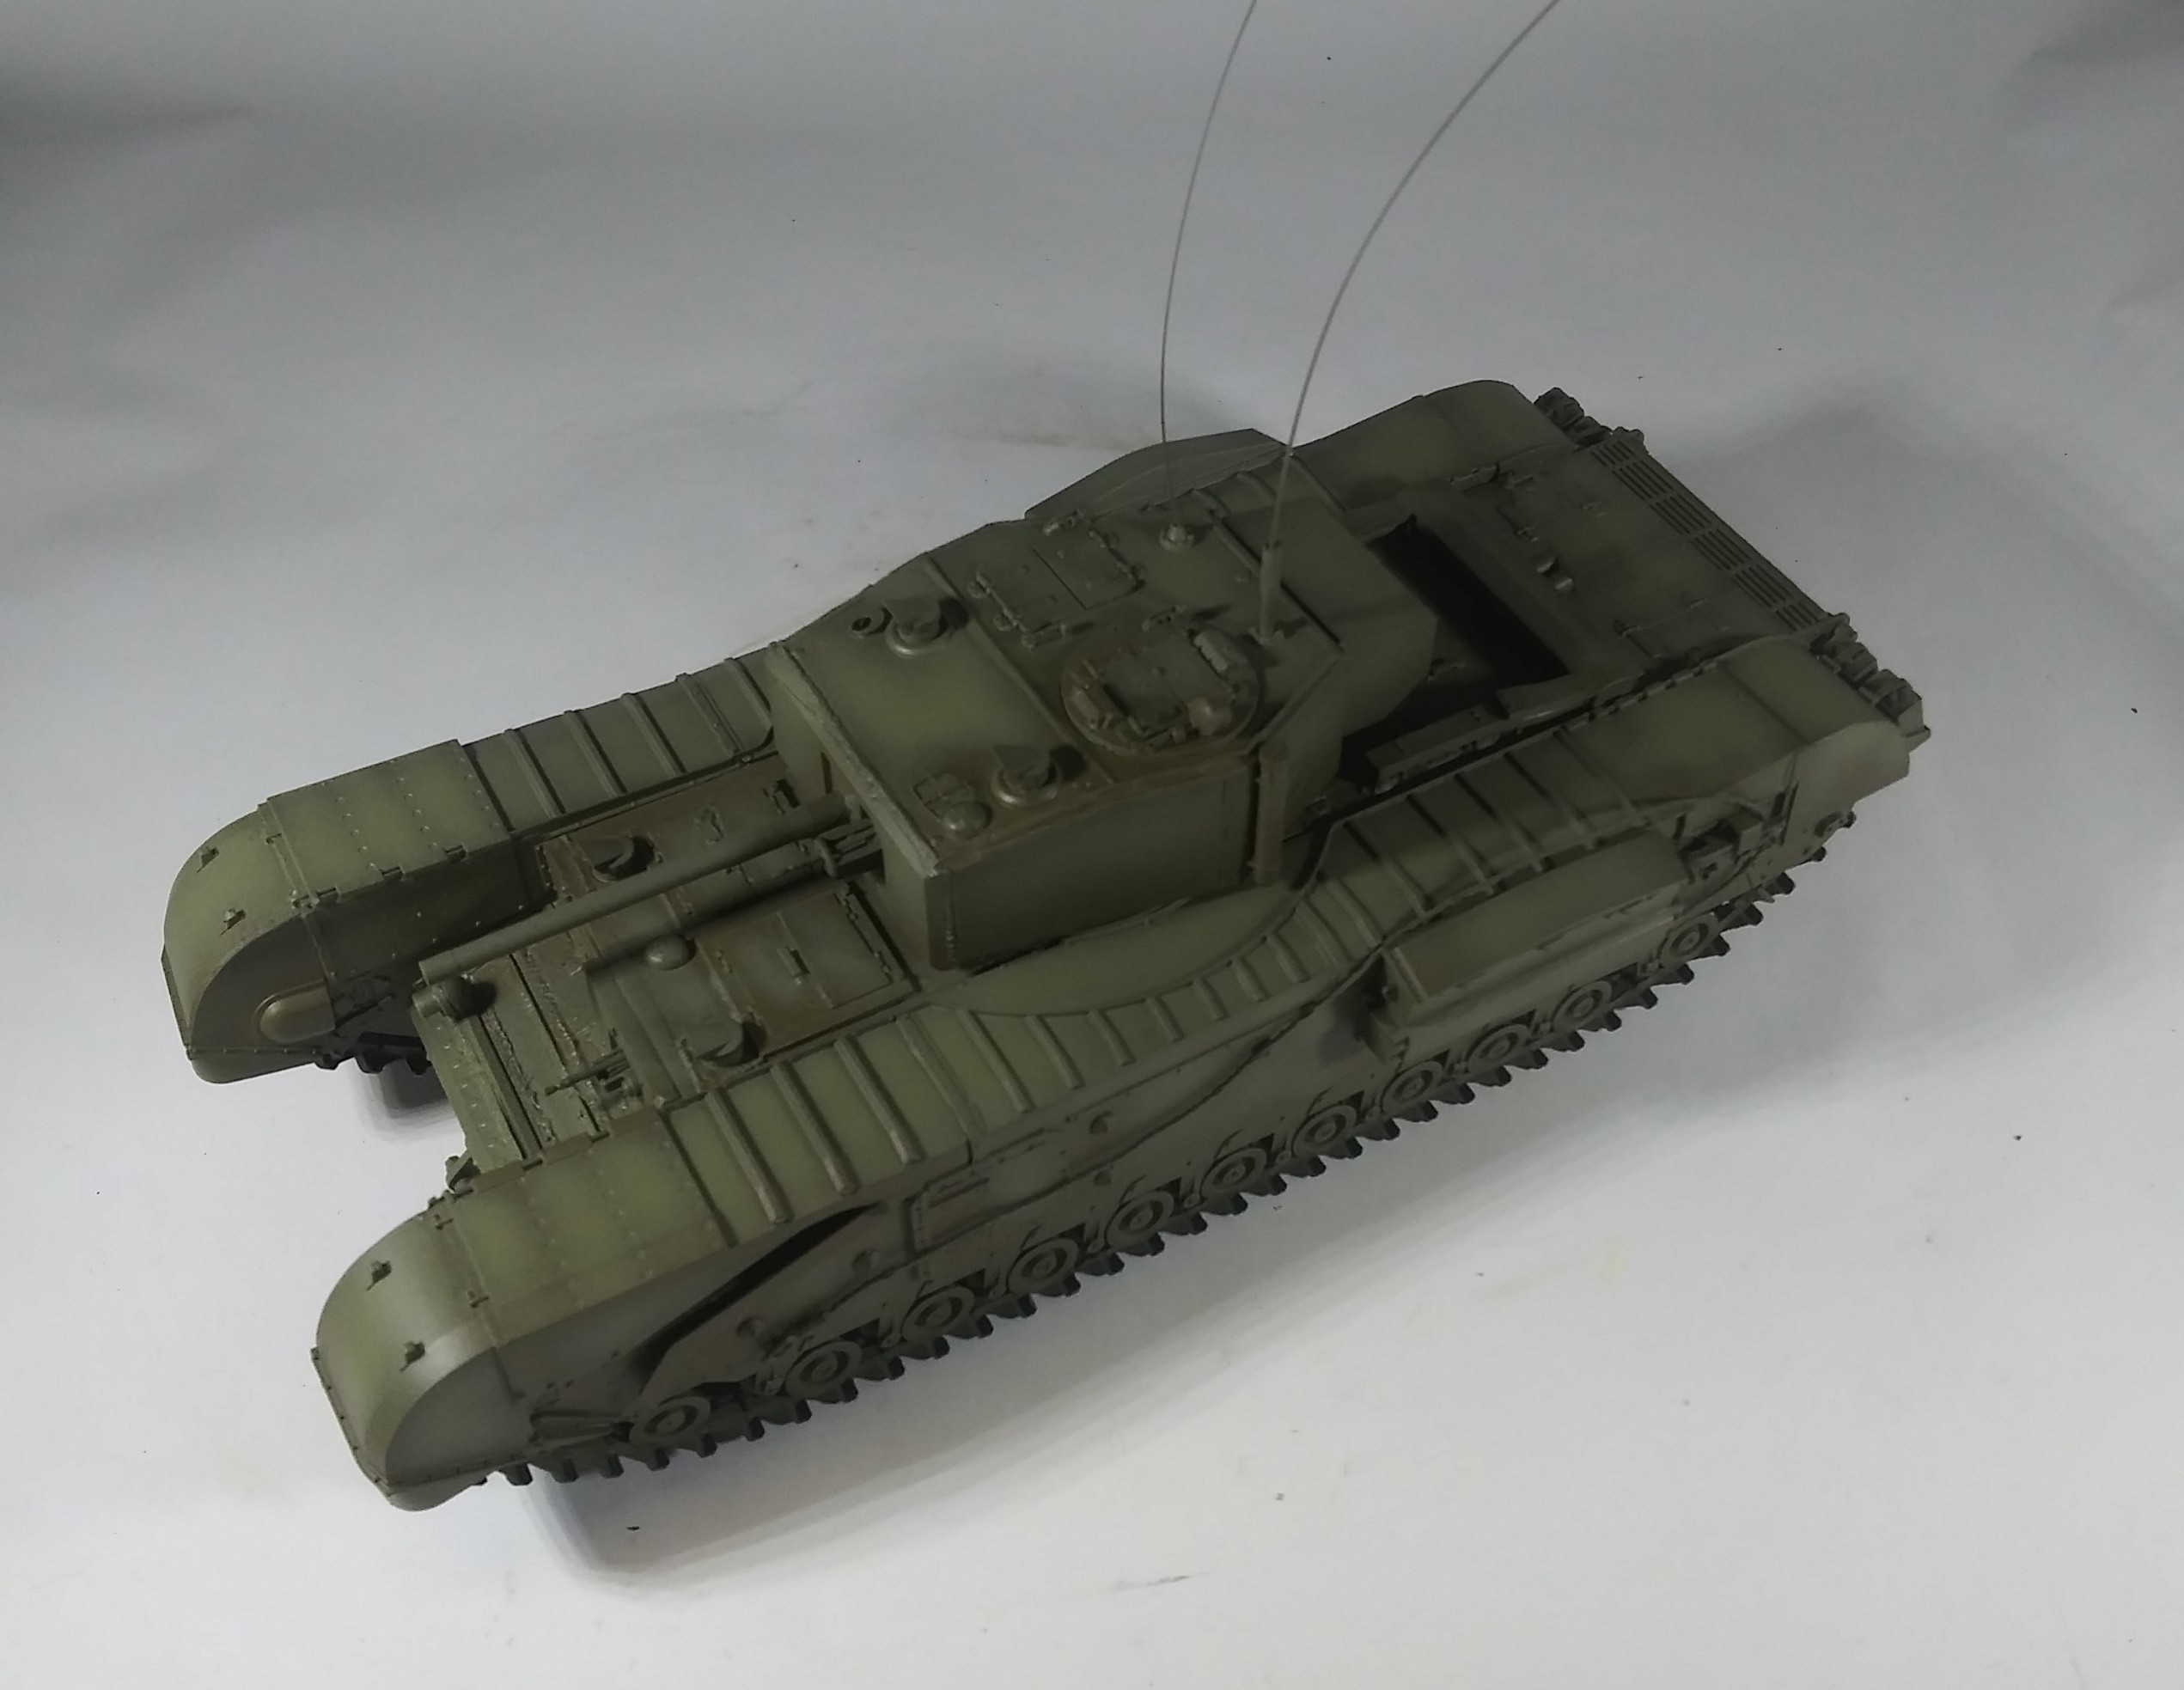
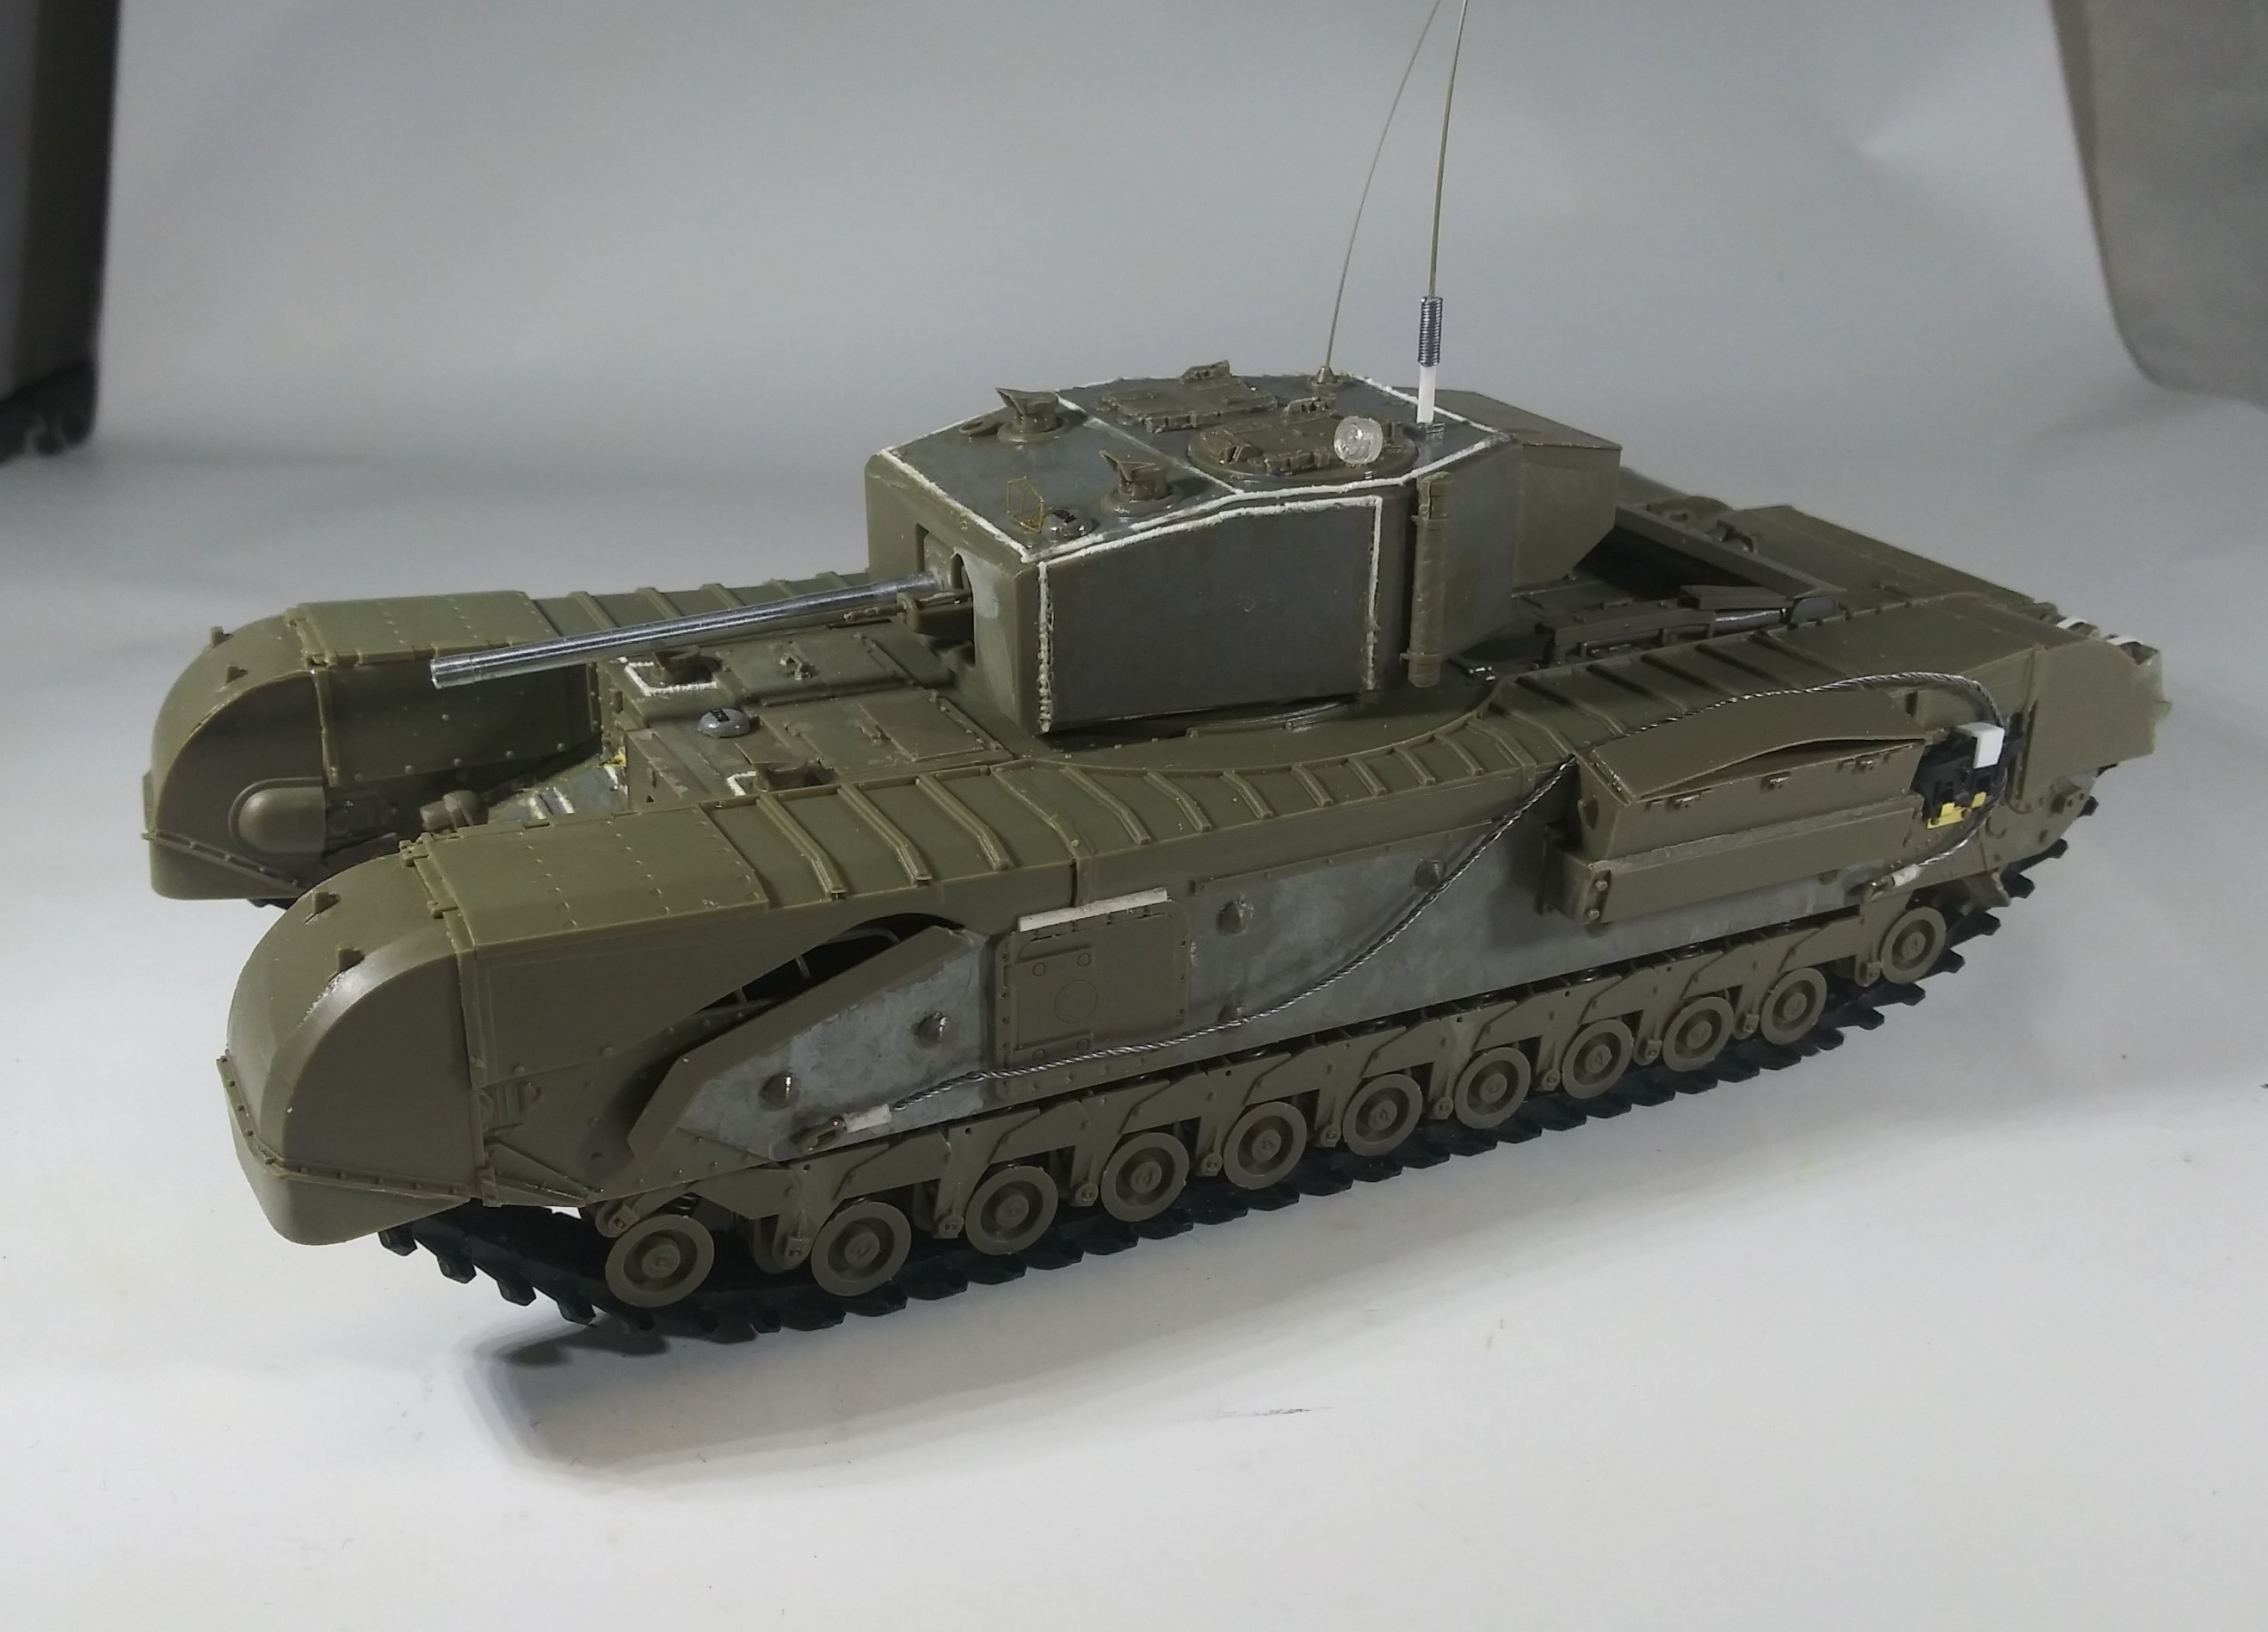
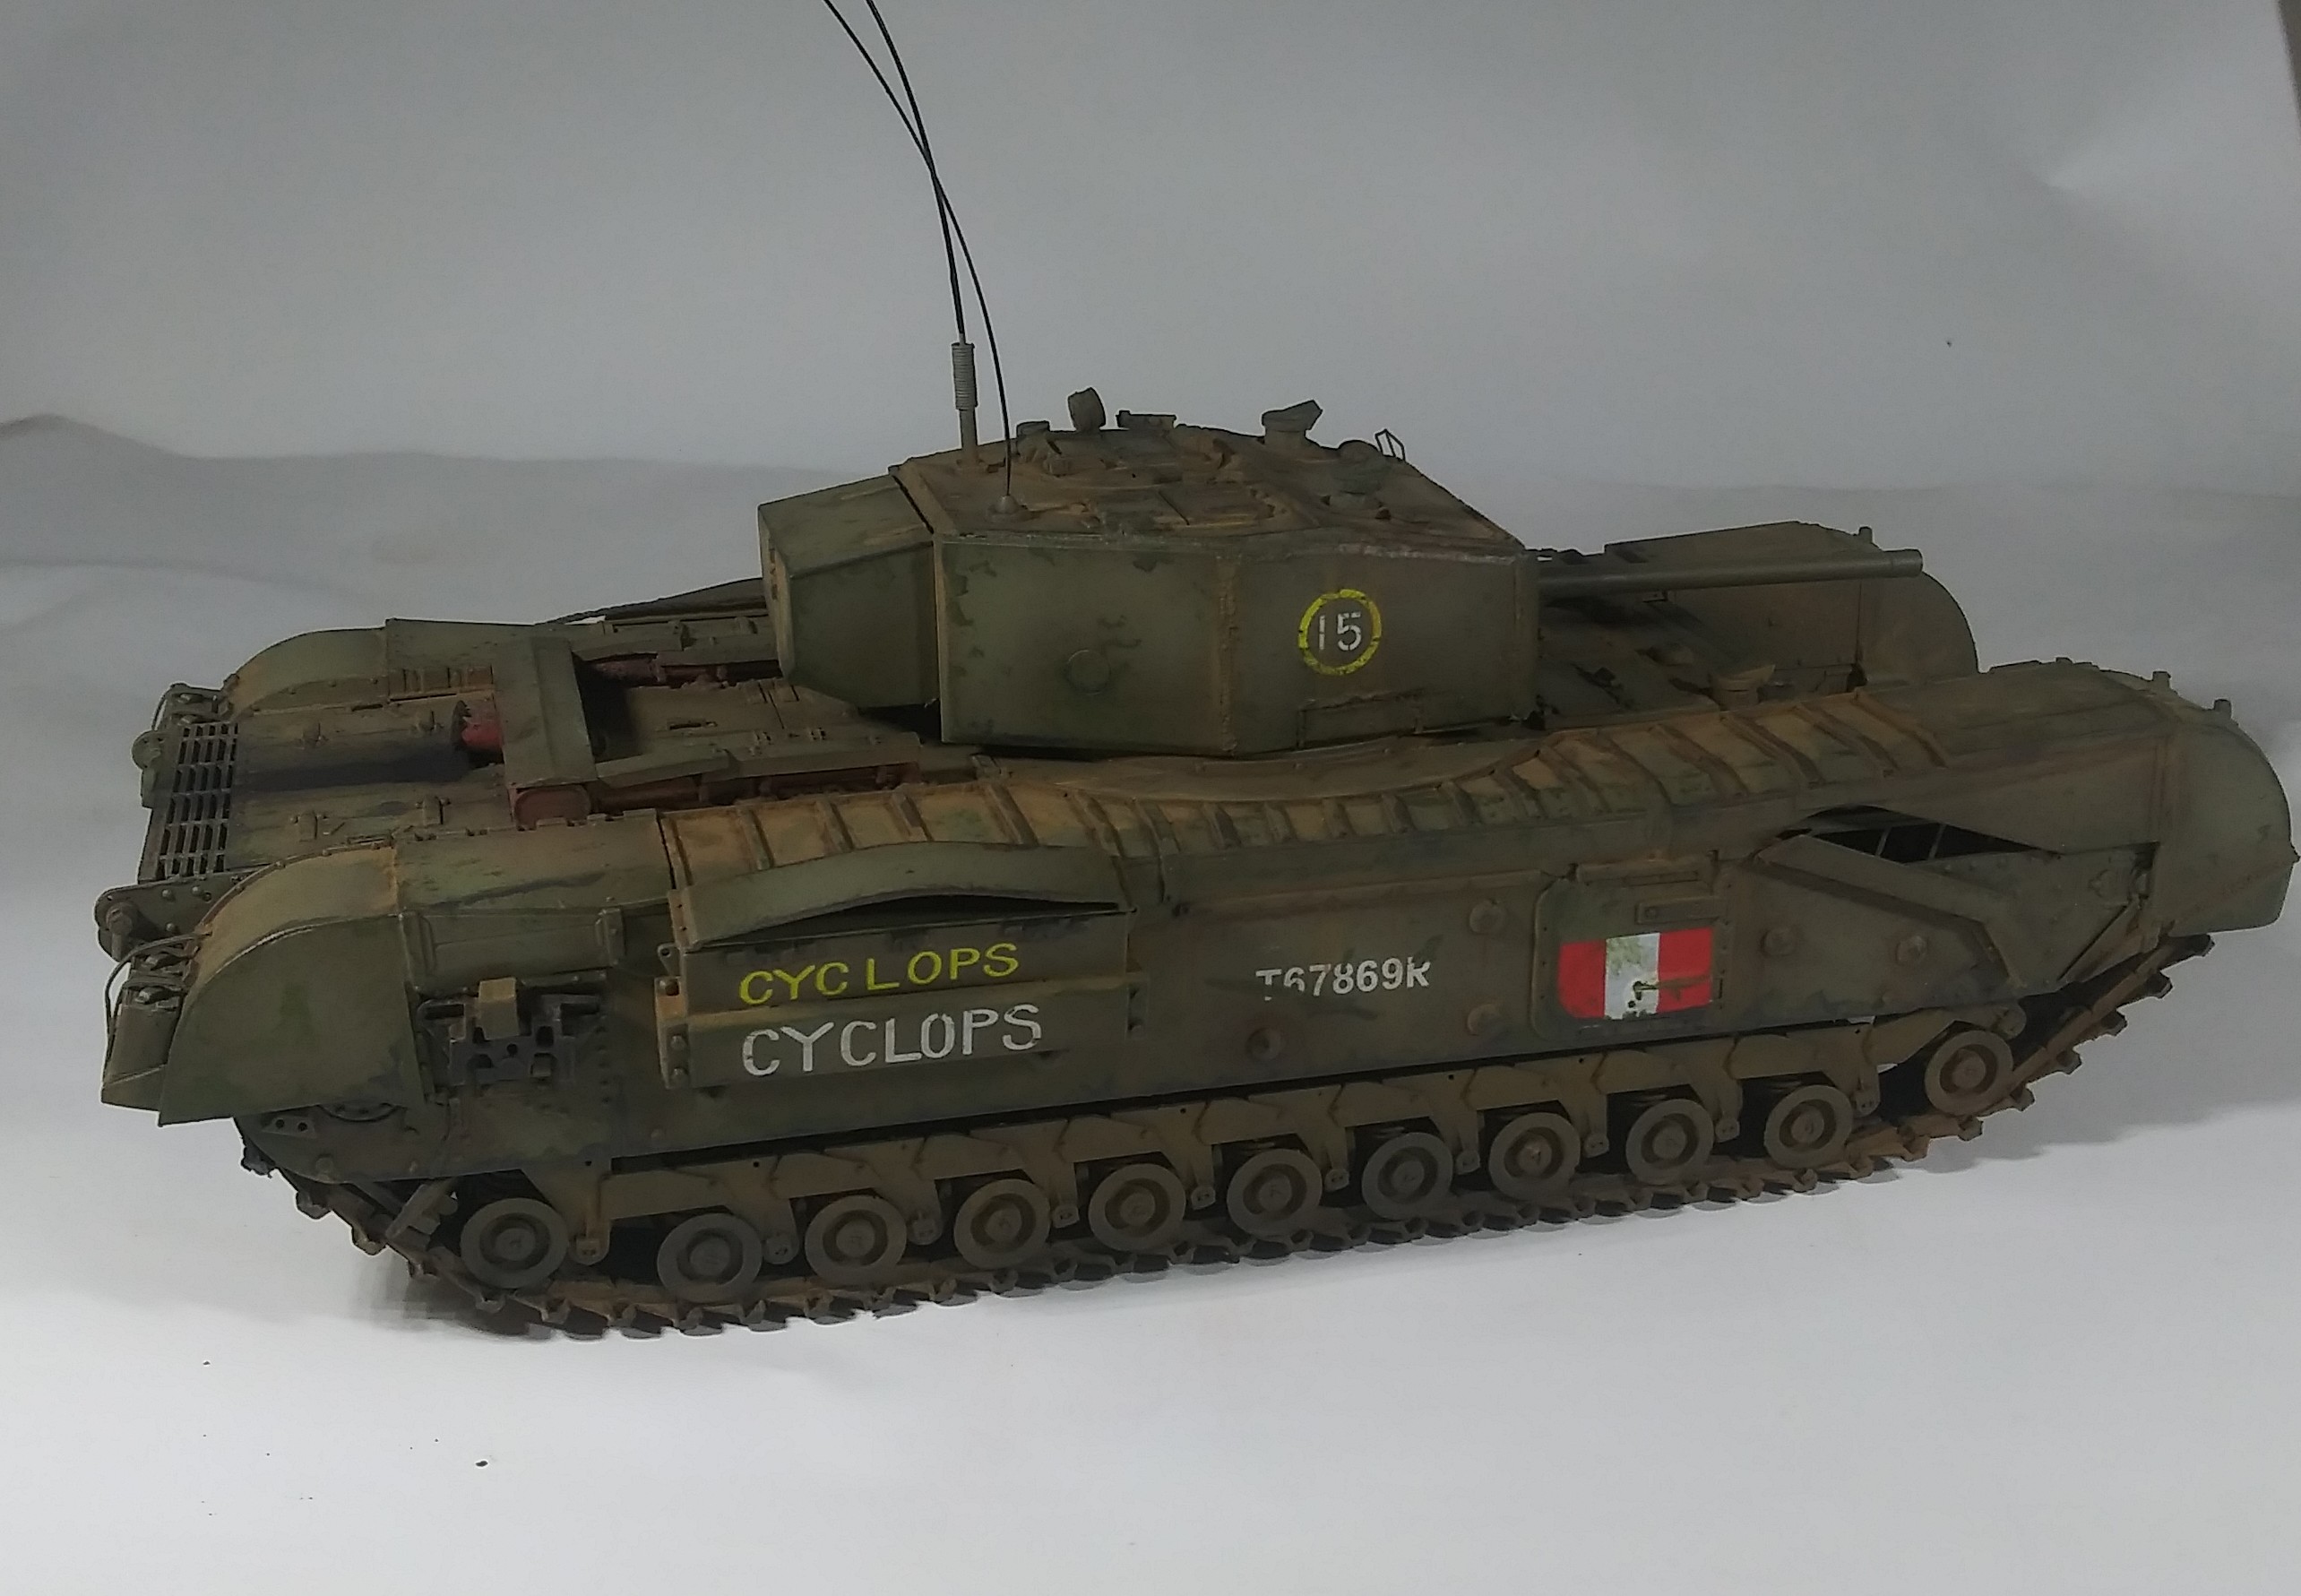
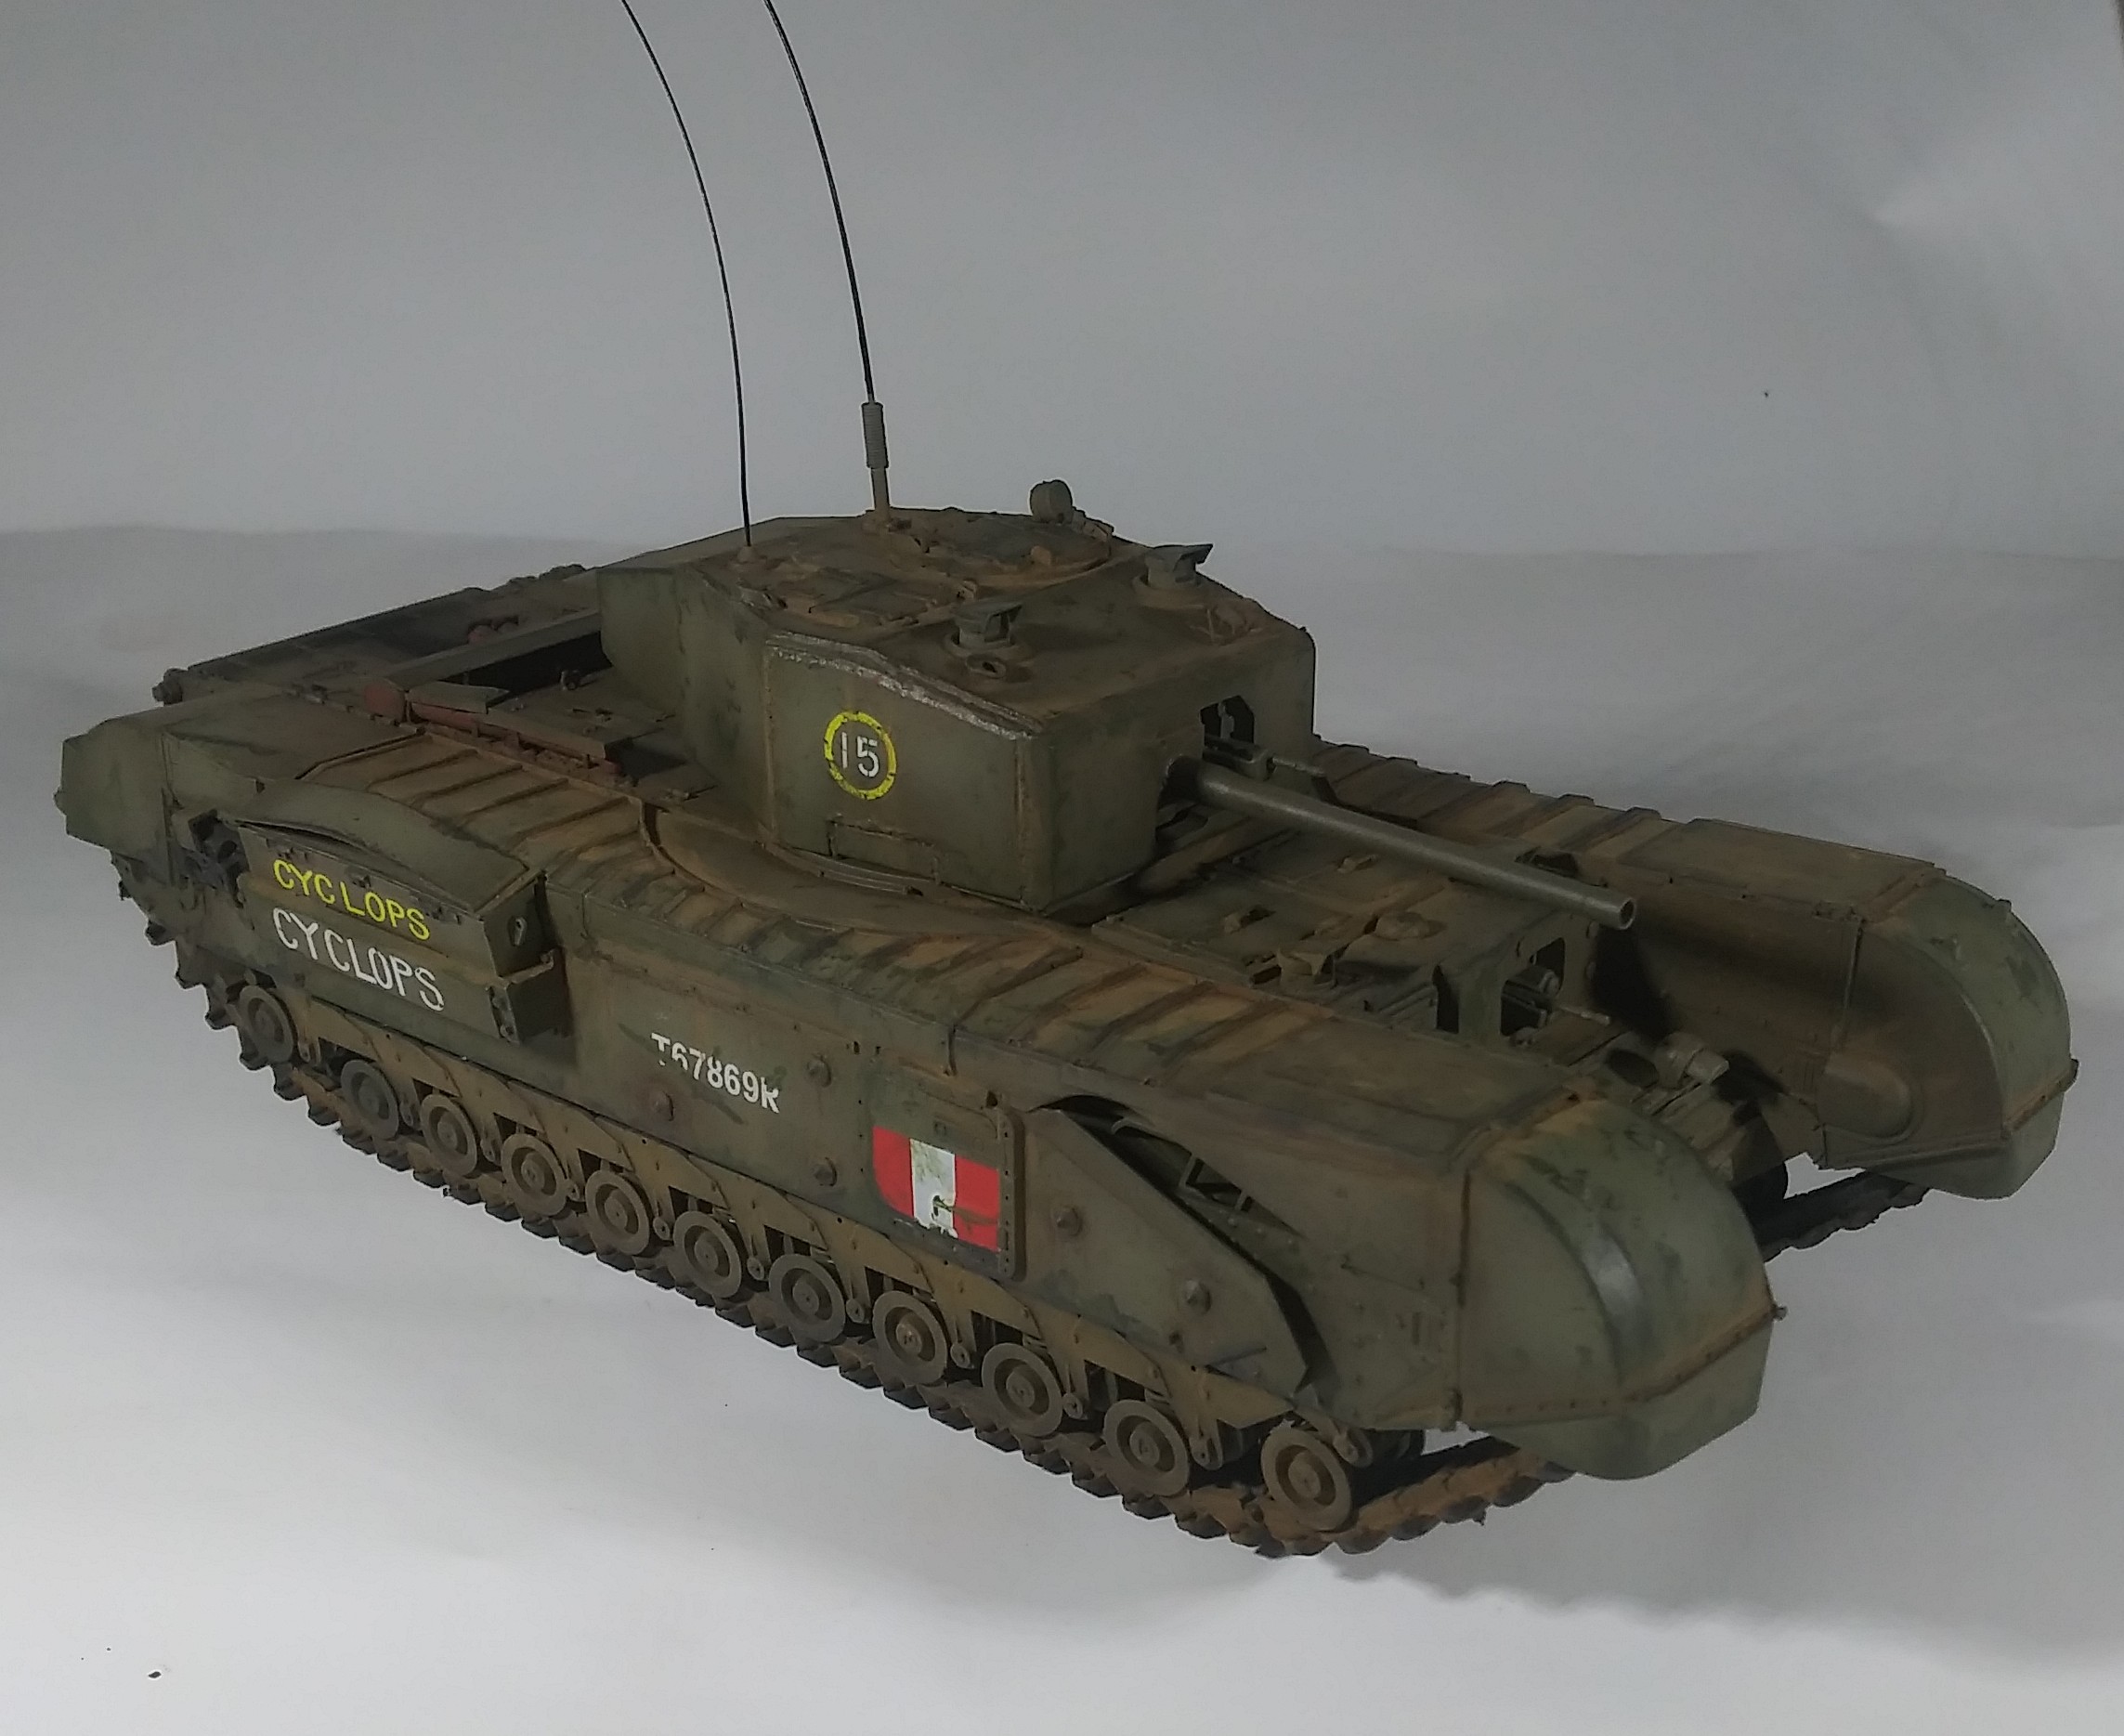
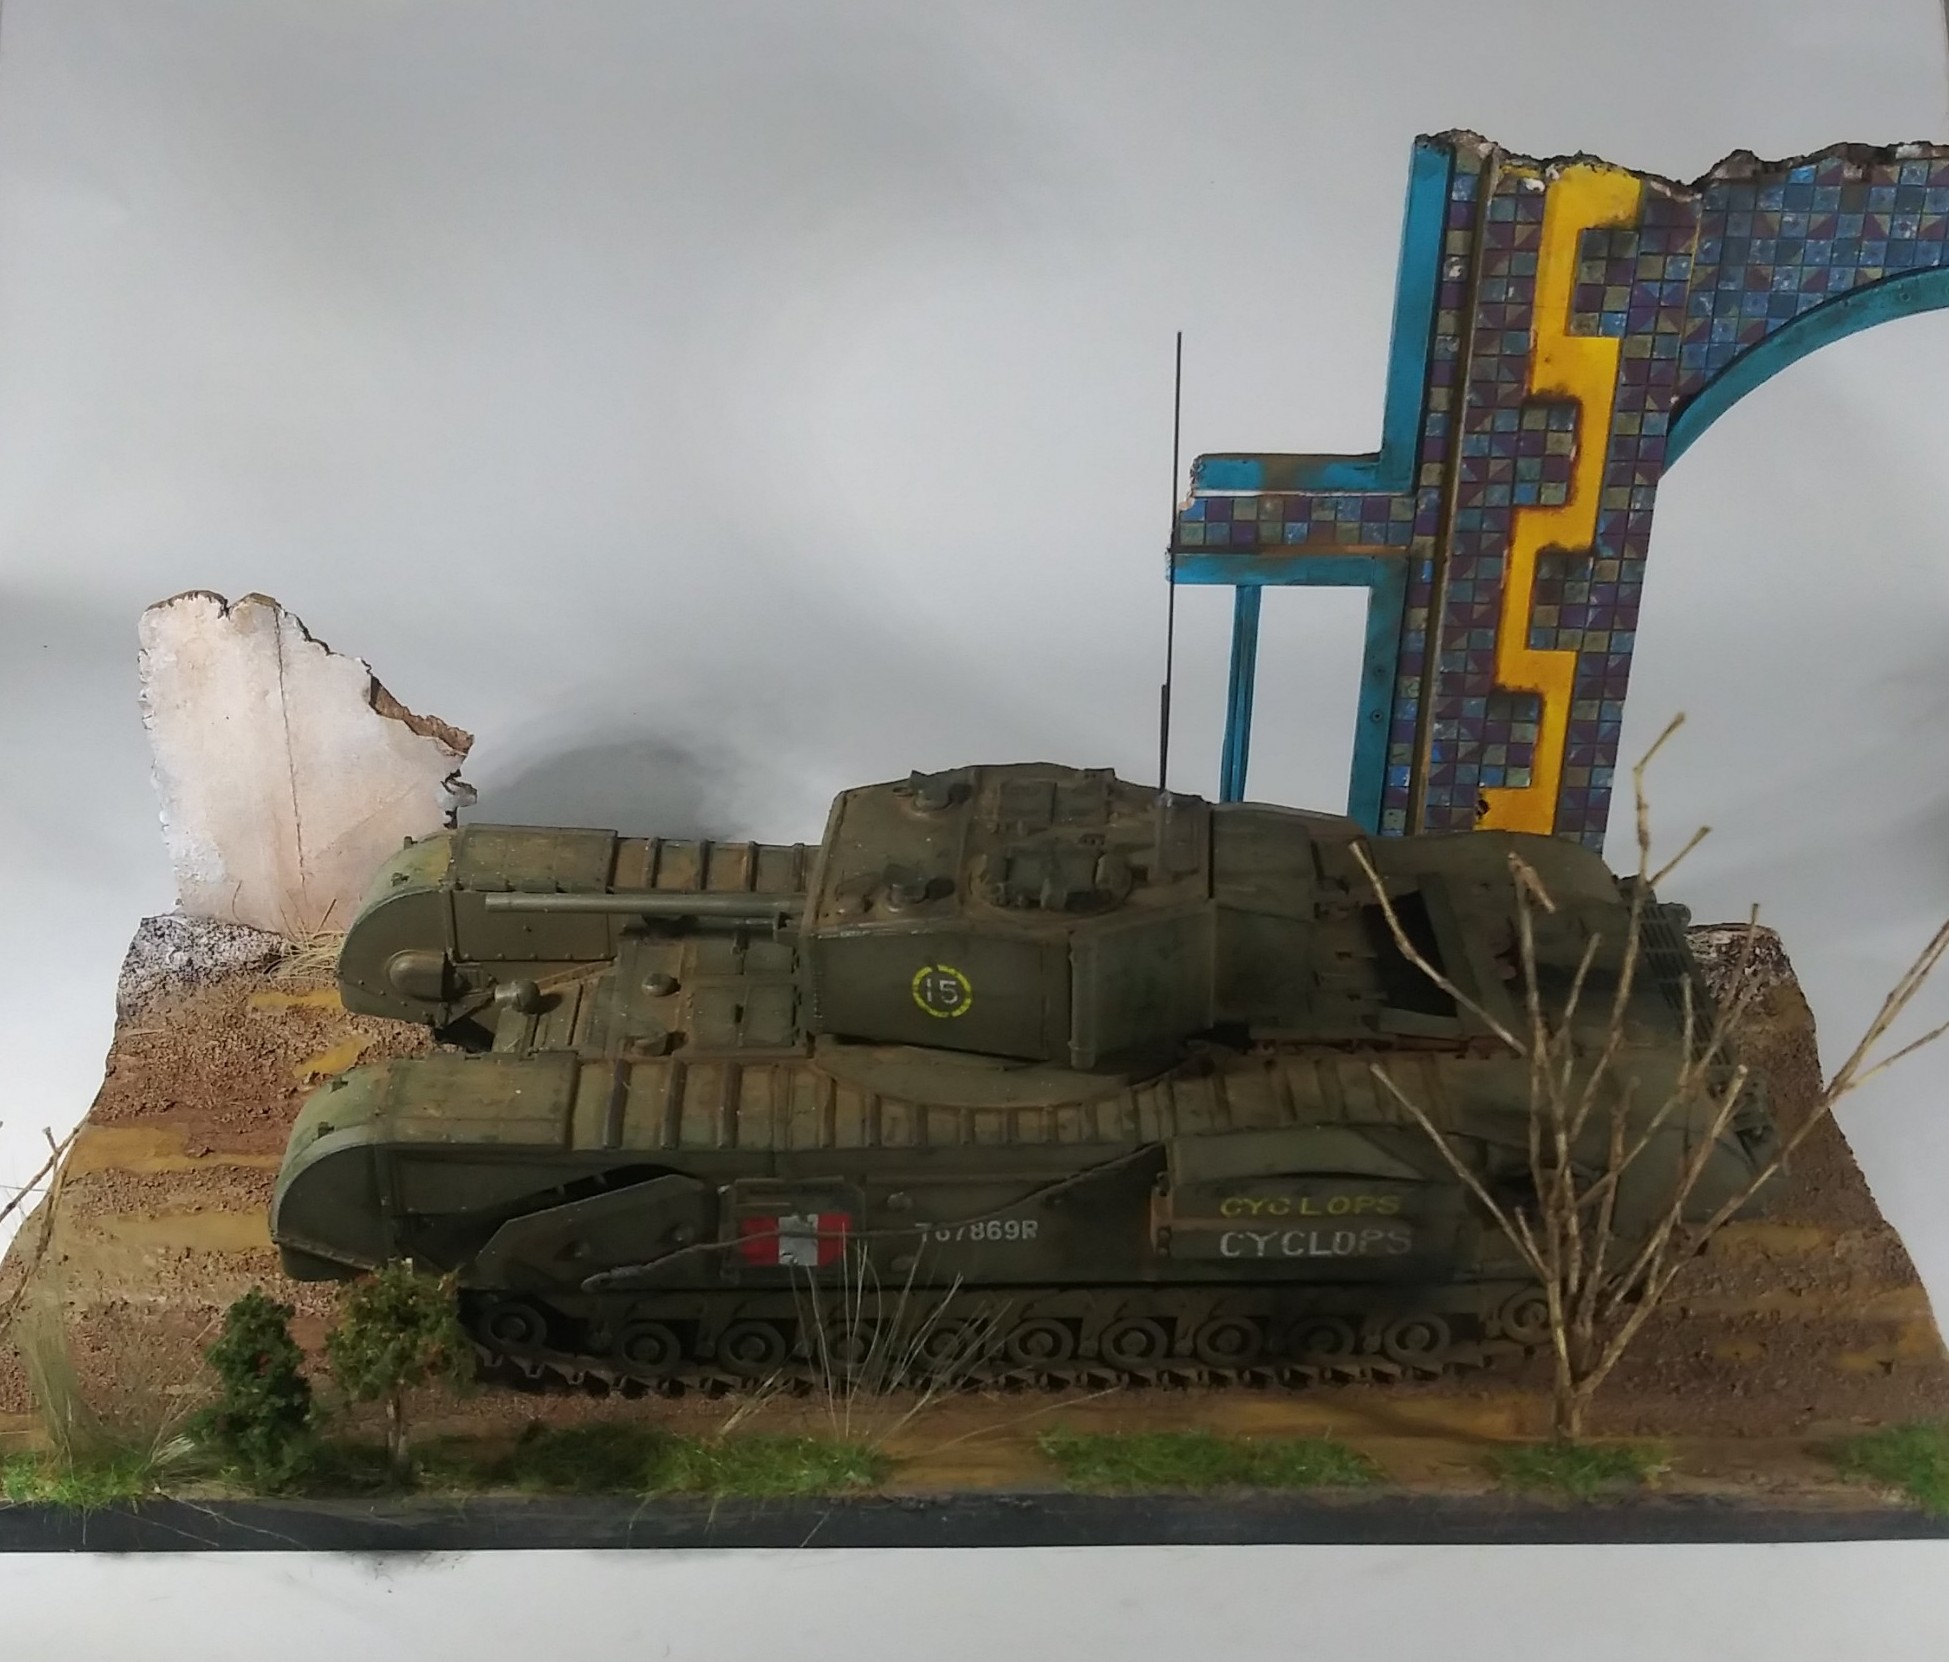
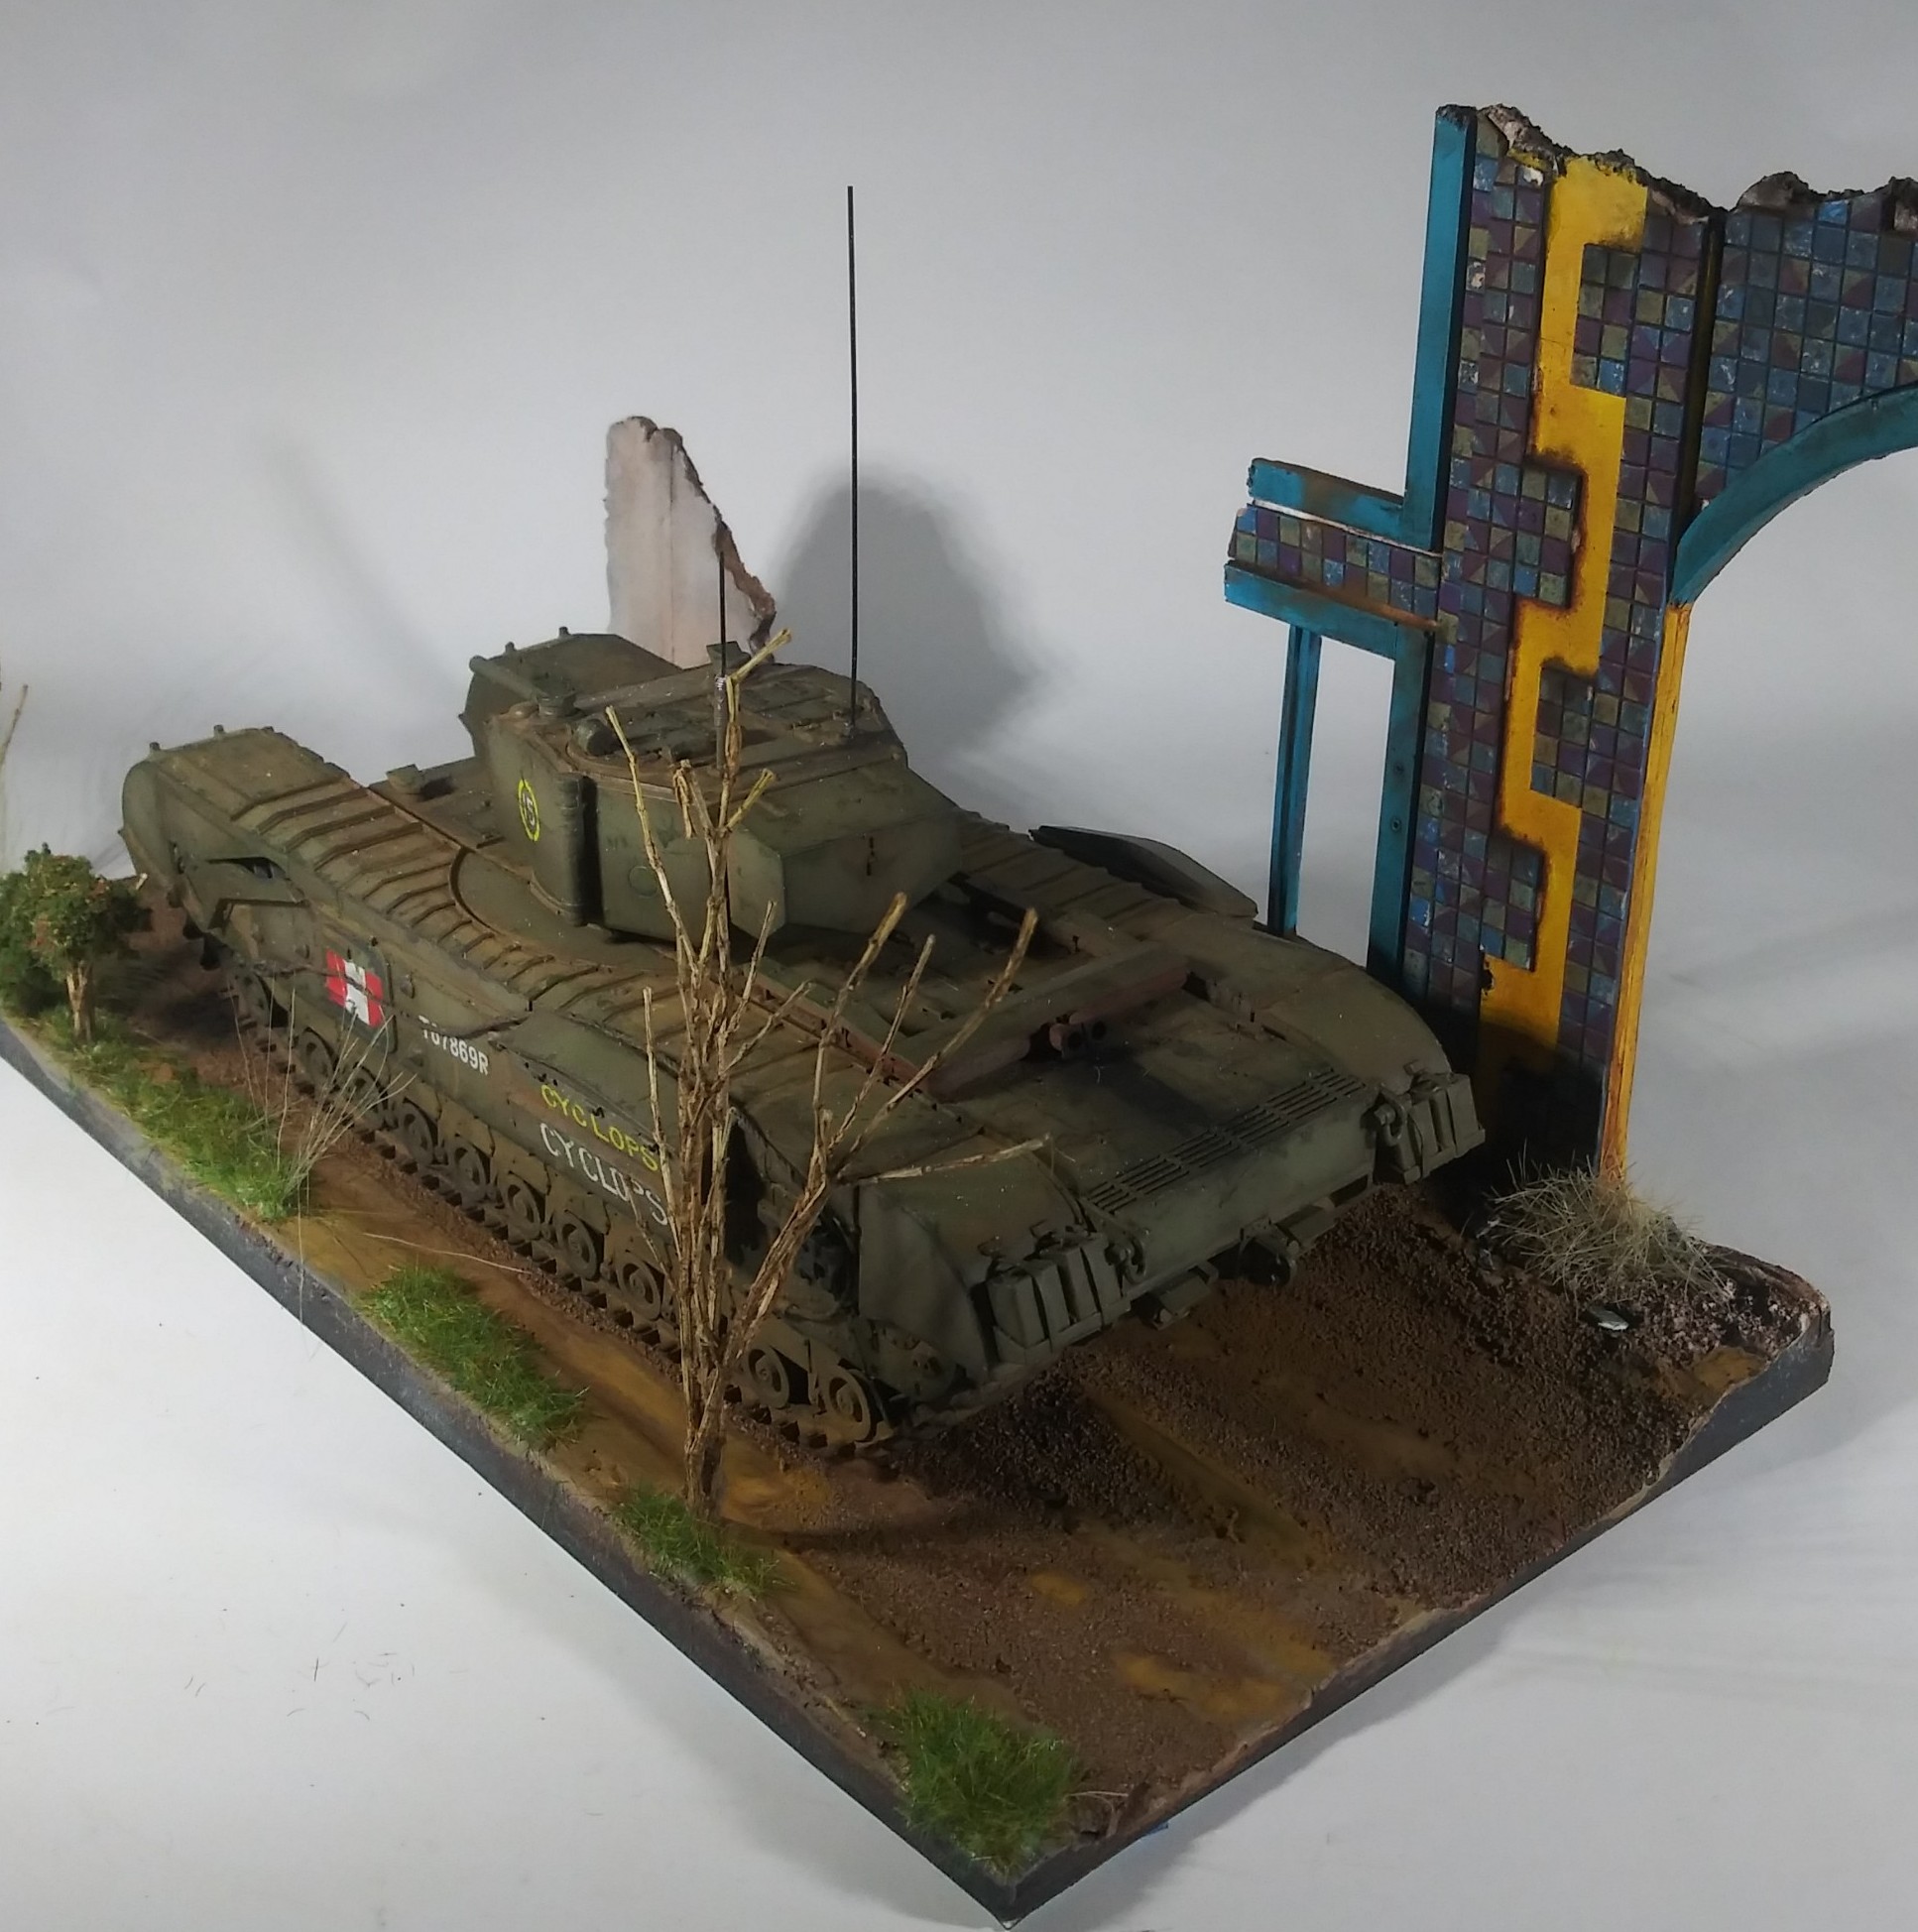
I have gotten a metric ton more work done on this than I anticipated today. There are still a few small details to take care of .
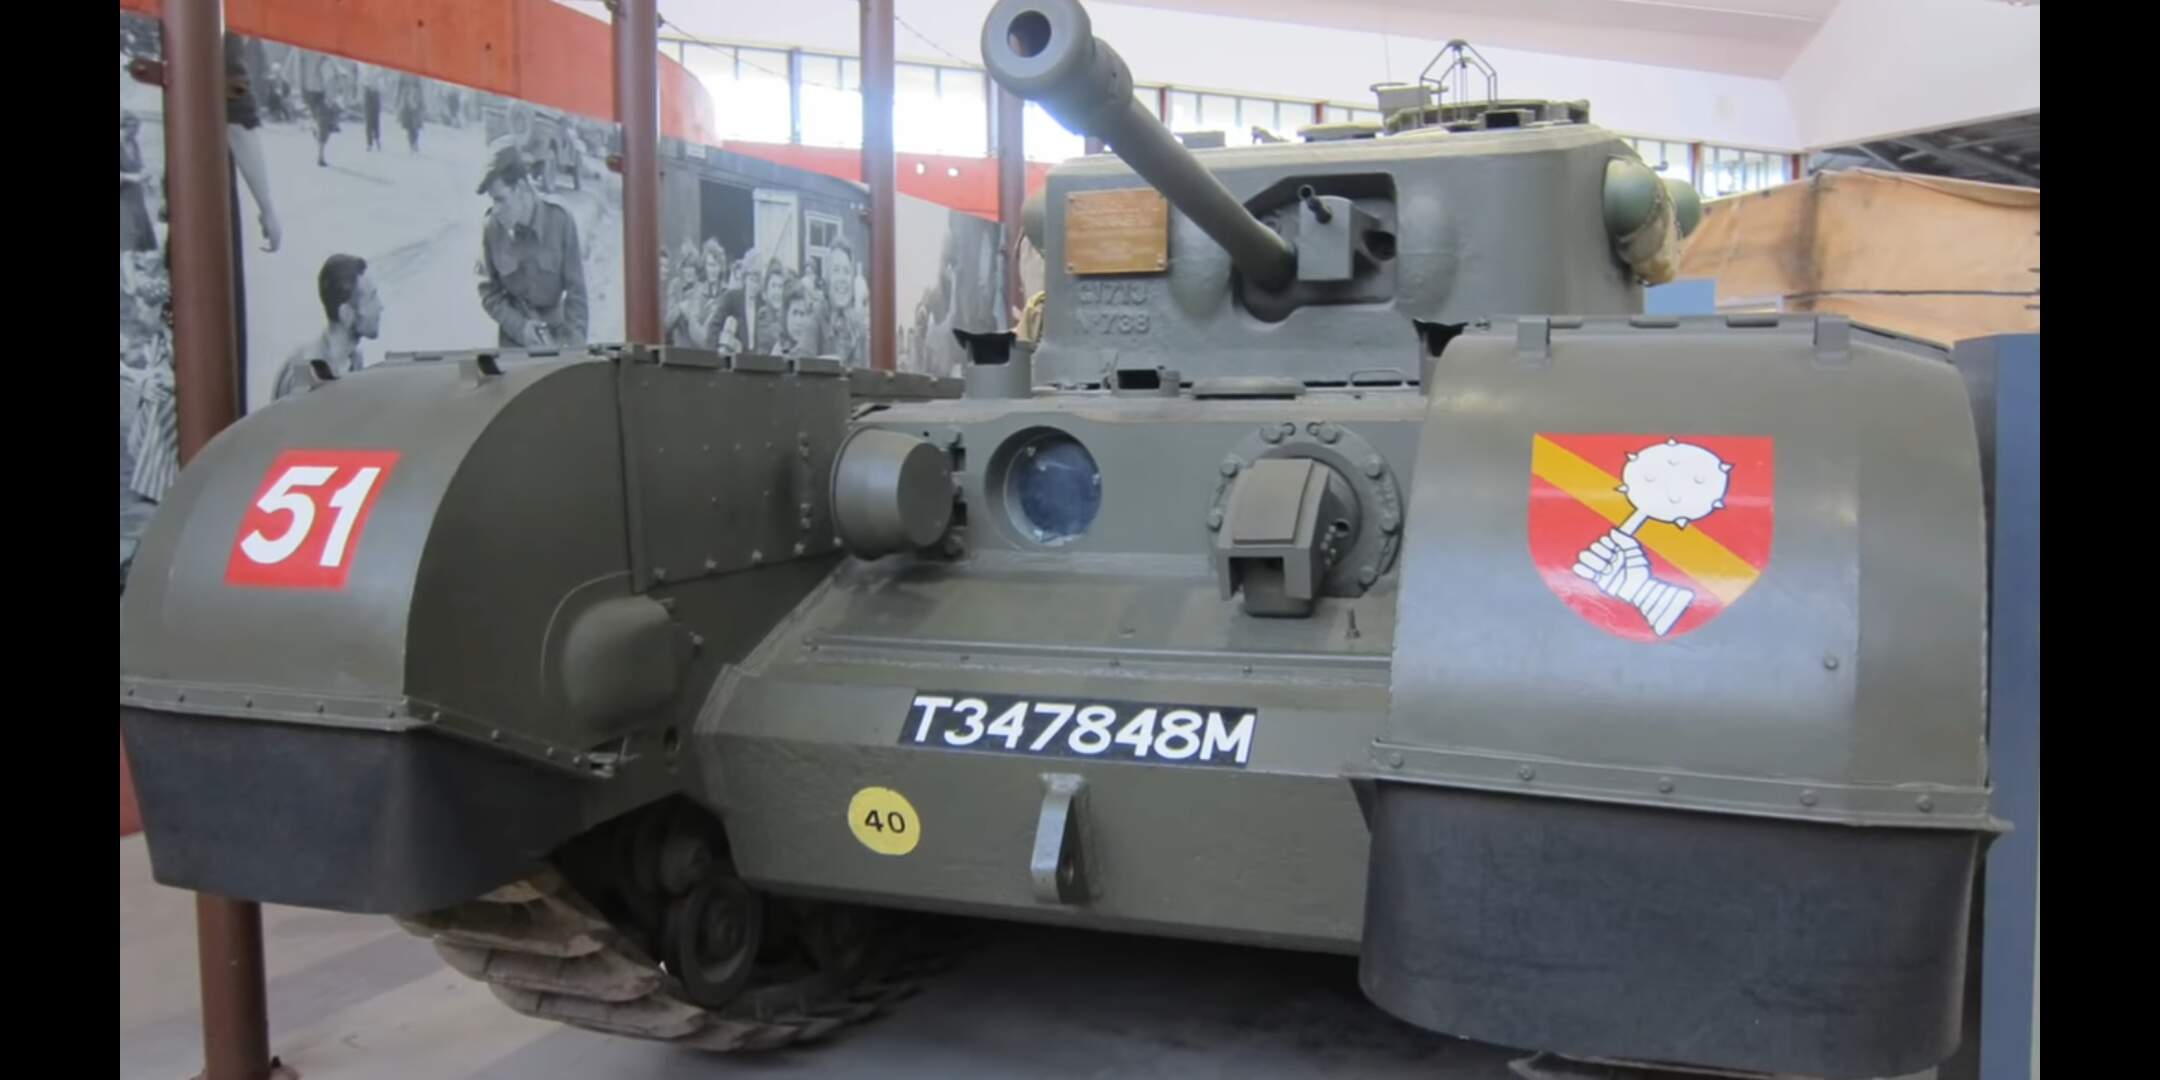
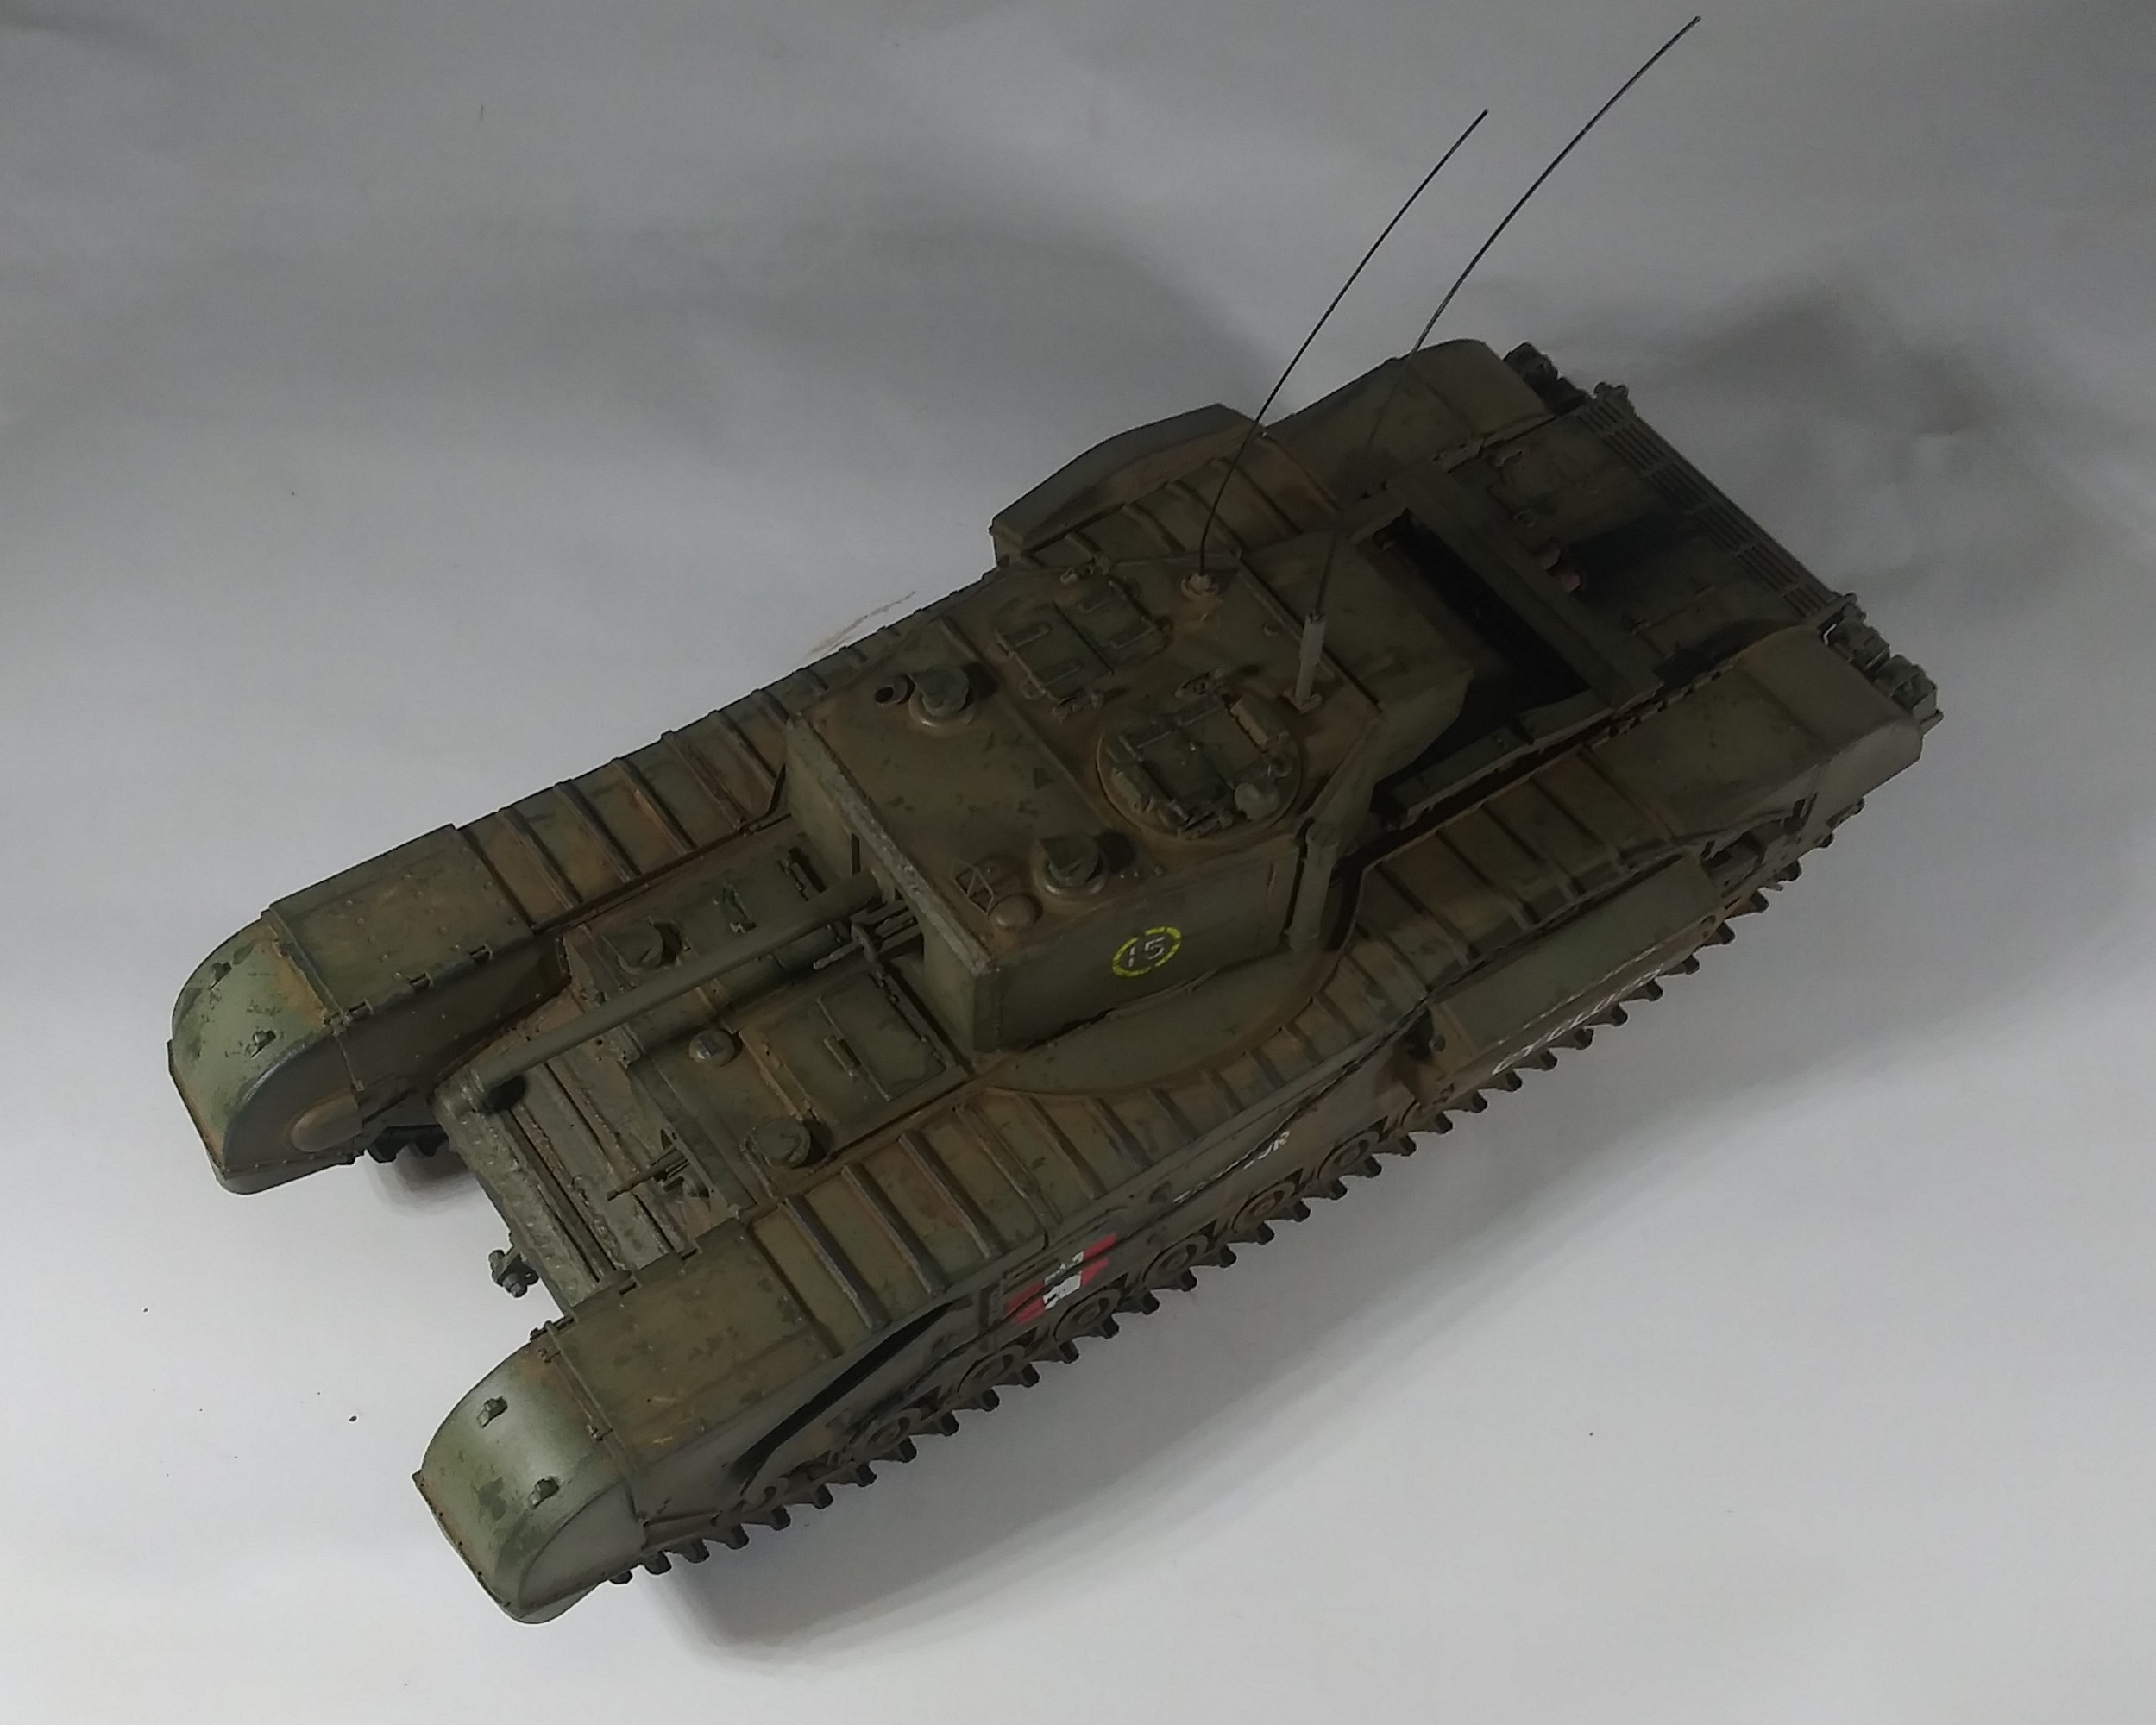
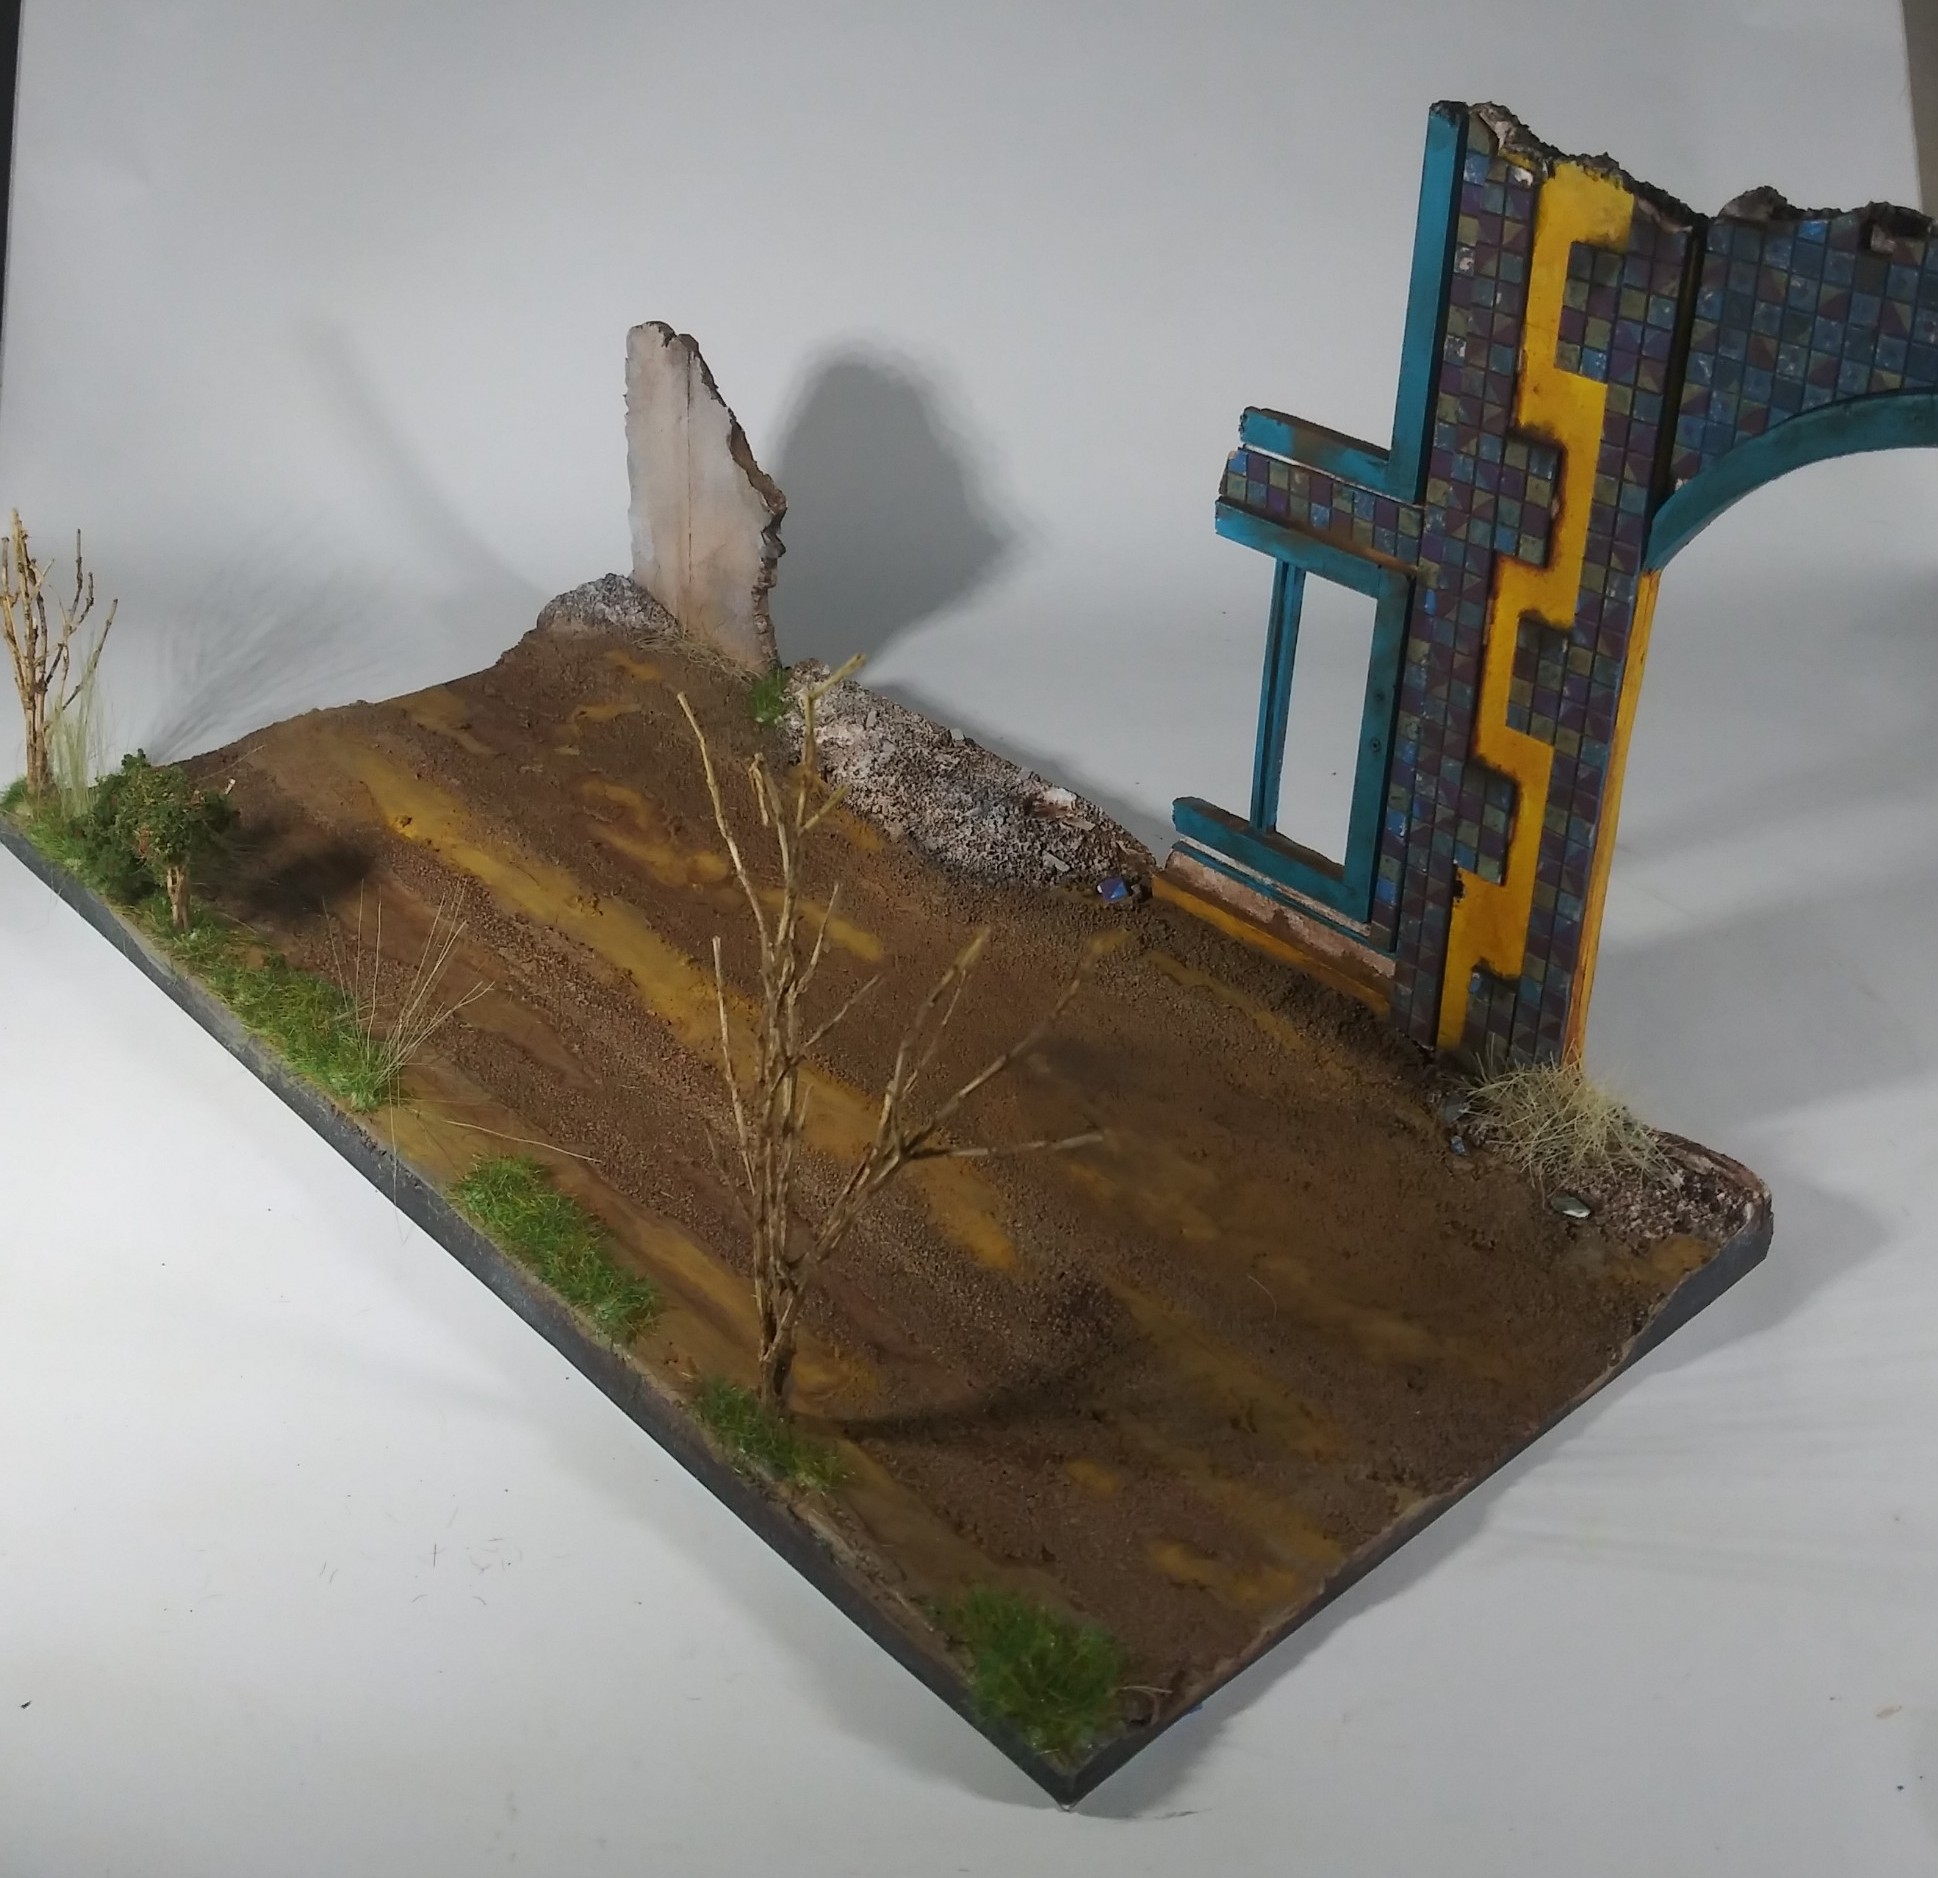
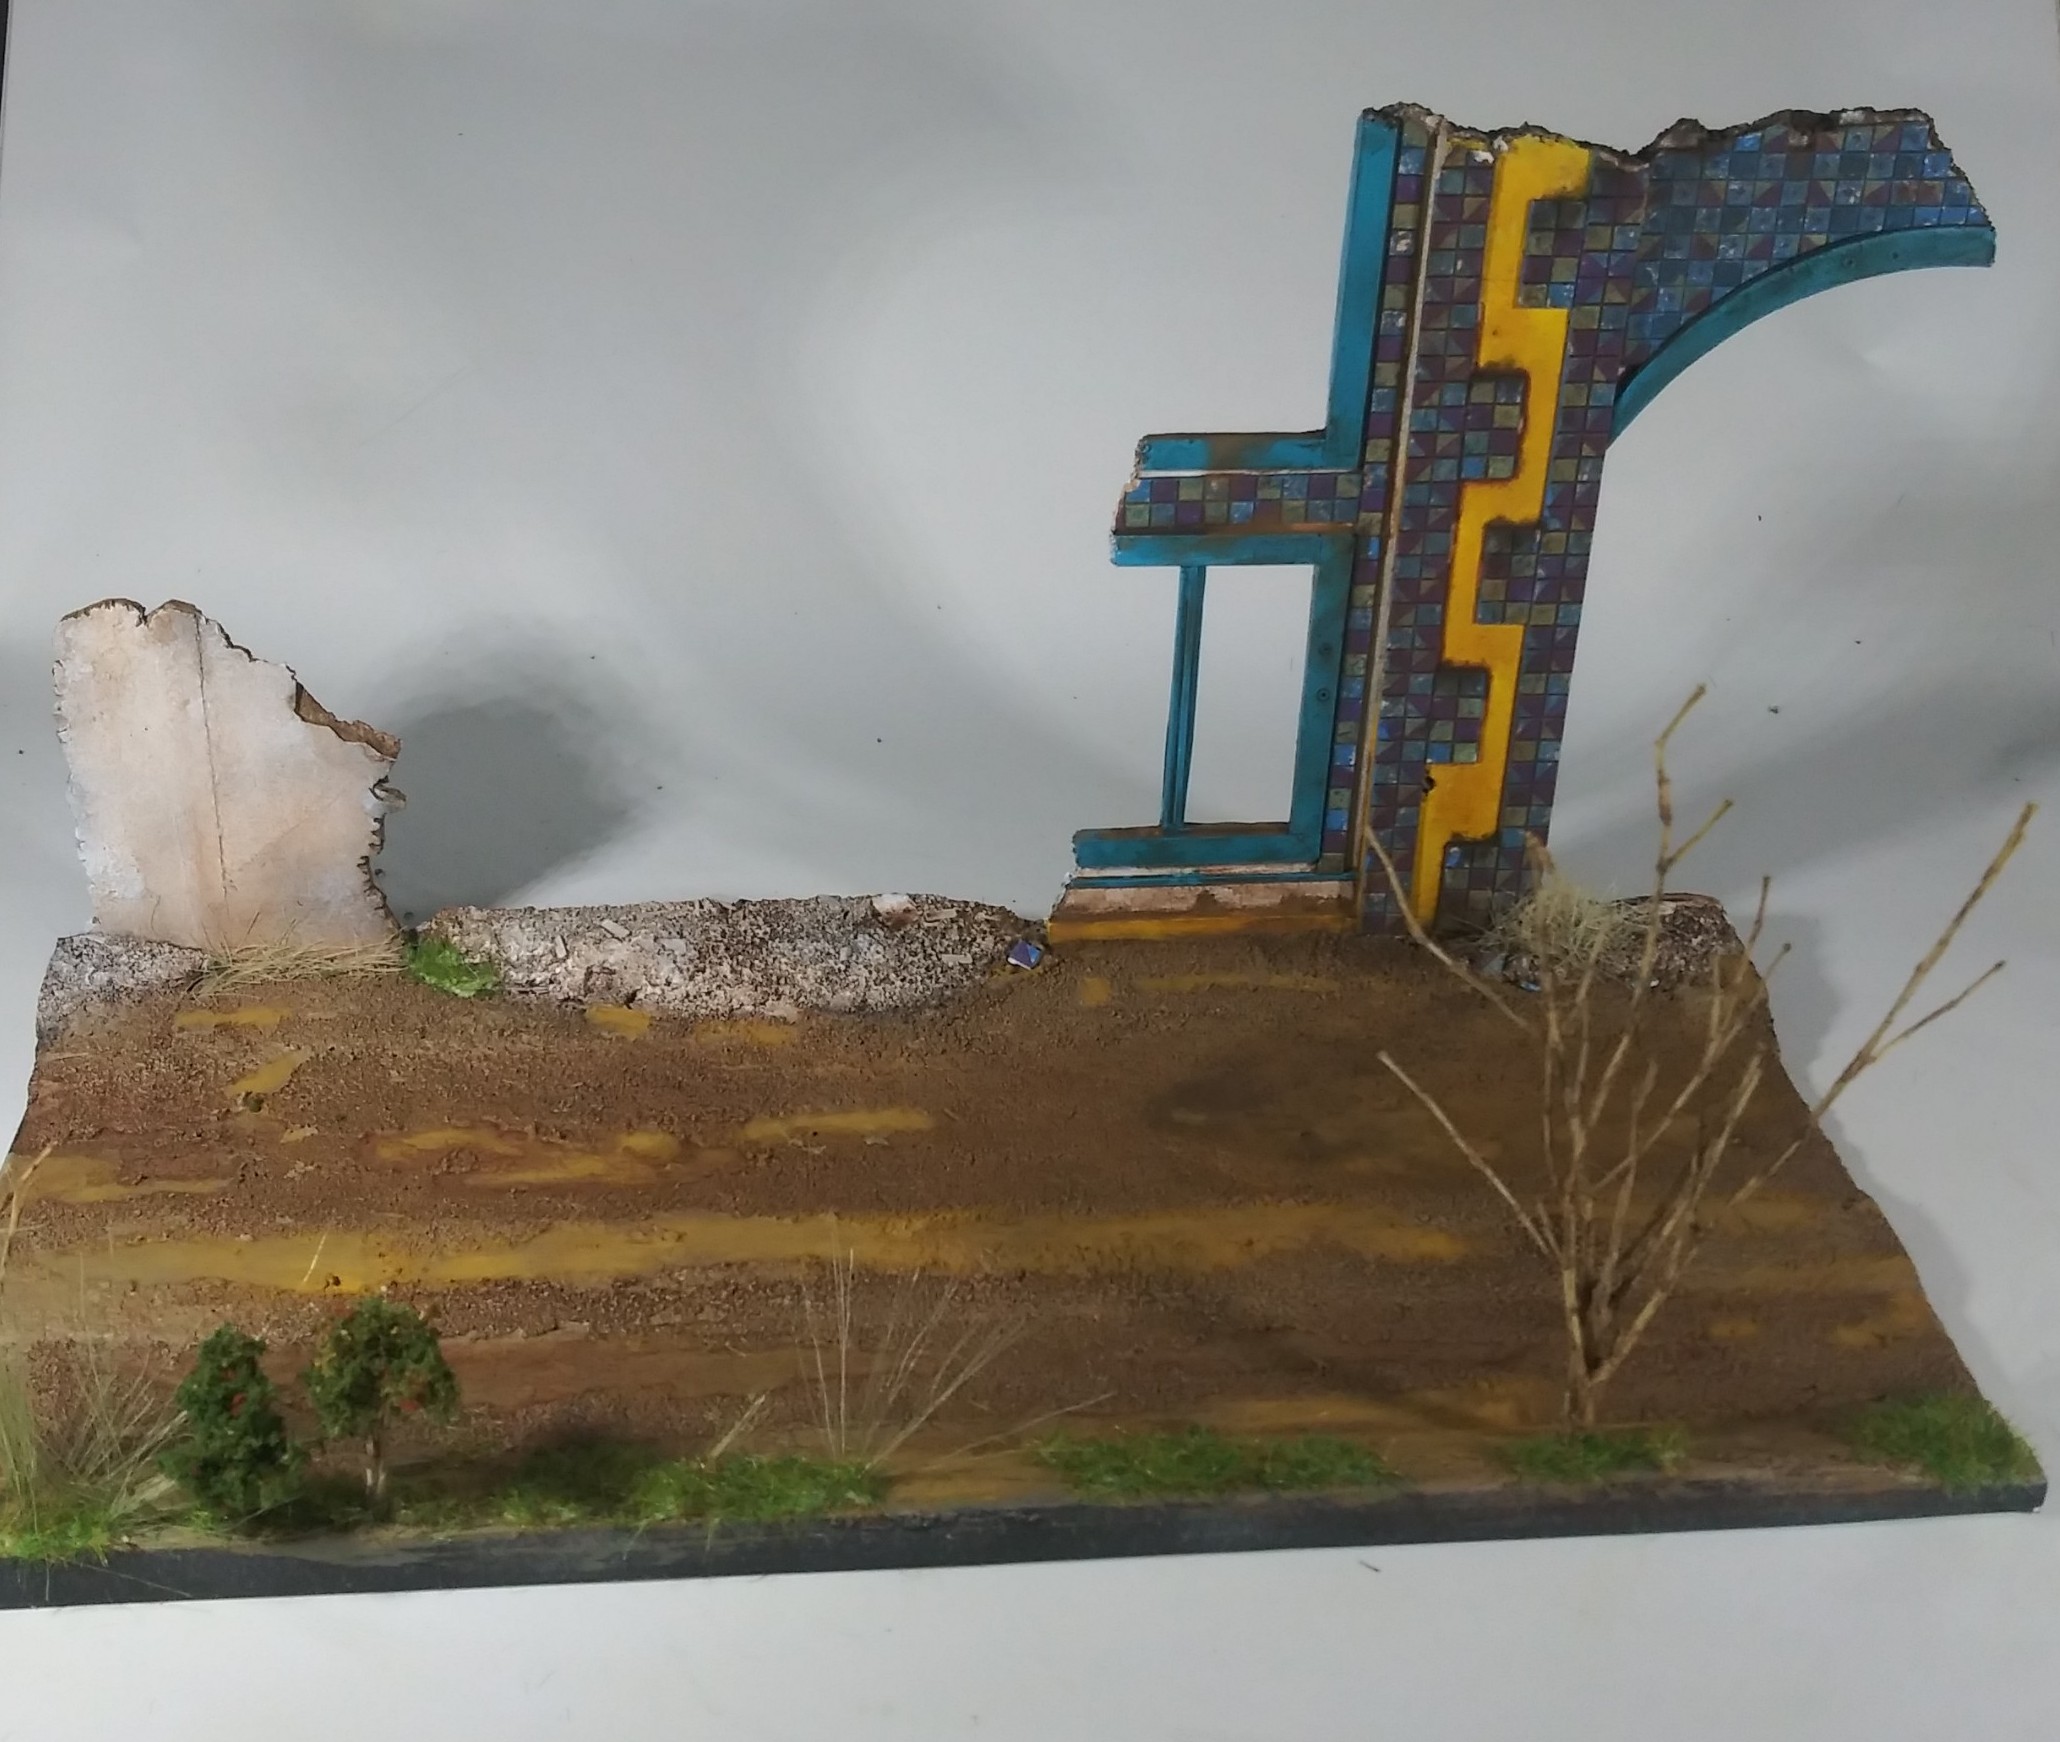
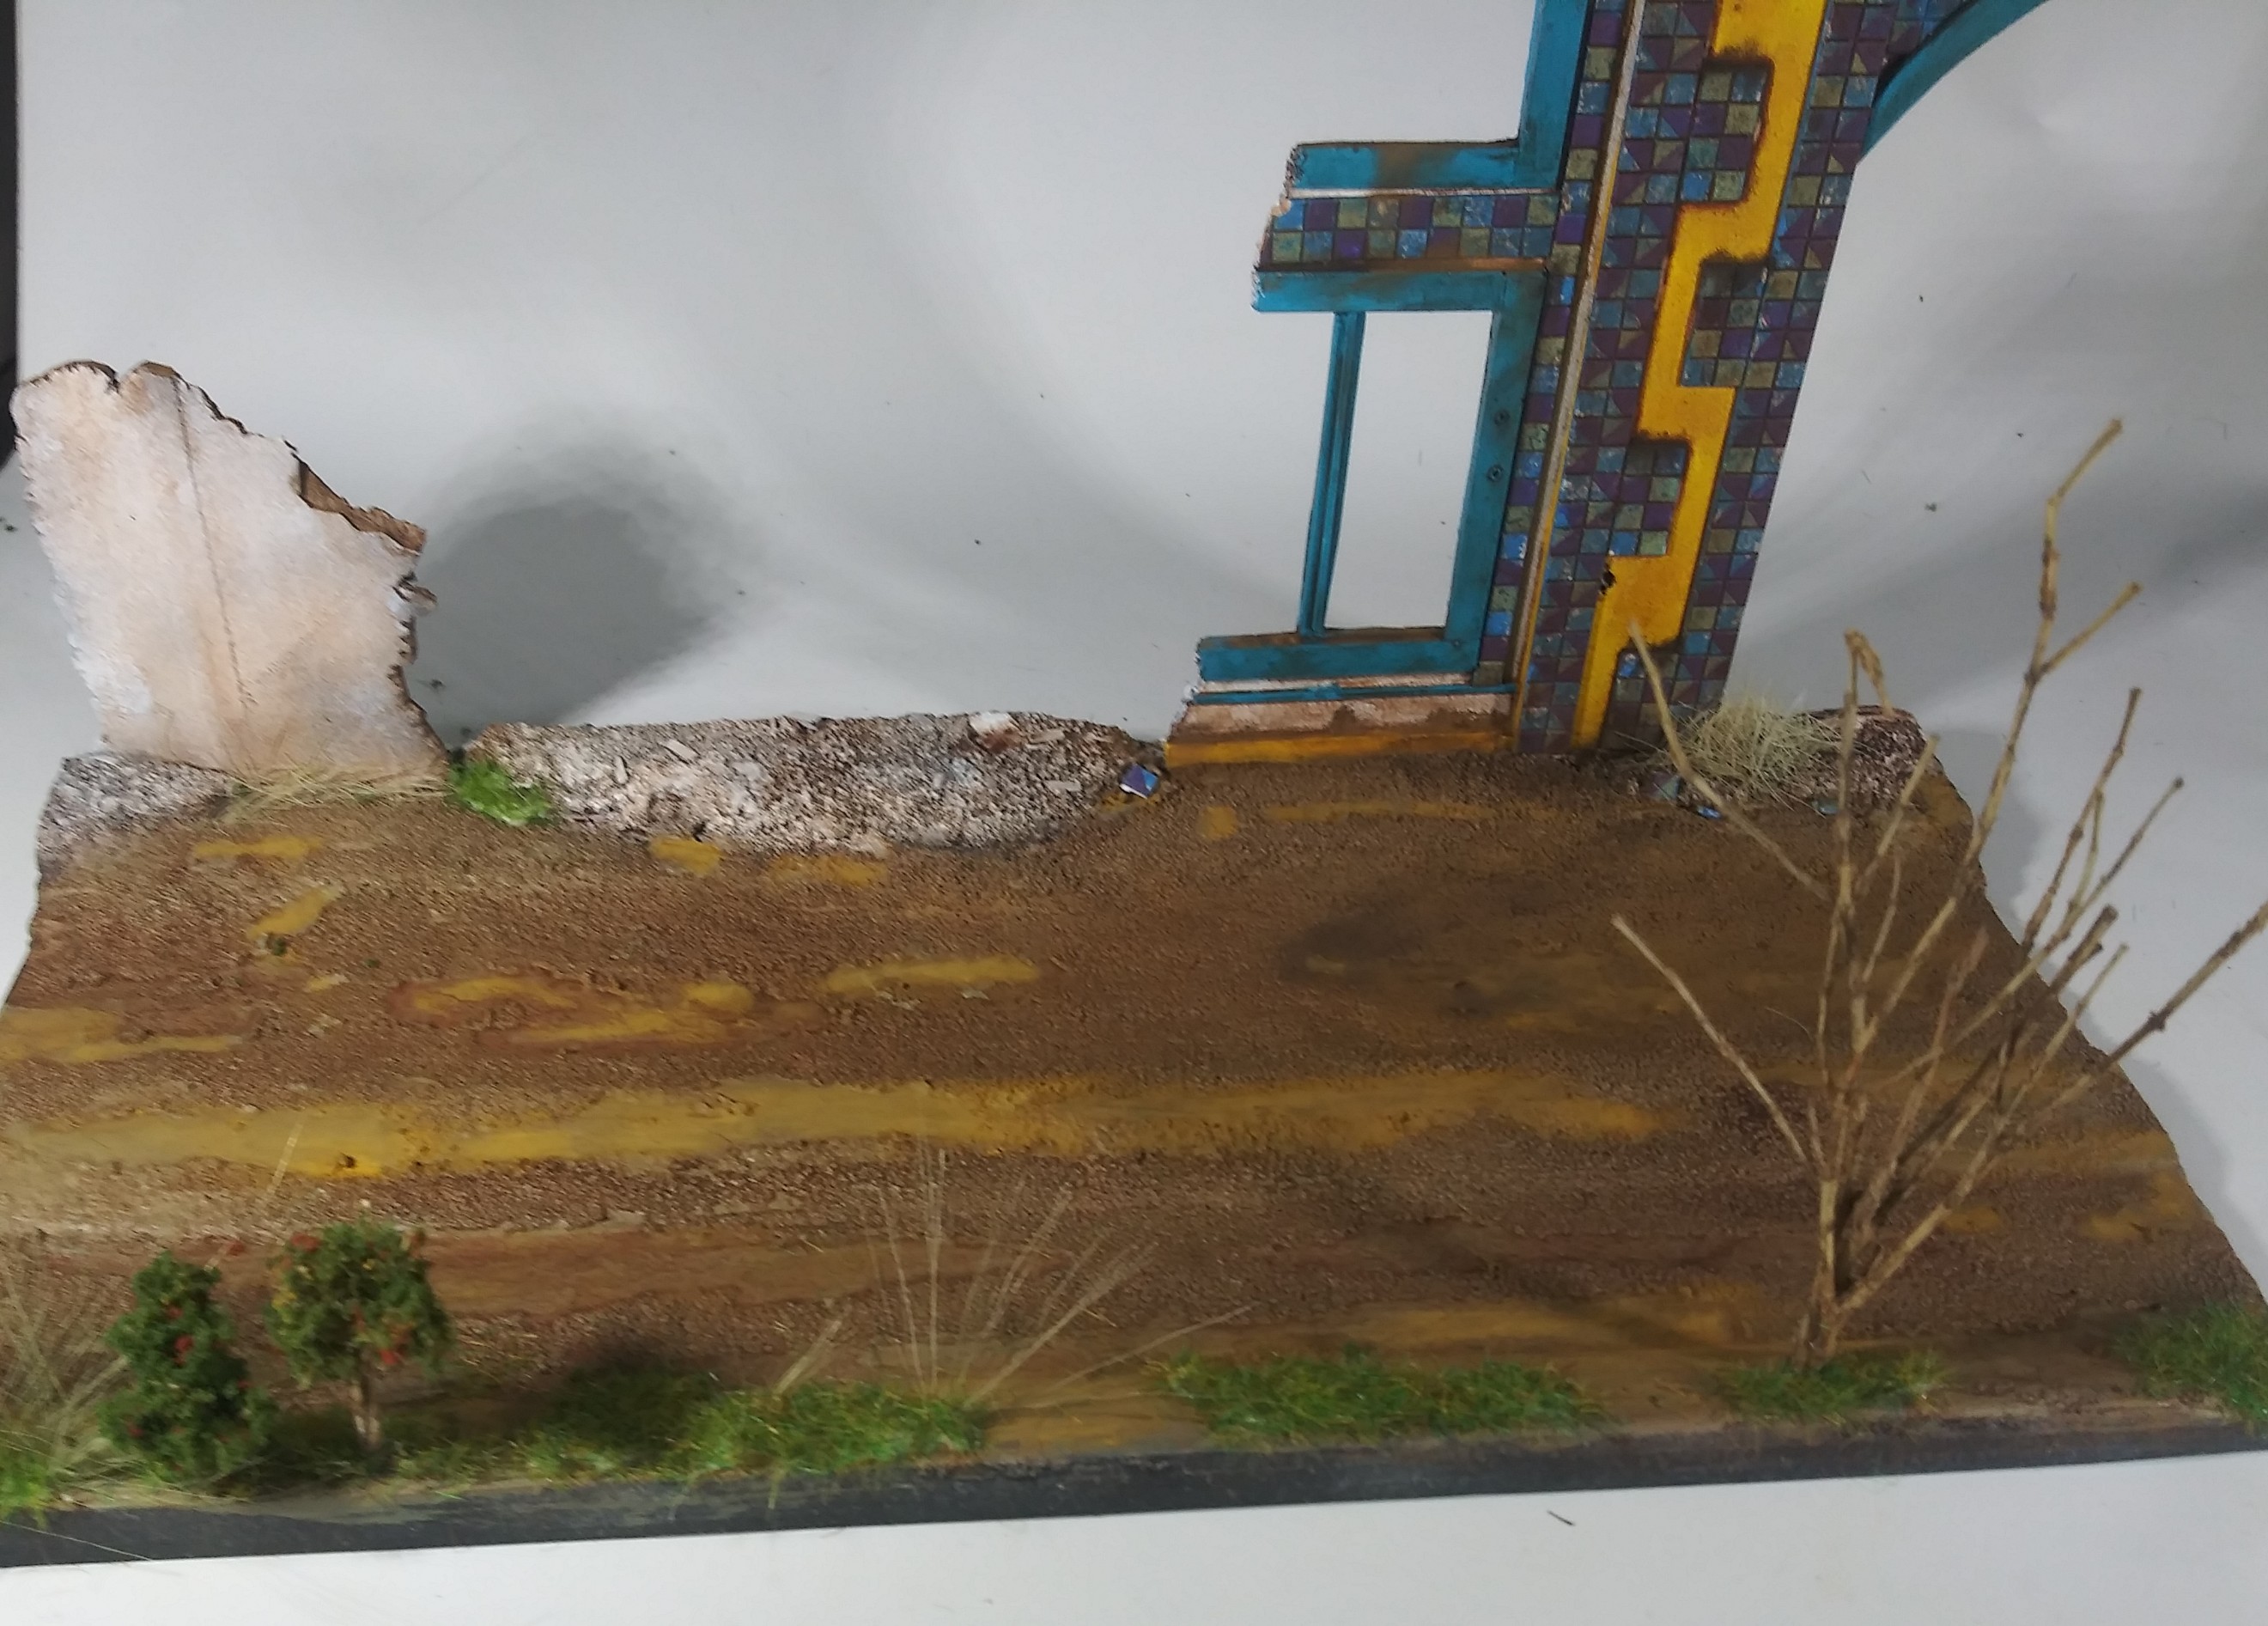
This vehicle is marked for the 51st Royal Tank Regiment , Tunisia 1943.
3 Likes
To begin with I discovered a couple mistakes I made and had to be corrected on the vehicle … Actually Chris Meddings pointed them out . And I was grateful.
Next , contrary to popular belief, all of Tunisia is not a barren desert. In recent decades it has been getting worse to to deforestation and over grazing .
Also I fell like many people fear using color. So with that in mind I decided to use color in this base build . Coupeled with the tile common in N . Africa and many parts of the middle east and some eye popping paint colors , I am striving to help put those myths to rest.
THIS IS STILL A WORK IN PROGRESS.
Wanted to all cap that so you no that there is much more work to do.


3 Likes
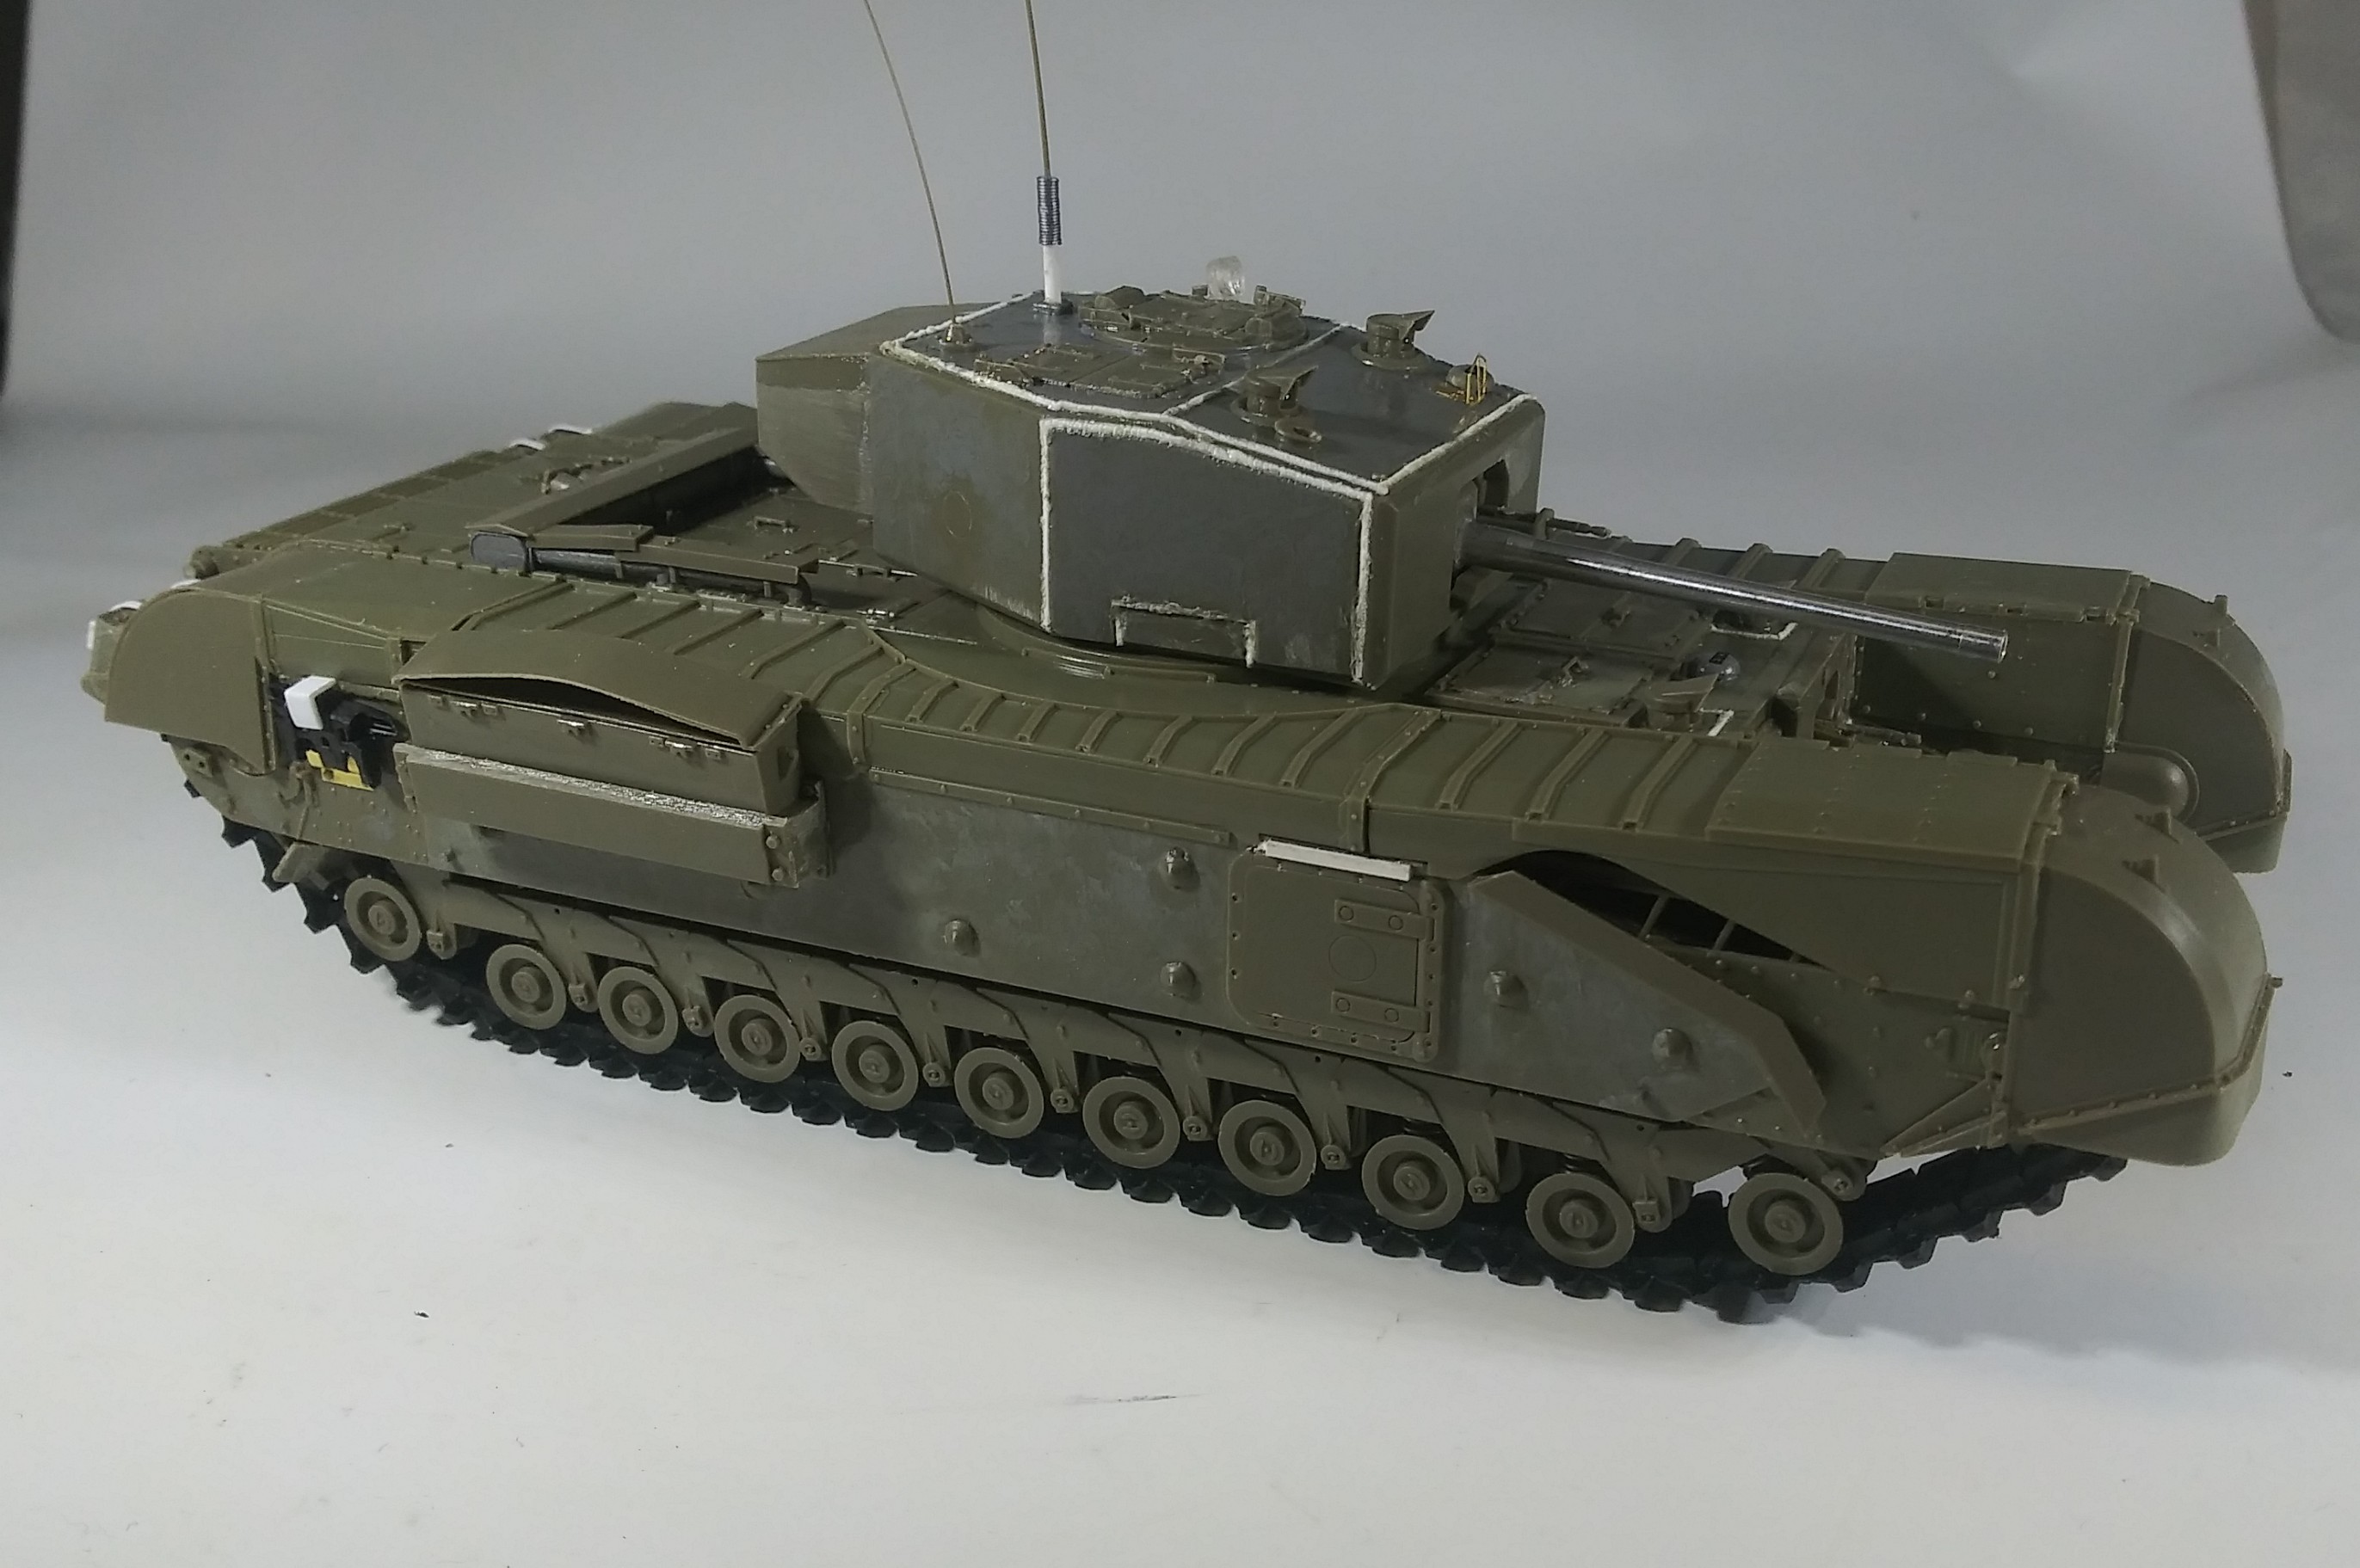
Spectacular build Chris! The weathering and tonal variation in the paint is perfect!
1 Like
I agree, the paint work is stunning
1 Like
Thank you my friend. I’m working towards the end of this one then it’s on to the next for Churchill’s on my bench
No need for all caps I think it looks fantastic just like that!
1 Like
The caps was a attempt at humor . Thank you for the kind words