I use a lightbox for my good photos. The newspaper that I use to protect my black table is a better backdrop that the table itself for my progress photos. I’m just too lazy to put white paper under the things I’m working on for a quick photo.
(unless you’re speaking on the topic of accidentally sharing my location? But in that case, I could be using newspaper taken from some random place, and who’s that crazy (on a modeling forum) to try to pinpoint my location from a newspaper? The newspaper goes all around the state, so that would be useless…)
1 Like
But white typing paper works just fine as a background!
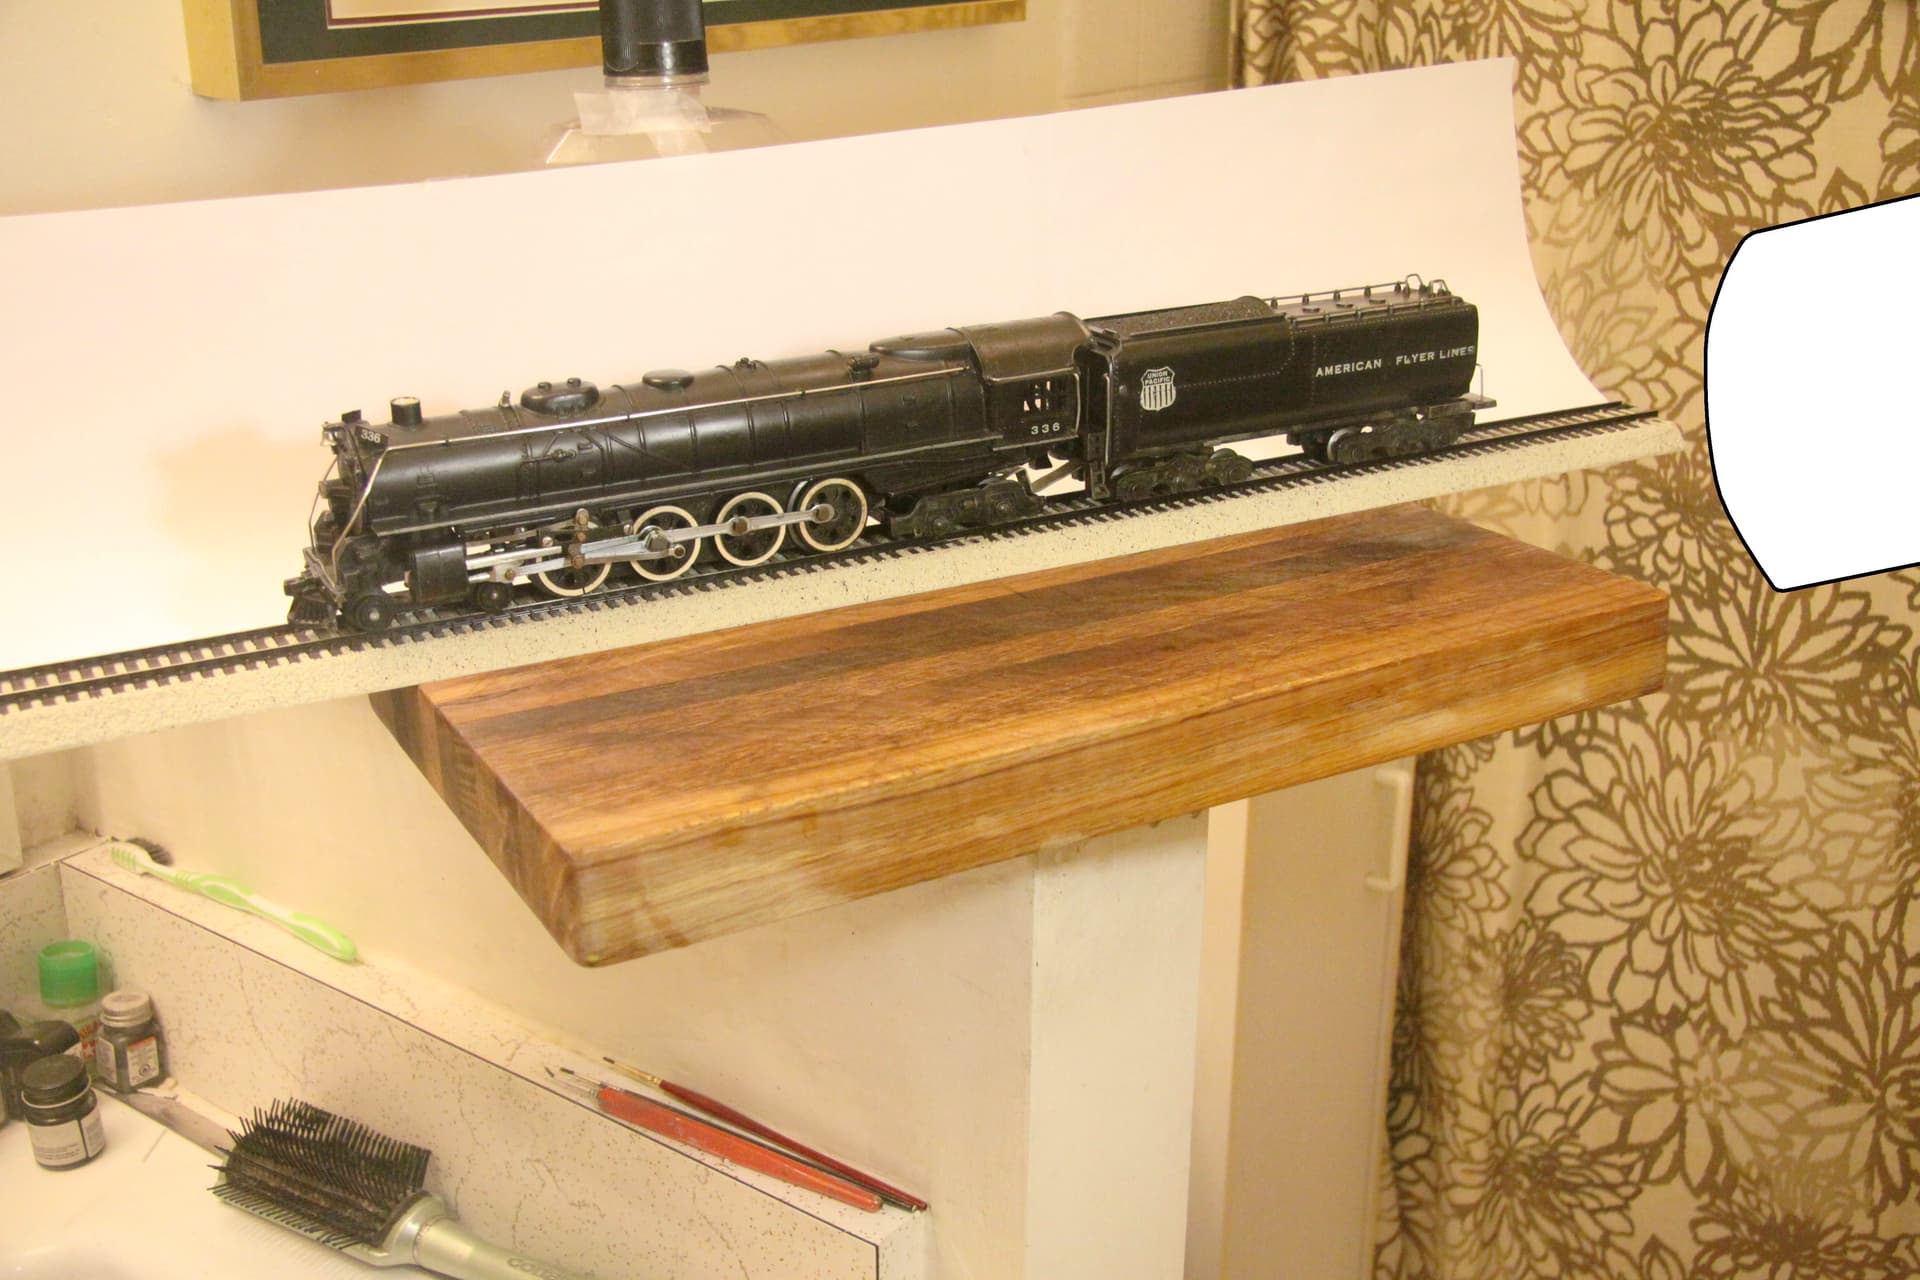
Here is a wide angle view of my bathroom “studio”. ~
Some fresh typing paper forming the curved cyclorama of a background and a tall mouthwash bottle holding up that background. Make-up mirror style lights to the upper left are a mix of large diameter cold white and warm white LEDs and the “front light” is a $10 hand held can light from Bed, Bath and Beyond. The entire small room is painted a slightly warm white color and the soft lighting bounces around everywhere for a semi “soft box” affect.
And the “finished” photo:
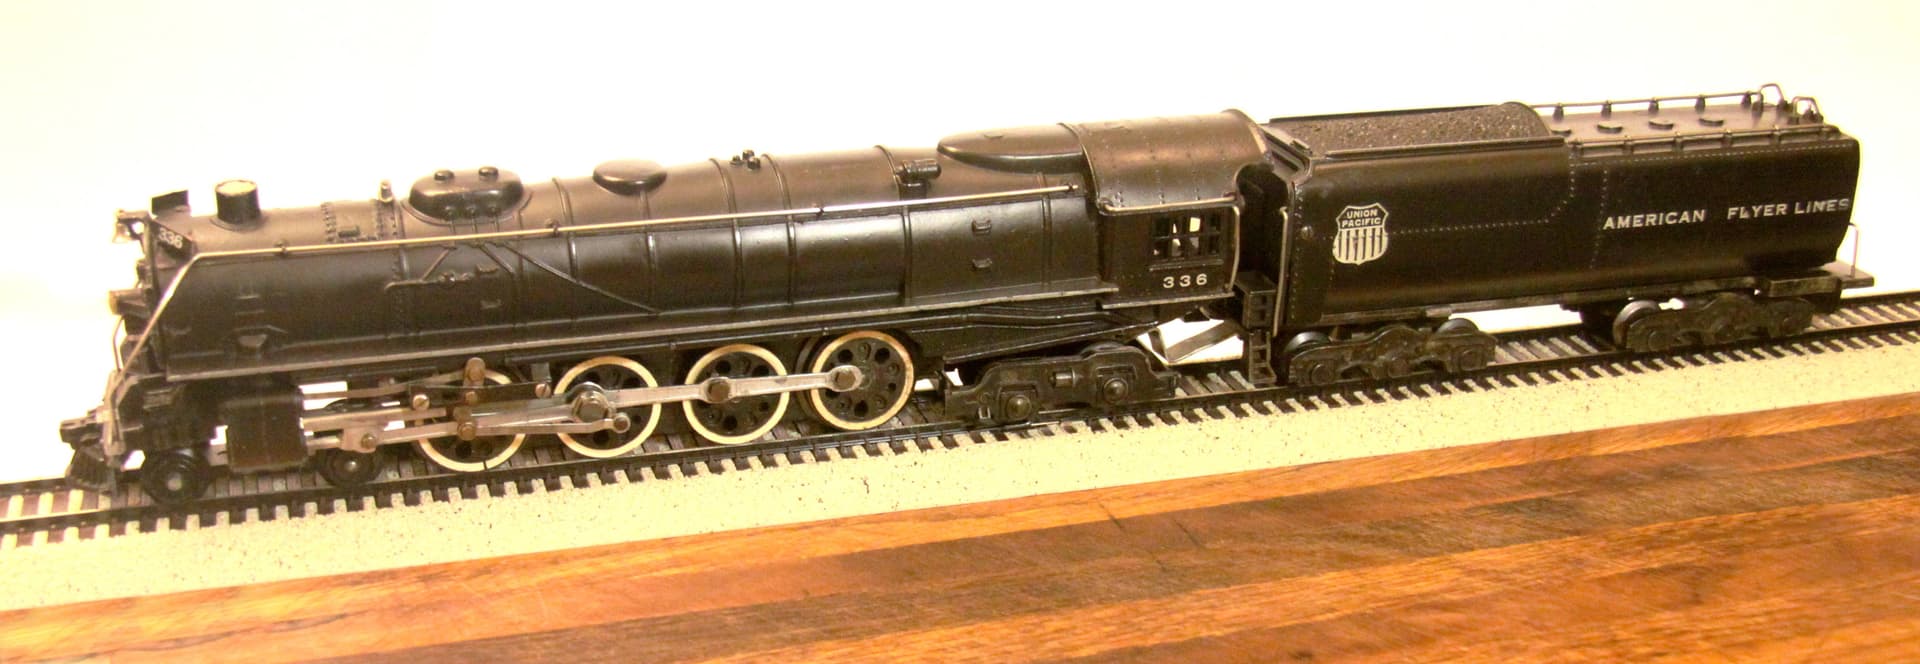
I like the color contrast of the natural wood in the foreground but could have just as easily laid typing paper there as well and have the loco floating in a field of white. (Or retouched in ANY color I desired using GIMP!)
_________________________________
Again All Done in GIMP:
Below is a combination of two photos: (a Bachmann Coach plus a B’mann Combine) to create my plan for a future kit-bashed Motorcar build in On30. With a royal green foreground retouched in later. (Warning: When using a colored foreground for the original studio photo this can sometimes alter the color reproduction of the subject itself.) So it is often better instead to retouch it in later.
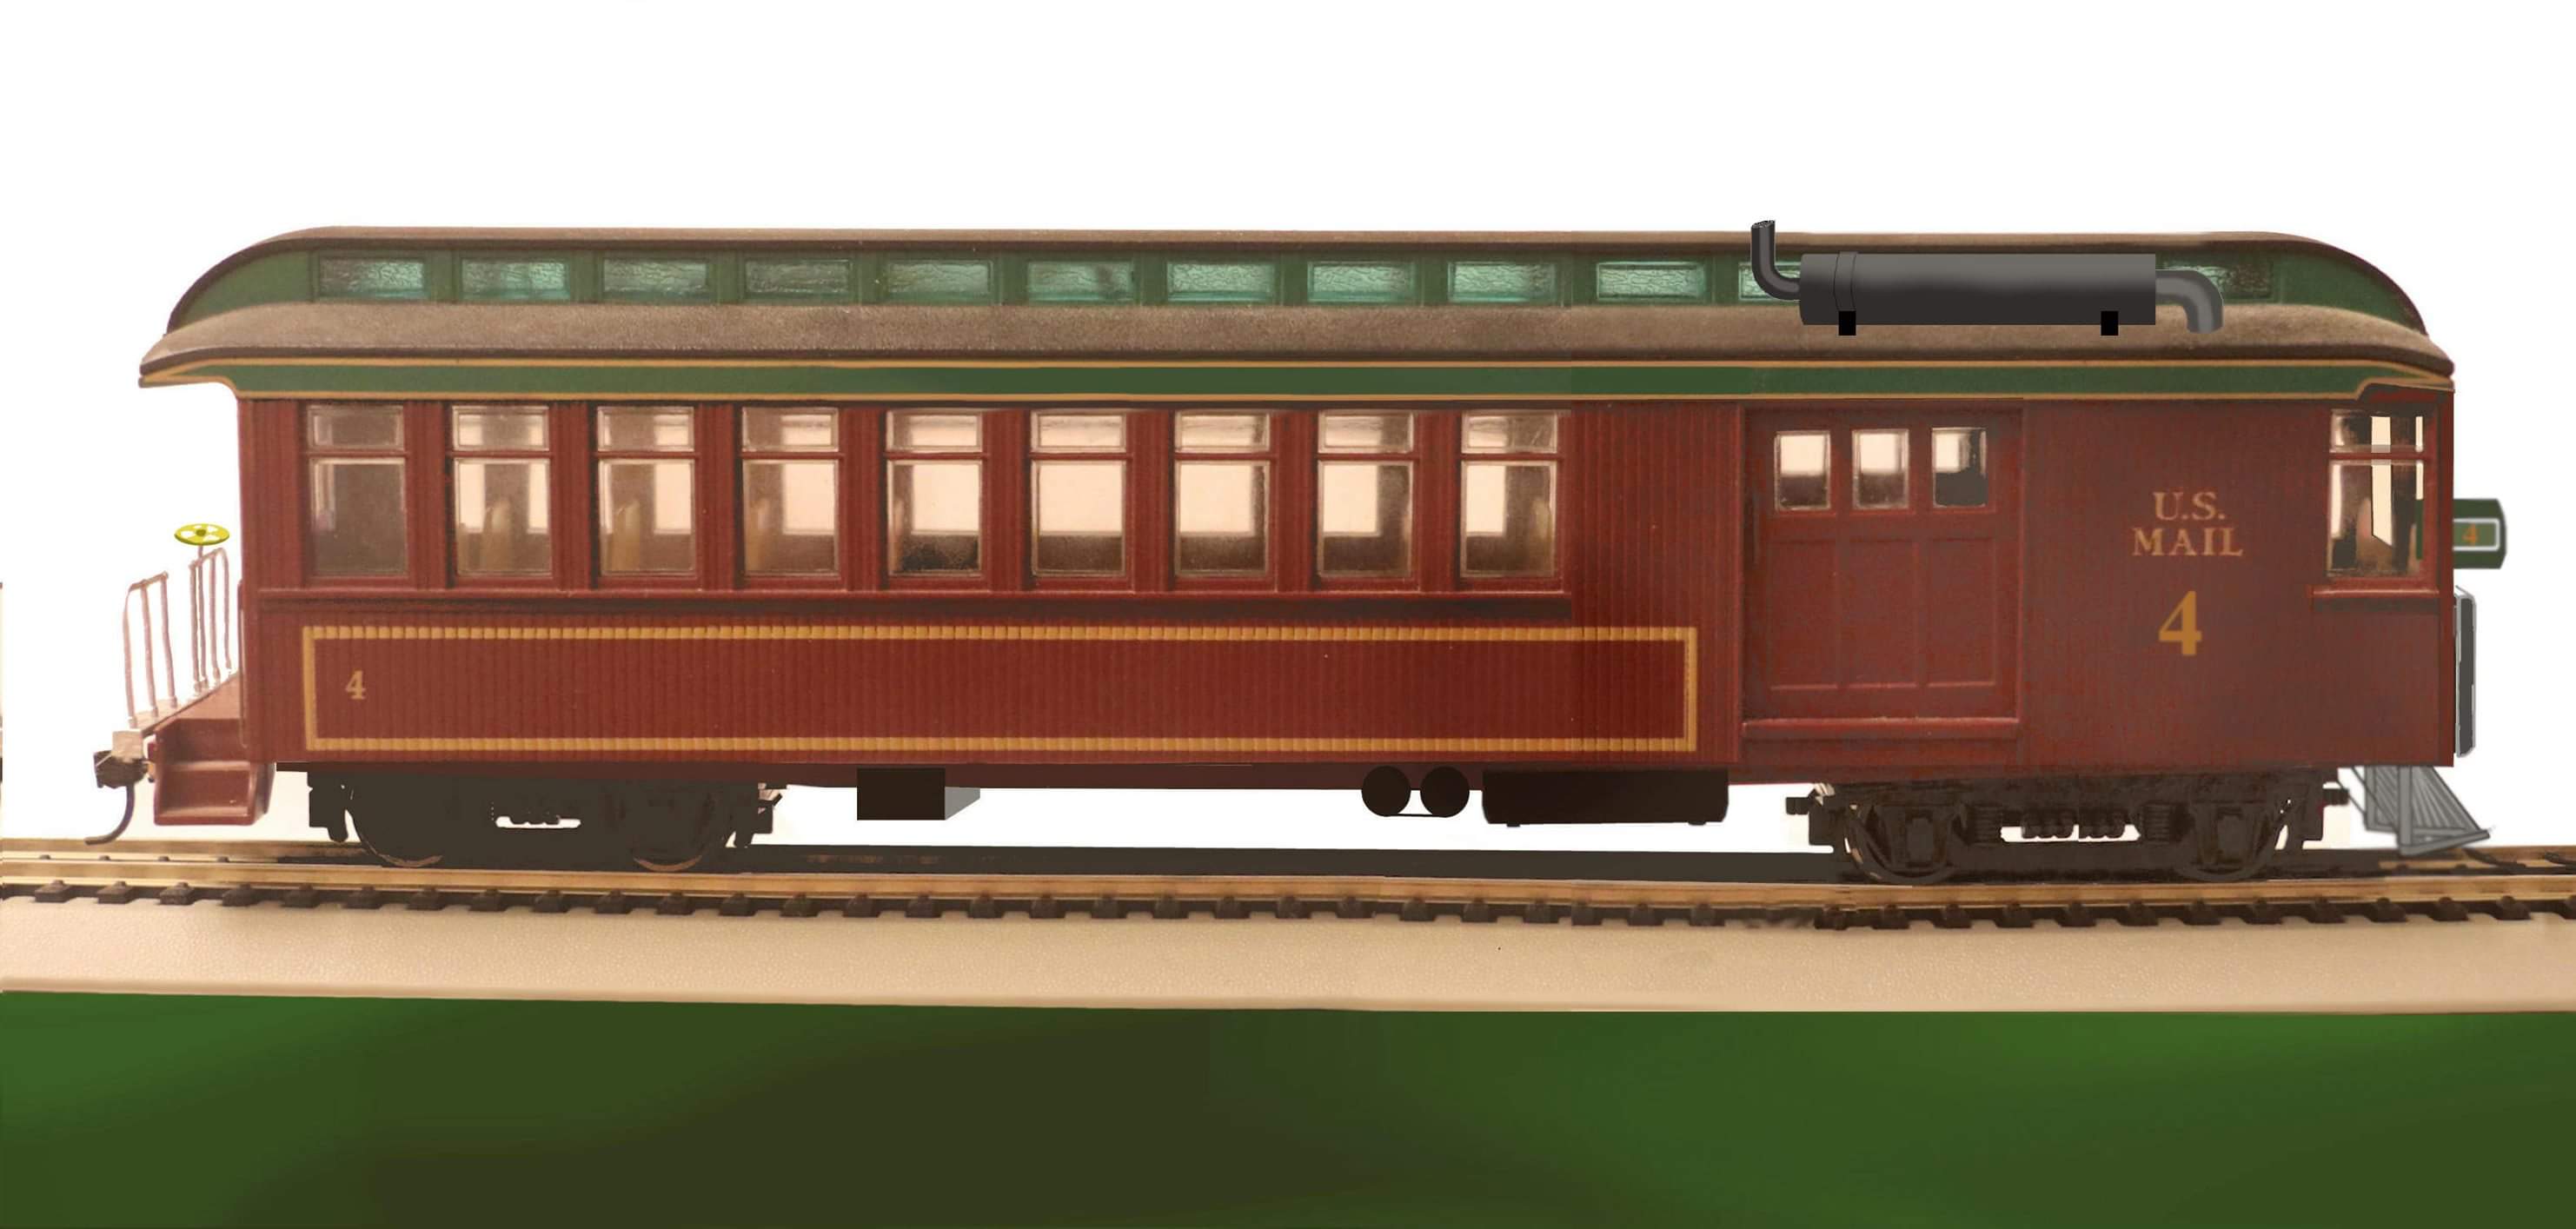
Rooftop Muffler, Headlight, Underbody Details, Front Pilot and Green Foreground were all drawn in later using GIMP.
Again all the original photography work here was done in my bathroom “studio” using curved sheets of fresh typing paper, lightly taped together as the background.
The Studio Guy
Newsprint makes excellent camo for photographing models, if that’s what you want. … Not in the least bit interested in your location. I leave that up to the TikTokers.
—mike
1 Like
It works just fine. Just look at the progress photos that I’ve put up, you can see everything just fine! ![]()
1 Like
Saw a photo once where a modern tank was camouflaged by gluing sheets of printed newspaper all over. It made for a very respectable “urban digital” camo scheme! I suspect it worked quite well.
The Studio Guy
2 Likes
Maybe it’s these innovative ideas that will work, just like the Filipinos attaching wood beams to their IFVs and APCs to protect from RPGs. ![]()
All you really need is white or black poster board. And white or black foam board from dollar store.
The reason is different colors work better with different backgrounds. Also can cause colors to change depending on the background. Even with same light source.
This does not address your kelvin light source.

2 Likes
Keep in mind that white or black will affect the cameras metering.
3 Likes
I second BGT’s remark. Unless you have a very narrow spot meter in your camera the camera will see all that white background and it will throw off the exposure setting.
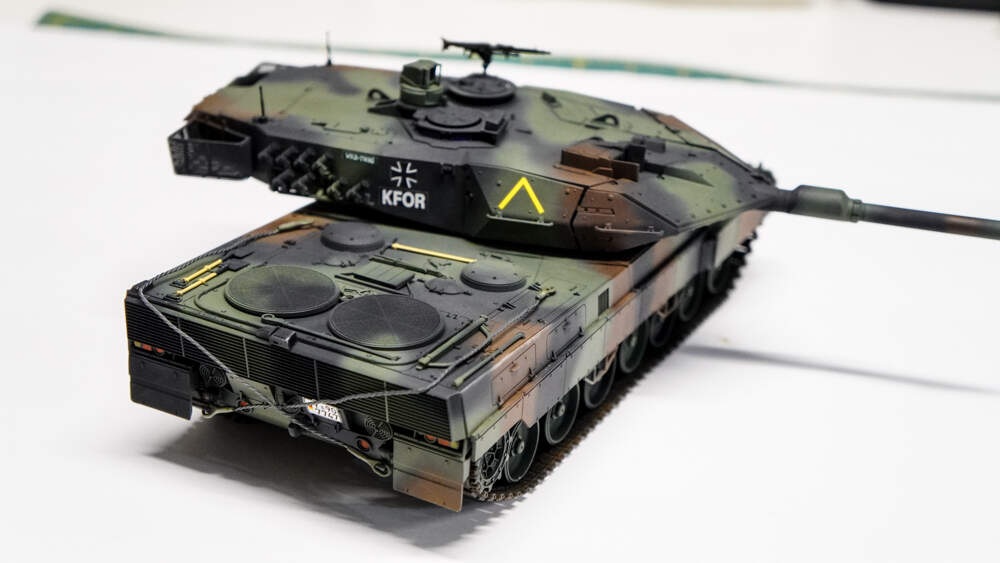
Mrclark7 - Extremely good example of color and exposure shift when switching from a pure white to a darker background. I also note that the tank that was shot on the green background has a more correct exposure setting and the detail and workmanship shows thru to a greater extent.
From the
The Studio Guy
The Studio Guy
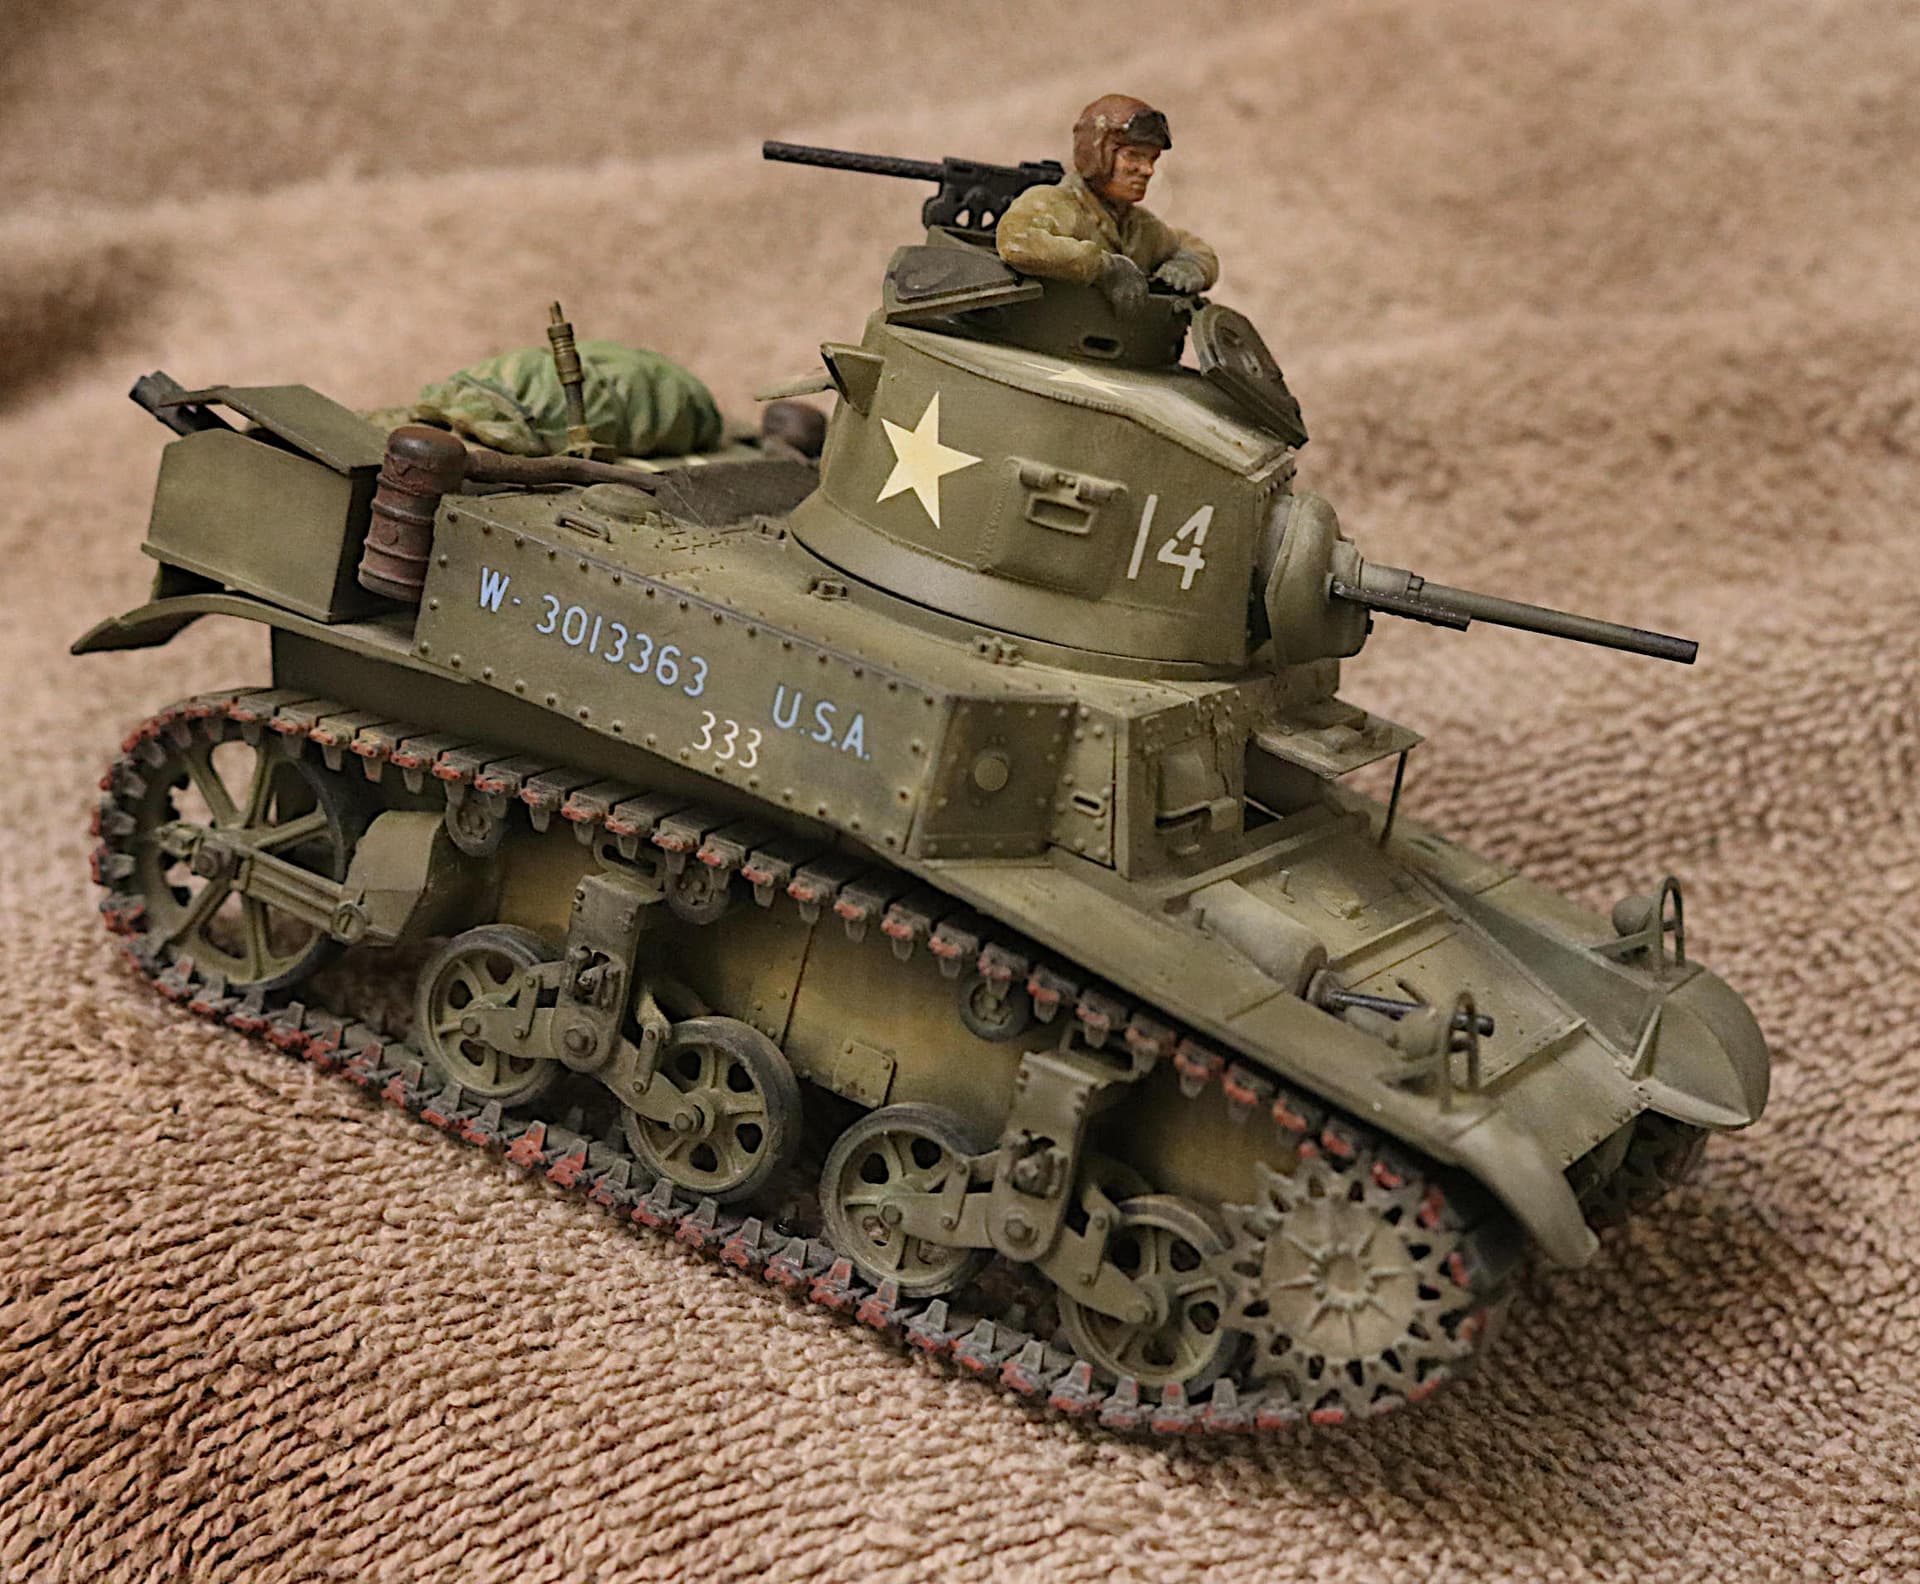
I might suggest using a nice piece of smooth tan cloth that can be draped over your stage as a somewhat textured medium colored background. Here I use various terry cloth towels for the shoot.
The tan towel diorama:
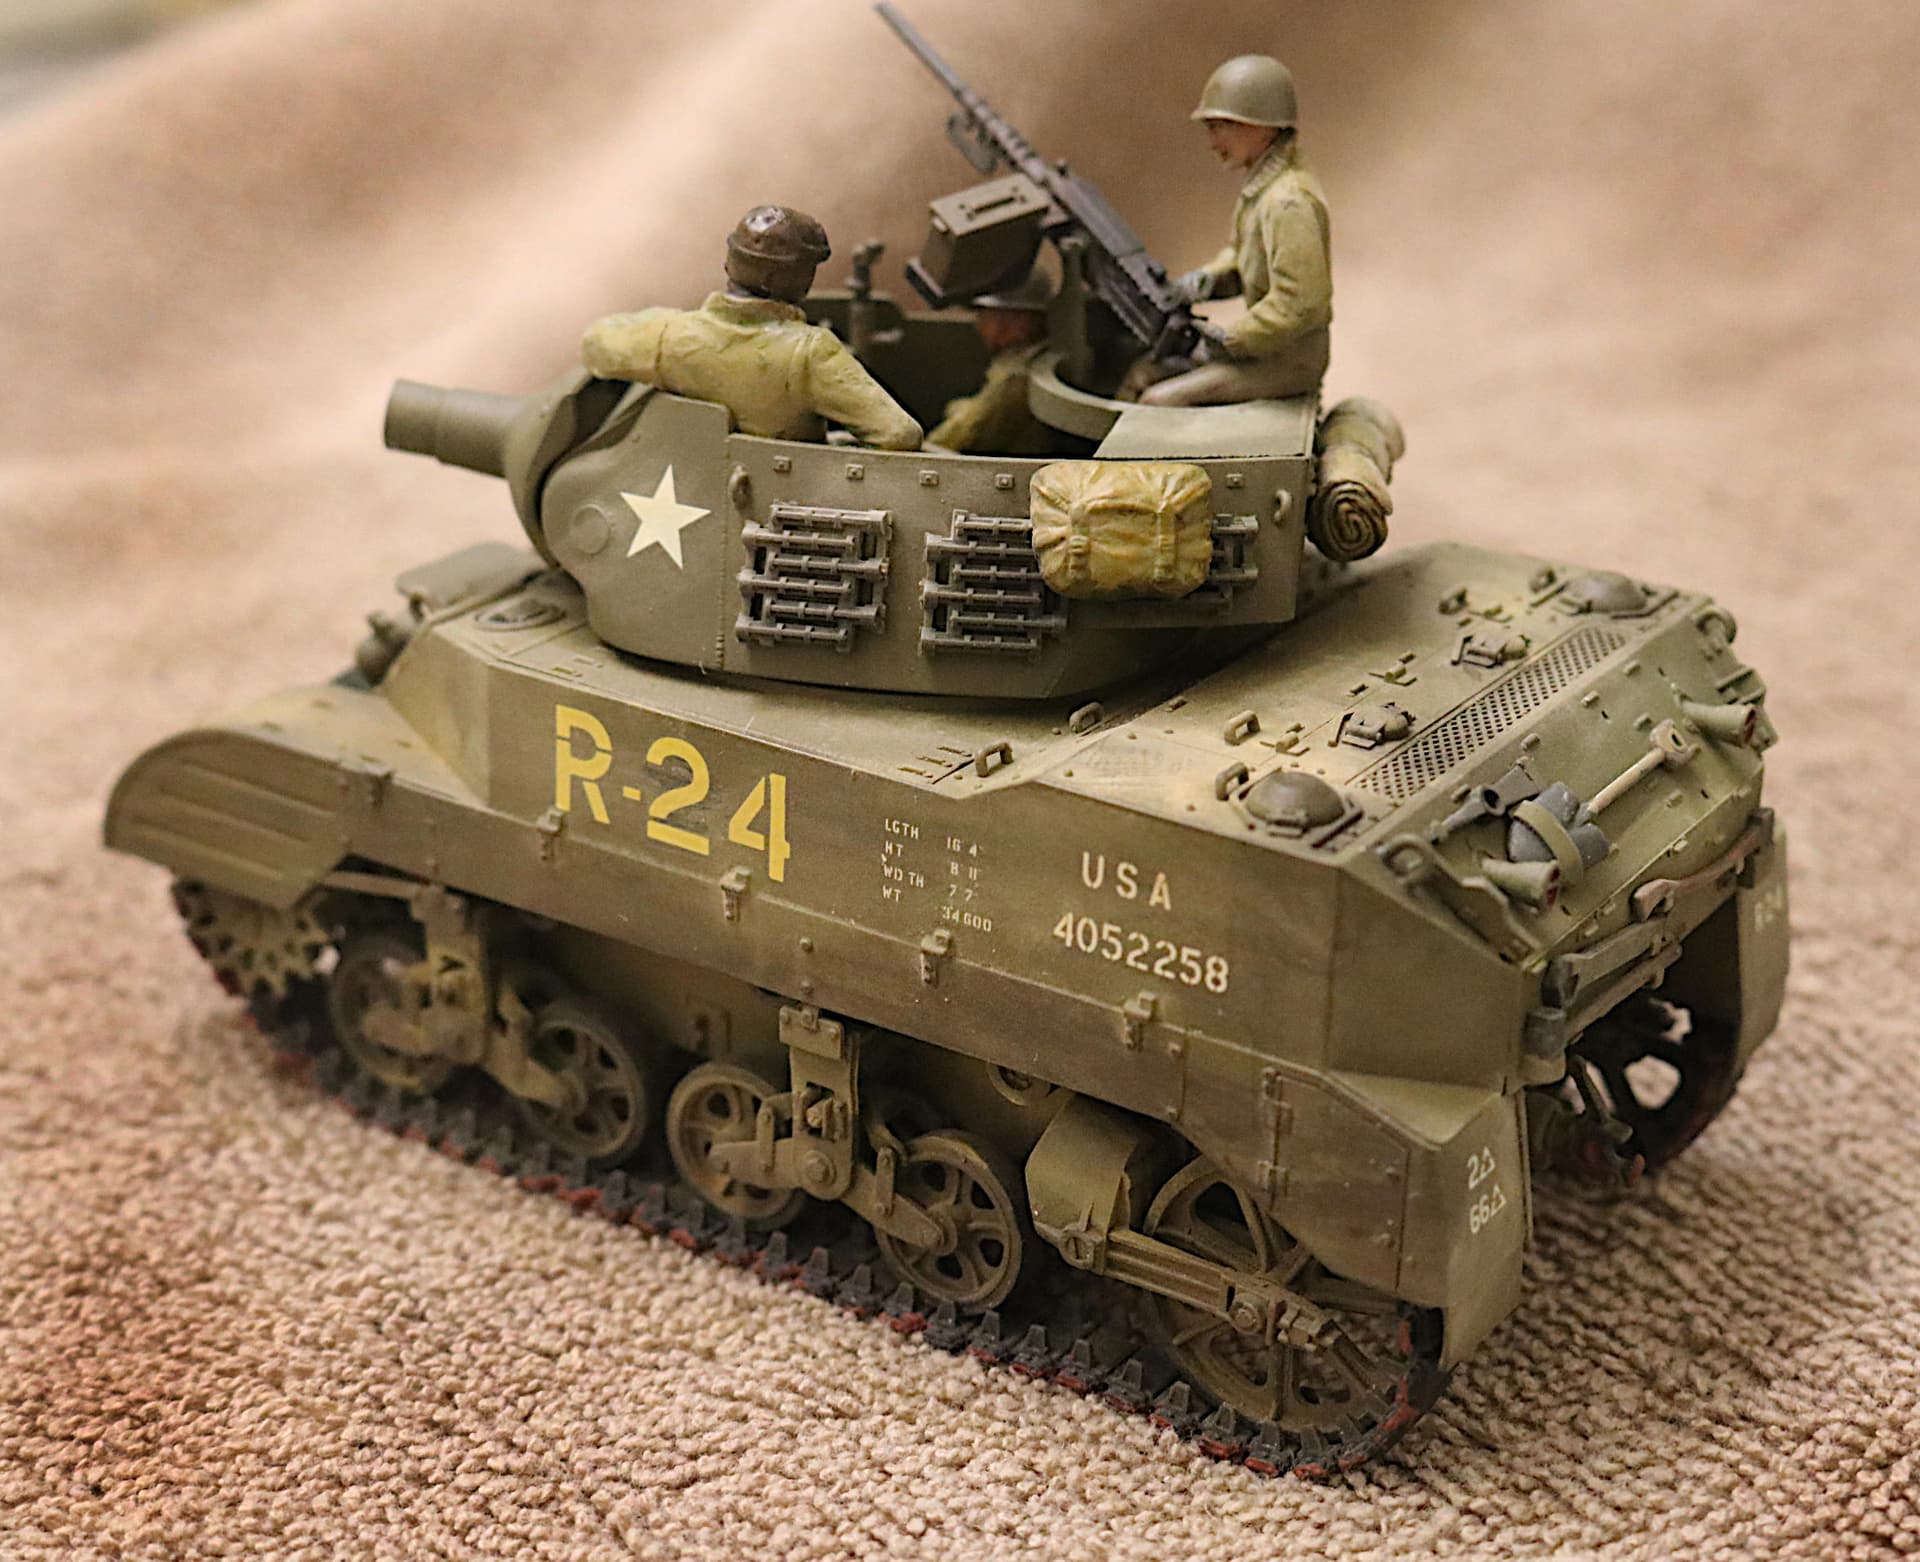
The brown towel diorama:
And the white towel diorama:


I would suggest selecting a background color that enhances the look of your model rather than competing with it.
Gleaned from twelve years of doing studio catalog photography for Square D Company/Groupe Schneider. (That’s thousands of battleship gray circuit boxes with jet black circuit breakers and shinny metal bus bars all shot against a pure white background. - Talk about your exposure challenges!)
Another photography tip from the “Studio Guy”:
You cannot (normally) pour enough light onto a black, or dark colored object to make it show up clearly against a white background. i.e. Simply increasing the amount of light on your subject is often NOT the answer.
You can only make a black object show up by reflecting light off of it! Let that sink in for a moment. . . It is just like making a single cushion pool shot. Angle into the subject equals the reflected light angle out. (Works for pool shots, ricochets, basketball goals and reflected light.)
So when shooting a black object (like a steam engine or a dark colored tank) set up your shot but then place another light on the other side of your “set,” opposite your camera that will bounce reflected light off the black surface of your model object and into the camera lens.
1 Like
I honestly cant remember how I shot this one. You could shoot with normal constant lighting, like I think I did. Or with bounce light, or in post production do things other might not know of, or multi metered shots with zero lighting effects and then layered in post stacking your different metered shots.
Almost every shoot involved two strobes minimum with models and cars even out doors.
When shooting in studio with models, I usually always used a minimum of three strobes.
The Studio Guy
Now put a fourth light (in you imagination) way off to the left at camera level and almost behind the subject and let this new light reflection bounce off the side of the gun and into your camera lens. There are advantages to working with full-on lighting while doing studio product work. Makes for better pre-visualization of reflections and shadows (both wanted and unwanted much easier to see.)
Also note that all the lighter long horizontal lines that are now present on the gun in your photo ARE being delineated as reflections from that top light you are using.
Oh and if the reflection you are now trying to create is not wide enough to cover the full length of the subject then turn the light around and bounce it off a big white board.
I regularly kept large 4’x8’ sheets of foamcore in the studio with a small 1 inch hole cut in the top center end of the sheet. These would then easily hang vertically on cheap light stands to act as positionable reflectors.
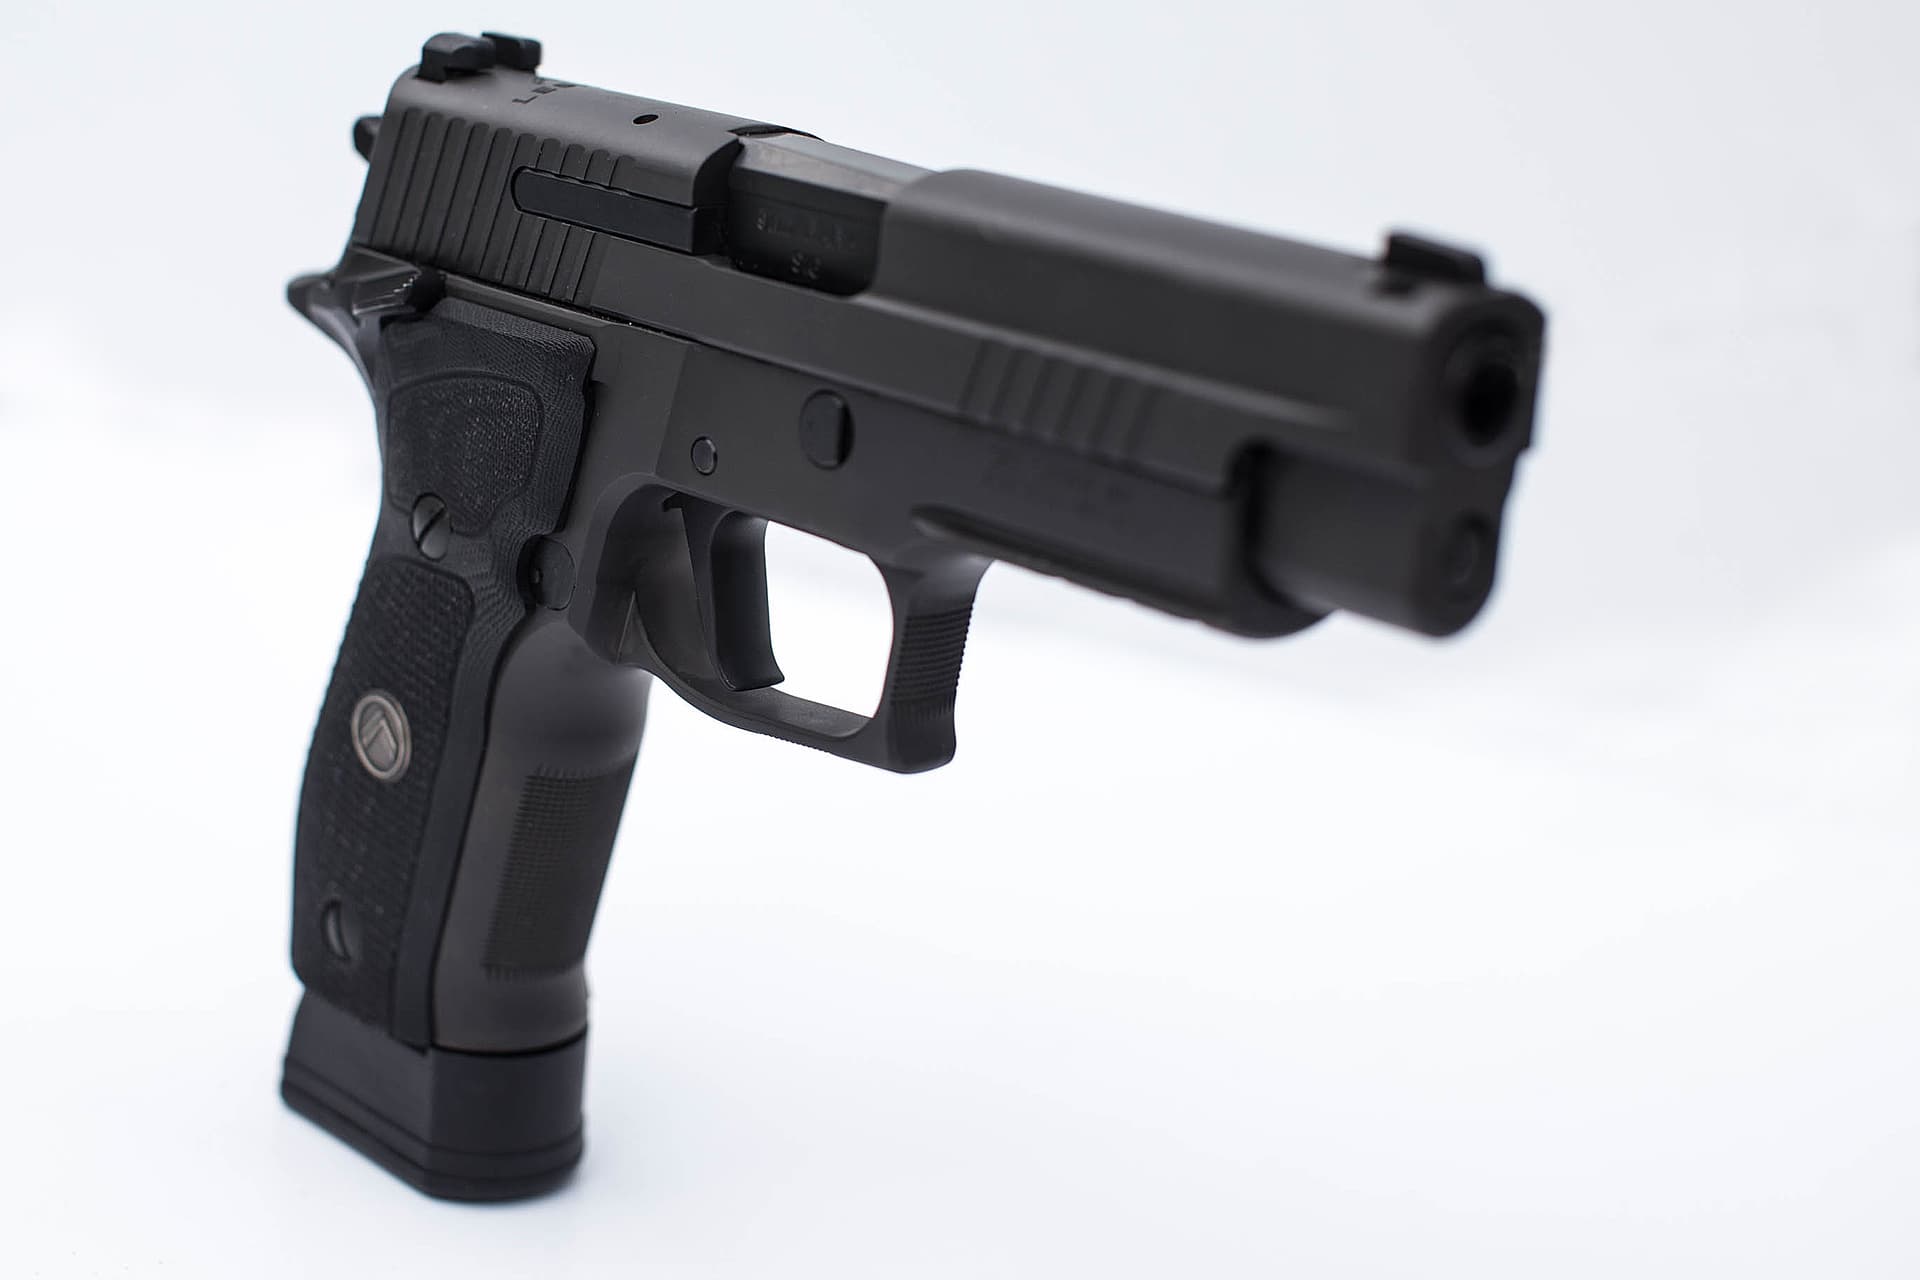
Not trying to be an A-hole here or anything but should I mention depth-of-field? ( FYI - The tip on the gun barrel is out of focus.) If this were shot on a view camera or smaller camera with an adjustable “swings and tilts” lens then the “plane of focus” could have been angled to exactly follow the entire length of the barrel housing front to back for razor sharp focus.
p.s. I do realize both the above options are rather expensive purchases.
When shooting cars outdoors I almost always use at least one on-camera flash to slightly fill in the shadows and to give the chrome and the paint that extra “Sparkle.”

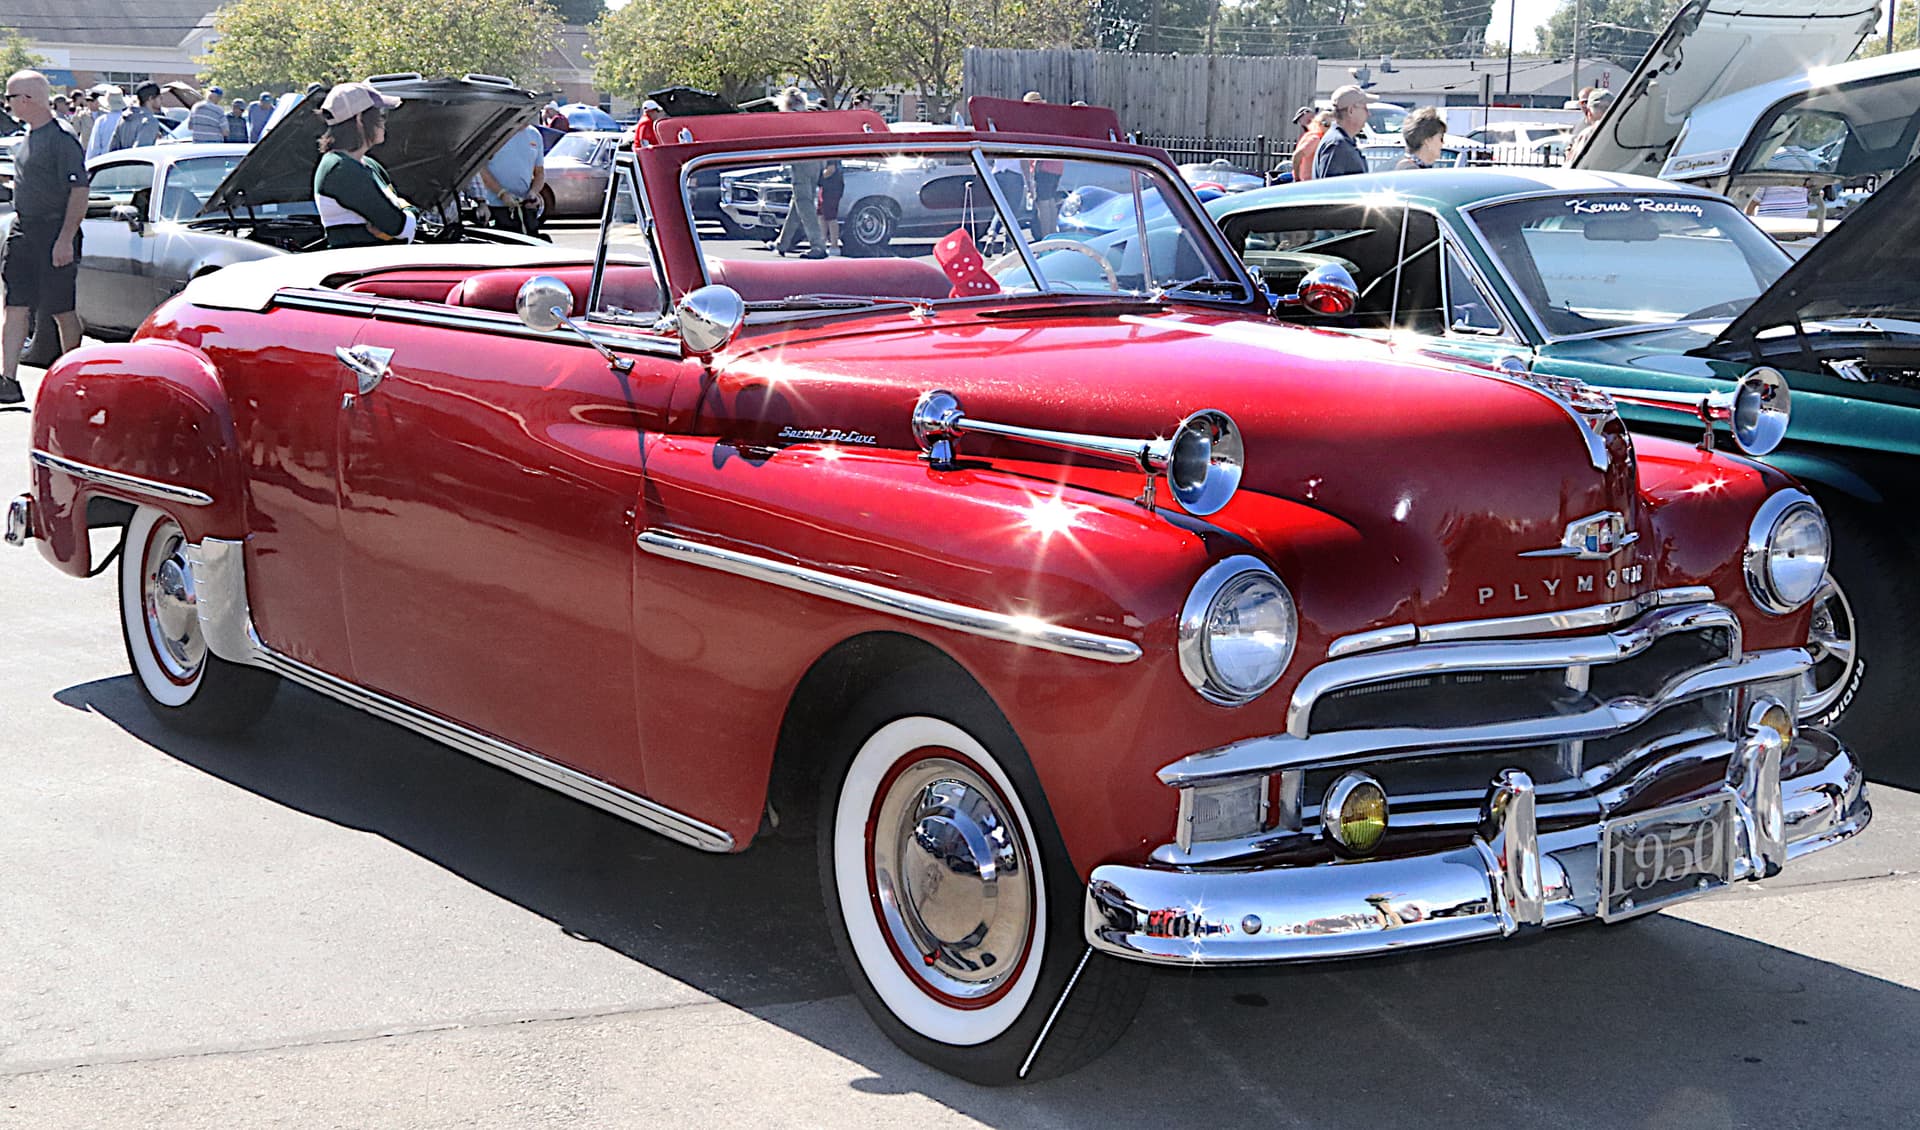
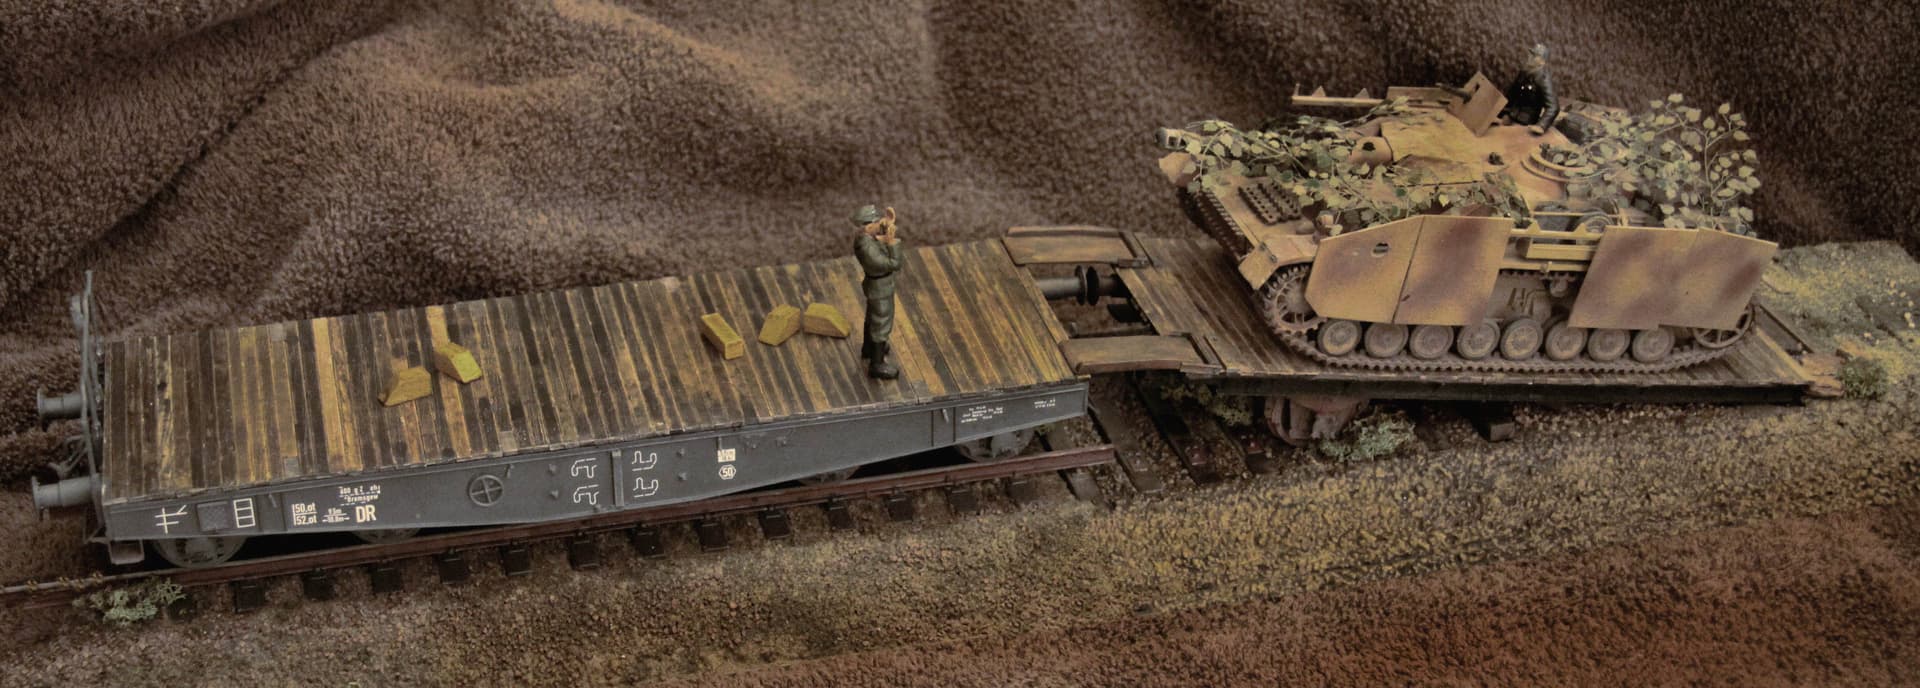
It even works on military vehicles:
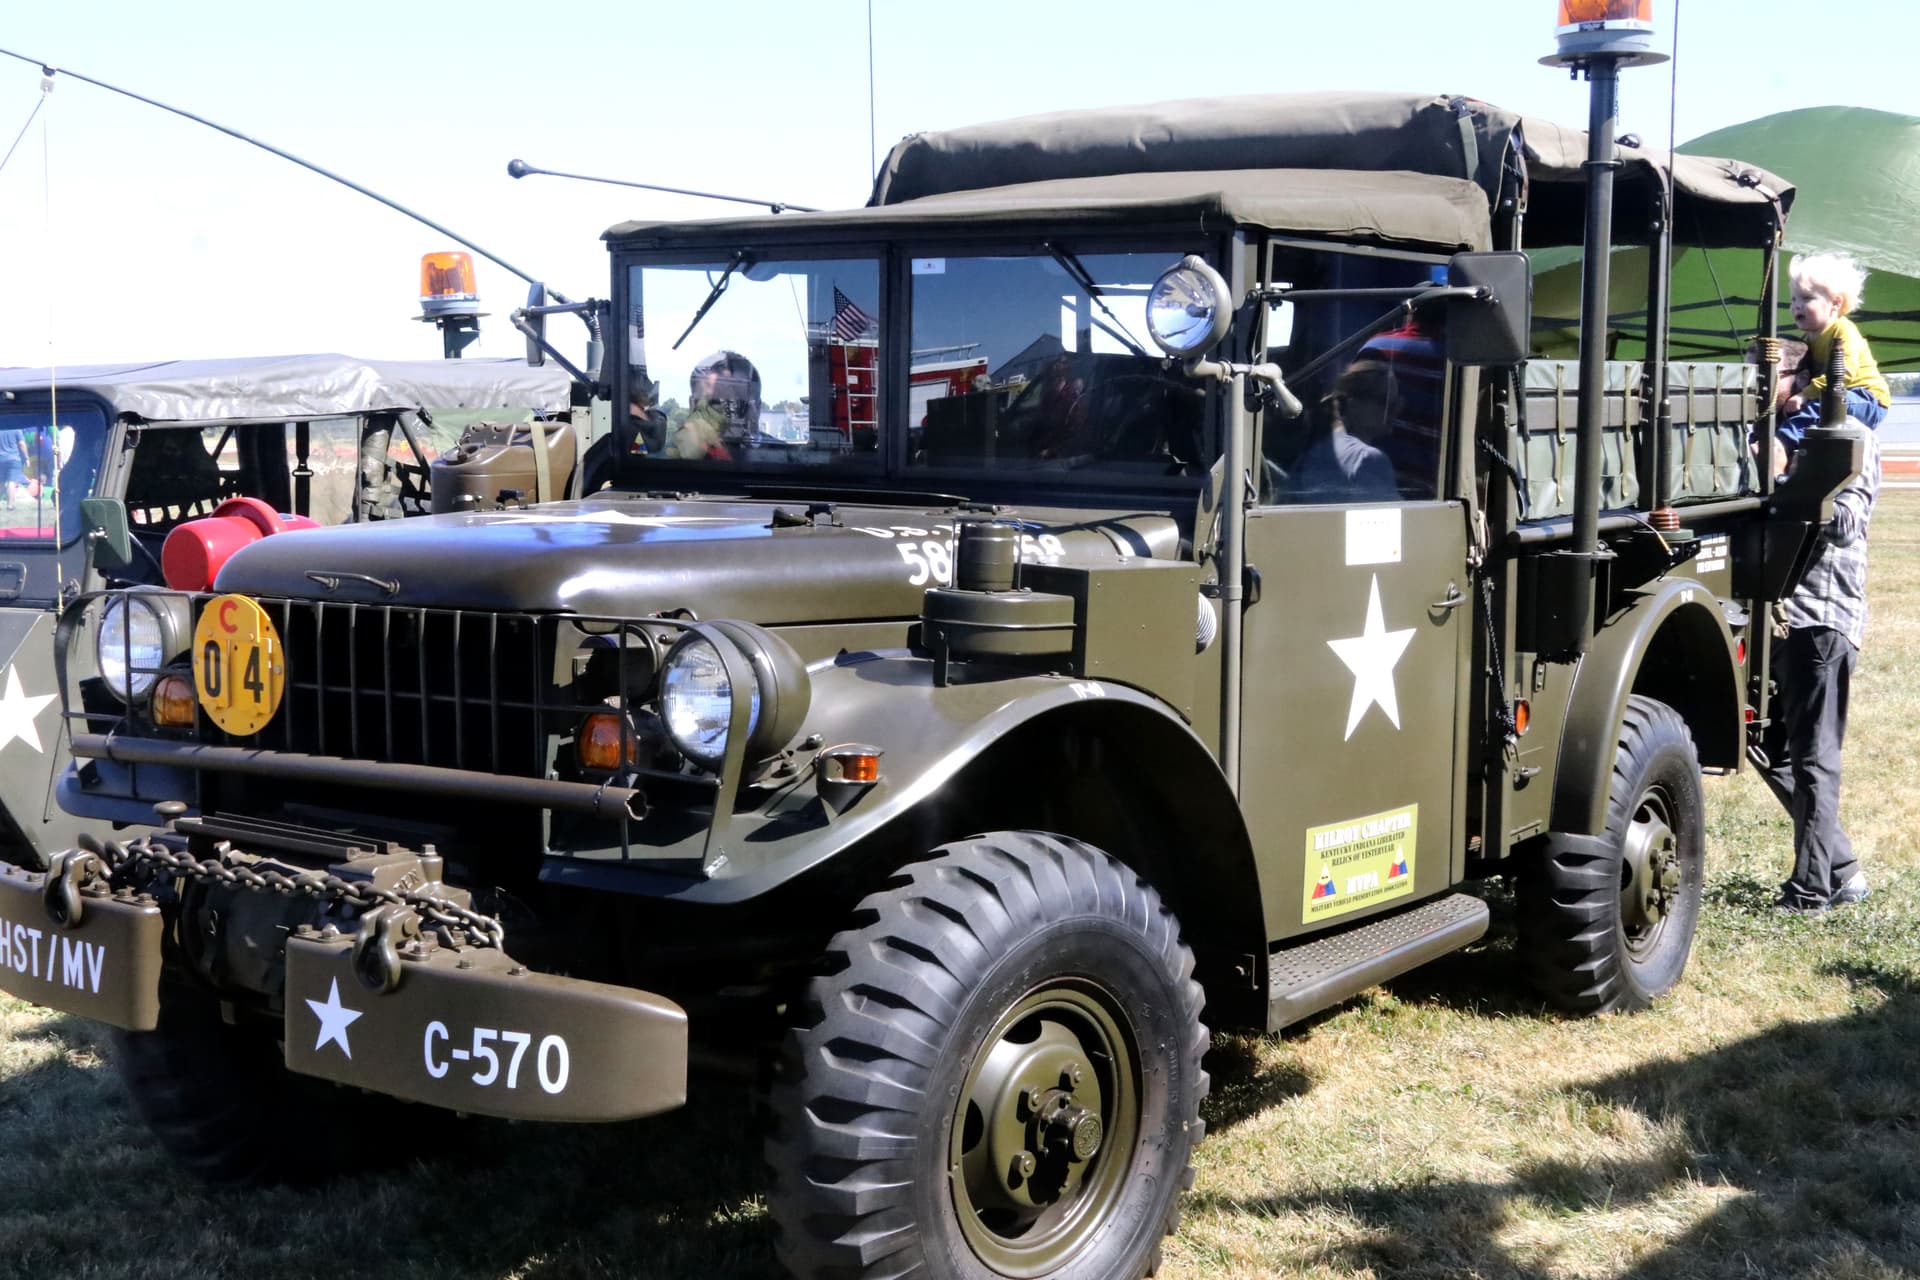
Also I may hold the flash off-camera on an extension cord at arms length if too many of the flash highlights are coming right back at me into the camera lens.
A further note on the gun:
The Studio Guy
That gun is made, I believe, of molded resin. It therefore has a slightly rough pebbly surface to it. Such surfaces work to the photographers advantage in that the microscopically fine rough surface picks up and reflects small bits of light making it appear a dark grey rather than black. If this weapon had been a shiny, perfectly smooth black metal surface your photograph would not had faired as well as it did.
When shooting our companies’ smooth jet black plastic circuit breakers I would always give them a gentle application of a matte dulling spray. The spray would microscopically roughen the surface and would then give them some reflectivity, making them appear dark grey rather than jet black. This also created an entire fresh new surface on the breaker hiding all it’s minor scratches and scuffs acquired in manufacture and packaging.
p.s. All my WWII military models and all my scale railroad equipment get the same final coat of Matte Clear (Tamiya TS-80 rattle can) It smooths out and protects decals, gives a very smooth final surface to the model and when sprayed on very dry, also creates than microscopy fine rough “tooth” that catches the light for a better looking model.
I need to dig thru my external hard drives and find the shots for that pistol.
The front focus was intentional because there was a wood dowel rod in the barrel holding the pistol in position until later edited out. Ill drop a few pics in my other thread of multiple lighting because of scenes with my buddies Stang.
I like your light box. Easy, simple and can be taken apart/ folded when not in use.
1 Like
I would recommend always shooting autos in golden hour or inside building or garages because you can control light. Otherwise you will get sun reflections. That can be edited out usually. But a normal edit usually is 10min to 1 hour just in post.
Shooting at car shows is really hard, to many factors. also reflections of other people in paint.
1 Like
Car companies always have the early evening shots of their product. Noonish is pretty harsh to work with.
1 Like
I have a desk lamp with a white light. Would you suggest, then, that I add the lamp to the side/angled at the model?