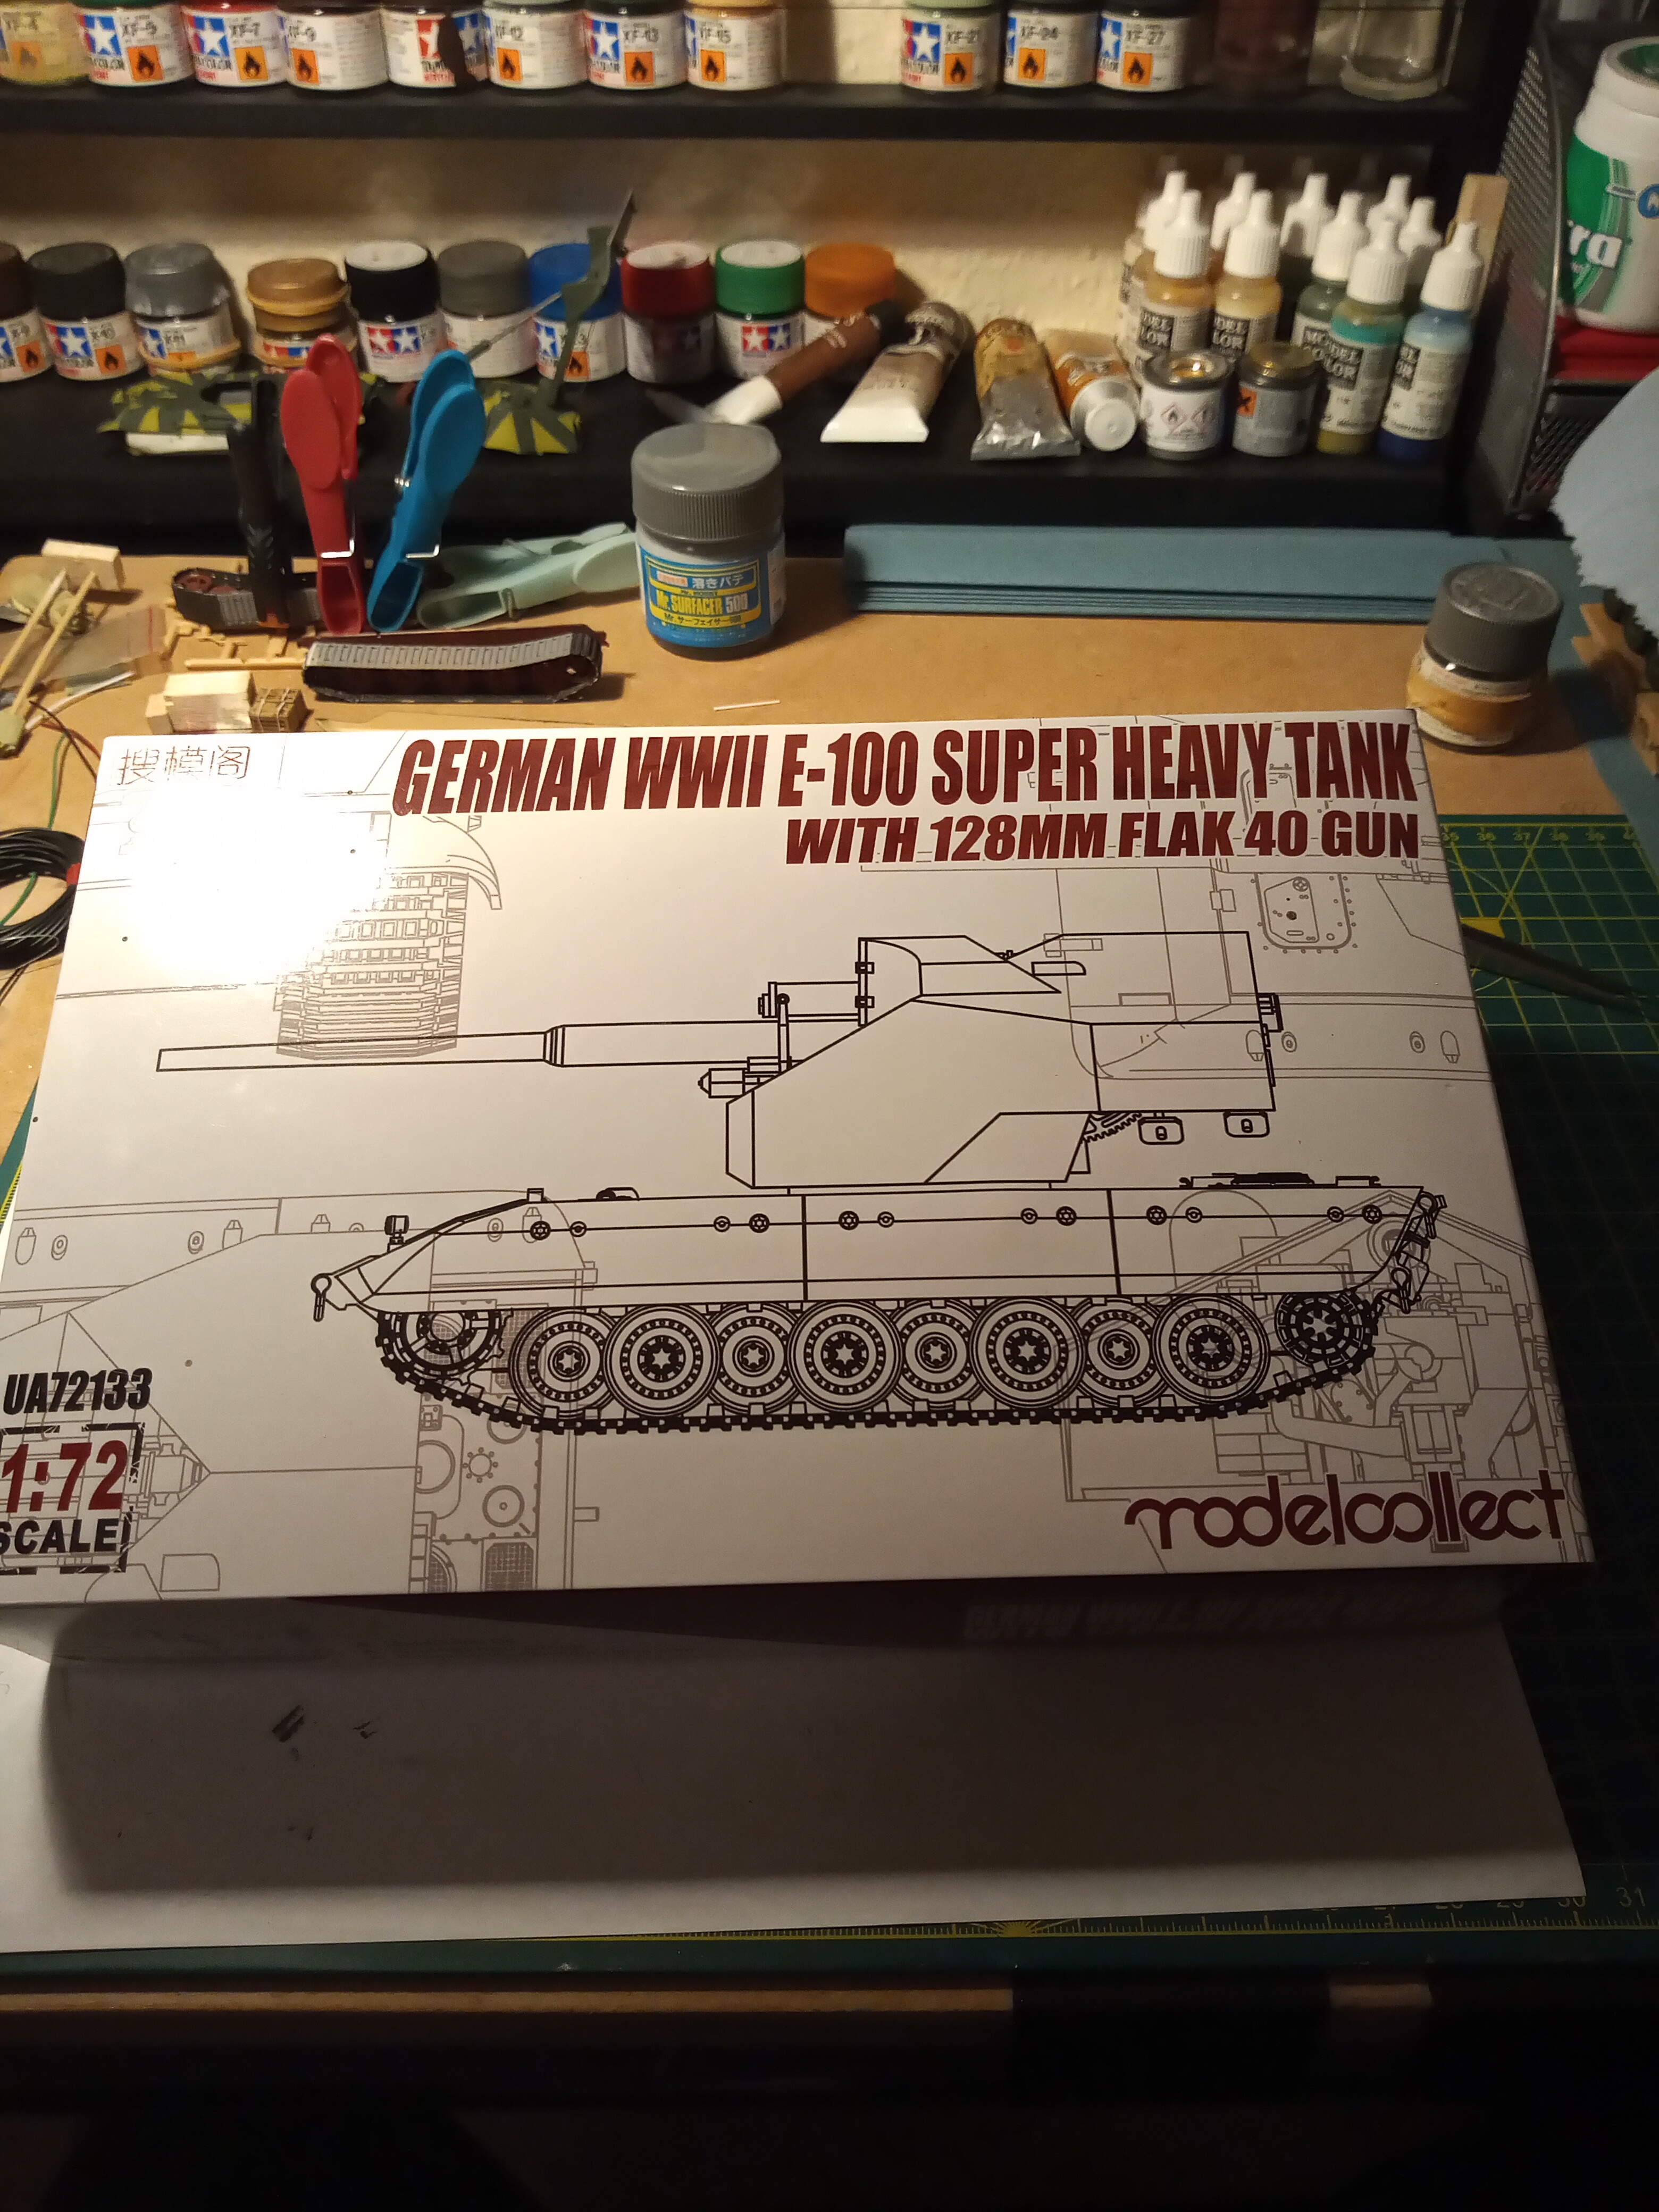
So, the time has come to get stuck into this now. The contents review was a bit of an eye opener, like I said before, the box was very nearly bursting open… Time to release the beast 
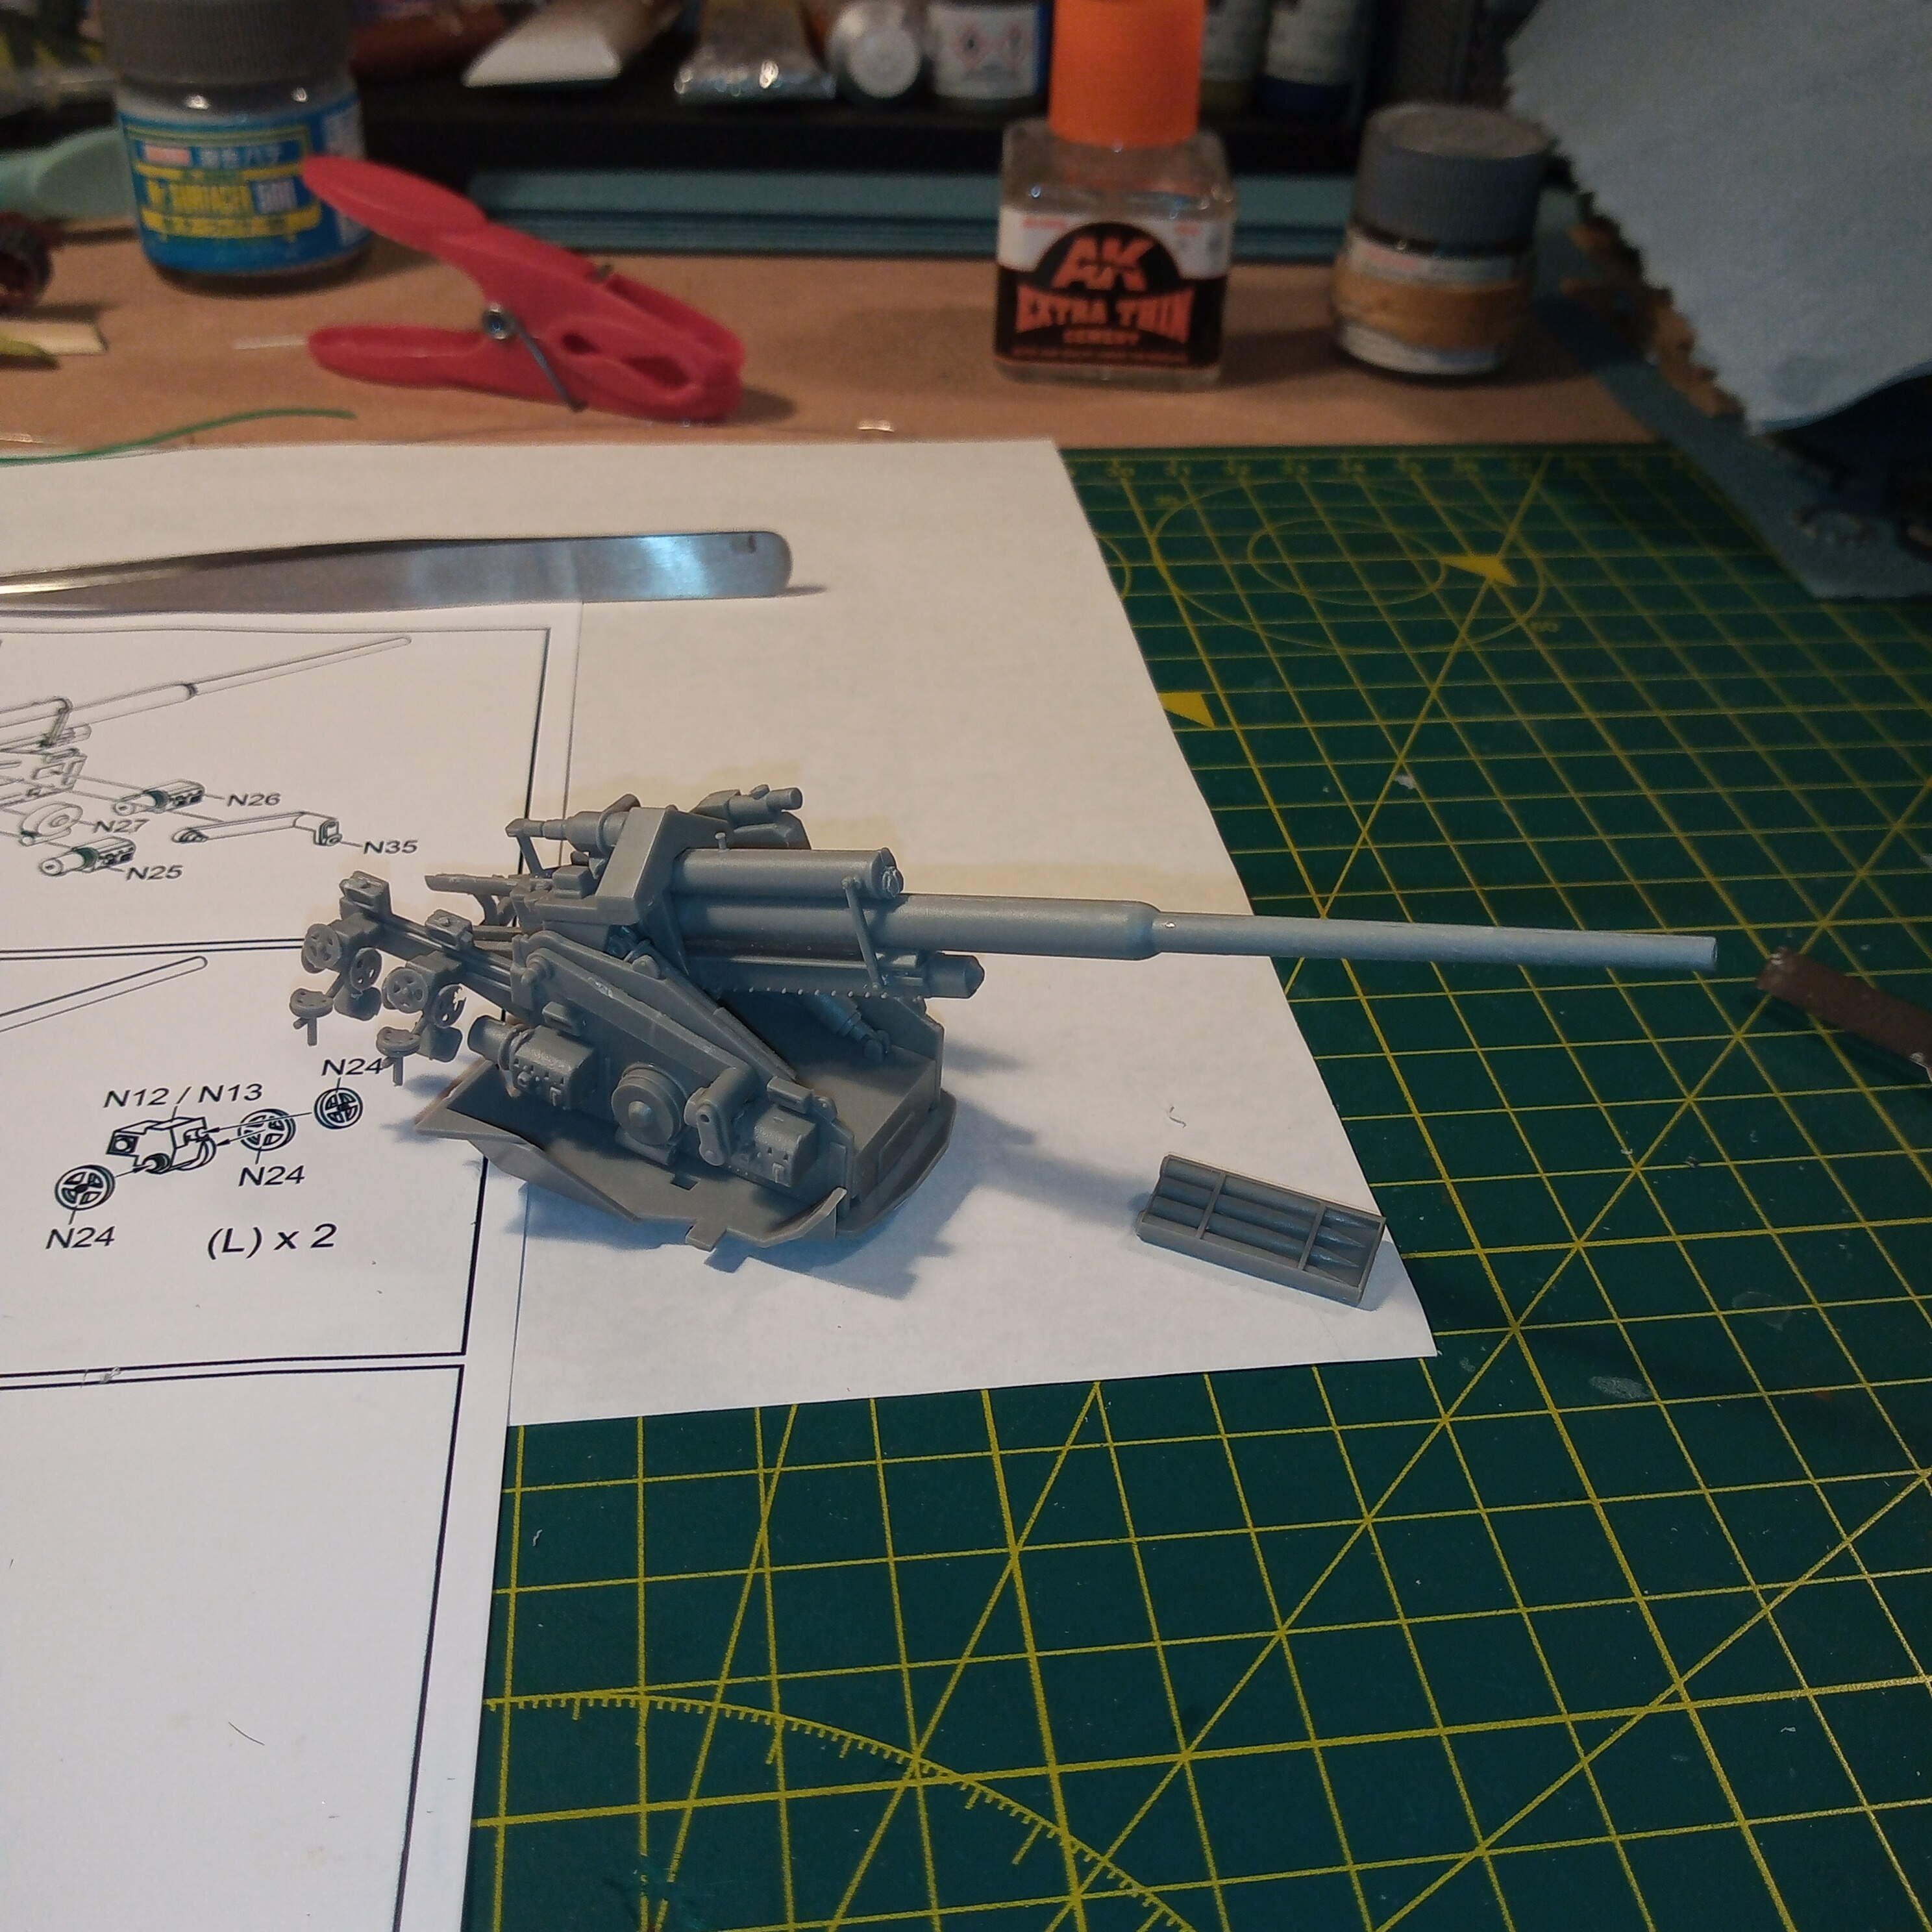
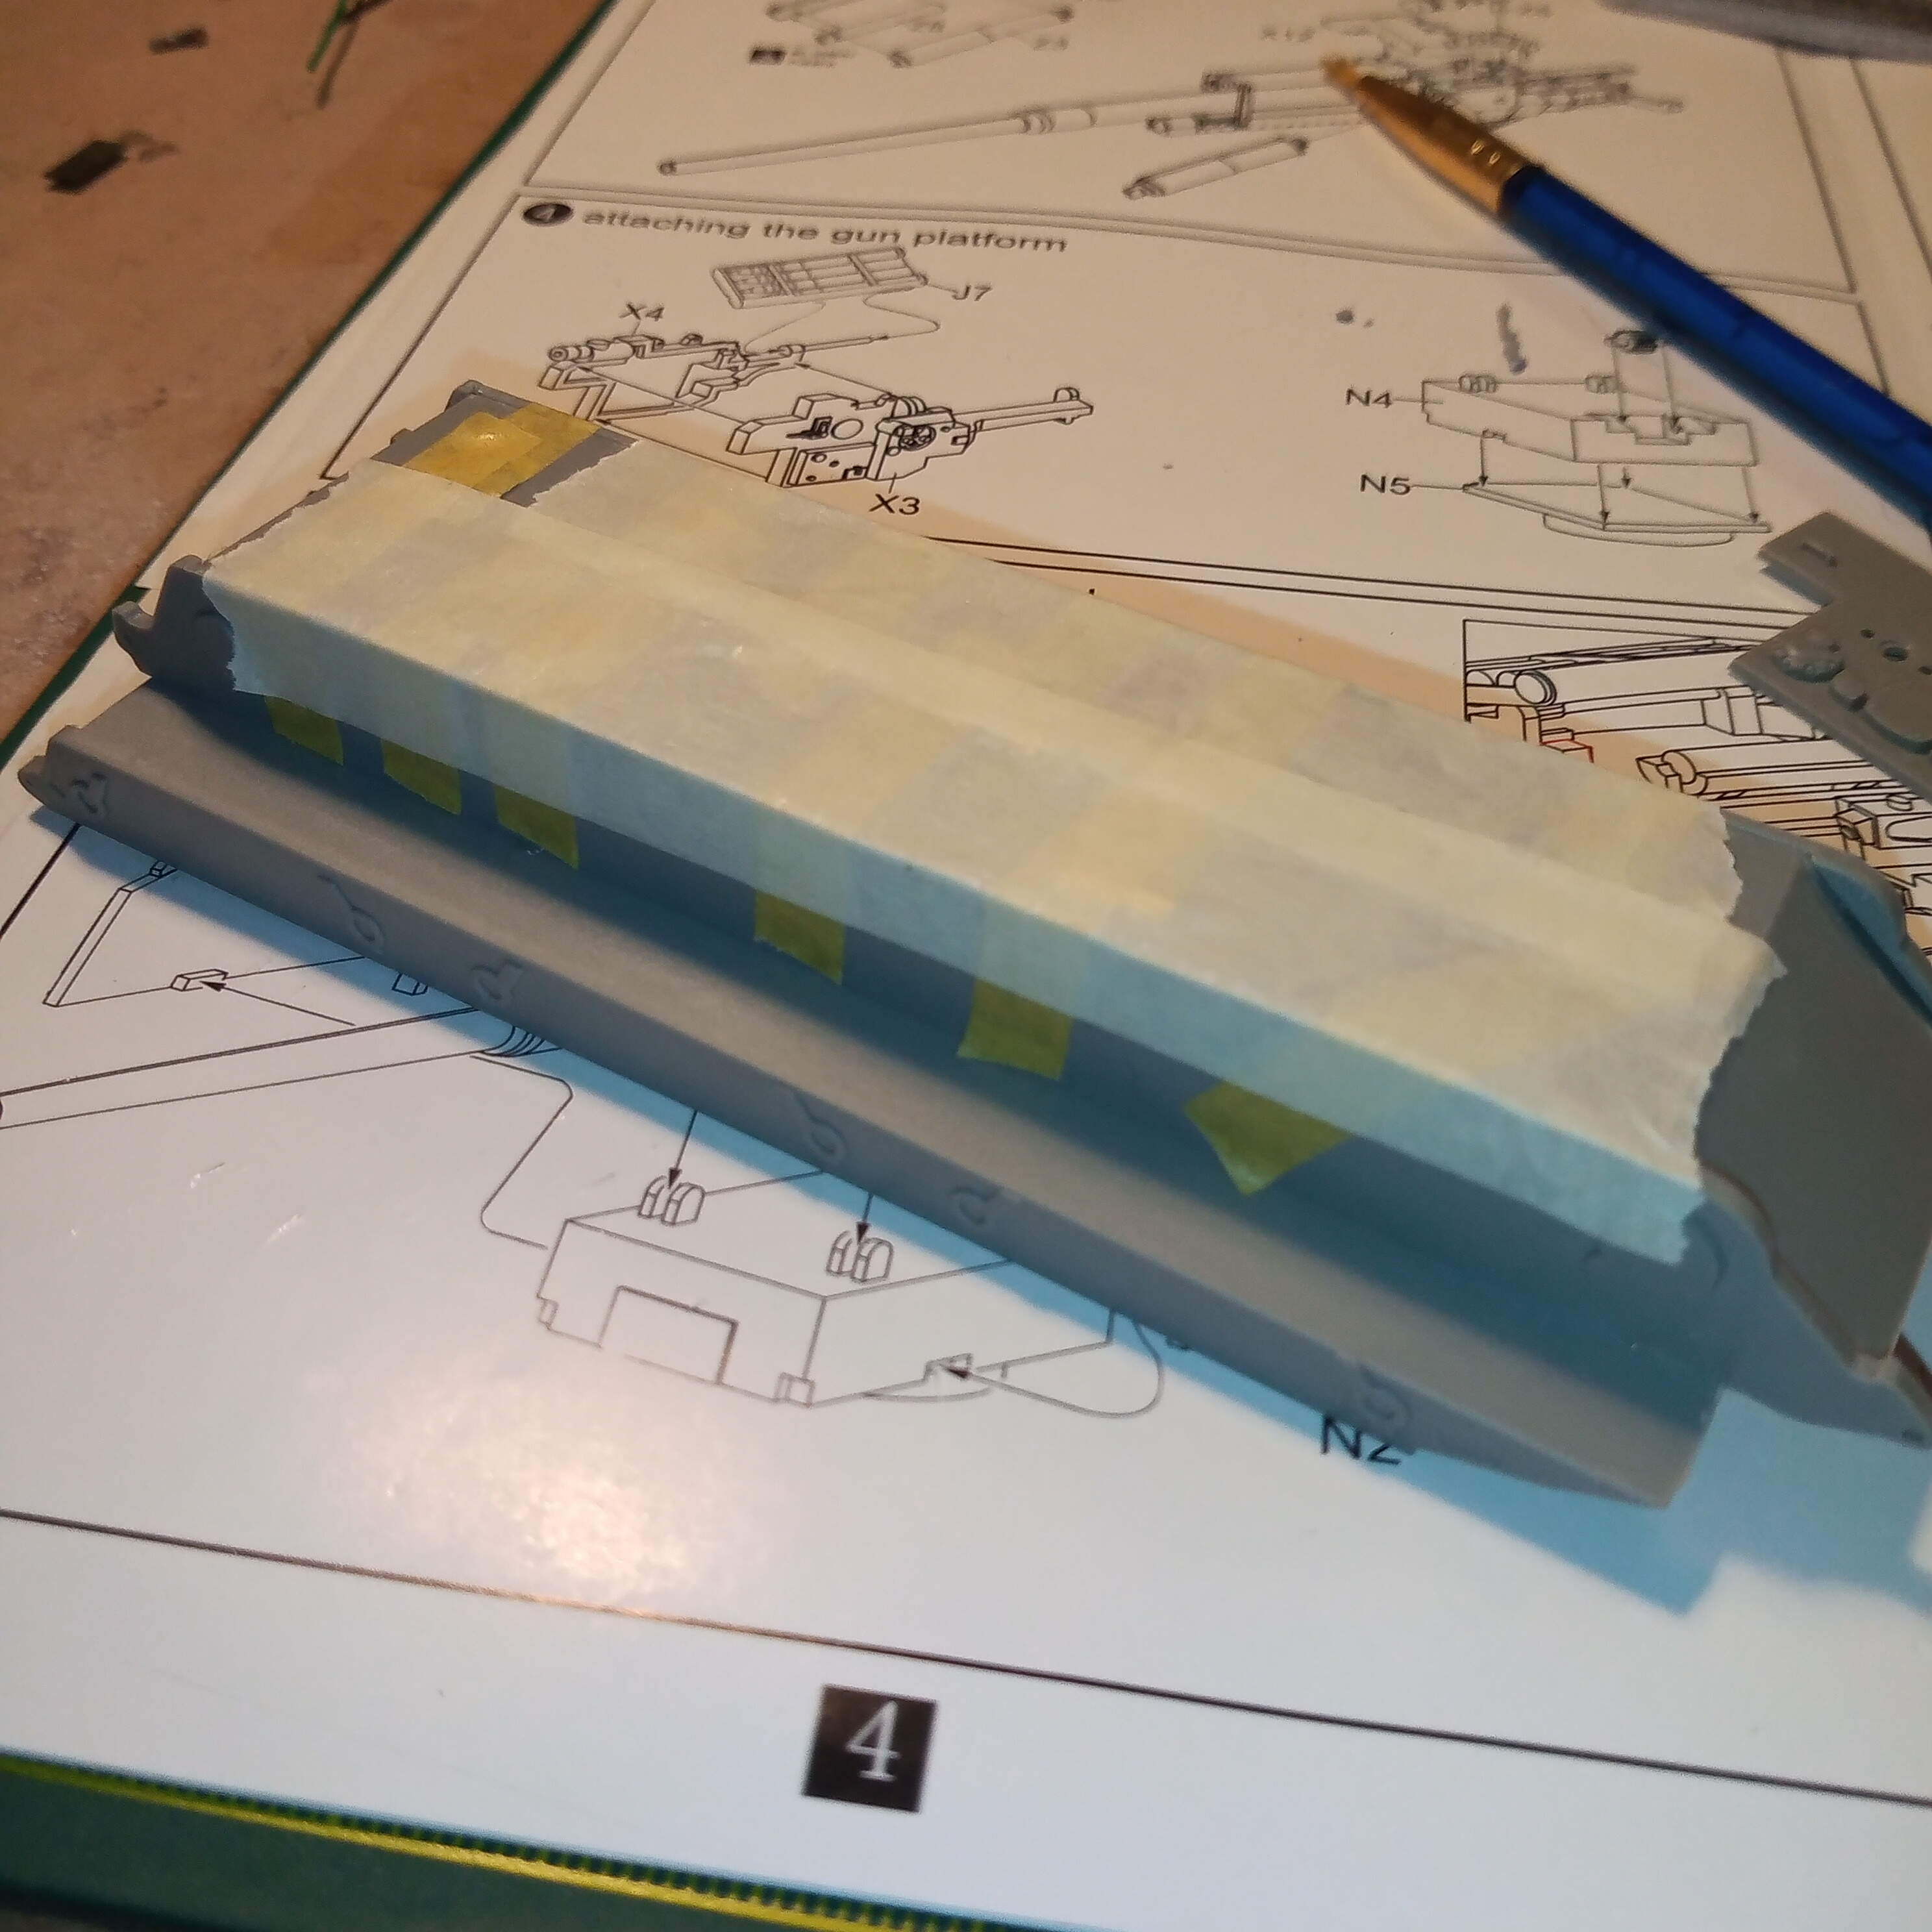
Instructions start you off with the barrel assembly then slowly builds up to the whole breach, recoil buffers etc.
Still not quite use to the smaller fiddly parts but they come away from the sprue nicely with very little clean up needed and minimal seam lines or flash.
That’s as far as I’m going tonight and will carry on tomorrow. But first impressions are good and it looks like a very nicely detailed kit.
4 Likes
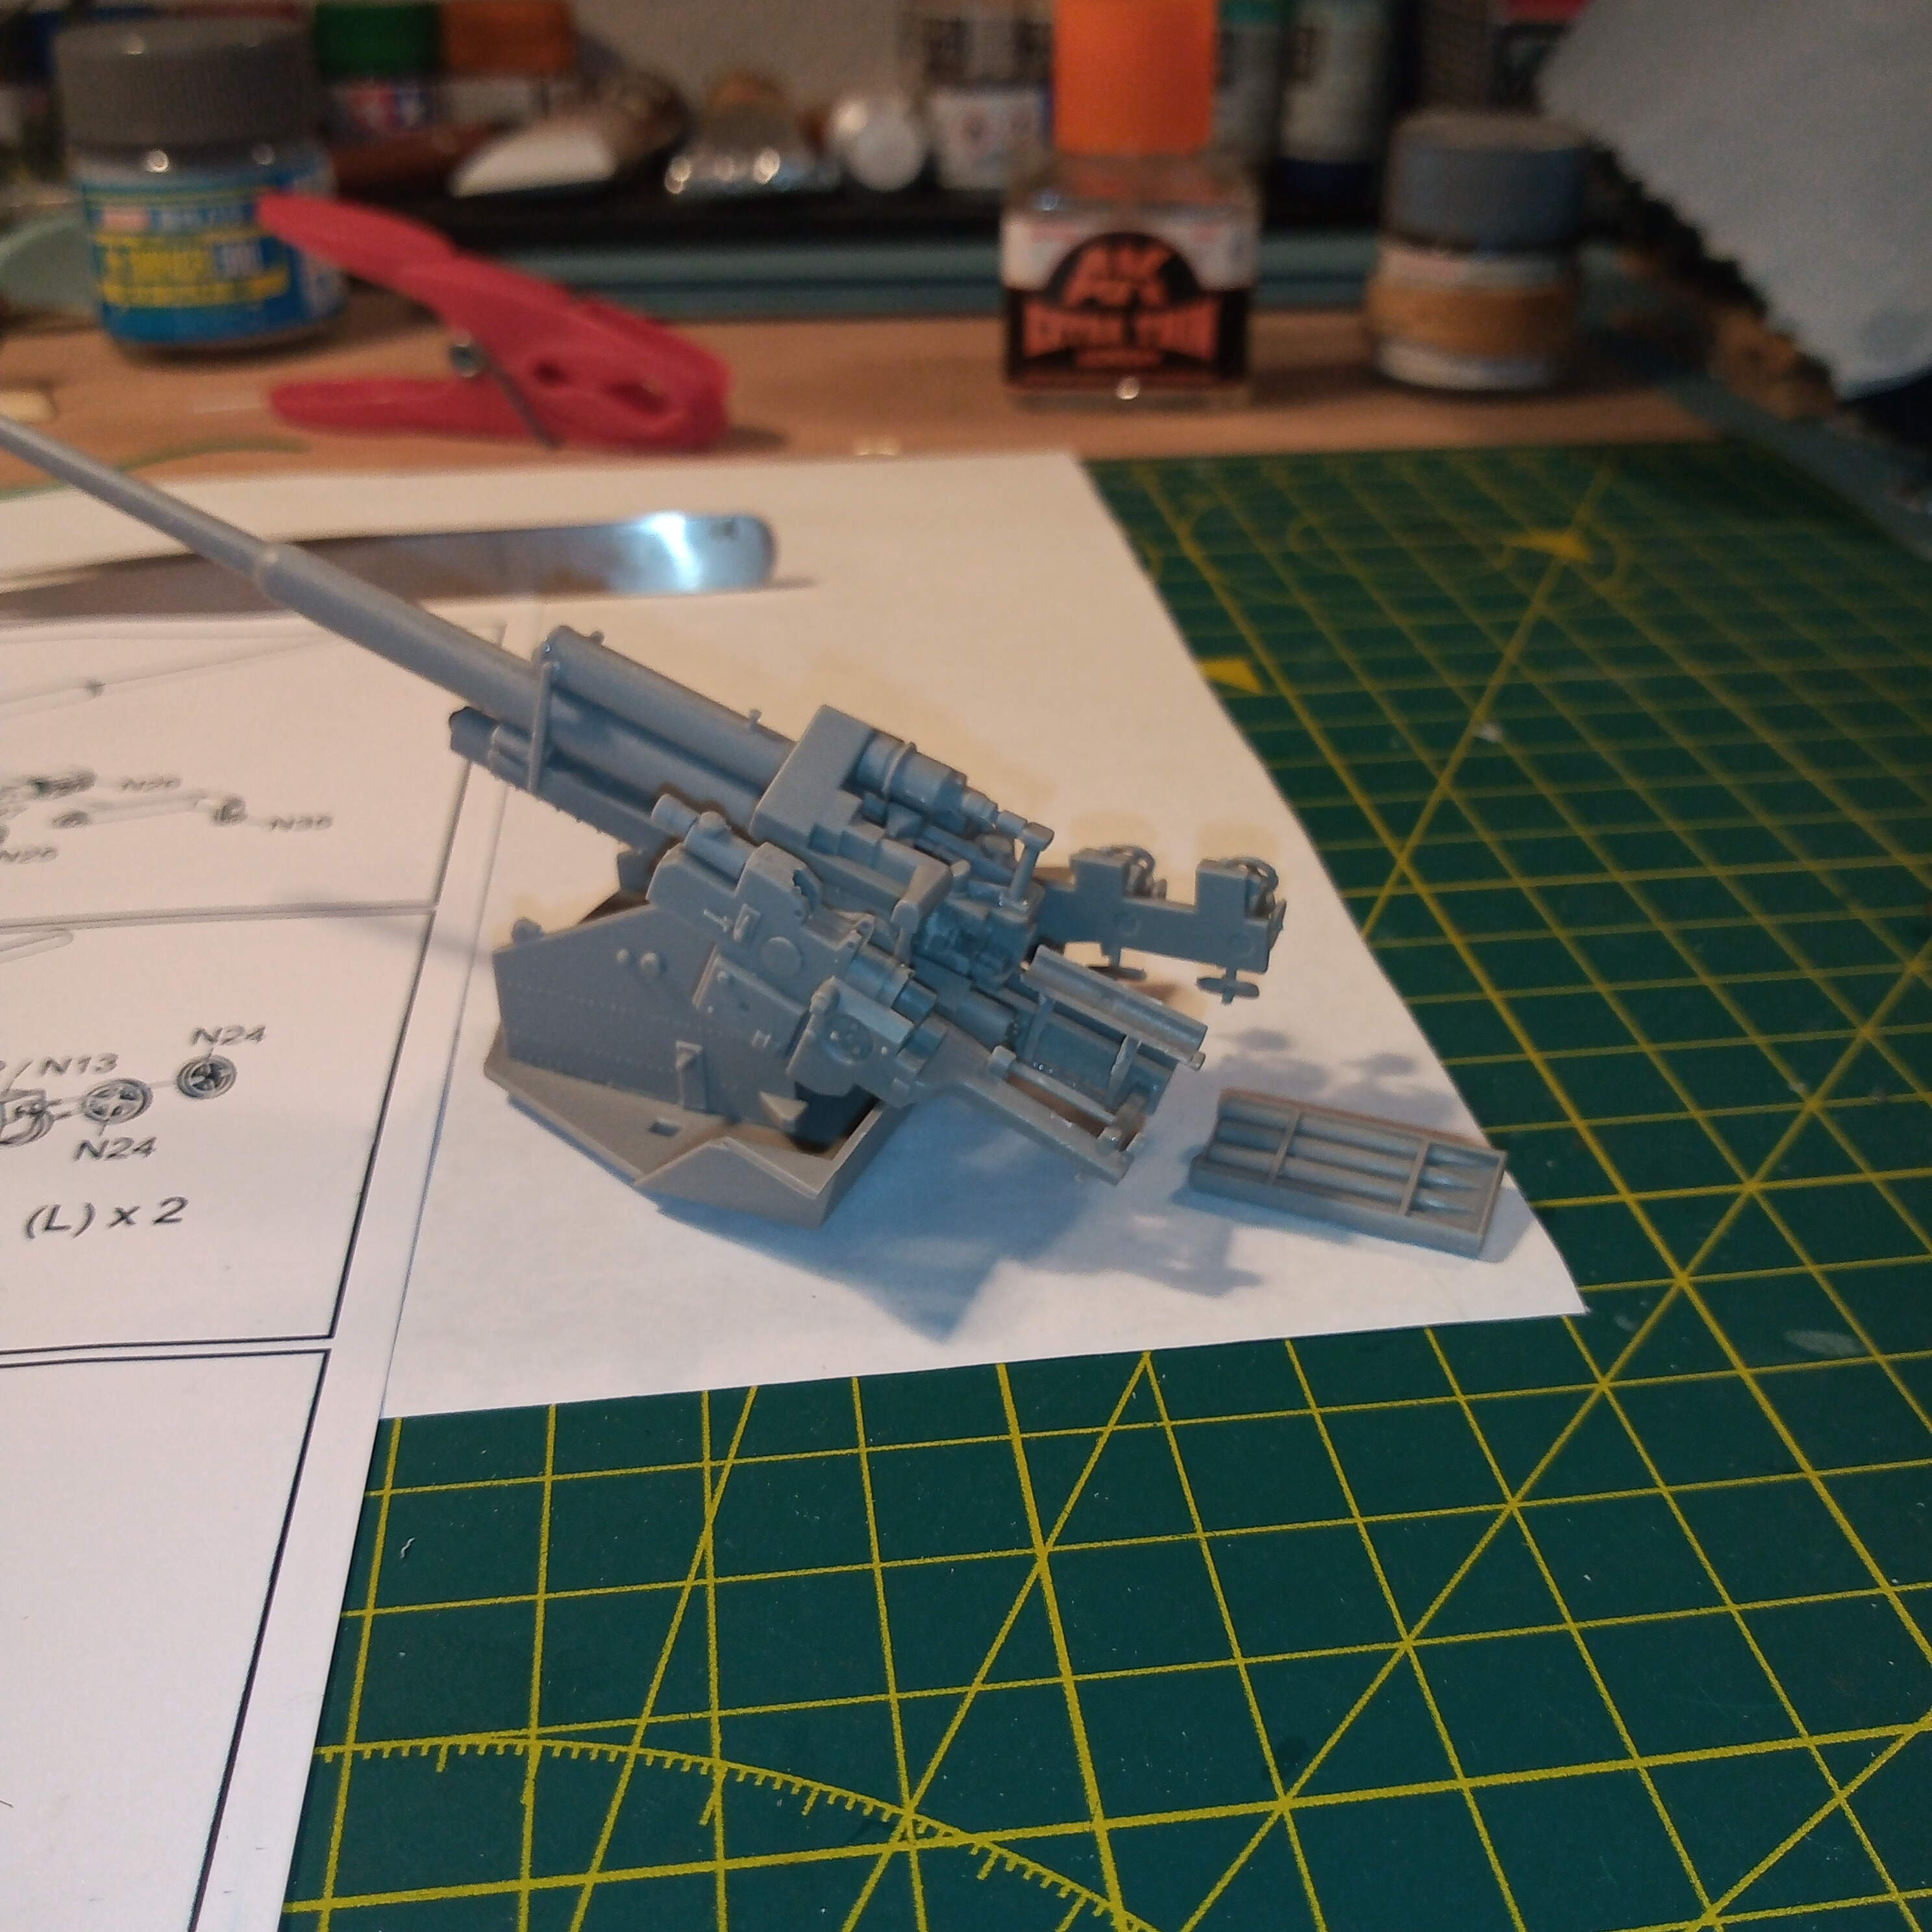
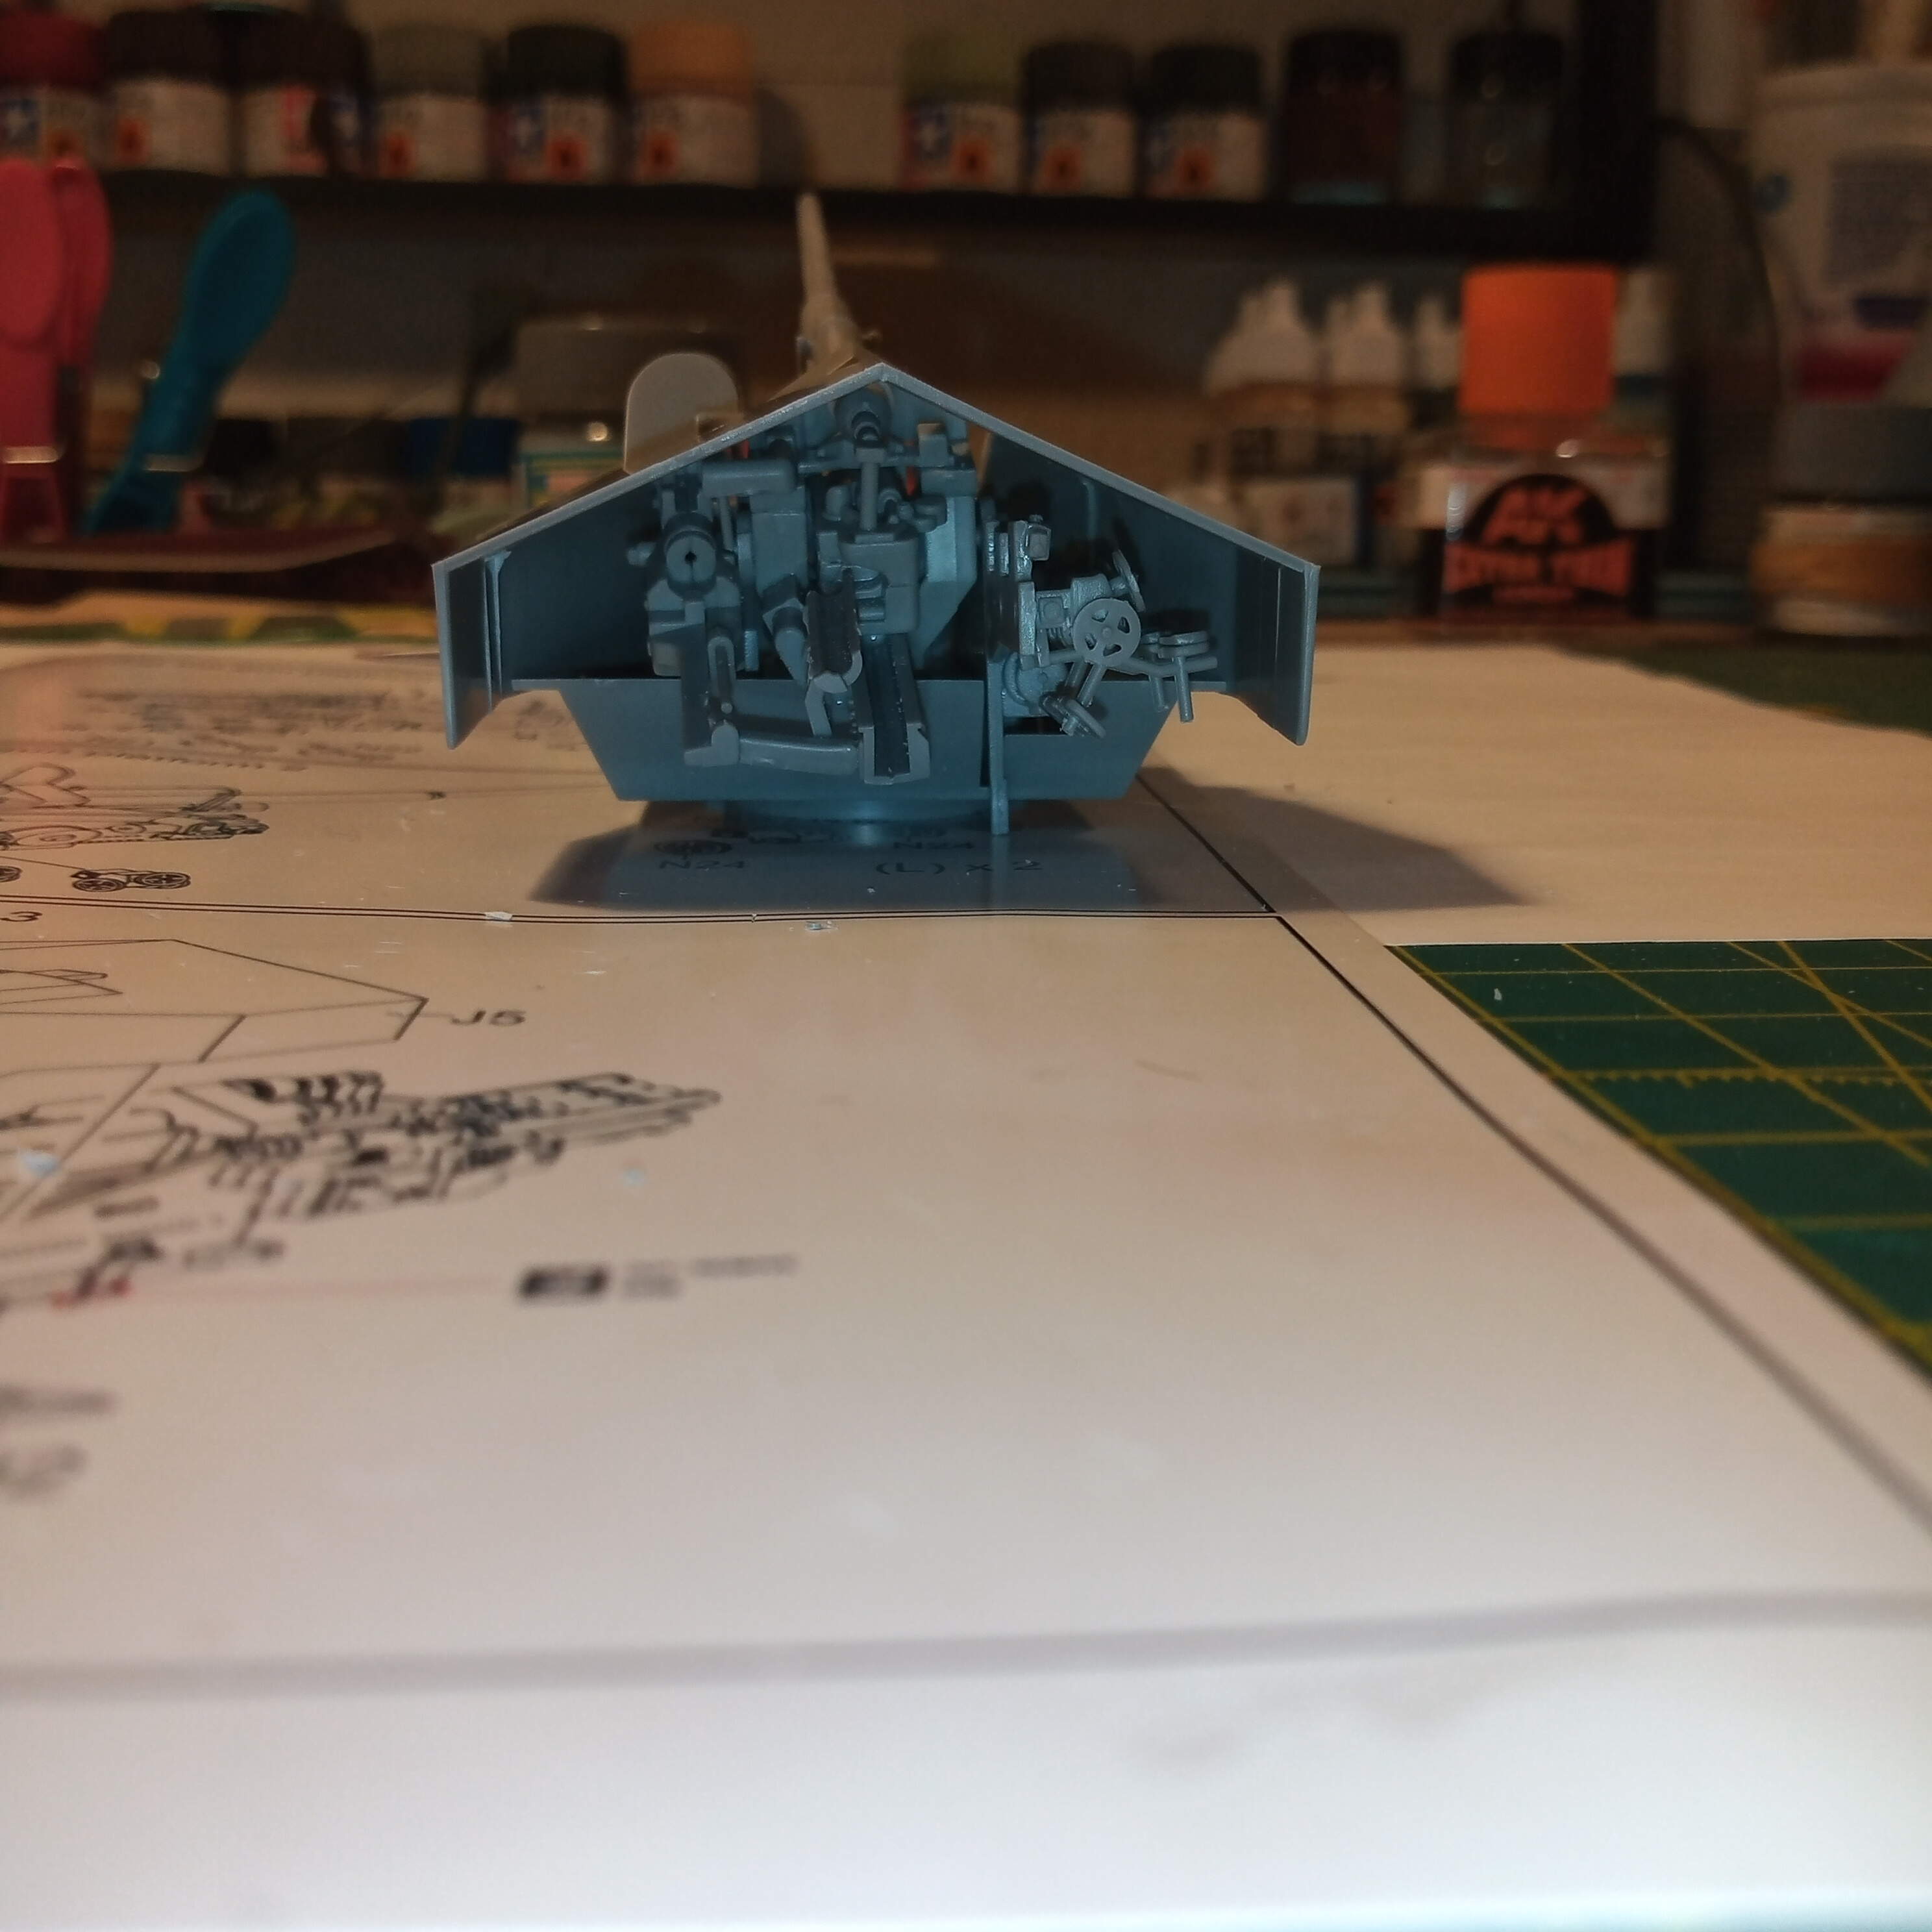
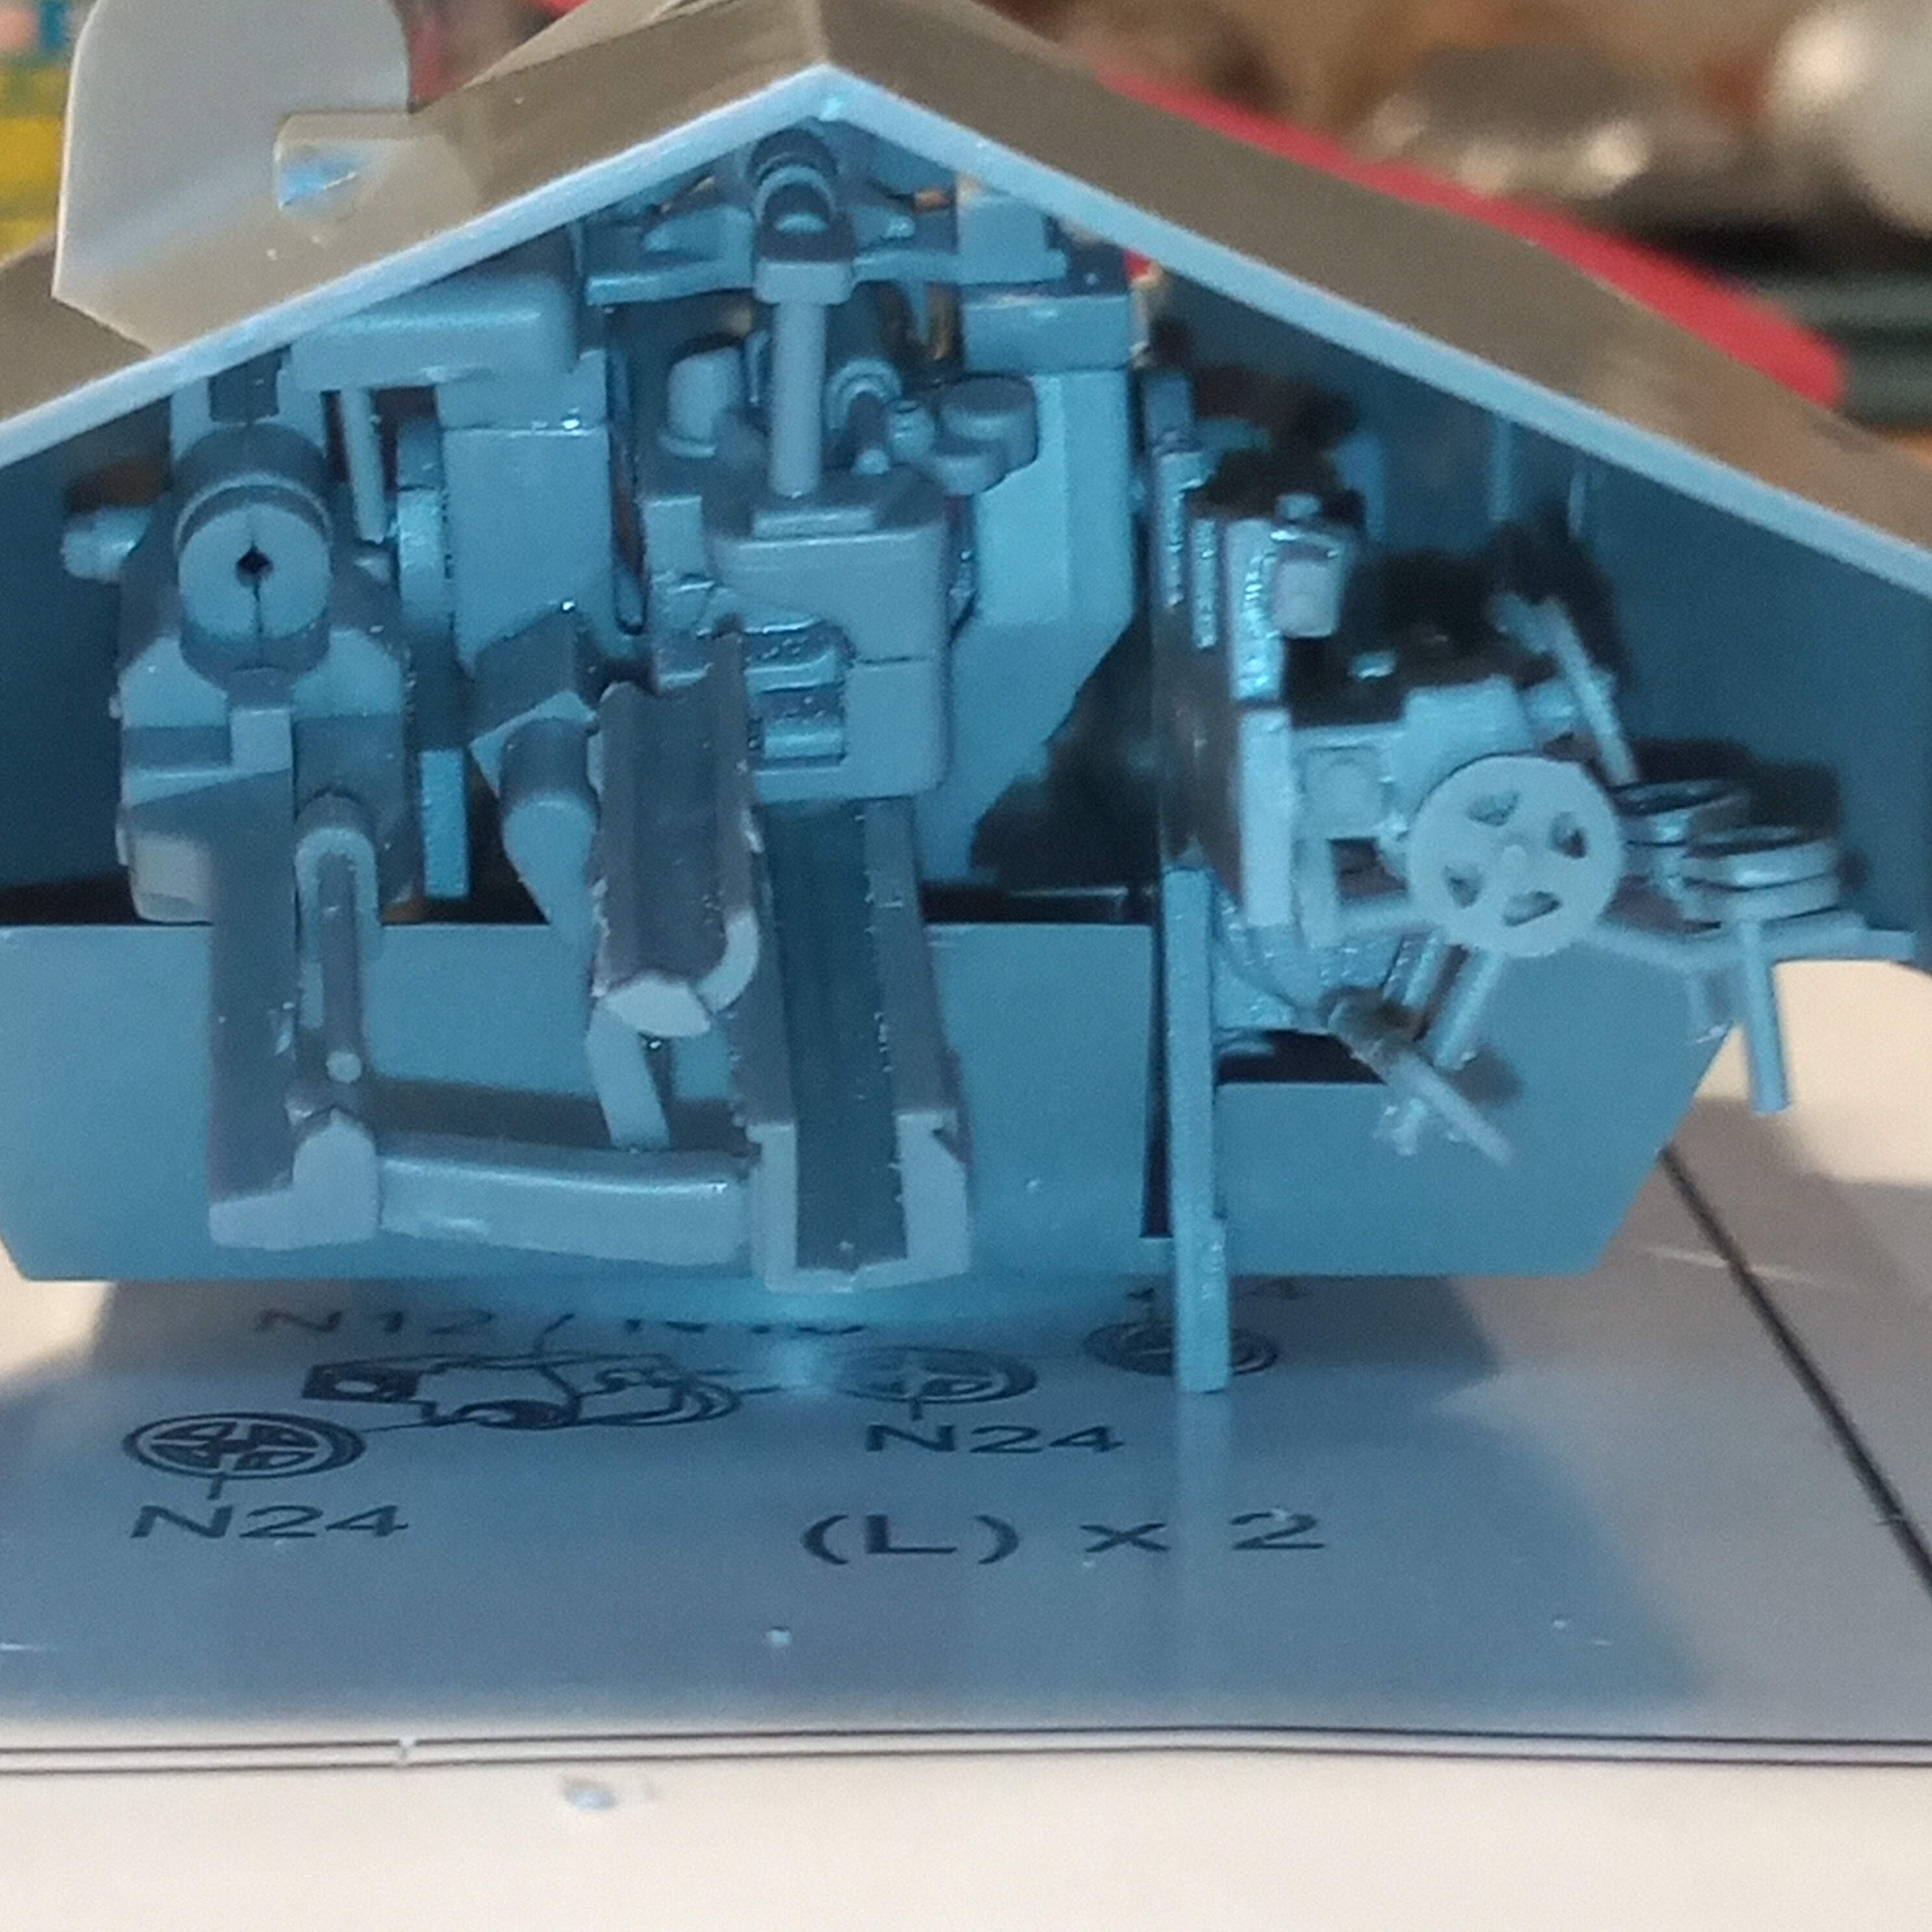
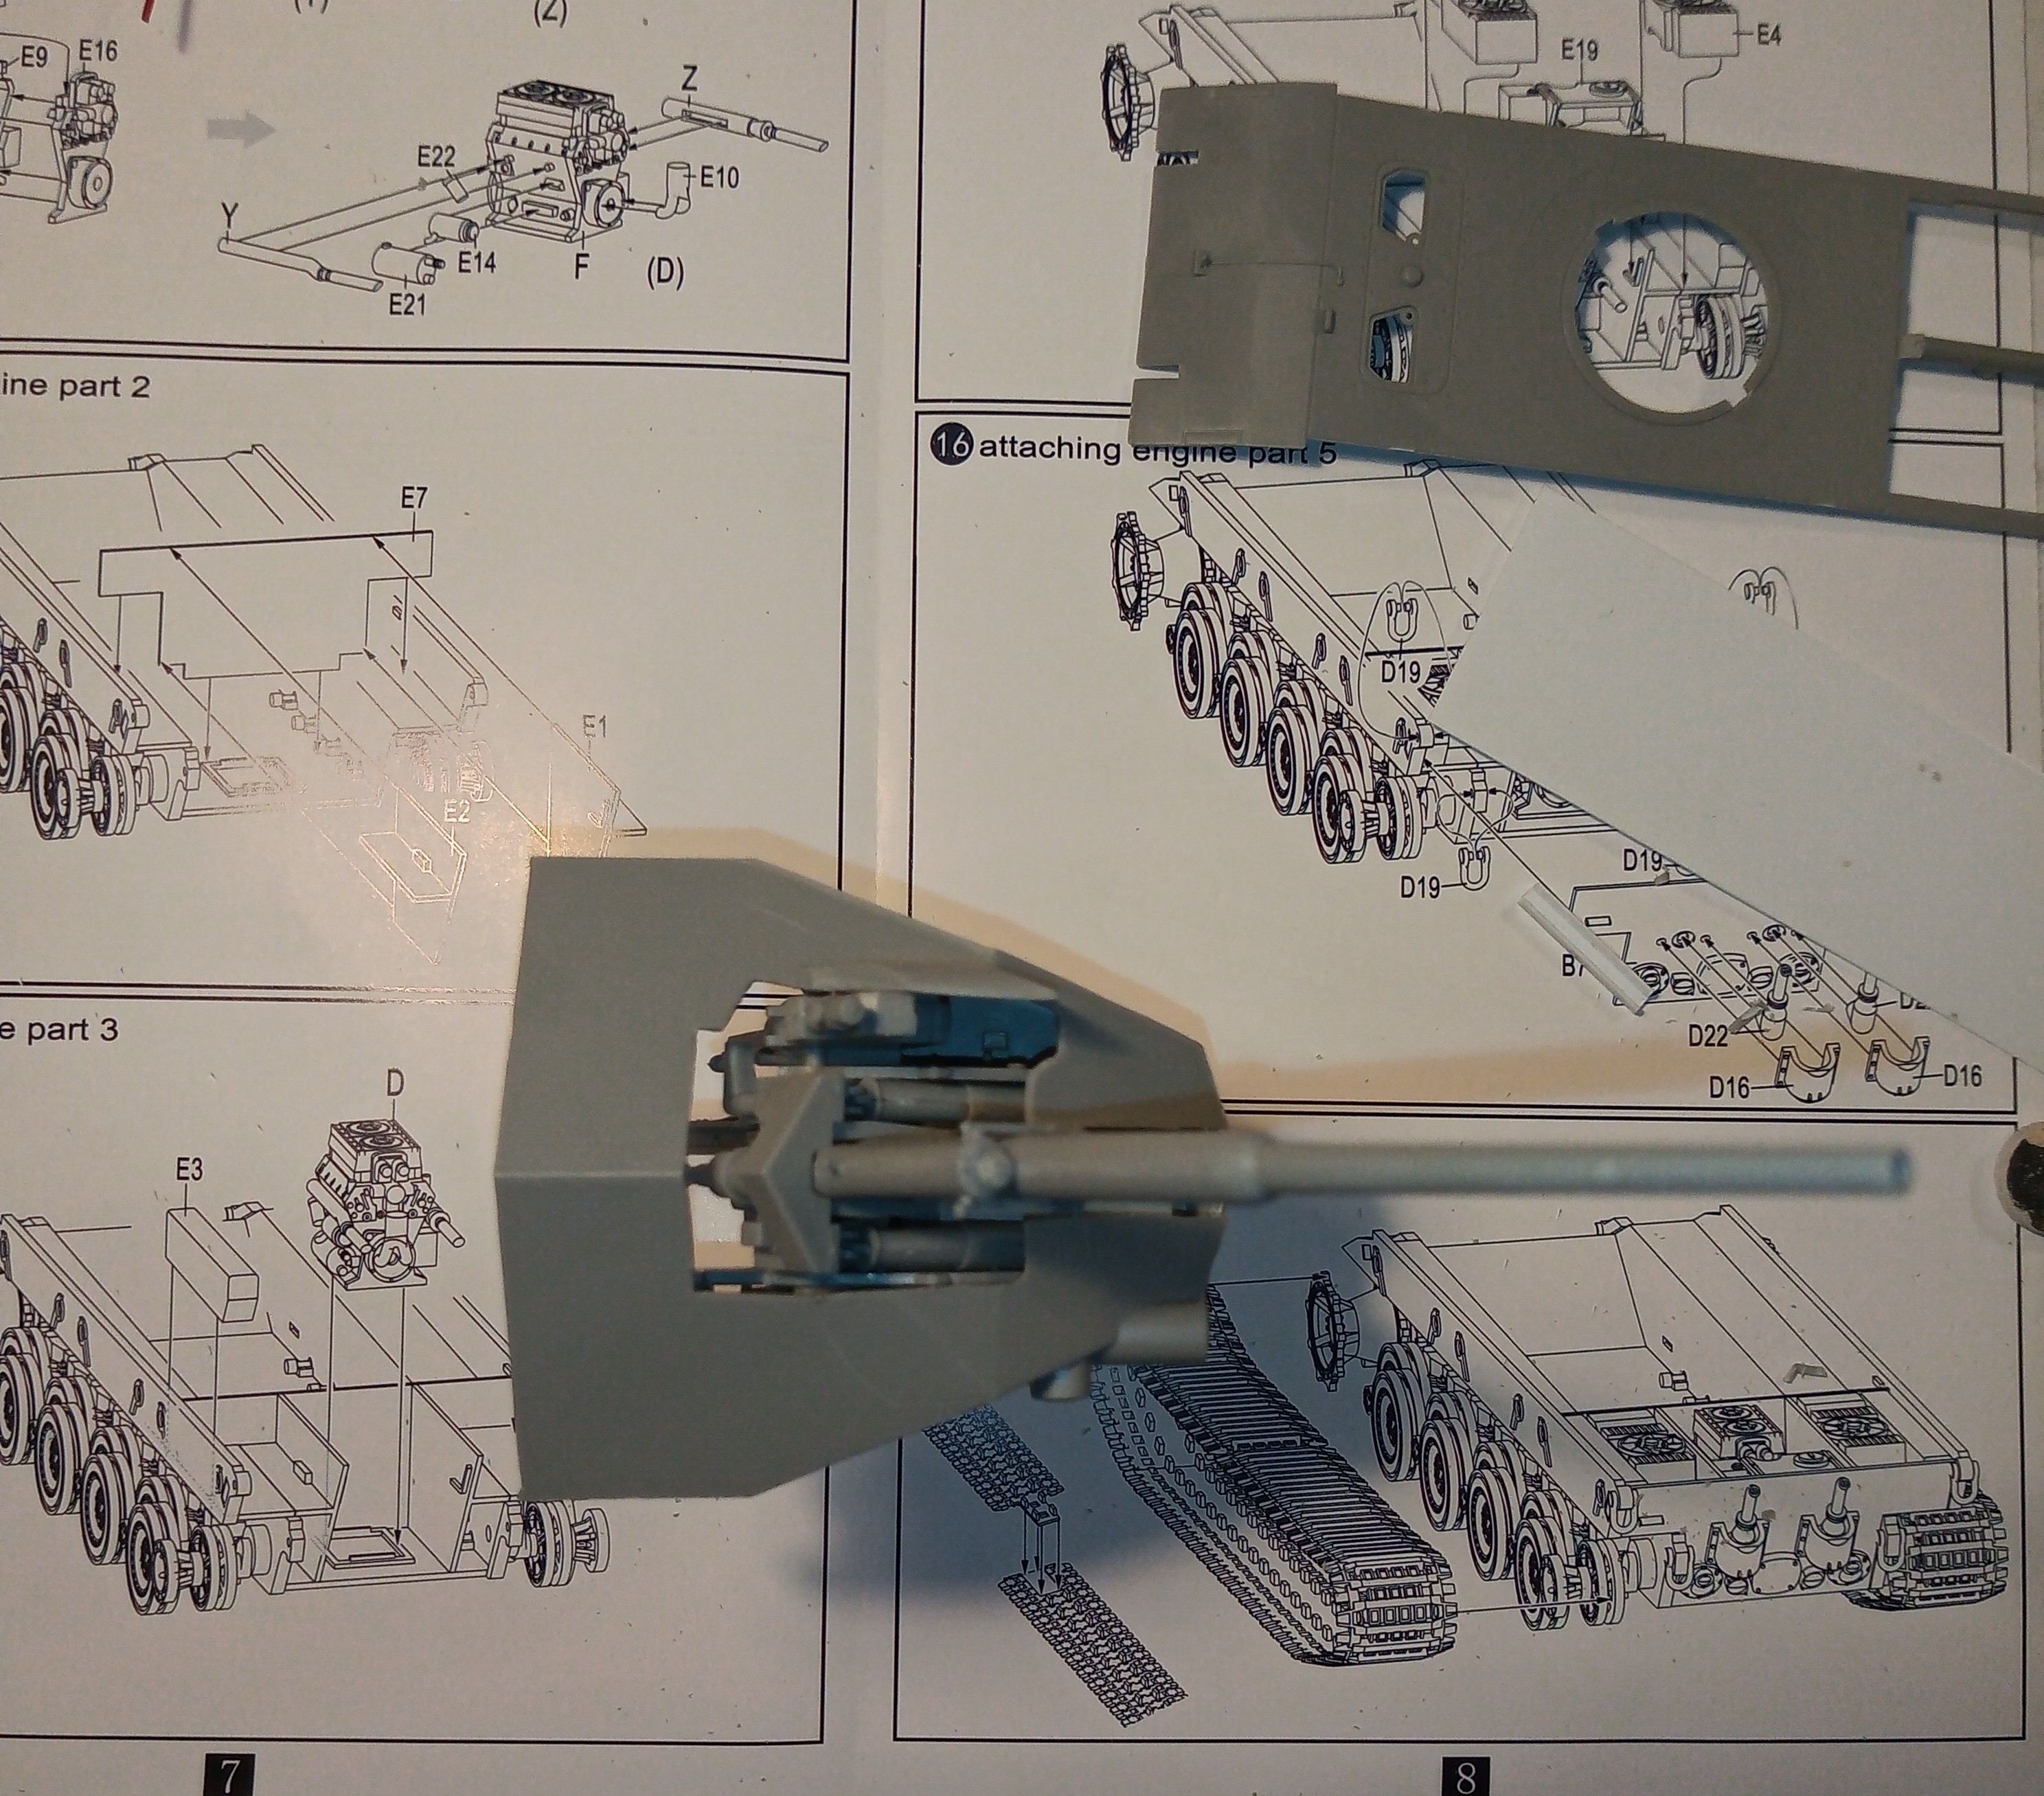
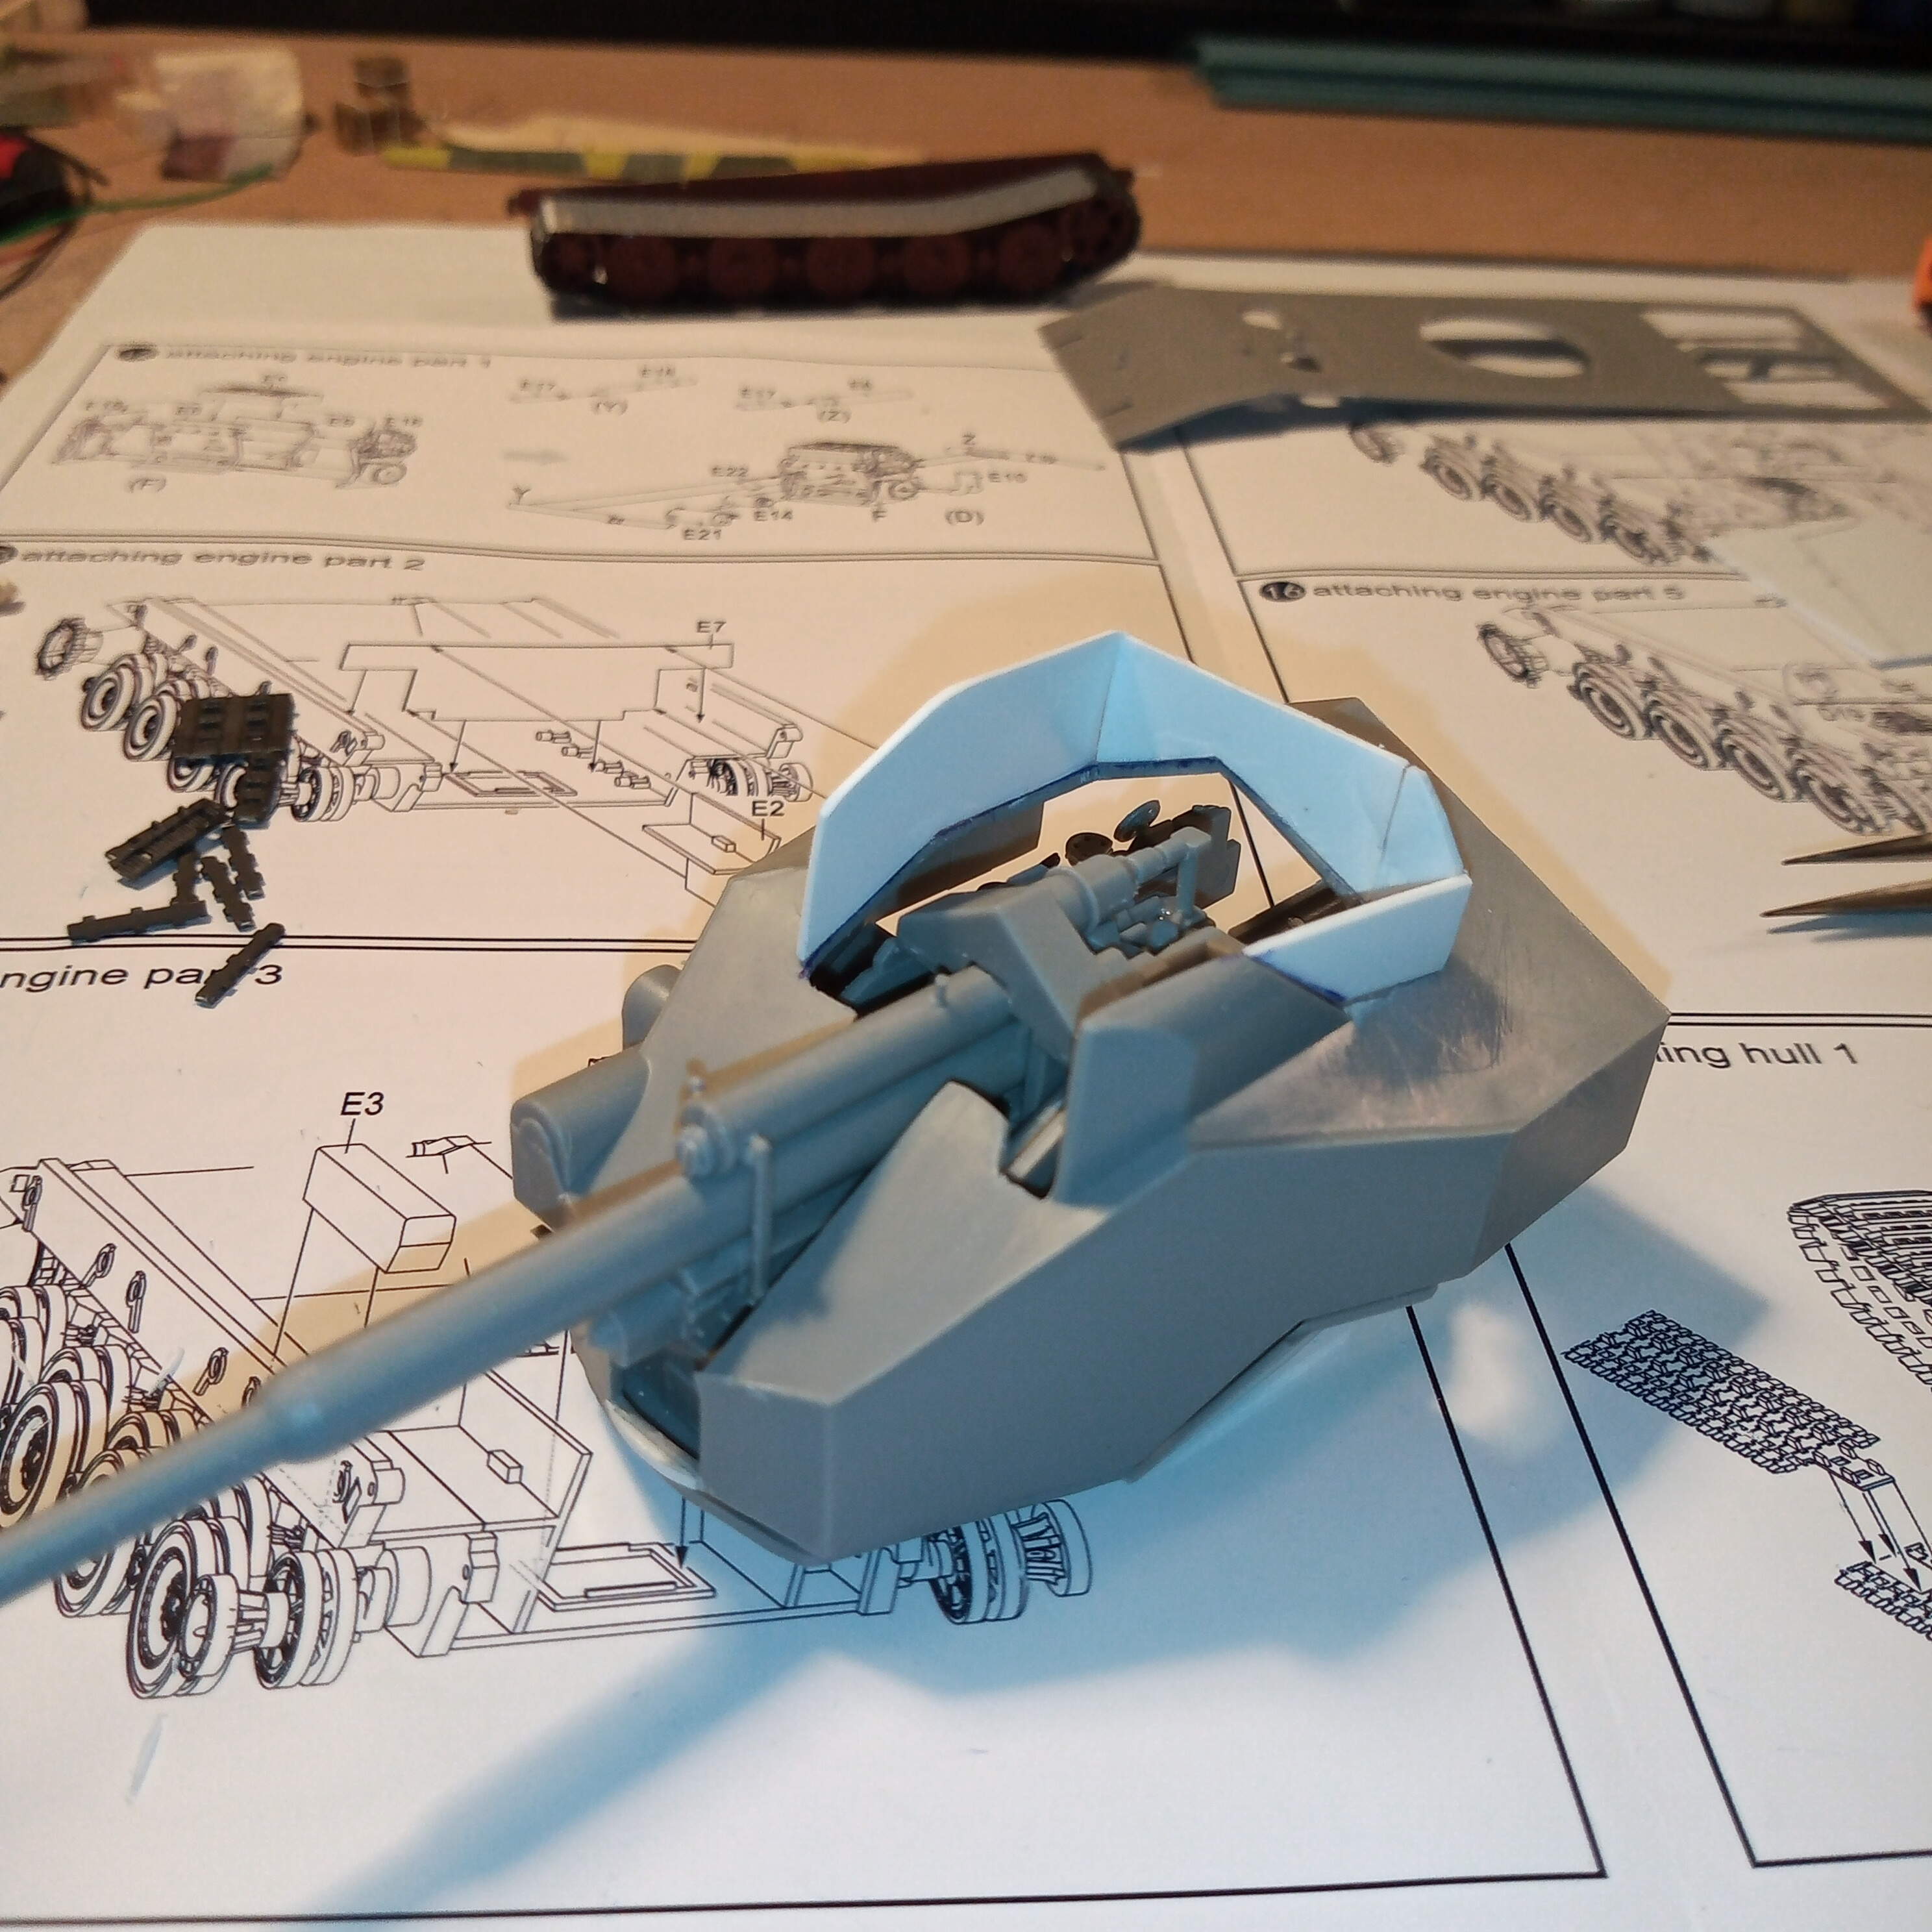
Bit more work on the gun assembly and it’s components.
Seating positions, traverse and elevation controls and the mounting trunnions. For the more observant of you,… You may of noticed the inner handwheel has a segment broken… Clumsy fingers, sharp knife and very thin parts don’t always mix haha.
LH side, just the sighting unit added and there is still a 3 round ready rack which has to be secured.
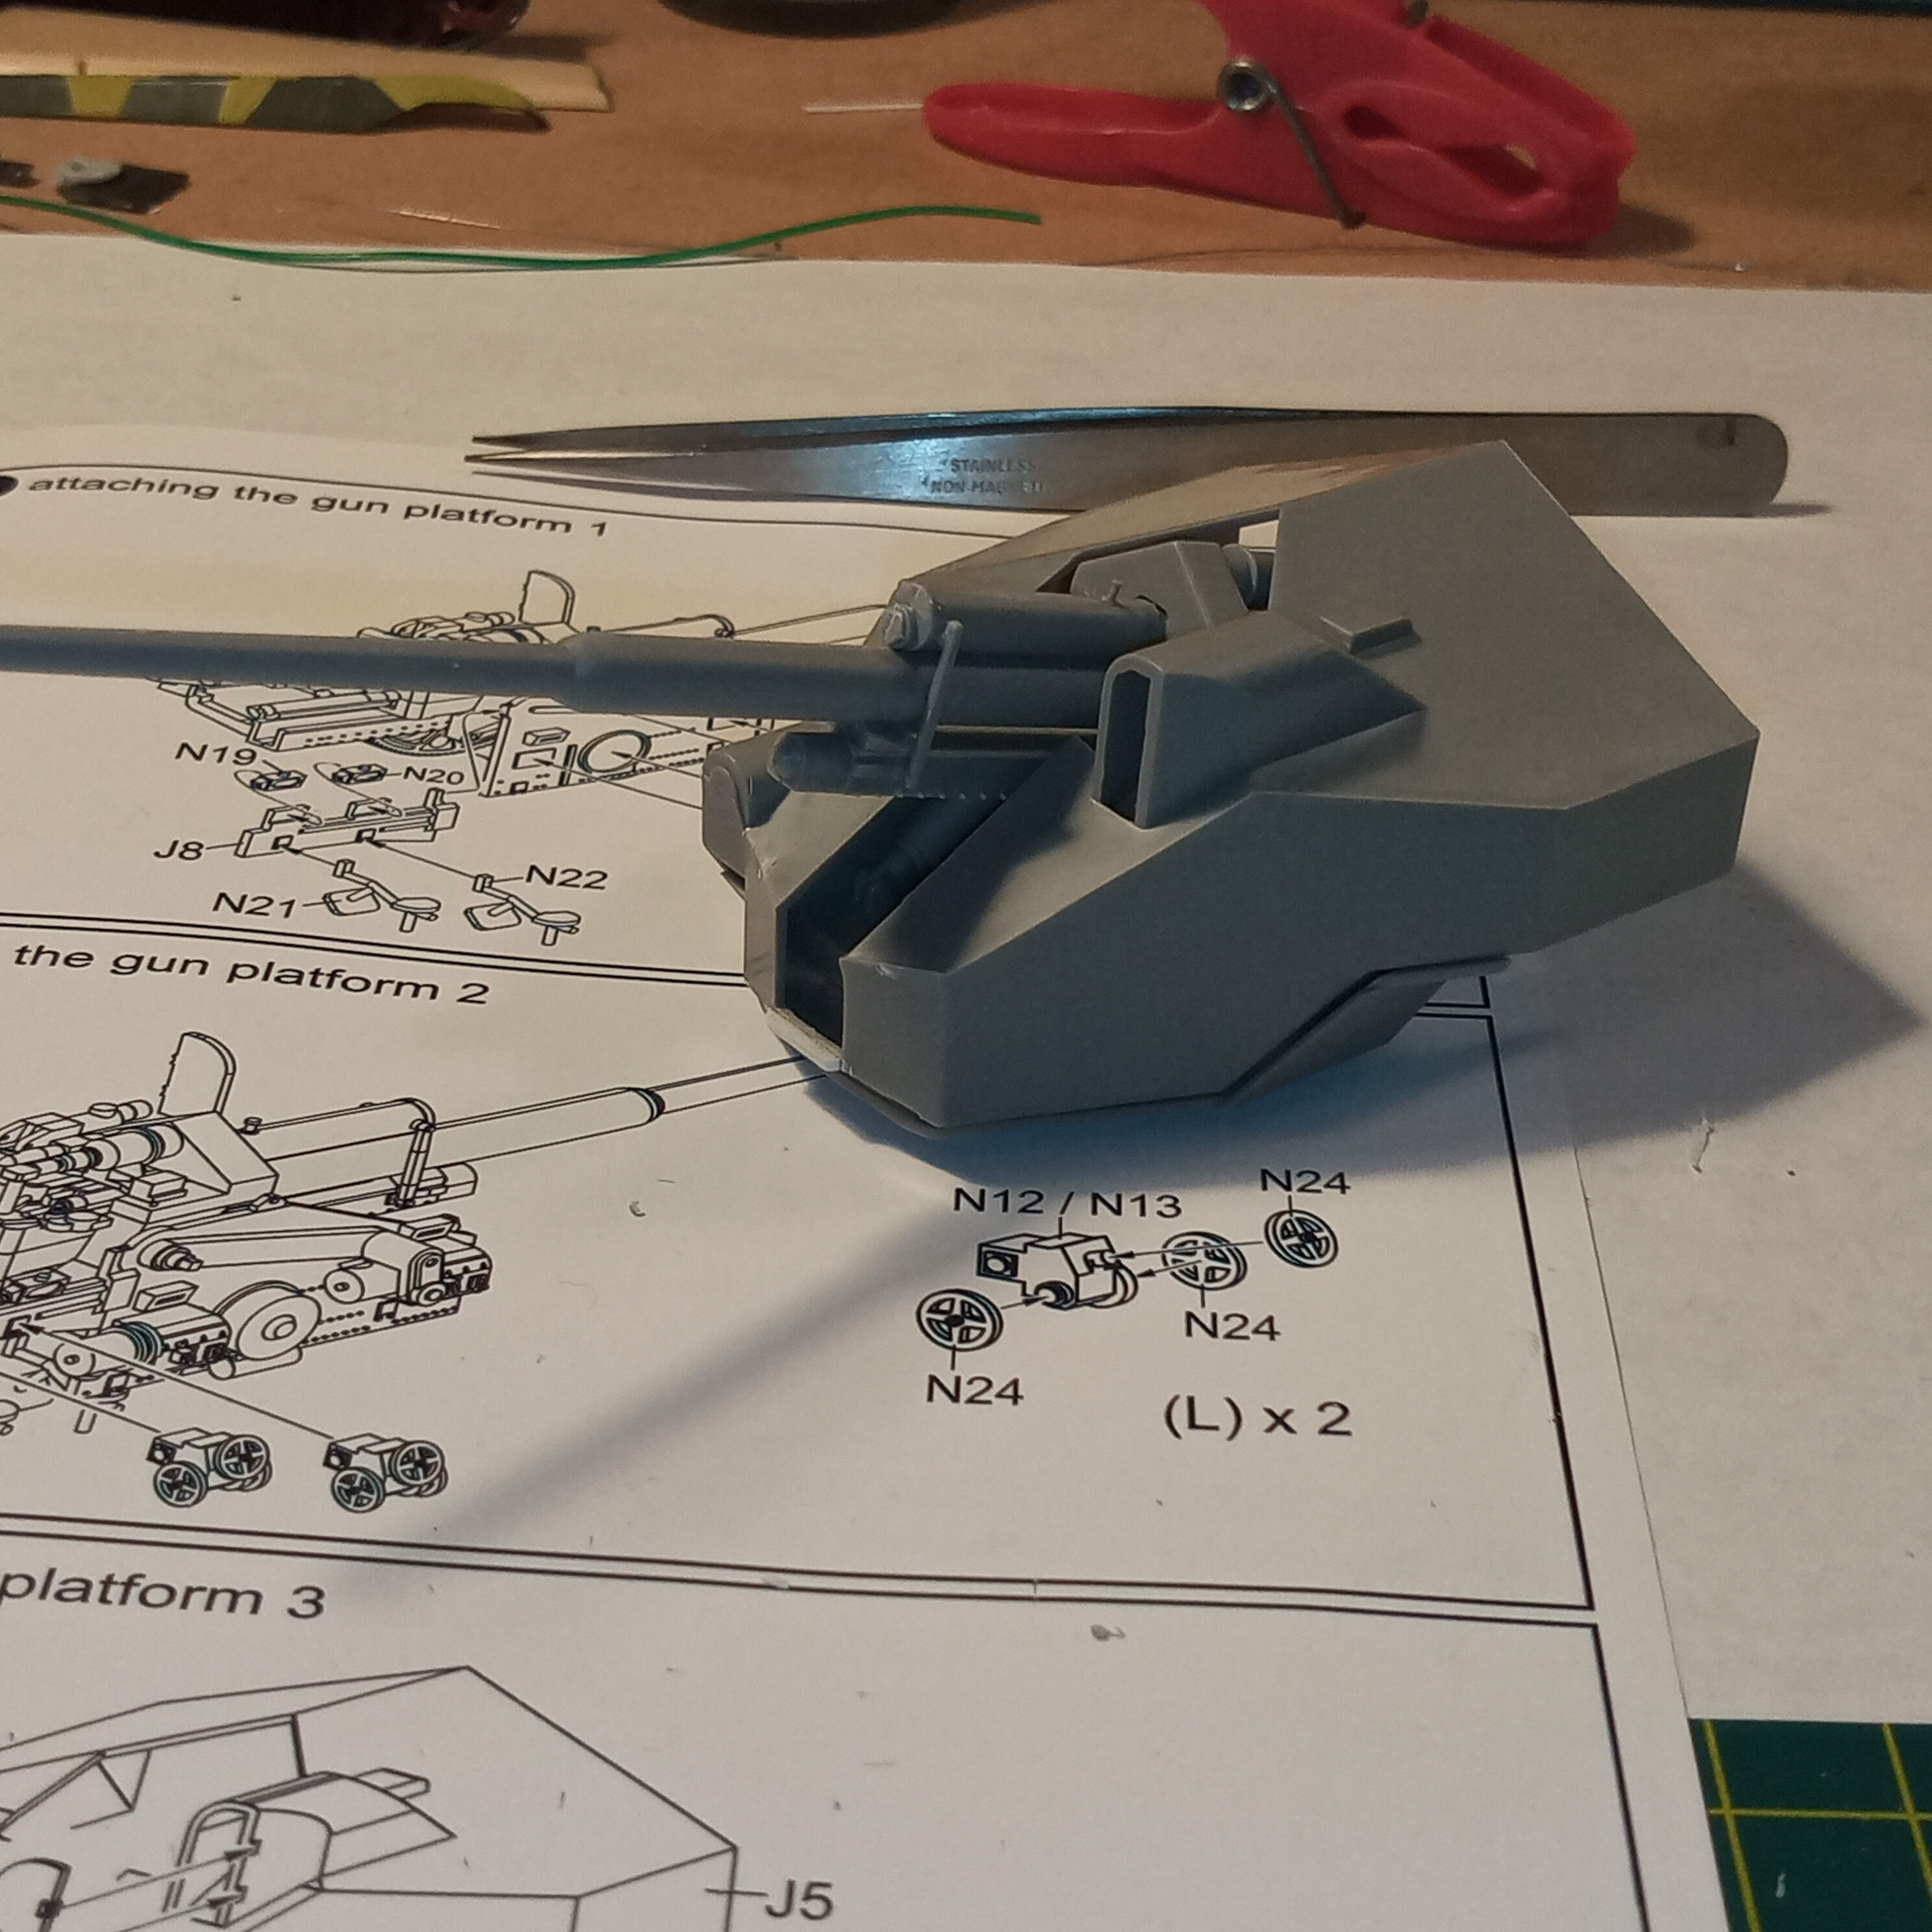
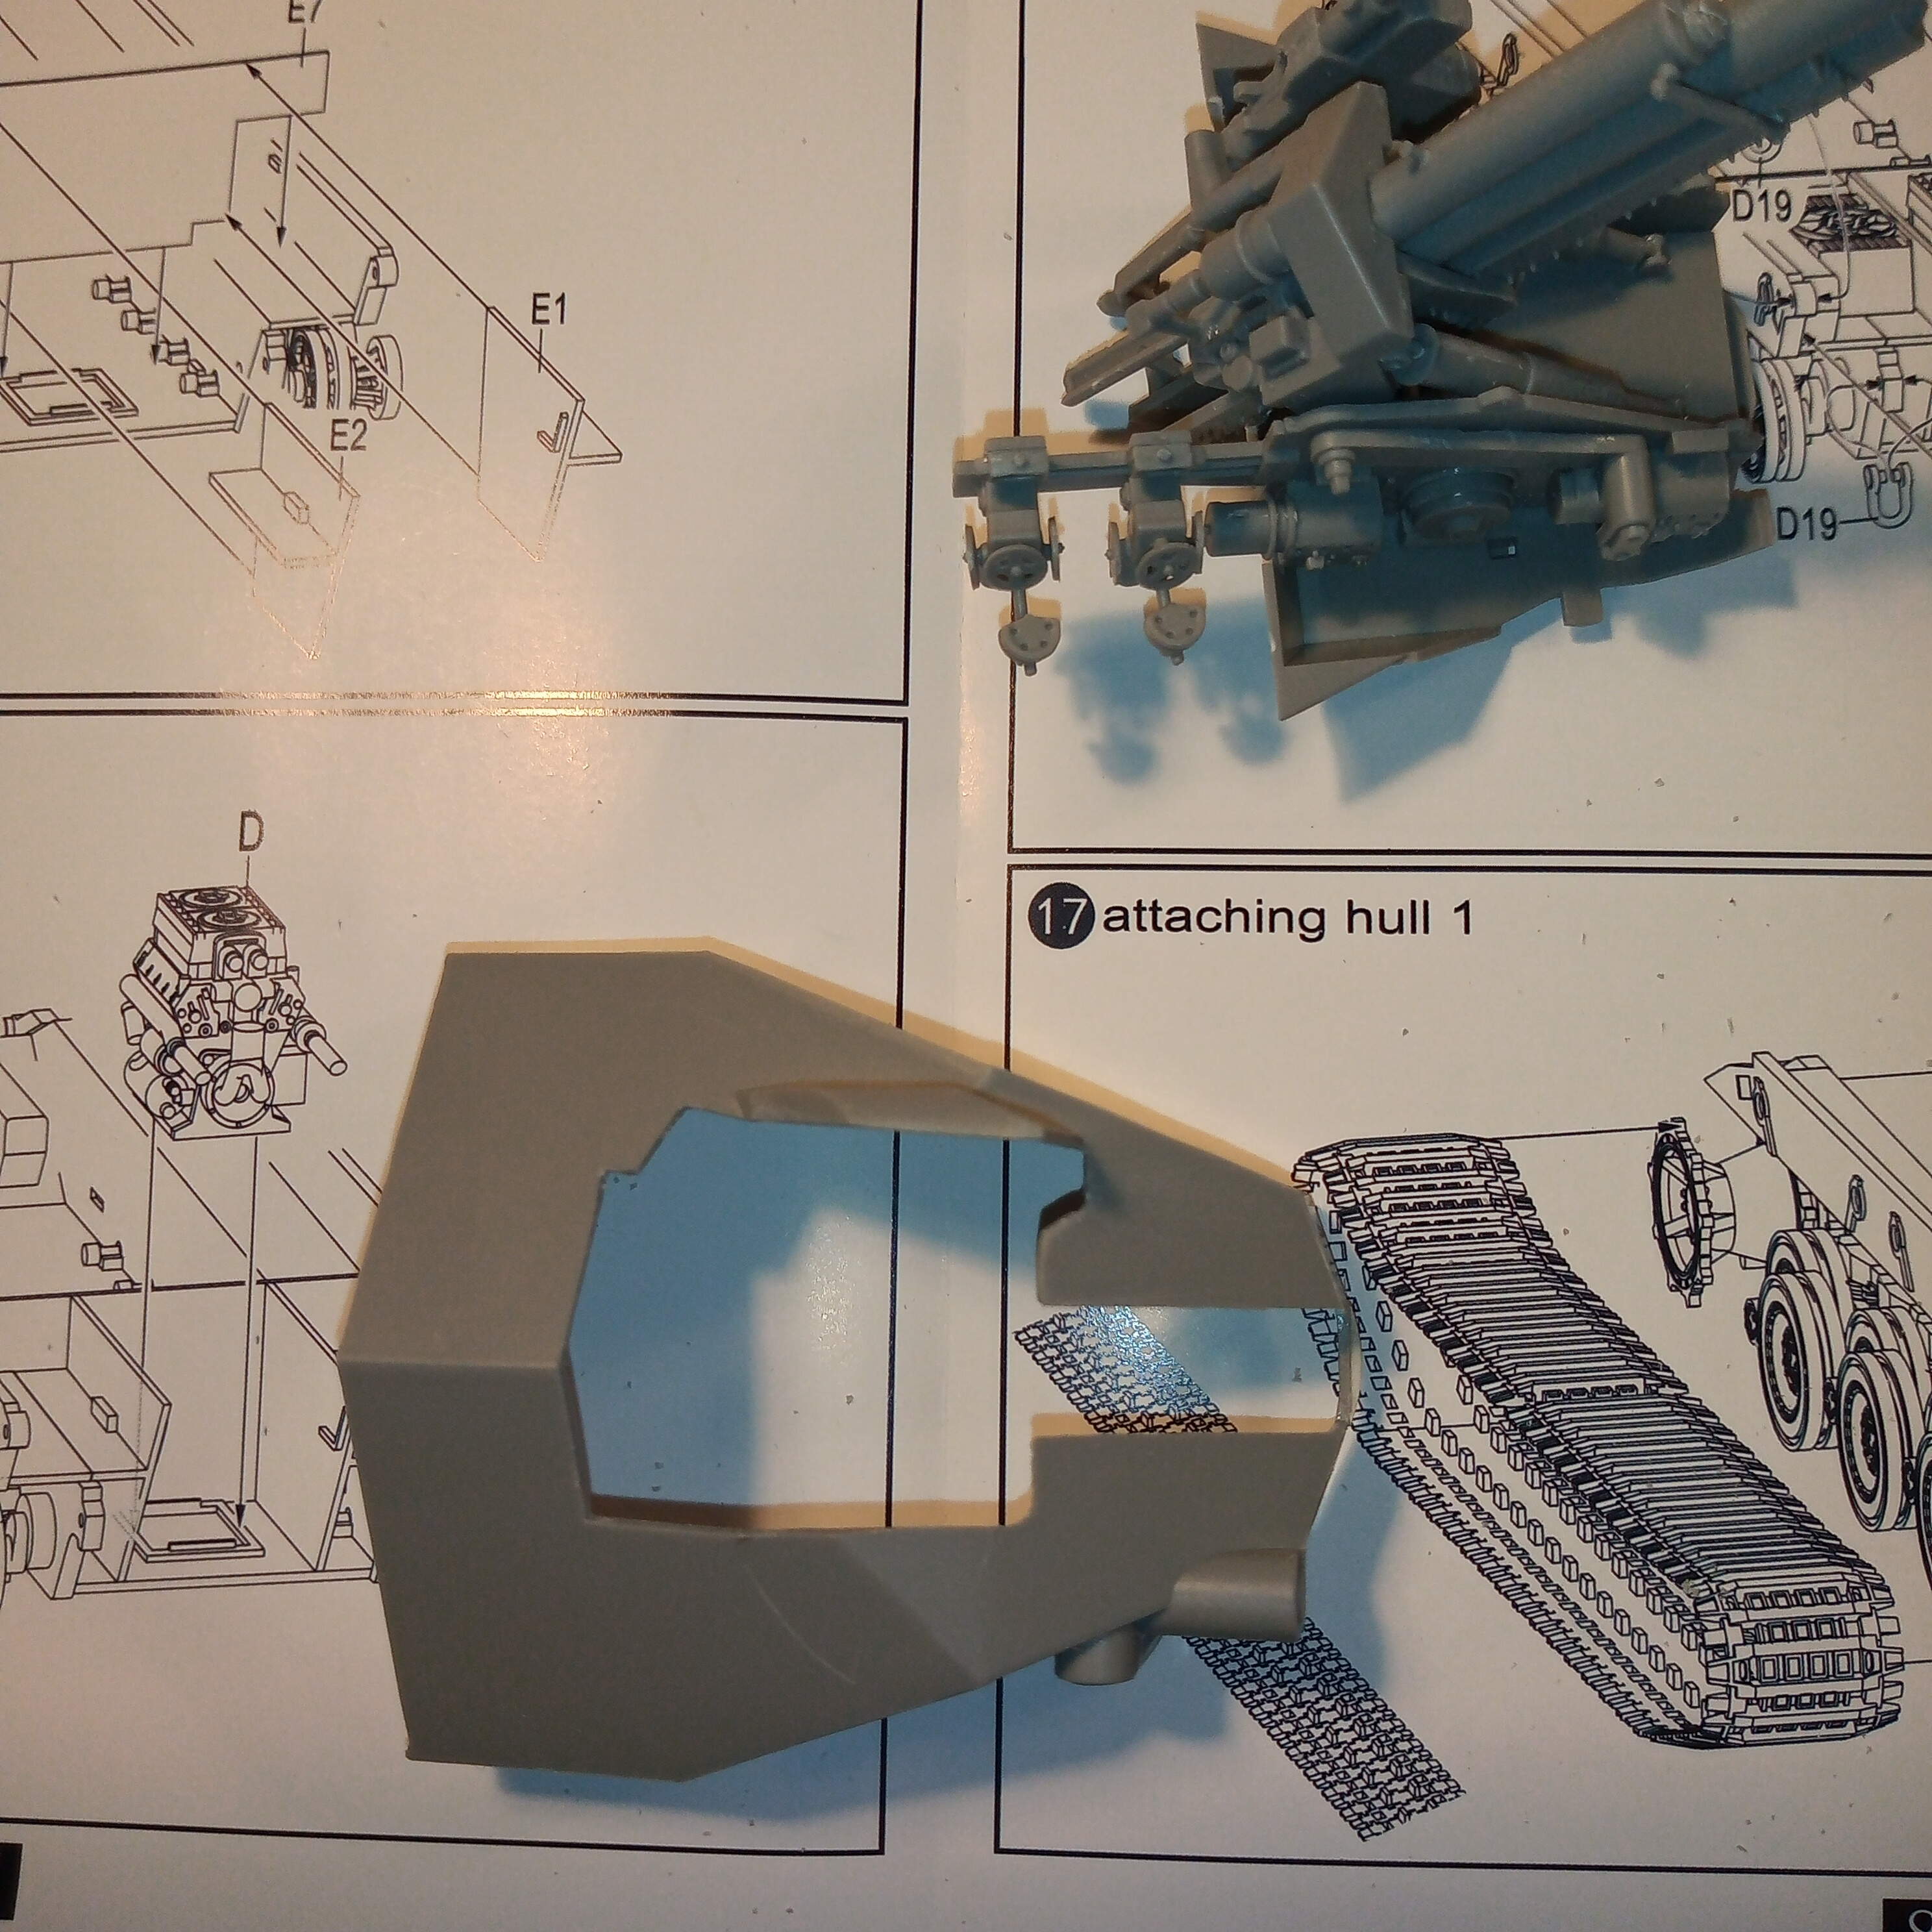
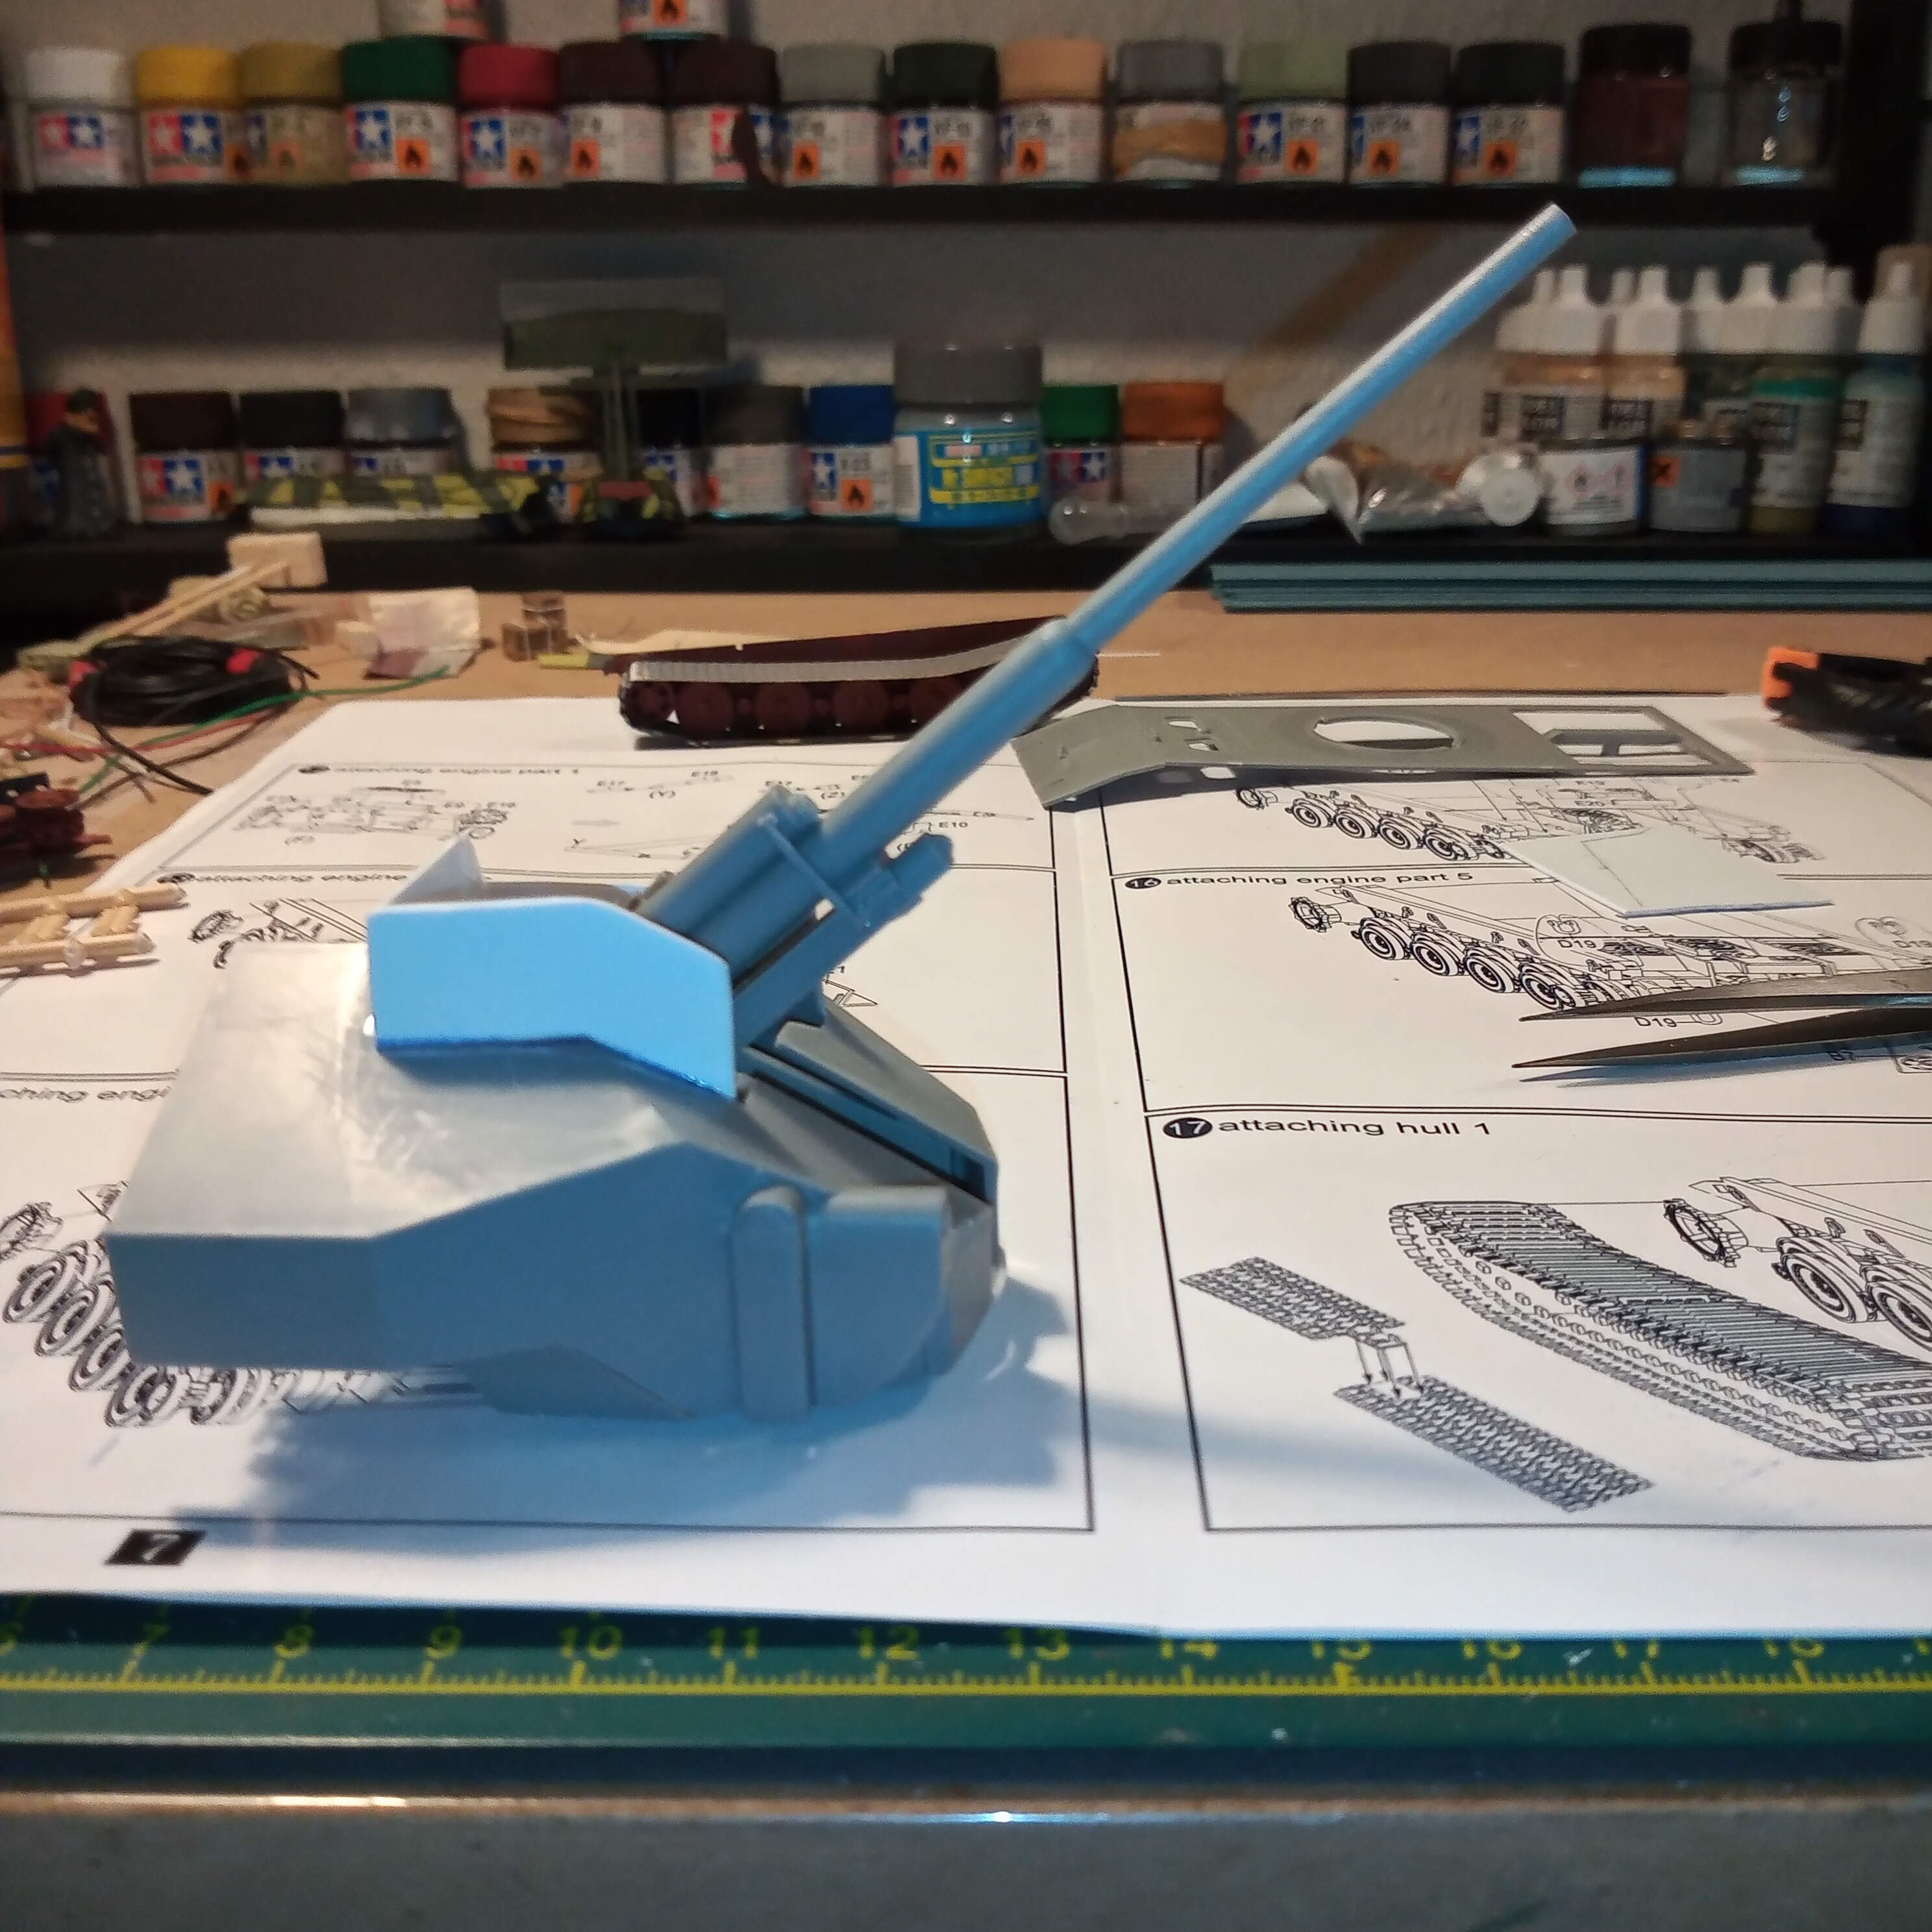
Mocked it all up with the gun assembly on the turret floor and the upper turret slipped over the top.
And a few shots of how it looks from the rear.
One thing I have found out is that once it’s all glued together, the gun won’t fully elevate, so I will need to trim some plastic away on the rear plate.
I didn’t realise how open it was at the back, so it will all need painting and weathering before the turret shell gets secured.
Model Collect made some pretty nice REAL armored vehicles, then they totally discontinued them and concentrated on fantasy/paper panzers. Then they announced several kits that were never produced - are they even still in business??

I have seen some 1/35 stuff but mostly of the paper/what if designs. They seem to do more real kits in 1/72, but I’ve only seen modern Russian vehicles.
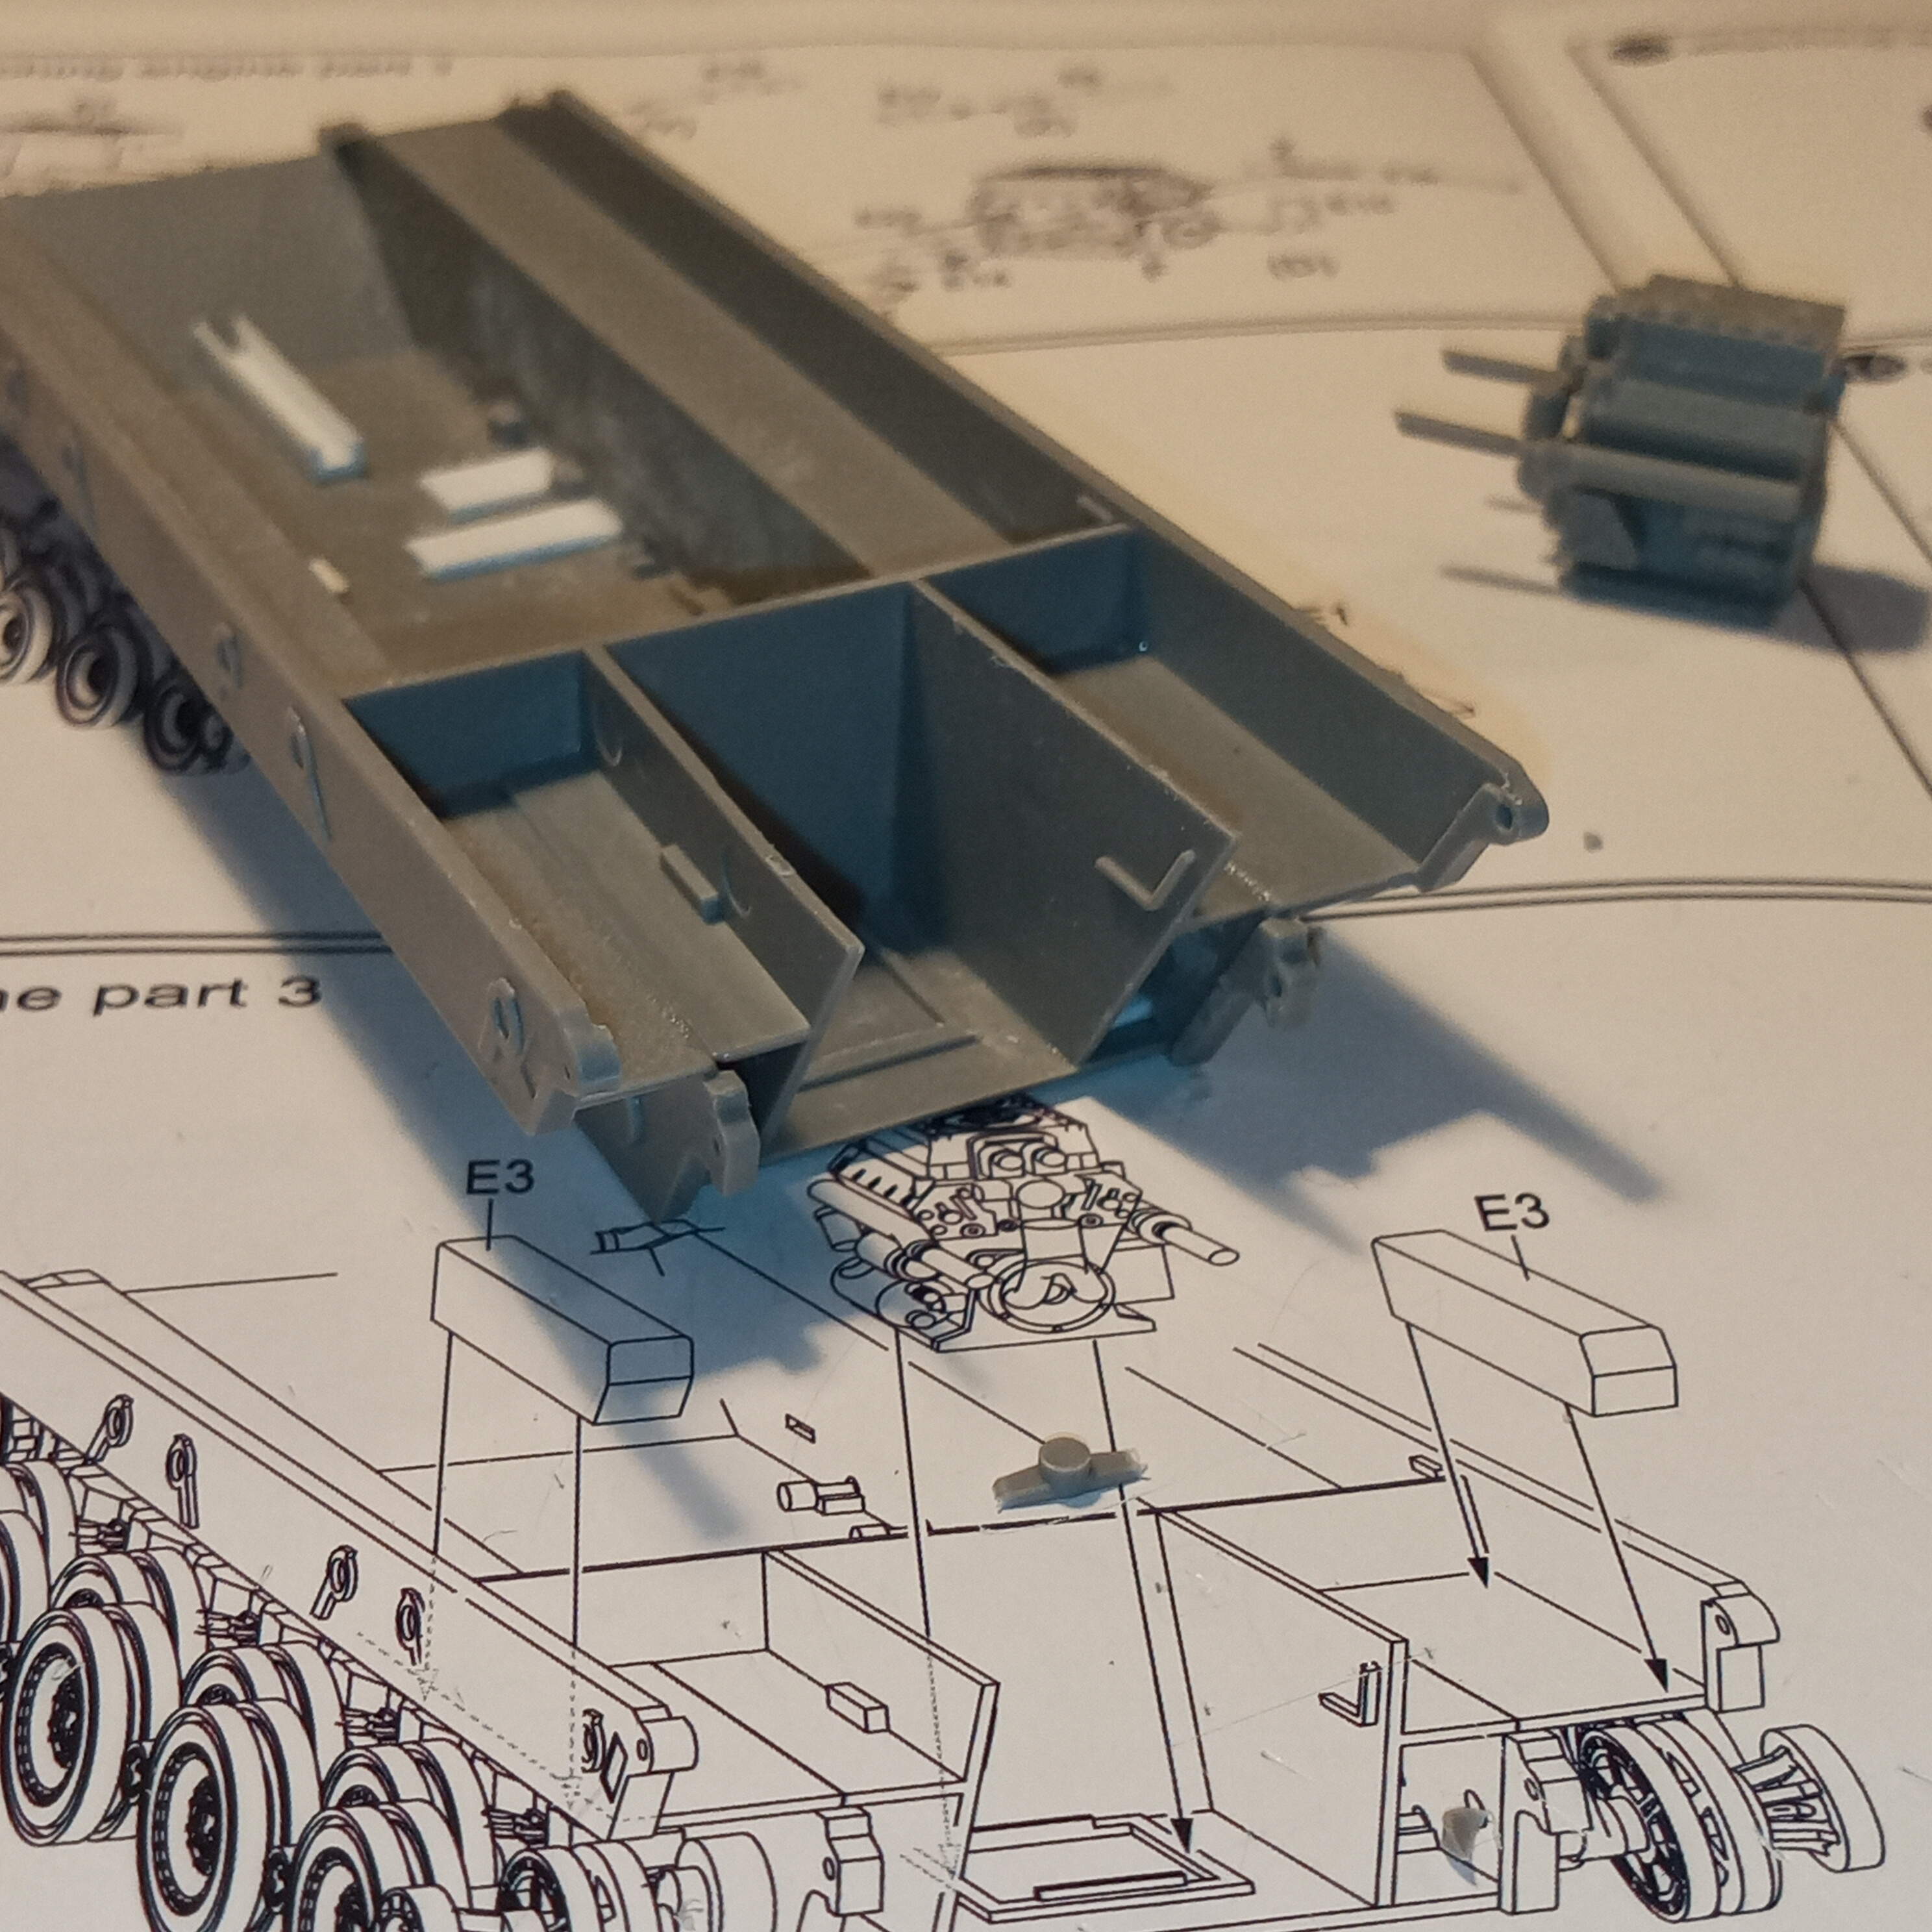
It now seems that if this was scaled 1 to 1, the real vehicle would only of been able to fire at high elevation with the turret traversed fully left or right with the gun over the side. With it gun front or even 1/4 left or right, the rear of the barrel assembly would hit the rear upper engine decks past a certain elevation.
That actually works ok for me as I intended to show the engine decks open so you can see that detail.
Another issue with the turret is it won’t allow the gun to fully elevate, as it hits the upper part of the gun assembly mount, so a bit of upper turret surgery will be required. It seems odd they didn’t test for this considering they make a kit with the gun that can be fully up and down ??
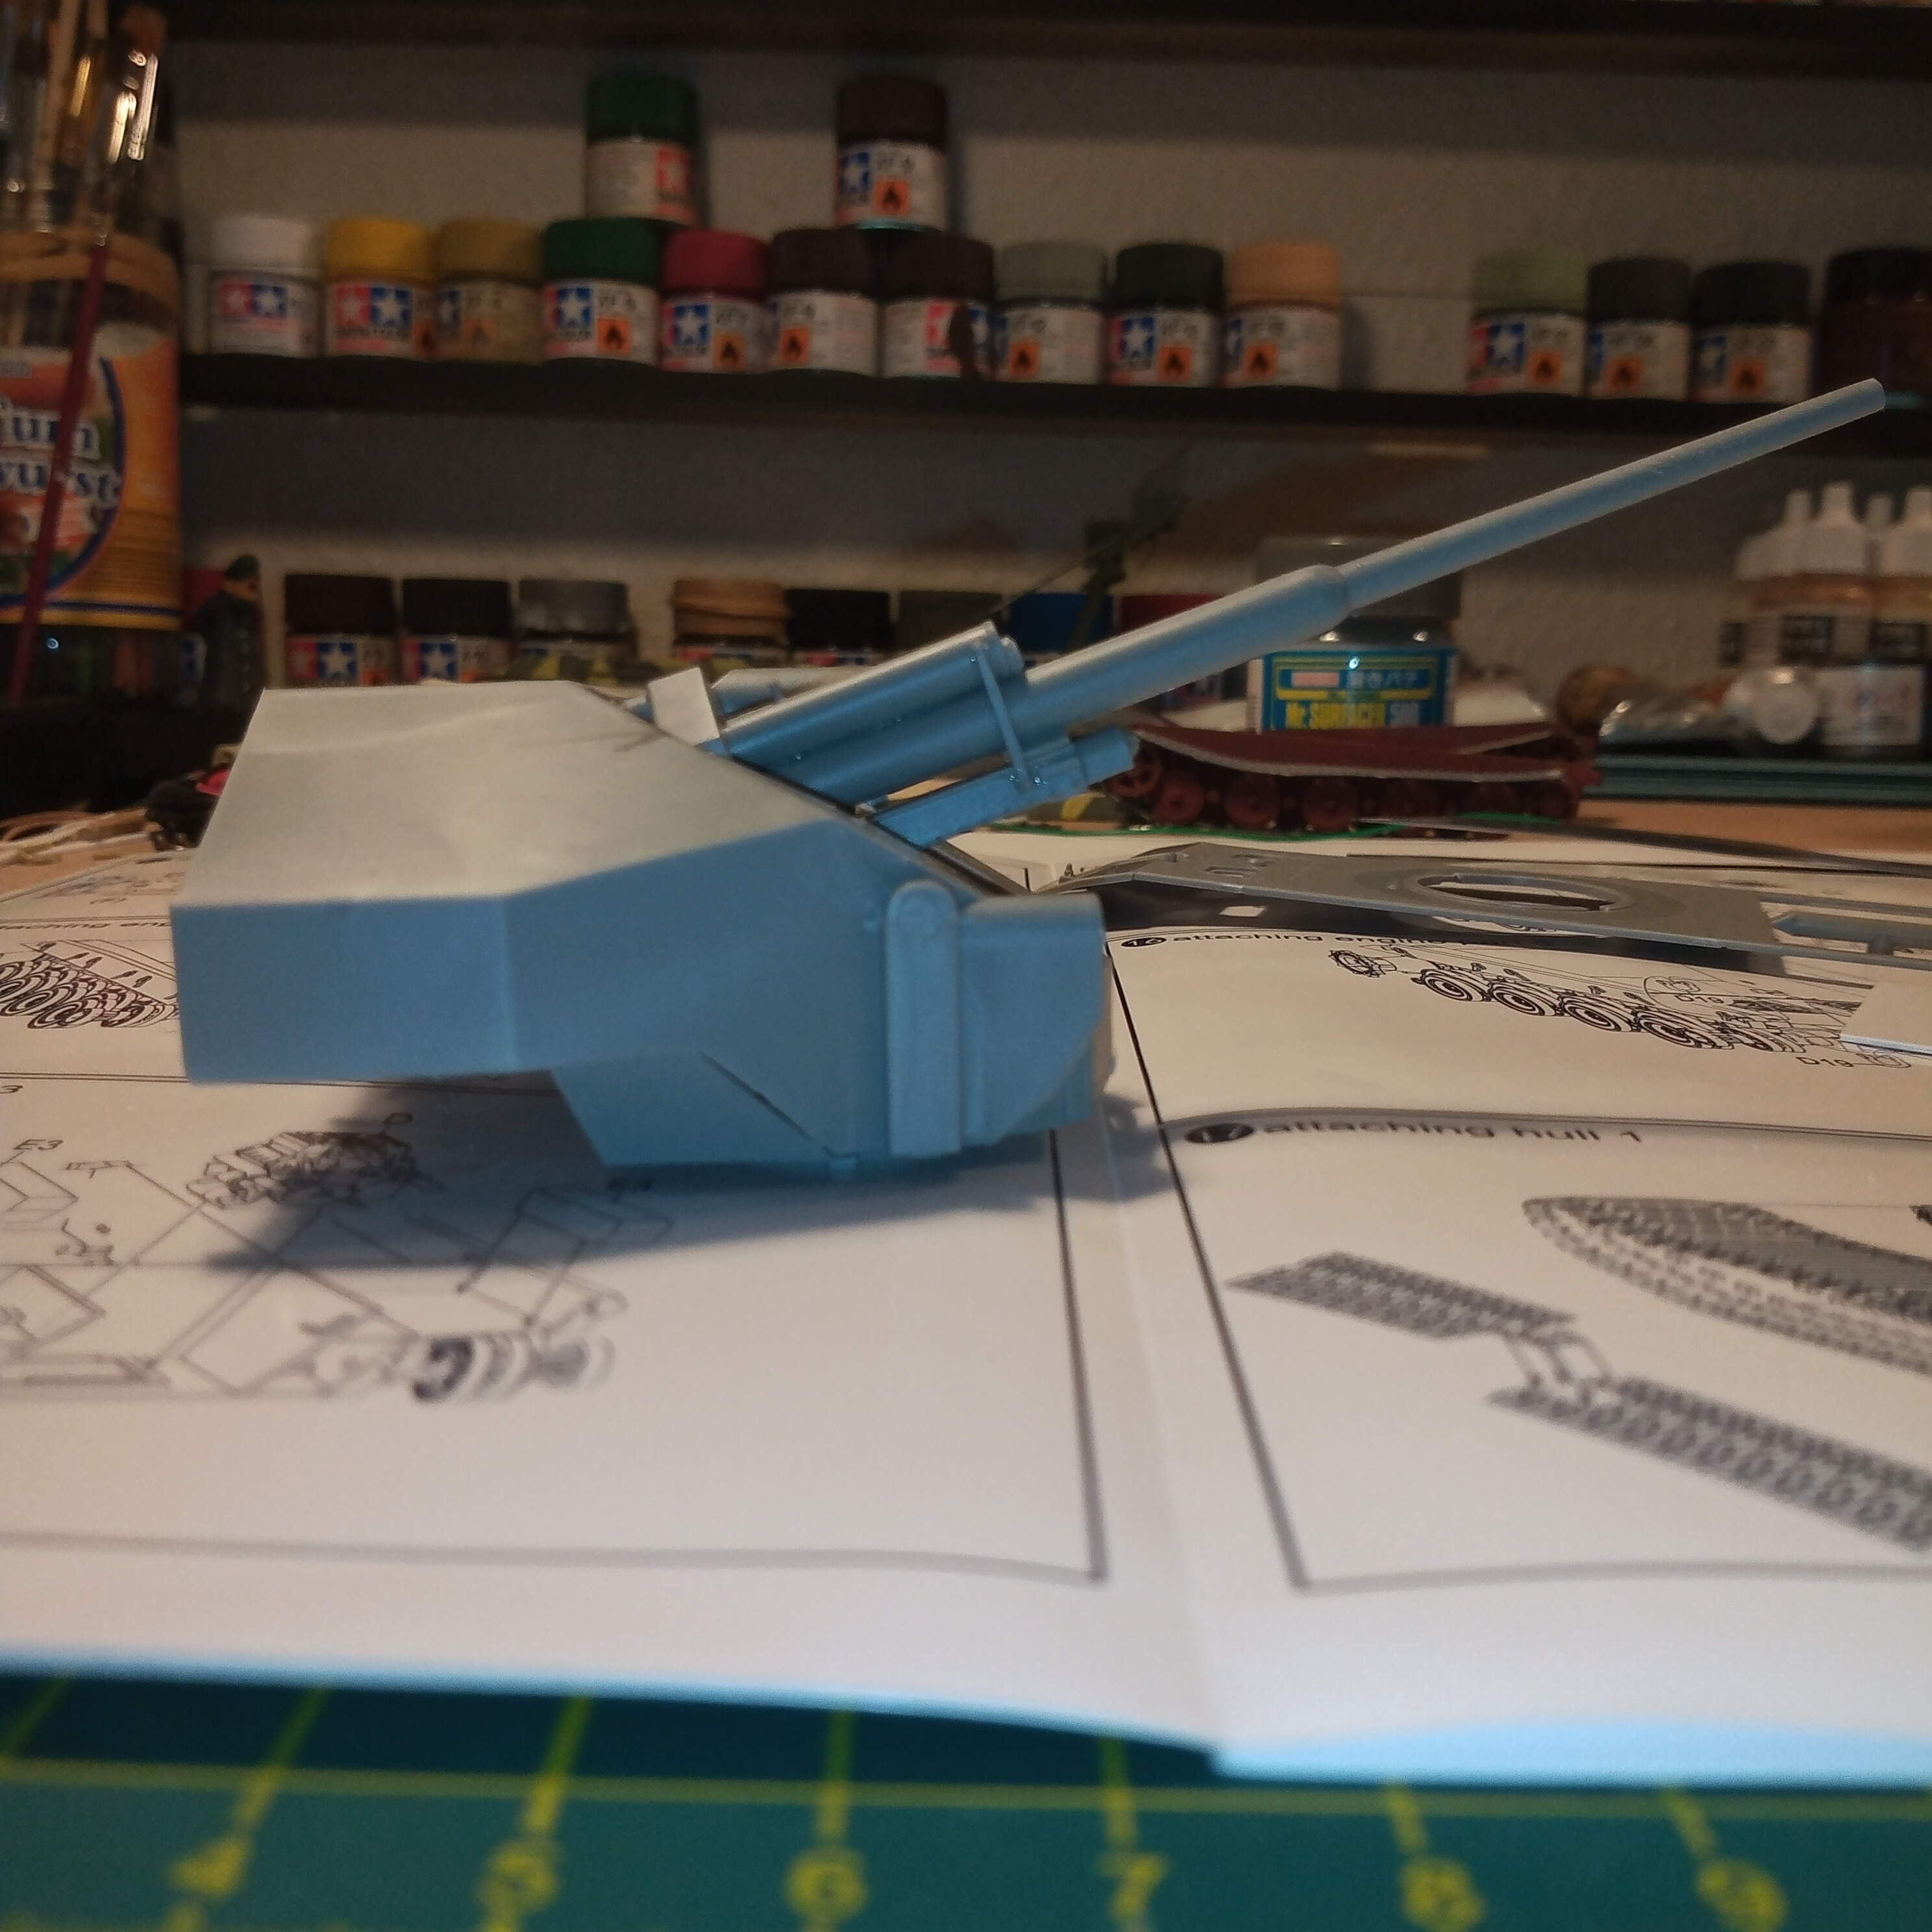
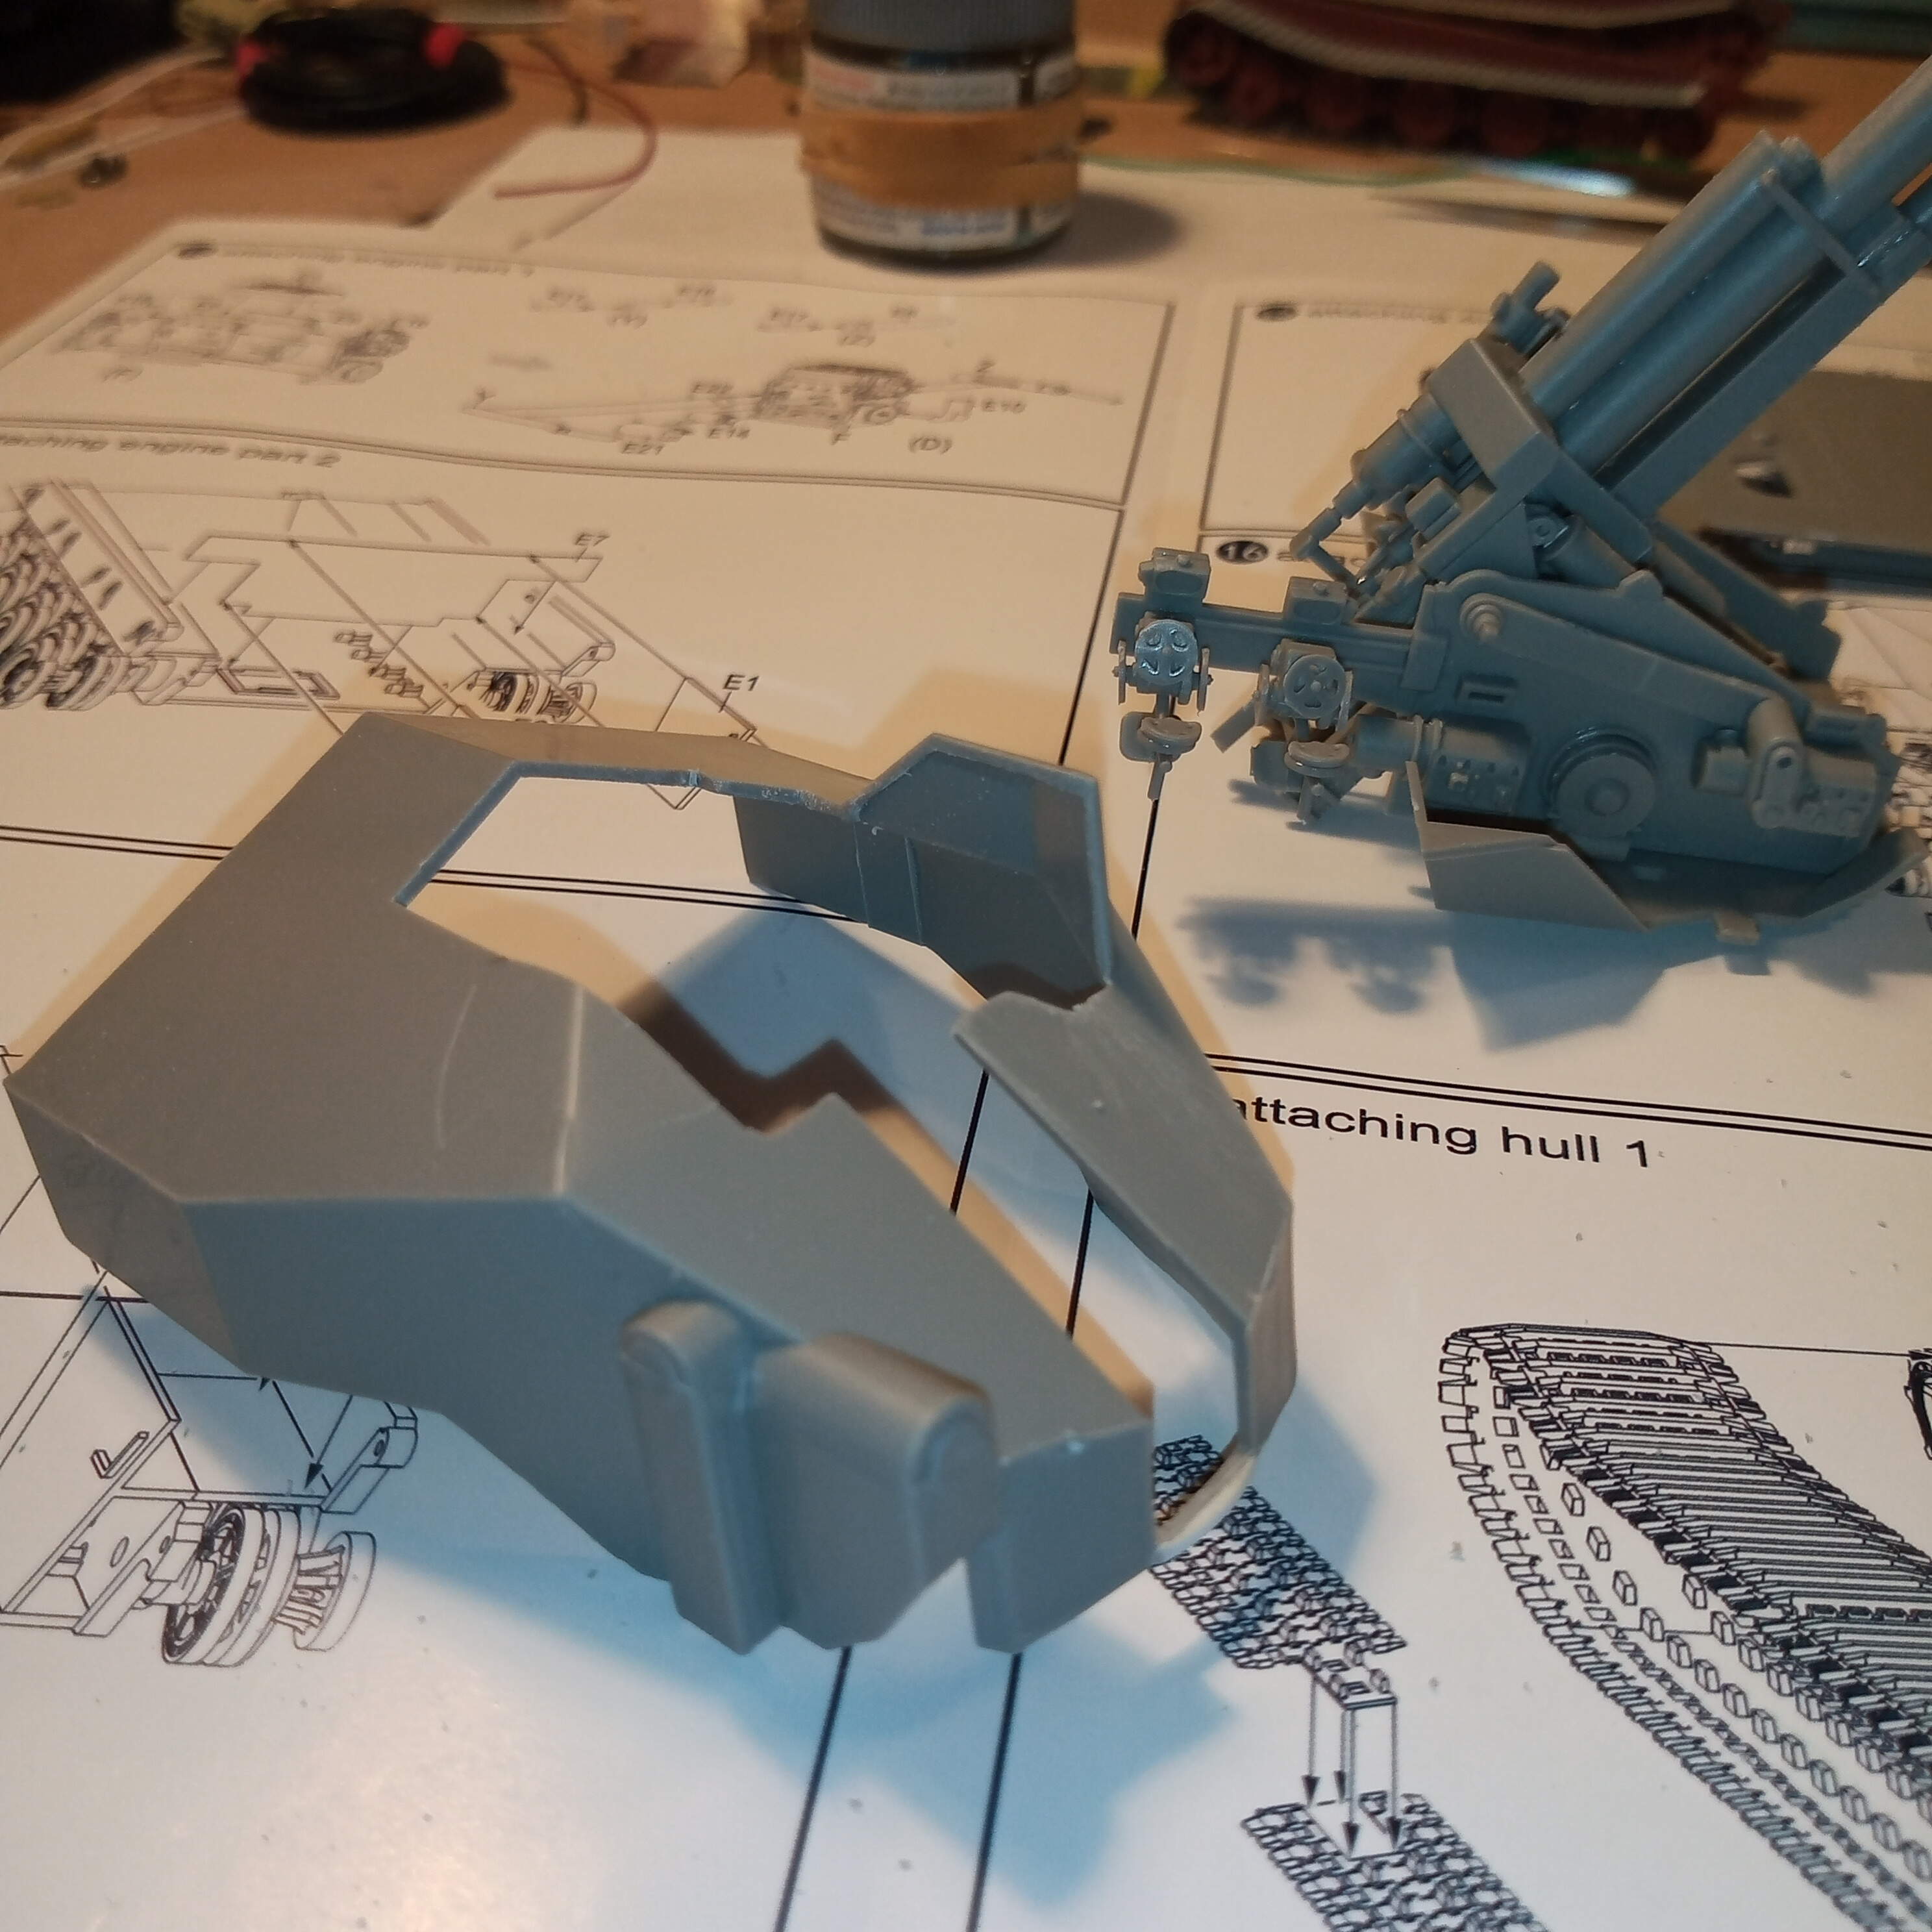
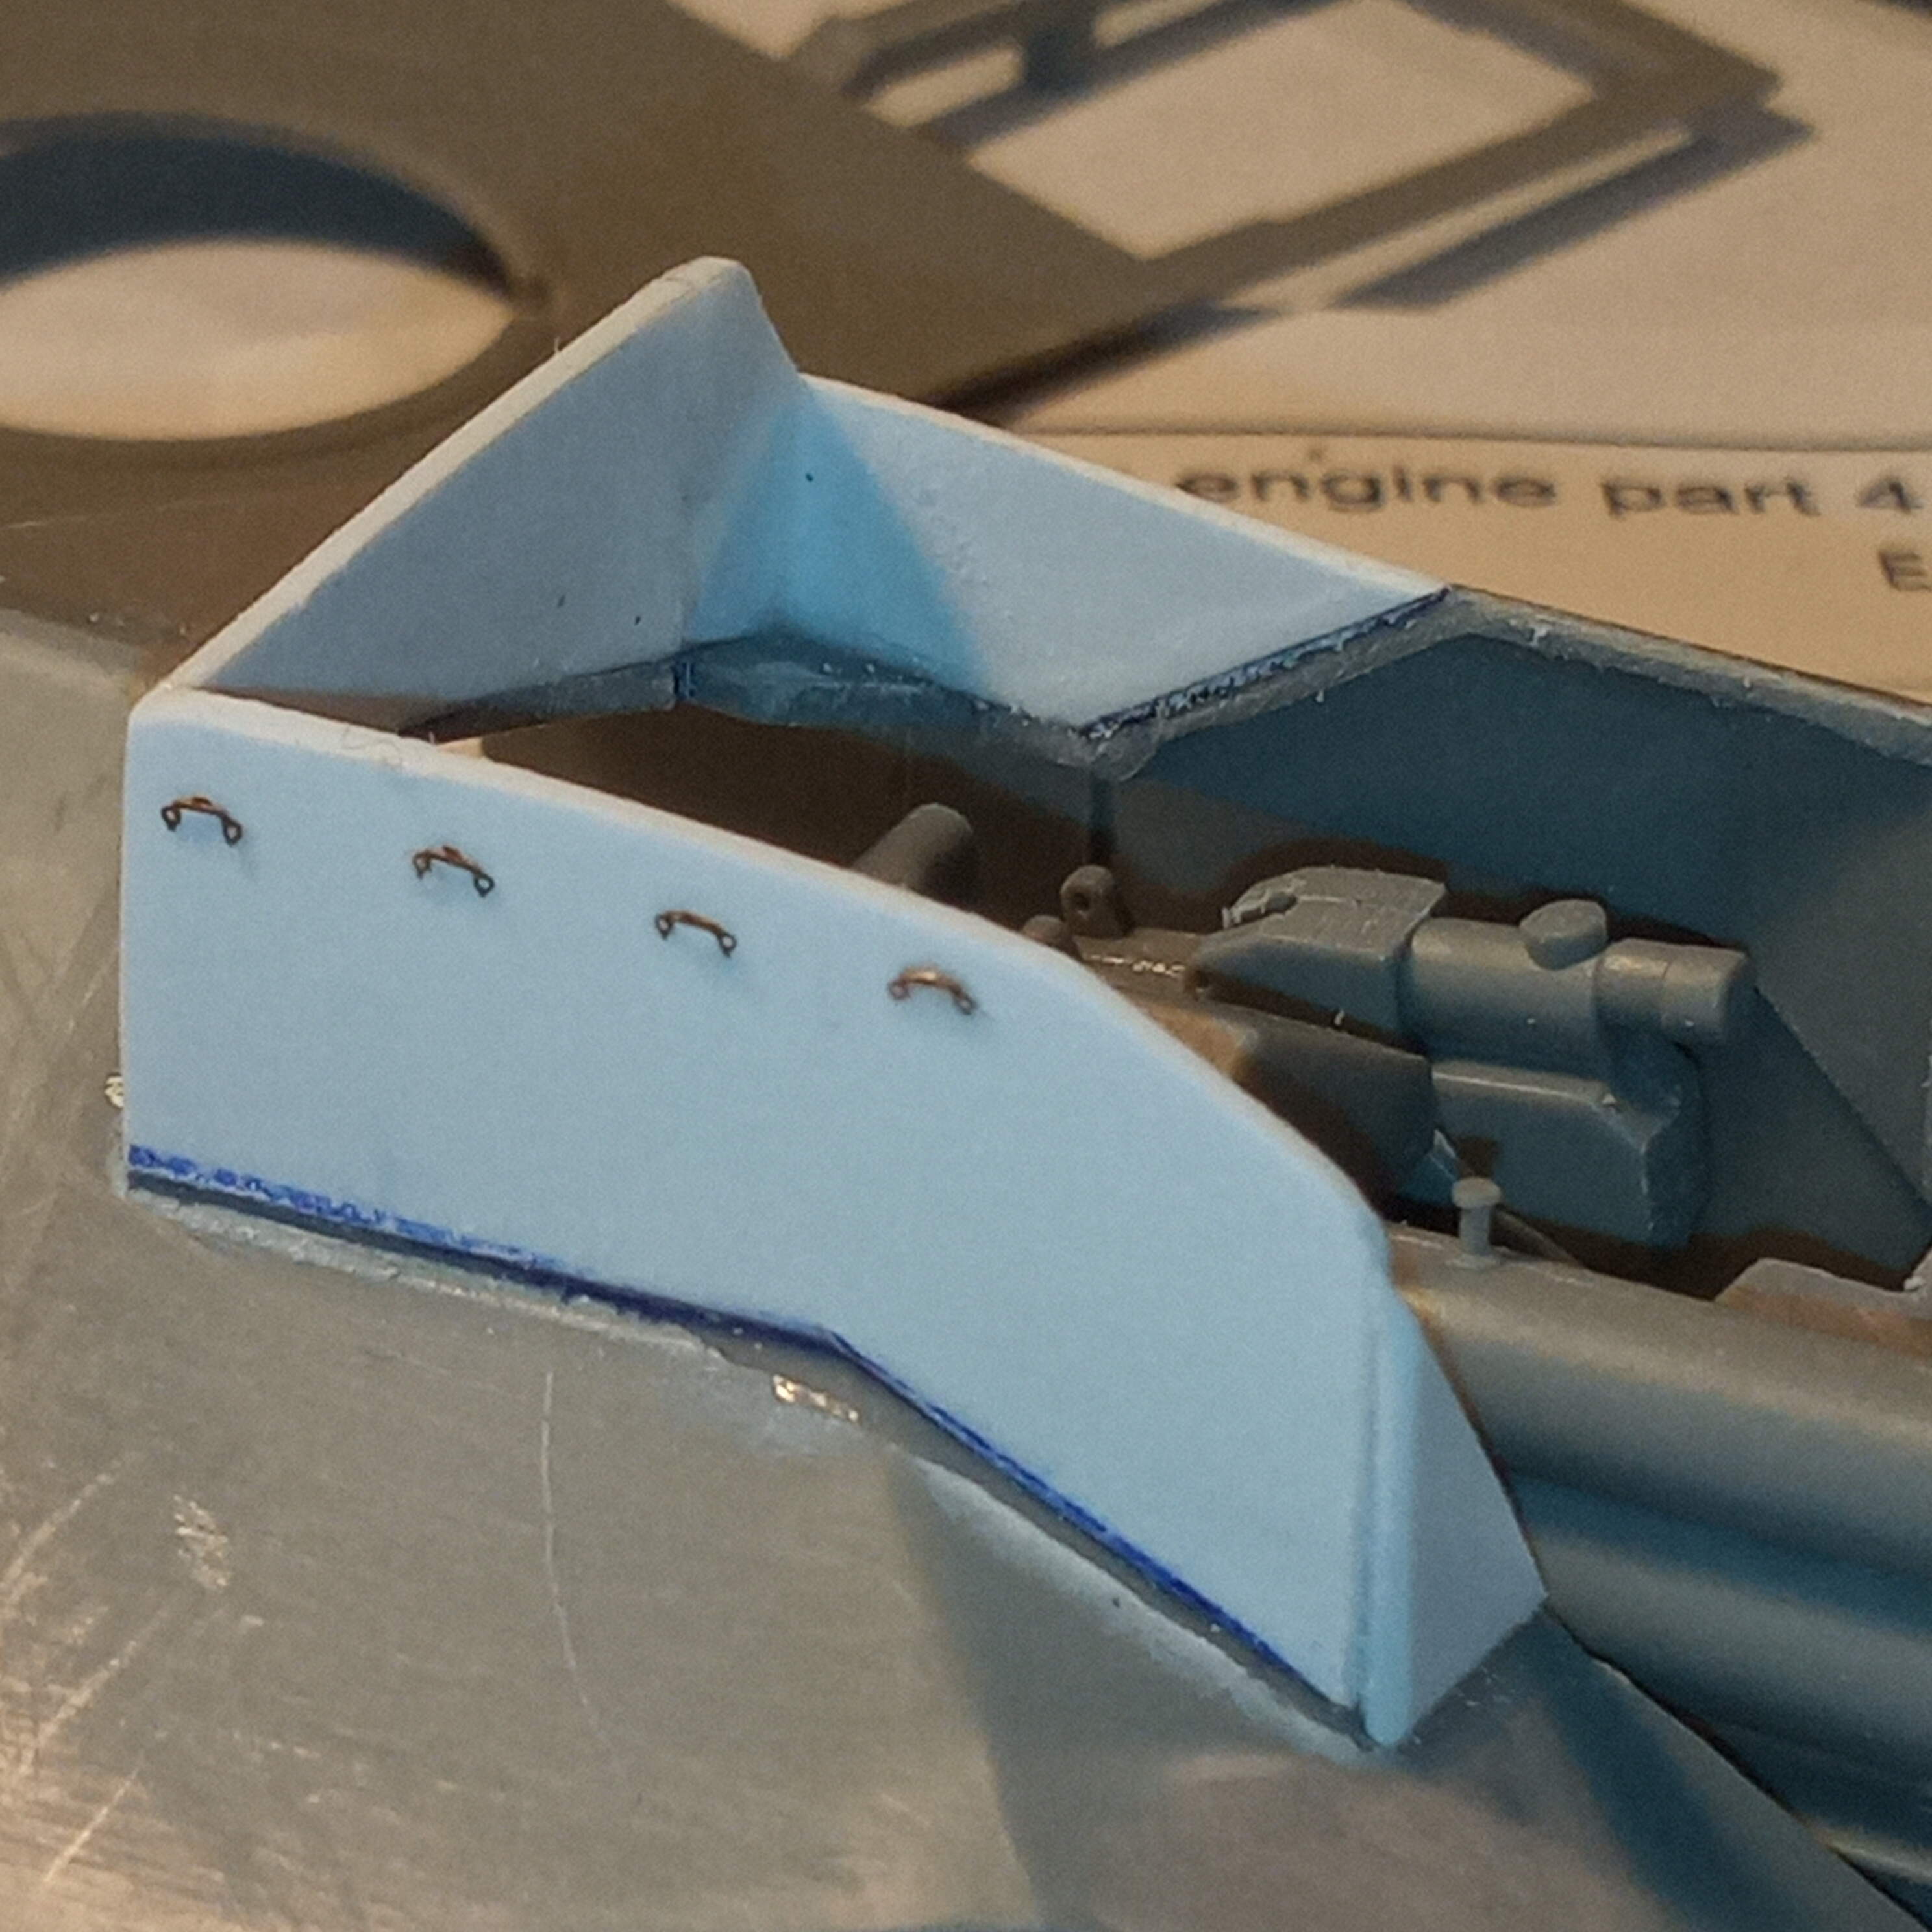
I glued the gun assembly onto the lower turret section to make it easier for me to judge the elevation issues… Of which more materialised.
This is with everything fitted as normal but upper turret not glued.
You can see the barrel will only elevate to about 30° or so. Not very good for a AA platform.
The 2 arrows show where the upper gun assembly hits the turret preventing further elevation.
I also found that the sight hits against the inside of the sight mount, and then further back along the top of the turret.
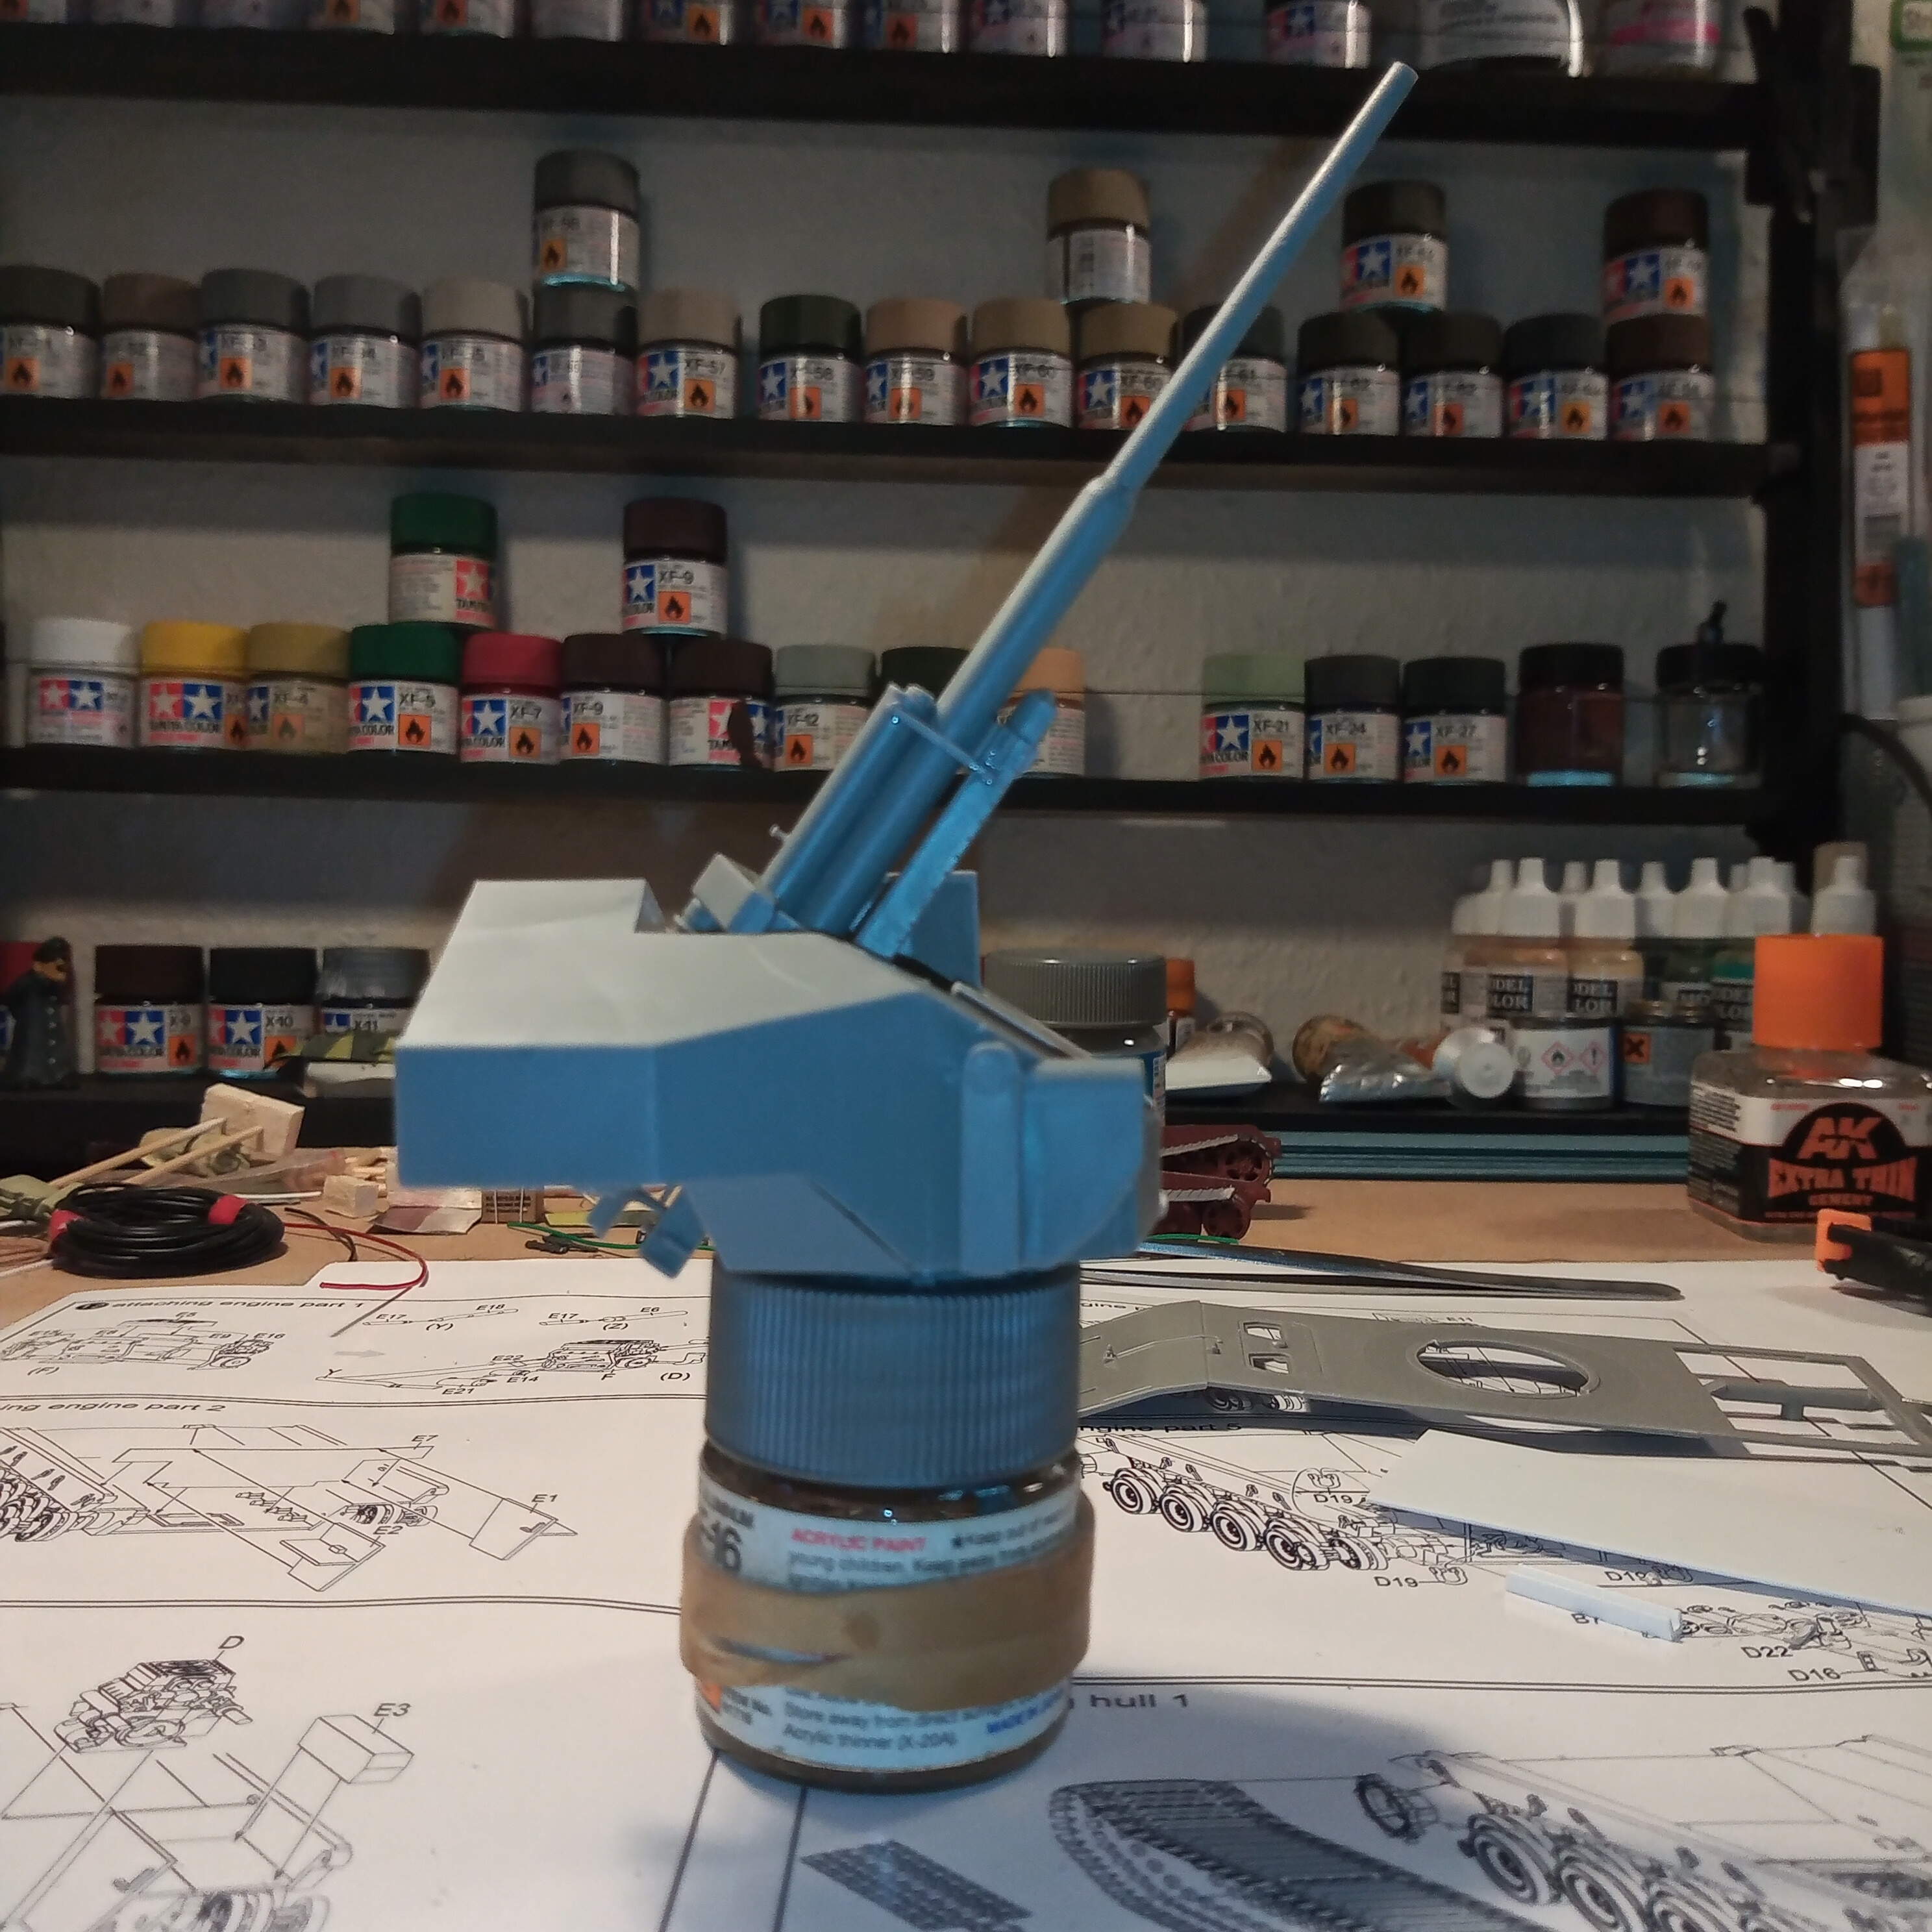
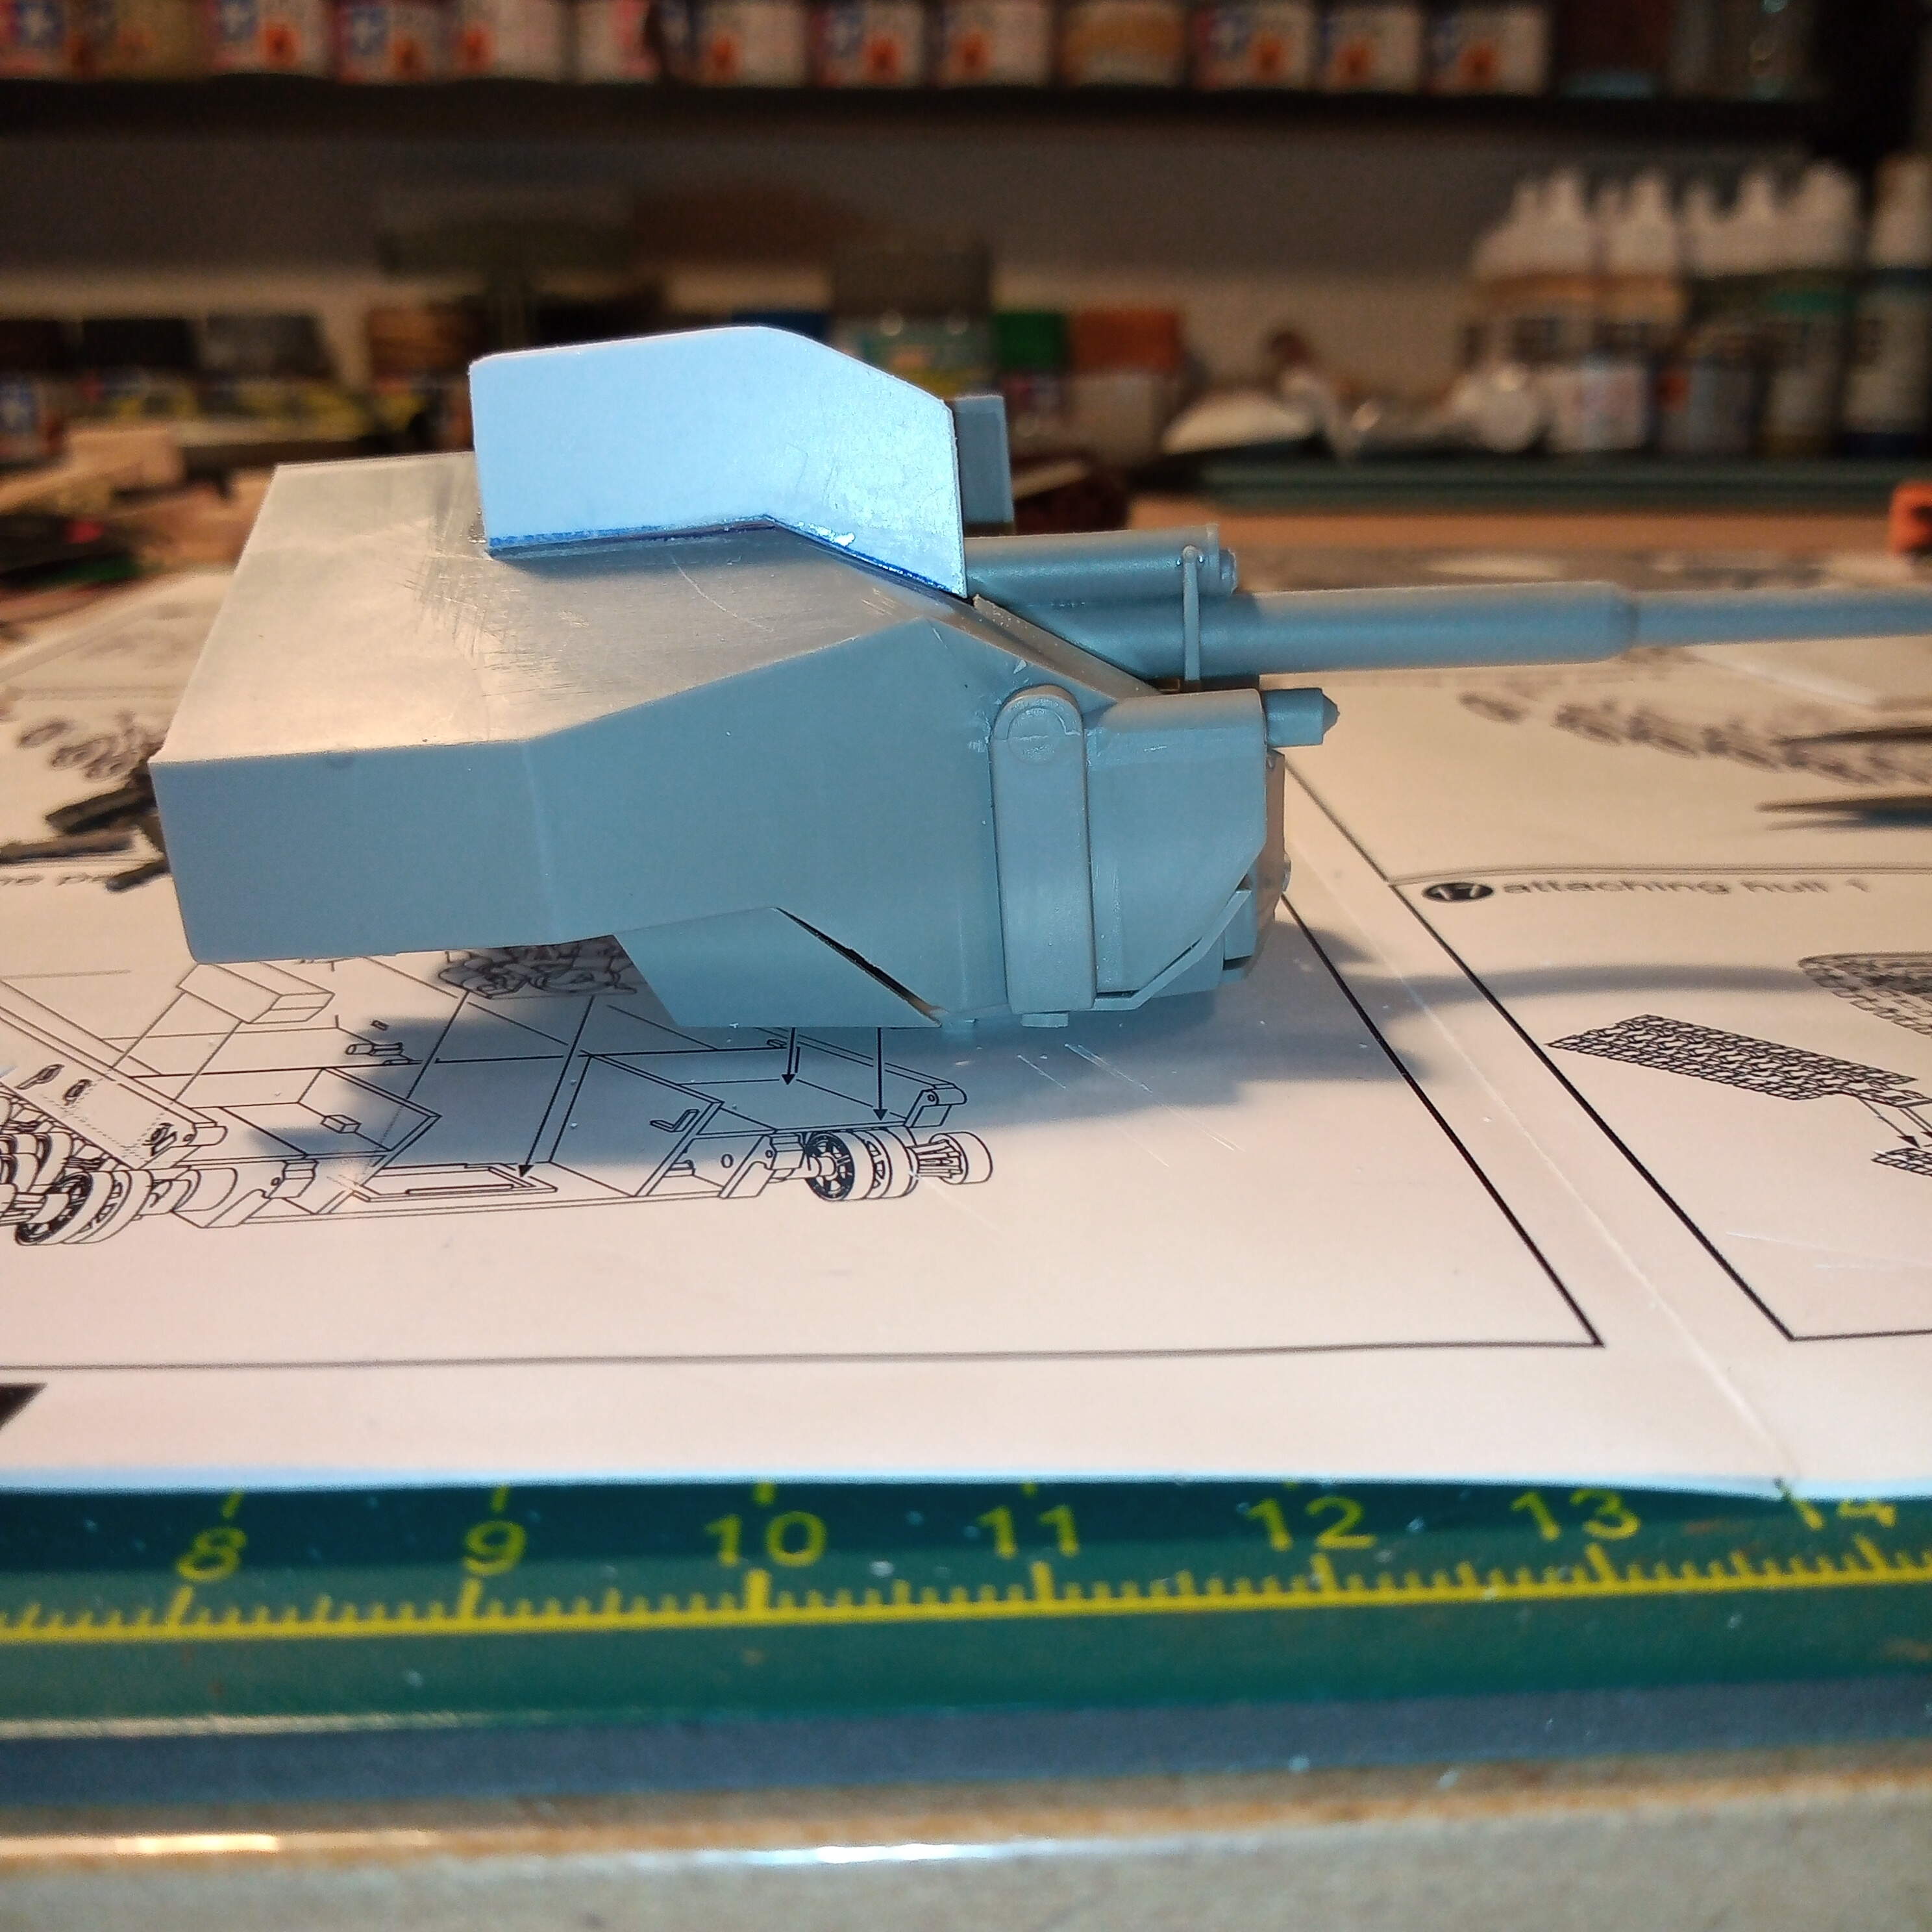
Alot, and I mean alot of surgery was required to rectify this and the turret is now missing alot of plastic on top, far more than I anticipated. But the elevation issue is now a lot better.
A big improvement on high elevation, it’s now probably nudging 70 to 75° and looks alot more like a real AA gun in a high elevation shoot.
You can see how much plastic needed to be removed in the last 3 pics below.
I will build up the areas that I have cut away to show some form of side wall to give the gun some protection in high angle shoots and also maybe a form of removable mesh cover to protect the crew … That will need ladder rings for the outside of the turret… enjoy 
2 Likes
Crew are still protected, from what I can see, so your correction makes sense. Good job
1 Like
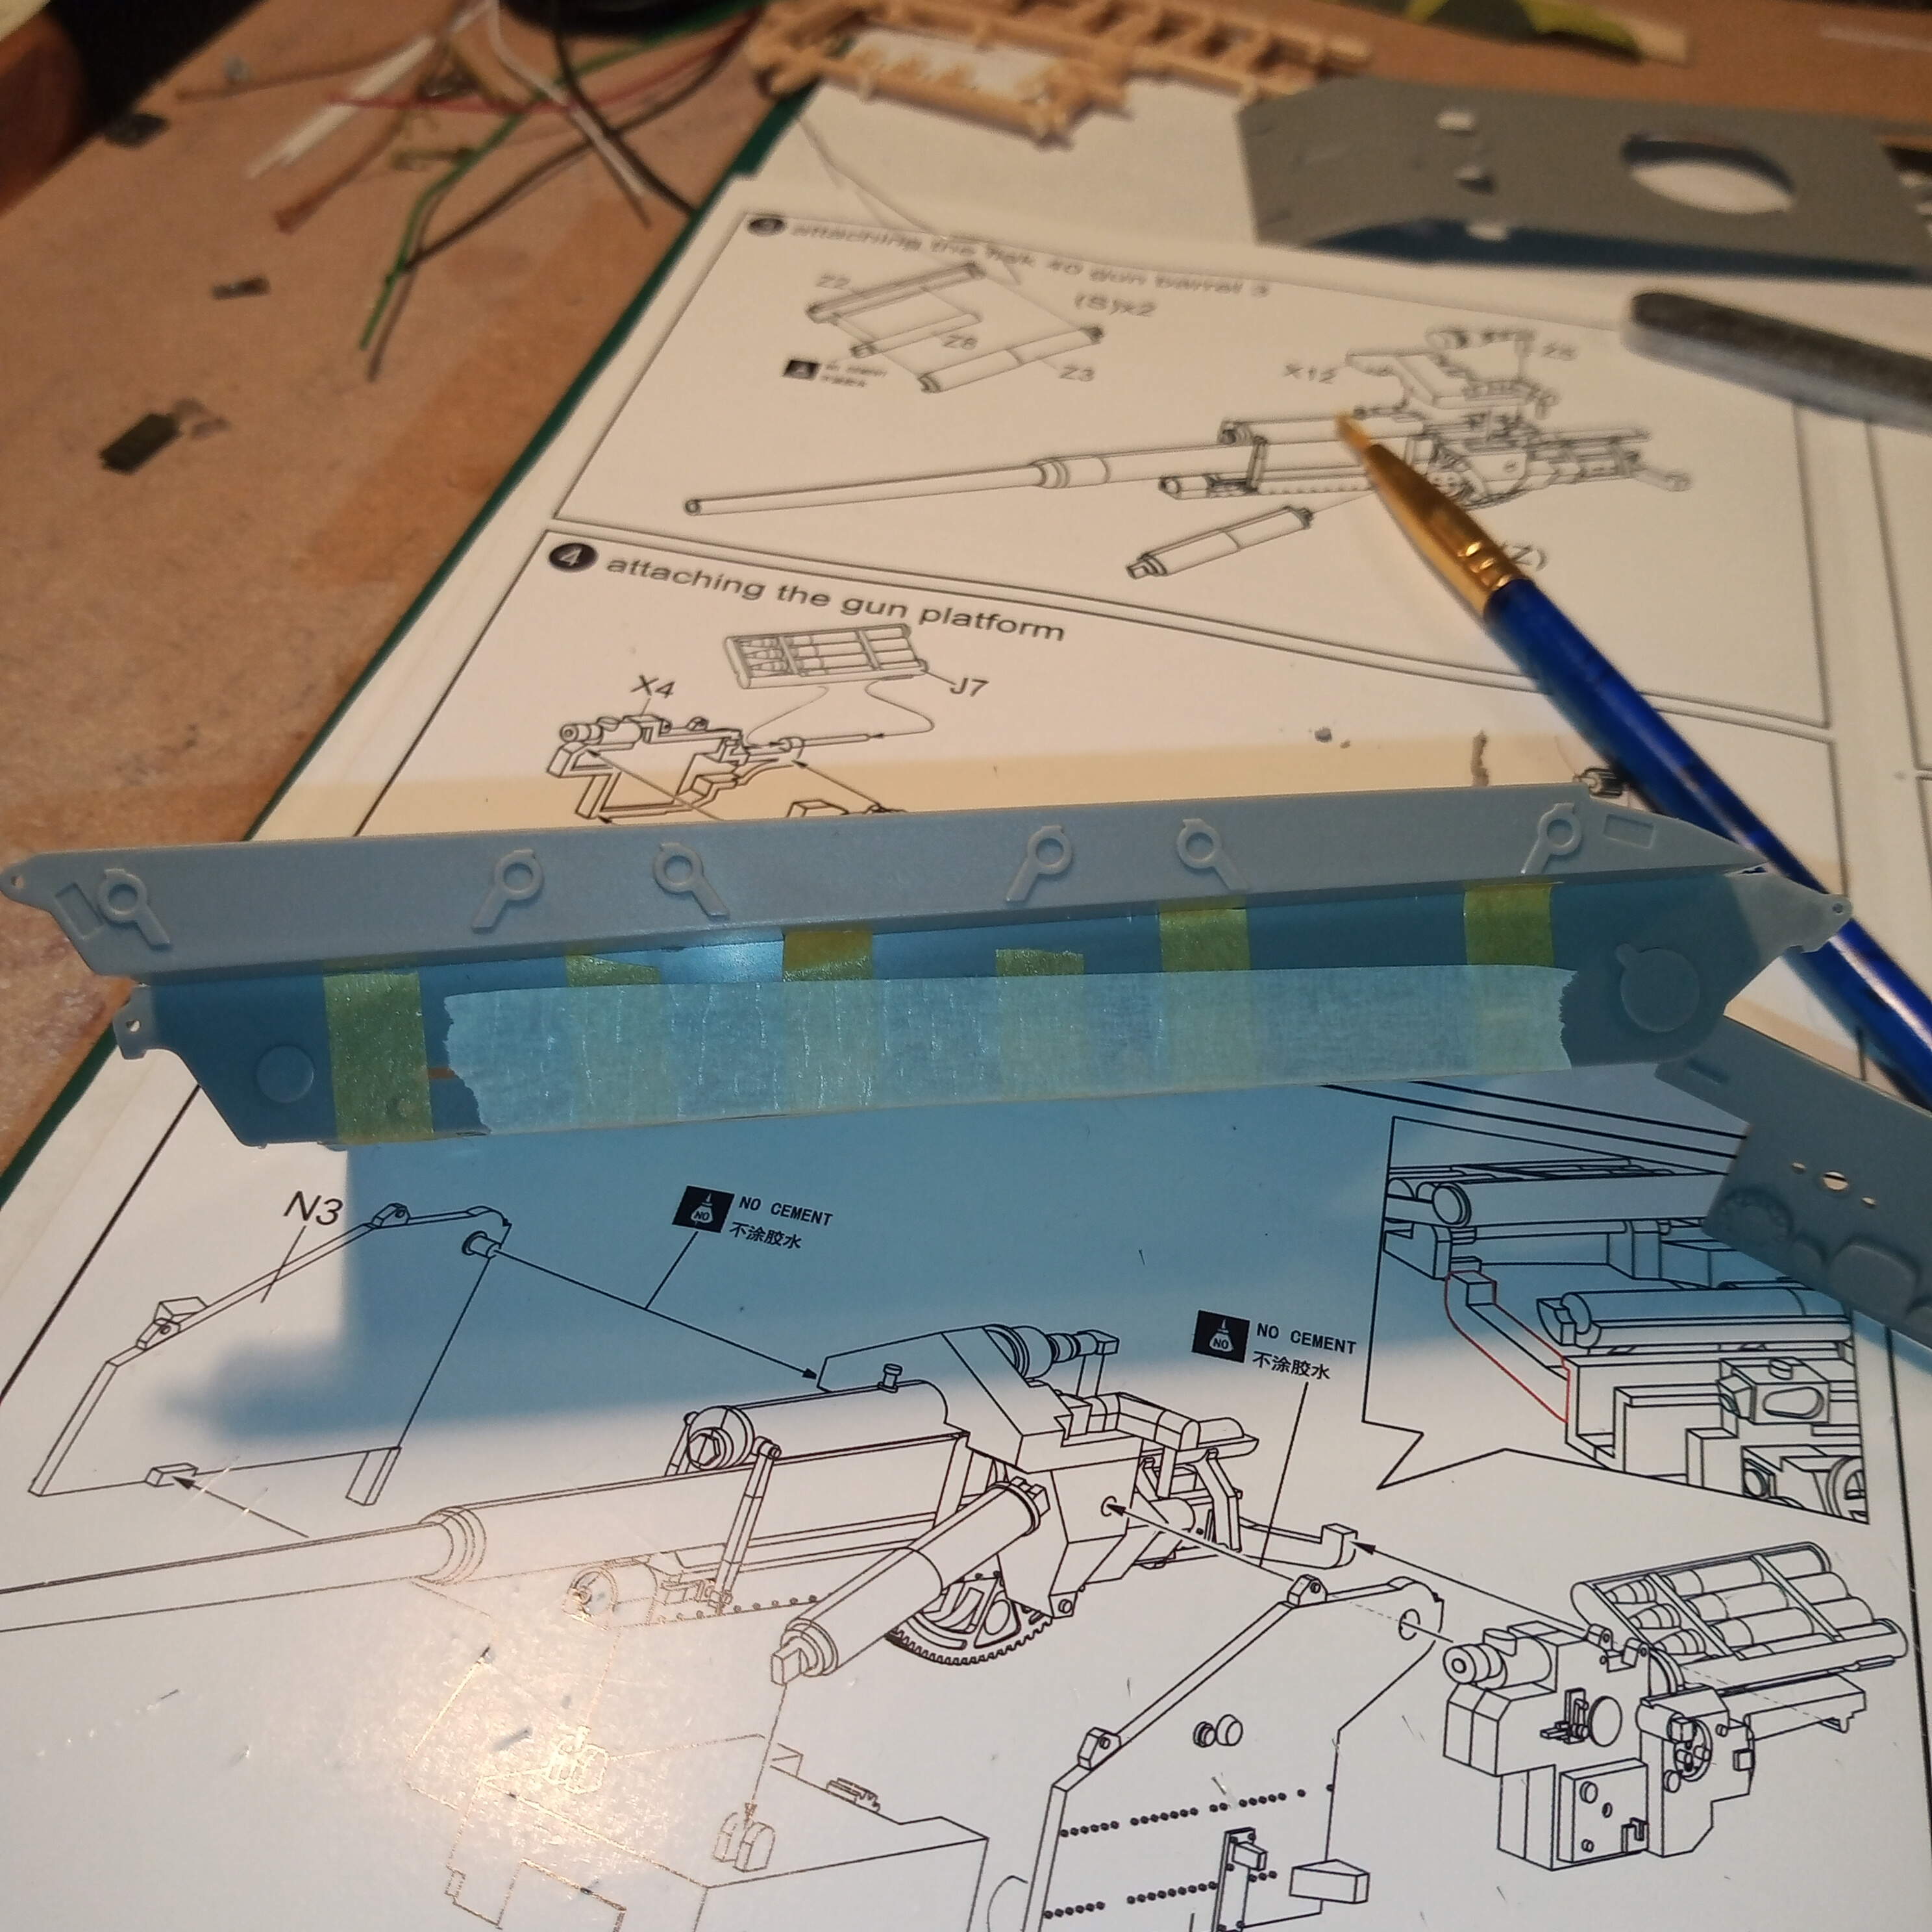
Had an hour or so before I get my work stuff sorted out for tomorrow so thought I would start on the new protective side walls for the gun in elevation.
Just used plasti card and the actual turret as a template.
It’s a bit tough and ready but I wanted to get a feel of how it would look.
And another with the gun in almost full elevation.
I will add some metal rungs to the turret side and some tie down points around the new side walls. Idea will be that when not firing, there is a canvas cover over the open area protecting the fighting compartment.
1 Like
Added some of the 20 micro small lashing points to see what they look like.
They are tie downs from the PE fret off a 1/35 JagdTiger, they look ok to me and not out of proportion.
I will also add about 6 to 8 metal rungs/steps which would allow any crew to get up on top of the turret to cover the opening with a tarp and secure it.
Just thought I would show you how bent out of shape the lower hull section was. If you remember, when I did the contents review, the box was crammed so full of sprues that a couple of pieces had been bent/warped …
I was trying to pressure bend it back into shape but it looked like it was going break. I had left it for a while submerged in very hot water hoping I could get the shape back but that didn’t work either.
So have just super glued the hull front to the sides along the guide slots. Will then let that cure for a day and then super glue it flat and tape it up for a few days … Hopefully that will keep it’s shape then.
1 Like
Hot water helps, but keep in mind that you need to over-bend, not simply leave it flat and expect it to keep that shape.
And I would rather use modelling glue (MEK?), which welds the plastic together for a permanent joint, than CA which may fail as the tension remains there.
1 Like
Good point Carlos, but I was just working with what I had available and I really wanted to get it done. However, I will look into that modelling glue (MEK) or similar for when I’m not so rushed 
Any modelling glue you are using should work the same (Tamiya green cap, revell contacta, etc.), just differ on viscosity and curing time.
1 Like
Ah ok… I misunderstood the type of glue.
I have now glued down the bendy lower hull onto the sides (using Revell contacta  ) and secured it with tape till it cures.
And dry fitted upper hull, and then a quick fit of the turret assembly, all dry fitted.
1 Like
Good luck 
This was my 1/35 T-34, note that the front is in place and fits fine but the rear…
After gluing it, I added a couple of sprue leftovers on the inside to reinforce the joint.
1 Like
I did the same Carlos but with some plasti card cut offs on the inside edge
1 Like
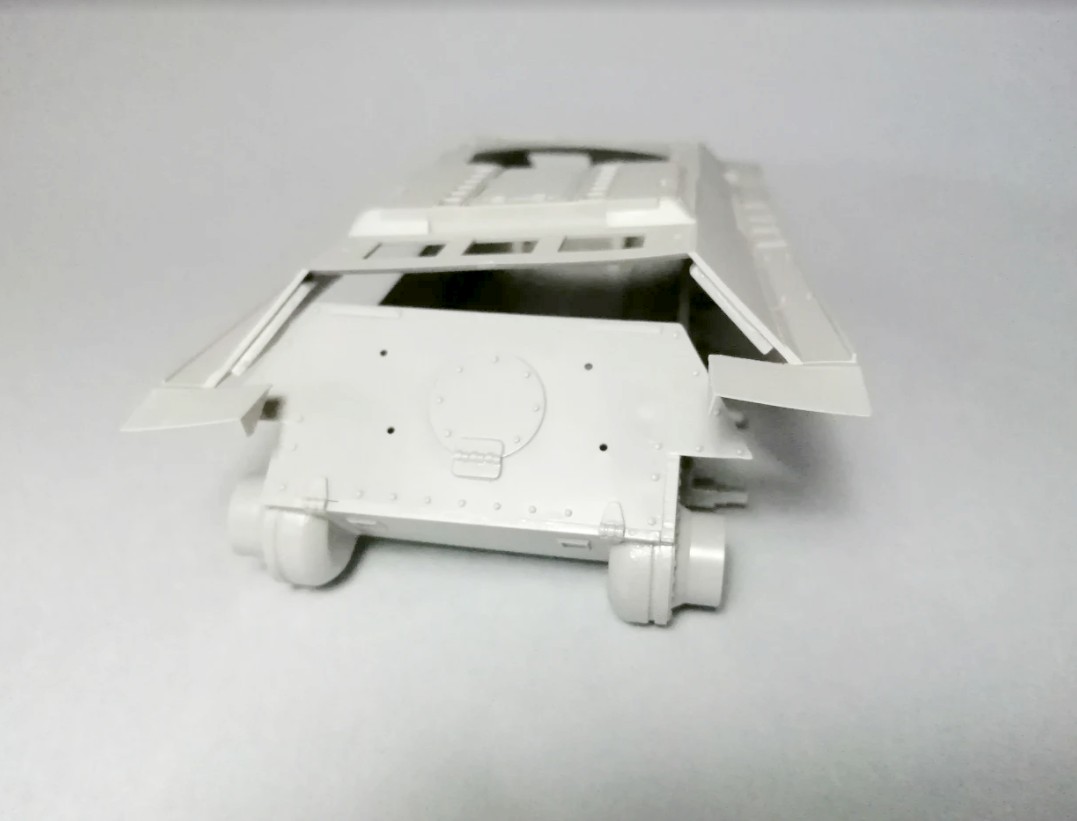
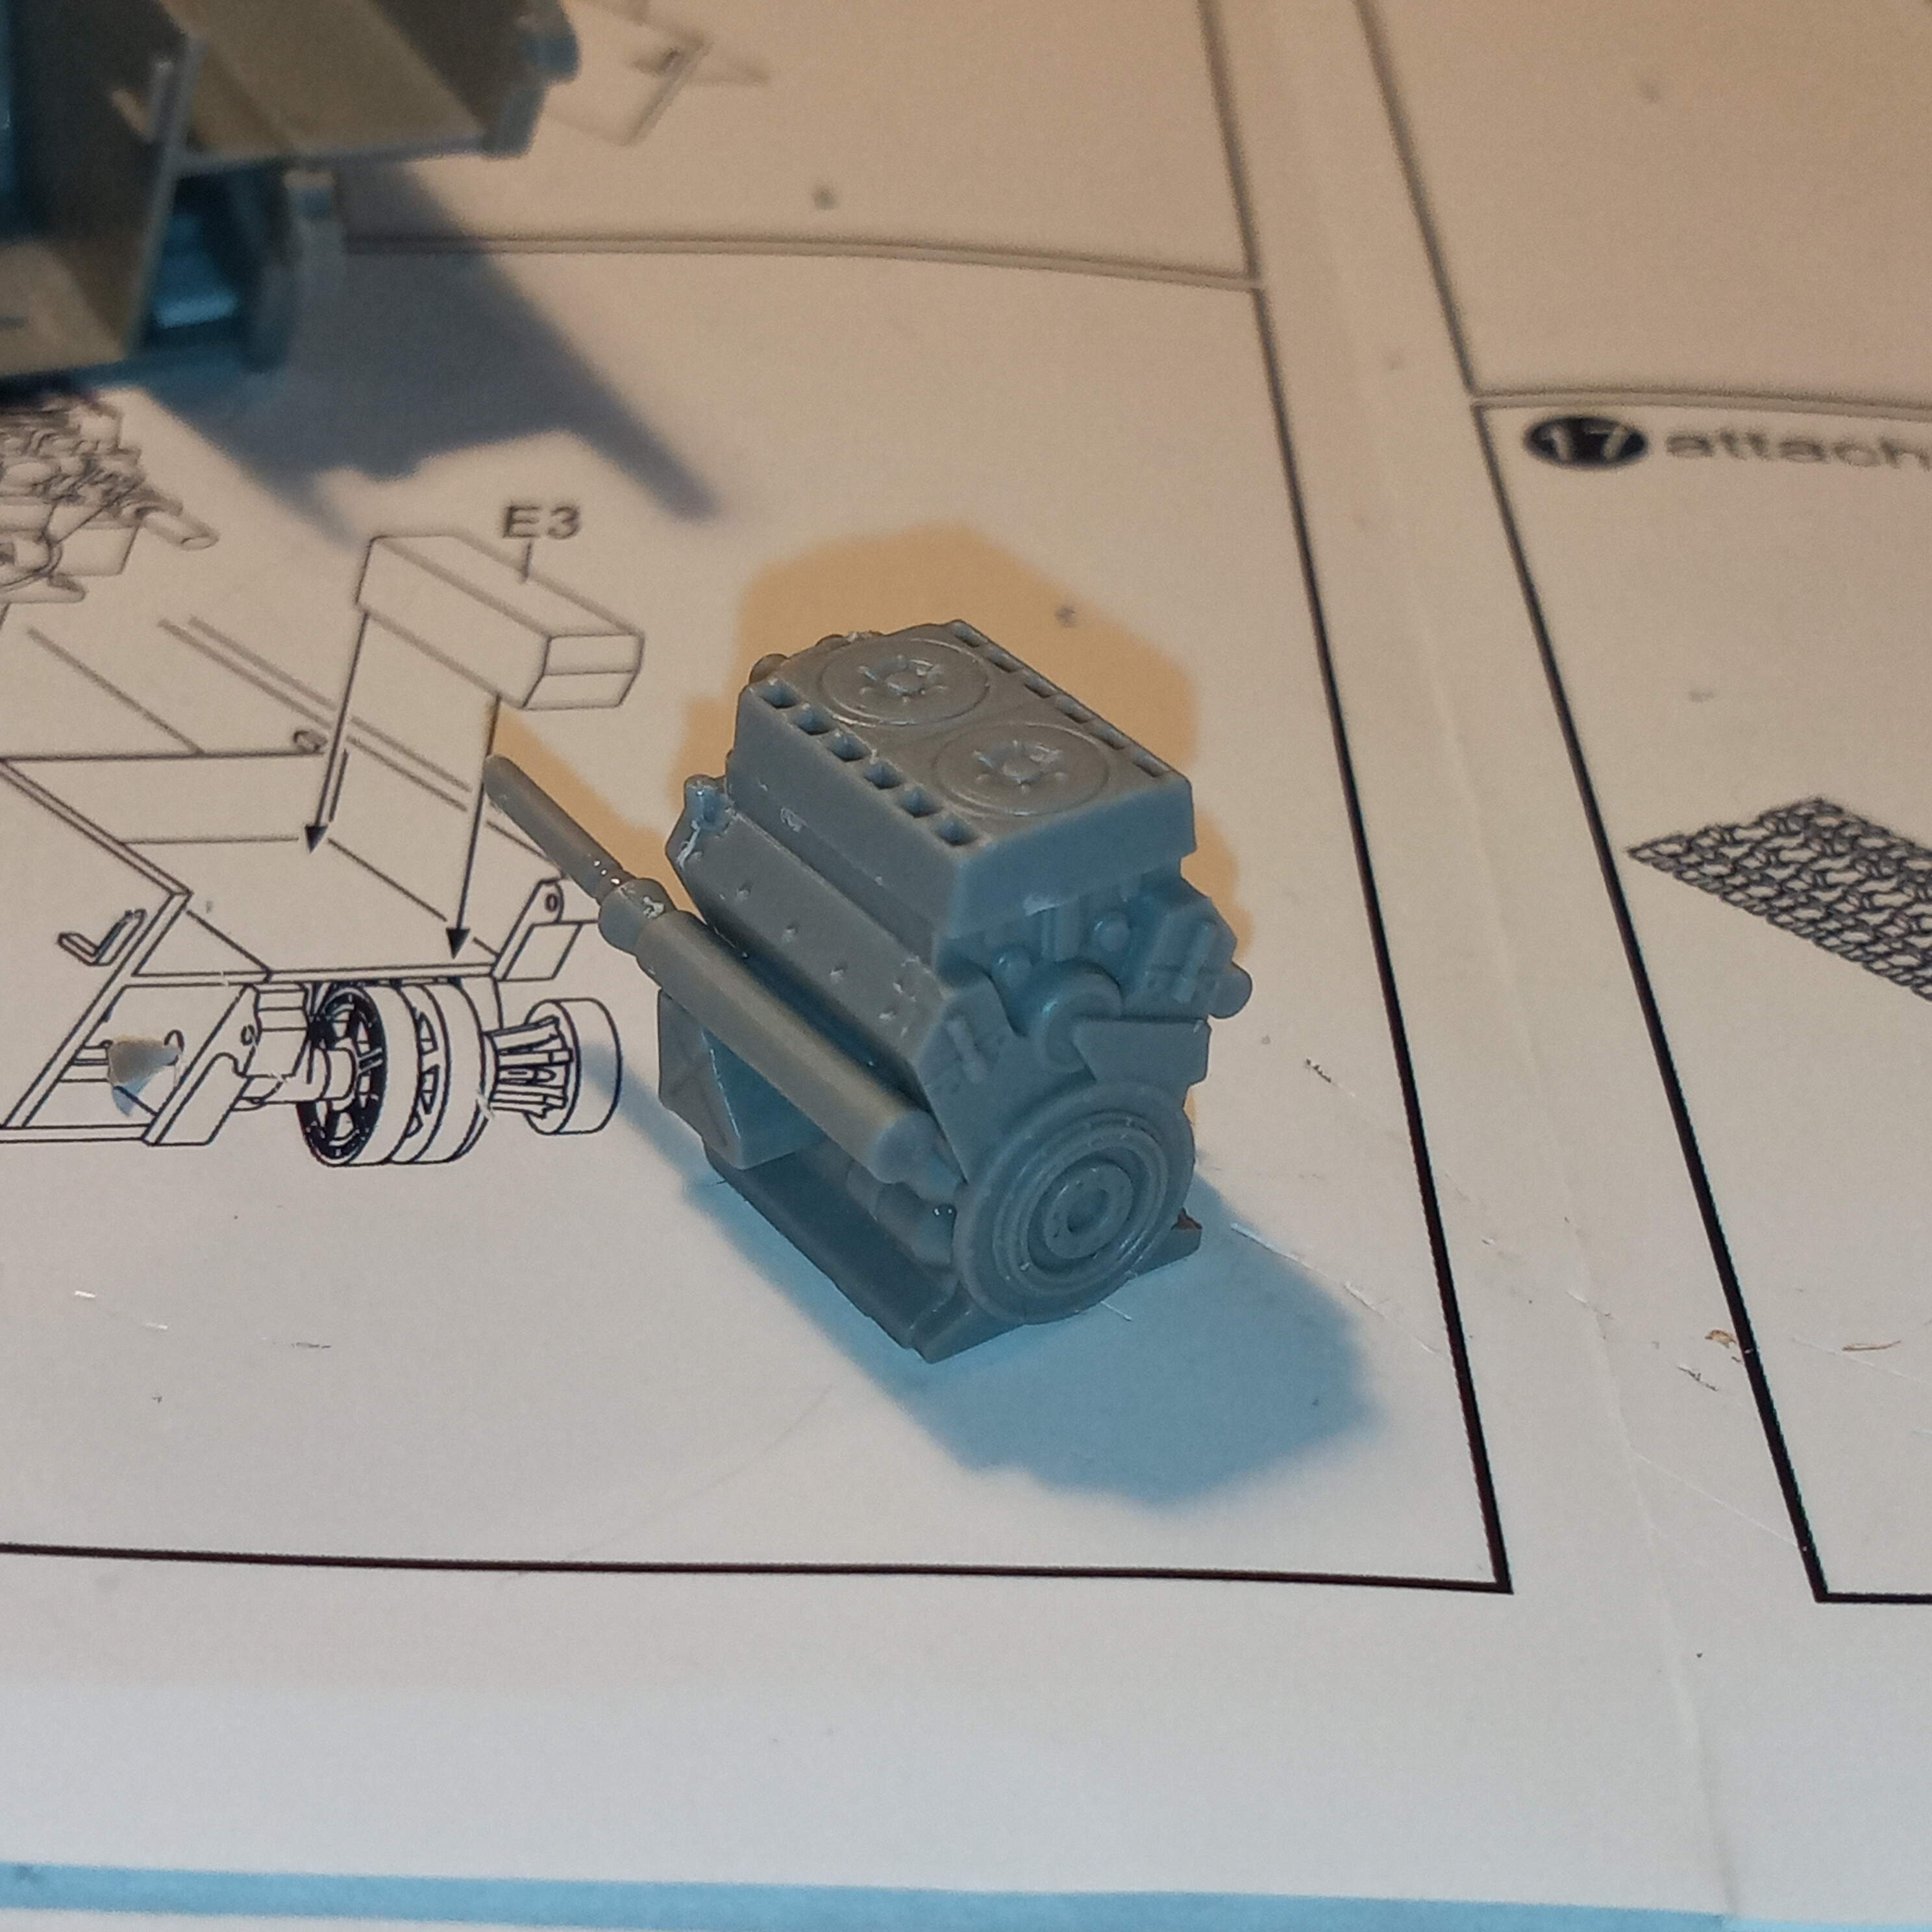
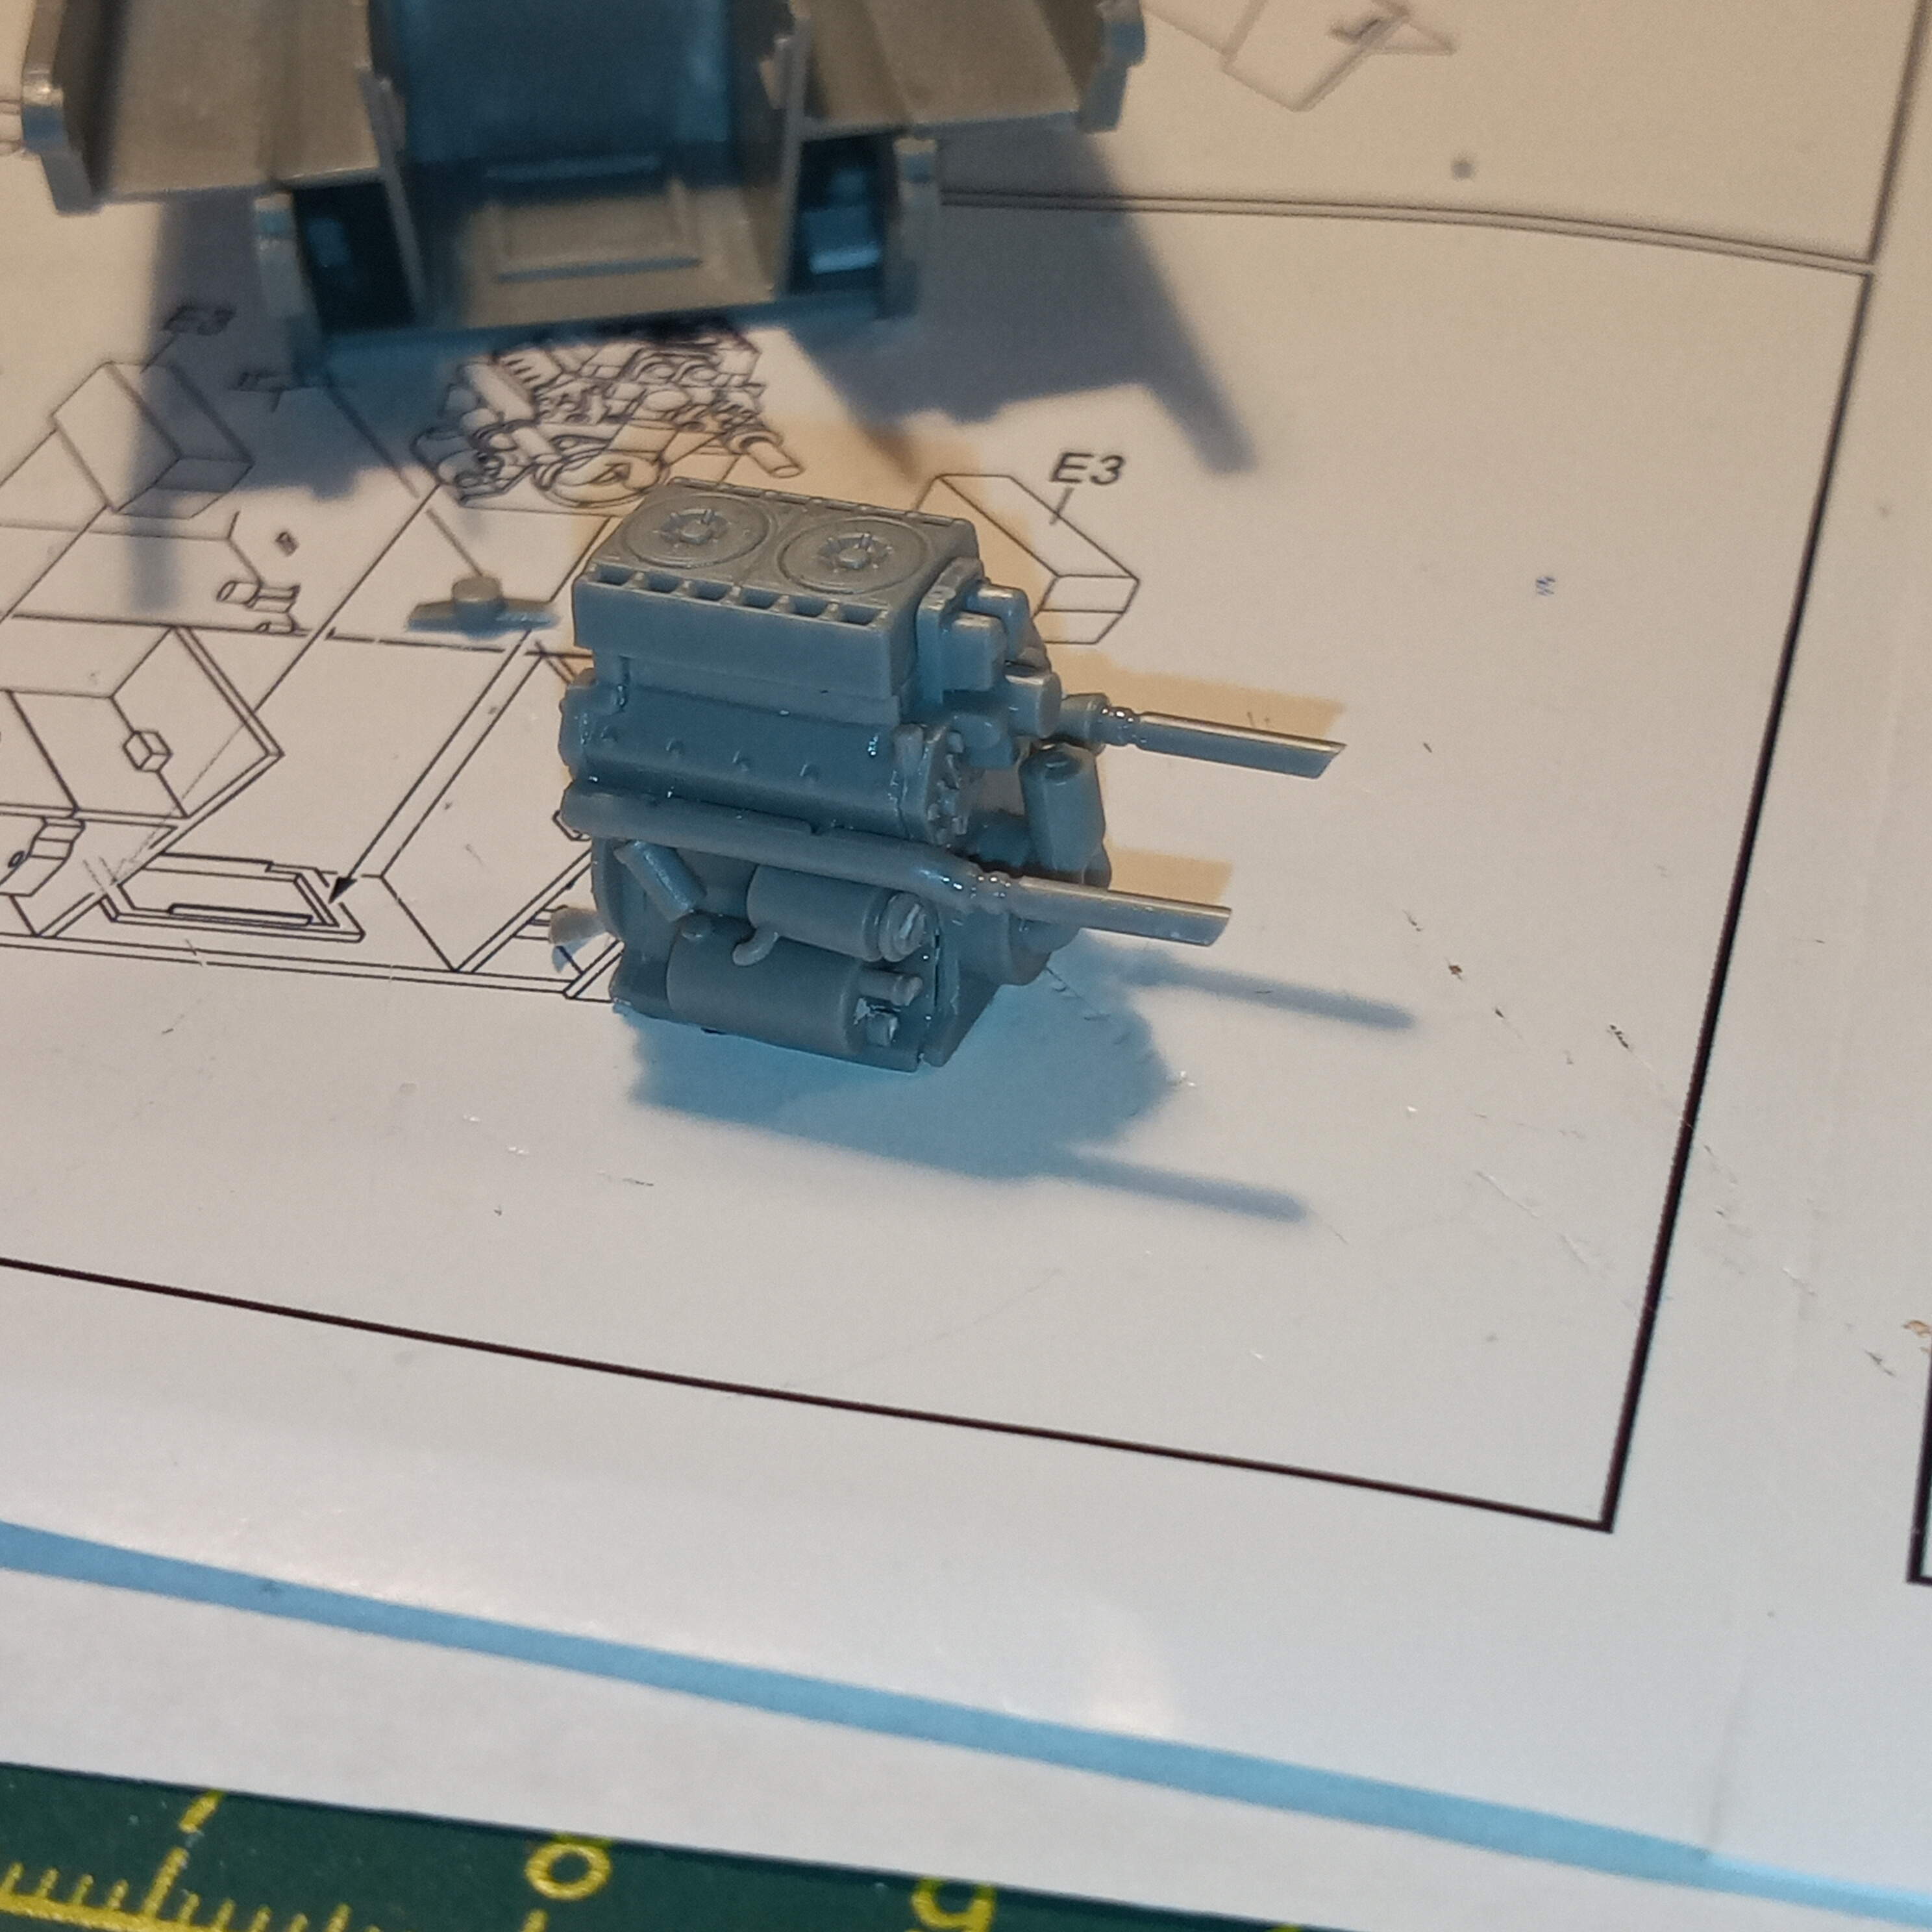
Hull came out ok and everything is aligned as it should be. Jumped a few steps and put together the very nicely detailed engine and engine compartment.
Im still thinking about weather to have the engine access cover up so you can see it… It seems a shame to hide it away…
1 Like