Today I started working on this subject. I’ve been wanting to build something from that era for awhile.
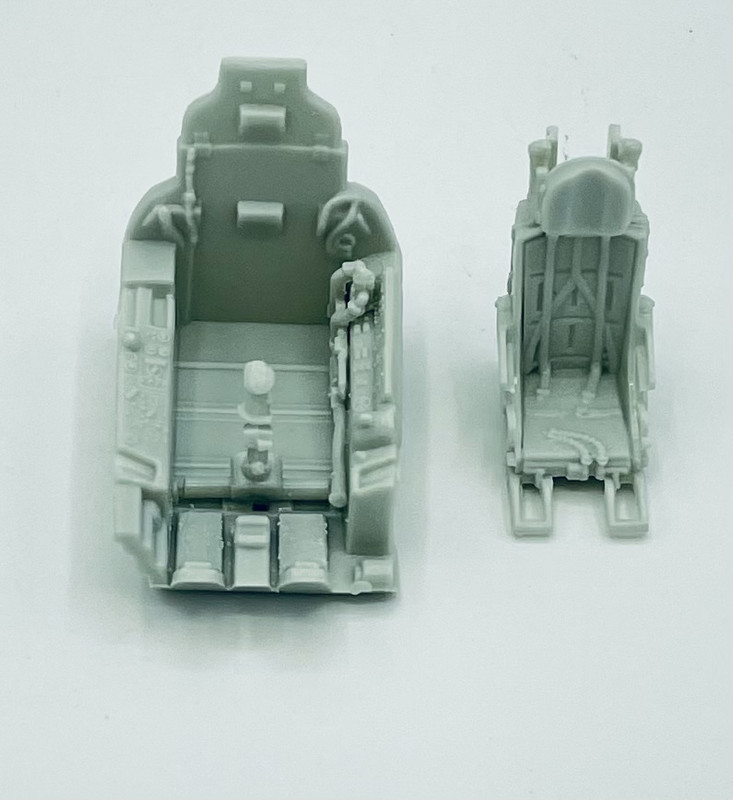
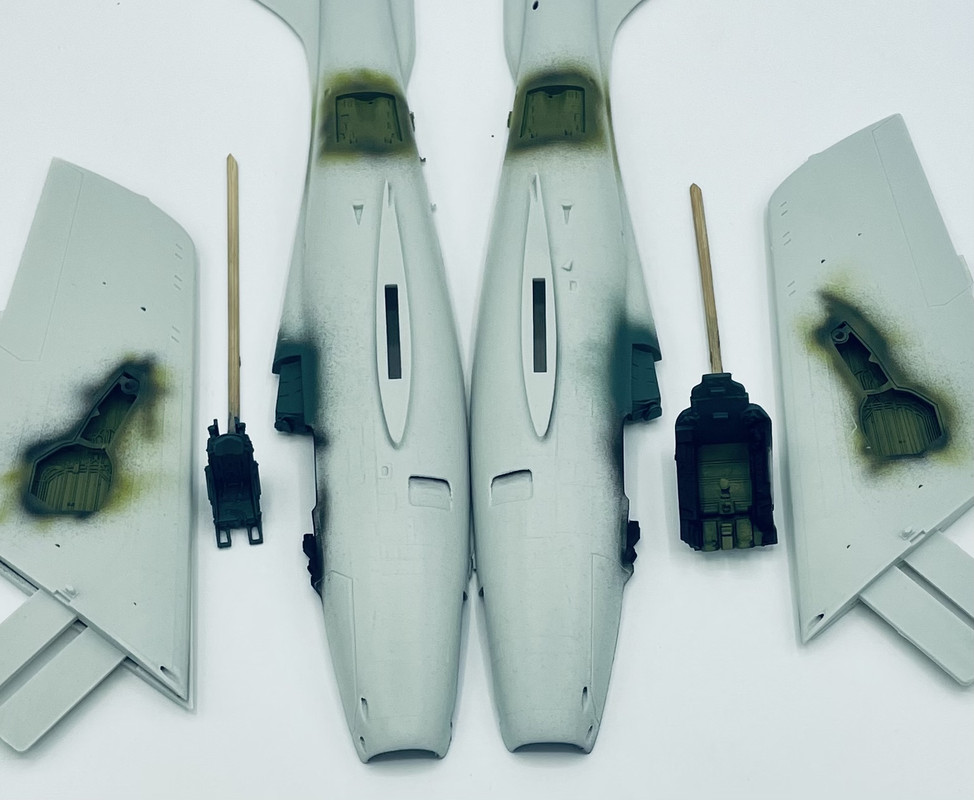
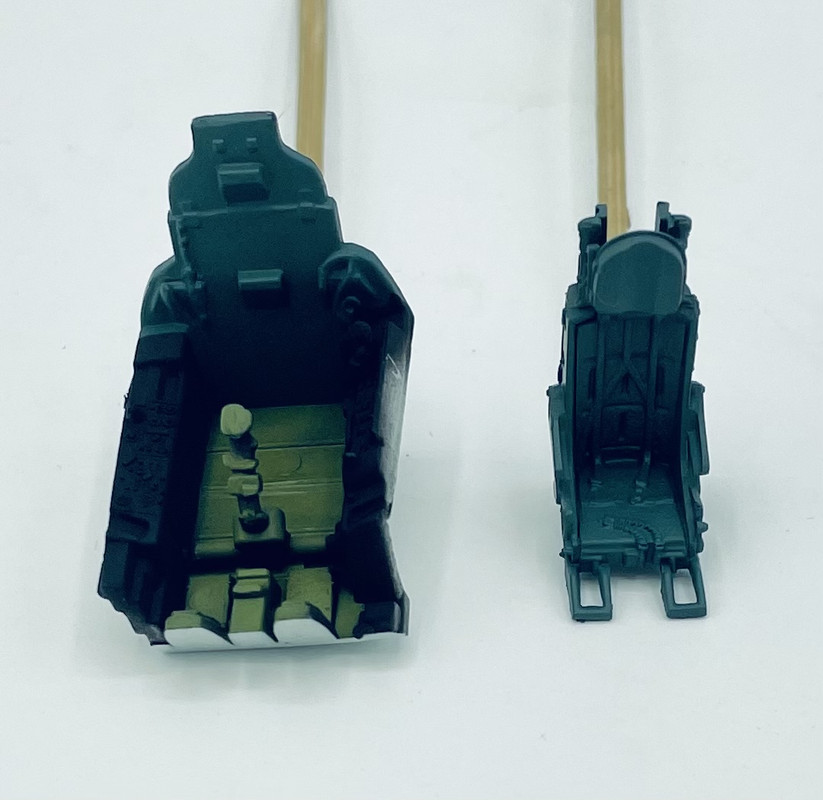
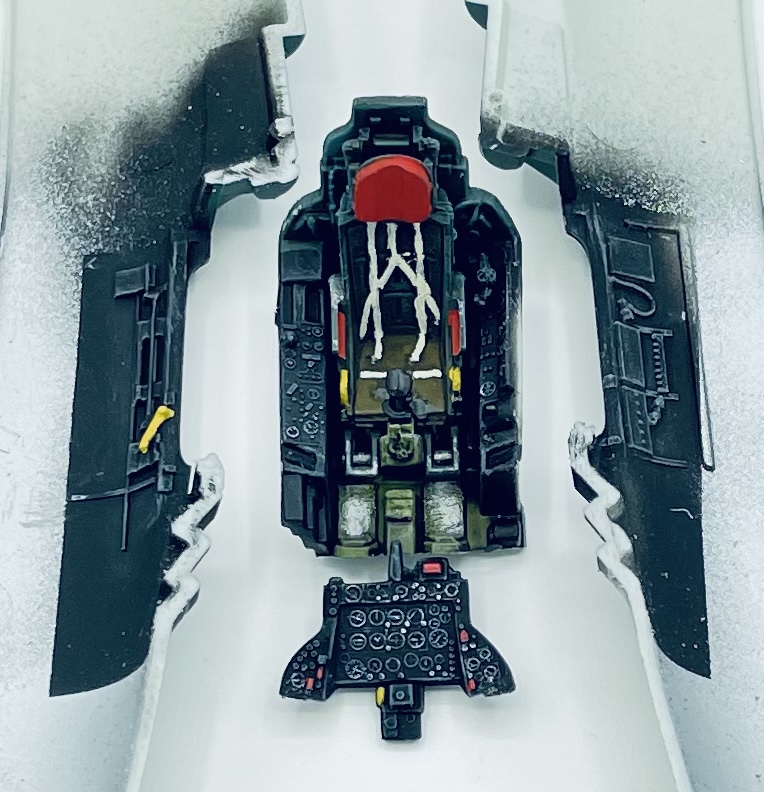
I started with the usual basic cockpit assembly, but since it is a rainy high humidity day here, I held off on starting any airbrushing of the basic colors. The detailing is nice, and should look real good with paint and a wash.
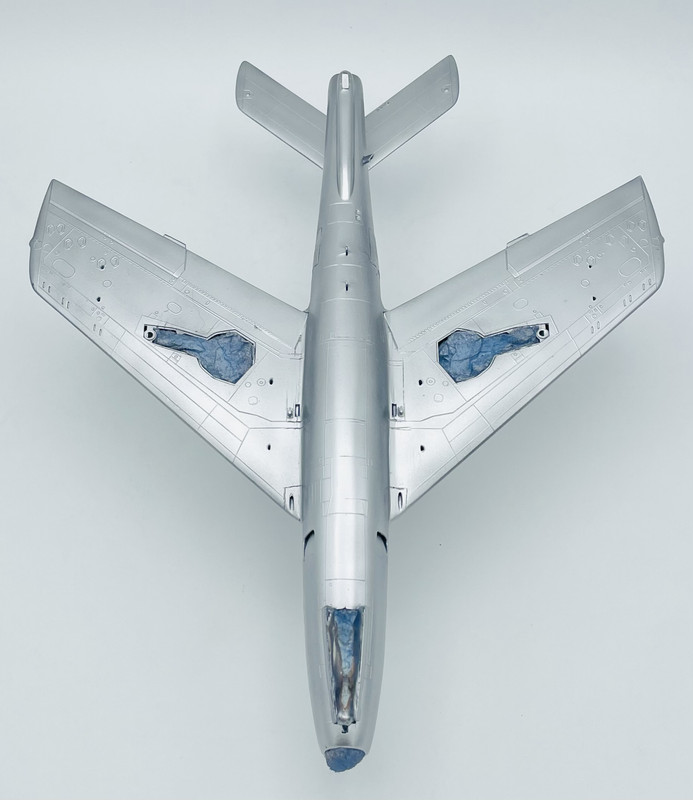
I also drilled out the muzzle areas of the nose and wing root guns. Much easier to do now than later on…
Painting starting in a day or so…
2 Likes
Well, it’s now Saturday evening and time for a weeeknd update… (but not live from New York…)
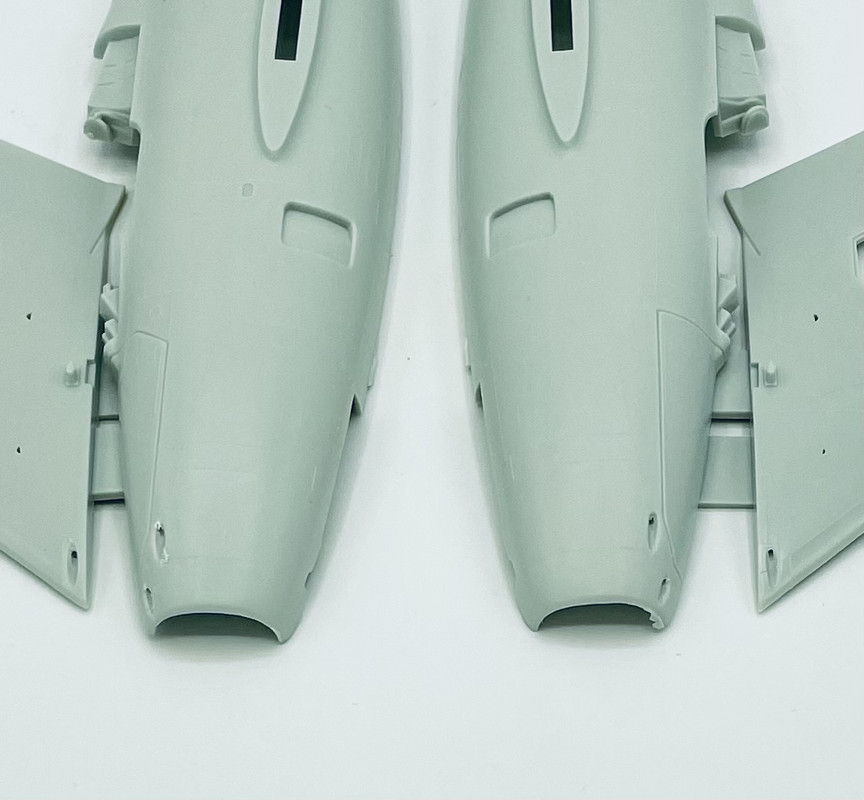
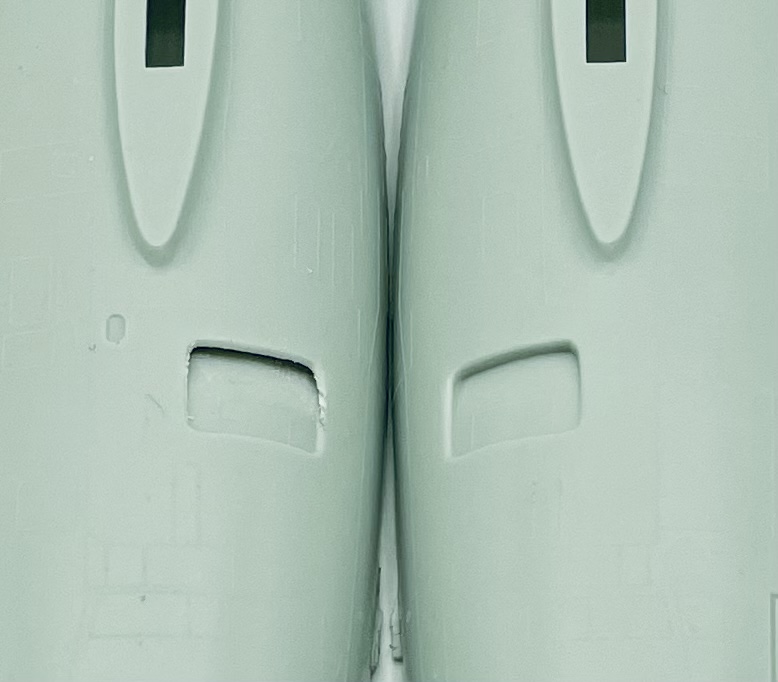
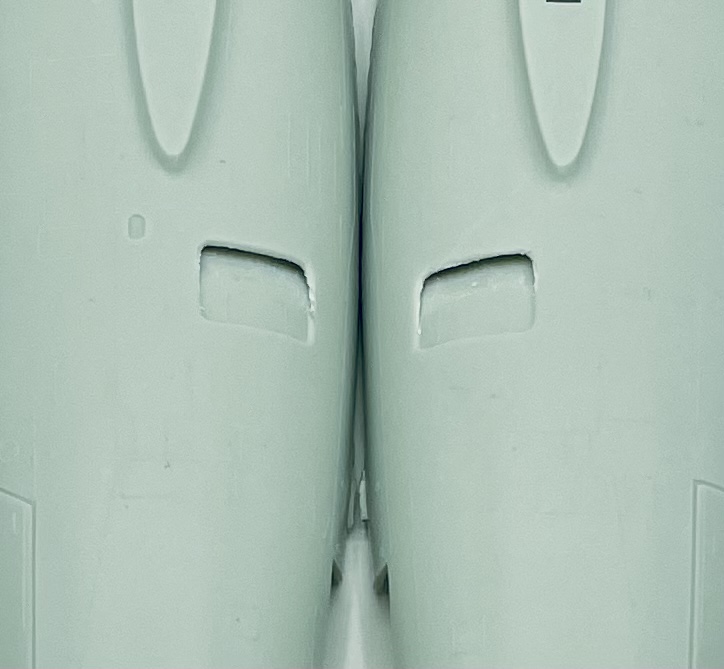
I’ve been doing bits of work on this over the last several days, fist opening up these side auxiliary intake doors. As you can see the molded opening was a bit soft, so opening them up looks a LOT better.
And then the fun part, airbrushing. Since I was using Vallejo Model Air for the interior base colors, and those don’t adhere very well to bare plastic, I airbrushed on some Tamiya Flat Black on all areas that would be painted with the Vallejo.

Then today was airbrushing on the base colors. The National Museum of the USAF has a great online virtual 360 of a F-84F cockpit, that does not look to have been restored, so I went with the colors on that. Sidewalls and consoles-black, floor in Interior Green, and the seat looks the be in Dull Dark Green. The rear wall of the cockpit I also decided to go with the Dull Dark Green as the online view doesn’t show that, but the instructions show that color on that area.
Next up is a bunch of detail painting and when that’s complete, I’ll post another update…
1 Like
Well I see that I haven’t posted any progress updates on this for awhile, so here we go.
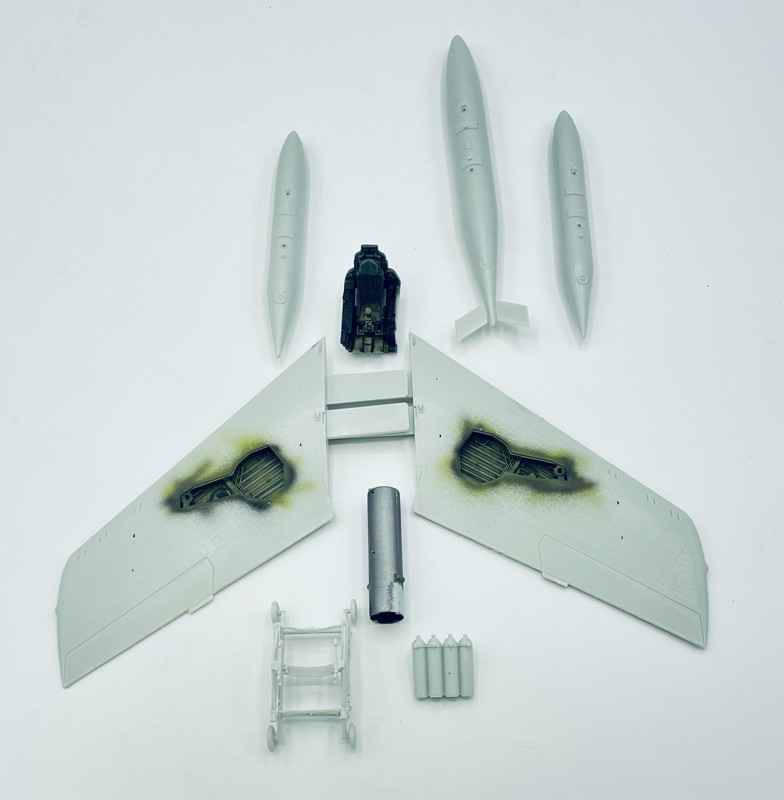
I got the wheel wells washed and dry brushed

I built up stuff that will be hanging off of the wings and got the wings glued together…
And then the past couple of days I’ve been working on detail painting the cockpit
I just need to do some final work on the IP then get the fuselage all assembled… soon…
5 Likes
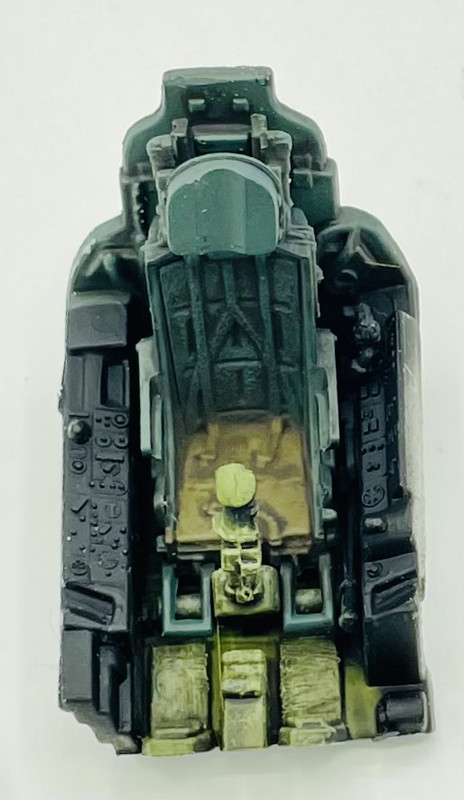
After several weeks of inactivity on this progress, I resumed work on this build, finished up the IP, and I’m calling the cockpit assembly and painting done…
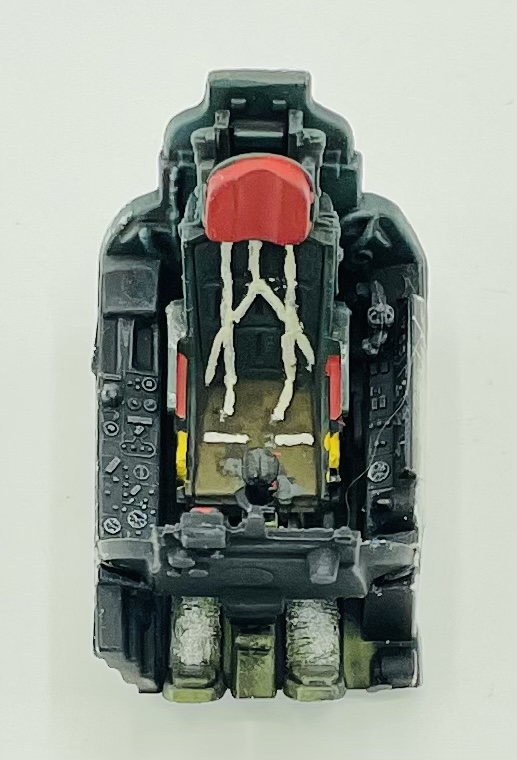
Pay no mind to that bit of fiber that got in there for the photo…
I should hopefully have the fuselage closed up and all innards installed in a few days. It all depends on how this weekend goes…
7 Likes
@Spitfire, thank you. I made some more progress at the bench awhile ago, so I’ll have photos up later on.
1 Like
I love how much you’re doing with the kit without extensive aftermarket. That cockpit looks fantastic.
And the wheel wells with that heavily drybrushed look….I still like that style of modeling. Seems it was more common in the Verlinden era.
1 Like
Thank you. With my photo editing software, the contrasts are more pronounced than to the the Mk.I eyeball in actuality. And I do like the old school methods. Washes and Dry Brushing are great old methods that work quite well.
And now, more progress!
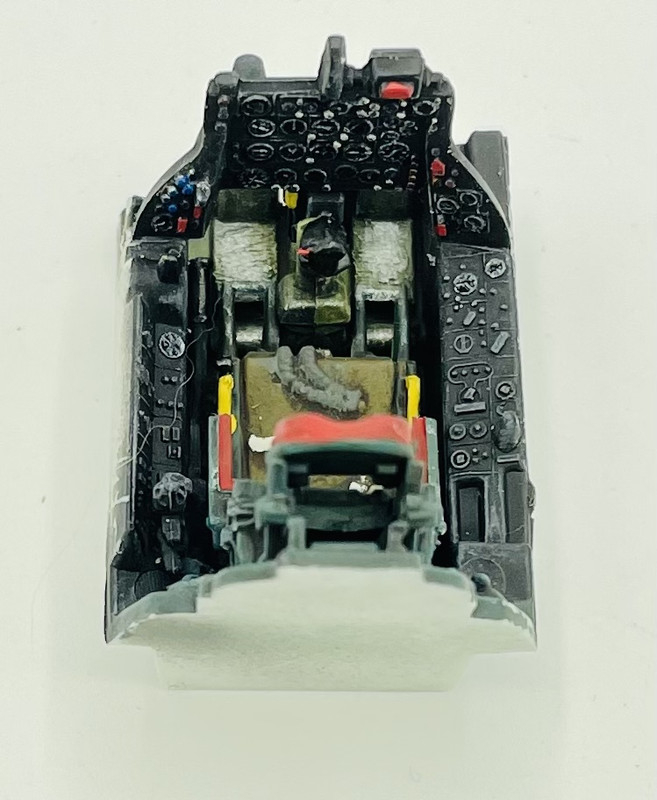
Today I got the final interior sub assemblies added, some weight glued into the nose area, and the fuselage glued together
Of course I had to do a test fit of the wings…

And some close ups of the installed cockpit….
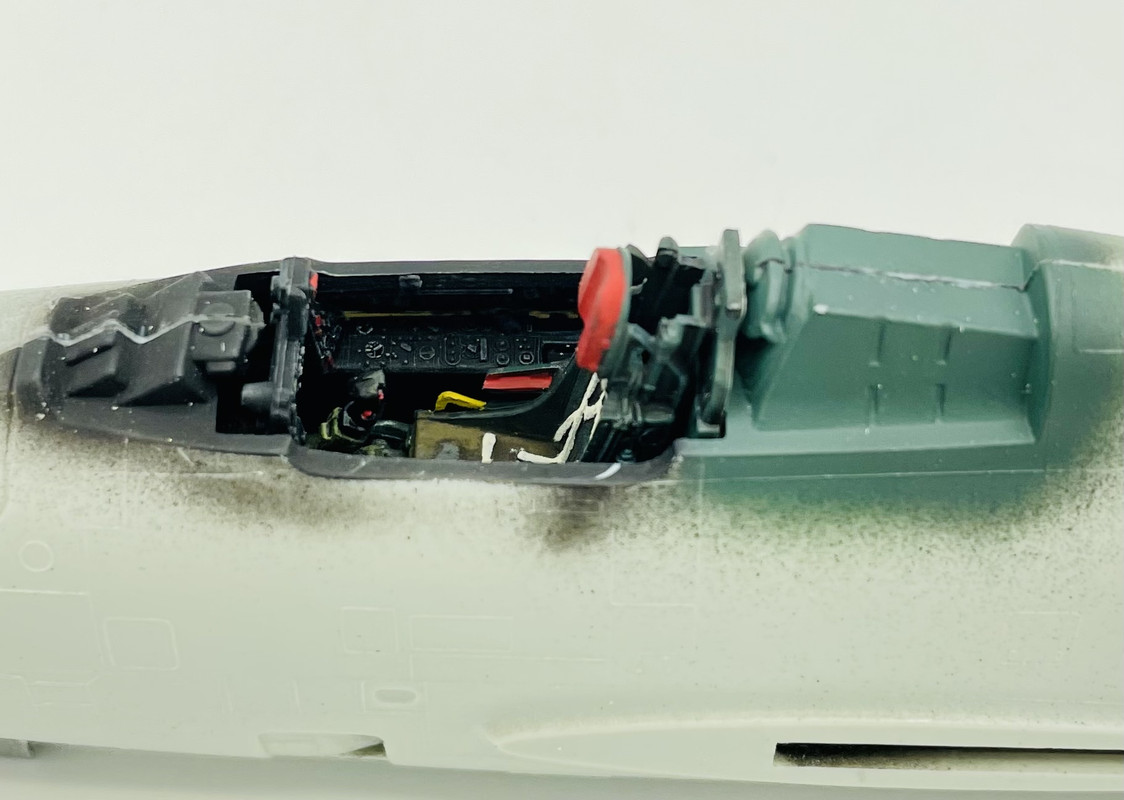
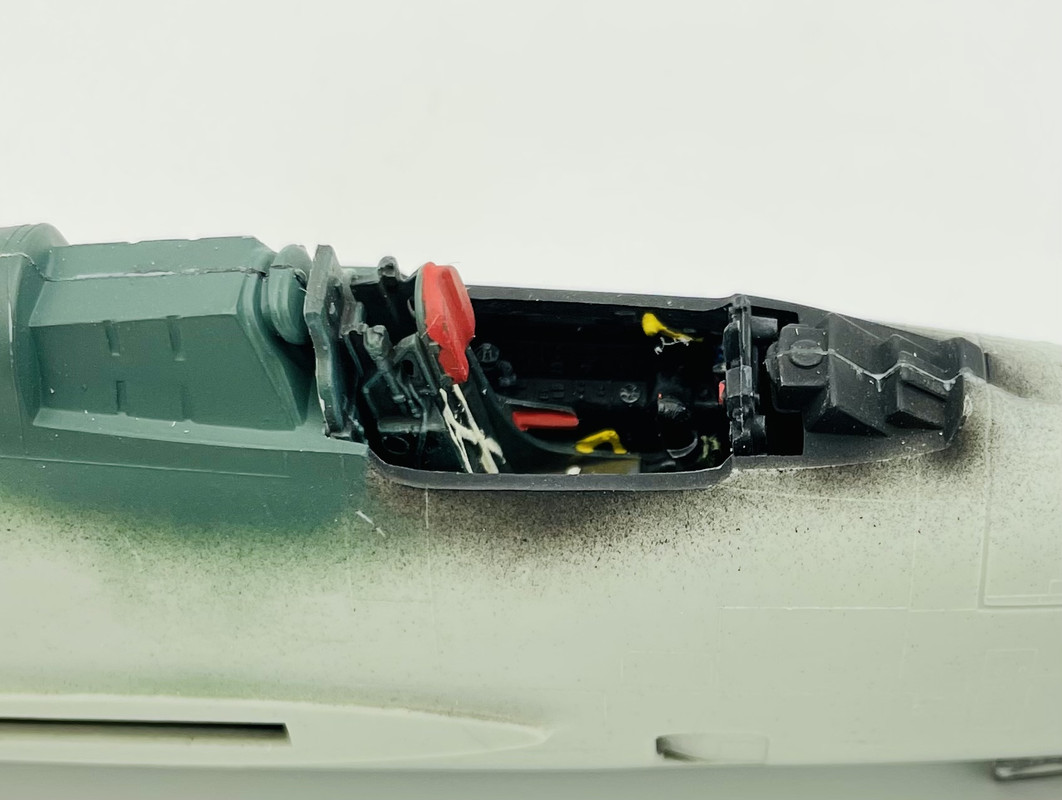
Next up some seam clean up and basic final assembly…
3 Likes
Forward motion has occurred! Progress has been made after having to shut down, tear down my old work bench, then set up a new one.
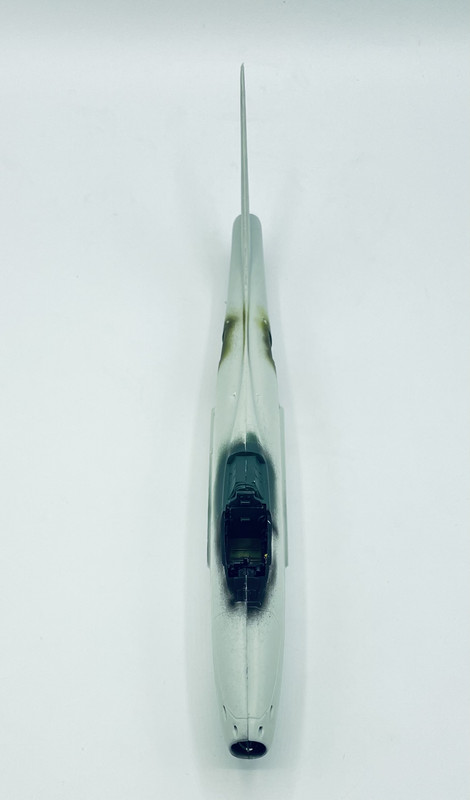
Yesterday I sanded the fuselage seams smooth, which required extra smoothing effort due to the NMF this will be wearing. Today I scribed in the lost panel lines, then added the wings and stabilators.
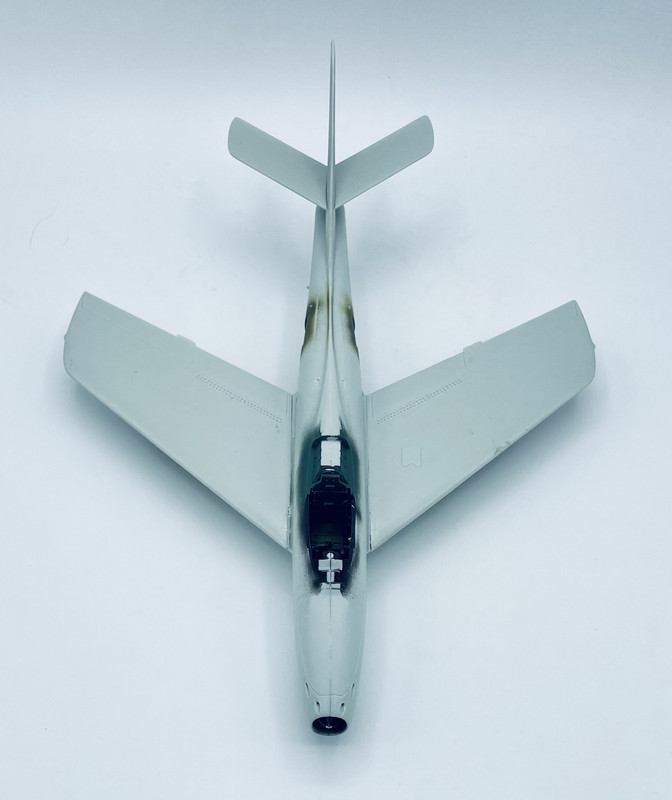
and then, just like that, it took on the shape of a Thunderstreak….
Next up is a little seam filling at the wing roots…
2 Likes
Well, it’s been a month since my last update, so here we go…
Based on a technique I saw elsewhere of putting on a gloss blue base coat under an aluminum metallic NMF, I’m giving that a shot here. In this case I used Humbrol Midnight Blue, which is also a dead match for Blue Angels Blue… I painted the undersides today and will let it dry overnight so as not to mar the finish
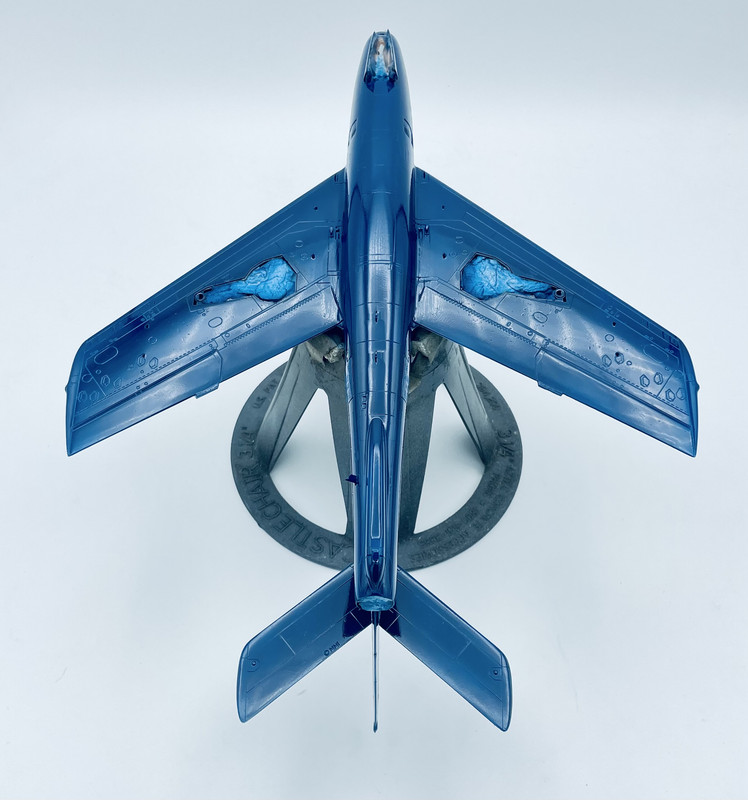
and then to get a different tone on the drop tanks, I used a gloss dark gray on those
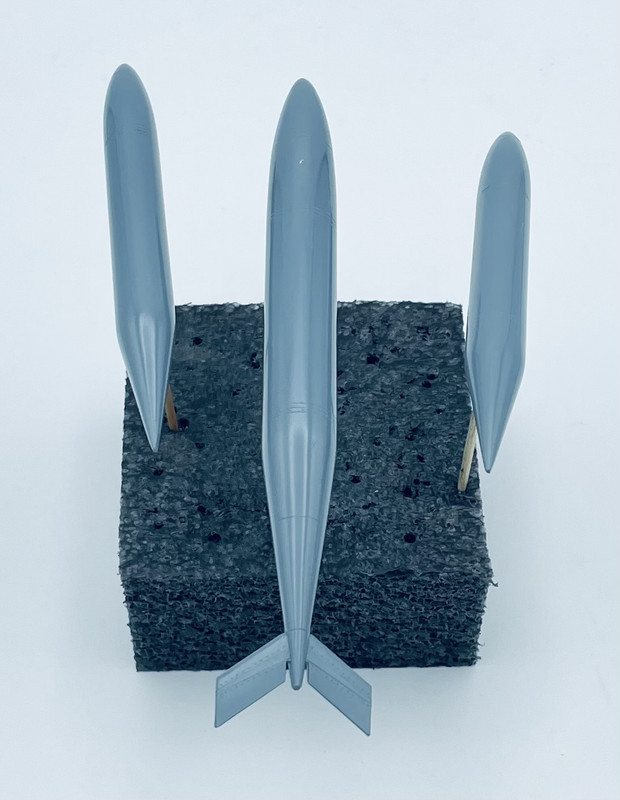
I’ll have more progress in a few days hopefully 
3 Likes
Looking really good here! I have had this one in my stash for years and watching you makes me want to dig it out.
Michael 
Thanks Michael. It’s getting there slowly.
Todays progress update, I had finished redos and touch ups in the cockpit area, masked off the canopy areas, and glued them in place. Although the canopy hood is only tack glued in place for removal later.
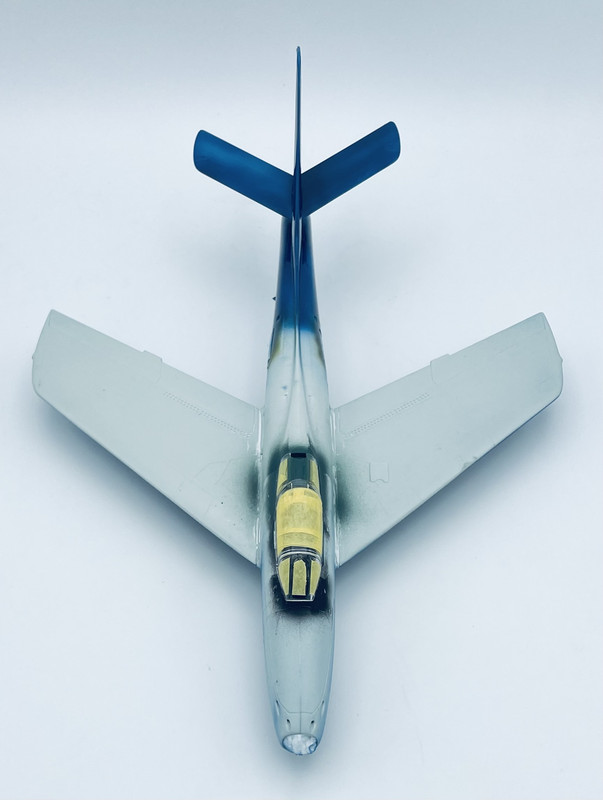
Next up is a black coat on the canopy framing, then the gloss dark blue on the upper surfaces…
1 Like
I completed the gloss blue undercoat painting yesterday, and the paint finally dried overnight for handling. I used gloss gray on the drop tanks and a different gloss blue on the bomb for different metallic shades in the finish. Let’s see how that turns out.
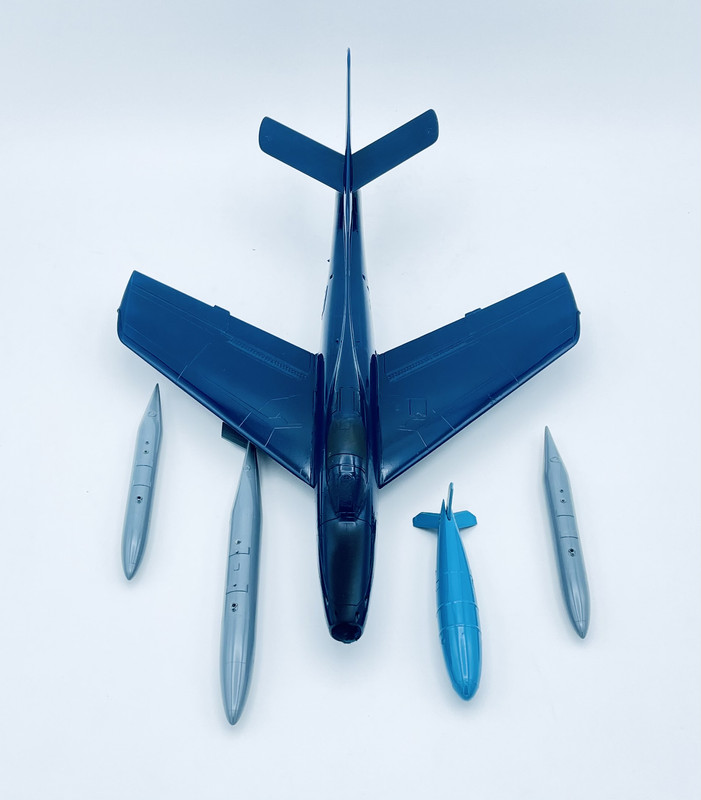
Oh yeah, I do have to say that this gloss Humbrol enamel looks magnificent when dried. Soooo shiny and smooth.
3 Likes
Looks great! Maybe you should leave it blue? 
Interested to see how this affects the metal finish.
Thanks! It sure would make a great color for an aerobatic team aircraft with some trim colors.
I’m hoping that the blue will make something of a difference. At the very least it’s giving a nice shiny base beneath.
2 Likes
I got the aluminum airbrushed on today. AK Real Color for the shade. Nice and bright!
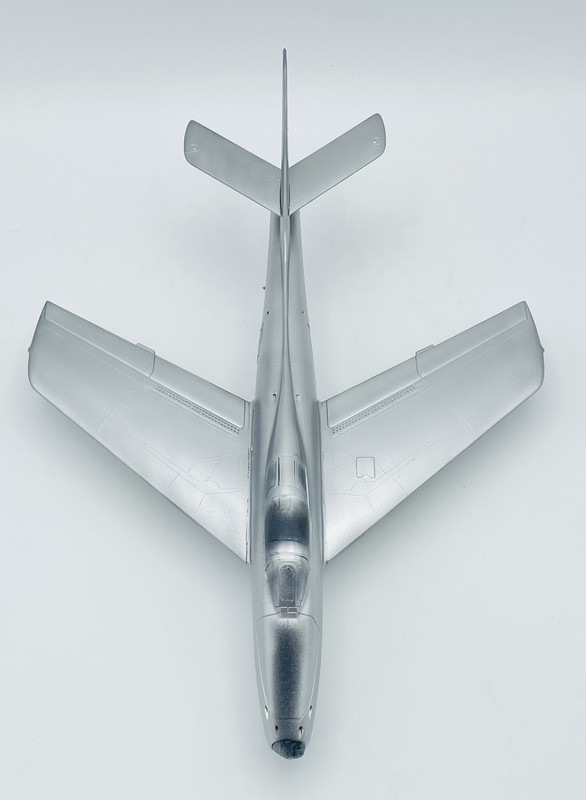
Now I need to do some masking for various panels in a few areas, plus the trim colors and anti glare strip….
6 Likes
Looks good. Do you prefer the AK to something like Alclad? Curious how they compare.
Thanks Spit. I’ve barely used Alclad, so I can’t really comment on any differences. But this being a standard lacquer paint, I figured that they would handle masking better. We shall see. NMFs are so damn fussy…
1 Like
They sure are. Just used Alclad for the first time this weekend and was pleasantly surprised. It seems pretty strong once dry, though I certainly didn’t give it any excuses to peel.
I did have an issue with the second color I sprayed out of the airbrush–no matter what it was–creating this gunky mess in the airbrush. That was annoying.