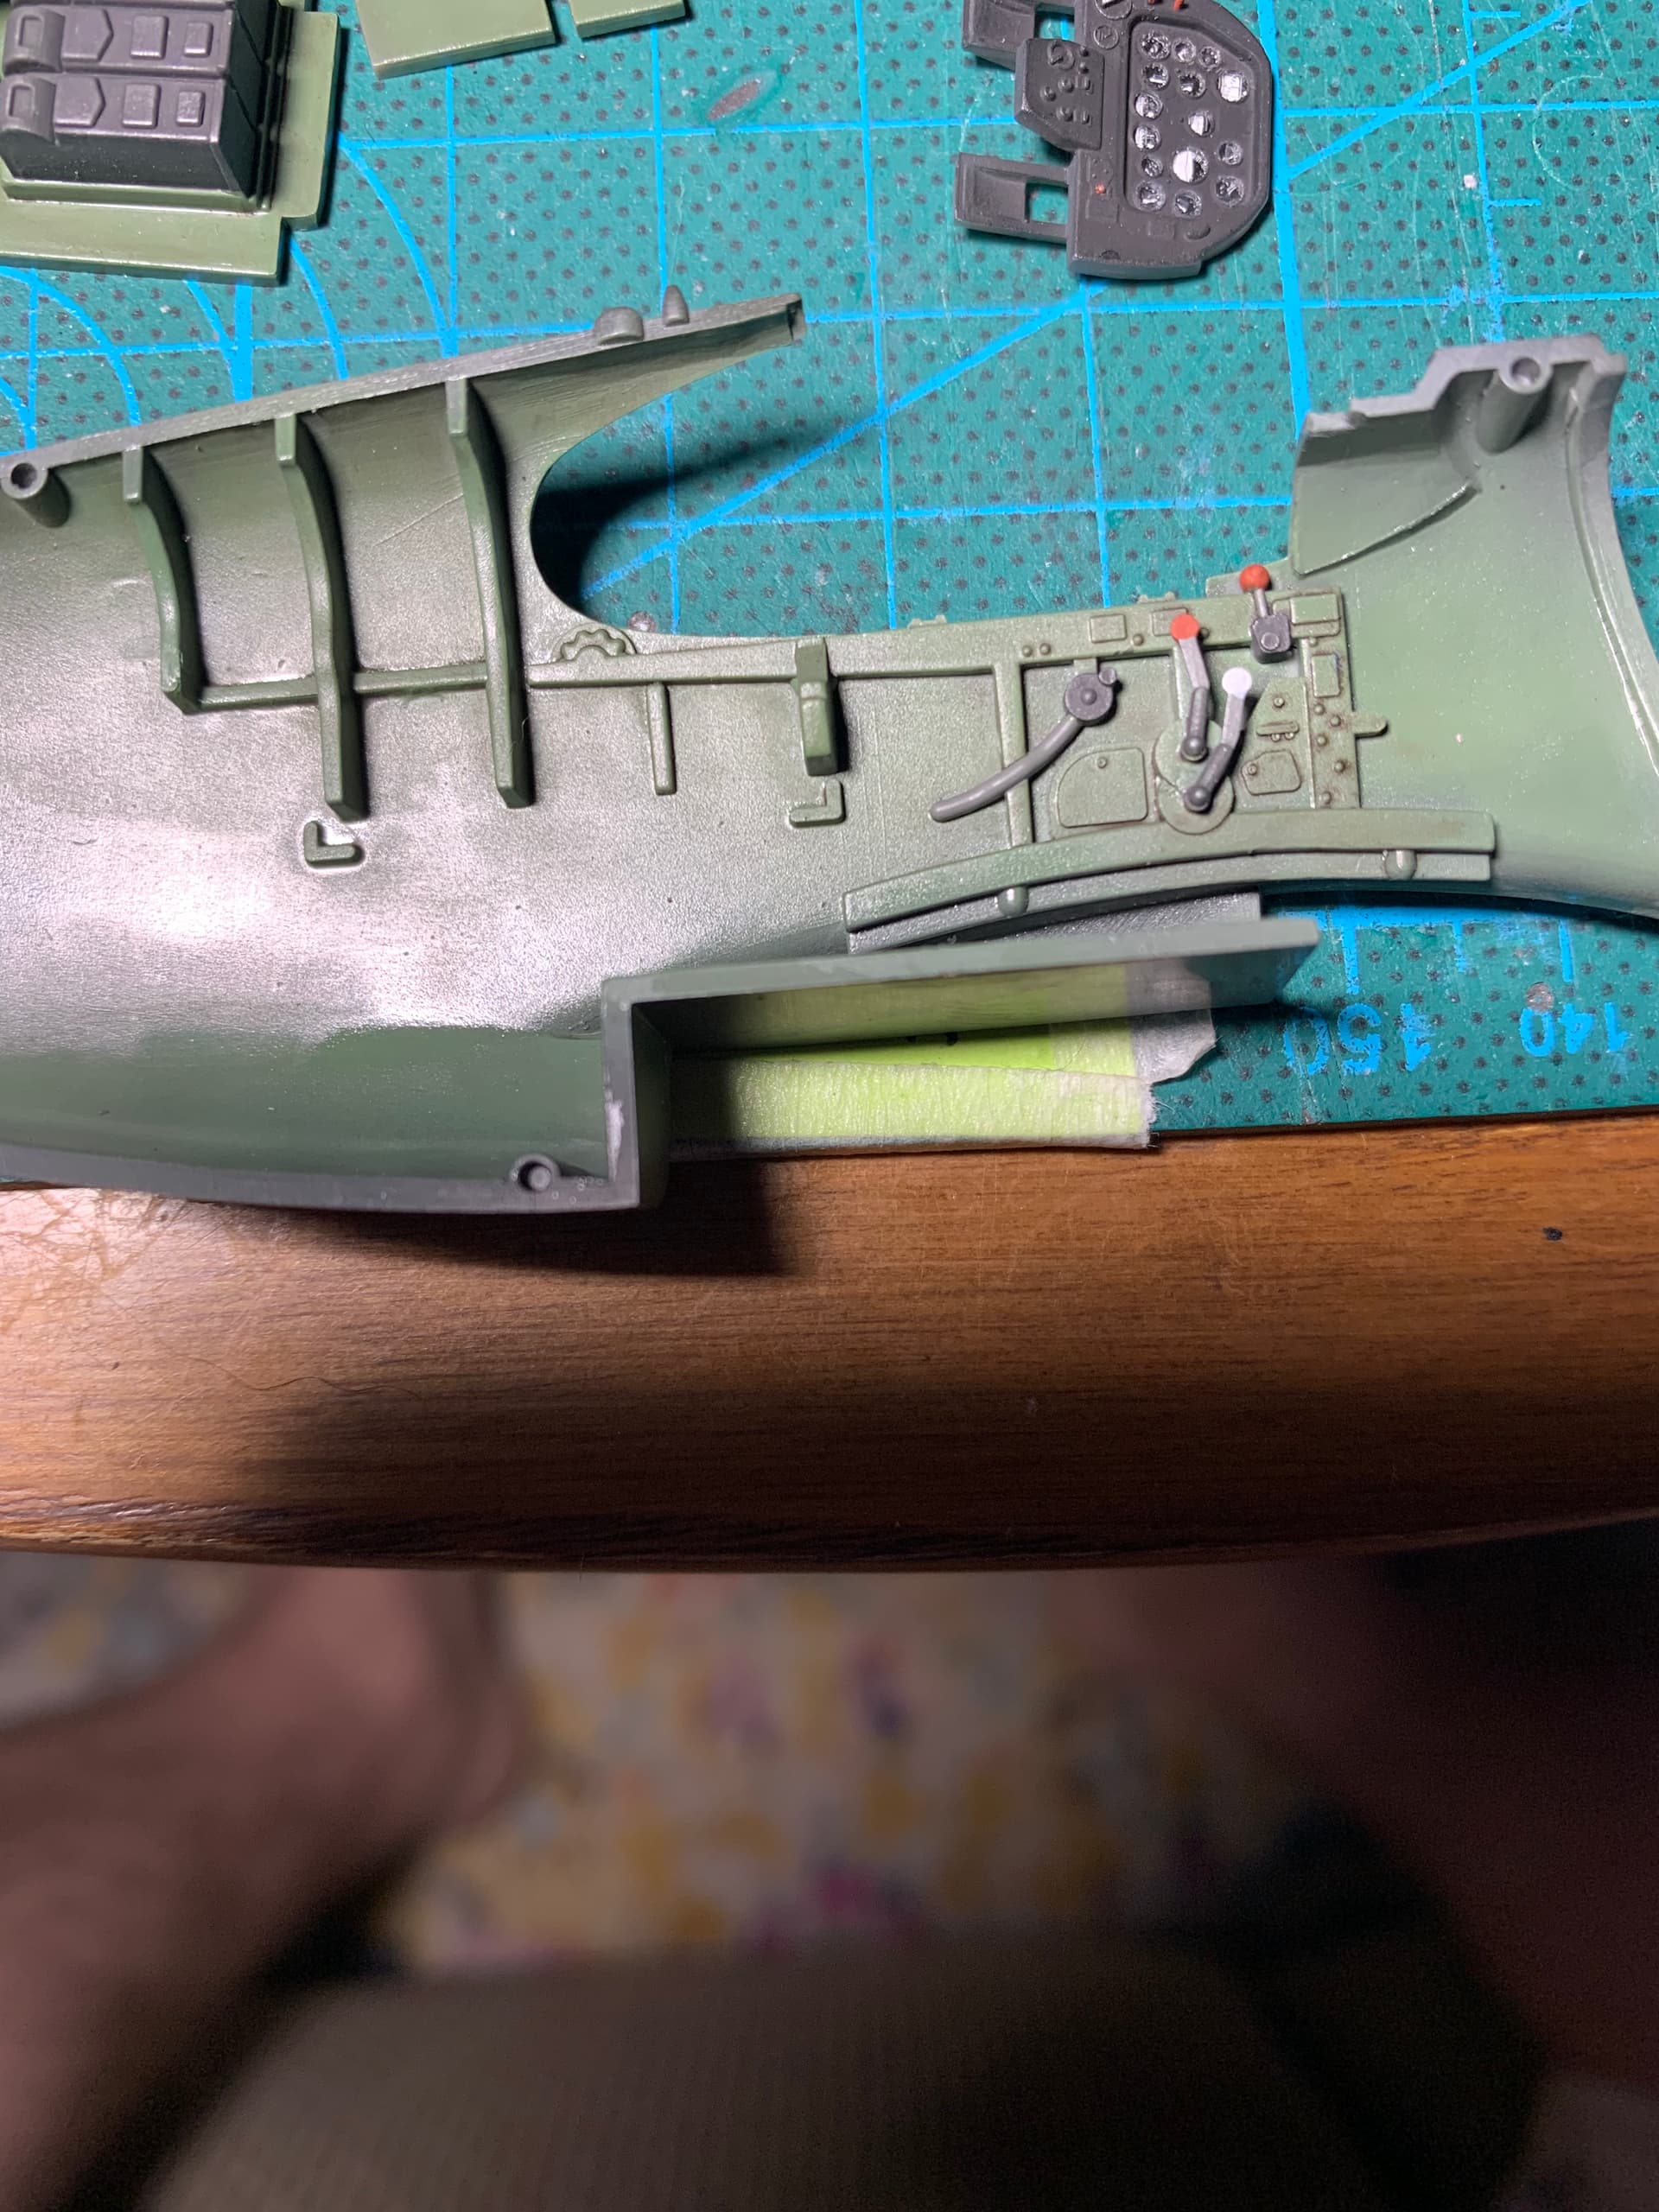
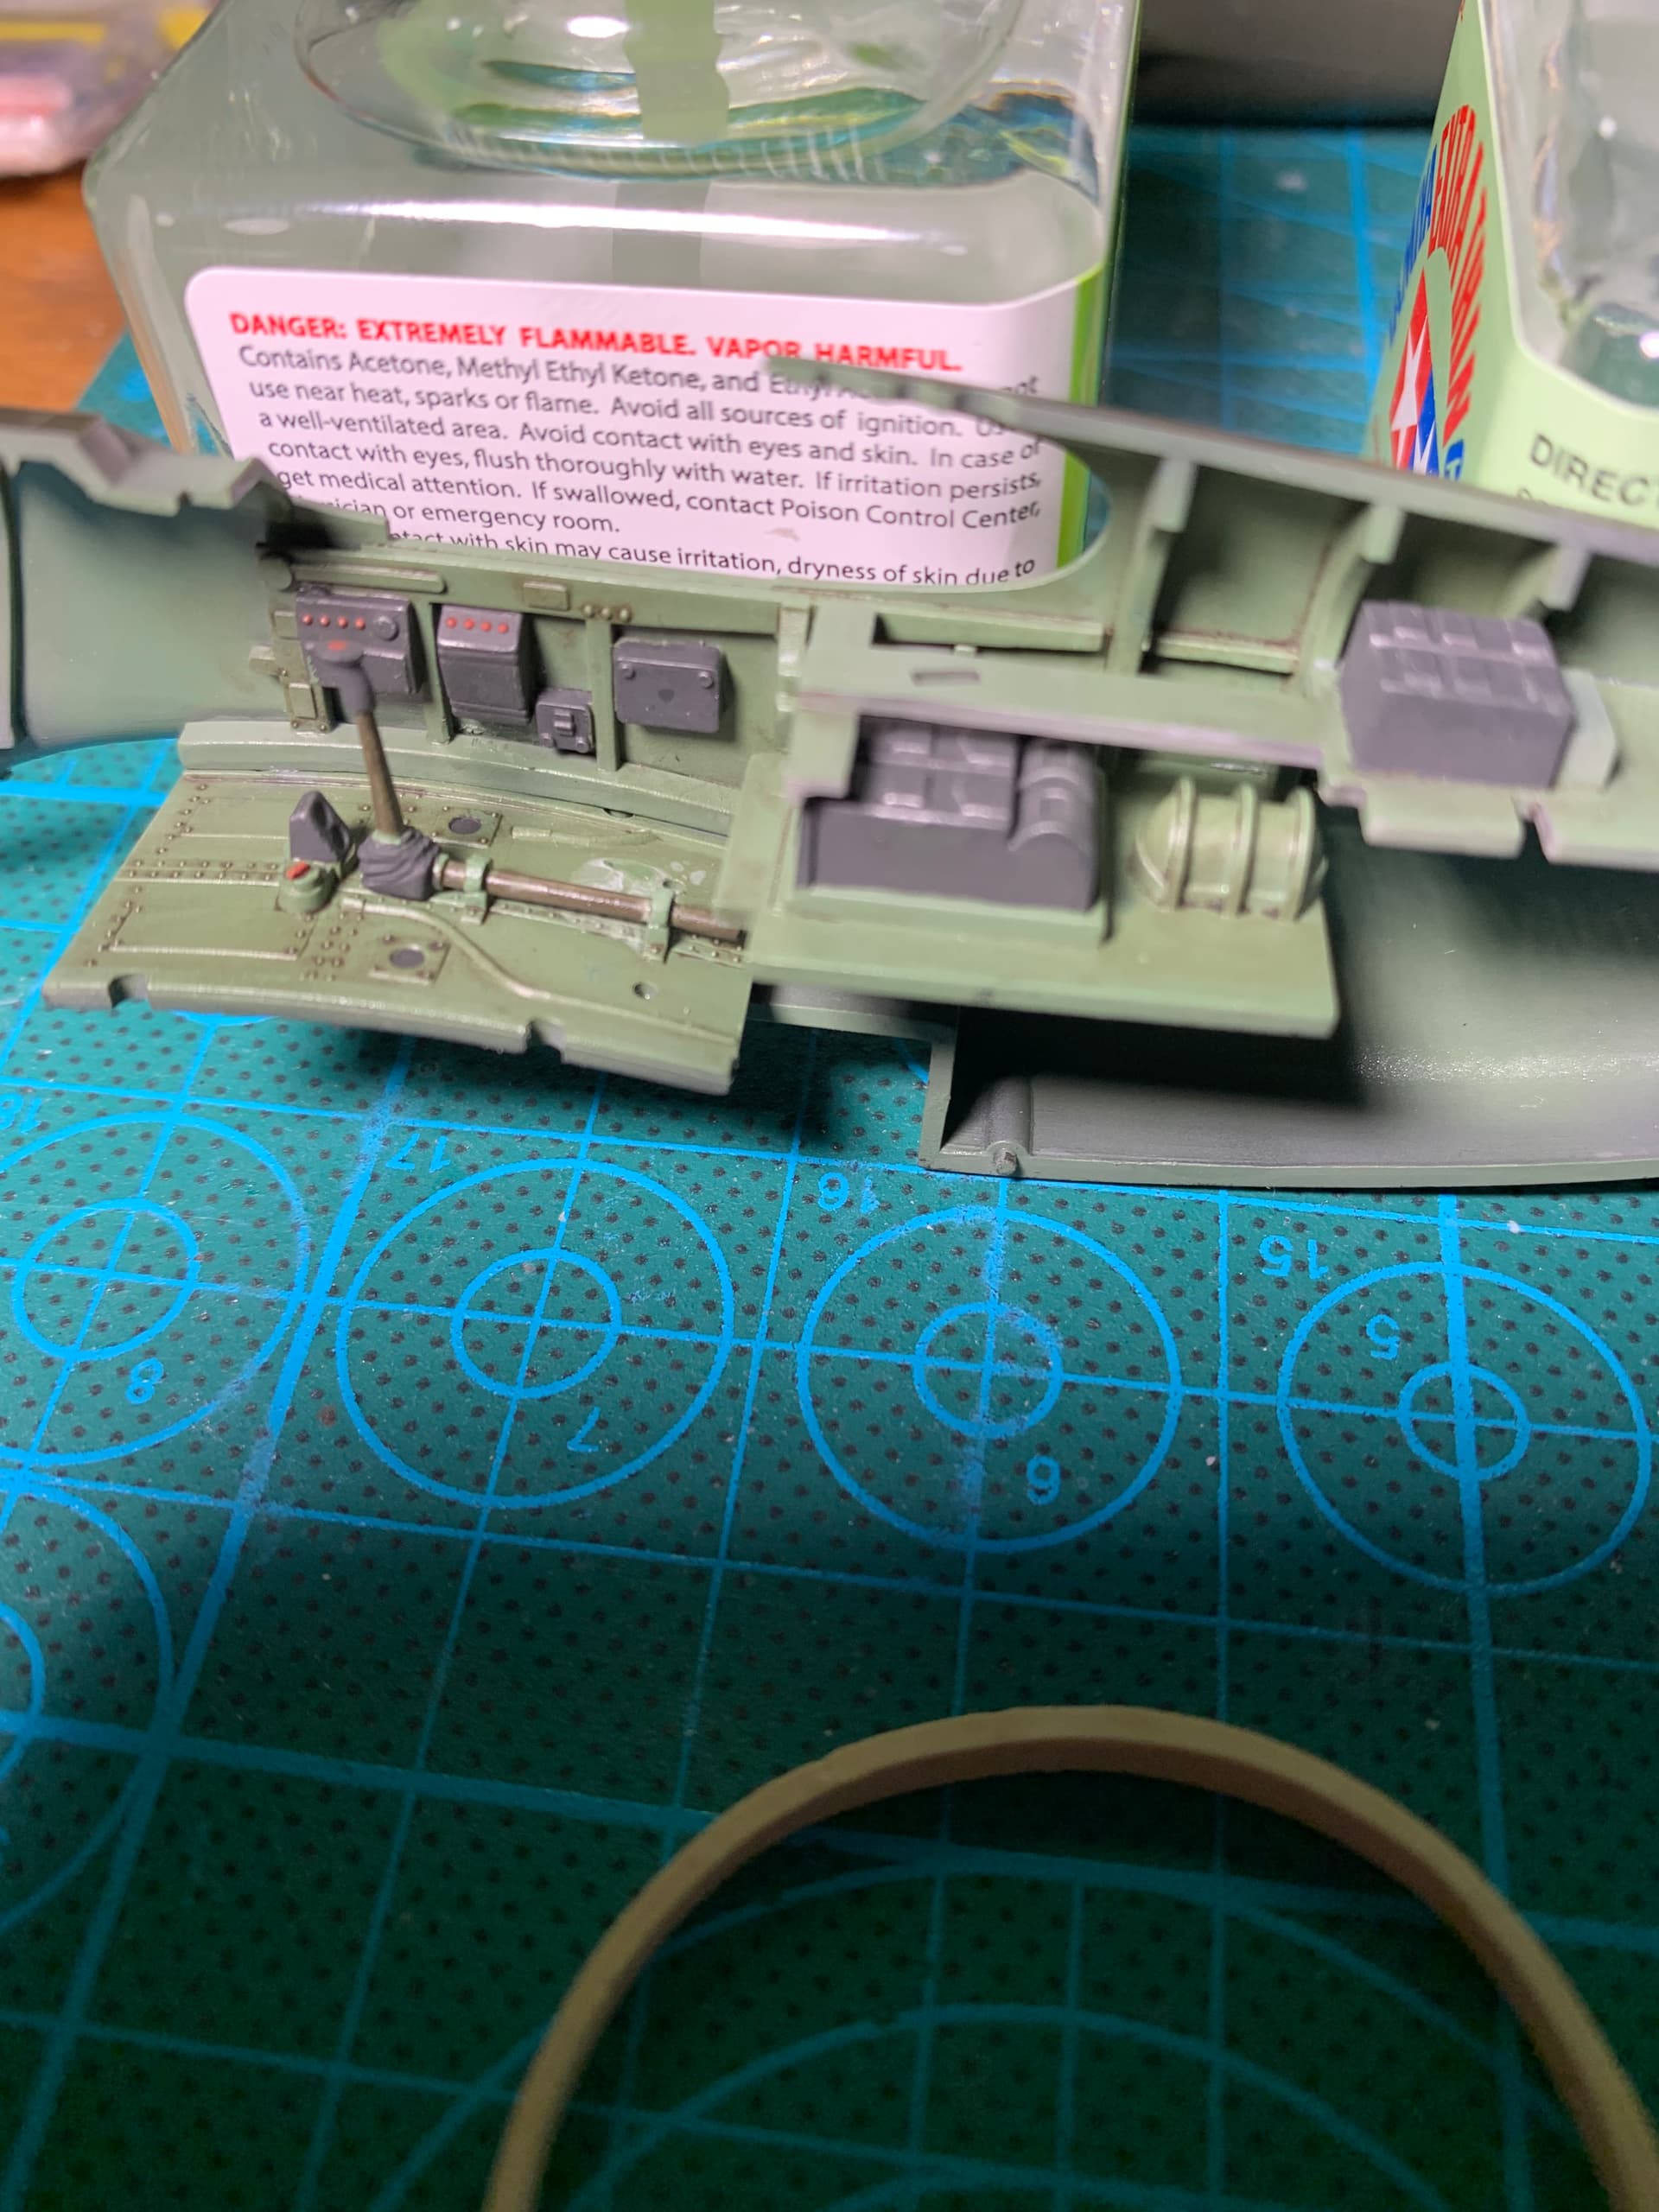
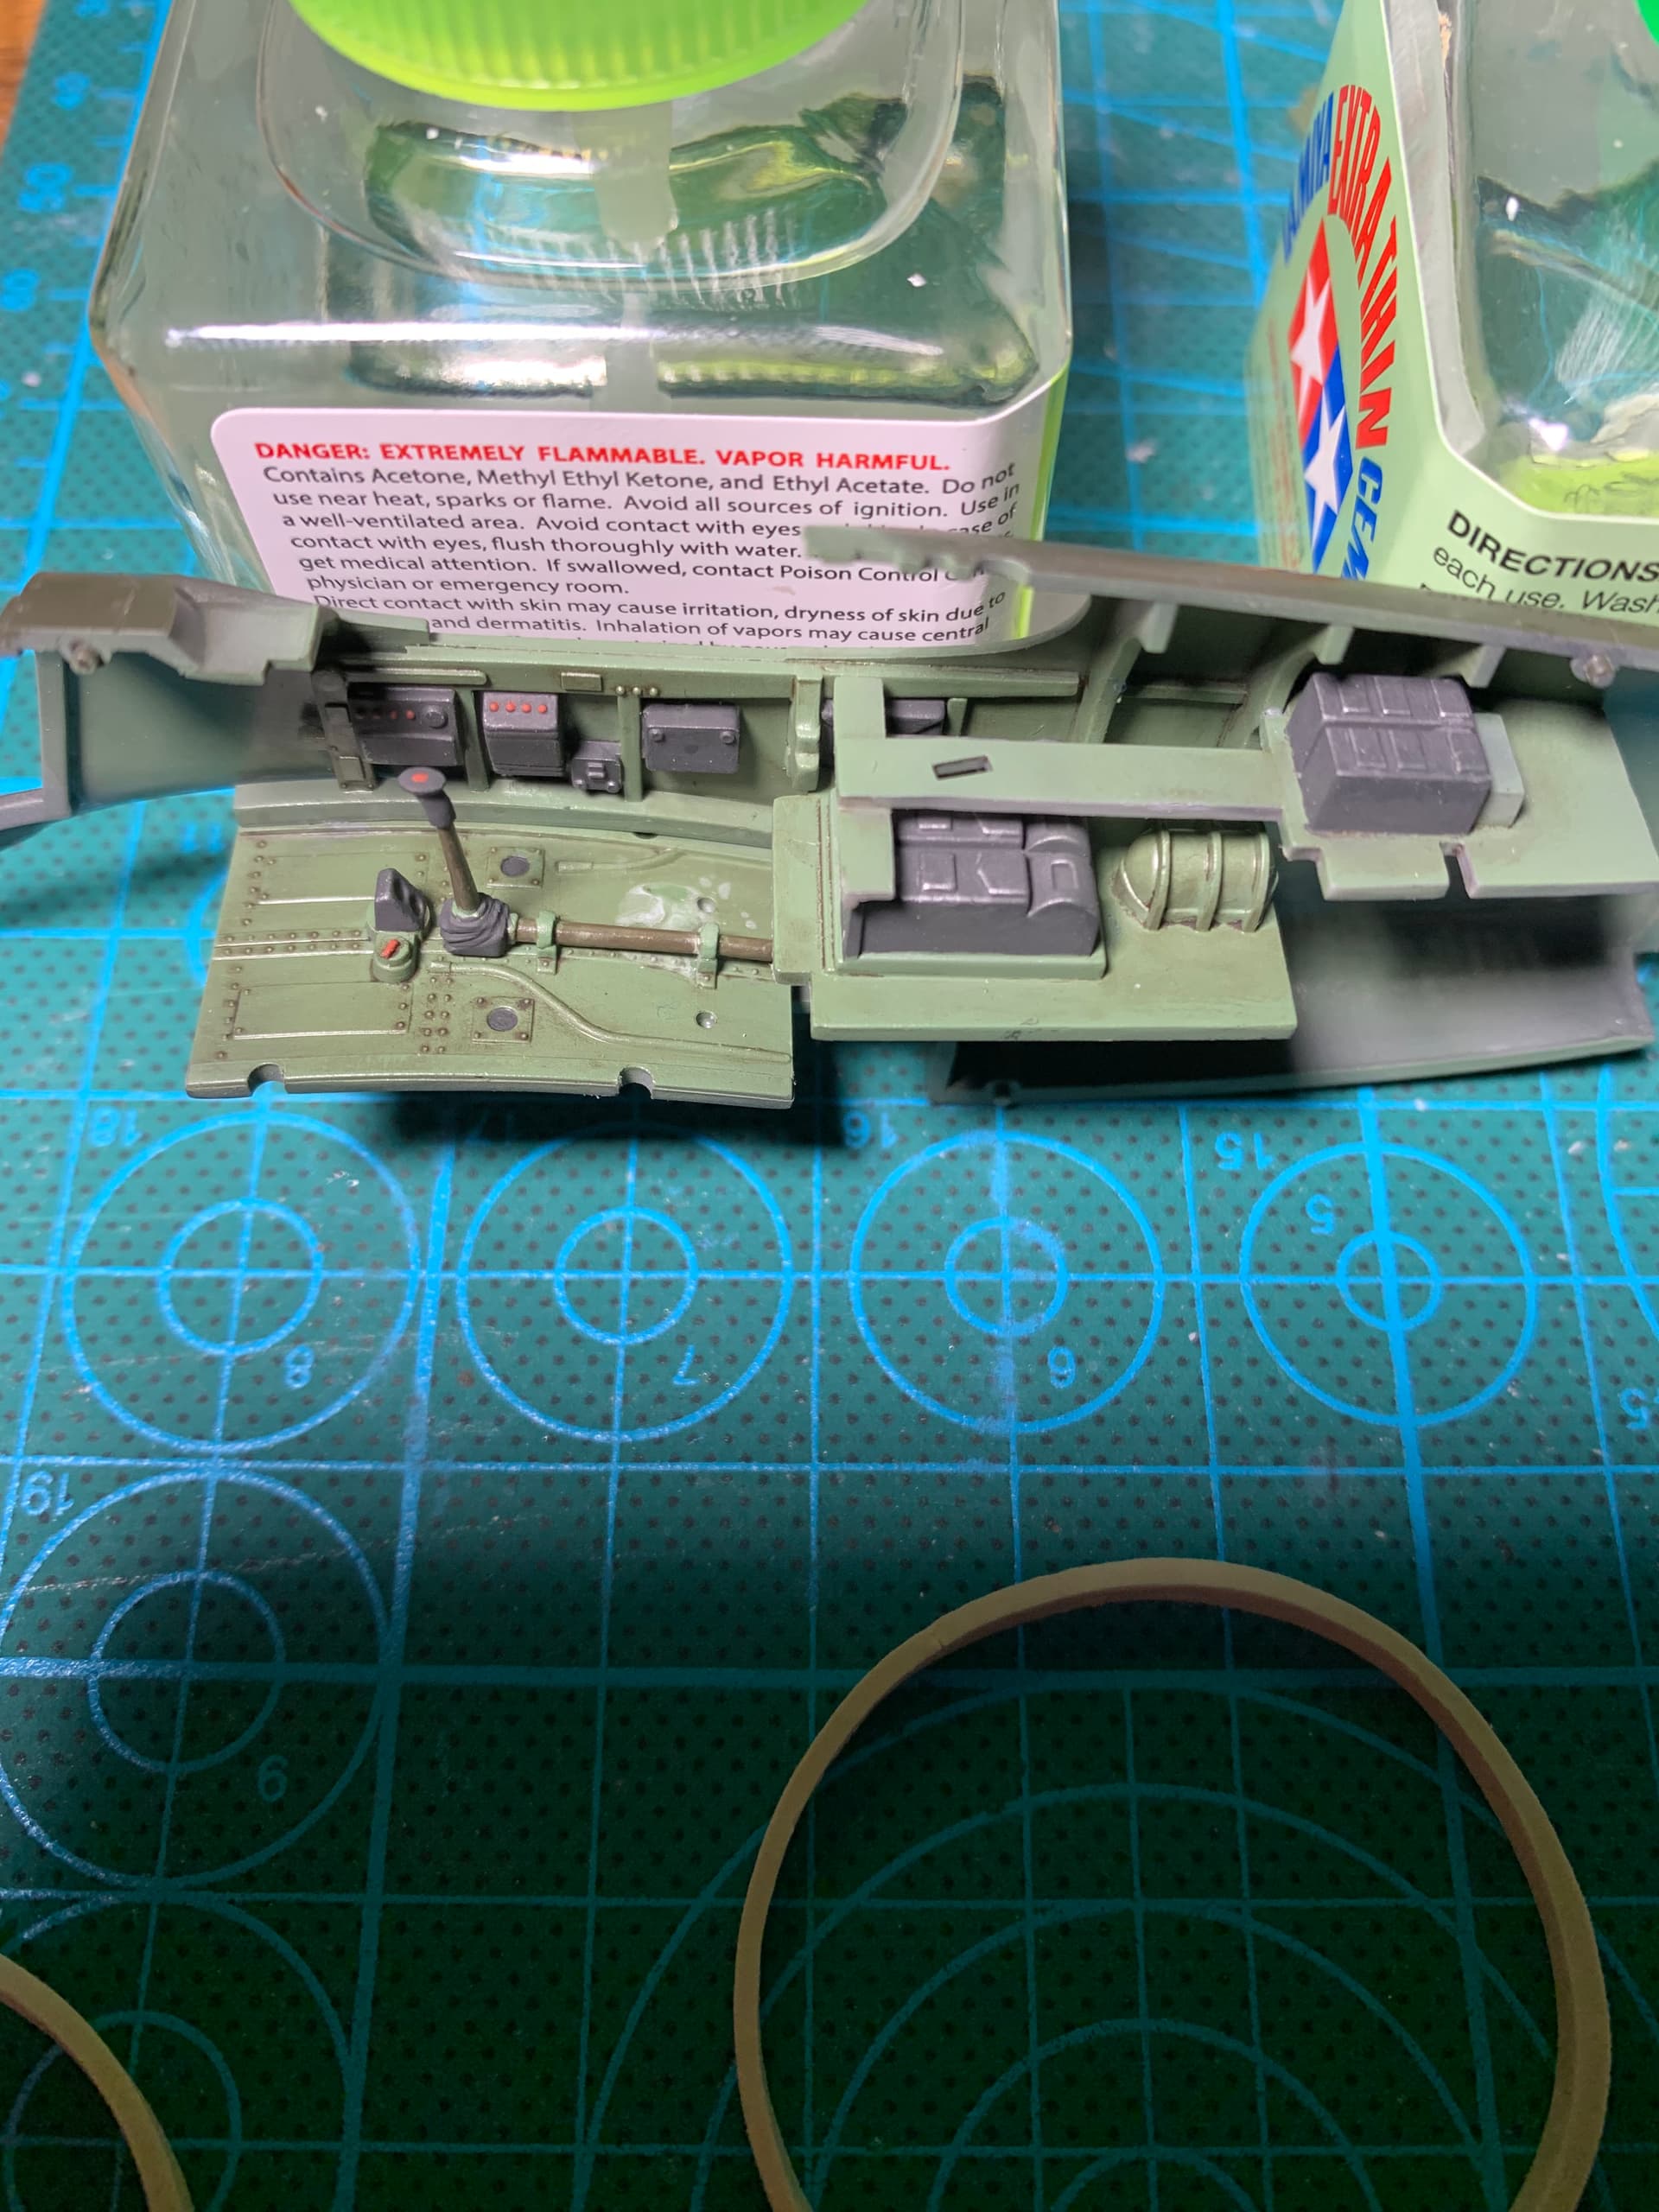
Just about time to close up the fueslages last two steps are to add the tail wheel, which must be done before closing up the fueslage, and painting the rudder pedals.

7 Likes
Looks great so far bud.
1 Like
Triple your fun !
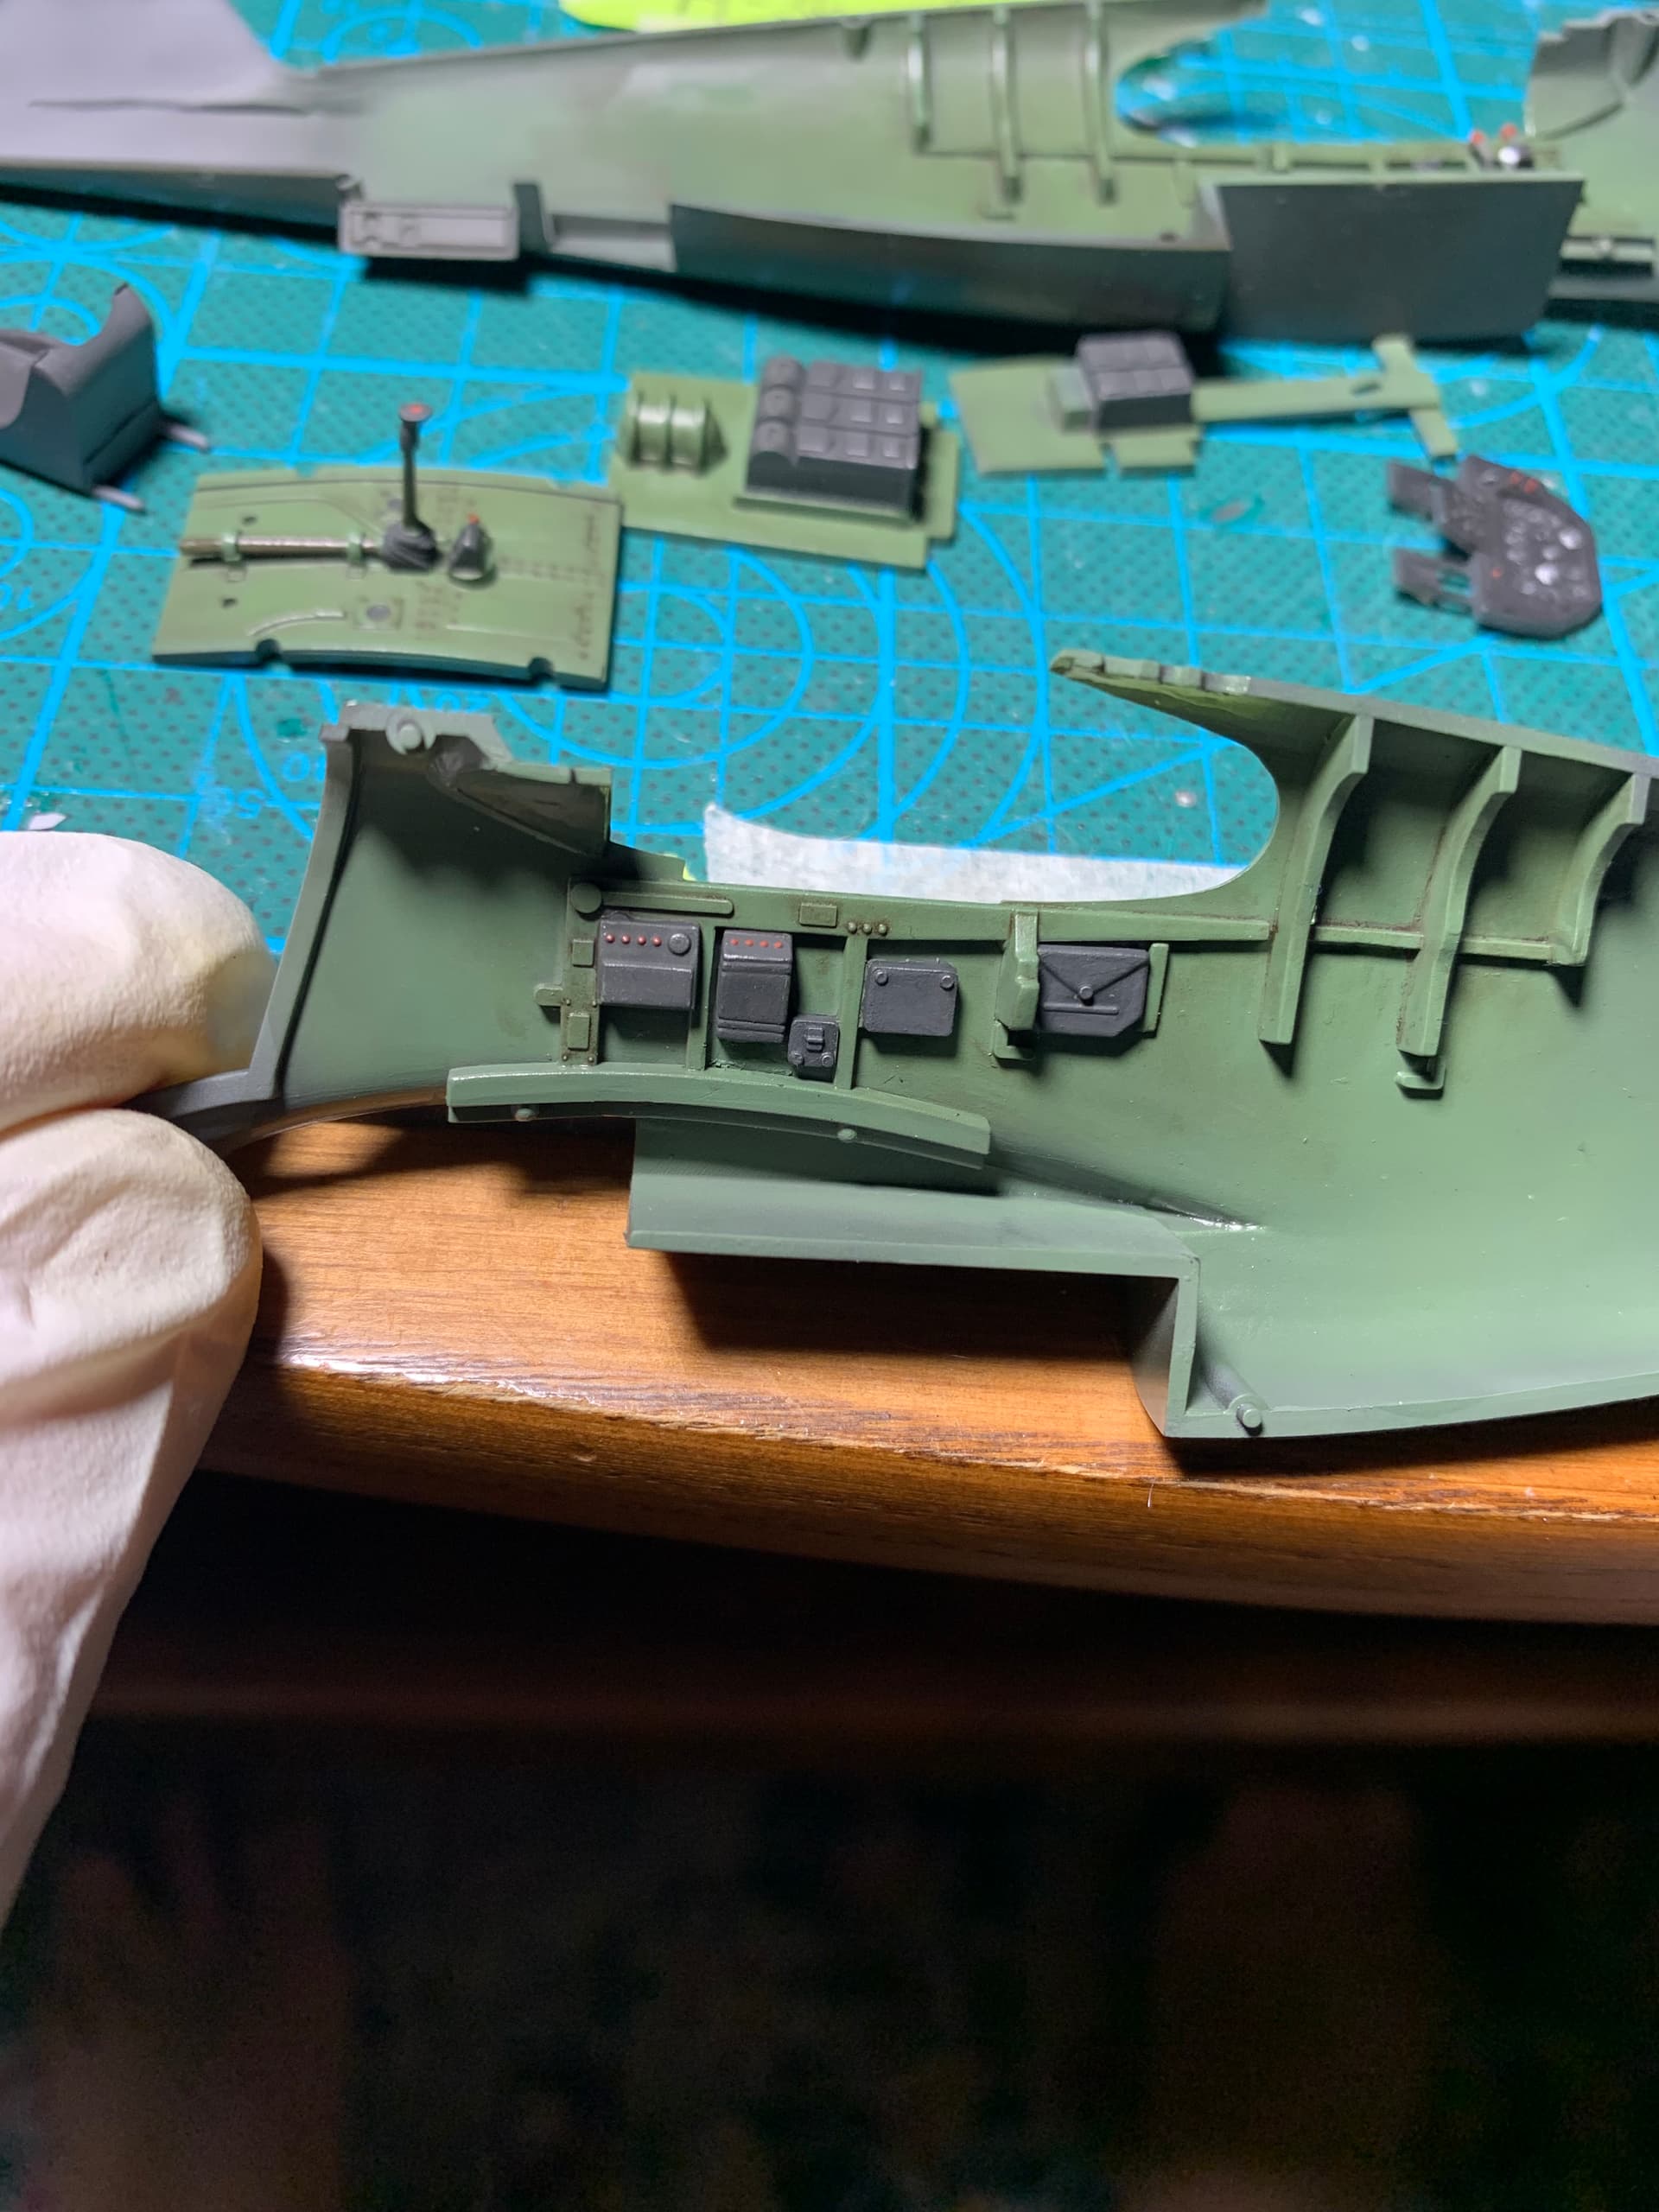
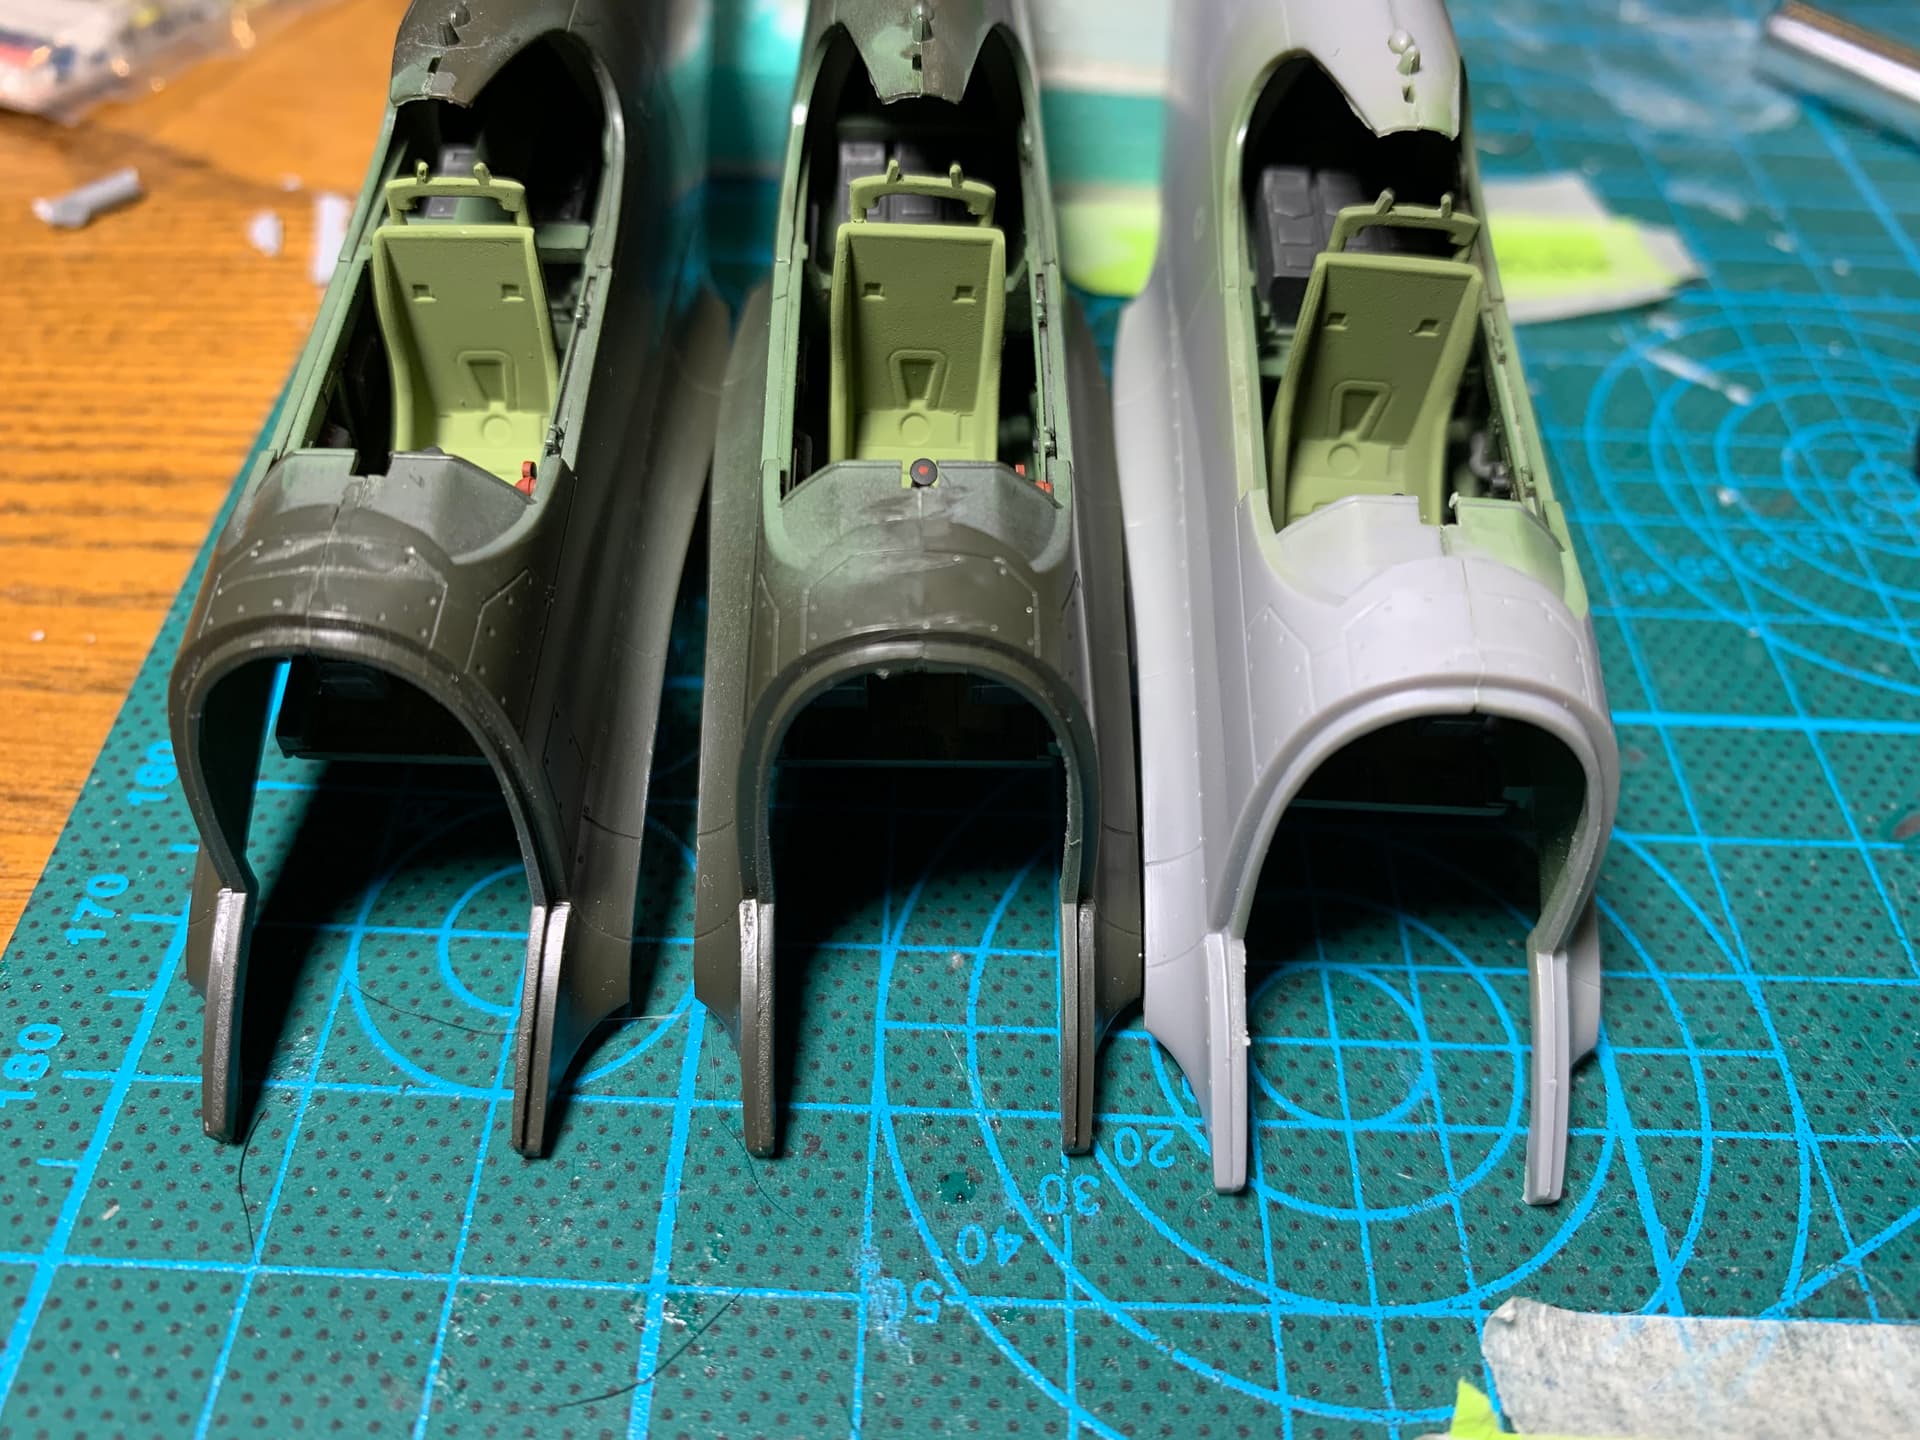
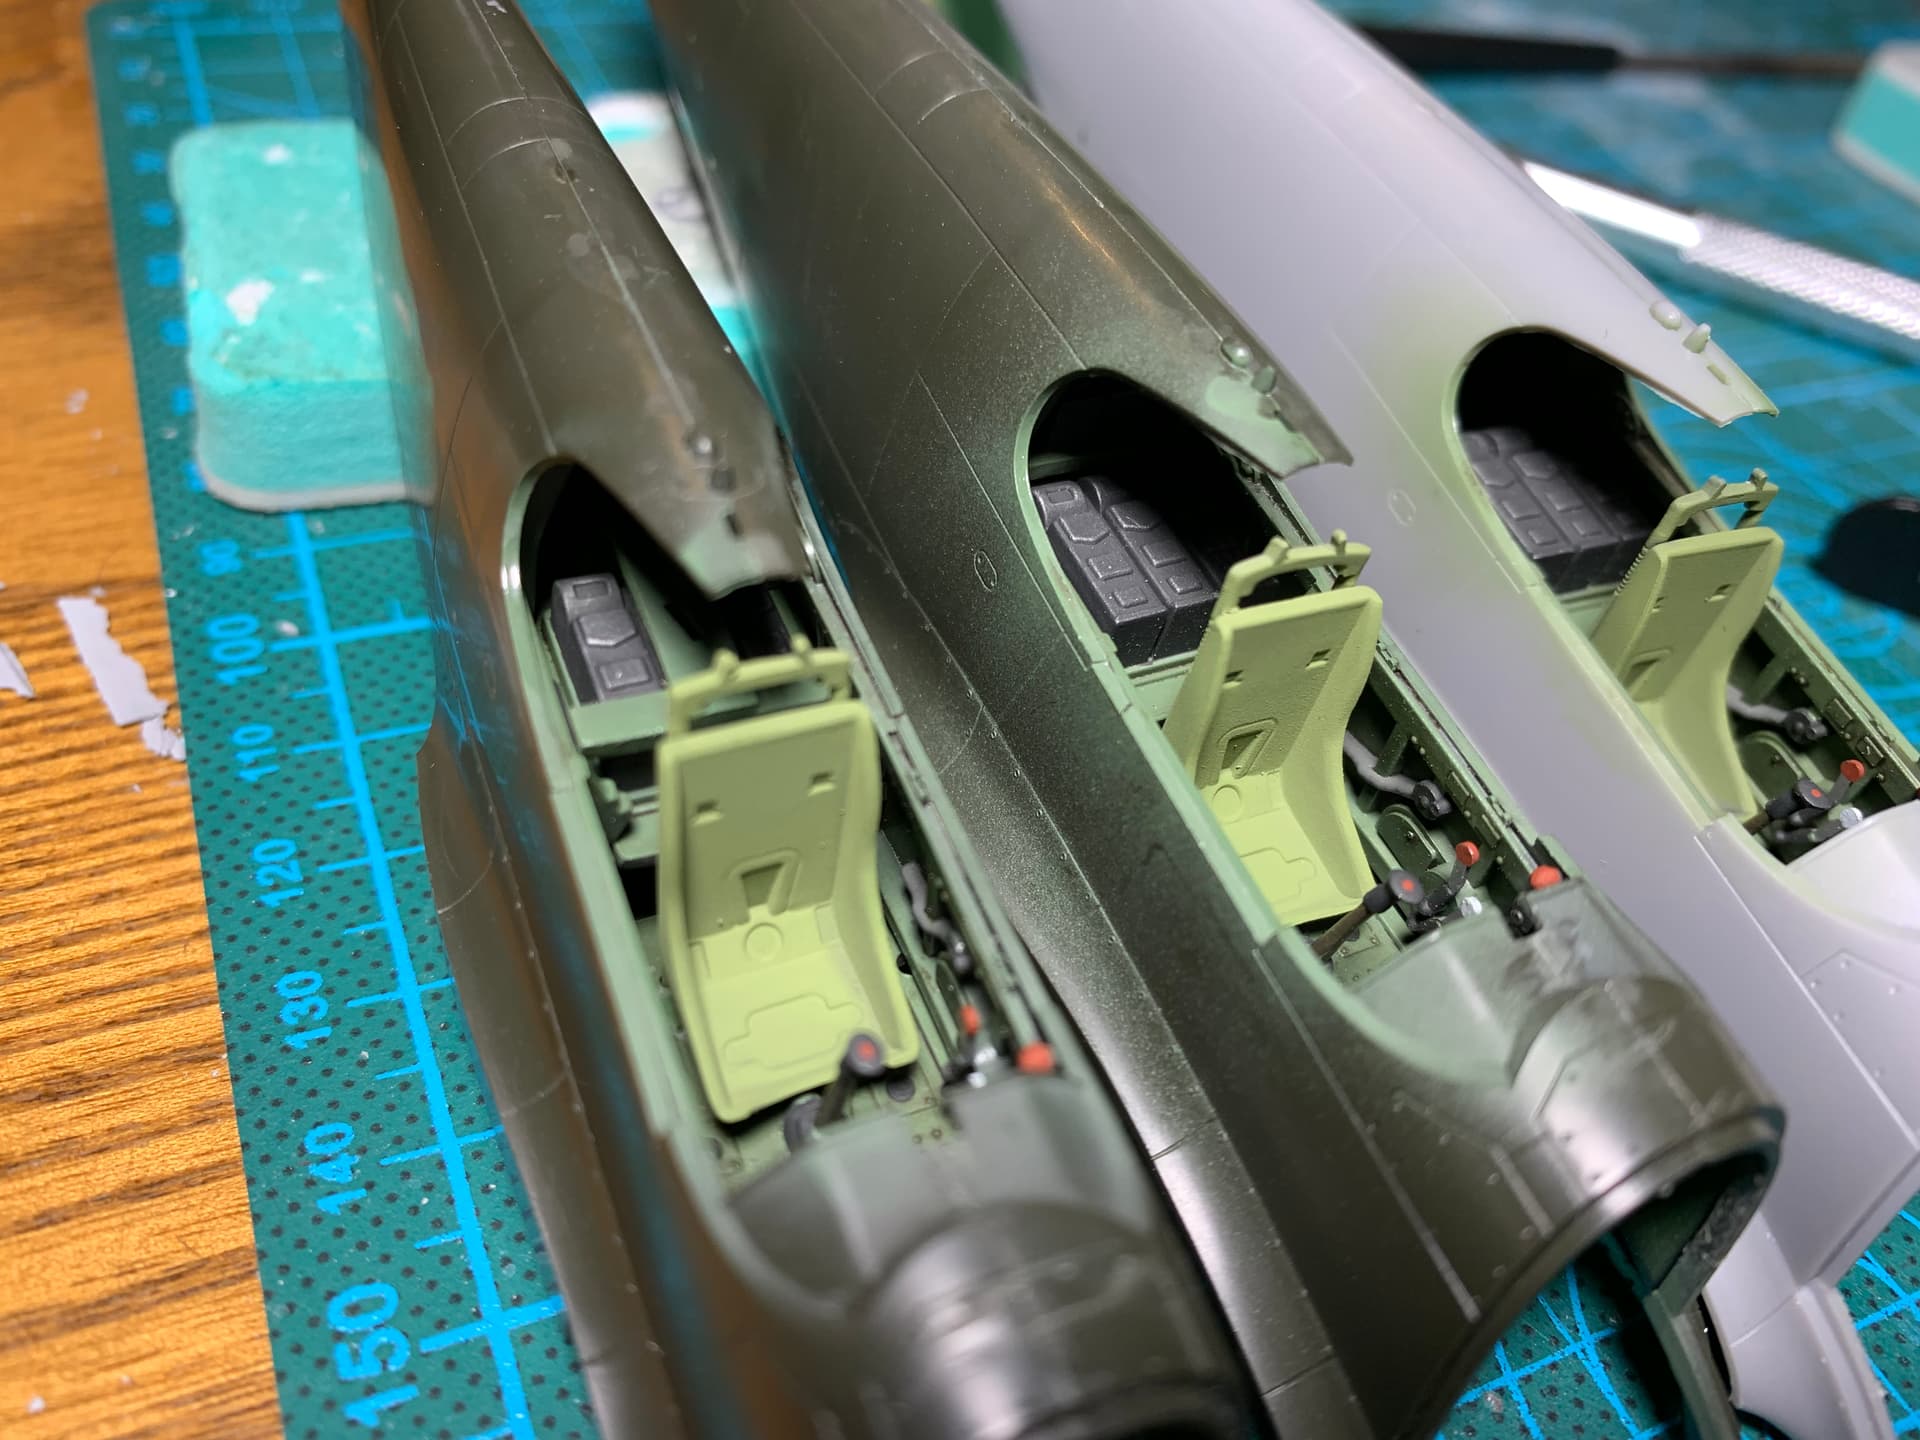
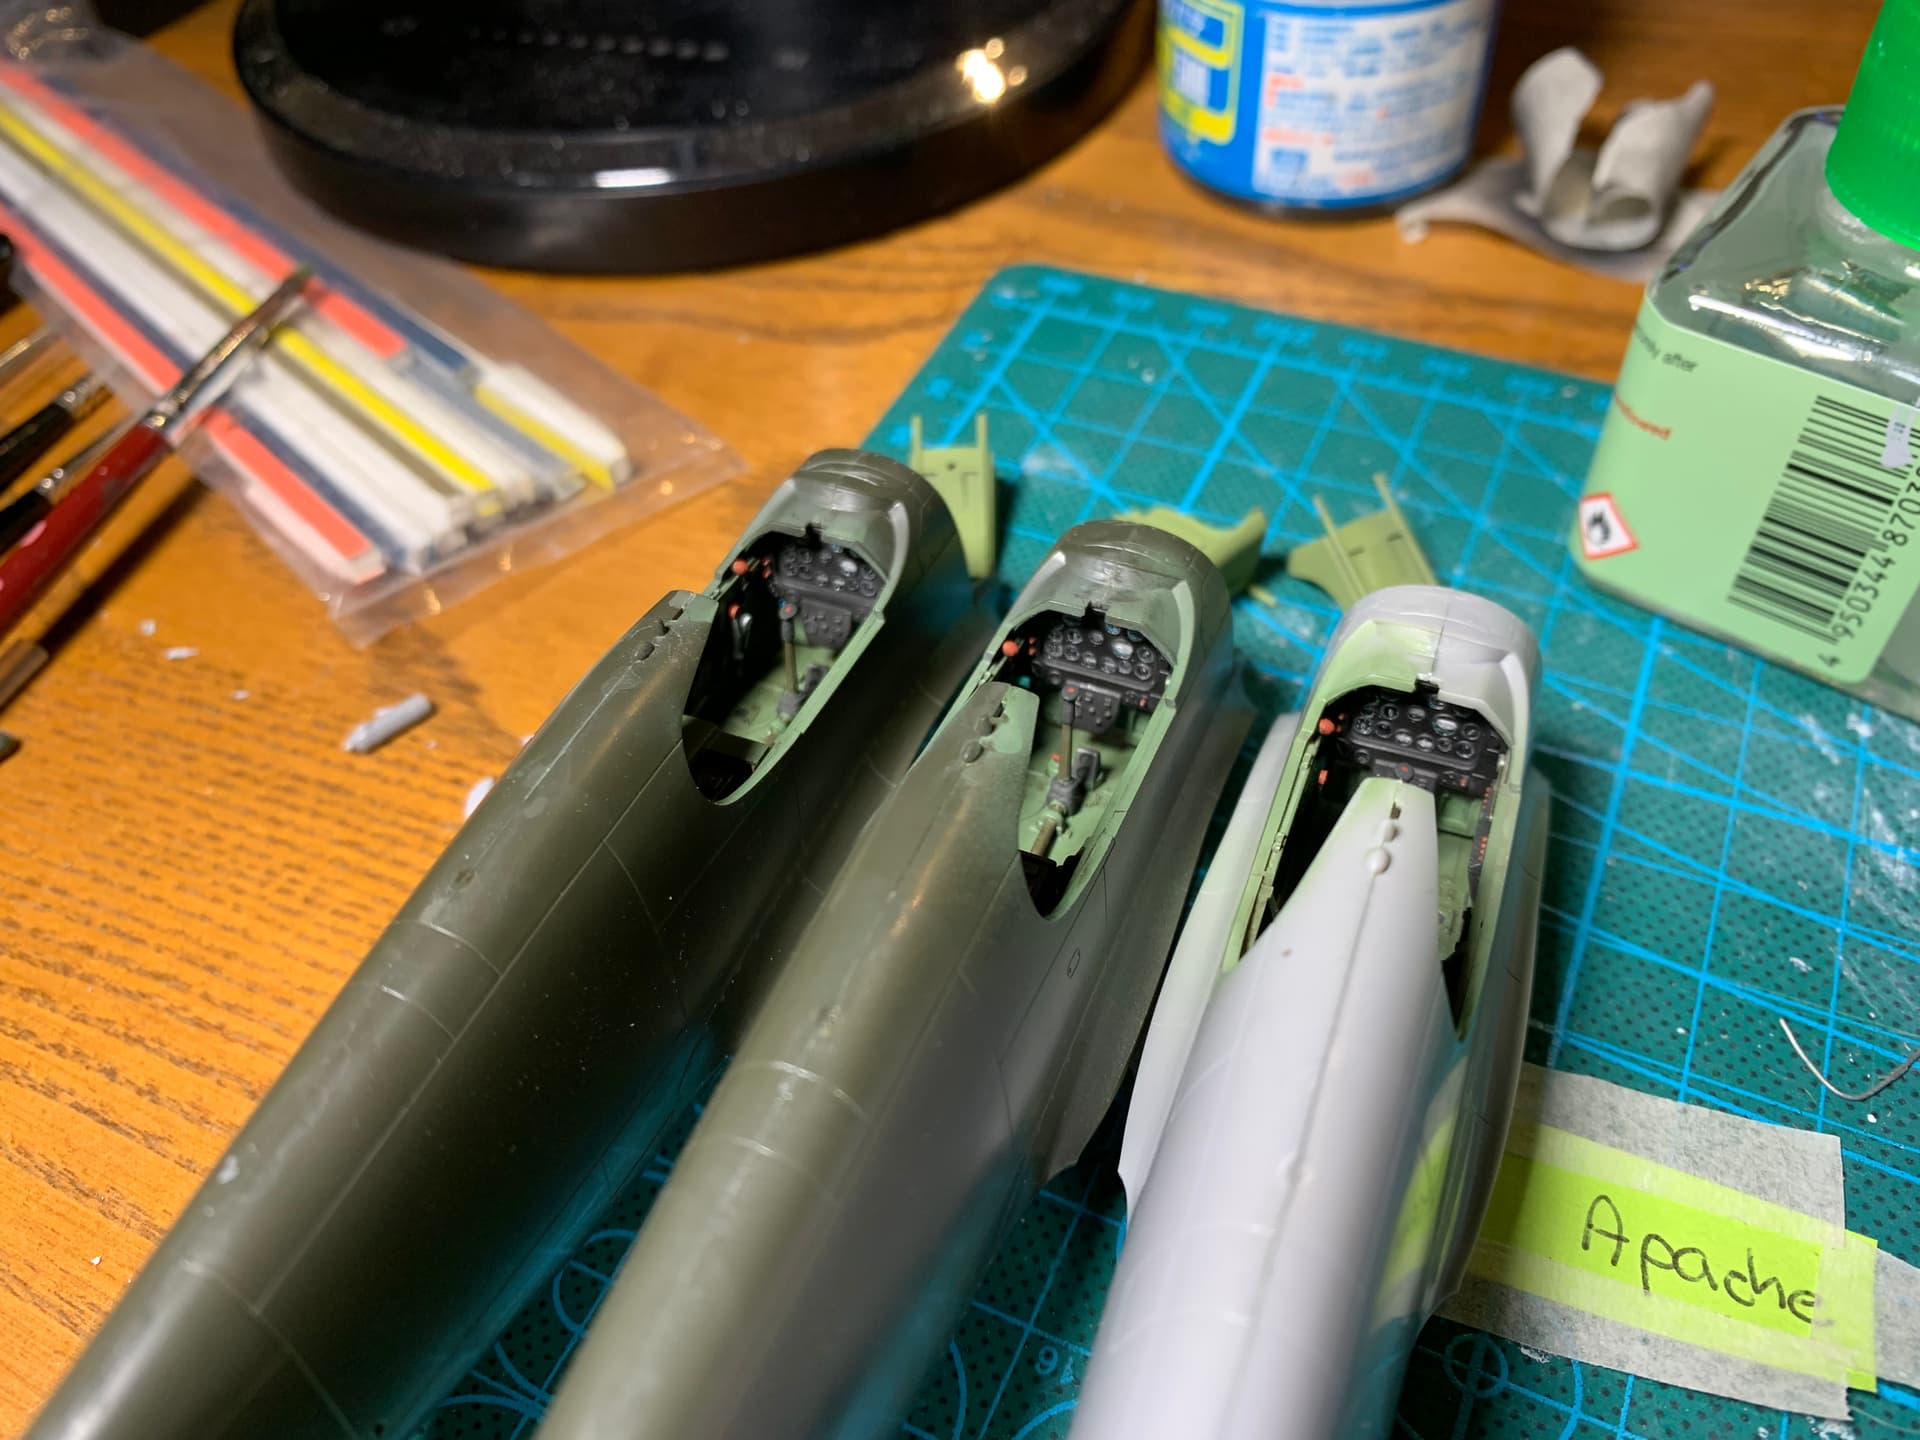
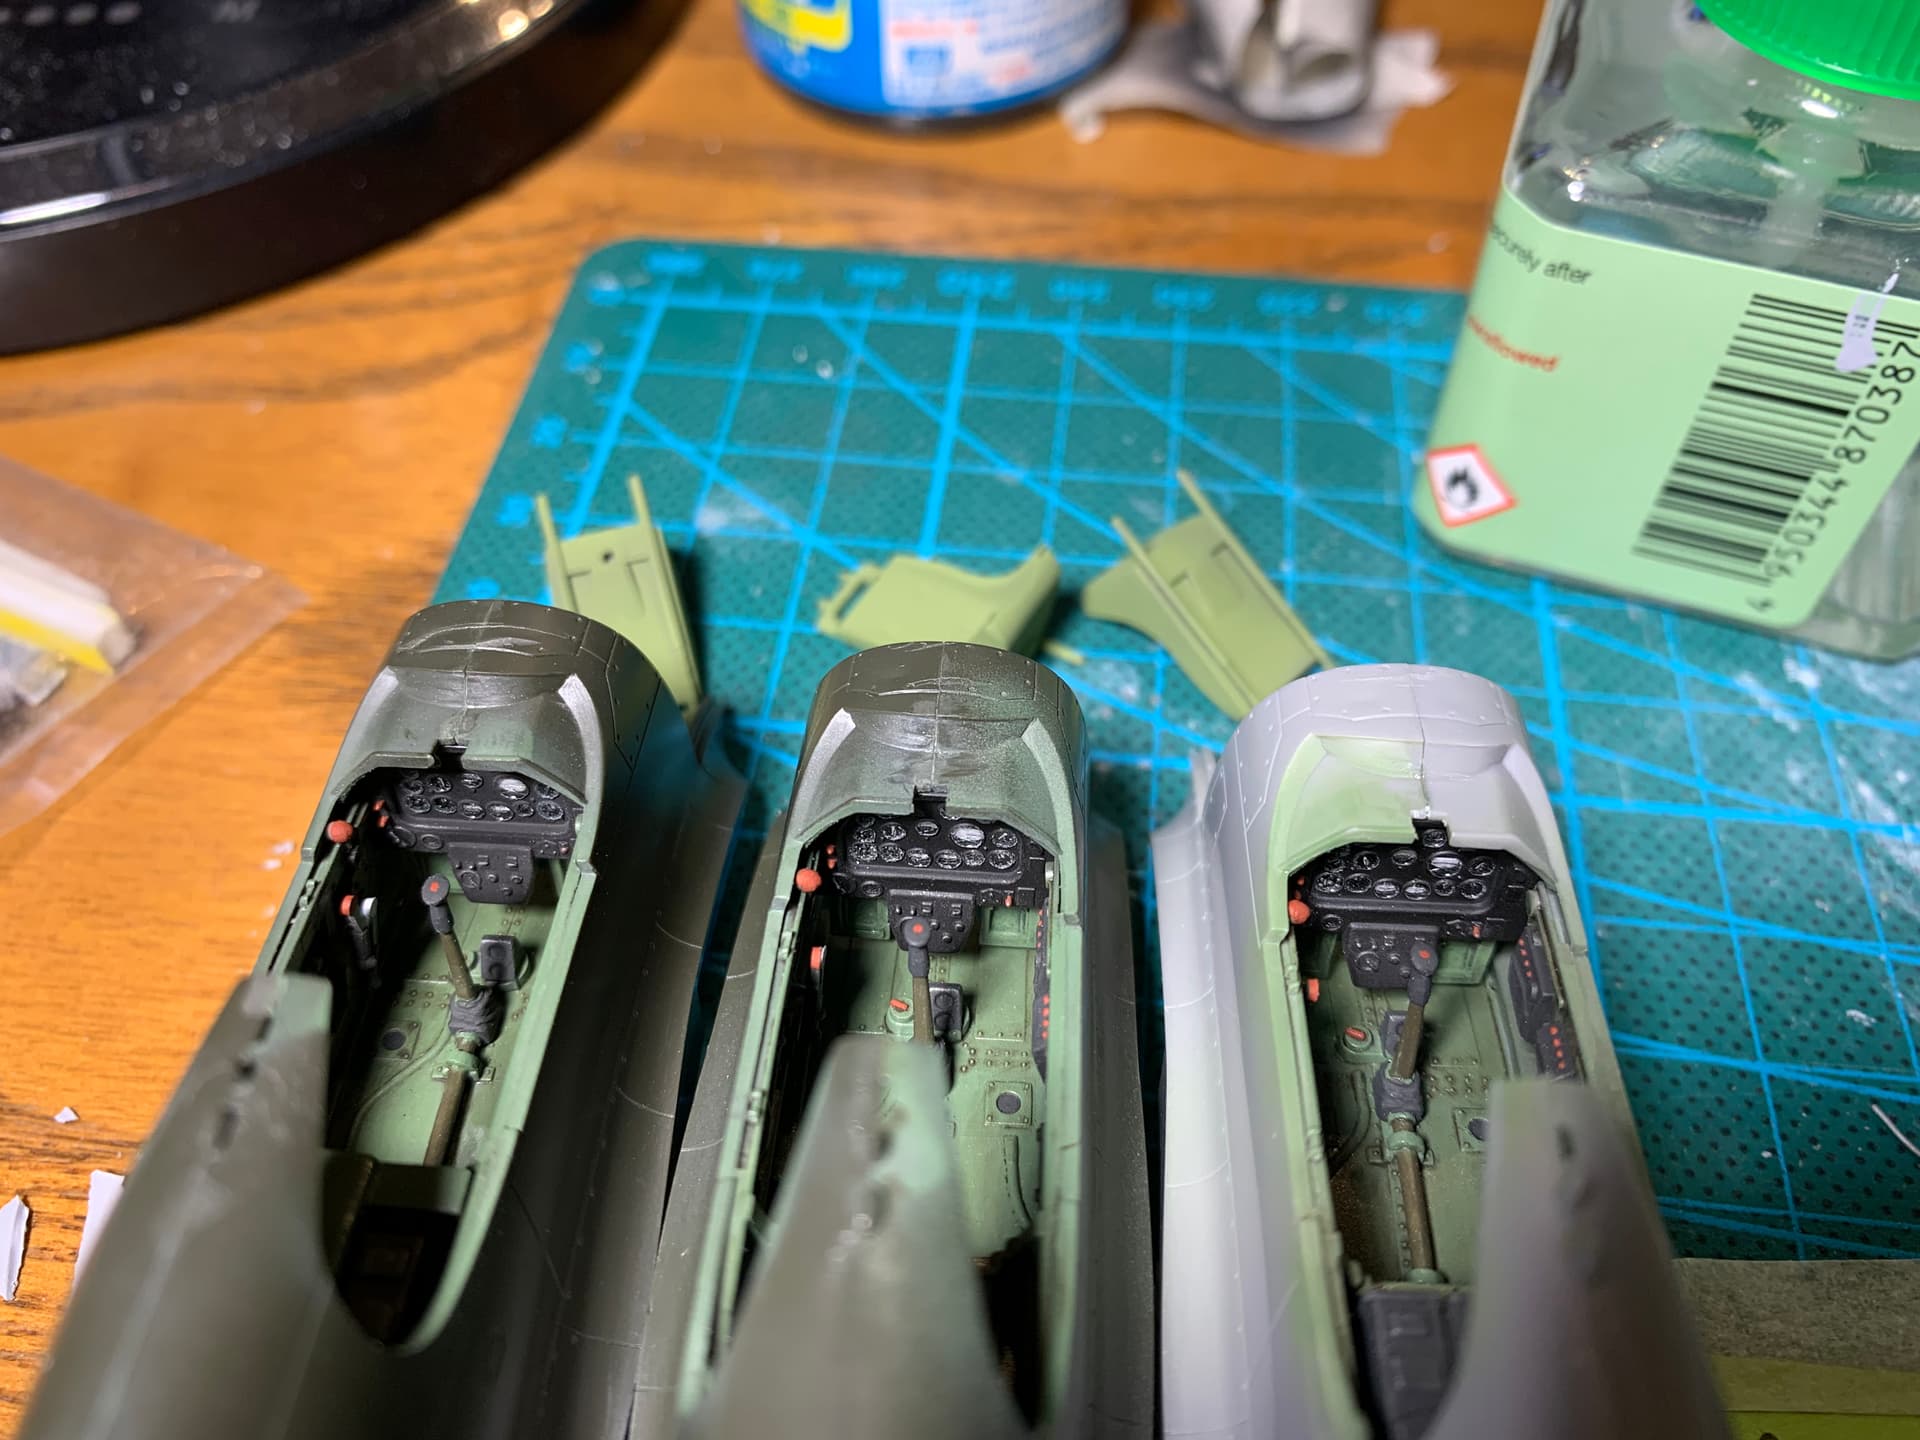
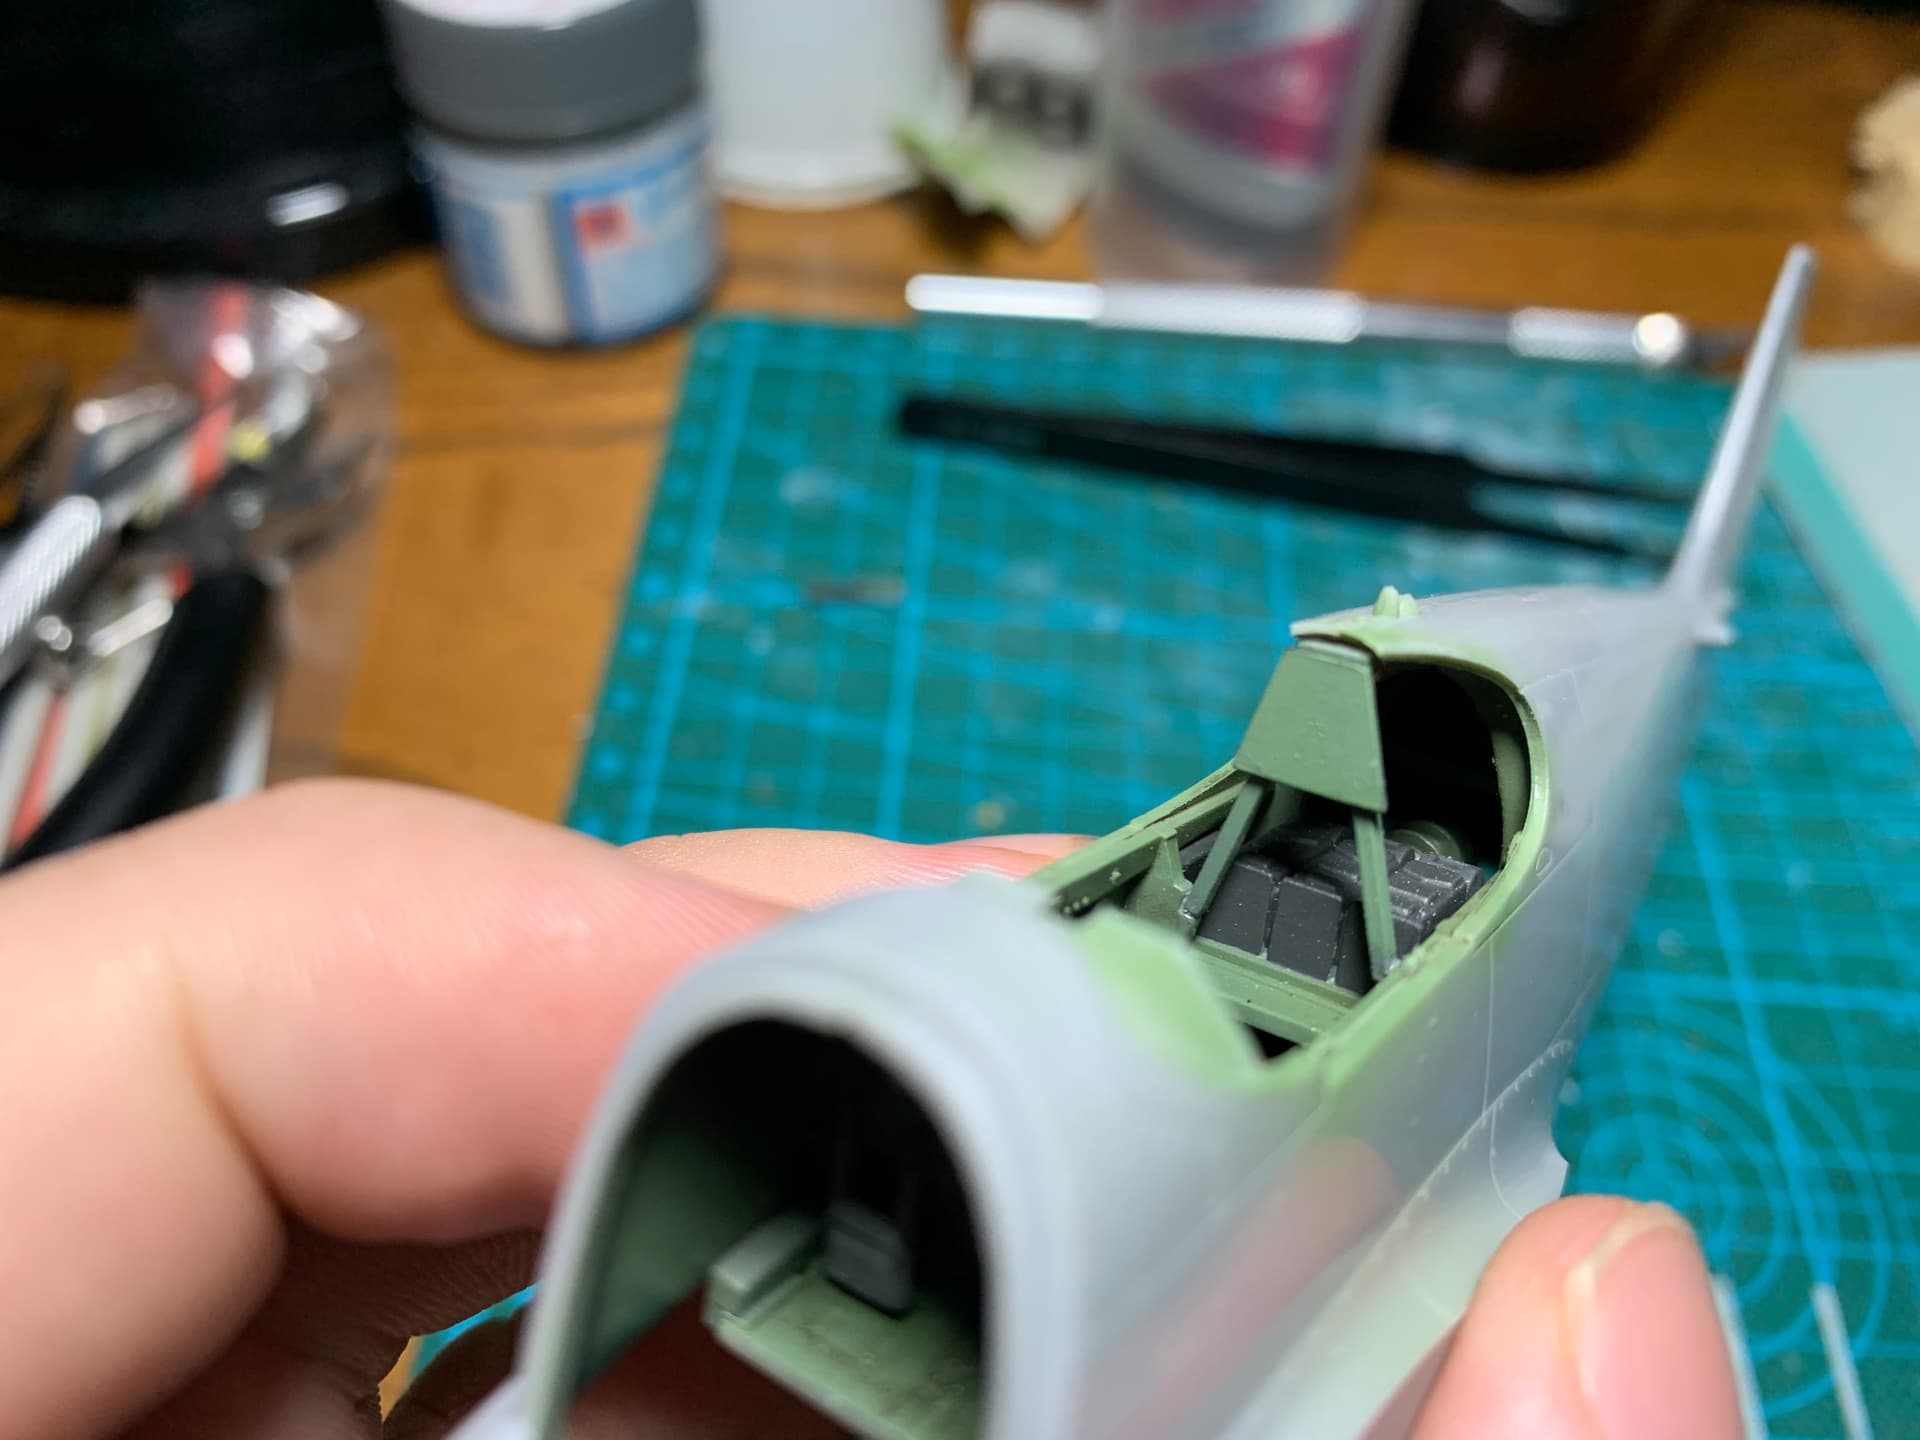
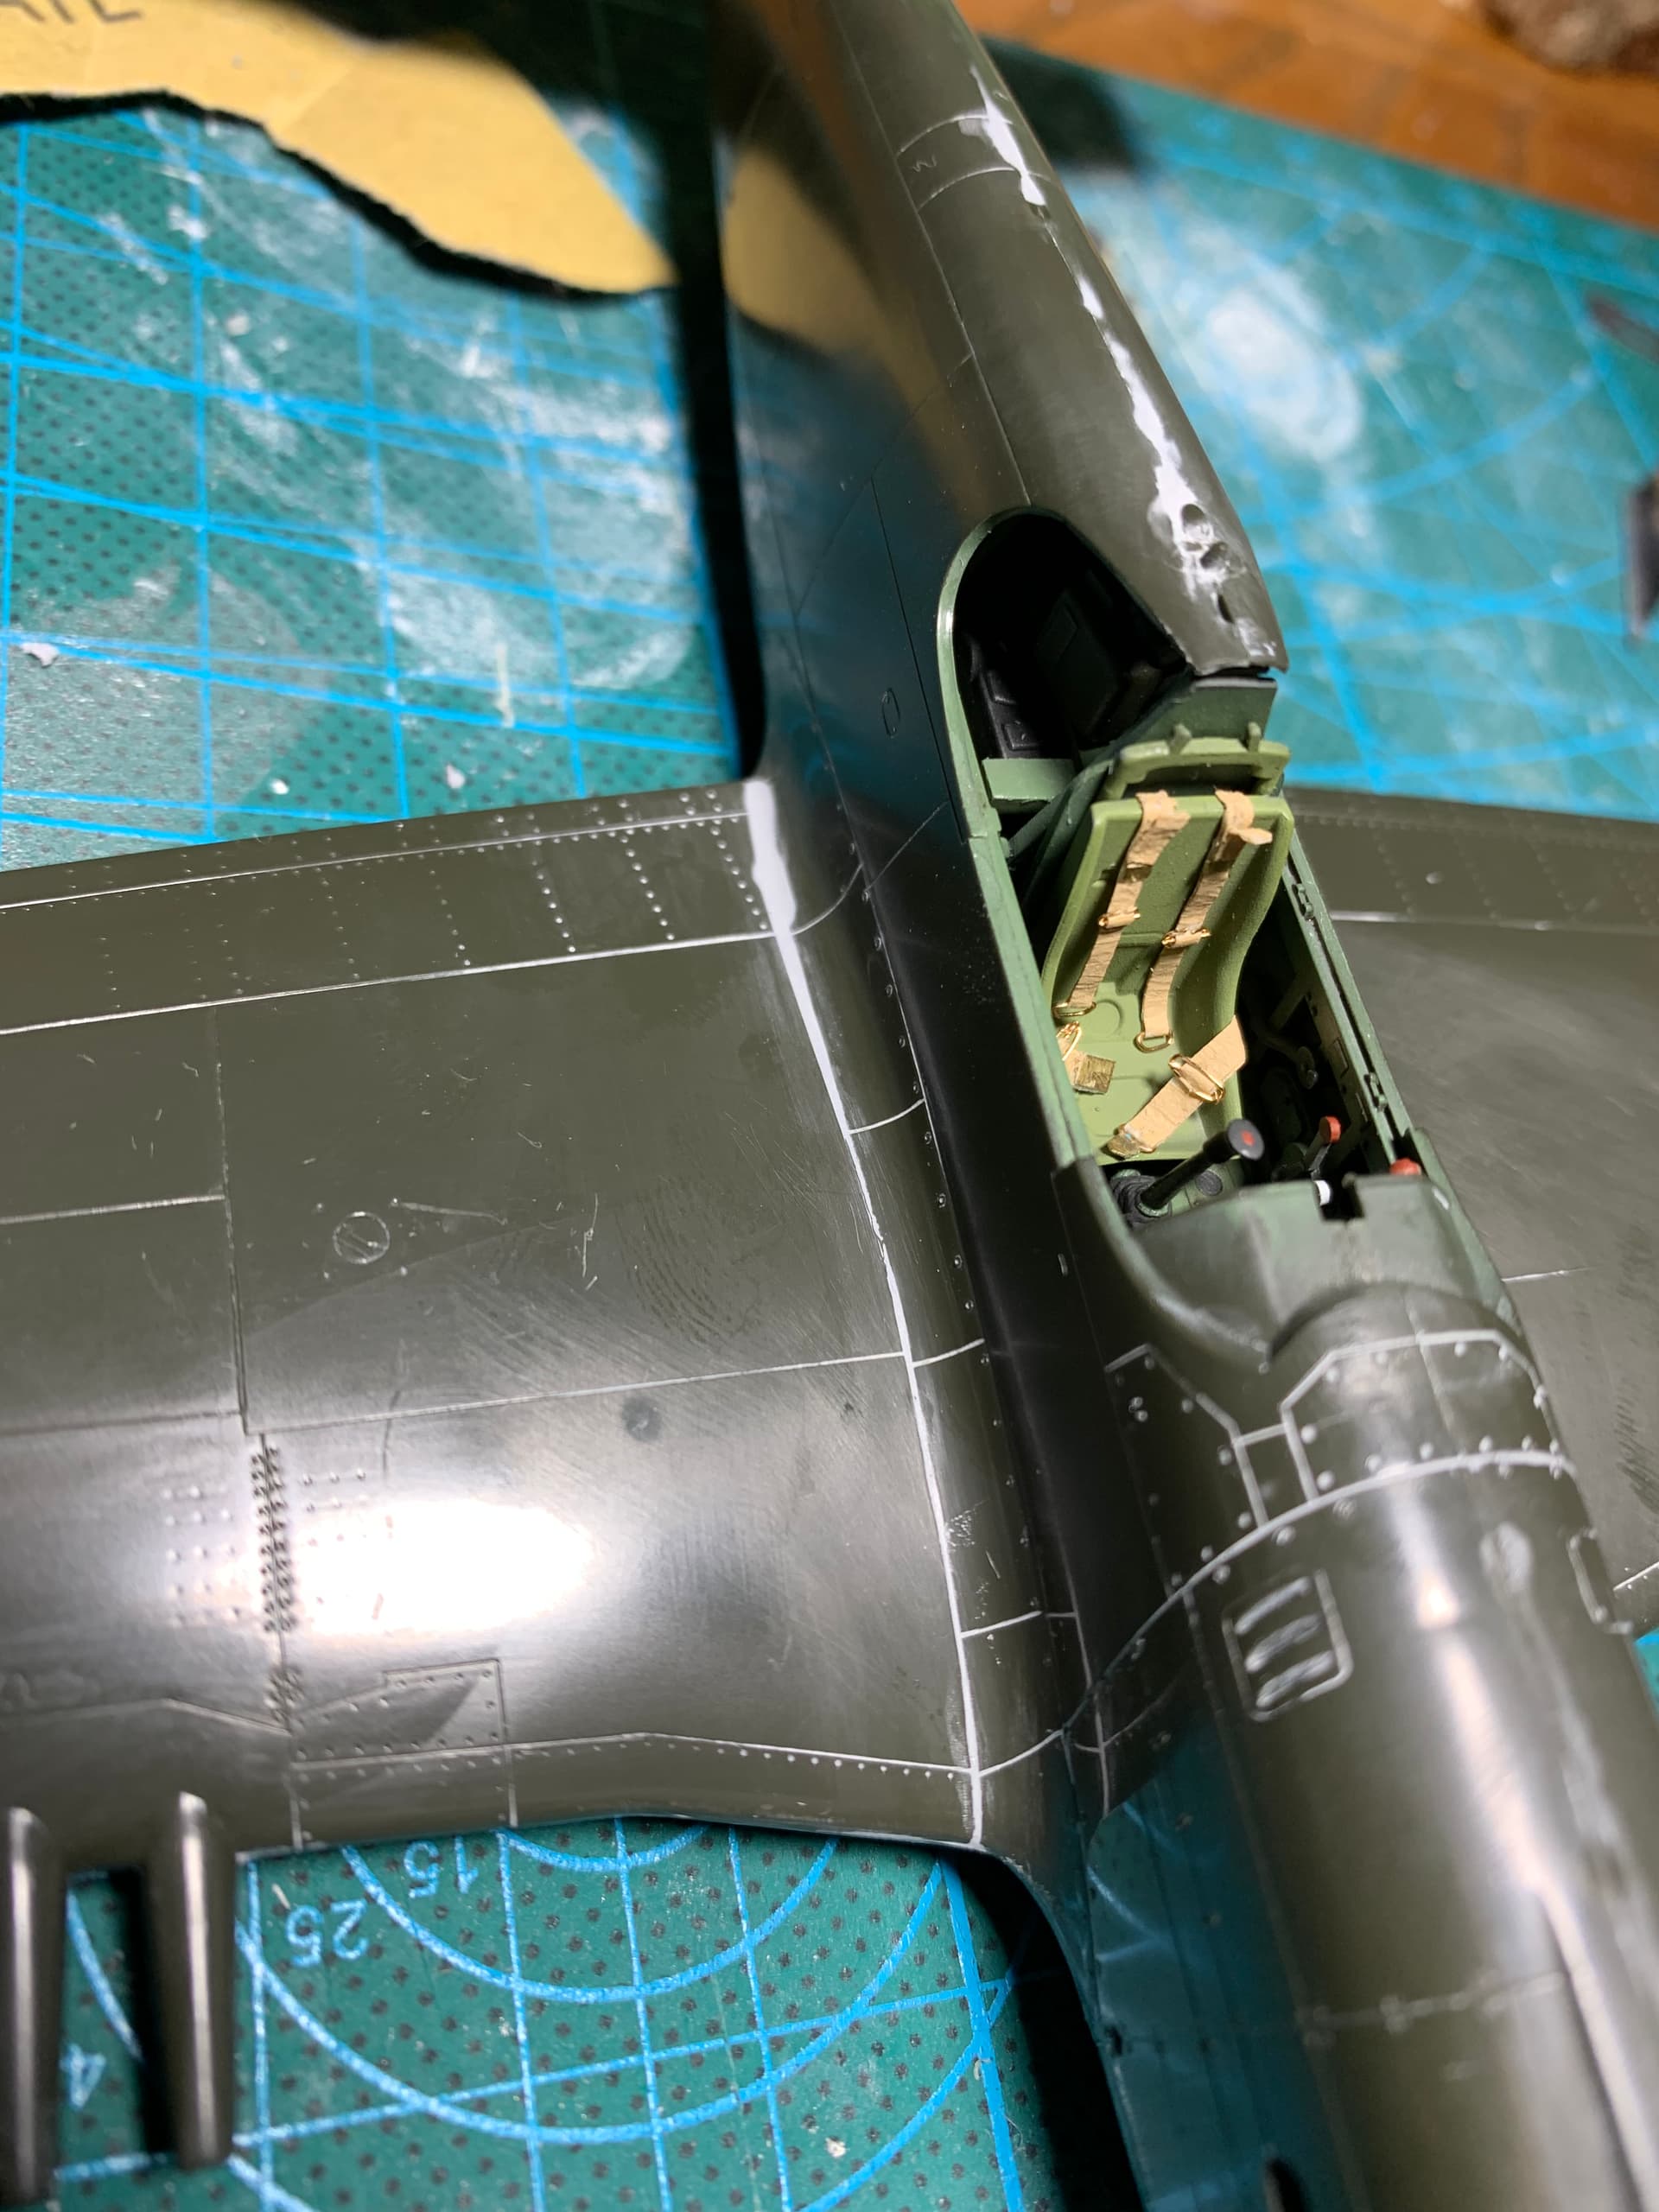
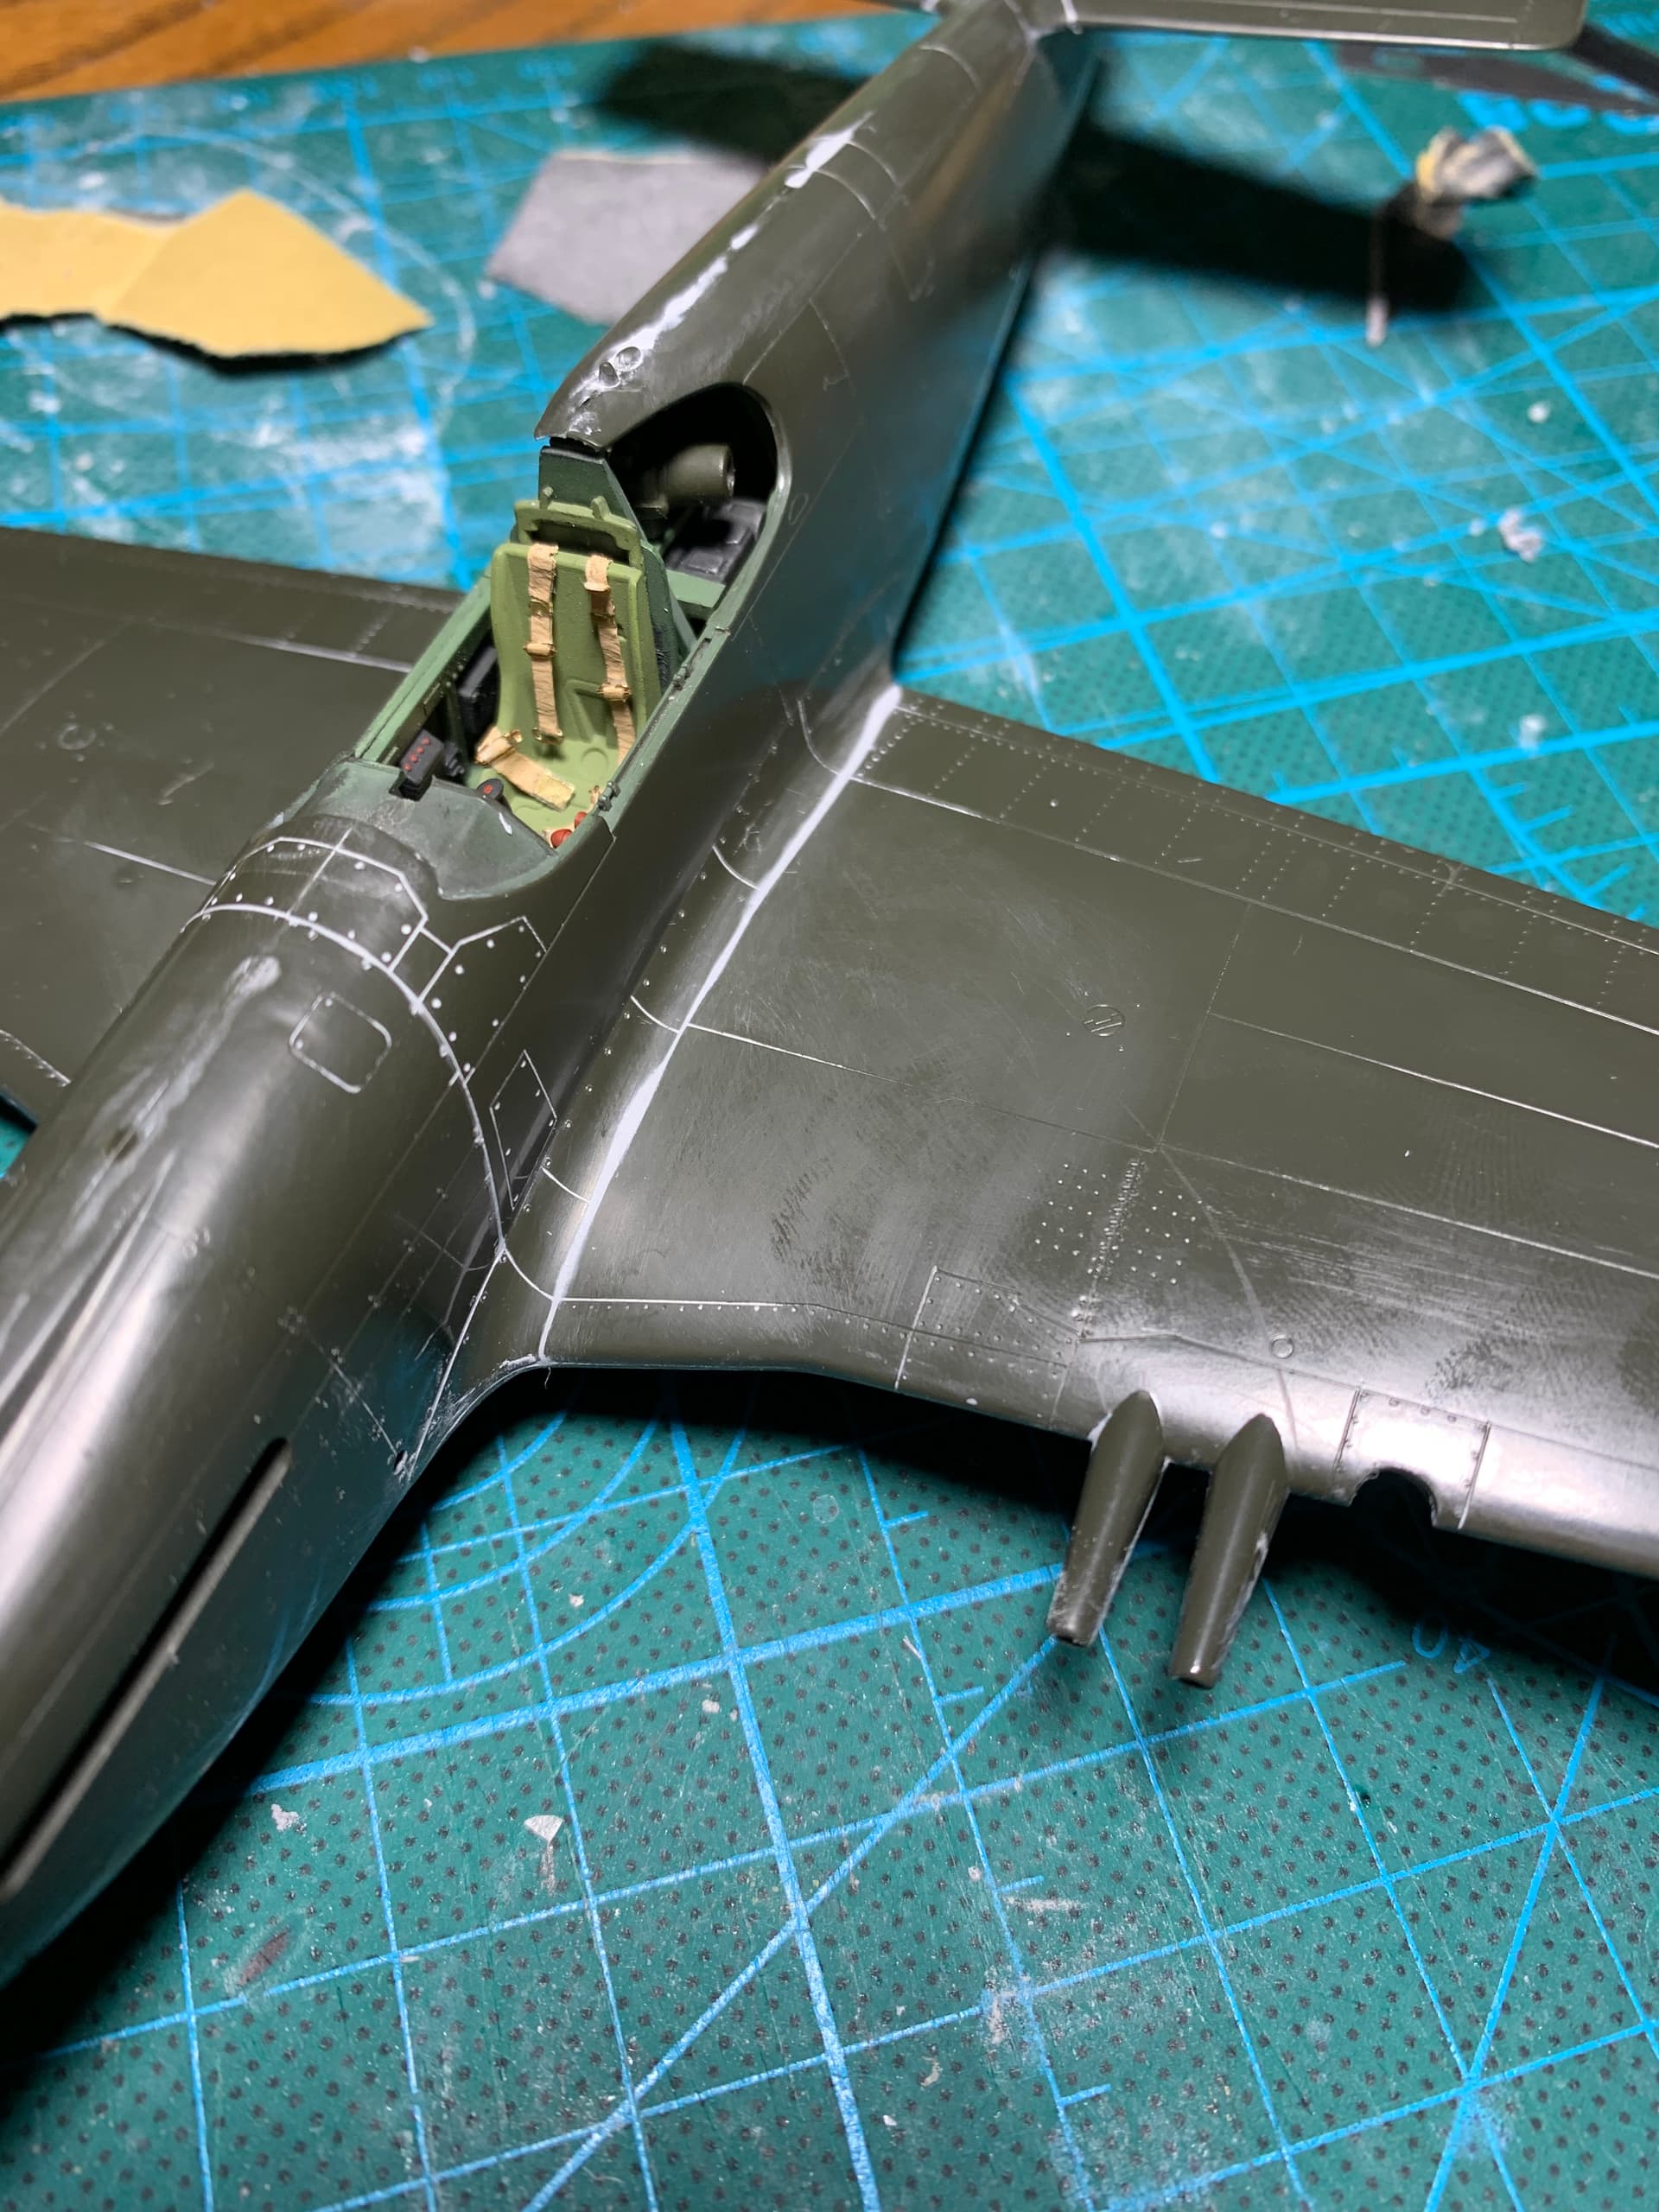
Got the fuselage halves glued together. Got here was exceptional! Only a very small seam along the two halves to sand back a bit. I mixed up a slightly more yellow chromate color out of interior green and Tamiya yellow green for the seats to add a bit of variety. Not sure if I like it yet. Anyway, just about done the fueslage bits. All that’s left is the armor behind the pilot and seat belts, both of which will be scratch built as the kit doesn’t supply them
6 Likes
Cockpits are looking good 
Thanks! I wasn’t sold on the decals for them at first as they are a little undersized for the dials, but with the noses on and it dark behind them, they’ll look just fine!
Pretty happy with how my first aircraft builds in about 10 years are going.
3 Likes
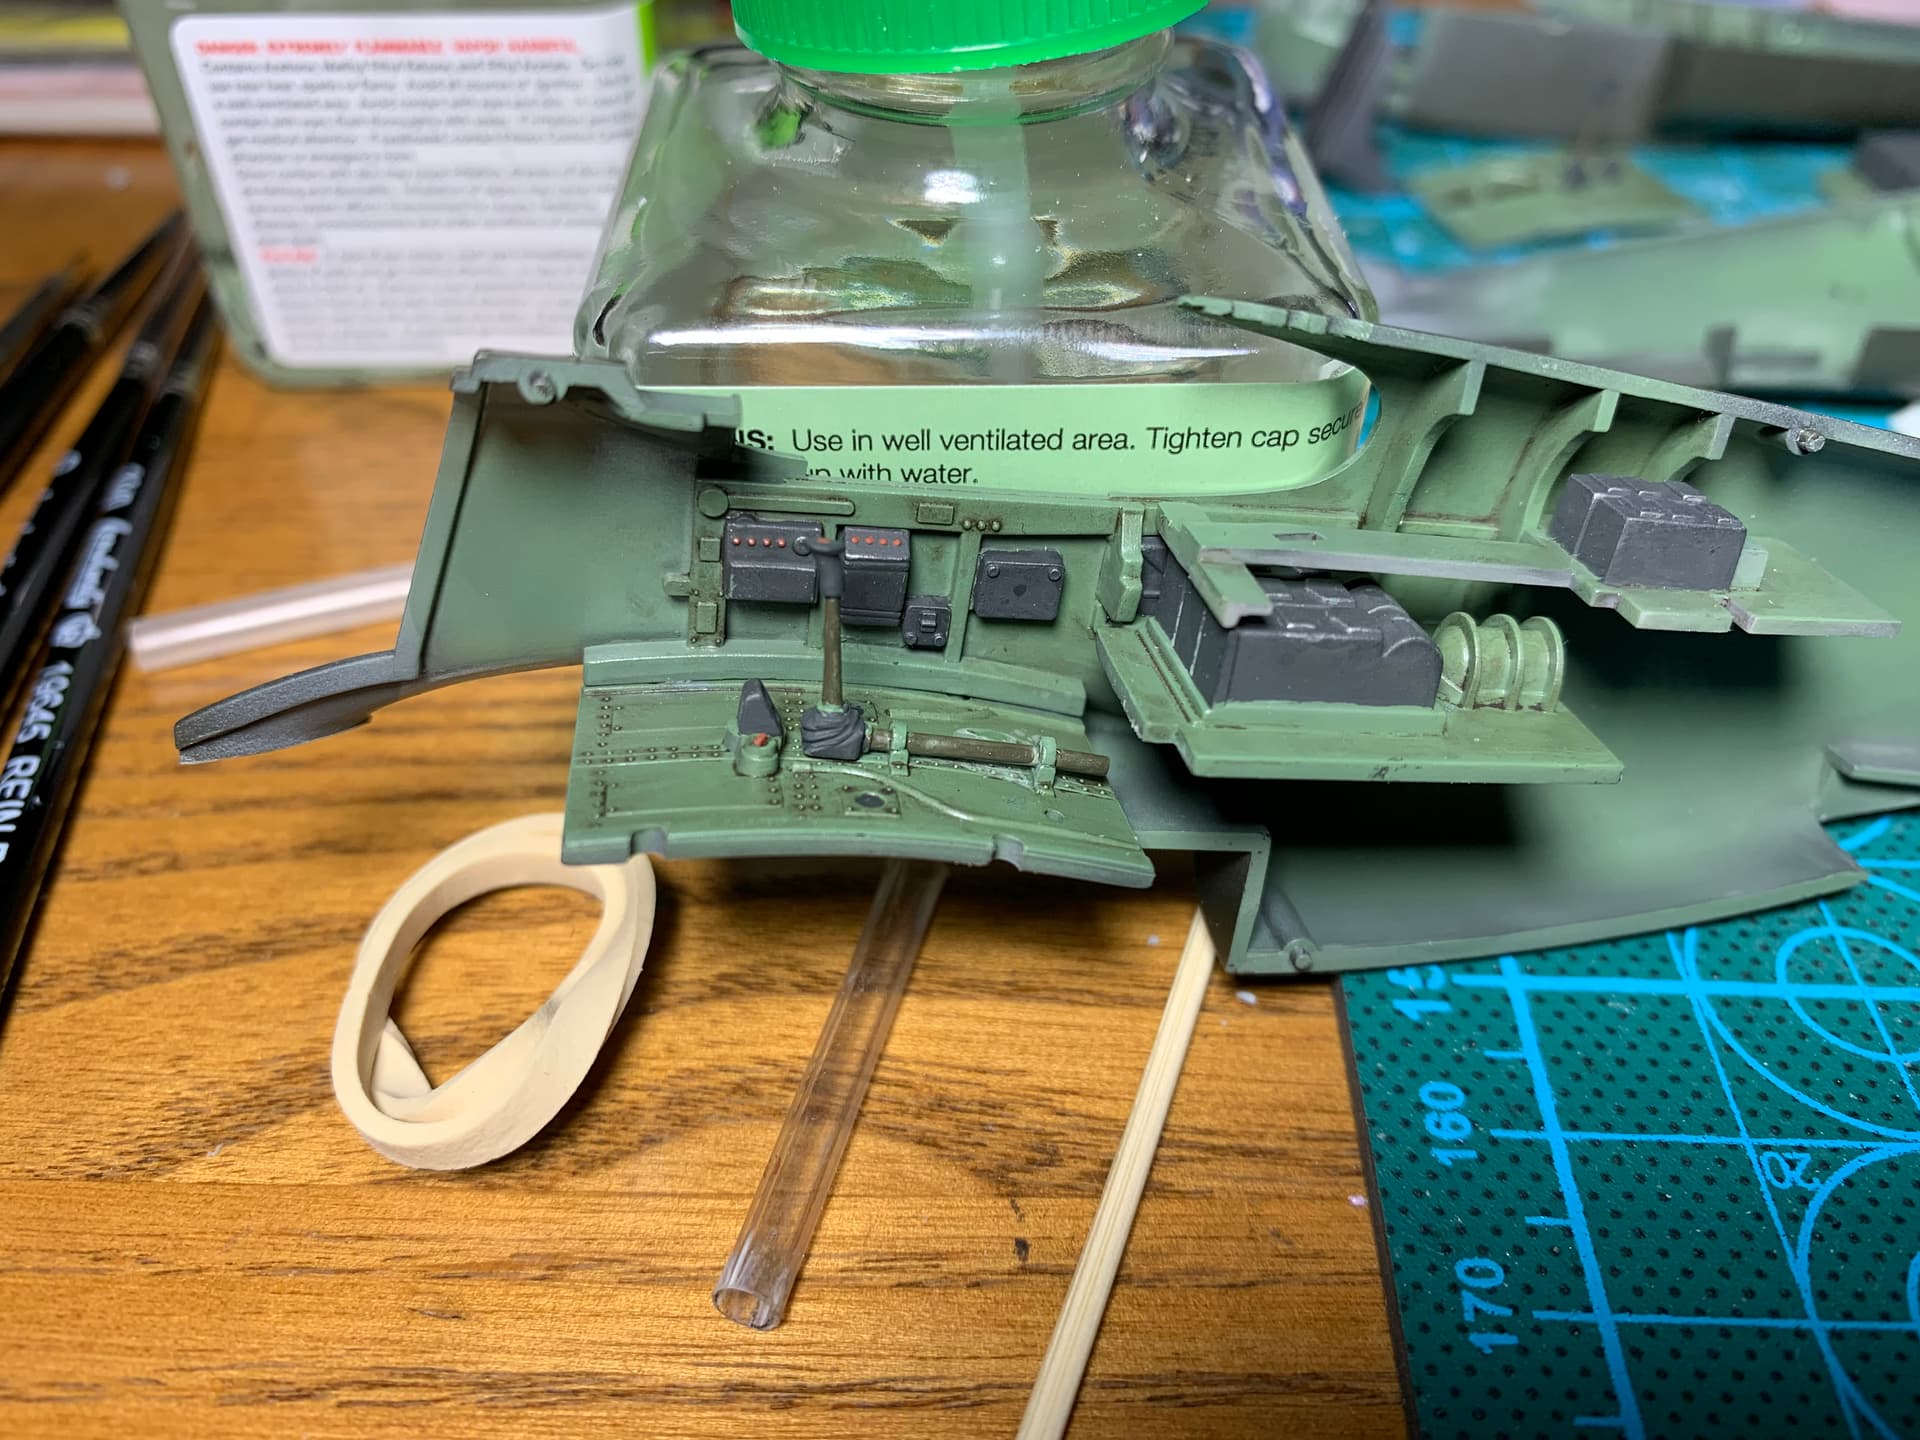
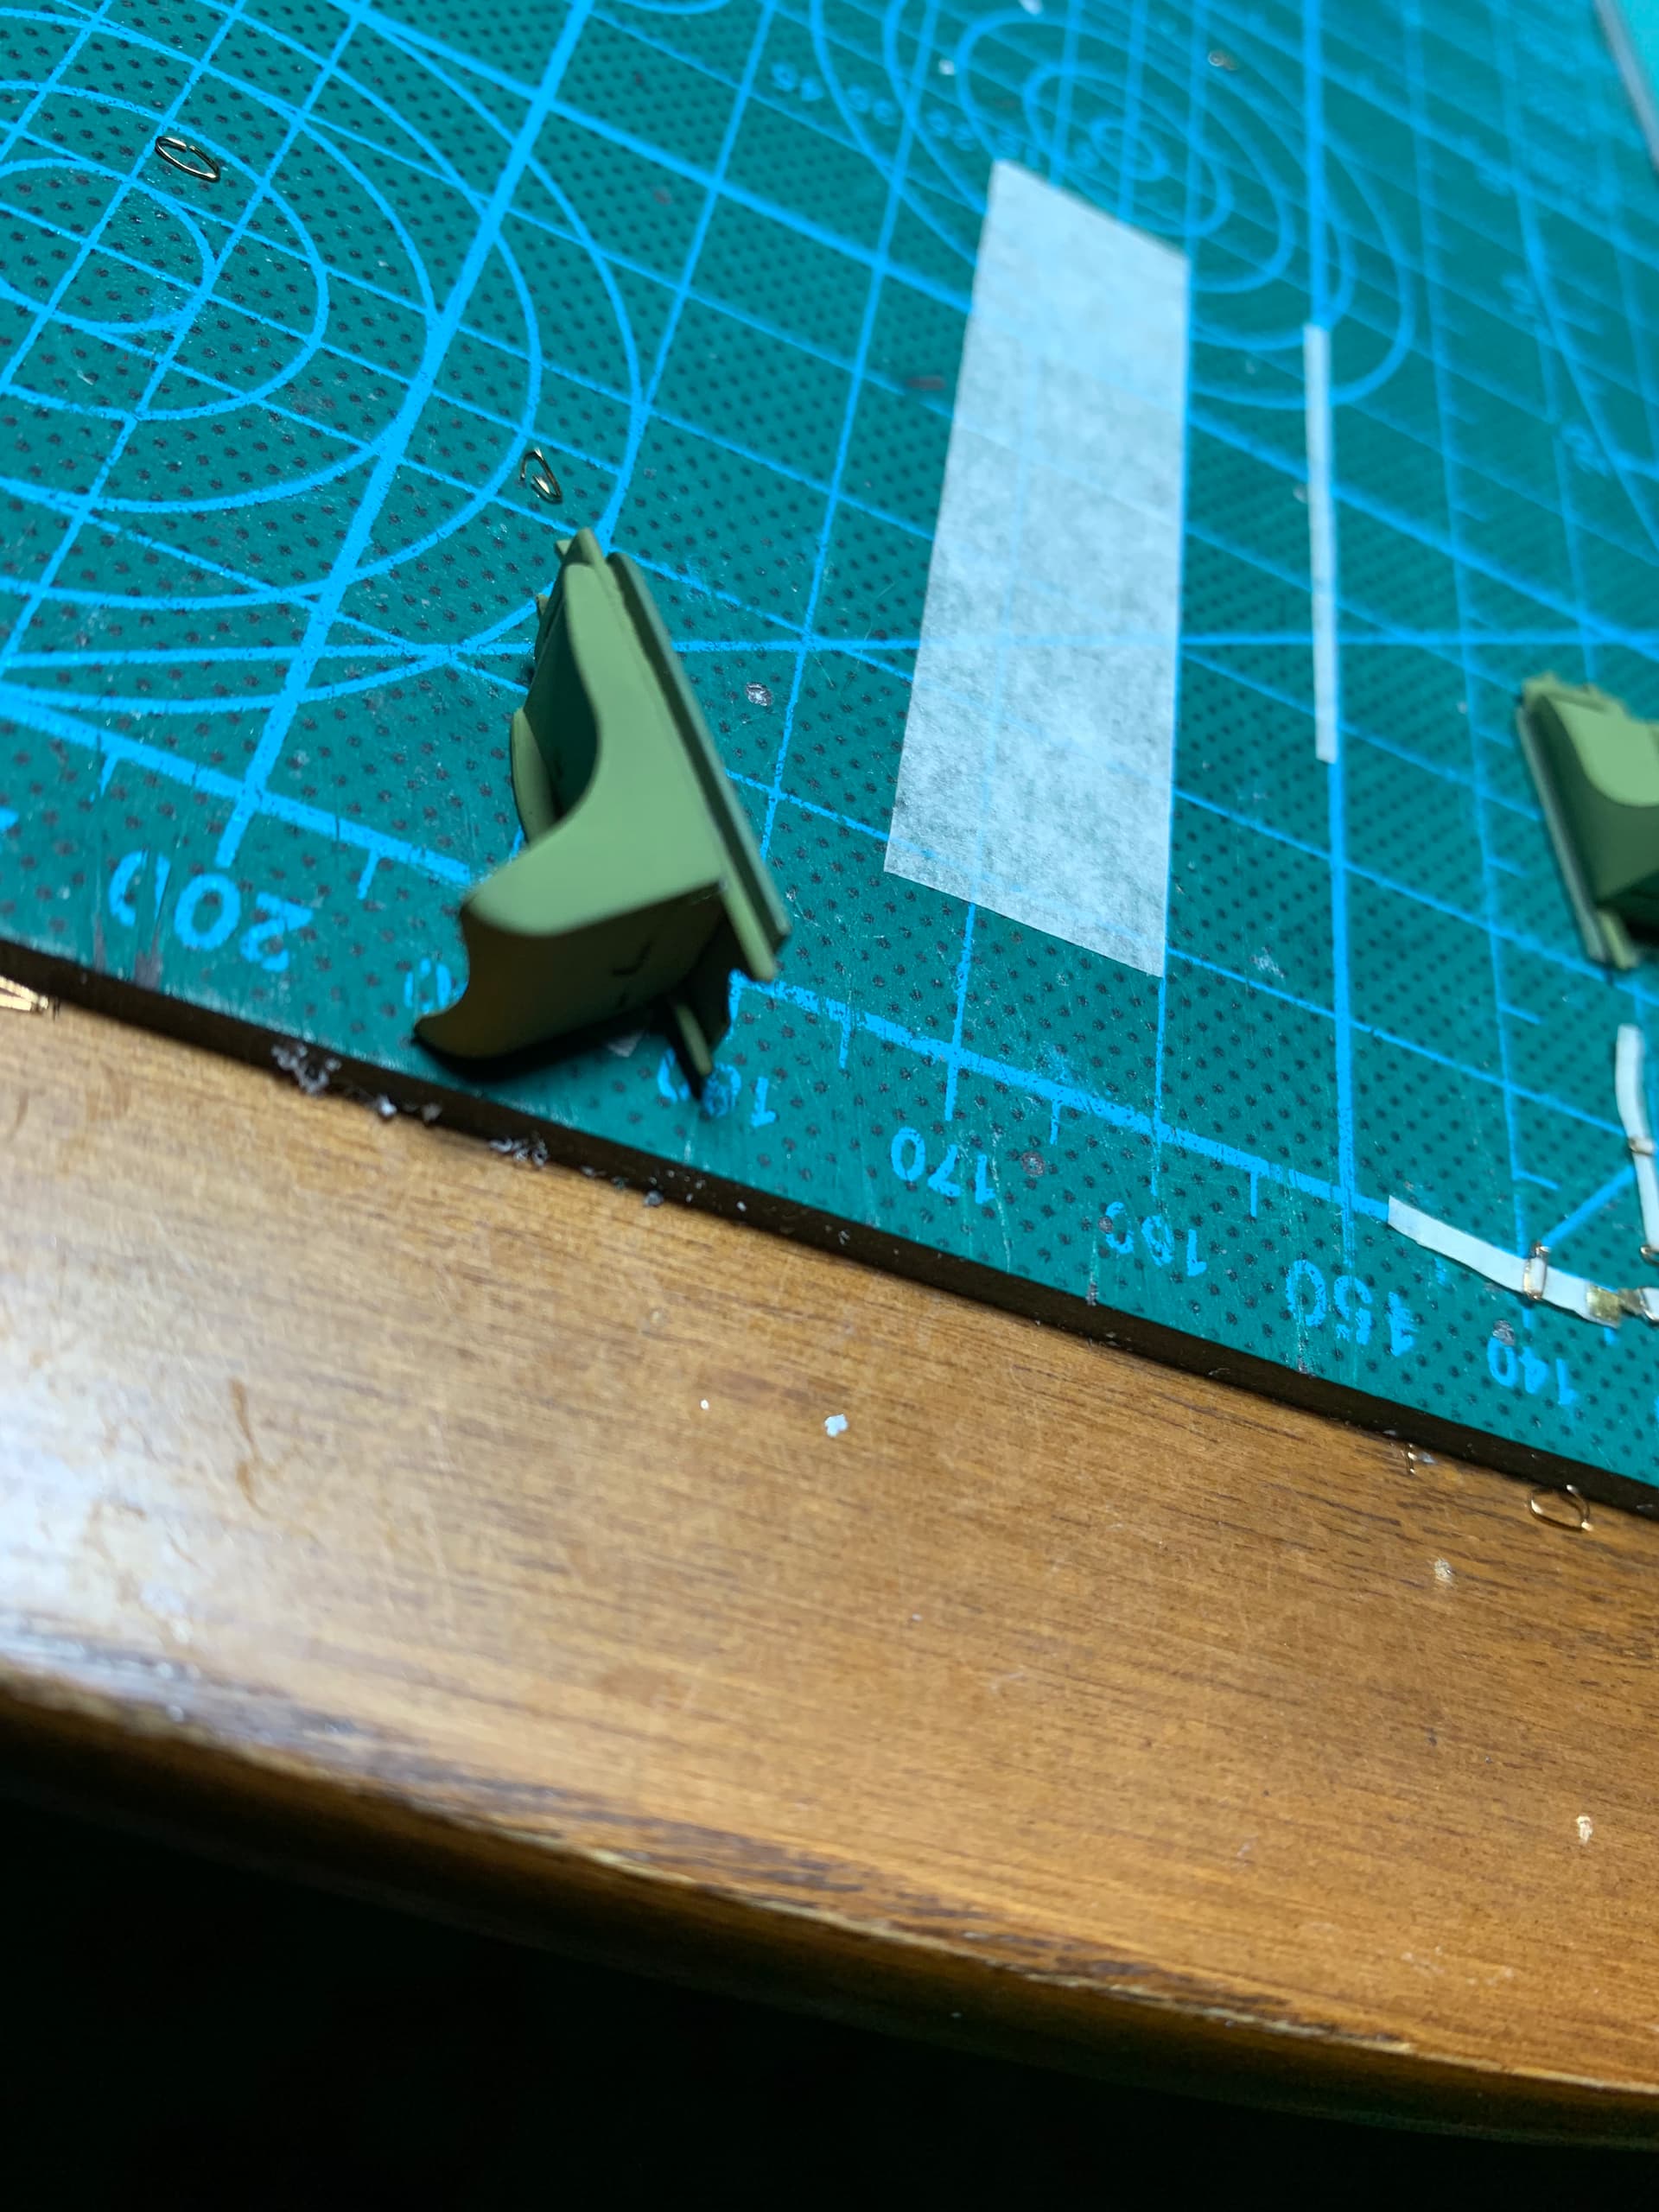
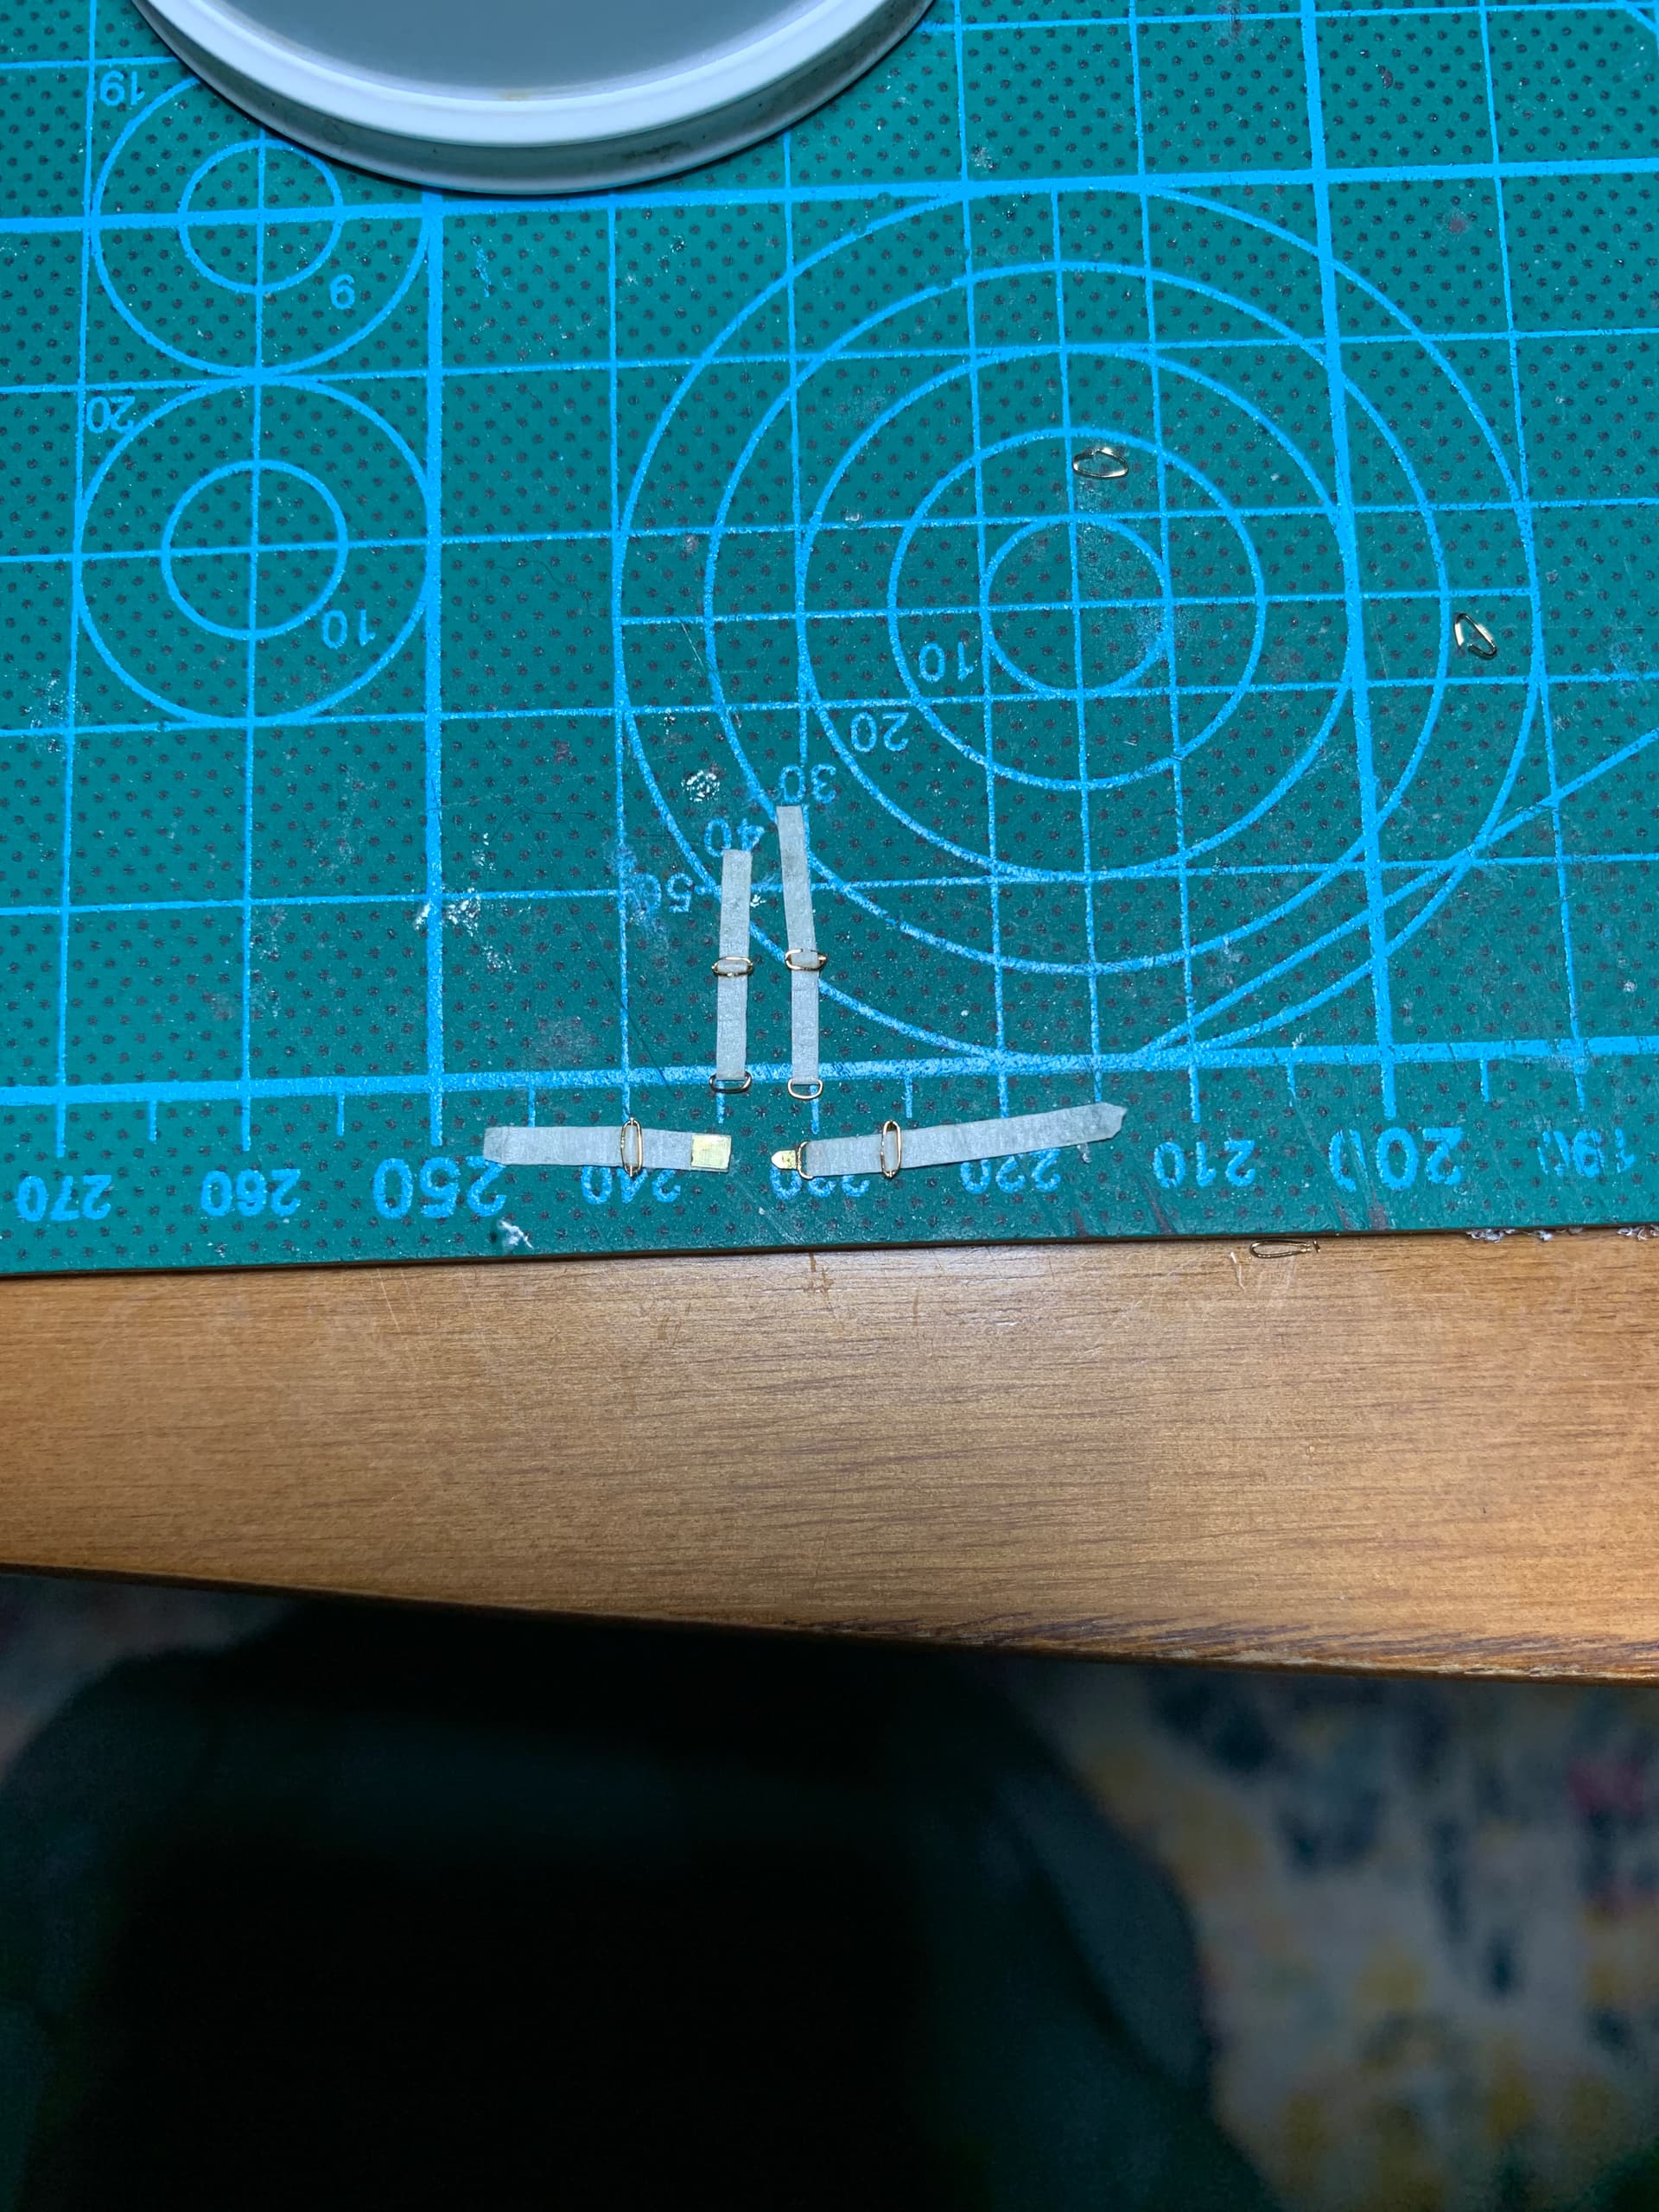
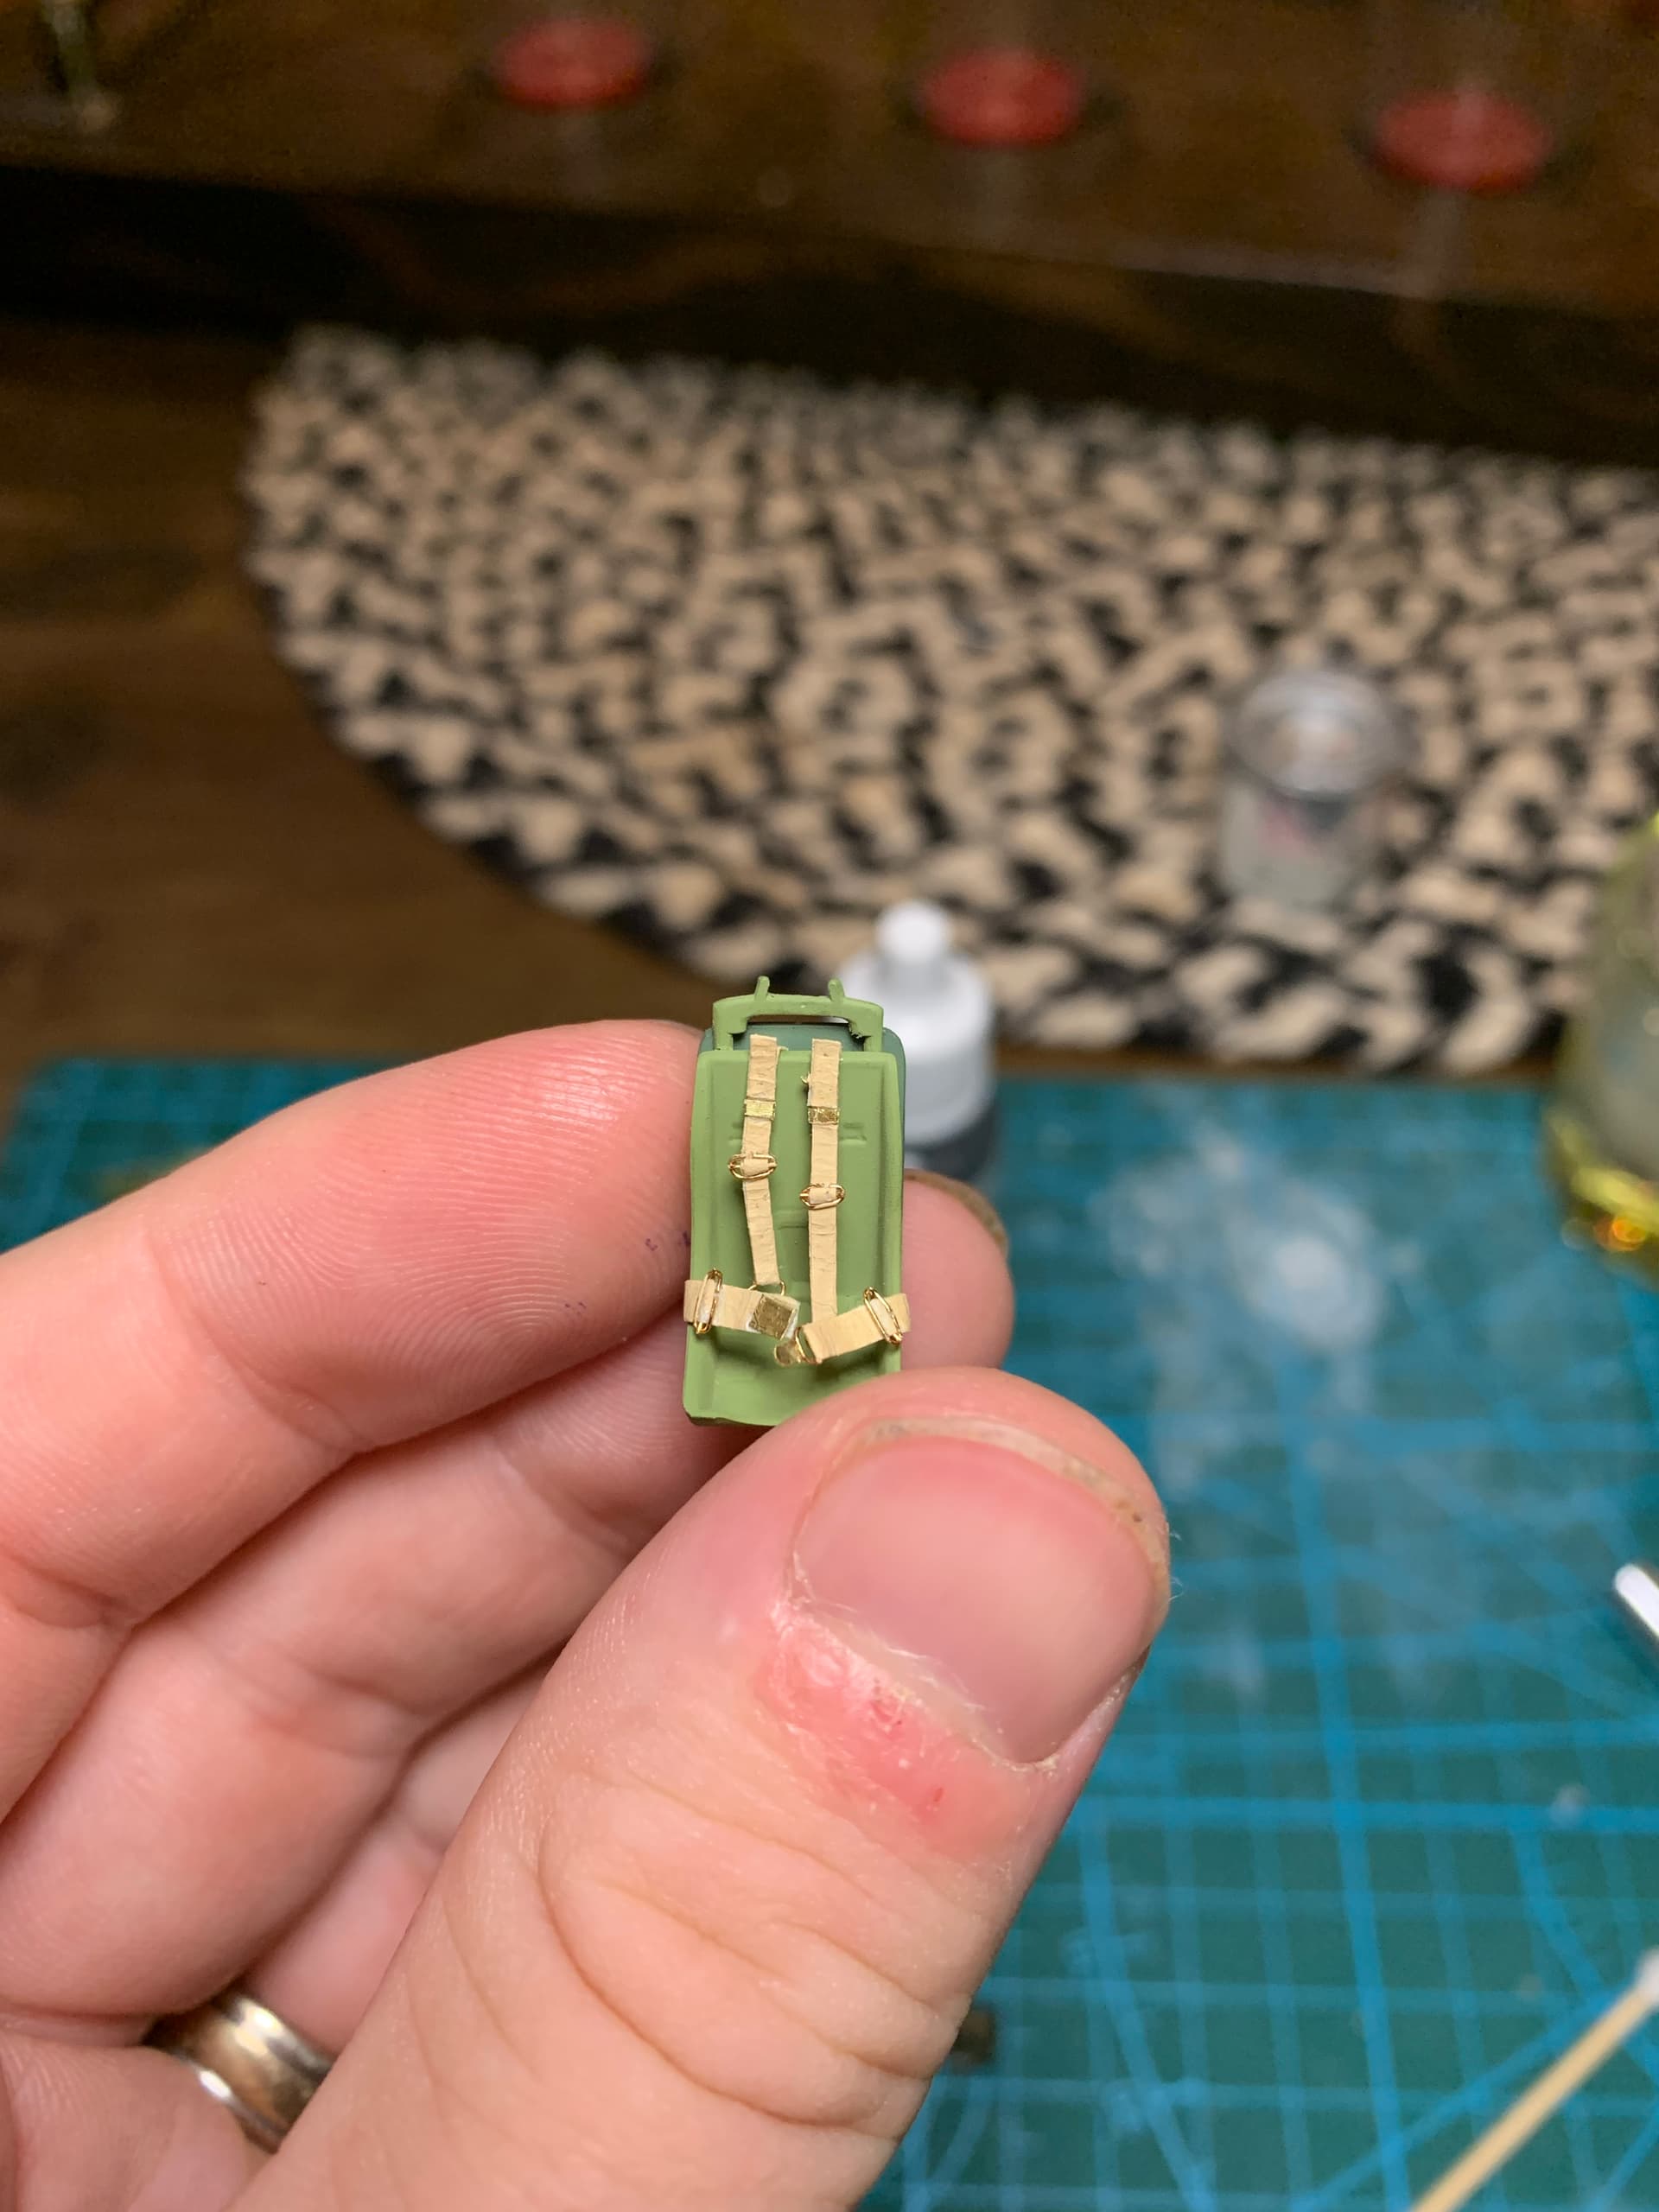
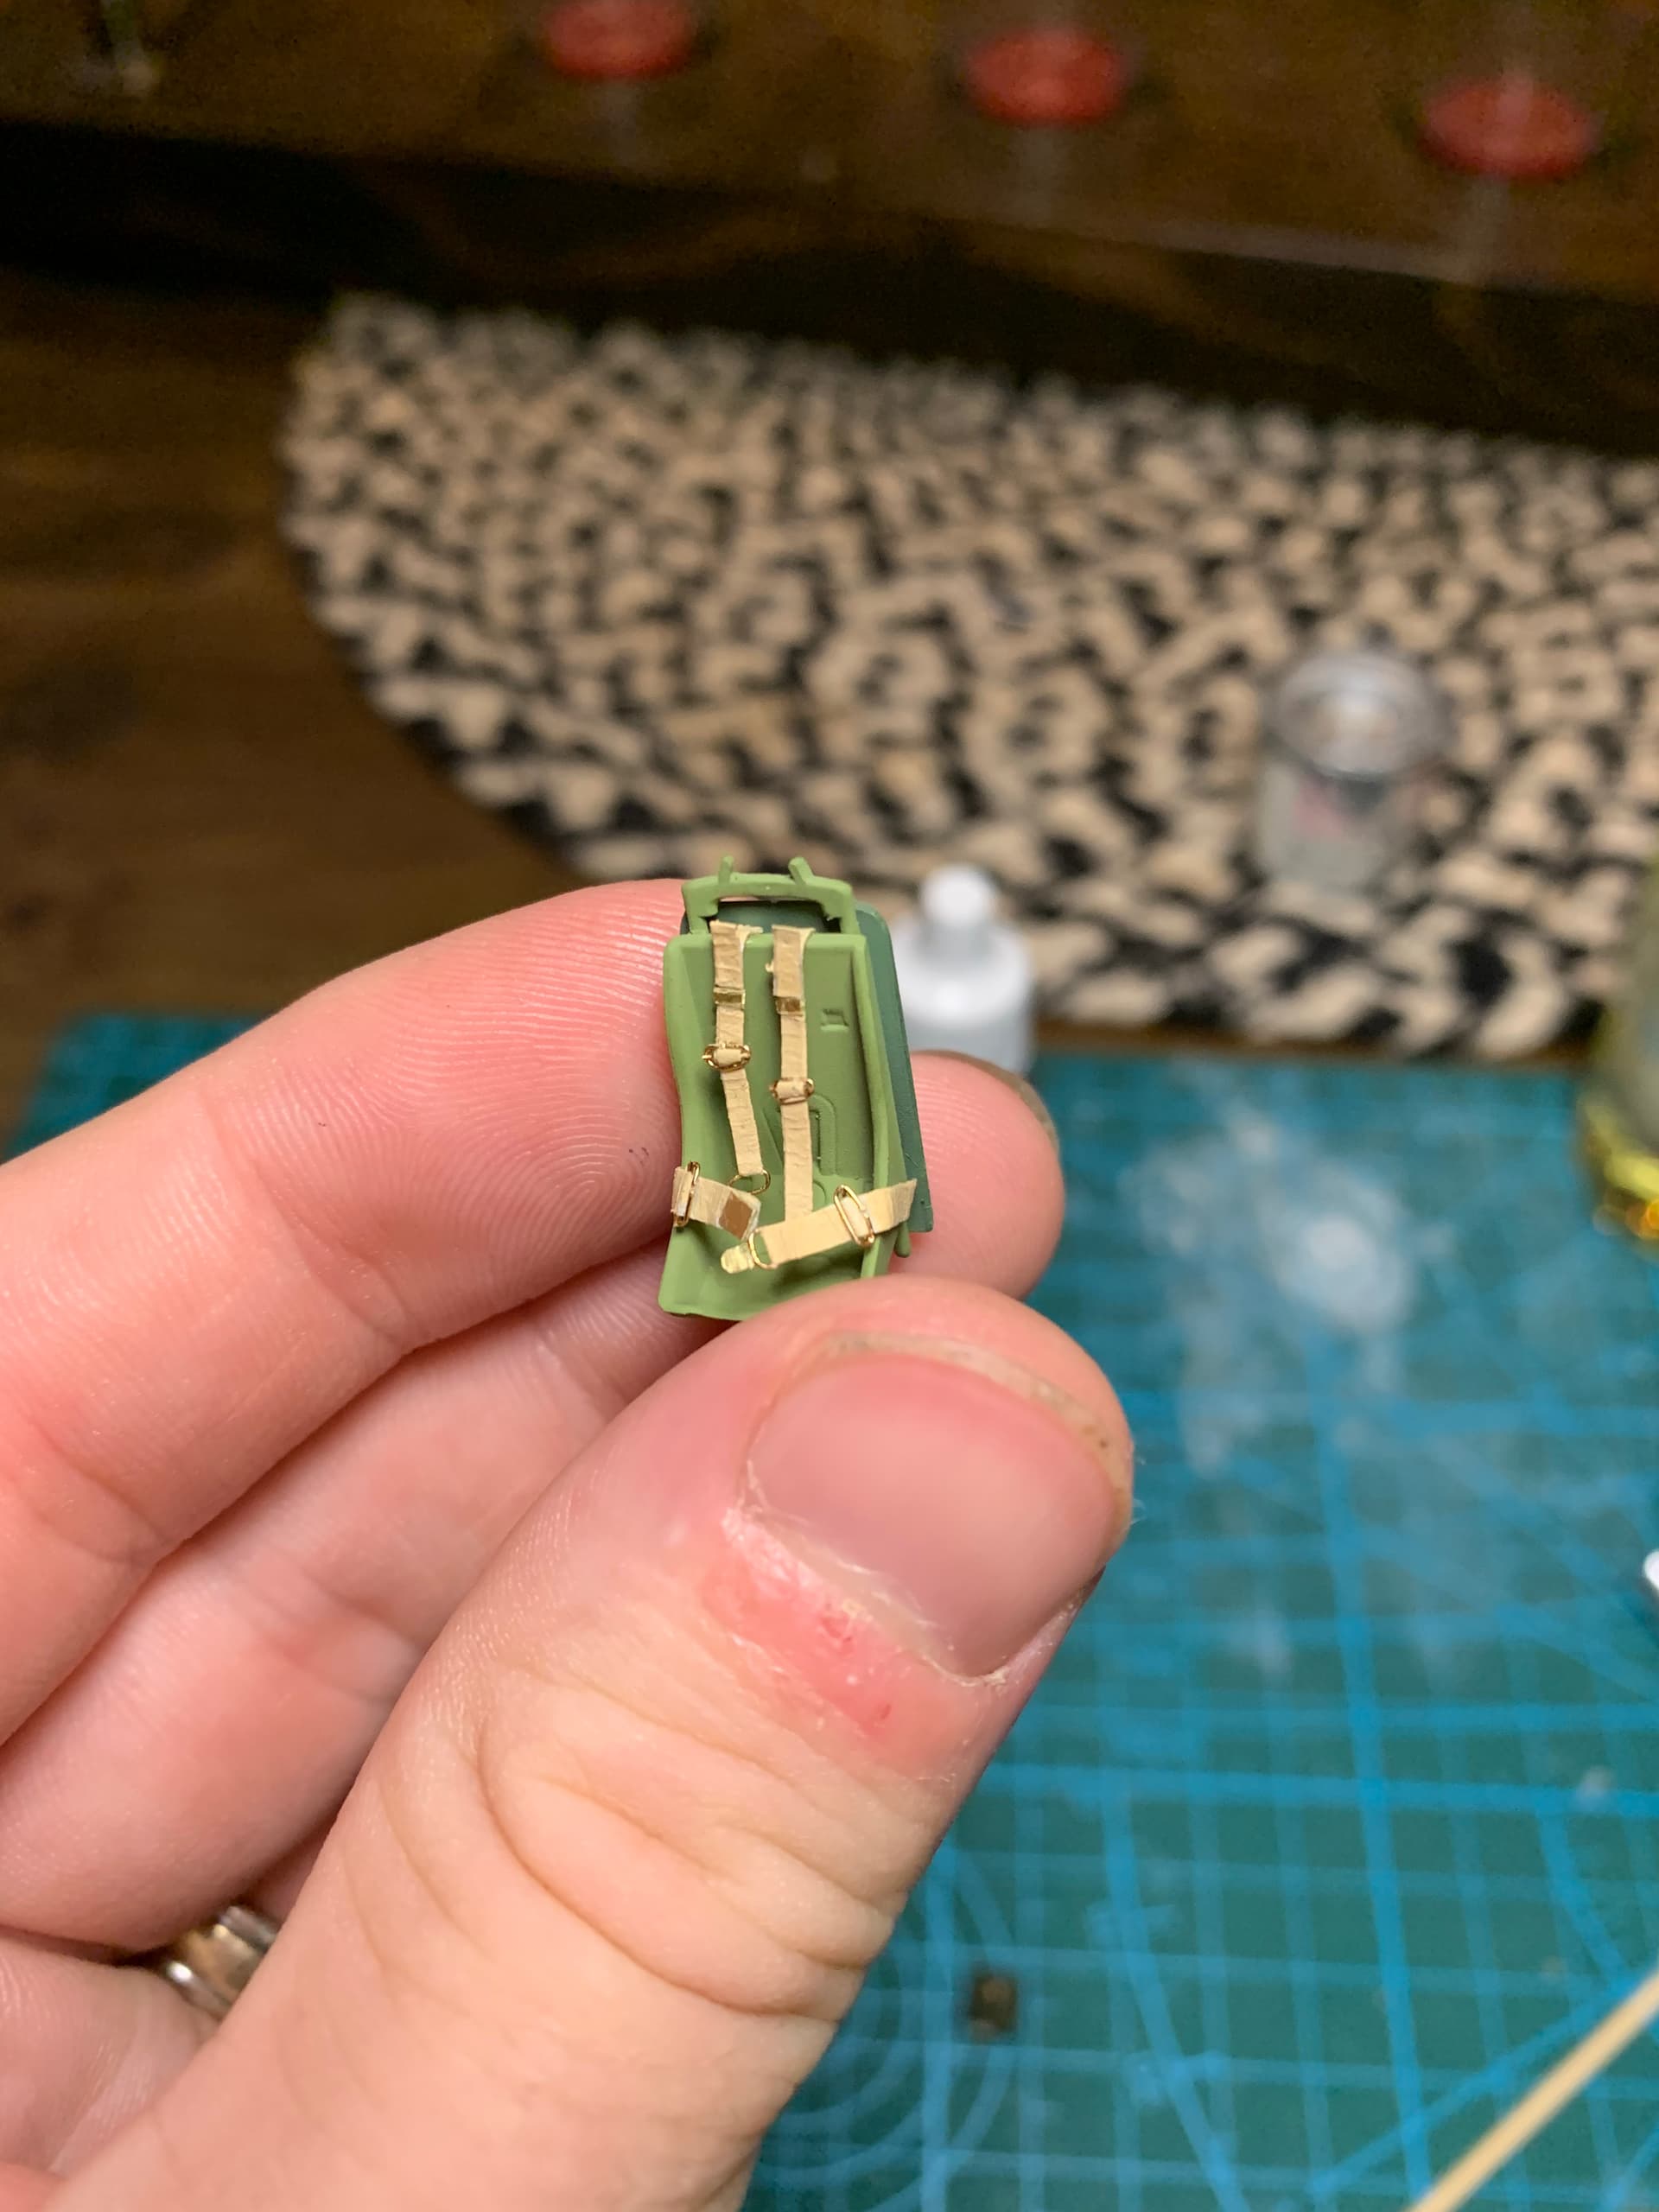
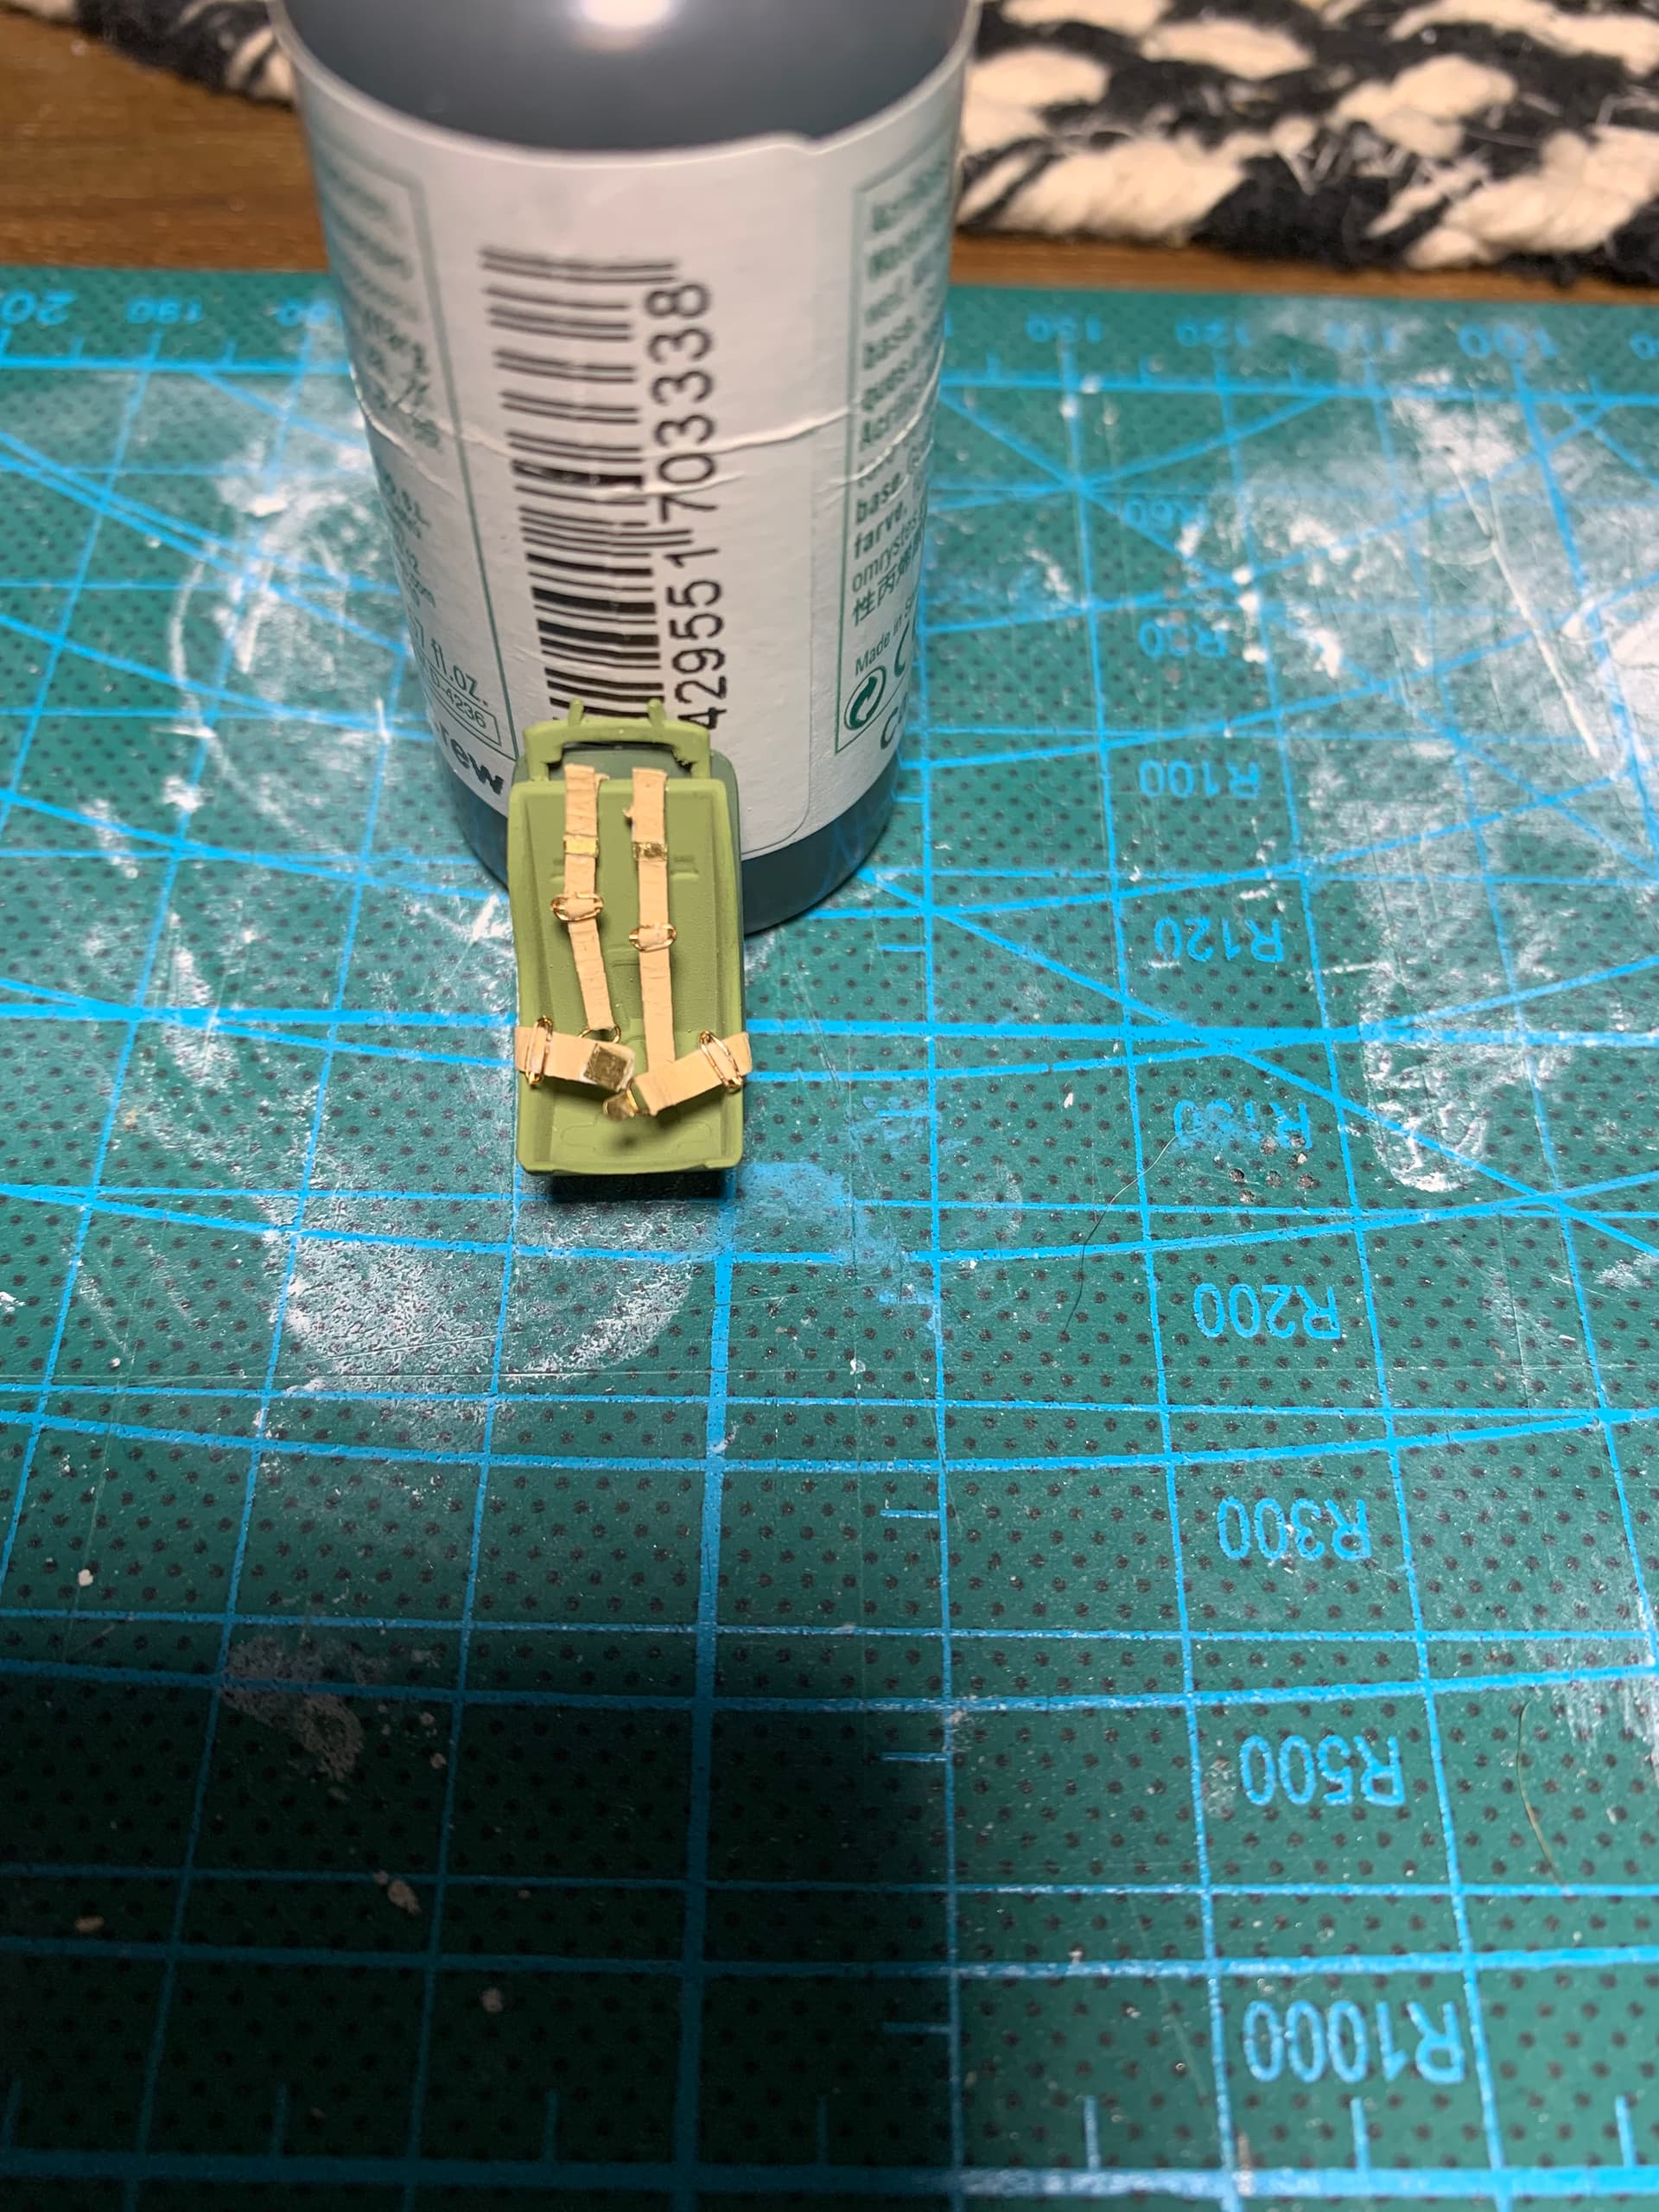
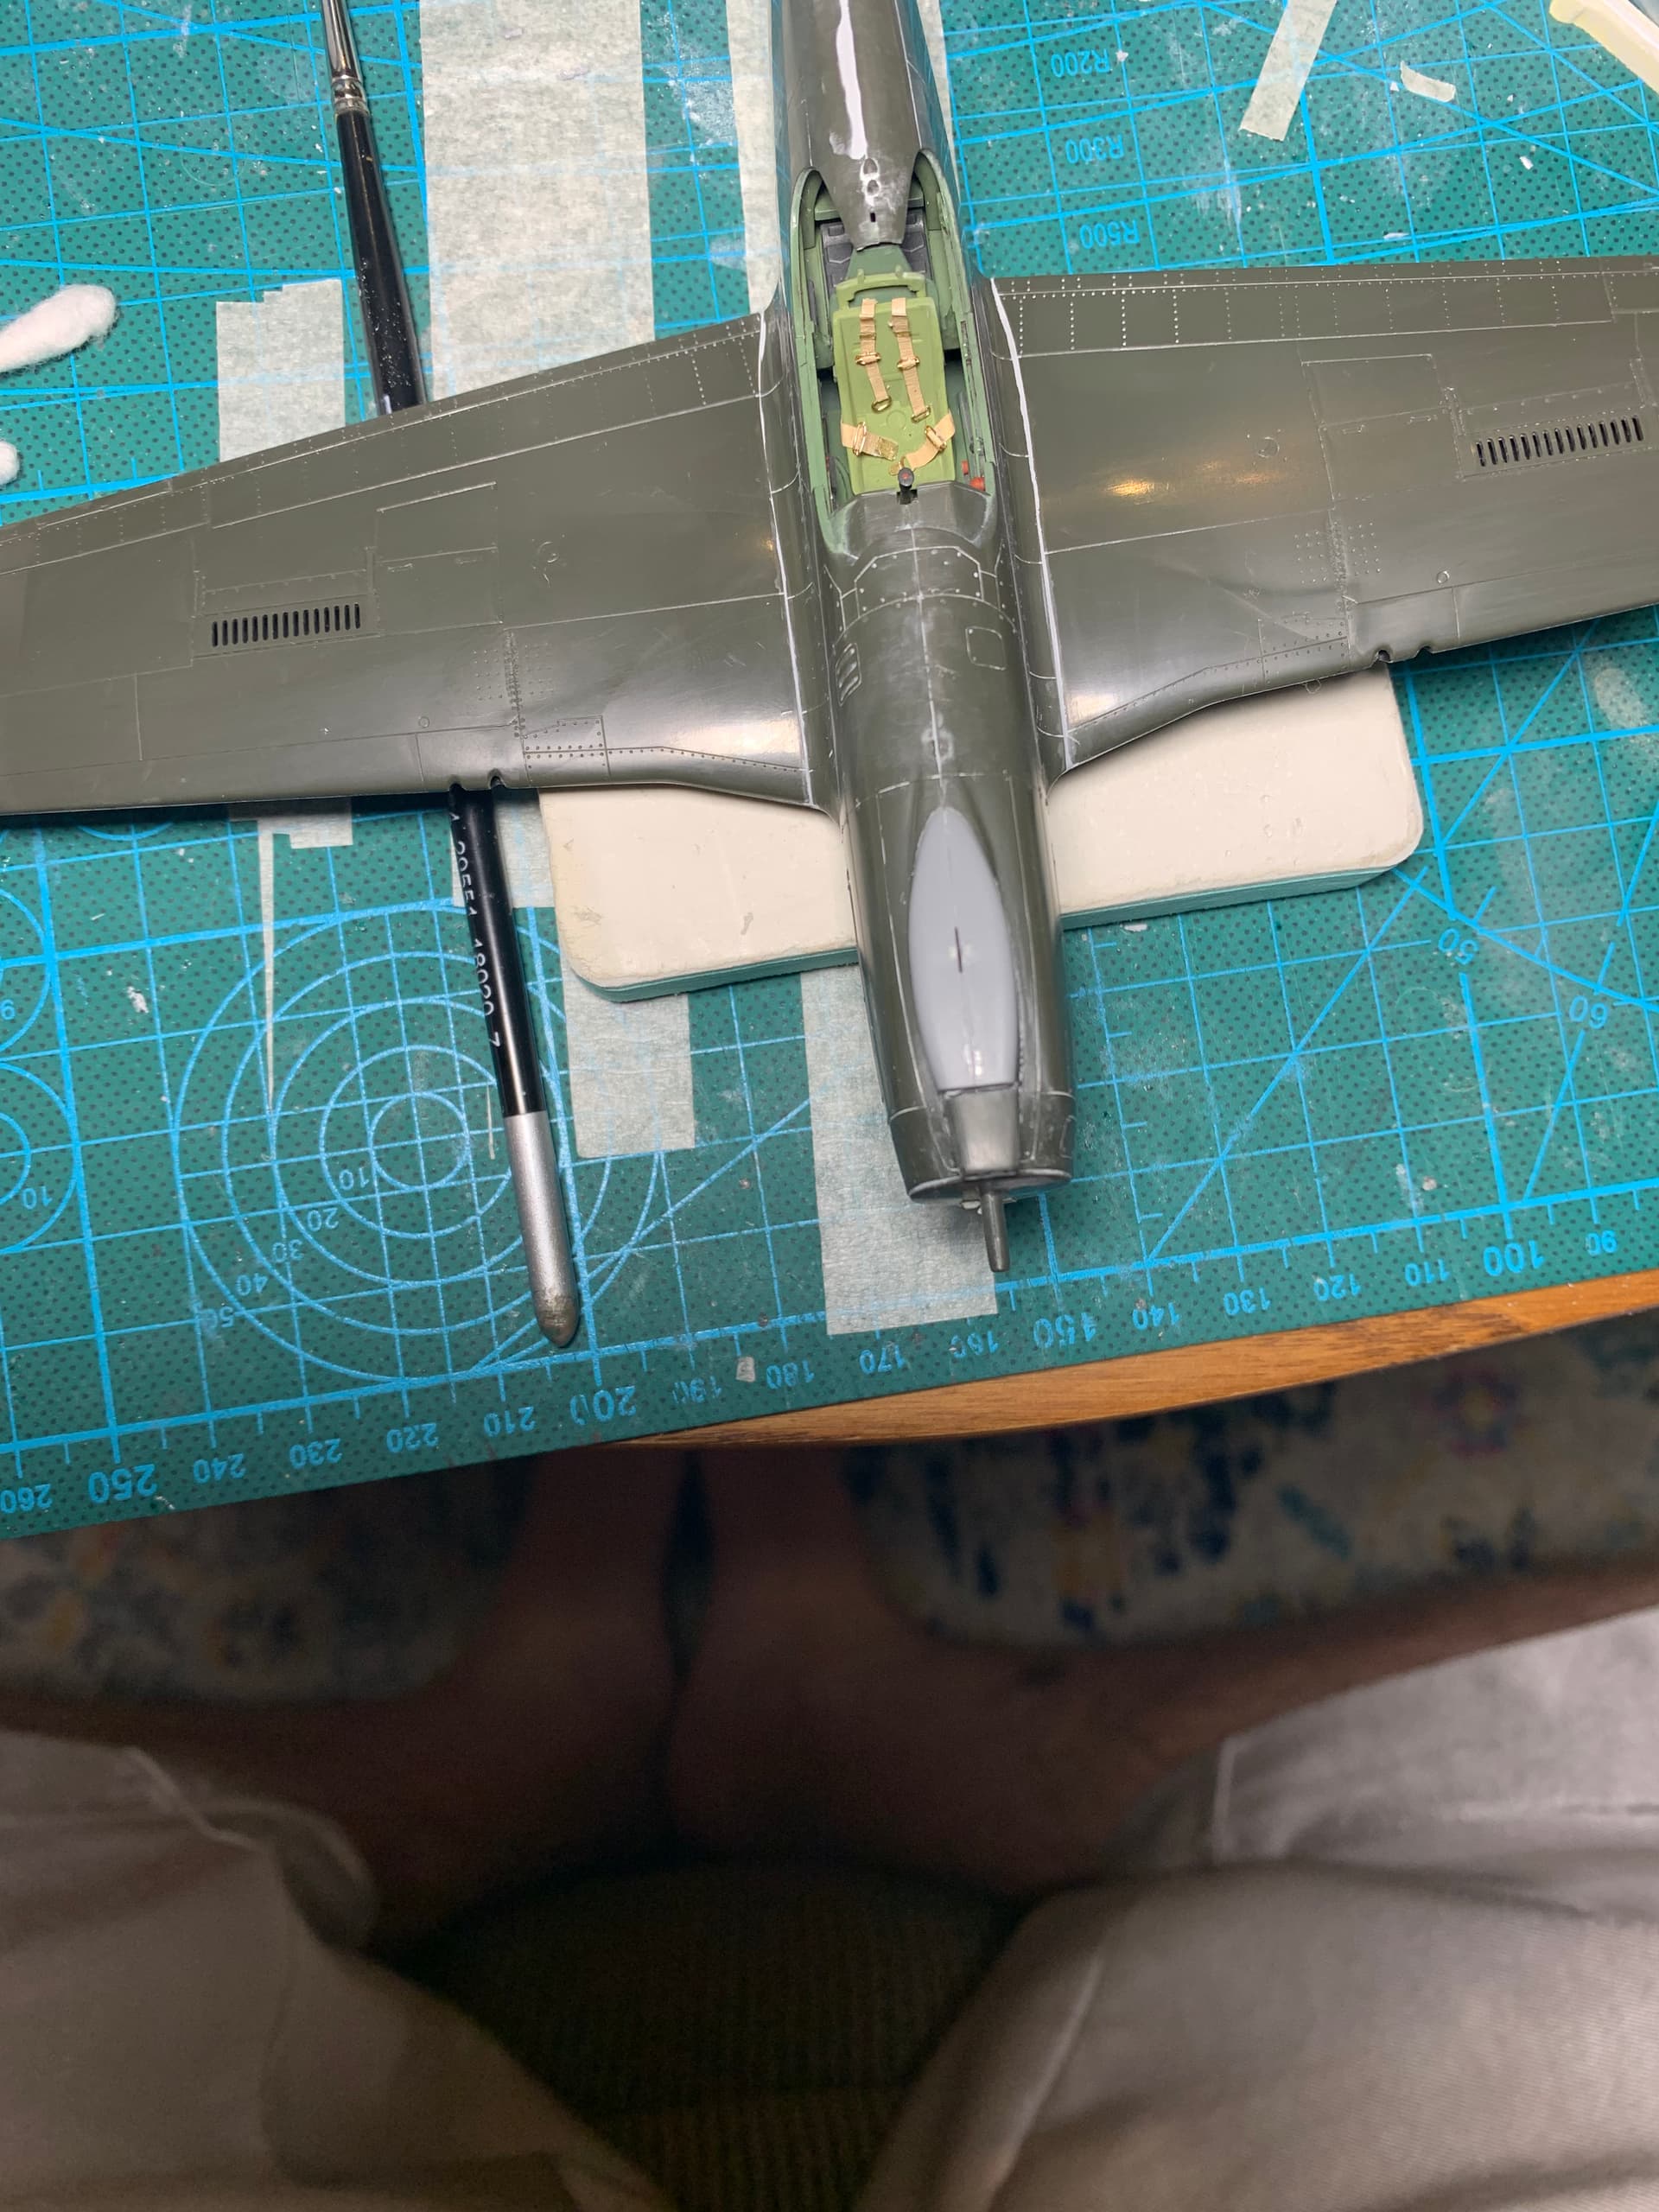
Not much progress this week, but managed to get some time to scratch up harnesses and the seat armor. Seat belts probably aren’t 100% accurate but I think they are representative


6 Likes
I’m afraid the male end of your lap belt is 6 microns too small. Start over and this time pay attention!
4 Likes
I knew they looked out of scale but I couldn’t place where!
2 Likes
And the stitching is missing two stitches…
2 Likes
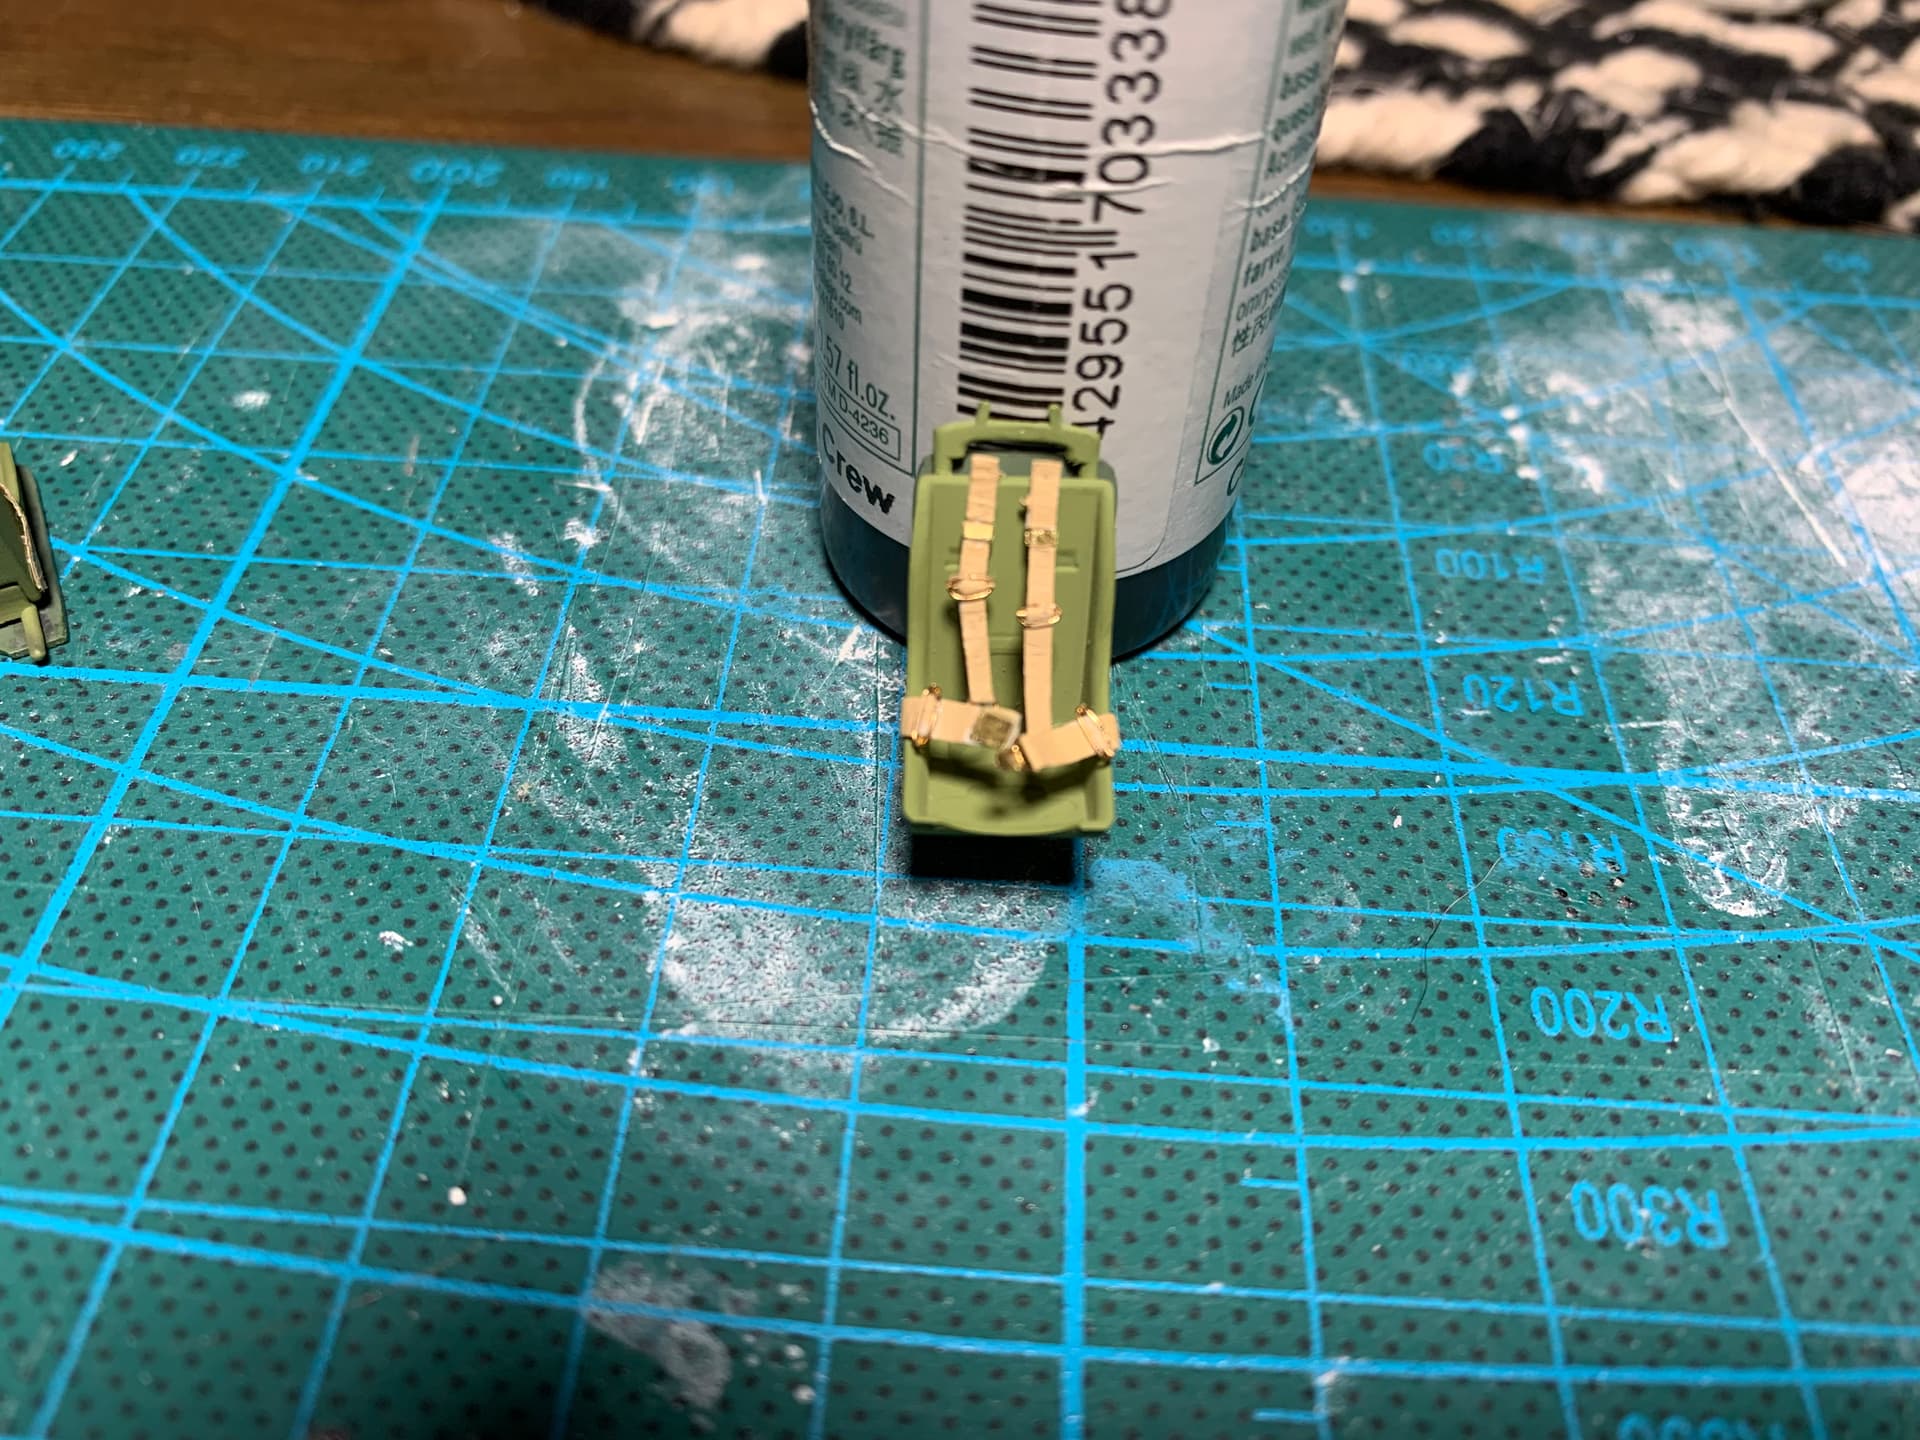
Seat belts on the seats and painted with Vallejo Iraqi sand, I think I’ll dirty them up a bit but pretty pleased with how they turned out
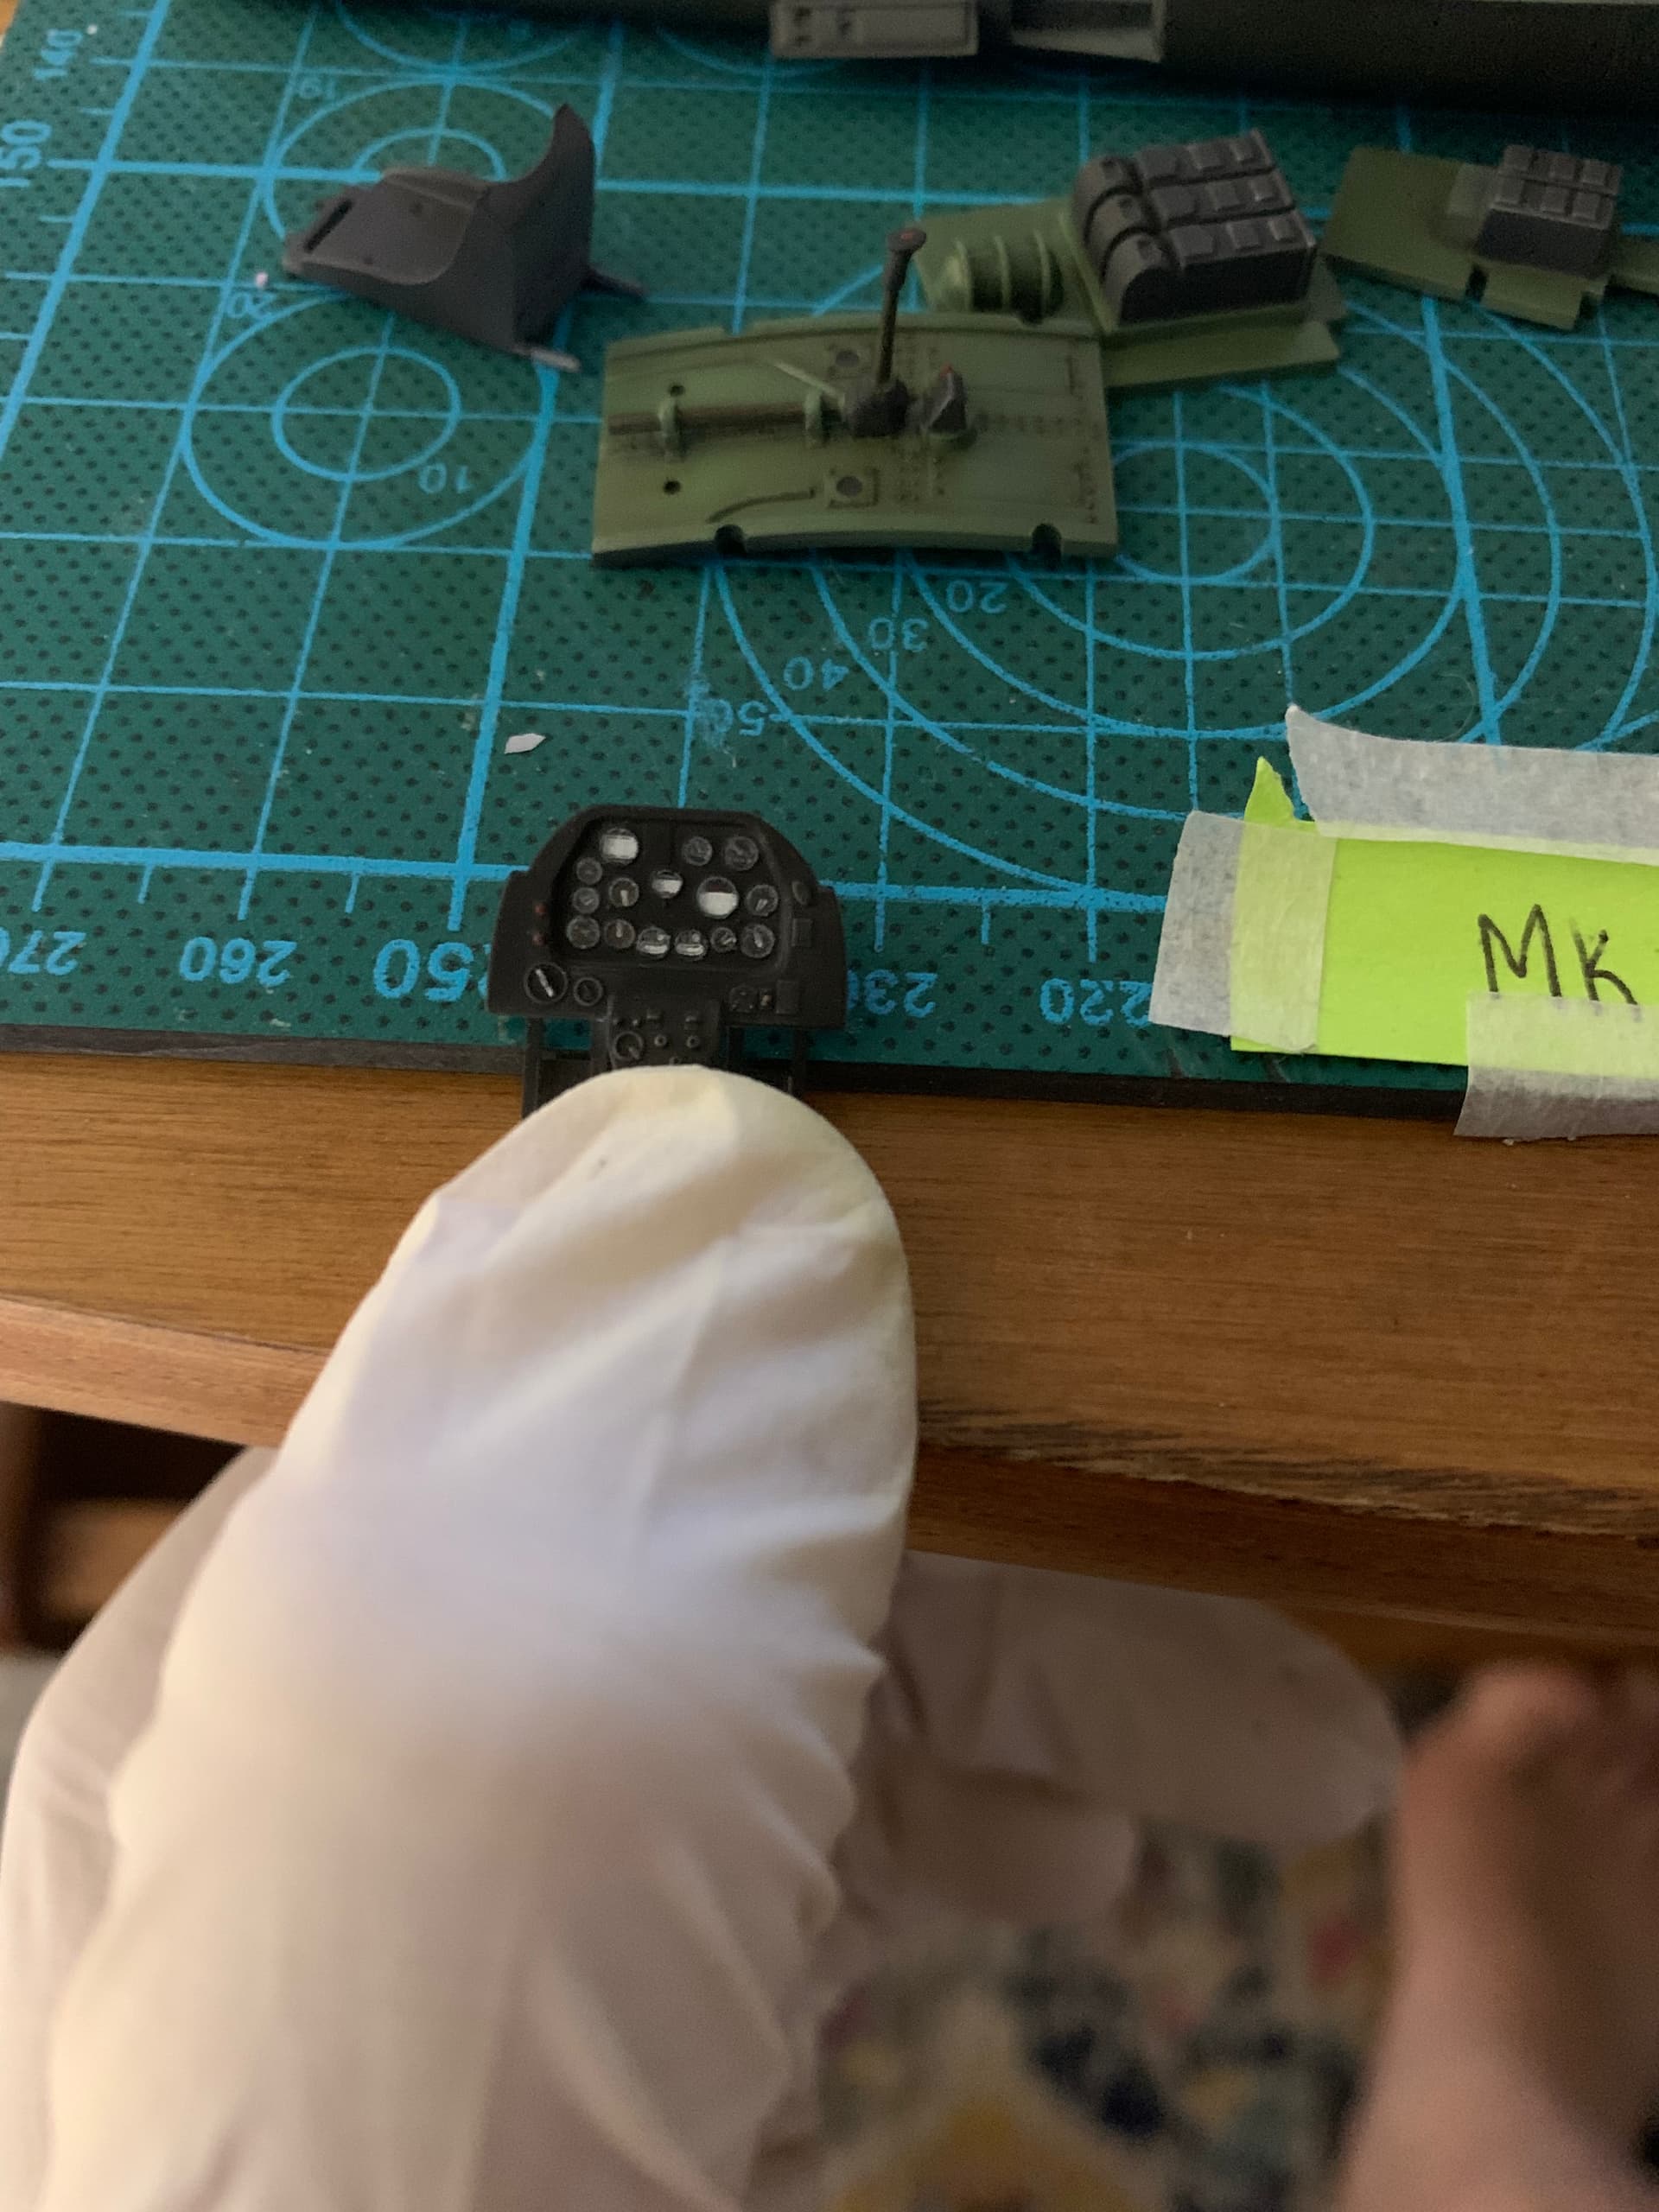
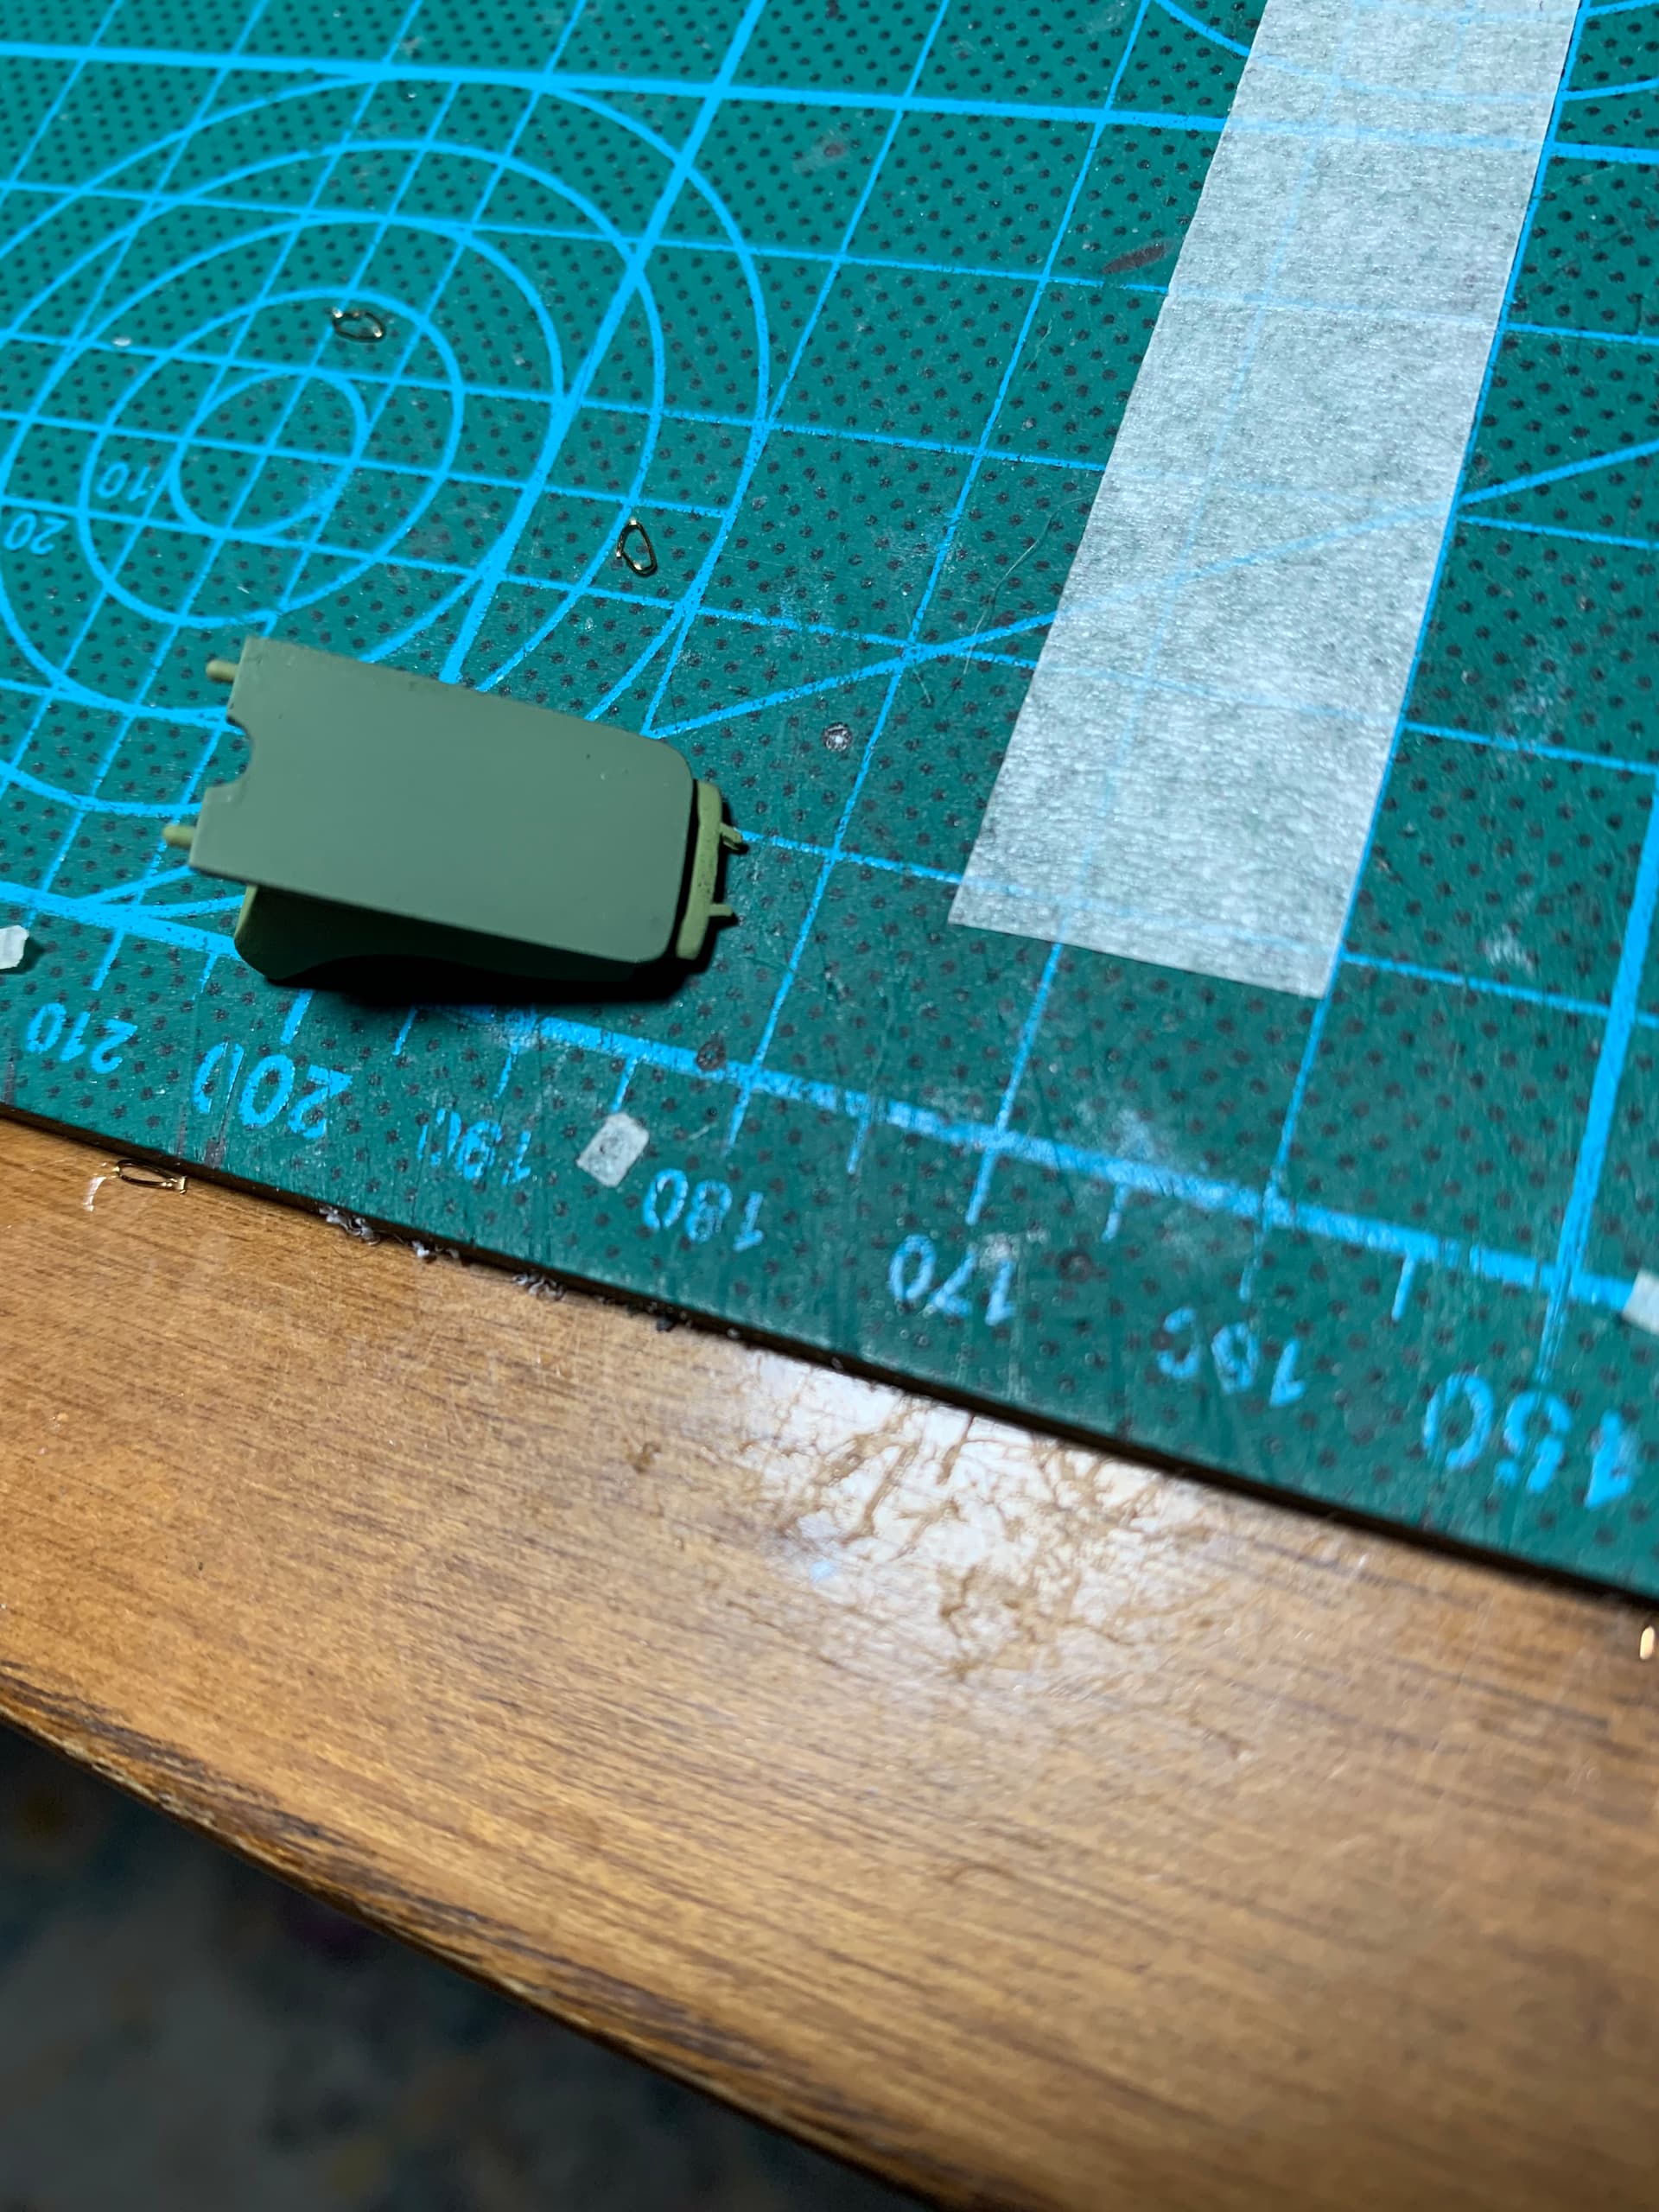
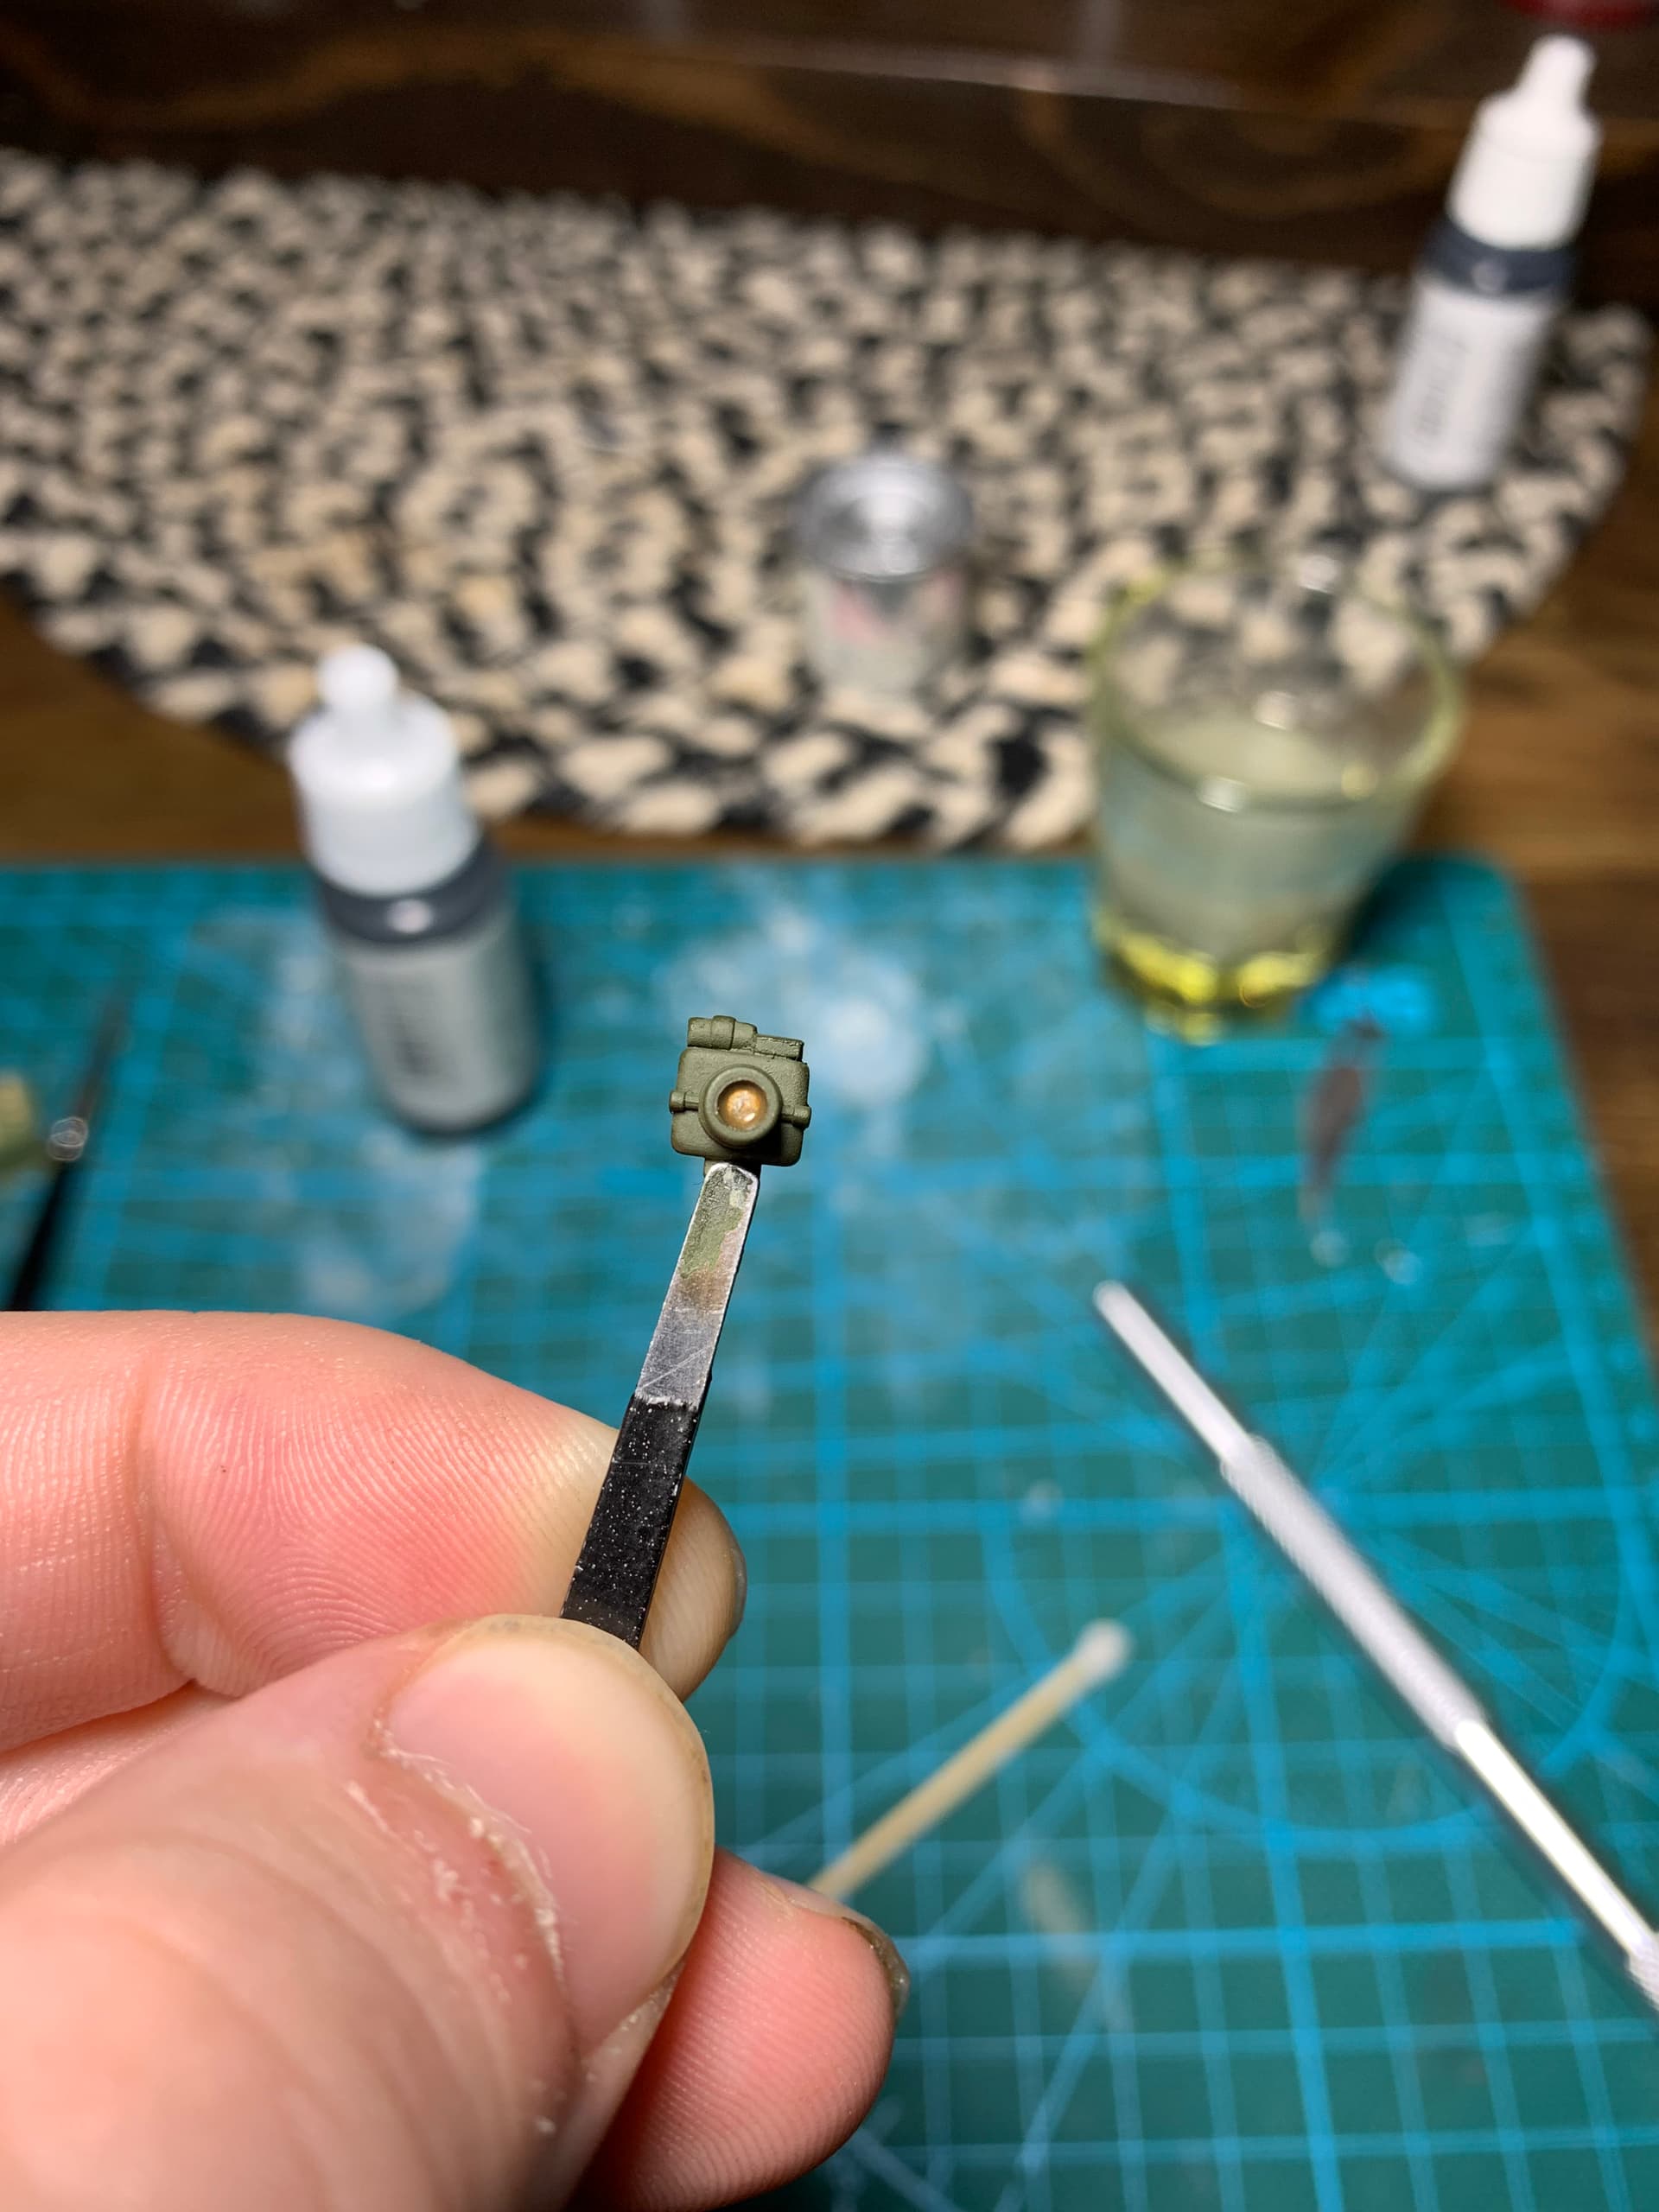
Camera painted up for the MKIA f/r bird

7 Likes
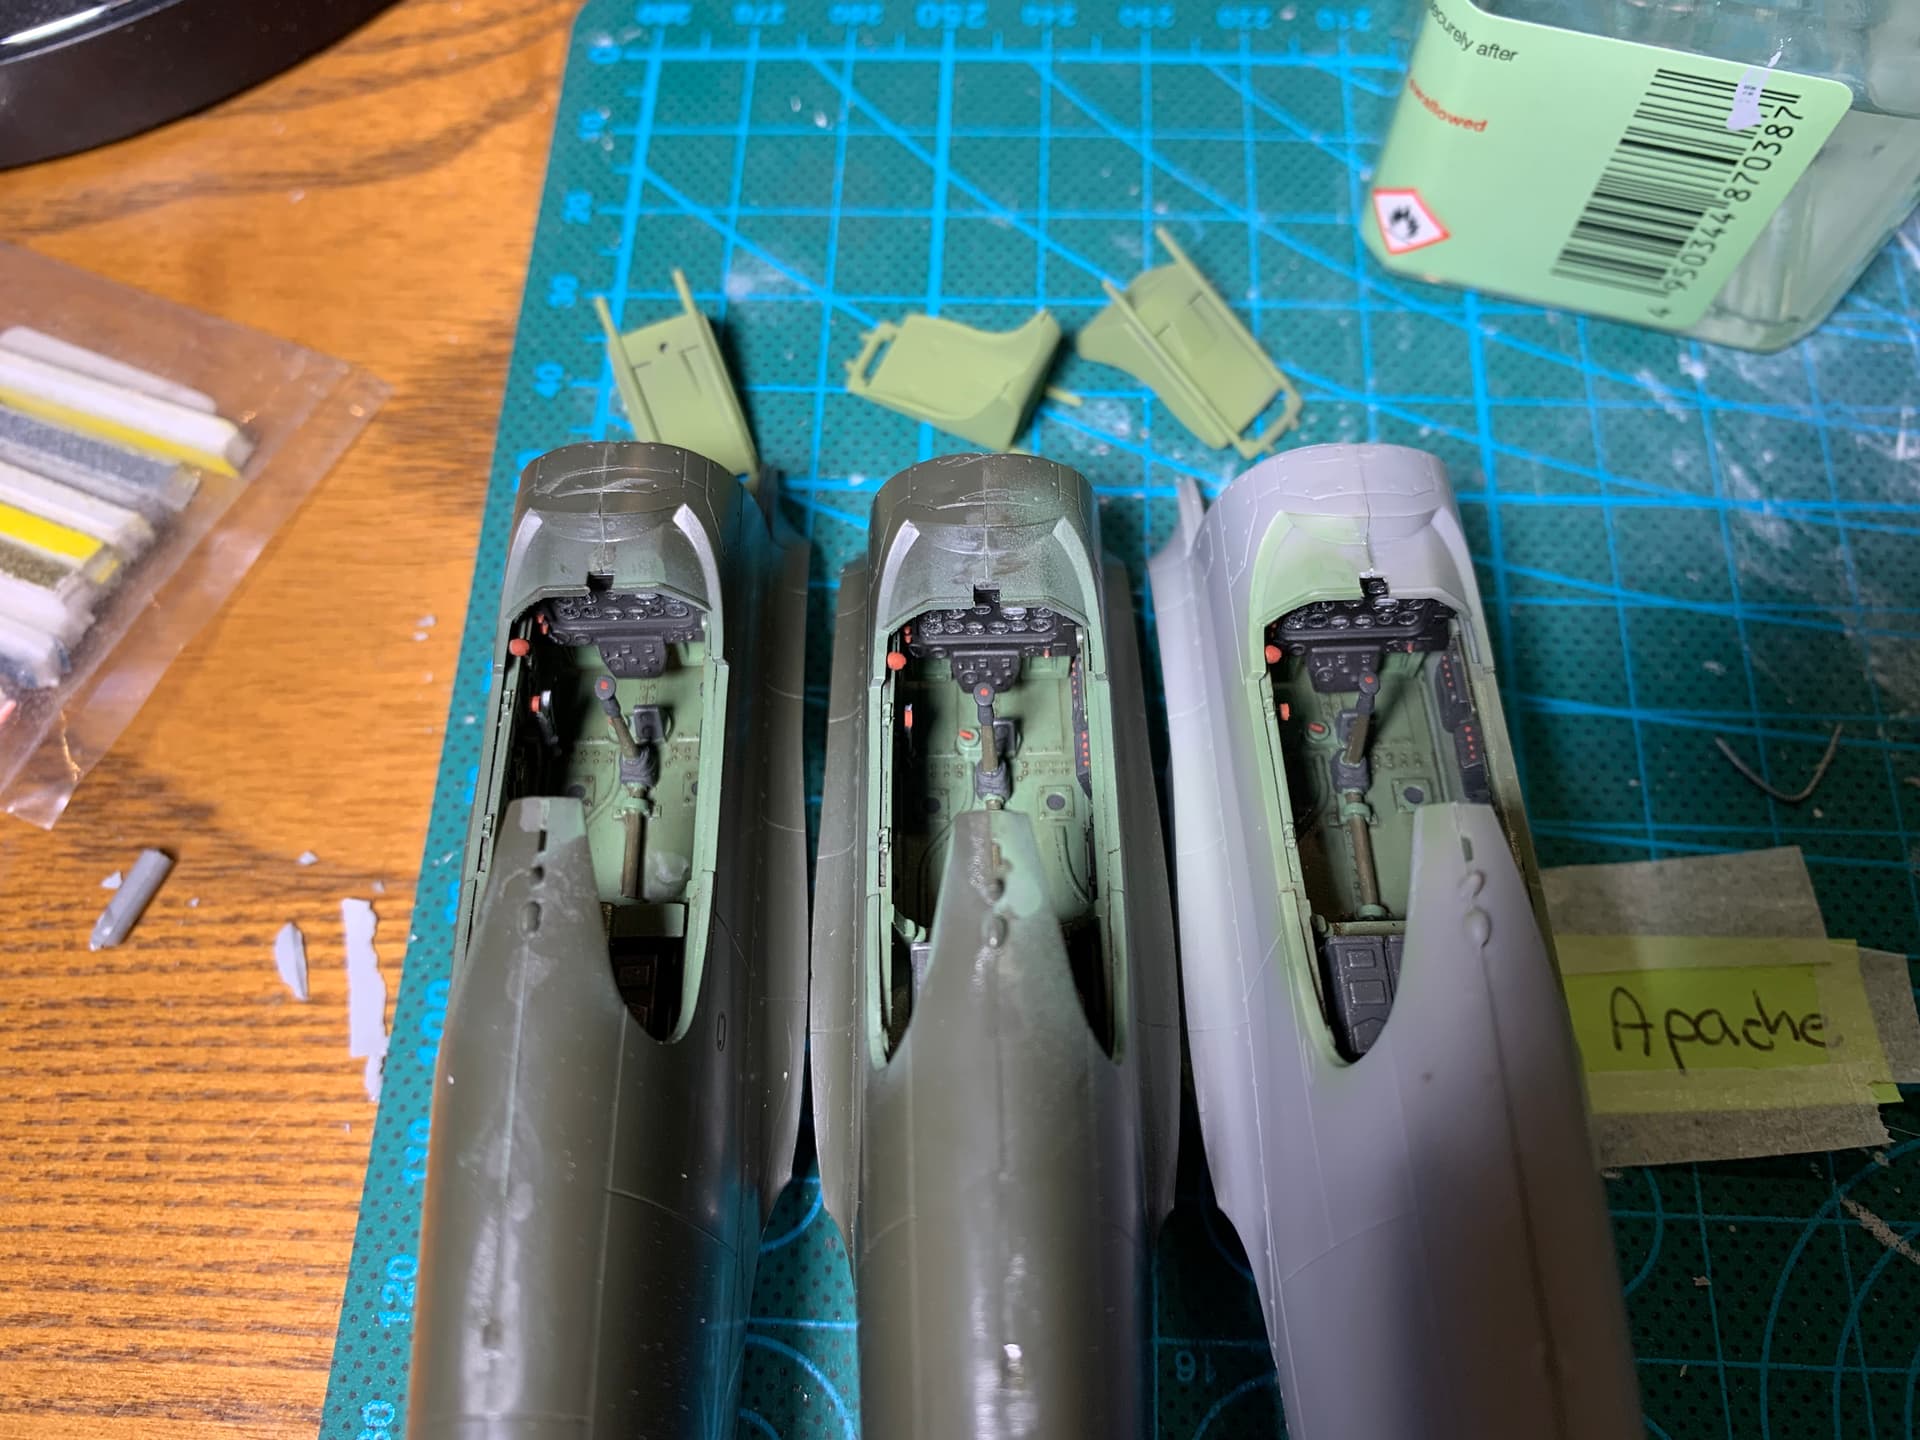
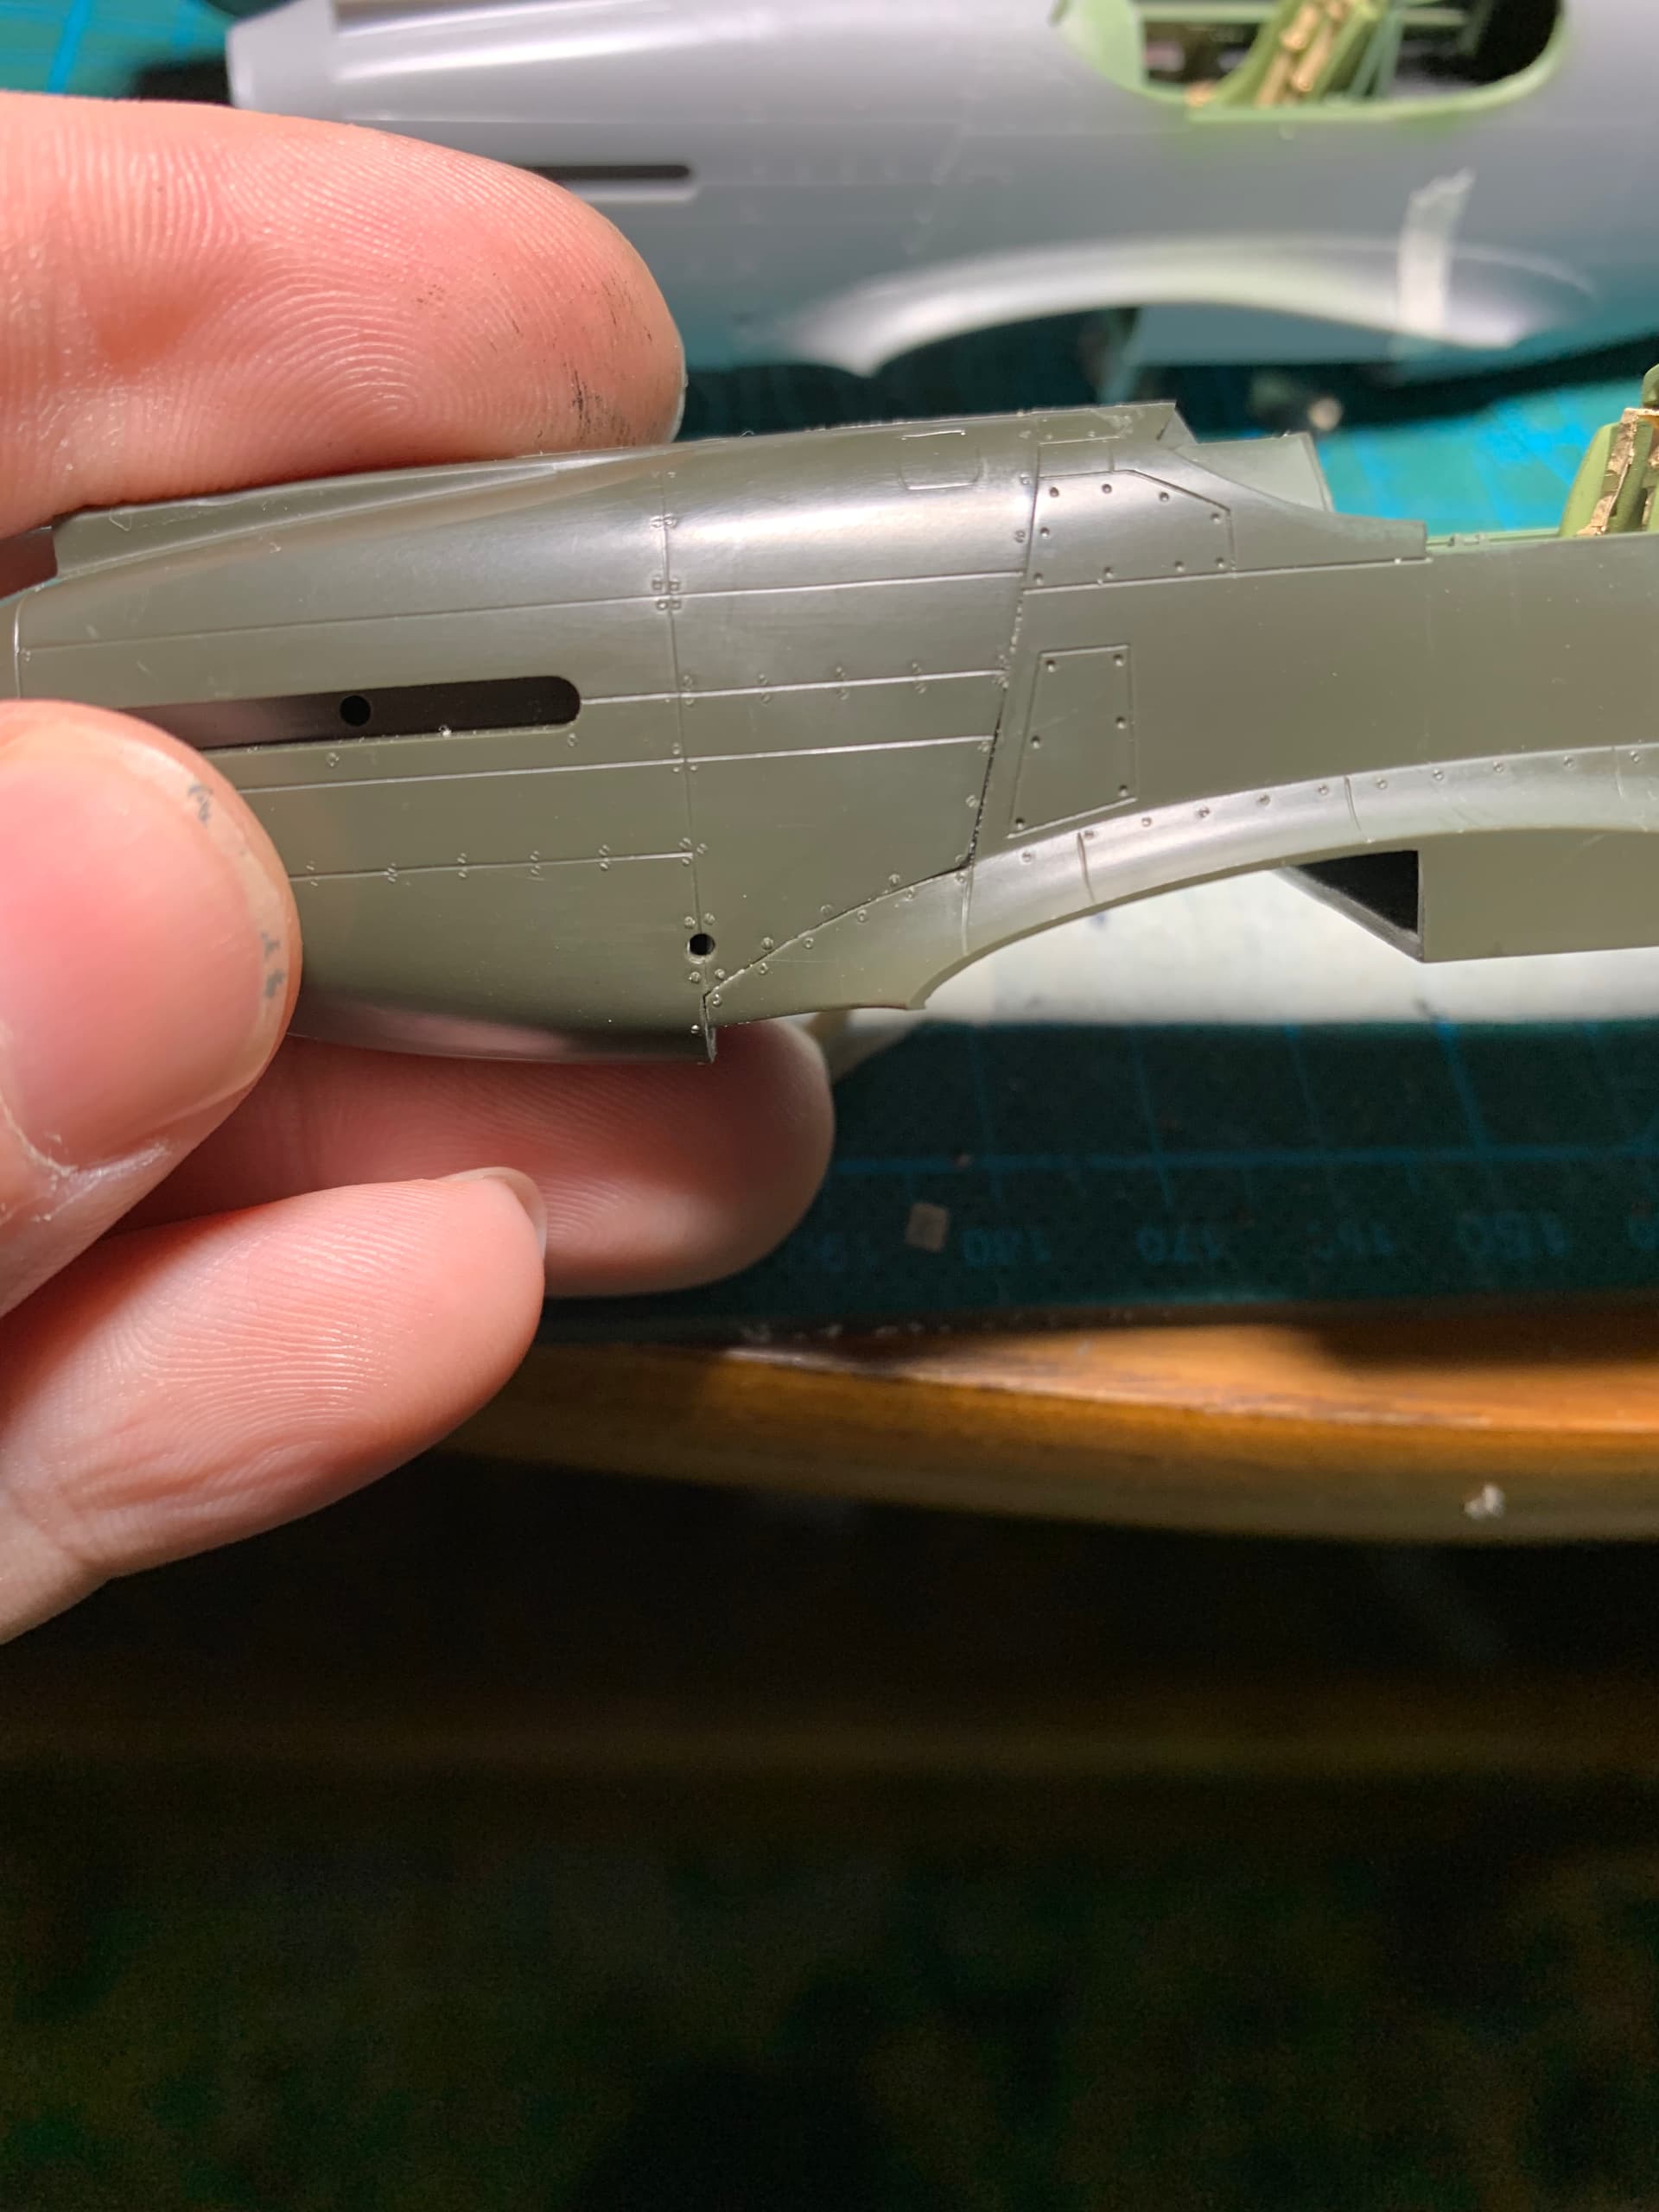
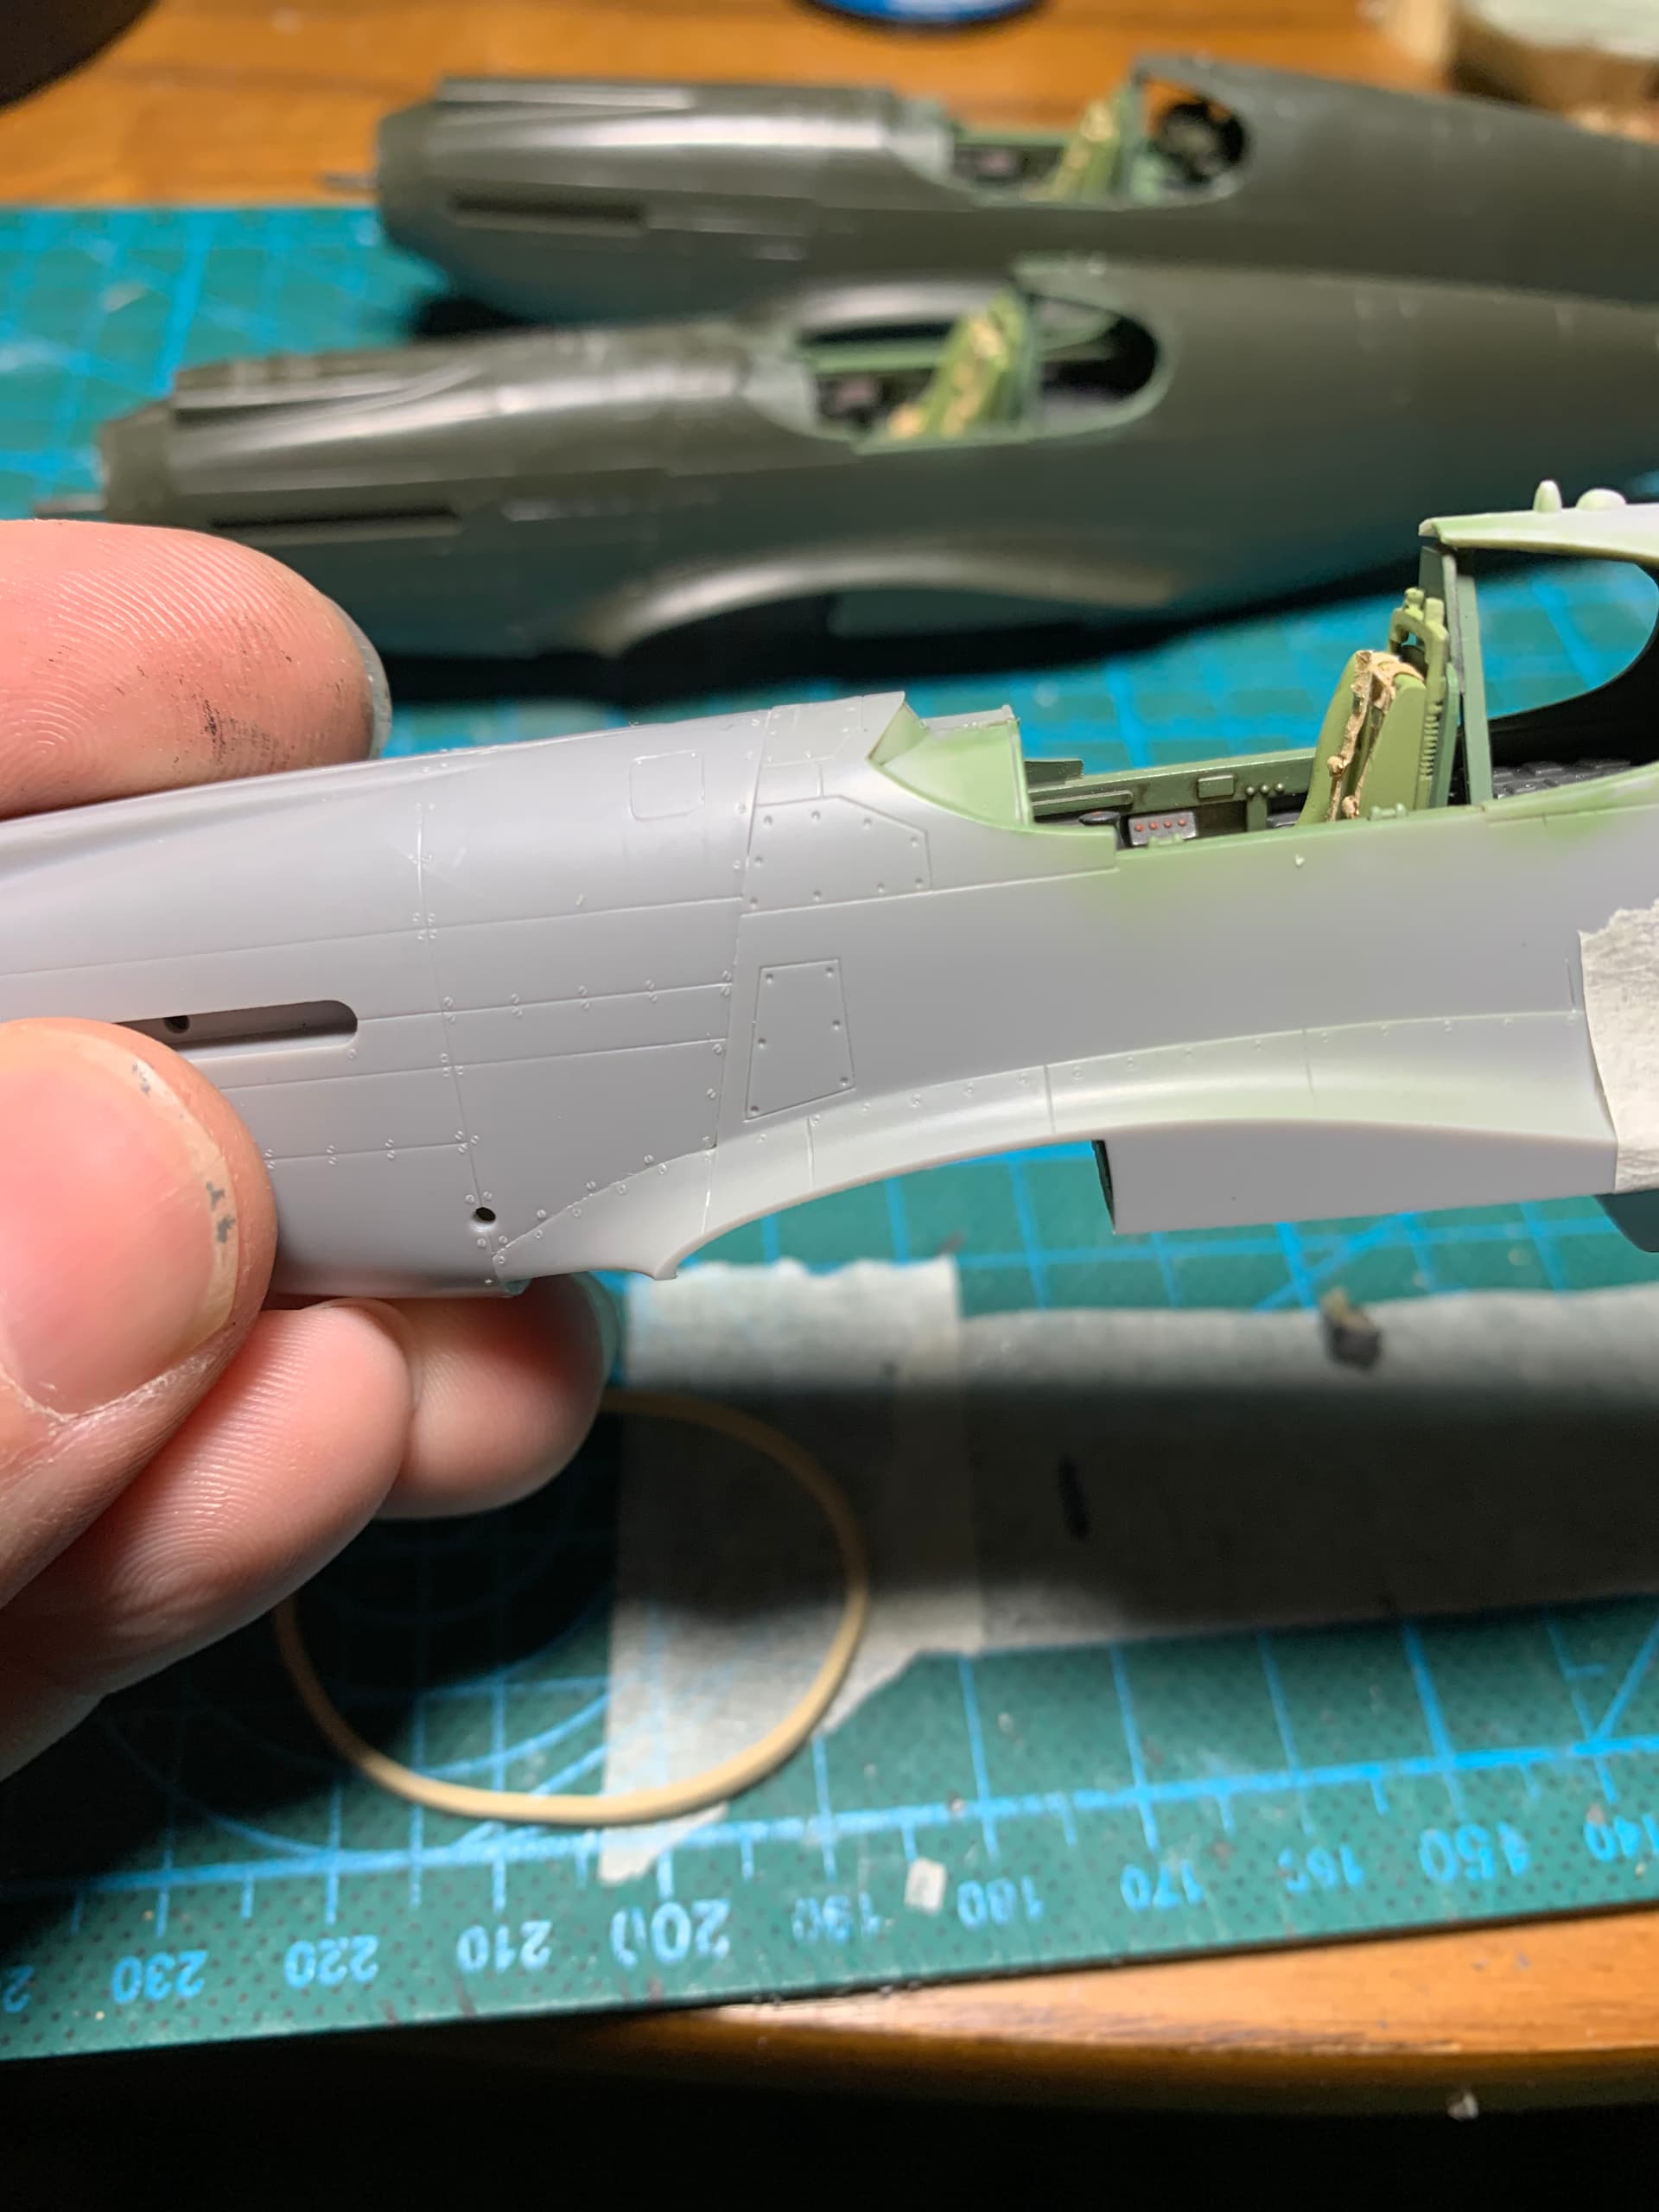
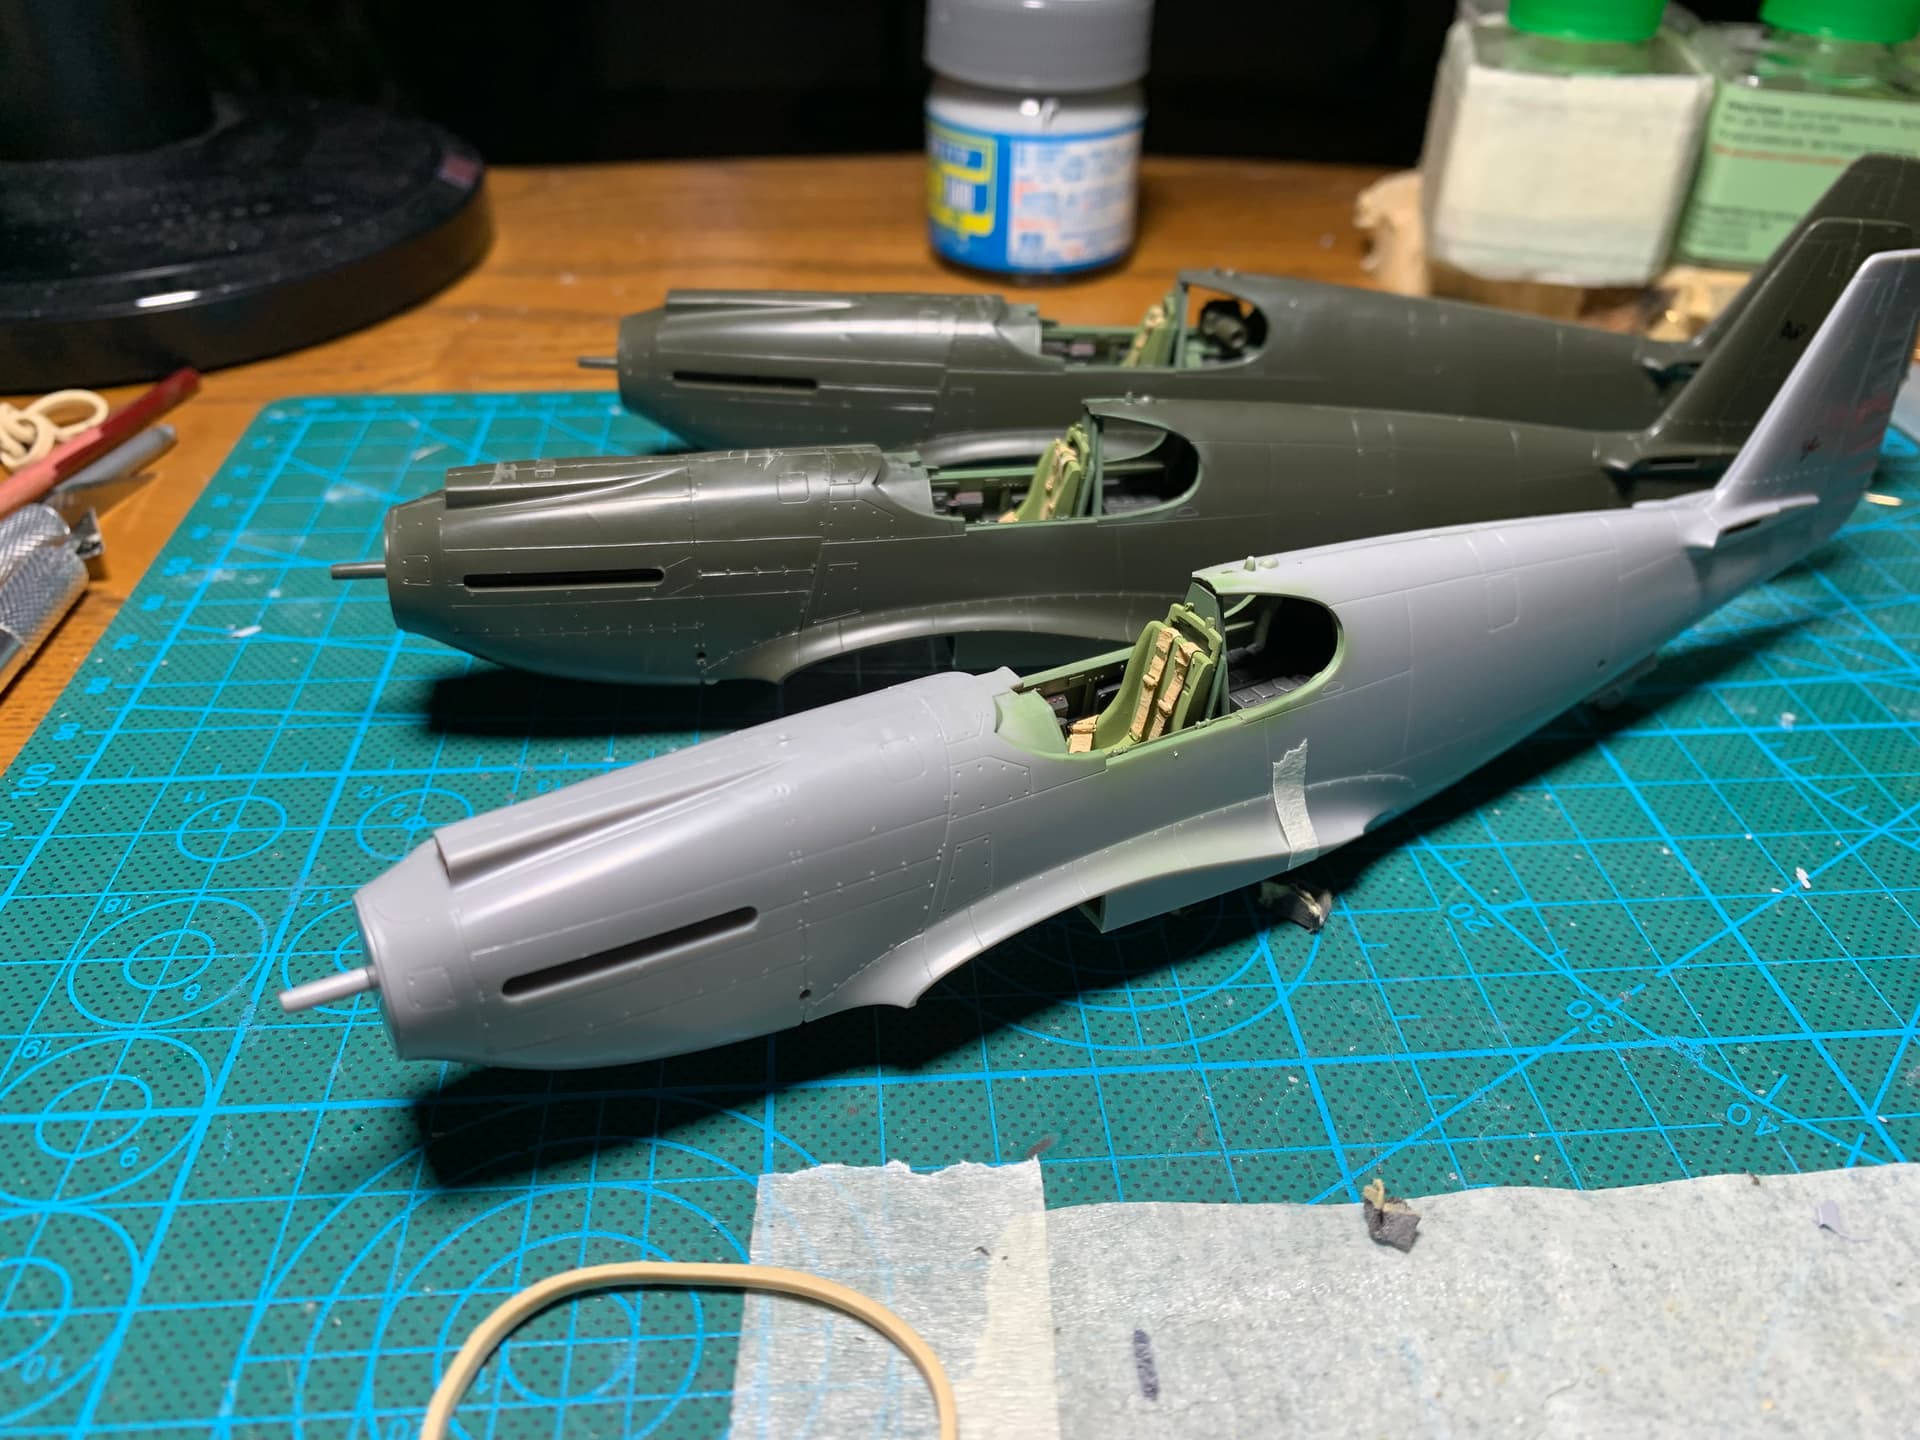
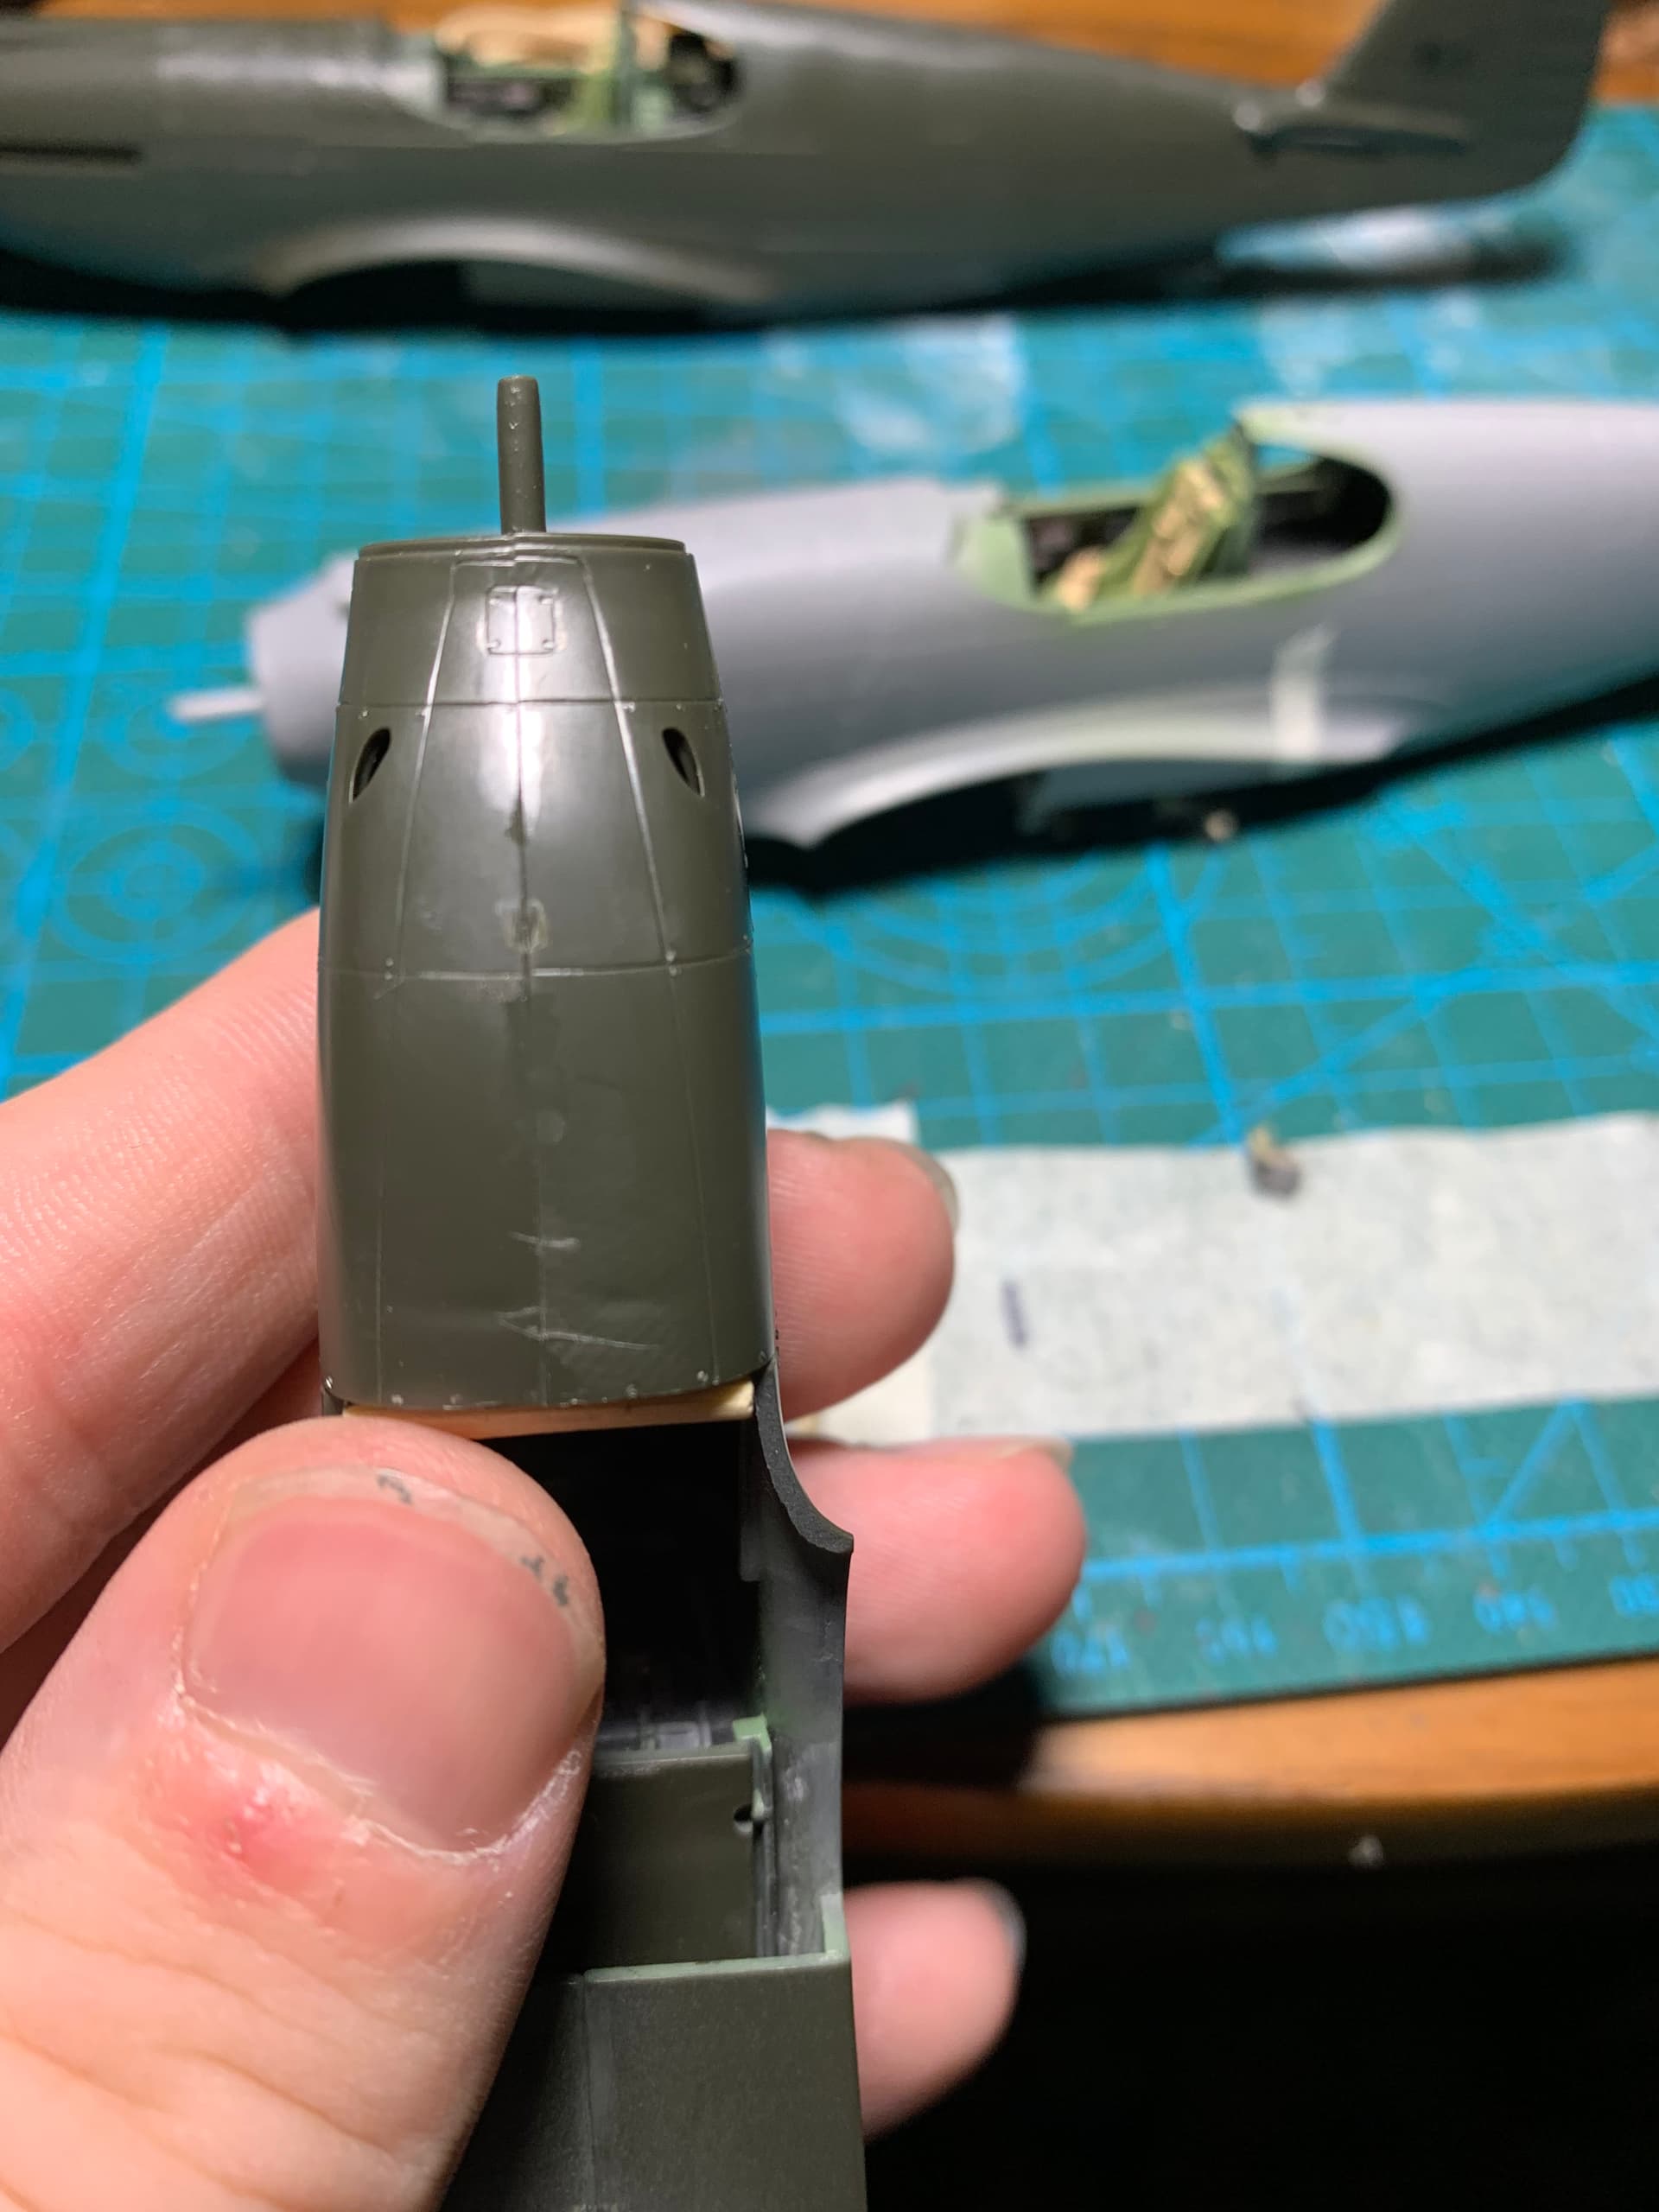
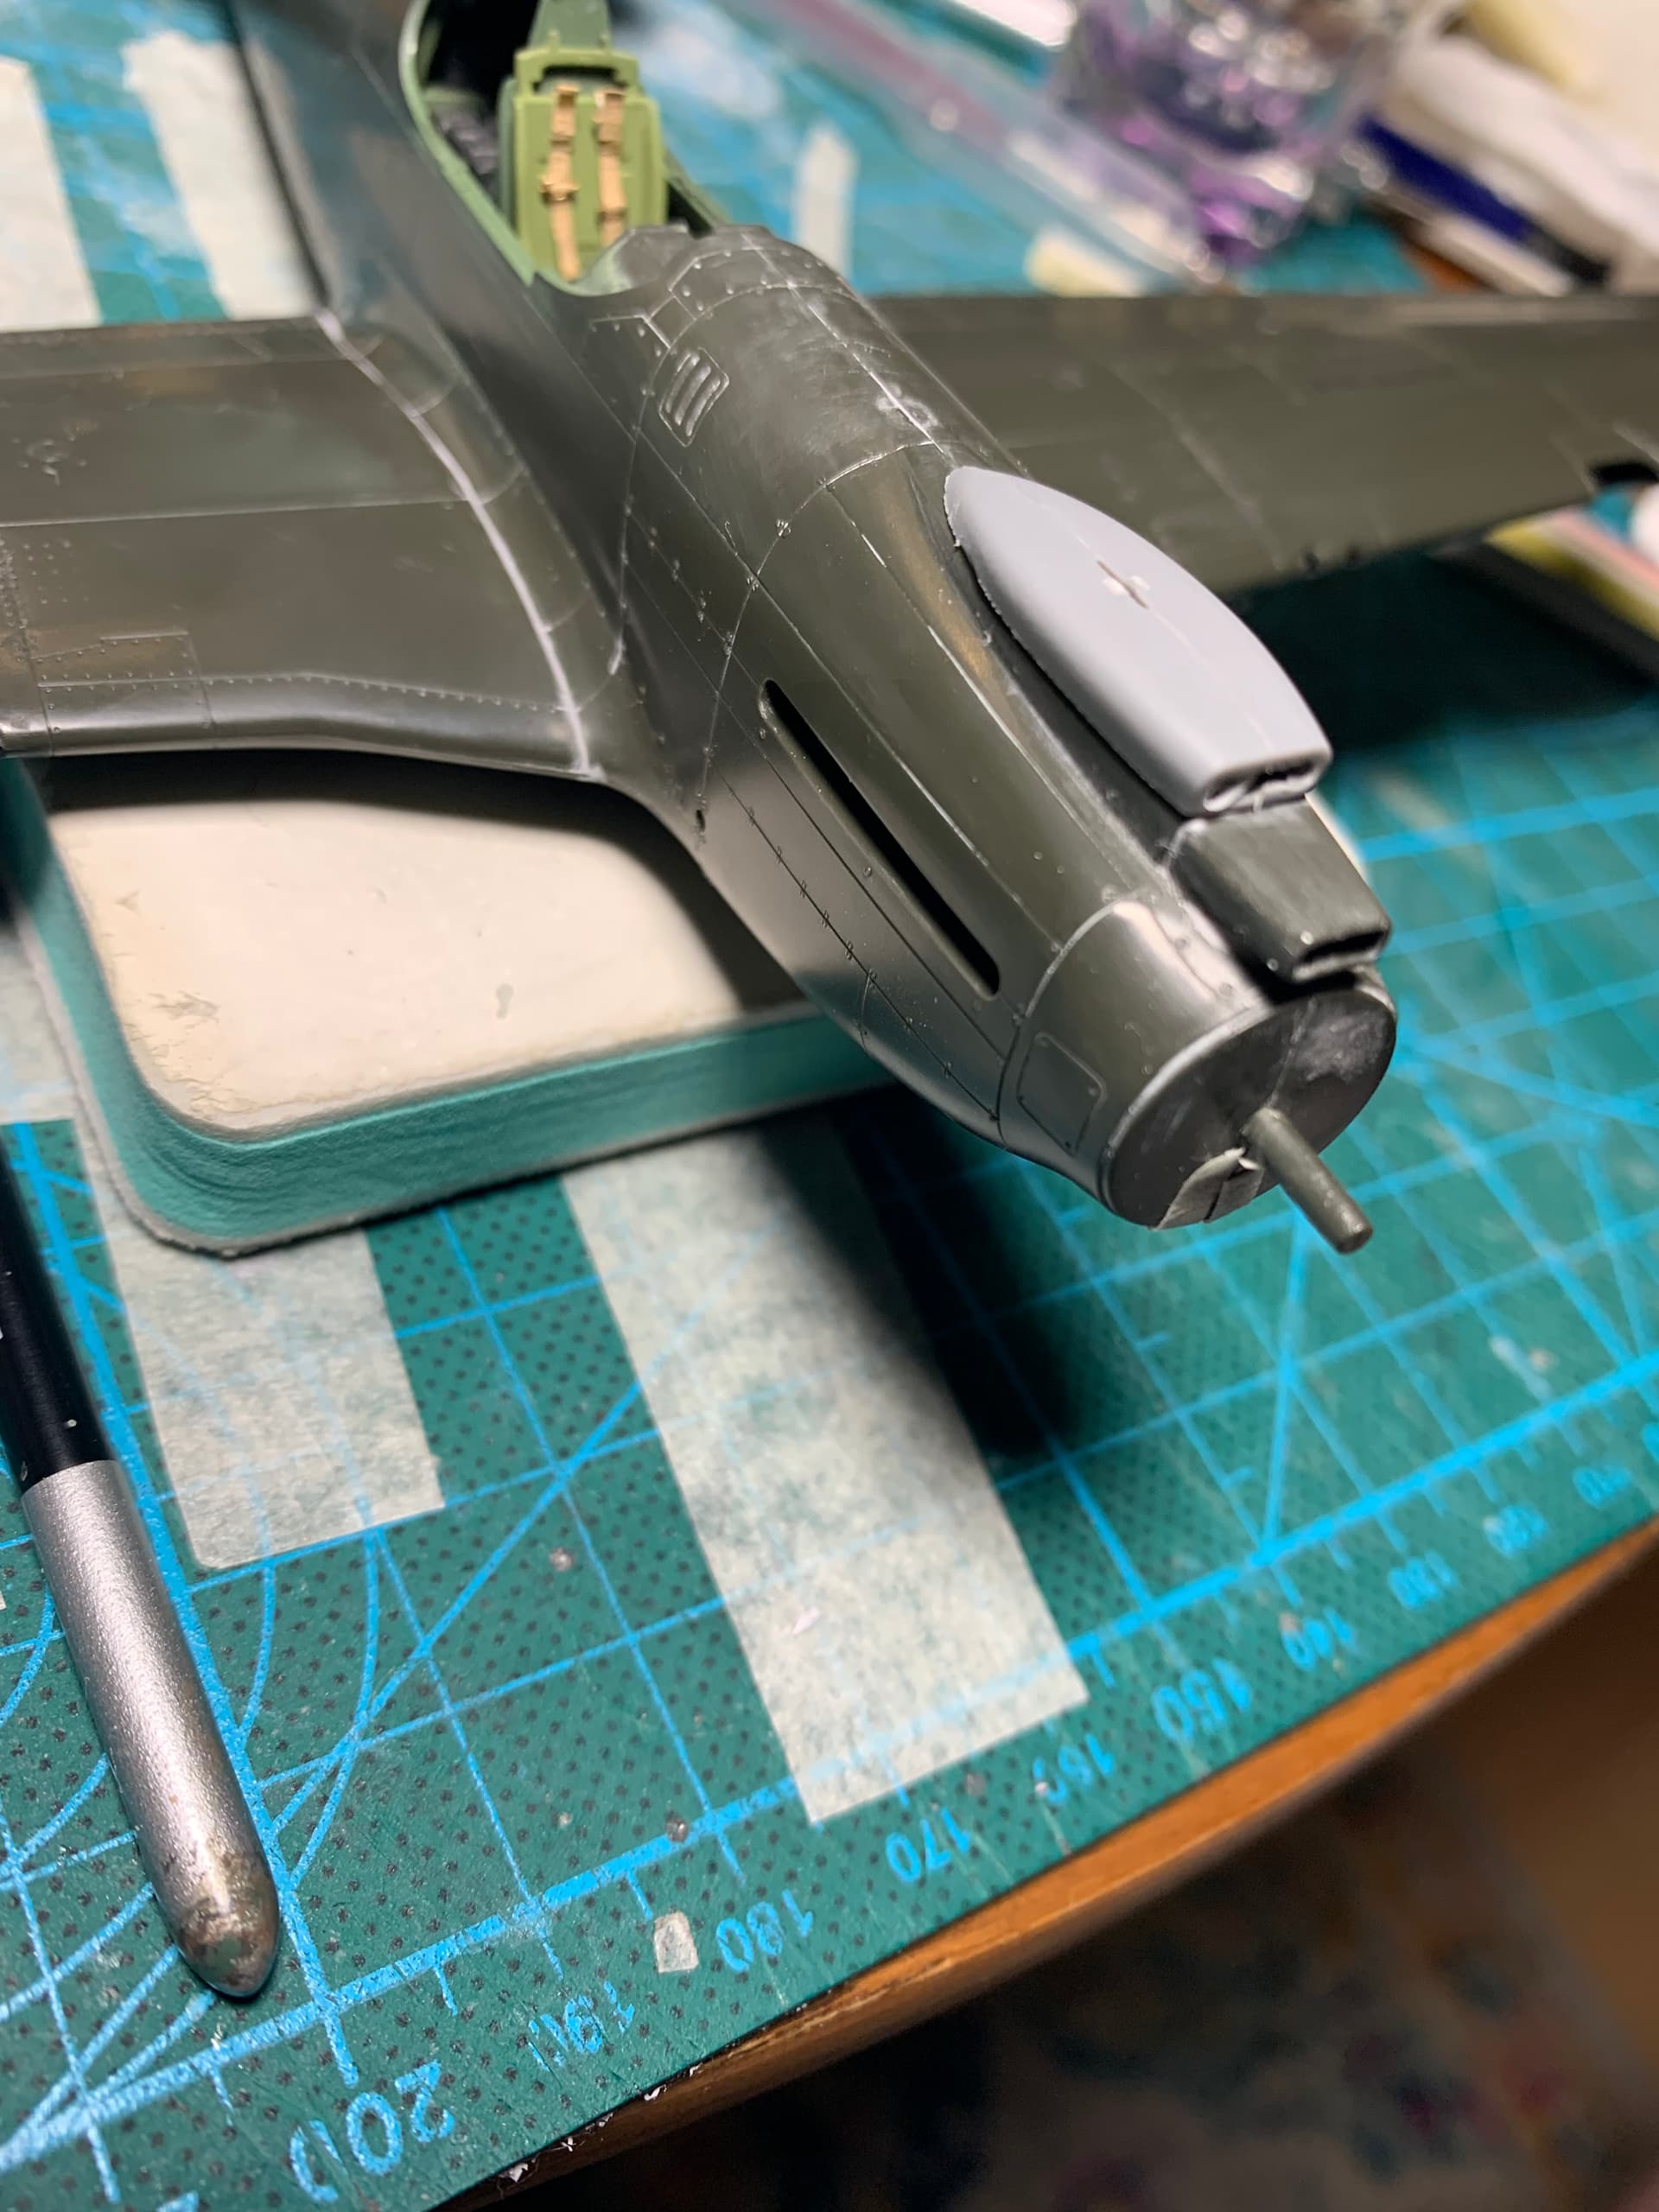
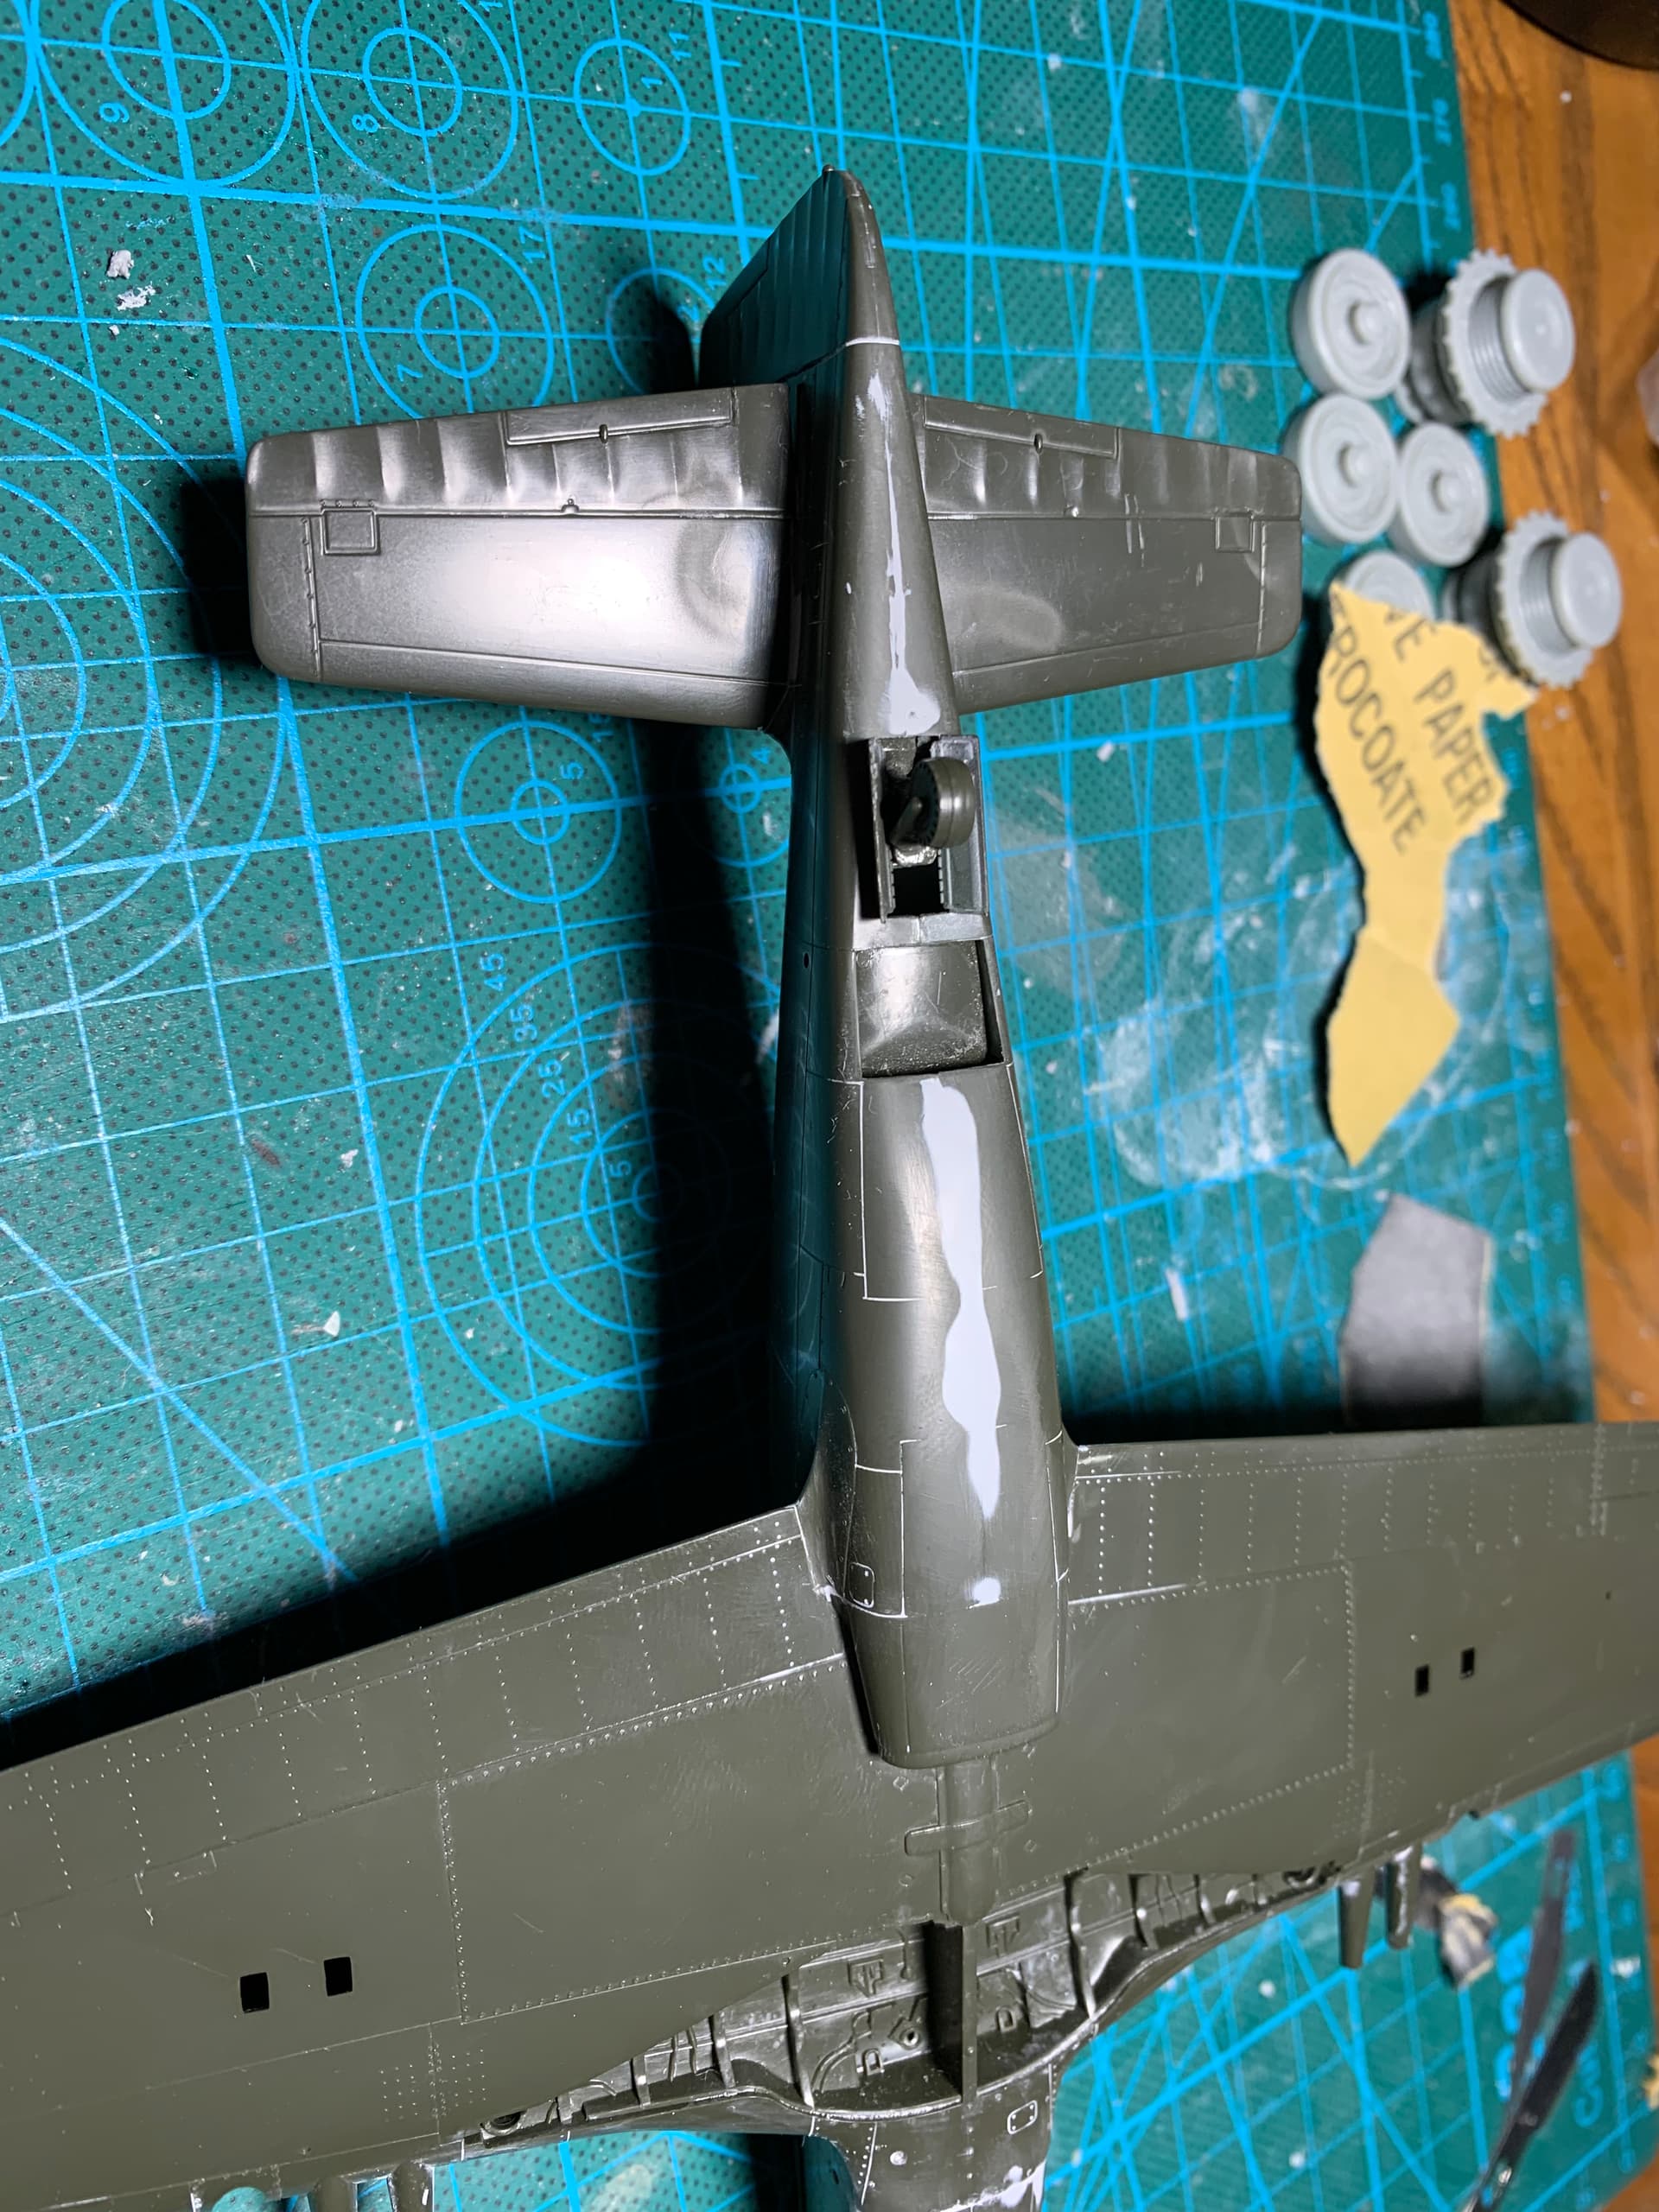
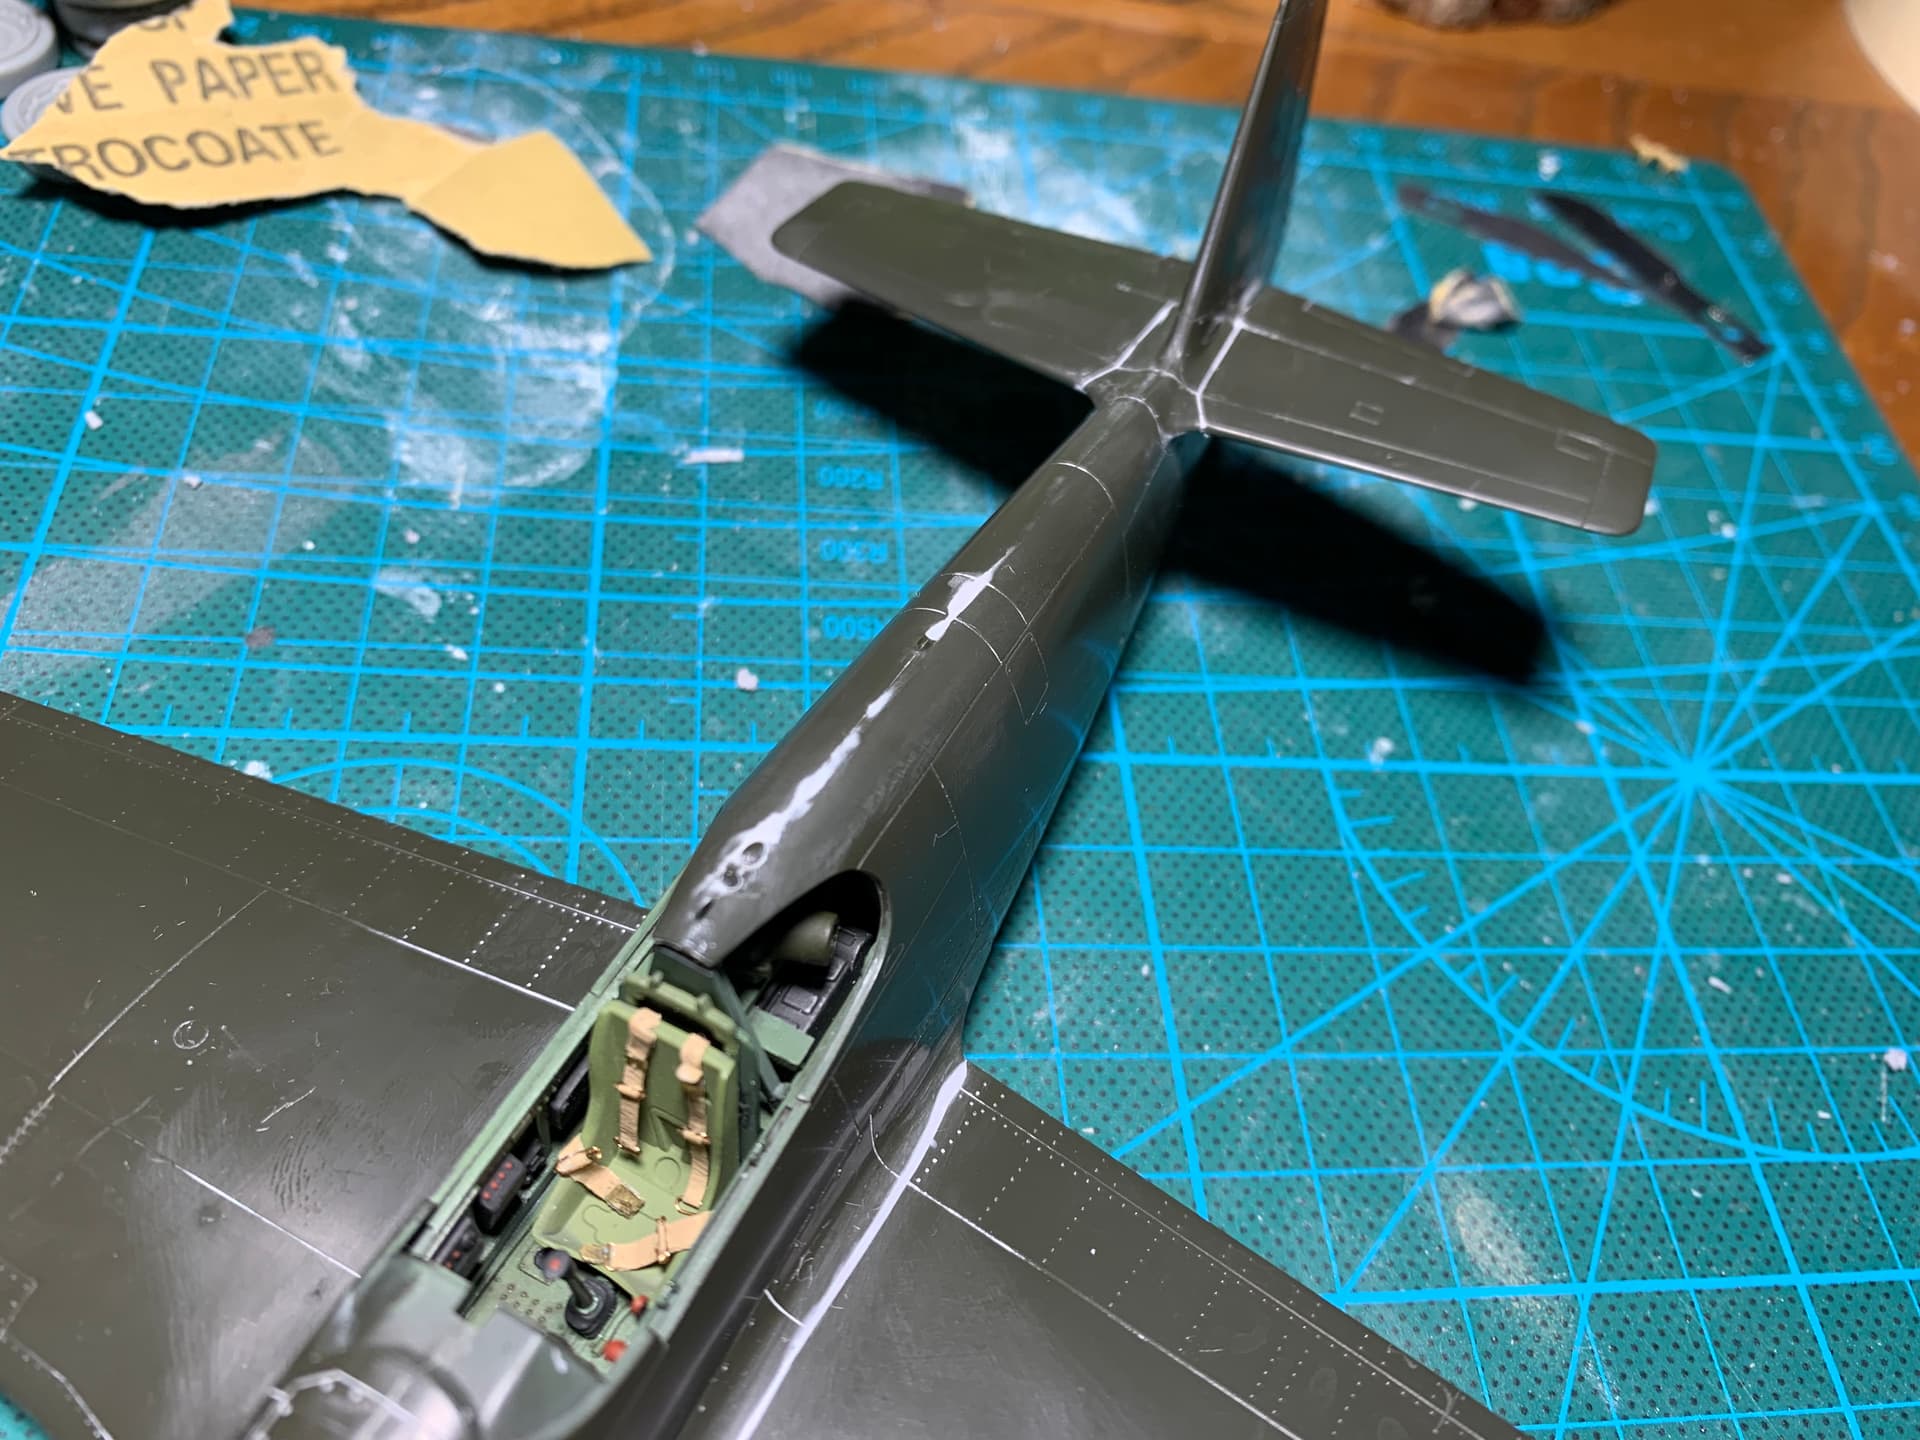
Got the nose sections on. They went on really well, the fir on theirs kit is exceptional. Only one of the noses has a small gap but that was my fault and should clean up fine with a little putty.
Only complaint so far is that some of the panel lines on the bottom don’t line up perfectly, but I’ll probably putty and rescribe to match. The panel lines line up perfectly on top
8 Likes
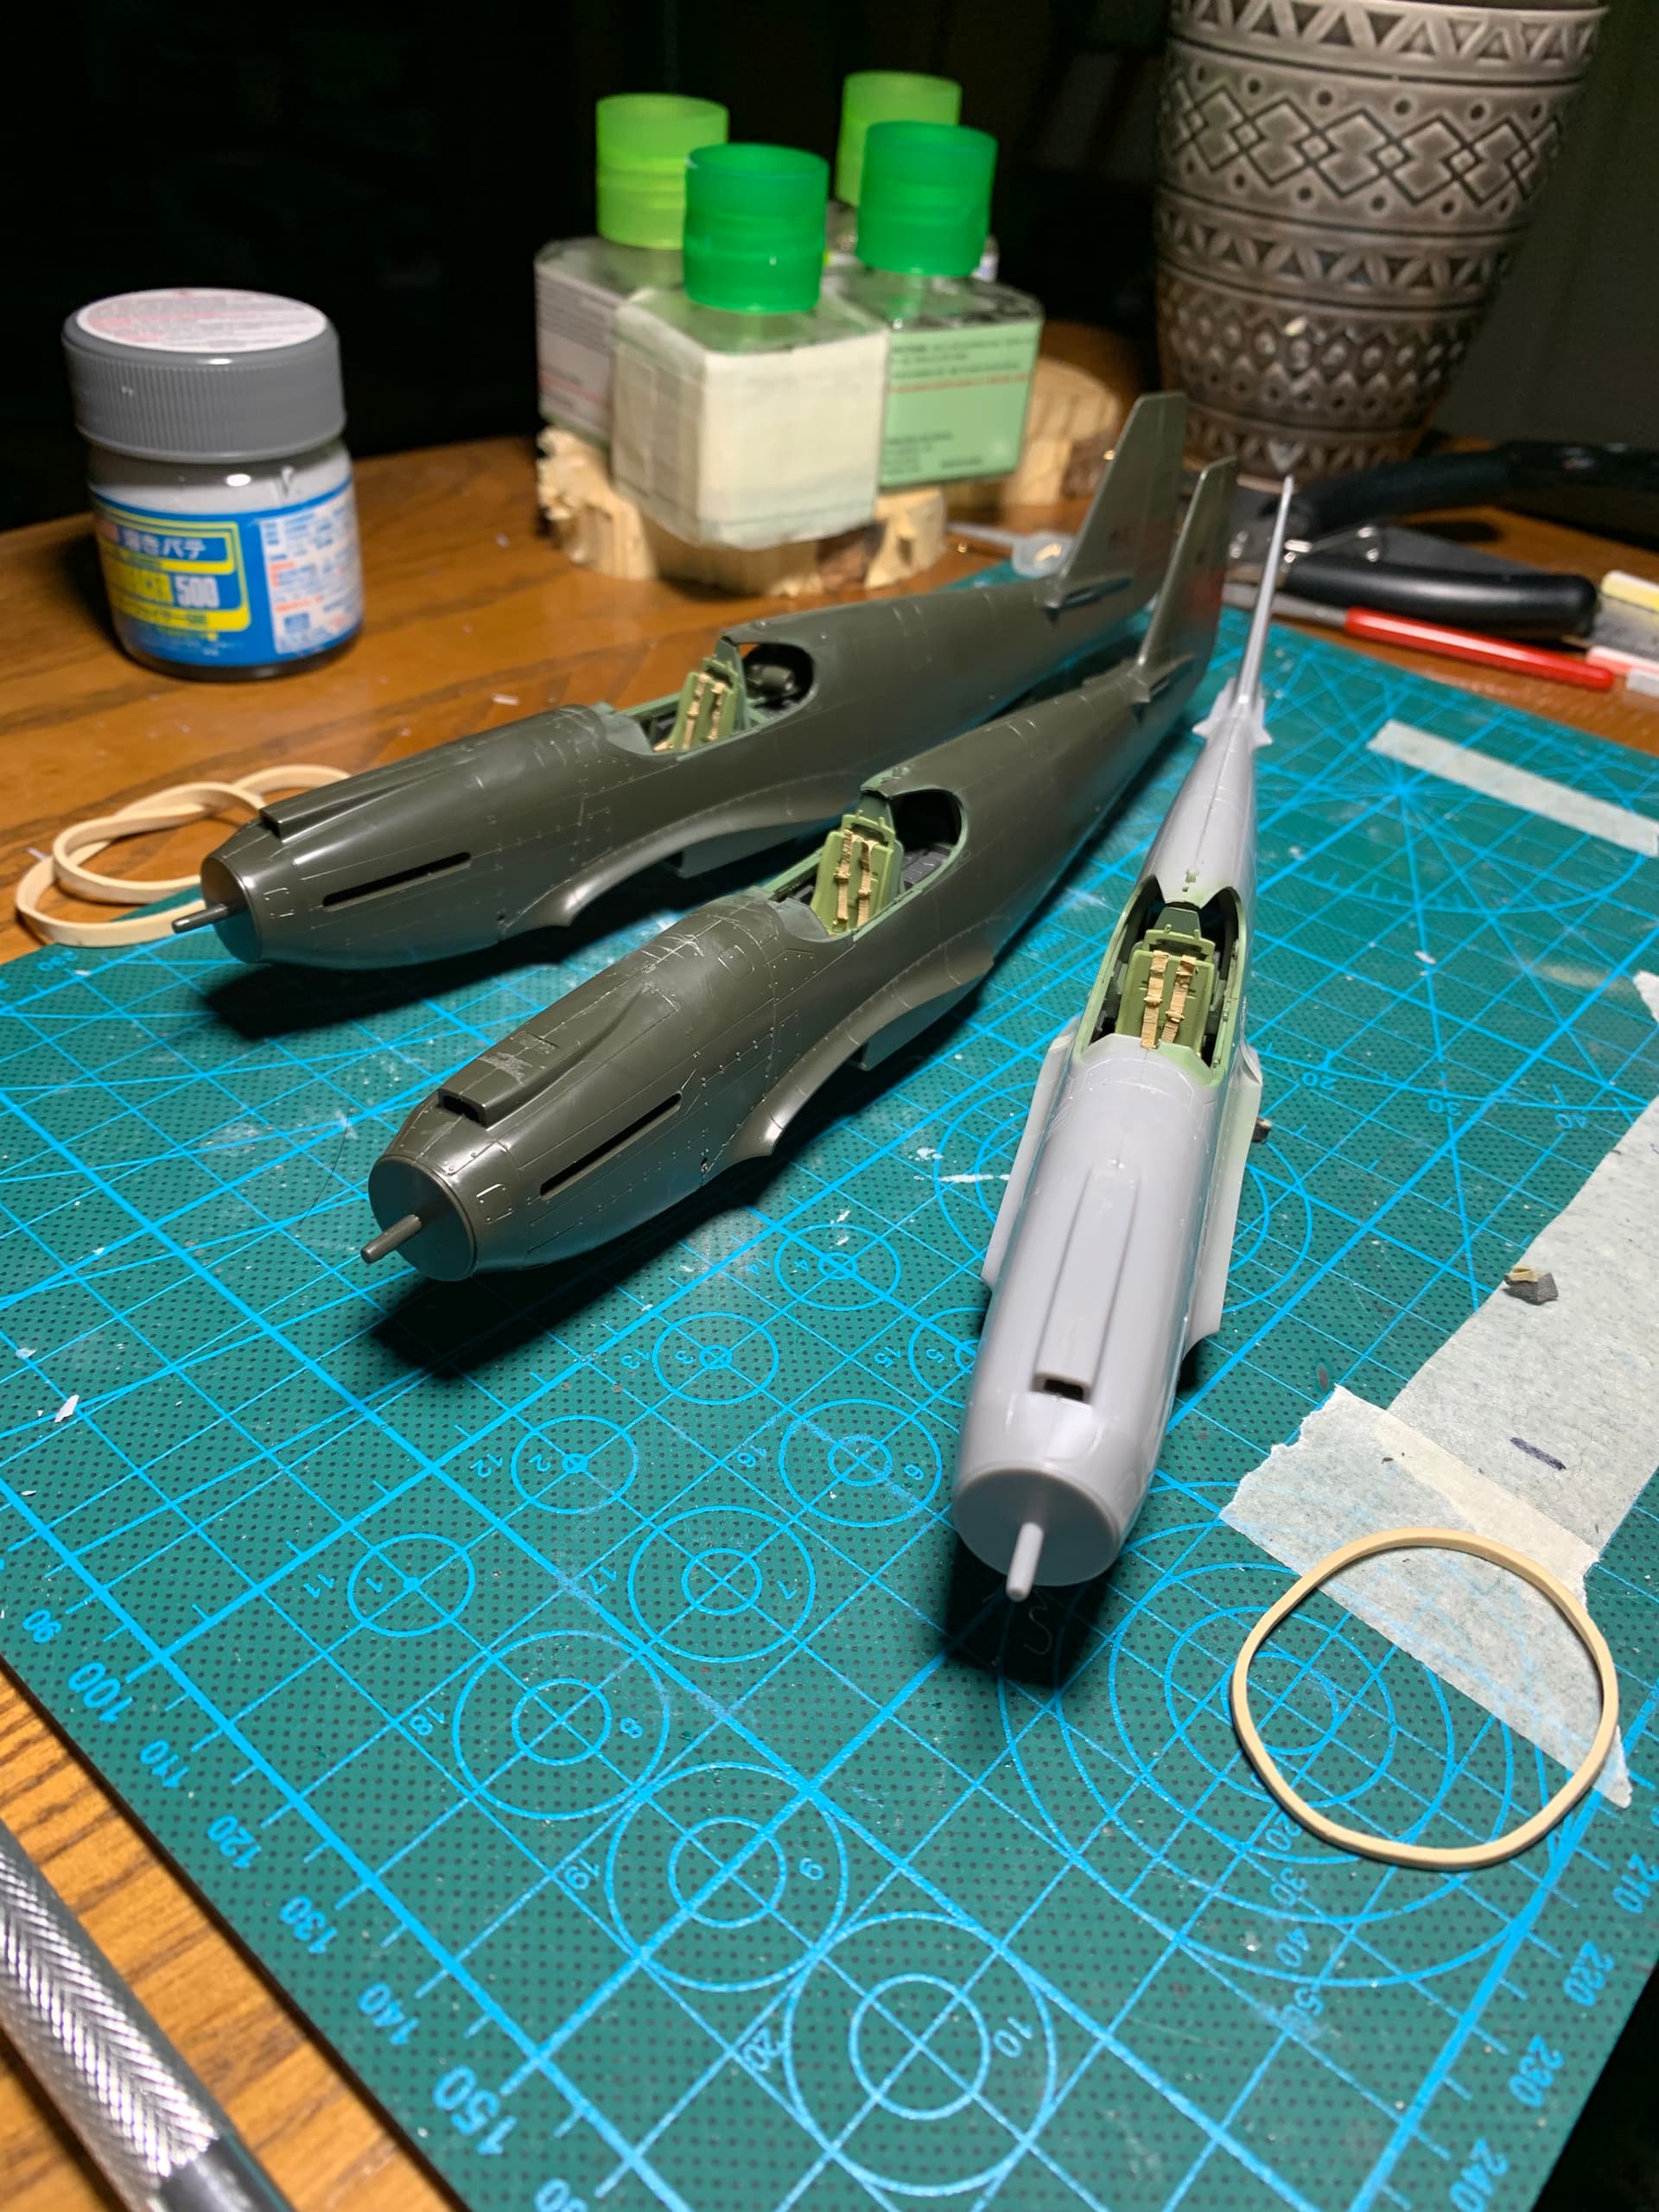
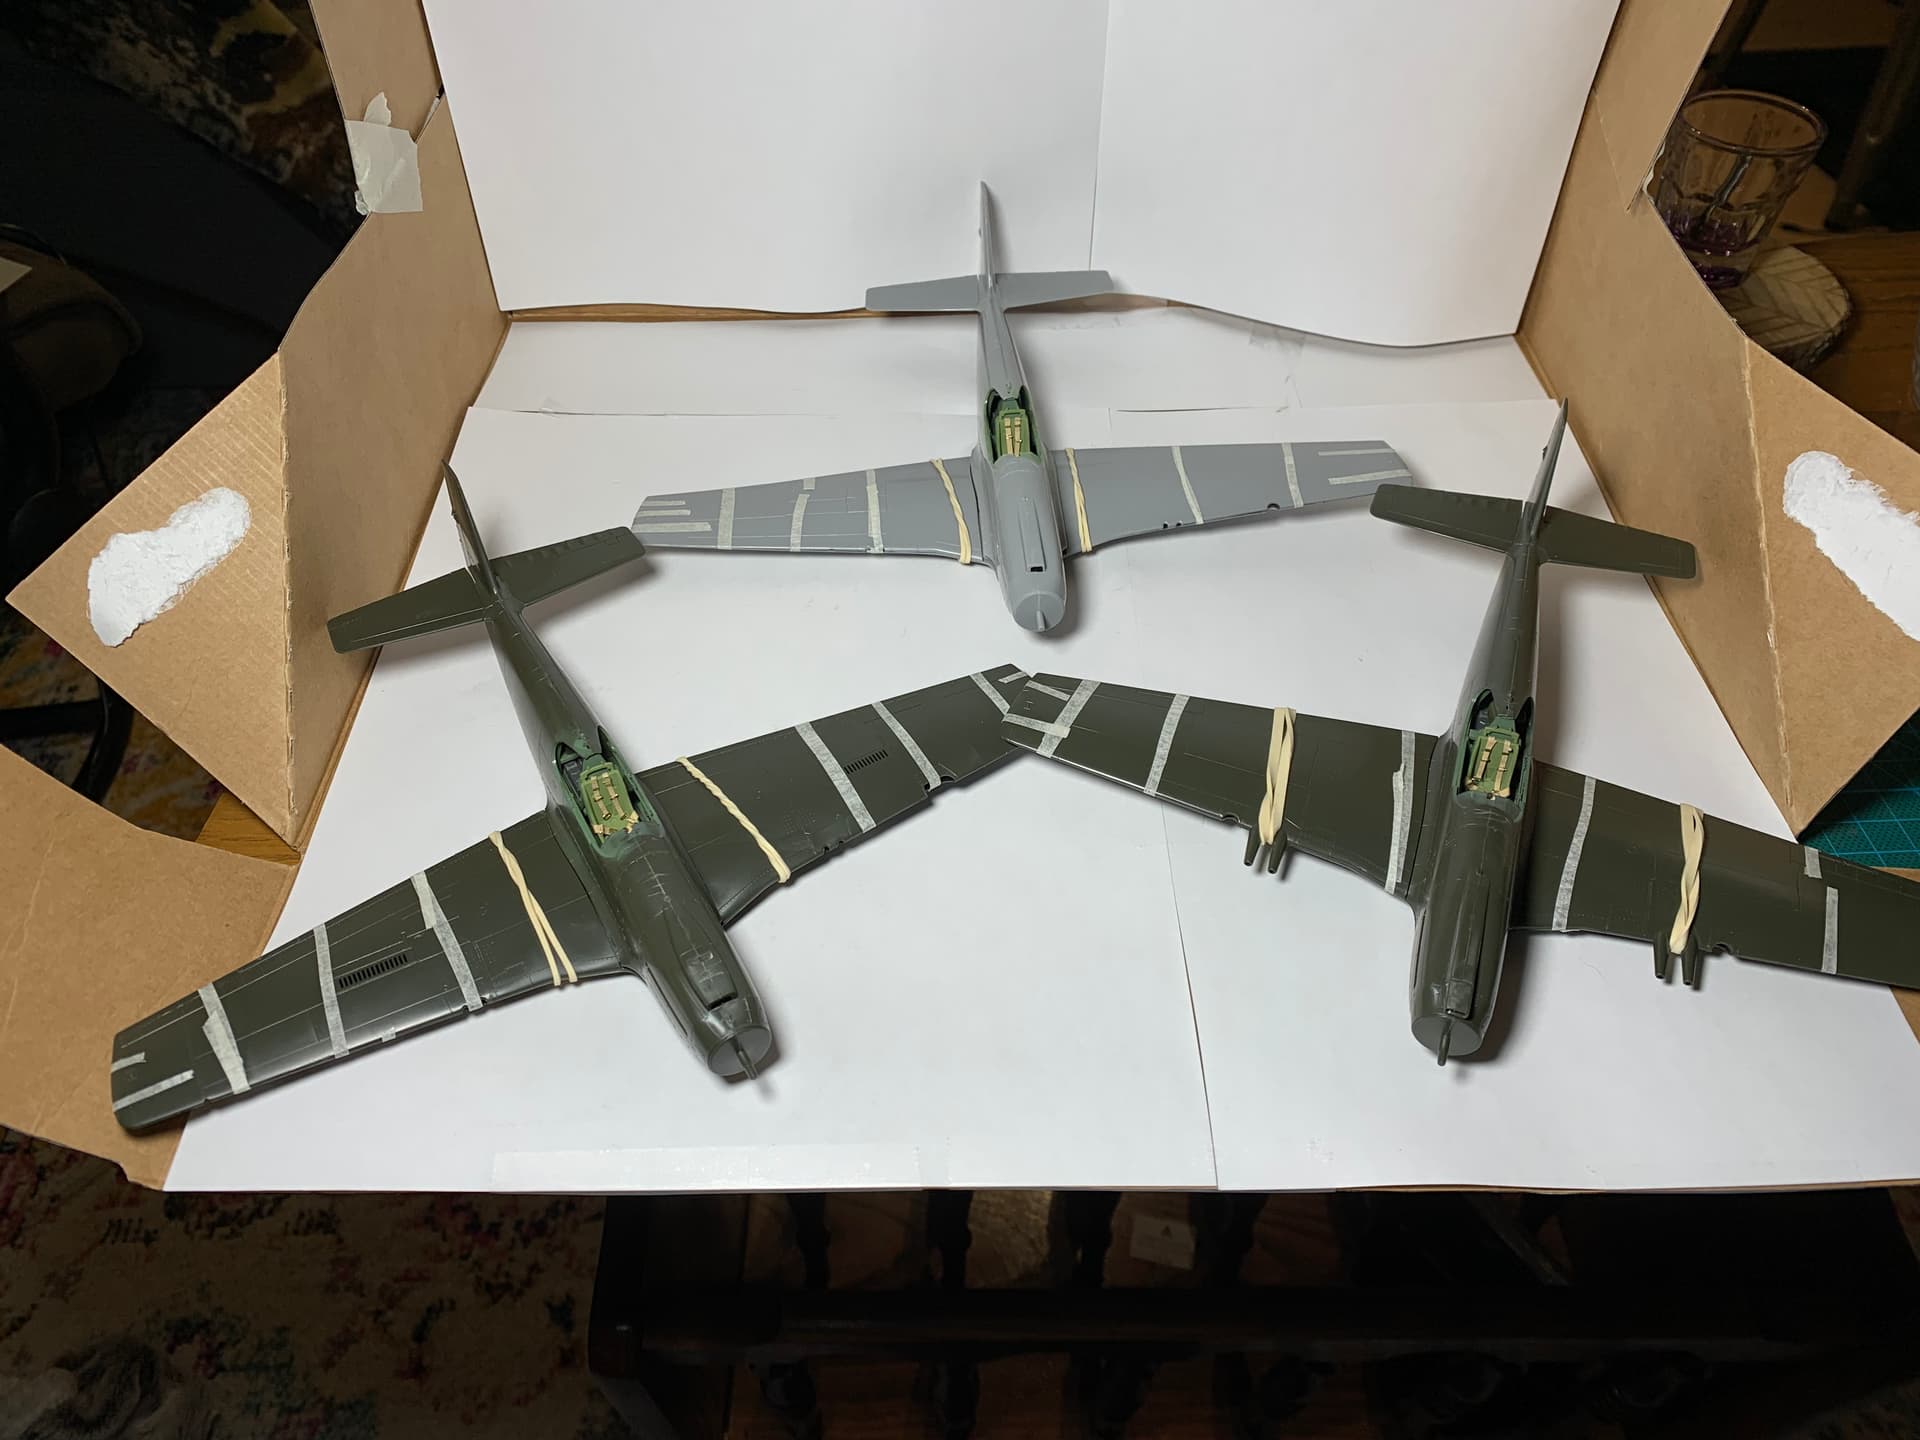
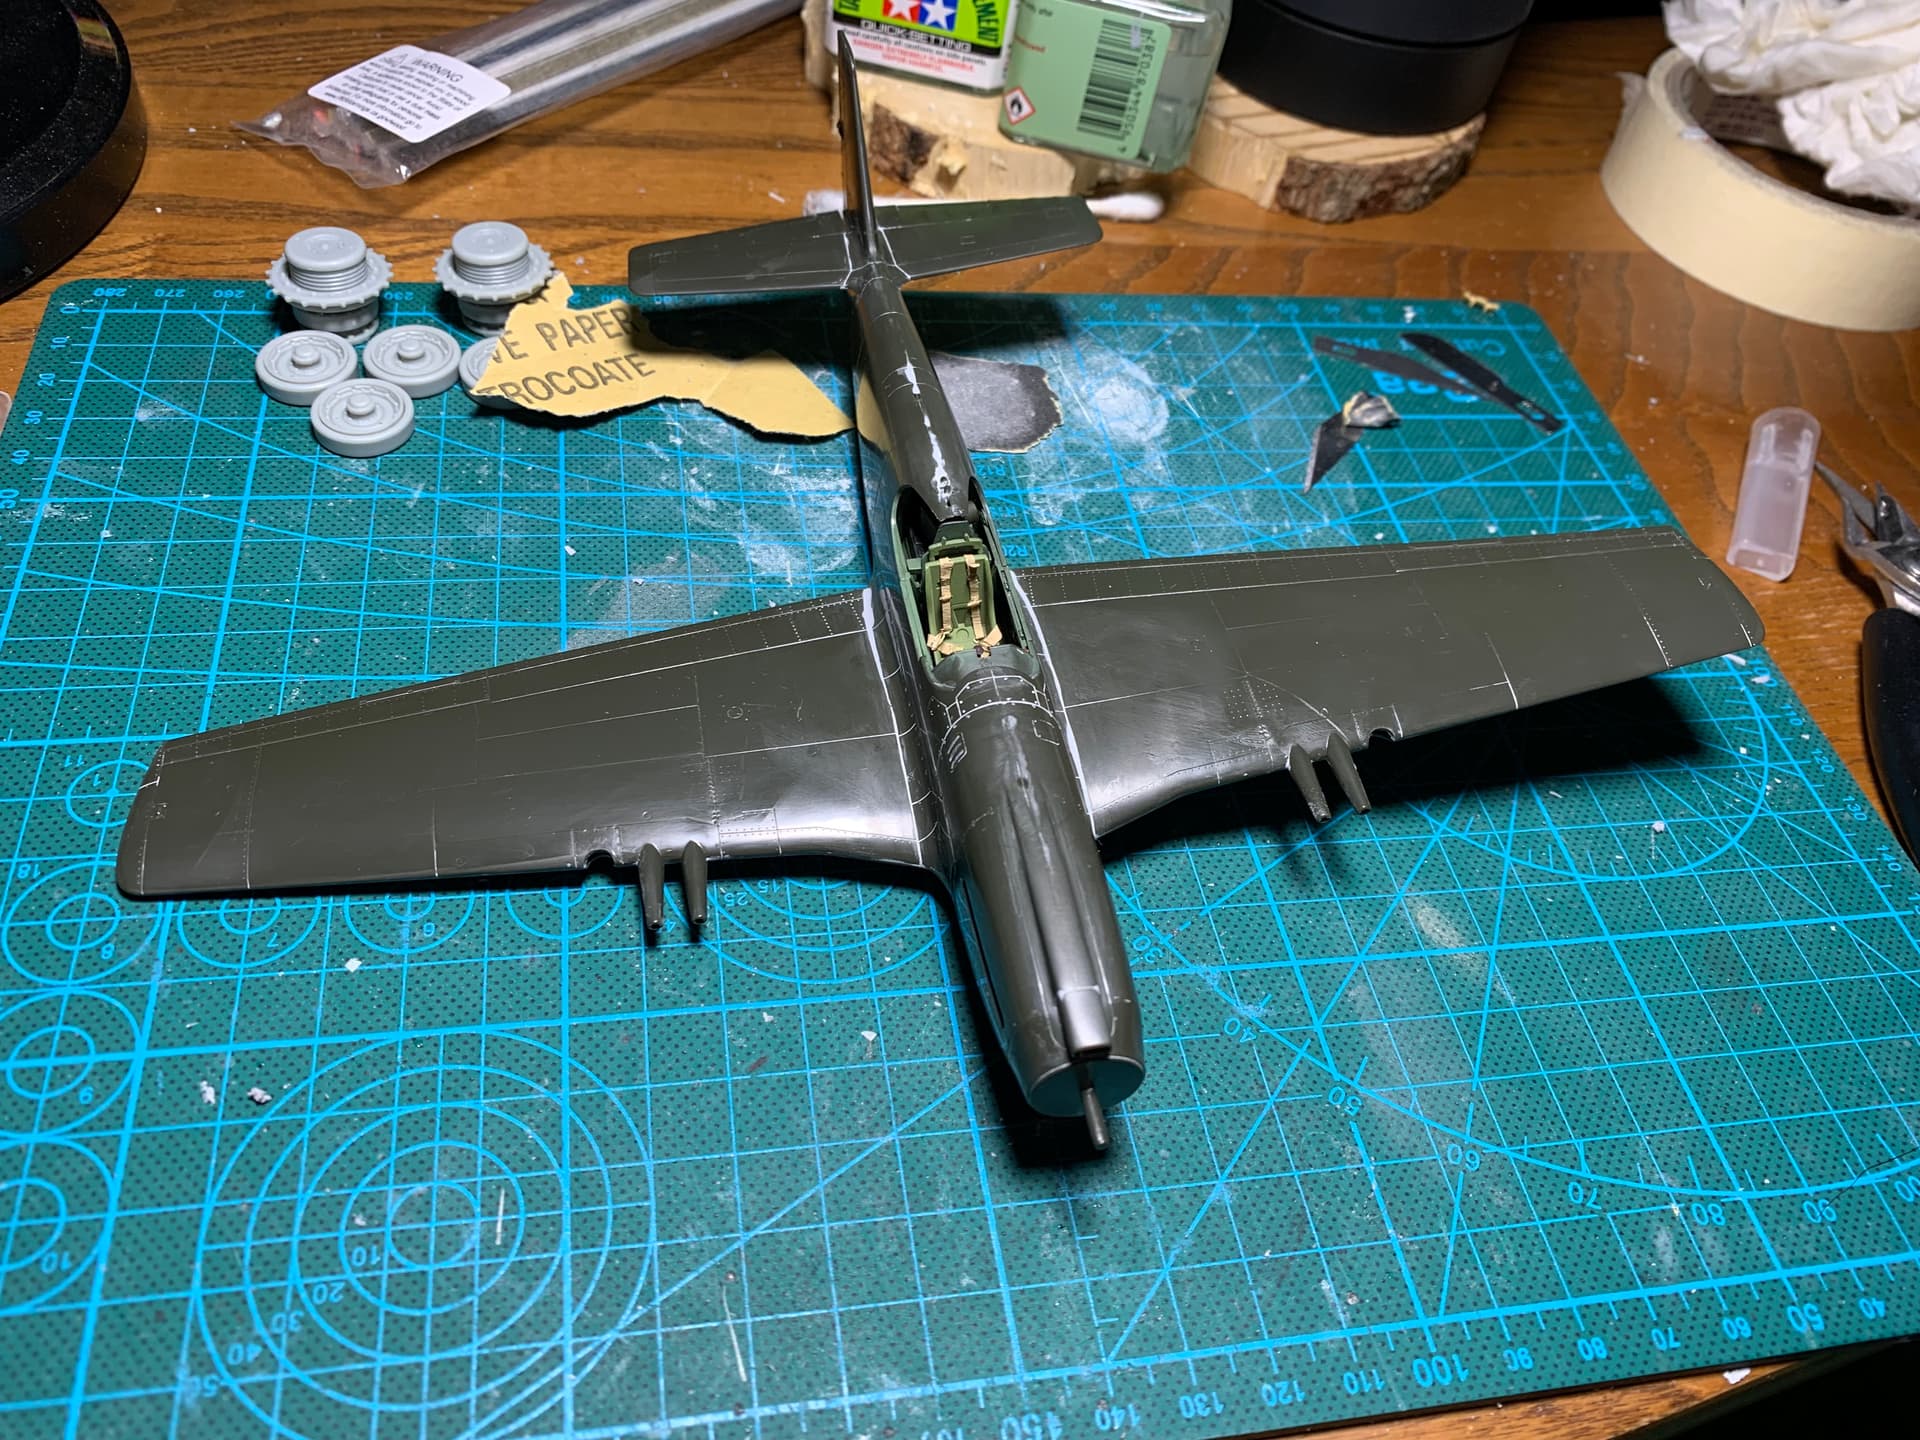
Got the wings glued together, but not attached to the fueslage yet. Once the wings set up for a few hours I’ll tackle that task. This is getting close to the major construction being done. I hope to have the seems cleaned up and puttied and the birds ready for paint by end of tomrrow.
8 Likes
Shaping up nicely …
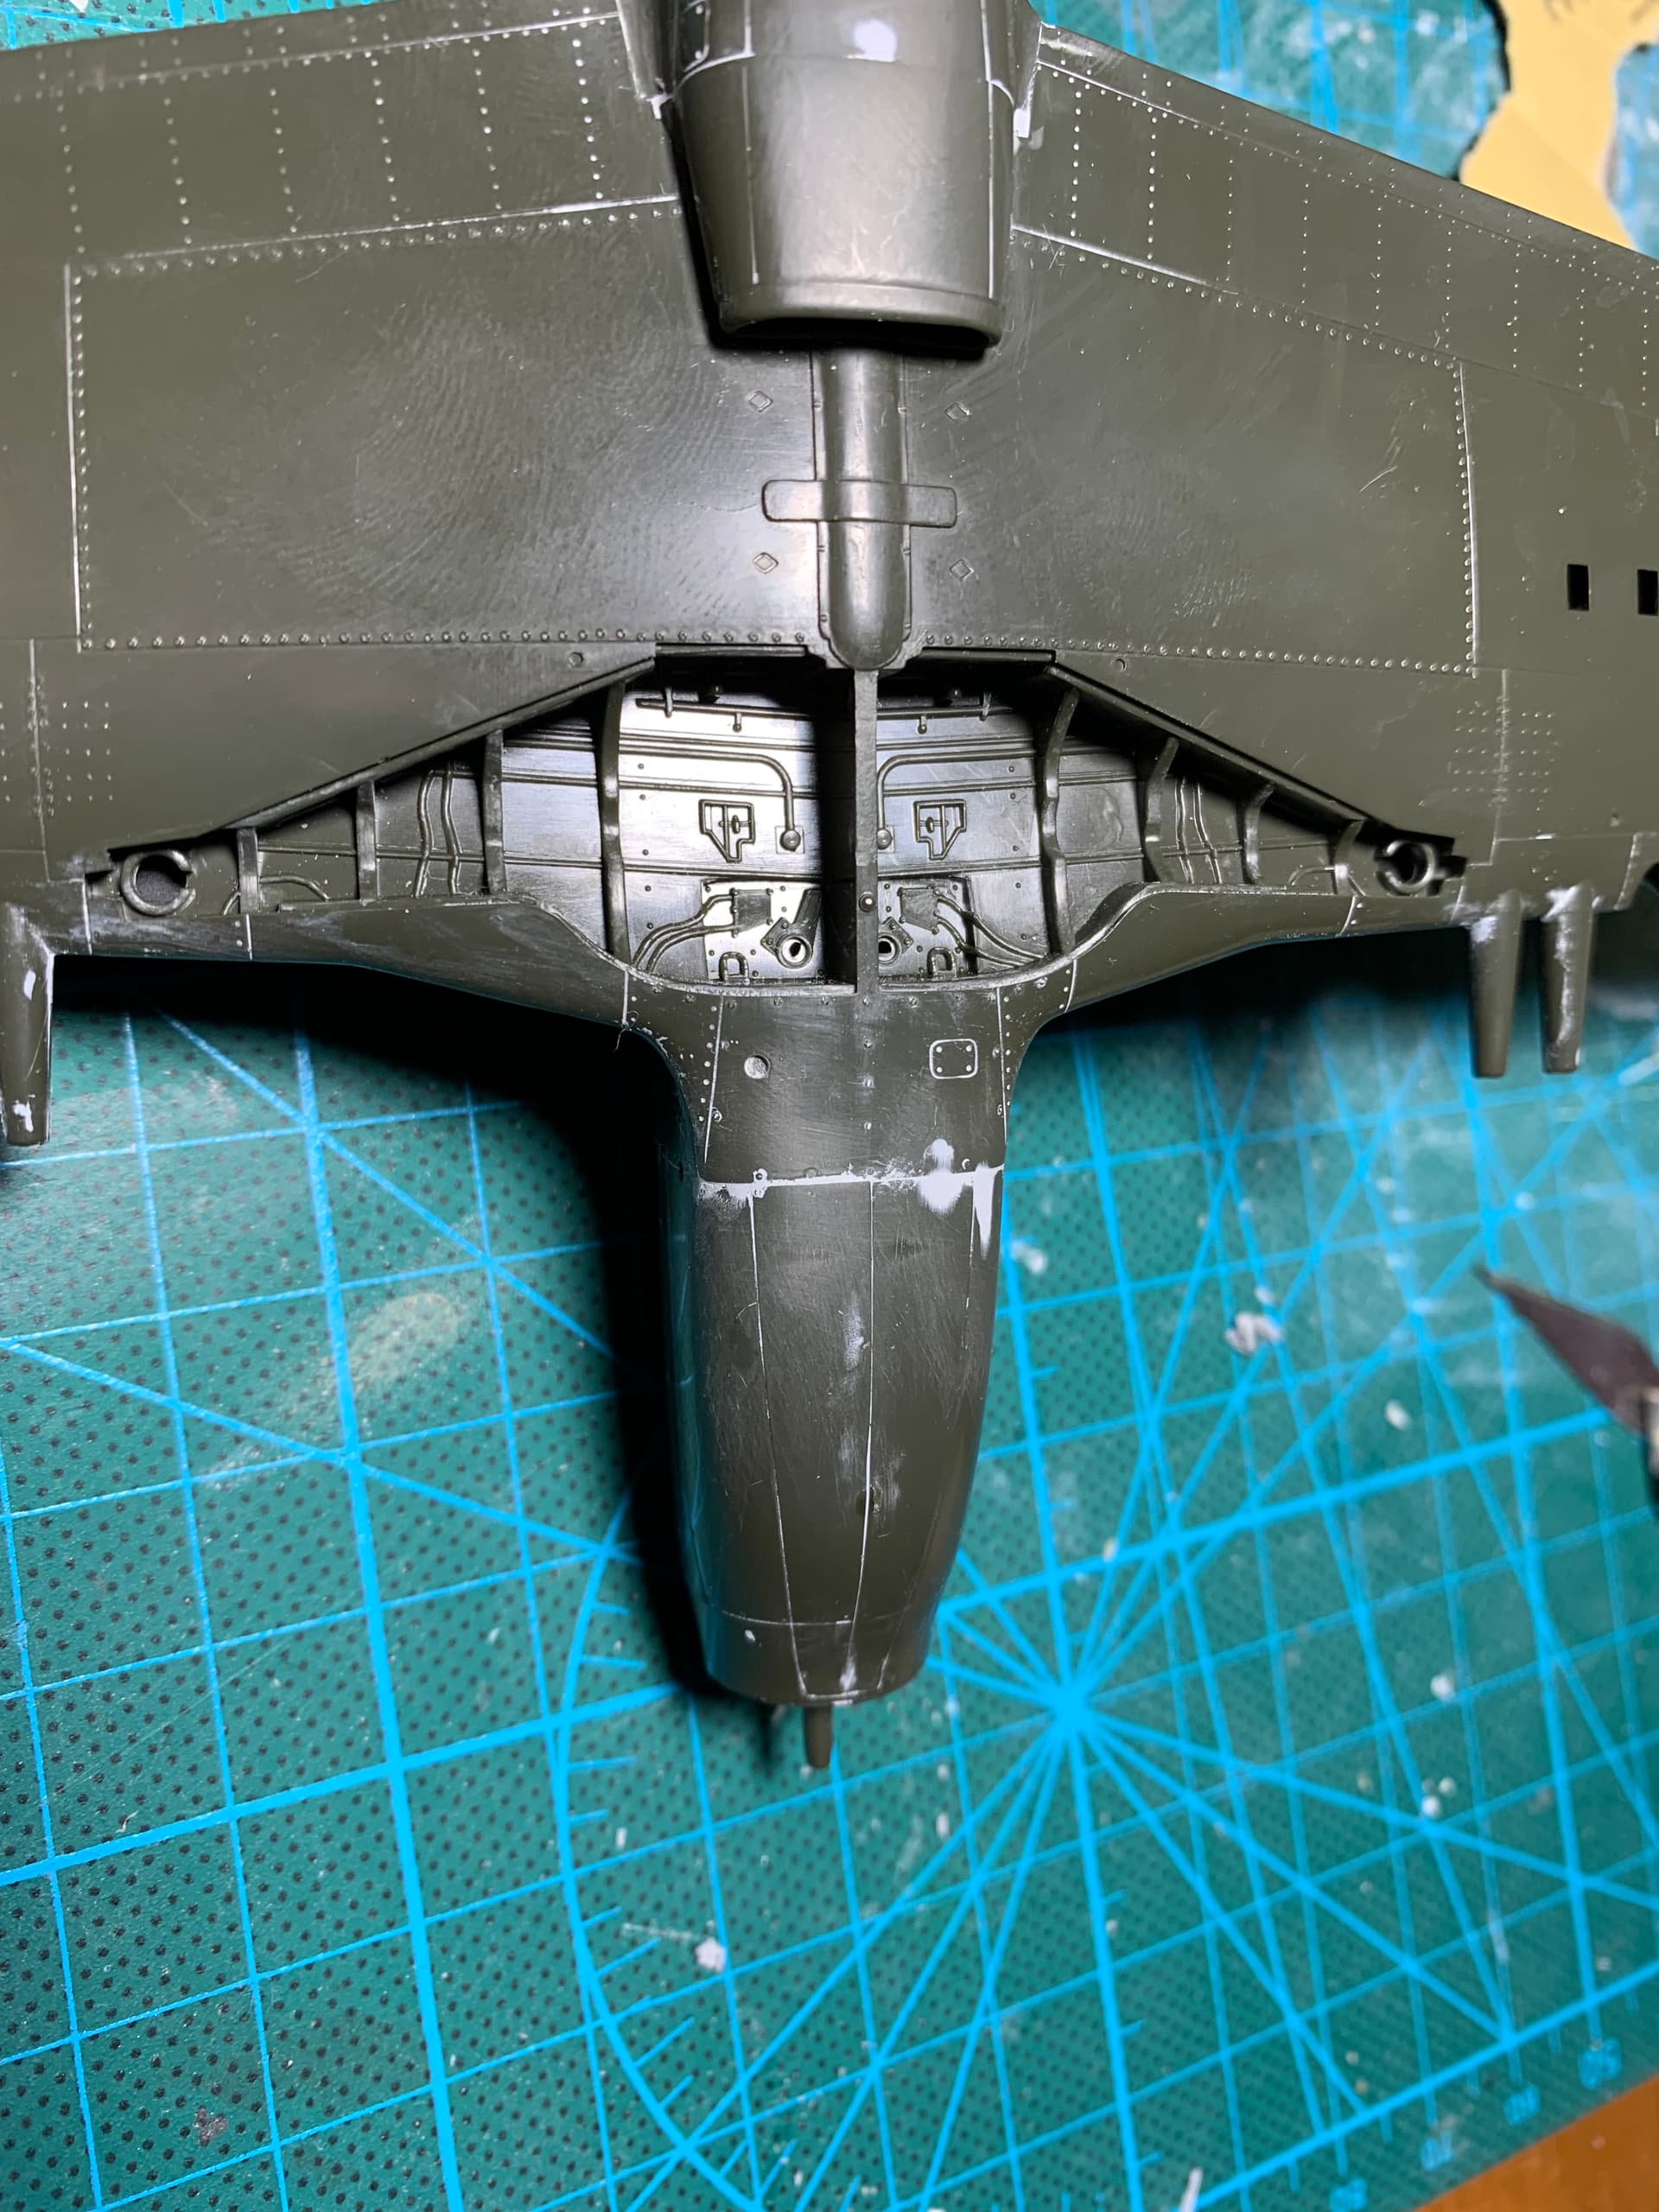
Got the wings glued on all of them, and started to move onto the radiator and nose air intake scoops. Whelp, AM has supplied the wrong nose for the P-51A “Slick Chick” it should be have the short and fat nose intake and not the long and narrow one. However they supply the right intake cover. This means the cover is oversized for the nose. I didn’t notice this until I went to put the cover on and there is no way that nose is coming off without risking serious damage elsewhere. Hoping I can source a new nose cover or maybe file down the wrong one. Anyhow this is a big miss in my opinion for a company called “accurate” miniatures.

Checked my spares from my binned icm spitfire build. I might be able to make the underbelly scoop fit
2 Likes
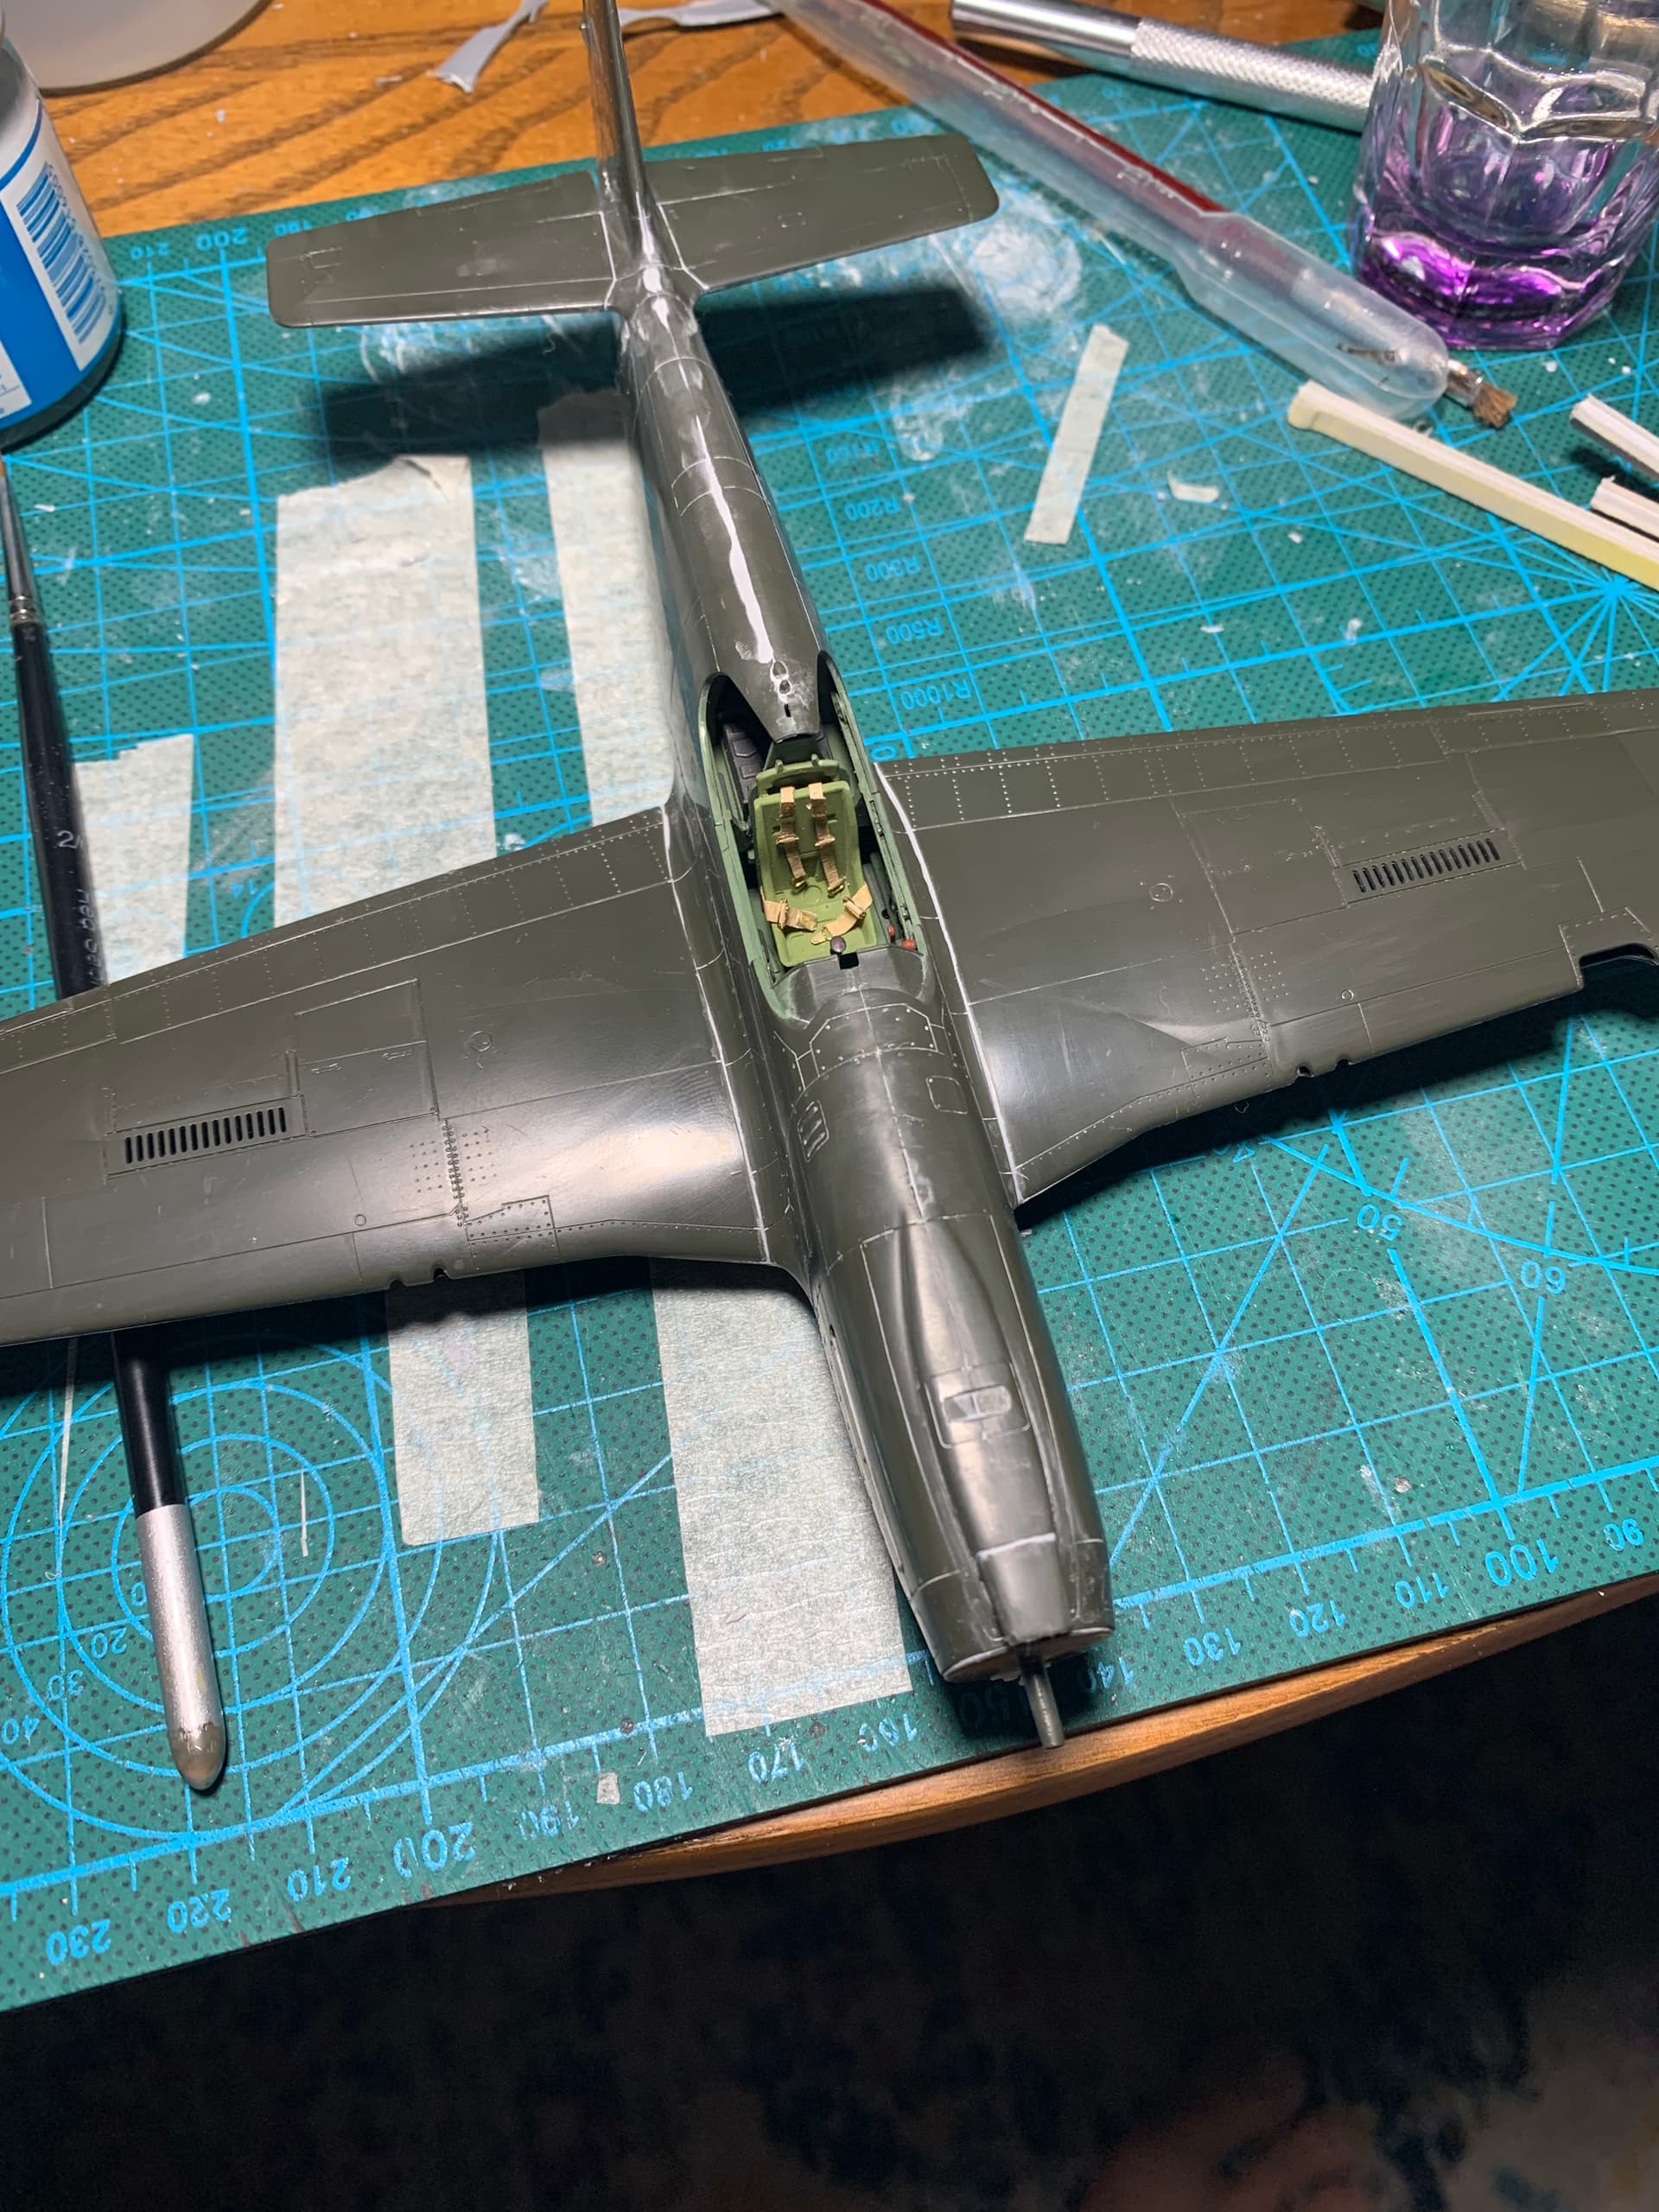
Work continues. Got one of the planes (the A-36) almost ready for re-scribing. This has taken some work, the two fueslage halves had some nasty steps between the two towards the rear sections. I’ve tried to bring up the level of the down thrown side to the higher side and then sand smooth. Being as carefully as possible to not ruin the fueslage shape. I think it’s going okay. But it’s slow. I hope to have the 3 planes ready for primer sometime this week so I can paint next weekend.
Still no idea what to do about the wrong nose. I did rework the spitfire scoop and it’s remarkably close in shape.


4 Likes
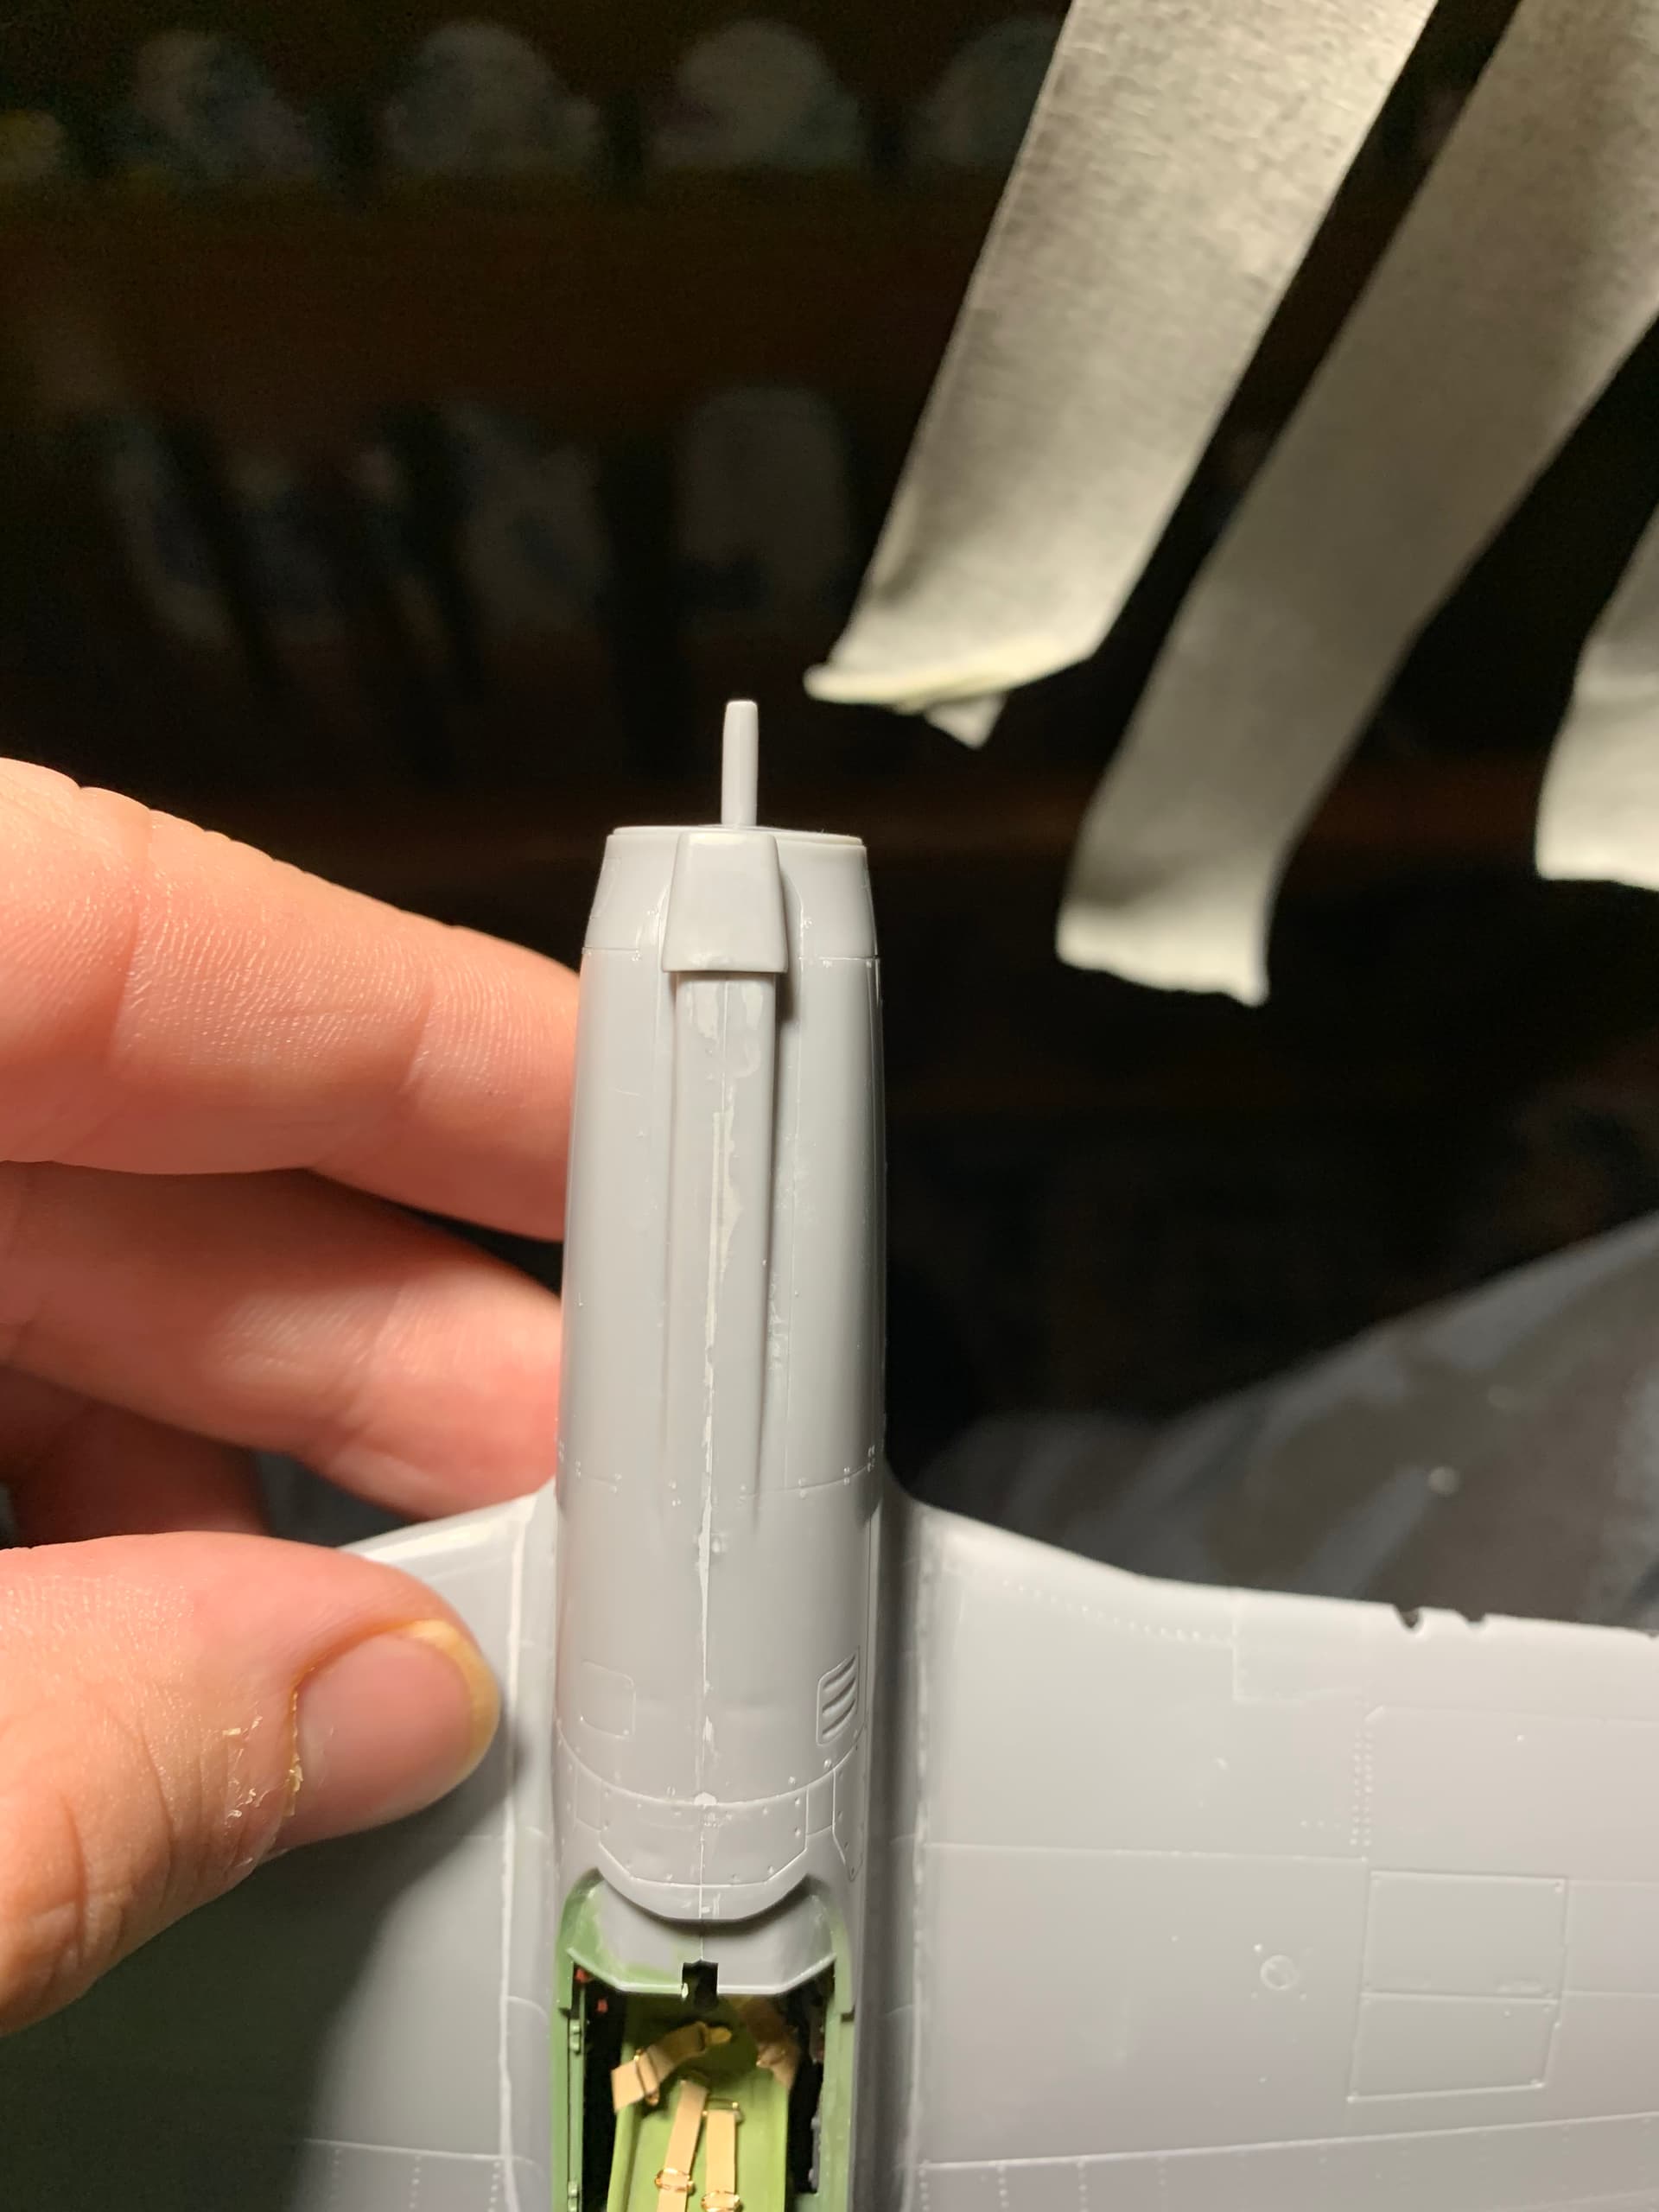
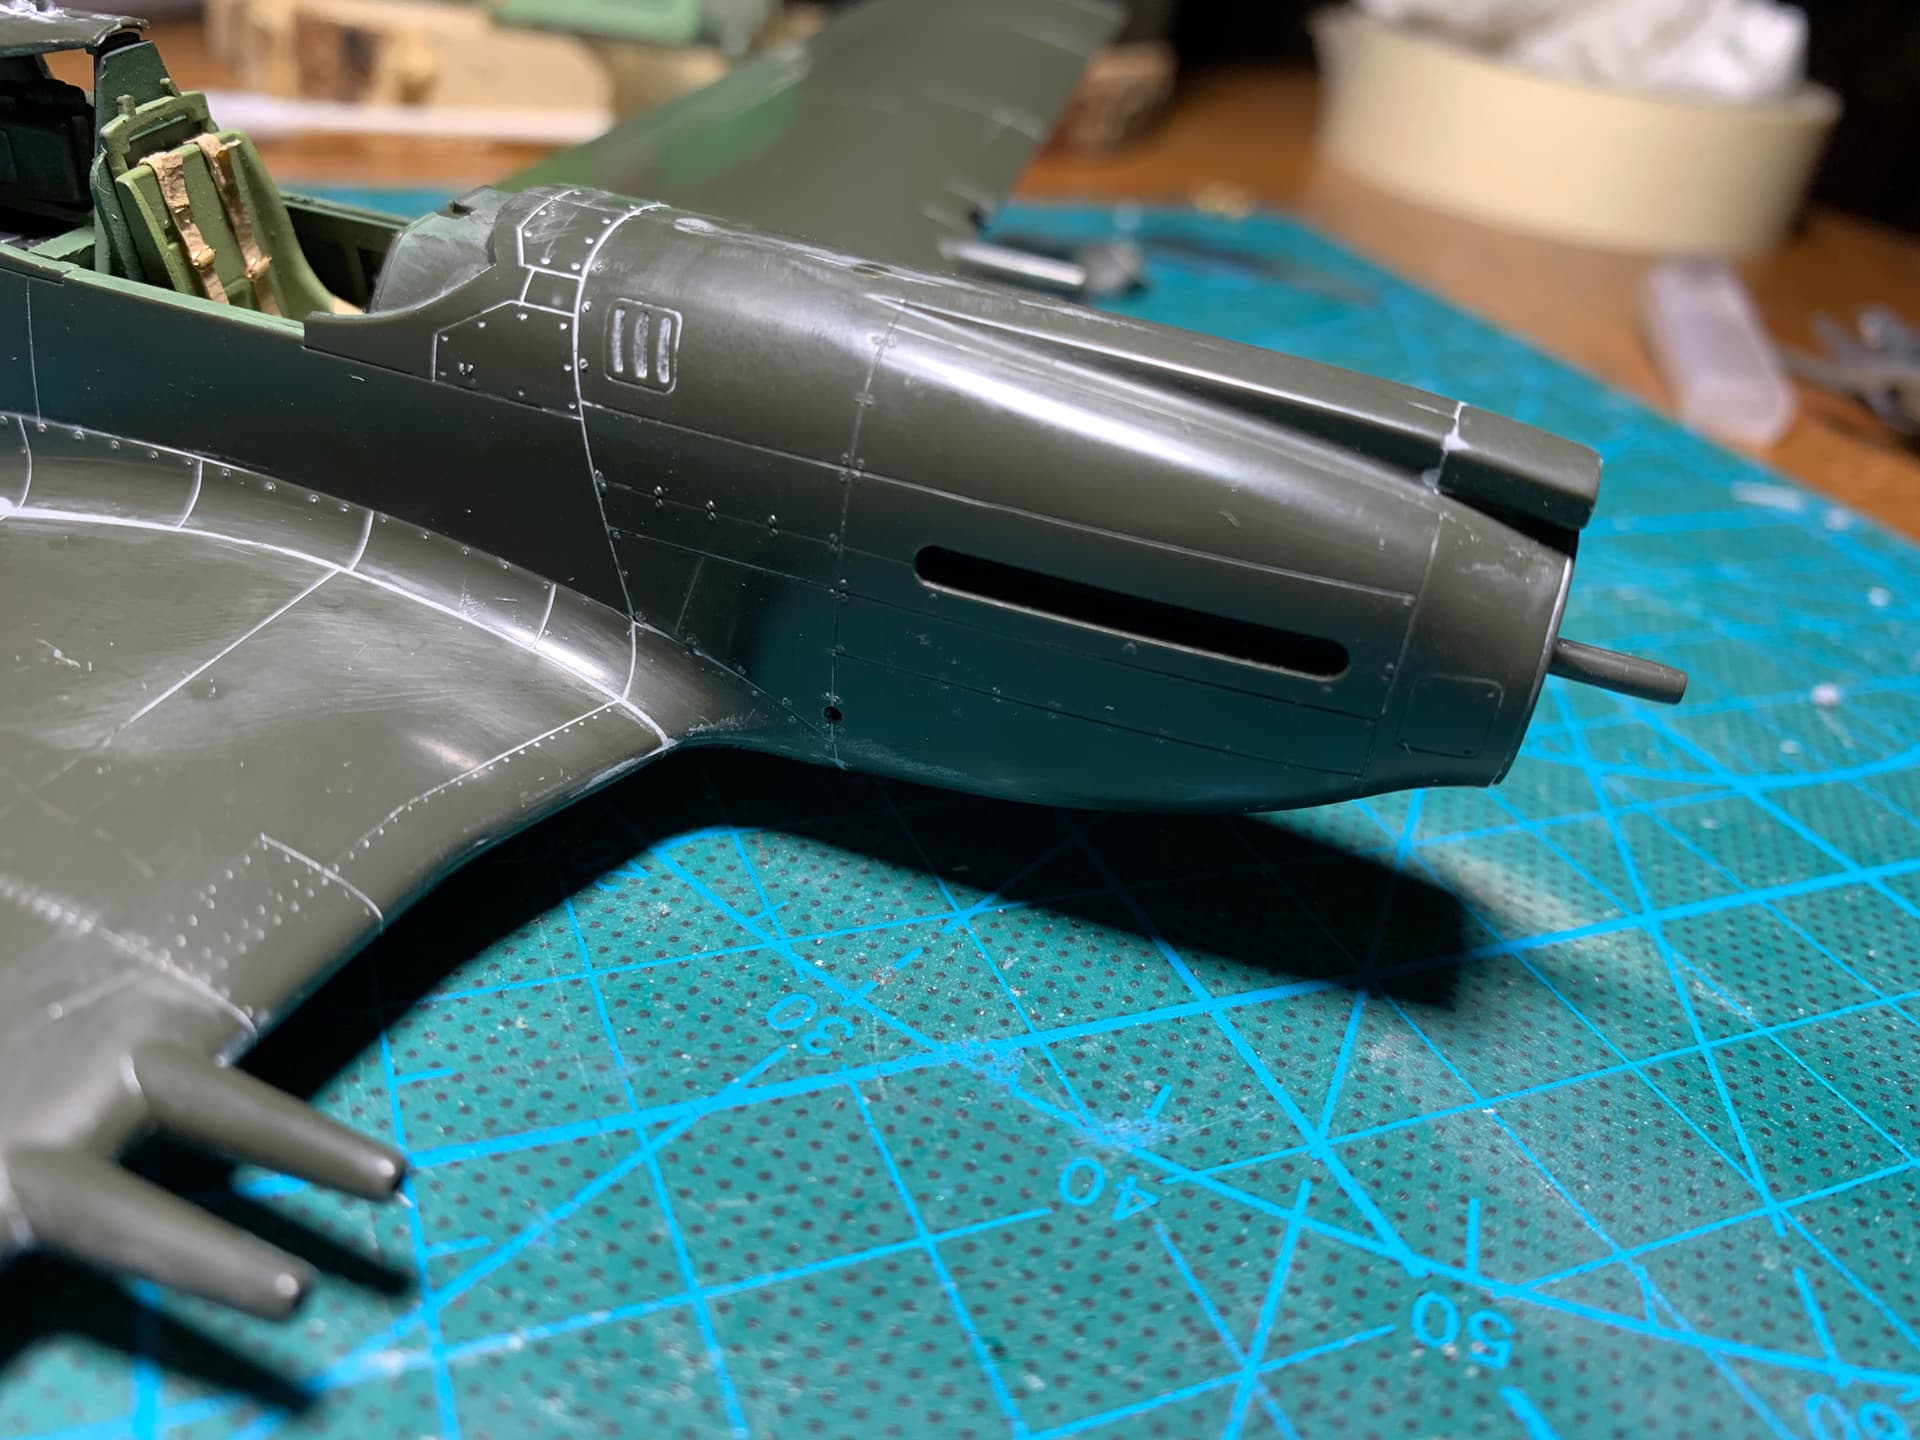
Finally got the first one ready for panel line rescribing and then primer. This is the Mk IA F/R bird. The Apache is also very close but needs a bit more work on the bottom to fill seams and correct the step. Fit on these overall was excellent! Wing root seam was very small as was the vertical stabilizer seam, and nose seam. The fueslage halves had a step though on both bottom and top, a little mr surfacer 500 and careful sanding and everything is right as rain.
Only challenge were some raised screw heads around the nose section panels. I save the bast majority of them but 2 or 3 were in areas I had to sand. I’m wondering if anyone has a good method for recreating them?
5 Likes
Looking good Mead!
Looking very good…
Well… Thanks to Meads I will be continuing this thread. 
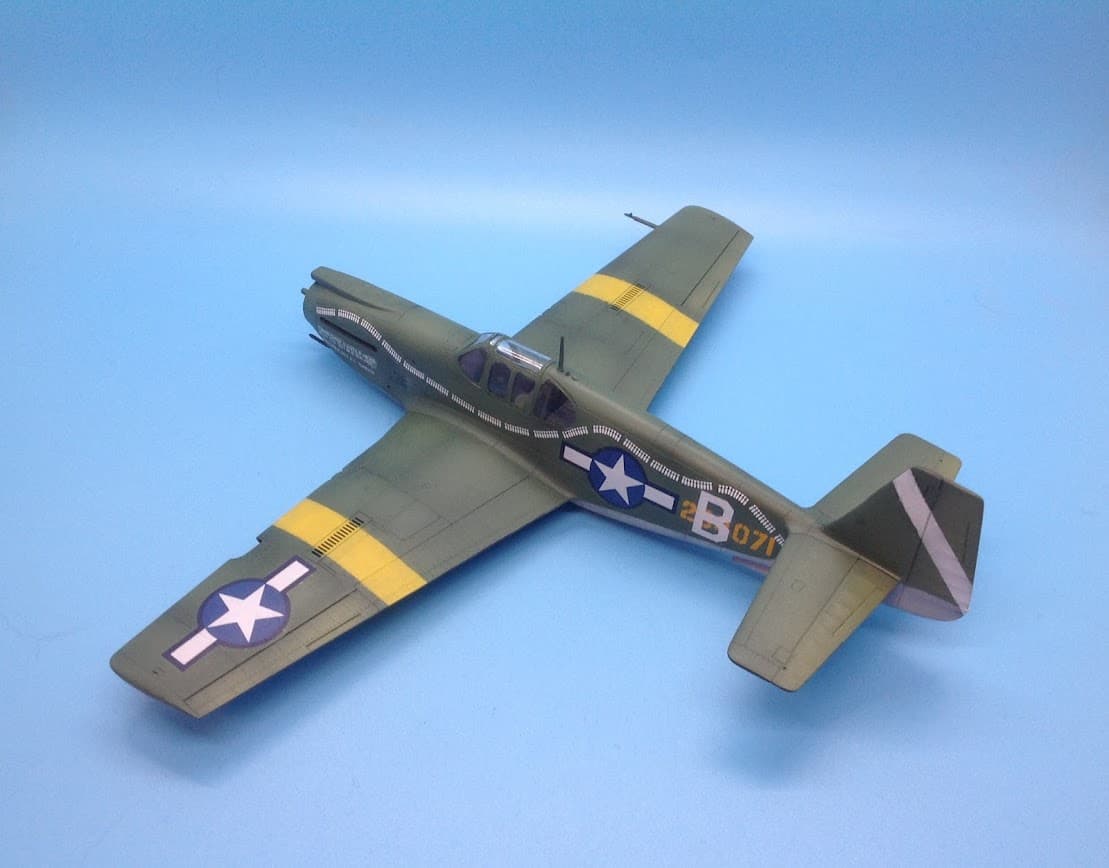
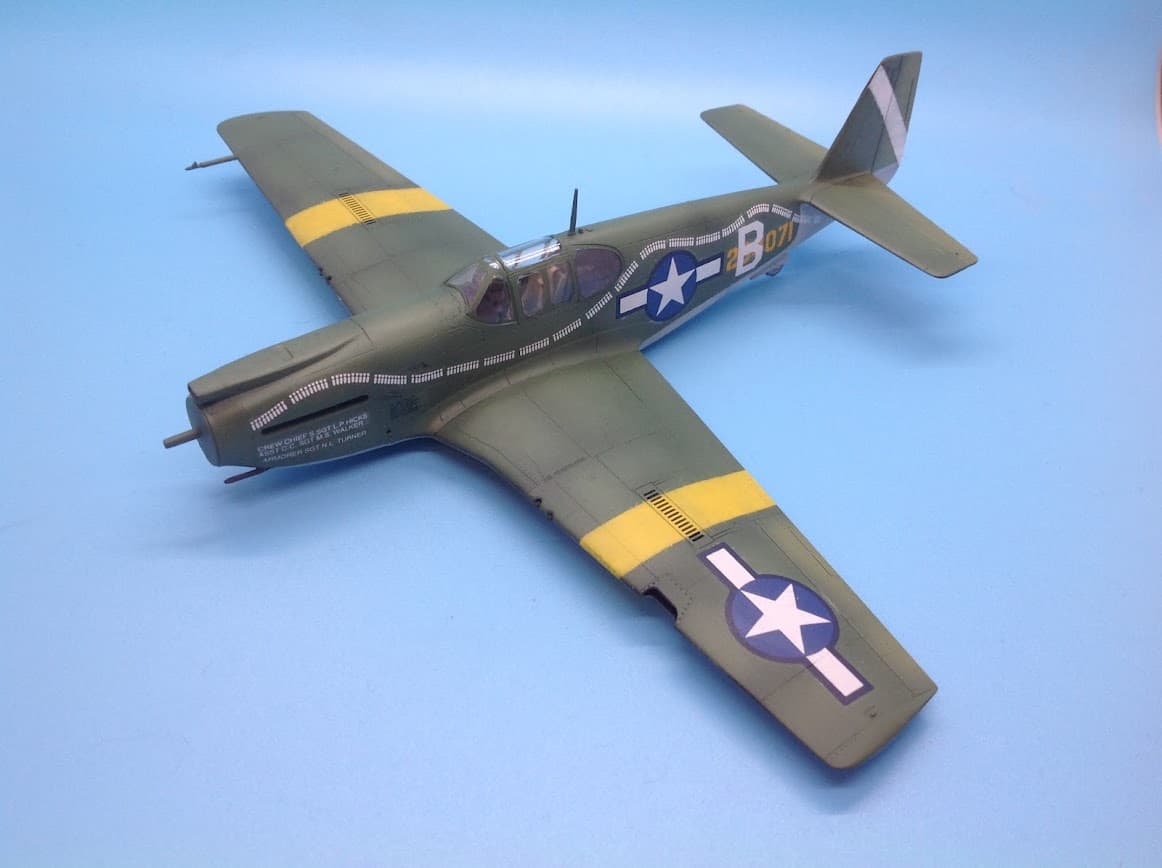
I started with the A-36 and after sanding down the Mr.surfacer (I think) he applied to the seams I masked the canopies and started by black basing then I sprayed the Olive Drab and grey. Ooh yea I also added decals.
I sprayed the white stripe on the tail along with the MTO bands, I left them somewhat messy as they were applied like invasion strips in the field right?
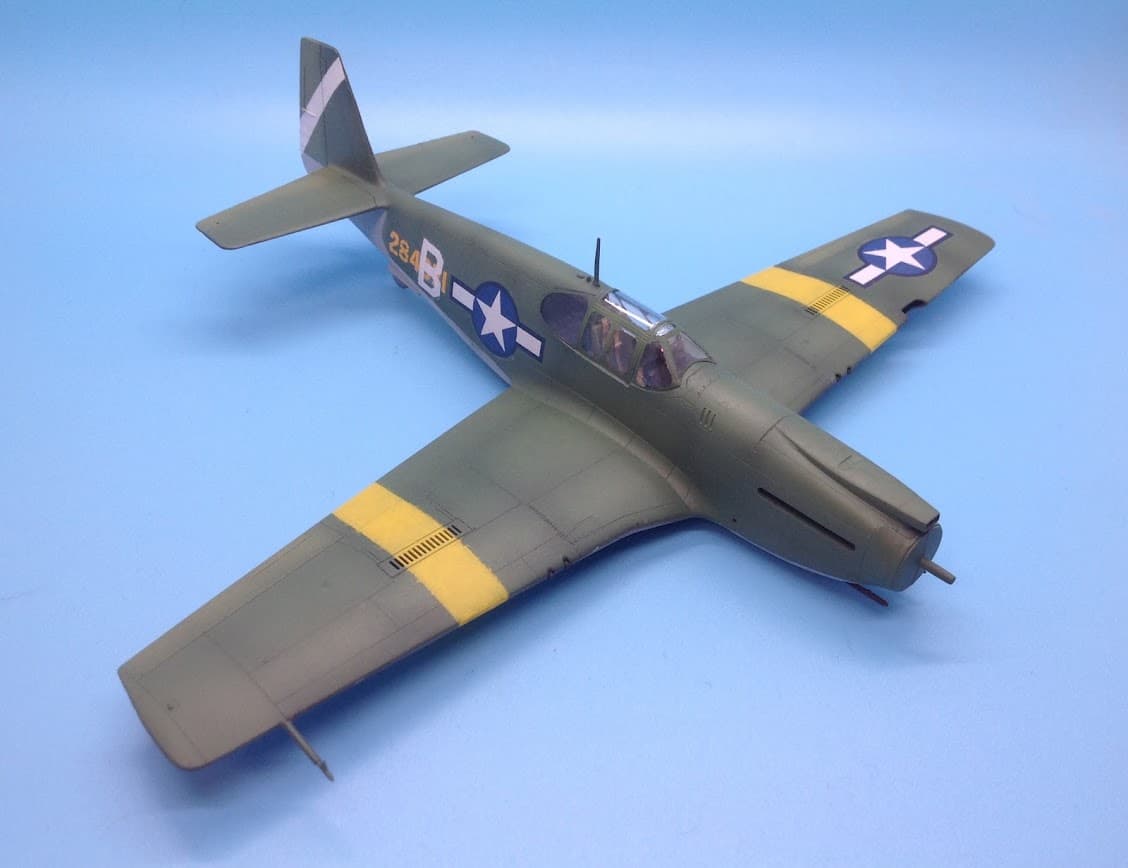
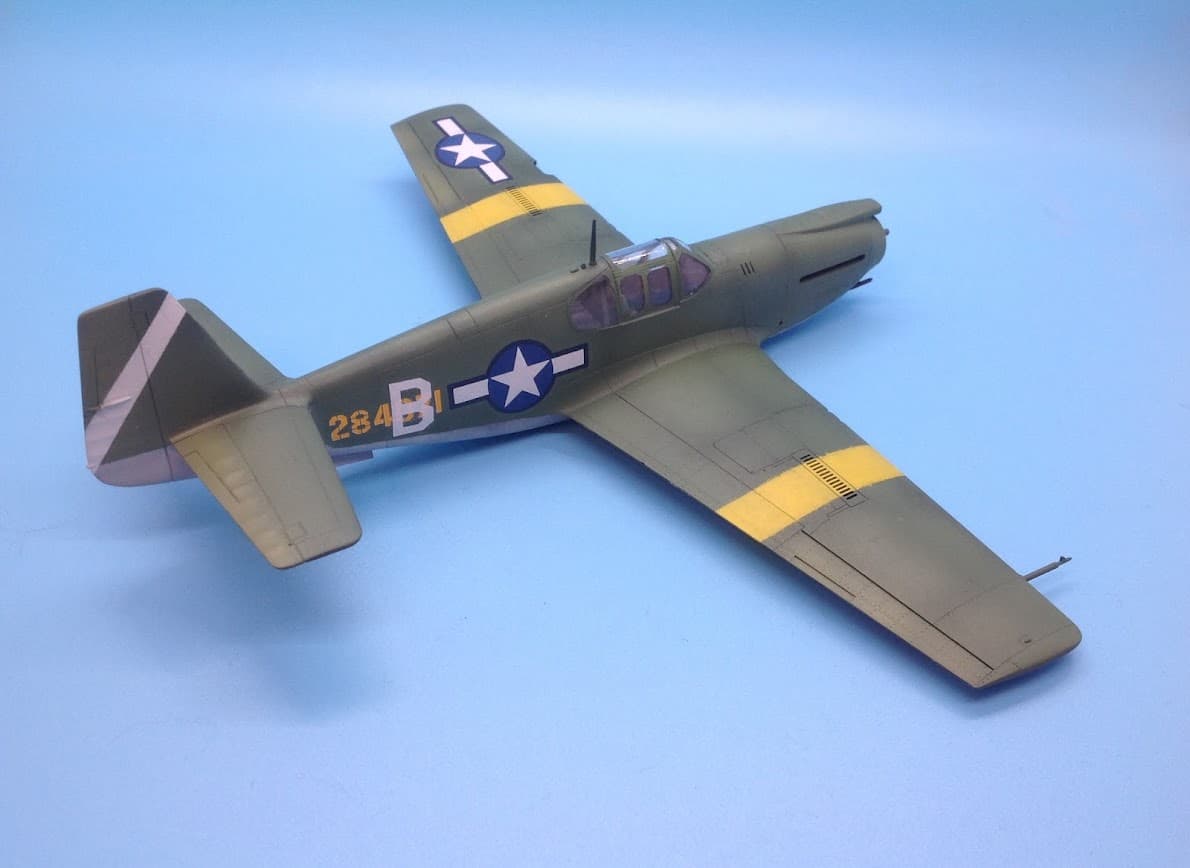
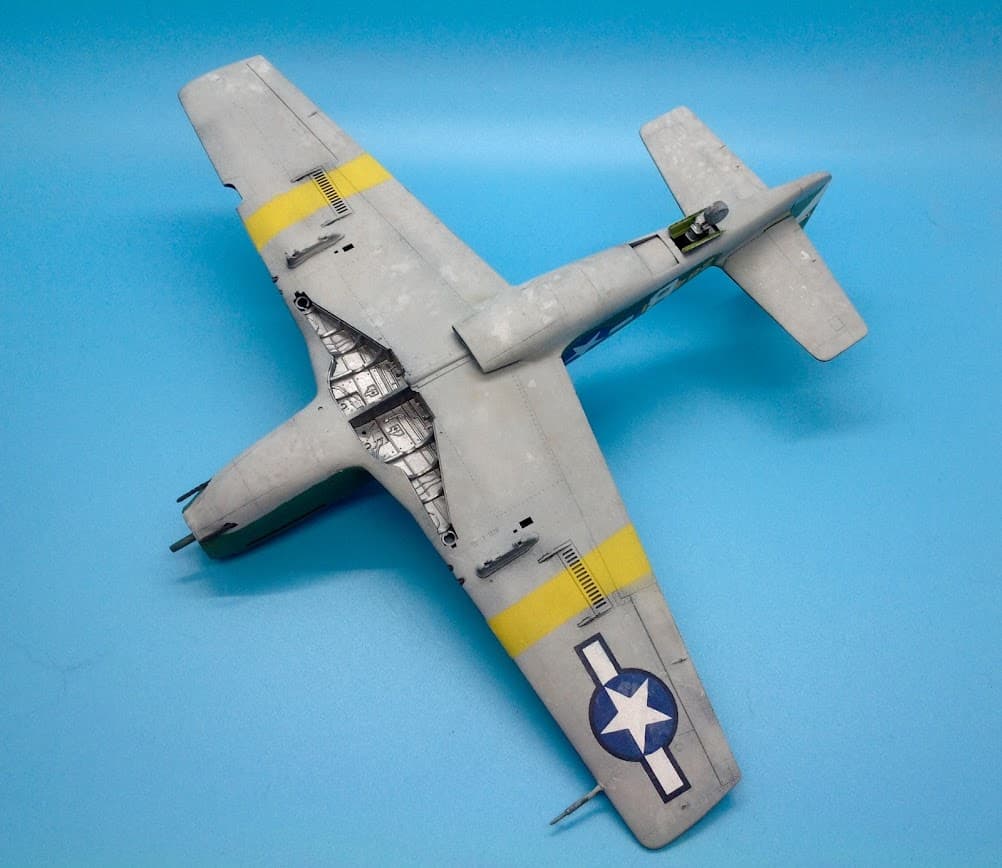
Next up is weathering! Thanks again man!
8 Likes