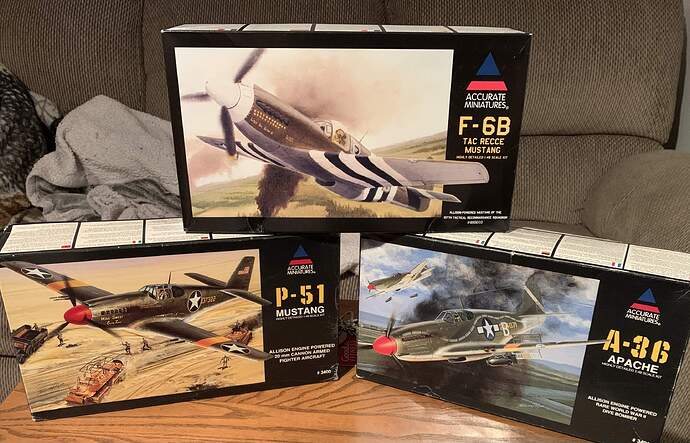
Sometime ago I was in my local hobby shop and I saw they had some old accurate miniatures kits. I cleaned them out of their stock of Allison variants which included the P-51, a F-6B tac recce and the A-36 Apache dive bomber.
I was gonna build one of them for the great Canadian campaign. I looked at all three and they are very similar so I’m gonna build all three at the same time. I’ll be building the P-51 as a tac recce MKIA flown by the RAF on D-DAY. The second the F-6B as a USAAF tac recce and the third as the a-36 in Italy.
The kits will be similar but with different schemes. One in raf colors with invaqsion stripes, one with olive drab over neutral gray with invasion stripes and one as olive drab over neutral gray.
Slight change of plans, I just realized the F-6B comes with a set of decals for a P-51A held back for testing called slick chick. To add some variety I’m gonna build this one as it has a natural metal finish.
This also kills two birds with one stone as I won’t have to scratch a camera for the MKIA tac recce. Curious if anyone has suggestions for all metal finishes. I’m leaning toward Alclad but boy are they pricey
Make sure the gauge cluster is well secure to the cockpit tub before you put everything together. I skimped on the glue and ended up having to perform major surgery.
Also the props on these things are barely suggestions of what the real ones looked like. I couldn’t be bothered correcting it but if you decide to get fussy you’re gonna have to go looking for replacements.
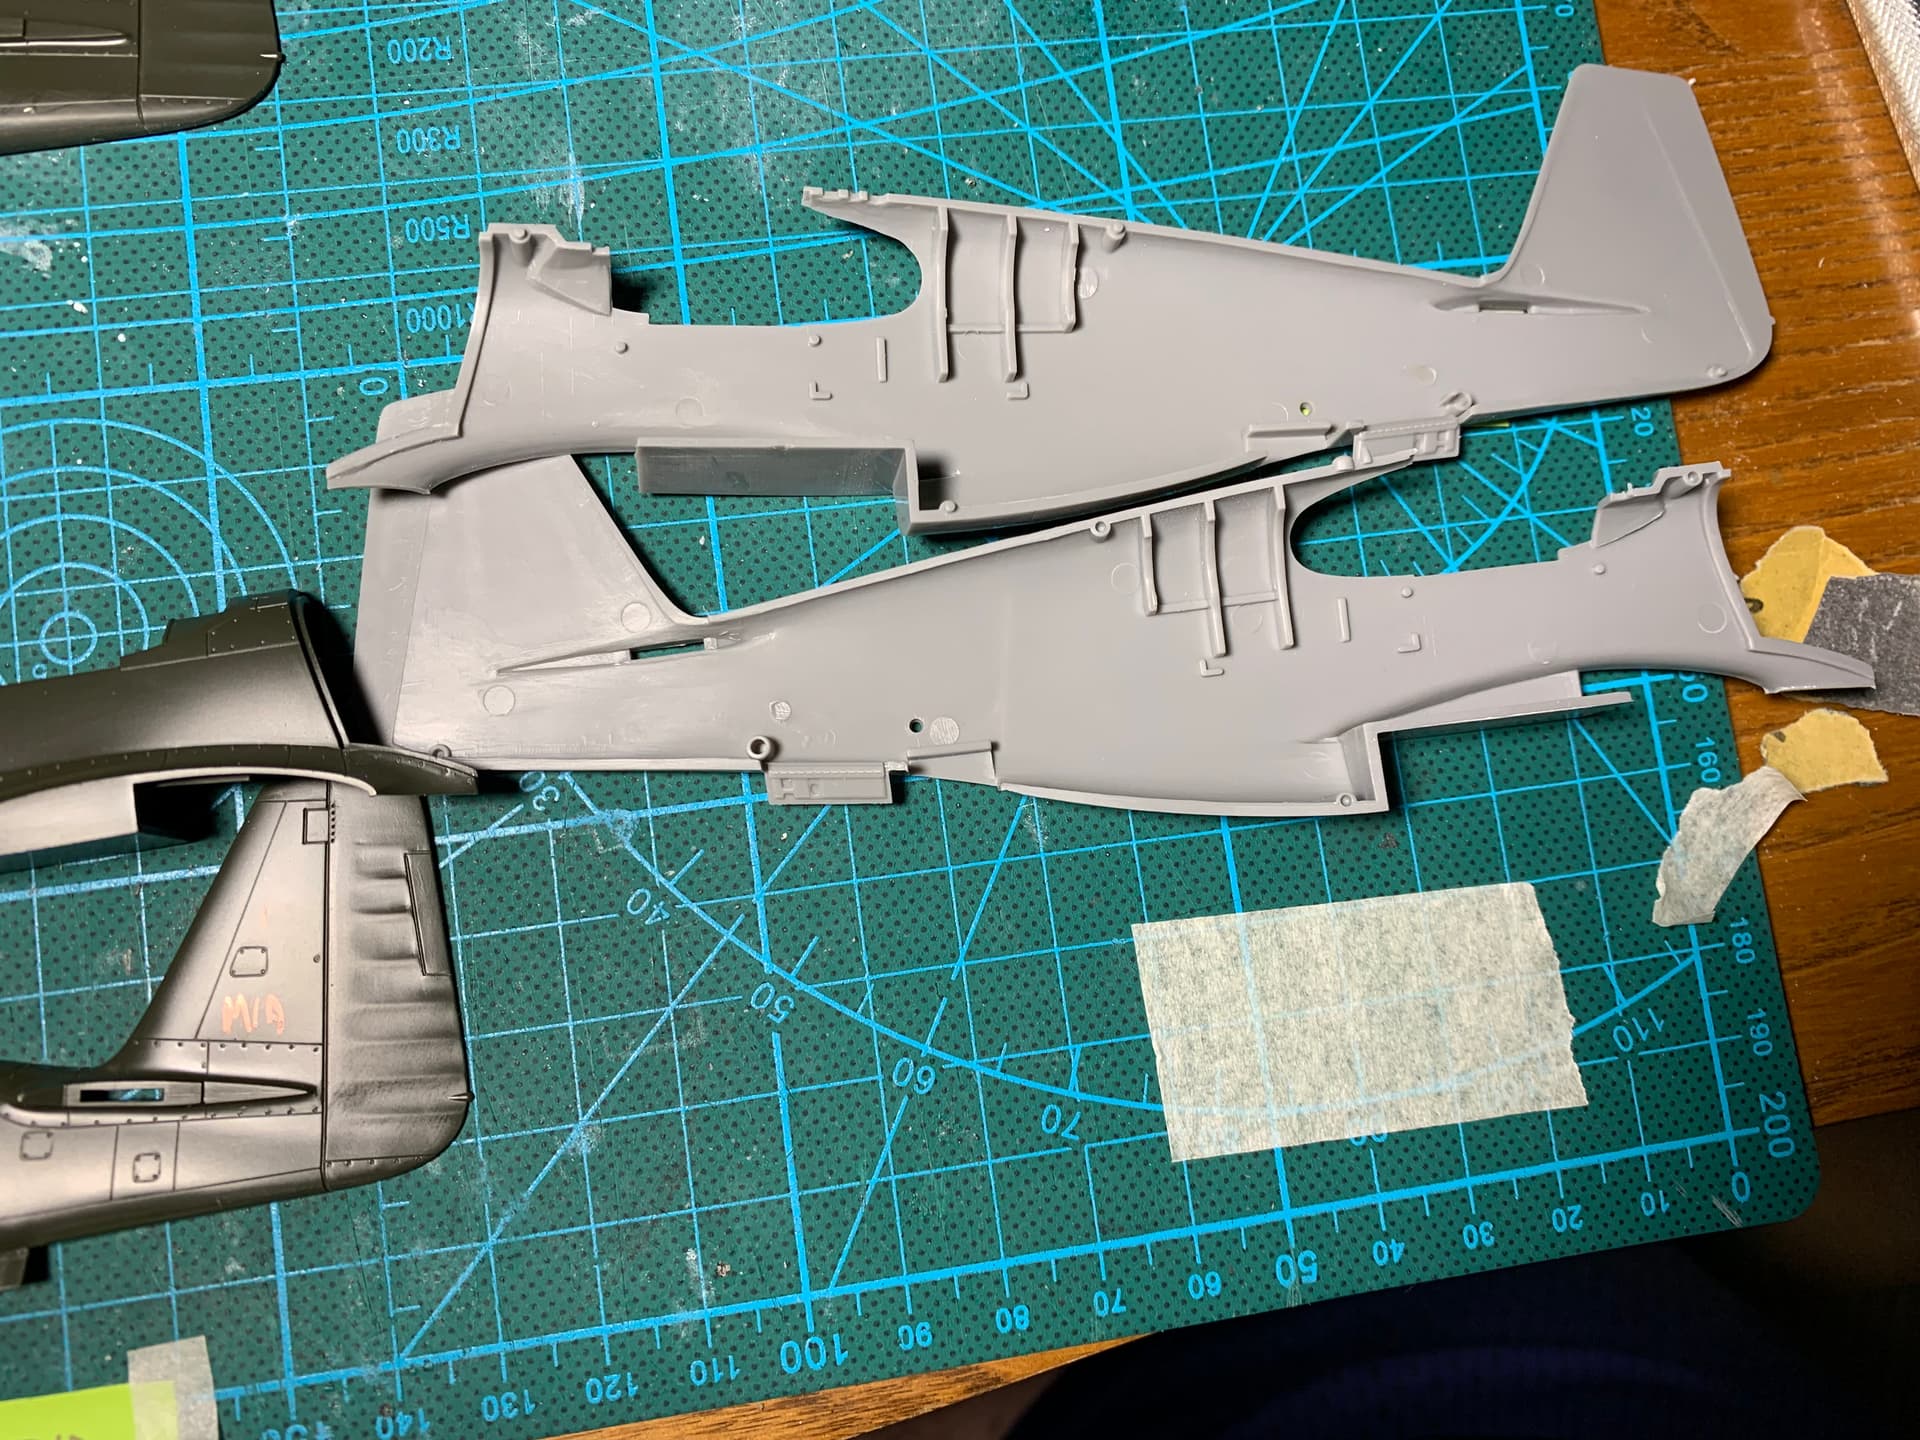
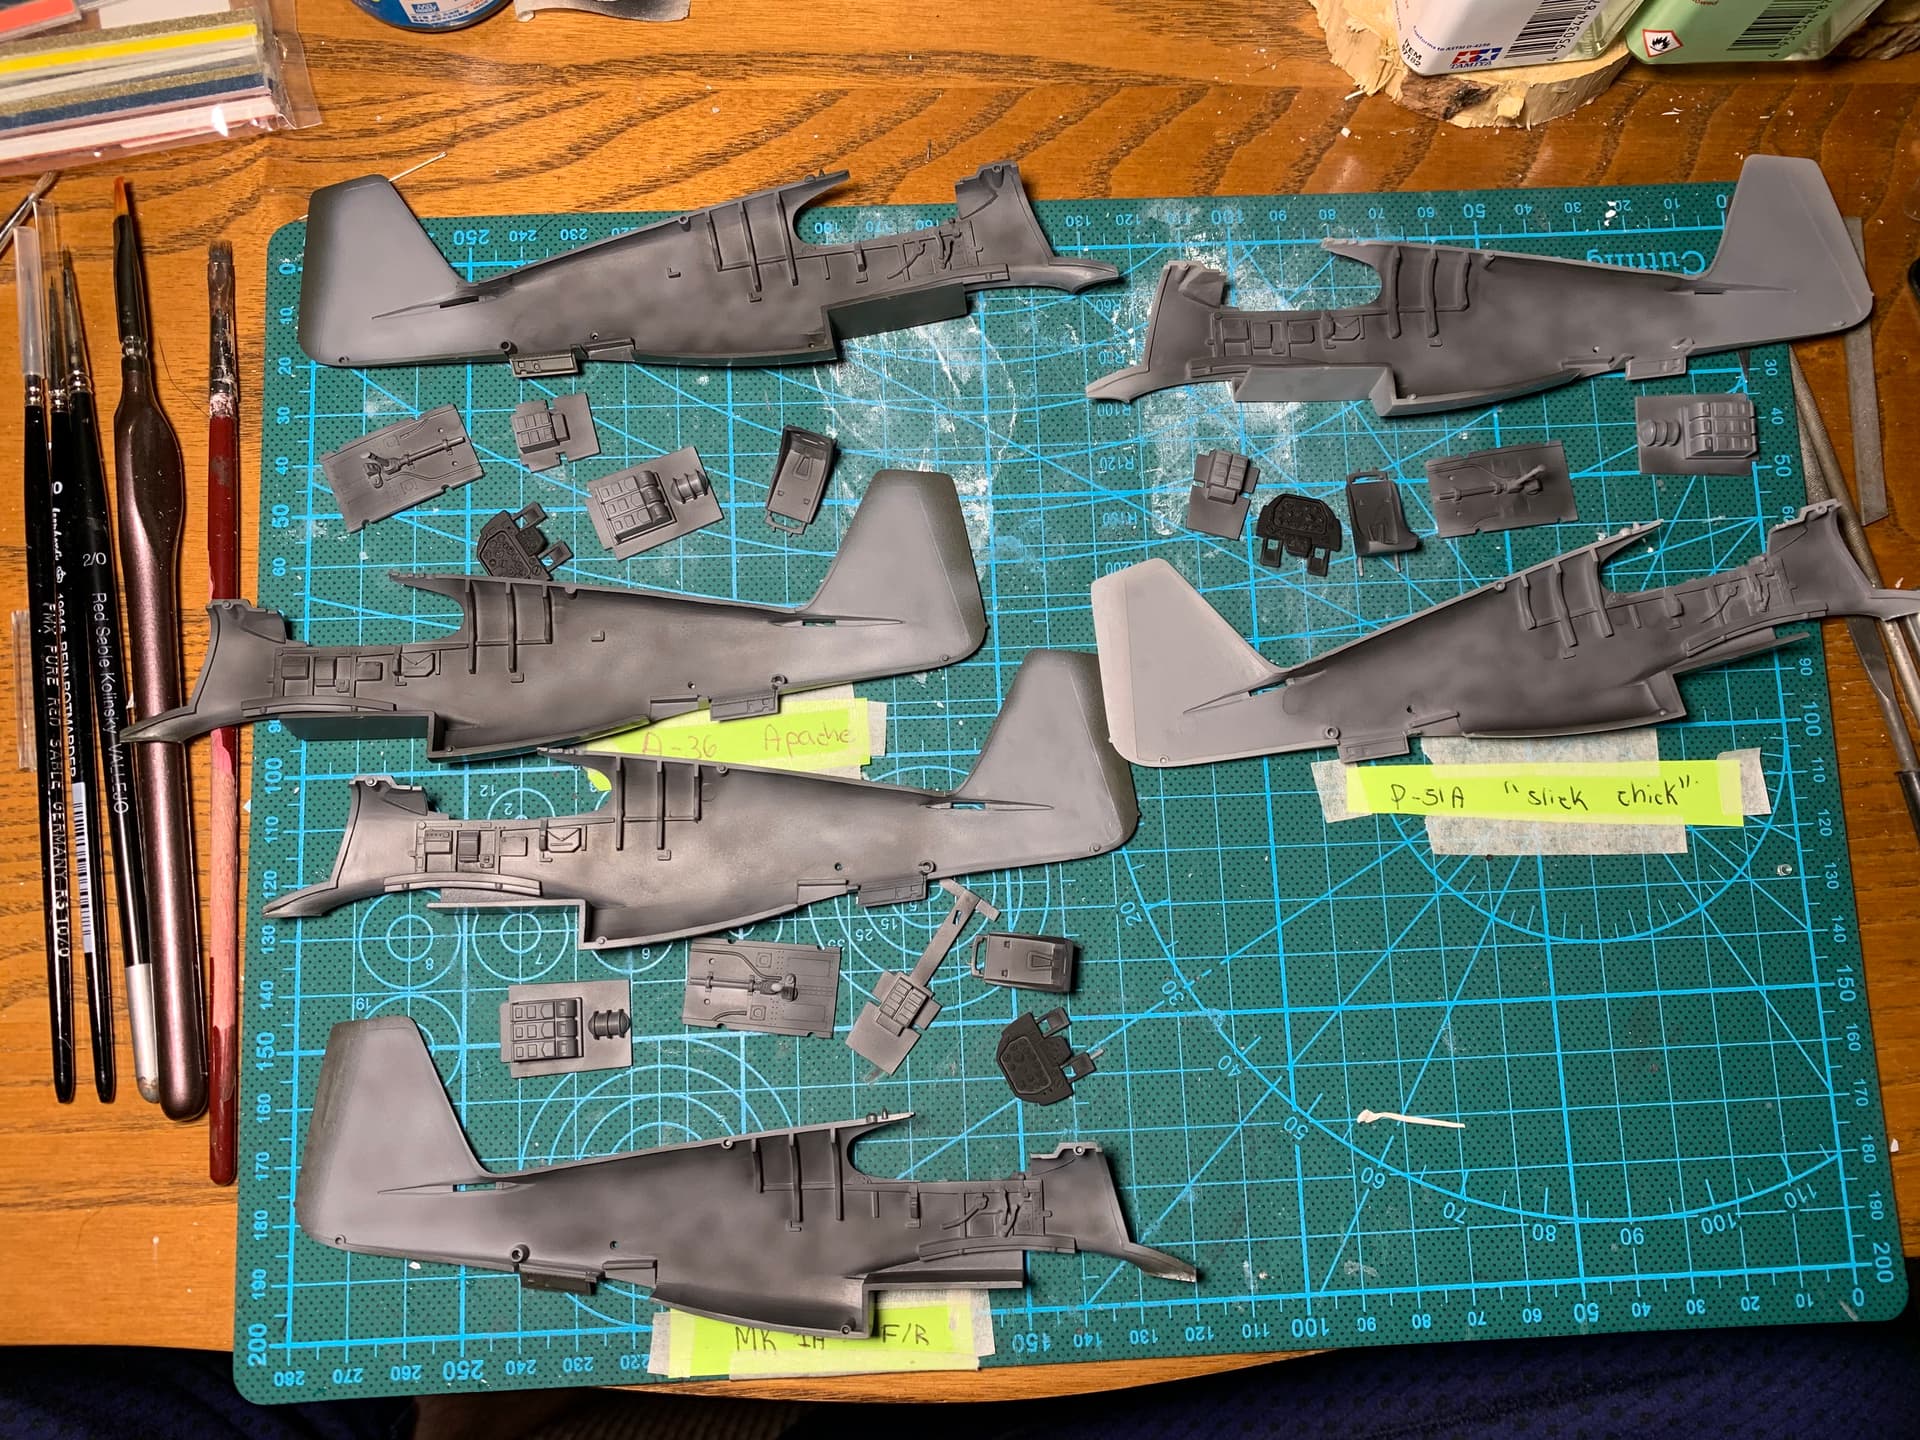
Nothing too exciting yet, step one calls for cockpit sidewall and seat details. Cut out the fueslage halves from both, and cleaned them. Both halves are full of injector marks that need dealing with. These appear to be the only injector marks that will need tackling though.
Can’t find the SMS paints, think ill go with the Alclad for the NMF. Anyone have a suggestion for the aluminum paint on the wings? I do have tamiya flat aluminum, and humbrol polished aluminum kicking around.
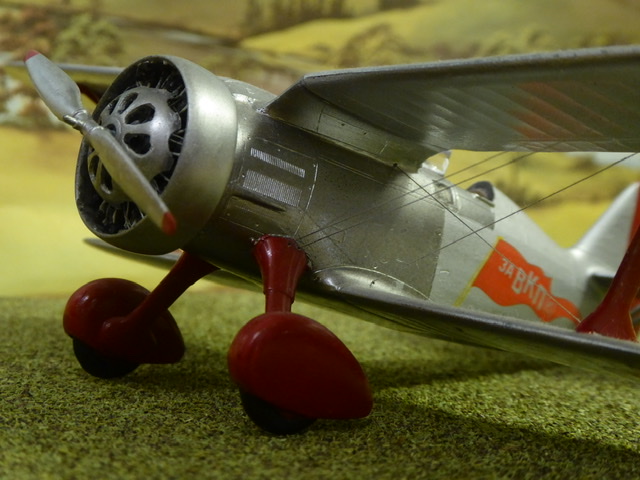
Built this some time back, Alclad Polished Aluminium forward fuselage, Tamiya Silver for silver doped fabric. Alclad went on a dream. Did a Hun next using Alclad and that worked out well.
Looks excellent! The hobby store has duraluminum and airframe aluminum, I am leaning towards the duraluminum as I have heard the airframe stuff can be hard to apply
Dural is quite grey, not as bright as the polished al. I used black lacquer under the Alclad, as an undercoat on the whole silver area. Model looked so mean in all gloss black I nearly left it that way. I had no problems at all putting Alclad on.
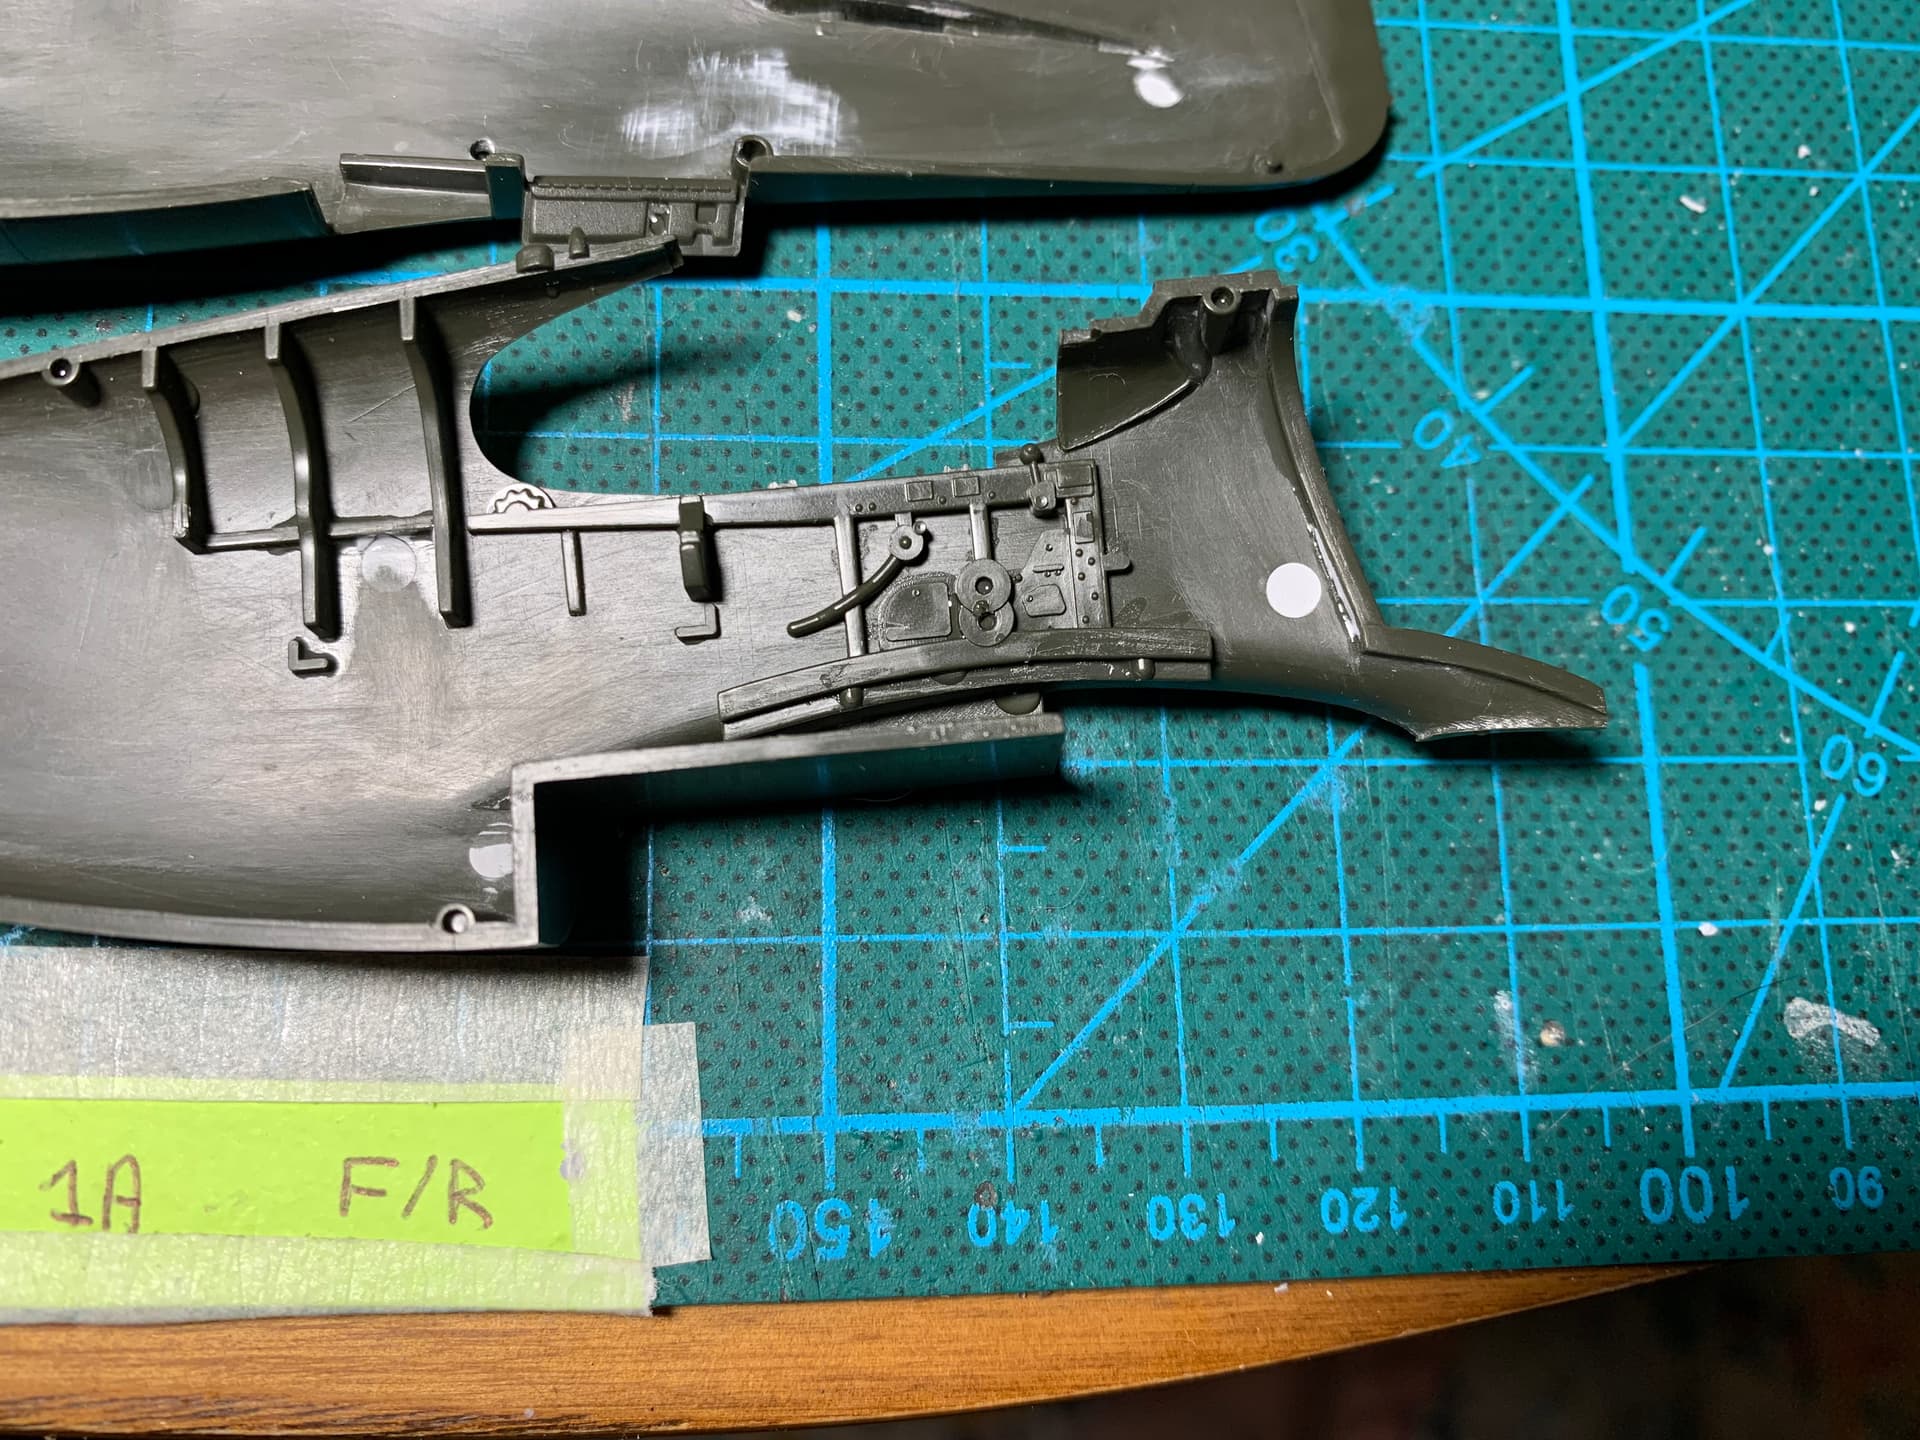
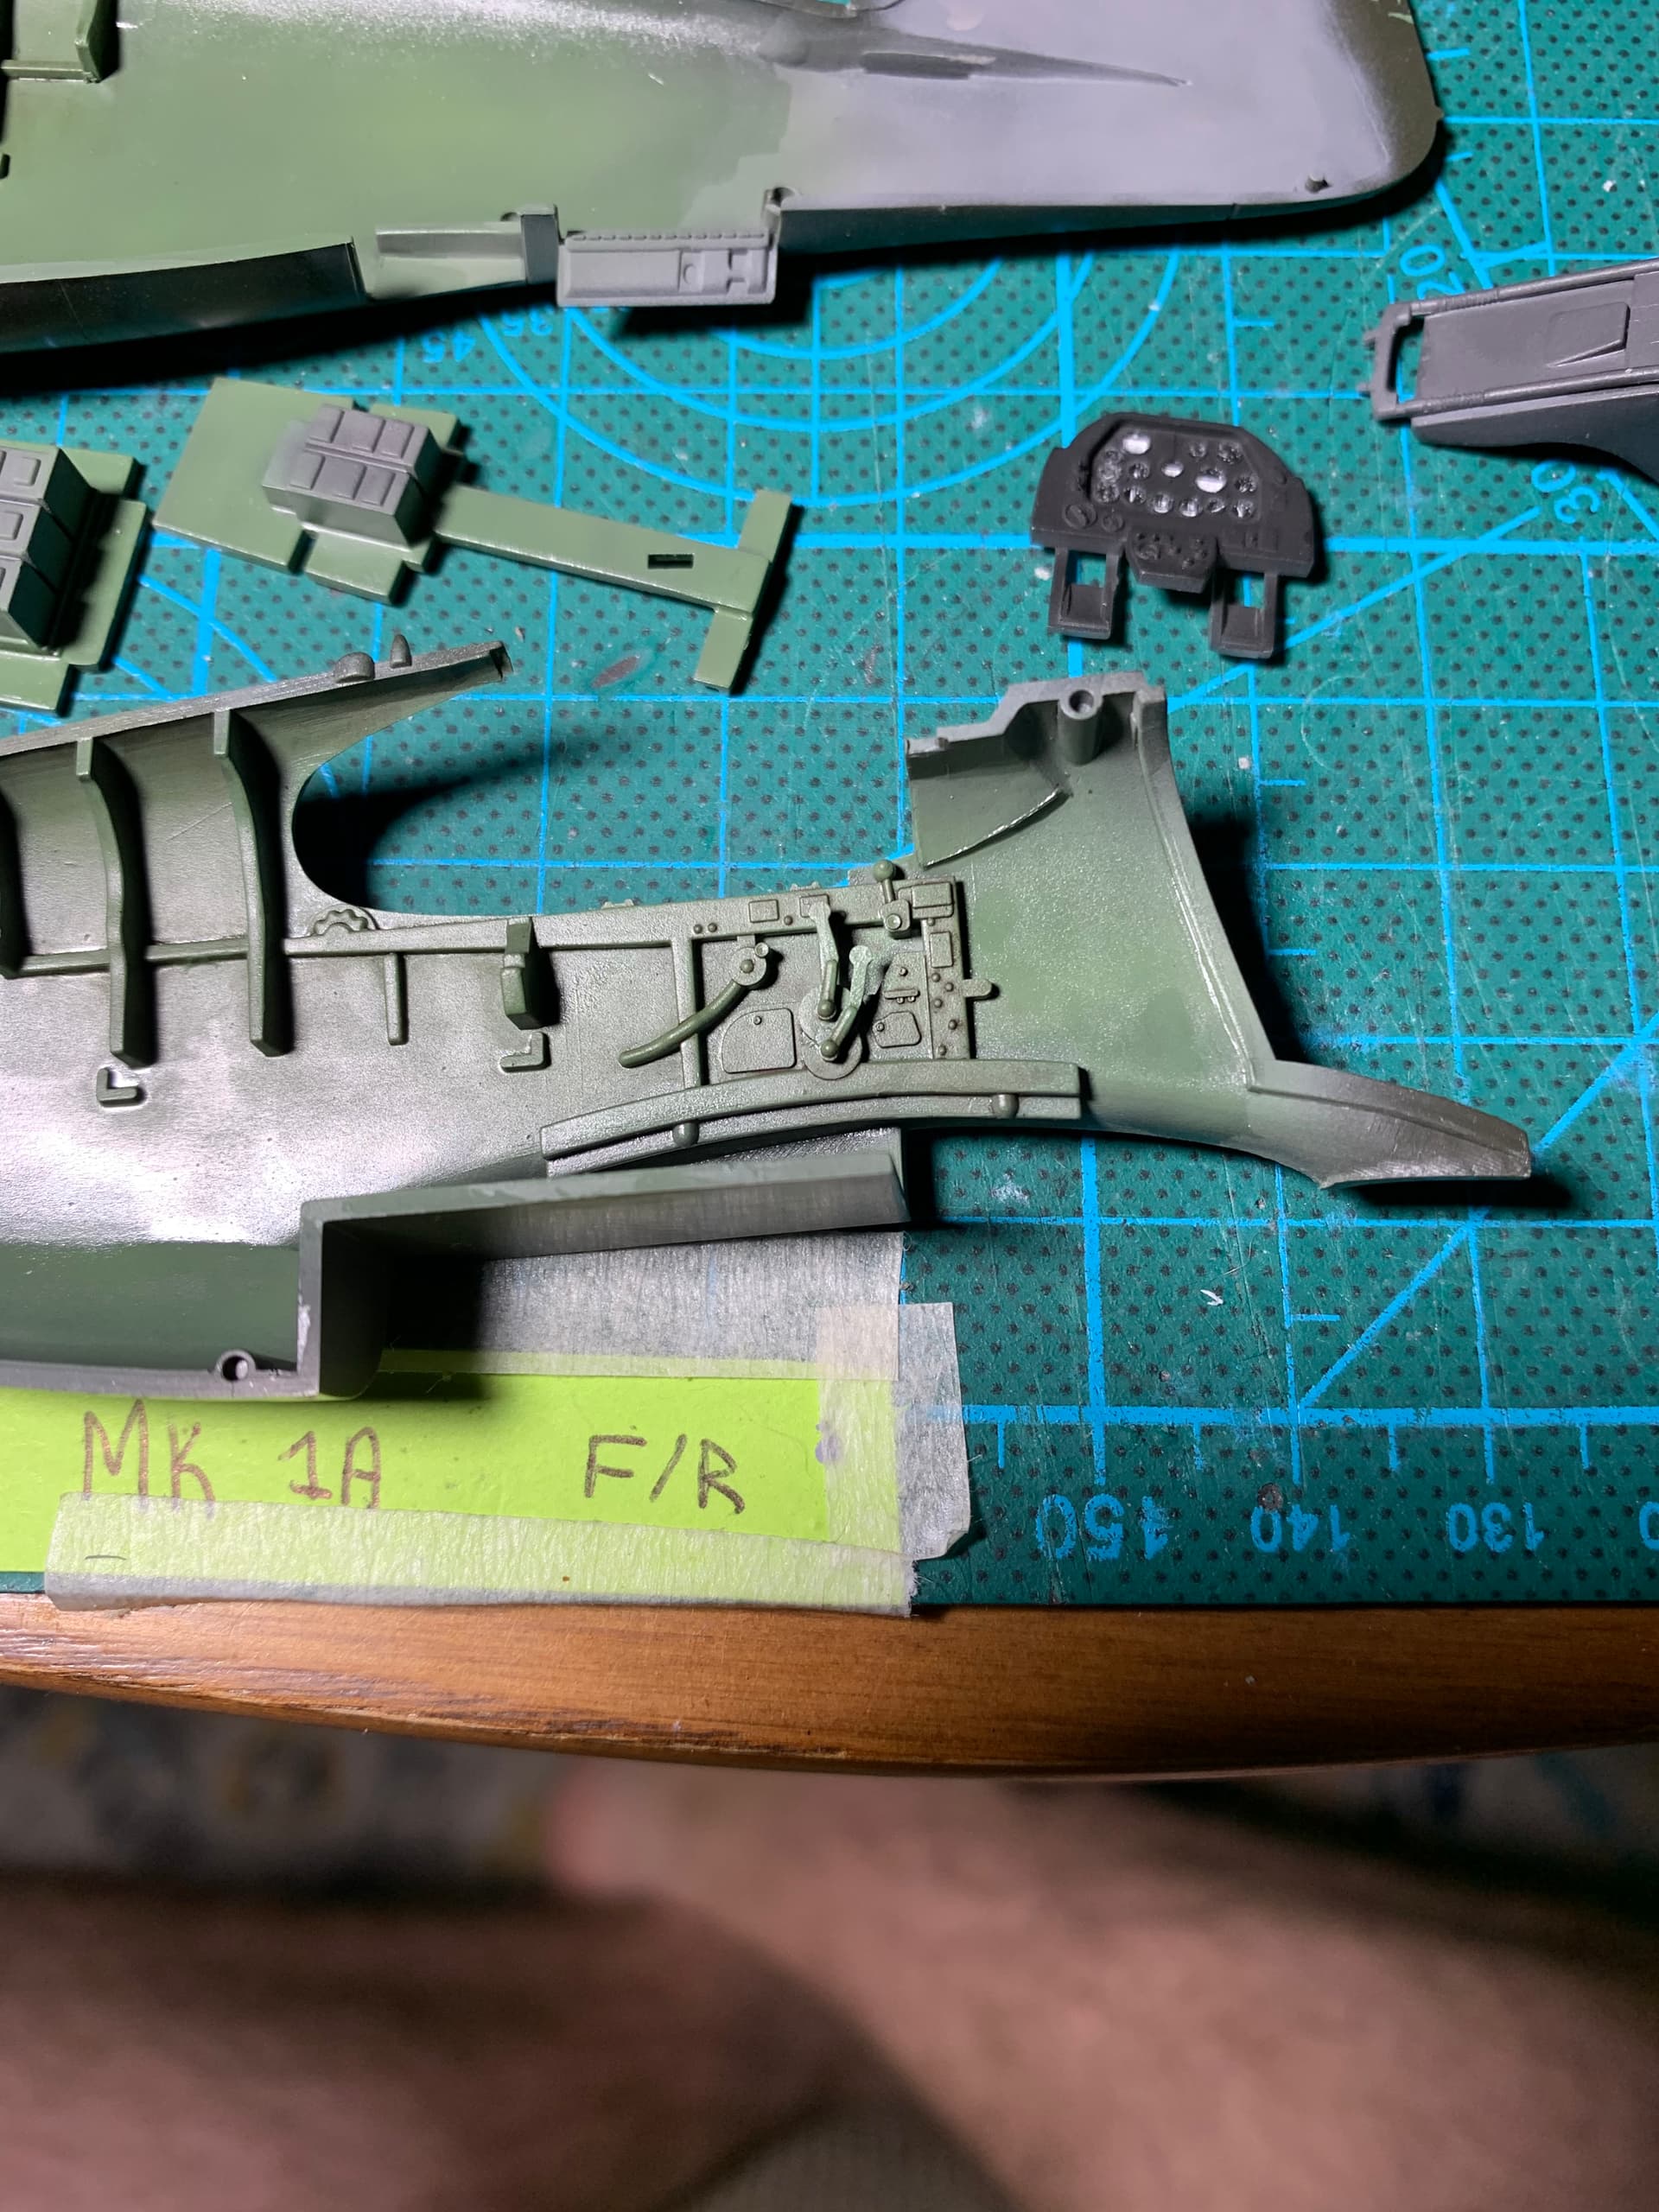
Alright, I got all the sink marks cleaned up and washed the inside of the fueslages since there was a lot of dust from sanding sinks marks. Step 1 is to install the cockpit sidewalls. I already have them in the Mk IA and have shown them right before installing in slick chick to give an idea of what they look like out of the bird
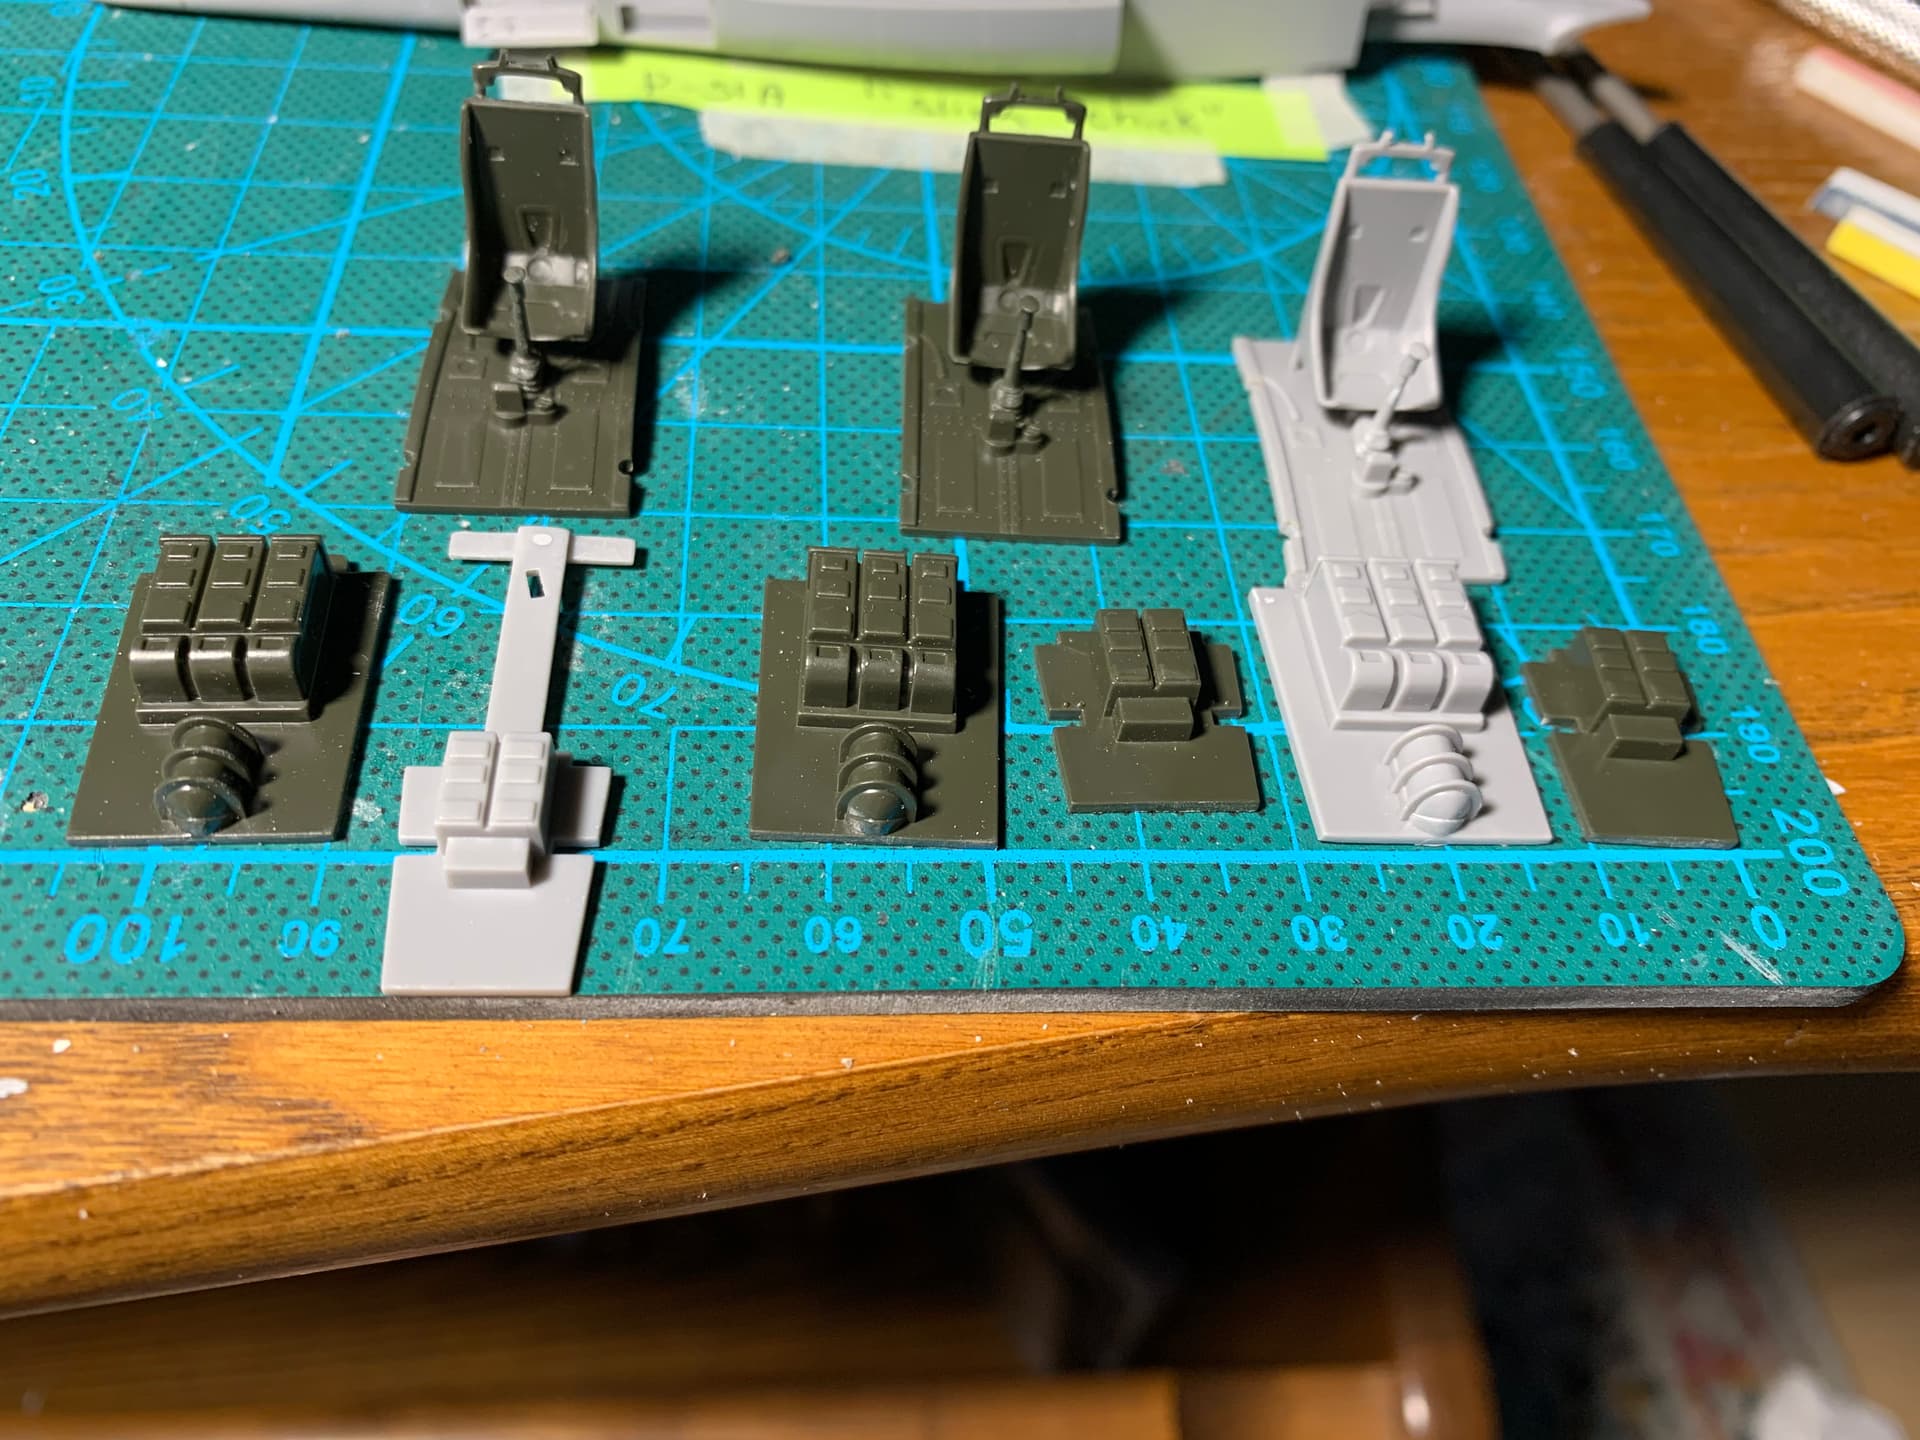
Tonight’s task was cutting out the rest of the cockpit pieces, including seats and seat frame, cockpit floor, stick, radio, and batteries. These were pretty straightforward with one to two attachments per price and all pin marks on the bottom of pieces so they’ll be hidden.
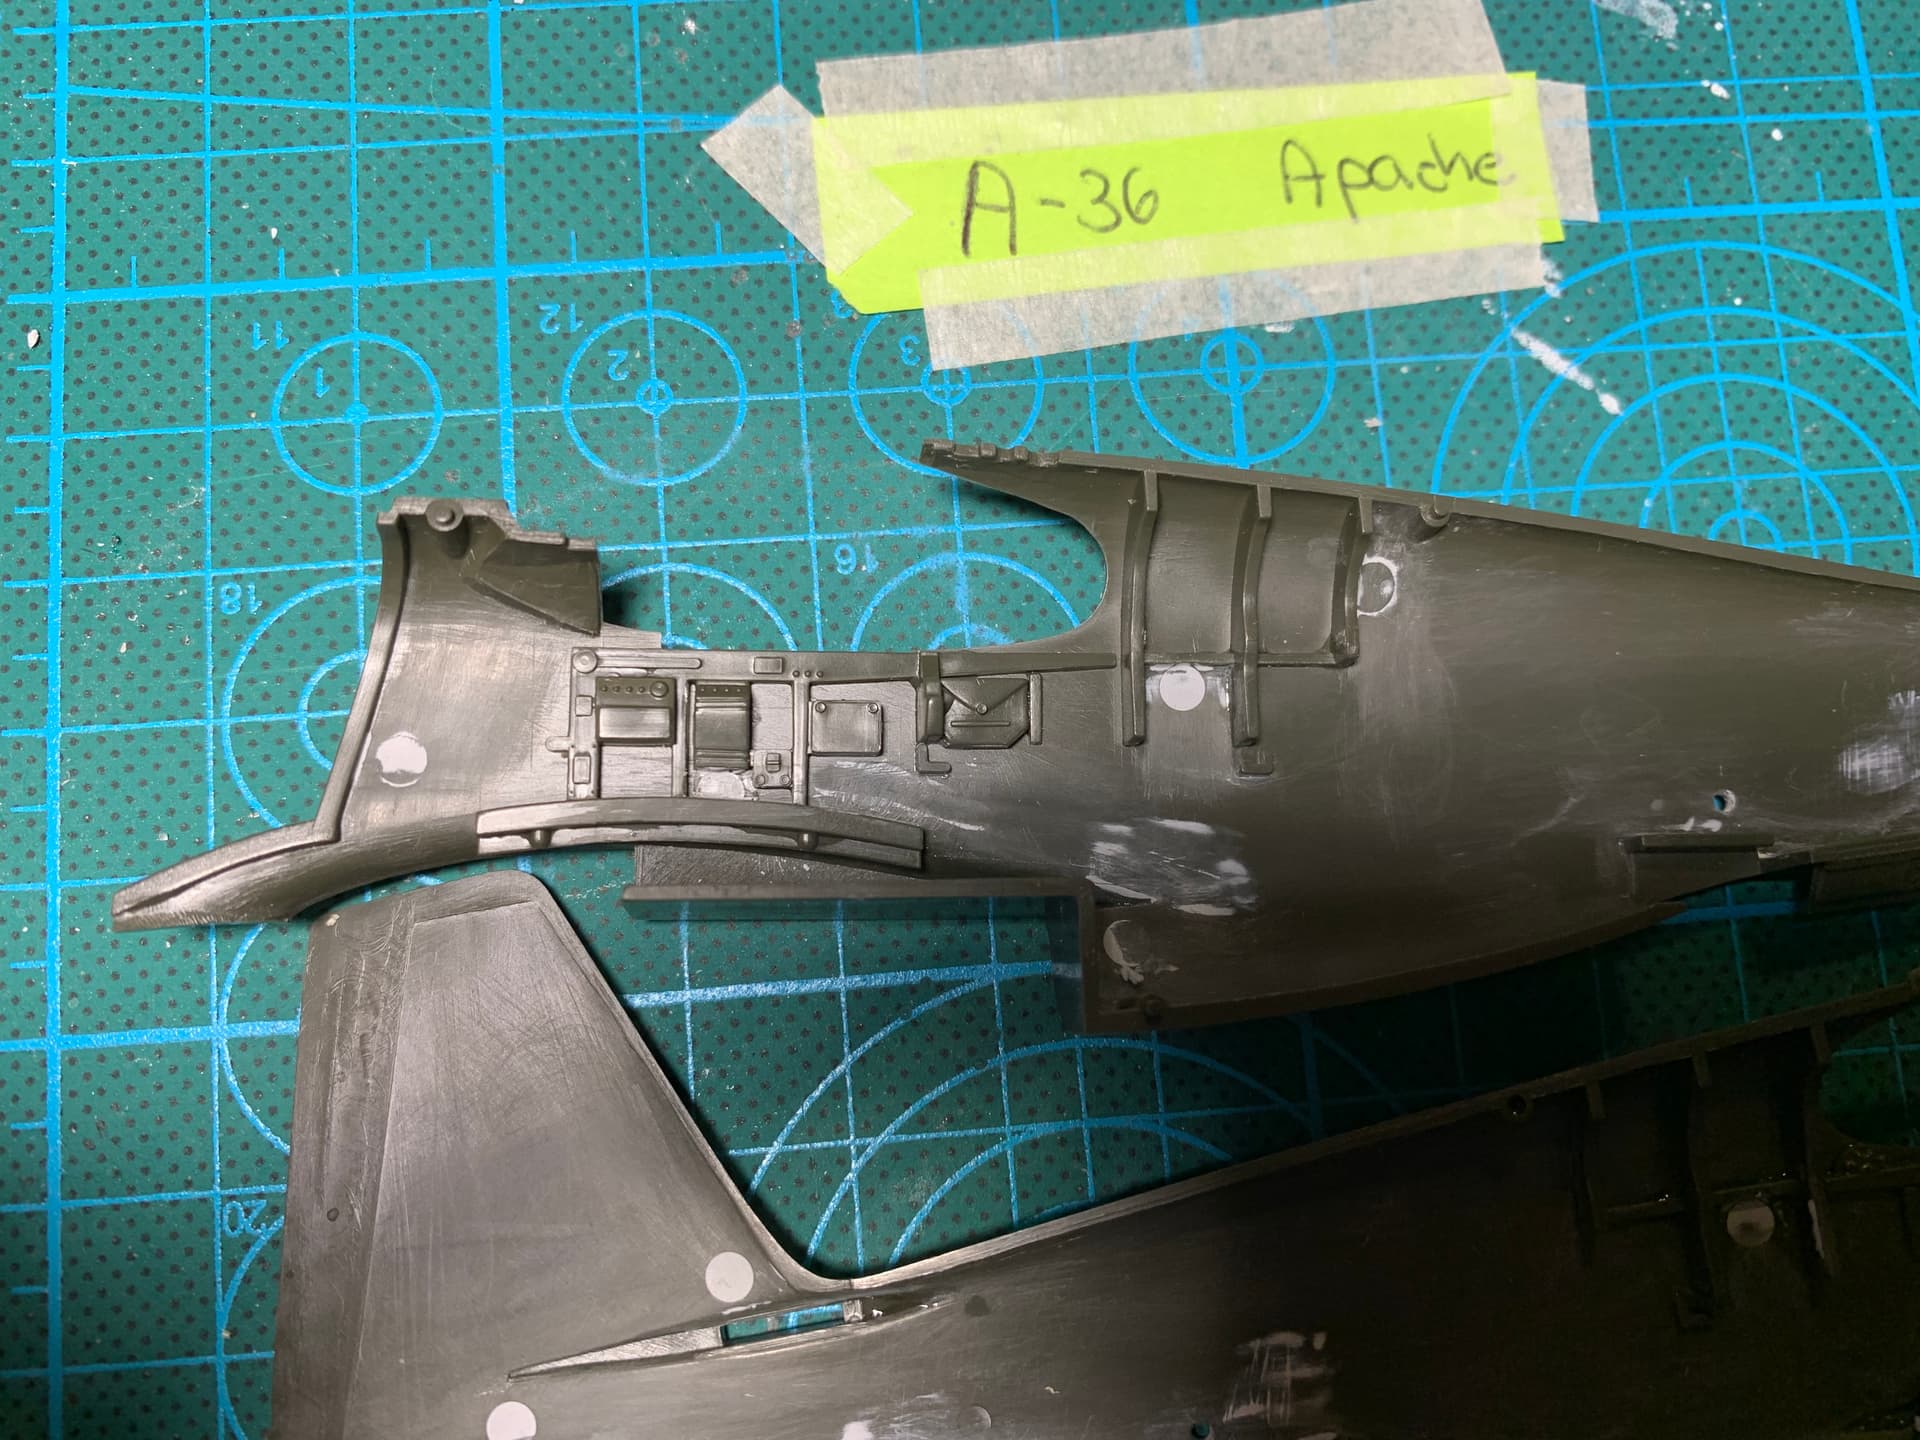
From left to right, the pieces for the Mk Ia F/R bird, the A-36, and the the P-51A “Slick chick”. This is the first variation, the MKIA has an extra frame piece on the radio mount that will hold the K.24 oblique angle camera.
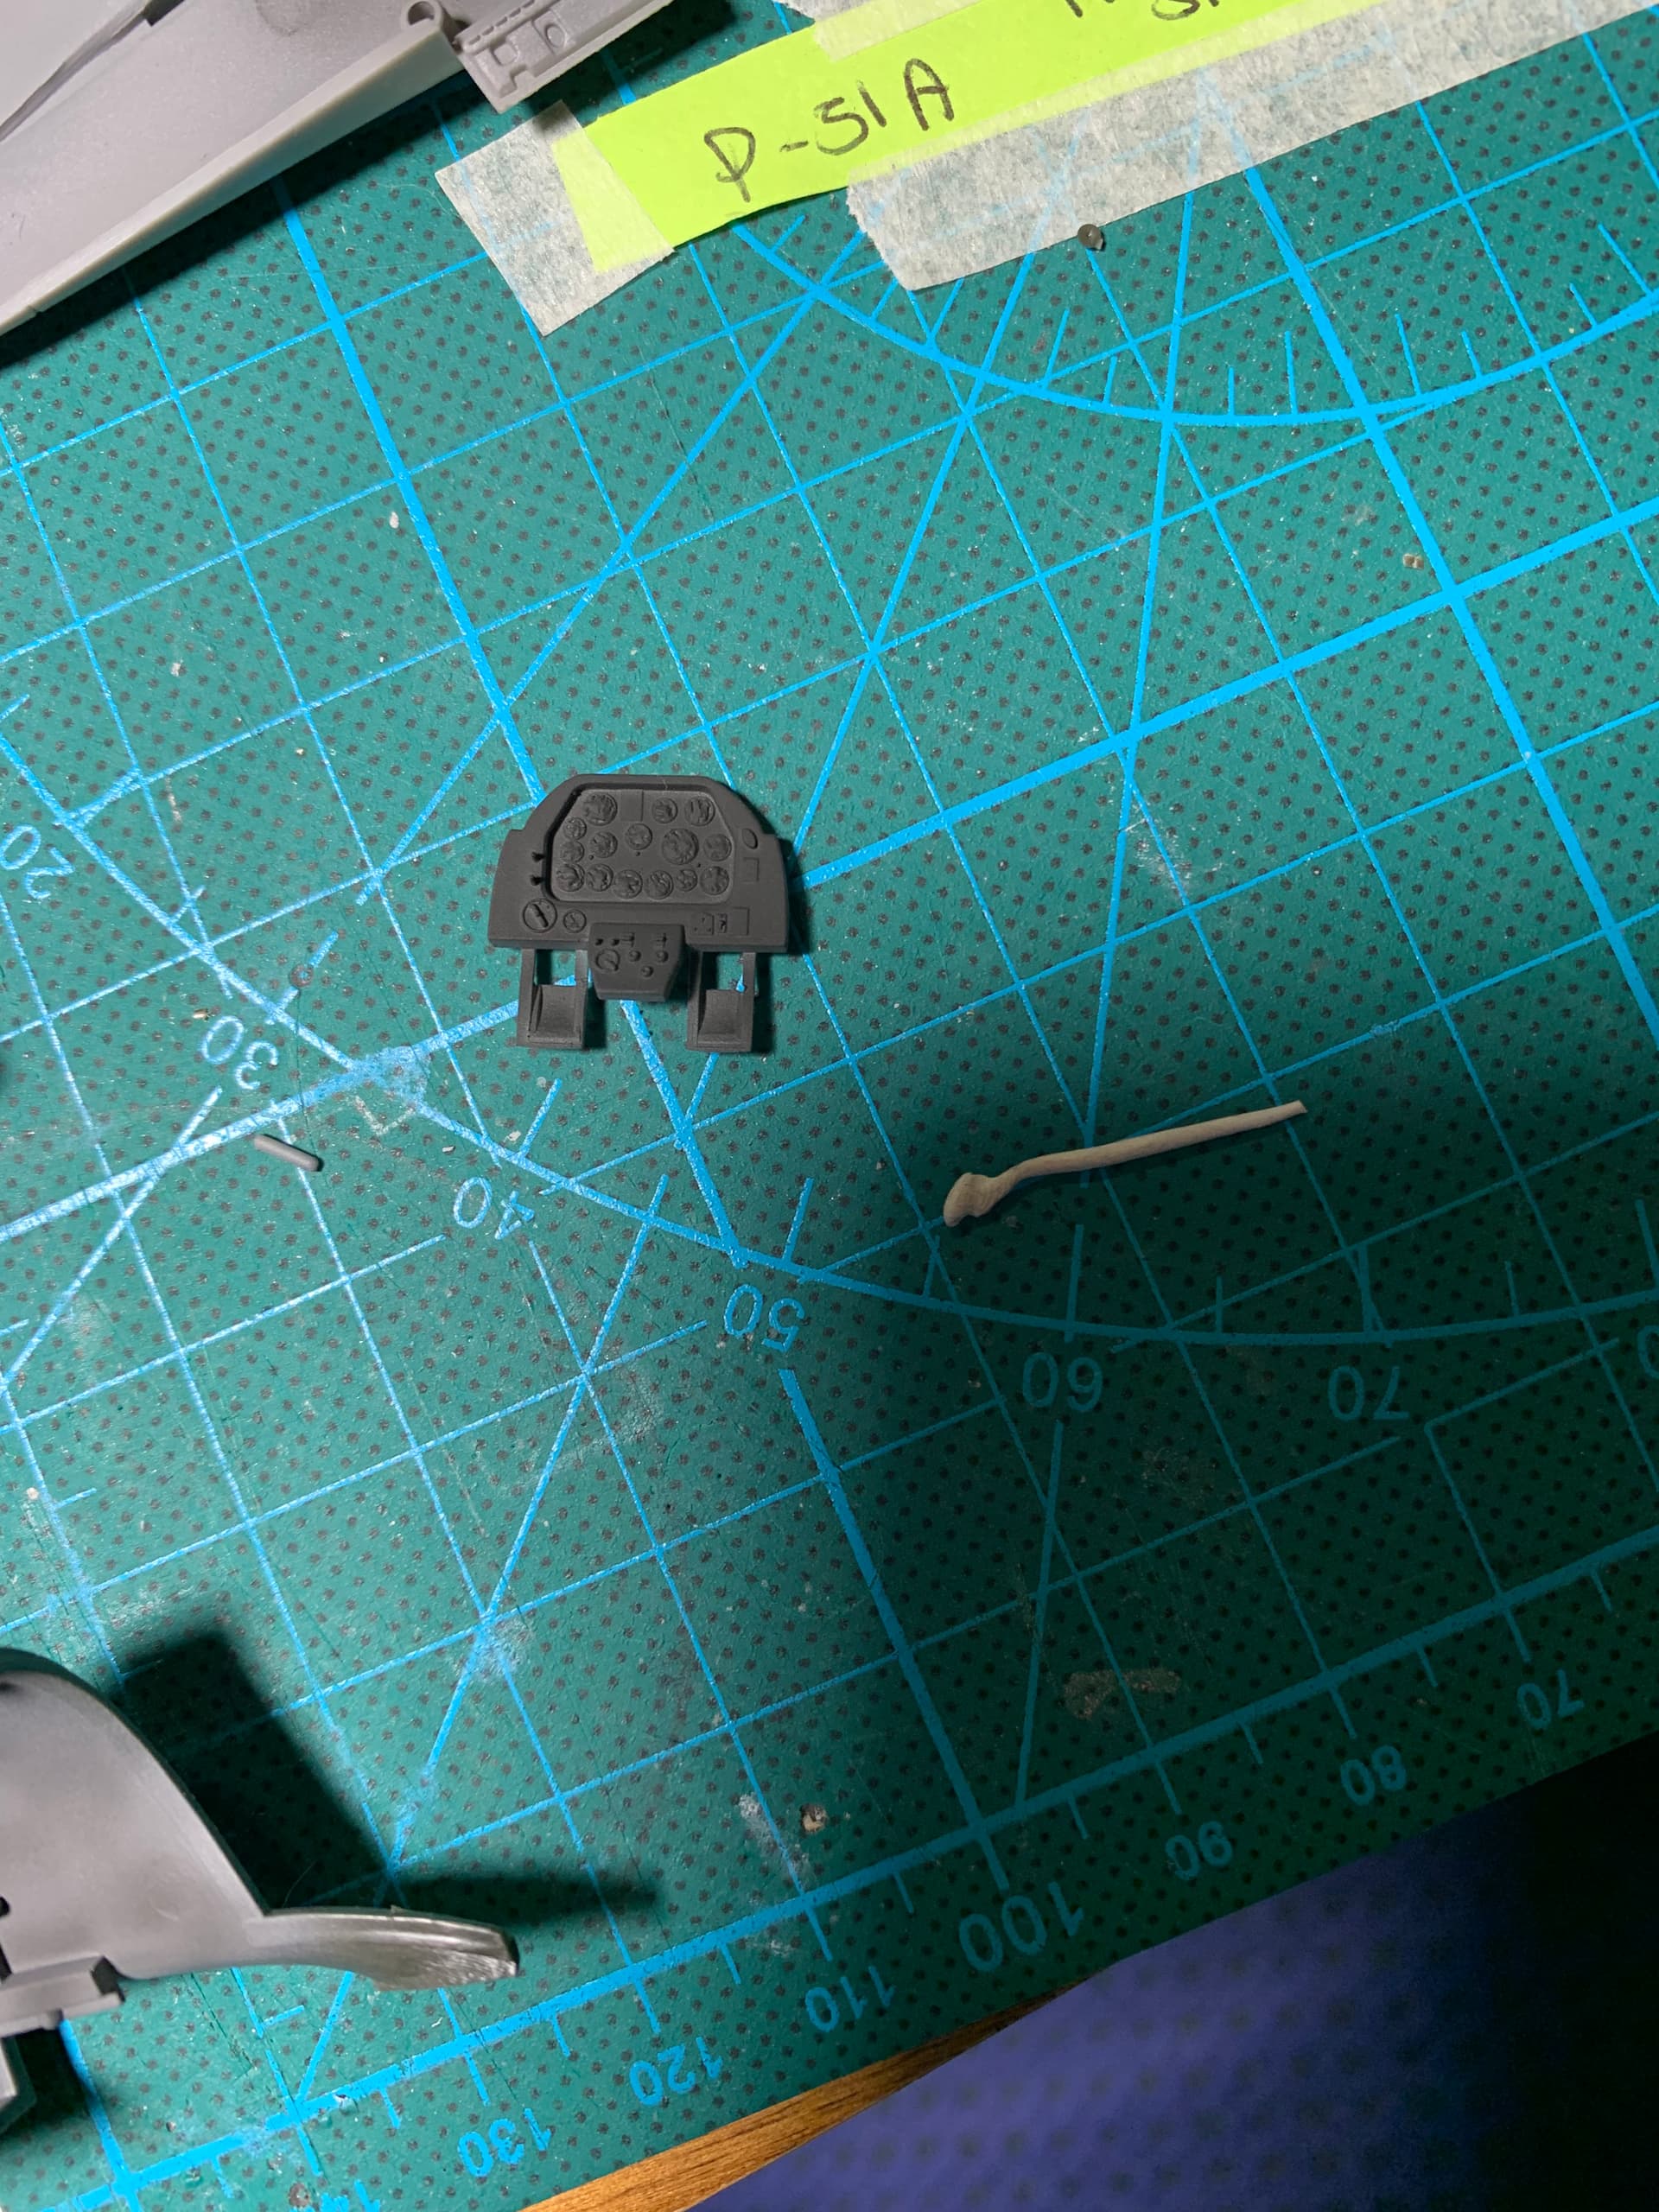
Two big tasks of the day, priming and starting on the instrument panels. For priming I like to prime with badger stynlrez grey, and then do an irregular black pattern over top to add some tonal contrast.
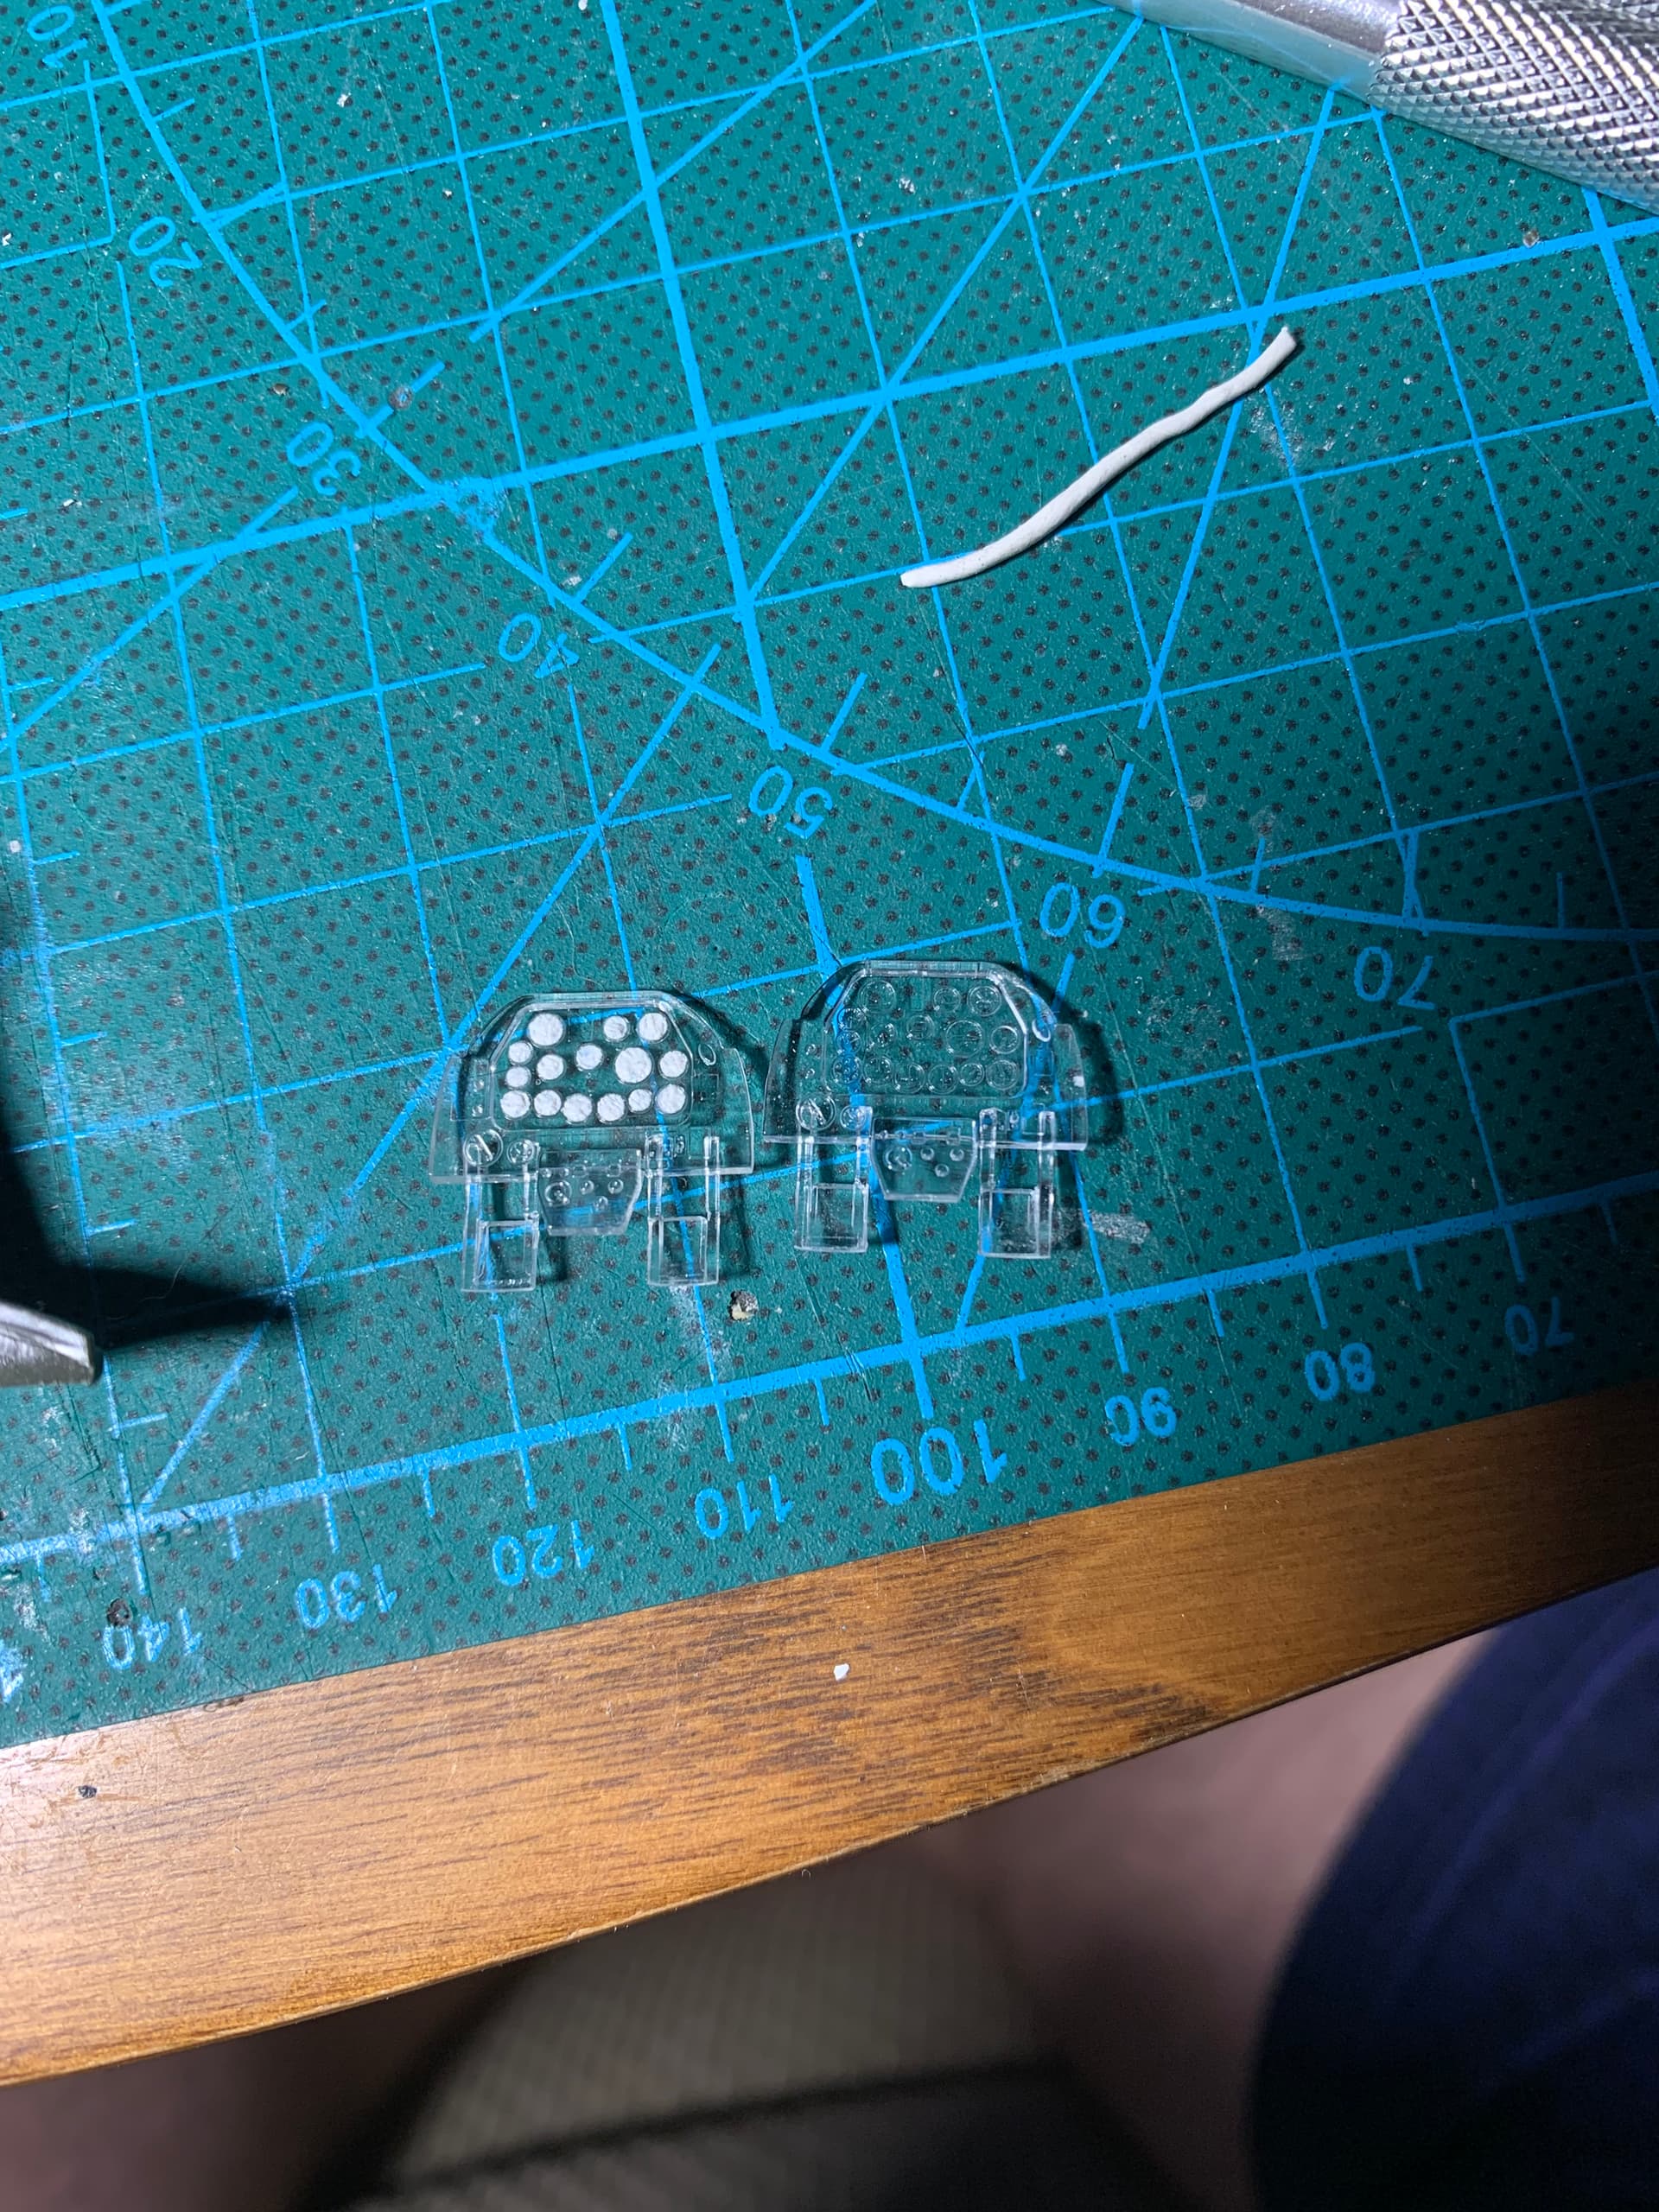
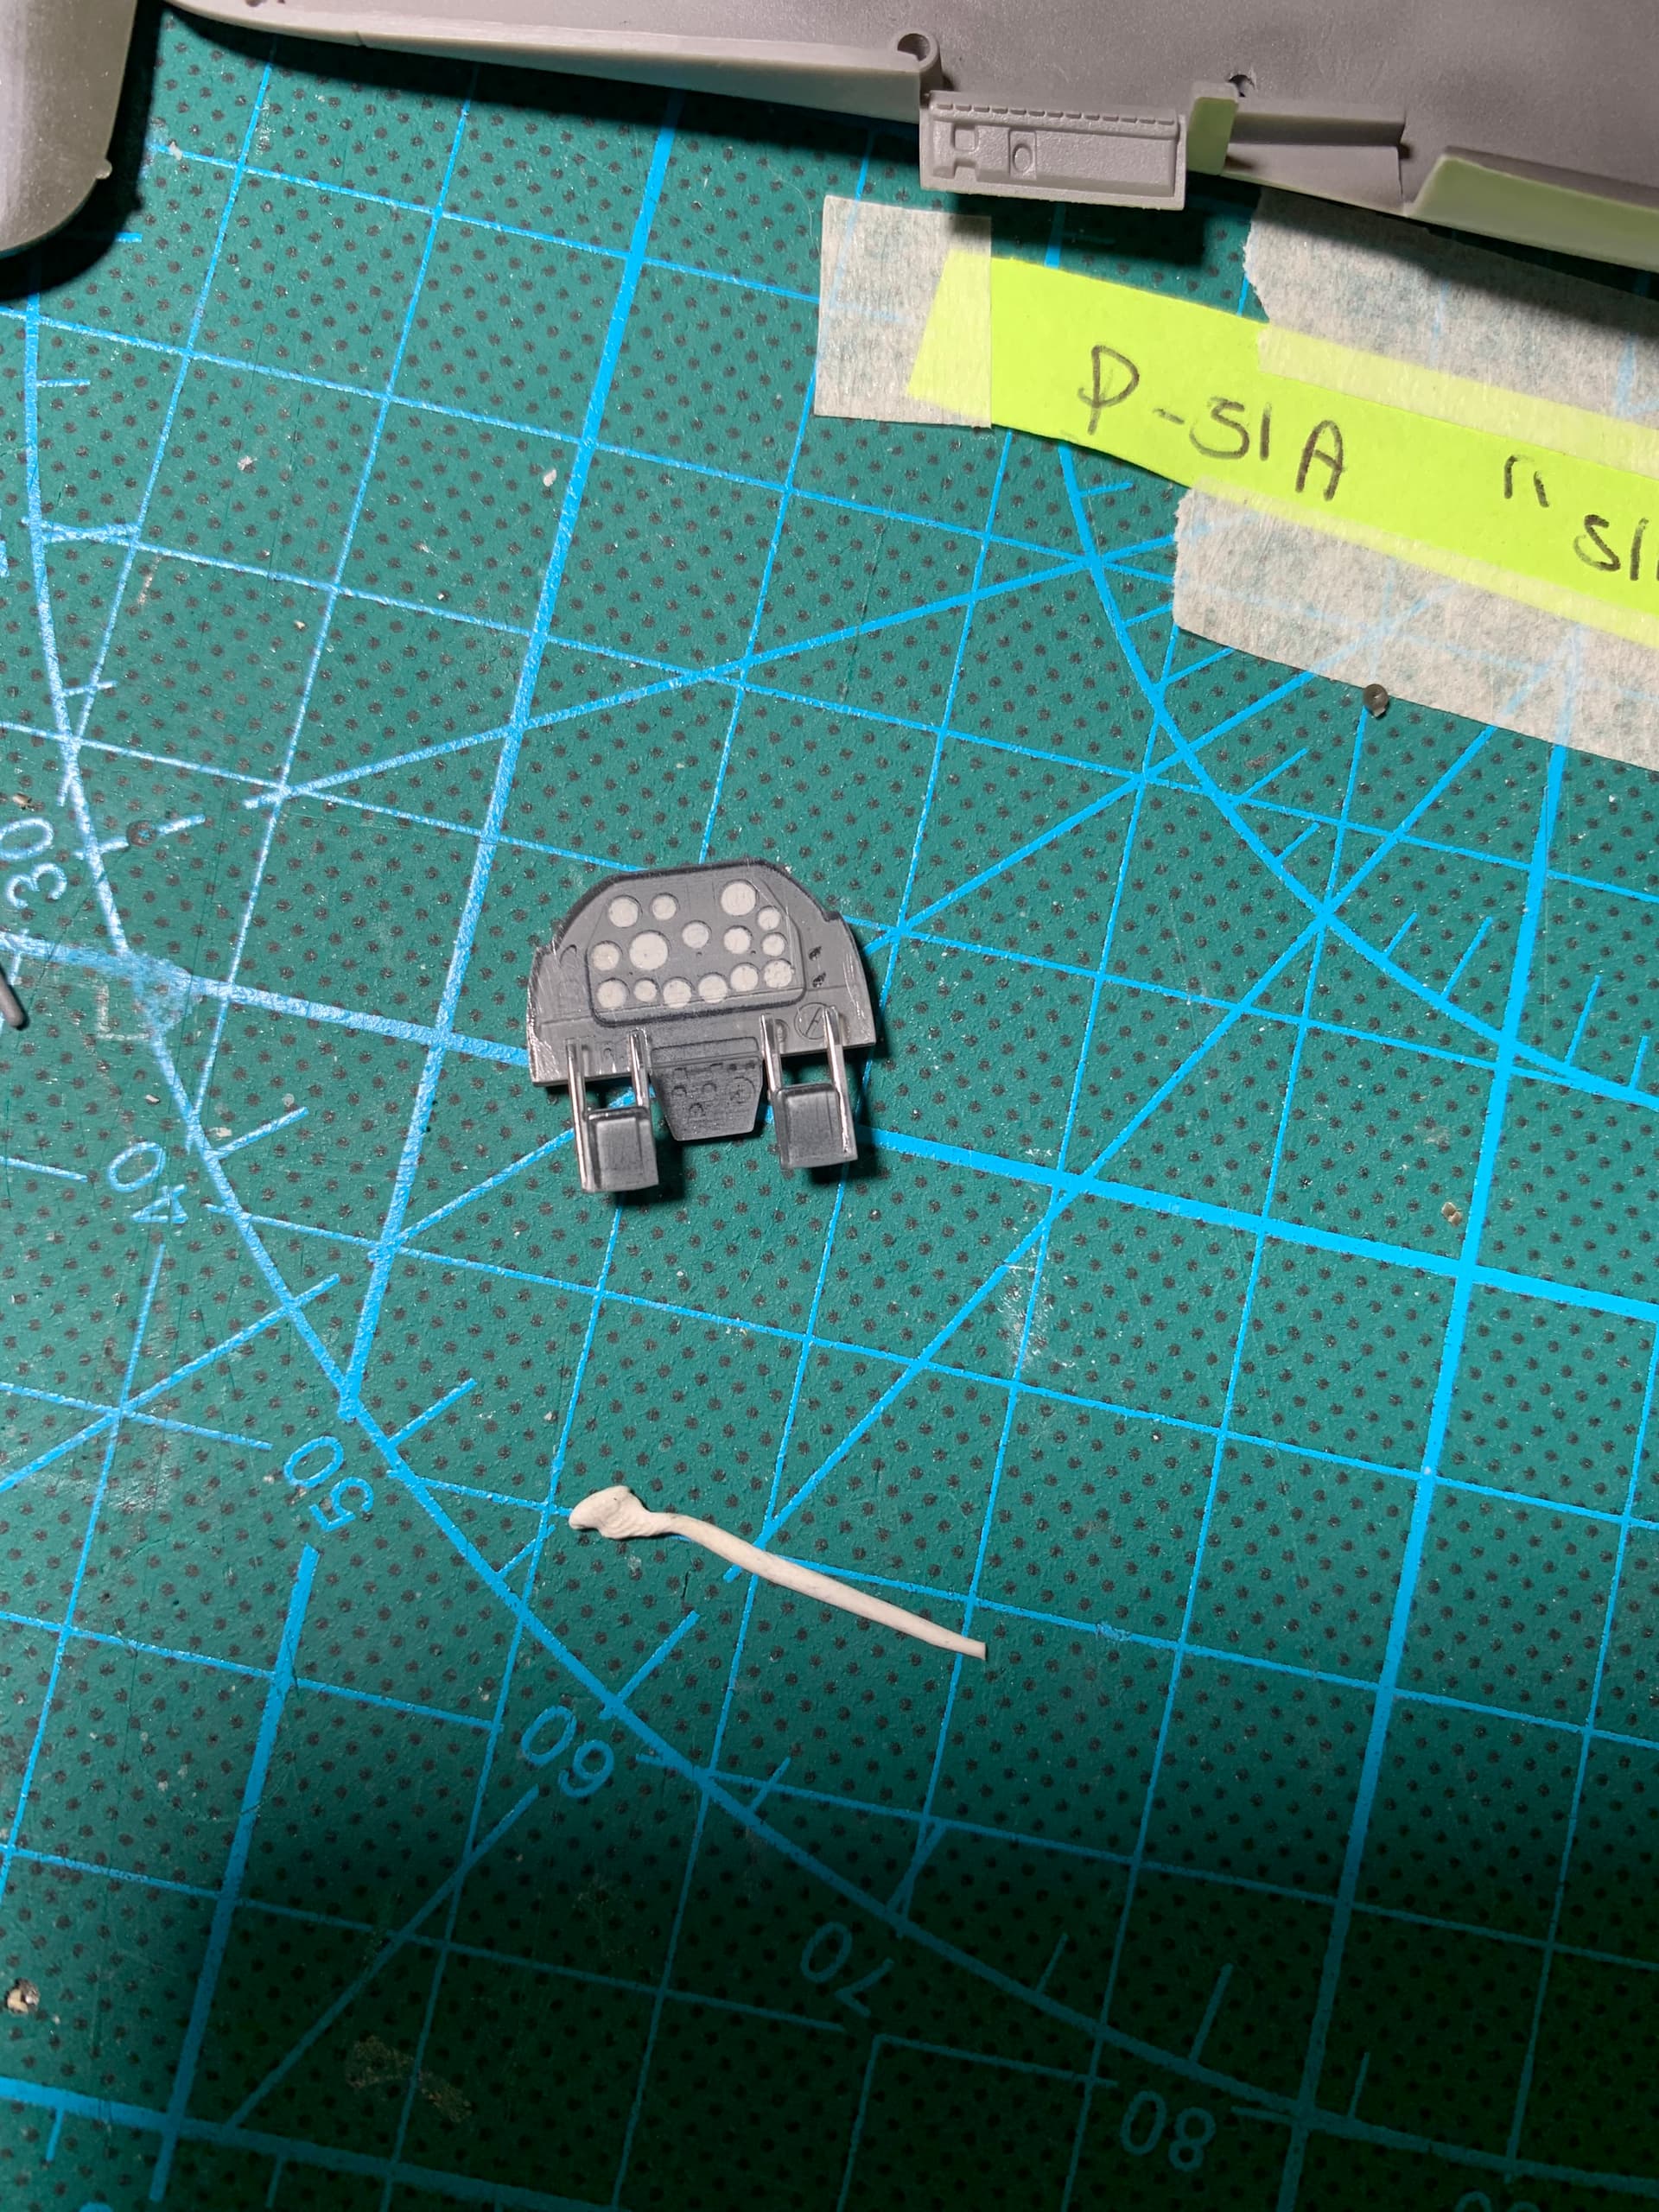
The instrument panels on these kits are clear. You paint the background while leaving the dial faces on painted and then put the decals on the back side. I masked the dials with white tack and then primed in gray and painted flat black.
Tomorrow the interior will get a spray of cockpit green, and then I’ll seal with future in preparation for a wash, dry brushing and detail painting. Still debating if I should do the seat in yellow chromate for some contrast or cockpit green.
Painted the green and added decals to the instrument panels last night. This morning I started on the washes. I’m liking how these are progressing so far. These kits seem well made and the fit is exceptional. Instructions however, are almost useless.
Anyway, here is where I am now. Waiting for the washes to dry a bit, then onto detail painting of the sidewall bits, and instrument panels, then dry brush. I hope to have the fueslage halves glued together tonight on tomorrow