I have never built a model plane in my life and I am 52
I want to start with a simpler kit and that is what I thought until I opened the box and did some search online…I was very excited with starting something which I have never done before. But after checking the contents in the box I am not so sure now
I should have done some research BEFORE ordering that kit. So now, I am just going to build this OOB without any regrets or thinking too much…
My plan was to be part of a group build (which I always enjoyed). … But I am having second thoughts since I do not know when I would be able to complete this build and what this build would turn into… More over I want to take my time to learn. So wish me luck…
I will use this thread to ask for help and to post my progress…So please feel free to drop in and post your comments, references, tips etc.
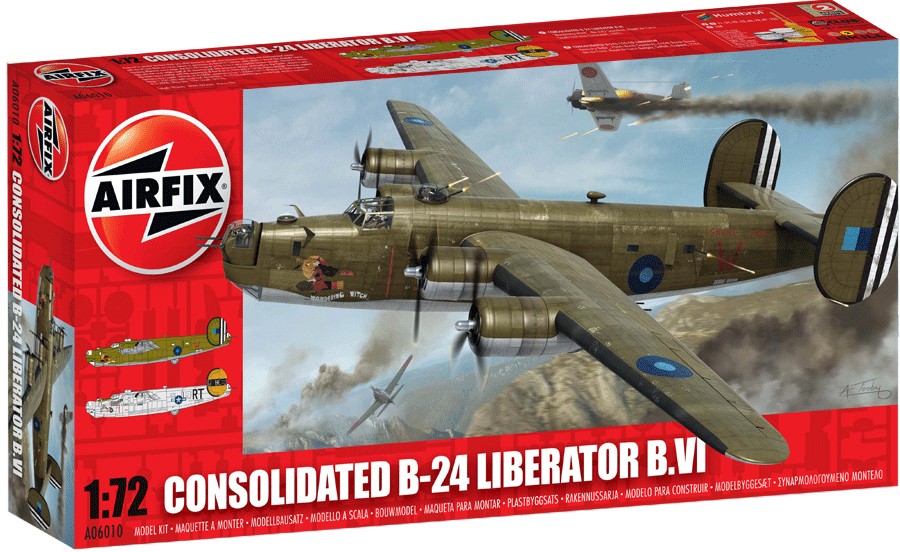
The box looked big enough to inspire confidence and the box art is impressive…
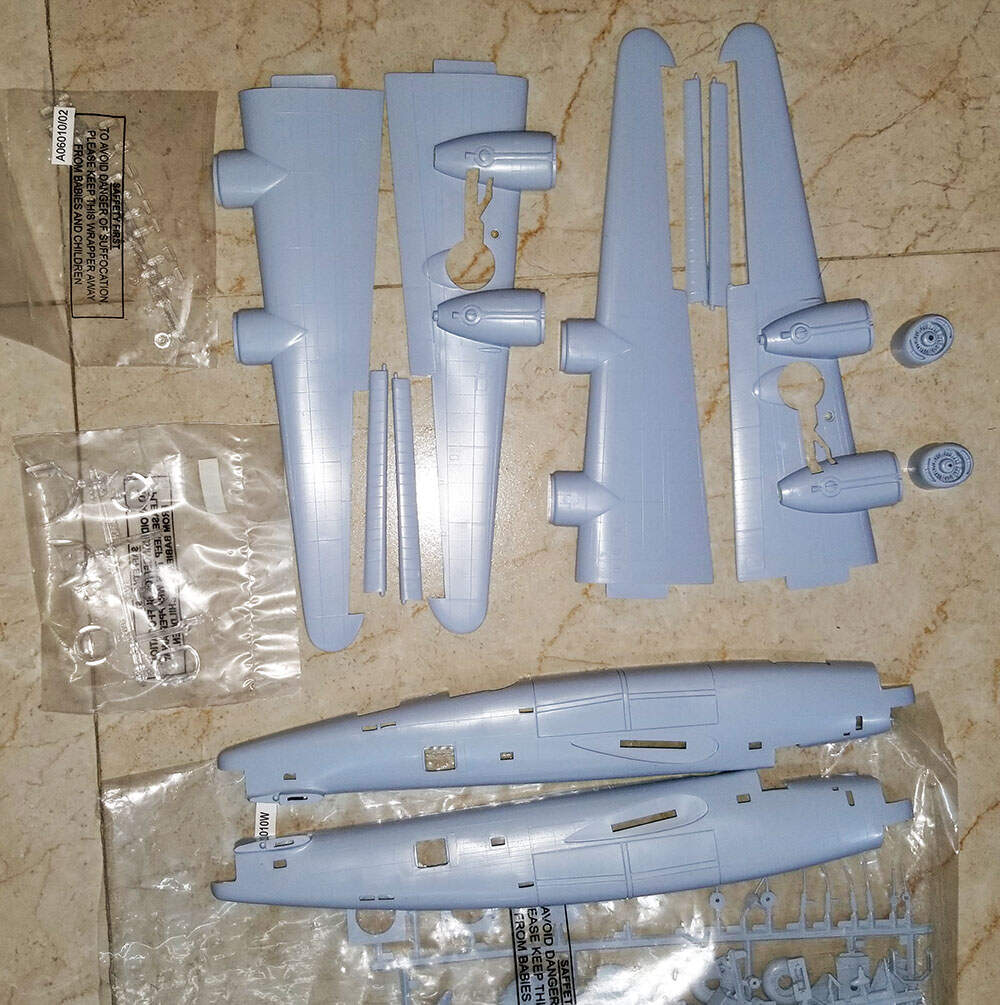
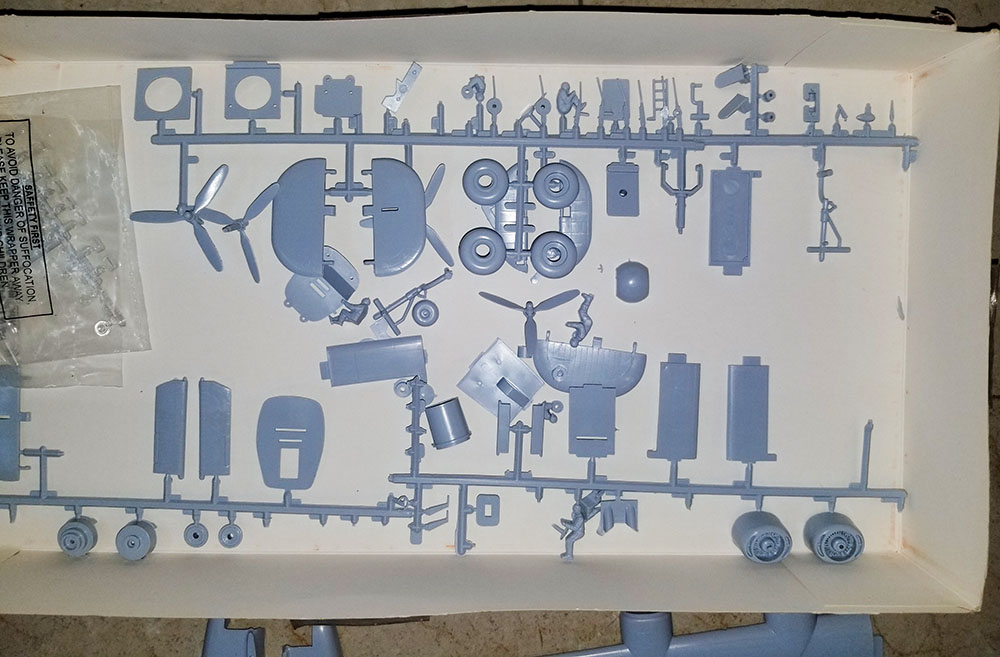
I have seen a fair deal of ejector pin marks. But these are the other side… The ejector pins are supposed to be the other side… And look at the connection point…
I wanted to build the plane on the tarmac after looking at the crew figures. Until I saw the nose wheels. I am supposed to learn more about tail sitter and weighing down the model etc in this build…
Probably not the best option for your first aircraft in general and also the mold design is 6 yrs older then you. Airfix got cheeky with with new box art for the new and old kits. A single engine prop aircraft WW2 or later would probably be easier to get the feet wet.
Tail sitting is basically the weight of the plastic is more in the tail section then the nose. The rear wheels will be touching the ground and so will the tail. Adding weight in front of the main wheels will help to balance that out. The ladder deployed can help but some lead, steel balls, nuts etc in the nose hidden better parts 24 and 29. Test fitting the fuselage halves together with the cockpit installed should help you get a sense of the balance when holding with your fingers at the bomb bay doors. A forward tilt is what you want. The fear some have is adding too much and at some point the nose gear collapses.
Thanks for the heads-up @Tank_1812 I realized that I am in for heart pain the moment I opened the box. Some of the build logs and reviews proved that I am not alone. But decided to go ahead… I believe in all the good folks here for support
Go for it!
It’s not a great kit at all, but you’ll learn a lot from it. Filling and sanding gaps, rescribing and dealing with annoying ejector pin marks especially.
There are some nice points about it though. The engines, while moulded in the cowl, look quite nice and Airfix did get the rivets quite fine. Don’t be too hasty to sand those off. WW2 bombers were covered with them! Take a look at this walk around.
The decals are also quite good in this issue. I bought one very cheaply just for the the RAF South East Asia markings. This is probably the easier to finish as the natural metal option is going to need very smooth and polished plastic. Otherwise any scratch or blemish will show through the aluminium paint.
Good luck with it.
Mukund, you are going old school from the start with an old classic kit.
It will be a good experience and you do not need to worry too much about ruining a 80 USD kit on your first try on aircraft models.
Looking forward to see more as your build progresses.
Mukund, you’ve fallen victim to what so many of us have over the years: shiny new box with lovely artwork, but upon opening, the contents reveal themselves to be less than what was promised on the outside…
For a new tool kit, you could try Airfix’s B-25 Mitchell? Similar style of plane, but tooled recently, 2018…
Either way I wish you luck on your adventure into AC modelling…
PS. If you’re ever unsure of the vintage of a kit, Scalemates is a handy data base to search with all the info about said kit
I built this back when I was a kid and had a ball; it had great play value as it had so many moving bits, not just the props and turrets but also ailerons, elevators and rudders. At this remove I can’t be sure, but I seem to recall you could get the undercarriage to retract (getting it back down was a bit of a b-gg-r). So while it might not be anything like what a scale modeller would expect today you would have loved it four decades ago. I’d say don’t break your heart trying to make a silk purse out of this sow’s ear, just build it OOB and enjoy it for what it is. Then save up for one of Airfix’s new tool bombers, maybe a twin like a Heinkel 111 or Dornier 17z where there’s opportunity to appreciate at least some of the internal detail that now comes as standard.
But please be sure to get the new tooling, until fairly recently Airfix were still re-boxing mouldings as old as your Liberator of this (and the Dornier), there may still be some out there. A recent re-issue of the new Blenheim IV even has the same markings as the original issue of it’s geriatric forebear! A Blenheim I or the new Beaufort would be a safe bet as I can’t recall Airfix having kitted them before (I think FROG got there first).
Thank you @phantom_phanatic
When I saw the box art of this kit It reminded me of a very old documentary (I am not even sure if that was of B-24…). The documentary was showing distribution of food, medicine and weapons and they were ferried using bullock carts from the aircraft… The photographer captured the mood shiny plane, Bullock carts, few smartly dressed officers and lots of not so well dressed workers milling about…
I chose this kit as my first aircraft based on that memory
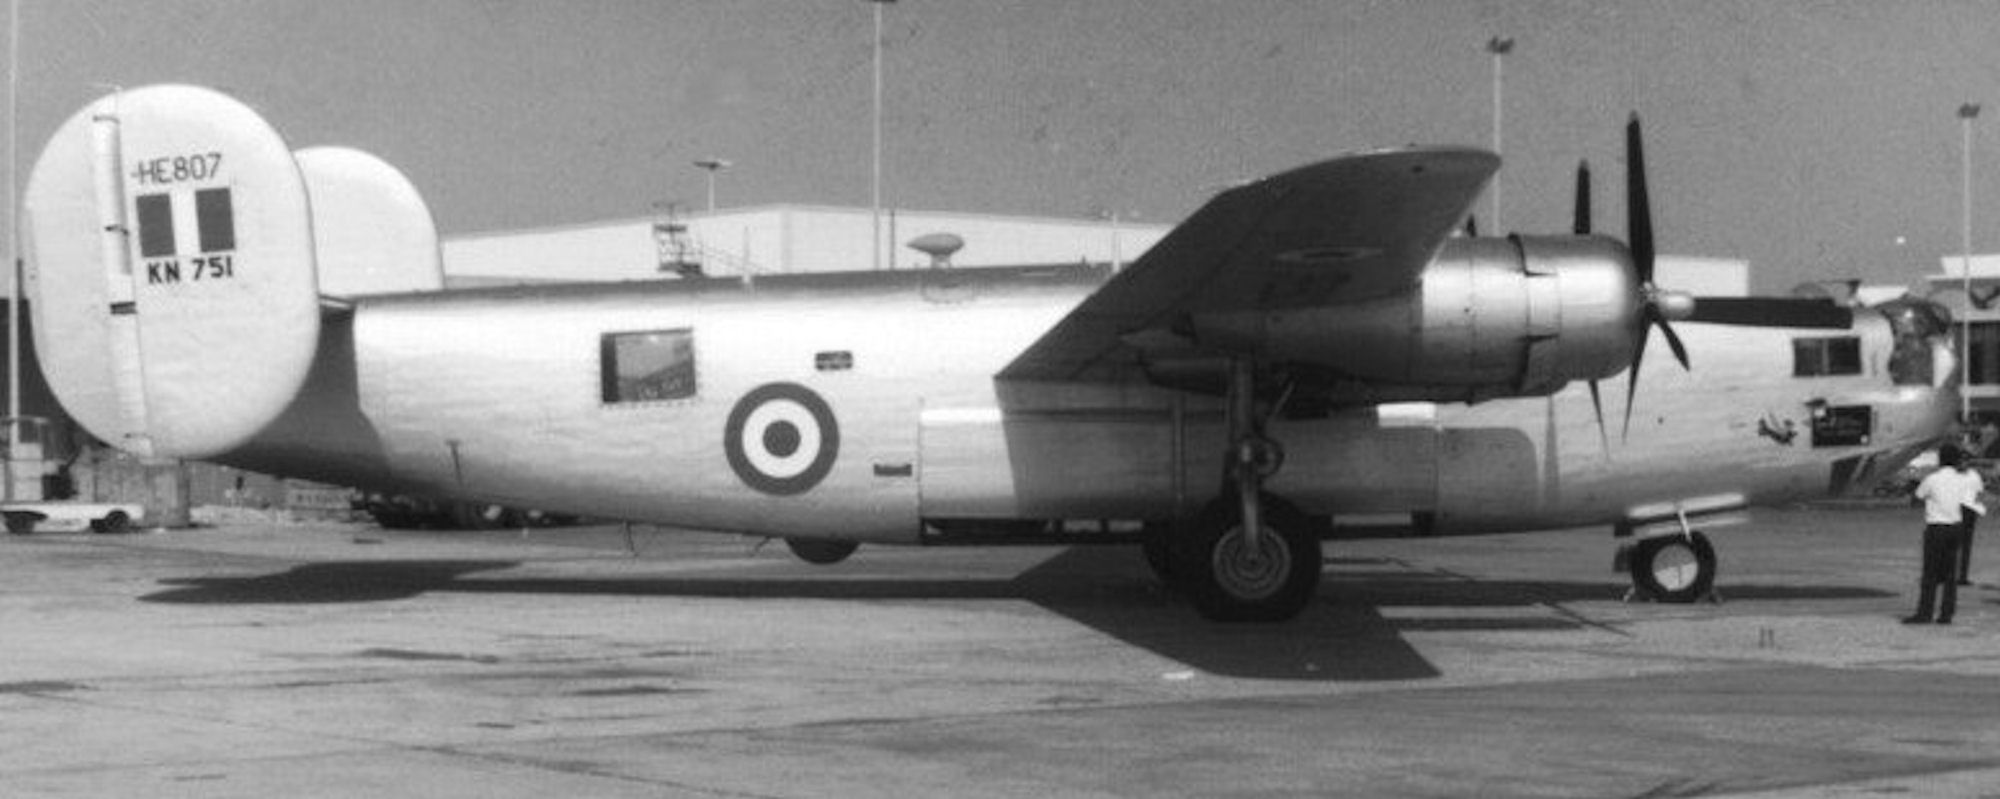
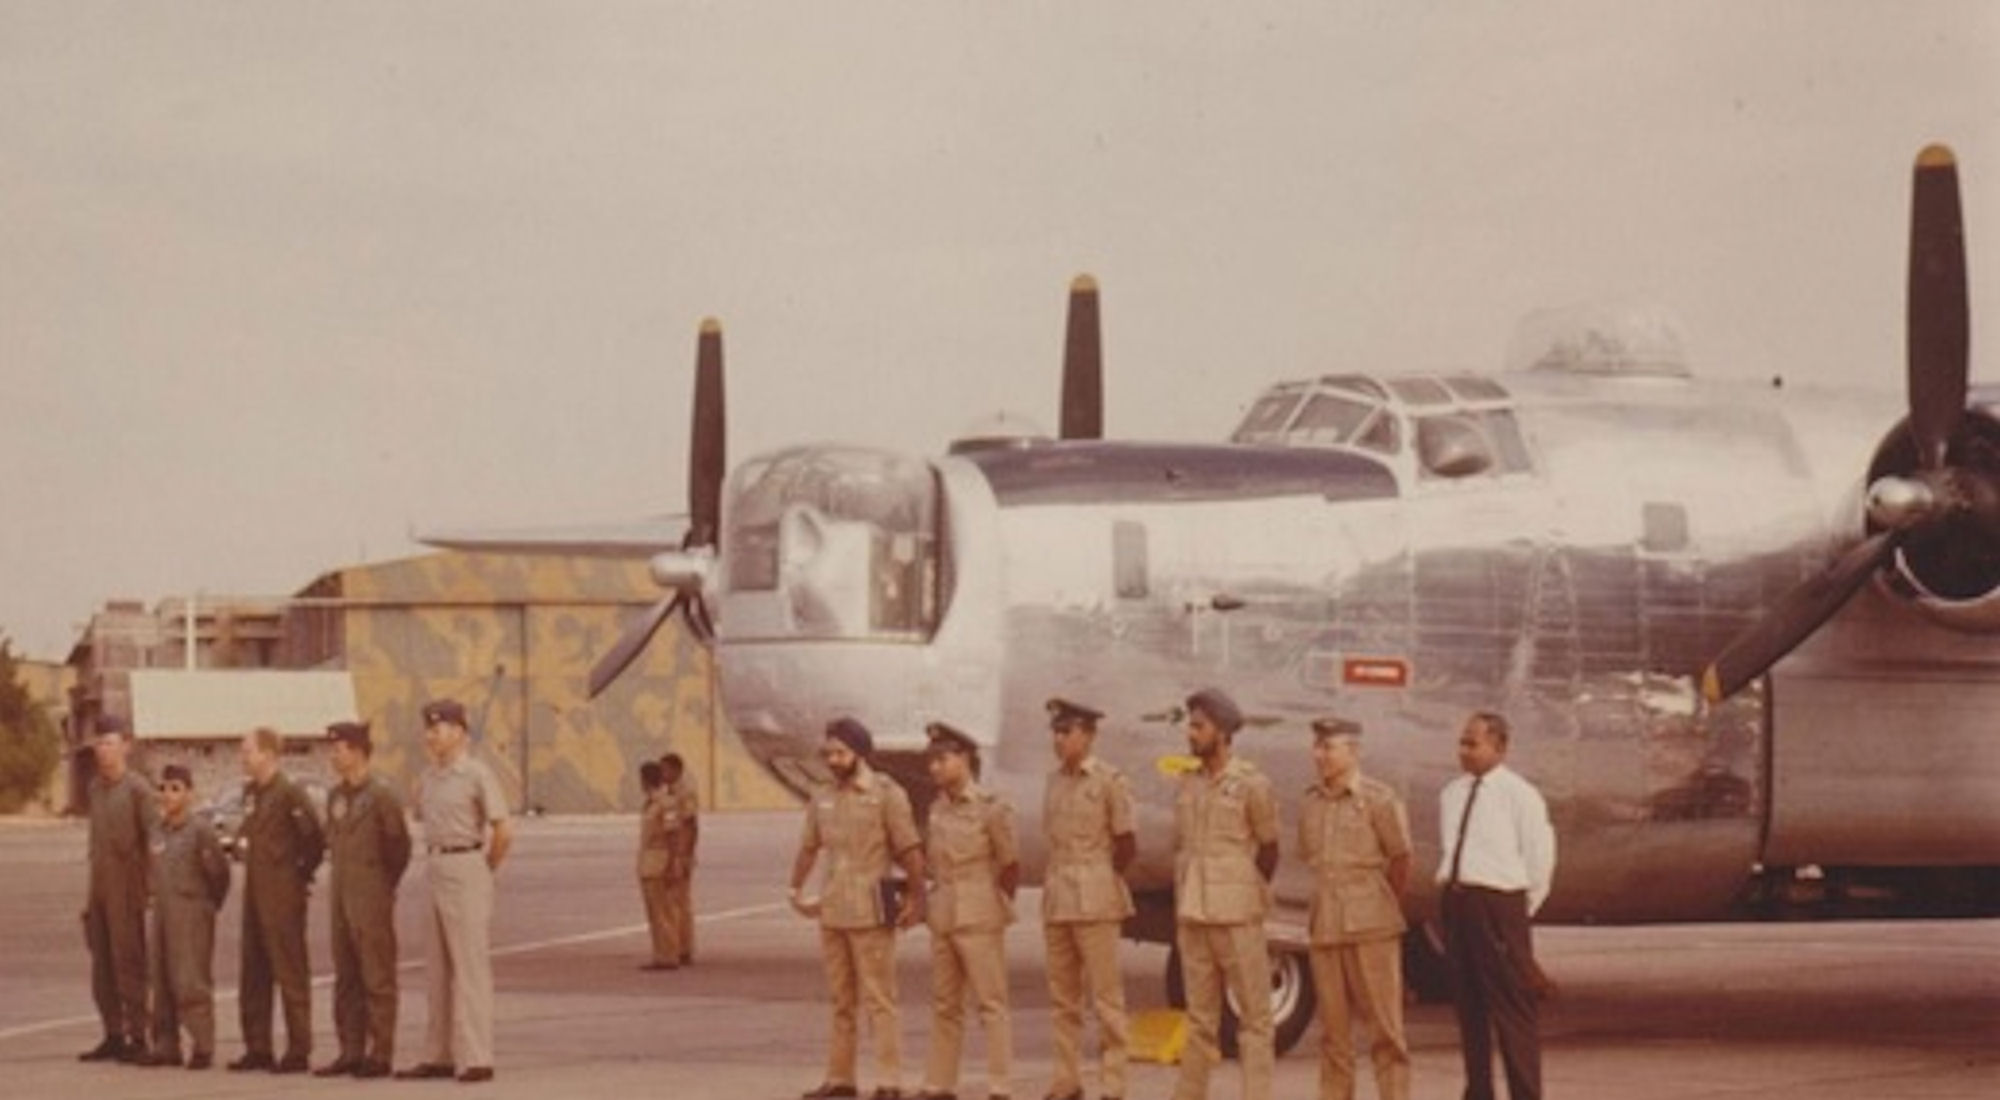
Towards the end of the war RAF had a big presence of B-24 in India. When the British left India, quite a few of them were left/ abandoned it seems. I managed get a few pics for reference but not very clear ones…Most were the shiny silvery/ aluminum finish. I will learn that finish also with this build…
Thanks again for the walk around link. ill be very helpful
You are right @SGTJKJ
I have very few kits and there is no easy way buying kits in India. I would be really sorry If I ruin something which is expensive… I have saved a few kits for later builds… after I get a hang of the AC build processes. Unlike armor planes come with some unique challenges…I have started the cleaning and gluing few bits and pieces of this kit… My respect is growing to those AC modelers who deliver spectacular finish from seemingly average kit. Hats of to those gurus…
Happy to help.
The museum at RAF Cosford, not far from I live, used to have an ex-Indian B-24, that had been left by the RAF. It was donated and flown over to the museum by the IAF sometime in the 70’s or early 80’s. I believe it may have been one of the last operational flights of a B-24.
It’s since been moved to the museum at Hendon, so it’s been a few years since I’ve seen it, but it was in natural metal and RAF SEAC markings.
I seem to recall the IAF used for them for quite a while as bombers and then maritime patrol. It was a tough old aeroplane!
Thank you @phil2015 Wish we have all that space currently being taken over by you-know-who… I managed to reclaim a section of the showcase for my armor builds… I cant wait when I start encroaching with these 1/48s …
Good childhood memories to cherish there @MoramarthT Those 10% reality and 90% wonderful dreams were the golden period for anyone.
I am planning to do exactly what you suggested… Build OOB, learn, enjoy the build and not to worry about anything …
I should do a bit more research before I make any other purchases I think. I was out of modelling for some time so In an effort to get back in, I might have made some hasty purchases… I have few more AC kits I bought just based on the artwork on the box I will tackle them one at a time later. I hope this particular kit will be toughest one to deal… Thanks for the heads-up on the re-boxing scenarios… will have look out on those…
I am thinking of trying to get the aluminum finish … Probably I need to learn to create my custom decals also I think… This is sure to be an exciting build experience or a big heart pain… what ever it may be I am attempting this
This is a classic old kit aircraft. It will be a great starter kit. There are no expectations that you will screw up an expensive new high tech kit. It will provide enough challenges because of modern build expectations. You can massage the kit to your hearts desire or complete as is.You will discover the problems with large seams and figure out how to rescribe what was lost. Building an aircaft is in a different sequence than an armor kit. The cockpit and interior are completed first then the fuselage. Then comes all the seam repair without messing up the interior. And the game is afoot!
@TopSmith Thank you for the input. As you mentioned, I should only concentrate on the learning the steps and try to address the issues as my skill permits… Not going to worry too much on the accuracy aspect of it for this build.
@Russelle Hope we will get some quality offering from the model makers soon… One thing is certain, I will not get swayed because of the box art any more
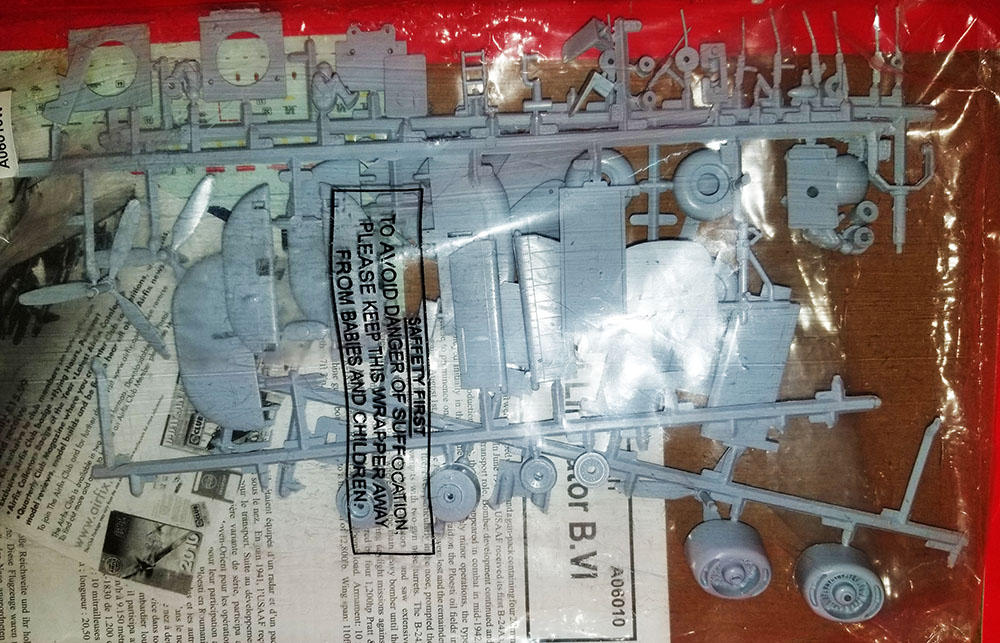
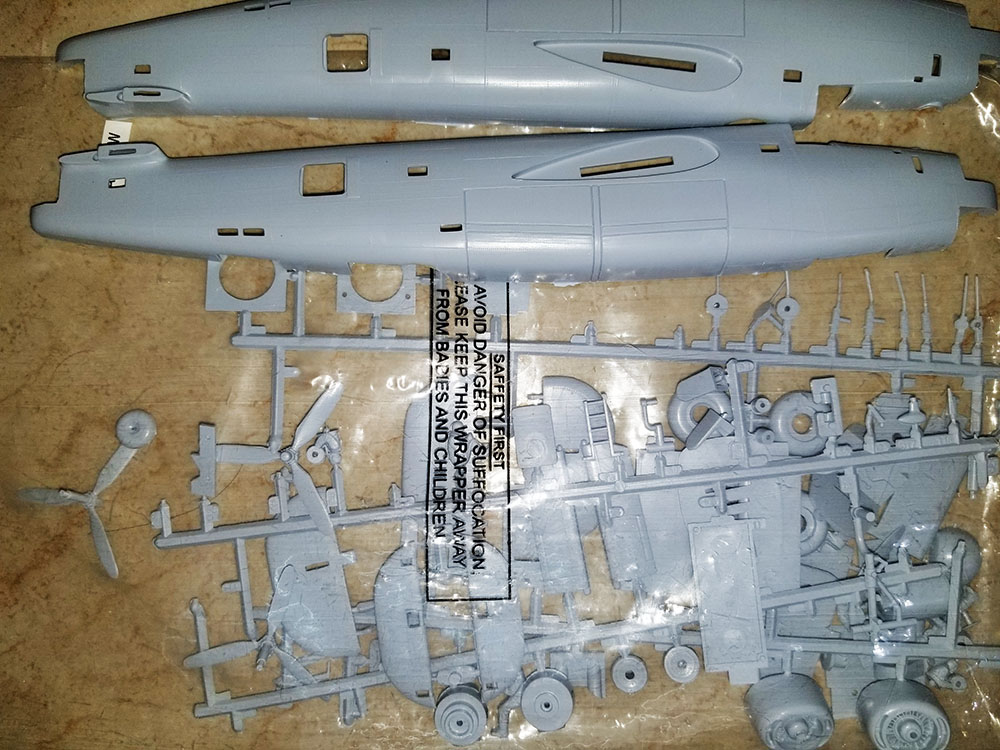
A small progress on the build… I have started checking the parts with the instructions. Since many of the parts were no longer attached to sprue, Have to compare the drawings and the part to identify. Started cleaning up few bits and pieces…
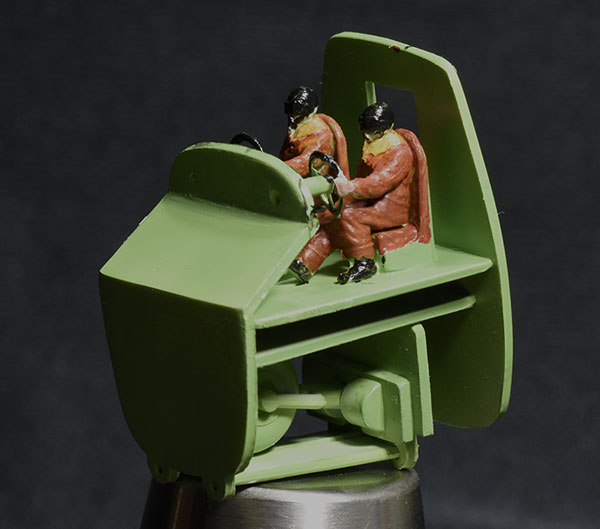
Followed the instructions and finished the cockpit area… Nothing much to talk about. Some of the pictures taken to check …
Most of the crew has been molded with Oxygen mask? I think… I am planning to pose it on the ground. Even though the wheel well has nothing to show as details. How relevant to pose the crew with Oxygen mask on the tarmac… I do not know.
The clear parts are thick and has some sort of molded circle …Sanding it might not be possible because it is inside, bang at the middle…So nothing will be visible of the crews I think…
Most of the crew with mask reminds me of this guy…
I might have some trouble to convince the front nose wheel to take the weight of the plane once completed. Need to find a way to keep the wheels down and add some stiffeners to support the weight. Now the wheel is workable
Thanks for watching. Any pointers on the next steps and what not to do, is welcome… Following the instructions may not be a wise decision I think…
I am looking for ways to dropping-in and fixing the top turret gun after gluing the fuselage together… Not sure whether this is possible without too much of surgery… While fixing the turret, It might just slide and drop into the cabin (Without proper stopper) which will not be fun…
If you plan to have the plane on the ground, I would just glue the landing gear and doors in the open position. I don’t think it have an issue with staying fixed but if worried, you can add a rod to keep it fixed in the landing gear box.