My two attempts aren’t a patch on your work Michael, you win hands-down both in quality and quantity, .
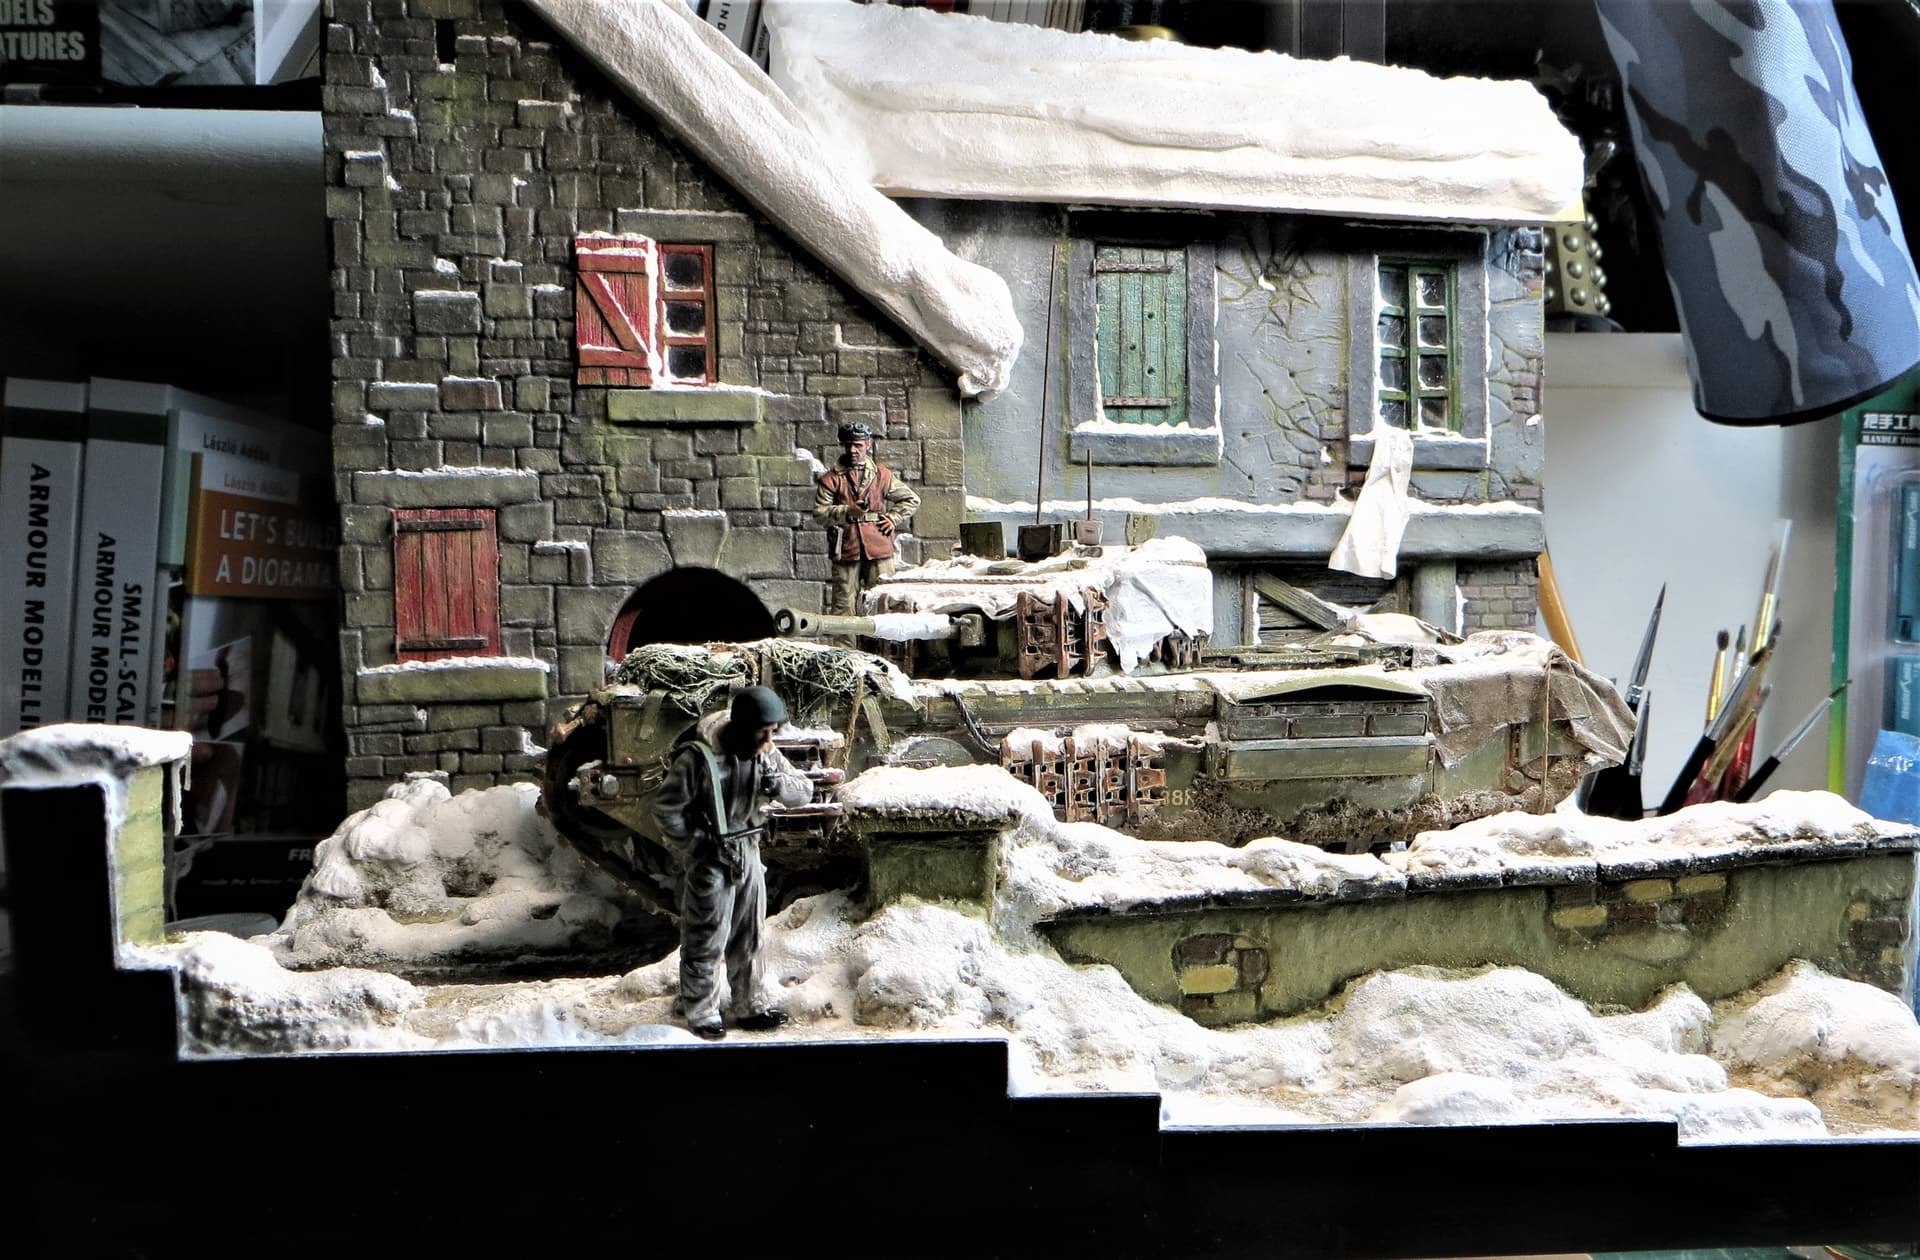
My first few builds (a quantity of 4, if memory serves) when first coming back to the hobby, upon retirement, a few years back, after a 40 year hiatus, were 1/35th, only one of which had a building façade (see image below).
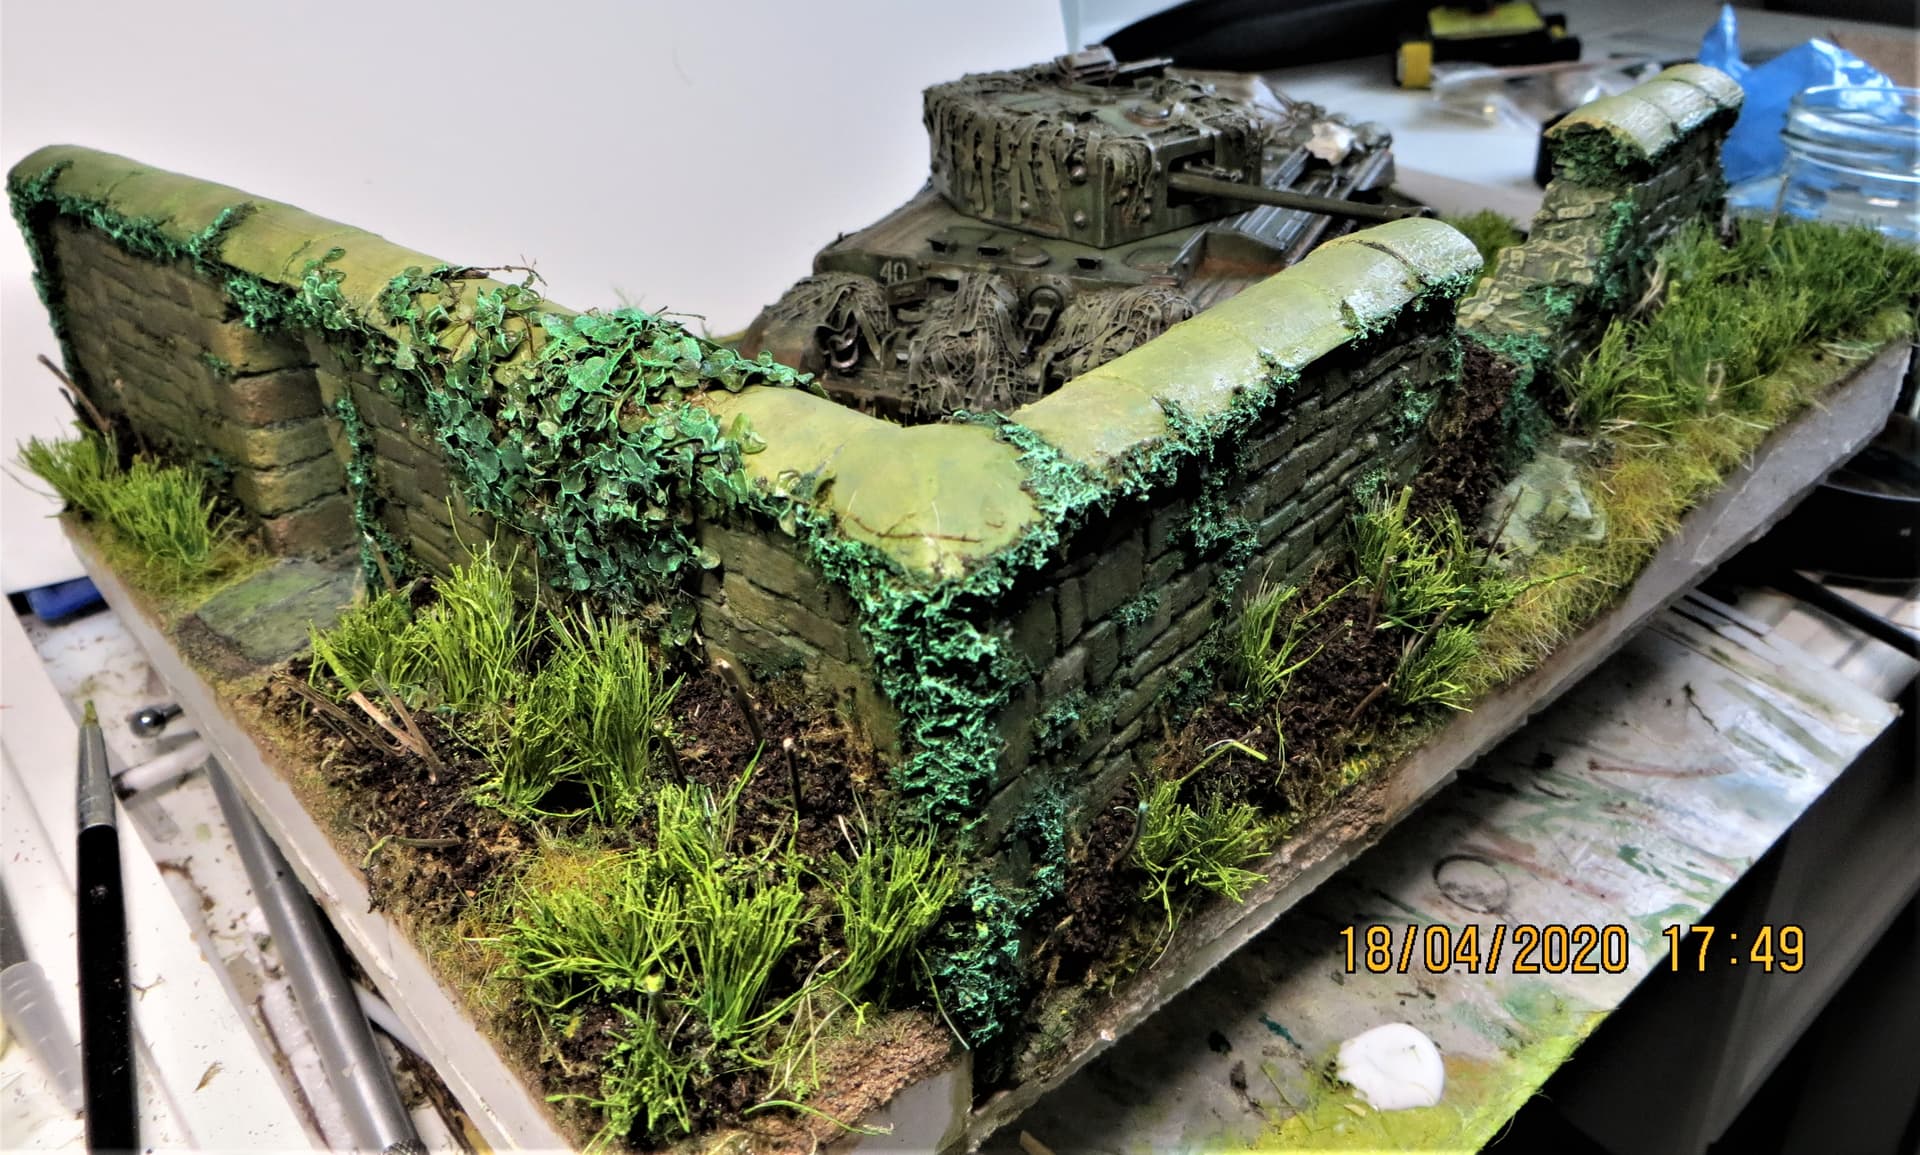
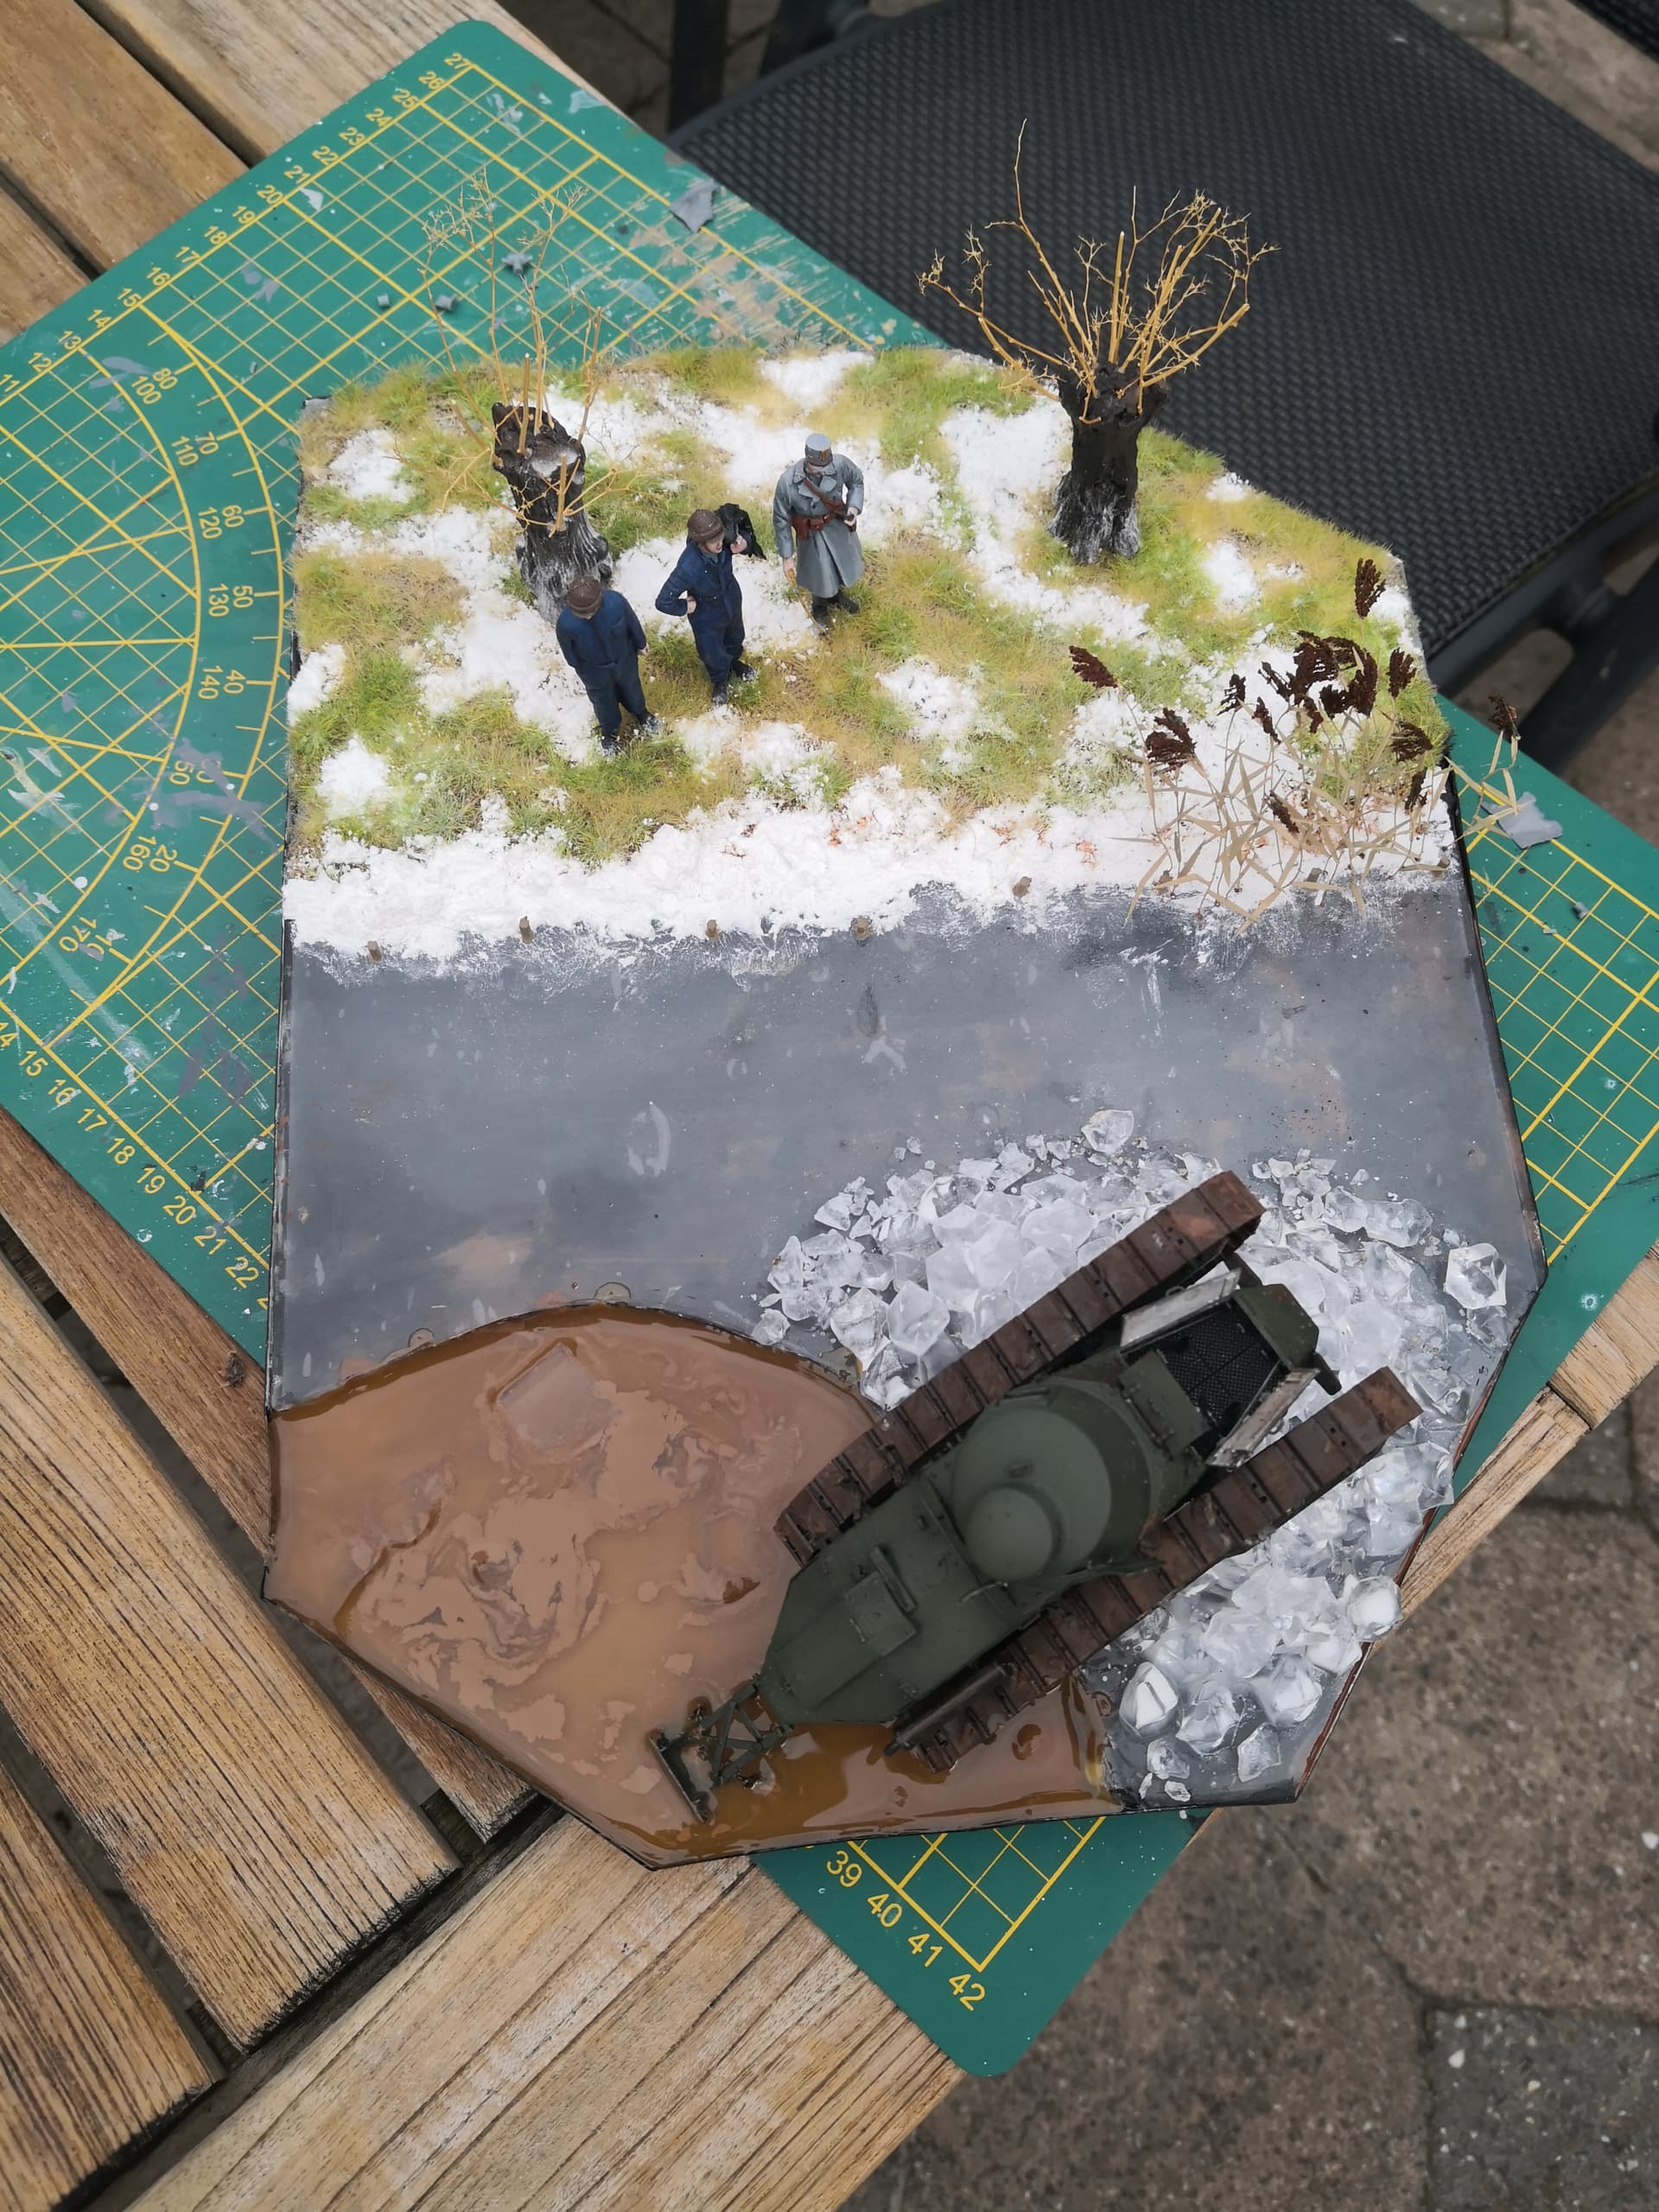
The wall in the first image, and the façade in the second image was made from small bits of card cut to rough stone/brick shapes stuck to thin foamboard, I then covered them with paper soaked in a thin white glue mix. This was tooled around the stone/brick work a type of single skin papier-mâché…if that makes sense?
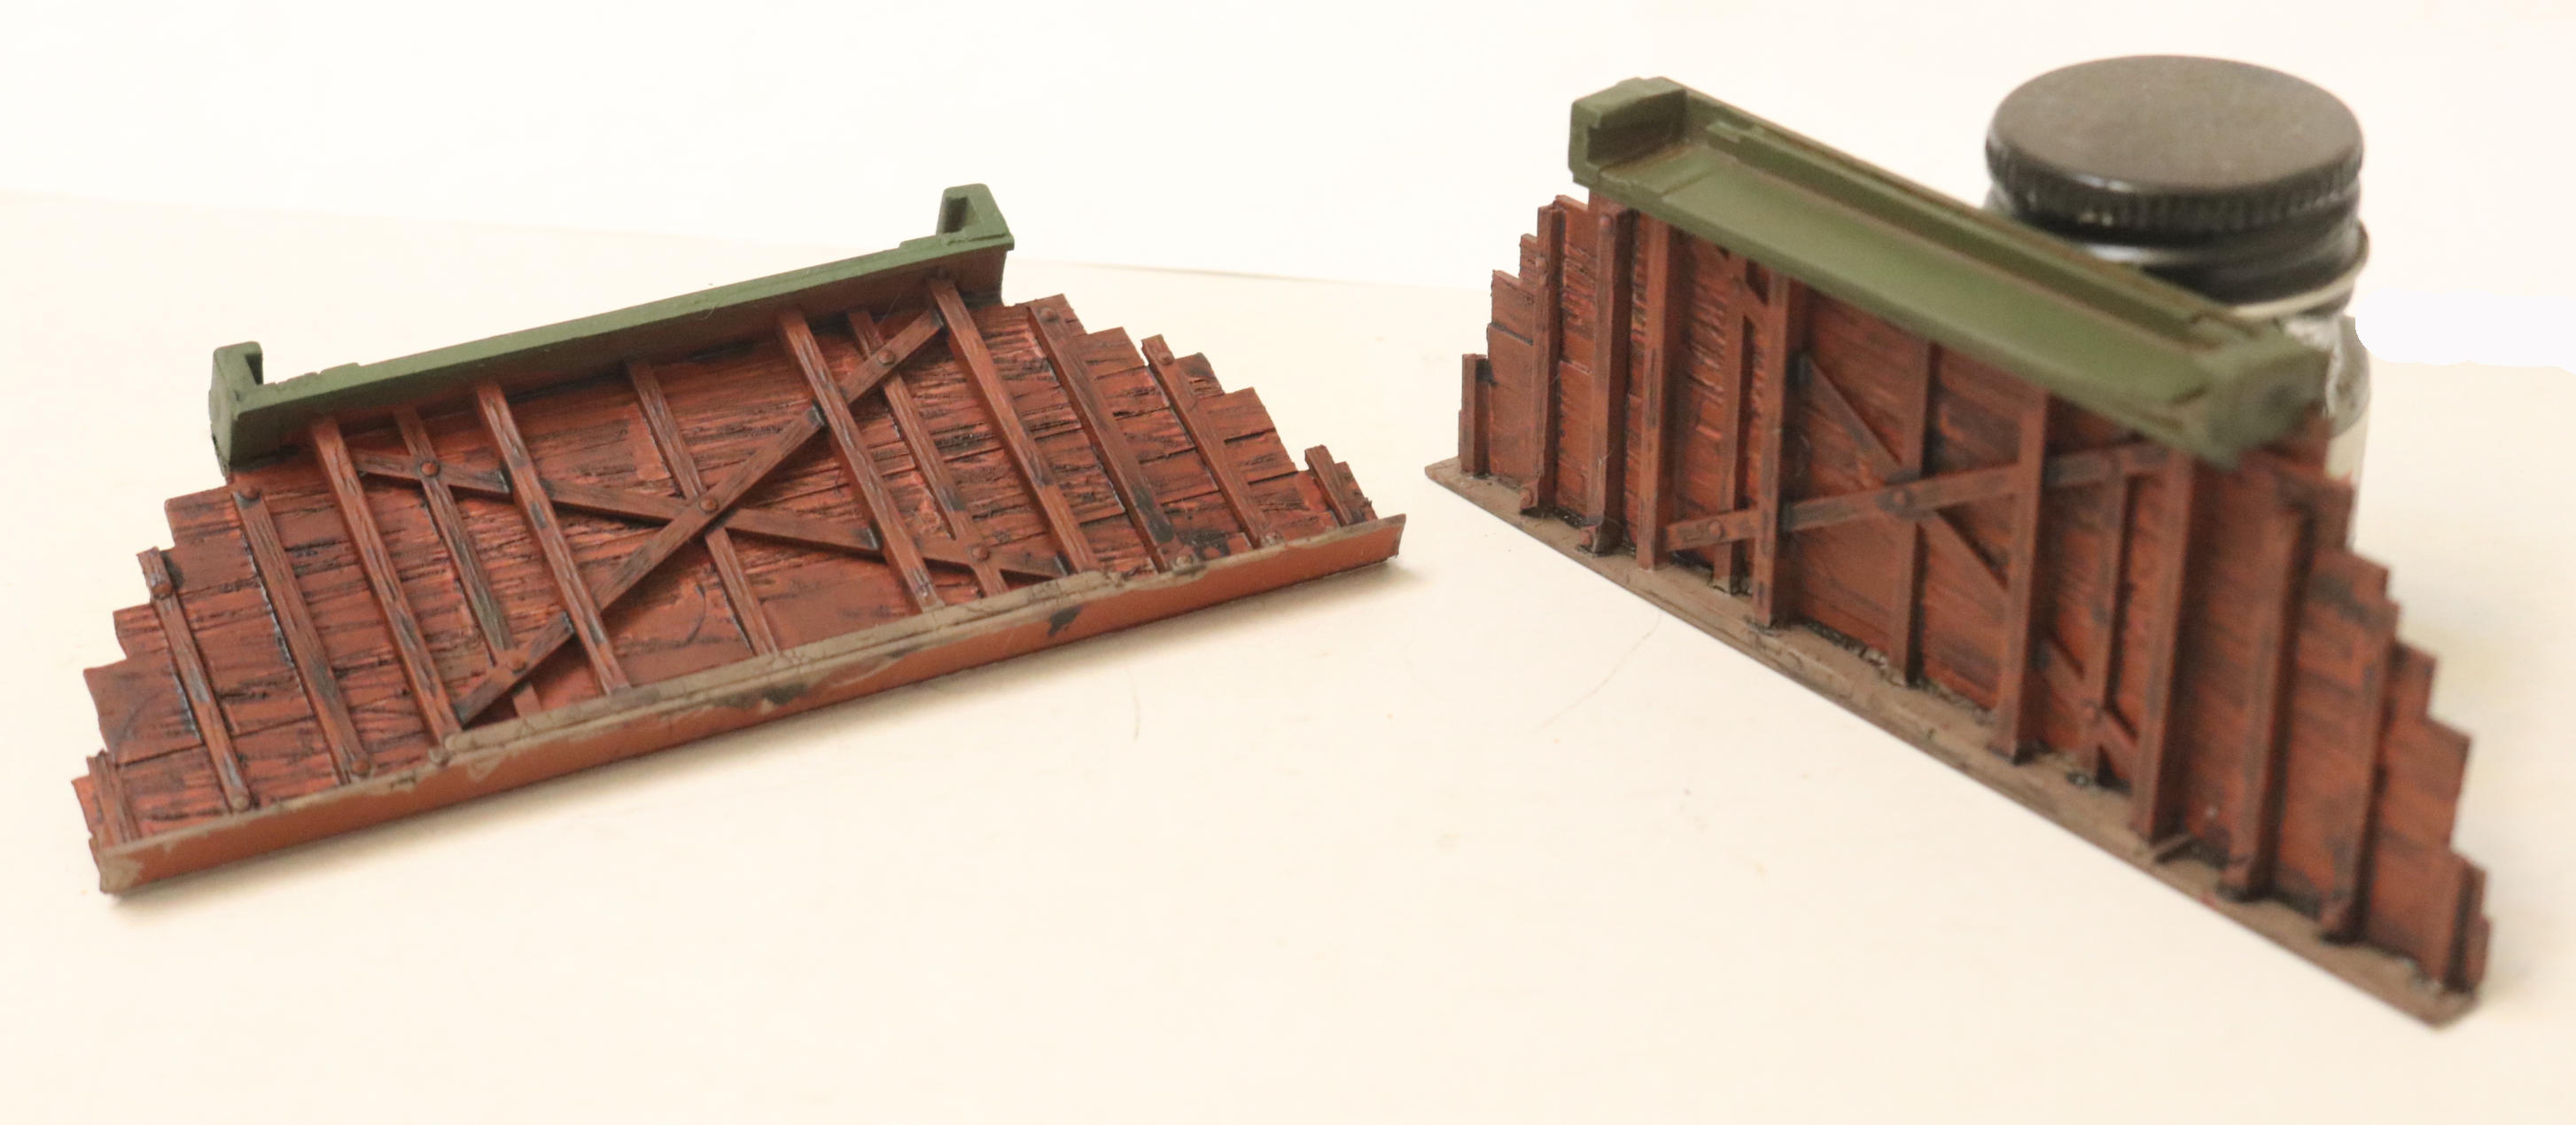
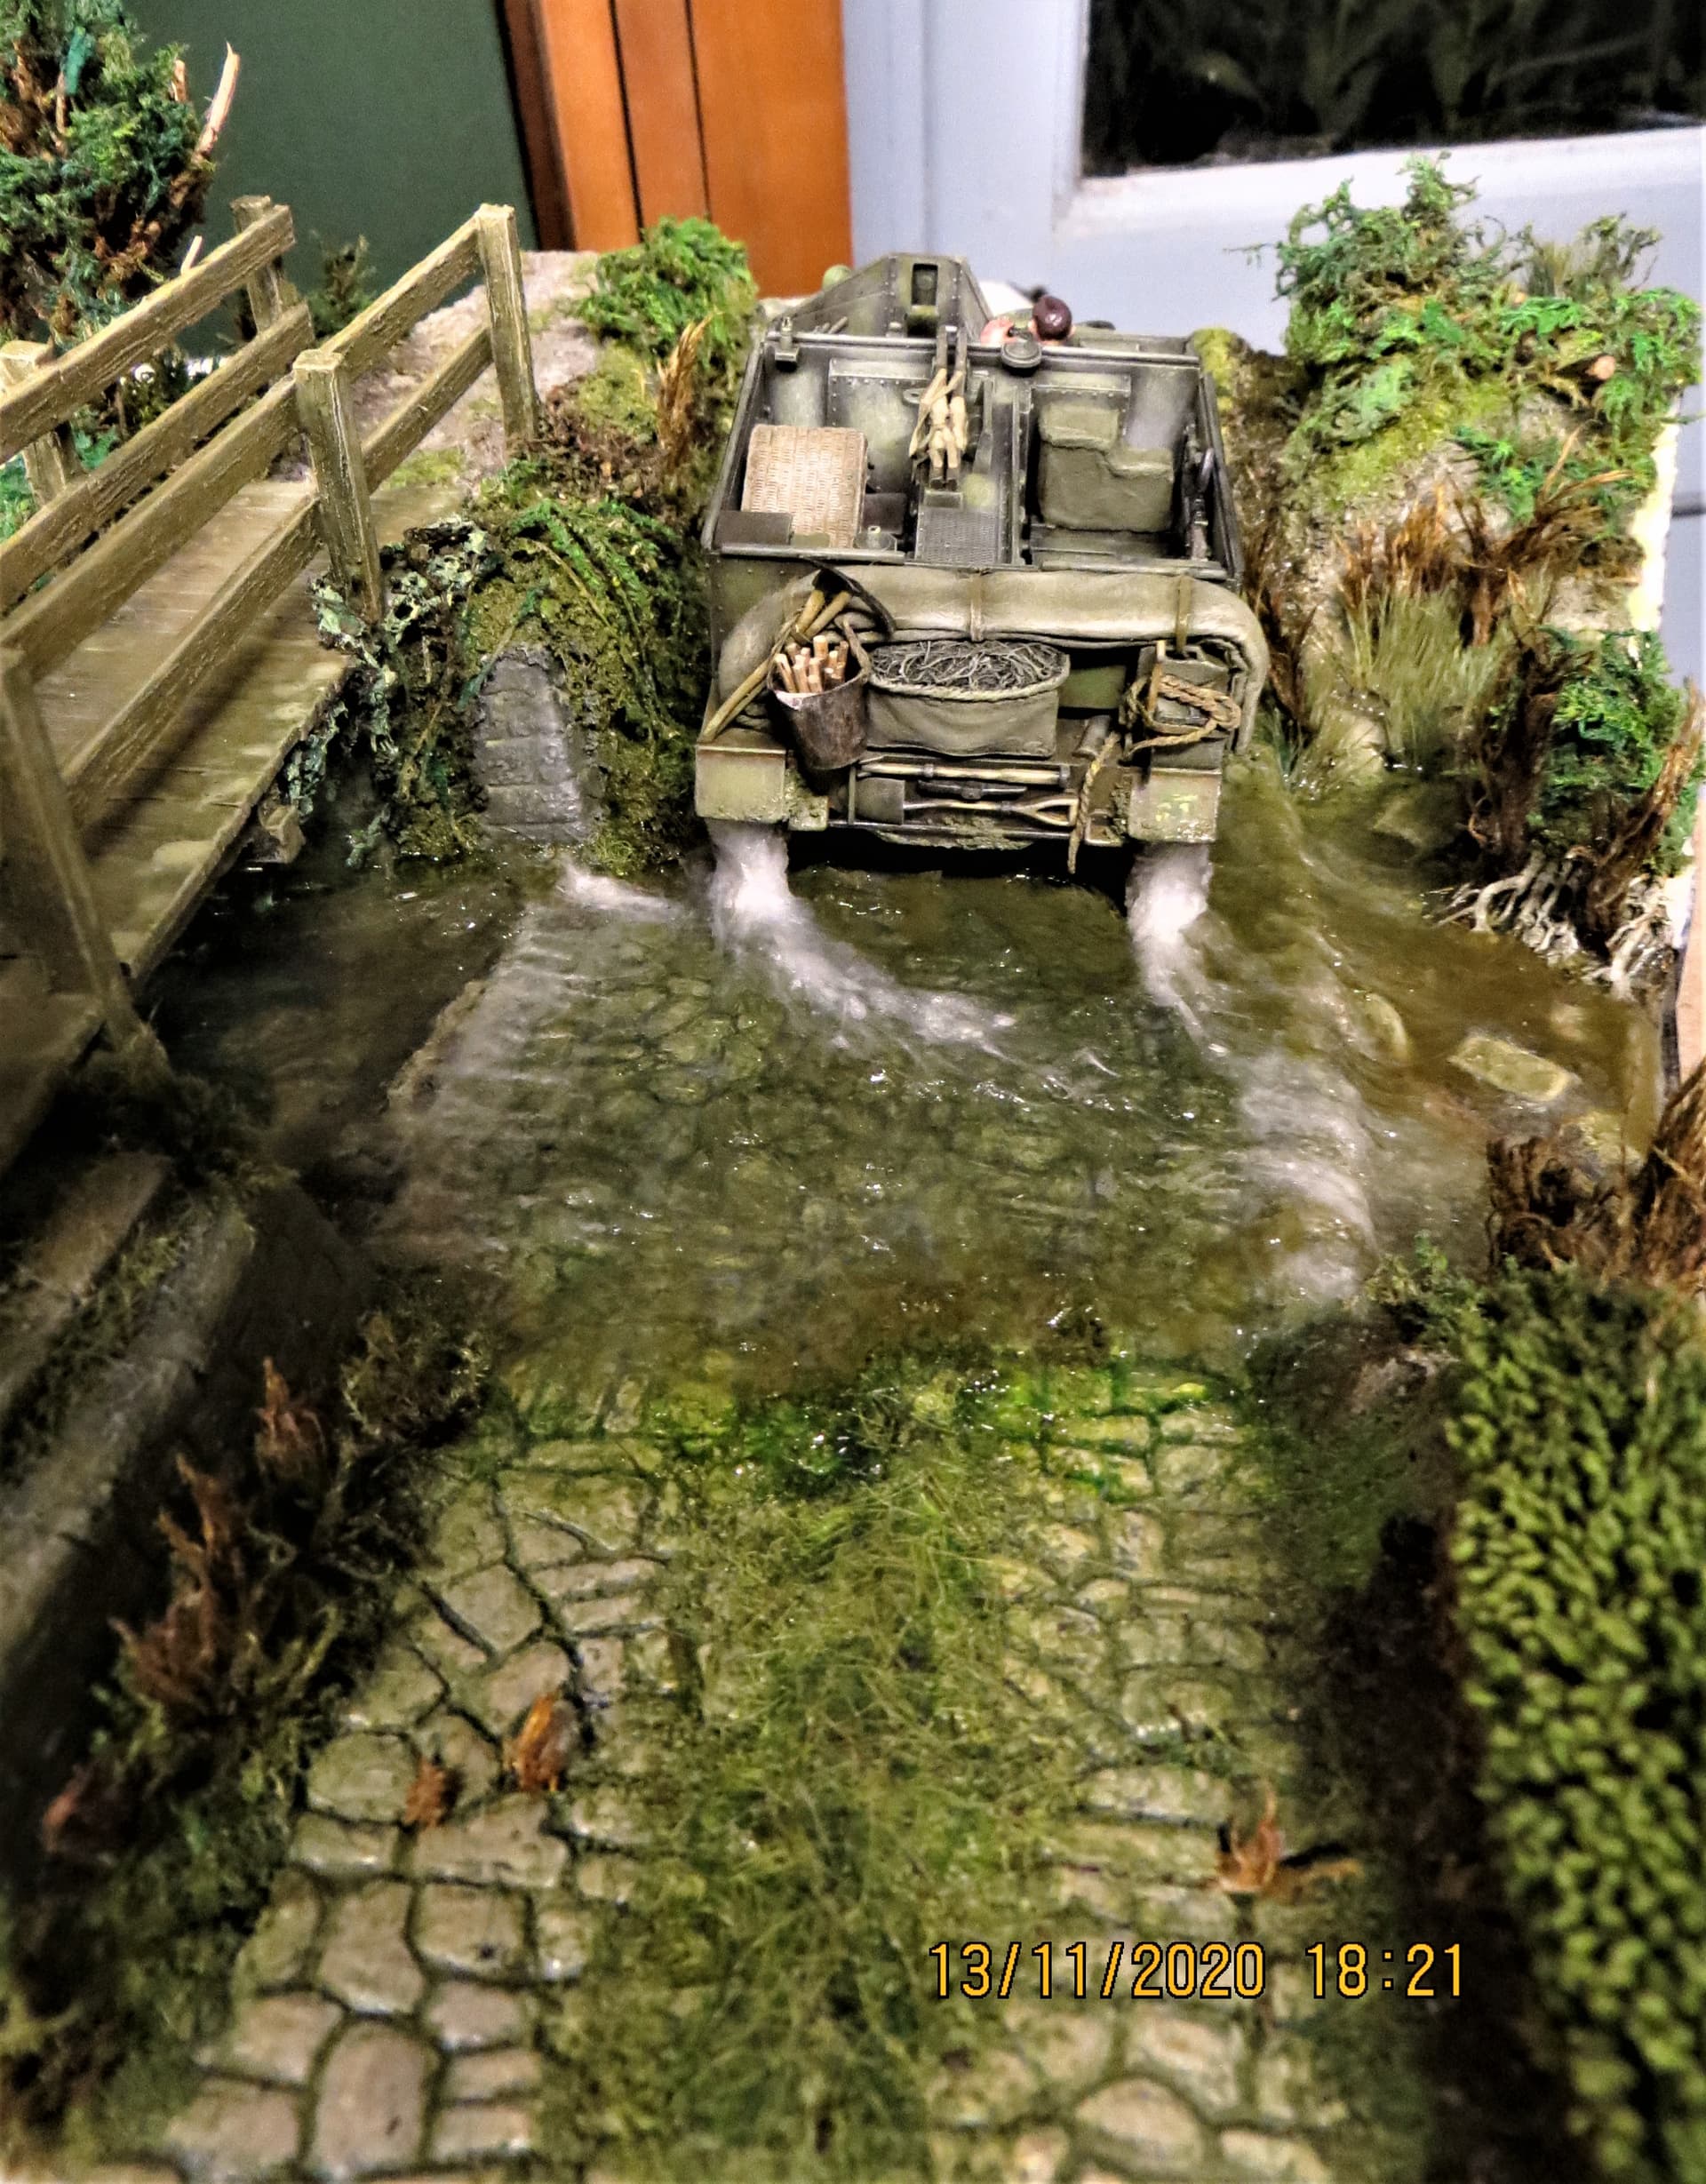
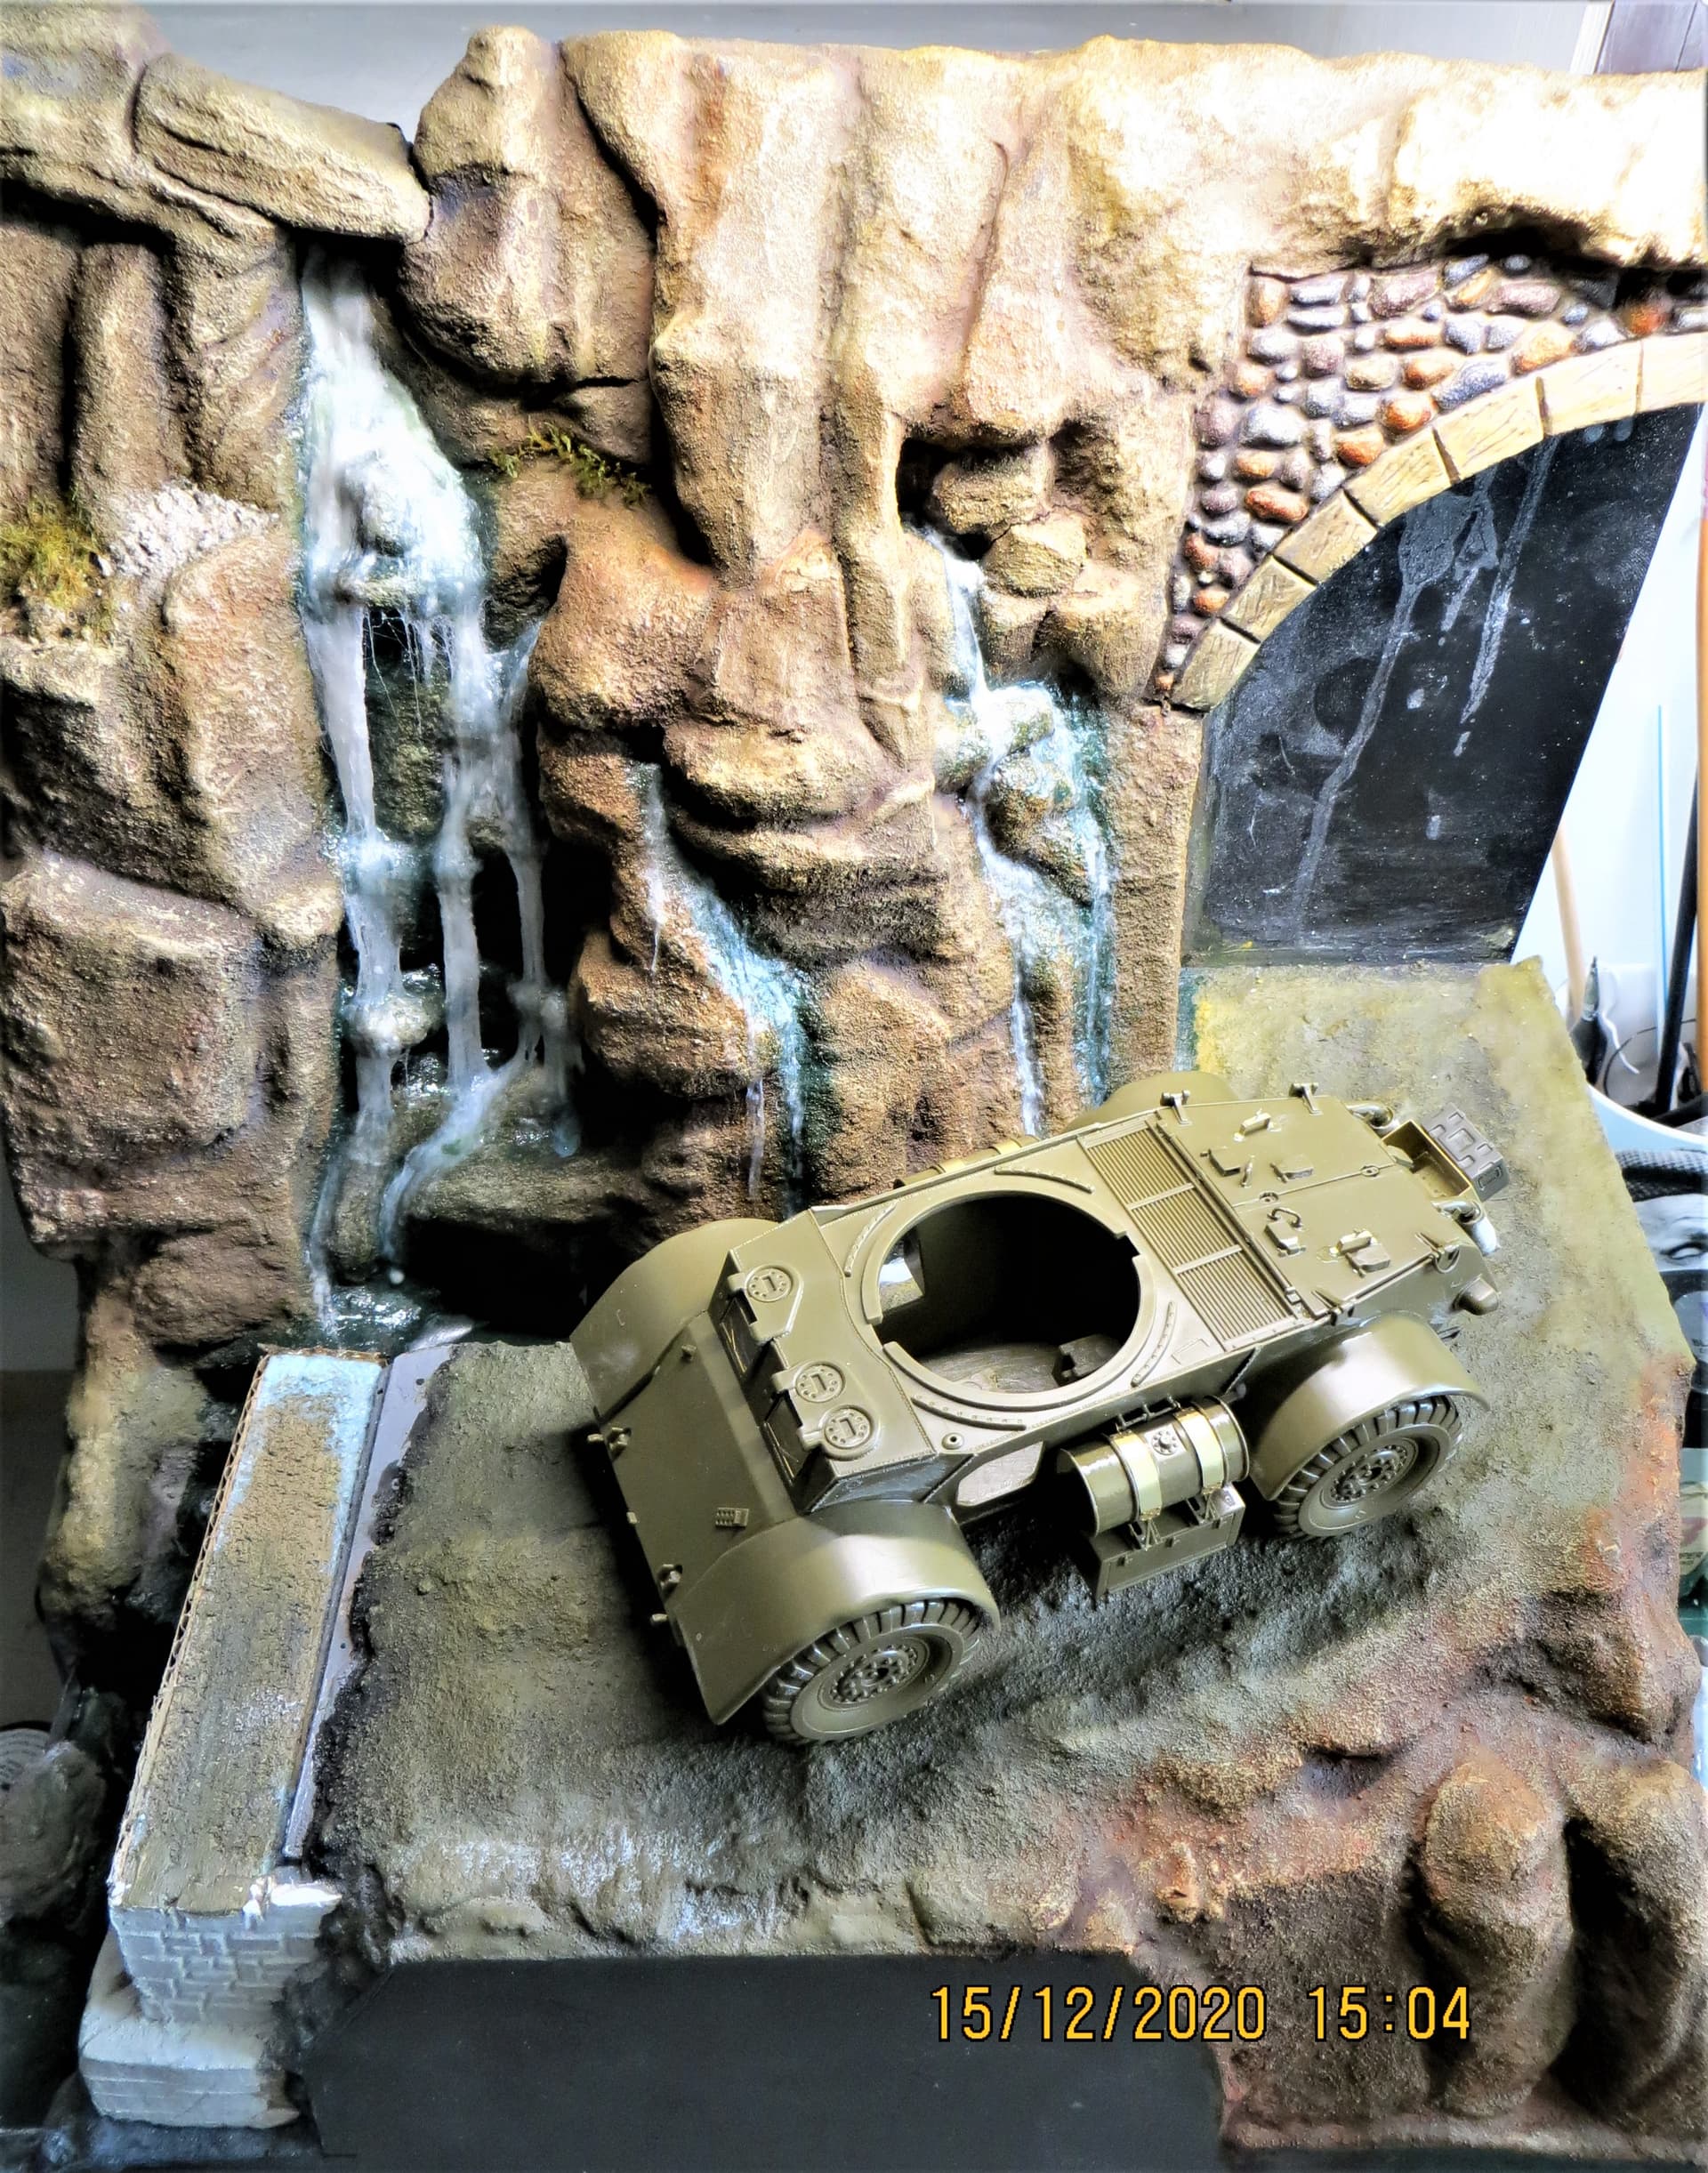
The stonework for the river ford and bridge buttress in the third picture was the first time I used DAS.
None of the four dioramas are yet complete as I always give up on the figure painting…hence the swap to 00 scale, a blob of pink works for hands and face, .
WOW! So your the guy that did that stone river ford next to the bridge! I remember following your S-B-S. I thought the water and subtle coloration was nothing short of amazing.
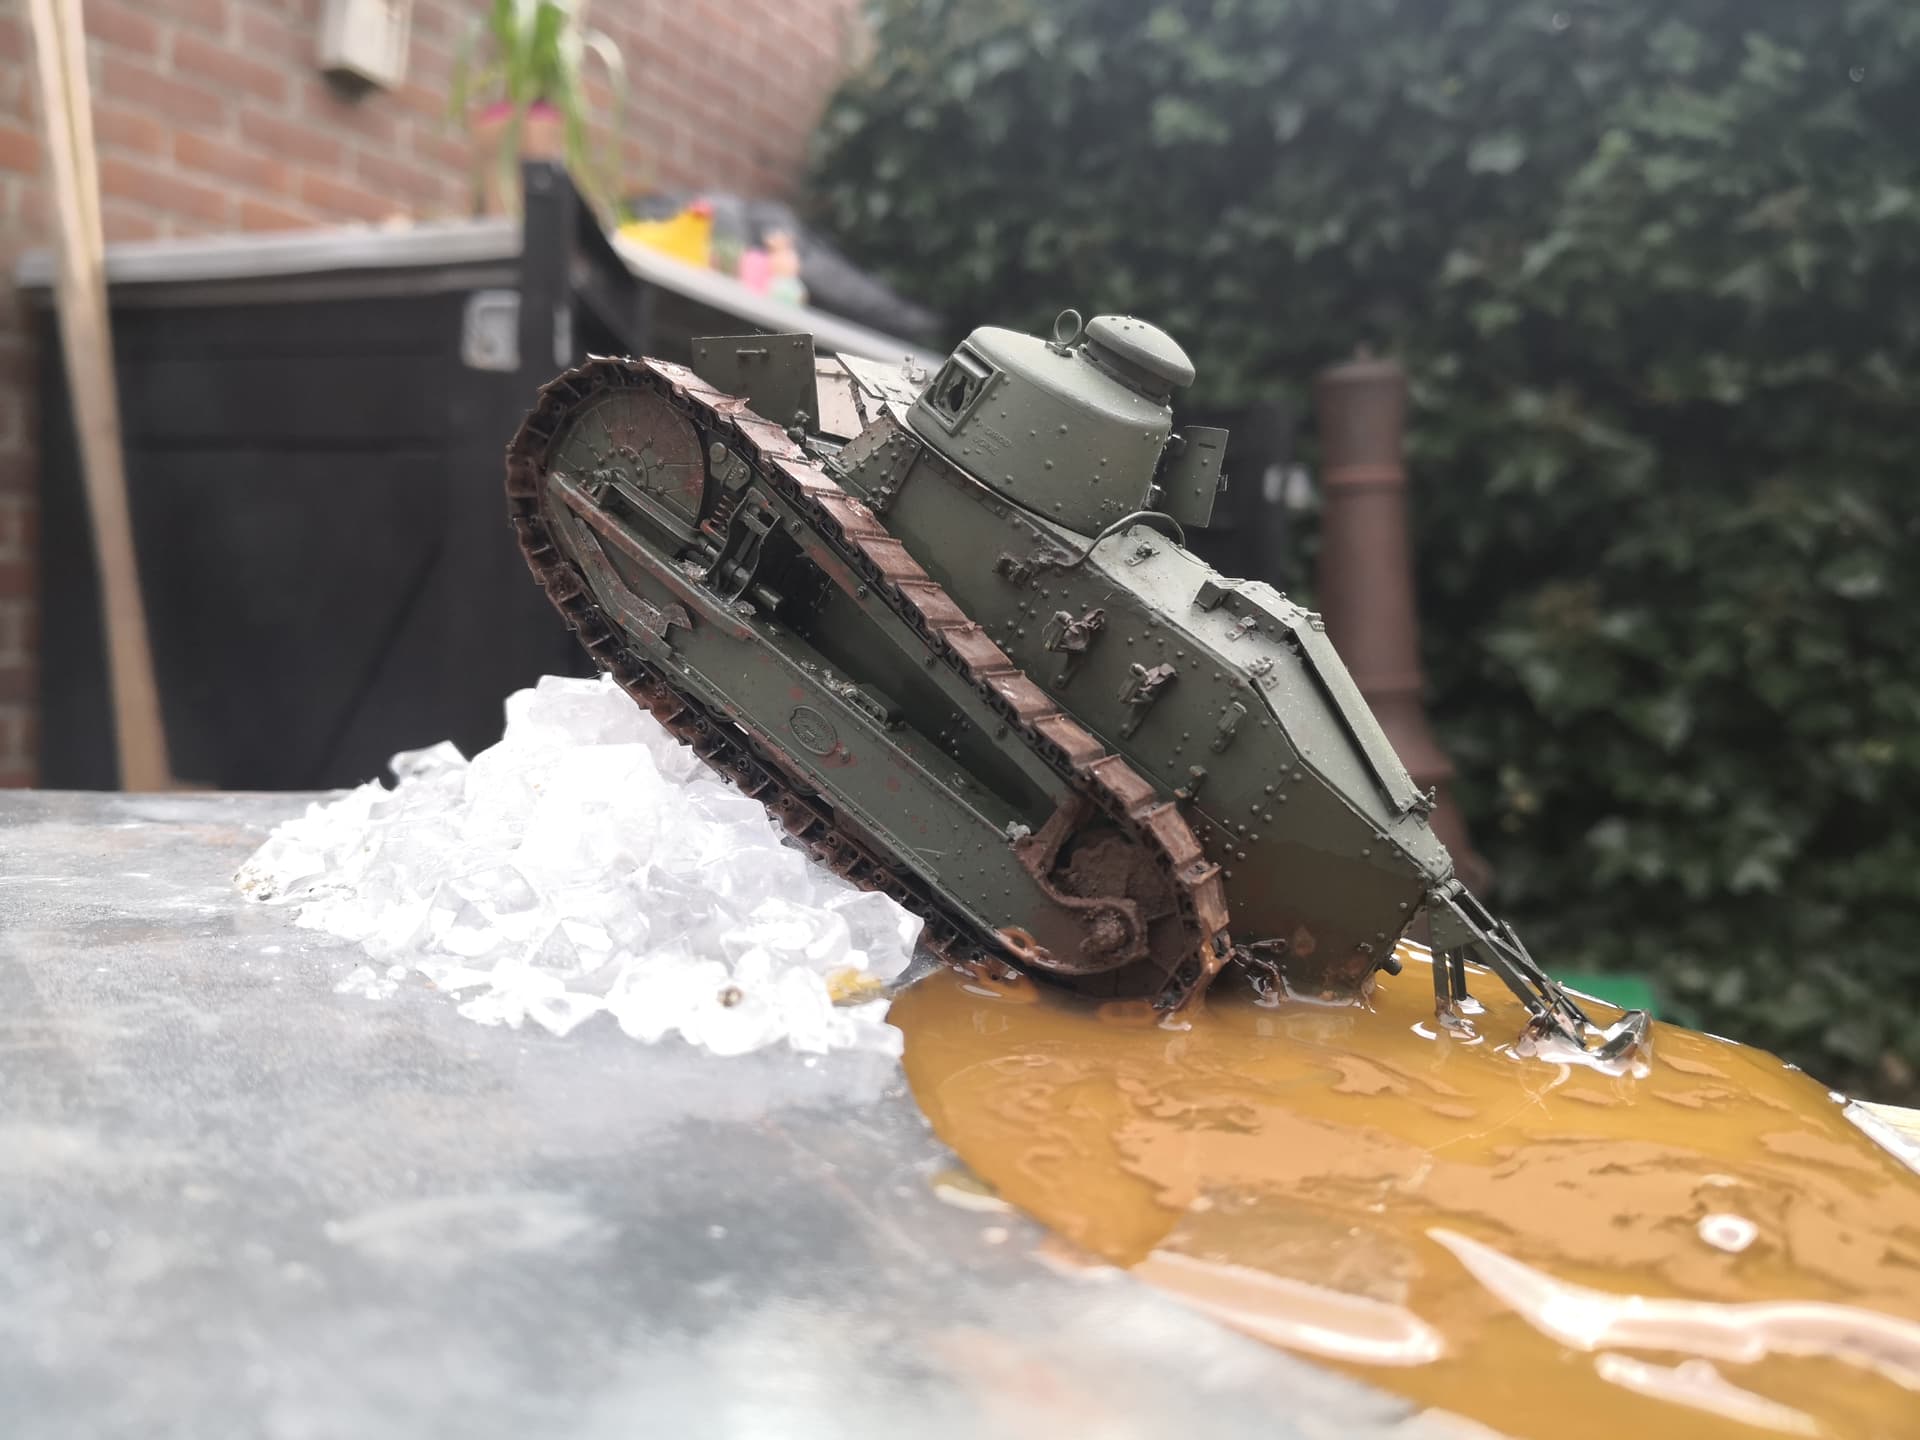
I guess I stopped following before you set the Gun Carrier into the scene. The way you have treated the white foamy water coming off the rear treads and how the foam disappears downstream into the flowing water. TOTAL JAW DROP!
It makes me want to just throw up my hands and say; “I ain’t even gonna try to ever be that good!*
*I Surender, I give up!” (and I am being totally honest here!)
I, like most scale modelers, tend to shy away from doing water.
But G you have gone for the jugular, and NAILED IT!
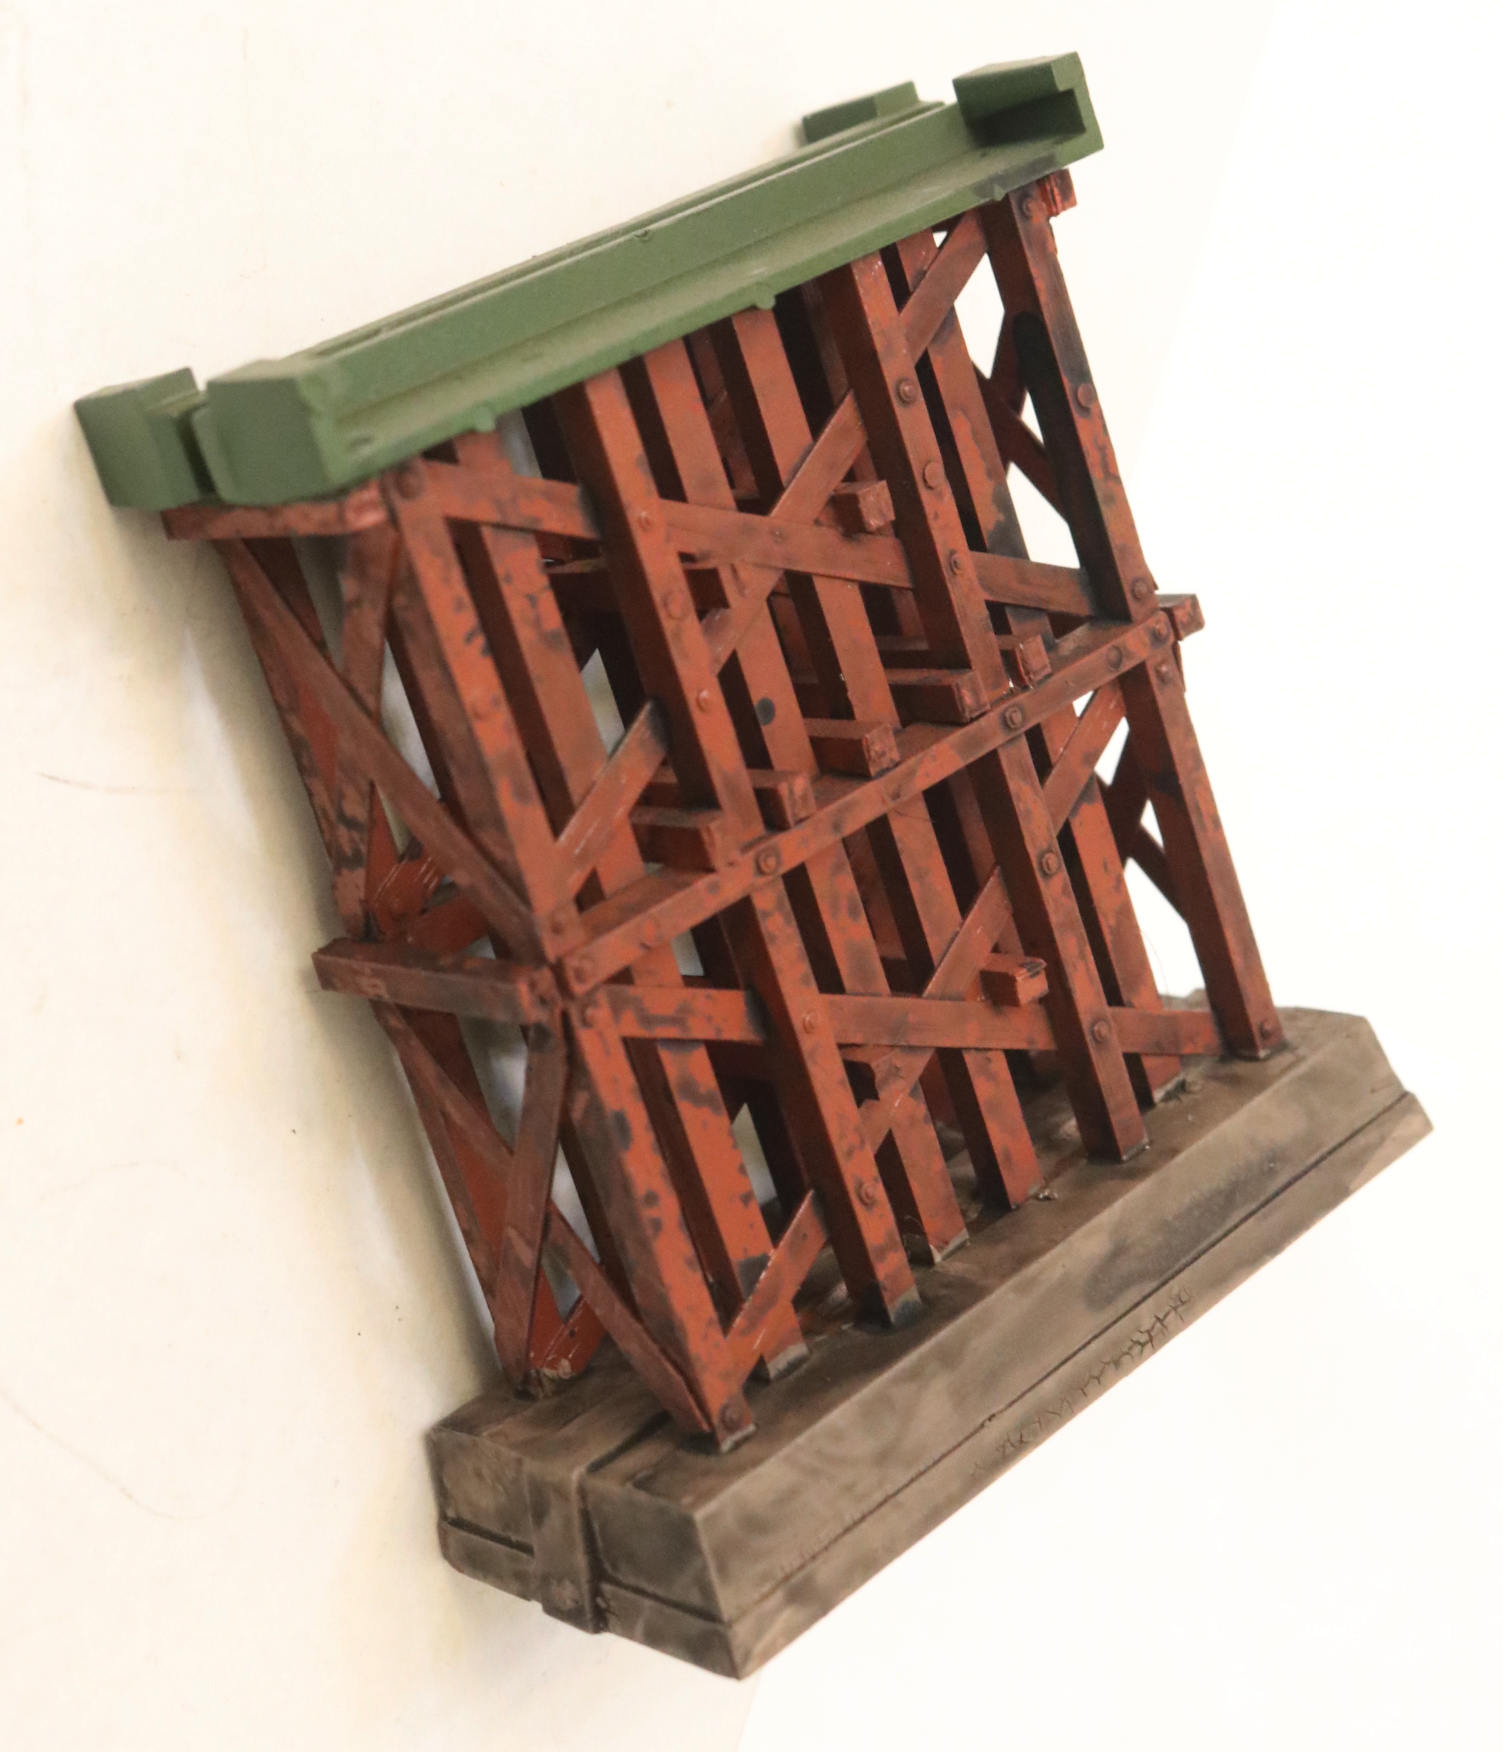
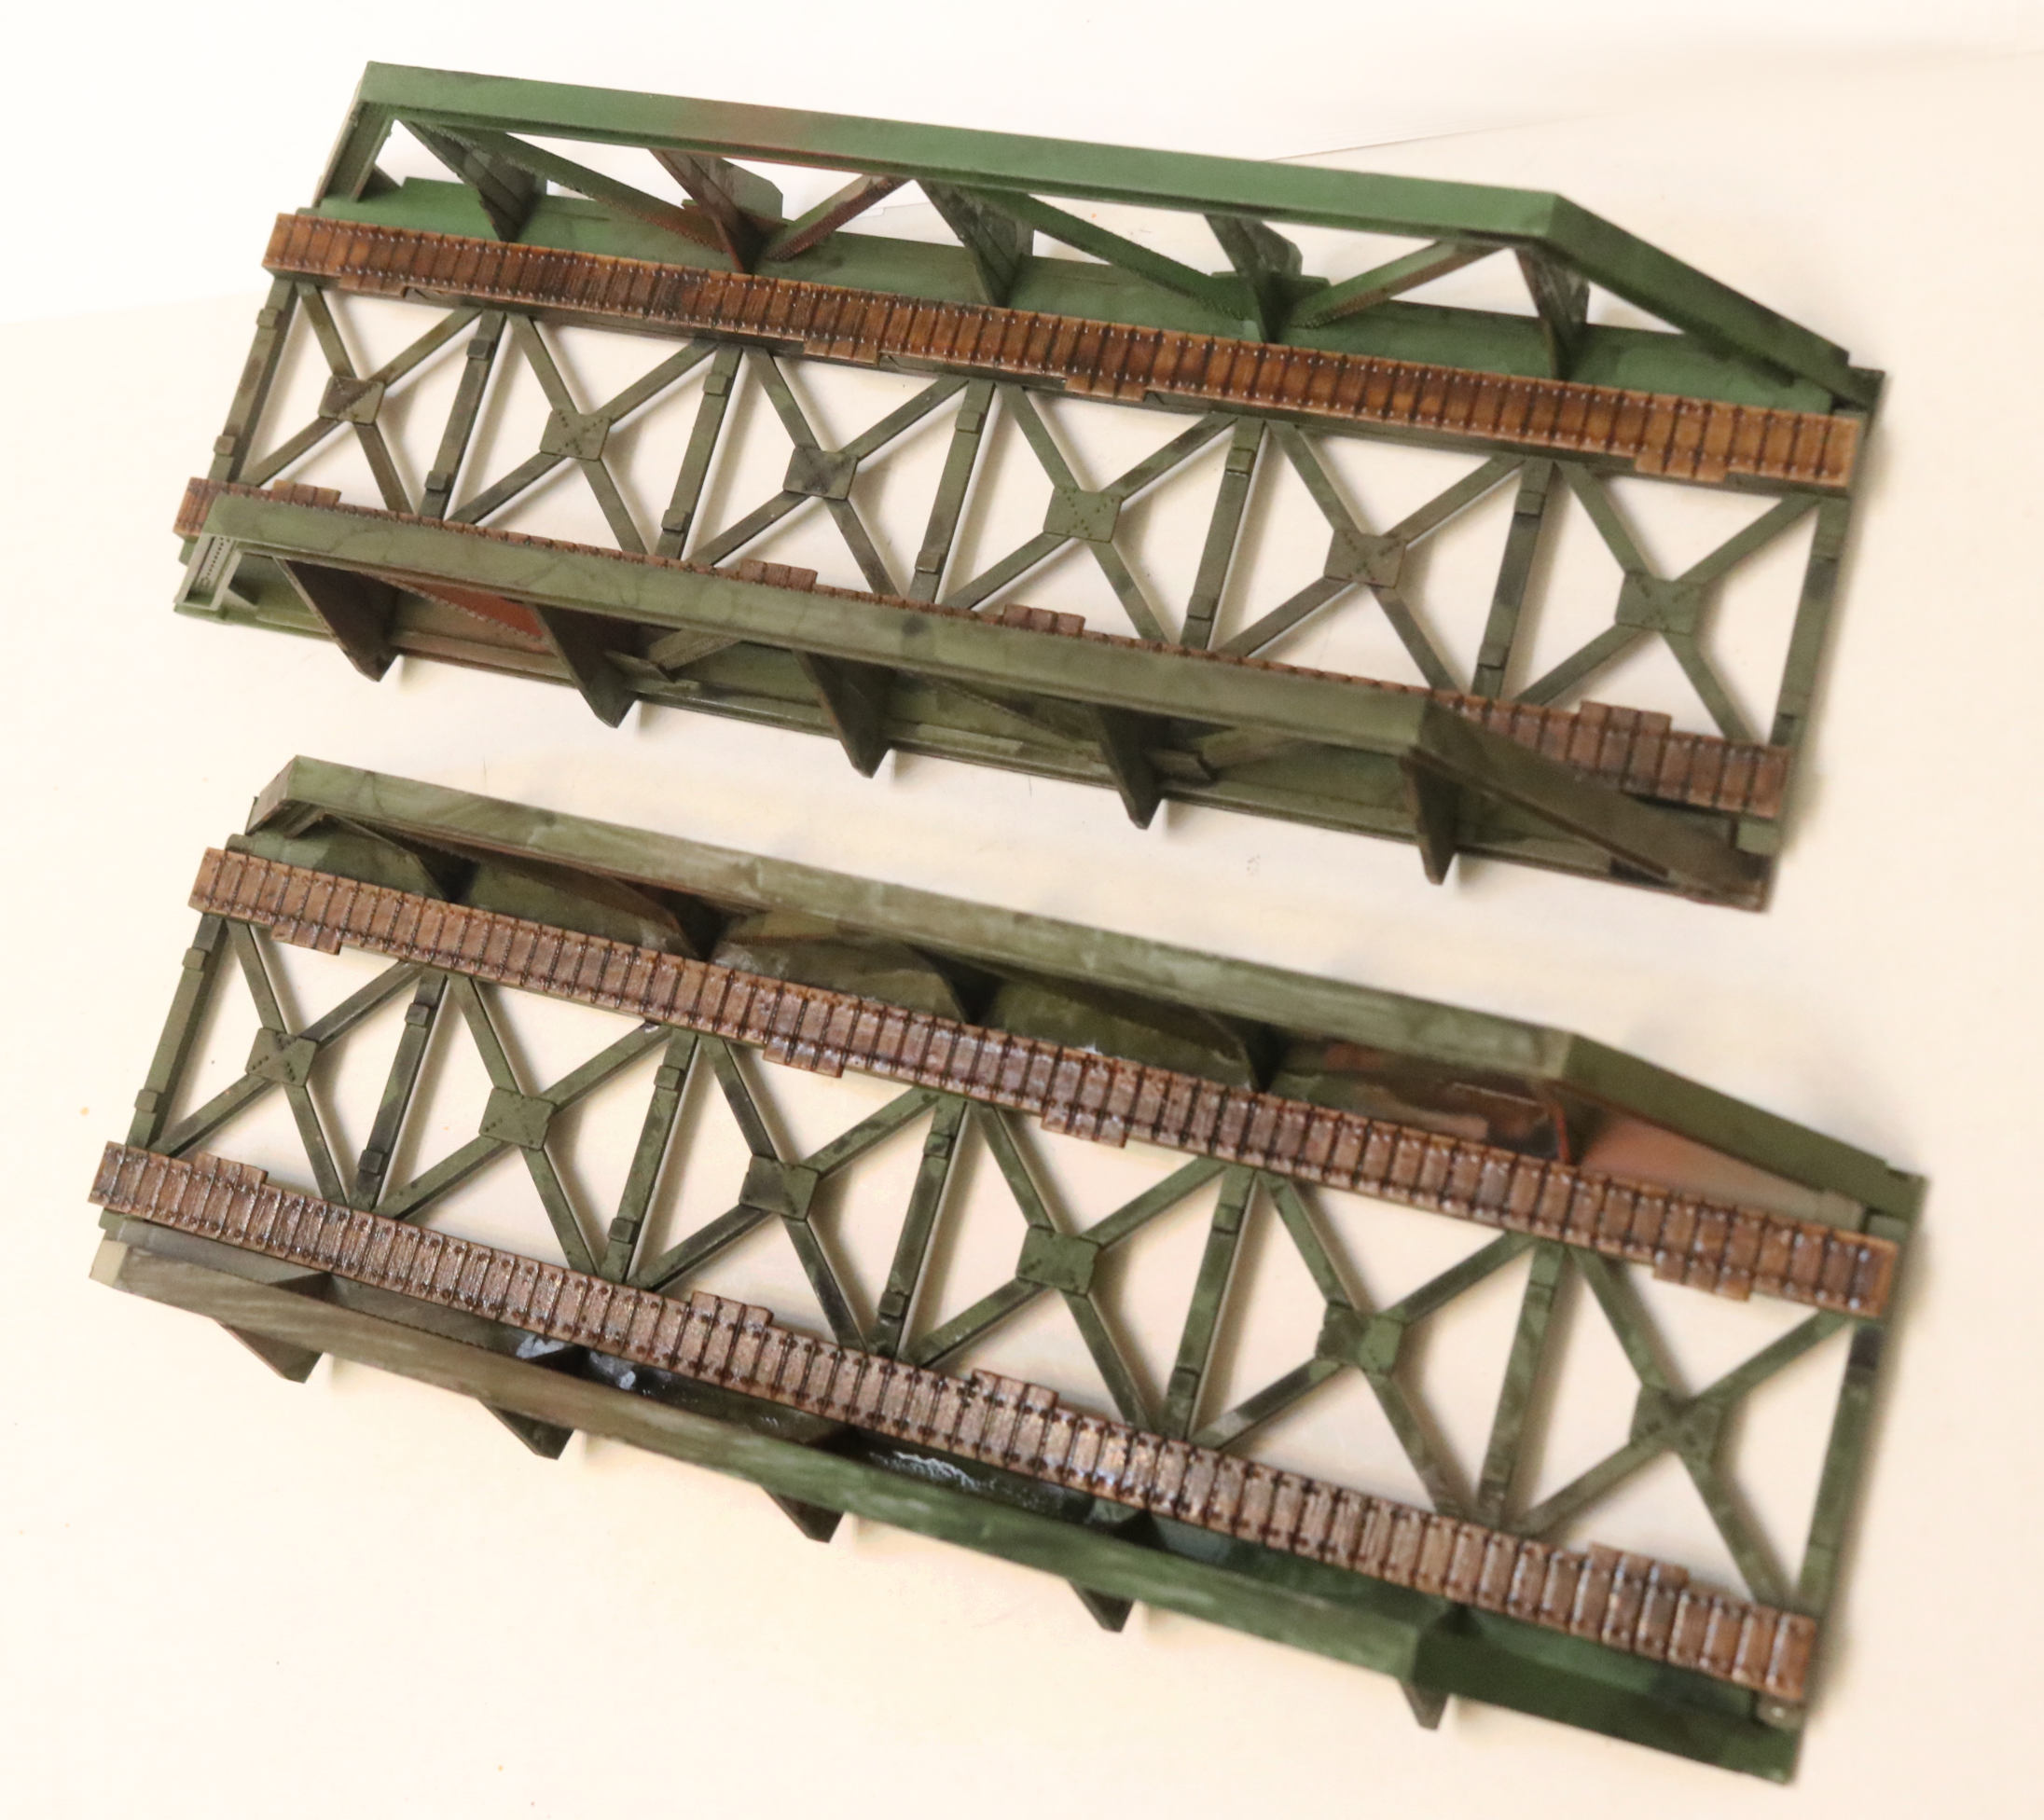
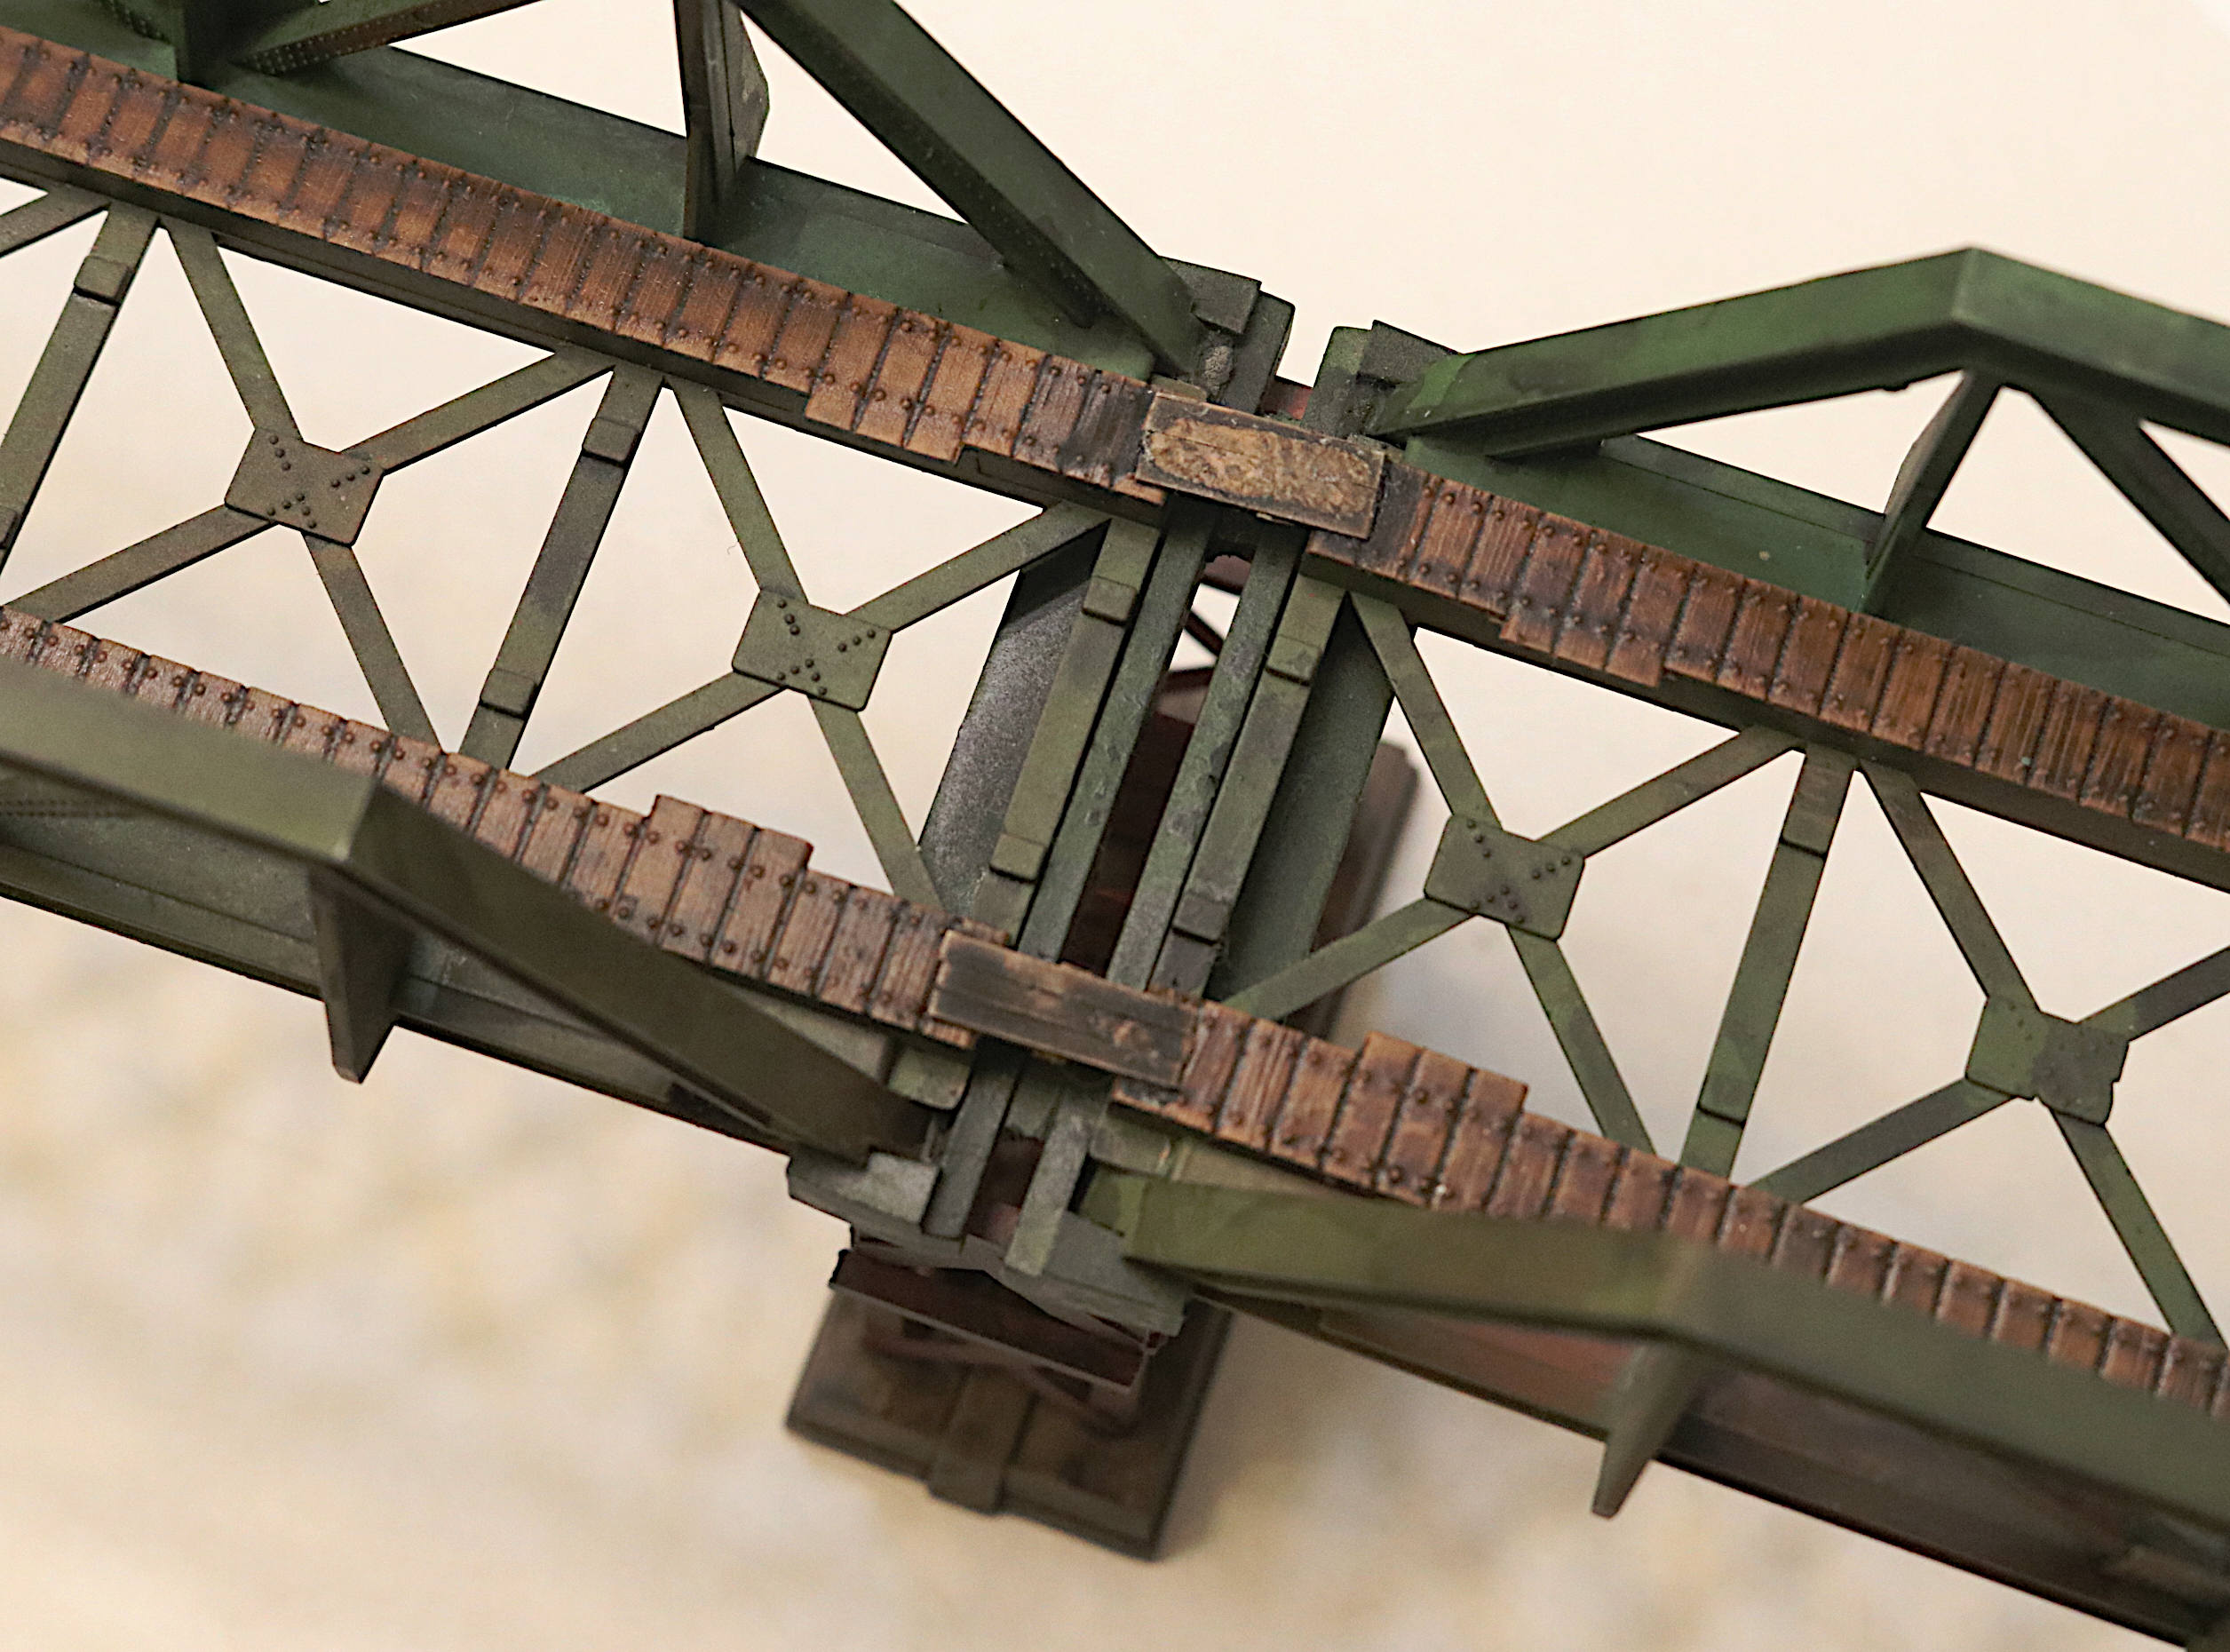
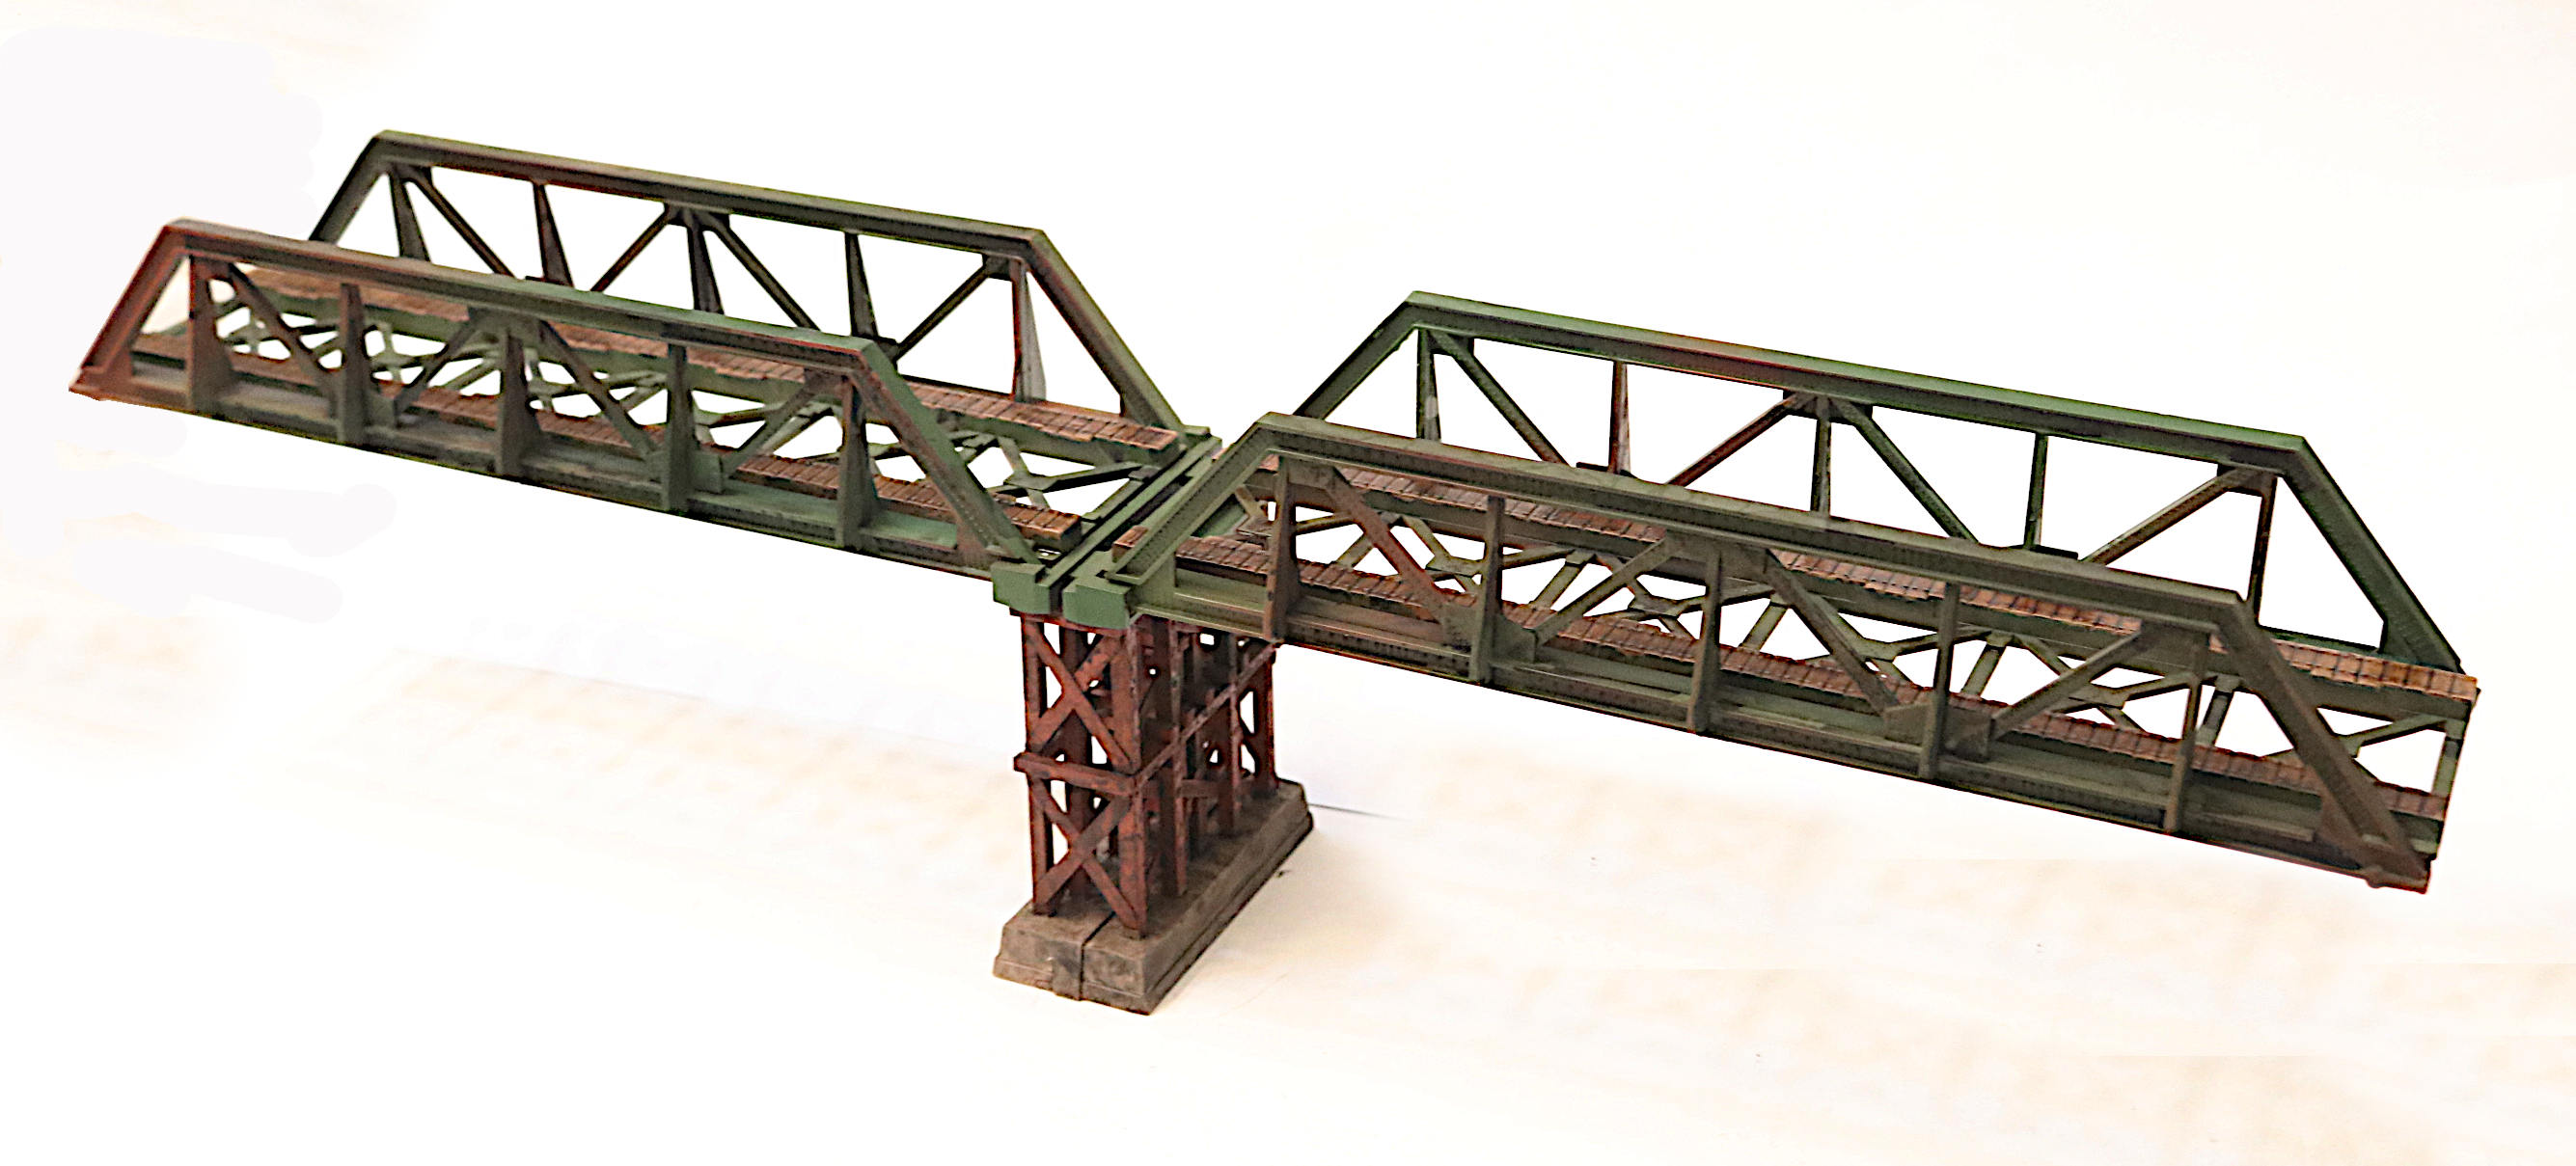
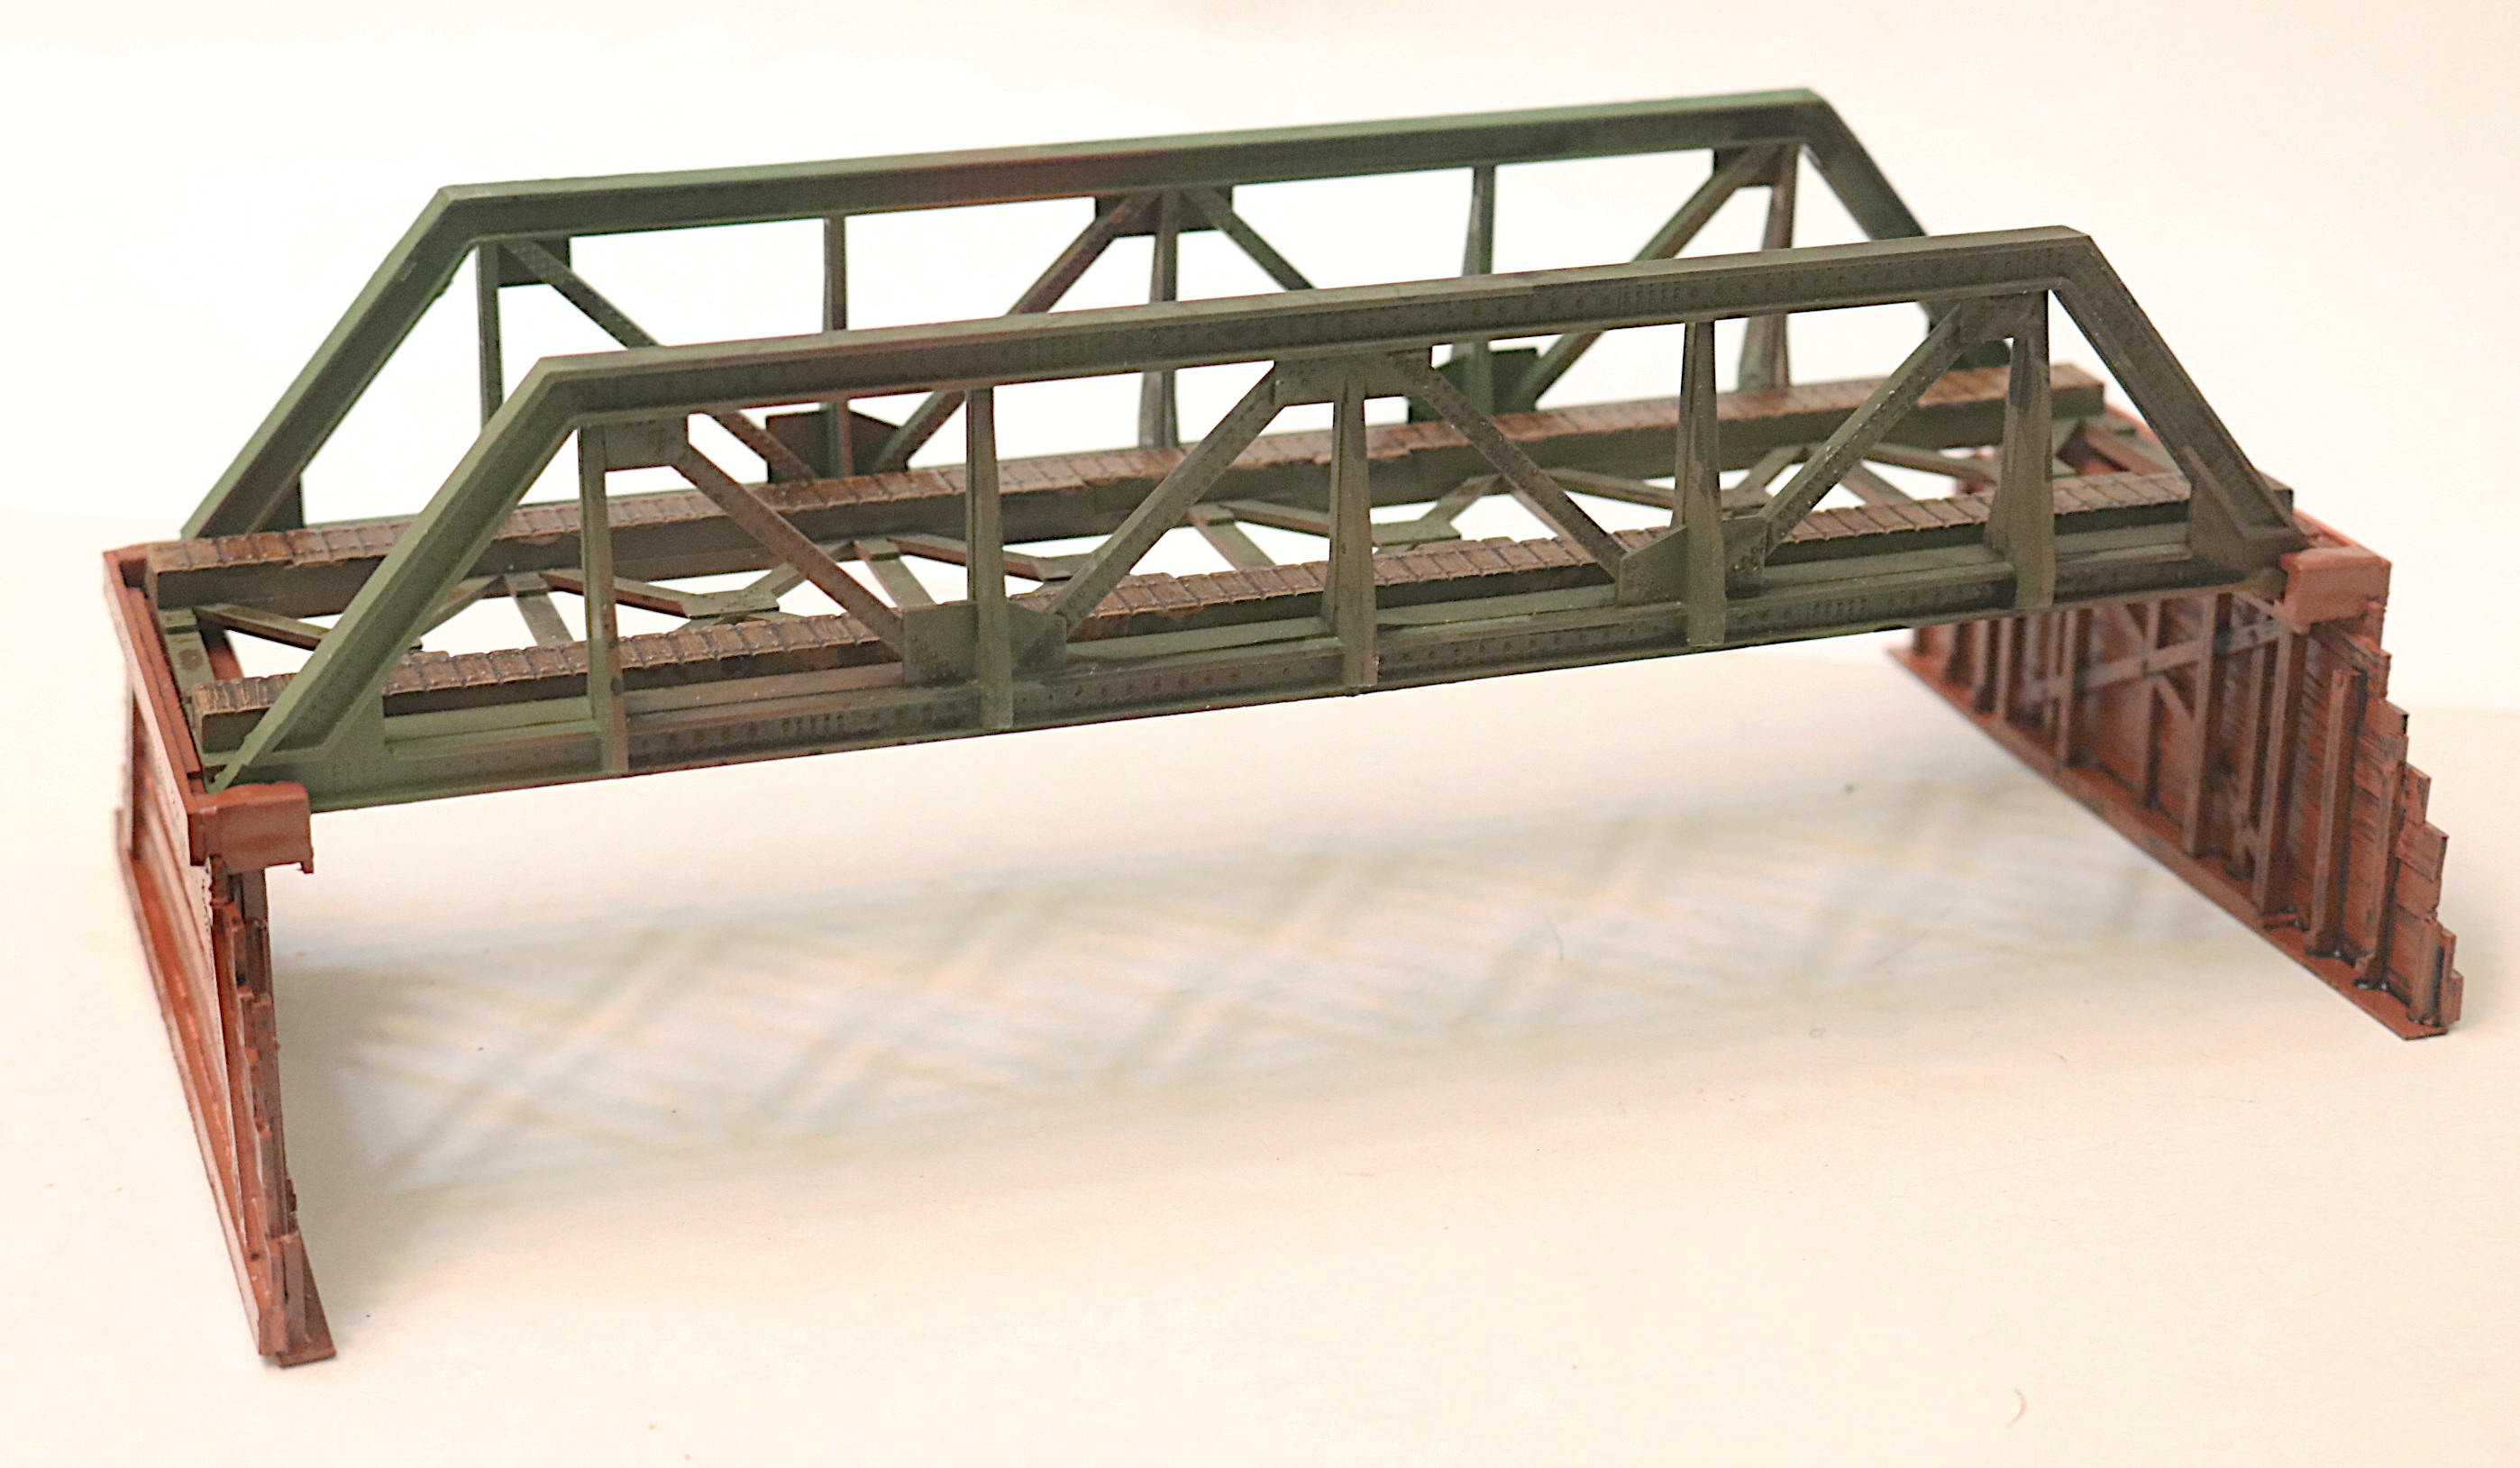
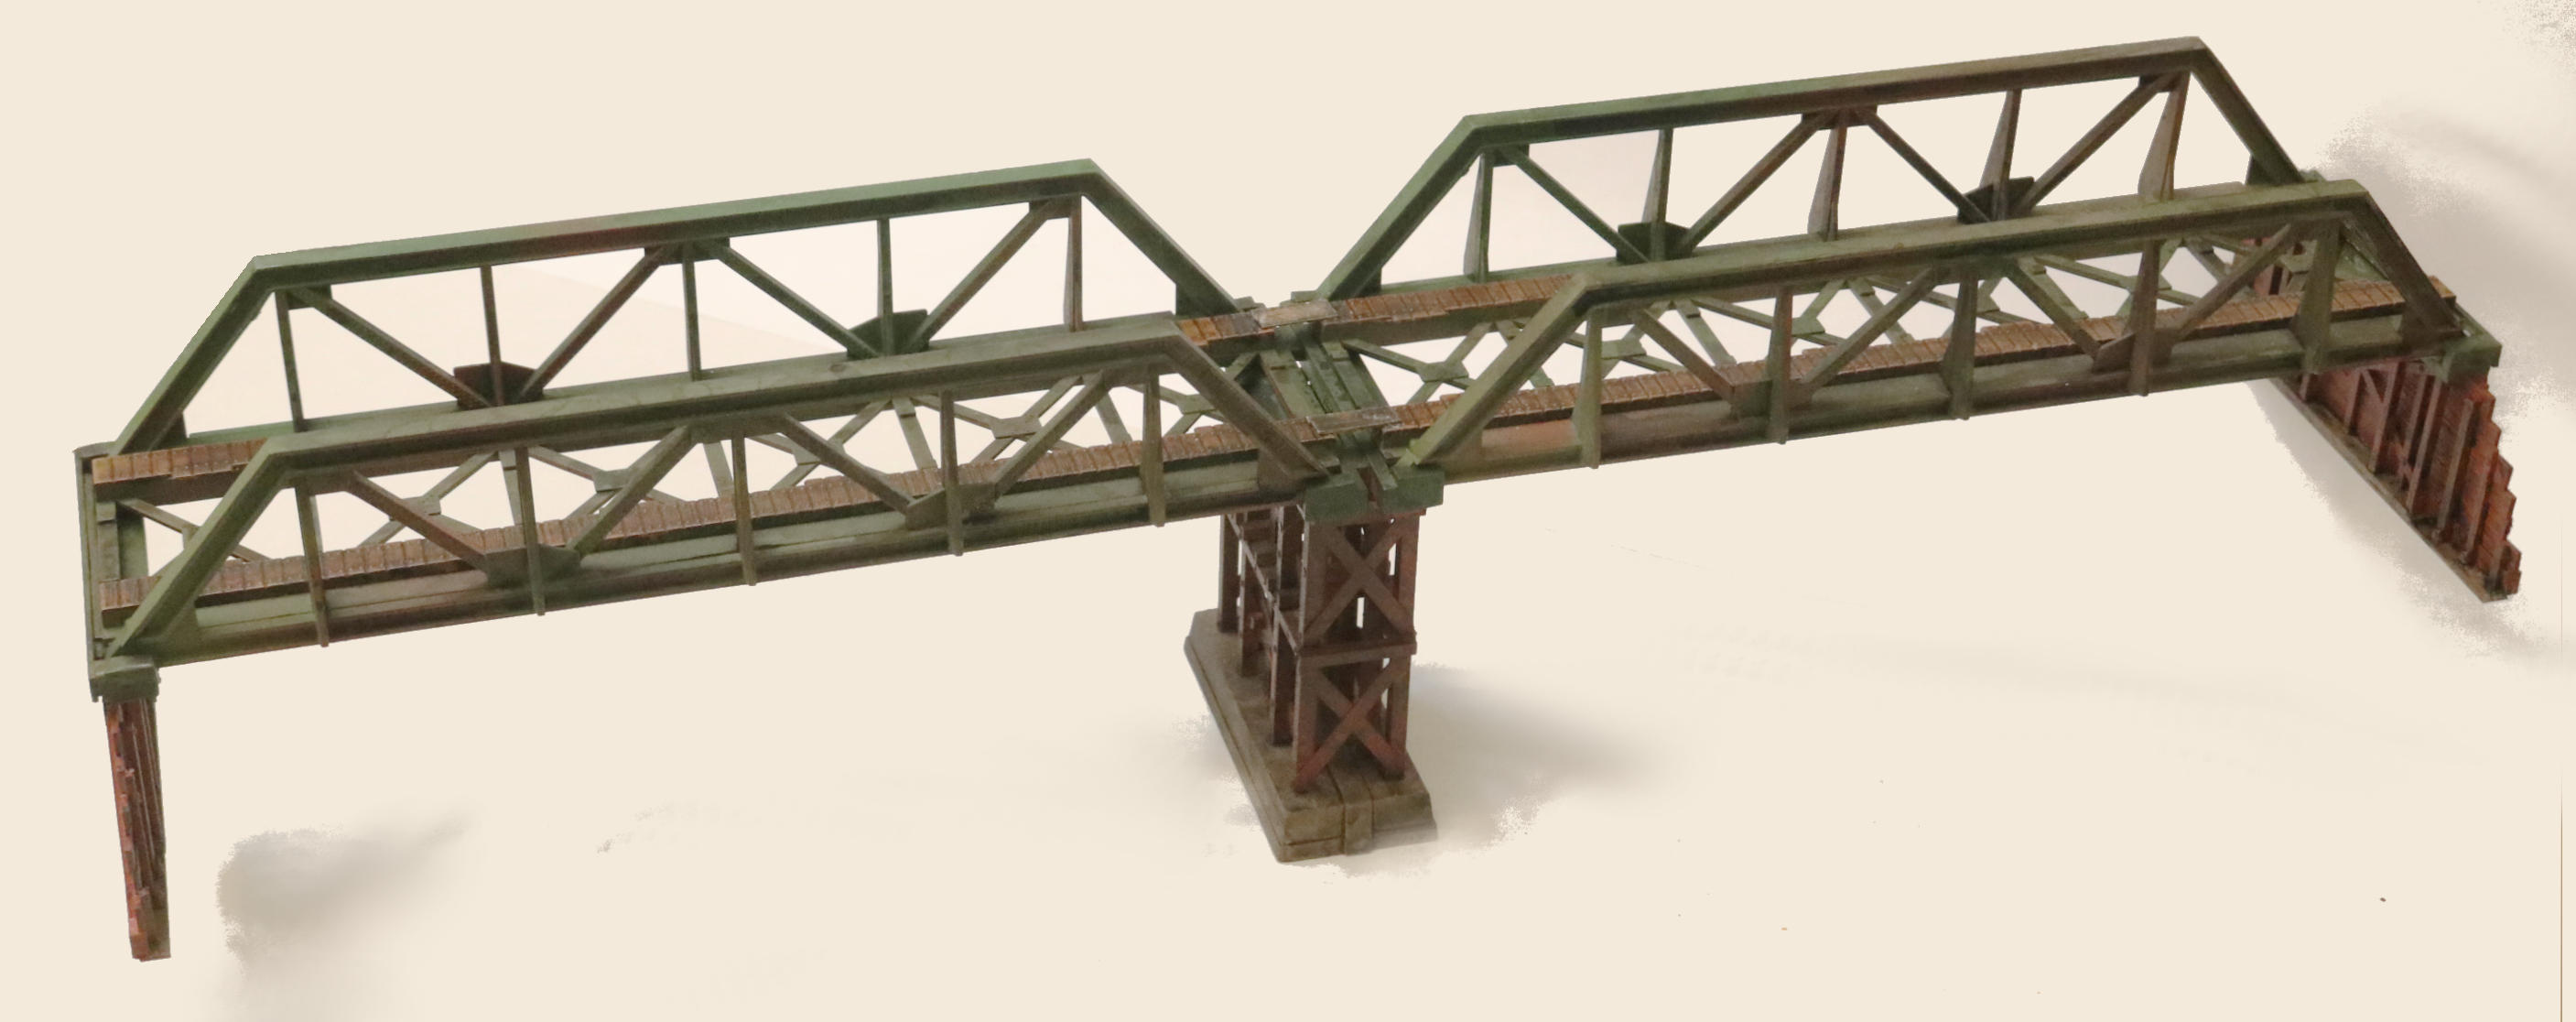
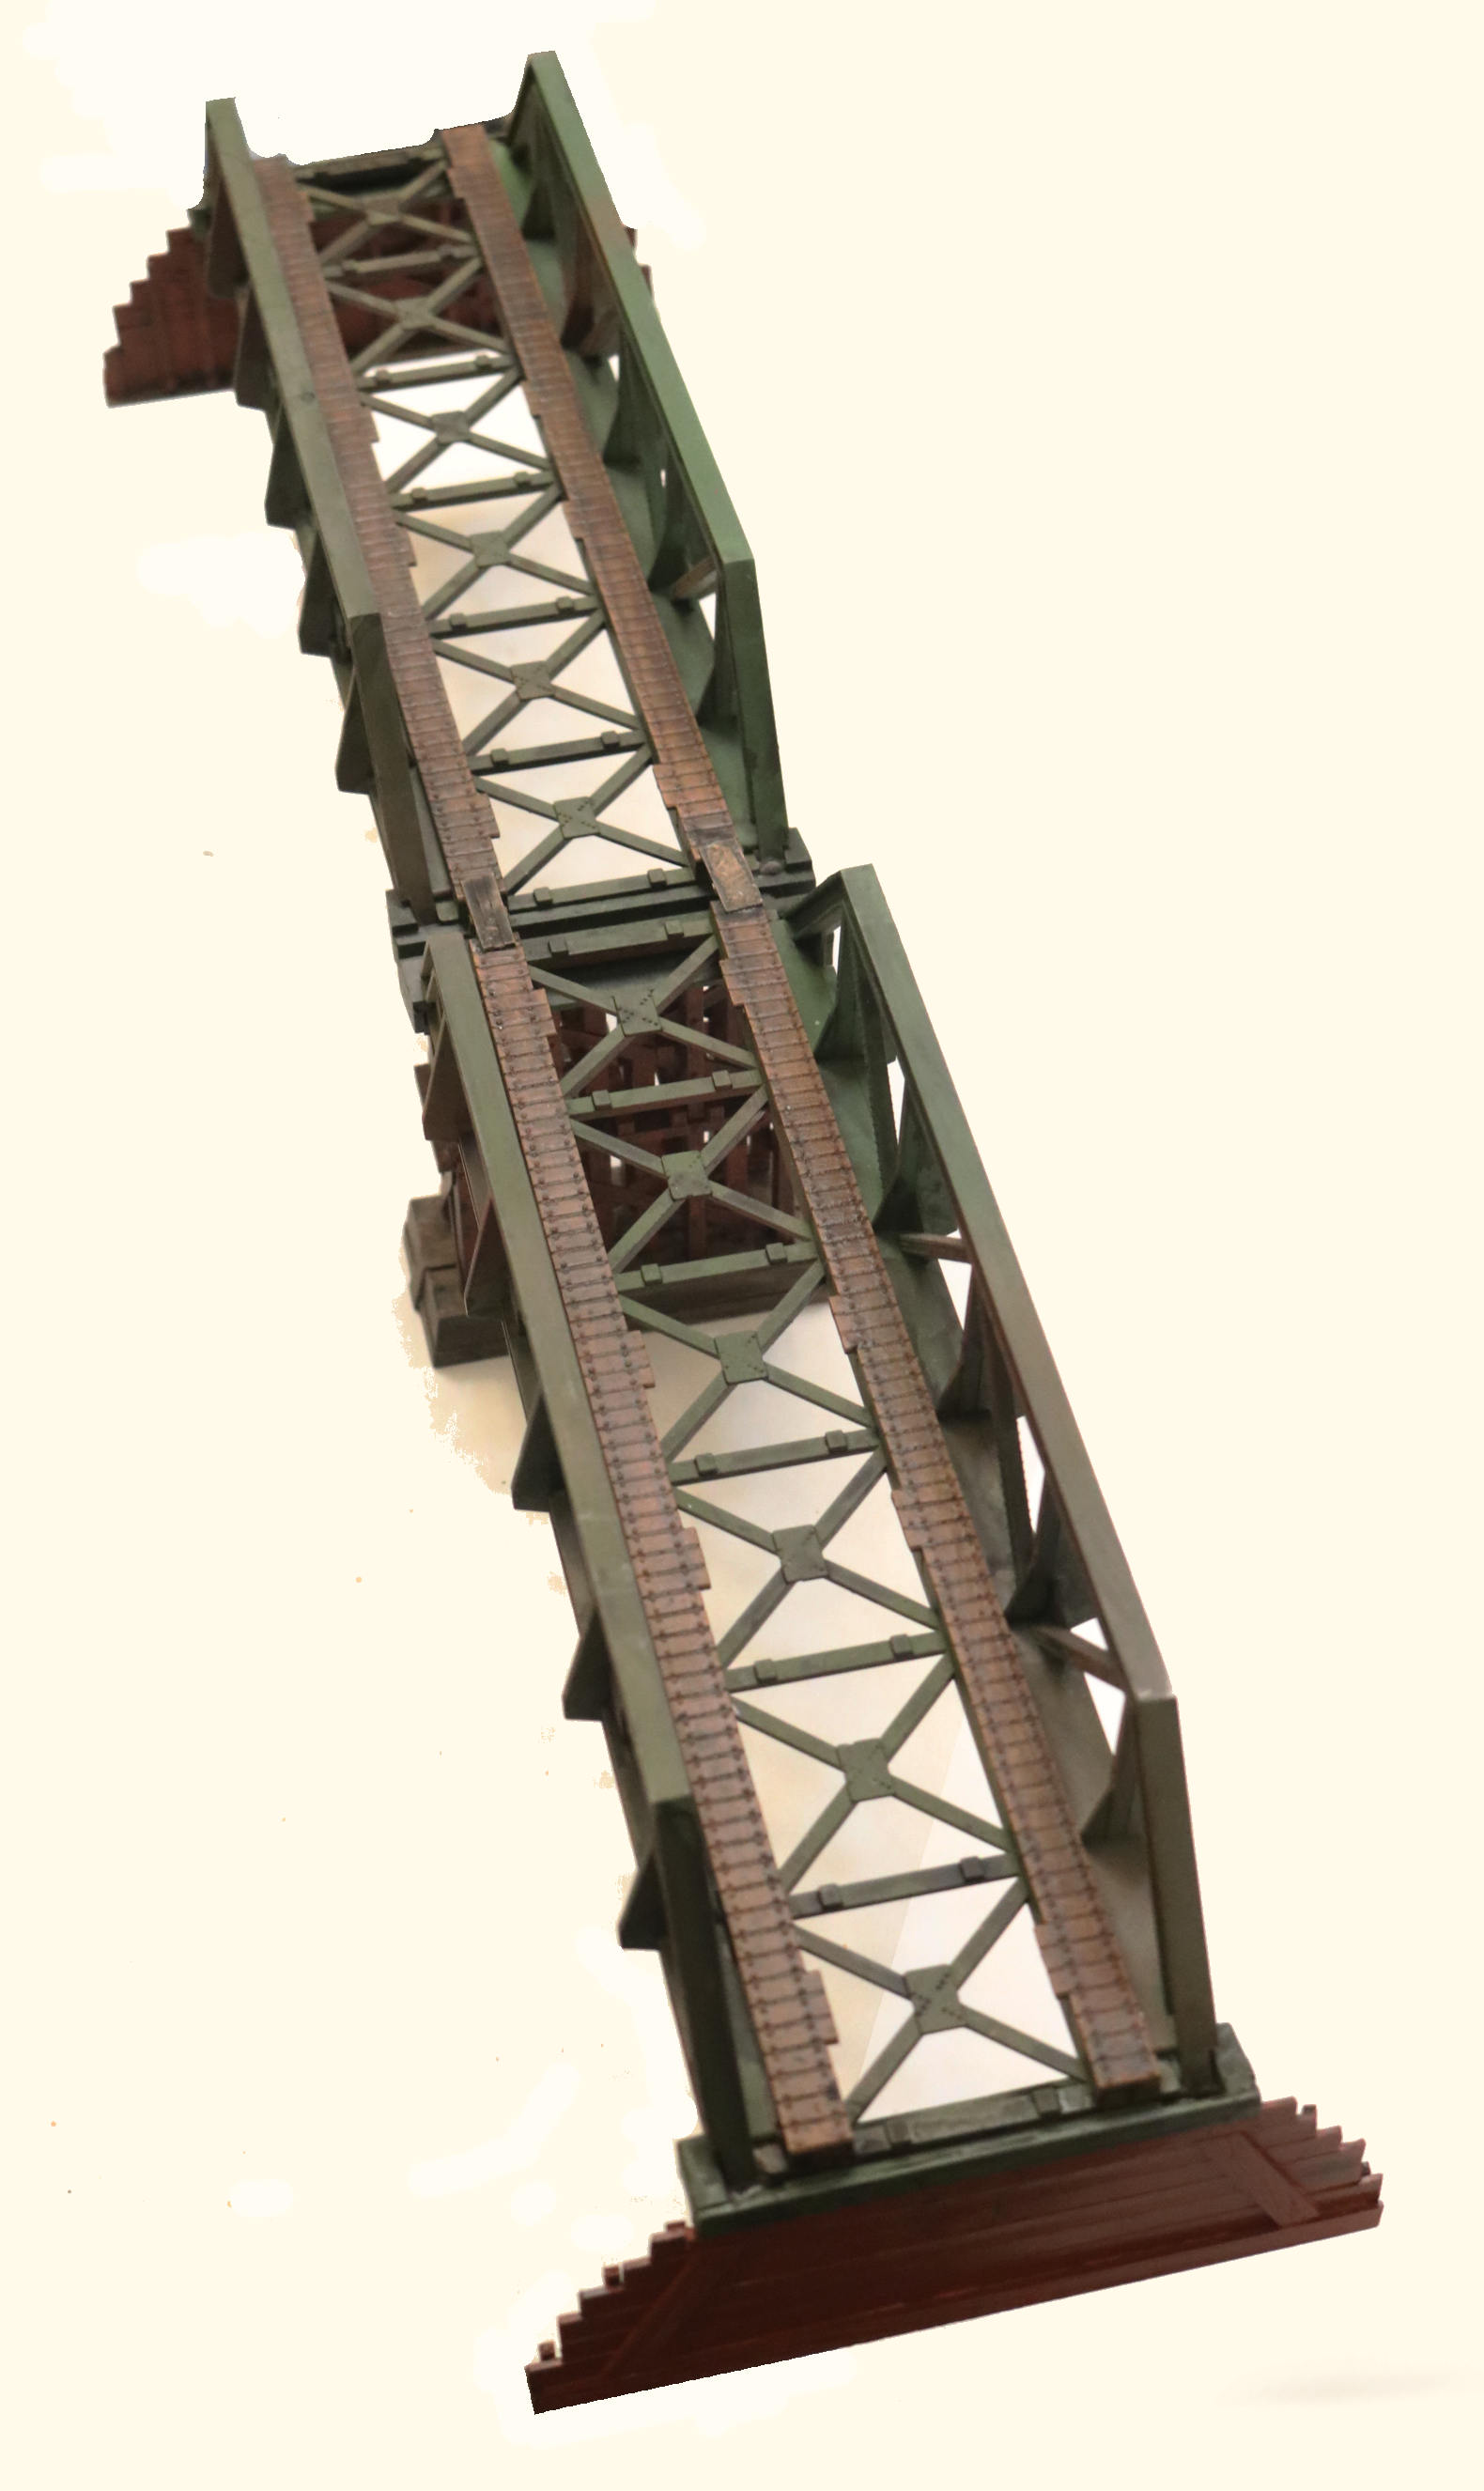
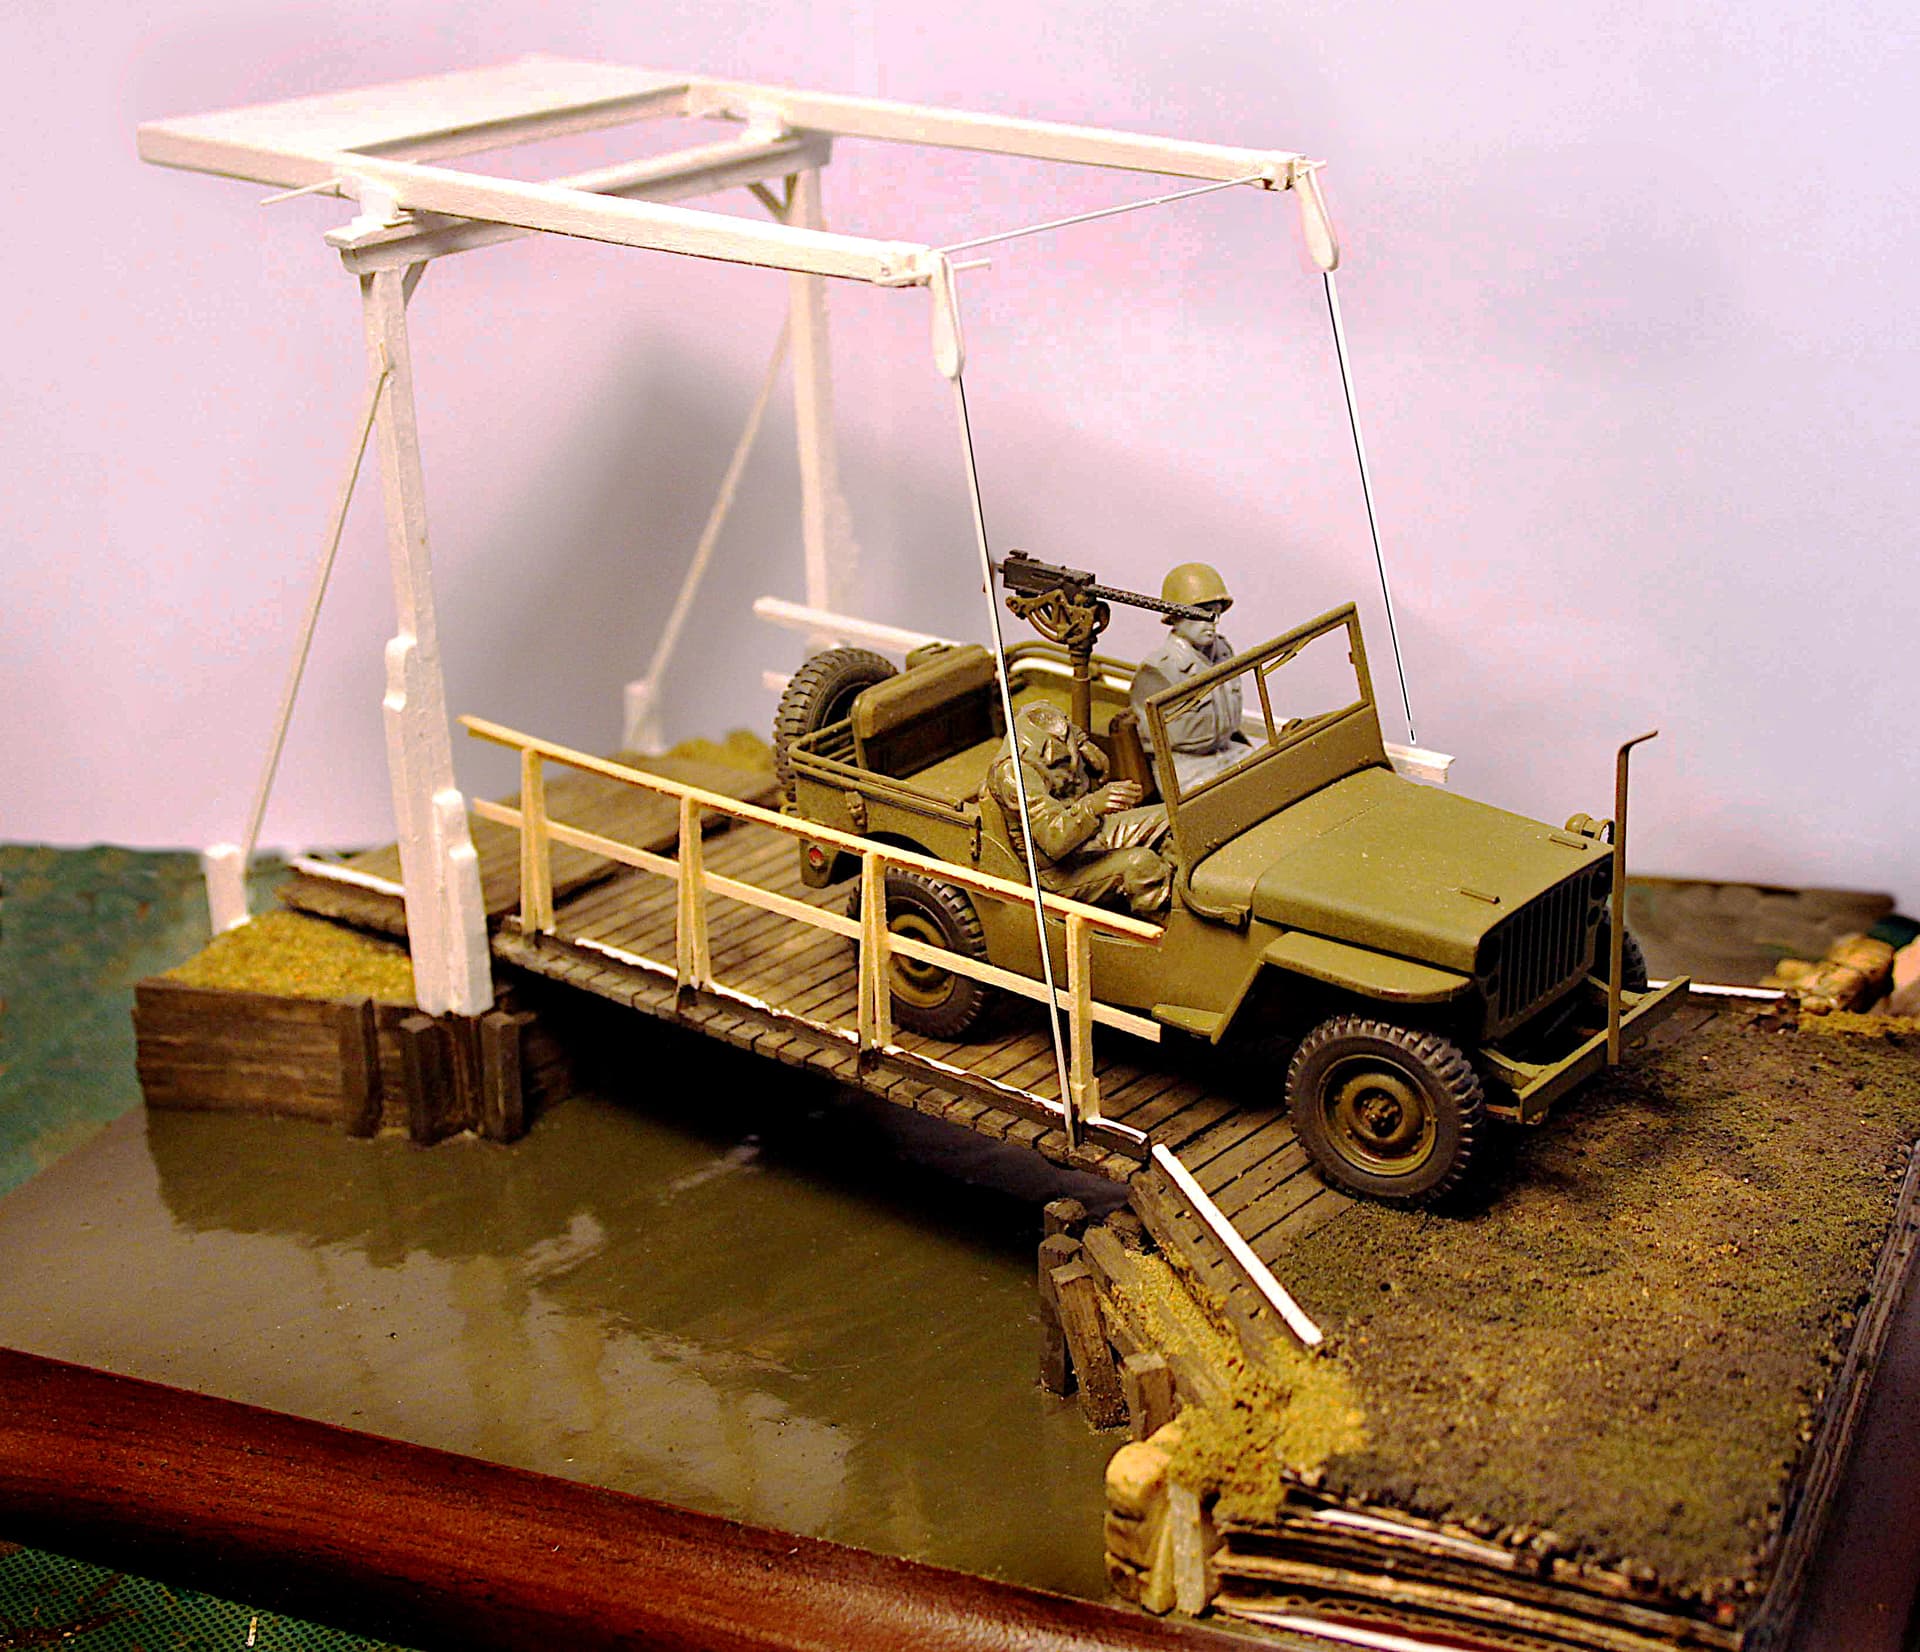
The closest I have ever gotten to doing actual water was this still unfinished and very sedate Nederlander working lift bridge over a canal. Scratch built bridge - the Verlinden resin one was just too small - I wanted something a Jeep could drive across.
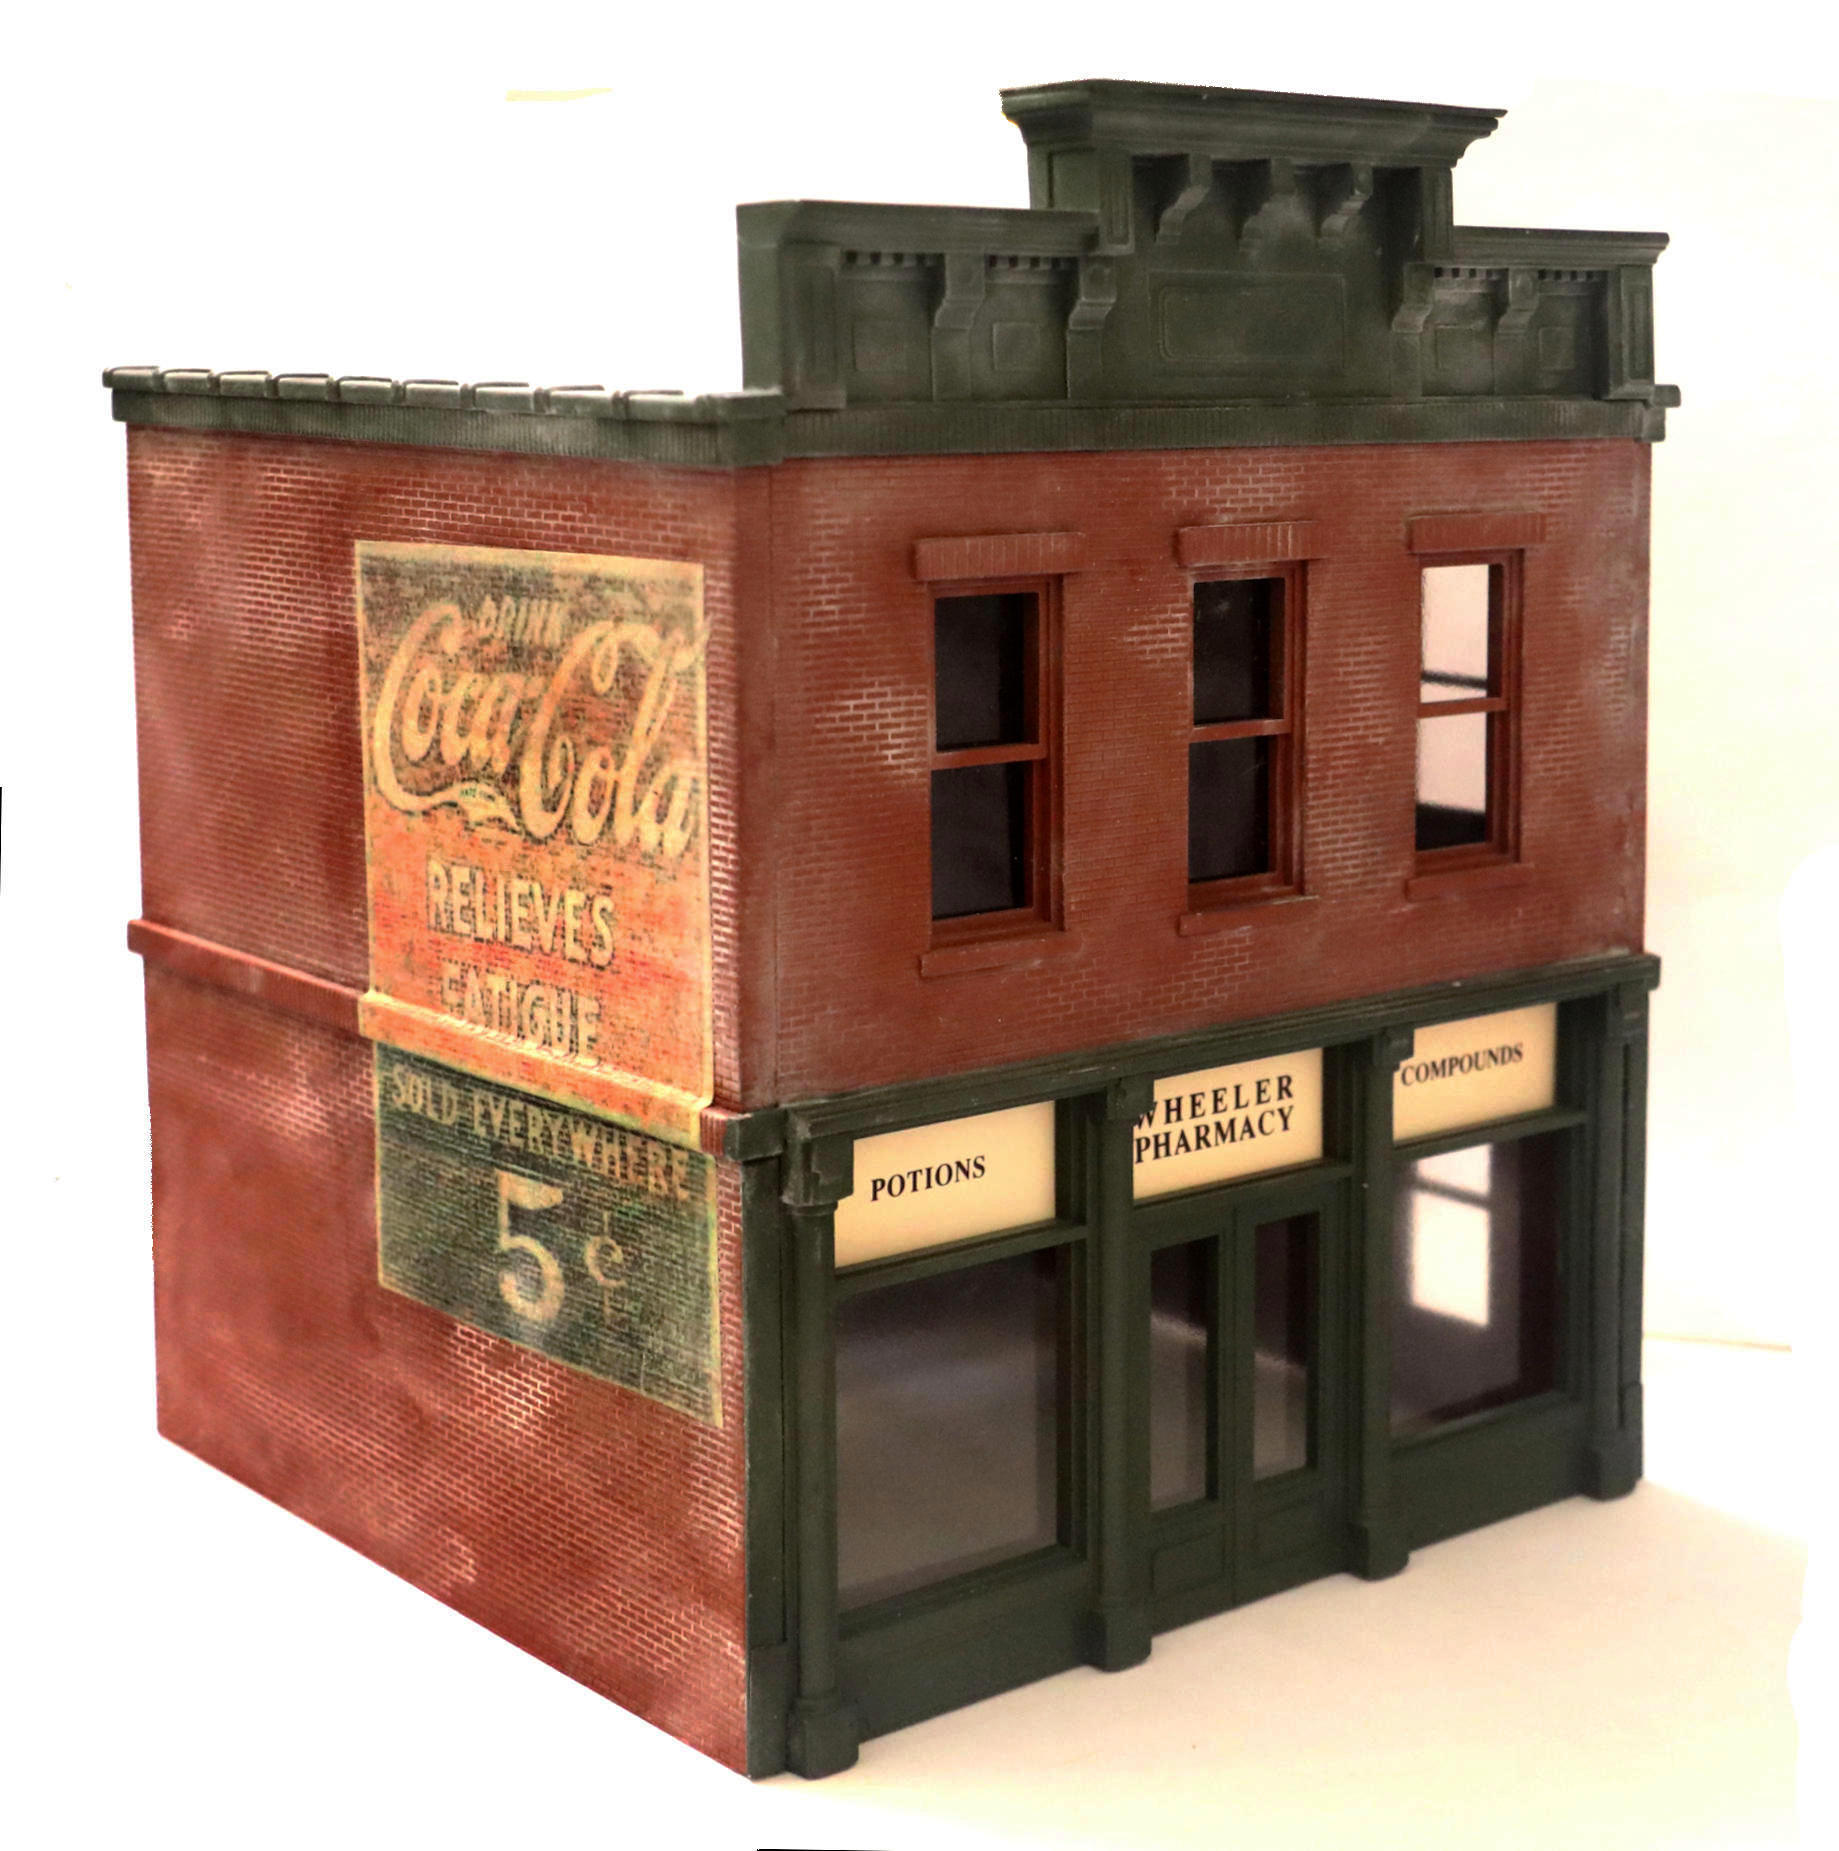
How 'bout a nice Brick Red?~ the Wheeler Pharmacy:
Here I am using the Tamiya Red Oxide primer to create the base brick color.
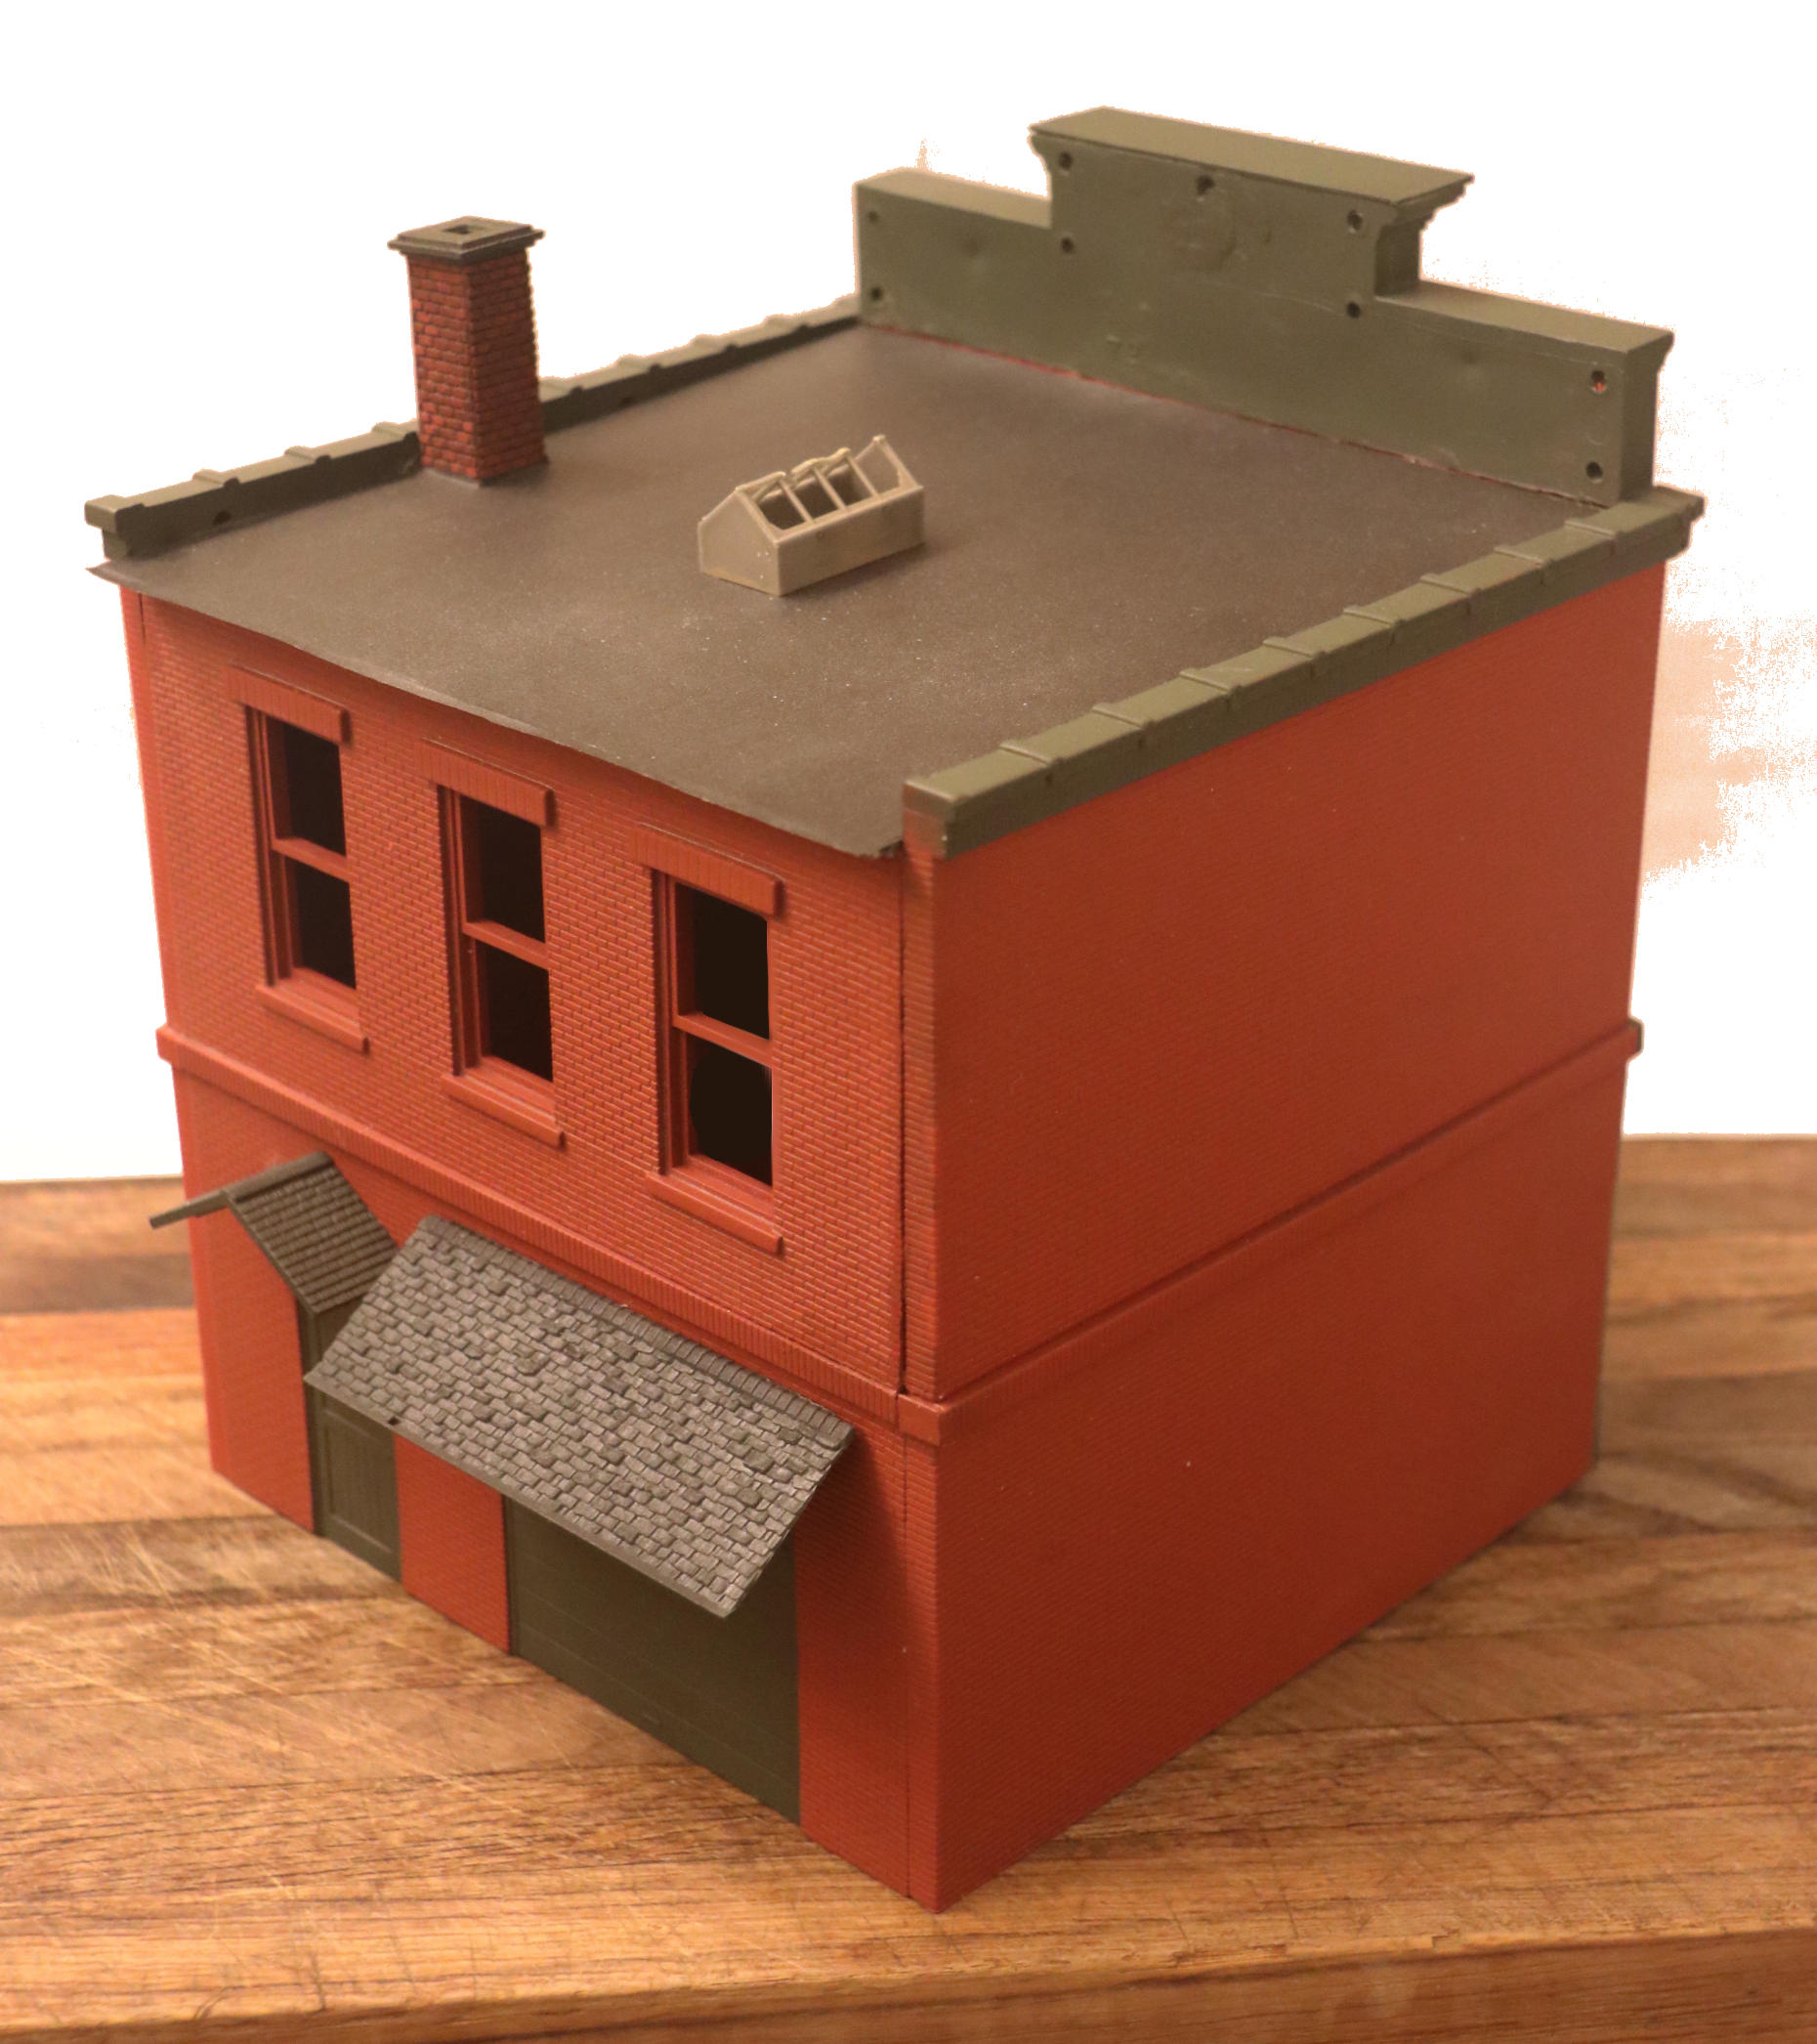
This is a custom structure in O Scale, built out of assorted wall panels from “Design Preservation Models”, plus various other details salvaged from the local hobbyshop’s “junk bin”. (Chimney, Skylight and both rear Roof Awnings are all “found parts”.)
And shown below; a rear view before weathering: (I show this photo so you can assess JUST the red brick color (Tamiya Red Oxide Primer) for yourself WITHOUT the addition of all that weathering.)
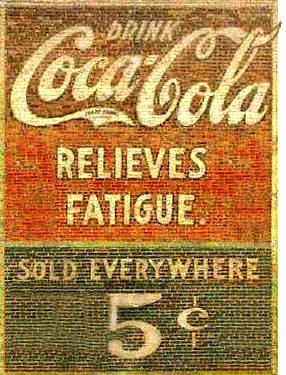
p.s. ~ I am posting my revised artwork for the big Coke sign (at full resolution.)
~
Should anyone else wish to download this artwork to print out at home for use on one of your own brick structures, you have my blessings.
I simply printed it on the cheapest and thinnest typing paper I could find. Then cut it out and applied it to the brick surface using generous amounts of Future Floor Wax both on the brick surface and on the paper sign itself. (I soaked it!) Then I used both a medium large brush and my fingers to push the sign paper into the pattern of the brick.
Finial finish was to spray the entire building with Matte Clear (Tamiya TS-80 rattle can) to kill the shine of the floor wax.
I promise you I am NOT trying to be boring with all these many examples of using Shaders plus some added Pigments for weathering. It is just that with about an hours additional work on a basic plastic model kit structure one can elevate its’ appearance from a straight out-of-the-box shiny plastic, so-so kit to something far more impressive and in the process elevate the level of realism on your model railroad as well.
(I just discovered these Shader Products and I am as blown away as anyone with the affects they can create.)
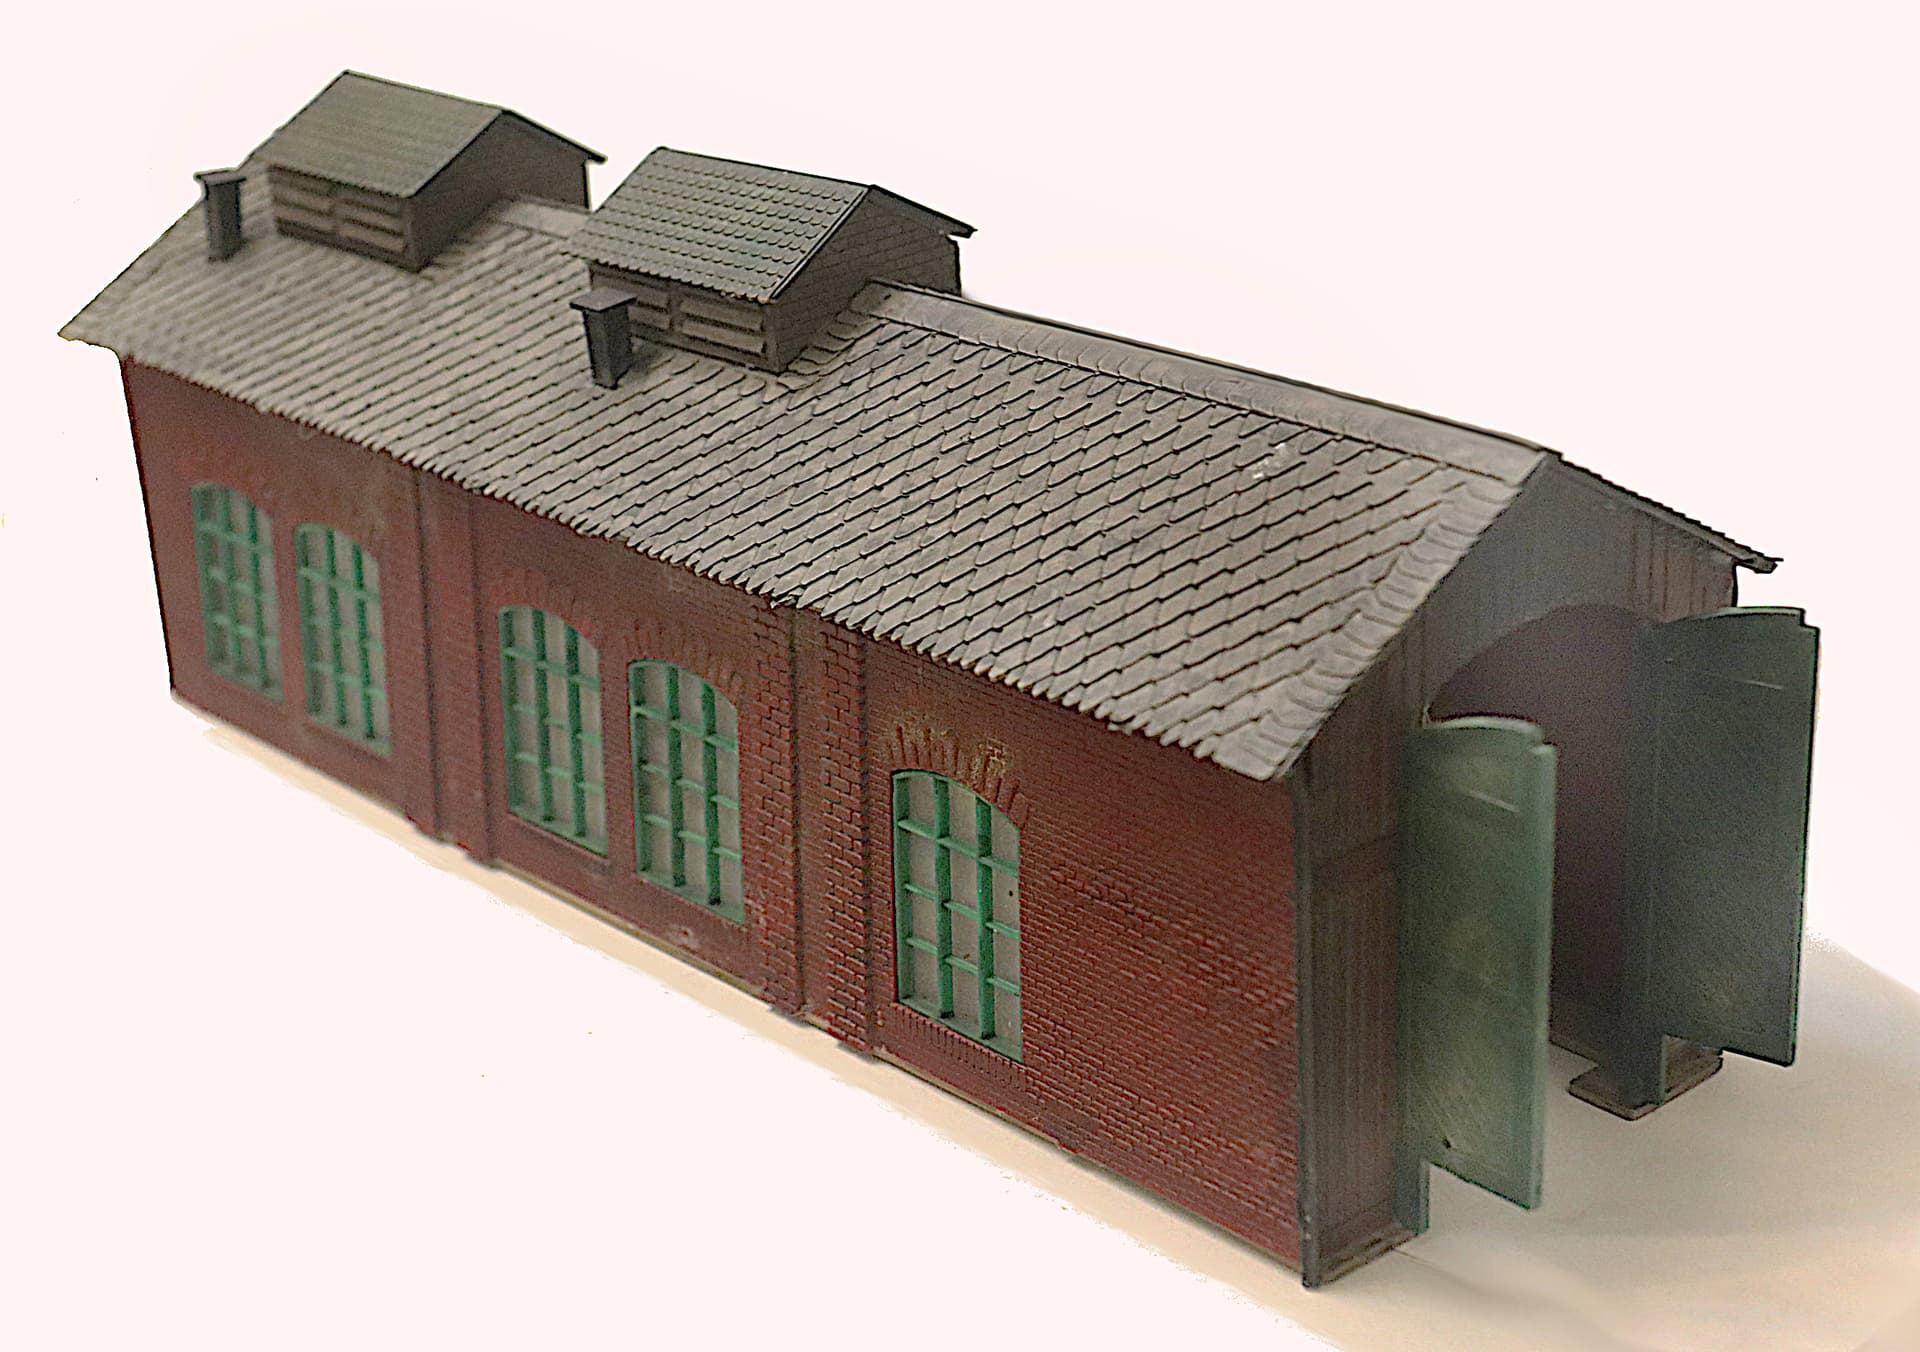
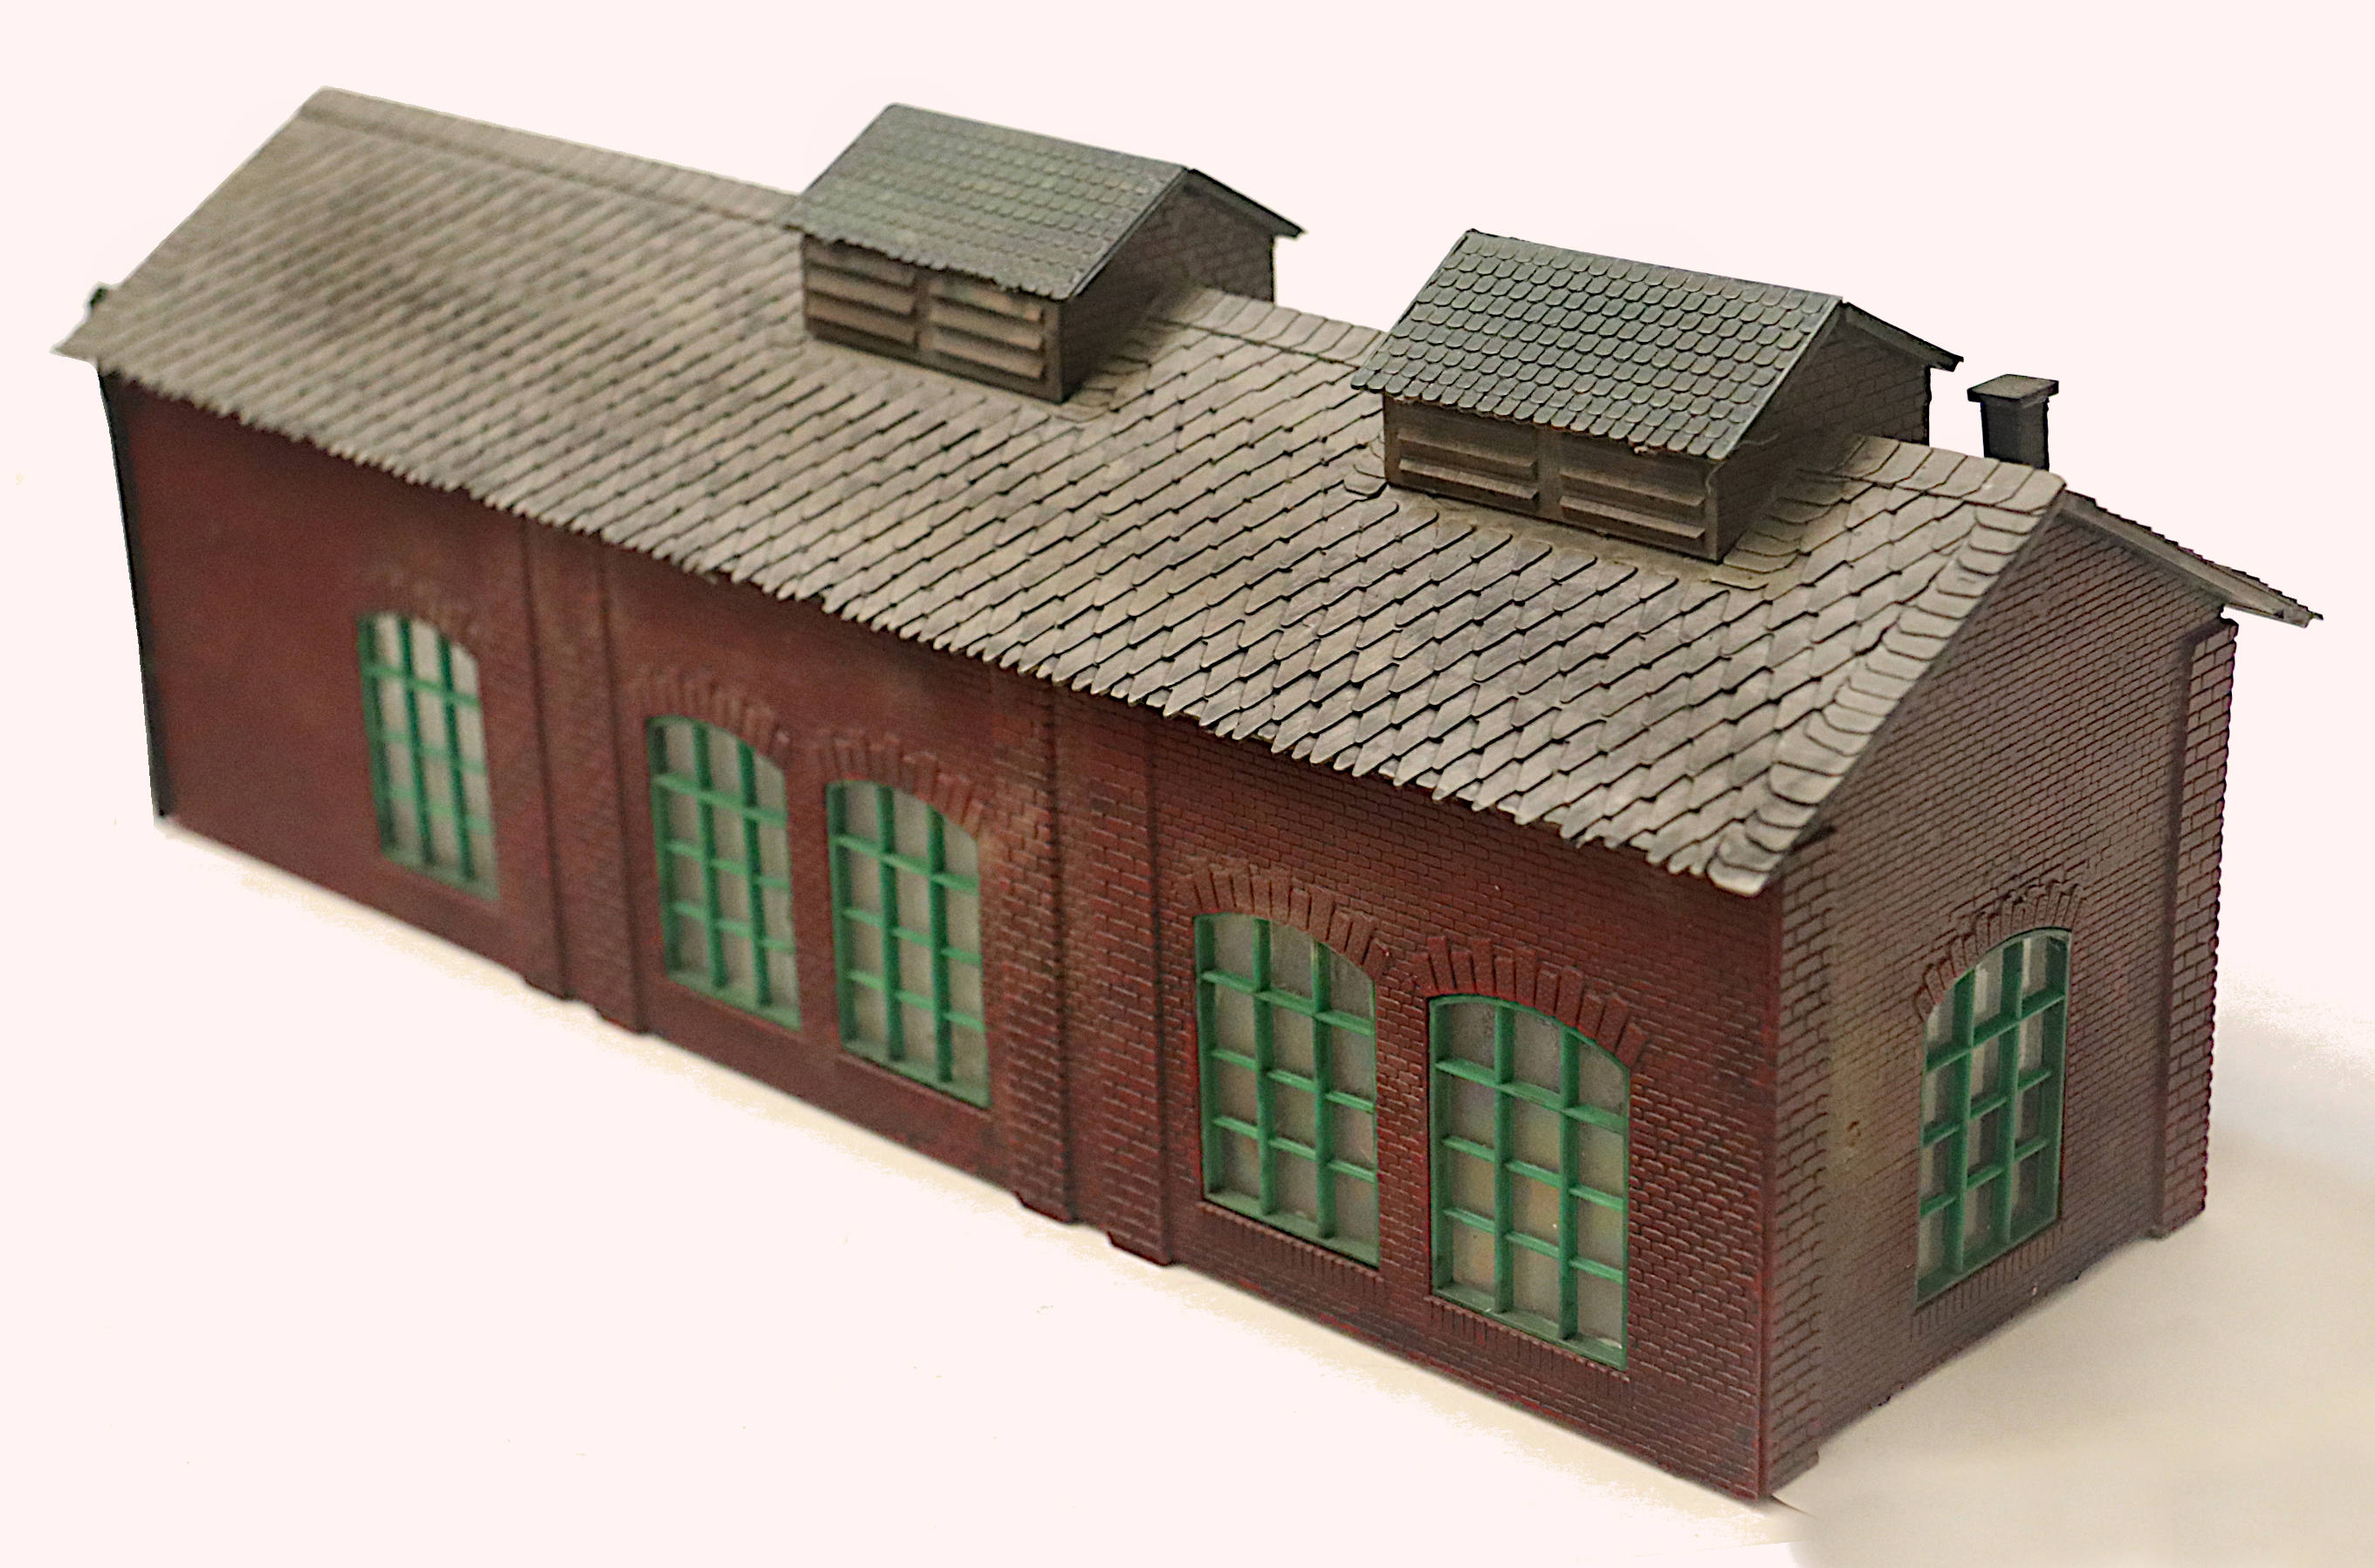
This very available HO engine house kit has had the “Nuln Oil” Black shader applied throughout. Then a Green Shader and some Green Pigments applied to the rooftop ventilators. Plus a touch of Yellow Pigment to slightly highlight the detail in the brickwork.
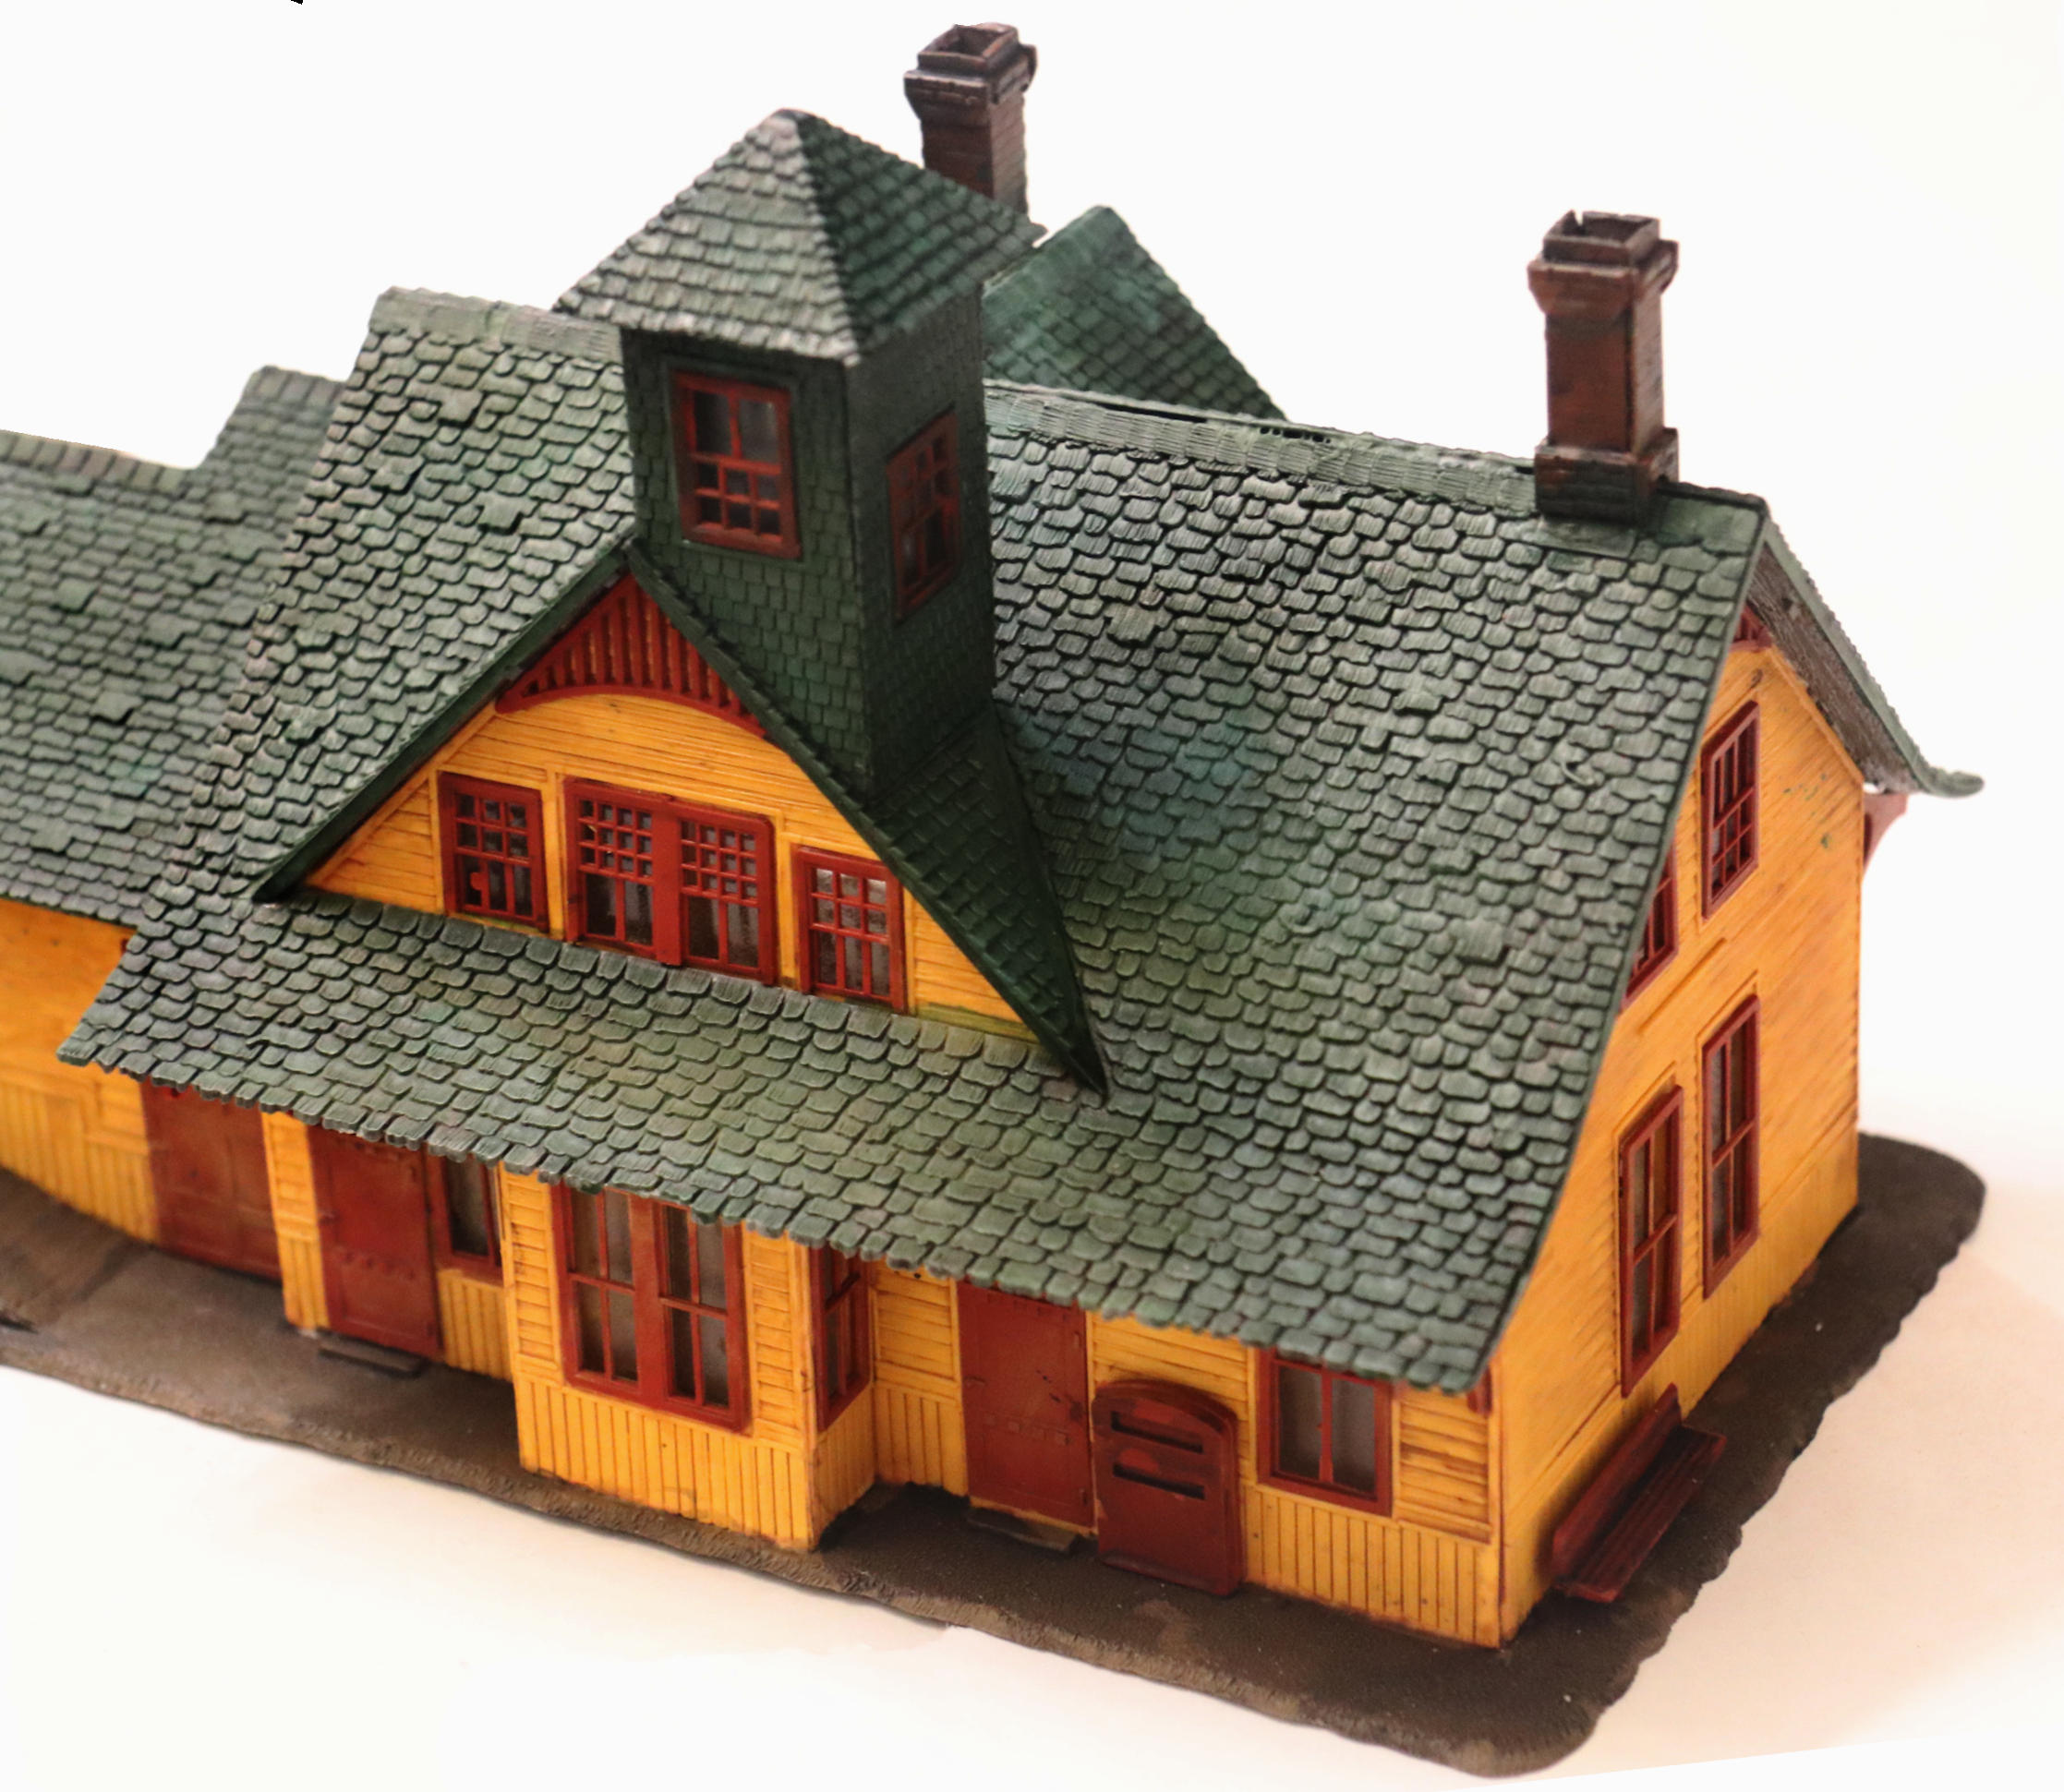
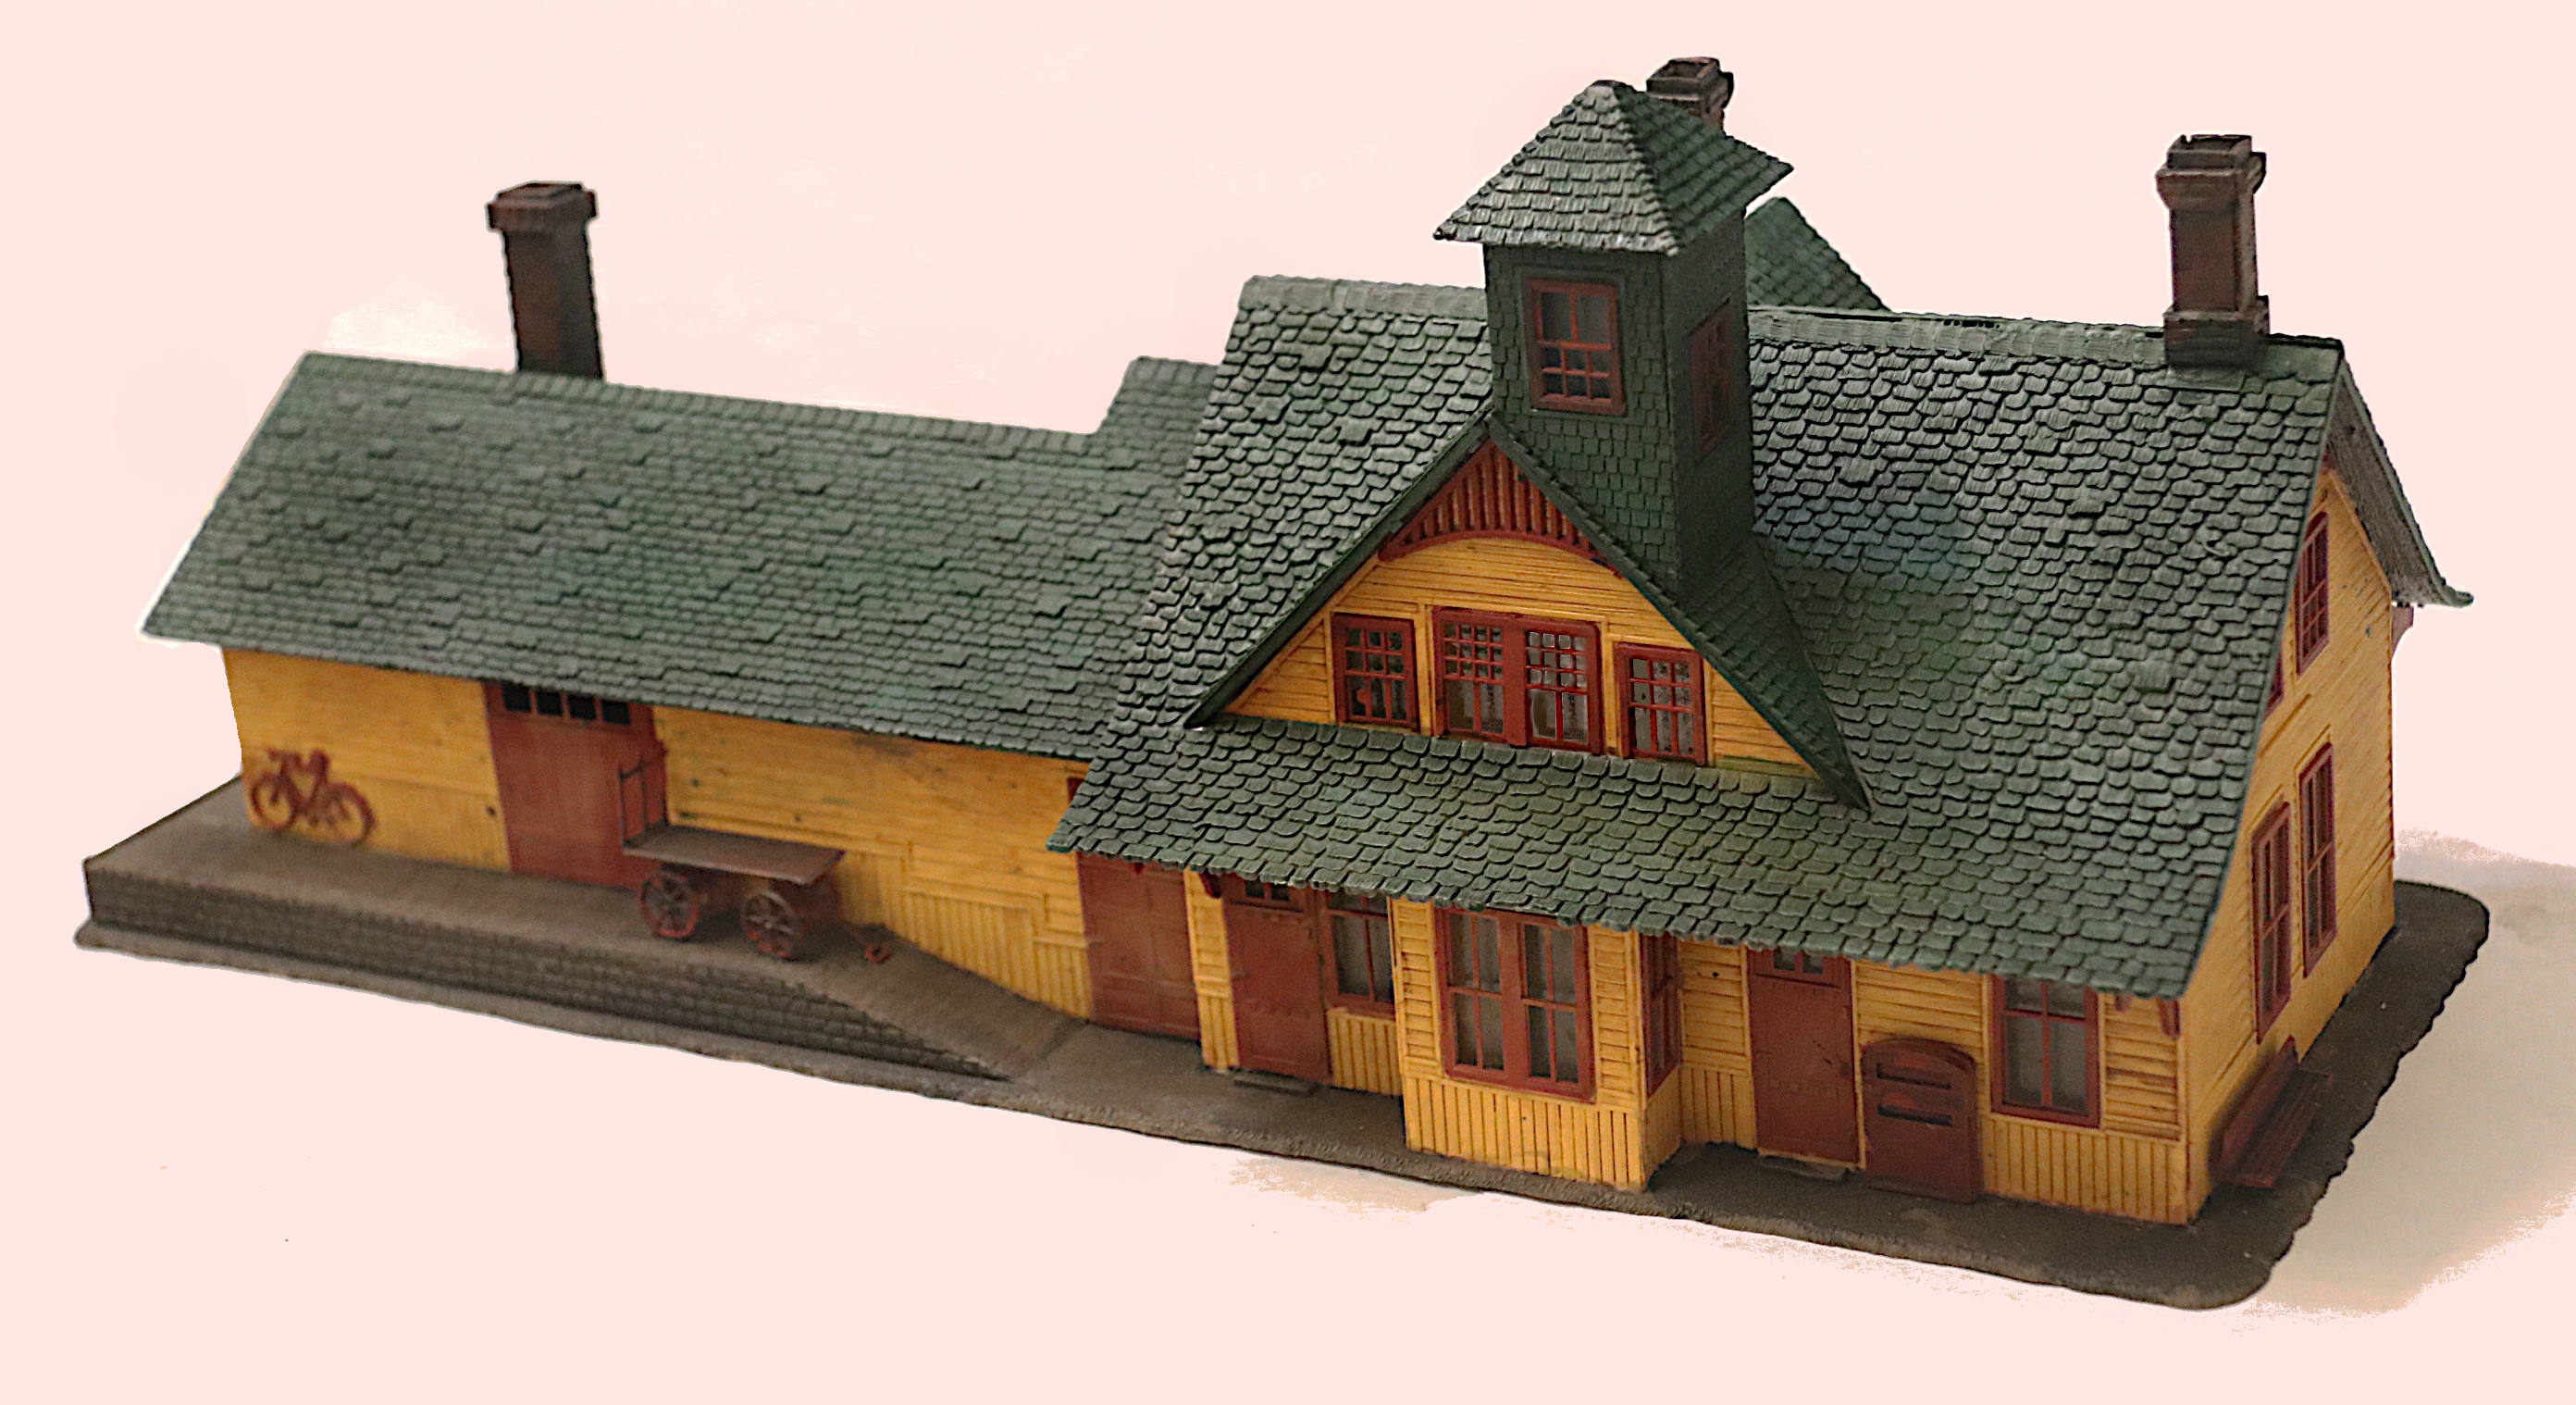
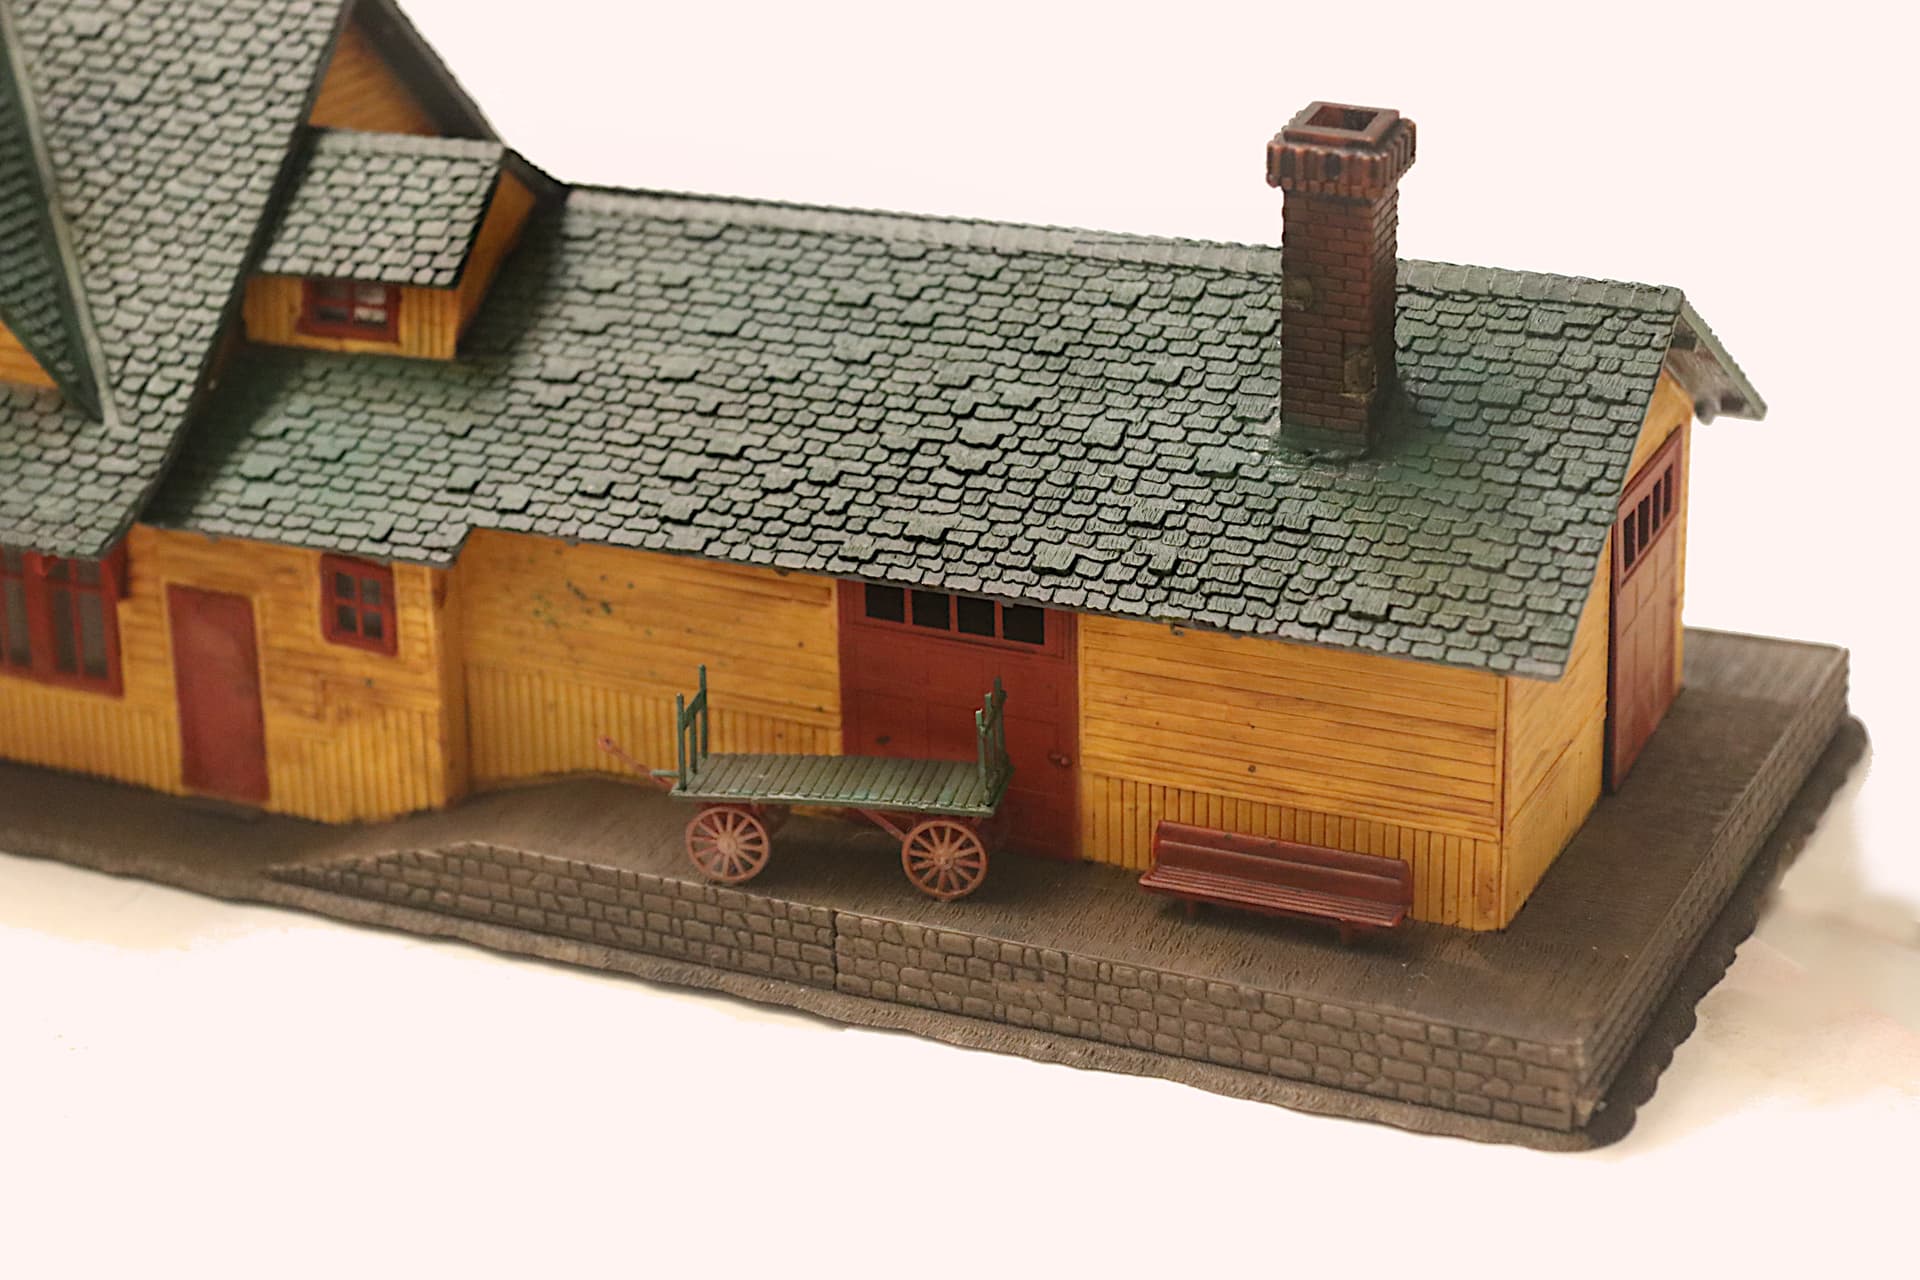
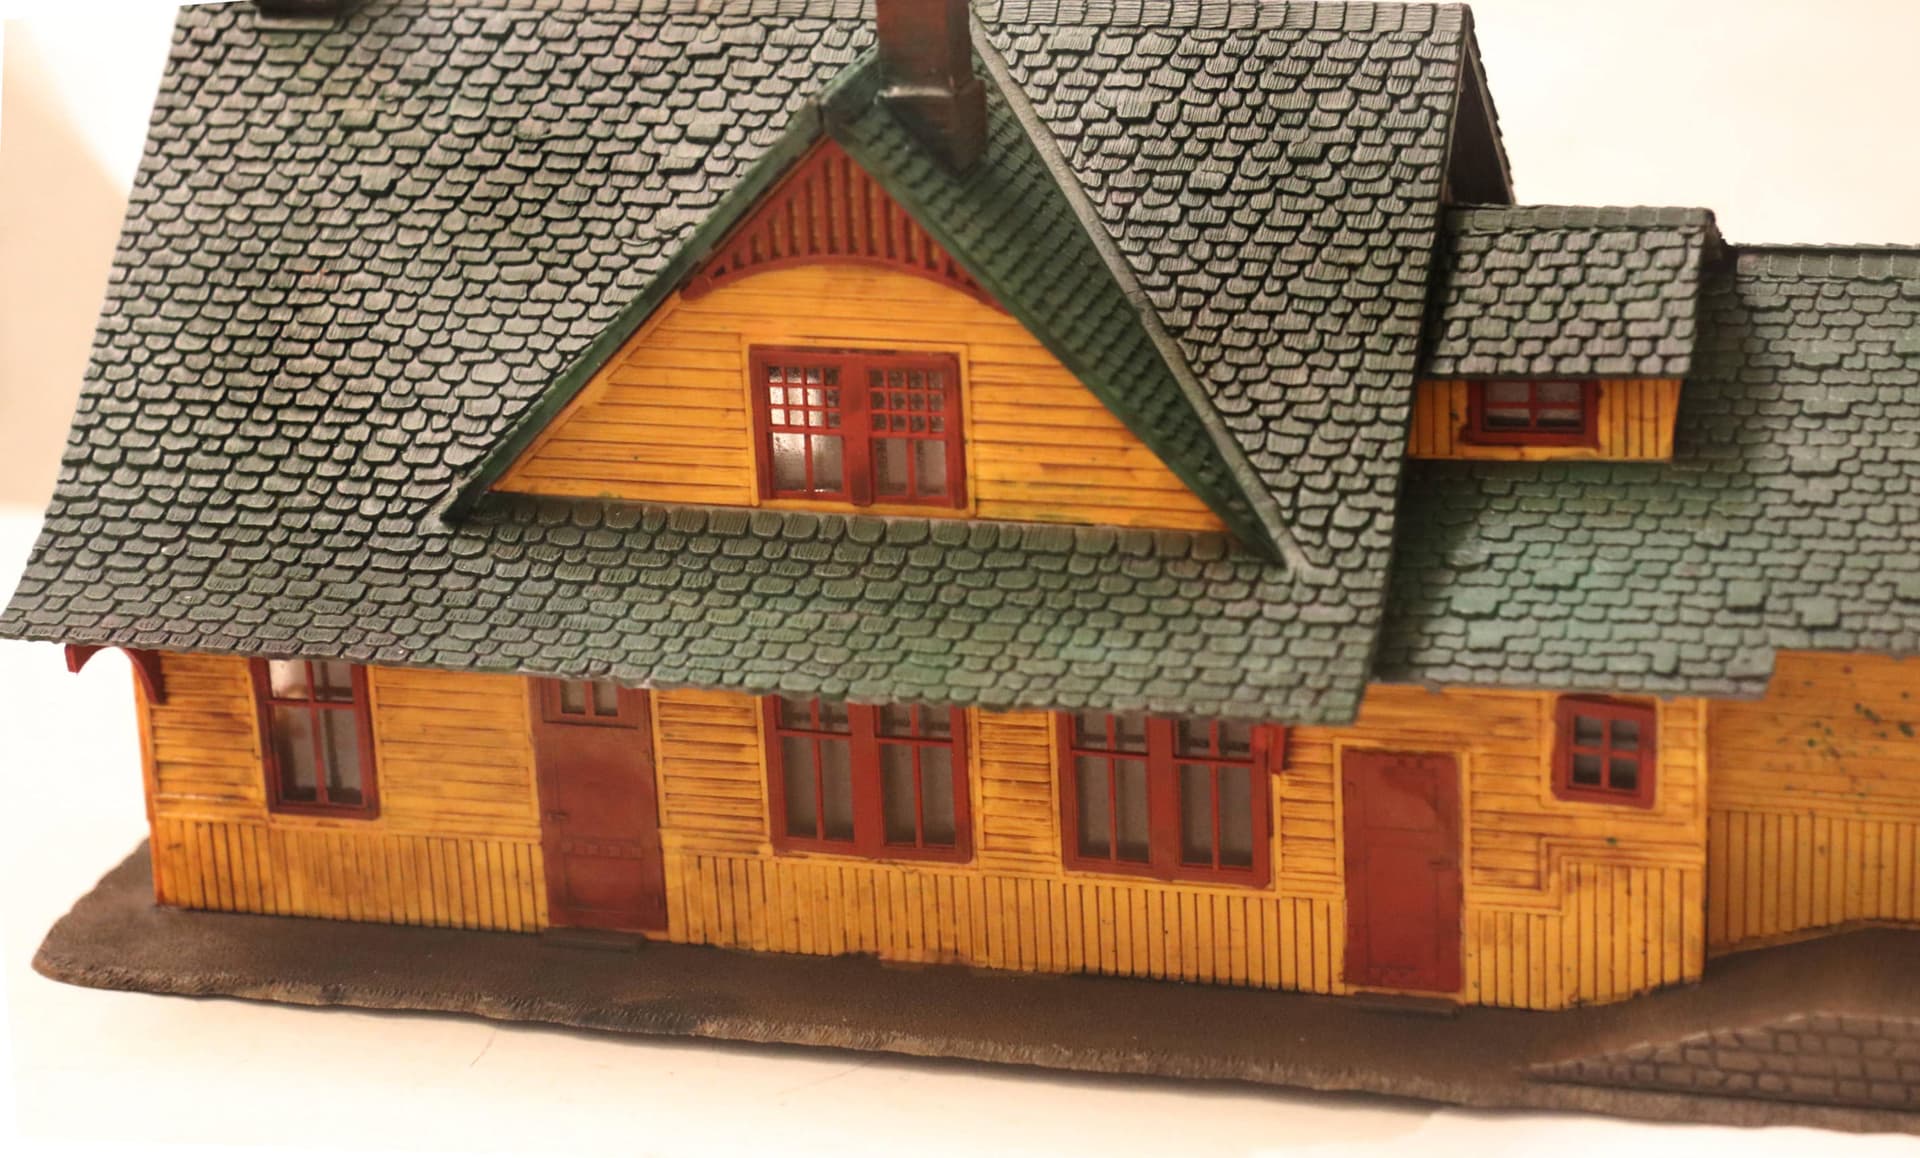
Another classic HO kit is this very available model Depot from Chama, NM. on the Narrow Gauge Line. But have no doubts this charming and intricately detailed station would have been at home on any railroad line, anywhere throughout the US.
Black Shaders on the groundwork and loading docks as well as on the roof. Then Green Shaders and Green Pigments for the roof. The Yellow siding got an all-over treatment of the Sepia Shader. Of course those many nice brick chimneys got a serious coat of the “Nuln Oil” Black to add grime and to bring out the detail in the brick.
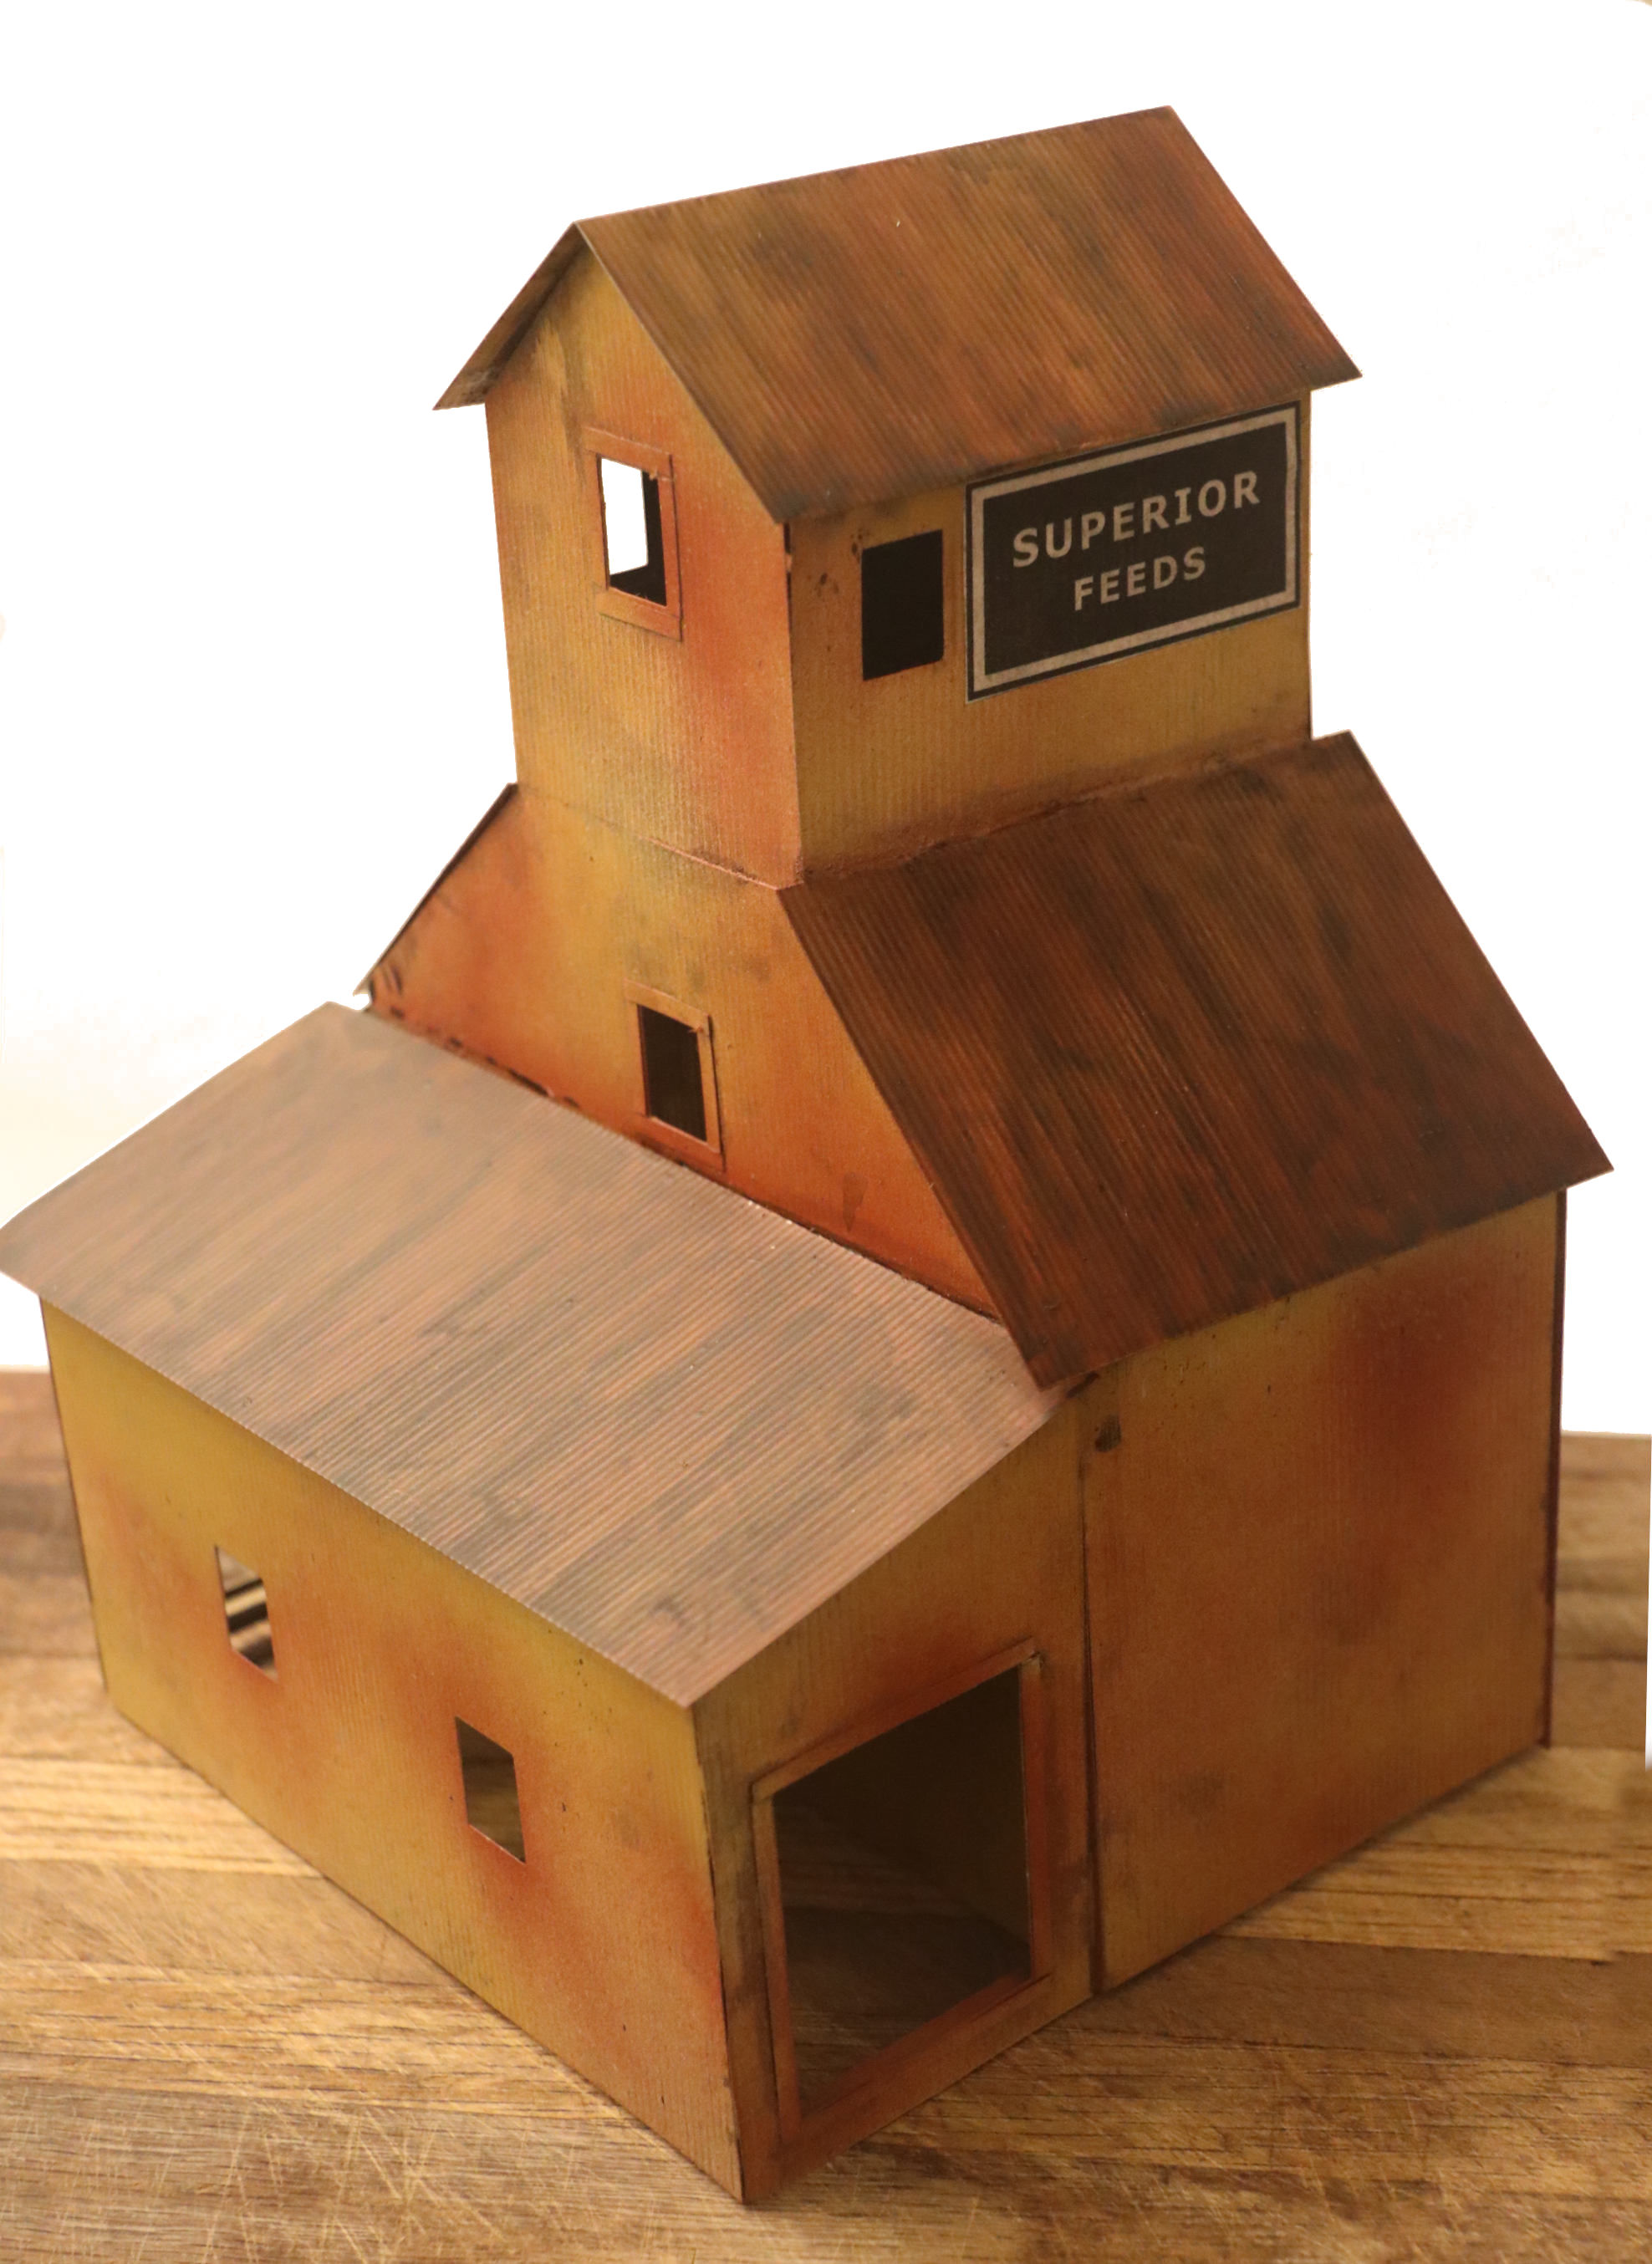
I wanted to do a LARGE Wooden grain elevator but this is all I had hand on hand:
I have been thinking of late of doing a large wood sided grain elevator and how much fun it would be to weather one of those. All I had on hand was the old Suydam, all corrugated metal feed and seed elevator in bare metal. To this I added some paint, shaders, rust and some very basic custom signage here - however the widows were all gone from the kit a long time ago, so do not know what I will do about that.
The colors seen here are various shades of dusted spray paint with black and rust shaders on the roofs.
I either need to build ramps and a roadway section for the “dump house” floor so trucks can enter or remove the treadway at the bottom of those doorways entirely so we can lay a RR siding right into the building.
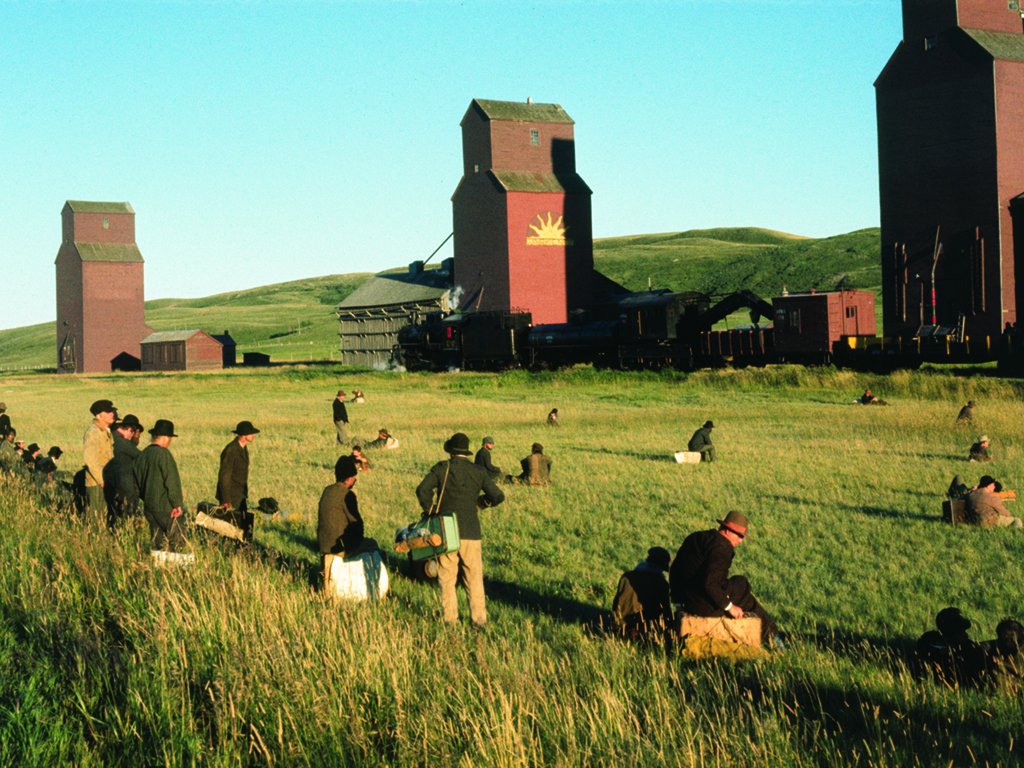
The famous modeler John Allen once built an elevator about a third taller than these to disguise a ceiling column just to the side of his main large RR yard area.
The number and quality of your builds continue to impress me greatly Michael. And I think it’s fair to say, imho, that no one would find your work boring, quite the opposite, I think people would find it inspirational, .
G-man ~ coming from you, given your many great modeling accomplishments, I consider your comments/compliments to be jaw-dropping praise for someone like me.
Not claiming this to exactly be some of my "best’ work.
It was more like a last ditch attempt to rescue an otherwise sound usable structure.
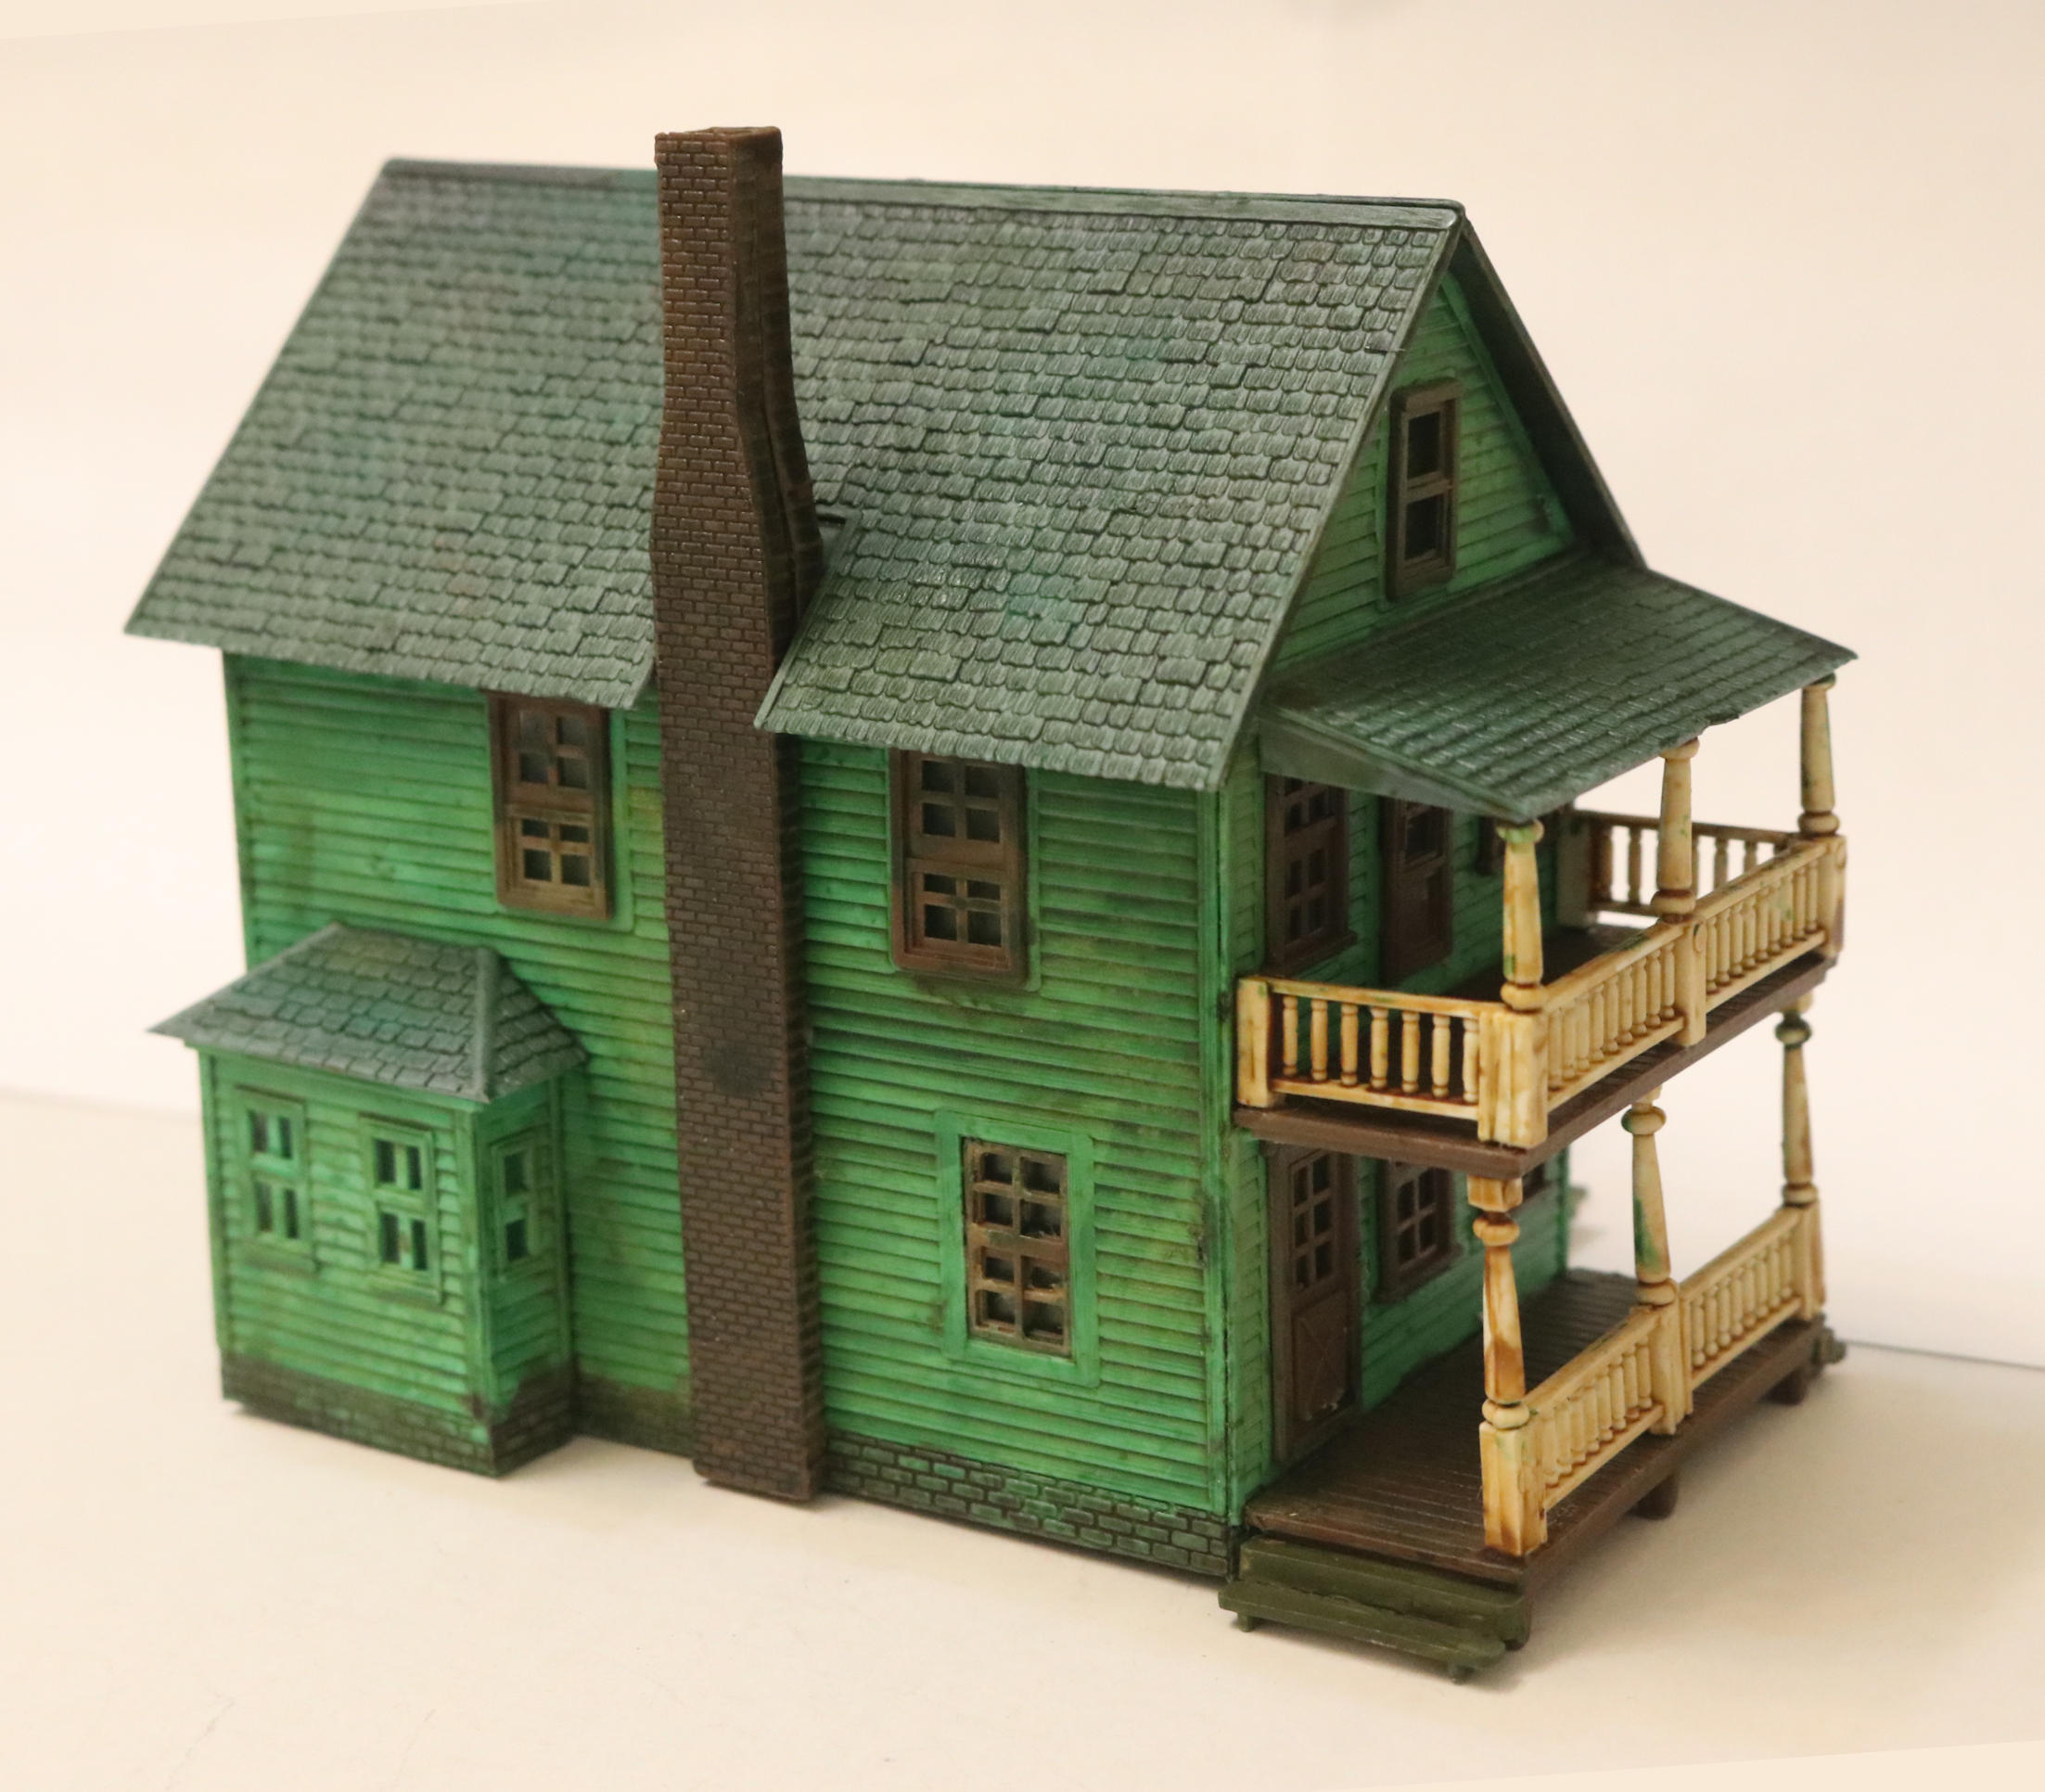
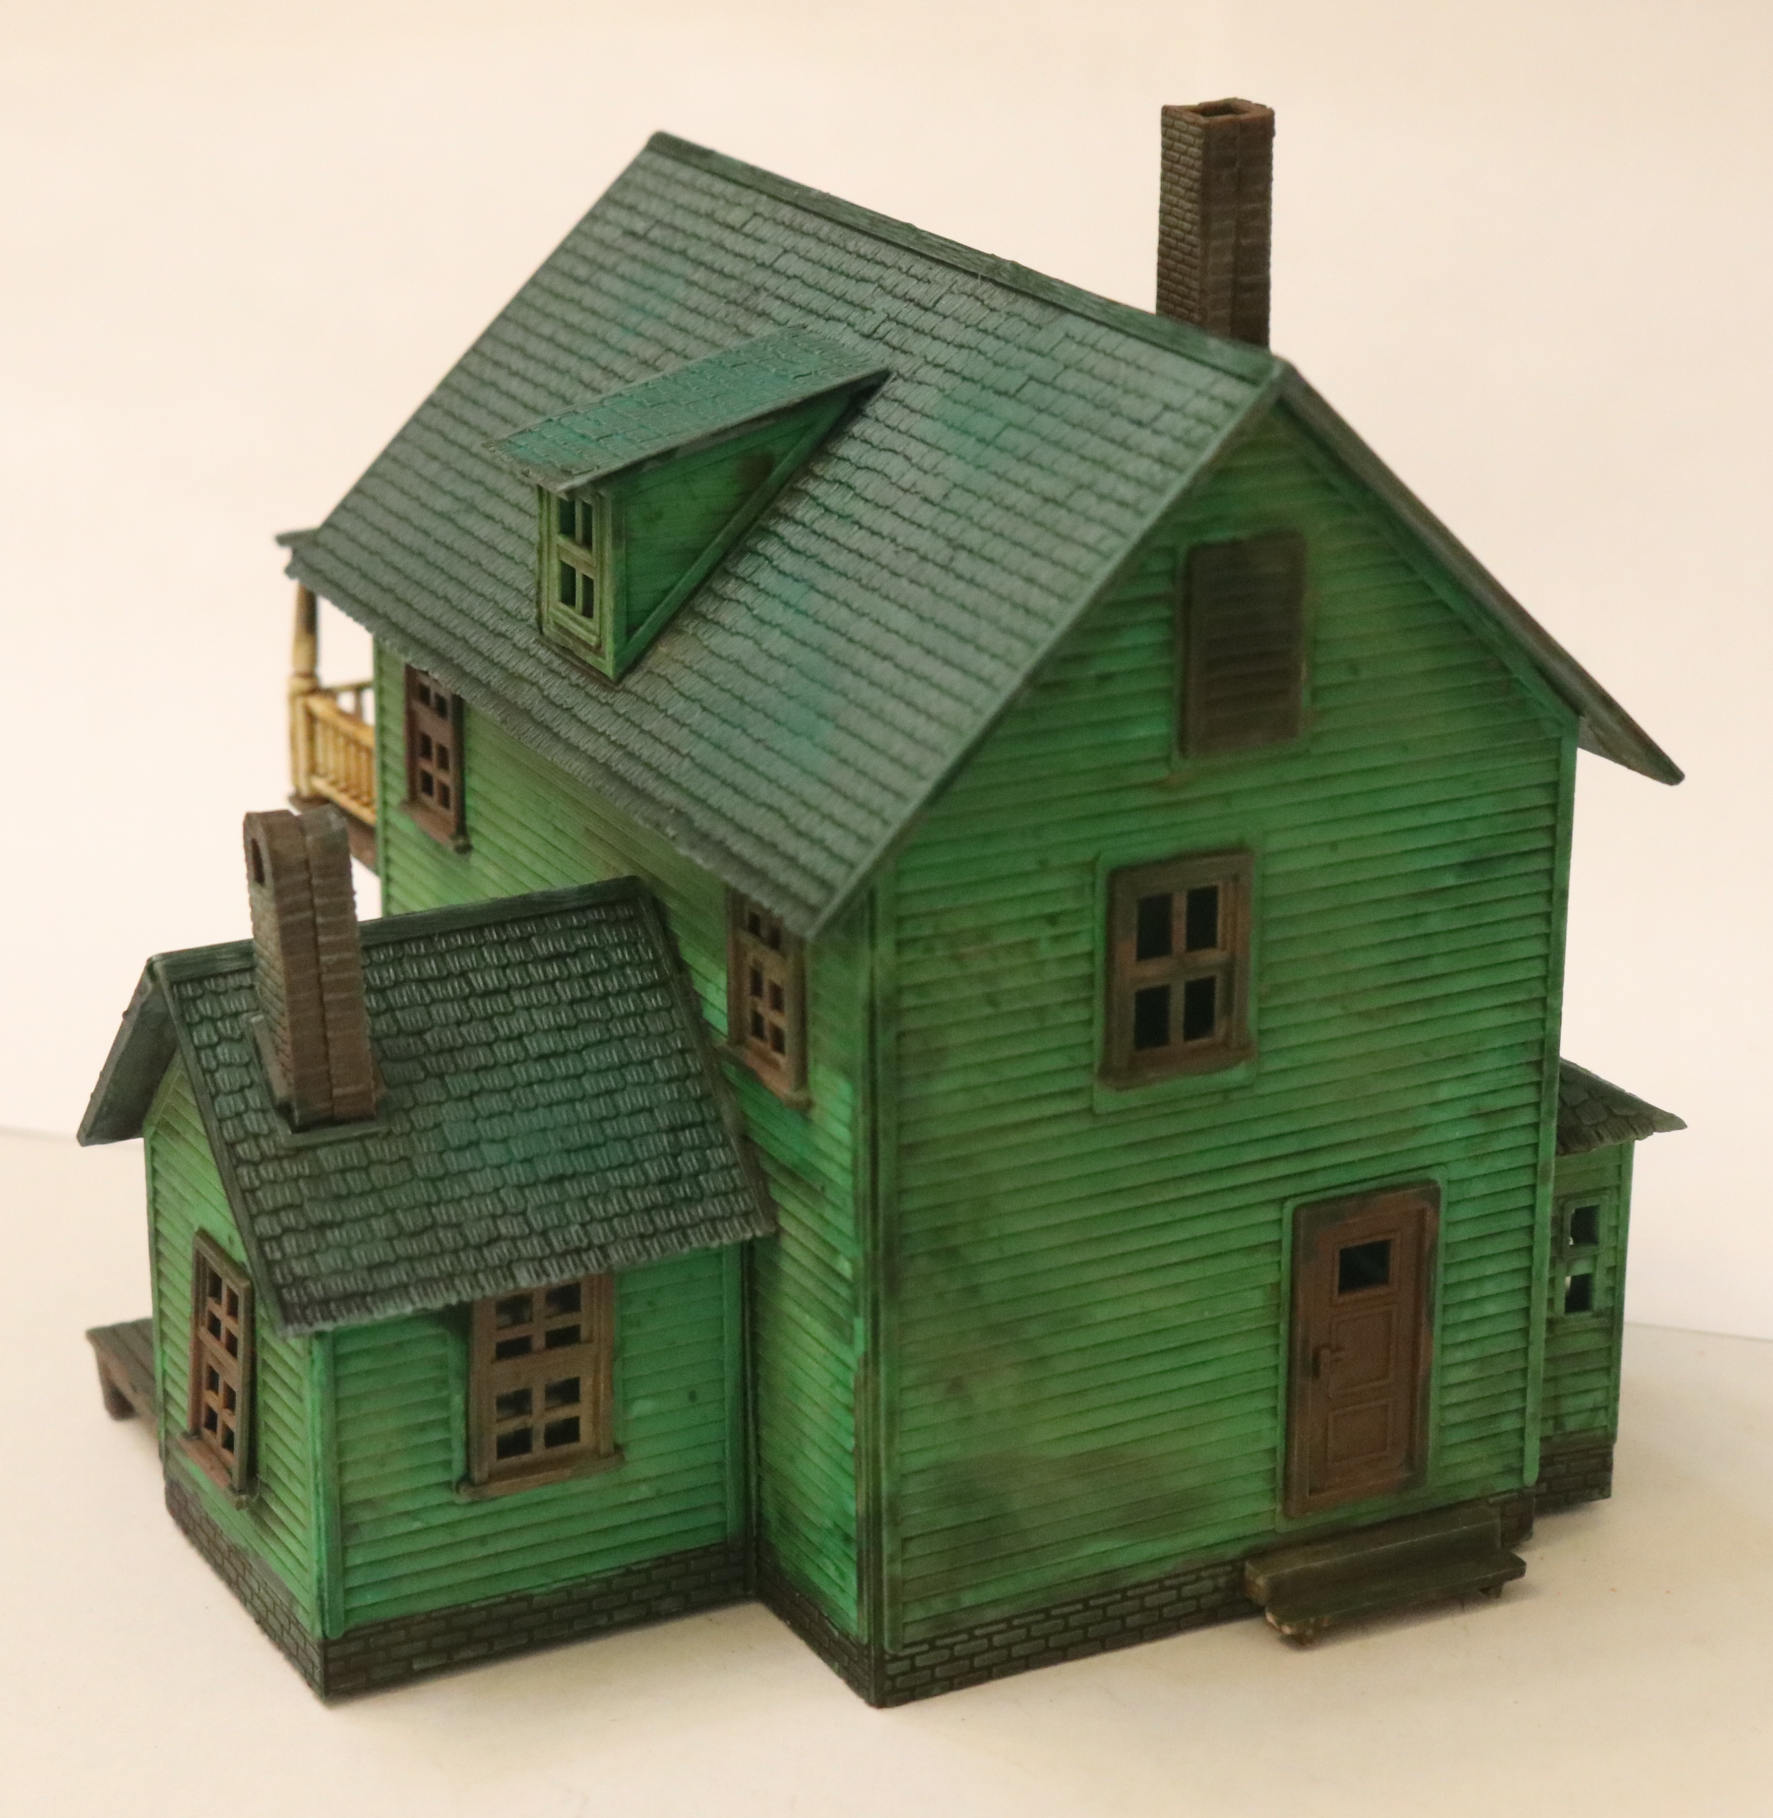
The fellow that built this used SO much solid gluing that it was impossible to get the structure apart for a full repaint. At the same time he/she had left the model in its’ original hideous shinny green plastic color with unaltered shinny plastic, light “battleship” gray roofs.
I really thought this one was headed for the trash bin!
I knew I could salvage the roofs (rooves???) OK but I was less sure of the green siding.
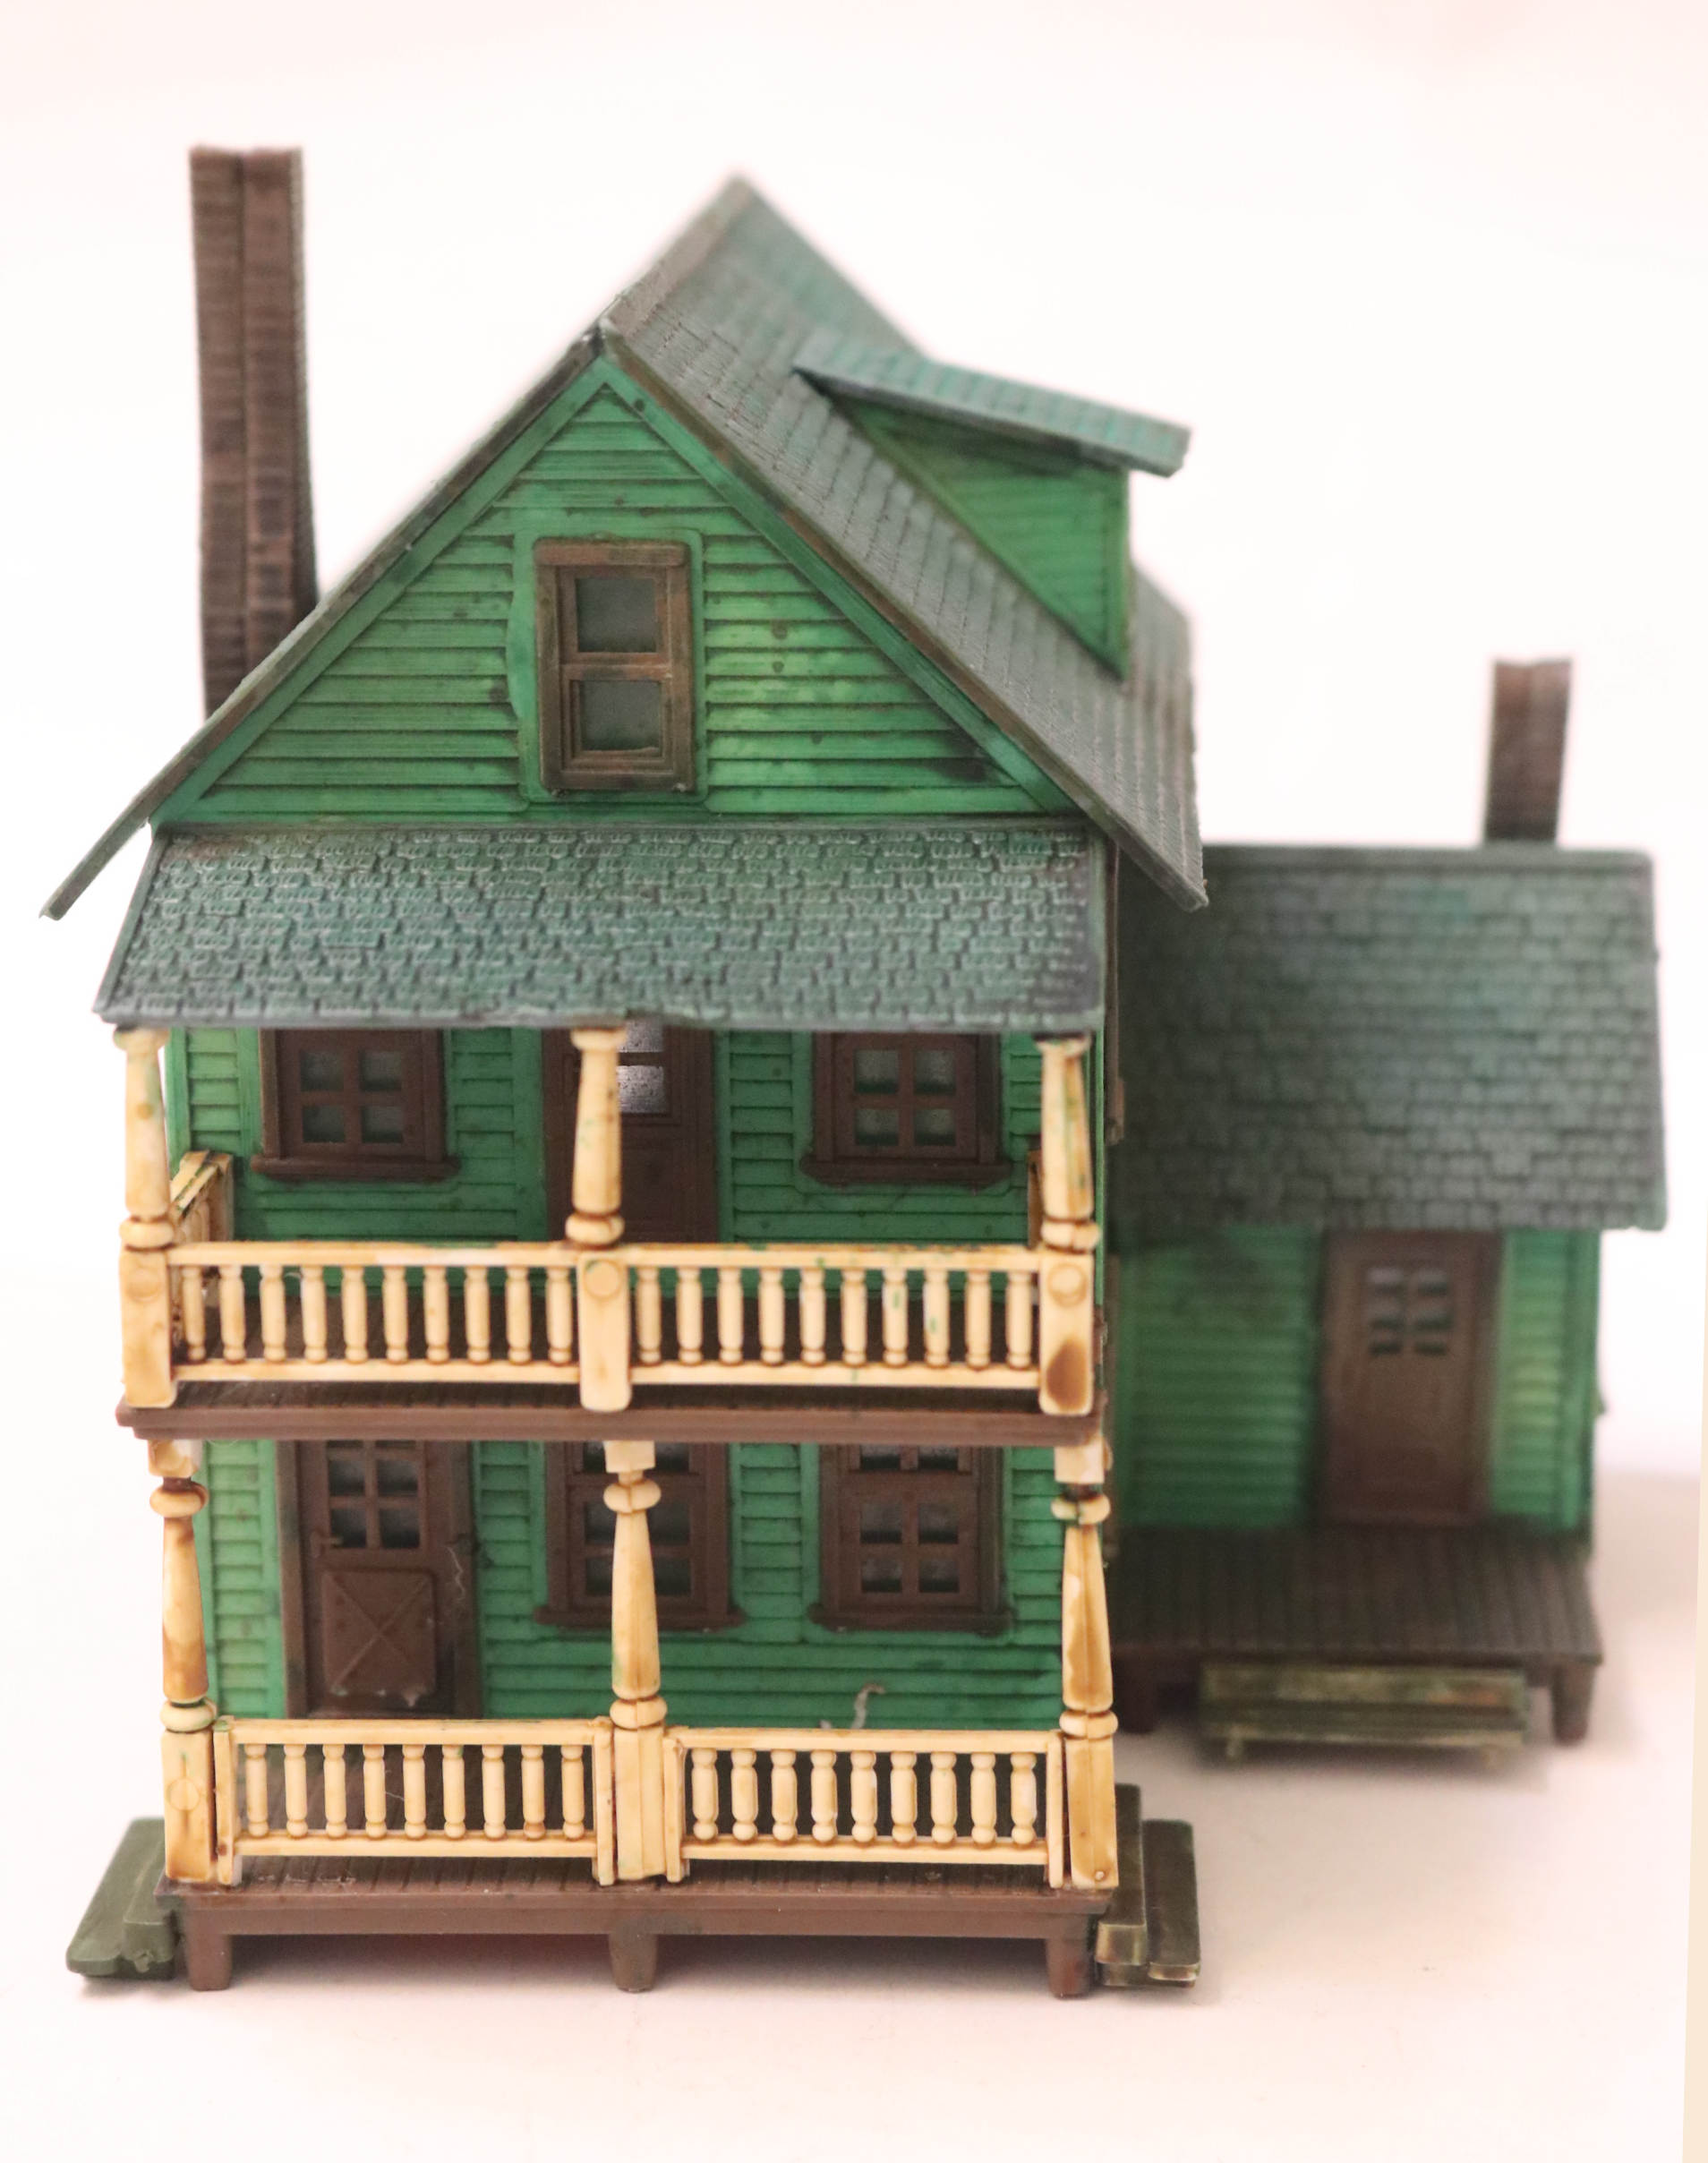
So I thought maybe just tone down the bright green? So off I went . . . Black and Green Shaders for the roofs and Black, Brown and Green Shaders used for the clapboard siding. Plus a little Sepia to tone down those pure bright white plastic porch railings.
There is also a touch of Green Pigments on the roofs to represent moss growing
and Yellow Ochre Pigment on the siding to slightly lighten and indicate even more decrepitude!
This is now (I think) at the very least a perfectly fine scale model “rental property”, perhaps located on the “other side of the tracks.”
Or maybe put a red light over the front door to indicate a “house of somewhat ill-repute”?
Now I kind’a wish I had a whole row (6-8) of these little houses giving each one varied paint schemes, porch treatments and on some, moving that little wing addition to the rear or removing it all together. Many nice variations are possible here!
Look forward to seeing the new bridge Michael, as for structures, I wish I could contribute further, but alas I have none…but will try for something in my next braille scale build…once I’ve decided on what it’s to be…sorry, .

 .
.

 .
.


 Use this artwork as you see fit.